Jump to content

All Activity

This stream auto-updates

  1. Today
  2. Yeah I've always wondered what it would cost to get one of the local places that cnc bends up pipe to do a job for extractors. However much like metal 3d printing I've always assumed it would be massively too expensive for a one off car project type thing. So maybe it would actually be a pleasant surprise to find out. One problem though is you are probably limited to what you can do with a single piece, in the same way that you cant use a sheet metal folder to fold over on itself so it gets stuck in the machine. Sometimes I've thought it would be fun to buy a big enough induction heater ring to be able to sand pack and bend extractors with induction heating rather than using a torch. Easy way to make sure they are equal length, just start with the same length straight pieces. However I'd probably end up with half finished extractors and zero fingerprints left. Thats an awesome milestone getting some water into the motor, pity about the leaks but there's always something like that!
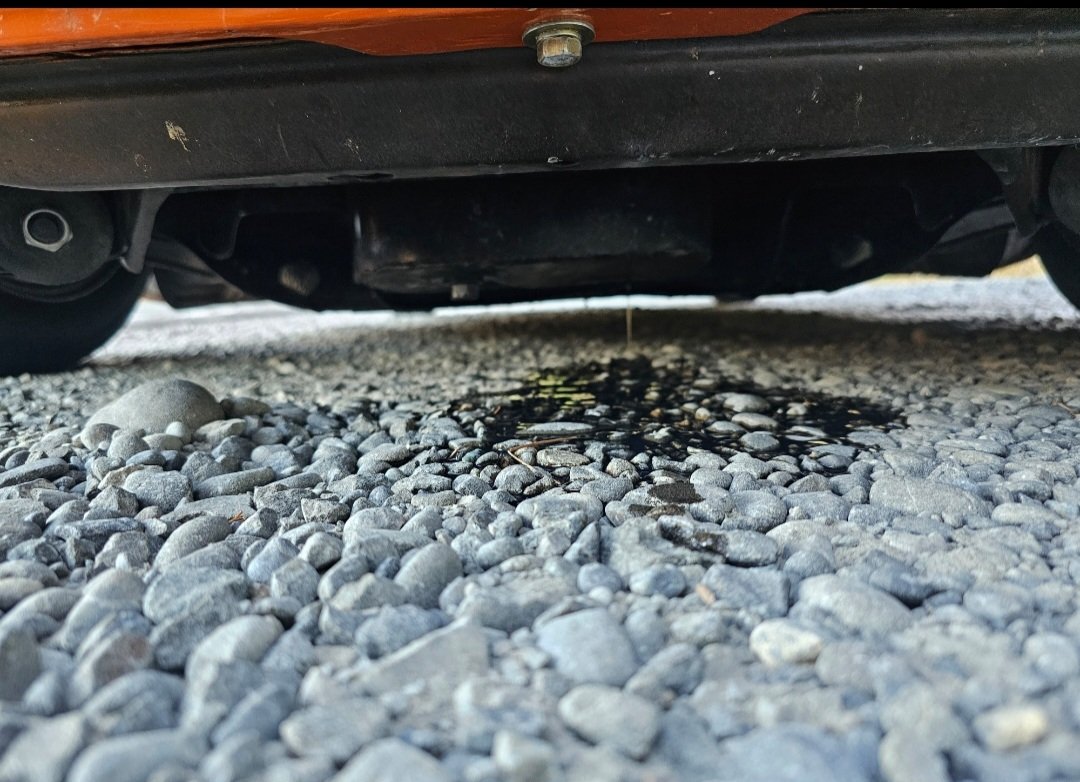
  3. That is something I didn't even think about untill this weekend I'm only at 4psi hopefully I haven't killed anything I'll disconnect it all till I can find some.
  4. have you got a non return in the vac line to the heater control so it doesn't pressurise under boost? might have blown the vac diaphragms out under dash or damaged the control valve
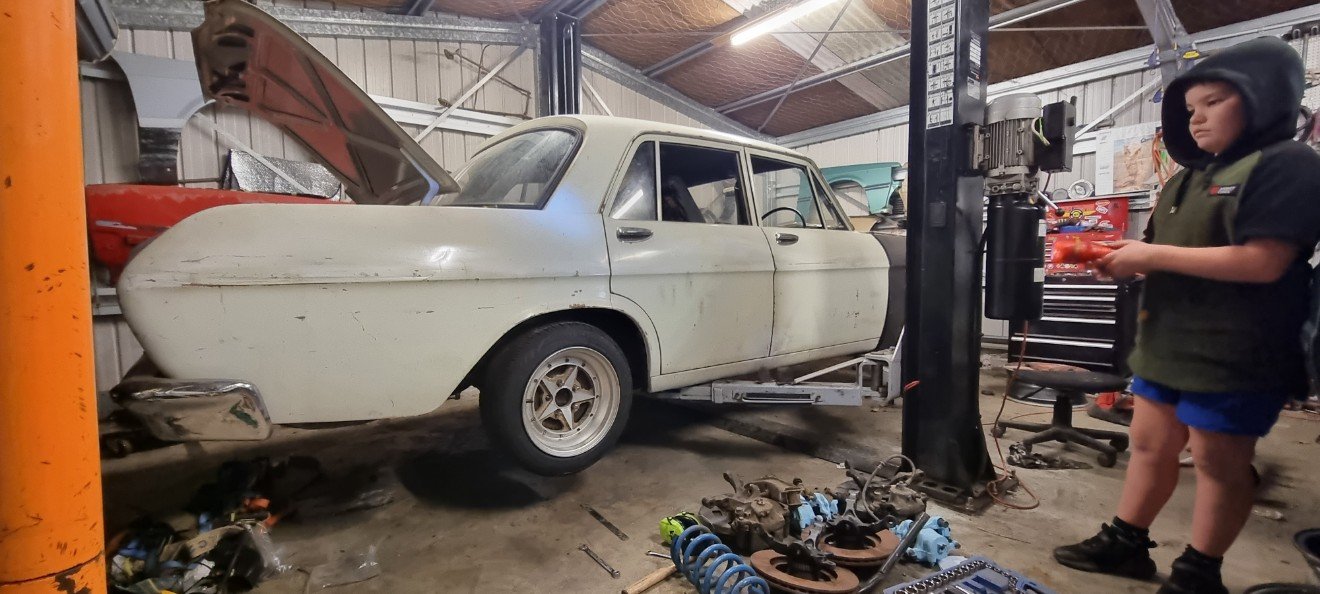
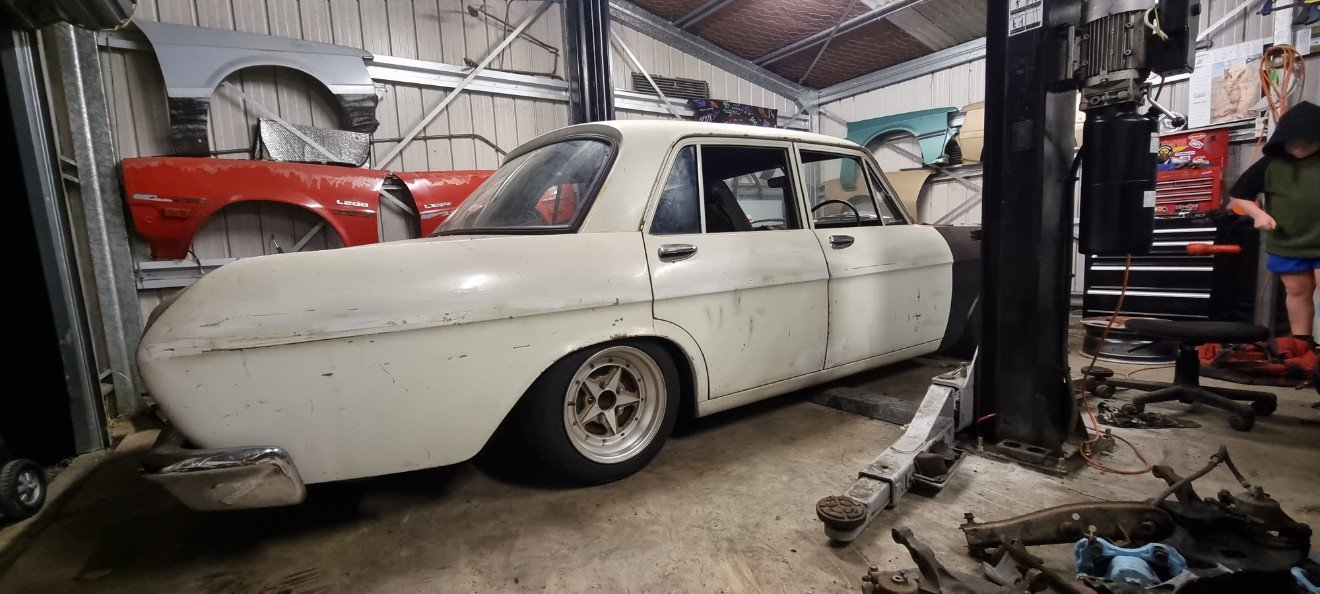
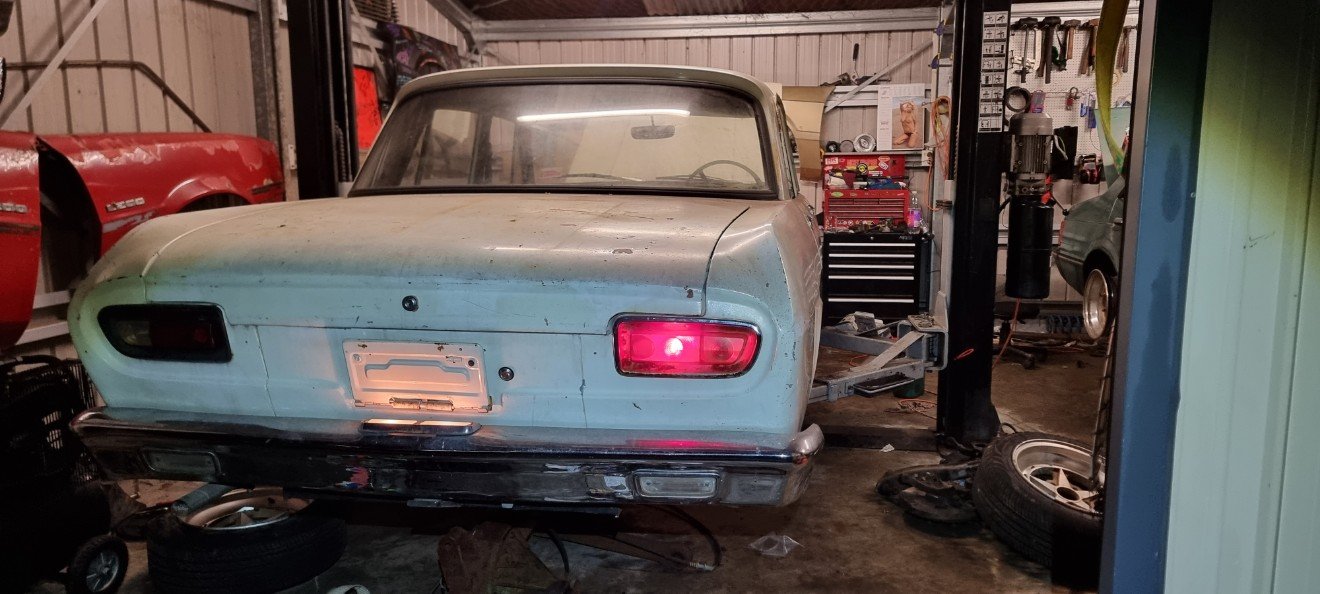
  5. Amongst all the other cars that have had their time in the garage the past couple of months, the Marina hasn't been forgotten about. This is the culmination of a couple of months worth of work on the Marina. Like usual, motivation has been hard to dredge up for this car, as I know I'm getting closer and closer to the WOF check, which is hella daunting. The "for WOF" list is getting real short now. One of the major things I need to sort out before a WOF check was the rear half of the exhaust, which had suffered from sitting for a while and ended up with a large hole just after the hump over the axle. This blew out to be a large hole after the first time I started the engine One problem I knew about with it, was that someone had been here before and the exhaust was all one piece welded from front to back, making it a lot harder to work with (normally broken into two sections before and after the mid-muffler So I started by jacking the car up on one side and placing it on stands. Not my favourite angle, I had to get it pretty high to clear everything, and couldn't put stands under the axle as it needed to hang down I hosed everything in WD40 and gave the threads a wire brush, to make my life easier A ratcheting spanner really helped on the mid-hanger Once the hanger was disconnected, since the rear hanger hasn't been fitted in a long time (since I welded the rear valance) the rear of the exhaust just dropped down The front manifold joint was easier to get off than I thought, I just had to be patient and keep the threads lubricated and they came off without any damage. Since that was the only other thing holding the exhaust in place (there is meant to be a hanger up the front too, but that's long gone), the whole exhaust was now wrangled from its home. Much swearing ensued. I picked this New Old Stock rear muffler section up off TradeMe a while ago. Compared to the old rear section, this has the correct extra muffler, and is longer Ideally, you'd just undo the clamp on the outlet of the mid muffler and swap the pipes over, but some muppet had welded the pipe into the muffler, on both sides >_< The plan was to cut the pipe close to the muffler and then clamp the new pipe onto it, but there wasn't enough space for a clamp before the pipe started to turn up for the hump over the axle. So I cut the pipe further along, planning to weld the new pipe to the old one I got it all nicely lined up, tacked it in place And then a quick trial fit showed that as hard as it was to get the old pipe out, getting the new one in and above the axle, all one piece, was impossible, no matter how much a swore at it. So I cut the welds and started again. Look, I know it's not pretty, nor does it work perfectly, but it's only temporary and will be sorted later. The long term plan is a new slightly bigger exhaust to allow the engine to breathe better when the twin carbs are fitted... Using some scrap steel and my rollers, I made a tube that could act as a sleeve over the pipes In hindsight, I shouldn't have welded the sleeve shut On the plus side, it did allow me to get the exhaust back into the car The muffler fits nicely, almost like it's meant to be there (it is). I bent up some scrap steel to make a bracket for the rear hanger strap to bolt to (the previous pipe had it welded to the pipe) The length is legit too, didn't even realise that it was short before. It barely cleared the valance Some exhaust paste and a couple of clamps had everything snugged up into place After starting the car and running it to get some heat in the exhaust, yes, the sleeve leaks a little at the bottom, but it's better than a gaping hole in the pipe that it had before. I'll call it a sacrificial failure for the WOF man; that and the handbrake which could do with some more adjustment. Next on my whiteboard of things to do, was to make some door cards so that I wasn't just left with big gaping holes in the doors and the potential for sharp bits. I also wanted to make some A-pillar covers, and remake the parcel shelf trim too since that was broken. Before getting too carried away with my new jigsaw, I started by replacing the exterior handles with a pair of new old stock ones I picked up a while ago. Since the barrel and mech on the back of the new handles were different, I swapped these from the old handles. It was pretty easy to do, remove the C clips, remove the single screw, remove the mechanism and barrels, swap them over, tension the spring and then refit the screw and C clips. Done. One thing I did that was a little more complex was rekeying the new barrels to match my old keys, as the new barrels were in much better condition. I was slightly amused by the passengers handle, which had a very DIY fix at home point Yes, that's a big old rusty nail. In its defence, it worked fine when removed! I did have to pull the nail out to remove the handle though, it wouldn't fit through the hole in the door otherwise. The new handles look and feel lush. I ordered some new gaskets to go behind them too Now, back to that jigsaw. I will admit, I have zero experience working with wood, and don't particularly enjoy it, but here we are. I had one home-made door card from the previous owner, the other door never had a door card on it. This door card was manky AF, with mould on the back of it. It was useful for one thing only, a template. I used MDF as that's what was available locally, in the right thickness, and is easy to work with. I know, if it gets wet it'll soak it up like nothing else, but the plan is to seal the back of it somehow (paint?) and then the front will be trimmed in vinyl. All holes in the doors are sealed with tape. Using the template door card, I traced around it and all the various holes I needed to make and then cut it out A couple of trims and test fits had it fitting reasonably well I haven't quite decided what the final fixing method will be, but in the meantime just to secure them I reused the screw holes the previous owner had made in the door shell The handle looks pretty grotty (both do) but that's after a thorough cleaning with Simple Green, so I might have to dye it. With one door card working well, I used that to make a copy for the other side. The RH side has not had a door card since I've had the car, and probably a few years before that too. The next job for the whizzy blade of missing fingers, was to chop some of the offcuts up and make covers for the base of the A pillars, to close them in. I started with some CAD on the back of a cereal box, clamped two pieces of wood together with a couple of screws through where the clips go, and cut them out The first one went in easily, with minimal trimming If it seemed too easy, it's because it was. Of course they aren't the same on both sides, I forgot about the darn bonnet release bracket It was right in the middle of my new trim. So out came the CAD template, and using some scissors and a screwdriver, I located it and cut a slot to slip over the bracket I'll give the pillar a squirt of black paint when I take this off again later to trim it in vinyl, but for now, the plan worked perfectly It's been a long time since the car has looked this complete The final part I needed was the parcel shelf trim. This piece came with the car, but in two of three pieces, so it needed some creative work in order to make a good template. This is far from perfect, The RH side needs more trimming, but for now it's there, and tidies it up a bit All of these parts will eventually be trimmed in some tan vinyl I have ready to go, but that will happen once the car is on the road and becomes a rolling project. The last couple of things to do before the WOF are to sound-deaden the floors so I can fit this A brand new custom-made fitted carpet set. That will allow me to finally bolt both front seats in once and for all, and fit the new seatbelts I had made. Once that's done, and I fix a couple of small things like the coolant leak it's developed, I'll cross everything and take it in for a WOF. A terrifying prospect after all the years it's been off the road (30 years next year, over half its life) and the work I've done to get to this point.
  6. i had a mk3 zephry put bedford pistons a 3/4 race cam had the block decked raymanes head ran 3 side draft webers 45 fittered mk4 zodic gear box home made extractors tuned length 2/half inches exaust last meter was copper to give great tone ,blew everthing in chch back street drags got 7 miles to the gallon wish i still had it , over in oz now just fitting a 289 high pro in the mk3 t5 w/c gear box mustang 3/4 diff
  7. Bits of progress... Bled the clutch, feels a bit odd being cable and hydraulic and I'm not really a fan. Really do need a way to fit that MC in there. But my fabrication skills are about as close to zero as you can get. Door lock tabs that were welded from the inside. Asshole of a thing to remove. Next up, door rods were broken and I couldnt find any. My clever plan to find some 4mm steel tie wire didnt work as Bunnings/M10 needed me to buy 50m of it for fencing. So next best thing, went to pick a part there was a Ford Courier at the entrance with its doors dismantled so grabbed those rods. Cut it to length and bent it up. Works a treat! Pick a Part is dire, havent been in close to 10 years, all the kids were grabbing bits off Prius' and Nissan Notes. We had it good. Ford Courier door rod that got cut up and bent up to save the Starlet. All doors are in working order, and lock curtesy of the Solexs! Wasnt as hard to sort as I thought it would be, would've been easier if the OEM bits werent missing. Next up, passenger door handle didnt work because there was no plastic bush. Couldnt find one and the standard ones are slightly different. Cunning plan hatching, this rawl plug sacrificed itself. Photo of what I needed: Photo of my rawl plug replacement. I dont imagine itll last as long as the proper part: Stripping back the problem areas: Lastly, test fit. SHIT YEAH! Car on stands, ill drop it this week once the driveshaft has been installed. Mid way through lining up the front bumper.
  8. Cheers dude! I've managed to sort it with a die grinder and some light rasp work. Your tool would definitely be the better way to sort it. The starlet had a lock hole plus little tabs inside to make a star type pattern.
  9. Yup will do I had some concerns with the welded intake as it distorted a bit seems to be ok though..... annoying.
  10. Blank off the brake booster , bov, and wastegate plumbing to see one if one of them is your culprit.. you only need a really tiny leak to really increase rpm with no load. A lean condition can raise idle rpm, as can timing but not normally by heaps.
  11. That's frustrating great progress though and the side jobs look top Throttle body fully closed and just using the iacv for idle? Bet it's a leak somewhere stupid
  12. Half the reason I bought MAF cleaner was for the above sprayed everywhere found nothing.. . Even in the intake thinking MAF cleaner might not work like ether, it does. I even ran NA made no difference. Could be injector tables are not 100% right doesn't explain fast idle though. 3 side jobs done is still jobs finished.
  13. Was just reading your build thread mate, what an adventure and a very sweet car. As a sudden ancient mopar owner (though when I was 19 I did have a rotten valiant), I was wondering if you had gotten to the non-working temp & fuel gauges? Mines had an aftermarket temp put in but would love to get the originals going, from a bit of reading sounds like the temp & fuel gauges rely on a mechanical 5v box which just doesnt survive?
  14. Exhausting progress report. Got the secondaries where they need to be & mounted up. Ended up removing subframe for easy access (this is the only way secondaries will come in/out so hoping it won't become a regular job!). Moved from slip joint to v-bands. Hoping I don't regret it in the future with leaks/cracks. Main benefit is it saves 30mm in height. With the slip joints, I found I didn't have enough primary length to get the tubes where they needed to be. Another benefit is I can have the secondaries at different angles (slip joints need to be parallel) which makes the drivers-side secondary a lot simpler. Now comes the fun process of cut-tack-cut-tack-fit up-cut-tack-throw in bin... A little bit of jiggery-pokery needs to get 1 & 4 fitting well but I'll be able to make it work. But will need all of my patience to see this through. @Roman got me thinking about metal printing/CNC forming the primary tubes to reduce amount of welds to crack in the future.. Anyone tried this and have input on process/cost to do so? The non-straight section of primaries are 12" so 300mm each. In non-exhausting news, we filled the coolant system with water yesterday... it only had 3x leaks in 3x seperate parts of the system. Fun! time to pull it all apart. Good news is system is approx 8L and bled up no problem at all. Fill point is highest in system and air bleeds on heater hoses was a stroke of genius. Only thing I need to add is a radiator drain bung. All part of the process. Rome wasn't built in a day.
  15. THis thread is incredible Dave . im extremley interested in this whole 3d printing in metal thing. I legit just want to make a noodle man in paint and get it metal printed just because. how cool is technology!. stink about your valves thouygh
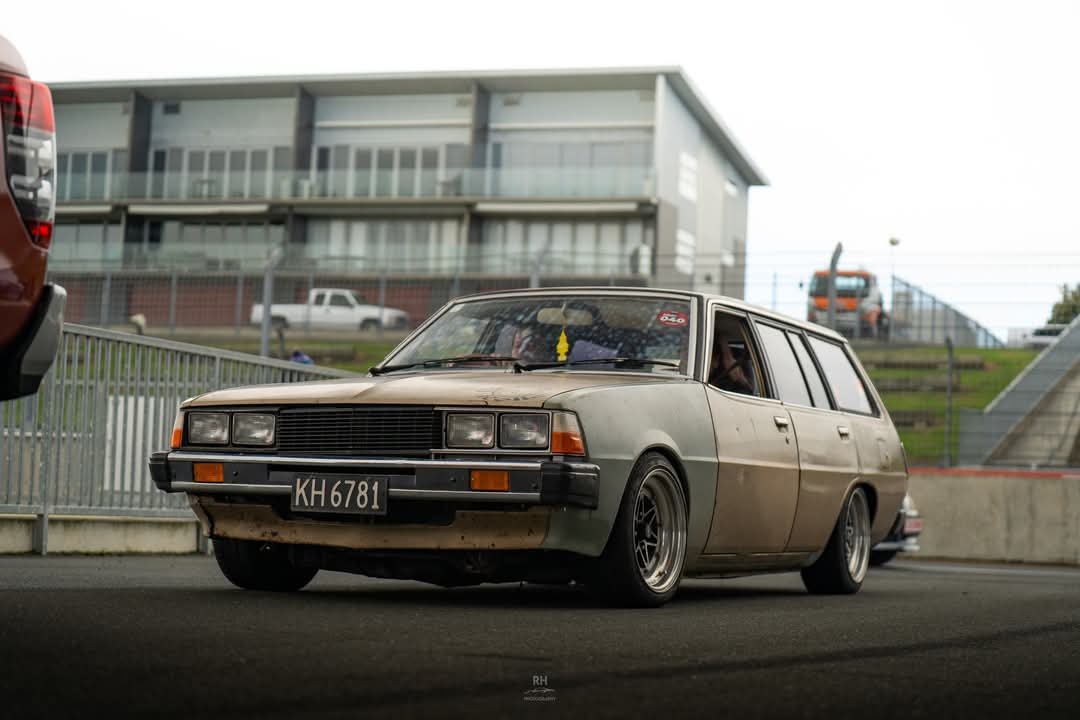
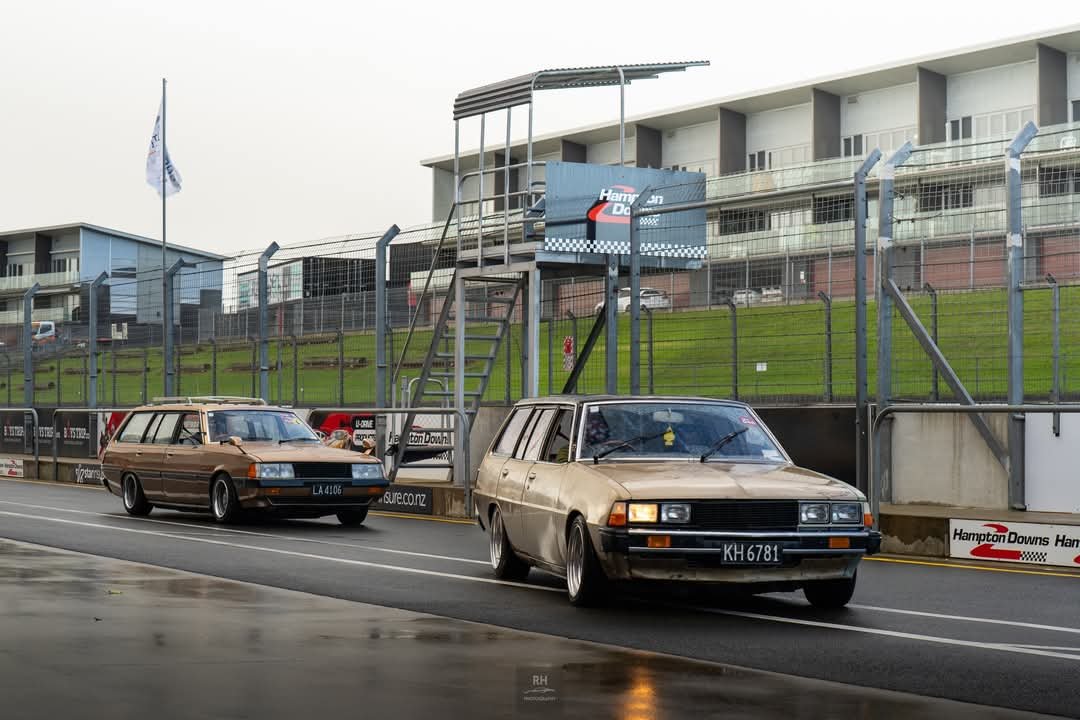
  16. Feeling like I am entitled to a midlife crisis, I have gone and got myself a mid 60s dodge. An oddball car, don't think i've ever seen another one. I was looking at 50s cars but quite liked the long straight lines of this, reminds me of an oversized VG valiant hardtop. The car is in pretty good nick, has been repainted & reupholstered but being almost 60 years old will doubtless need constant fettling. Is "polysphere" 318 & 727 with power drums and steering. I just picked it up a couple of weeks ago, so far I have reinstalled the AM radio just for looks and put in a little fm/bluetooth radio, put in a battery isolator switch, investigated some suspicious bubbles in the paint which were luckily just humidity blisters in extraneous filler & patch painted, basic single stage black is a joy to blend. Changed the leaky vacuum advance and ordered a bigger aircleaner to hide the tiny 2bbl ha. Somehow the (doubtless chinese) points have failed, by the amazing expedient of one contact block sticking to the other and separating from the sprung arm! Luckily this occurred just up the road and I was able to limp it home in an undignified manner. Future endeavours are to dig out sealant from the gutters to check no rust is developing underneath, put in a basic pertronix ignitor, change the wide whitewalls for white letter tyres, install a usb socket somewhere and see if I can find a 4 barrel manifold for it.
  17. Can you pressurise your piping or do a smoke test? Could always go round spraying start ya bustard and see if the revs go up anywhere
  18. I'm pretty sure it was me and my buddy who brought this. It was down in Wellington? We road tripped it back to Auckland, picked up some hitch hikers, dropped them in Raglan and went for a surf. We gave it a service on ANZAC day then took it to Hampton Downs that weekend. Ripper of a car. I sold it to a primary school teacher in Auckland who sold it again a few months after buying it from me. Edit, now that I think about it, maybe you brought it from me?
  19. We buttoned up the final bits left to put on... The edges of the cowling, pre- and post-zhuzhed up with meguiar's: (edit: Yes, those grates are custom. Yes, they look like shit. Yes, I'll do something about them some time) The rear camera made a break for it at the track so I scored the mounting adhesive and surface with a craft knife and superglued them back together: The bonnet wasn't quite aligned properly so we had a go at it. It's better, but annoyingly it seems like it simply won't quite line up perfectly no matter what. The fenders simply have more edge than the bonnet does, so either it looks bad at the cowling or bad at the lights. We opted to get the cowling right as it seems like it'd be the most obvious. She survived the trek into work no problems the next day to break her first 100km <3 The final piece to go on is the crank access cover, which poetically was the first piece to come off at the track... A couple nights prior I'd really sent one of those clips in (with a hammer) because I was getting fed up with it. Future Tom paid the price, but a batch of new clips reduced the annoyance of the job. Said new clips replaced the broken ones in the cowling (we'd snaffled them for the liners) and one in the bumper edge. I also combined some with some random clip padding stuff from an aliexpress order of clips (literally none of them suitable for this car) to finally replace the zip ties holding the intercooler cowling down, as well as take the play out of the clips holding the intake cowling. For some reason they were super loose and the manual doesn't appear to have mention of any washers or whatever to take out that slack? And now that the head gasket had been heat cycled a few times, I drained and replaced the coolant with the good stuff. 200KM raced up on us and I wanted to do an oil change. I'd been largely following HPA's advice on breaking the engine in (though we hard deviated by breaking her in on the street) and they'd wait for 200KM to switch to synthetic. I cleaned out brendan foot upper hutt's stash of OEM filters (and they loaded my open palm up with new sump washers). The oil change was about what I expected: still lots of glitter from the rings. There was one worryingly "large" red flake of material about the size of 1/3 of a grain of rice, zoomed in very far here to show it, not gonna lie that makes me nervous not knowing what it is or how normal that is but... what else is there to do but stay the course... It was only after the change was done that the rest of the Wellington Kei Club responded to my DMs with some squinty eyes, reckoning I should have just kept going with mineral oil. Honestly if I had it on hand I would have, and after the squinty eyes I would have gone and gotten some, but I'd already changed it and my gut said it'd be okay. To be on the safe side I made a post on the HPA forums and got an internet barry who, while definitely gave off strong "I reckon" internet dweller vibes, made it clear regardless that waiting 200KM for synthetic oil was actually probably erring on the safe side. OEMs apparently often send it straight from the factory with synthetic off the bat, or don't even bother to change the original break-in oil at all. There's no smoke, I think 99% of the ring break in is done at this point, and she's running great so I think all is well. But we'll see at 1000KM. I asked Josh if I could borrow his DA and he said "come by Sunday and allocate 5 hours". Alrighty! First we gave her a proper clean and clay barring the day before. We hadn't clay barred her at all until now, oops. The clay bar did little for the water spots on the windows...but the DA did an excellent job The roof and bonnet must have had acid rain on them or just never cleaned or something because the clearcoat is impregnated with water spots that have etched into it. The heaviest cutting compound we had and a solid amount of time on them with the DA improved the situation somewhat. There are still tiny defects but it's 50x better than it was. Josh got me started on the DA then largely left me to my devices as he had family commitments. The rest of the car polished up perfectly. The paint isn't actually in very bad condition, so the before and after isn't quite as breathtaking as with more neglected/older cars. After left, before right. After an interruption to have a quick feed (mmm cheesy oven bake) Josh rejoined me and ceramic'd everything. And dressed the tyres because that's the kind of creature he is. The entire car's paint is now immaculate - except for the roof but I don't think we can solve that without wet sanding and you really have to be looking for it + get the right light to notice it. I am surrounded by truly selfless creatures who inspire me to be better. Anyway. A few days later and conditions were okay (except for me having covid :\) to proceed with the next item: Restoring the decals that the Japanese owner had removed. Firstly we got Lemmy back in the garage and gave the area a good clean and polish to remove the ceramic coating. Then we lined everything up as best as we could. Each decal conveniently had a small throw-away piece of the next decal next to it to make lining things up a lot easier. We positioned the decals and measured everything 16 times to make sure everything was okay. The stickers sit surprisingly high on the doors, if you applied them blind you might assume they're hard against the bottom edge, which would be a mistake. We started with the smaller one first and decided to work lengthwise from the centre, as lining the decals up where they meet is the most important to get right. We peeled a small amount back at the edge we started at, cut the backing away to provide an immediately accessible sticky surface, placed it as accurately we possibly could against the paint, then peeled and pressed. Tip for anyone else applying long decals: get a second person to pull the decal taut where it's meant to go, as otherwise it'll wander. There's also a surprising amount of flexibility in terms of positioning these things, they can handle being moved back on track without too much drama, andwrinkles and air bubbles wipe right out or can be popped with tiny pins. We fortunately didn't get any major bubbles. Then we peeled the application layer off... hell yeah.... The other side went a little easier, bar us having to reposition the start of the second decal slightly ...! It looks slightly misaligned from this shot angle but it looks great in person. I also bought something... dumb. But cool. Our wide NZ plates don't quite gel nicely with the taller skinner japanese plates that are meant to grace the bumpers of this little kei car, but buying full-on personalised plates is just a little too extra even for me, so I settled for our existing govt rego on japanese plates which is just within dumb-purchase-but-i'll-allow-it territory. For the money you'd expect higher quality plates, but the black edges were flaking/flaked leaving a harsh silver edge that was noticable when mounted on the front against the black backing plastic. We sorted that out with some CRC black zinc. I was afraid the texture would be noticeably different but it seems good. Josh also gave us some Show Washers plus countersunk flat head bolts, which of course he polished up for me lol. ... though they overlapped the raise edge which prevented them seating properly and looking a bit meh. We notched some washers to pad them out. In that shot you can see where the old Japanese plate lived. Why the fuck advertise Japan-style plates in NZ and then not even punch the holes in the right place to mount them??? Ugh. I'll have to solve that somehow - the brackets behind are as high up as they can be. Anyway she's looking really mint now. <3 Aside from the wheels (though they also have Enkei wheels from factory), and the installation of some wire mesh behind the front grates (and some newly made holes in those little cowl side pieces) she's pretty much at factory now.
  20. That farty leak sound has turned into a full blown squeel now I think it might be something to do with the air-conditioning like a vacuum actuator or something. Doesn't sound metallic so I think I can ignore it till it fixes itself or gets worse
  21. Yeah I haven't had a huge amount of experience in the past 20 years of fibreglassing. Will try and do a decent job, flat bar should help pull the front straight too which will help with alignment. Good thing Kings Birthday is coming up!
  22. That looks pretty rotten. I'd cut it out and put some flat bar, epoxied to the structure in place of that rotten area. Then depending on motivation levels, chuck some fibreglass / boat repair kit at it to bring it back up level. Then redrill it and chuck some nice long rivets back in. Would maybe predrill the flatbar and chuck nails in the holes while doing repairs so you don't risk dislodging the flatbar after all finished. Epoxy should hold it ok though if underside of that area is clean. There will be cheaper / easier ways to sort if not wanting to invest much in it though.
  23. Bit the bullet and drilled the rivets out, this was the treat underneath. Will try repair the damaged material, then find some of those!
  24. Didn't help..... That gross big blue elbow on intake has given me the yucks since it went on so I remade it in one piece of stainless so one less clamp to leak. Cleaned the Maf was a bit grubby was expecting worse tbh. Fitted a new Air temp sensor just after the MAF. AND....... its still the same. But now the MAF doesn't rub on the ABS unit and the intercooler pipework is further away from battery, so I'll take that as net positive for work done. I think I've got a tuning issue will bung stock ecu in and see if it makes high idle and stalling issue go away.
  25. Have a look at plus nuts, like a rivnut but when they pull up like a wall anchor. use to fitt to fiberglass stuff to tucks and hold a bit of weight. Top ones a plus nut bottom riv nut
  1. Load more activity
×
×
  • Create New...