All Activity
- Past hour
-

Yoeddynzs 1965 Hillman imp 911 build. Flat six in....
yoeddynz replied to yoeddynz's topic in Projects and Build Ups
Edit - I'm not sure what's wrong with the image links on this latest post. I may have to re-do them so tune in again tomorrow if they don't magically start working. Sealing up the cut out tunnel top and under the rear seat was to be the next stage but first I decided to make some new beefed up engine mounts. The originals I had made from a mixture of 3 and 4mm steel were probably fine but i wanted to move the crossmember backwards away from the engine for a little bit more clearance. So while I was at it I thought it best to use thicker steel. I first made a jig to which the original mounts bolted to. Now I had datum points to build the new mounts to while allowing for extra clearance while I was at it. I popped into G3 engineering where I get a lot of my steel offcuts from and grabbed some 4mm plate. I had 5mm at home for the main backing plates. Used the heafty steel bender.. Tigged the majority of the welds except the inside ones I couldn't reach which got mig welded. Plenty of heat. These wont fail. Added gussets just to be sure... Now with the new mounts I set the engine in place, crossmember sitting further back by about 5mm than it was with the old mounts. I could now drill the holes through the chassis rails. I made up a new pair of backing plates to suit, this time extending forwards to suit the forward holes to that are there for the Datsun crossmember. I can now easily bolt in either crossmember. I was super happy to discover that due to the flat six being only 3 cylinders long I have enough room to pull the engine back so its gearbox bobbins are clear of the gearbox cross member, then raise the car up and away from the engine, all without having to remove the rear bumper and valance. Now the engine was in its final position I could replace the lid on the tunnel, 50mm higher. I started with this bit, having to cut out a section to allow for access to the gearbox speedo sensor plug... Making sure there was ample clearance all round so the box cant knock the tinwork on rough roads I preceded to box the tunnel back in... Kneeling down on folded up bits of foam and towels was my home for the next few hours... Cardboard trials, then steel, cut, trim, tack, check, weld... Finally boxed in. Another access hole let in so I can get to the top universal joint and lube the gearbox selector shaft. It was a very good part of the build to finish. Seeing it all sealed up, strong again. I have yet to check the rear seat squab but I feel confident it'll fit with some modifications to the wire frame within. Underneath looked neat... Hannah has now painted the tunnel inside and out with Epoxy paint. After I have finished any other little fabrication bits or hole filling/drilling in the engine bay I'll give it a flick of blue paint (hopefully not making everything else in the workshop blue like the first time) Now it was onto the rear suspension arms. I am using the set that came on the green imp 2. Surface rust needed wire brushing off outside... Painted with KBS rust seal (Aussie por 15 clone).. Another bit I could have got away without doing but I thought best to make while I'm under the car was this brace... Pulling up tight to the floor via spreader plates under the seat base... I have added it to really tie the floor halves together so keeping the suspension mounts inline during hard corning, so avoiding any self steering. Its a bit ugly but hey, its hidden under the car. On the subject of bracing I also made this little brace... To help stiffen the top of the tunnel near the shifter so it doesn't flex. again, not really needed but I do want a really positive shift action without an excess movement. So now my next job is to run out the brake/clutch/fuel pipes back along the tunnel and then reassemble the rear suspension so I can setup the handbrake cables. I'll have to paint some bits too. The crossmember, mounts, fuel tank etc. The work area looks like this with bits everywhere... In other news I had these turn up yesterday... My older brother who lives in Wales had gone to a big local collectables/toy and model show local to him. He then spent a good amount of time asking at the various collectors stalls for any Hillman Imp models and found what is quite a rare and sought after Dinky toy car... Plus a cool little Imp police car .. They turned up in the post yesterday as a surprise and made our evening. Very cool. Thanks bro! - Today
-
Cam is going strong, 1500kms of ripping round, haven't had any issues to report. Did a decent loop today, about 250kms of varying road type. Next step is to CC the pistons and the head again to up the CR a bit, slightly more boggy down low and I think upping the CR a bit will help this. ALSO. SSR MK2's are back, need to be painted. These were fully intended for the Wagon build, but with the rust progress not happening - I think these can do on the Sedan for now. Watch this space
-

Daves new school holden shambles. (And finally a Turbo)
Muncie replied to Muncie's topic in Other Projects
Oh yeah it goes hard! Got a go pro vid of first drive will edit get that up. -
Daves new school holden shambles. (And finally a Turbo)
Muncie replied to Muncie's topic in Other Projects
Finished up the intercooler pipes managed to make the passengers side one piece really happy with how it turned out. Everything done by eye only welded one pipe on backwards.
- 363 replies
-
- 1
-

-
- not as good as a barra
- ecoboost
- (and 1 more)
-
Daves new school holden shambles. (And finally a Turbo)
Muncie replied to Muncie's topic in Other Projects
Had some plumbing to do under car first one was hooking back up exhaust. Which is done not 100% happy but fully functional though I migged it as currently it's one piece front to back was to hard to do with tig. Will order a few more v bands and a flexi make it 3 pieces.
-
Daves new school holden shambles. (And finally a Turbo)
Muncie replied to Muncie's topic in Other Projects
Epic day on this! It's back together finally just fettling now it's a running driving car. Front bumper back on kind of a sleeper kind of isn't.
-
So far no issues, and I gave it the fullest of full beans over the hill to Moutere today. The tyres are IRL pretty shit at anything over 80km/h, I may investigate finding something with actual sidewall stiffness. And here is an *action shot* that at least proves my wiring is legit.
-
Started the afternoon by emptying everything off the car floor and vacuum the carpet to find any lost screw. Got stuck into scratching off the rotten/dried/mankified insulation from the passengers footwell and found out it isn't really too bad, has holes but could be alot worse. So obviously after such a good start i spotted the musical airhorns i pulled out of it sitting on the bench and decided that would be far more rewarding getting them to work again. Stripped the pump down and gave everything a good clean and lube then slotted it back together. Good news is it works again. Bad news is the compressor still sounds like it is grinding rocks. Calling it a day now. In all their trademe spec 2006 glory!
-
I will guarantee you one thing, i have no idea what i am doing!
- Yesterday
-
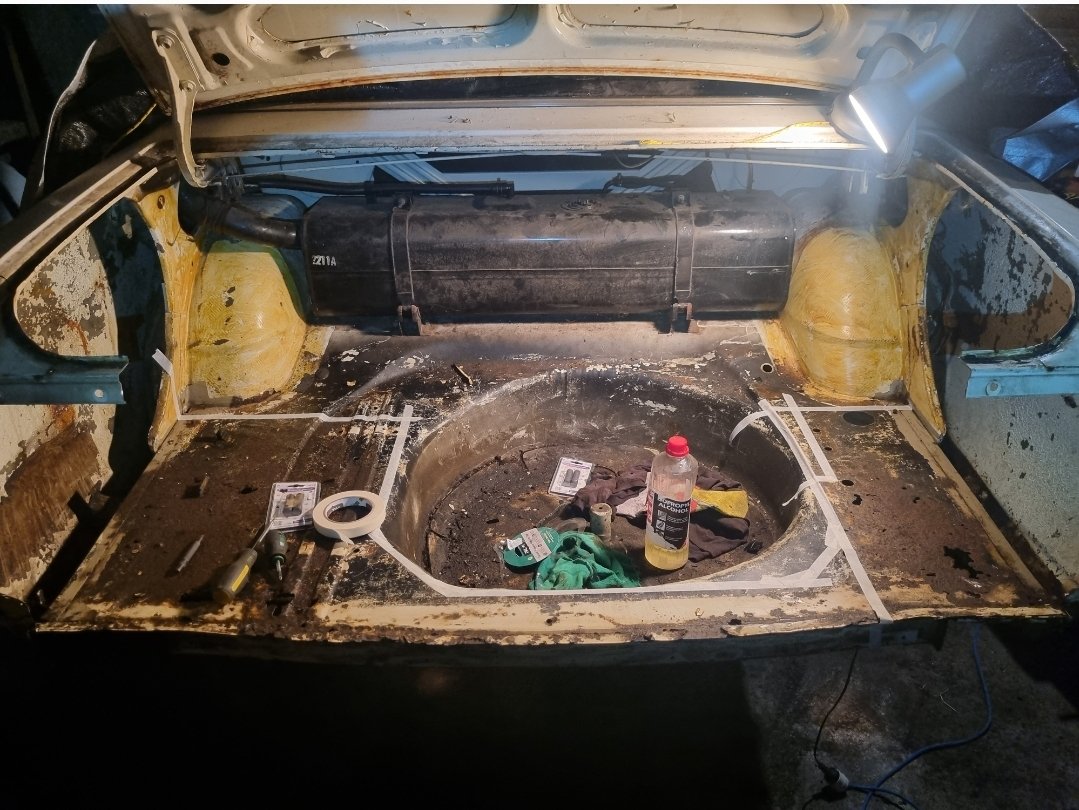
Bugger re the plenum rust, have been putting off doing same repair for the valiant. Might use this as inspiration to kick the work off…
-

HumberSS's Datsun 240c coupe of irrationality
HumberSS replied to HumberSS's topic in Projects and Build Ups
Like a premonition I had earlier in the thread, I am considering moving this beautiful 240c on, much to my dismay.. I have the opportunity to buy the house I'm renting, it's a long and boring story but basically I've got about 3 months to scratch together the rest of the deposit, and as you well know every dollar found is $4 extra house debt I can climb into. Yippee. The house needs the muchos loving so this would go some way to lubricating that project, which will be the primary project once in my possession.. Most recent pics. I would however ensure she was rolling again. I've got a manual box for it, and I've also located the elusive side glass so she's all but complete. Jump in my chat to start a bidding war, lowball me, or talk me out of it.
- 3 replies
-
- 11
-
-
Deal
-

Random slightly cool stuff you built but not worth its own thread, thread
tortron replied to h4nd's topic in Other Projects
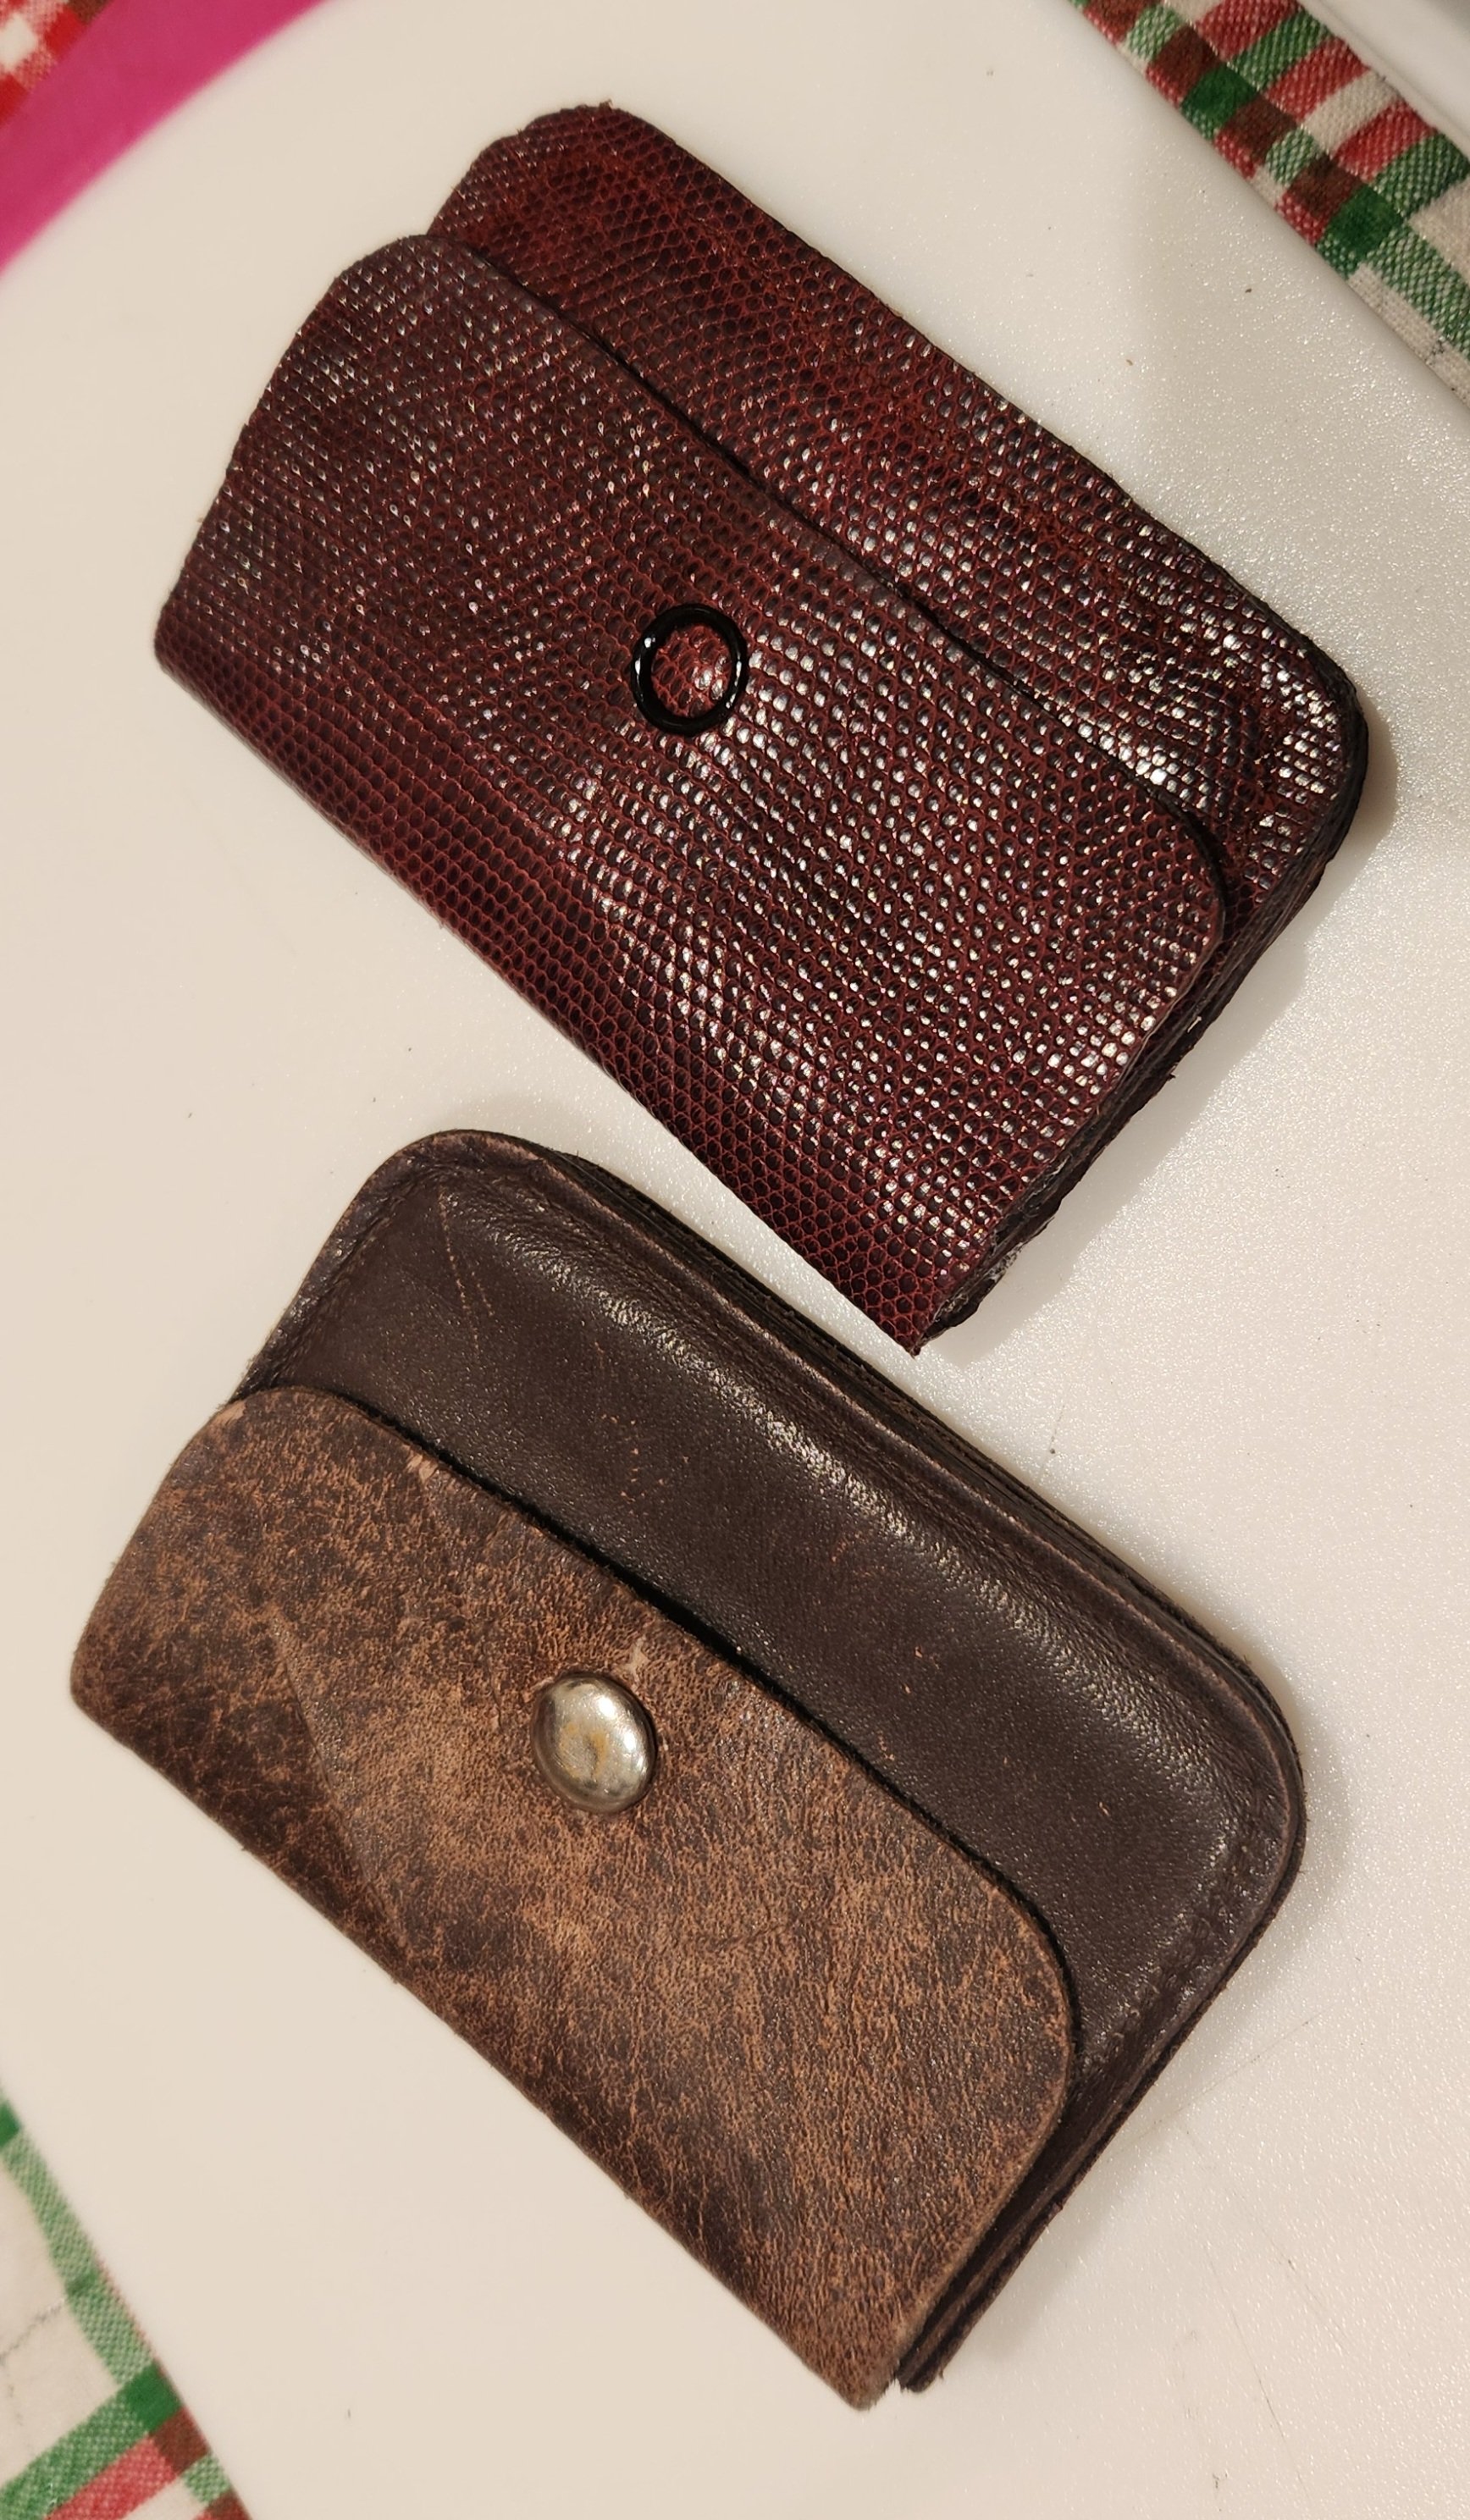
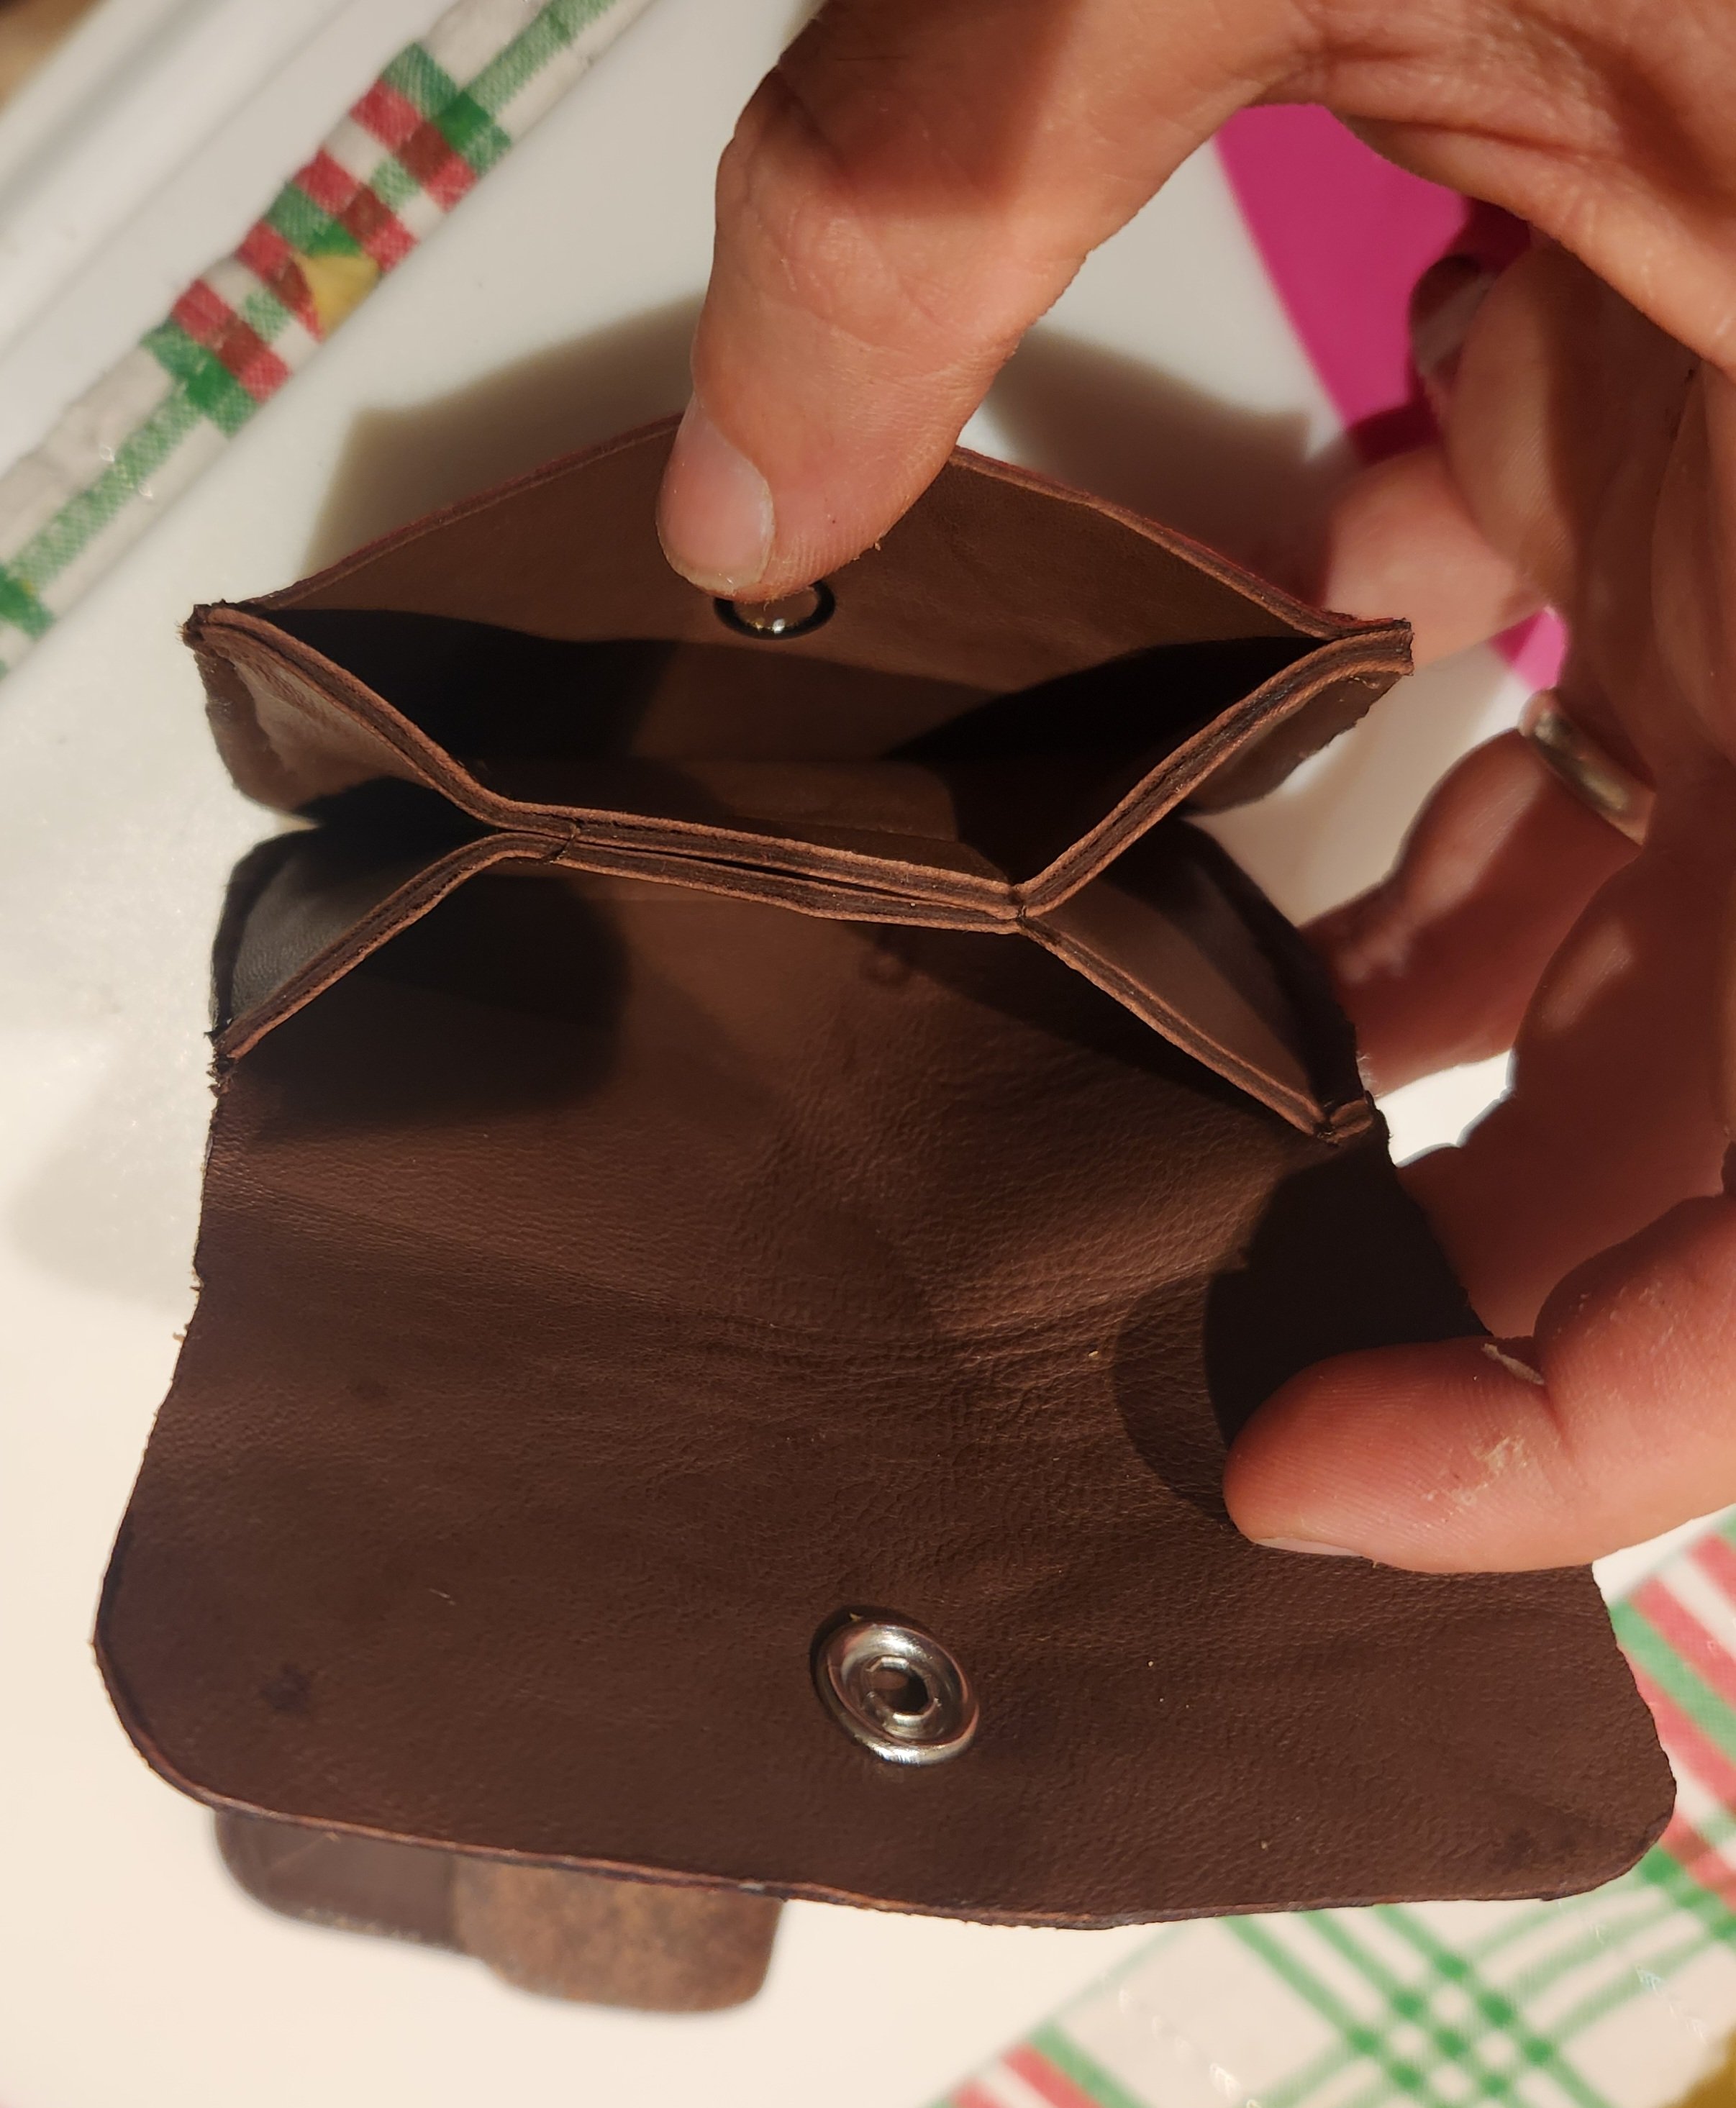
I have, what is guess is, a coin purse from the 1950s. It's about 2mm too small to put a bank card in, and pull back out easy. So I made one slightly bigger, original has 3 sections, but I made this one 2. Just sealed the edges, will sand them down tomorrow to tidy them up Water lizard skin, with nz lamb interior. Aaaannnd wife has claimed it. So il probably make another just out of leather for me Sewed with my vickers machine. It flew through even the 4 layer bits like it wasn't there.
- 1293 replies
-
- 11
-
-
Yeah ken
-
Jeeze I just spotted this on Trademe - speak of the bloody devil! https://www.trademe.co.nz/a/motors/car-parts-accessories/holden/brakes/listing/4706364924?bof=Fx6hYD2b
-

Fourfingapete's 1963 PB Vauxhall
Kevin Morgan-Smith replied to fourfingapete's topic in Projects and Build Ups
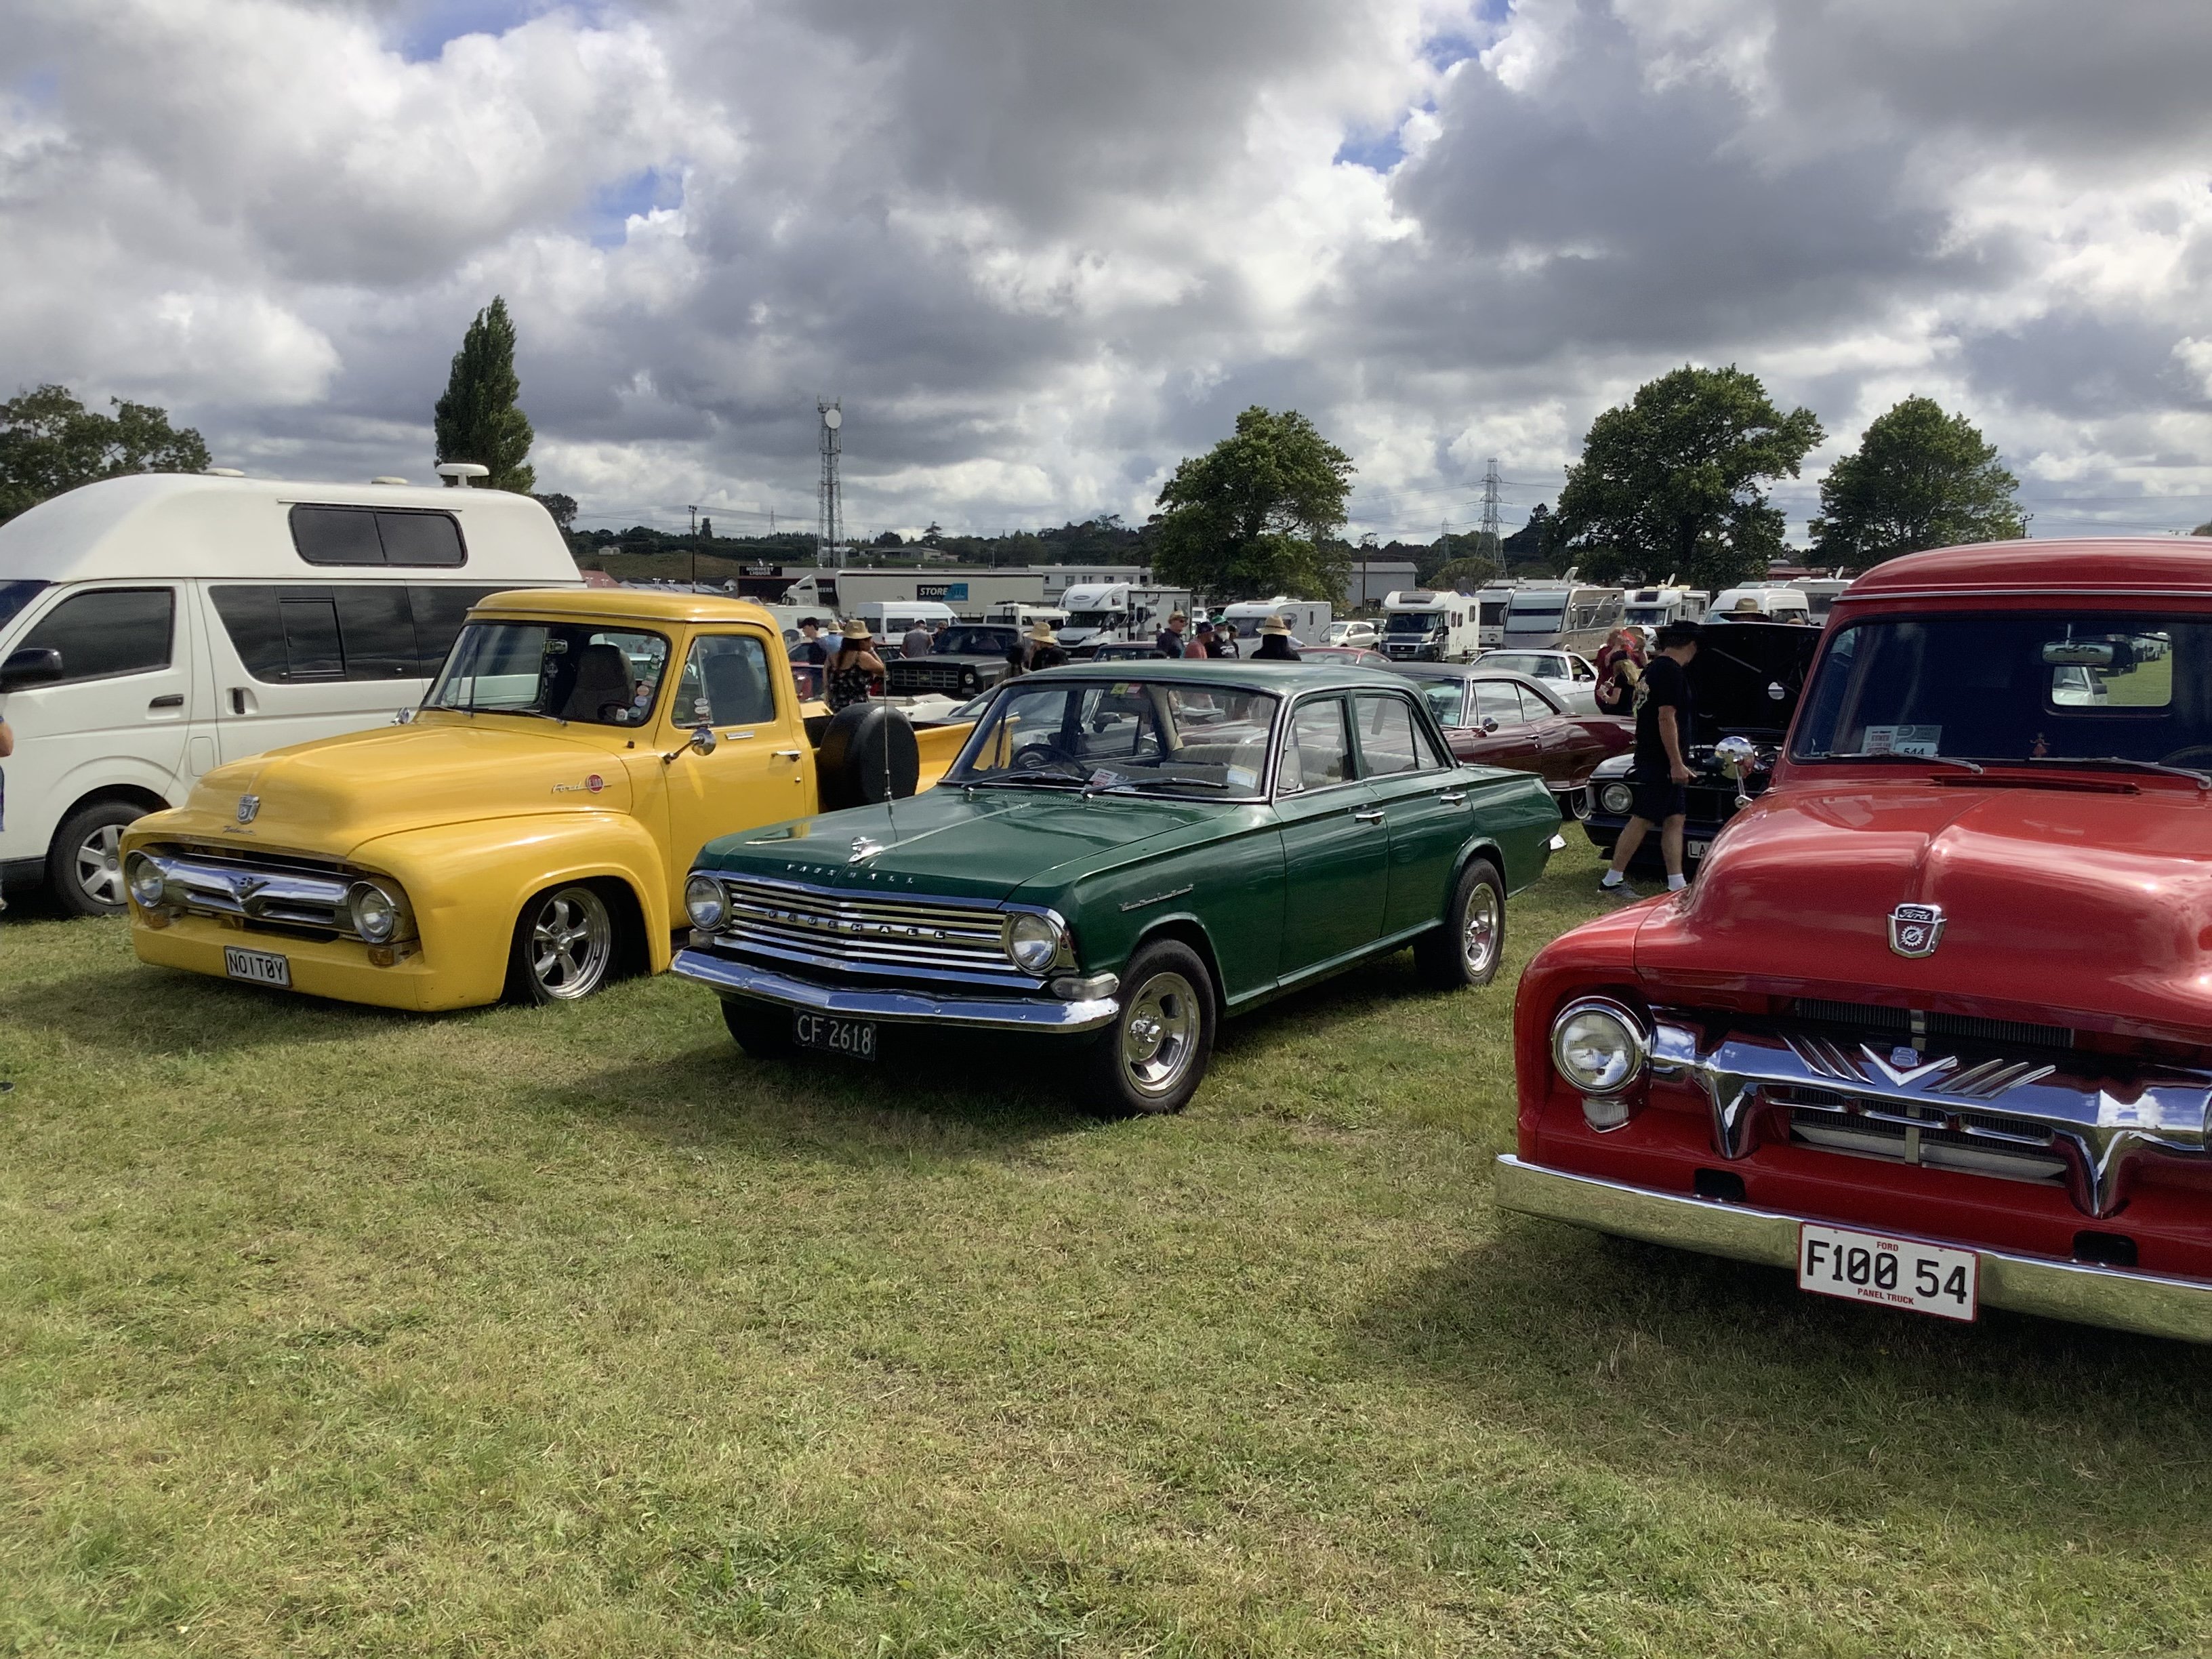
I have owned this car for the past 3 years. It has had a 3.3 engine and a cresta rear end installed. The front end has been gone through with rebuilt ball joints and shocks all around. New dual exhausts that cackle. I have an overdrive that is going to be assembled and installed. The 65 front grill is because I had a 65 when I was in my 20’s. Photo from Kumeu two years ago.
- 2 replies
-
- 15
-
- Last week
-
Kevin Morgan-Smith joined the community
-
Guess same spot same time in a month @- i5oogt -?
-
Was Ken for a burger but just not able at moment. Mushroom burger sounds decent!
-
Cheers @deankdx, the idea has crossed my mind. But that wont stop it from happening again, if i take it all apart i can rustkill and paint everything as it goes back together.
-
Yeah I'd like to put some blue and black on it to match the rest of the bike. Just happy to get some white on it and get it rolling. Went for a ride with a mate on Tues and had my speedo cluster come off/brake. Had been watching one on trademe for the last 4 weeks. Rang him and picked it up and changed it while we were out and about haha. Squshed my quadlock phone holder onto it and held it in place while we rode to the guys house. Speaking of quadlock, I got that and some wing mirrors off Aliexpress. Happy with the quadlock stuff and how the mirrors look. But they don't hold well at 100kph, the move a lot so I might have to find some none Aliexpress mirrors that look similar
-
that rust in the plenum, before you drill out 100s of spot welds. just check from under side if they are accessible (from under the dash) you may need to turn the car on it's side/upside down, or weld upside down (liquid metal falls in your elbow vein if not wearing leather sleeves) I've seen it done twice now welded from this side when the majority is solid. (have also seen just a section of the plenum cut out rather than the whole thing) just thought i'd mention it as an option before you get into it.
-
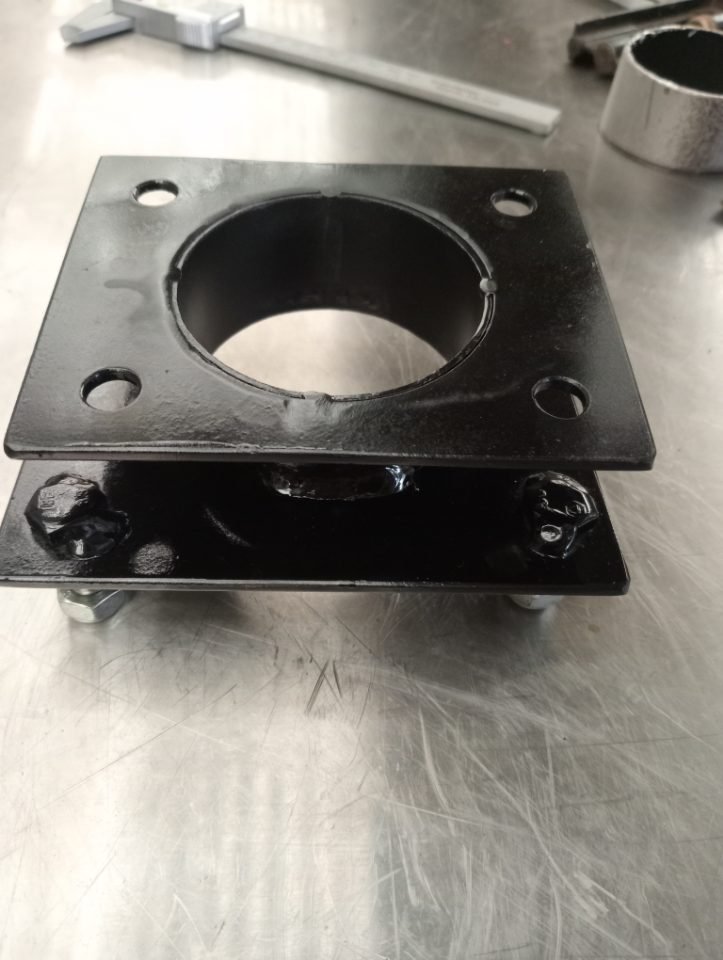
The last one of those I did , needed extra mounts , as the tank was a lot bigger than original but still bolted in with 4x 8mm bolts or whatever an rx3 has Plus sealing the boot, making sure fuel can't leak onto electrical or exhaust etc
-
Browny joined the community
-
Is there a mobile vehicle compliance option in the waikato? Working on a project thats not mobile yet.
-
Oh, forgot to mention there are at least 2 more holes in the opposite end of that cowl. And the reason for that? Ford never painted the steel lower panel, or the undersides of the upper for that matter. Same as all the panelwork hidden by the front guards, can't see it? Save the paint for somewhere else...
-
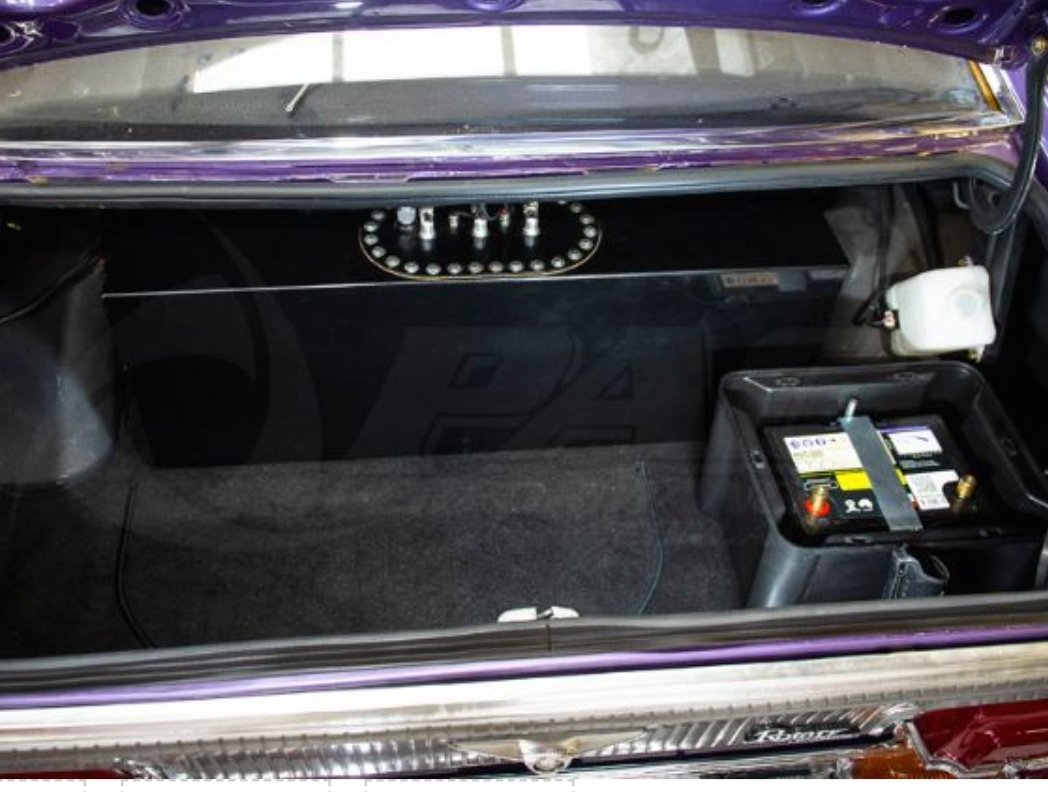
It raises a question, as I'm sure the likes of the PAC Performance tanks can be certed, but they have fittings in the boot area, and lines no doubt running through the factory in boot locations.


.thumb.jpeg.e0a4bff61111e0c8c7396950fcc94da1.jpeg)