Mof
-
Posts
10,515 -
Joined
-
Last visited
-
Days Won
1
Everything posted by Mof
-
Is the dent in your tank up against the pickup?
-

Kimjon's not as cool or epic as Muncie's off-road goped Bigfoot scooter thingy
Mof replied to Kimjon's topic in Two Wheels
Compression lockup That'll make your back end skip around a bit And the scooter -
The nose he's shaped doesn't look anything like the drawing
-
Yeah I'd be going for leads Then fire
-
Have you got enough counterweight to give a nice ting-ting-ting at idle?
-
I don't trust the tyre tread Jack up the wheels, spin the wheel and put the pointy end of a screwdriver against the tread. Leaves a nice dark line that is straight. Put the car on the ground and roll it back and forth a bit to settle the suspension. Do your measurements
-
I would go dsl way before appco/bnt
-
https://vehicleinspection.nzta.govt.nz/virms/in-service-wof-and-cof/general/vision/windscreen-wipe-wash "7. An OE windscreen washing system may be removed from a vehicle manufactured before 1 January 1992"
-
All the springs I have got from them have been crap.
-
Just don't get one of these types It will try and kill you
-
Mr and Mrs Sheepers put themselves into debt for the rest of their lives.
Mof replied to sheepers's topic in Other Projects
And dog burnouts/drifting -
A really narrow car I'll show myself out...
-
Wheelie pics pls
-
Can you try knock the driveshaft in the opposite direction of normal rotation? It may have rounded over and bound up the splines. Too many clutch kicks
-
That mast trailer, what a crackup!
-
In that case Tow a bunch of these behind it
-
Did you get a mowing deck? Did I miss that
-
Random slightly cool stuff you built but not worth its own thread, thread
Mof replied to h4nd's topic in Other Projects
Nice work! Now let's see you transform into a truck -
Random slightly cool stuff you built but not worth its own thread, thread
Mof replied to h4nd's topic in Other Projects
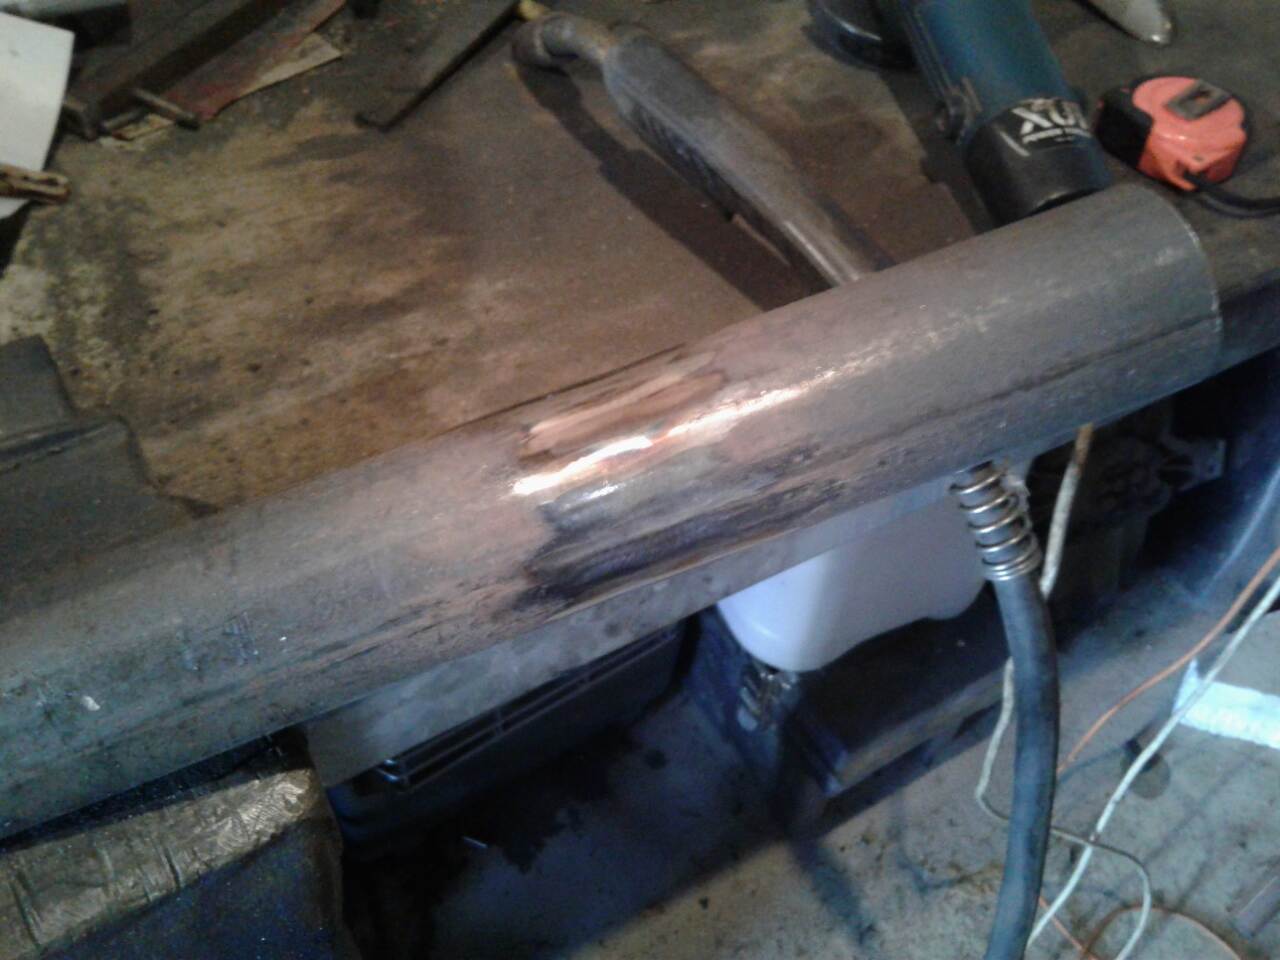
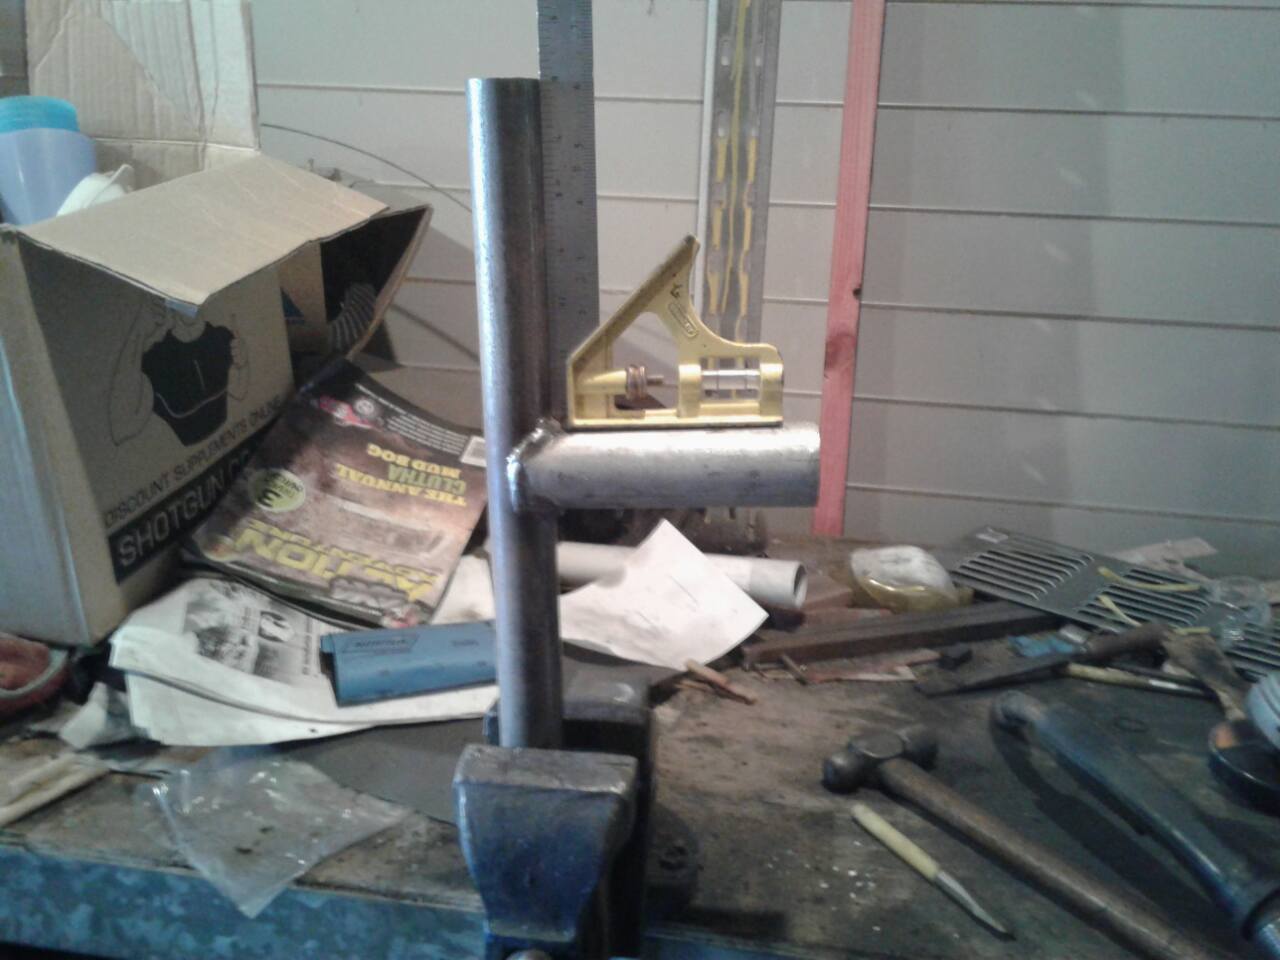
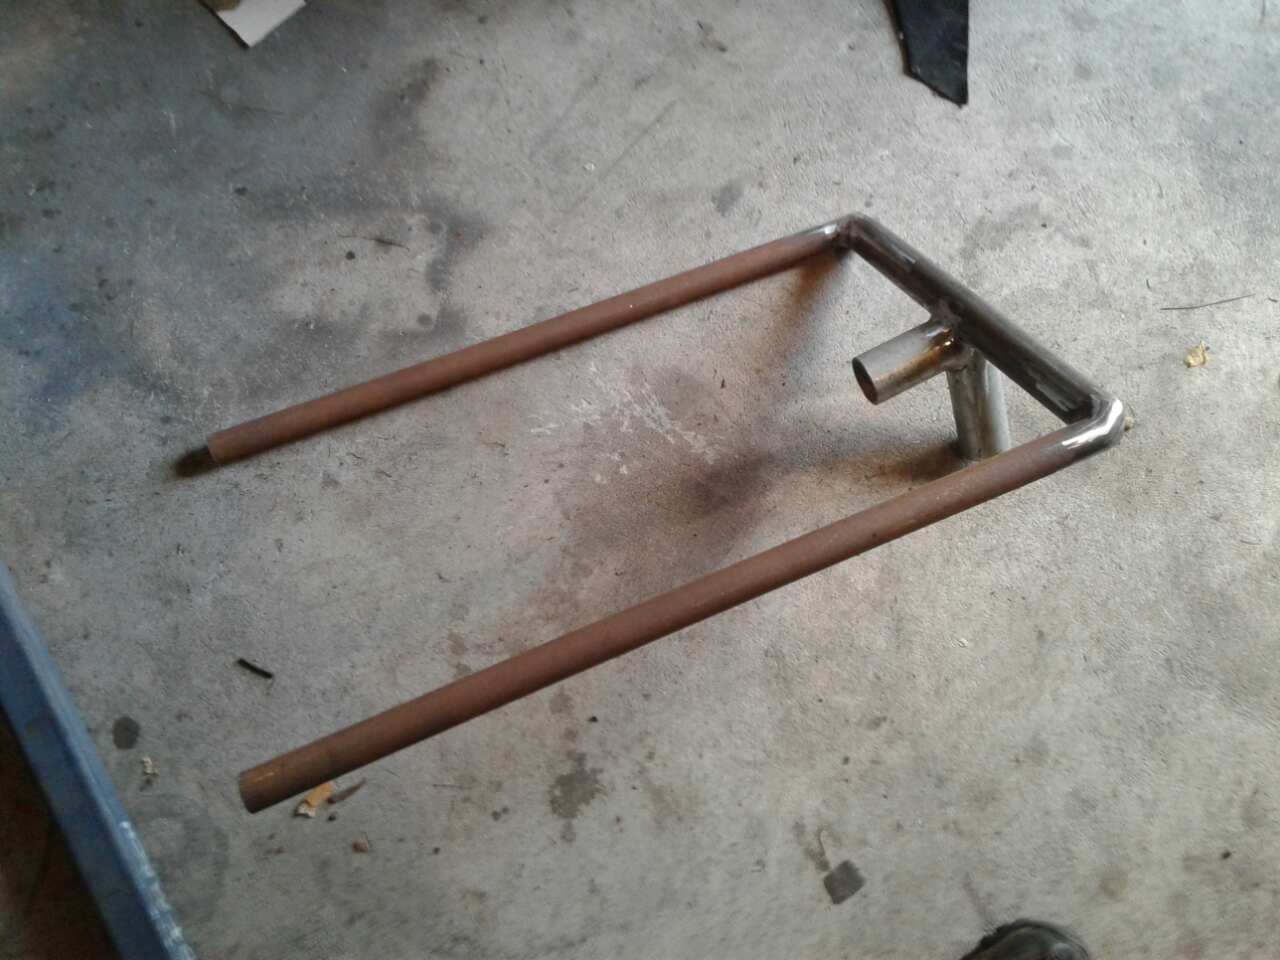
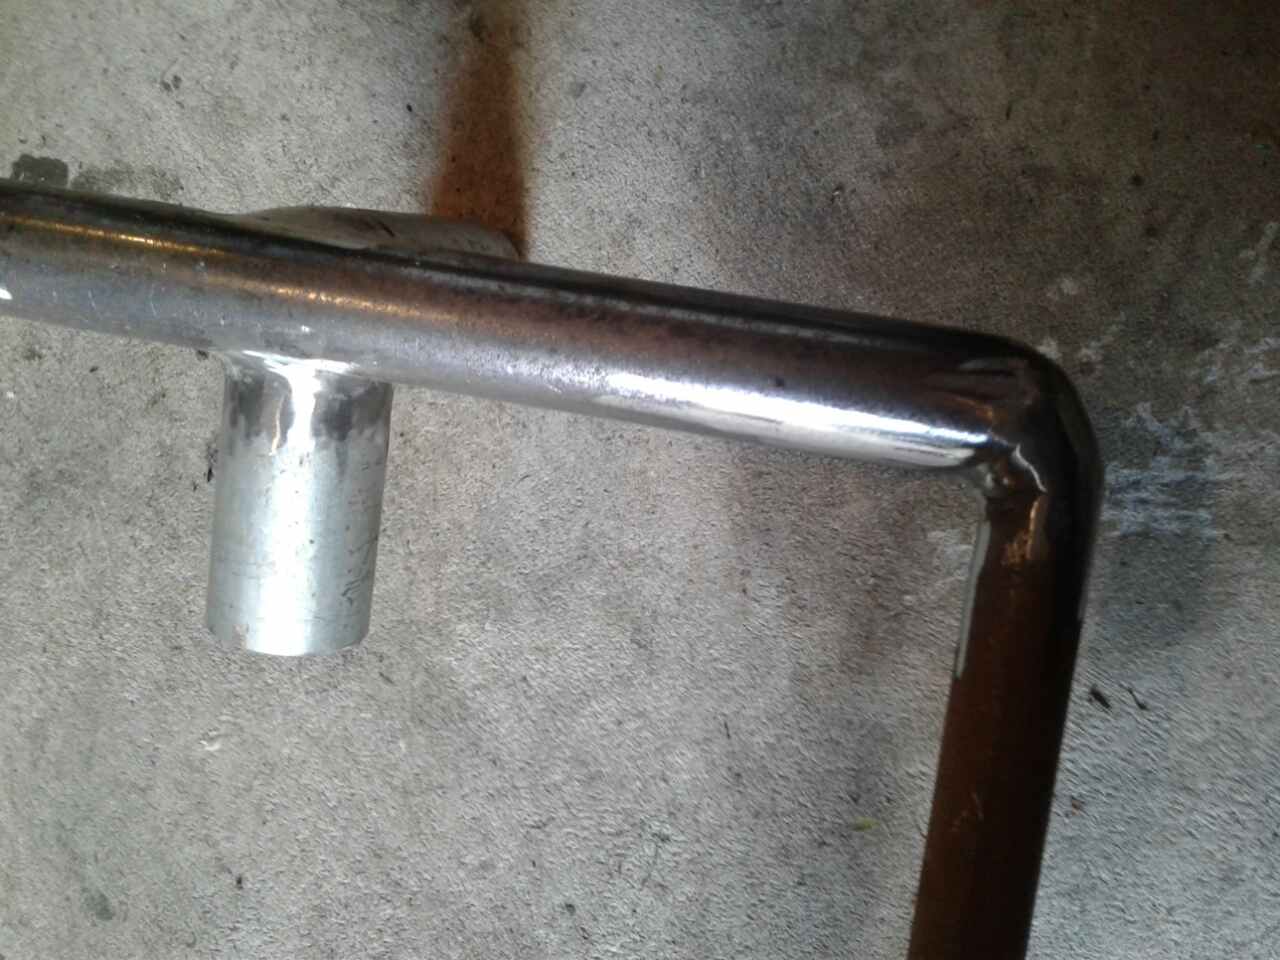
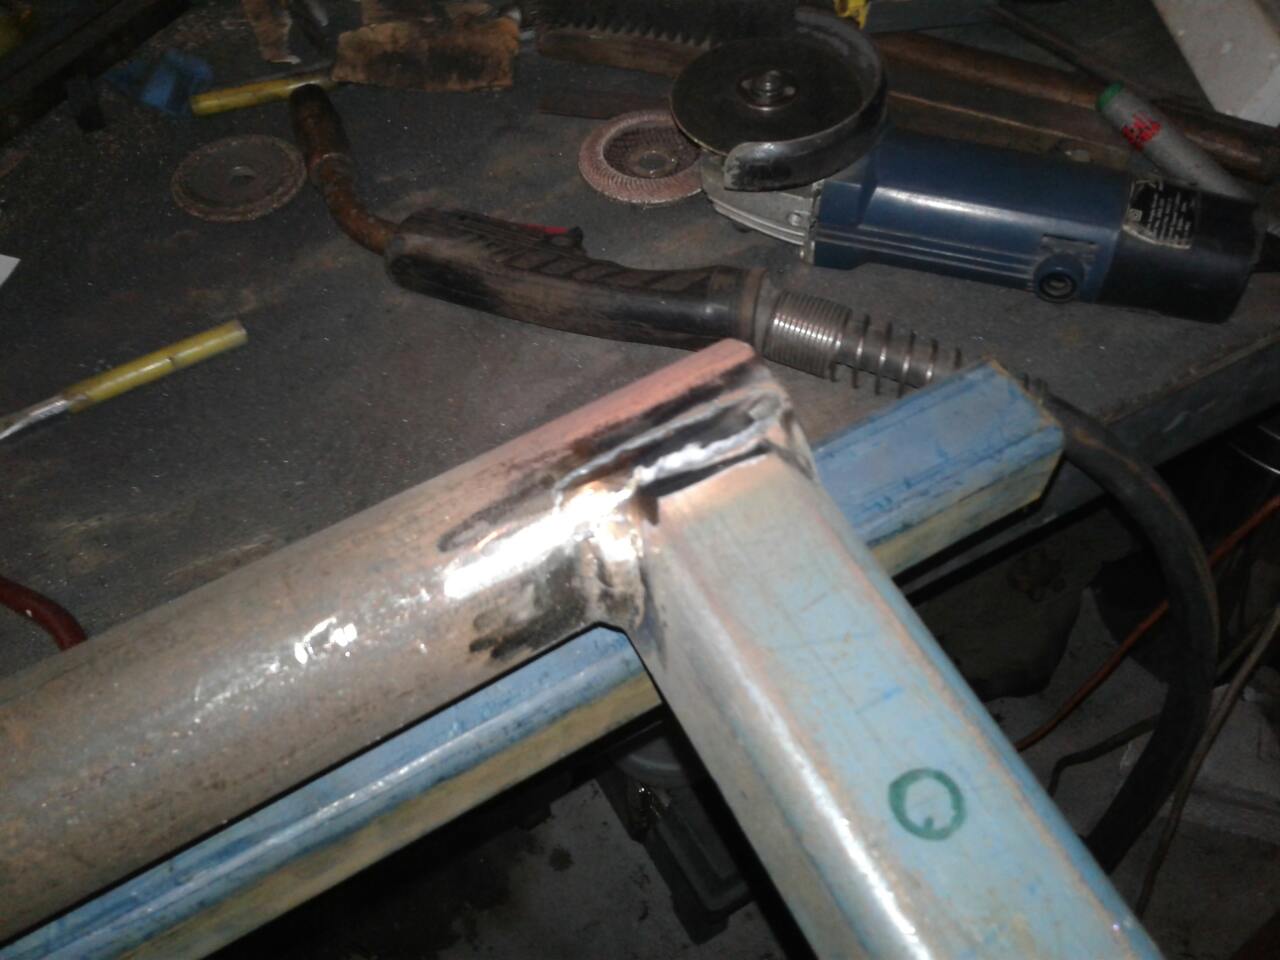
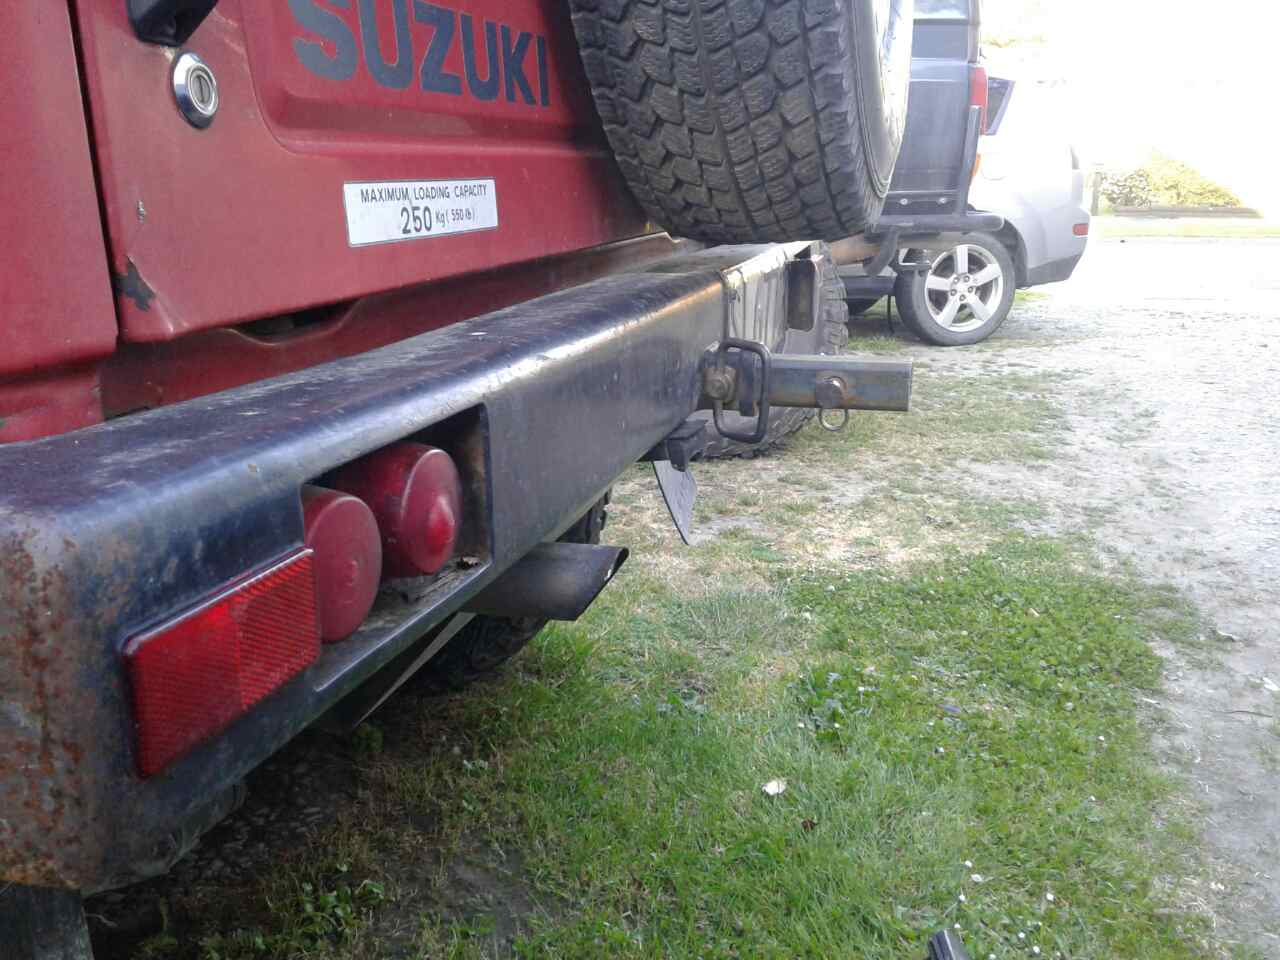
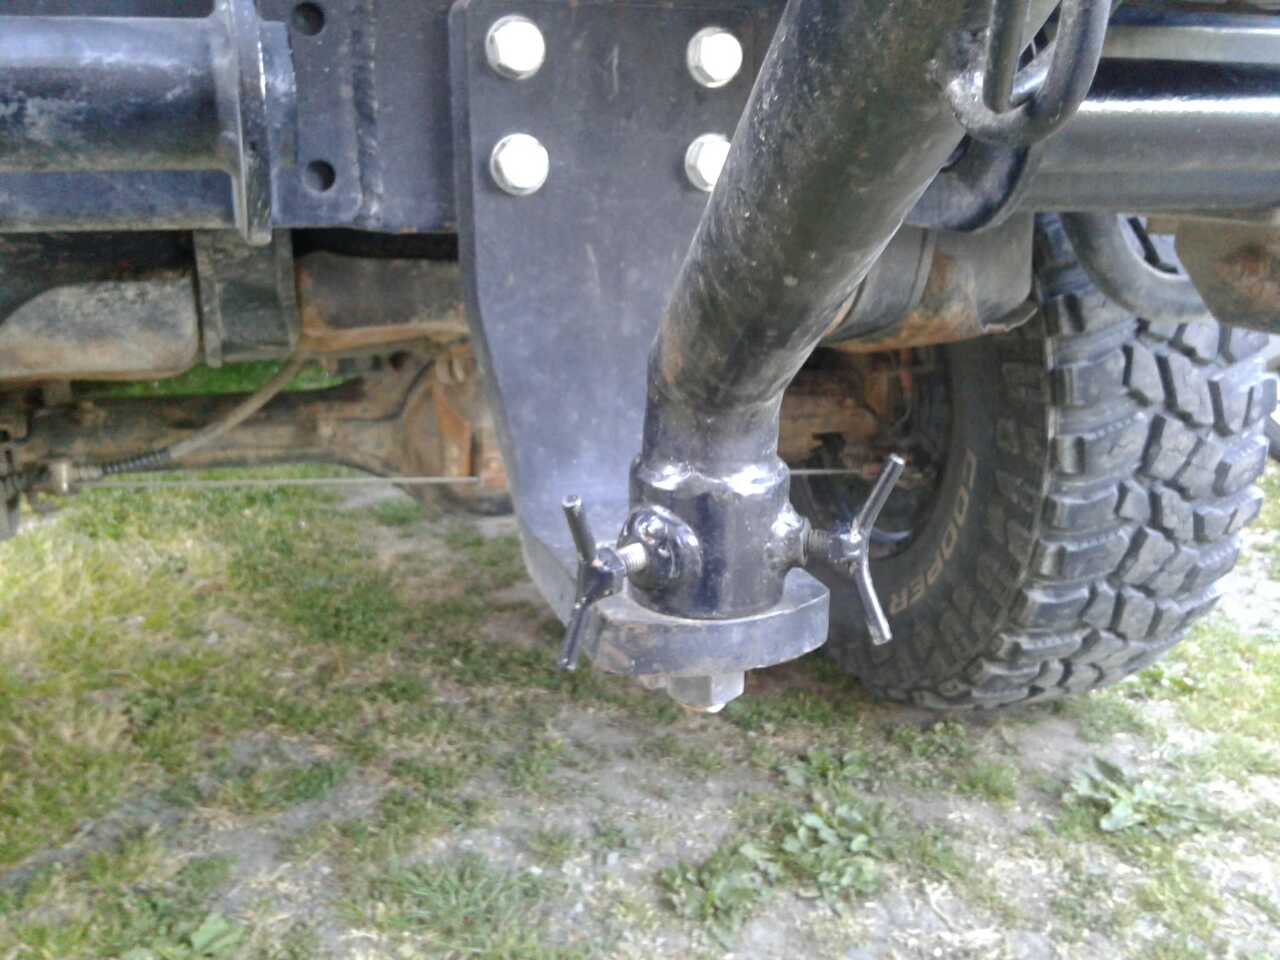
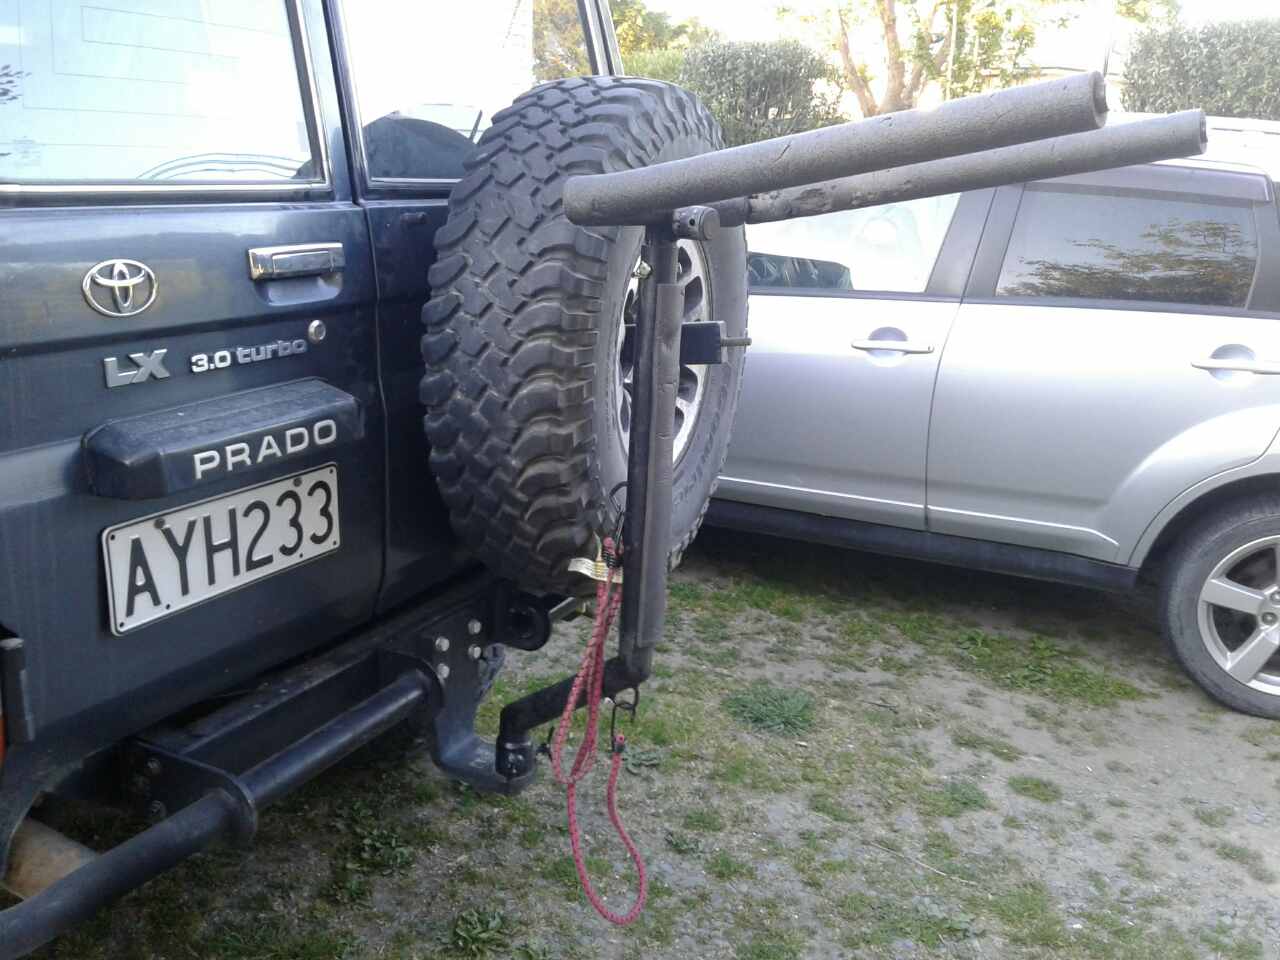
@Cazza Needed a bike carrier, and I'm cheap, so I made one. This is the upright. I cut a short length off the top end (because the tube wouldn't fit through the lathe chuck) and machinedout the inside so another piece of tube would fit down it. Then welded it back on Ground back, lovely Started on the removable crossbar/sticky out bars top bit Finished. I tweaked up the angle of the bars since then. The tube pointing at where the bikes go is so it can be "folded" up Smooth So originally I was attaching it to the car into the hitch reciever. This is the part at the base of the upright that goes into the receiver. Aaand I didn't get any pics of it on the car in this guise, so use your imagination. I did have to make an adaptor to fit the samurai, as when I made the bumper/towbar I guessed what size the hitches were, and was a size too small. Handy though because now it cleared the spare tyre. Then I bought the 'Cruiser. It had a standard tongue towbar. Made a part to fit the tow ball. This tube is actually the end of a Terrano rear upper trailing arm with the bush removed. One of the nuts I welded on is in where the arm was welded on And I had to dog-leg it to clear the tyre. Other than the foam and plastic end caps from para rubber, the rest is just scrap steel from under the bench and cost me nothing /Lingor out
-
Sorted? It may not be the same, but our trucks have 3 screws holding the gauge to the board at the back of the cluster. Sometimes they do exactly what you say and a little tweak of the screws sometimes fixes them
-
Have you checked the fuel filter?
-
Now I am confused, that picture isn't your van
-
So in your build thread, the link to this discussion thread has a picture of the engine/hoses/radiator that I can't seem to find in either threads to have a proper look. But what I'm getting at is The top radiator hose looks like it goes up from the thermostat housing outlet, then down to the radiator. Making a high spot that will make an airlock. When you fill it have you/you need to bend the hose down at the thermostat end and work your way along the hose to the radiator end to work the air out. Top up and repeat until all the air is out. (Or change the hose for one of a flatter angle). If it's just the angle I'm looking at it, and the hose is actually uphill to the radiator, then please disregard.
-
A crane with 10 propellers
-
Sweet. Were they recommended?