

Nominal
-
Posts
34276 -
Joined
-
Last visited
-
Days Won
319
Everything posted by Nominal
-
I bought a 12V timer module from ali, it works fine on a battery test, but behaves weirdly with the car running. Probably due to electrical noise issues, so watch out for that.
-
Correct, but it seems work is ongoing - 61 Belair IIRC?
-

Random slightly cool stuff you built but not worth its own thread, thread
Nominal replied to h4nd's topic in Other Projects
I was making some changes to my english wheel last week. I built this a few years back out of scrap bits I acquired. Design was based on Kerry Pinkerton's plans on the metalshapers site. It wasn't very stable when being moved around (front caster too close to the back of the thing) so I shifted the front wheels out a bit. The upper wheel was a crane caster. I think it's cast iron which isn't ideal, but it works for me. The lower anvils were machined by my father (there are 5 with different profiles) from a length of 3" chrome plated hydraulic ram rod (I was told it was part of a press that had been broken off !). The adjuster is made from square tubing and threaded rod. Sliders are plastic chopping board material. The only machining is the anvils and axles. It's a tricky thing to lift up, but I got it back upright after a while/- 1293 replies
-
- 13
-

-
Walker McLuskie did the front chassis leg on my Traveller years ago - fitted a new piece that I supplied. Did good work.
-
Well, there you go There's reasons I do my own.
-
I've heard good things in the past about The Surgery. Haven't had work done there myself though.
-
Ted Huang's Starorion - 0R10N's 1988 Mitsuhishi Starion
Nominal replied to xsspeed's topic in Project Discussion
I'm shocked (shocked I tell you!) that you are putting Tridon parts in - no source for genuine JDM versions? -
The Pogs 1980 Nissan Uncivil Ian - Discussion
Nominal replied to ThePog's topic in Project Discussion
Make sure you are sitting down for the price though. Just the core (which had to be custom ordered) for my teeny oxford was $470 + GST. That doesn't include fitting/fixing the tanks and frame. -
Had a sand and clean up then sprayed etch primer around the traps. Including the valence and the front crossmember parts Welded those bits into place And the sill panel. Still need to finish the new bit of guard, but its nearly there. Next thing is to fill the gaps here, should be fairly easy as it's a flat area with flanges. Also need to replace the end bits that connect to the inner guards. I need to get some top coat paint for these bits, will probably get the Resene Lucite LC 400 as I don't fancy breathing isocyanates.
- 86 replies
-
- 11
-
-
This is continuing to chew time. The better of the two radiators fixed up. Got quoted about $700 for a recore! Sprayed cavity wax inside the sill and closed box section before welding the cover in place. I'll spray more into this area through a vent hole later but I wanted to get it into the middle of the sill length while it was open. Messy stuff, and had to be careful not to get it too hot/on fire when welding. Not vinegar: but cleaned up the part well. Front valence back from the dip stripping. Note the misplaced spot weld right in the middle. British quality!
-
Great to see this legal and pretty! Good effort.
-
Wellington Monthly Meet - Discussion thread
Nominal replied to KKtrips's topic in Lower North Island Region
Piked out of the meet and headed home to fix rust. Have fun! -
Put appropriate weight on a ratchet. Remember to account for the weight of the handle itself it you want max accuracy. Or use a light scale and pull horizontal. http://www.instructables.com/id/Bicycle-torque-wrench-from-a-fishermans-scale/?ALLSTEPS
-
Camping Mission - 10th December - Otaki Forks
Nominal replied to Mourning Cupcake's topic in Lower North Island Region
Keen, logistics permitting. -
Sill repair panel is done. To get the curve I used a couple of strips of inner tube on the upper wheel of my english wheel (home made a few years ago). This lets the metal curve over the lower anvil without stretching it so you get an arc in the panel rather than a compound curve. It's not perfect because my lower anvils have a flat piece in the centre (which you need for normal wheeling) but the linear marks are pretty light / should sand out I think. I welded some tabs to the remaining parts of the sill so I could clamp the new bit in with clecos. Also made the inner sill closing panel up, but its a bit ugly so no pics. It won't be seen once it's all together. Have picked up the front panel from Metal Immersions but it hasn't made it out of the Nissan's boot yet. Next is to make a new piece for the bottom of the guard. I could probably weld the old bits back in, but I had to make two cuts (didn't cut far enough up the first time) so it's probably better to renew it all. Have a paint issue I'll ask about elsewhere.
- 86 replies
-
- 14
-
-
I see that the NZ Car Construction Manual is now available online (new name too) By chapter too, if you are so inclined. http://www.lvvta.org.nz/shop/
-
Wellington Monthly Meet - Discussion thread
Nominal replied to KKtrips's topic in Lower North Island Region
All over tan ftw. -
Wellington Monthly Meet - Discussion thread
Nominal replied to KKtrips's topic in Lower North Island Region
Blardy jetsetters -
The under floor structure has new metal now. Including the inner vertical parts of the sill. Next is the outer part of the sill, including a curvy bit that goes under the front guard, and the lower bit of the guard itself. There were replacement sills in the spares pile, but I'll just make new parts for now. Looked a bit more closely at the drivers side, and I think it needs a similar operation, along with a bit of the floorpan done too.
-
If only the poms had invented an engine where the valves were up top and easy to adjust.
-
Nice! We need more quality British cars around here.
-
Wellington Monthly Meet - Discussion thread
Nominal replied to KKtrips's topic in Lower North Island Region
Found a pic -
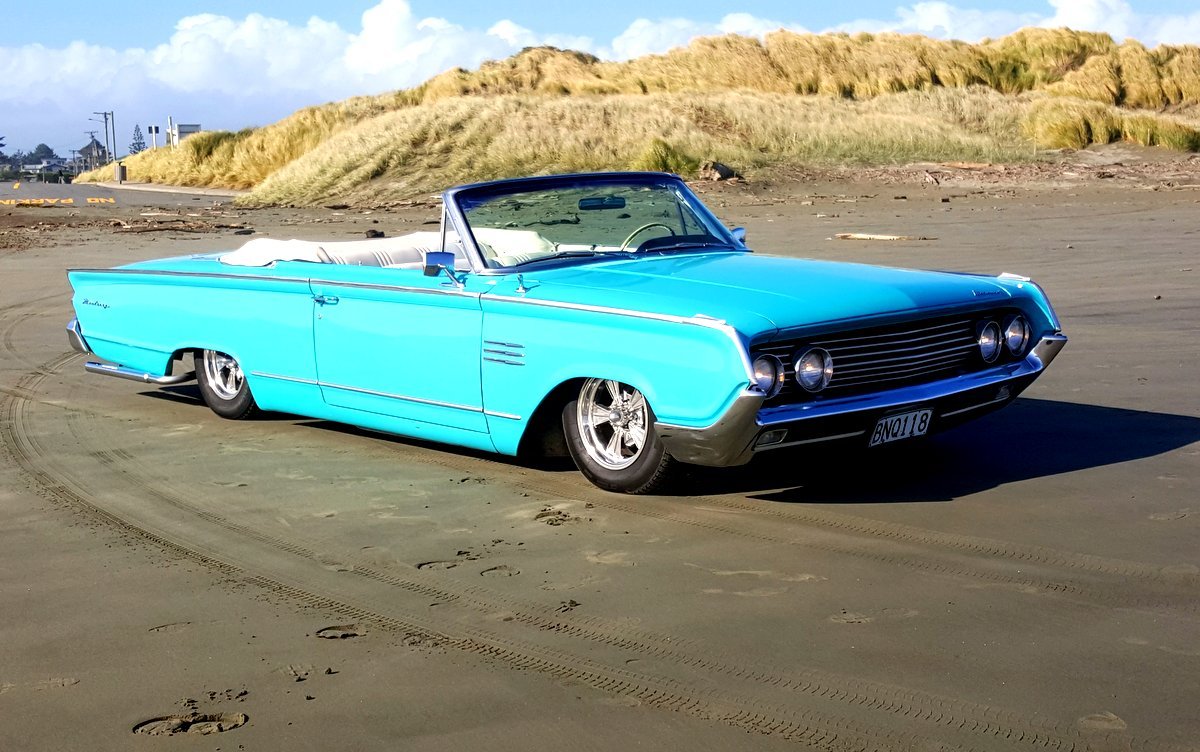
I relocated the shocks to the rear, above the steering, on my Mercury. There's no reason they can't be on the front side though, the lower arm moves in the same arc regardless.
-
Going to leave the welding on the front bit until I've acquired some epoxy primer, and also finished the valence which is at the strippers. There must have been a battery incident in the past because there were some holes in the inner guard behind it. Metal is a bit thin, but I got it non-holey at least. Check out the inner guard area on the passenger side. The area between the floor and the sill wasn't so good though. So, cutting time.... I'm only going as far as necessary to remove the really bad bits. Time for some new metal now....
-
Is that flow reversion when you rev it?
