azzurro
-
Posts
2,873 -
Joined
-
Last visited
-
Days Won
4
Everything posted by azzurro
-
back to the middle of this side, i was thinking about how to attack this area while doing the other bits. Annoying design and lots of acute angles bleahhhhhggg oh well, chop chop. You can tell why they always rust here! Right behind the wheel into a tight corner with factory leaks into and around the A pillar. This is was replacement (not new) fender, but i needed to chop a lot out to get at the a pillar properly anyway, and it is sized nicely to the end section of the fender thats not welded. the the 'channel' is actually a hook for the top of the fender as there is no access to weld it, so i could just pull it off once i drilled out some spots where it folds over behind the door recess. I rebuilt this whole area last time, all the rest is still good. looking a the piece from the engine side, the 8mm lip hooks on the channel. Thusly: I put a good bead of seam sealer on both sides before tacking it in, and more on after from under neath. The channel will be filled to just below level with seam sealer too, like the other side (i didnt do this last time) And done. A couple more patches on the front valance to do, then its all filler, no killer
- 166 replies
-
- 16
-

-
Skip to the front, same gig: Pick the scab: excise the cancer construct new bits glue bits in remove 90% of glue. Tidied up the bits i could reach inside and painted them, + gobs of seam sealer squished though from the wheel side to hopefully reduce the amount of mud and water that this area collects
- 166 replies
-
- 12
-
-
moar rust :/ started from teh back working my way forward. A lot of bubbles and chips and seam at the base of the C pillar and boot and also boot to valance stripper disced back but no holes, so thats nice, still have to bog it back up again all the same. Anyway thats boring no pics. First holes are in the sill below the rear door, you can just spot a butt weld where i previously replaced the section forward of here: Still nice and solid and clean where i got paint in: This is why you should always do it properly - i tried filling thin spots last time and it doesnt work long term... a bit of CAD and then to the machine shop! And then in lots of time at all, BAM! a bit o primer for appearances sake, tends to catch on fire and contaminate the weld if it gets hot Nice! (this never happens the first go) tack tack tack tack tack tack tack tack tack tack grind then DA, done, and next bit
- 166 replies
-
- 10
-
-
That escort trailer was mine but someone else built it. Scaff pole welded to the front hubs for the axle. Towed really well. I reckon you would probably be tongue heavy with a )longer wheel base van
-
You will need to chop out the 4speed tunnell which is park of the linkage and make or find a 5 speed tunnel to fit. The boxes were factory fitted to 2l 124 and 132s and mine has been fine. Maybe its an issue for racing? $20 + postage? Need any other doodads?
-
Good to see some progress, The Solex is still rolling around in the boot of my 125 if you want it? the Cavis tube is pretty good stuff, so might be wicking from somewhere else? The rubber bungs in the master cylnders never seal properly for me, and the plastic tangs have big mould join edges that stop a good seal and the plastic deforms when you crank the hose clamps up too much trying to stop the leaks. (Or so a friend told me...) Im not too fussed about the (124) 5 speed in mine, 1st is lower and 5th isnt that much higher, but my old 4speed was noisy and notchy and the 2l wont bolt up...
-

Yoeddynz and Hannah's HB Viva Wagon Discussion
azzurro replied to Willdat?'s topic in Project Discussion
my 2300 has the ol' o'ring as valve stem seal dealio. Cant see them doing anything much tbh, but cant hurt either. The 'solution' is to swap valves and guides for later 1500 (same engine, 2 less cylinders used up till the 1980s in poland) ones that have a modern style valve stem seal (which is basically a stationary o-ring...). I assume there is a similar workaround for the Viva. Its a fair faff and cost for the sake of a wee bit of blue smoke on overrun and some mucky vales, but while you're in there... -
they are pretty good tbh, the base plate bolts to the ground and has welded uprights and rachets, all the members clip together and the factory cover ties it all down and in with the rachets, and each end has a fixed cross tie as well. in my application i replaced the factory cover with a tarp and rachet straps to tie it together, no cross tie and inverted the arch to make it taller and narrower. The tarp i got is silver and black so its dark under it, factory cover is white and it was very bright inside. My place gets pretty windy, and its held up fine, curved shape and being open at both ends and the base probably helps spill any wind that does get under it, and so it rocks and creaks a bit but on a relatively sheltered flat site out of the box i wouldnt worry about it structurally at all, . Only thing is the cover (mine was second hand and had been up for 5 years) got a bit perished and would likley rip eventually, but you can buy new ones from them. Given they are supposed to be 'temporary shelters' thats pretty good. Mine is the 'Le Grande Garage' and its massive, ive left off one whole arch section lengthwise and had to narrow it as well. A+ would trade again
-
and the wheel arch, there is was a 6mm factory hole just inboard of the tub seam in the apex of the guard for a plastic fuel line clamp to mount. Good one. I have also been here before, check out the thickness of the wob (thats me!) on the right over my last patches and the paint archaeology on the left inner arch repair patches made, getting a solid non popous base for the needed bog skim to join up the previous patches was more important than getting it perfect nice and slow tack wait, move, tack wait for less warpy, but also more grindy after skim number 42, its like it never happened apart from the offerings of oxide Car is now turned around with much the same to do on the passenger side, aiming for drag day
- 166 replies
-
- 14
-
-
base of the C pillar where pinholes in a previous repair and not cleaning out the panel seam properly have come back to bite me:
-
Drivers door never quite fit right and has bubbles in front and rear corners, drivers rear door looks fine* *apart from this, from half way up the flippin window frame. What the hell, i dont even?!? The solution for these two doors are the best of the spares i have, which look pretty good except the door swing stops in the spare doors are the later 'lada' style which is all together better apart from the mods needed to my cars old style pillar mount (or the doors) to make them work together. Probably the doors... Anyway sorting the doors is now at the bottom of the list.
-
So, ive extended the garage, its a shelter station modfied to suit the spot with a tarp instead - the trademe ad under-guesstimated the measurements but the mods i made meanthe van will fit under it and i can still put it up normally with the proper cover in some other place, one day. Not 100% weather proof but 100% better than nothing Anyways, 125 has sat ^there ever since the last update, but i have picked a few scabs, starting from the front:
-
they do
-
And thanks to roadboss and chief tone lowerer @mopednz for taking plausable deniability.
-
Top ganging all! Great way to see the city, and good times, even timed it perfectly with the weather
-
sounds like you flash guys with your gears and chains and whatnot need to get on the variator and belt buzz keen as for some rolling thunder (lol) but do hope the weather holds.
-
i use filing cabinets (cheap!), but agree they are not the best for not-files and are quite deep. they are good for unwieldy things like power tools etc, i put them in the drawers with one of those shallow plastic stacking bins which holds all the bits and pieces, eg grinder wheels and guards etc, grinders on top. Anyway, nice mod on the old cabinet - are you going to reuse the drawer rollers?
-
Been pesting around in this over winter, been sweet, but yet to do a run to the mountain. MIL will be staying in it next week which will be the true test. Went surfin/rallying Doggo! Went up north, Matauri Bay, noone around, mint. Bit of a change from summer to be sure! Absolute Waterfront Sink set up completed, and curtains pretty much done, want to get some of them tiny super magnets and sew them into the corners to hold them in place against the bottom and sides. The last van had dome poppers to do the same job which worked well but were a bit inflexible. Tractors Goals
-
wow, a+ previous ownership! Seems they knew just enough to be dangerous? i have a ka24de in my hightop LWB Caravan, goes hard for what it is etc even with a 4 speed auto, so will be uber sweet in a smaller lighter vehicle that has aerodynamics slightly better than a comedy sized washer dryer combo I think in the states they have a bit of a drift following as a underdog 'truck motor' that came in some S chassis cars, so there may even be some after market parts too? (honestly not trying to push you into going overboard on the engine swap so i can live my turd polishing dreams vicariously)
-
piazzanoob's 1981 Toyota Starlet Discussion
azzurro replied to piazzanoob's topic in Project Discussion
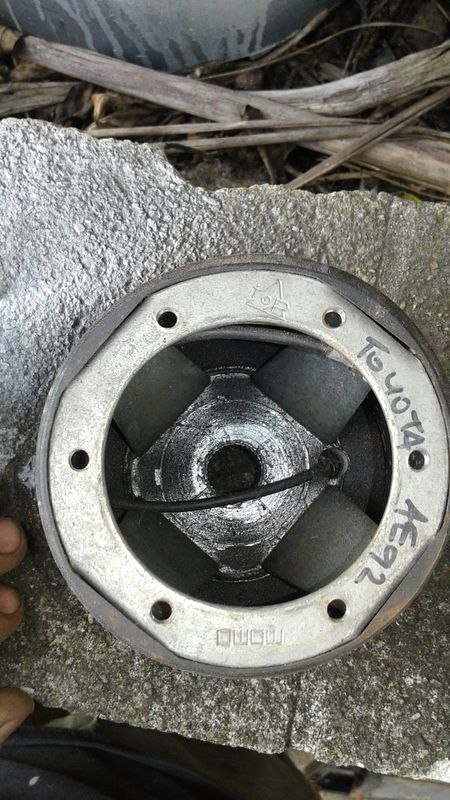
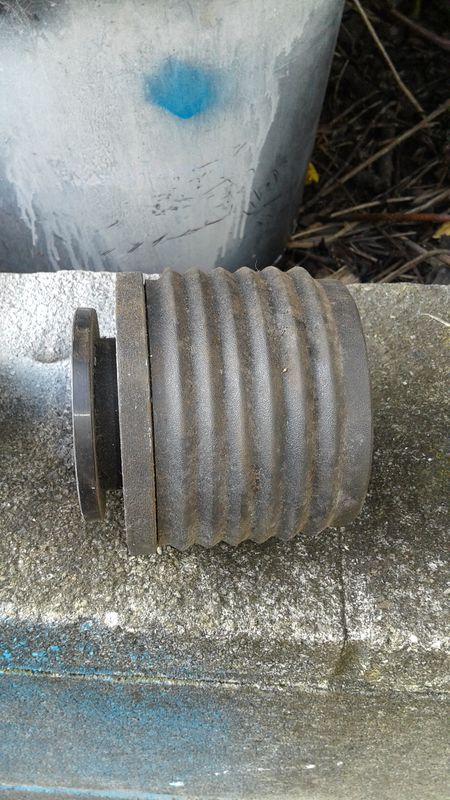
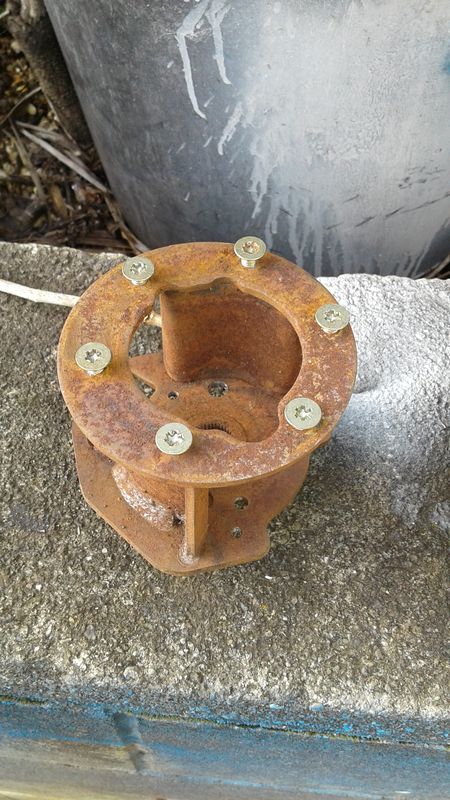
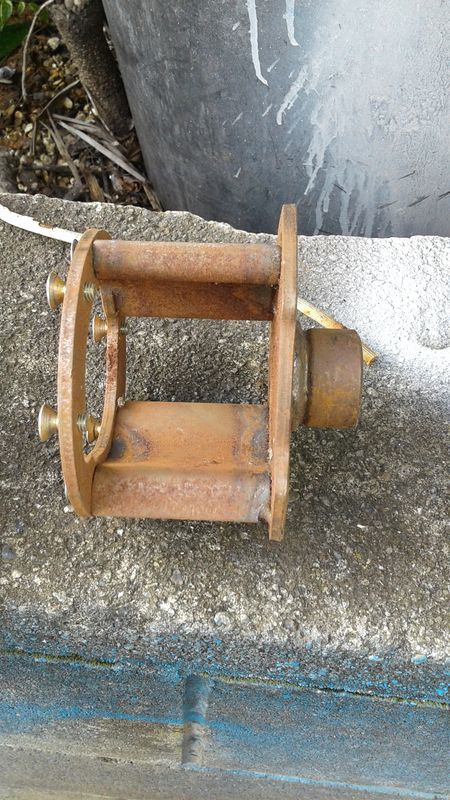
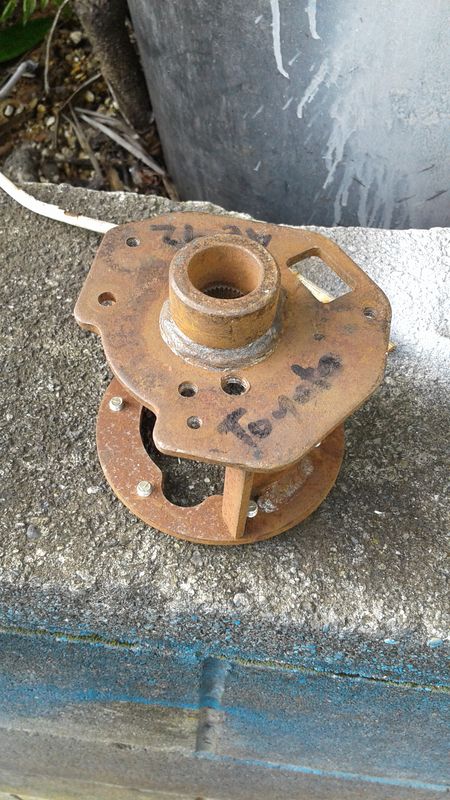
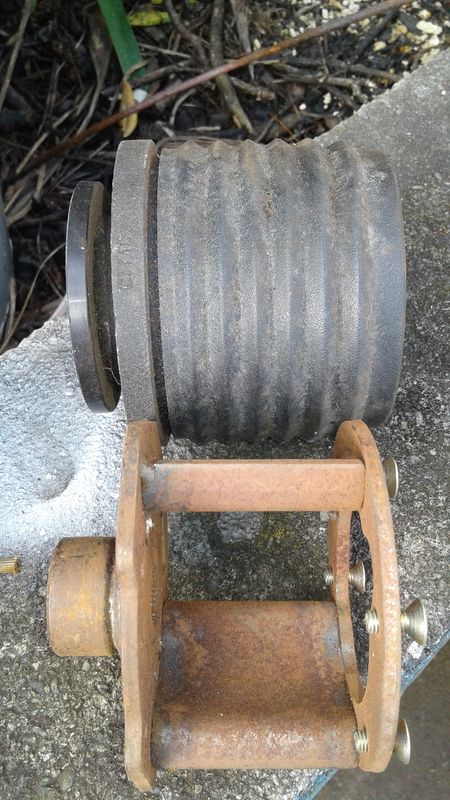
bro, is one/both of these of any use?
-
you will be a most excellent welder AND grinder by the end of this! Looks pretty much like my old blue one probably was under all the bog (had front discs and a 2.1l so it got far more love than it deserved, even from stupid 19yo me) Did the old owner abandon it after getting it blasted, seeing the holes, with the shops quote for fixing it all being the fatal blow?
-
^this, or the pump diaphragm is probably (or also) holed so any fuel it does manage to huff though will be half going into the sump. have you tried putting the pump inlet in the gas can and taking off the outlet from the pump when cranking to see if it 'pumps'? if not just chuck a new/spare pump on, its hardly going to be the only thing you will need to replace to get this old shed rolling - if its old enough design you can probably get a rebuild kit
-
Drove into smales then right out again -no parks lol
-
Will be swinging in too.
-
Rad. Great work getting the mrs to pay for your/her/our project too