fletch
-
Posts
1,769 -
Joined
-
Last visited
-
Days Won
1
Everything posted by fletch
-
30debt is +38mm deck height
-
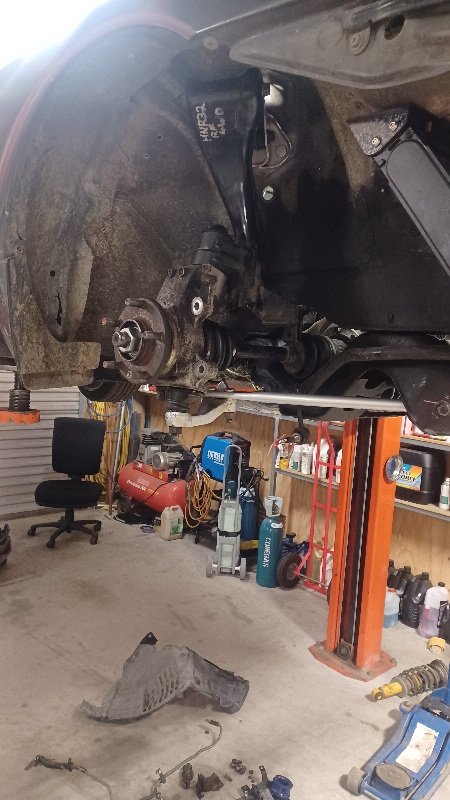
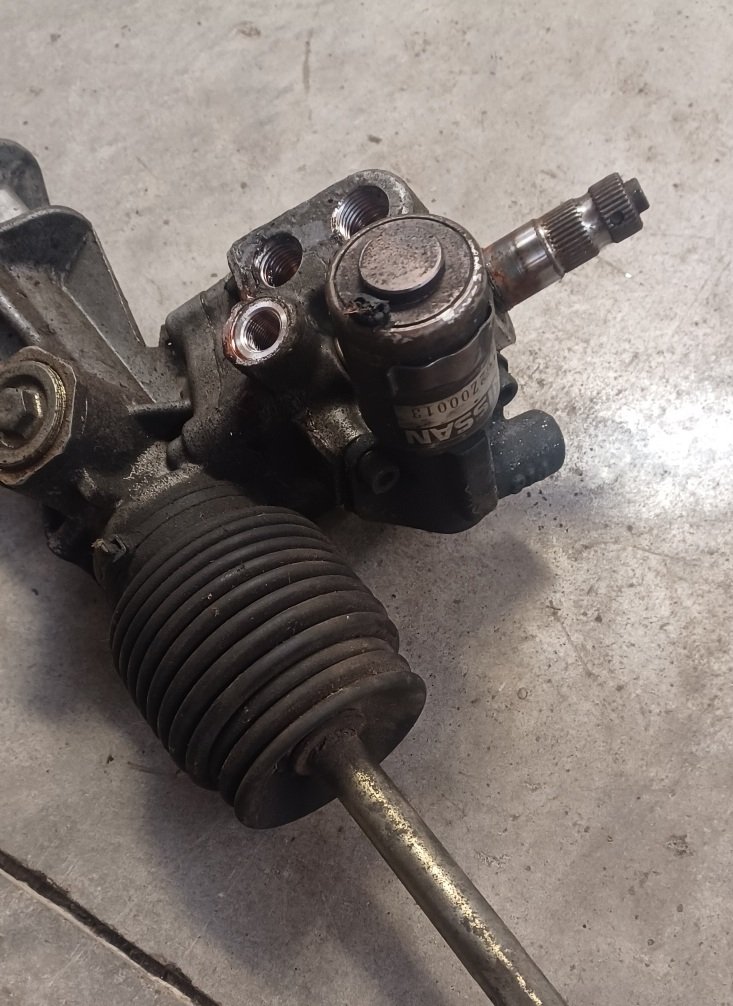
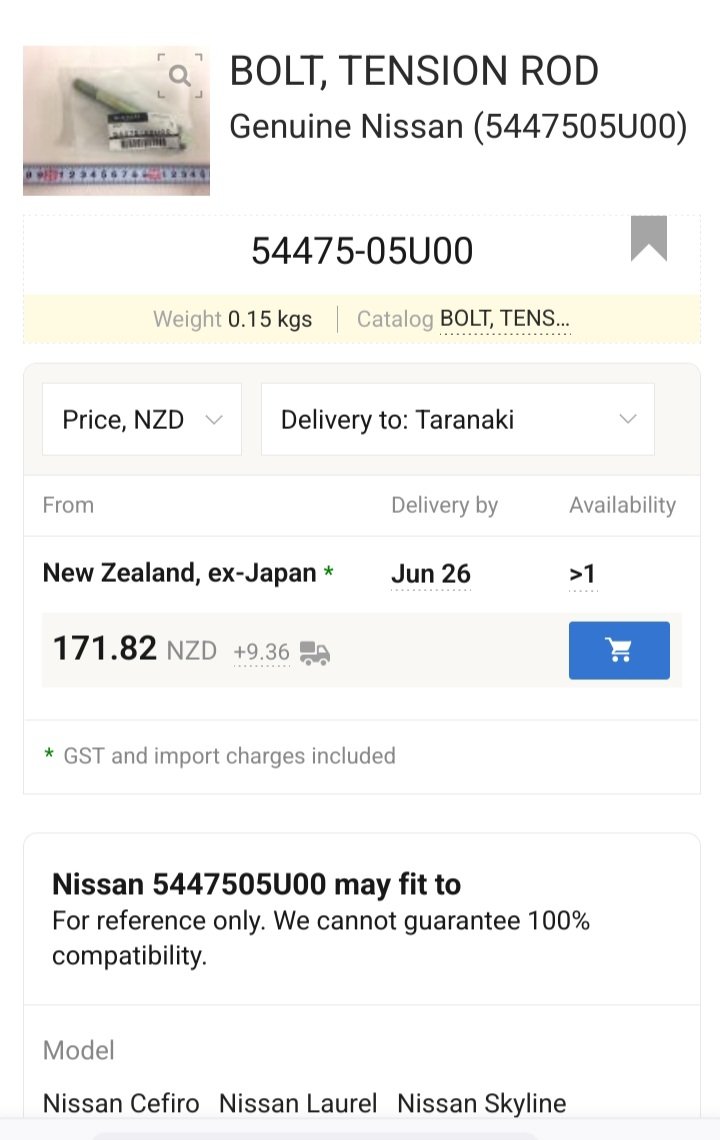
Suspension together. Wrecker mate has found me the bolt I need too. I'll chuck some stock gtr brakes on the front for now to get it running and driving. I had a set from ages ago so chucked a new seal kit in. Also wanted to solve the issue of having heavy steering. Hicas R32s have variable assist power steering. Mine was always heavy and I never bothered at the time to sort it, but it was the wires missing off the solenoid on the rack. So I found a spare rack in stock to make 1 out of 2. Unfortunately there are a few little bits I still need so start the 3 week timer for parts from Japan again...

-
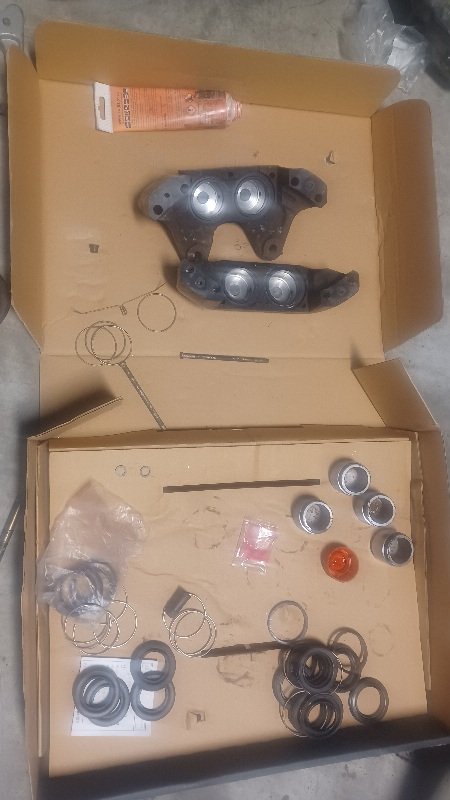
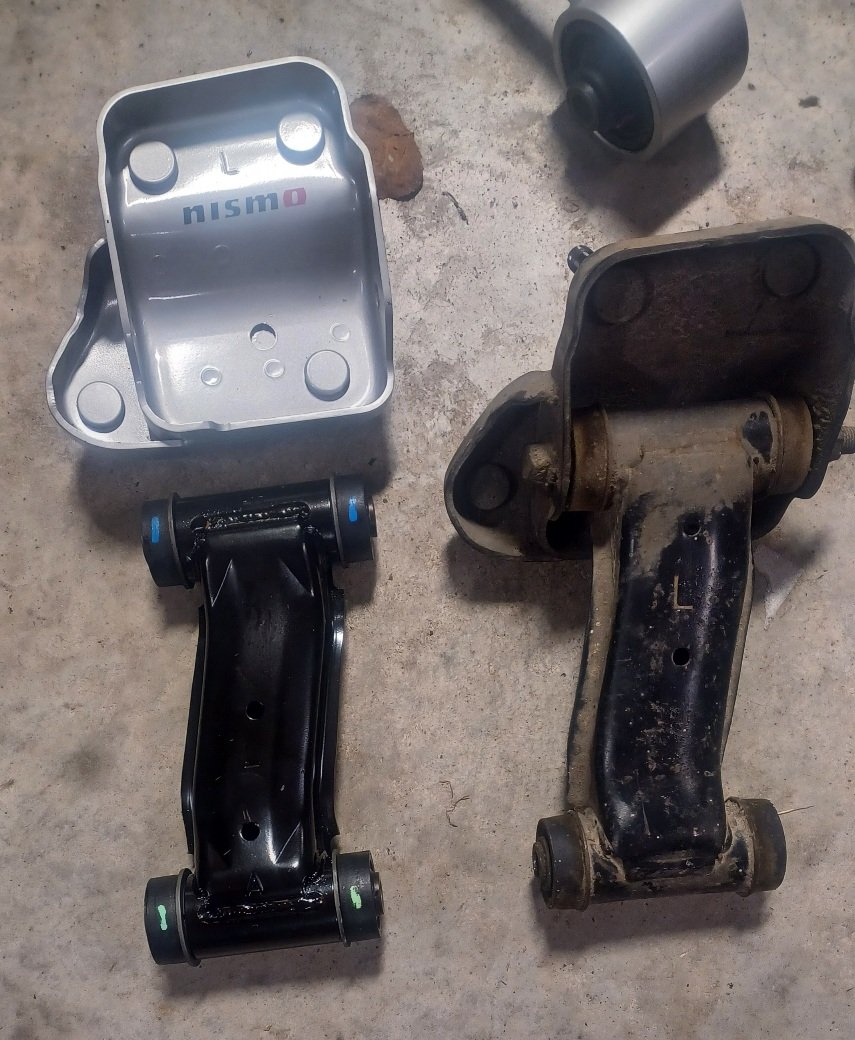
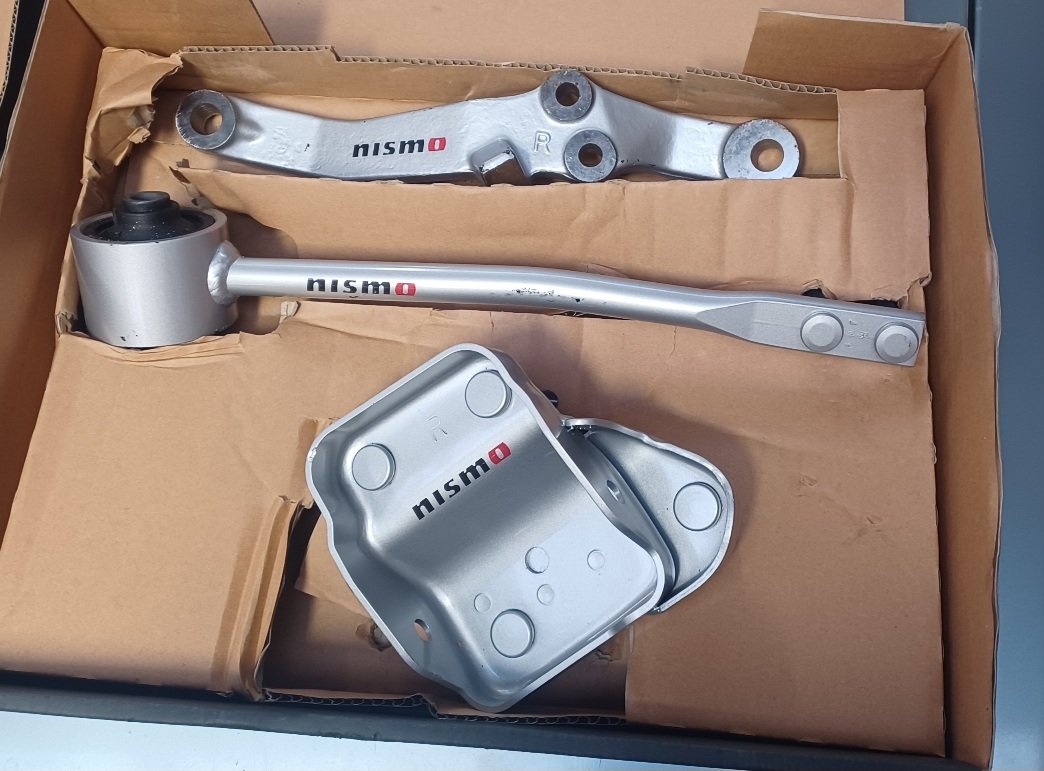
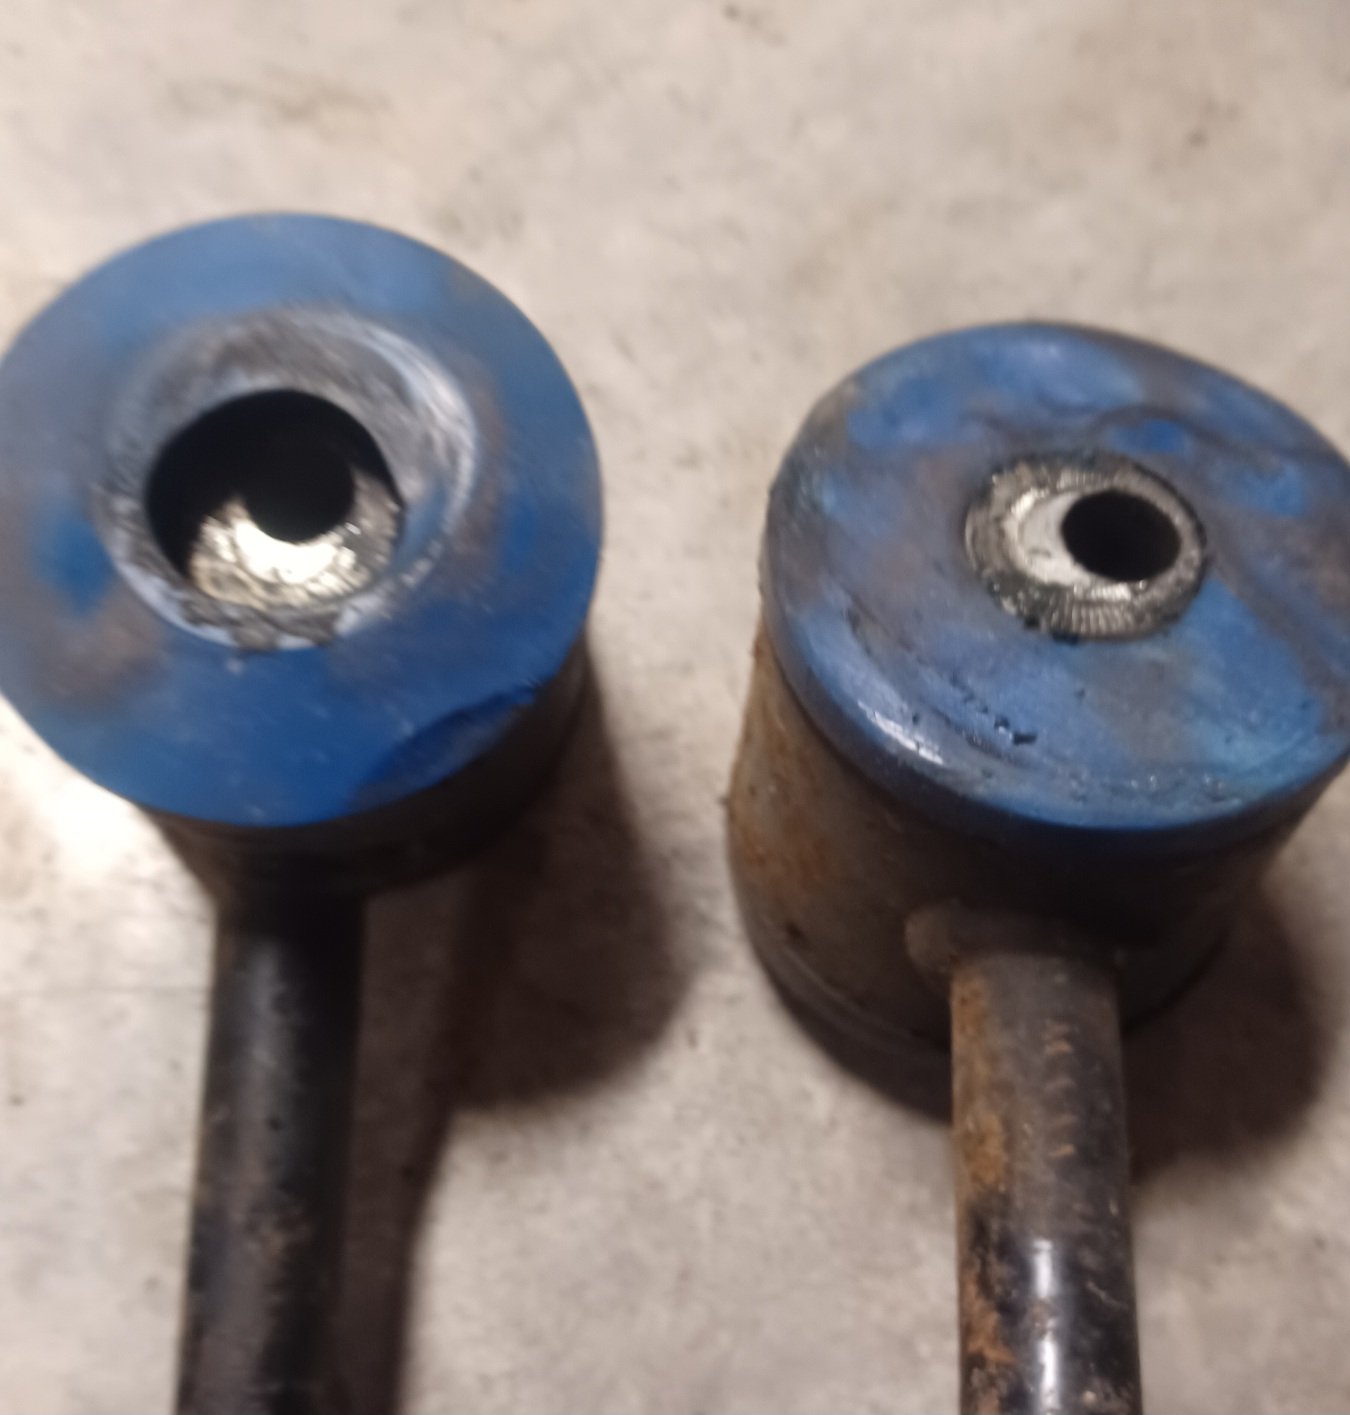
Pretty much all the front bushes and joints were stuffed so I am replacing as many as I can. Many years ago I got a good deal on some upgrade suspension parts. Nismo circuit link upgrade. The caster rod is a bit shorter than standard, the lower arm is 4mm longer for a bit more negative camber. The upper arm mount has the holes drilled slightly differently to try and reduce the misalignment in the arm so the bushes last longer. I also bought new upper arms. All of the ones I have are stuffed and it was similar money for a whole arm as it was for new bushes.
- 54 replies
-
- 16
-

-
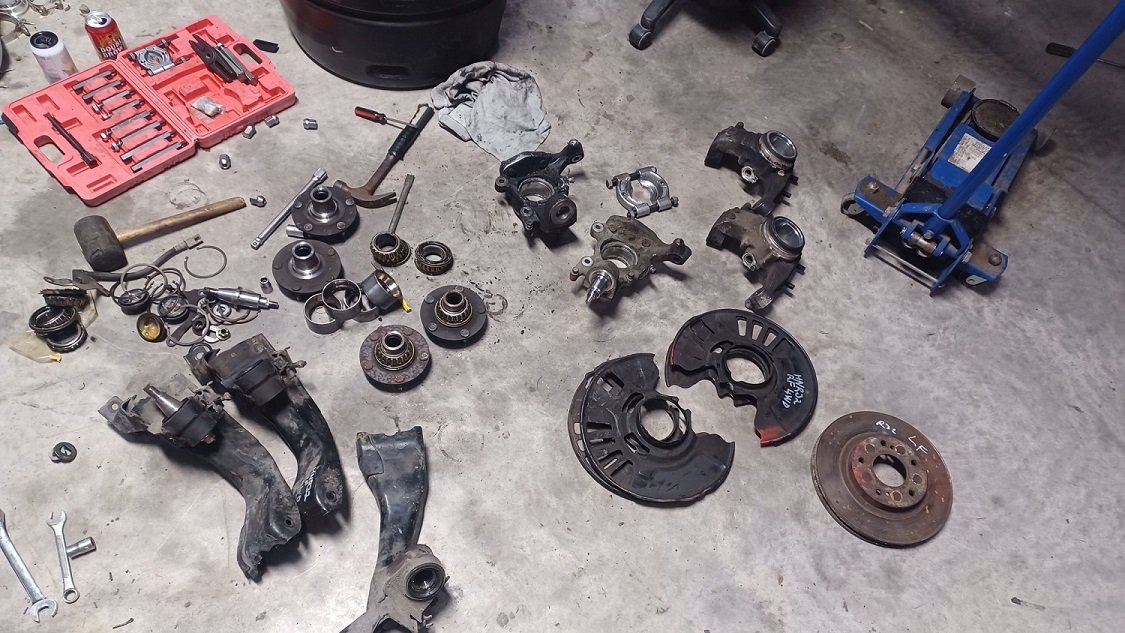
Paets turned up so I picked out all the good bits and assembled the hubs and J arms. Many parts, lots of creative pressing to get bearings in.
-

Chris' (in)practical daily and every expense spared musso
fletch replied to chris r's topic in Other Projects
Put old and new spring end to end in a vise with just enough compression to hold them. Measure length then compress em 10% and measure again. Chuck out the Shortest one. -
https://www.amazon.co.jp/-/en/Nismo-Heritage-Skyline-Repair-28860-RJR20/dp/B0D7Z14XHD I bought 2 from this guy as mine were toast. He has 1 left. Shipping was actual overnight parts from Japan. 36 hours door to door Edit- comes with all the rubber bits and new nuts too. Re-use the steel part.
-
I remember now having an issue with the drivers side one 15 years ago. Looking at it now, I see the trimming I gave it to make it fit better and actually be adjustable.. Anyway, remember that bolt I cut the head off? Lol. WTF. I'm off to see a wrecker mate this weekend. Dammit.
- 54 replies
-
- 11
-

-

-
-
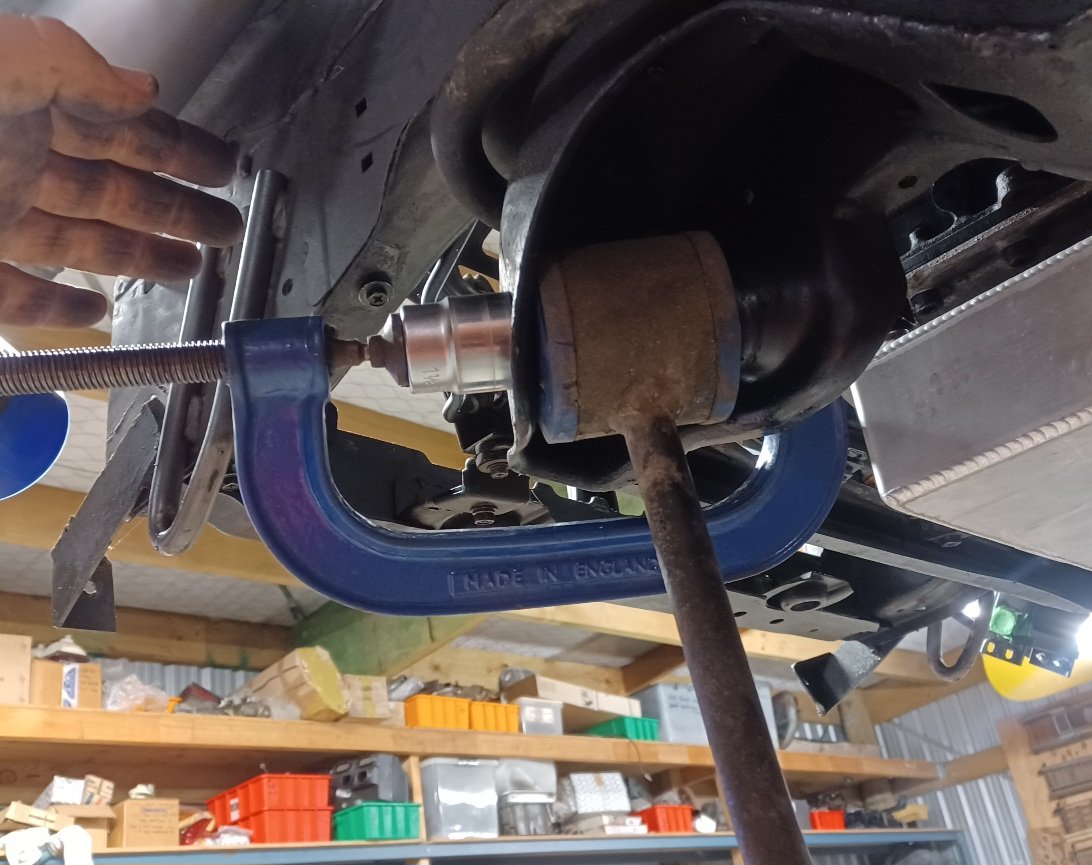
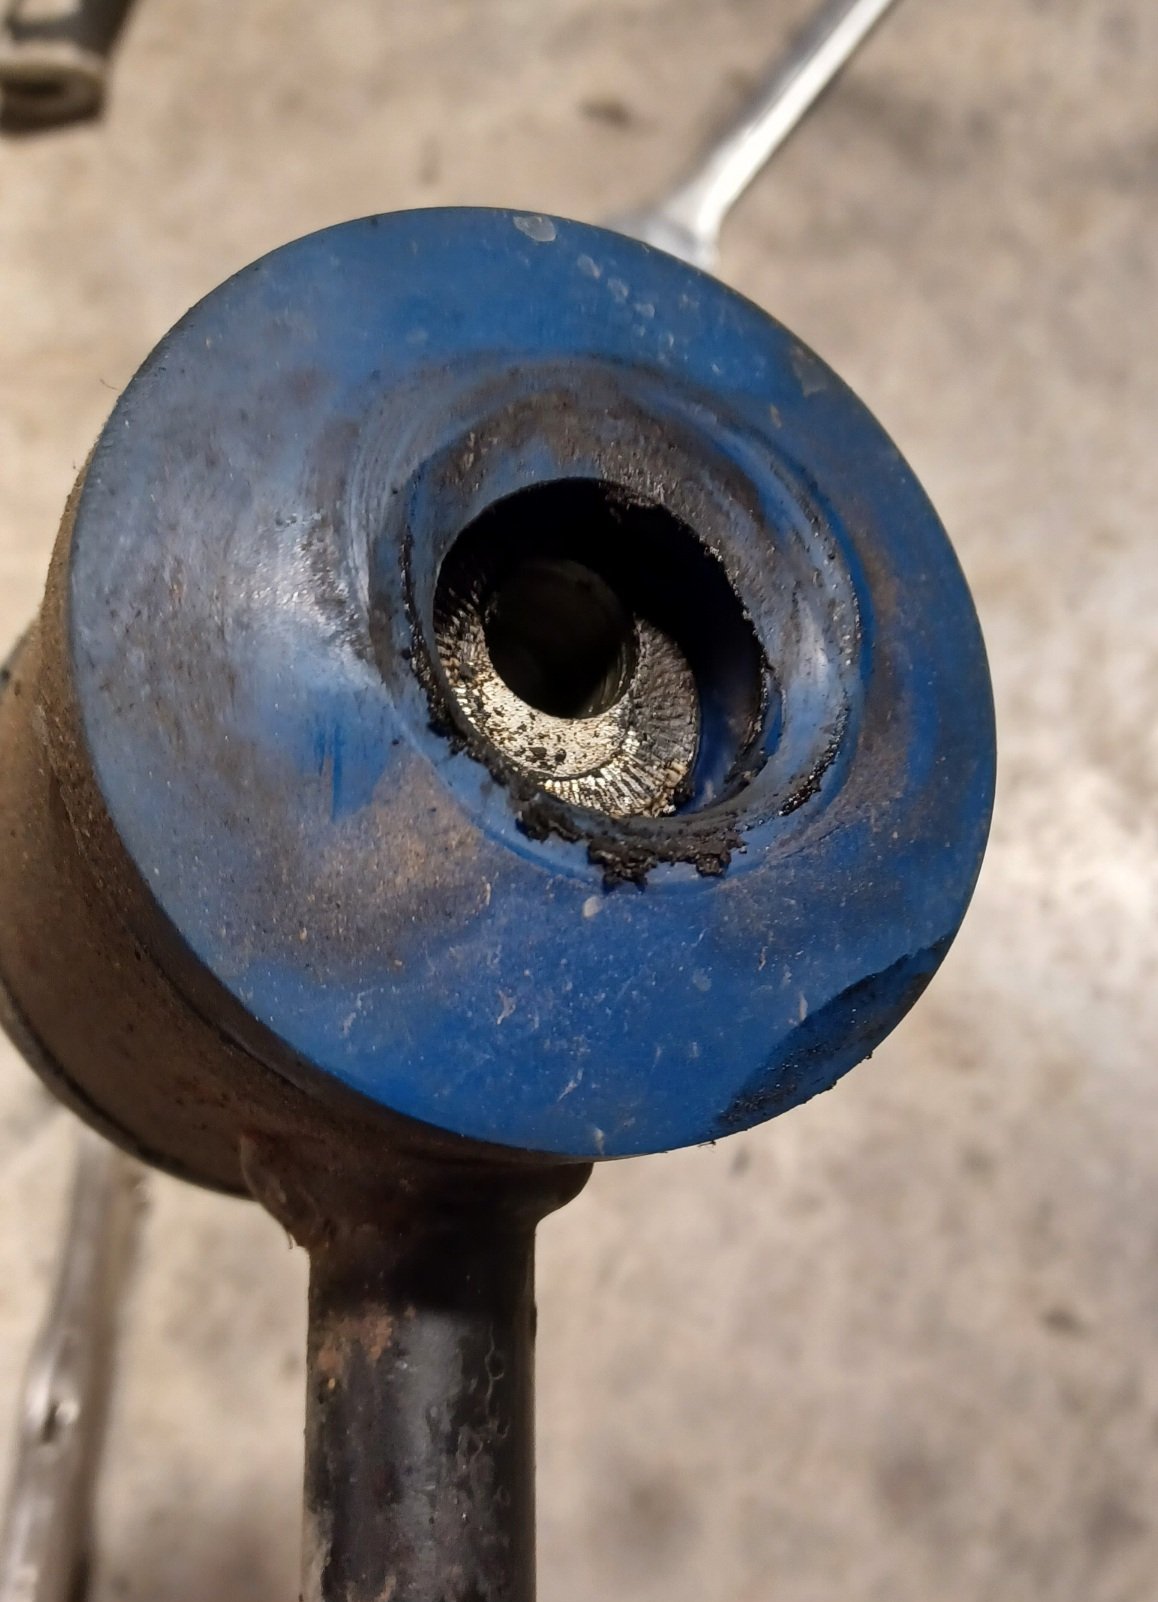
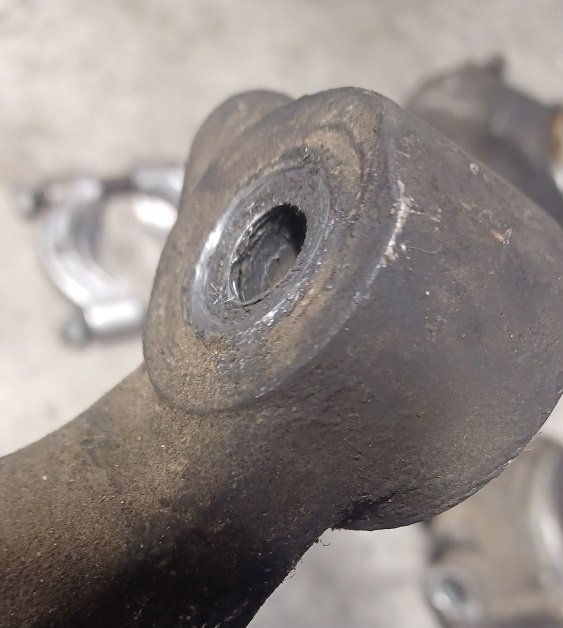
Further disassembly. The caster/tie rod bolt was stuck on one side. There was no room to swing a hammer to knock it out as the engine was in the way. I thought I'd be a smart arse and cut the head off and drive it through. Unfortunately the bolt had a taper and would not go. After a few beers and some swearing it came out.
-
You can bin all that clutch stuff and just put a U bend in the line coming down from the master and stuck it straight into the hose fitting to the slave.
-
30Degrees 1975 Datsun 260c H330 Station Wagon Discussion
fletch replied to 30DegreesRetarded's topic in Project Discussion
Get a decent lump of wood and smack it side to side/up and down a bit behind the input flange to crack the seal. -
I use them on various hydraulic calibration gauges and pumps. I have the fittings on and off all the time and re-use the shit out if the washers. I only do them up hand tight too. Have never had a leak and I take them to 5000-10000 psi all the time.
-
Also, it appears the previous owner had used the incorrect steering ball joints as there is a heap of damage to the aluminum uprights on both sides. Photo dont really show it, but they are ugly, and it was near impossible to get the ball joints out. The spare front end has good uprights so ill use them. I have ordered the correct parts overnight from Japan, so im just waiting for them to arrive around mid july...
- 54 replies
-
- 13
-
-
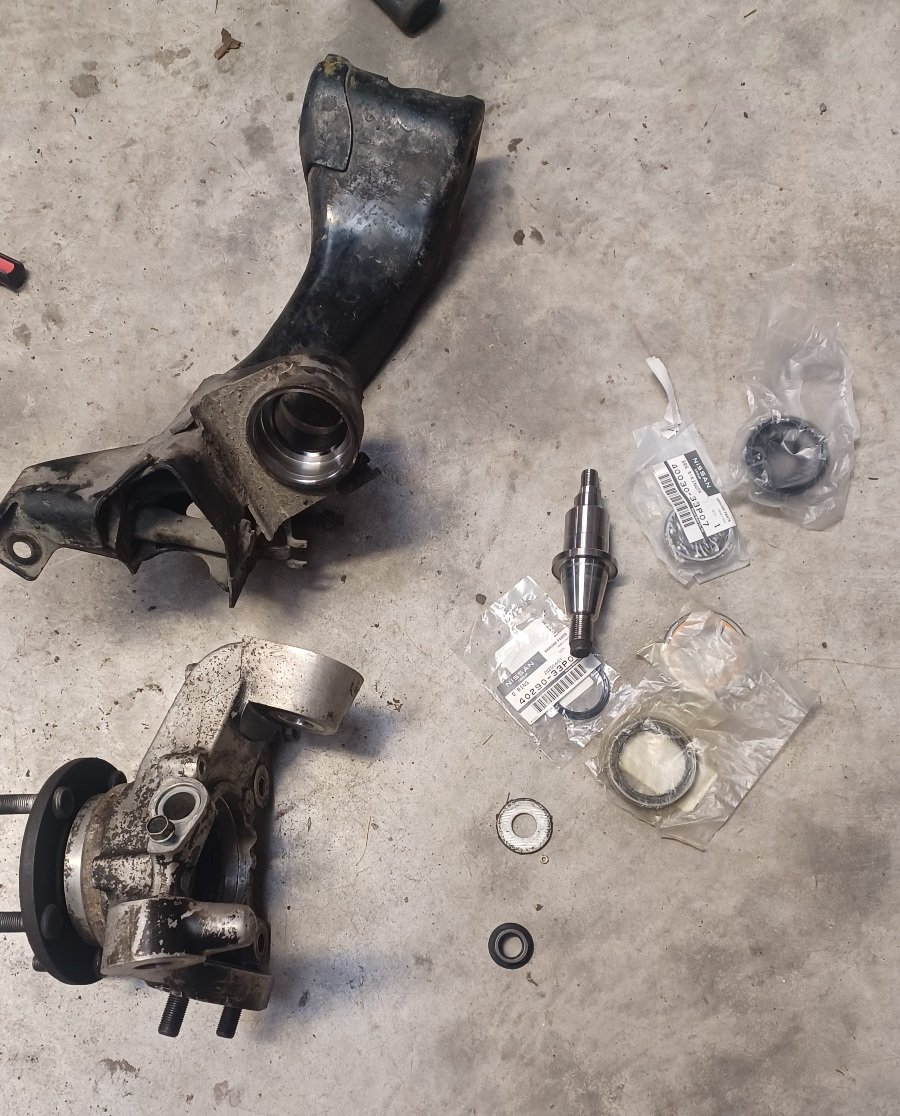
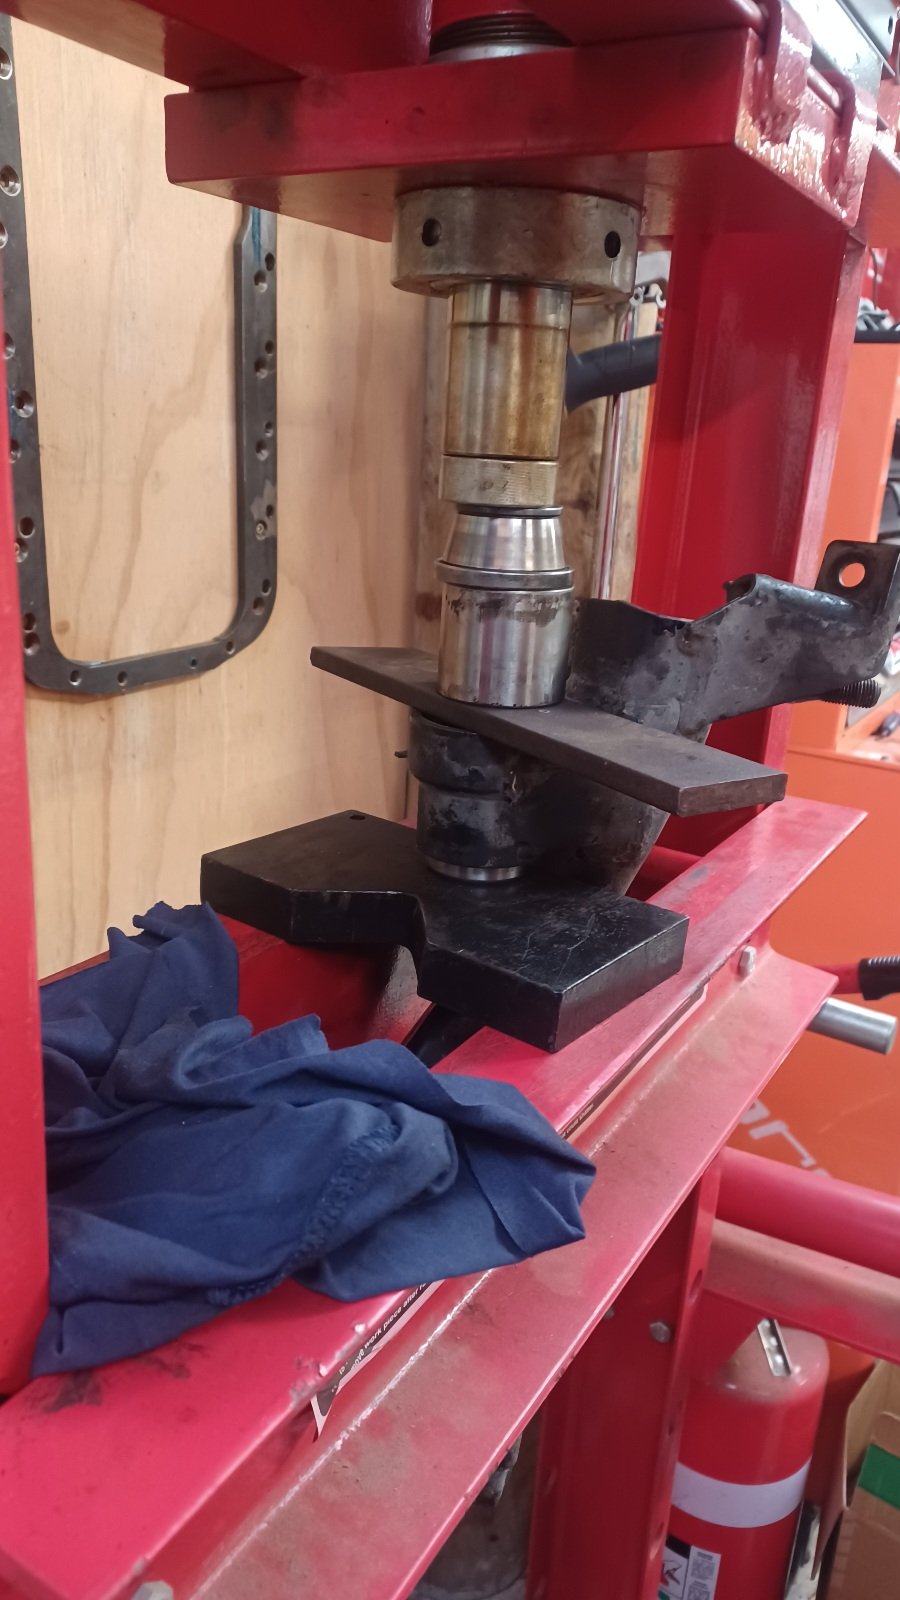
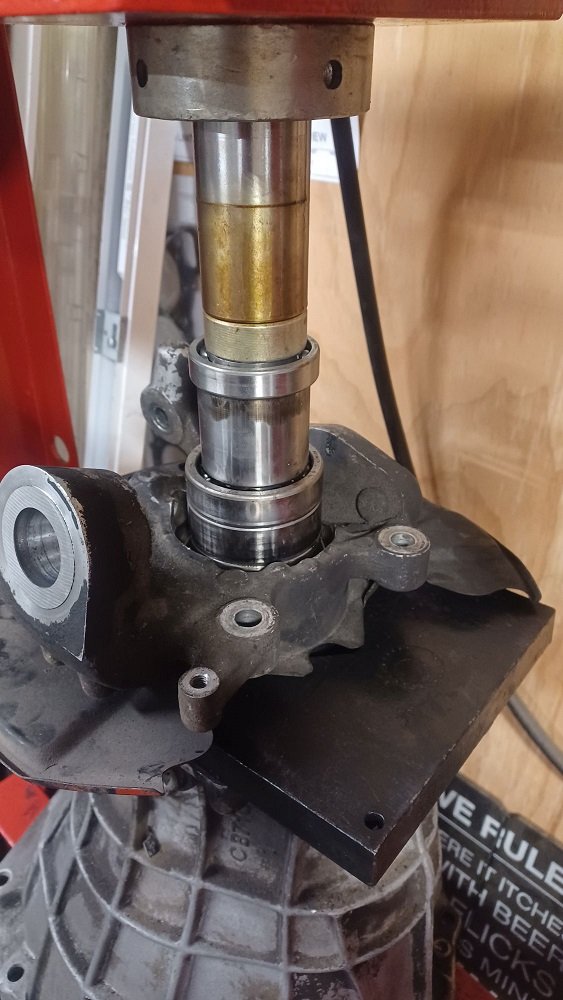
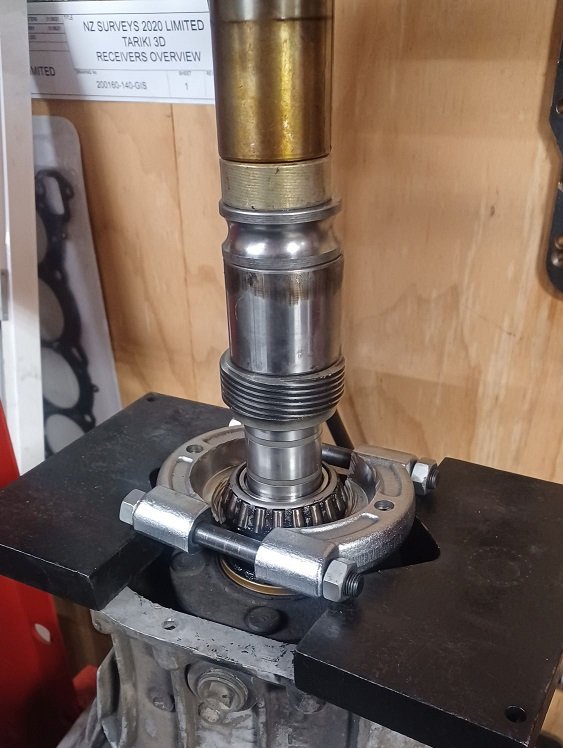
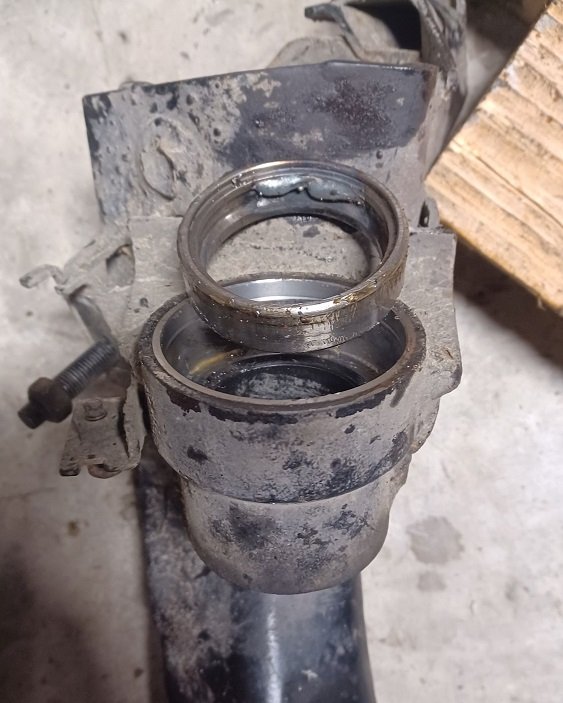
This week i have pulled apart the suspension. It started with wanting to change the wheel bearings and in the process of getting it apart, i discovered the front kingpin bearings were flogged. Lots of dubious pressing was involved. I only fired parts across the shed twice. Not bad. The kingpin lower bearings were well stuck. Im sure there is a correct tool for getting the lower ones out, but a squirt of mig was enough to shrink them a little and they tapped out. Progress
- 54 replies
-
- 16
-
-
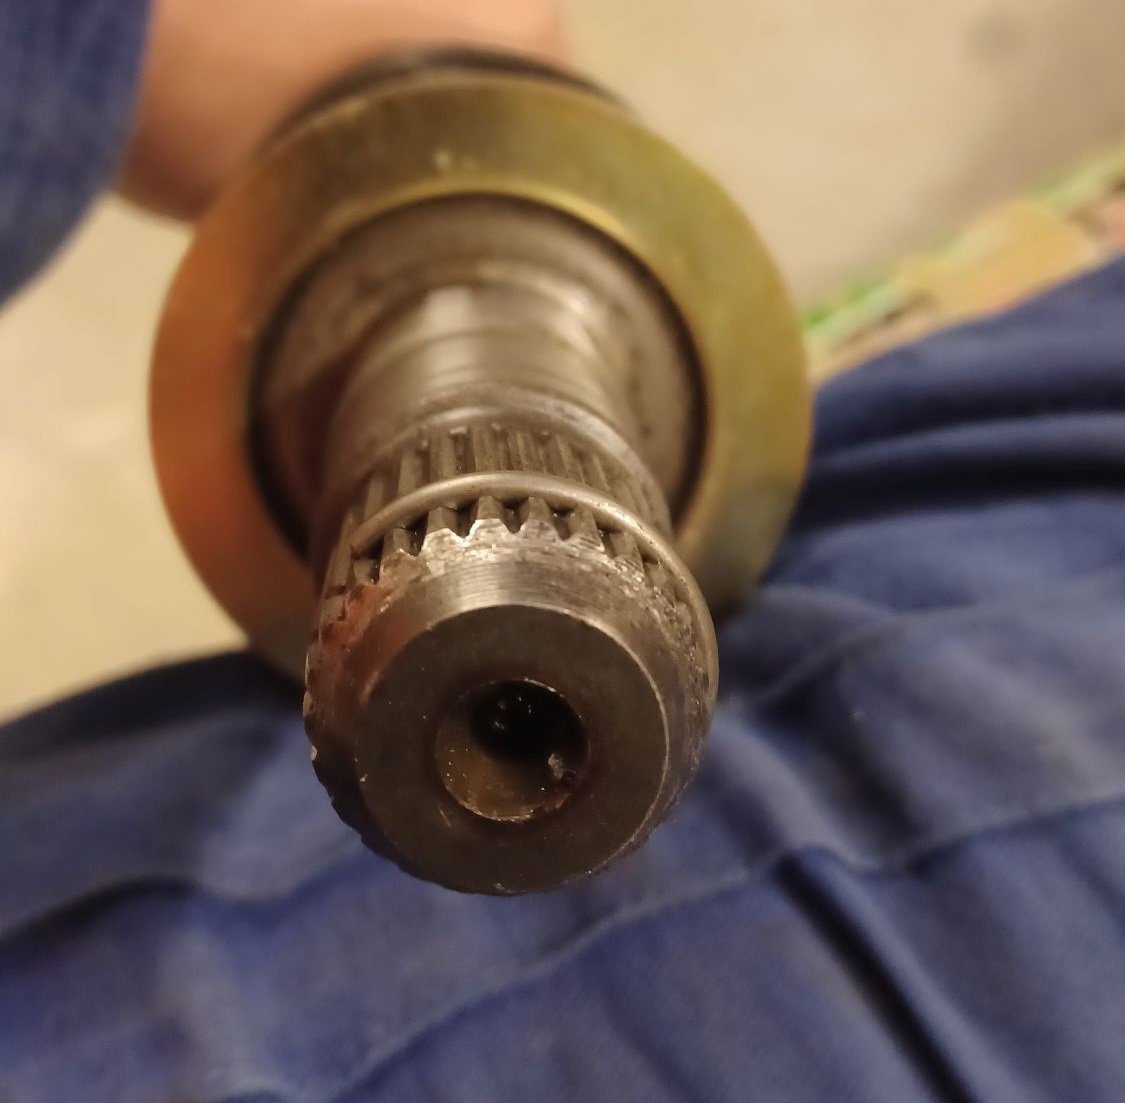
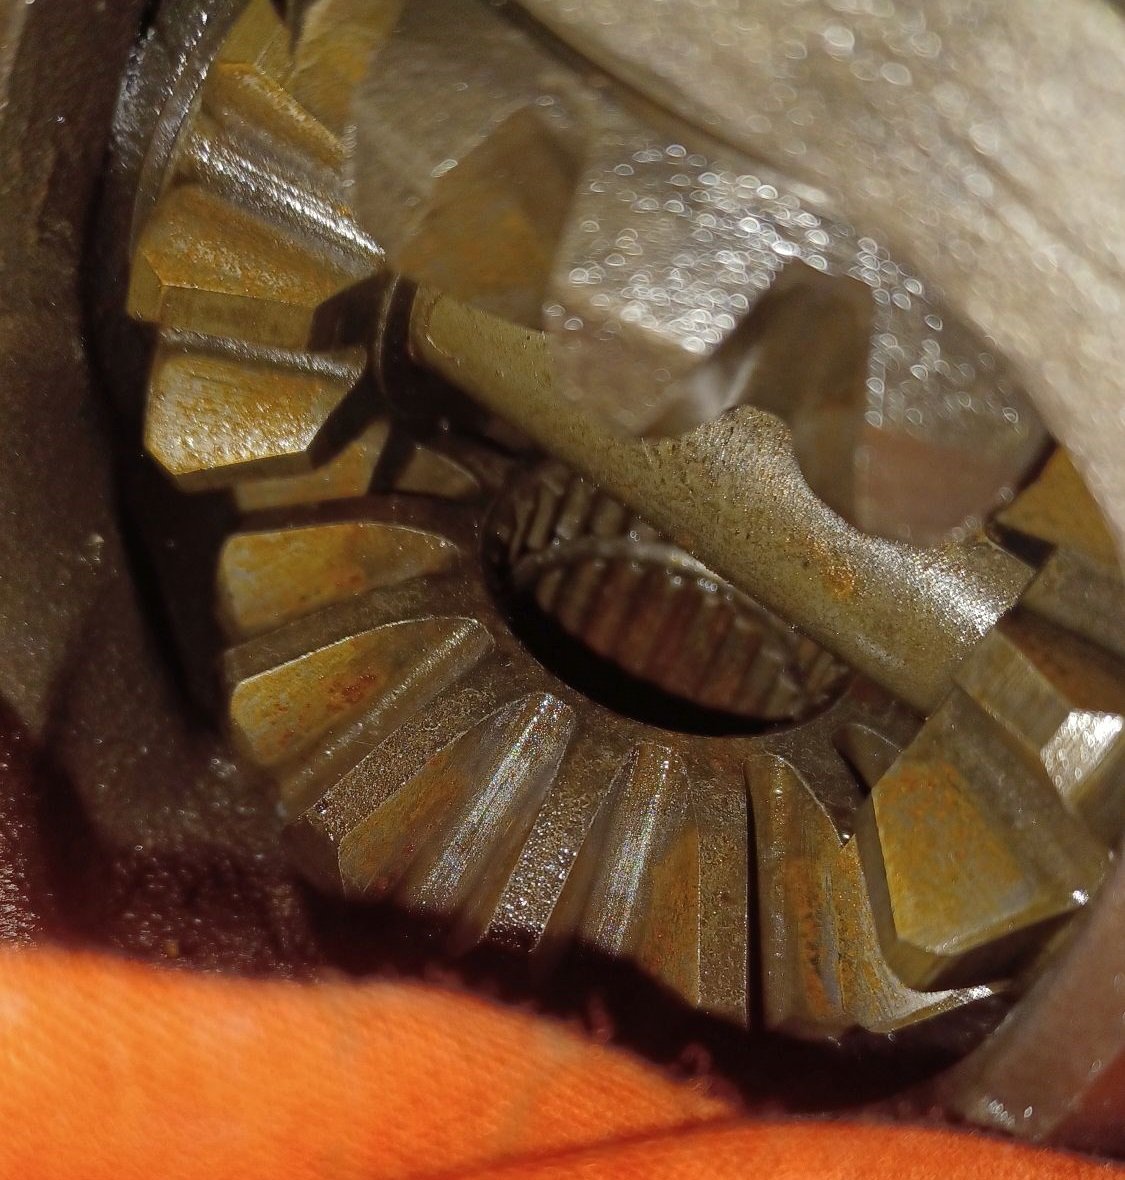
Next job is the front end. I have hoarded a few shafts as they are getting more costly and harder to find. The front right CV joint got a birthday and according to the exploded view parts manual, there is a clip on the end of the cv like so. After trying for a few minutes to insert it, i dug up a spare front diff and found the clip resides inside the diff, not on the axle...
- 54 replies
-
- 12
-
-
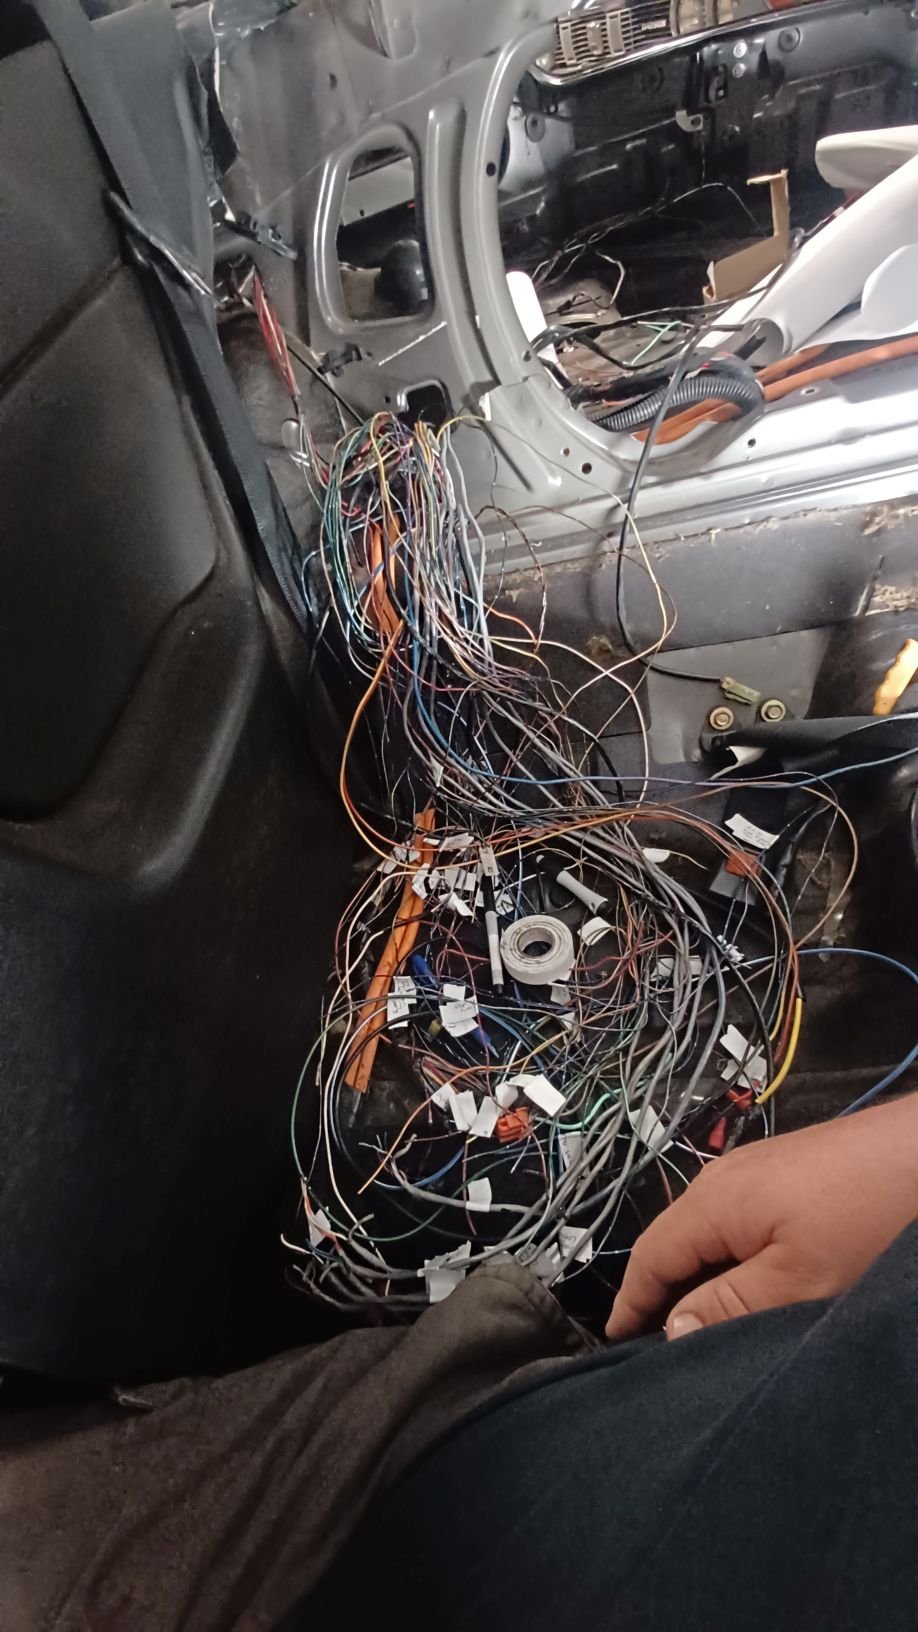
Some time has passed.. Started to tidy up the wiring. This loom goes to the 4wd/abs ecu, hicas ecu, stereo amp. The abs and hicas were deleted by a previous owner What have i done?? I have a new 4wd ecu im going to run and it requires less wiring, so stripping the loom back a bit. Also there are now a lot of spare wires that run to the front so ill use a few of them for the fuel pump controller and a possible CAN IO expander I also pulled out 13987243598m of wire that ran around the boot to the fuel pump relay, 4wd pump relay, 4wd solenoid relay and taped it up into this tiny loom. I got some of that cloth loom tape and it does a really tidy job. I have been procrastinating the rest of the wiring as i lost motivation. Waiting for a mate to come over with all the crimpers and gear to do the ecu wiring etc
- 54 replies
-
- 14
-
-
PALMY SWAPMEAT 2025: 1-3 AUGUST (20 Year Anniversary!!!)
fletch replied to Bistro's topic in Upcoming OS Events
Ken for Karting. Also, that house with the turbo fire and friendly cat is available -
Chris' (in)practical daily and every expense spared musso
fletch replied to chris r's topic in Other Projects
Can you try pop the valve spring off and put a battery drill on the valve stem and feed some grinding paste onto the back of the valve with a toothbrush to clean up the seat? -
All the RB VCT are on/off. The pulleys are almost identical. R33 head de/det same pulley. 25deT neo has a red spot on the pulley and 20 deg of variable, 25de neo has a green spot and 30deg of swing. (i cant find the info i have, but im sure those numbers are correct.) The NEO head has a better VCT activation setup. It dumps less oil into the head. Its a major to fit fully variable setup. You can buy HKS V-cam if your making ned$, but if you study it, it wouldnt be easy to DIY it. Some japanese barry did it with an EJ20 pulley and much trickery 33 rb25 head is basically the same as 26. 25det neo is smaller by 10%
-
Probably. Most forged rods are made in China, at least the main parts of the process, then ship to USA, laser engrave EAGLE or K1 etc and put them in a cardboard box that was MADE IN THE USA etc.
-
Mostly all the same. All made by cousins of Jack Ma, and finished by various places. I know a guy who has some pretty punishing yarns about this. He works in QA/QC for a big company and they do all the same kind of stuff. They just get a crate of rods and polish/balance/match em up depending on their care factor. The maxspeeding rods for example were tested by some jokers to be almost identical weights and survived many horsepowers in a highly strung engine. /buy the cheapest ones and make sure you get the bearing clearances right
-
I roll one of these 8 blade discs. Has more inertia than the tri blade and cuts through thicker trunks too. But I just saw this while searching for a pic and I want it....
-
30Degrees 1975 Datsun 260c H330 Station Wagon Discussion
fletch replied to 30DegreesRetarded's topic in Project Discussion
Keep the 6s. They are the right one for your engine. Plus, it's running sweet so don't change anything. -
I have had success with acetone one time, but got high af, and it might have done damage to some of the tracks on the board. Maybe it was me when I was high af?
-
Could you drill out a stock rod little end to 20mm for a test fit? If it works then your only some China forgies away from being sorted