Taistorm
-
Posts
2056 -
Joined
-
Last visited
-
Days Won
1
Everything posted by Taistorm
-
Once the rust work has been carried out next on the list will be finalising the driveline/suspension and steering setup. Items left to have all sorted: -Rear shocks sorted (getting some adjustable konis) -Sort and fit traction rods -Suspension and steering bushes -Driveshaft -RCA knuckles made up -Need to sort out and finish off the clutch setup (just need to sort the fork and get a new flywheel & bolts -Re-sleeve the brake master cylinder for better feel Once the above is sorted, the next bunch of work to look at is: -Sorting out a breather setup -Oil cooler lines plumbed -Engine wired up -Sort some HEL brake lines and bend up the bundy for the other lines -Finalise the handbrake lines -Get a battery -Sort side mount for the alternator Then lastly exhaust and she should be good to go, fire up and tune. I have another set of wheels on order so will have a much more aggressive look soon (will need to run some flares) and will need to look into gauges as well, cheapest option being VDO or Autometer but want to get something period looking so if anyone has any advice/ideas on how to go about it let me know here //oldschool.co.nz/index.php?/topic/44085-tai-scamps-mazda-1300/ Thanks for looking
-
And this is my brothers old room which has now turned into my parts room. Will be getting rid of a lot of these. Since the issues with the old shop as well i'm also missing a bunch of parts which will need to be replaced so hopefully the process wont be too bad.
-
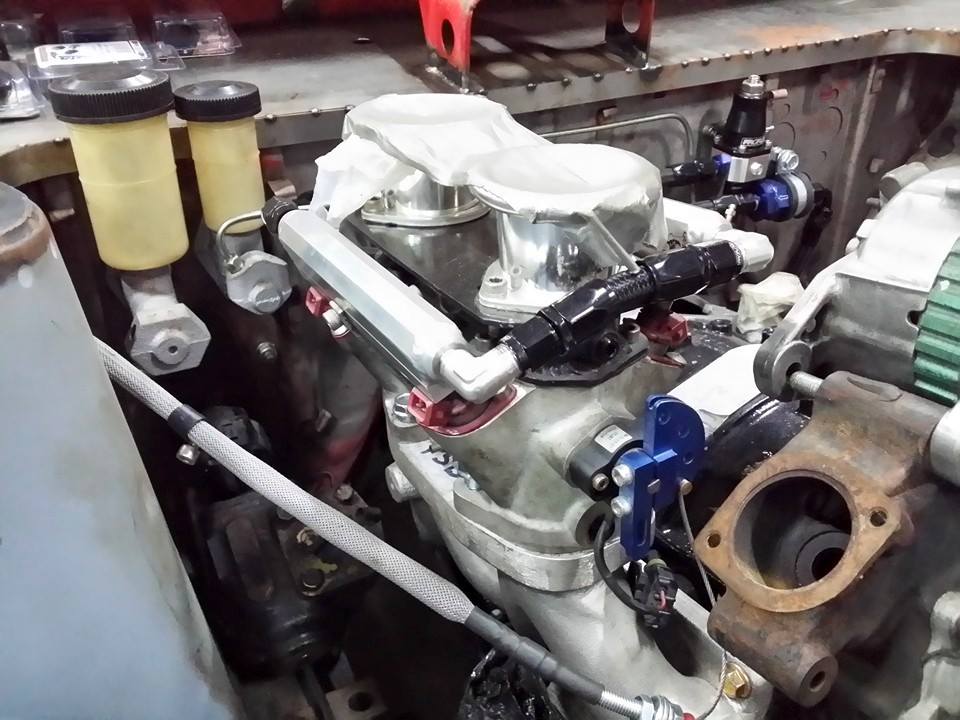
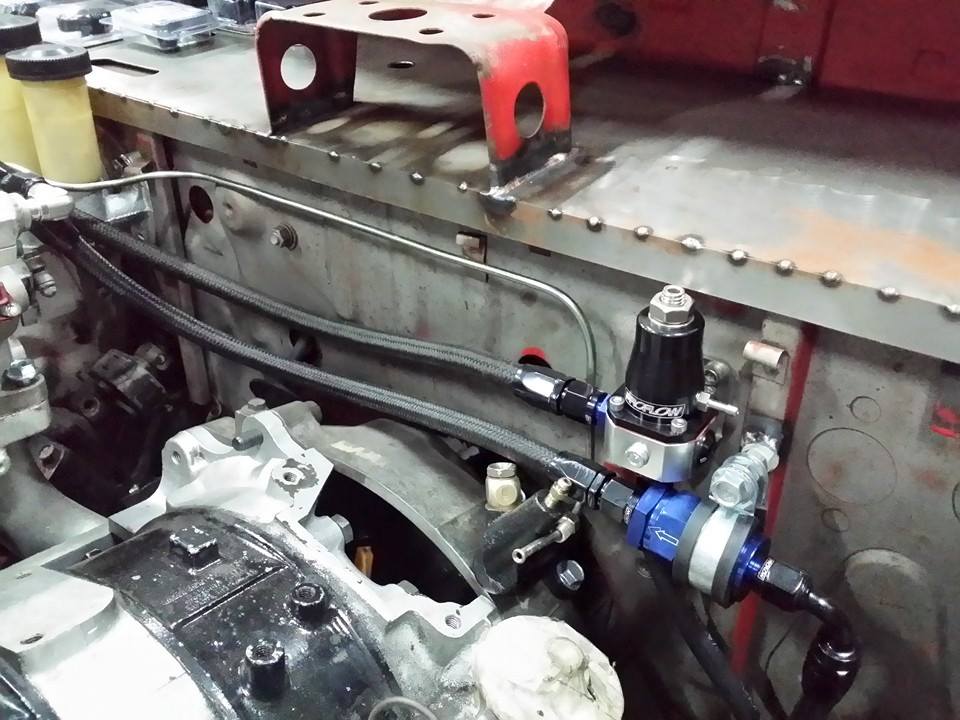
The fuel system is now fully setup with all lines plumbed like such.. We haven't sorted a surge tank as I don't necessarily need but will probably sort one out anyway down the track. Next on the listed is rust and body work. It turns out this has alot more rust than anticipated so we're going to sort the important stuff first. All floorpans will have new plates welded in as well as a custom transmission tunnel fabricated. The sills will also be remade as well as the front right chassis leg. Bracing will also be made by the steering setup mounts for further support as well. Currently looking like this. Will practically be the same as this once it's done (but with the trans tunnel blending in at the end rather than having the abrupt drop).
-
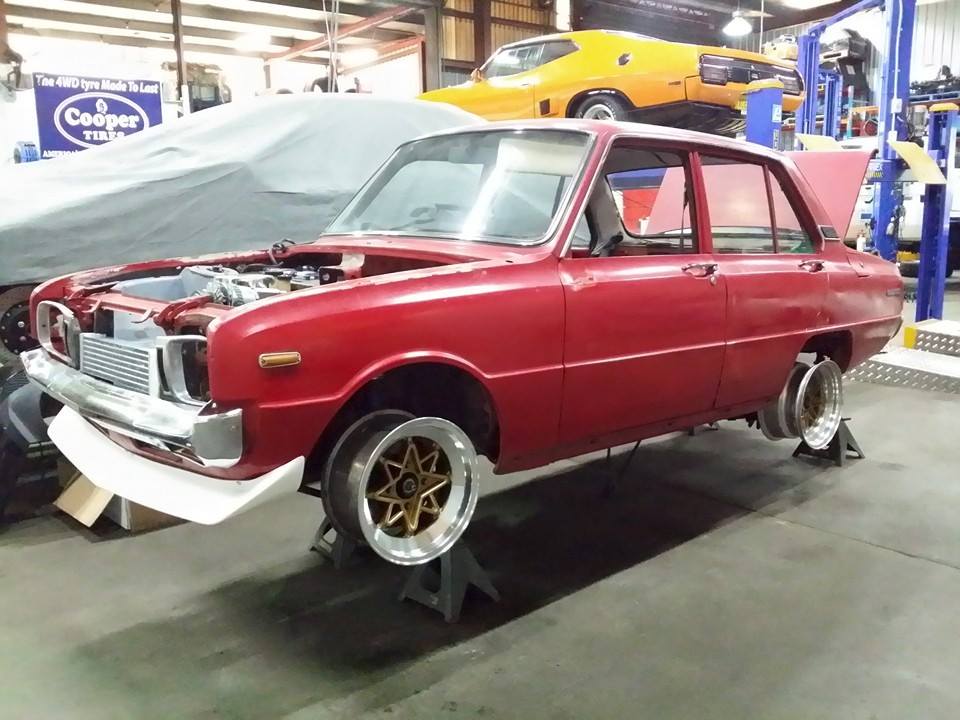
Ok time for an update.. After having on going disputes with the old shop over the last 4-5months I know have the ol' girl back and ready to get work commencing again. Safe to same I'm very relieved now that were cracking back on it to it but the issues aren't 100% sorted yet. So a few weeks ago this happened.. And now it's sitting here with this other familiar beast..
-
There was another picture lined up next to Eds DR30 but think that's on another computer..
-
-
Btw I have a stack of old brochures and catalogues. If I get back to NZ anytime soon and your keen to buy will flick them to you for cheap (paid a lot all individually). There's some quality in there though. a few sales brochures, Haynes manuals, Mitsubishi manuals and such.
-
Oh man, so glad to see another one of these. Makes me miss my old one badly... i'll try and dig up some pics from when it was at Ardmore Wings and Wheels with borrowed A3A's from Richie fitted. Had ridiculous guard gap at standard height but still looked choice. Front end does not like low offset and width at all but 6's will probably be fine. Keen to see how you get along with this one bro!
-
Friendlyfires 2nd Chevette sr20 - Discussion
Taistorm replied to friendlyfire's topic in Project Discussion
Sorry bro, don't have any old trademe pics unfortunately. -
Friendlyfires 2nd Chevette sr20 - Discussion
Taistorm replied to friendlyfire's topic in Project Discussion
Good to see someone on here is doing this right! Seen it on Trademe various times over the years and it looked atrocious with all the trim greened out and odd primed patches and horrible roof and bonnet scoops. Must be mental with the sr20! Looking forward to see what you do with it next. -
Fair enough man, I know what you mean by that, having to rehandle etc. I suppose a big part is on how the rings are cut up with the chainsaw as well! Always better with someone feeding the rings on the splitter and the other smashing it out, splitting away.
-
**Elaborating with the quicker/more efficient side of things. Horizontal setup is sweet for gripping the rings with your hands as you can just roll it over and split through at a really quick pace. would imagine the vertical setup would be a little bit more work moving the rings around physically.
-
Sweet build man. Decent wood splitters really make the difference. Spent a good half of my life splitting firewood with various splitters over the years for my Olds firewood company. Any reason in particular you went for a vertical setup? We've always rolled with the horizontal as it's more quicker and efficient (can usually pump out 4 cubic meters in a bit under and hour).
-
Quality work UJ. My dad used to make a lot of furniture using old Kauri slabs and such so this interests me a lot. Mainly did more basic design, rather than cutting up the beams as such he would have the shape of the slab as the table top design to show the characteristics. Would usually just apply a linseed based oil and occasionally varnish. Will try track down some old pictures. Looking forward to seeing this all finished!
-
The back panels for the seats are awesome! Where did you find material/what did you use to cover was it a print? Kind of hard to tell. What be interested to do something similar down the track.
-
So sweet guys, much space.. such awesome.. wow. I need a garage.....
-
This is awesome!! such a sweet idea man.
- 9 replies
-
- 1
-

-
- steering wheel
- nardi
- (and 3 more)
-
** Kaipara harbour has some pretty awesome views if you head of to the right past Kaukapakapa town and head up the Ridge there are some sweet spots of McLachlan rd.
-
Yeah that was Tony Lynchs setup at his old workshop that Cam was using.
-
This is pretty much how it's looking. Going to sort out some Koni adjustable shockies for the rear then pretty much all we're awaiting is wiring and exhaust, a few minor rust patches then it should be ready to be engineered (certed). Only problem is that i've pretty much ran out of dosh so progress will probably be reeeally slow from this point..sigh..will see what I can come up with anyway. Cheers for looking, Tai

- 139 replies
-
- 13
-
-
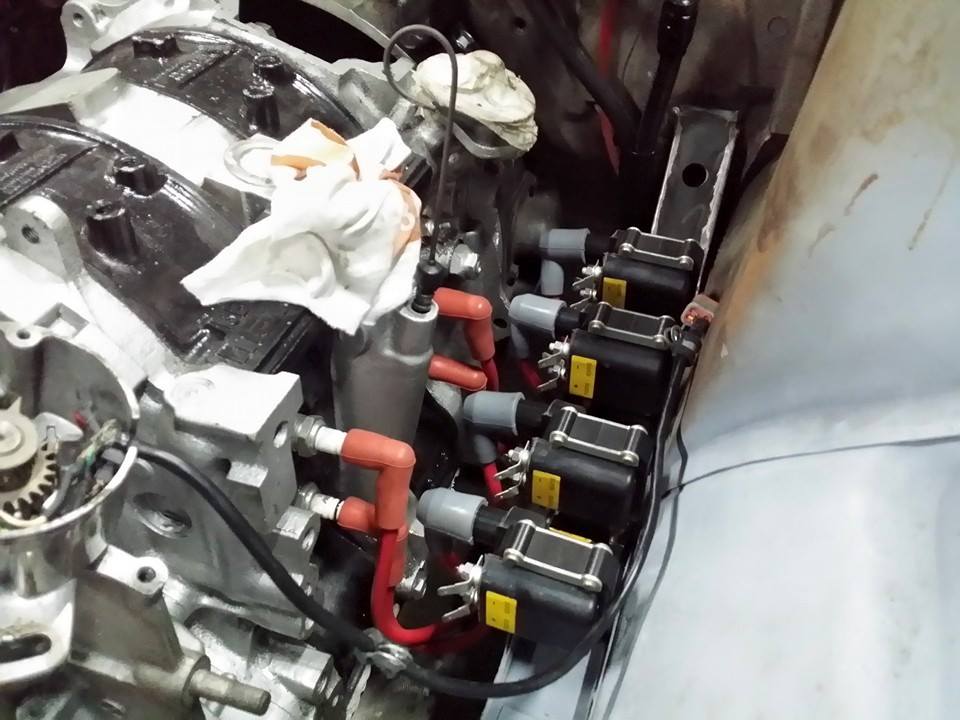
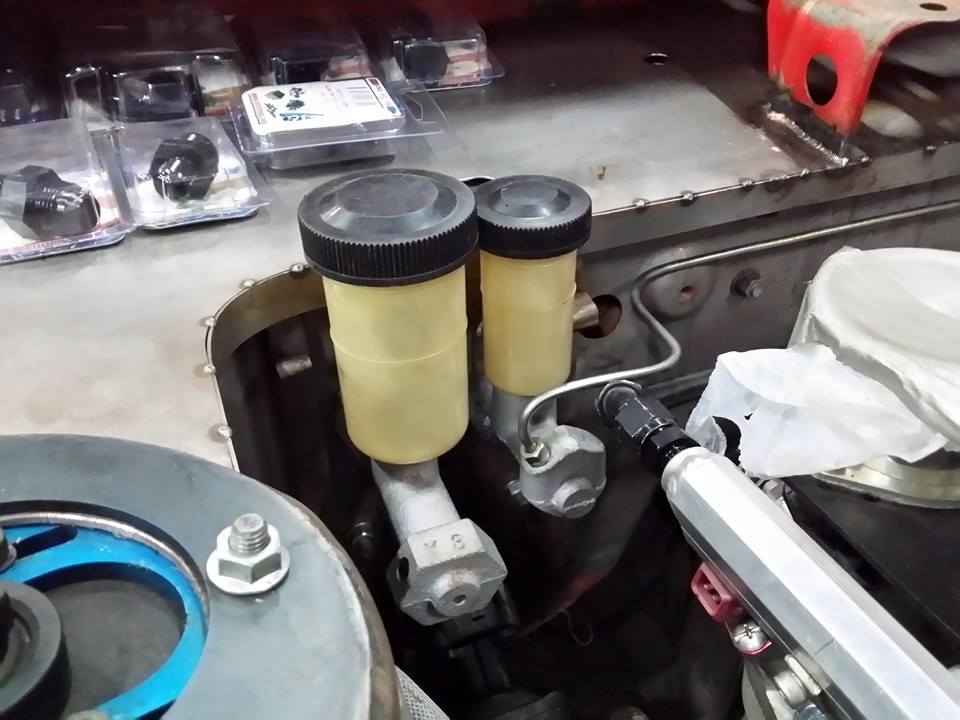
More updates.. Brake and clutch masters reconditioned and fuel lines all sorted, braided and blacked out with Proflow fuek regulator and Bosch fuel pumps sorted as well. Front brake and steering setup is finished bar a hubcentric spacer which is all that's left (new hubs bearing all around as well). Rear end is pretty much sorted as well with FD RX7 calipers mounted and handbrake connected up, brake lines still need to be made however. HT leads have had the caps sorted now as well and throttle cable is 90% sorted, just need to sort a bracket out. Driveshaft has also been shortened and is ready to be fitted. We ended opening up the transmission tunnel to raise and square off the transmission as it was sitting on a decent tilt.
-
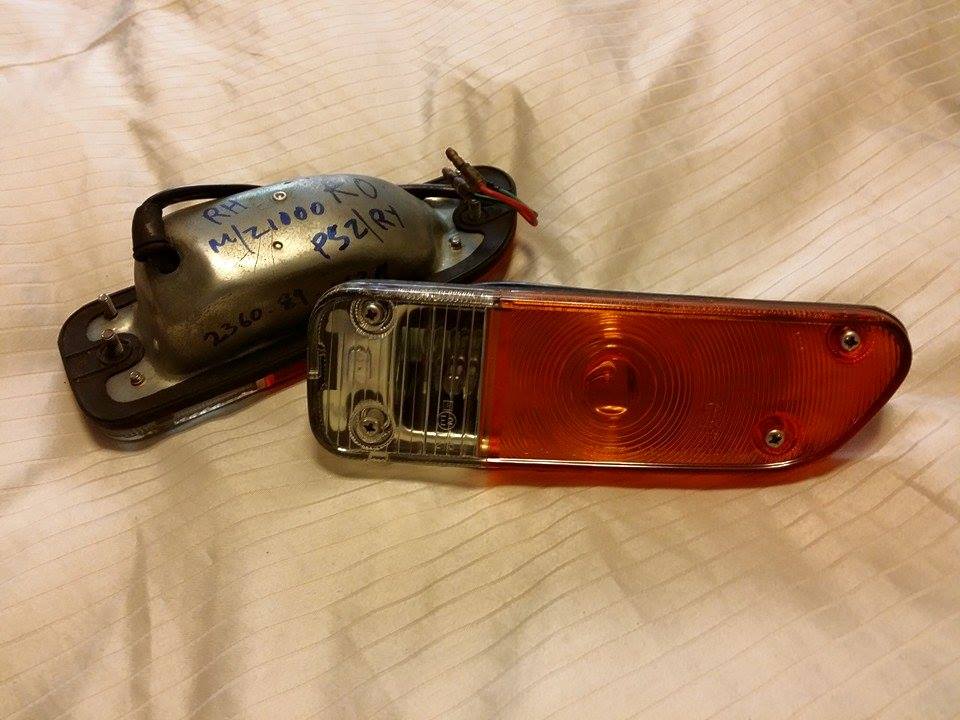
Not much of an updated but still... NOS bumper parking light/indicator combo. Now time to hunt down some decent condition bumper end caps or get another front bumper that hasnt been hacked up. Pics or it didnt happen. Cheers, Tai
-
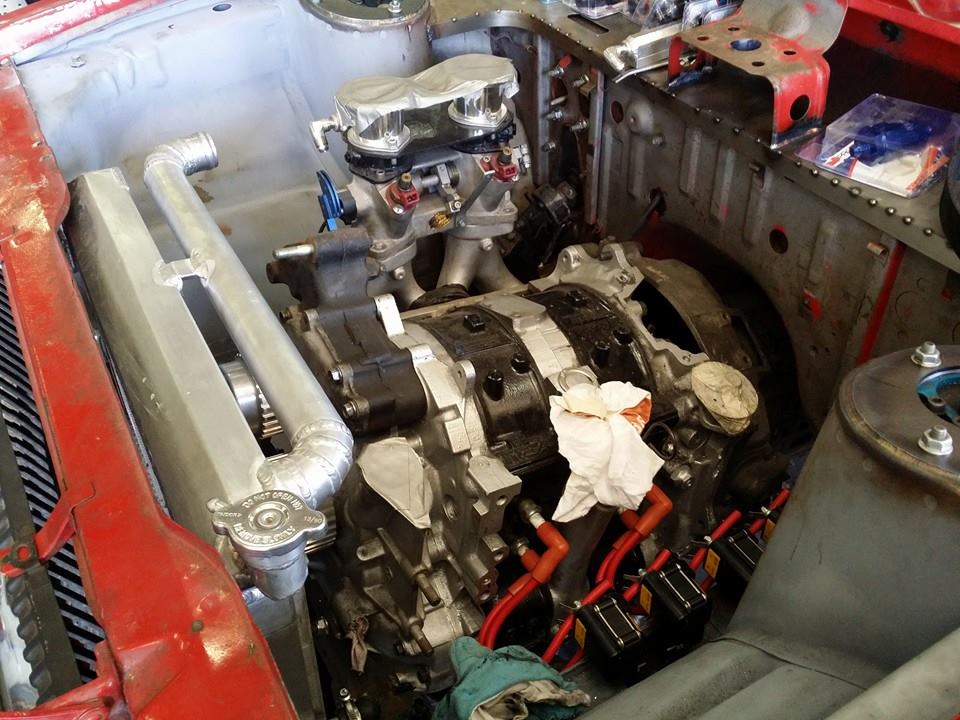
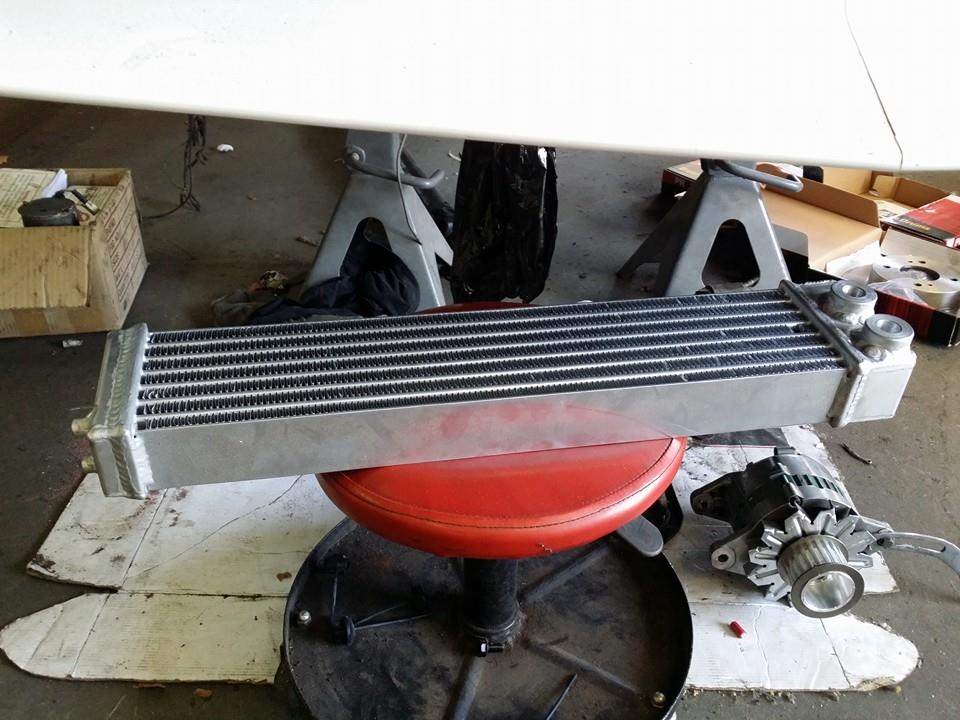
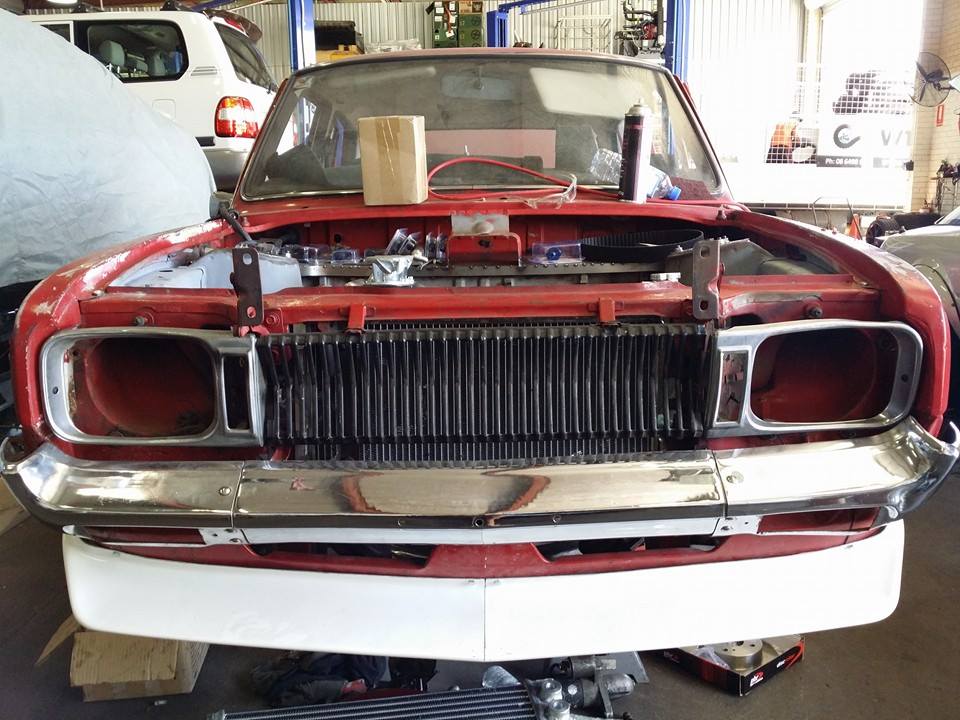
More progress now, getting closer and closer. Ended up changing to a crossflow radiator setup, the front end suspension is practically all sorted now so onto fitting the brakes. Rear end has just had some custom work carried out to get the torsion rods to fit up (mainly brackets). Bosch coils fitted up and HT leads trimmed to suit, just need the end cap sorted. Fuel tank has been removed and all sorted now and all the fuel components are there ready to be fitted as well. Slip up with the replacement panels...sigh...the floor panels are well off (hump in the middle is far too narrow) and the front bumper mounts on the guards are well off so they may just get used as panel steel....... Do not recommend Phils Rotary Parts. Have also ordered some Toyo R888s to wrap the wheels for that semi-slick goodness. Anyway here are some pics. Cheers, Tai
- 139 replies
-
- 12
-
-
Probably irrelevant but my mates 2.5 diesel turbo 99 bravo recently had a cracked head gasket. Flushed it out a few times, banged in some chemiweld - flushed it about another 2 times and 4 weeks later it's still running mint. Do not recommend but will suffice until he can afford to get another head swapped over in a few weeks.
-
So sweet, and very jealous of this purchase. That is all. Tai.