dabuzz
-
Posts
1,525 -
Joined
-
Last visited
-
Days Won
5
Everything posted by dabuzz
-

DABUZZ'z 1971 Mazda Capella RE + New 74 RX4
dabuzz replied to dabuzz's topic in Projects and Build Ups
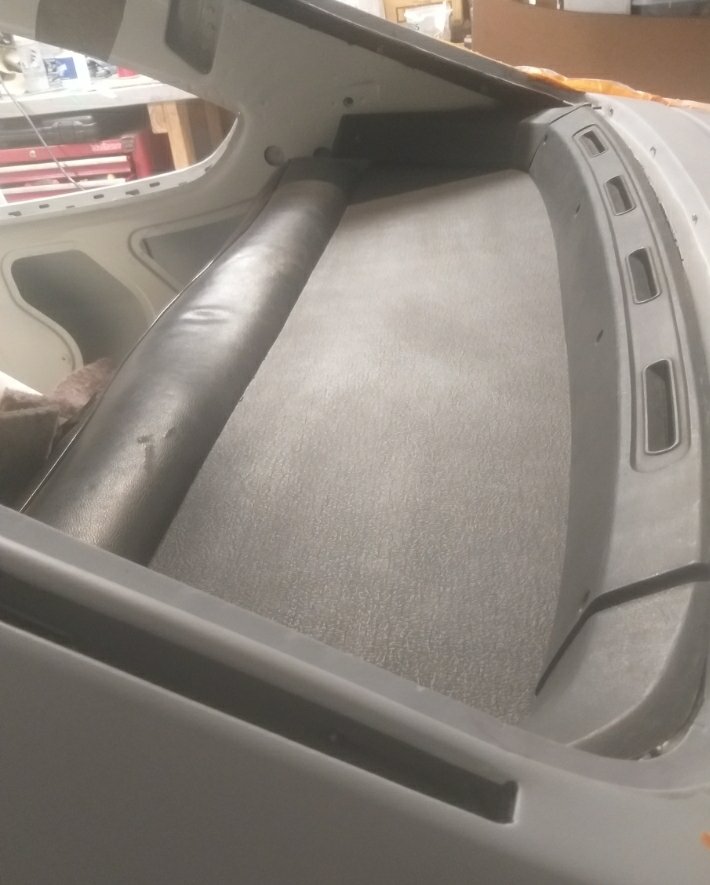
Dash painted matt black, originally did it satin but was too shiny still, so had to rub it back and redo, far better now. Car fully sound deadened, and have also made a new parcel tray
- 119 replies
-
- 23
-

-
Painted my dash matt black, has some dust in it, can it be fixed?, dont want to buff shiny
-
DABUZZ'z 1971 Mazda Capella RE + New 74 RX4
dabuzz replied to dabuzz's topic in Projects and Build Ups
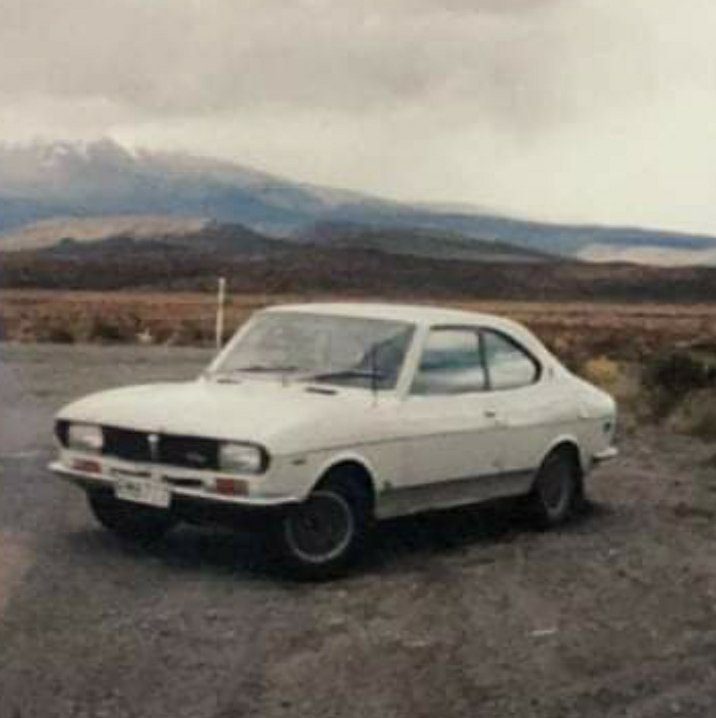
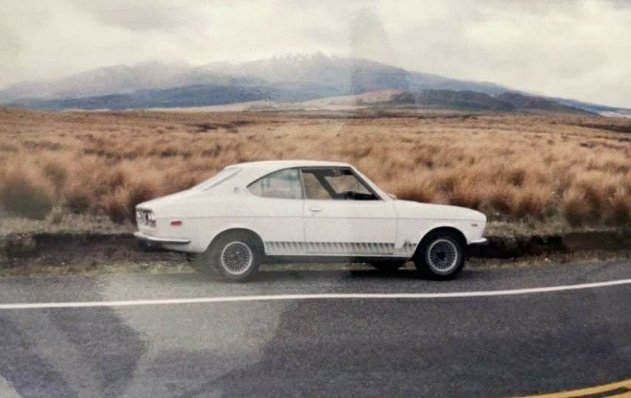
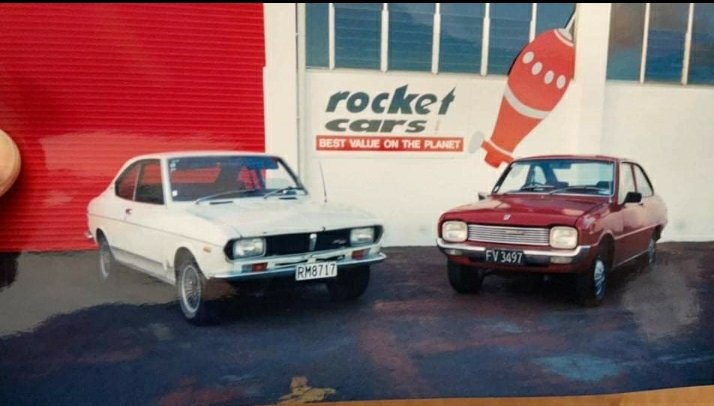
Just got sent these pics from the late 90s. Was bought in Chch and driven up to Auckland, pretty sure it had a piston motor in it by then, as the rotary had been replaced after it died. Probably one of the last drives it ever went on!
- 119 replies
-
- 24
-
-
DABUZZ'z 1971 Mazda Capella RE + New 74 RX4
dabuzz replied to dabuzz's topic in Projects and Build Ups
No photo, just a rant, at myself, decided to start fitting a few parts up inside starting with the wiring that runs front to back, the very first part to actually go into the car permanently.....and ive ficking lost it, searched twice, wtf, if this is a sign of things to come I'm screwed ffs....... -
DABUZZ'z 1971 Mazda Capella RE + New 74 RX4
dabuzz replied to dabuzz's topic in Projects and Build Ups
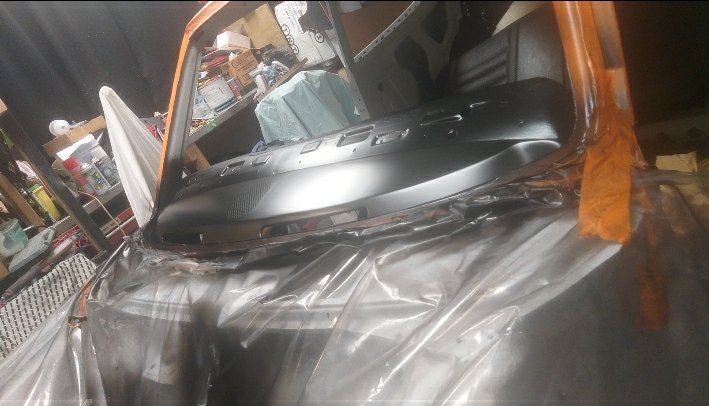
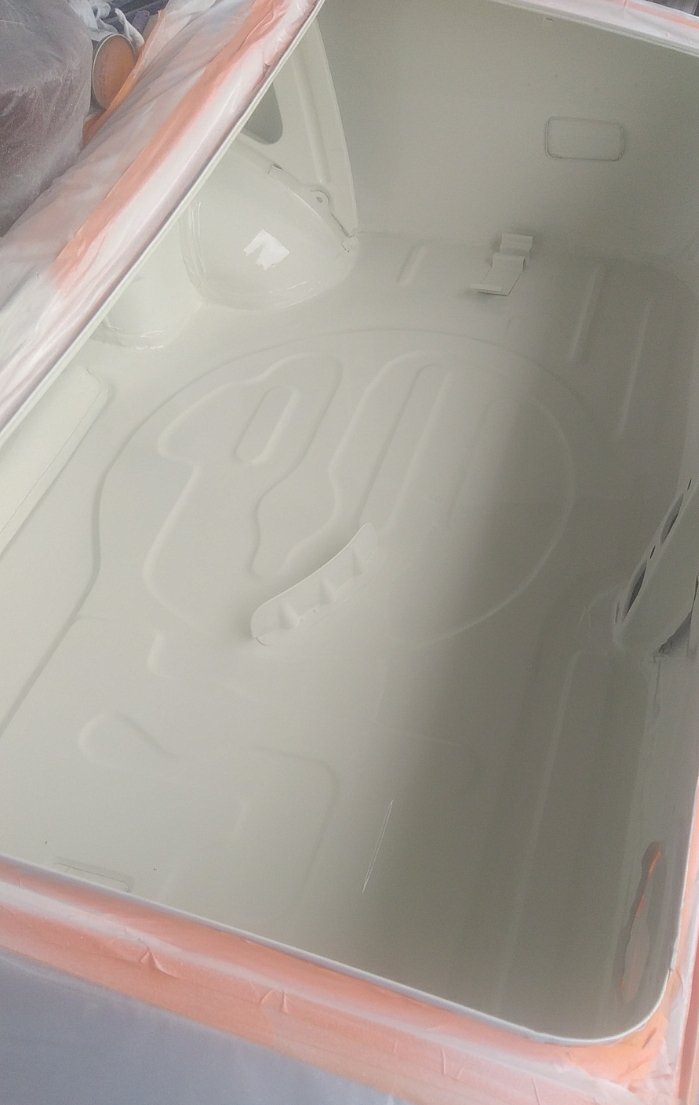
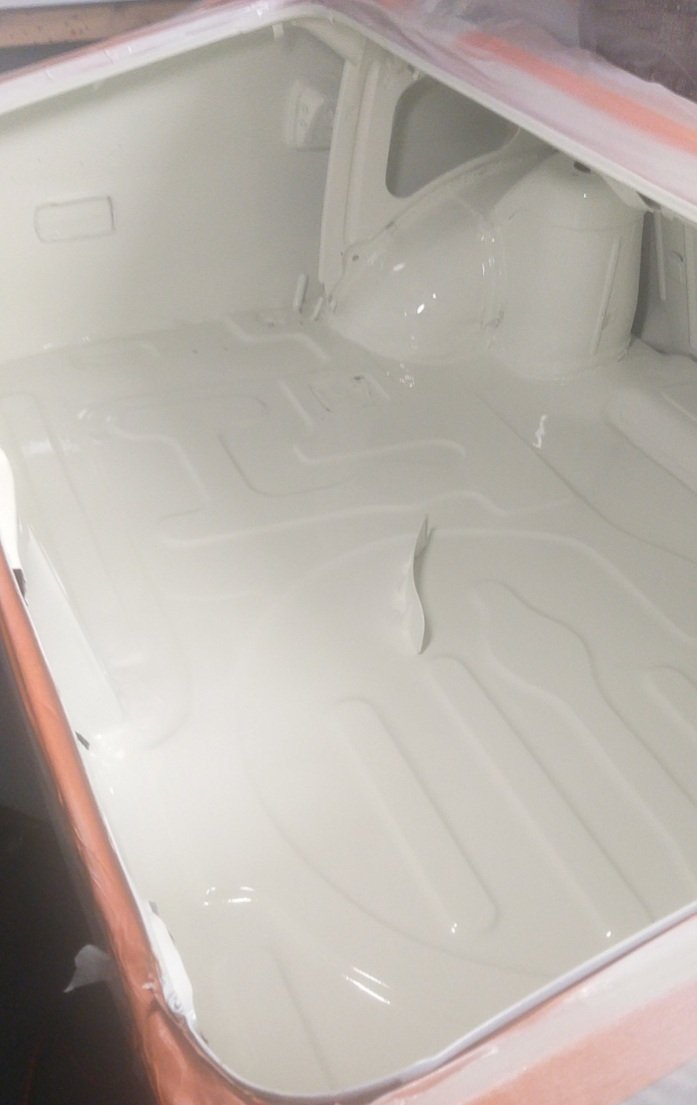
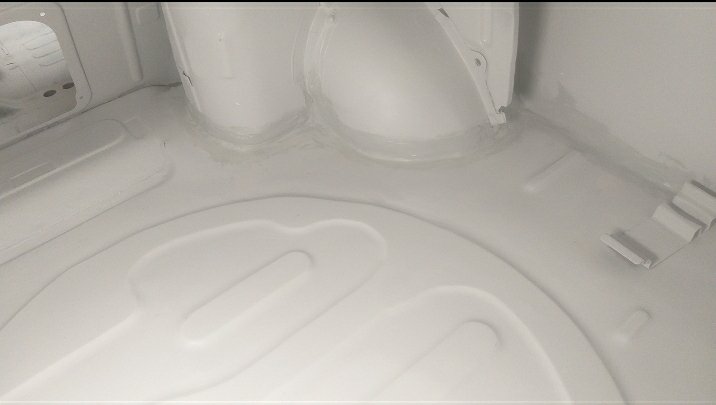
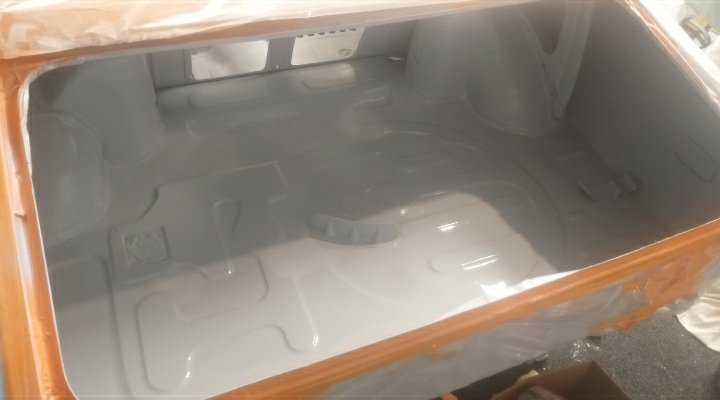
Boot all painted up now too, for a complete novice like me, it was pretty tricky getting into all the tight areas , but came out pretty good overall imo.
- 119 replies
-
- 28
-
-
Hell yes! She lives!! Sounds good man
-
DABUZZ'z 1971 Mazda Capella RE + New 74 RX4
dabuzz replied to dabuzz's topic in Projects and Build Ups
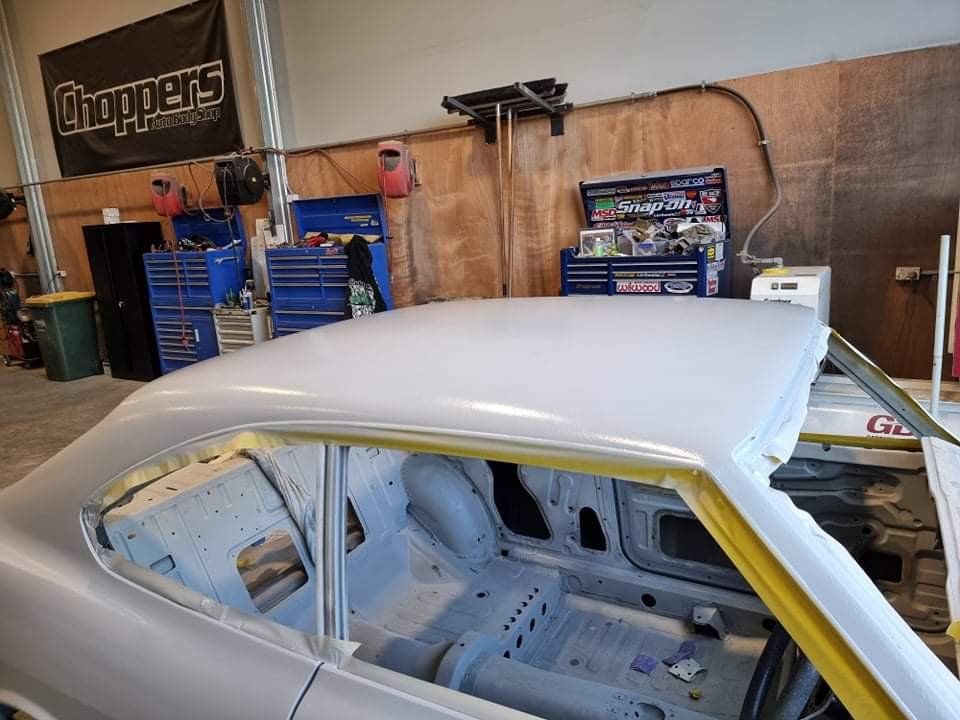
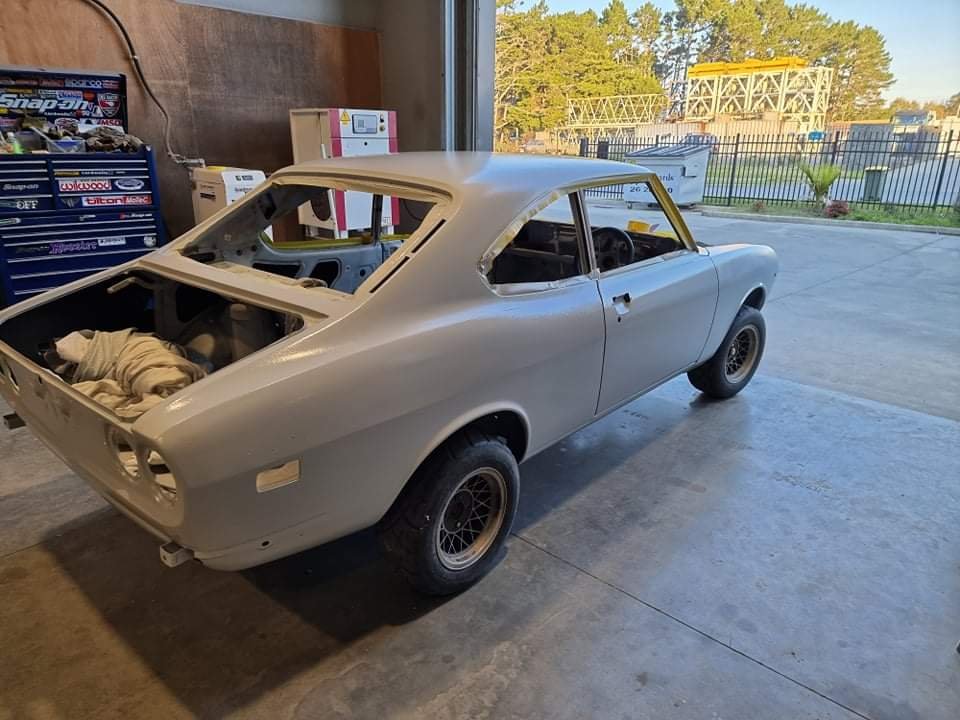
Fuck yes- after something like 9 1/2 years its finally got some colour on it, just a home job in the garage, but it's not seen so thought I'd just hit it. Majorly stoked
- 119 replies
-
- 48
-
-
DABUZZ'z 1971 Mazda Capella RE + New 74 RX4
dabuzz replied to dabuzz's topic in Projects and Build Ups
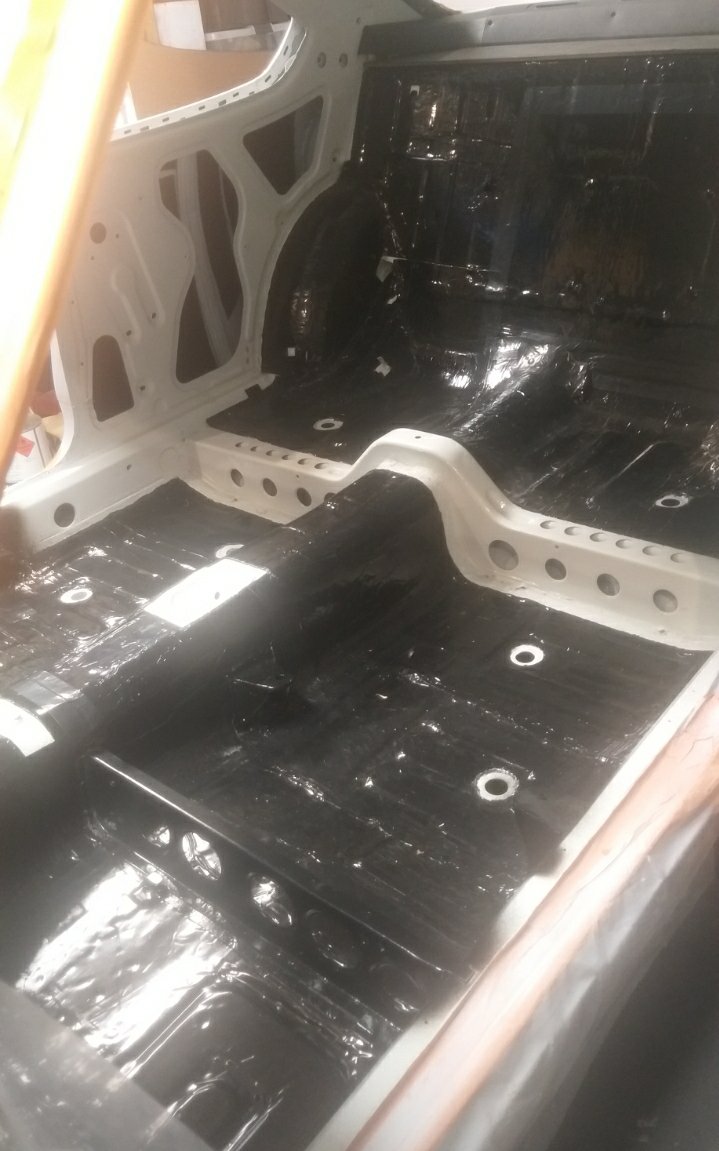
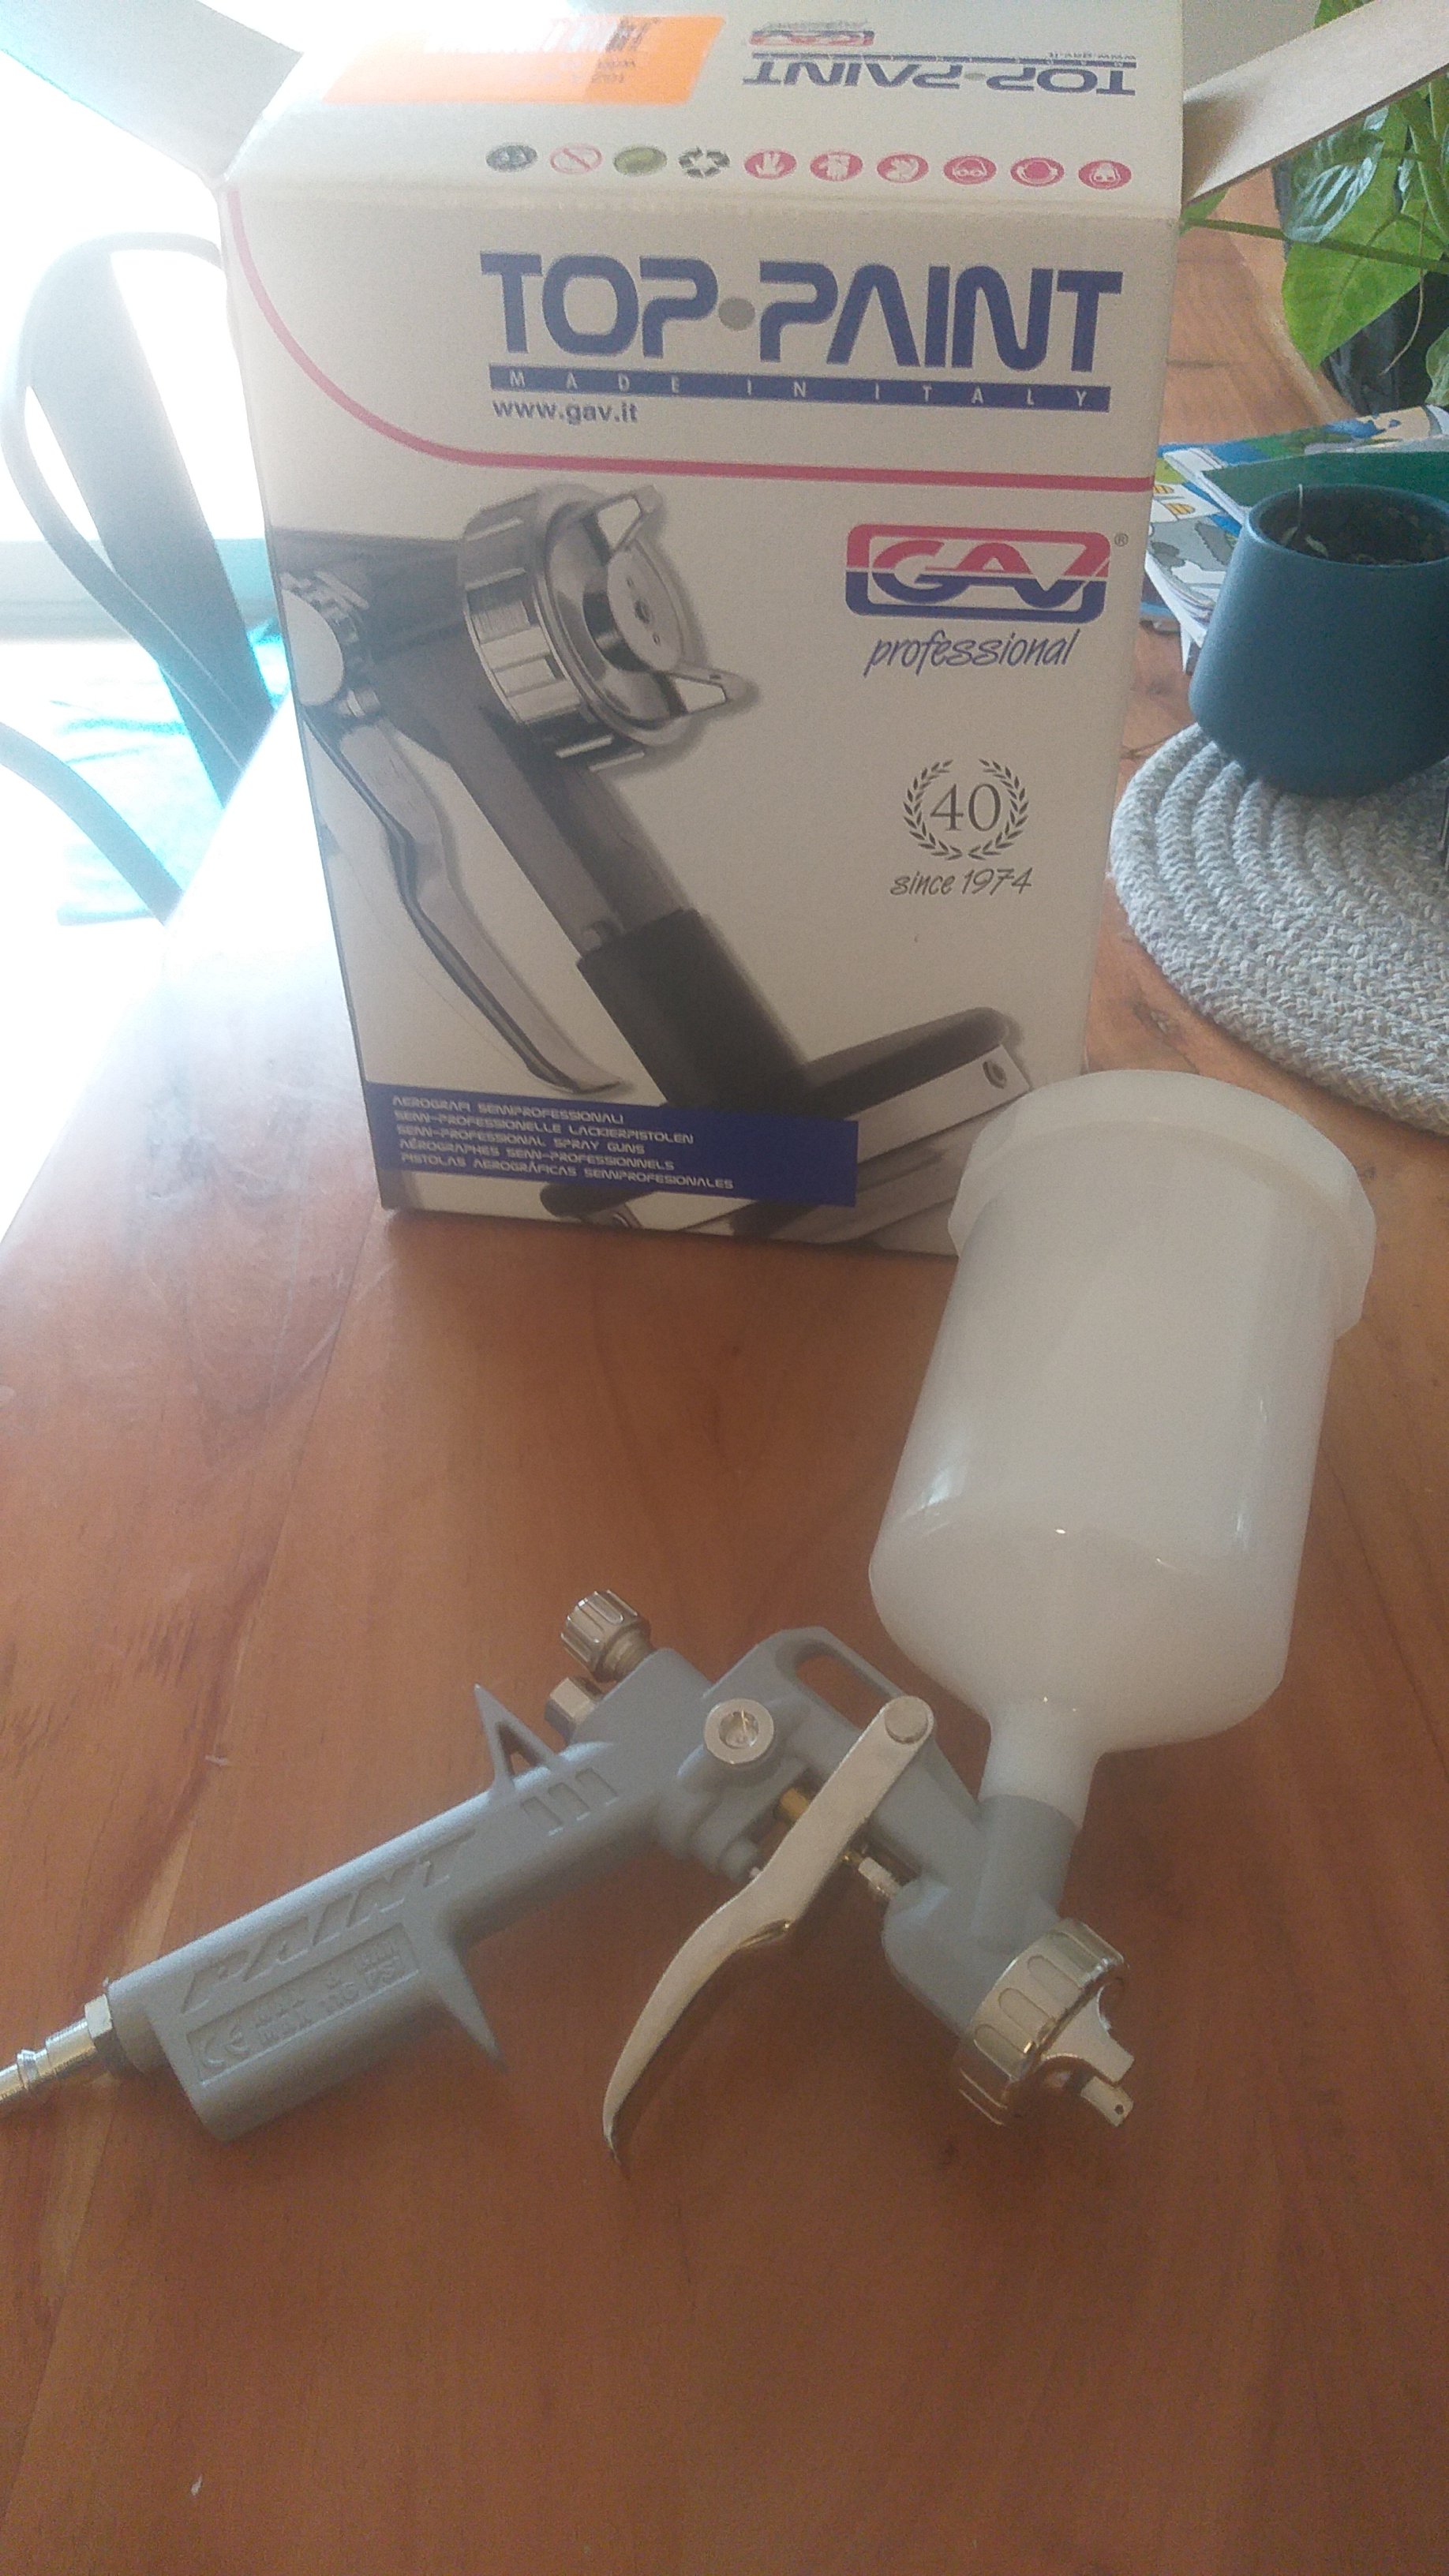
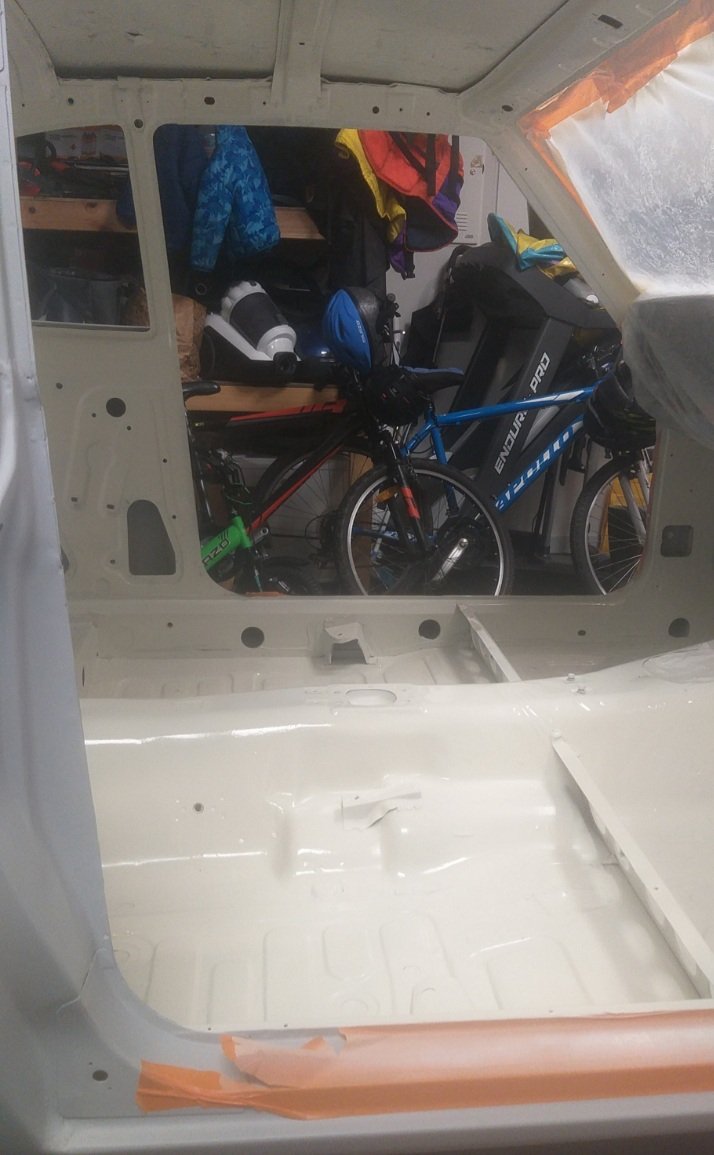
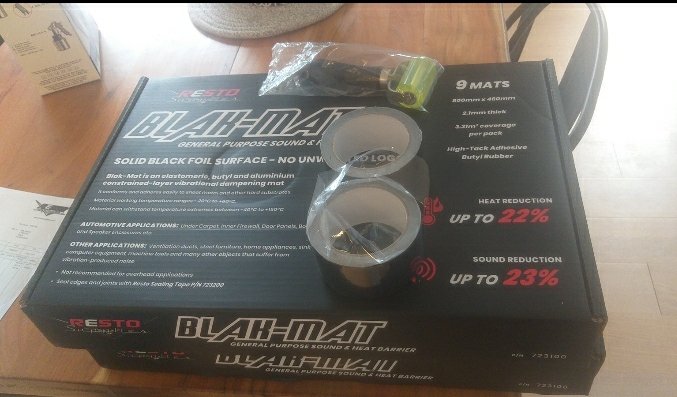
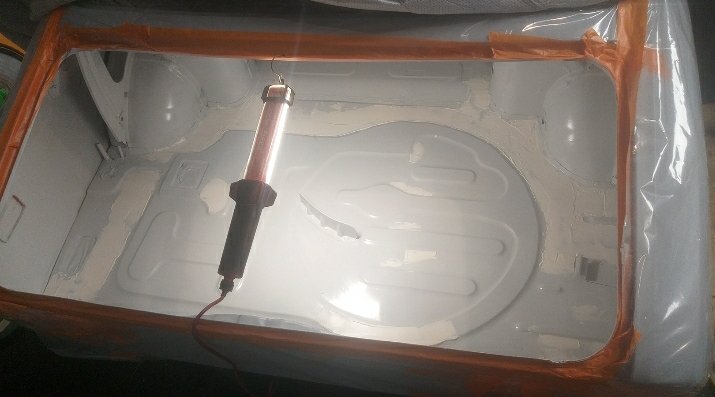
Still busy prepping boot have re-epoxied, seam sealed, and filler primer, all ready for top coat. Have also cleaned up cabin, ready for some colour to seal it off. Dash and boot lid filler primer applied also. Purchased a new elcheapo spray gun for top coating inside car, and settled on Blak Mat for sound deadening. Full kit of 2x packs, roller, and tape was $375, still cheaper than 1x dynamat pack so I'm happy
- 119 replies
-
- 21
-
-
DABUZZ'z 1971 Mazda Capella RE + New 74 RX4
dabuzz replied to dabuzz's topic in Projects and Build Ups
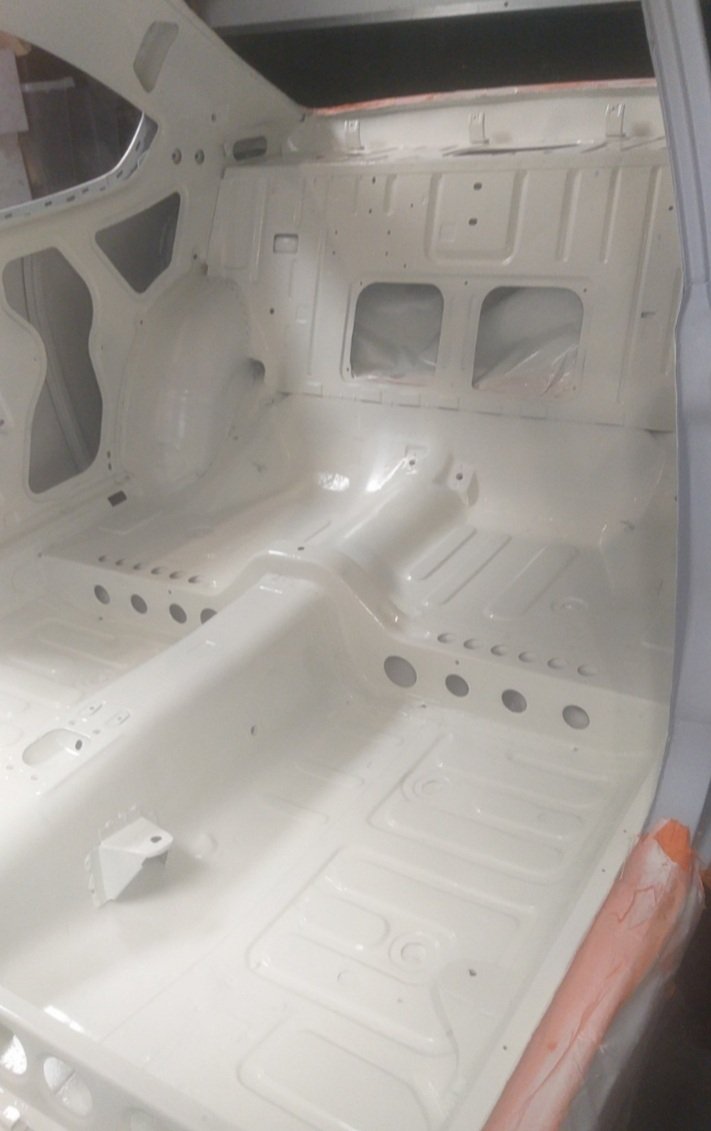
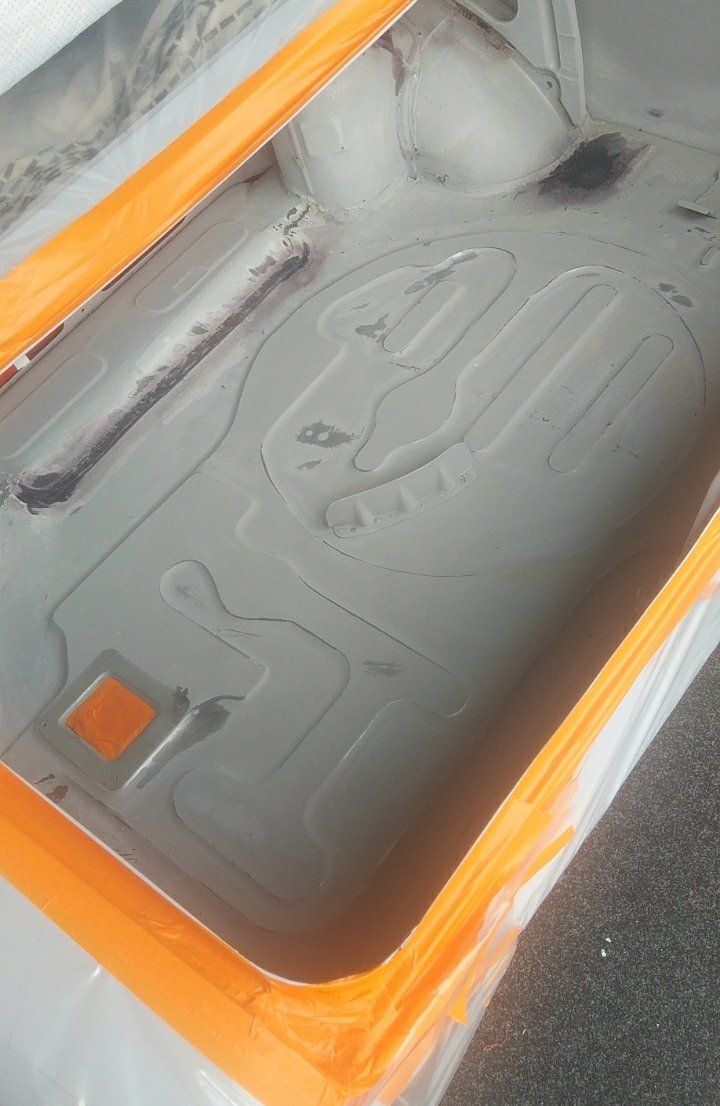
Car came home a while back, until I organise a time with the painter. Was hoping to go straight to paint but didnt work out, this has actually been a blessing as now with lockdown I can do a few small things on it. Have sanded back and re-epoxied inside the boot, filled where necessary and I'm currently sanding all that back, I fkn hate sanding......
- 119 replies
-
- 25
-
-

-
badass ride, good knowing that you were mostly only going to be dealing with new steel (floors etc) rather than random old repairs, good score tough looking car! Lockdown garage skids?
-
sweet old cruiser that! good score, nice and original too, which will be a massive bonus in the future
-
DABUZZ'z 1971 Mazda Capella RE + New 74 RX4
dabuzz replied to dabuzz's topic in Projects and Build Ups
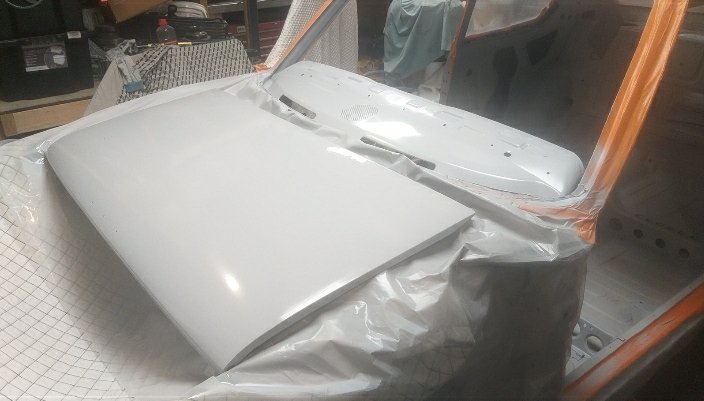
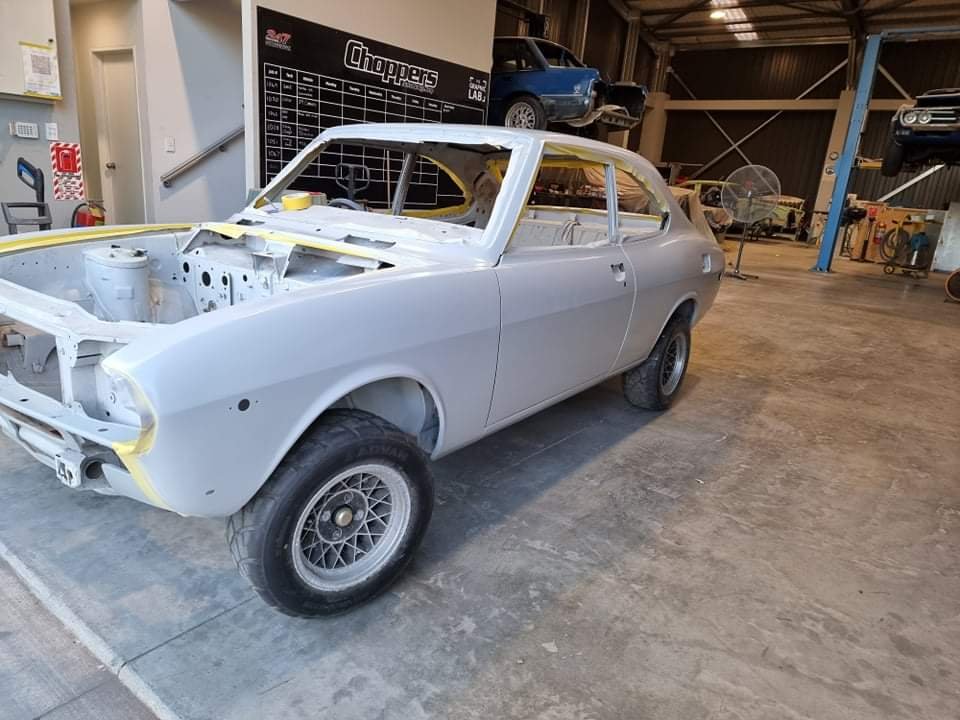
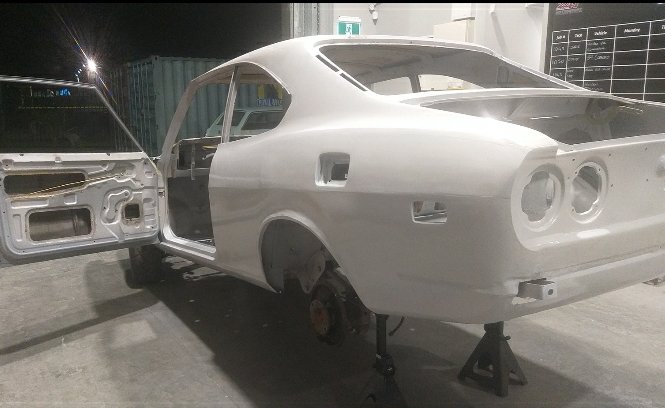
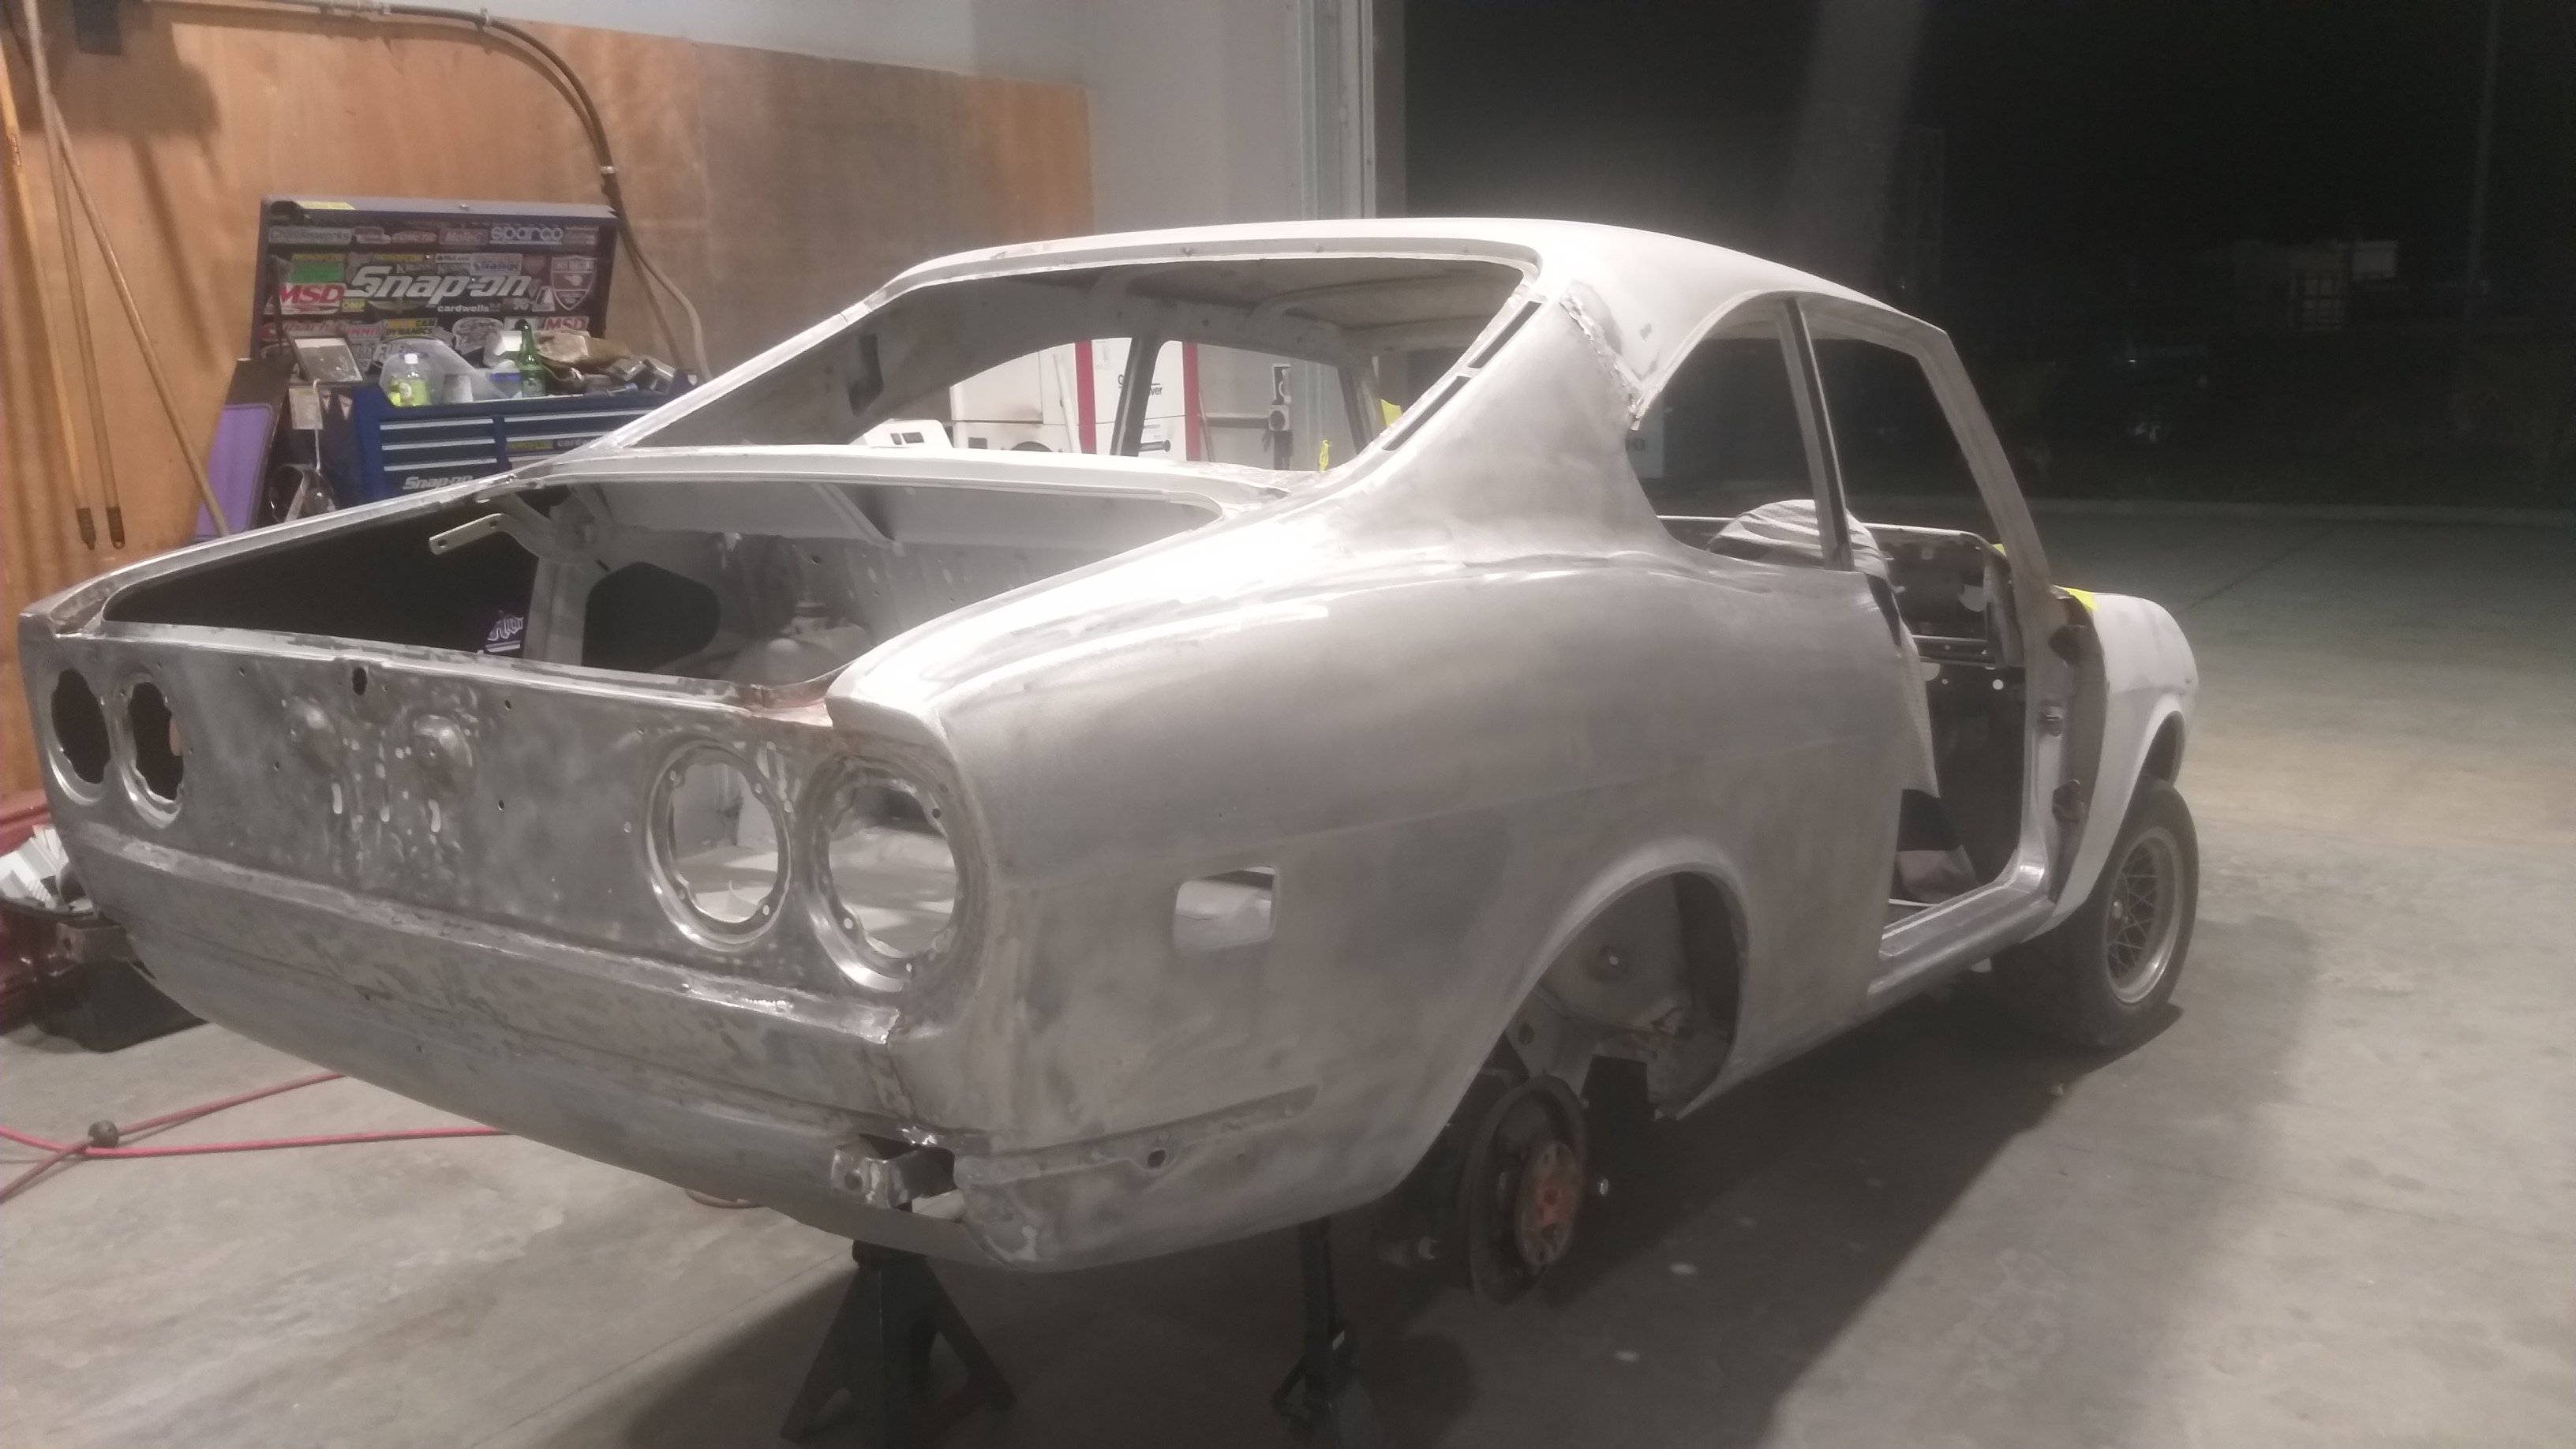
Some filling/blocking priming underway, coming out way better than I imagined
- 119 replies
-
- 29
-
-
Thanks guys, yes so super happy to get here, been a long process, cant wait to actually be able to bolt some nice parts back on it in the near future
-
DABUZZ'z 1971 Mazda Capella RE + New 74 RX4
dabuzz replied to dabuzz's topic in Projects and Build Ups
.
- 119 replies
-
- 34
-
-
-
DABUZZ'z 1971 Mazda Capella RE + New 74 RX4
dabuzz replied to dabuzz's topic in Projects and Build Ups
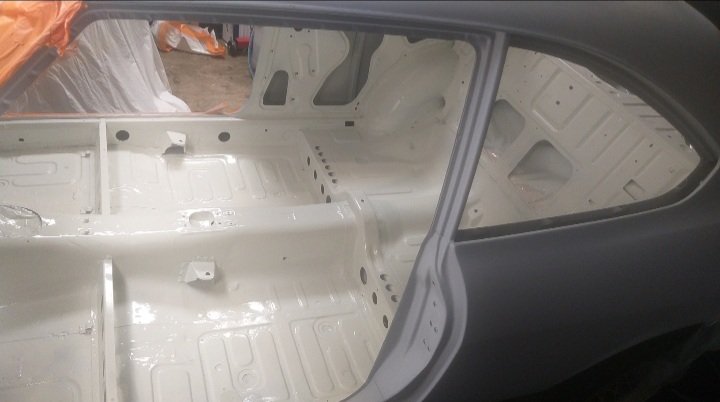
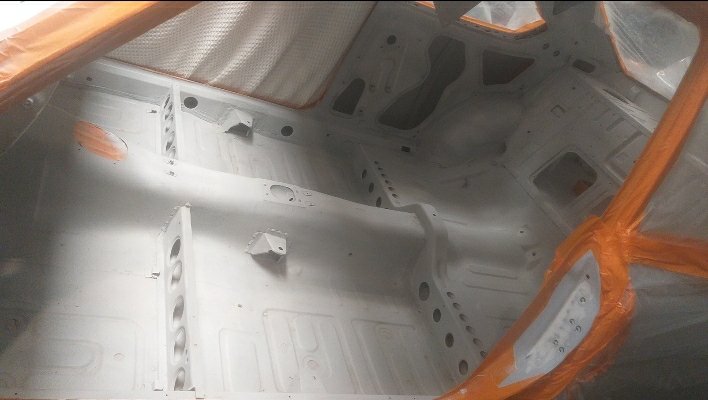
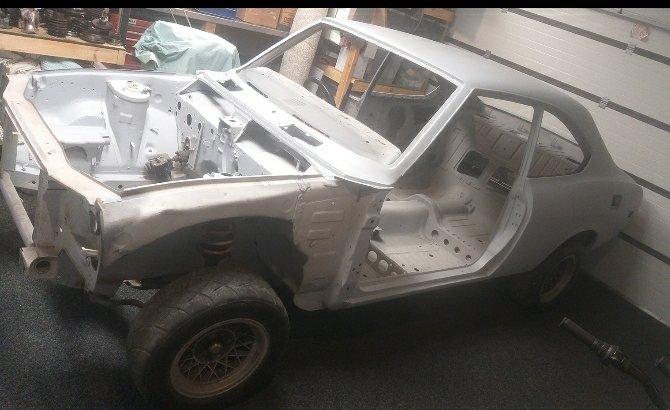
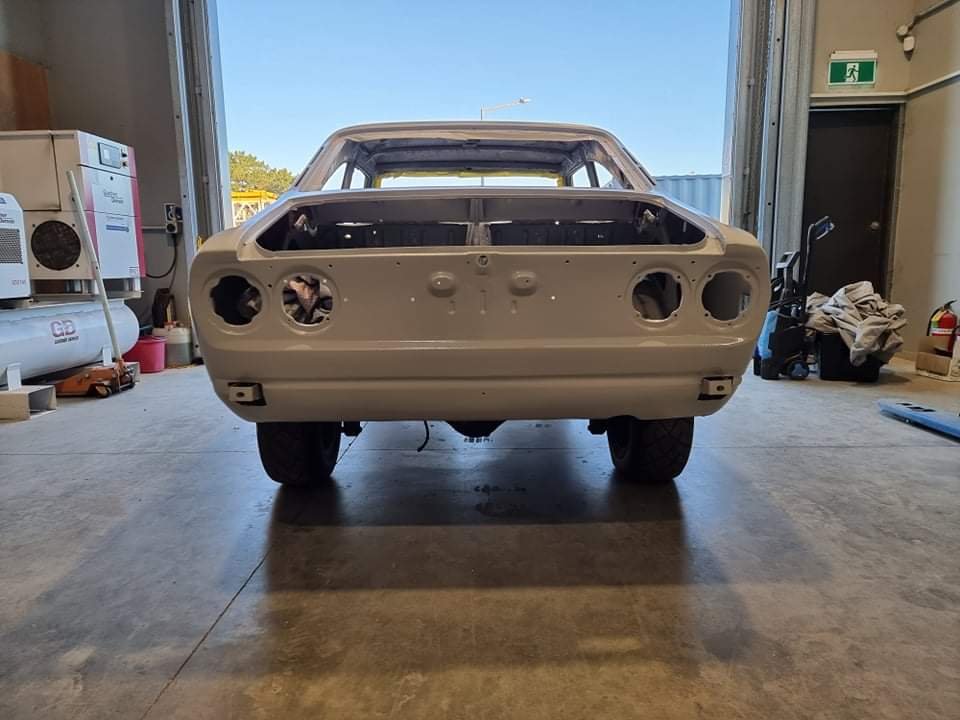
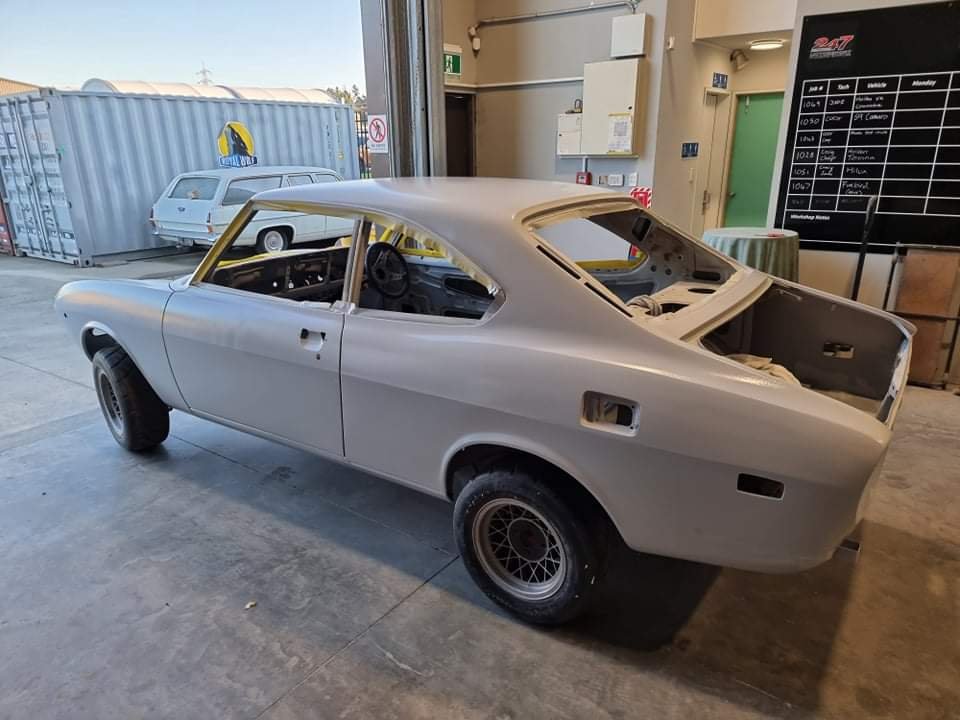
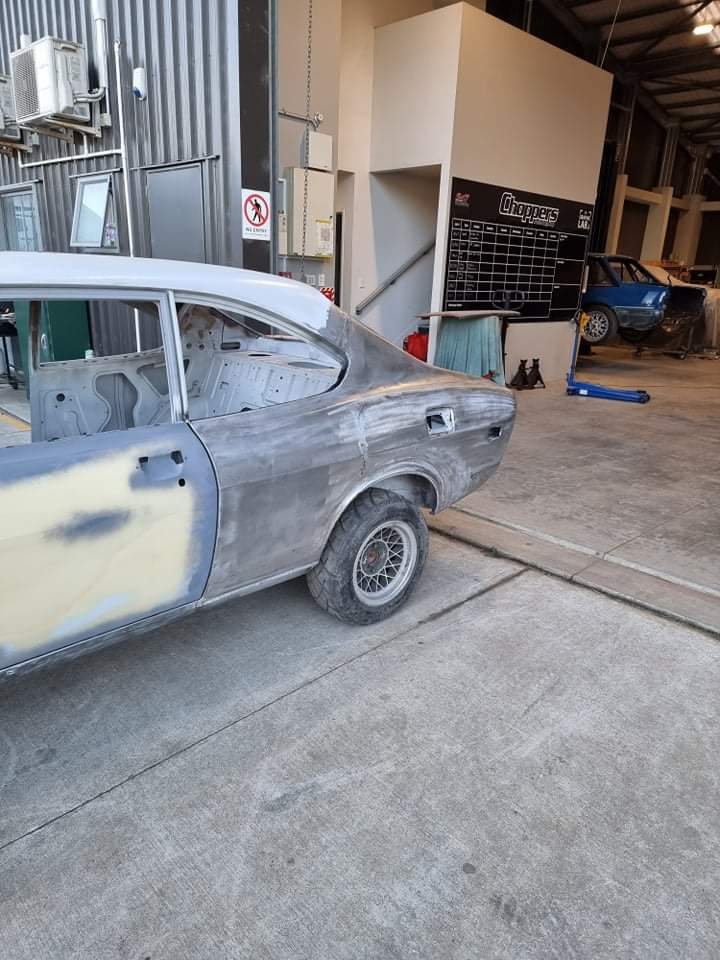
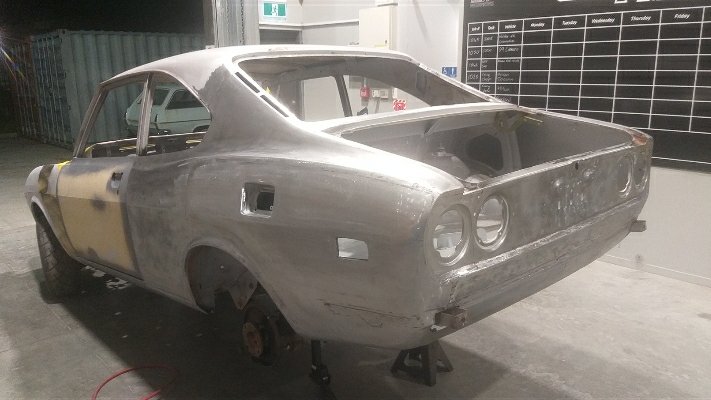
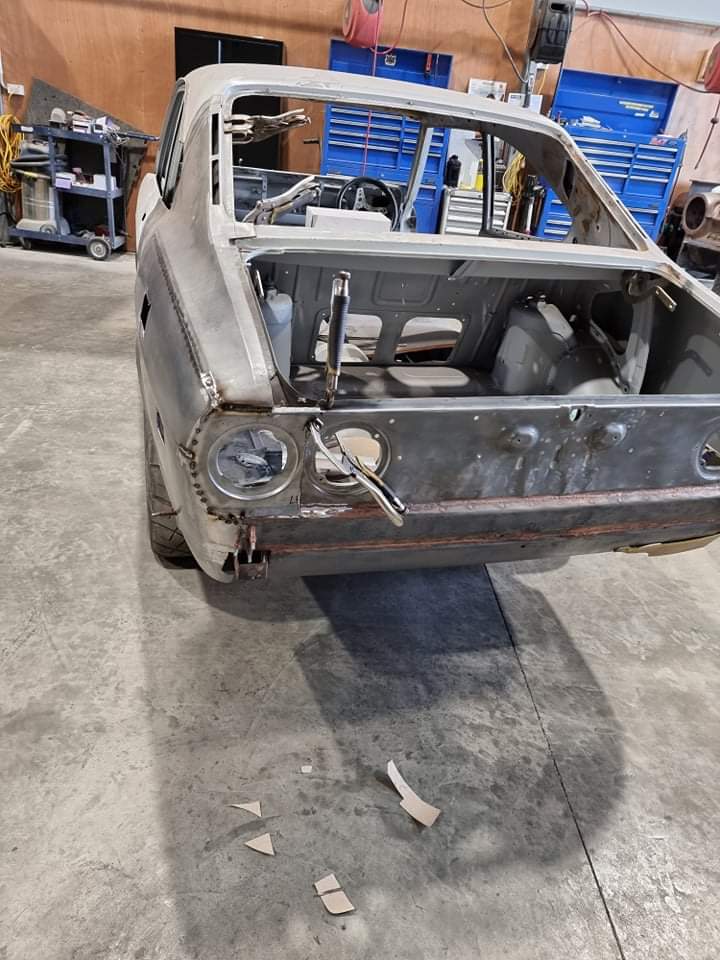
Steel work pretty much finished! Chopper has done a killer job on it, no filler in it yet, looking pretty straight in epoxy, repair certifier has had a look and is happy too!
- 119 replies
-
- 22
-
-
-
Have you considered acid dipping panels like the bonnet that is split apart? Personally I found this a cost and time effective process, and can be 100% sure that you have found and killed all the hidden rust/pinholes etc.
-
yea man, just get it legal, could be unforeseen costs in doing that aione that could set you back budget wise before you even get a chance to modify, and besides, you get to cruise a while stock, might change your build direction
-
love it, +1 for the vinyl roof, if its not ripped up you can get those re-coloured easy enough. also - you do realise it already has period correct wheels on it!
-
.
-
wow, thats massive, nice work on getting that far, its flying along now
- 90 replies
-
- 1
-
-
- CorollaCoupe
- SR
- (and 5 more)
-
DABUZZ'z 1971 Mazda Capella RE + New 74 RX4
dabuzz replied to dabuzz's topic in Projects and Build Ups
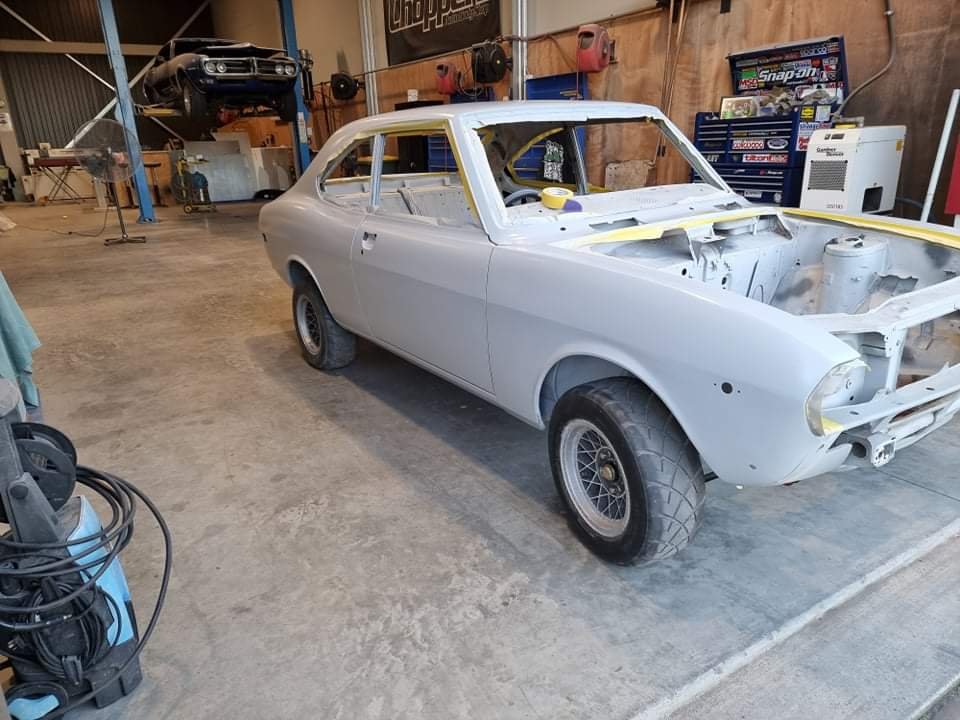
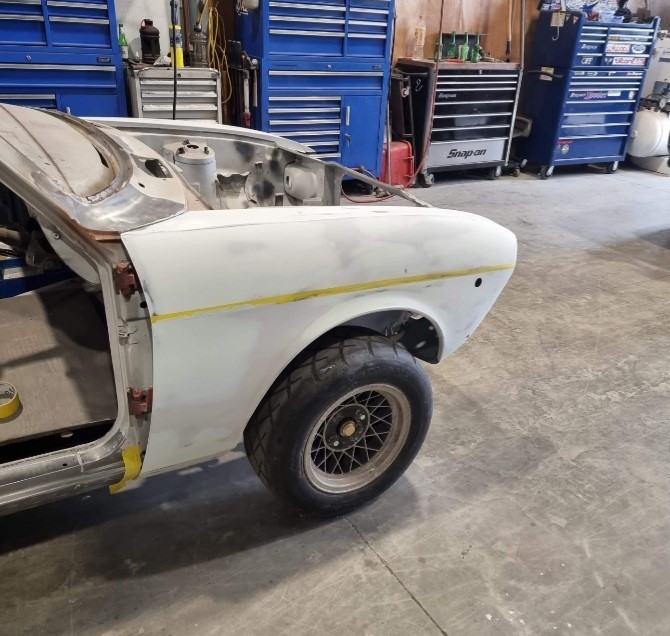
Mock up- inching closer
- 119 replies
-
- 24
-
-
a spare set of widened steelies on the back could also be a sweet option to change it up!?
-
DABUZZ'z 1971 Mazda Capella RE + New 74 RX4
dabuzz replied to dabuzz's topic in Projects and Build Ups
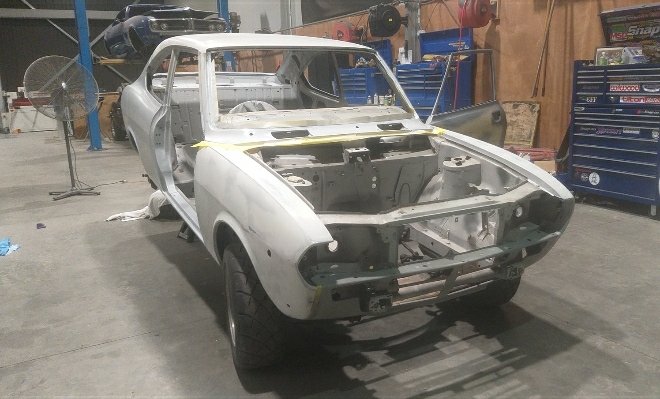
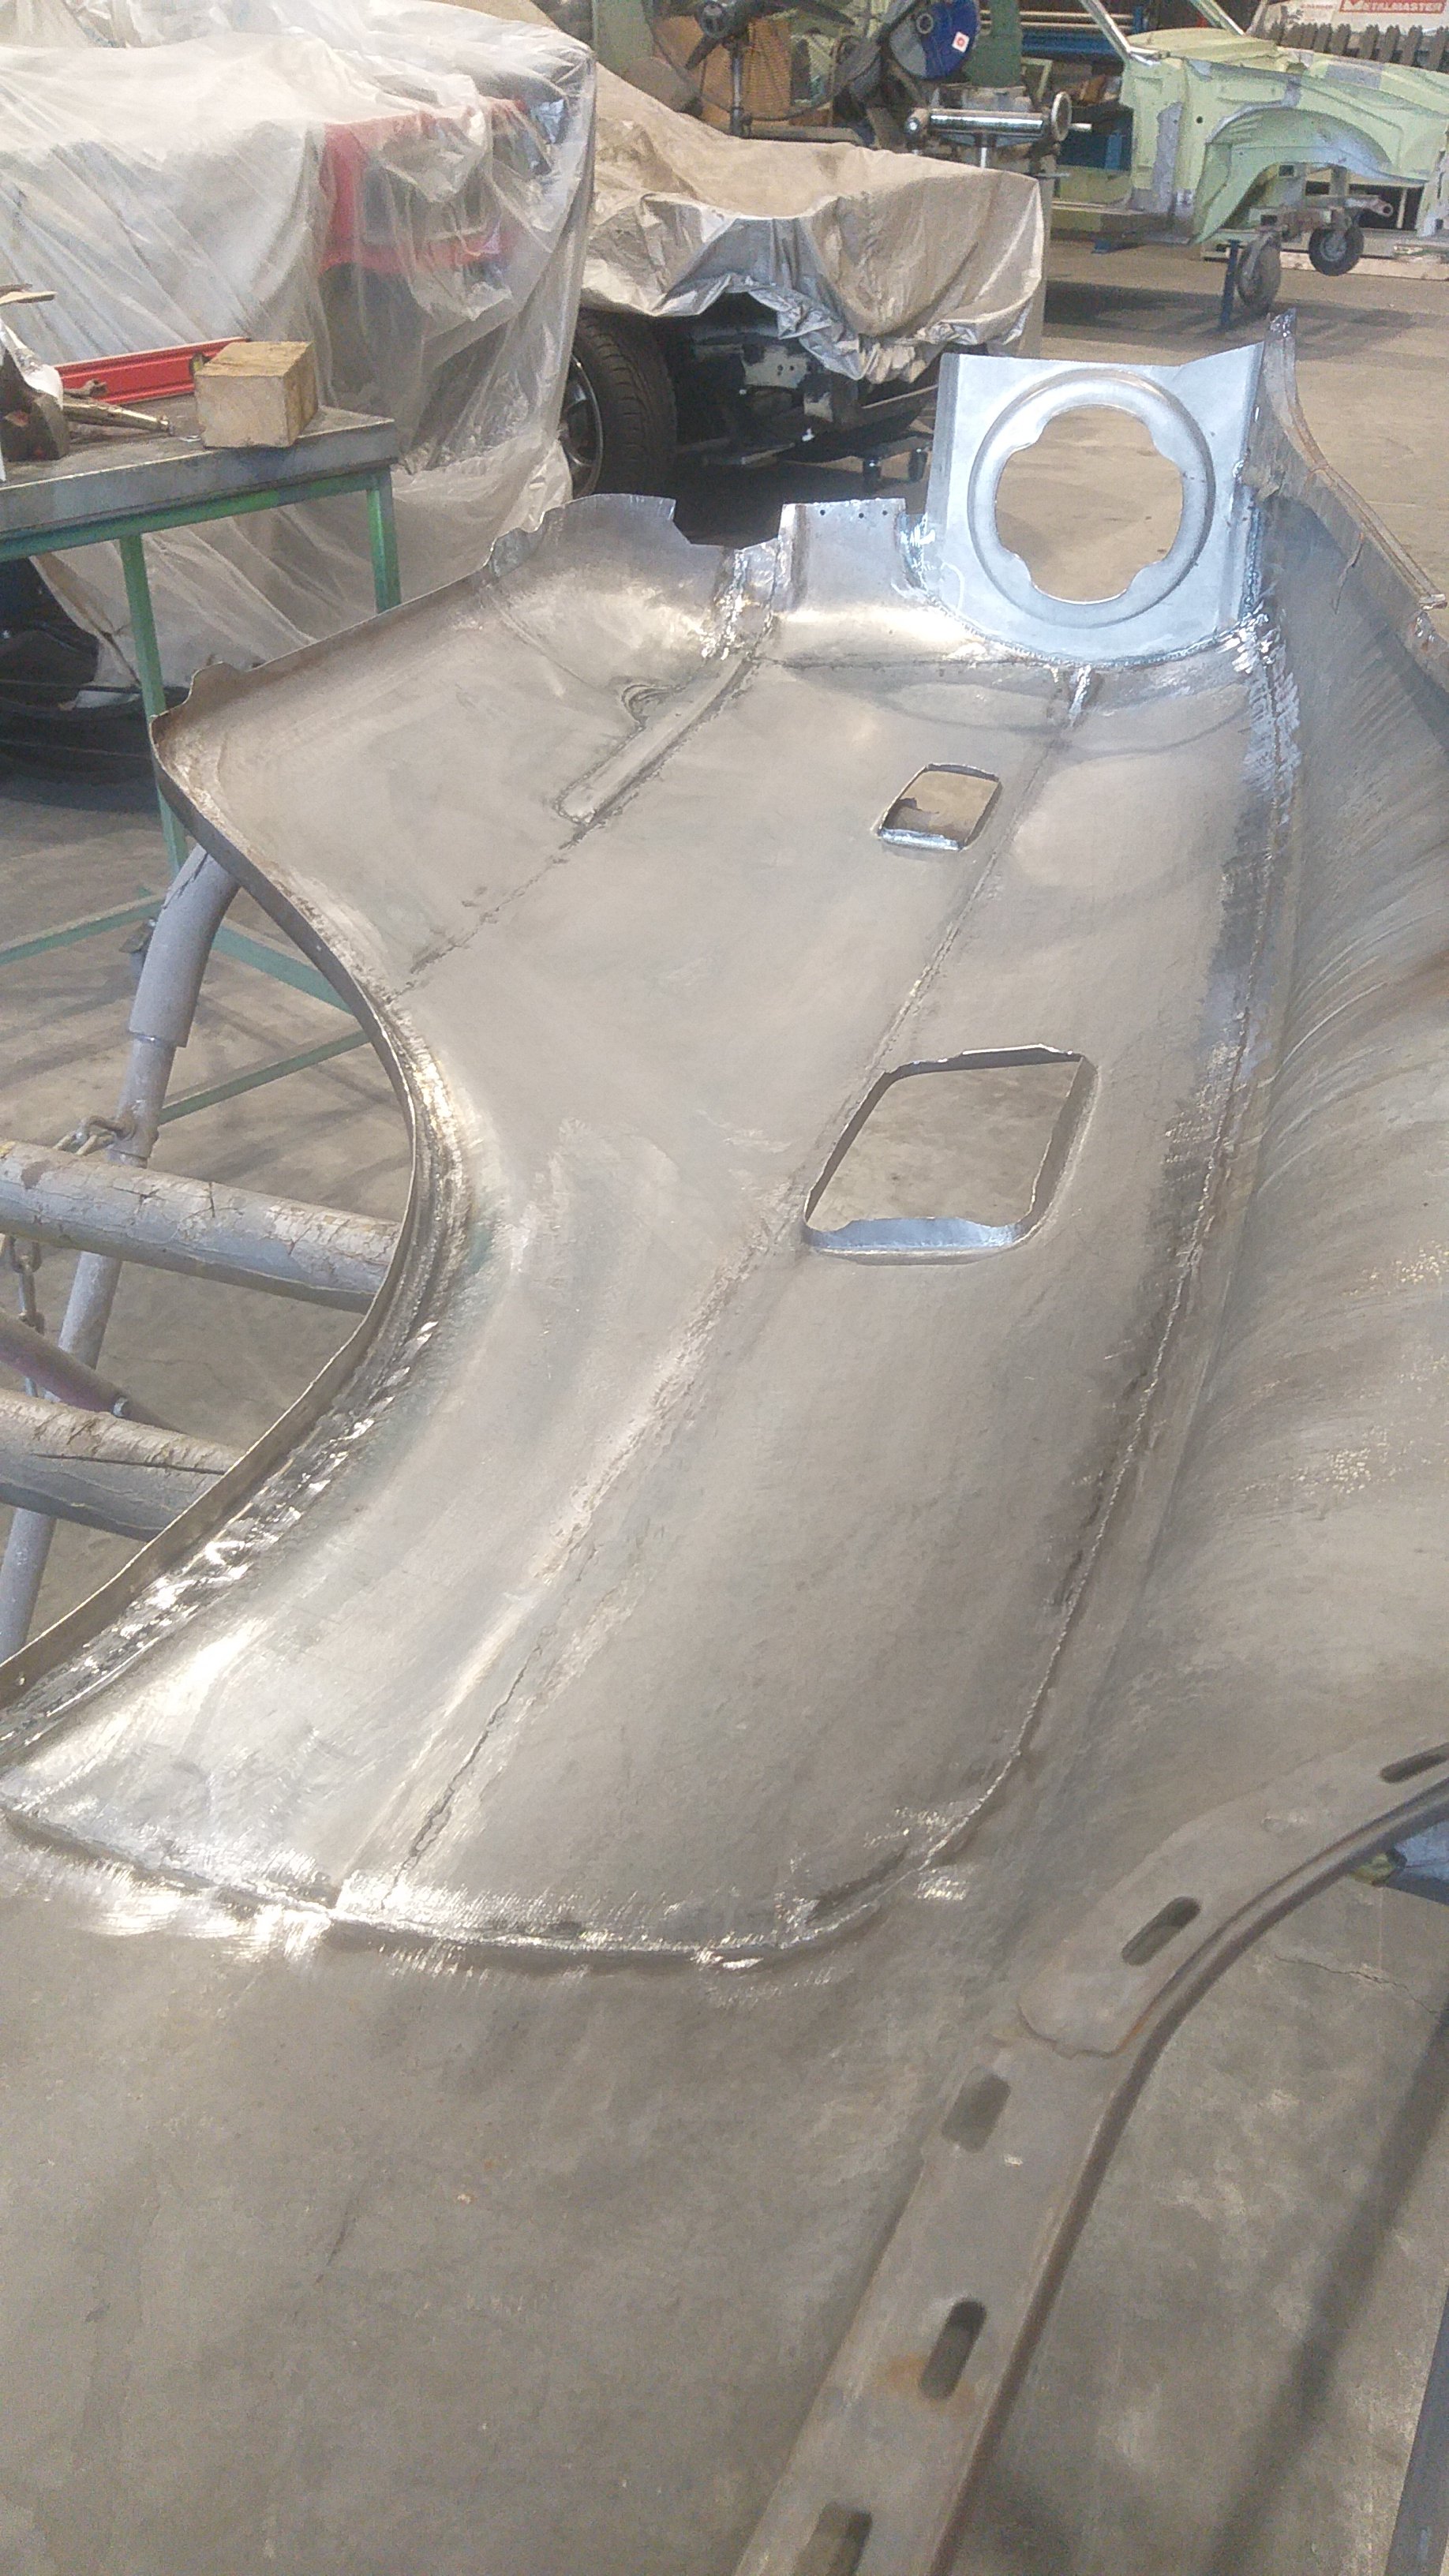
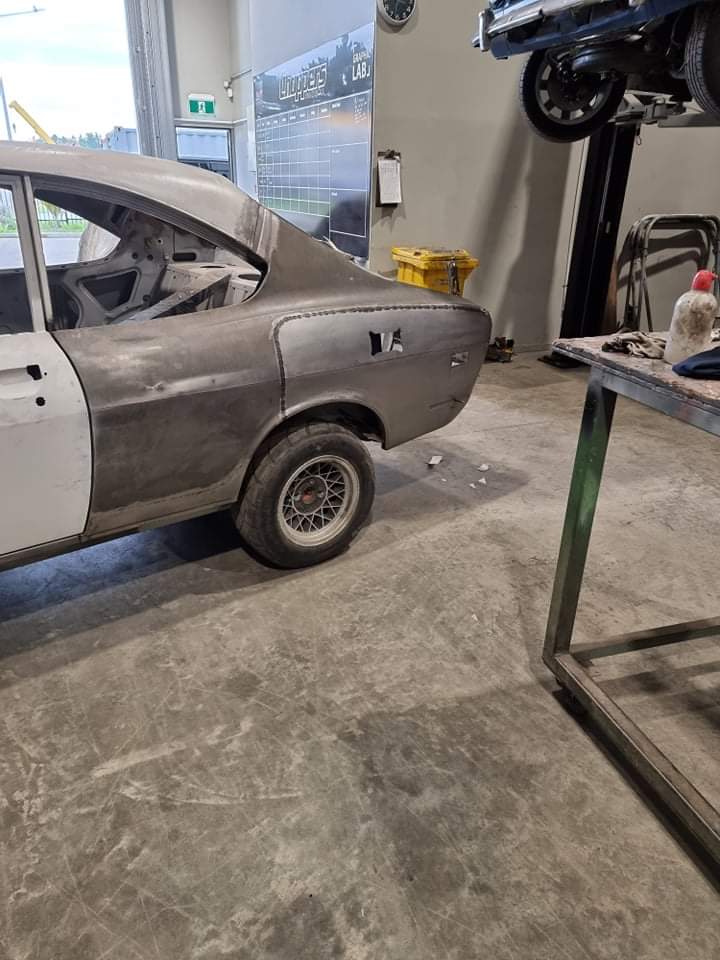
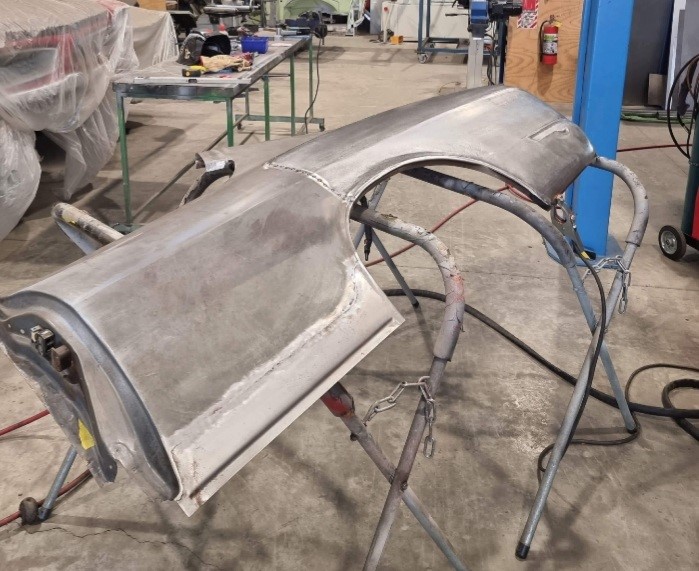
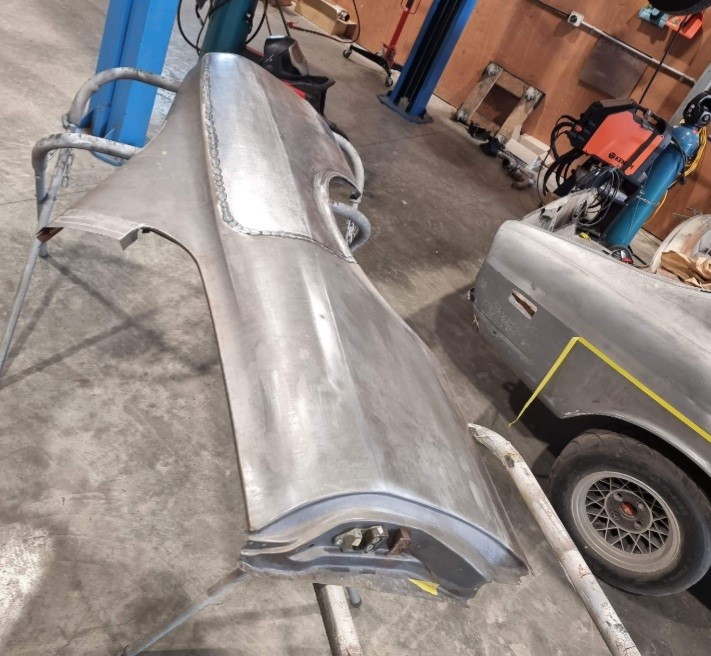
Bit more done on the 1/4 fabrication, getting a lot closer now, also some filling work as well on a door and guard.
- 119 replies
-
- 28
-
-
yea way tougher with the dish, and yes he has 5 stud PCD all round