fletch
-
Posts
1,777 -
Joined
-
Last visited
-
Days Won
1
Content Type
Forums
Downloads
Events
Gallery
Everything posted by fletch
-
Puegot 504? 506? Front caliper seals fit the sumitomo caliper. And mk4 or 5 Cortina pistons fit
-

Random slightly cool stuff you built but not worth its own thread, thread
fletch replied to h4nd's topic in Other Projects
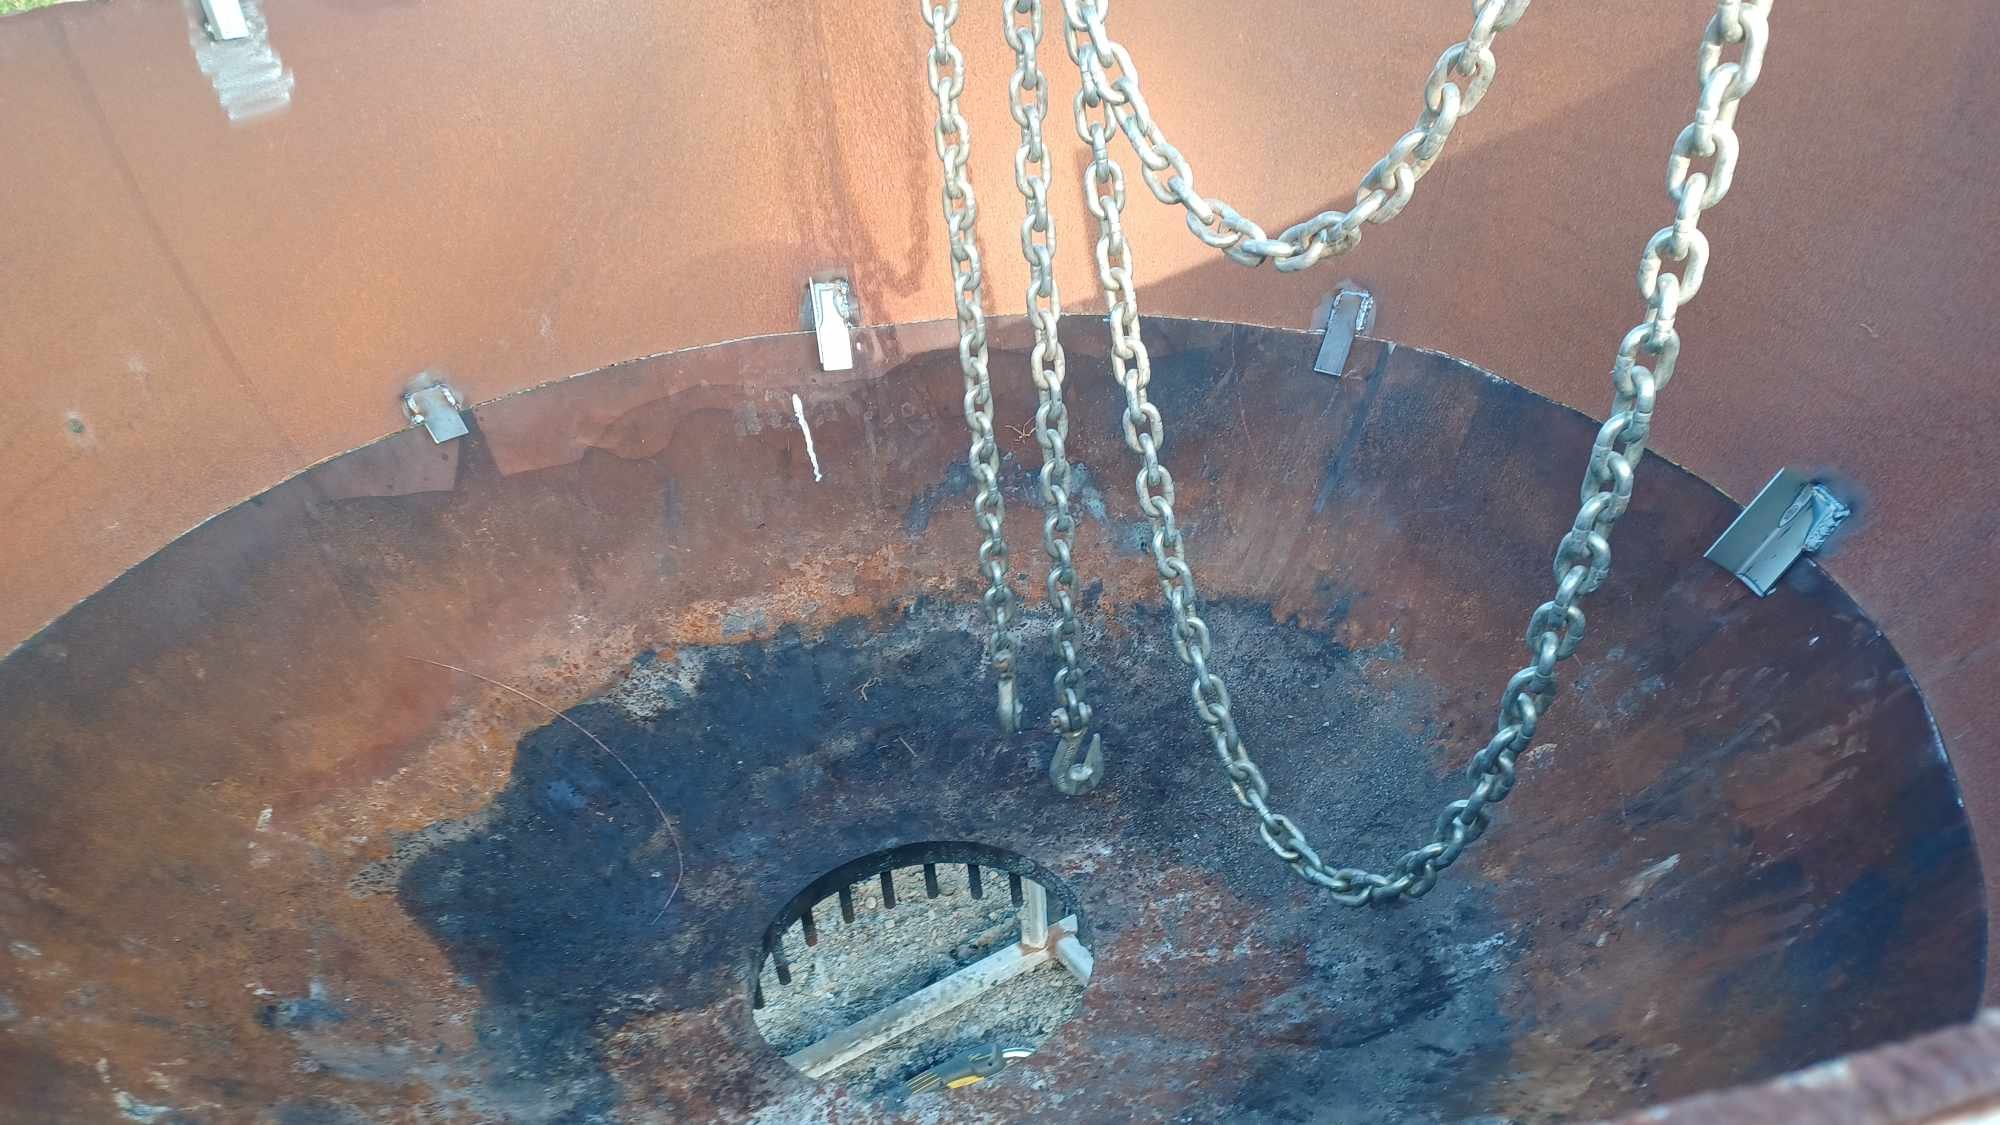
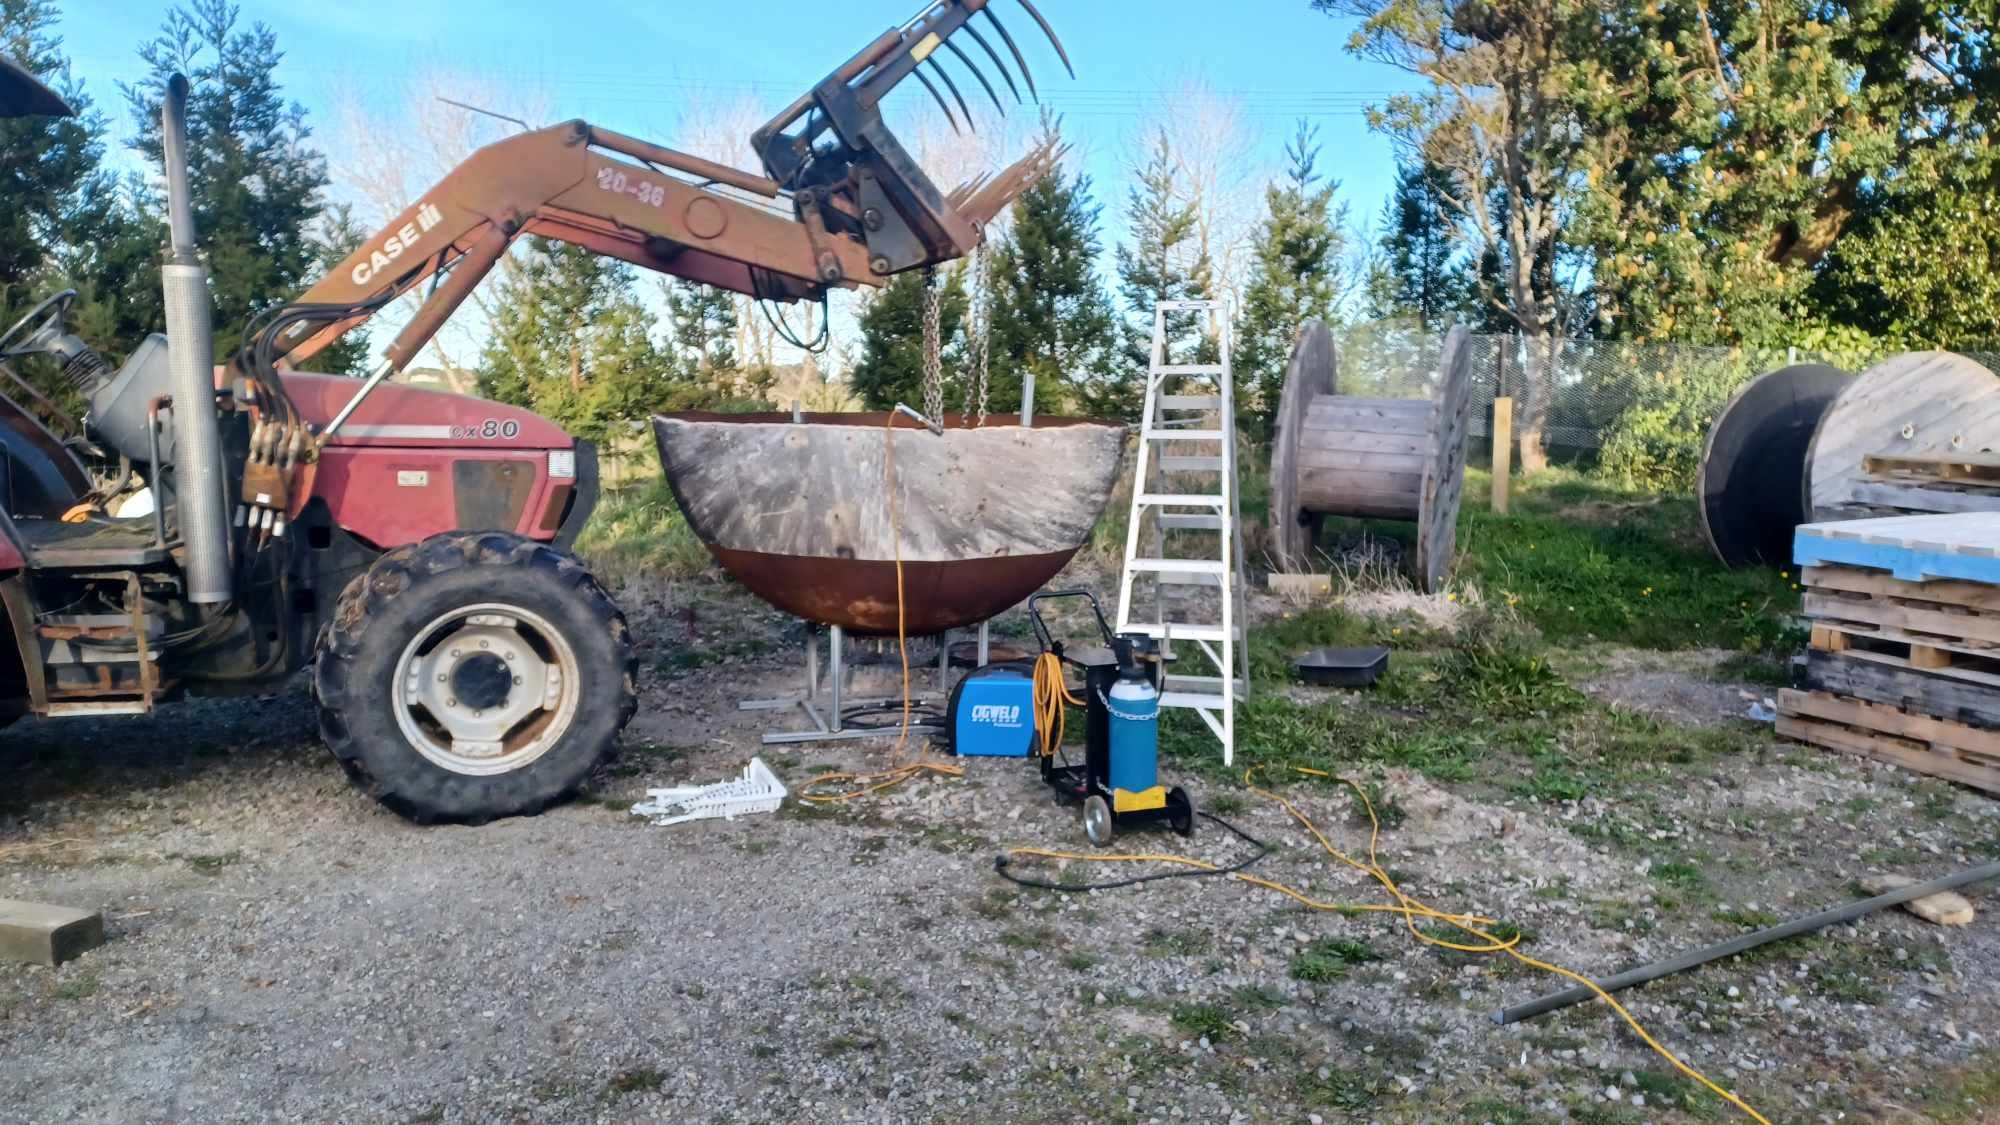
*some of this may be a repost I grew up on a farm, and I'm a guy, so I looooove burning shit. I got the end off a lpg tanker a while back to build a brazier. It was big so I gave it a haircut to make it more manageable. I have been using it to convert everything I can get my hands onto into heat. In fact, my property has never been so free of rubbish. Today I put humpty back together again with the intention of disappearing some dying hedge trees. I welded some tabs to the top half so it locates on the bottom and drilled a 10mm bolt hole in each to keep it there so I can move it easily with the tractor. Should do the trick.
-
But how will you do big vrod burnouts if you can't hold the front brake at the same time
-
Random slightly cool stuff you built but not worth its own thread, thread
fletch replied to h4nd's topic in Other Projects
This is a much bigger job than the photos show! I did a nosey drive by the other day and saw it was nearly done. Looks mint. -
Drain the carbs after the meeting and refill with petrol. Then when you get to the track next week, enjoy the instant start and crisp high idle as your 16:1 comp engine runs right on the edge of knock. Then just as your envious competitors womble over to see how you got it to start so easily, and run without Italian tune up amounts of throttle, flick the fuel pump on and the idle will drop back to the typical methanol idle, albeit not as bad due to the glowing plugs and hot chambers from the brief burst on petrol.
-
New Plymouth pick a part. Help to collect a part needed?
fletch replied to kp60nick's topic in Lower North Island Region
In stock
-
New Plymouth pick a part. Help to collect a part needed?
fletch replied to kp60nick's topic in Lower North Island Region
I'll try and swing by tomorrow on my way past -
Is that the new plymouth jokers? They are down the street from work. We have had mostly good results from them at work. Have used Robinson instruments with success also. Seem like knowledgeable barries with poor website skillz
-
Spray brake clean backwards throught he injectors while powering them up to get any shit out too
-
Looks like raising the hanger bearing would be pretty easy. How much more penetration do you need into the box? Can you make a 30-50mm spacer with a male and female spigot to go into the front of the diff flange to space the shaft forward? If you do it at the same time as the hanger move it will look 'stock' too
-
30Degrees 1975 Datsun 260c H330 Station Wagon Discussion
fletch replied to 30DegreesRetarded's topic in Project Discussion
Have you got the rubber/plastic bits on top of the springs inside the crossmember? Mayne you have them both on 1 side or 1 missing -
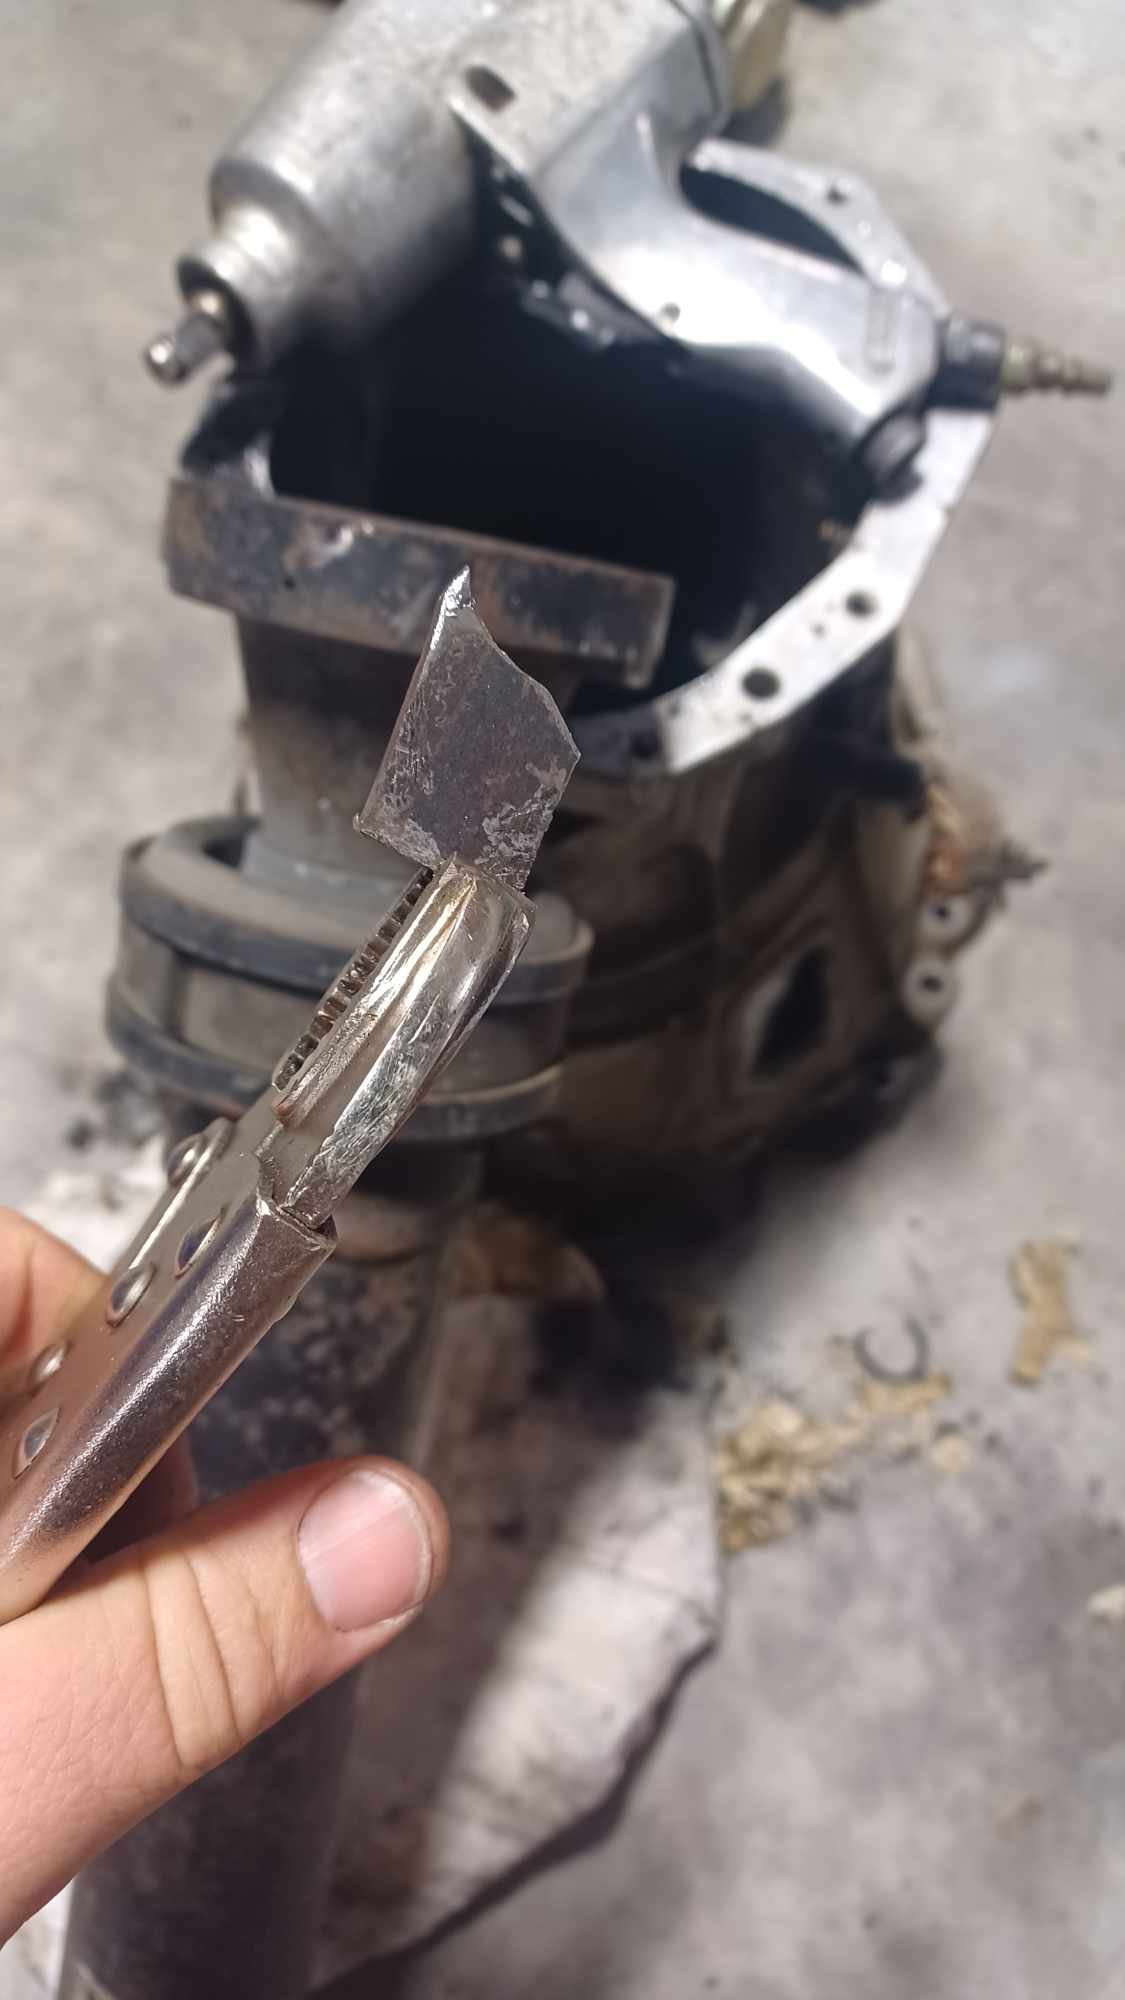
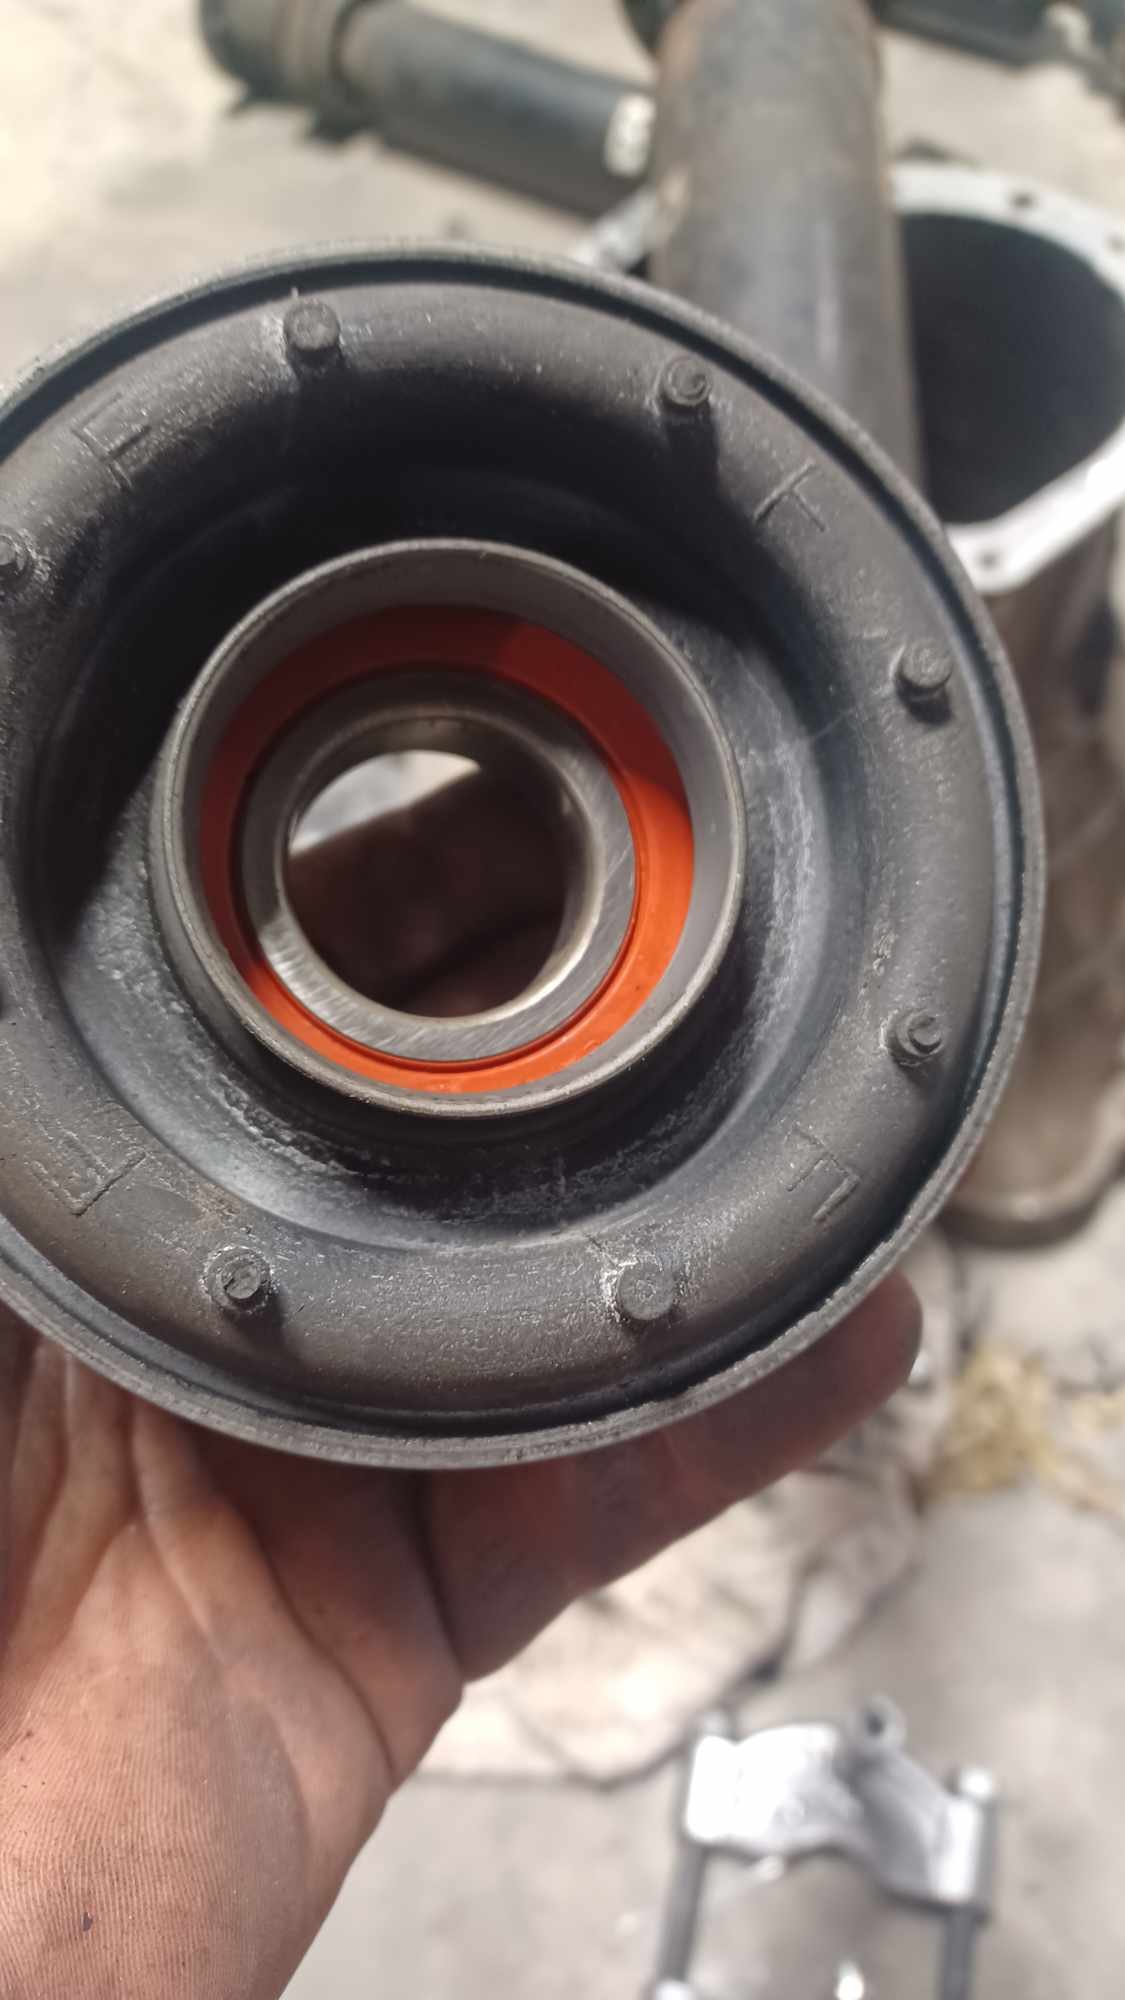
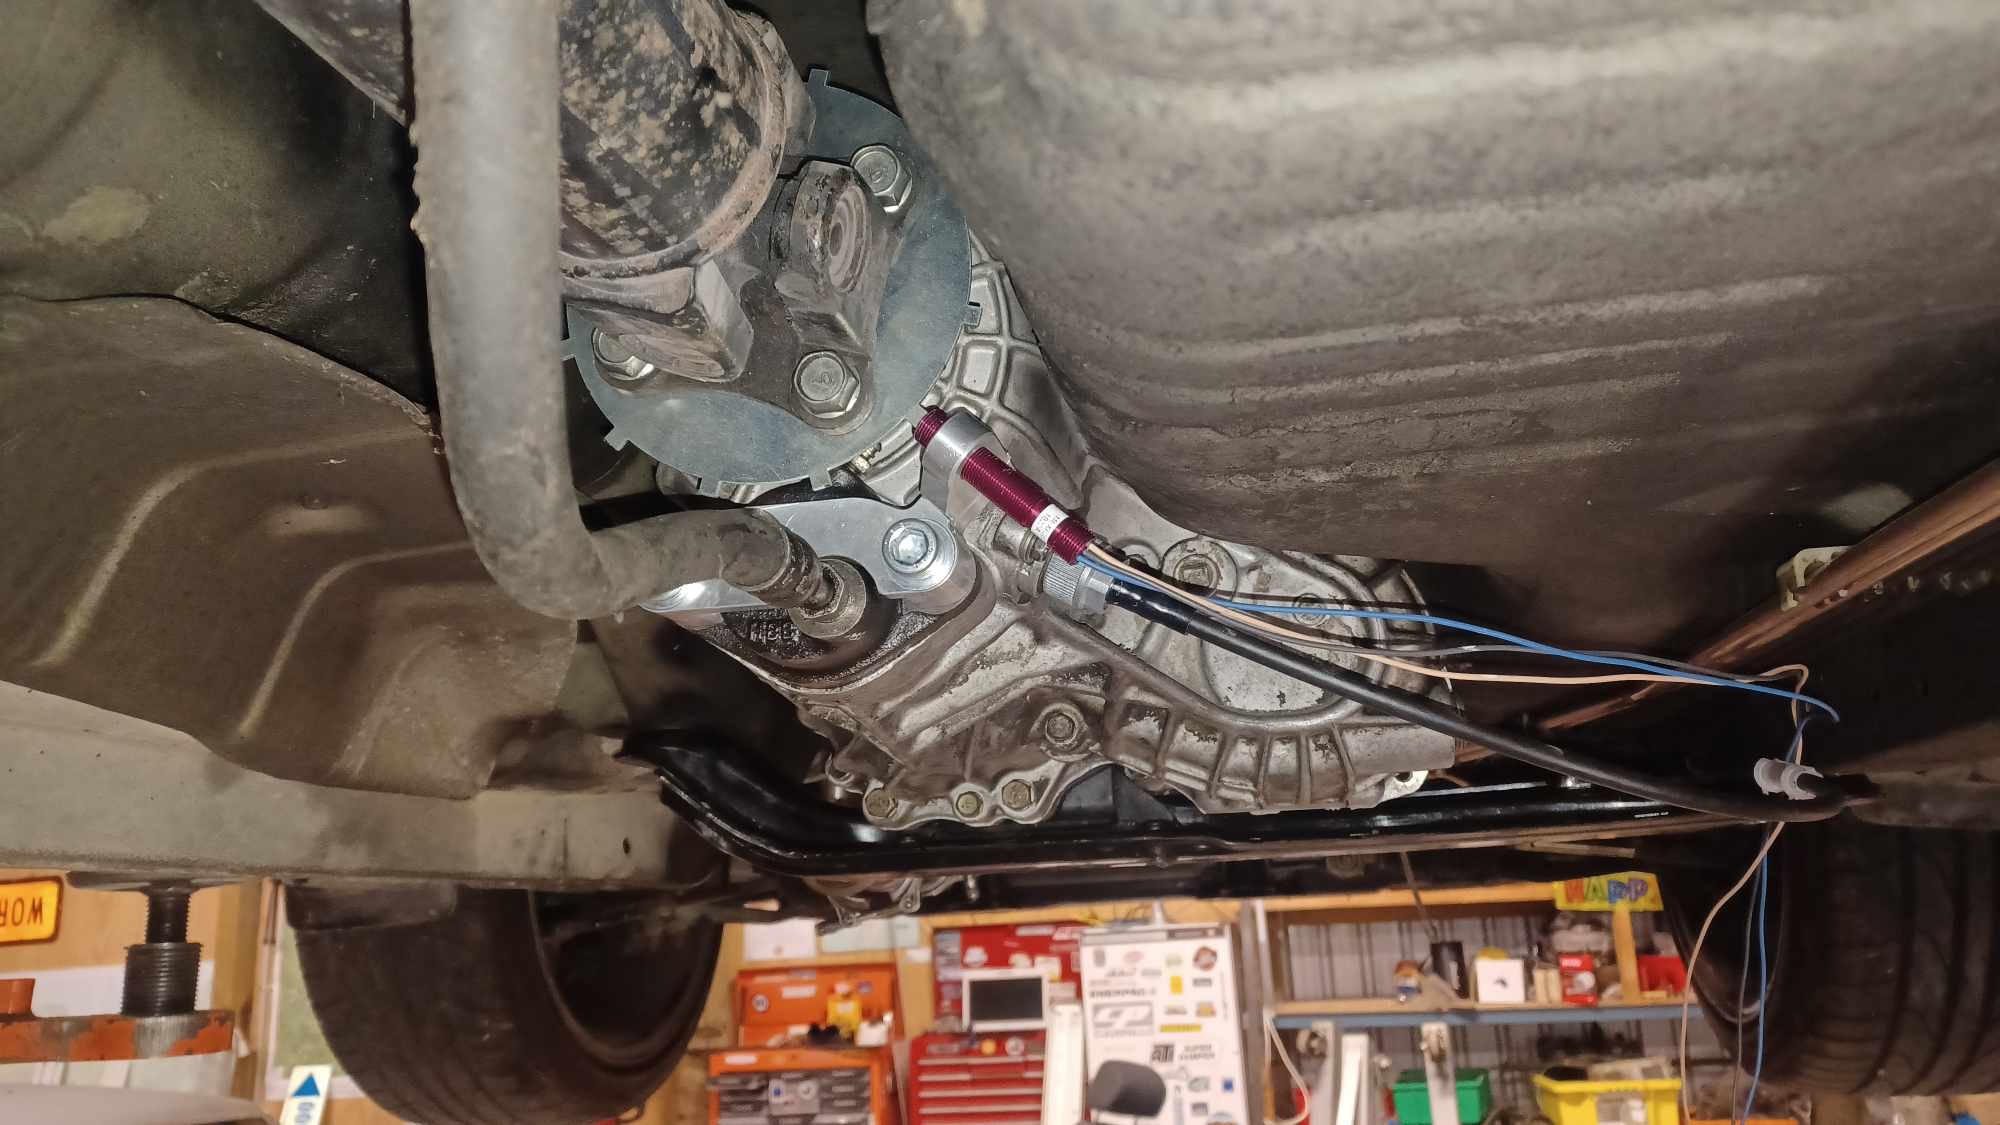
I ground a chunk of steel to hammer into the nut to free it up Then had to cut all of the rubber off the old hanger and press the bearing off. The new one should have gone straight on and I blindly slapped it on with the F facing the front. However, the F is supposed to face the back and the price was jammed on. It took a hour to get it off without fucking it. Fortunately the new bearing came with a new nut as that was fucked too. Haha. Reinstalled the driveshaft and also a trigger wheel to get driveshaft speed for the ecu and 4wd controller I am going to run.
- 55 replies
-
- 21
-

-

-
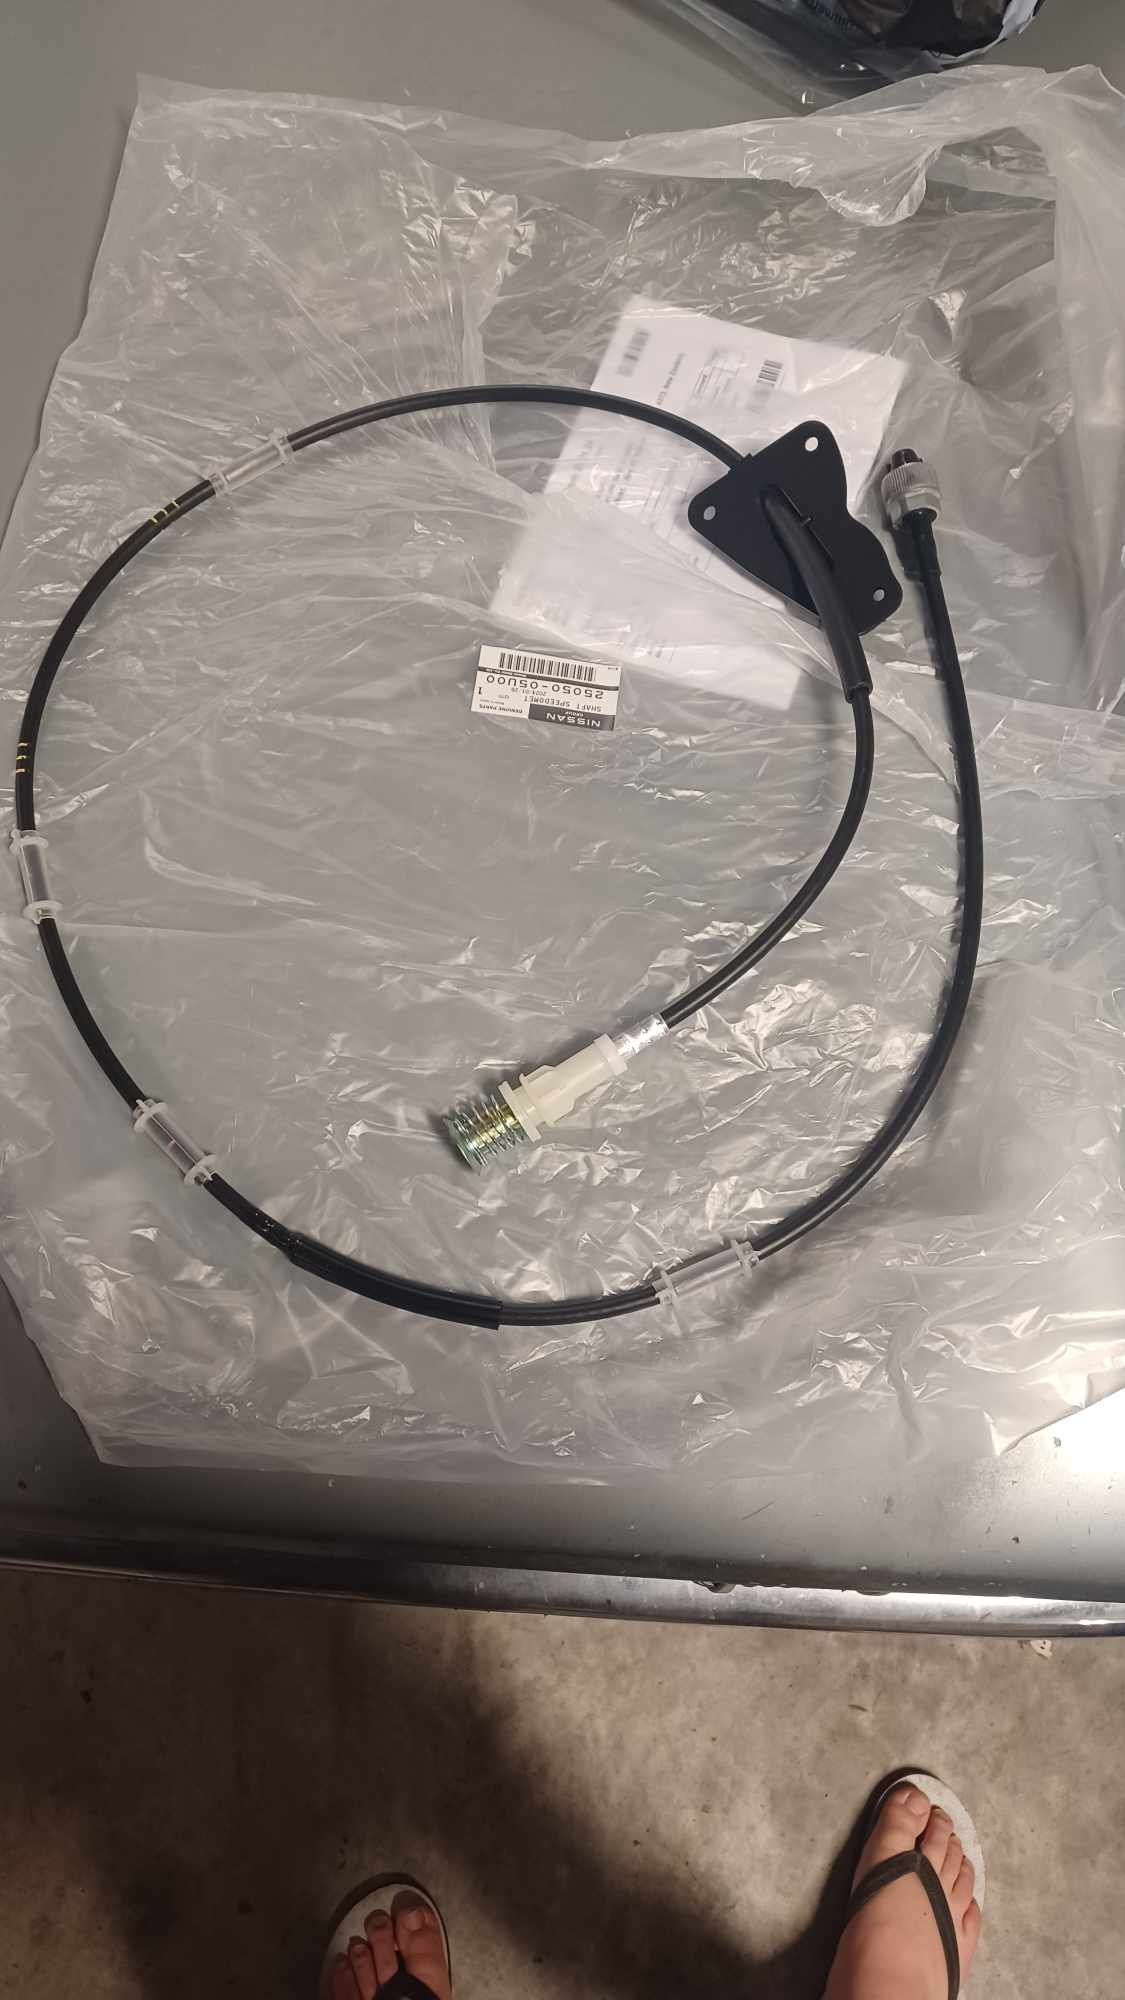
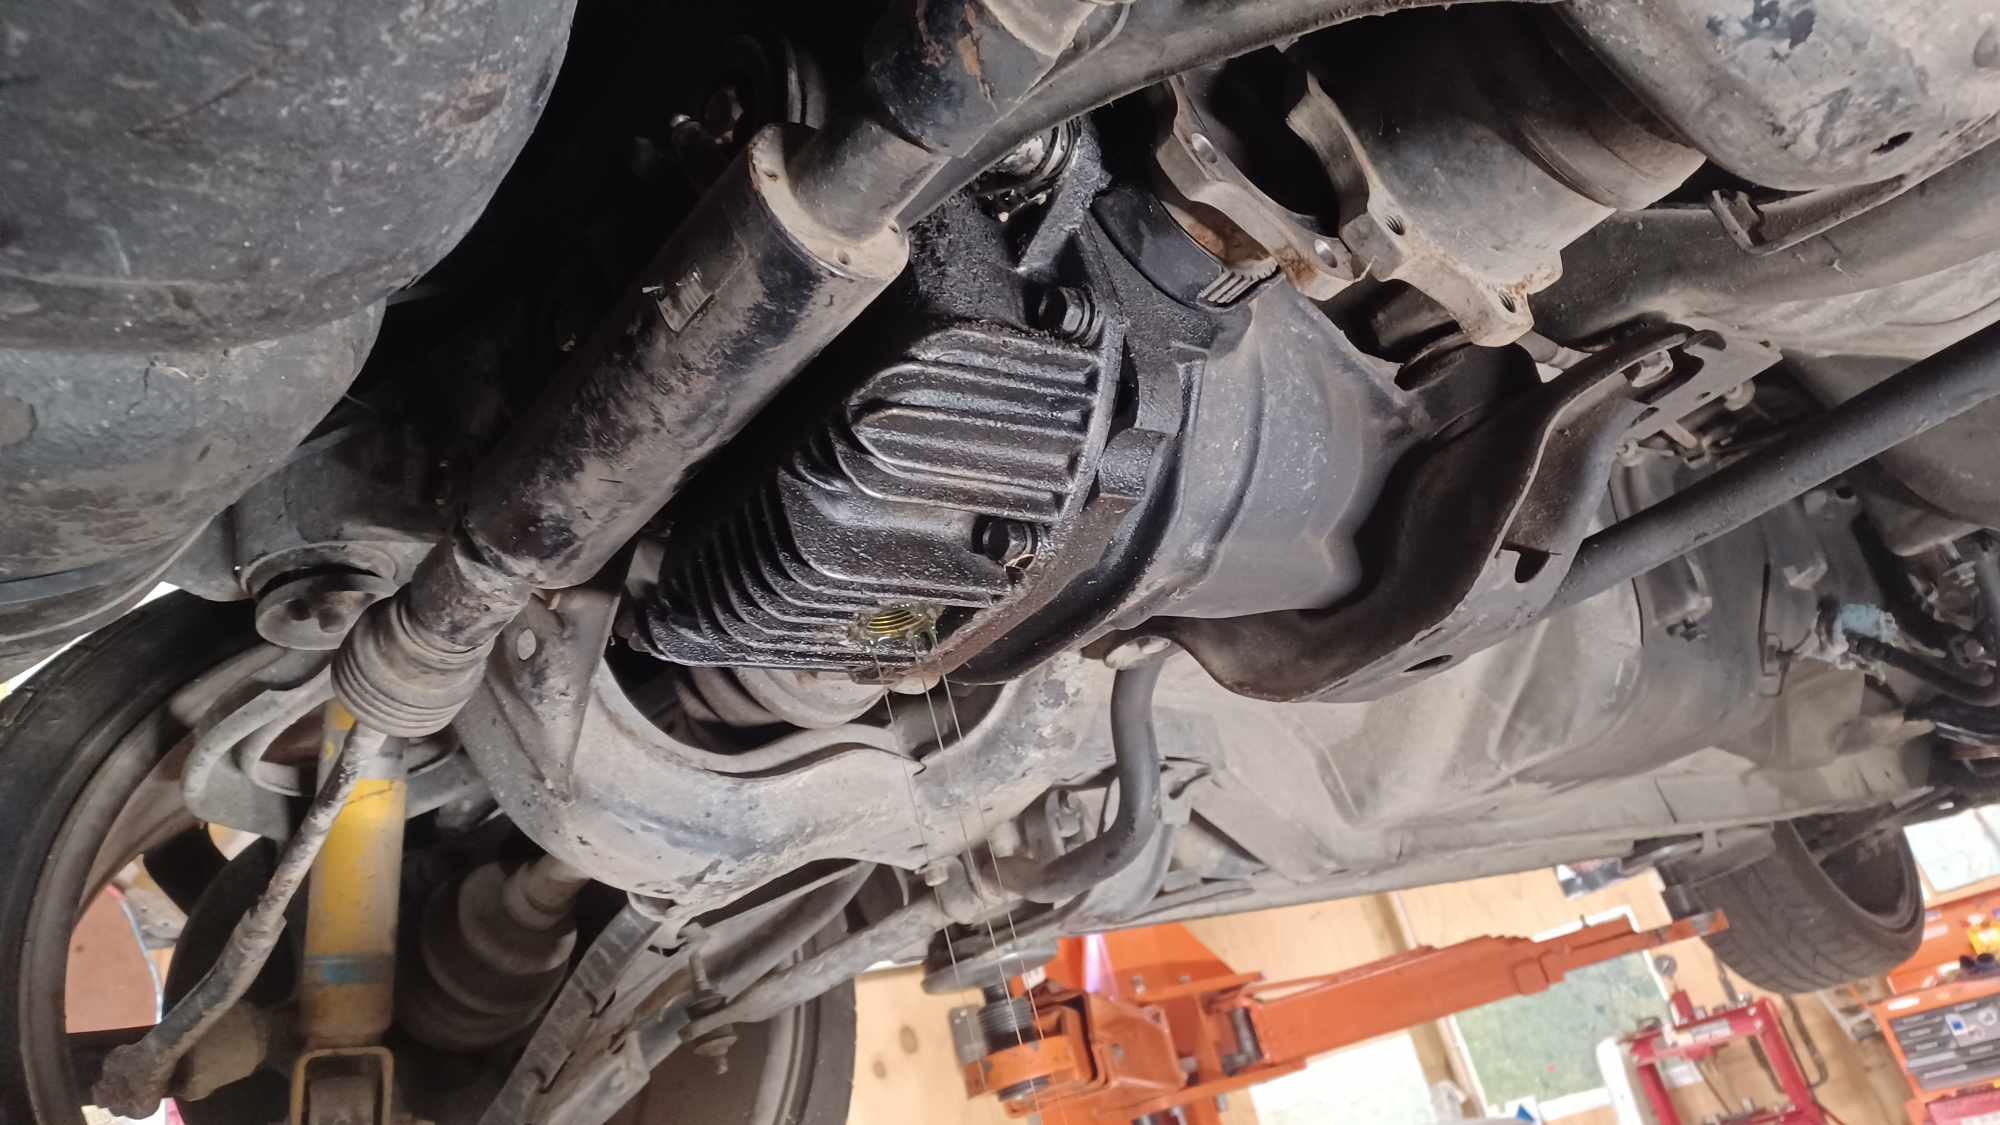
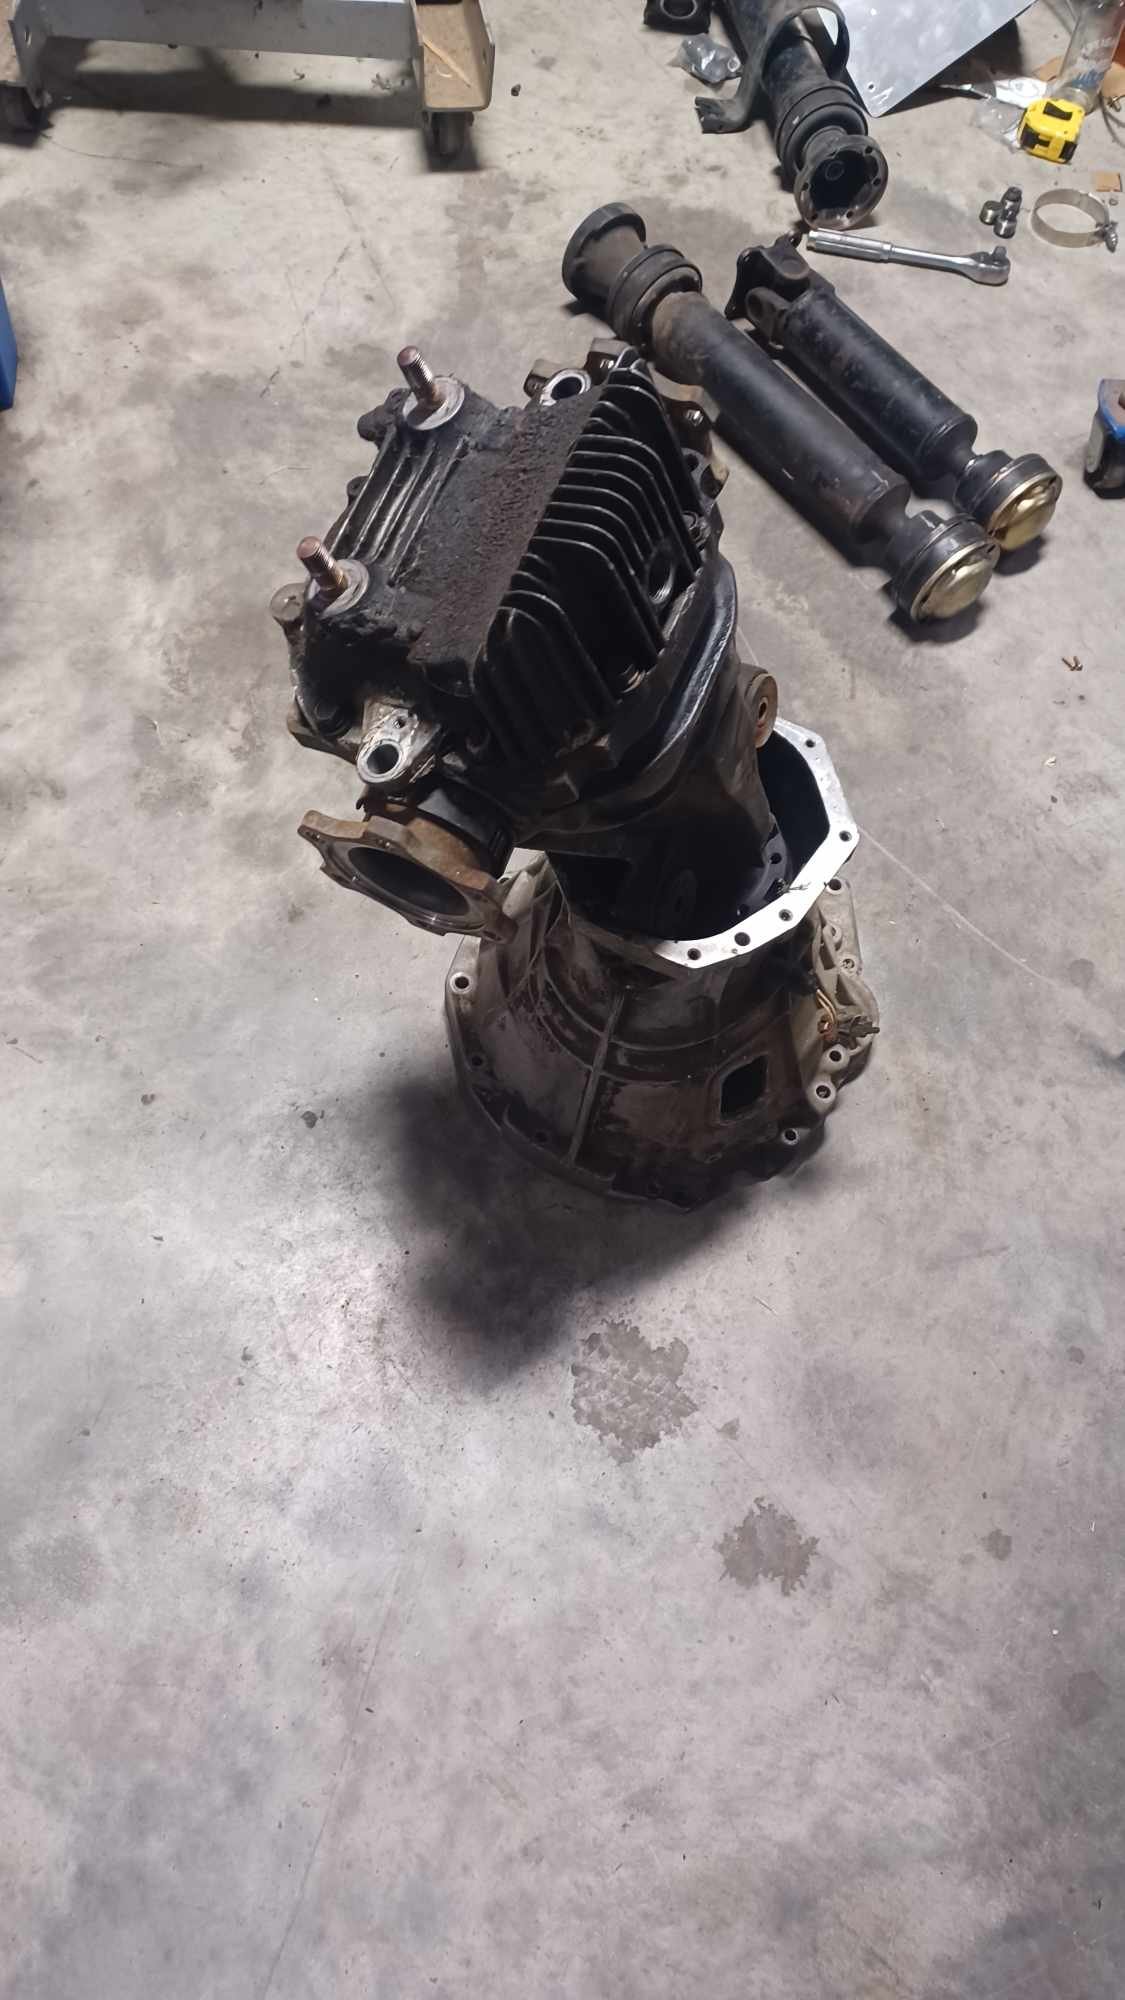
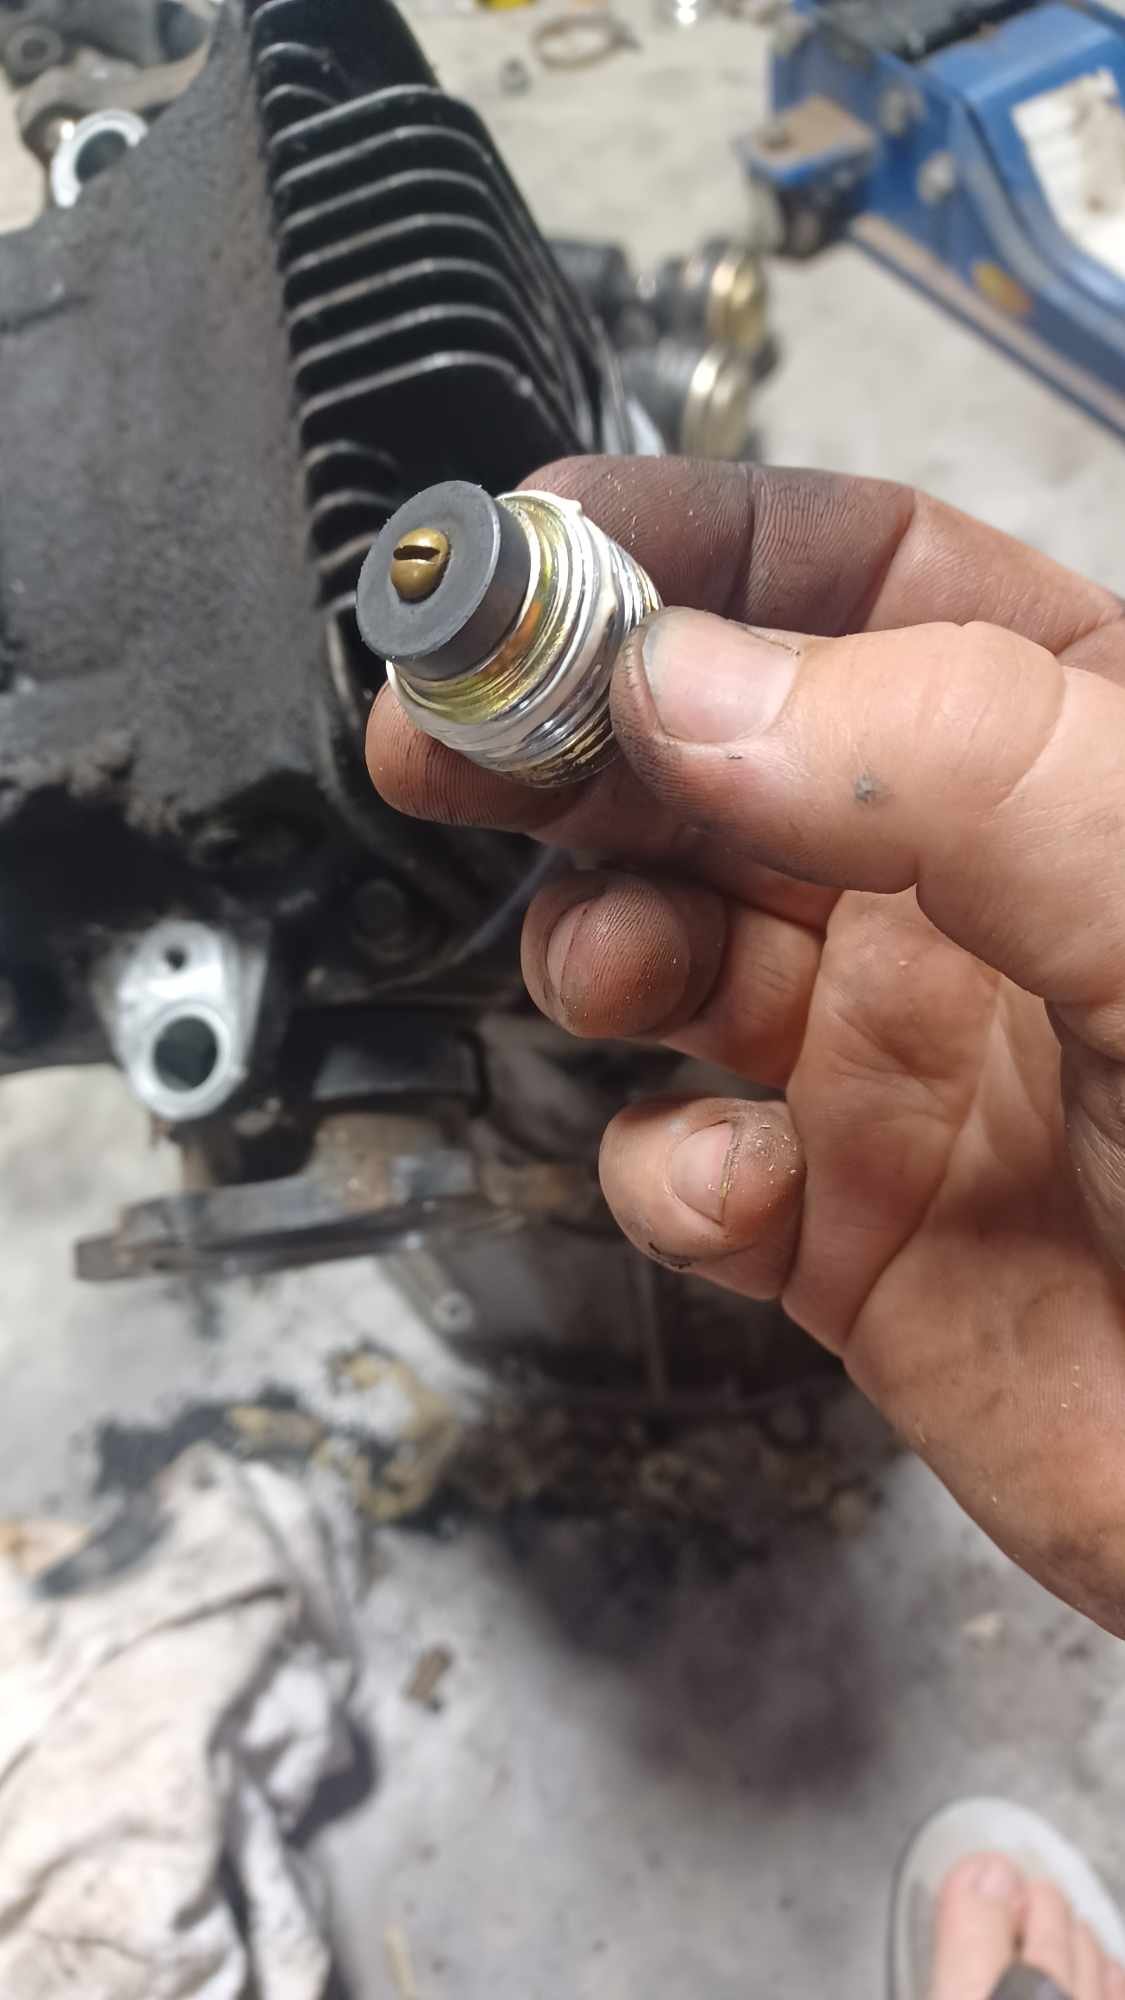
Spent the last few nights in the shed on the premise of getting a datsun ready to go to nats, but got a bit sidetracked on this. Speedo fixed Then I removed the driveshaft to swap for the less 2nd hand one I have in stock. While I was in there I noticed the rear diff cover had been leaking and was covered in shit and thought I better do something about it now rather than later when it runs out of oil. I whipped the back cover off and spent hours with a Stanley blade shaving the original paper gasket that had set like rock. The drain plug magnet was broken into a few bits so that got replaced with a donor from a smashed gearbox. Then I needed to replace the centre bearing on the driveshaft. It's a cnut of a job.
-
Yes 30 and 87 Have you got it wired up as per the pic? Maybe move the yellow wire to ign. The relay hasn't got any trickery in it where it auto cuts out as it warms up. Maybe your yellow wire which is now sense if you have jumped it as per above, hasn't got a great connection to 12v. Plus it will always be on as its connected to battery and ground.
-
It goes past 180 and keeps going to the zero stop. Maybe that one time I went to Mexico and spent some time there, it loaded up the cable too much.
-
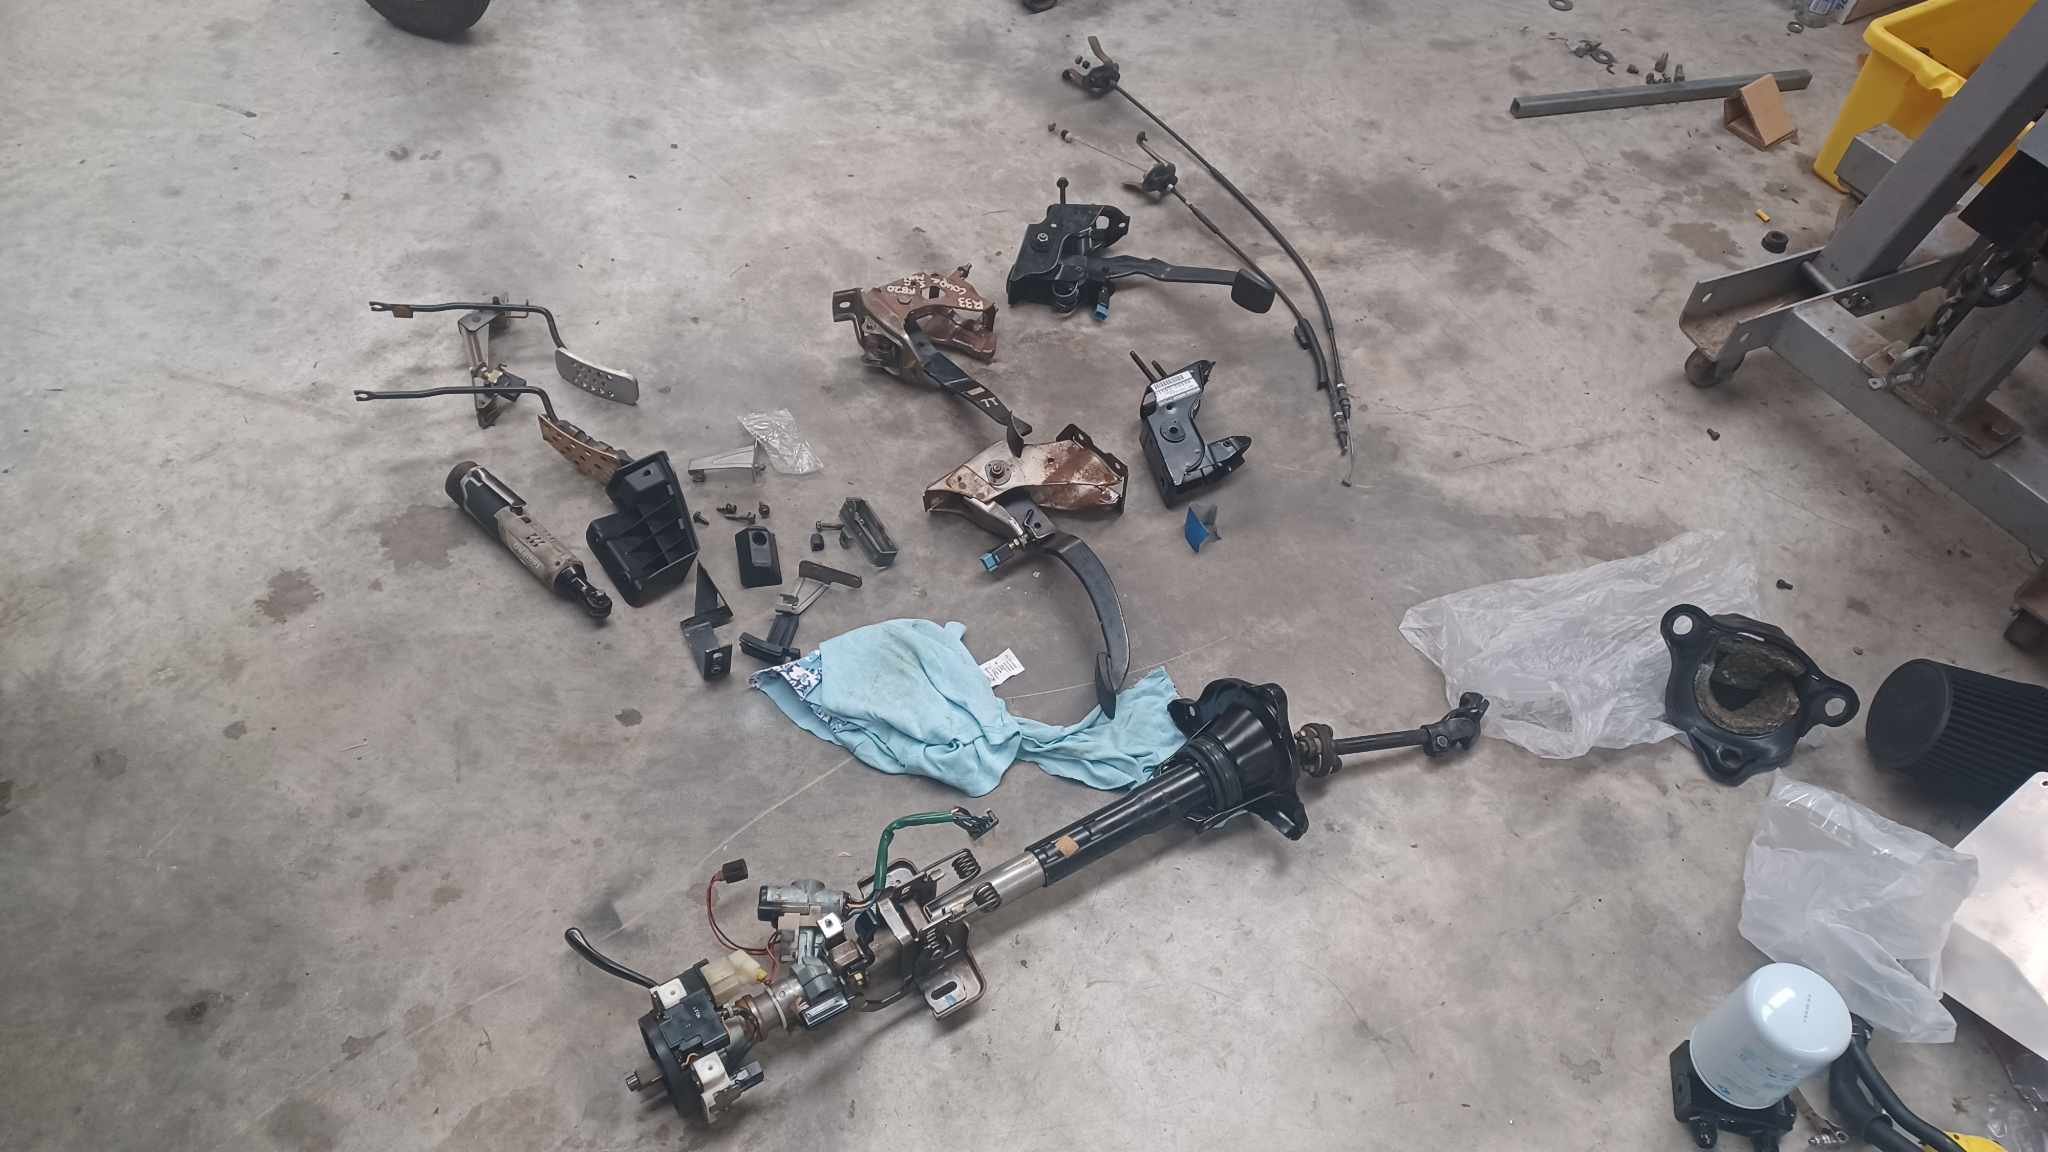
Had a bit of a dismantle under the dash today. Need to fit the correct clutch pedal and bracket and also swap around the brake pedal from the (poorly) cut down auto one I was running. Ended up pulling the column as I'm old and inflexible. How the fuck did I get up and under here when I first had this car ill never know. Also got a new rubber boot for the column to keep the engine bay fumes out. A long time ago just before either parked it up to go overseas, the speedo stopped working. I always thought it was the dodgy speedo drive I modified. Turns out it was the cable New one on order. 3 weeks from Japan. Will give me an excuse to tidy up under the dash properly.
- 55 replies
-
- 13
-
-
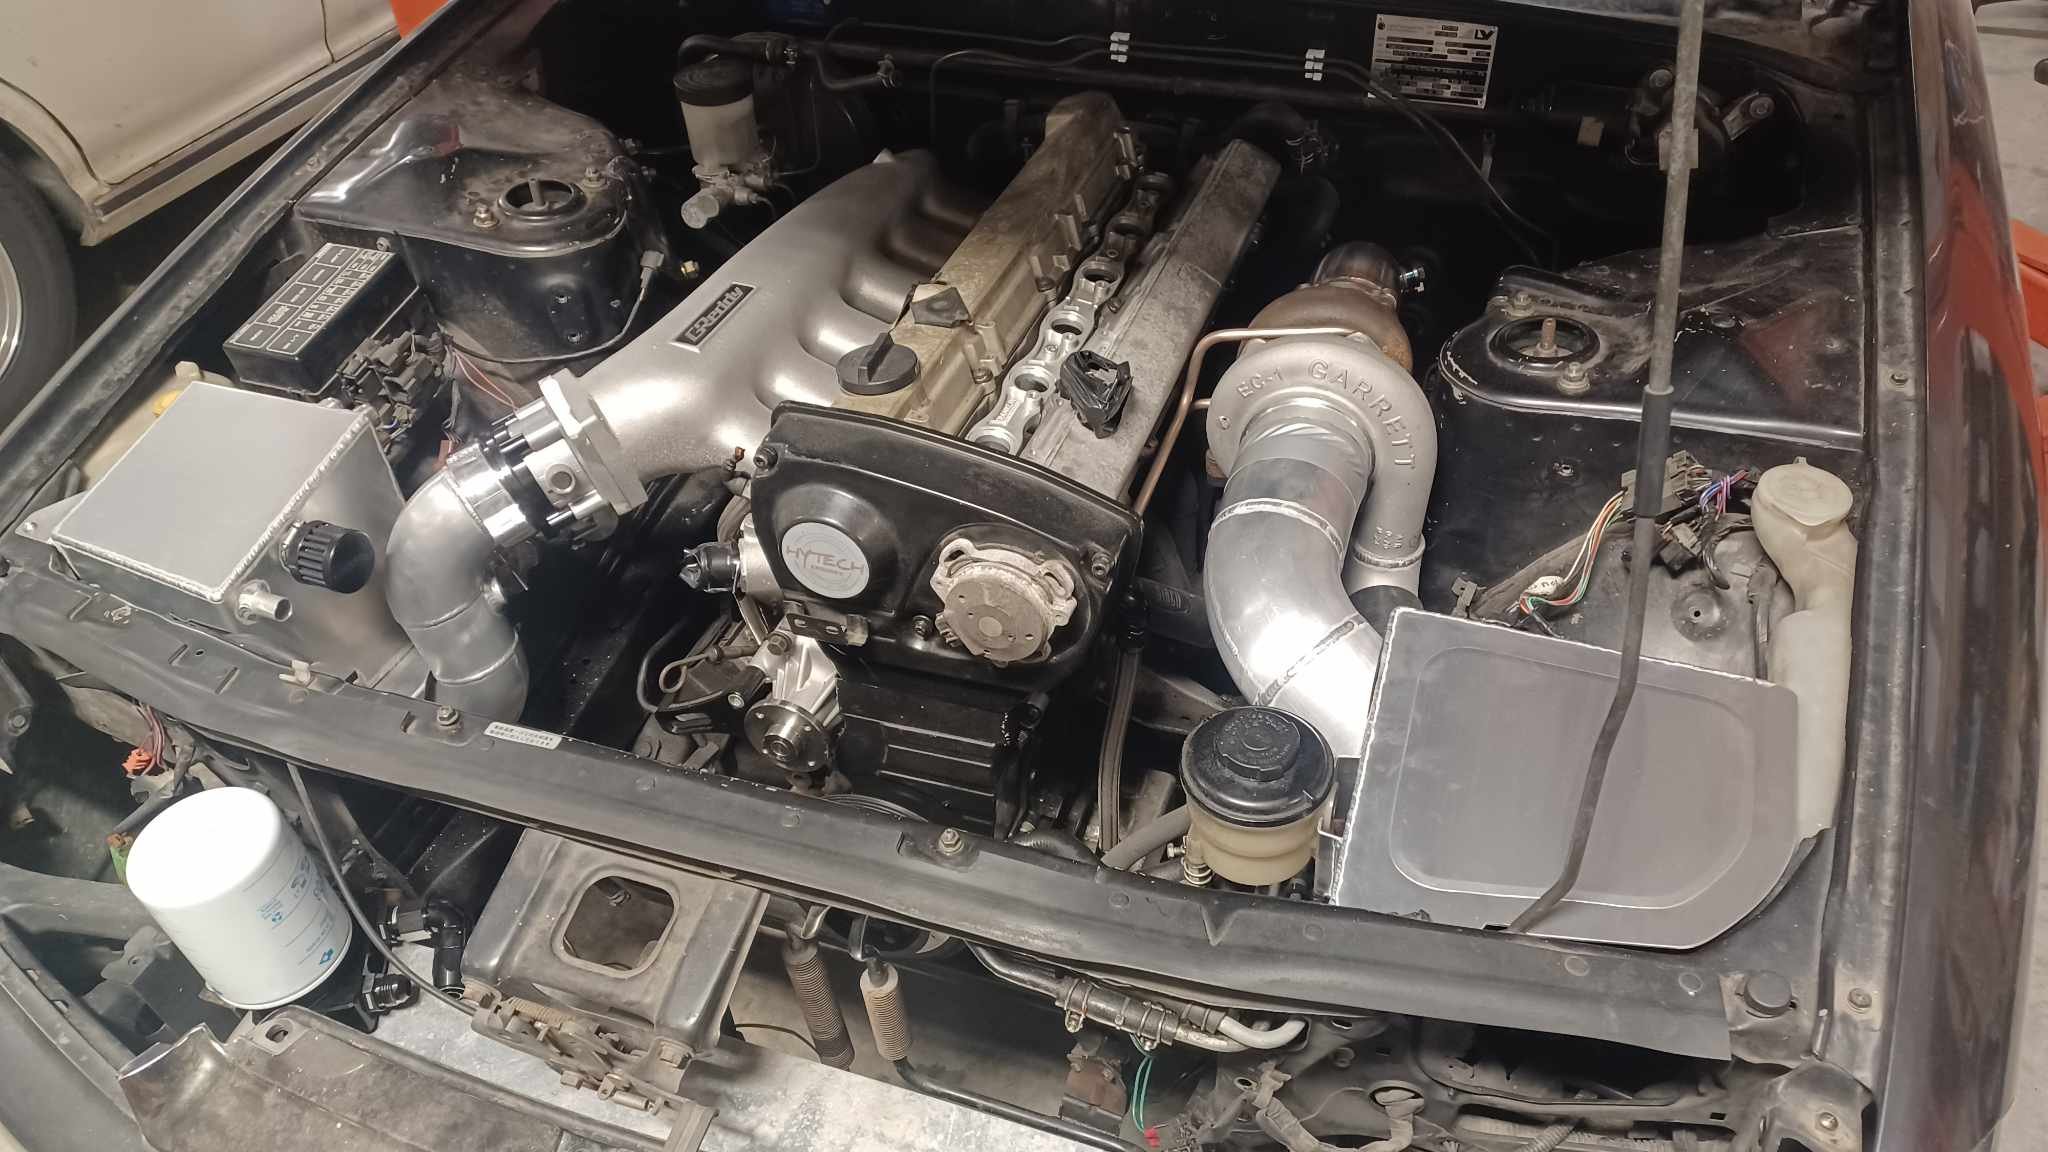
Picked up the car tonight from a mate who's great with a welder. He did the ally fab below and the exhaust. I ended up packing the engine mount up 3mm on the passenger side to get some turbo clearance and I might pay the strut tower a little visit from Mr hammer later on. Need to get a bunch of hose clamps, and a few more silicon joiners to for the piping, and some finessing of a few places where things are close. Then oil and fuel hoses.
- 55 replies
-
- 25
-
-
Would the larger valves on the smaller bore suffer from shrouding being so close to the bore and negate the larger valve size? semi related, on L24 datsuns, the valve notch has to cut into the bore. So you could do it!
-
Do you have many other high speed inputs on the link? I think I read that that while they can read up to 10khz, if you have have a few high speed inputs, the max frequency each input can process drops. Could have my wires crossed, I was doing some research into which ecu to run and read it somewhere. Was to do with people trying to run all 4 abs sensors to digital inputs and maxing out the processing ability of the ecu
-
30Degrees 1975 Datsun 260c H330 Station Wagon Discussion
fletch replied to 30DegreesRetarded's topic in Project Discussion
For the top ball joint boots, just go to repco/napa/supercheap/butler auto mart etc, and ask to have a hunt through their boot selection. I found all of the sizes for my 230 at maybe repco. -
is it the 5 speed trans? look up compushift. they make a controller for it but it only works with the trans that has the external computer. Some of them are internal and they are the shit ones
-
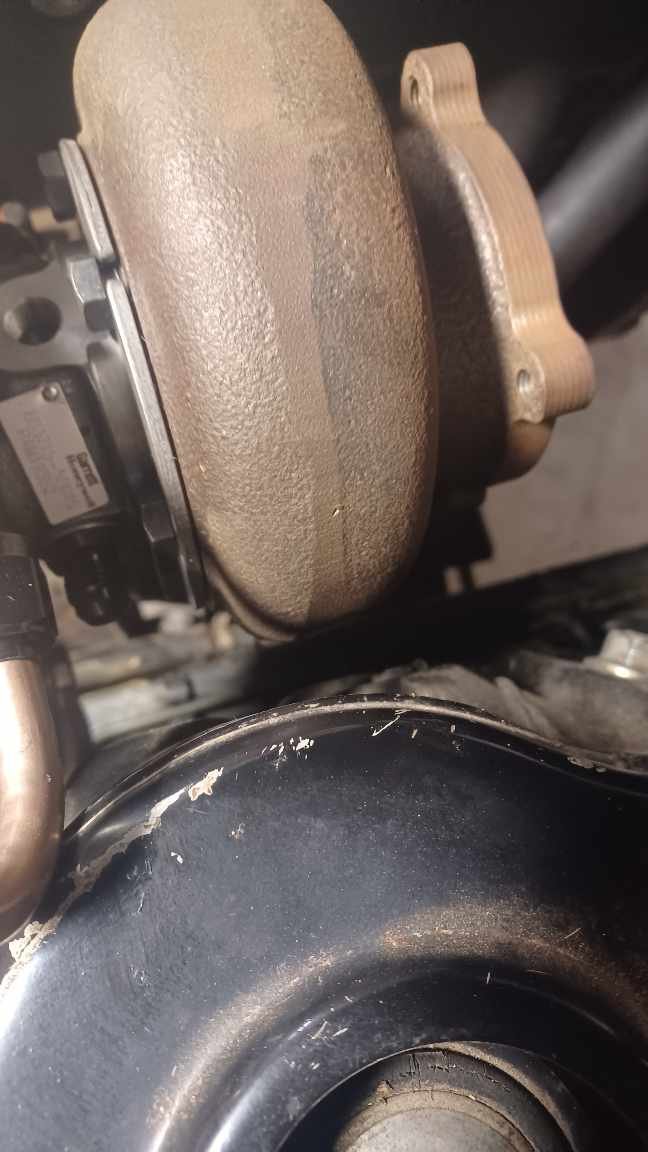
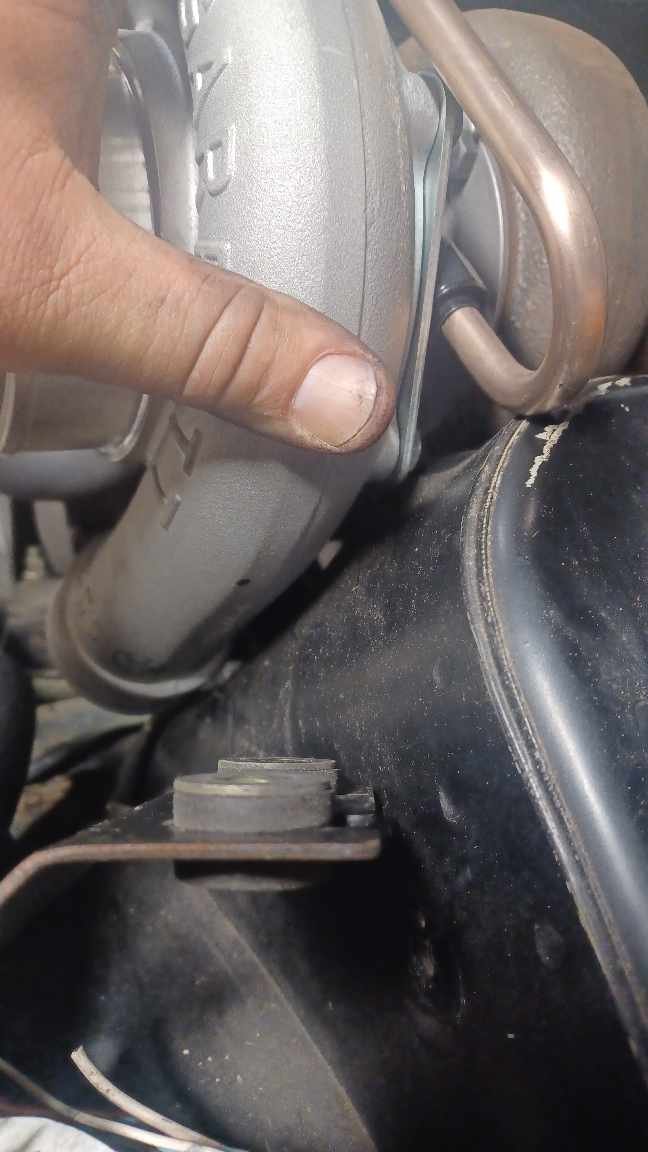
2 steps forward, 3 backwards today. It's too tight I'll have to modify the cooling line which is ok, but the compressor is only a few mm off the strut tower. I believe I have the correct manifold so further investigation is required Dammit
- 55 replies
-
- 11
-

-
-
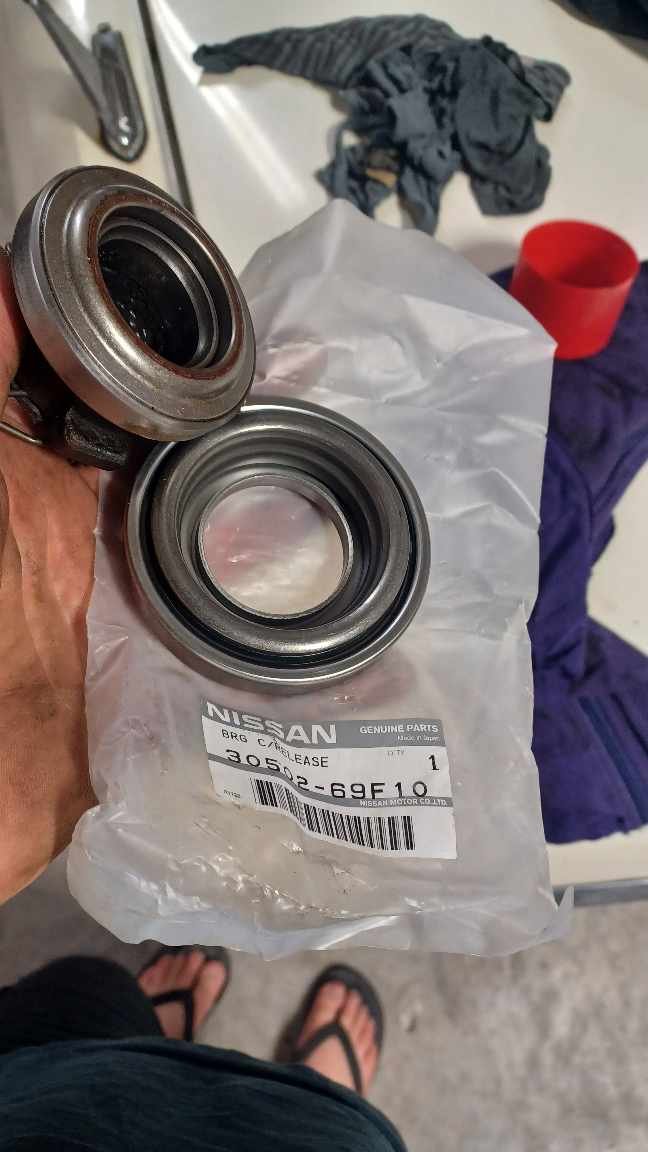
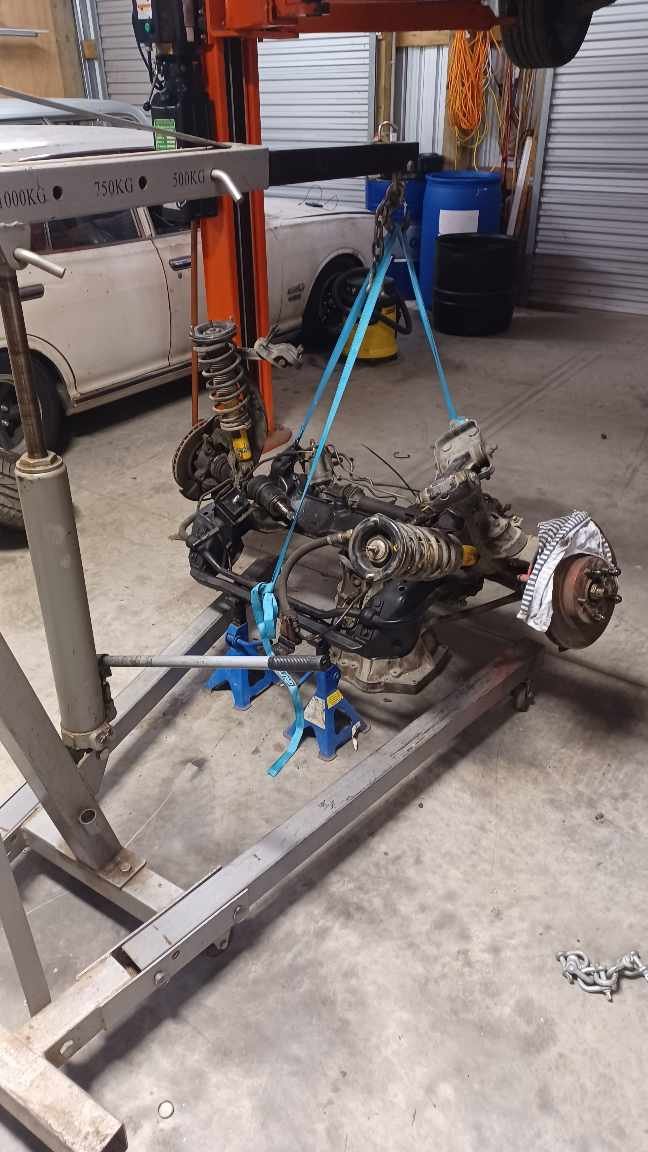
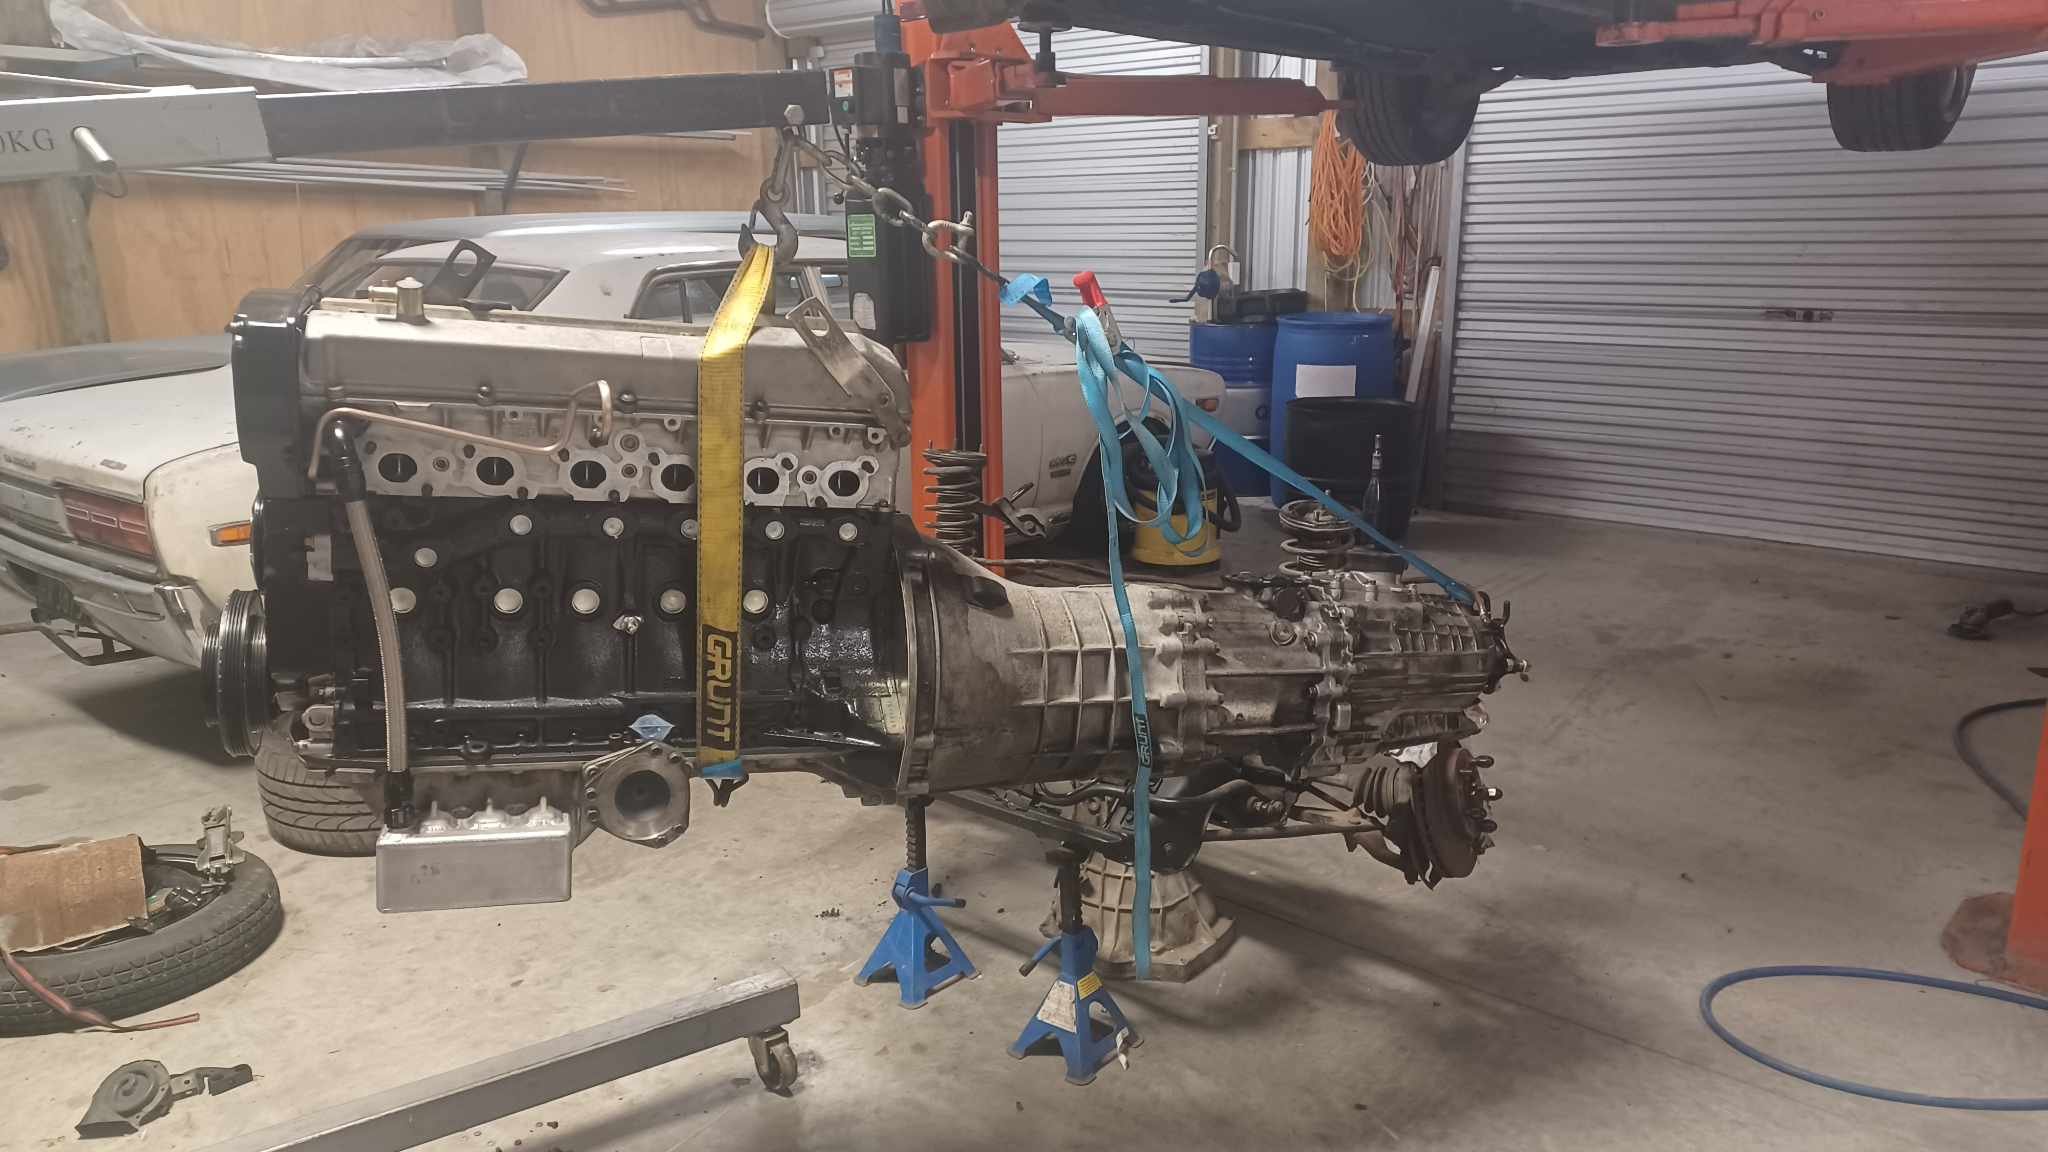
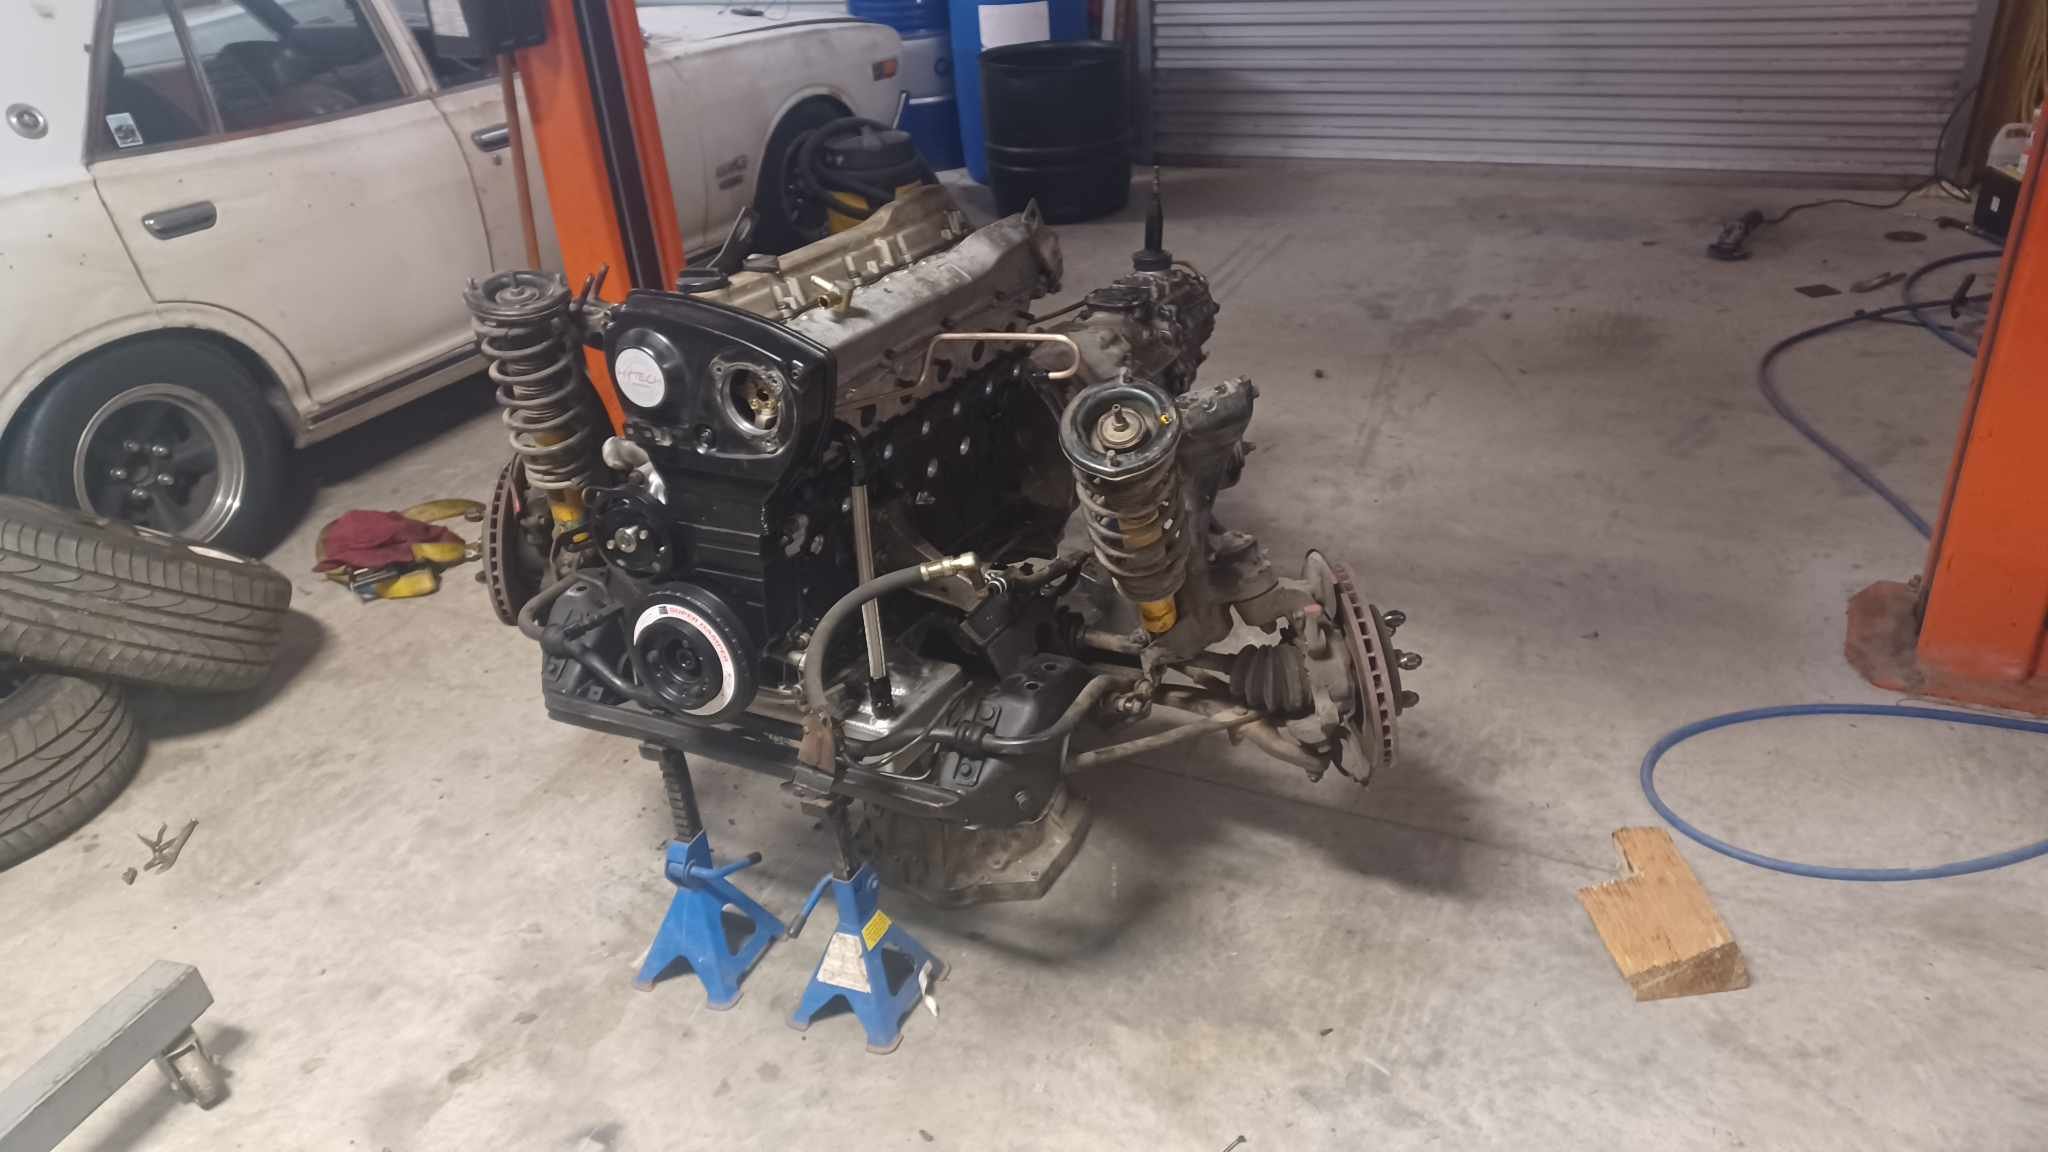
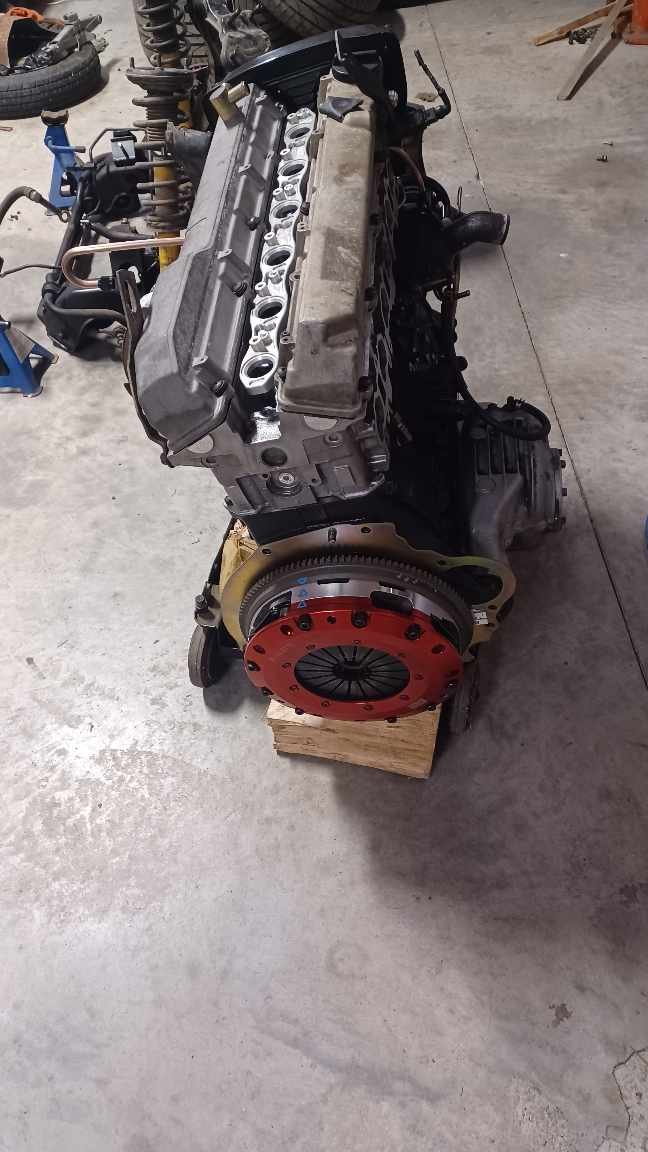
New clutch bearing. The old one was for my old Japanese twin plate and was for really long clutch plate fingers. I'm not sure where the new one came from, I found it on the shelf Then, since I was on a roll I put the box on the motor, set up the subframe on stands under the car and balanced the motor on top. Not dodgy at all
-
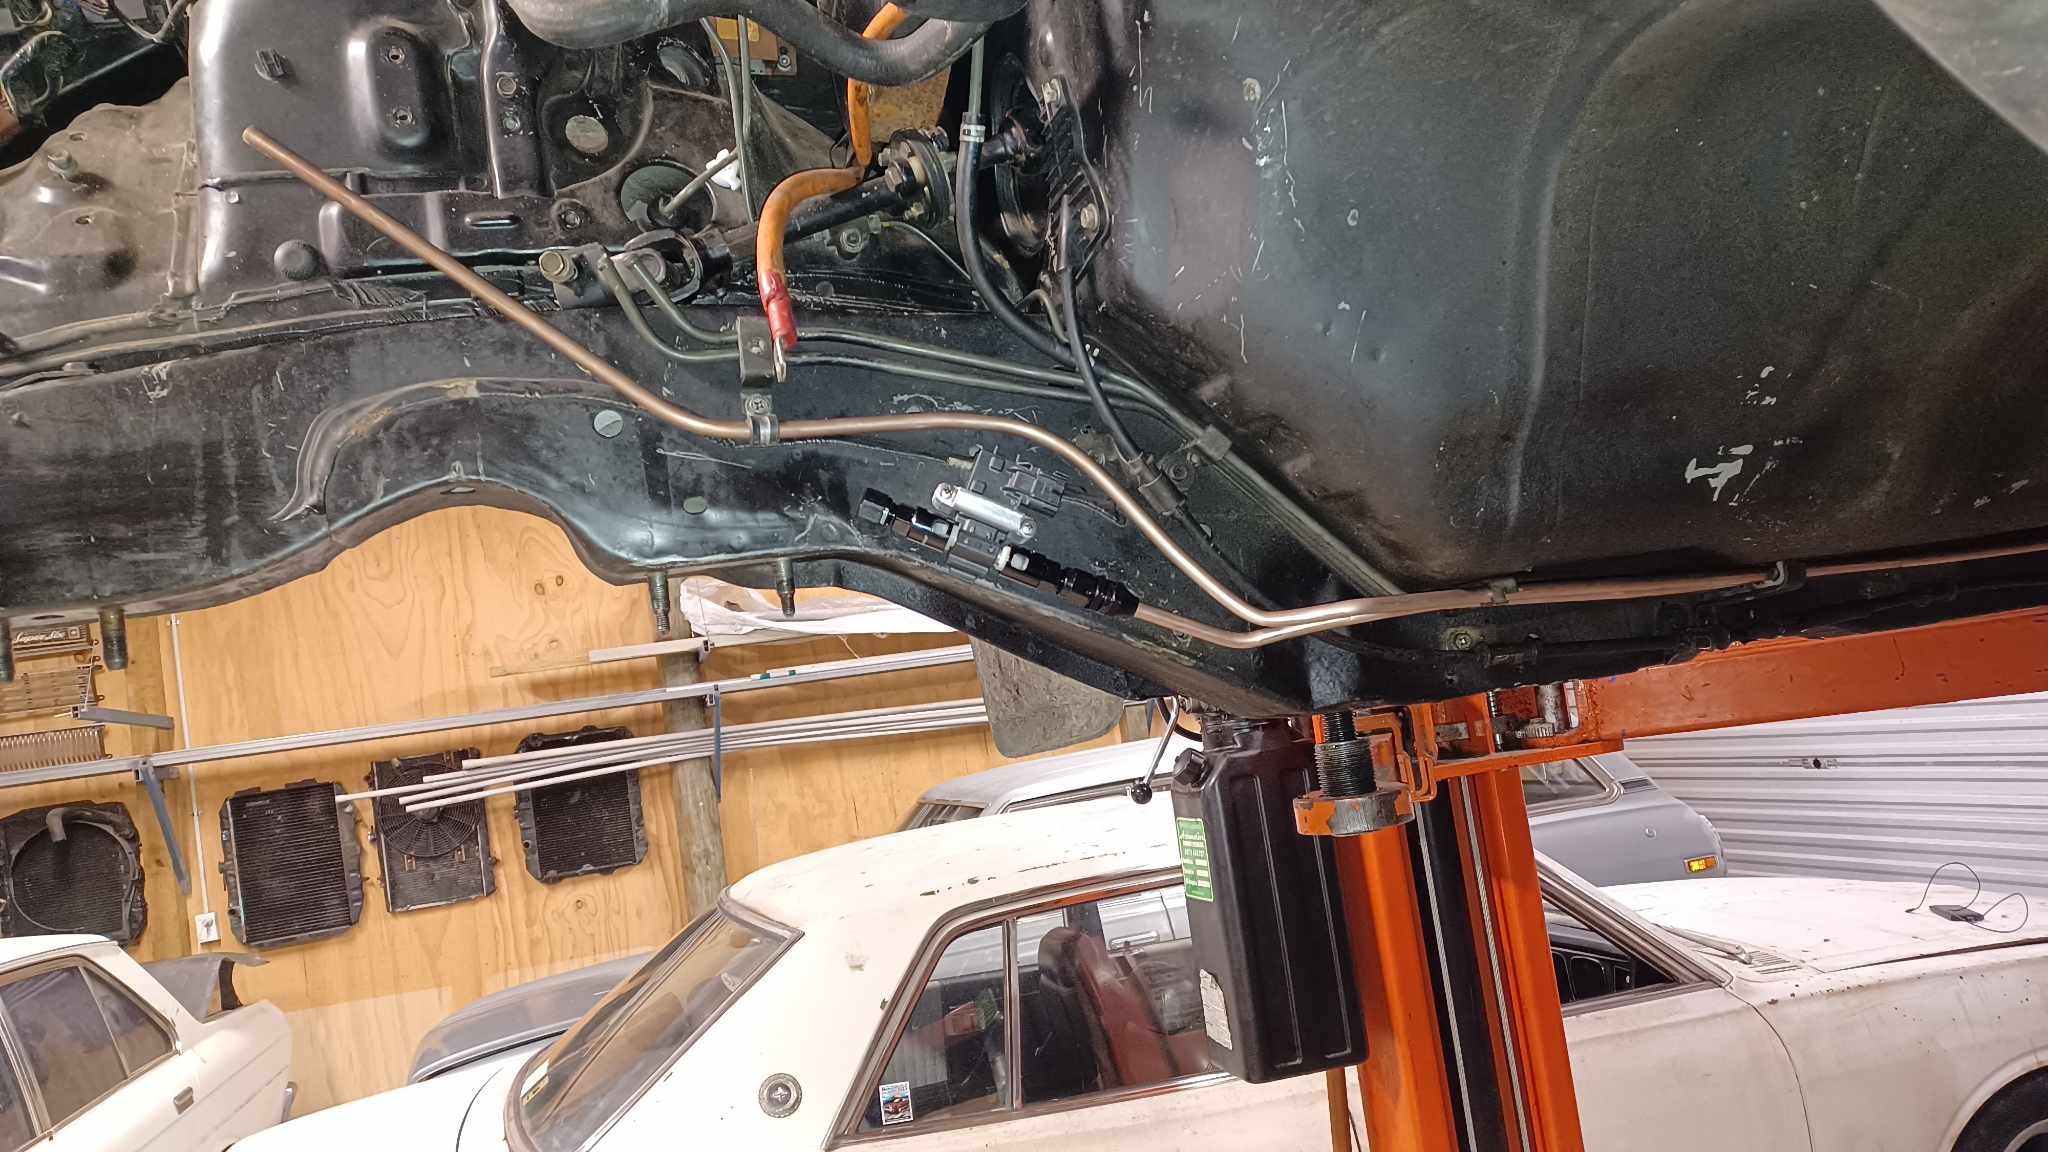
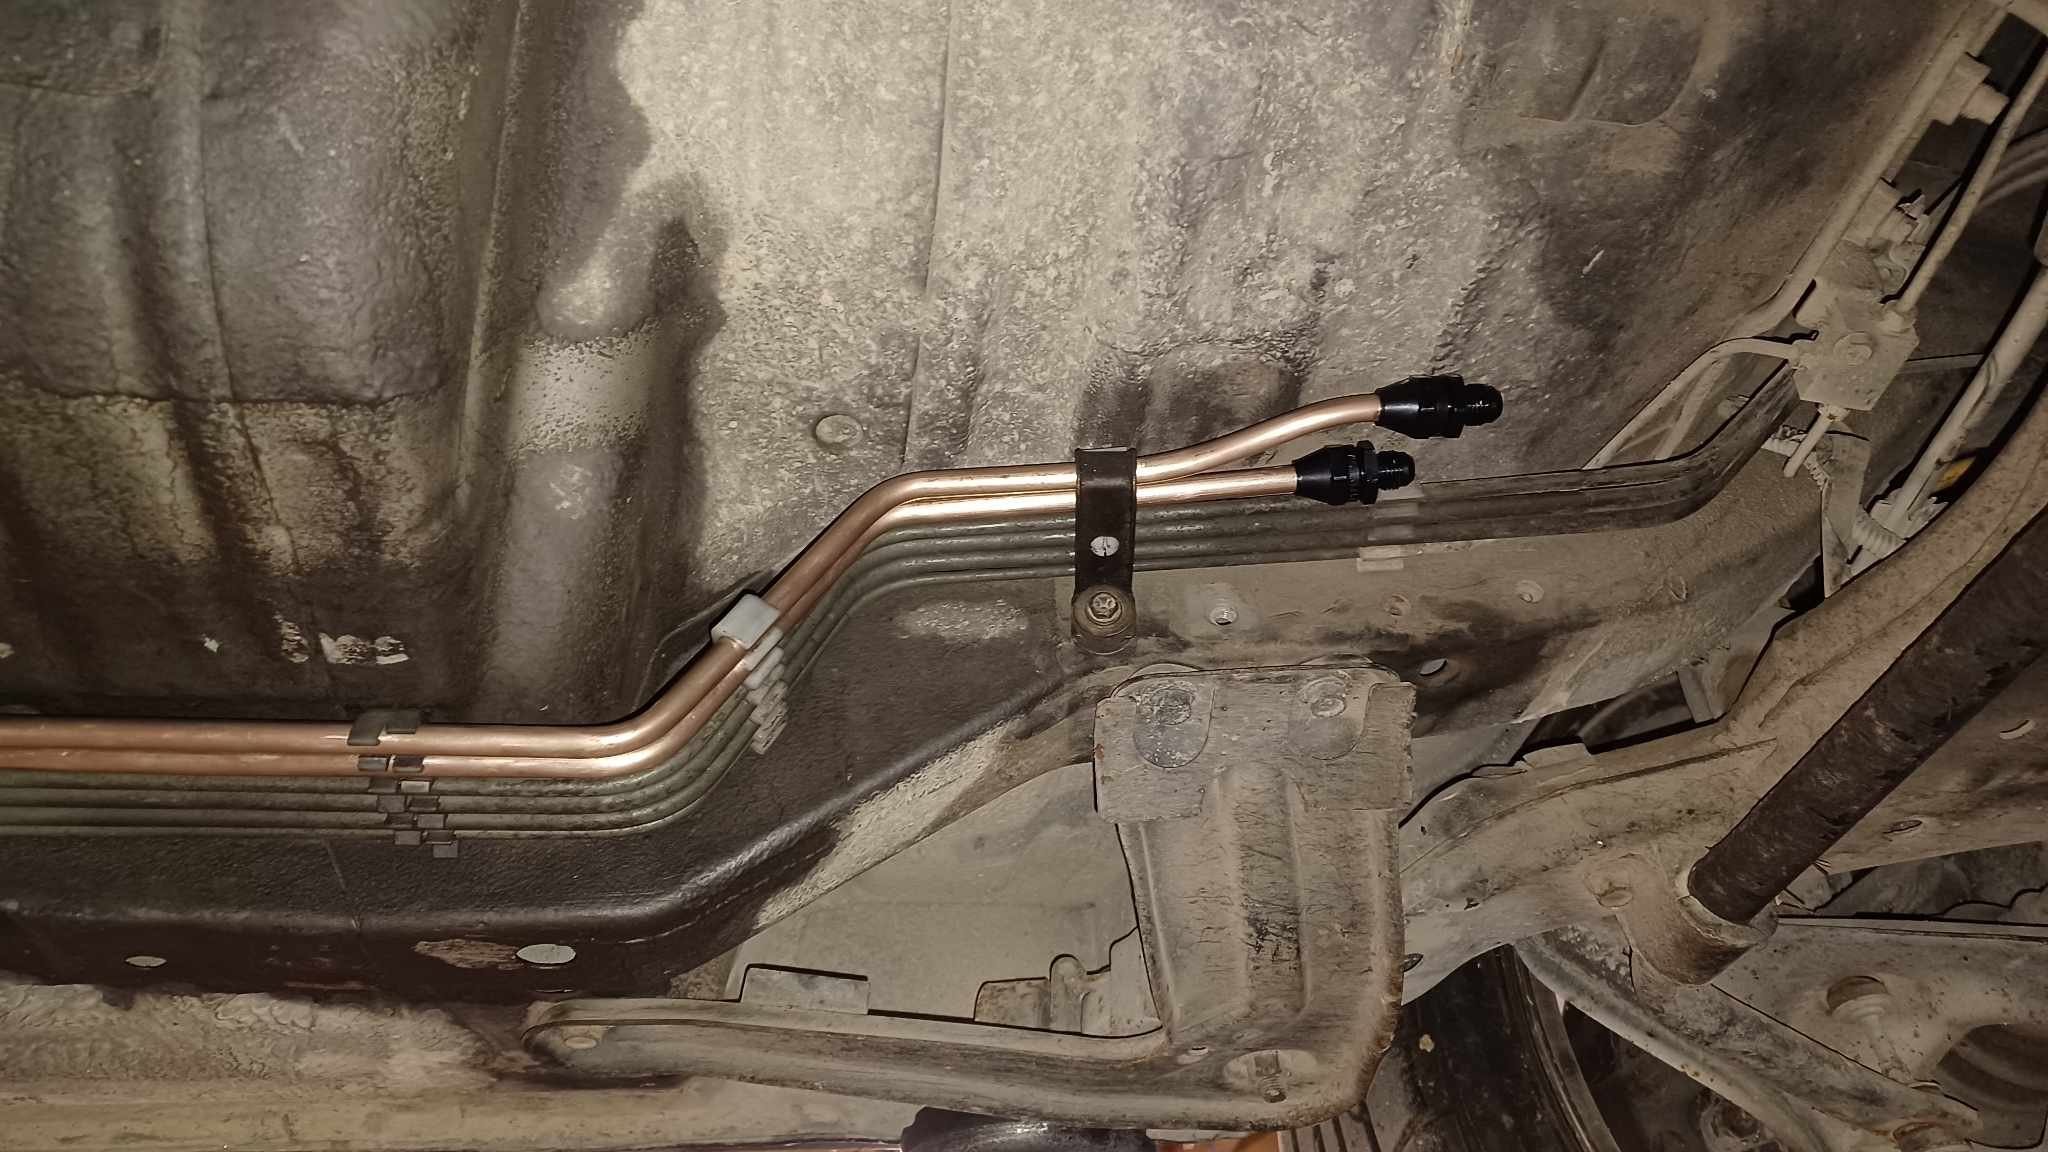
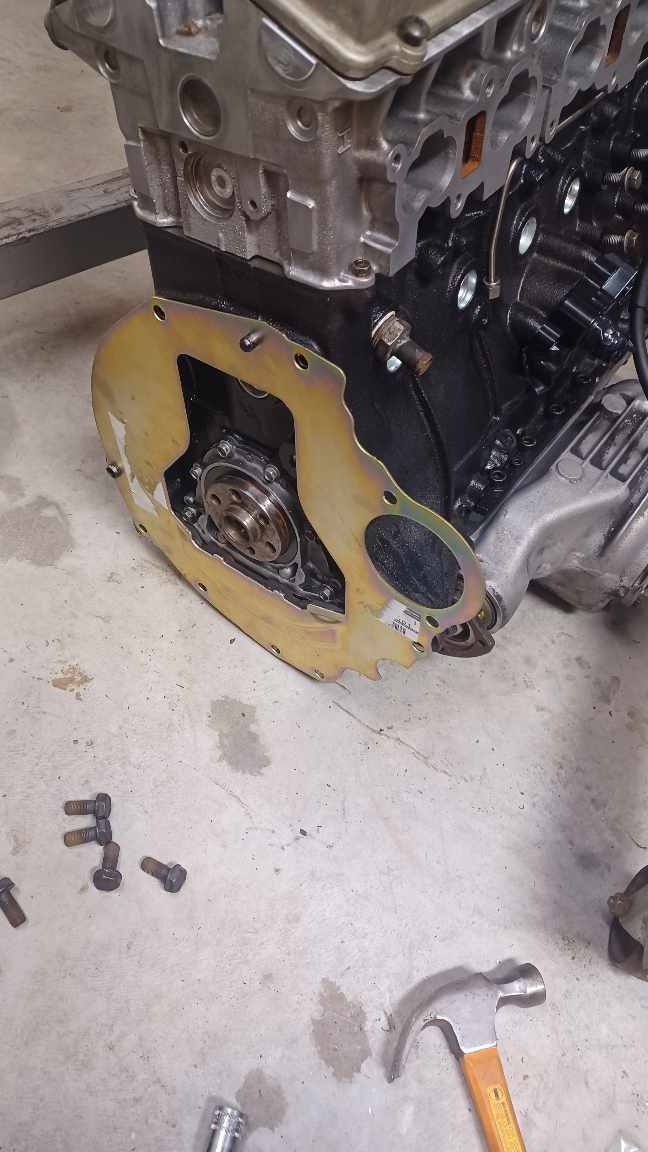
Finished the fuel lines. Extended the factory brackets to make it all fit nicely. Ignore the tube that shoots off into space. I'll trim it once the motor is in. Next up was the flywheel and clutch. I replaced the sandwich plate as the manual ones come with a rubber seal that keeps the leaky rear main oil off the flywheel I have a folded piece of scrap still that I didn't take a photo of that jams the flywheel nicely. Looks like I forgot to take a few pics. I also did up the crank pulley bolt to FT. It needs 240ftlb which was tricky when you are also trying to not tip the motor over!
-
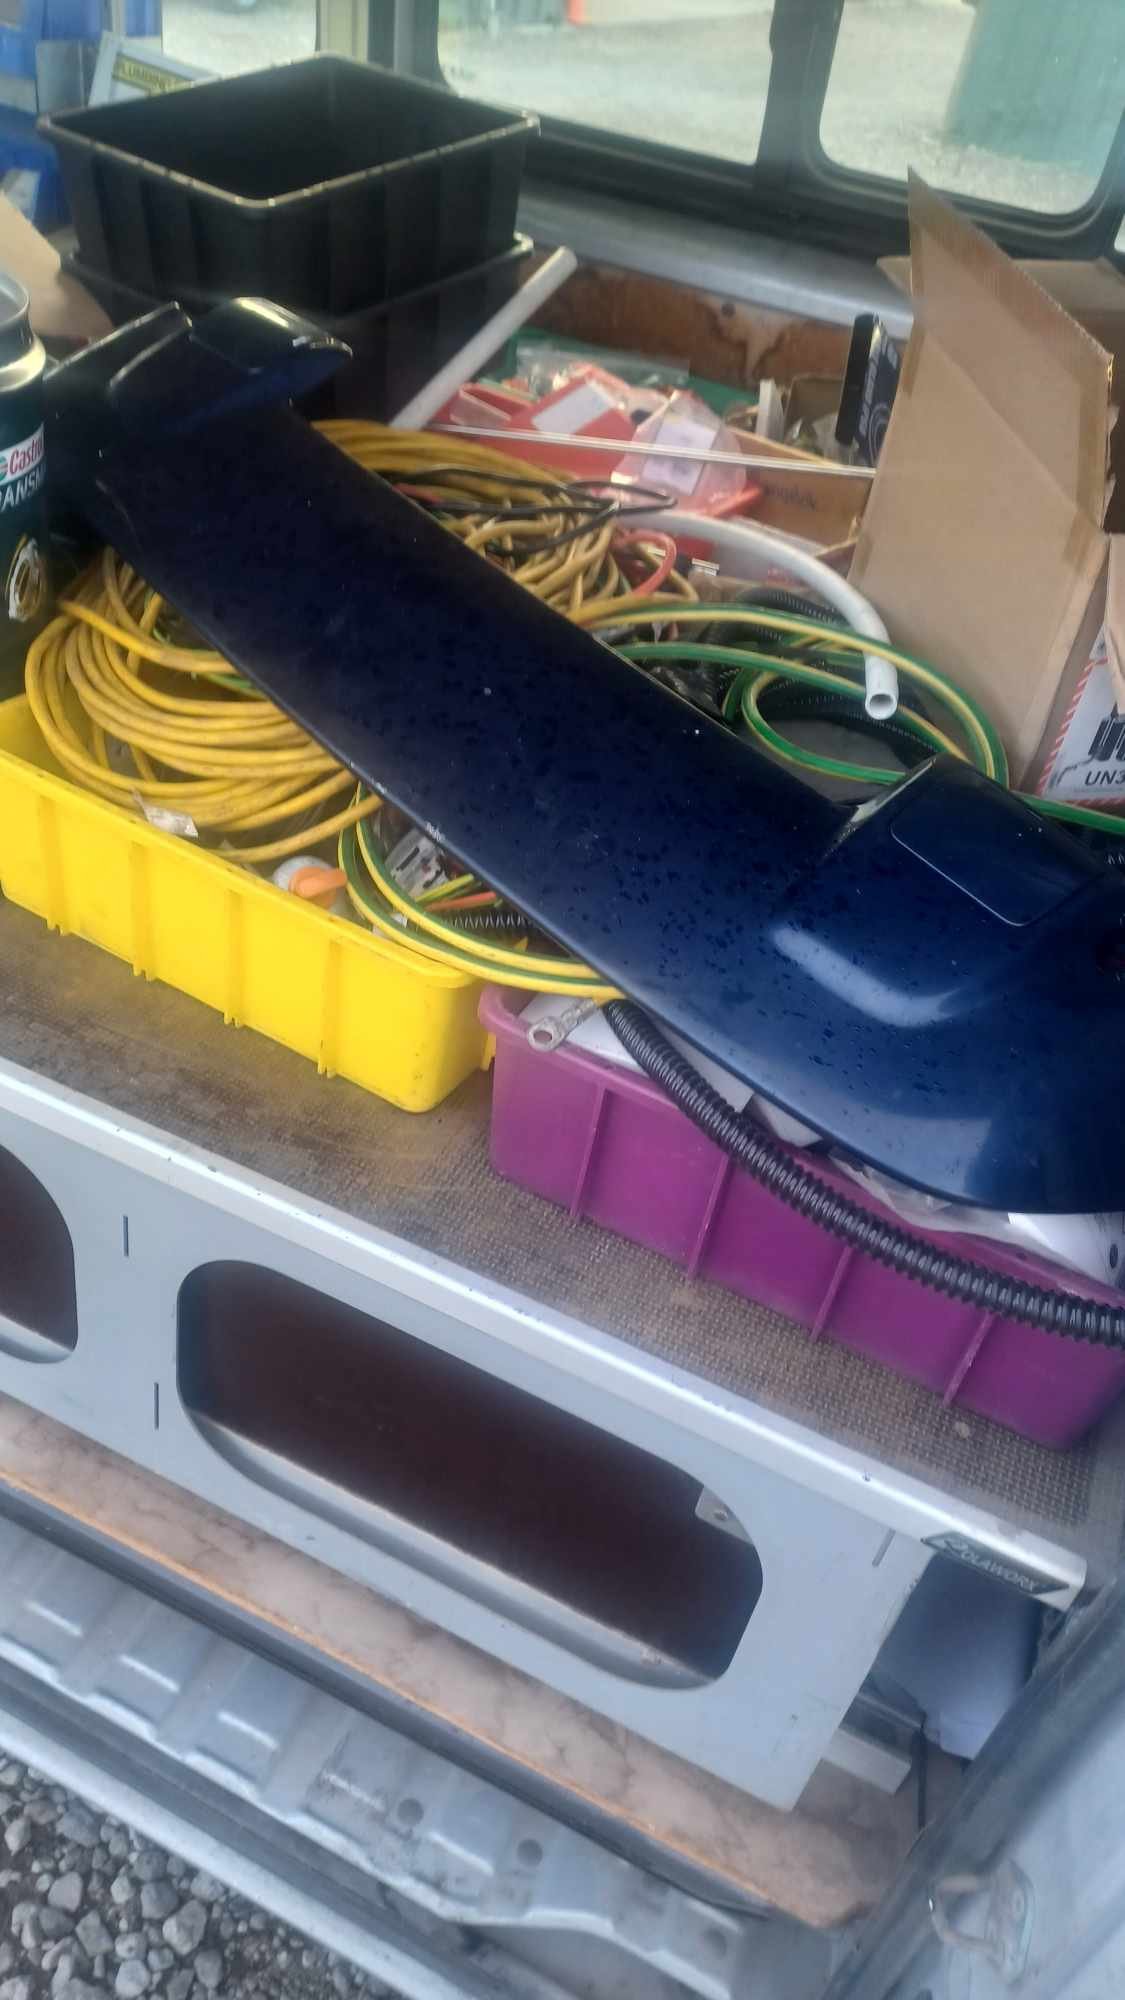
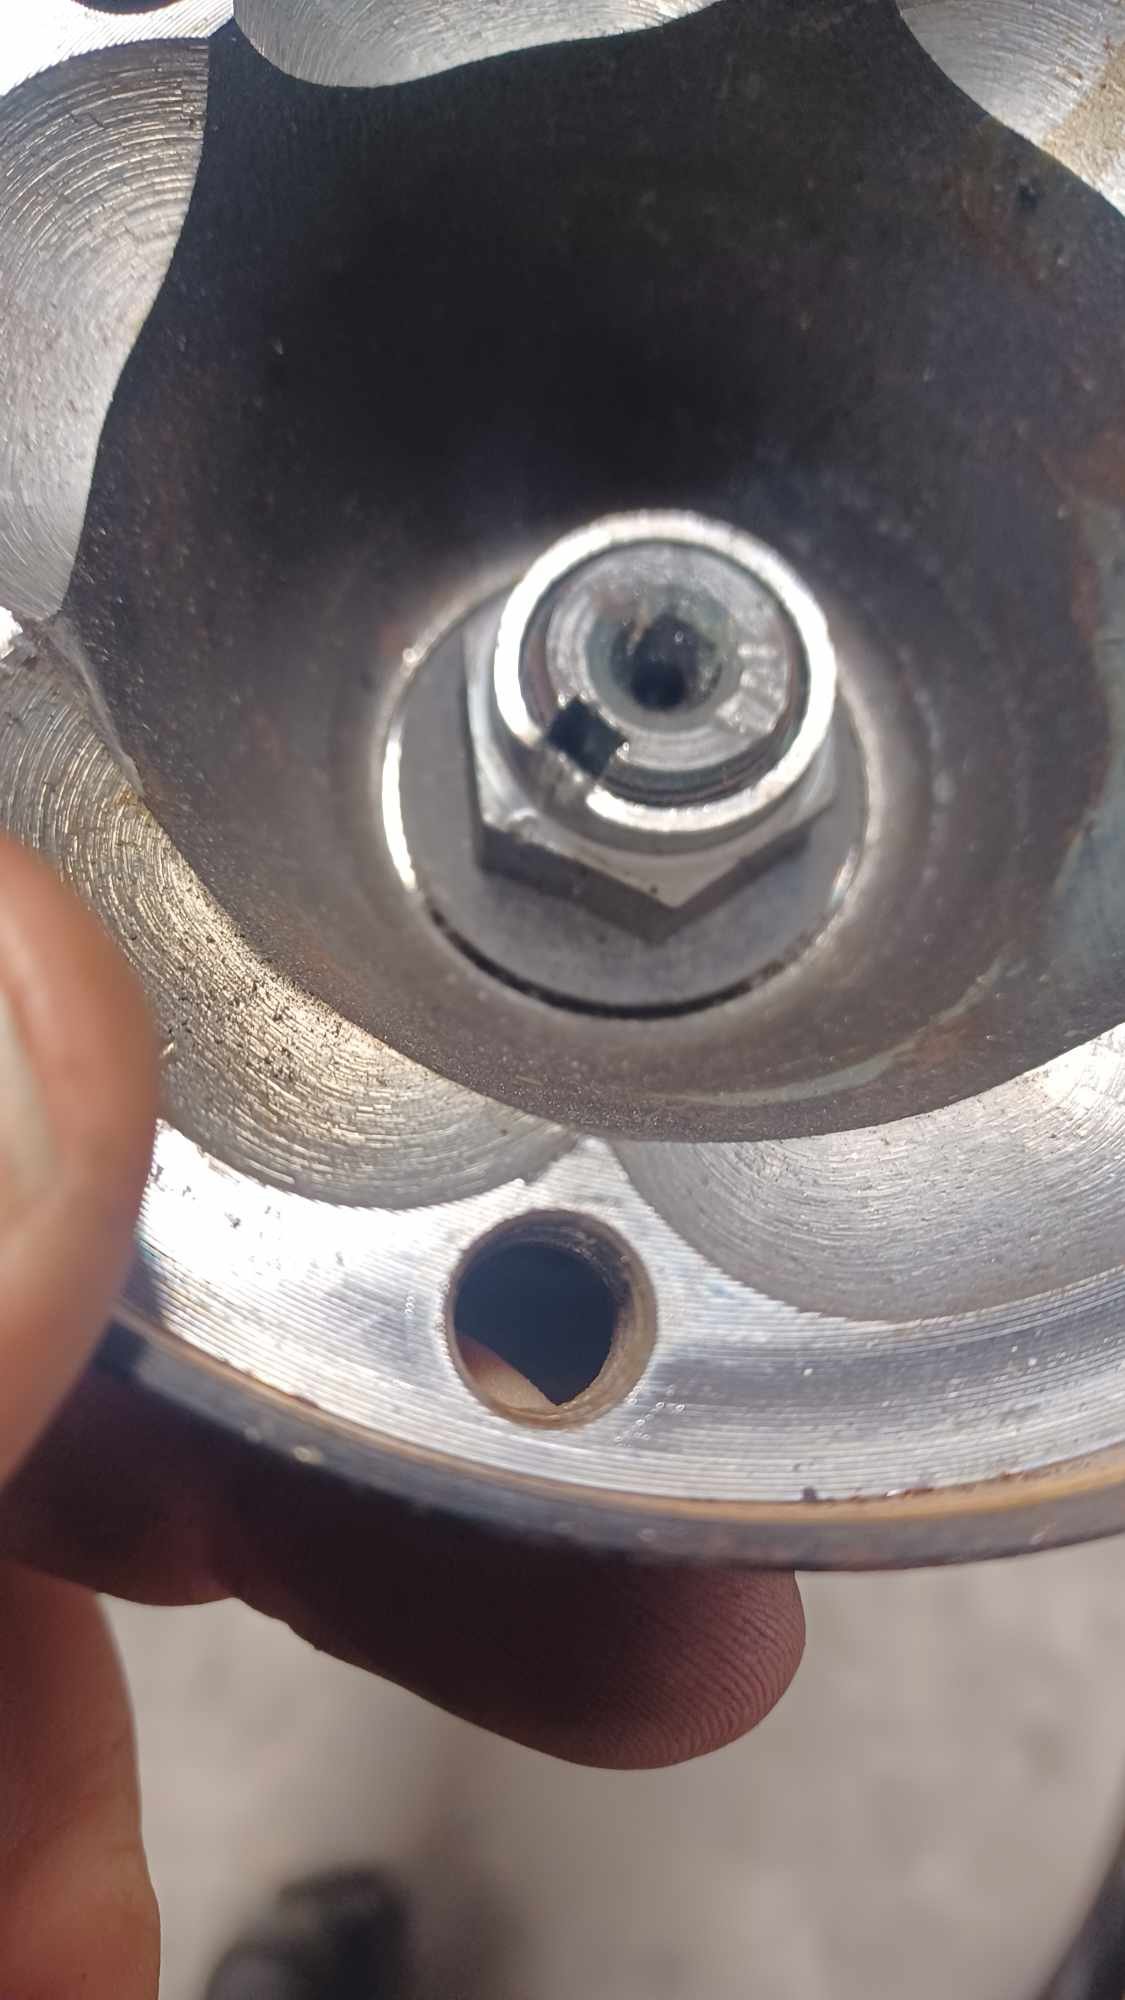
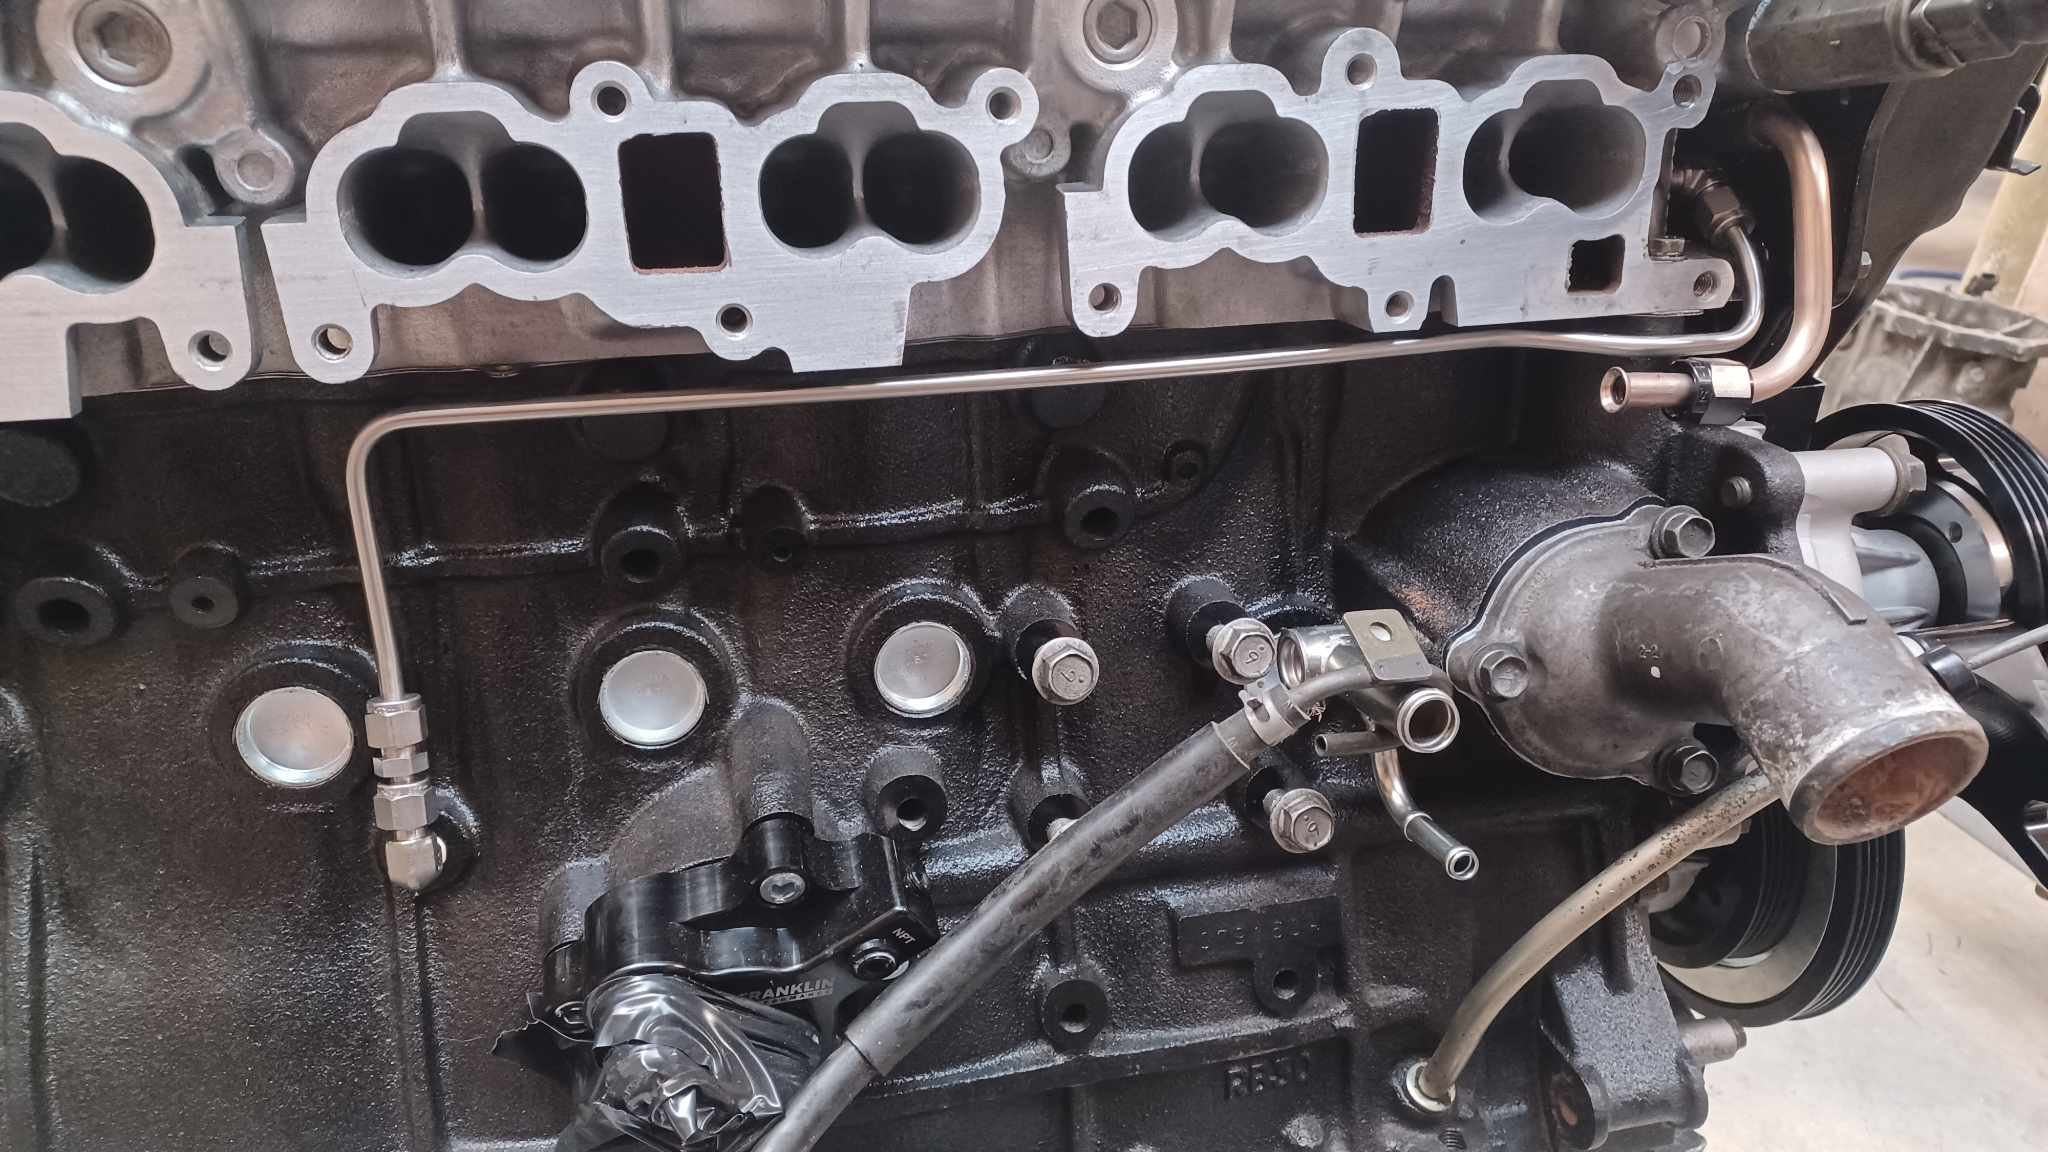
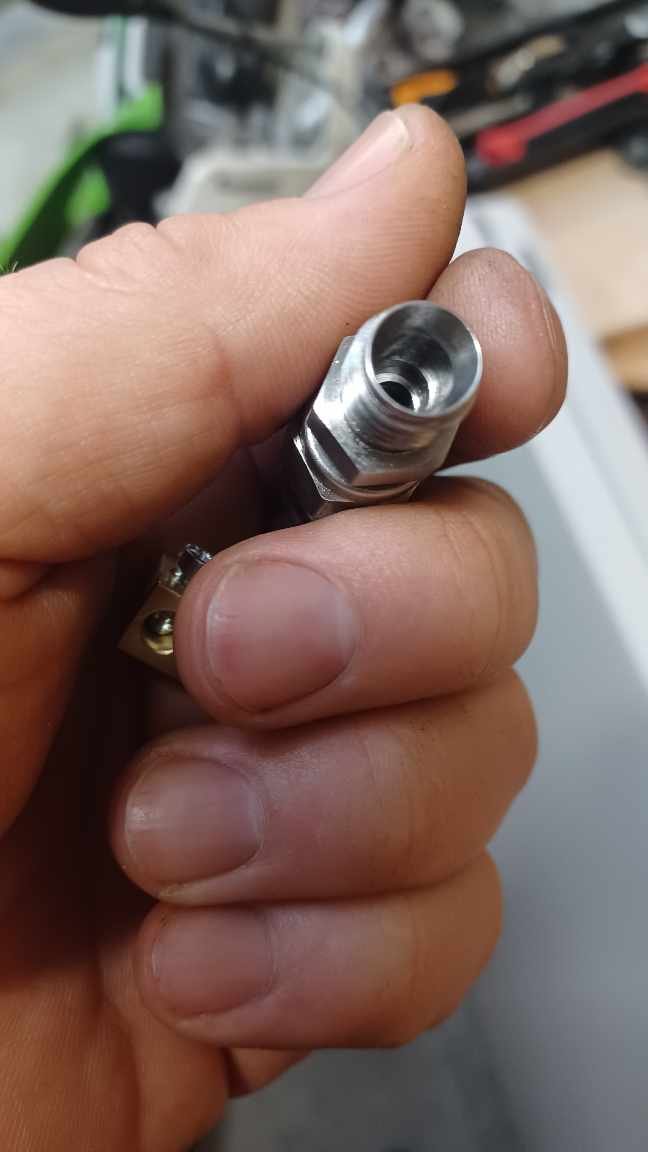
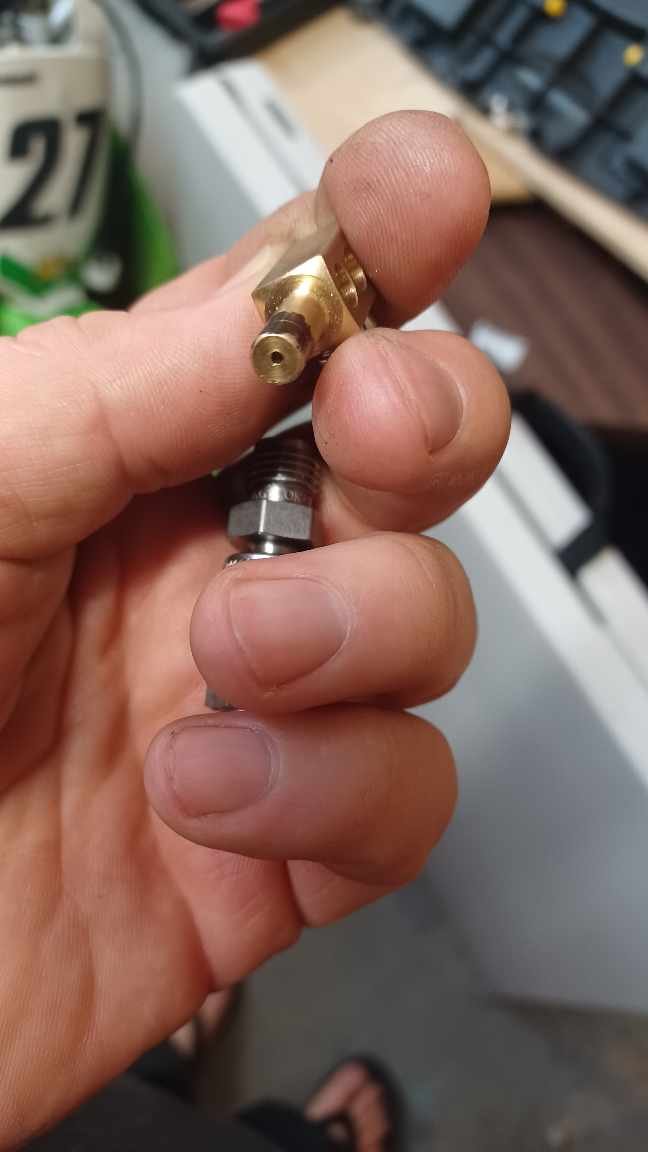
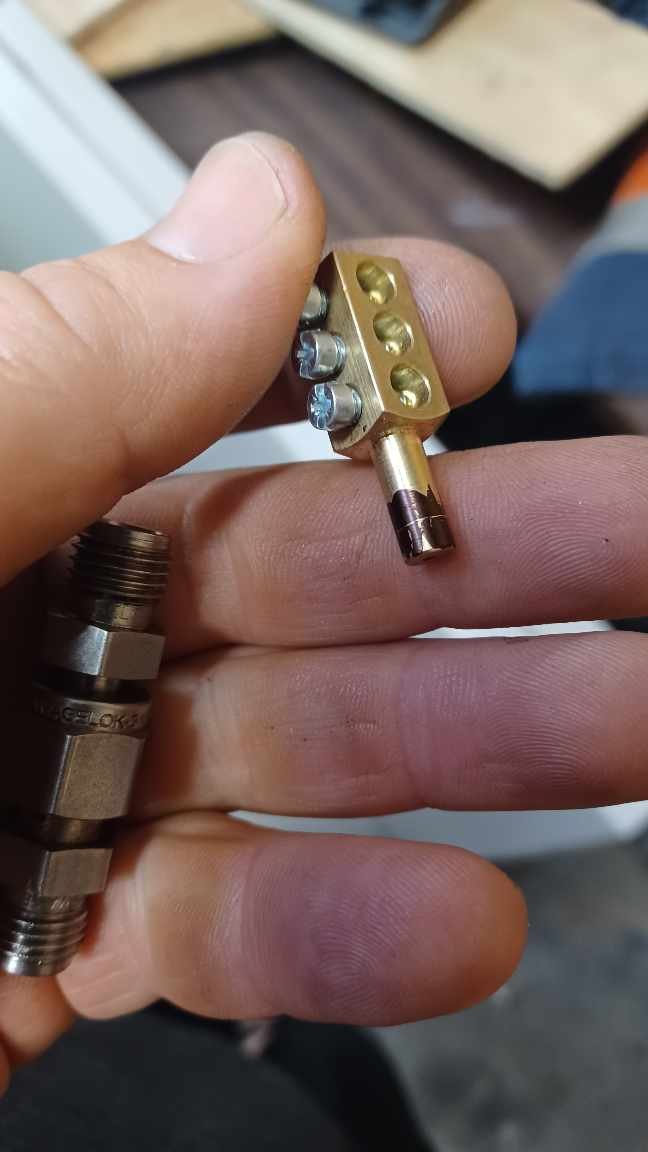
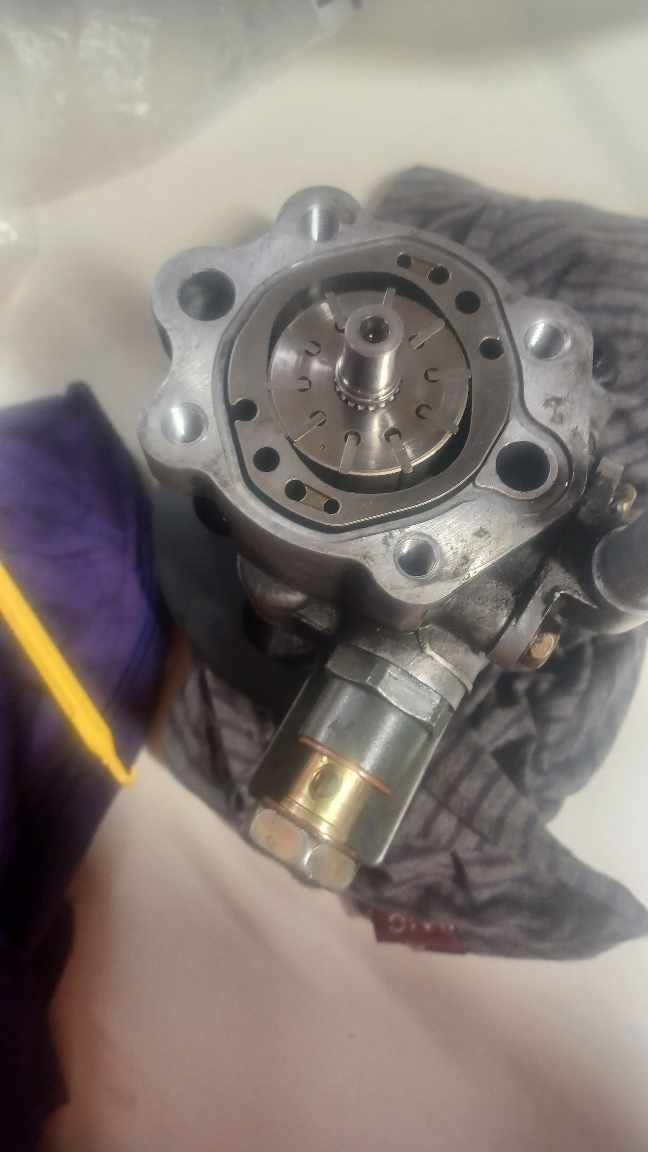
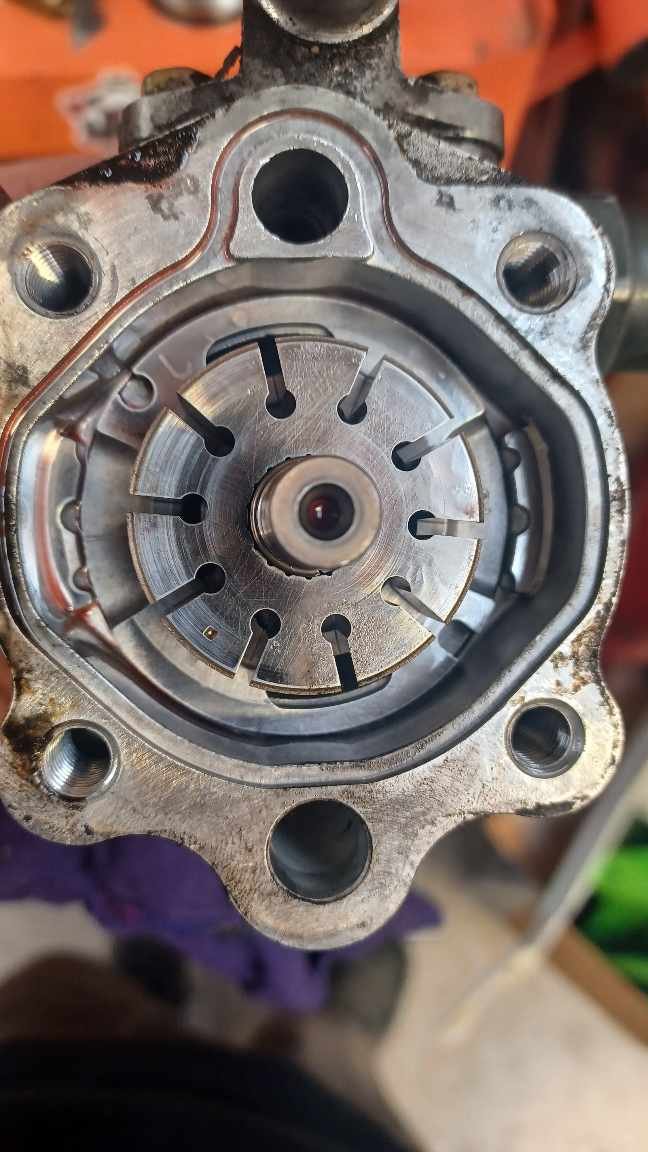
Made up the oil feed line to the vct solenoid. Well, actually I reused the line I made years ago, but made a new oil restrictor for it. It's fed from the oil pressure sensor port. I'll use one of the ports on the remote filter housing for the sender. The previous restrictor was no good so I needed to make another one. I don't have a lathe but found a brass electrical fitting in my van and it was the right size. Drilled a 1.3mm hole in it Drilled a bit of a recess into this swagelok fitting Bit of a nudge with a punch, et viola. Mint It's maybe not the most suitable method of doing it, but I work with swagelok tube a lot so the price was right. Also rekitted the PS pump and fitted a new pulley with the correct offset to suit my crank pulley. Only took a few pics so nothing exciting there
- 55 replies
-
- 13
-