Truenotch
-
Posts
10,922 -
Joined
-
Last visited
-
Days Won
6
Content Type
Forums
Downloads
Events
Gallery
Everything posted by Truenotch
-
Aiit, let's do it. A car space is $17 per week payable to @mark105.
-
I'm pretty sure we can fit another car into Matangi. Depends if @Firetruck still has the silver Cressida out there.
-
Does that mean you still get 50mm if extra droop travel when the suspension is aired out? i.e. if you did a jump the shocks will still droop down. Or will the bags keep them tucked up?
-
Good stuff! Onto the Mini next?
-
@chris r @Poo @bigfoot @73crownwagon @azzurro @shaneo @Pelo. @Mr Vapour @piazzanoob @oldrx7 @Tumeke @Snoozin @V8Pete @tortron @ajg193 @rustisize @SOHC @66gt @The Bronze @MIRAGE-MAN @rusty350 @rusty360 @igor @EURON8 @Threeonthetree @sheepers @63Ragtop @GuyWithAviators @Styles @M M @Roman @Alistair @Ned @sentra @sleeektoy @MichaelJFox @0R10N @xsspeed @Corbie @Matteybean @ae85 fiend @1963 AP5 @cletus @BF HQ @punkoutnz @Kiwibirdman @Llama @rich1179 @michaelme
- 409 replies
-
- 17
-

-

-
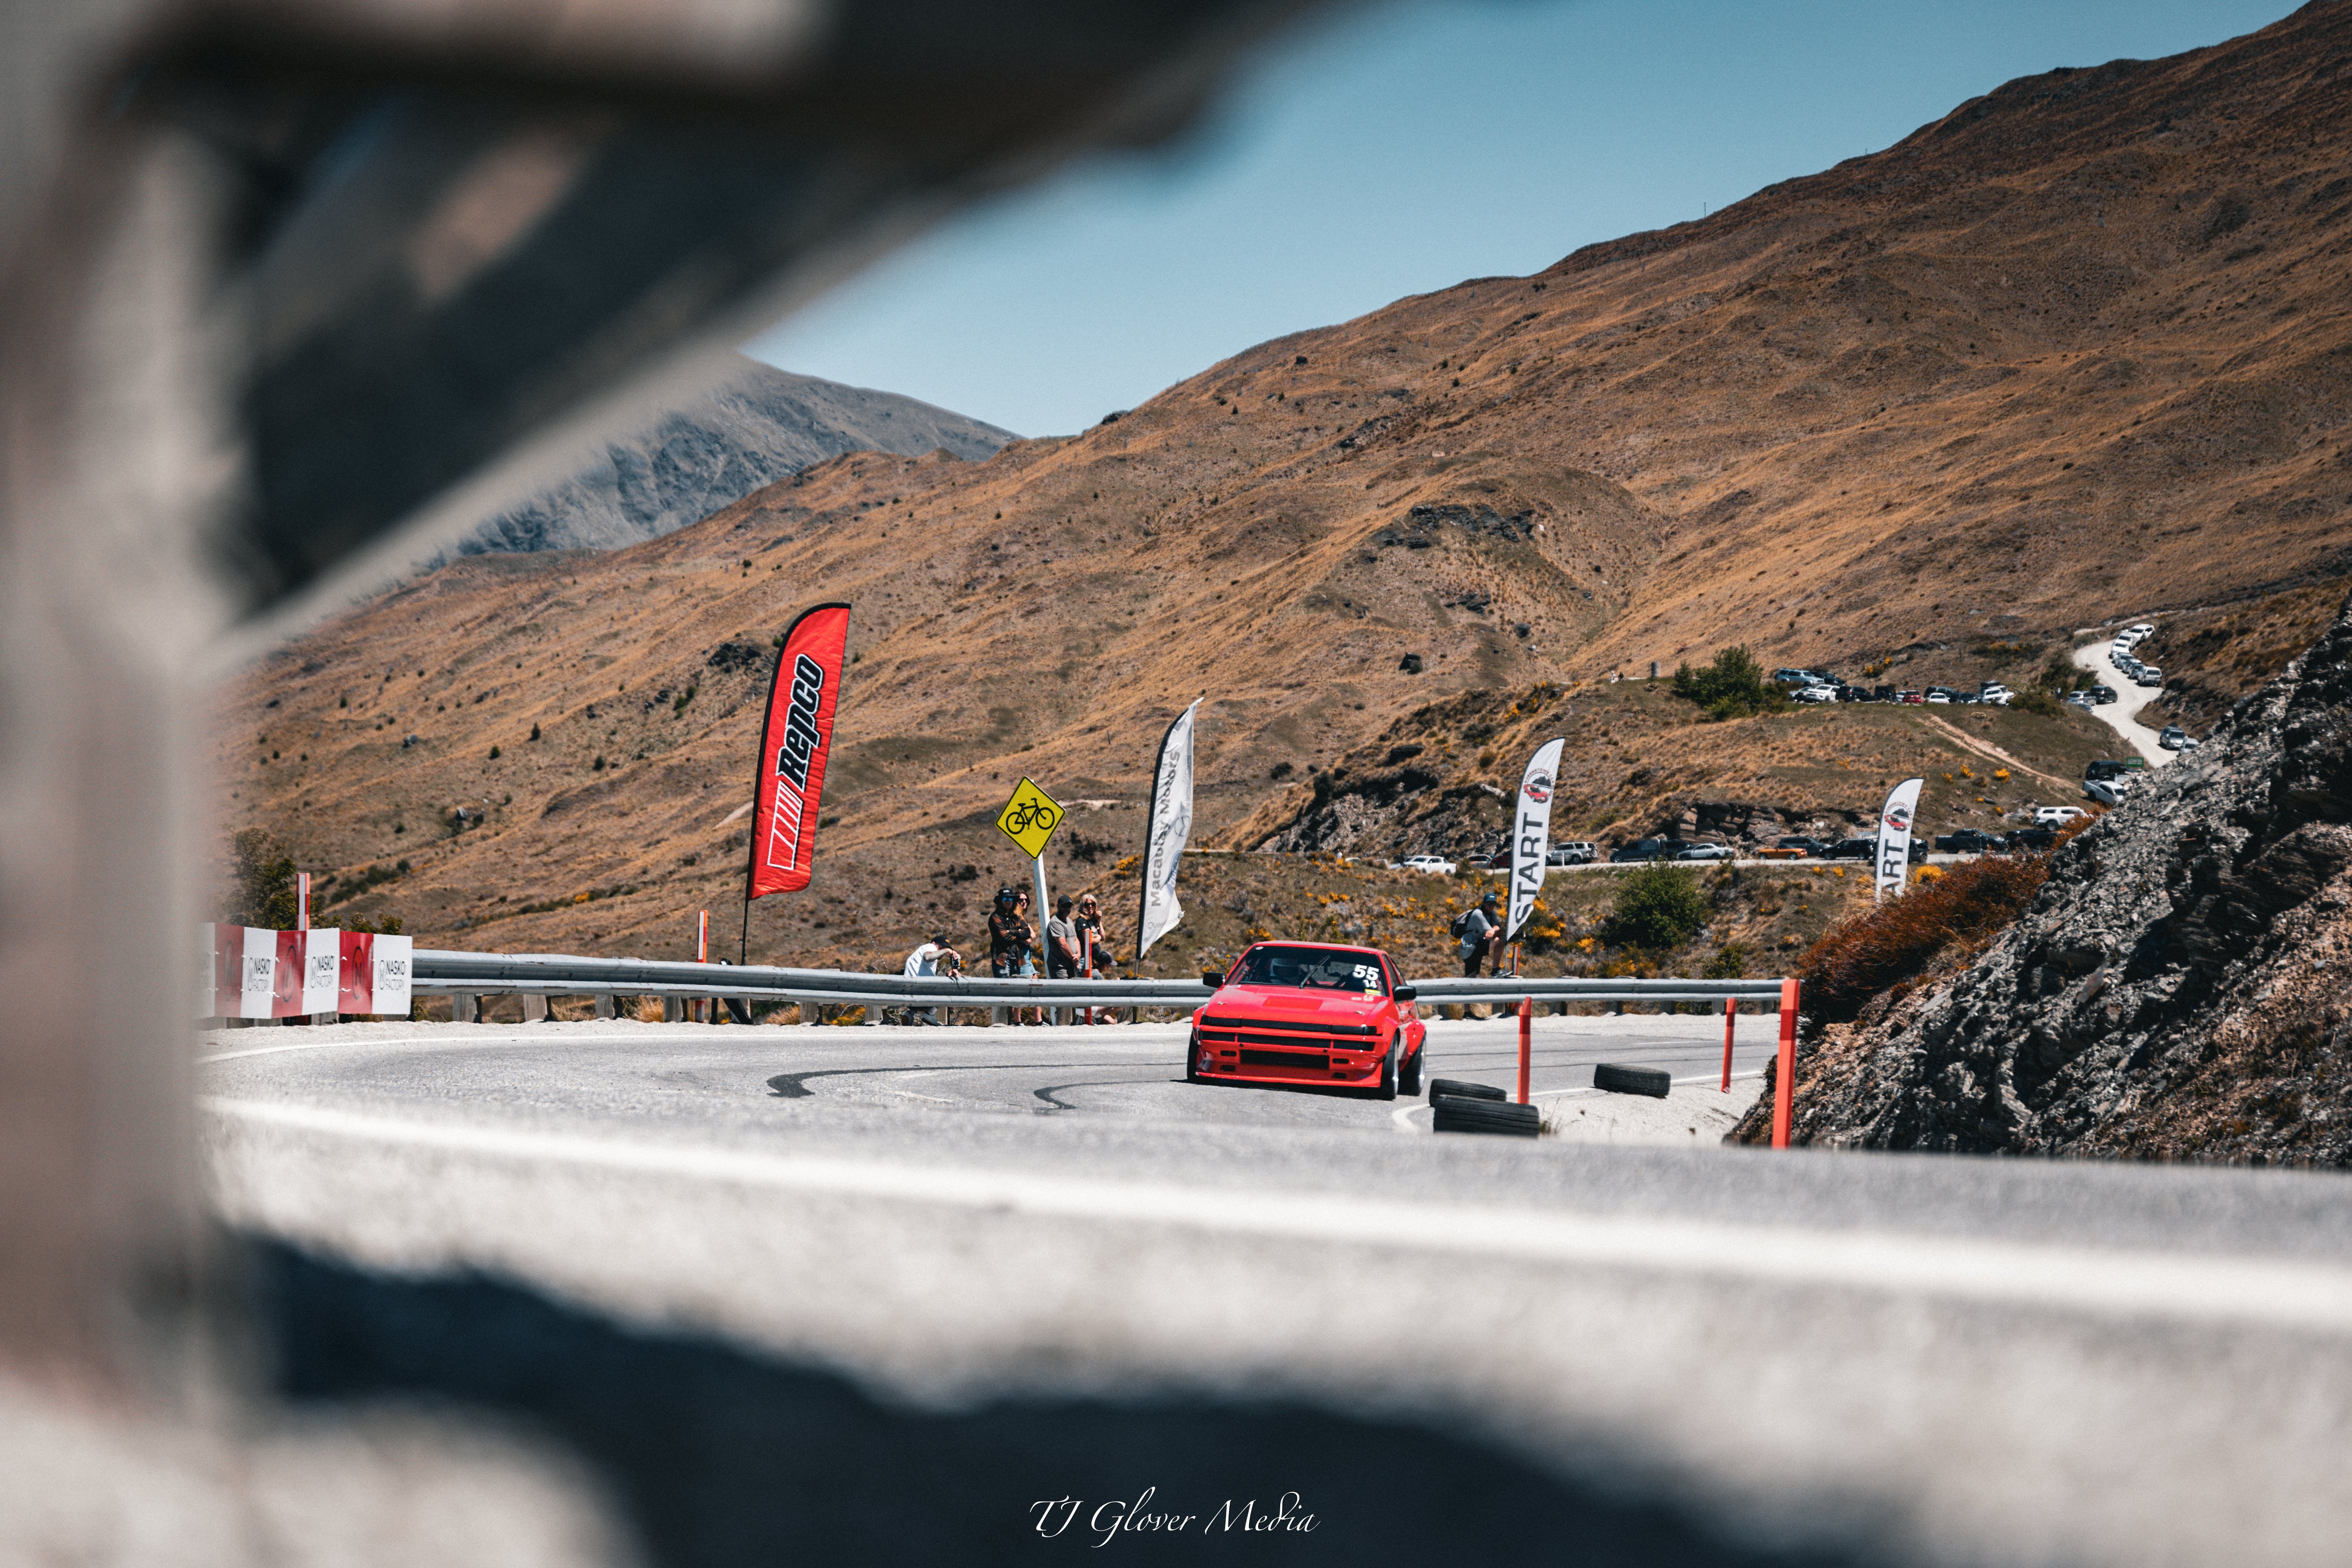
The oldschool outlaws Ellerslie monthly meet.
-
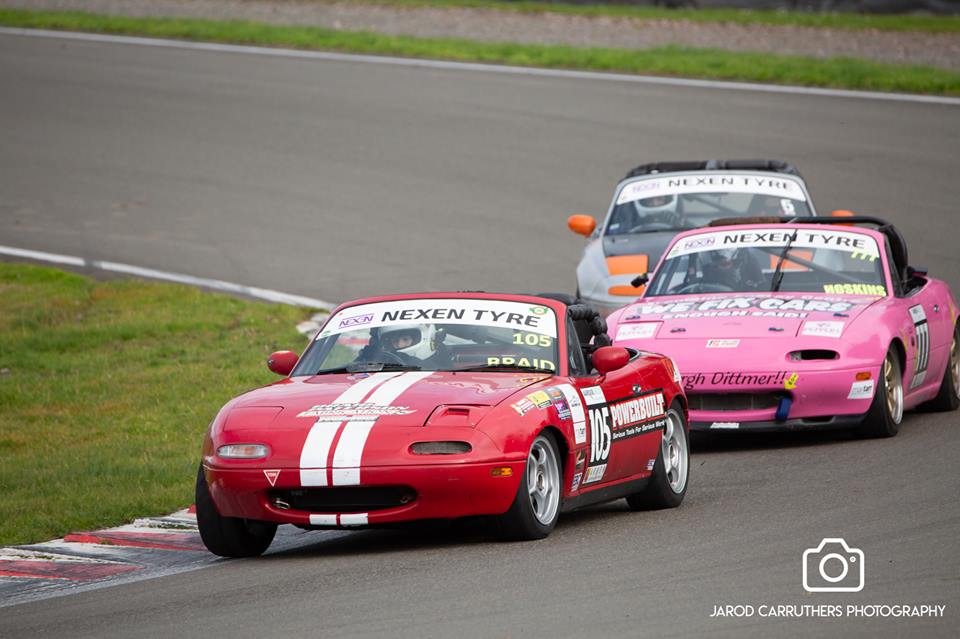
Round 2 went well again, starting with a P2 in qualifying behind Bryce in the green #22. It rained overnight, so the track was greasy which posed a bit of a challenge in some corners. Race 1 was awesome fun! We had a great tussle in the front group and I managed to hold on for second place. Another half a lap and I could have had him! Race two was busy! I started from near the back of the grid (reverse grid race) and managed to make my way up the order, eventually making it to the front for a win! And the Race 3 handicap was pretty hard to overcome... The four of us were given a pretty huge gap to try and close! We didn't make it, but that doesn't mean it was a bad race. We had a great battle for most of the 6 laps. So that all boiled down to a very close finish for the round overall! I ended up with 187 points, giving me the win for the round above Bryce, who reached 184 points. Two rounds to go!

-
A bit of a teaser from Round 2. Bump drafting is fun!
-
 I approve of this. Take it to the track NOW.
 -
Is there still a crew that's keen to have meets? I reckon y'all should kick it back into life.
-
Hamilton Monthly Meet - 29th July 7pm Cock and Bull
Truenotch replied to Truenotch's topic in Upper North Island Region
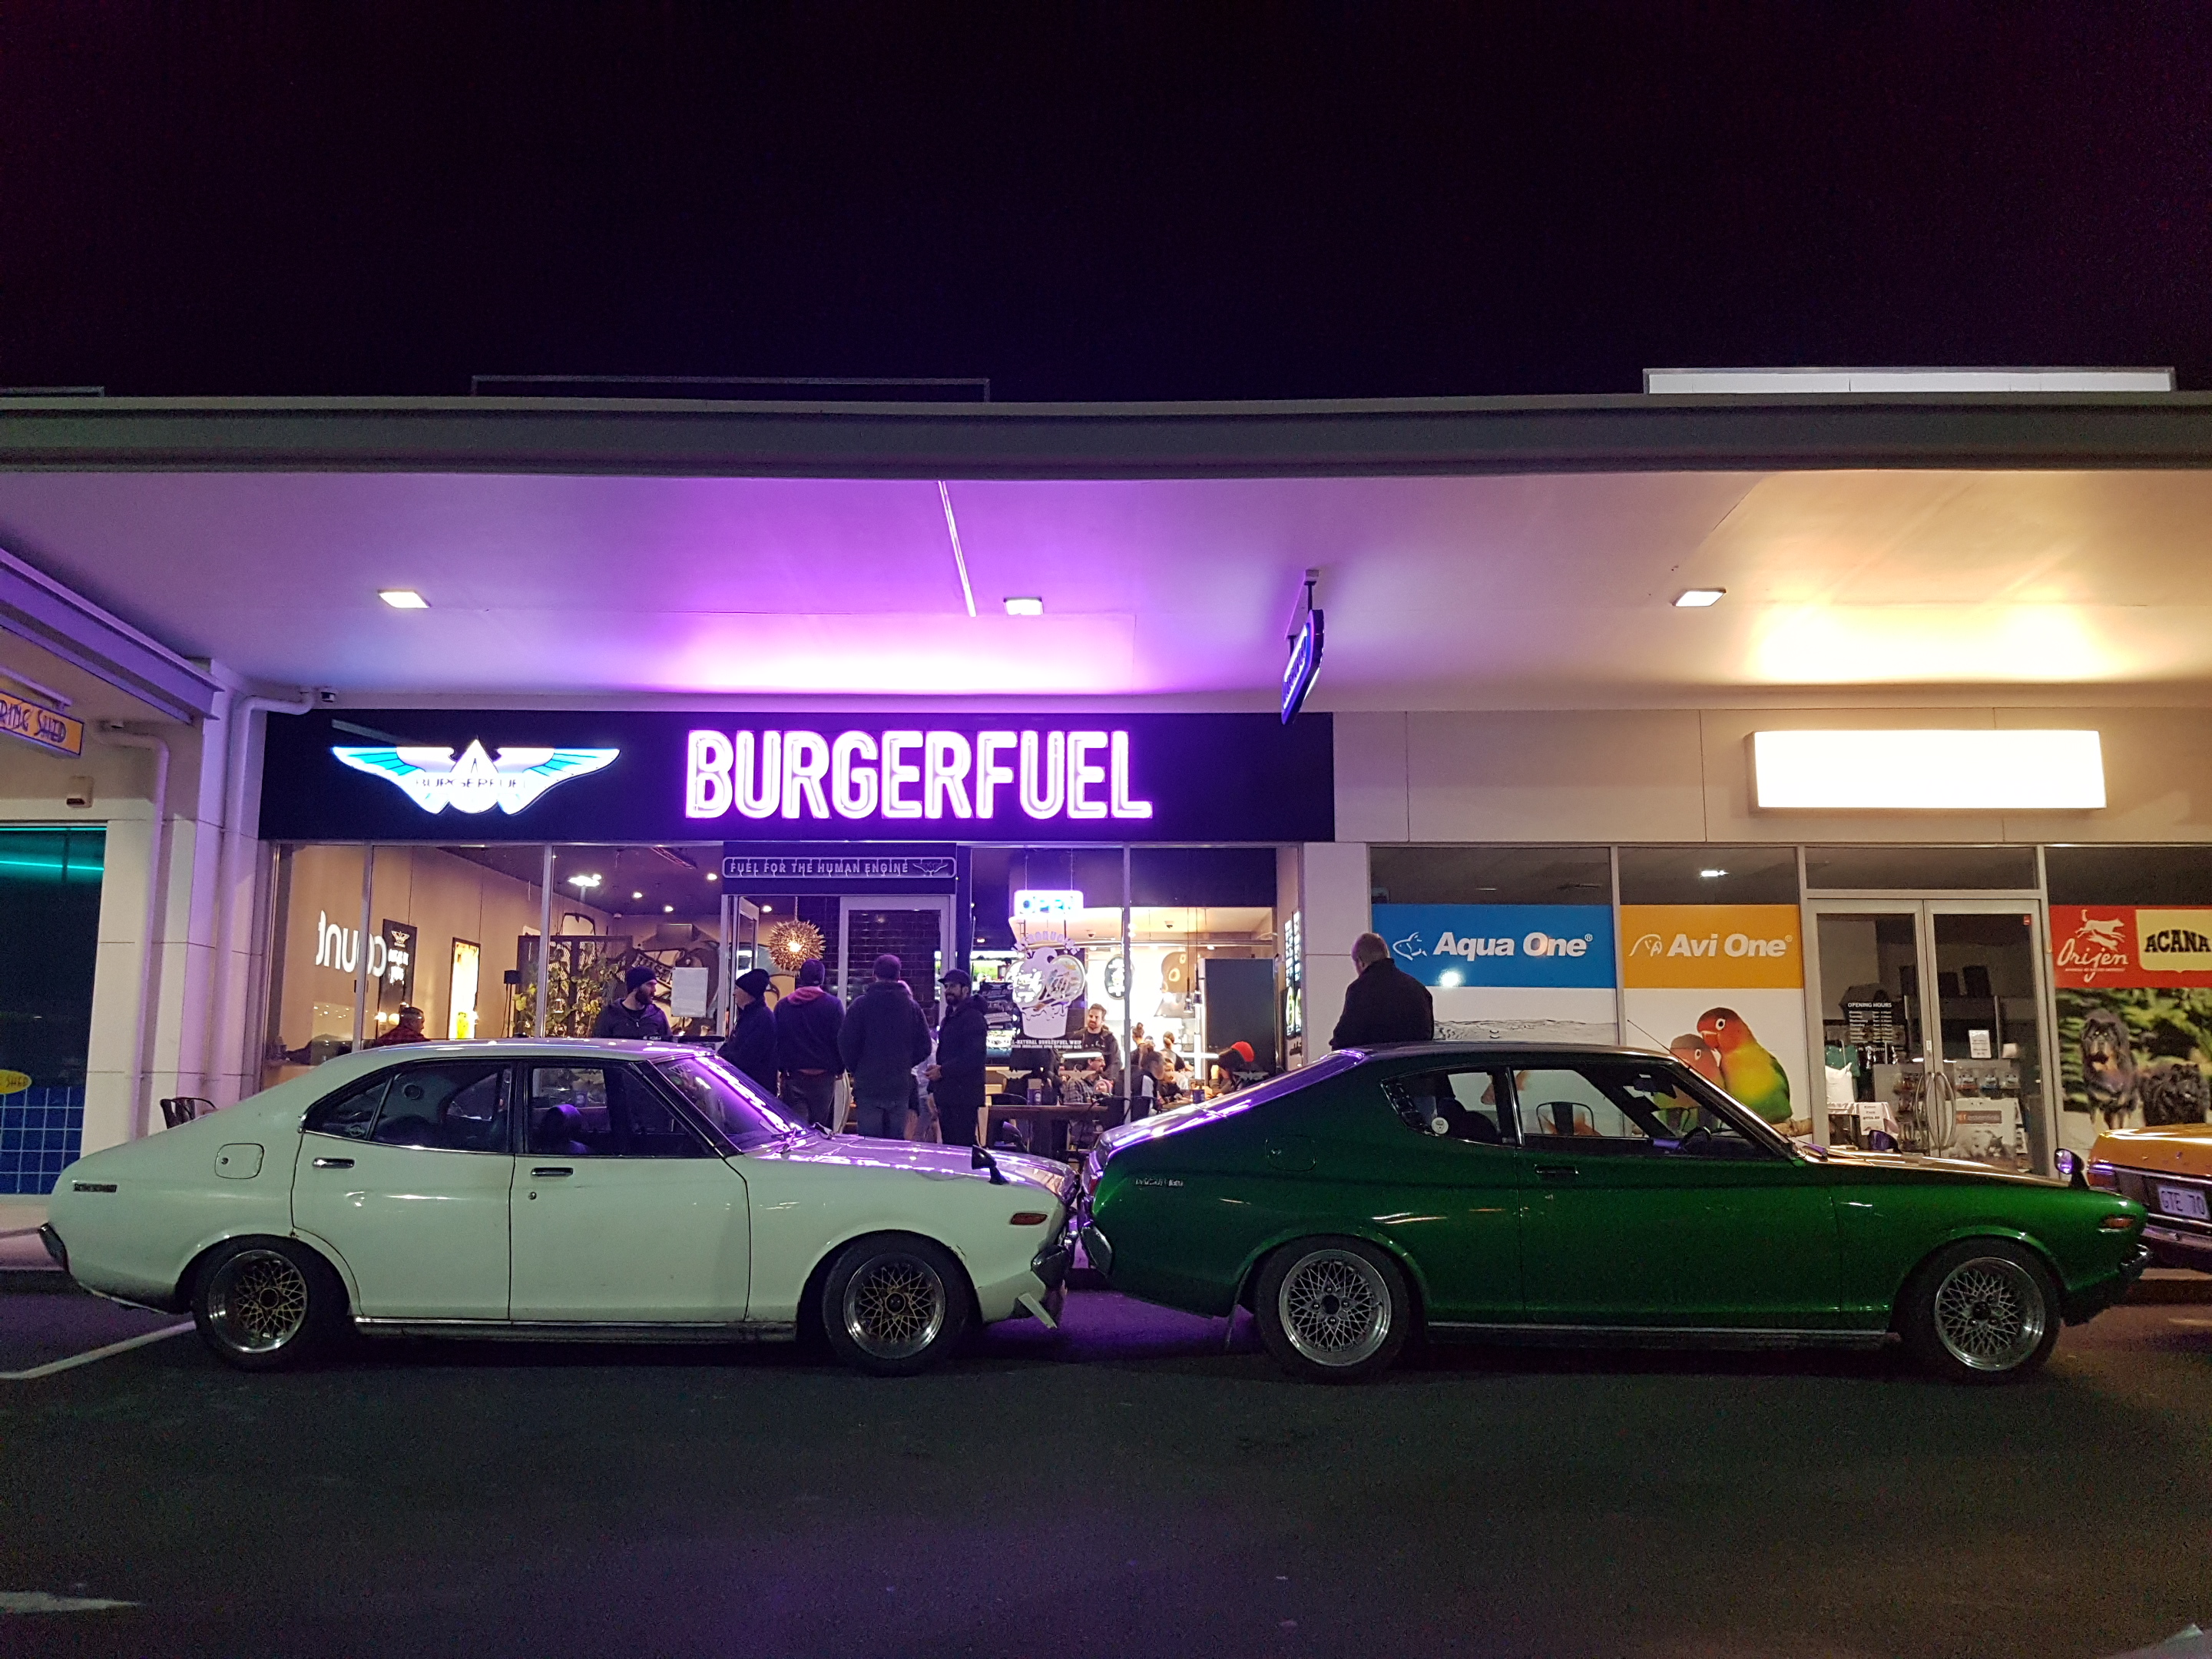
Burger storage:
-
Just direct them to the growler/pussy/grunter threads.
-
Yep, that's the kinda sharn we needed. We certainly do have liability insurance and I'm sure we can gather the know how to write a decent health and safety plan. Opening the conversation with Animates will be a really important step... Does anyone have contact details for the animates GM or CEO from when this all happened?
-
I don't have much of an understanding of the health and safety act, but I think it would be great to come to some kind of understanding with the people from Animates.
-
Not really. Long story, but a local resident (Porsche owner) complained and then the CEO of the vet company told us we weren't allowed to use their carpark anymore...
-
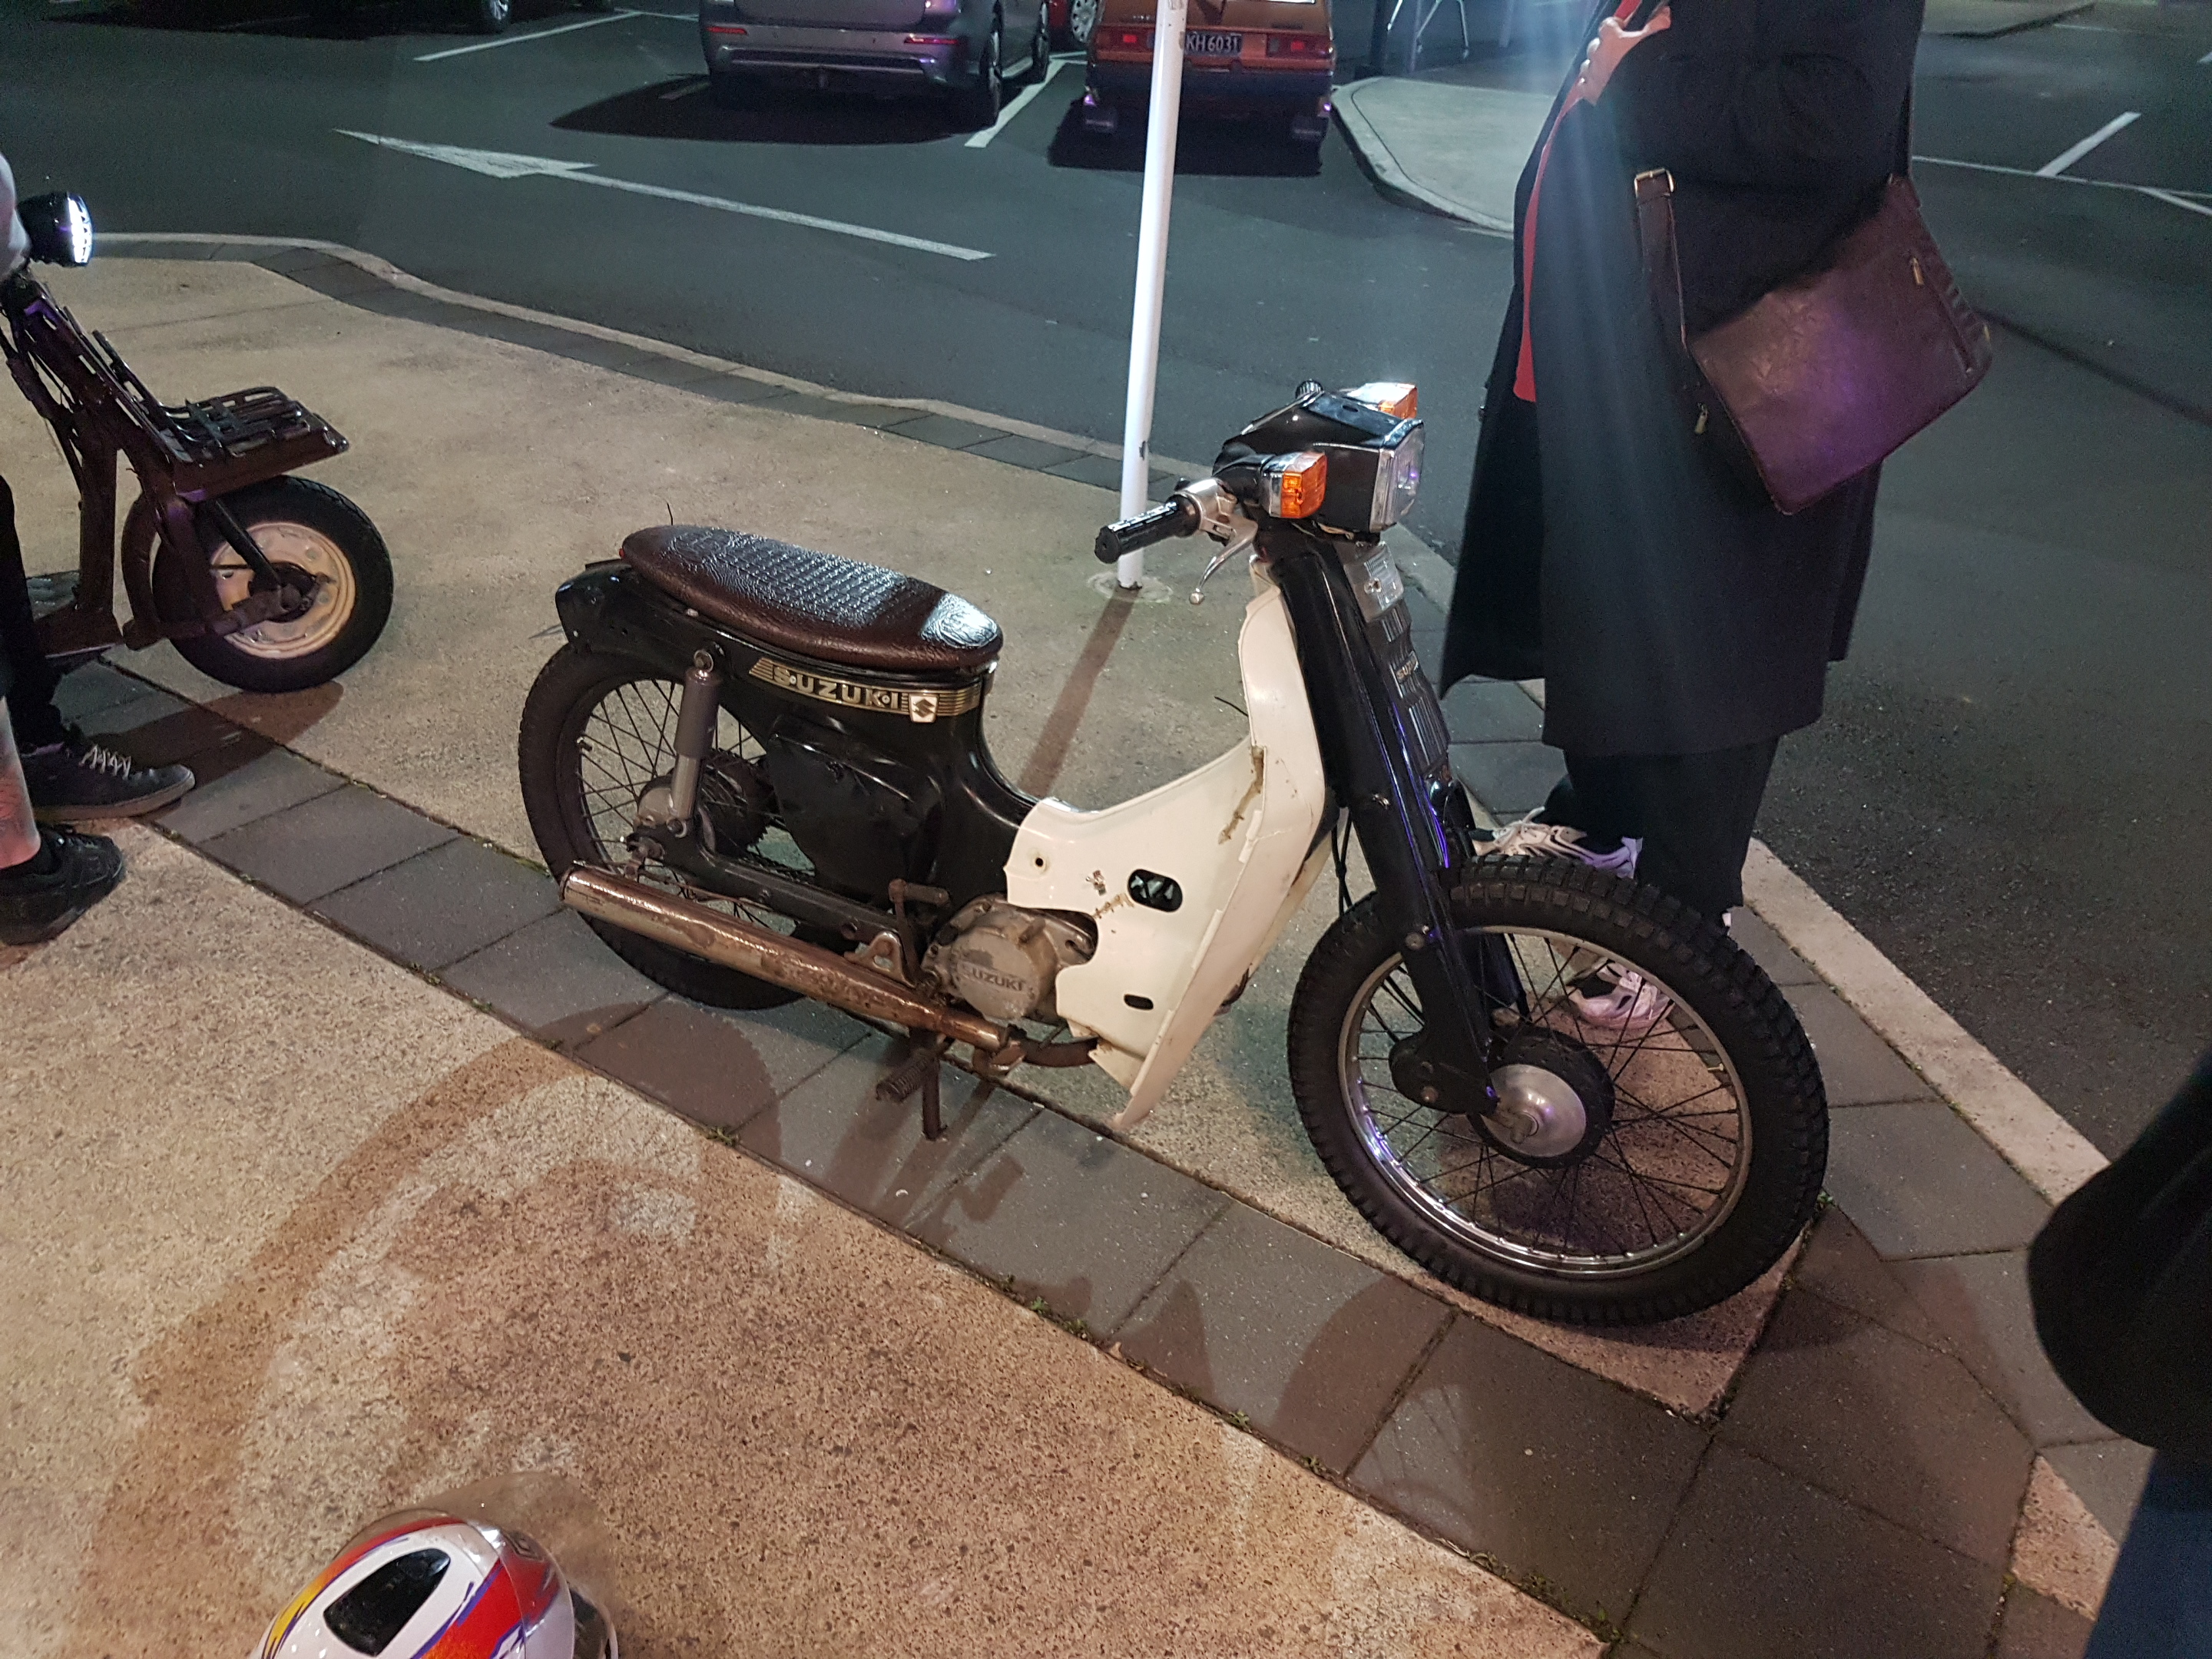
Thanks for that. I haven't had much off yet, just the carb so far. It's got no baffles and is loud as fuck, so I'm unsure how blocked it'll be. That trick is always worth a shot though! It became a lot harder to start when I got home from the ride and gave a couple of impressive backfires, so there's definitely a few things requiring attention.
-
It goes... Kinda... Gave the carb a rebuild using the kit that @Threeonthetree sent down. It runs OK, but doesn't pull very well and won't rev. Next thing to check is points which will require a flywheel tool.
-
Eastcapescapade 2018 November 9-10-11
Truenotch replied to johnnyfive's topic in Upper North Island Region
I feel like there needs to be a West Coast Whoopee / Catlins Caper at some stage too. -
This video is from Scott's car during race 2. He had a prime view of the multi-lap battle between Tim and I.
-
Race 3 - handicap. Started last and 20 odd seconds behind the lead cars. Finished 2nd.
-
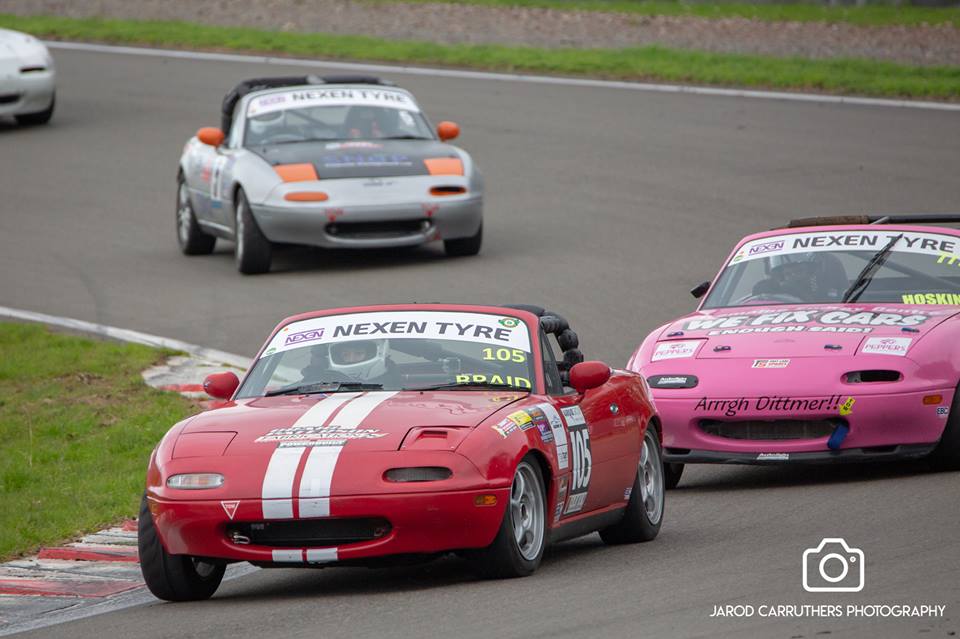
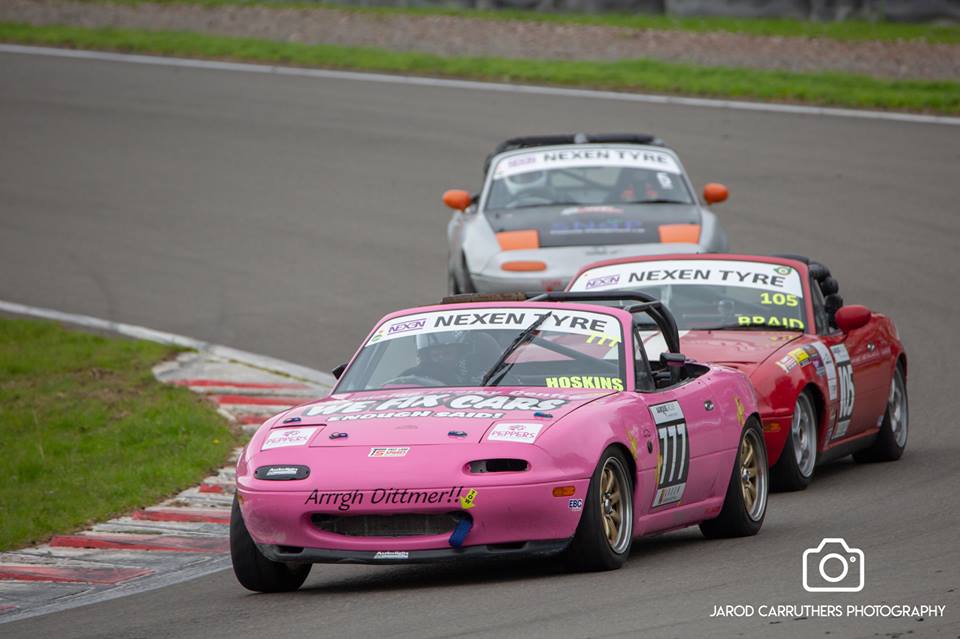
A few more pics have popped up. This was just after passing the pink car. He's had the best pace for the last couple of seasons, so making the pass is a good achievement in itself . And this one is the last corner of race 1 - I'd passed Bryce on the back straight, then he fought back in the last corner and I crossed the line 1/100 of a second in front.
-
I forgot my camera, so borrowed a Gopro for the weekend. I definitely prefer my sony! The angle wasn't great and it's a bit wobbly, but you get the idea . Camera didn't work for Race 1 (gutted), but here's race two from the back of the grid:
-
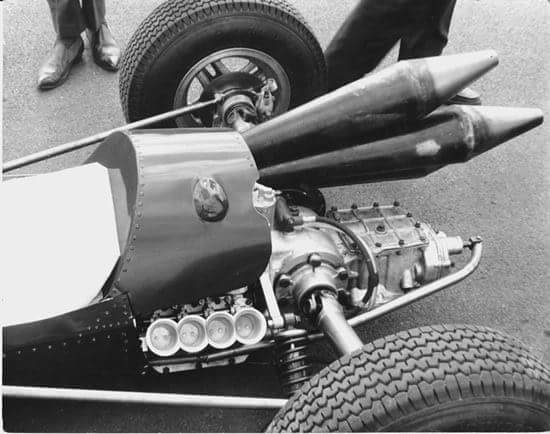
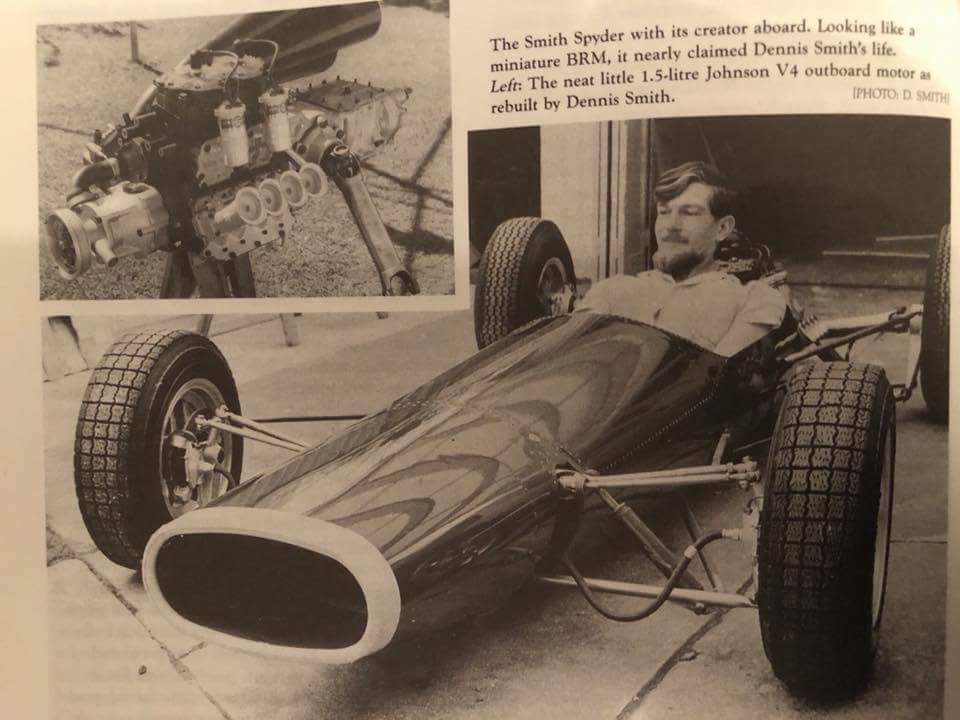
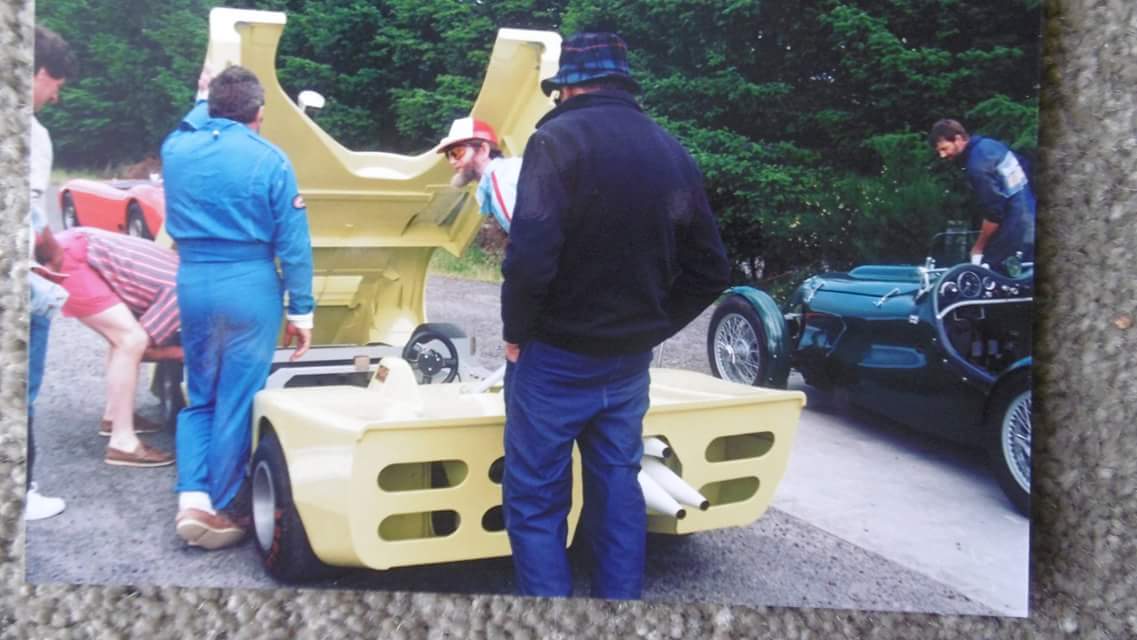
Alan Dick / Classic Auto News made a post about the Smith Spider on Facebook and it's sparked a bit of interest. A couple of people put up pics:
- 85 replies
-
- 19
-
-
Round 1 of the Winter Series complete. We had a decent turnout, with 12 cars on the grid. The changes seem to have worked! The car felt great in testing and I was on the pace with the top guys again. Feelsgoodman.jpg Race 1: Started P3 and managed to pluck off the two cars in front. Made a pass for the lead on the last lap and it wasn't settled until after the last corner. Great race and stoked to get a win! Race 2: Reverse grid, so I was off the back. Pushed hard through traffic throughout the race and ended up in 3rd. Race 3: Handicap - started last and had a great race. Made it to up to second place, but couldn't quite challenge for the lead. I also had the quickest lap of the weekend with a 1:24.623... The next fastest was a 1:24.739 so there's not much in it! I'm pretty impressed with the lap times considering the track was ice cold all day. Here's a couple of pics:
- 191 replies
-
- 14
-
-
It's the next step up from this. $999 retail and the tig torch is an optional extra. They come with a regulator and I'm pretty impressed with my one so far! https://www.bunnings.co.nz/bossweld-180-amp-ms180-mig-and-stick-arc-inverter-welder_p08911800