Truenotch
-
Posts
10628 -
Joined
-
Last visited
-
Days Won
6
Everything posted by Truenotch
-
 Man, it's looking great! I'll chortle if your neighbours ever get jealous, smash their house down and do the same thing - leaving only a hidden brick wall and some concrete from the original structure.
- 462 replies
-
- 10
-

-

-
RAGLAN GRAVEL MOPED RIDE : 29 October
Truenotch replied to Shakotom's topic in Upper North Island Region
Tempted to come get some beach rash. -
Truenotch's BEAMS AE86 racecar discussion
Truenotch replied to Truenotch's topic in Project Discussion
Thanks Glenn, I'll check all the collets. Still using Ti valves as it was just a standard motor that we refreshed. I'll be looking into steel valves for the next build. -
Truenotch's BEAMS AE86 racecar discussion
Truenotch replied to Truenotch's topic in Project Discussion
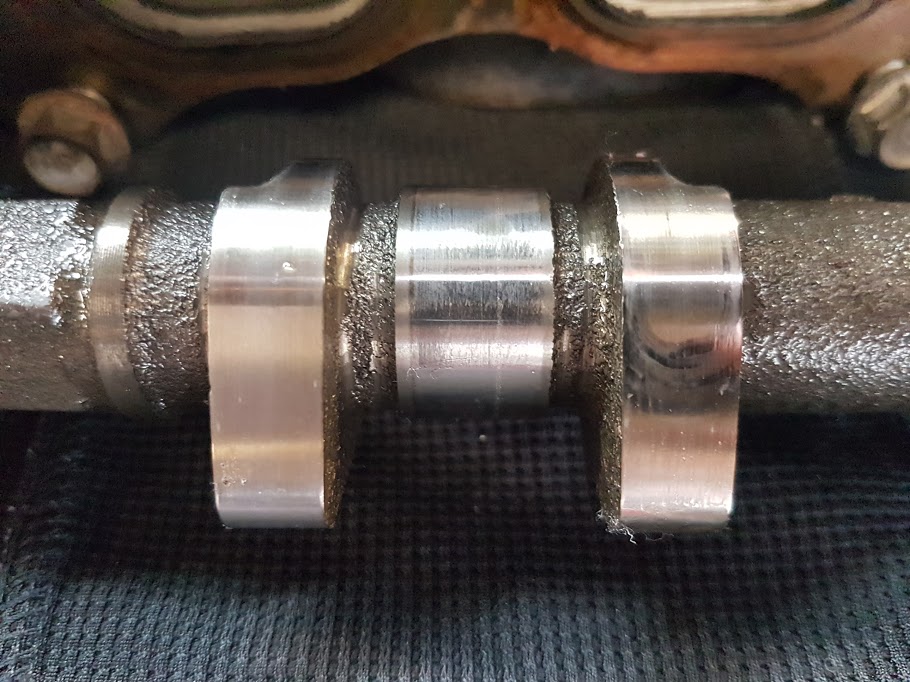
I haven't checked the cam properly but it seems fine. I'll be checking to make sure the cam is straight and true though. Current theory is Valve float causing a chatter at high RPM and it's fatigued over time. -
Truenotch's BEAMS AE86 racecar discussion
Truenotch replied to Truenotch's topic in Project Discussion
Yeah, the motor is 100% factory aside from being refreshed before it went in. -
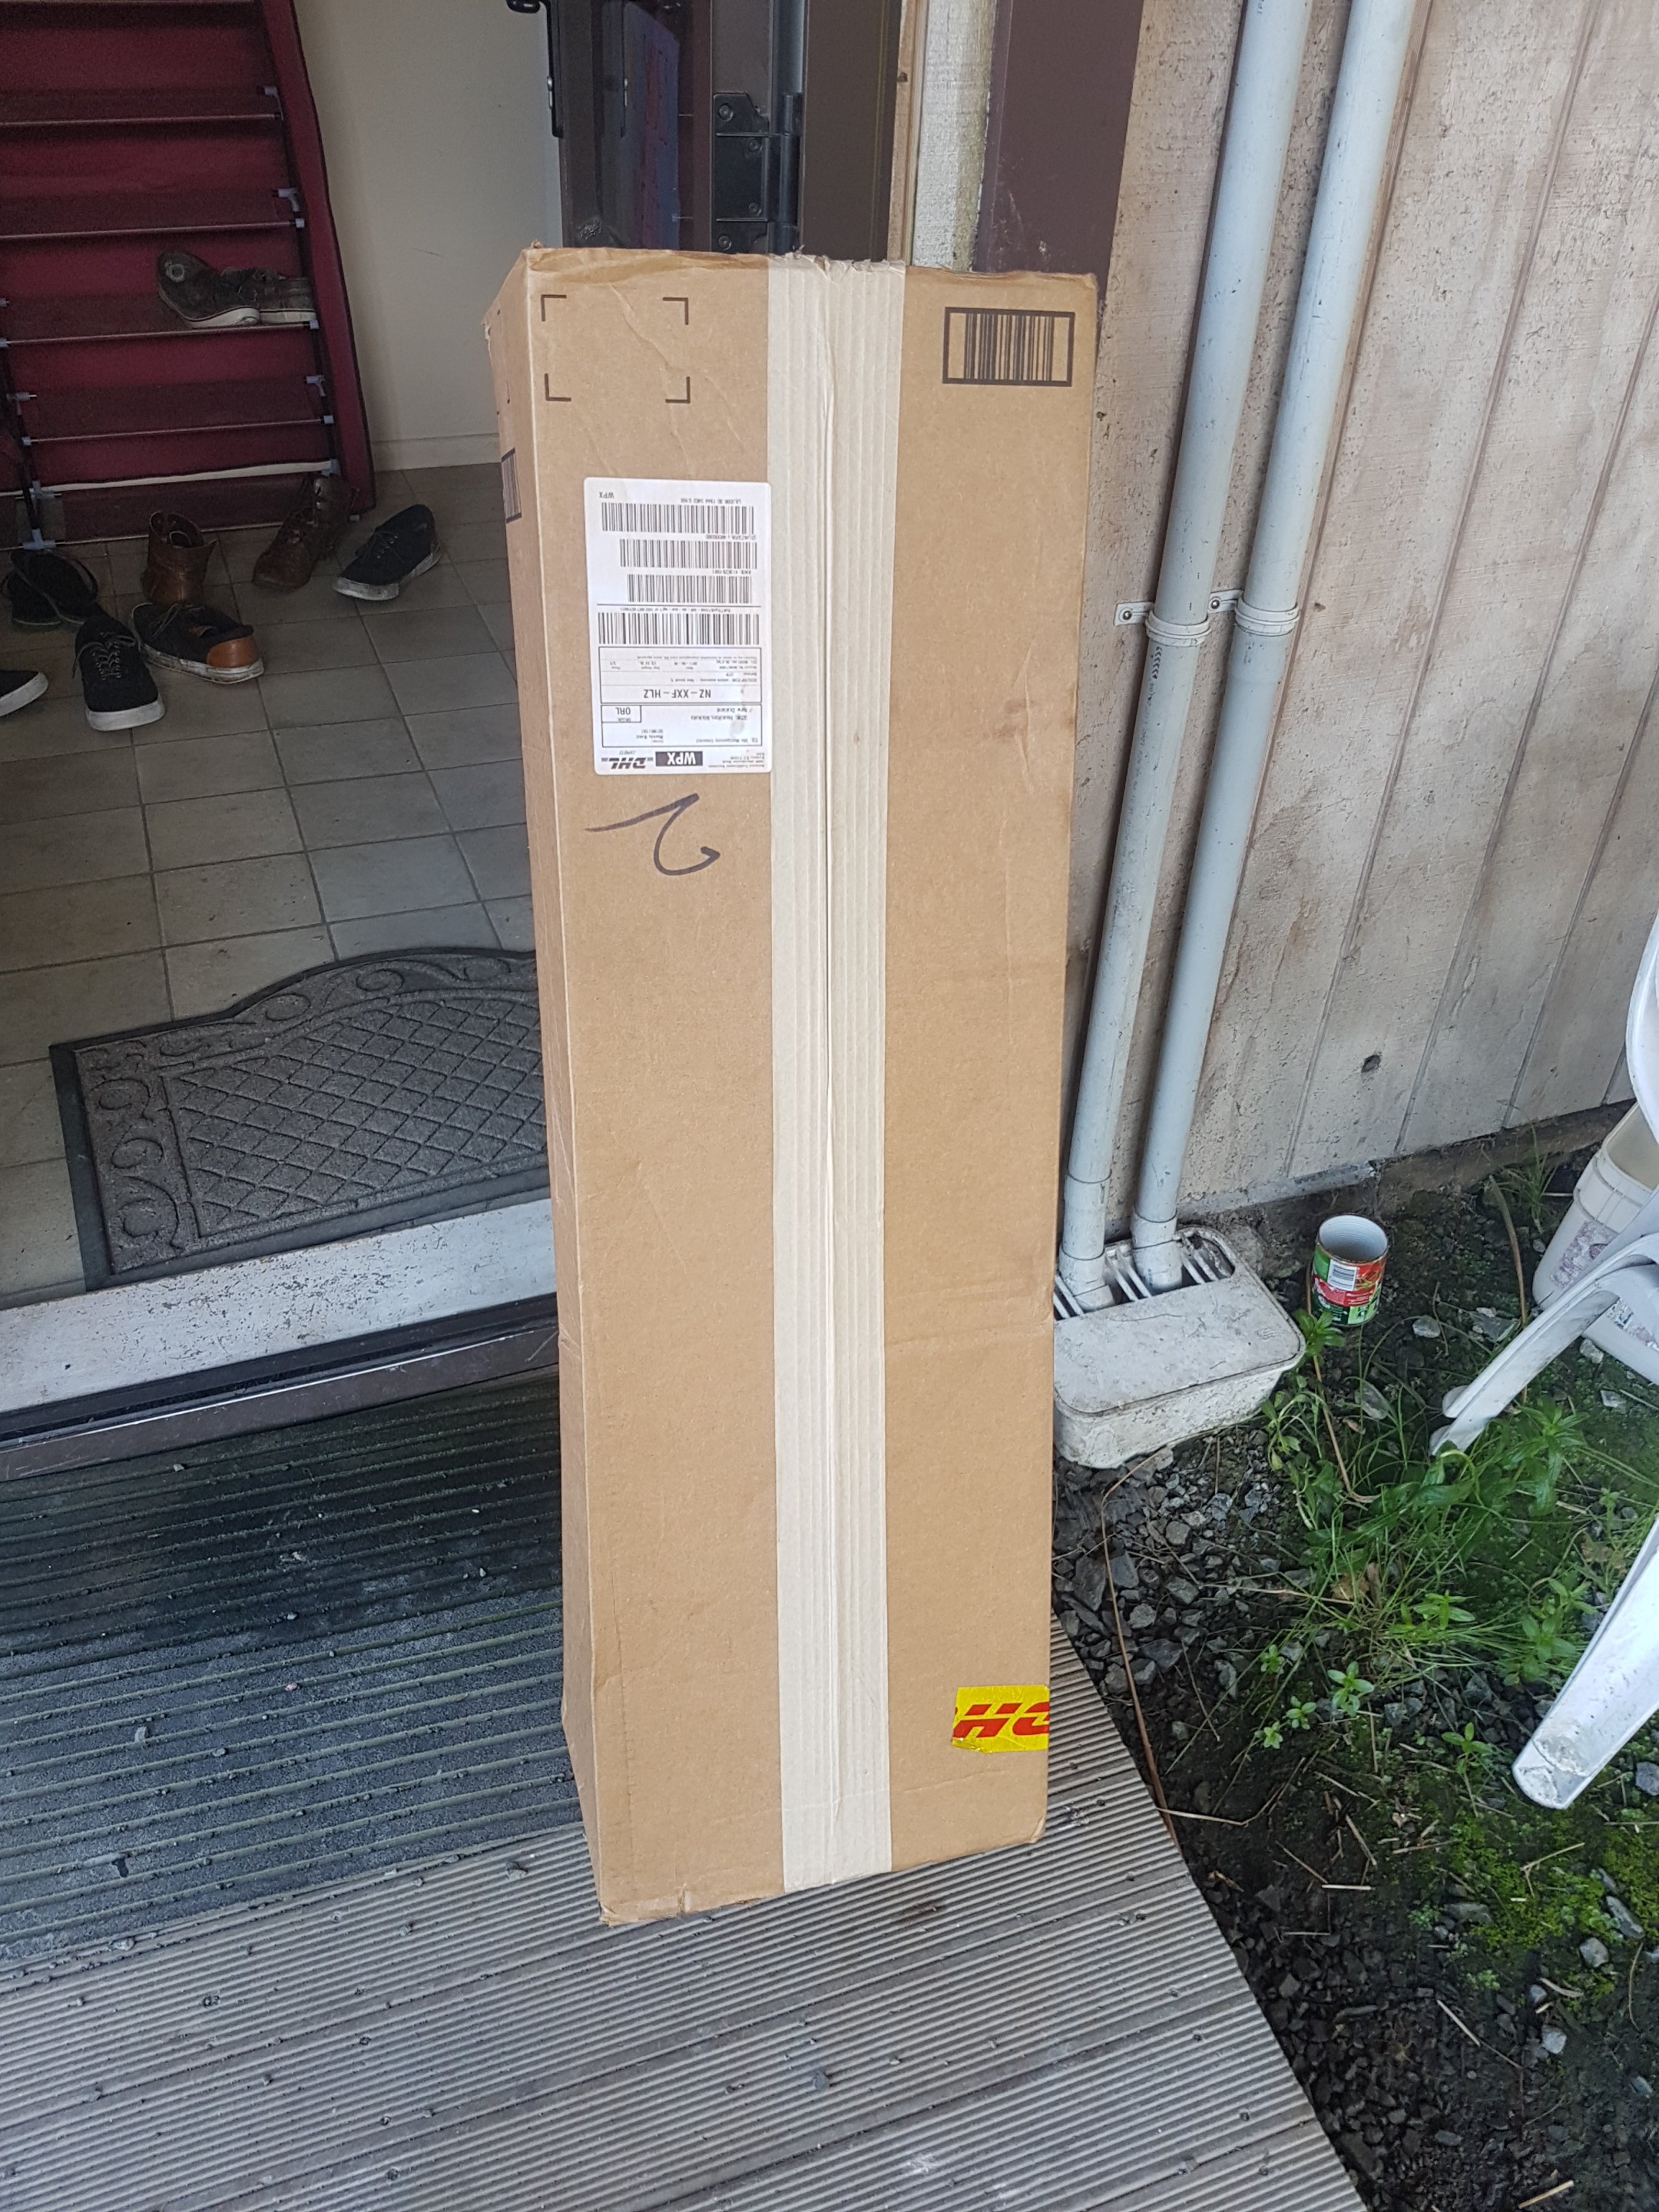
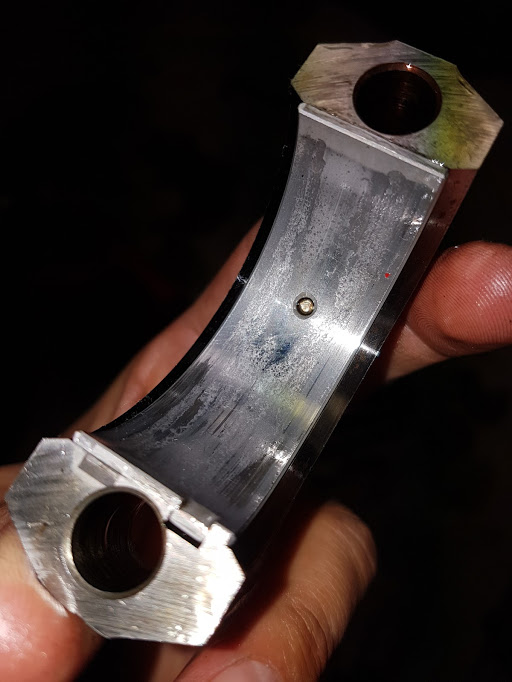
A bit of further investigation shows no signs of stress on the underside or the valvetrain. This chunk obviously decided it'd had enough... But it's hard to know why. Also had this massive box arrive from Amazon: Which contained my new muffler. It's no wonder their shipping was so expensive! I chose this because it's 3". But also because my neighbour has the same on his K24A DC5 Integra and it sounds great. I've also got the matching 3" resonator that I'll probably make removable so it can be added if the car's too loud at Pukekohe etc.

-
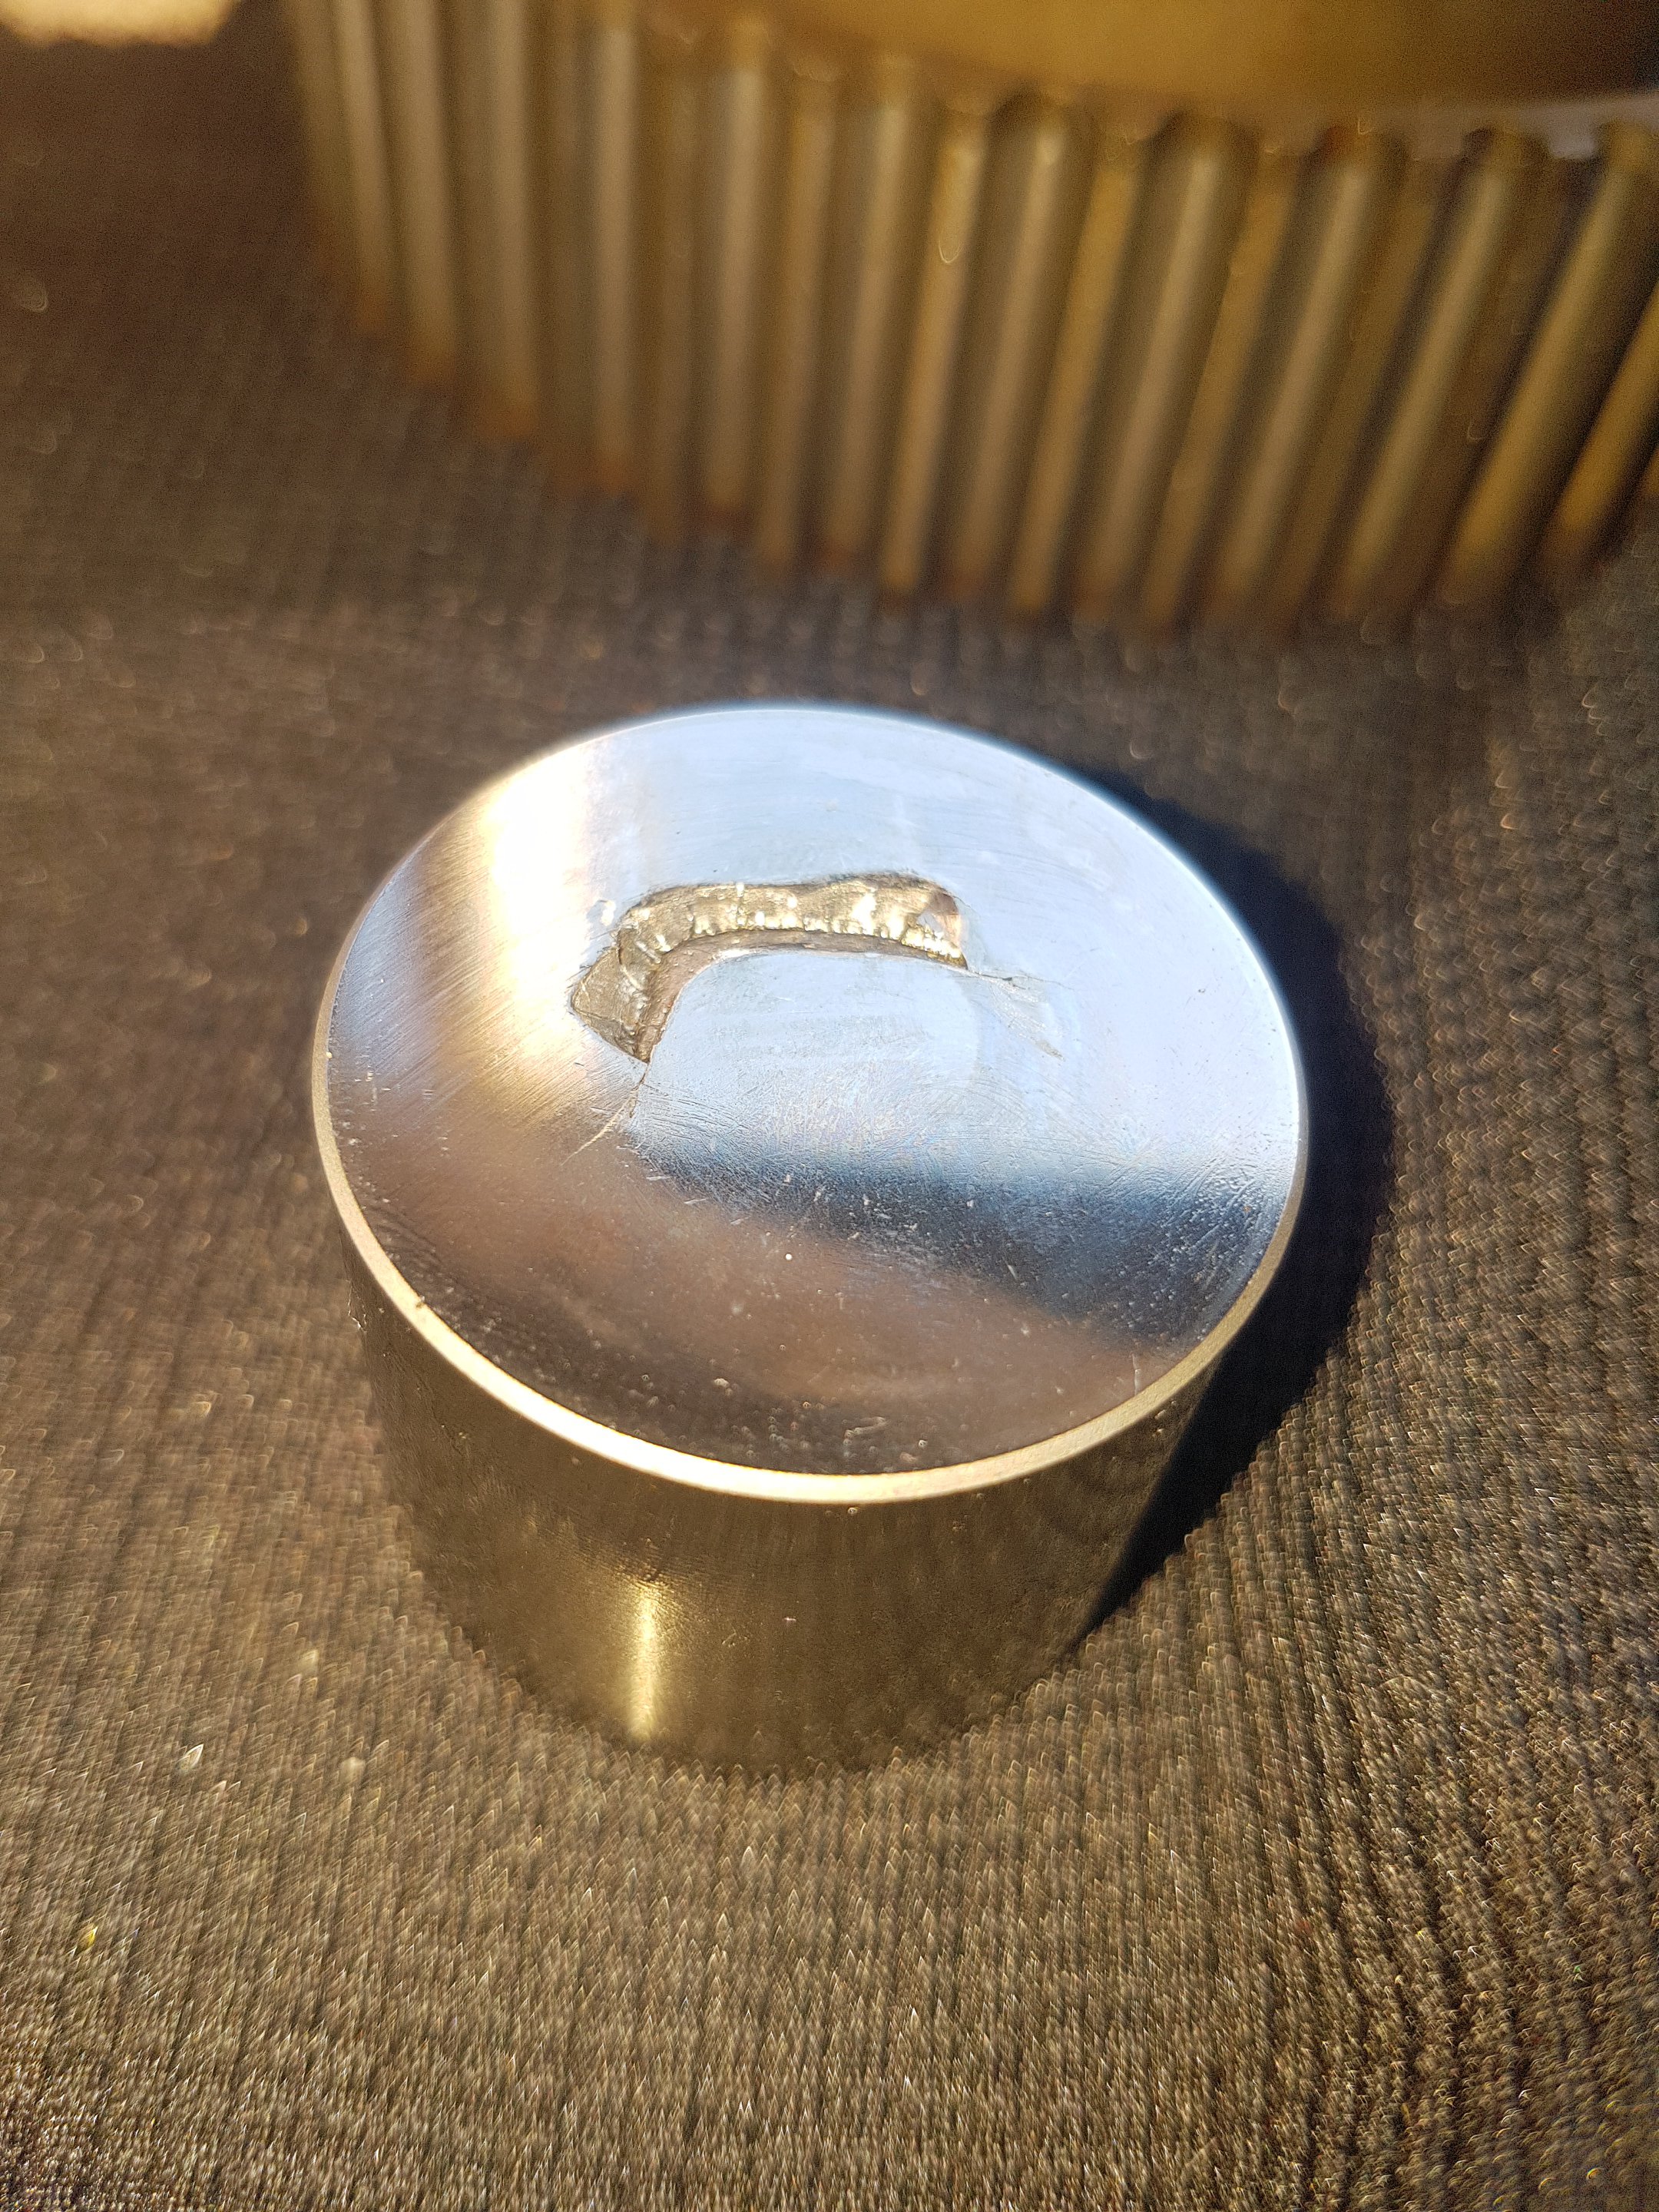
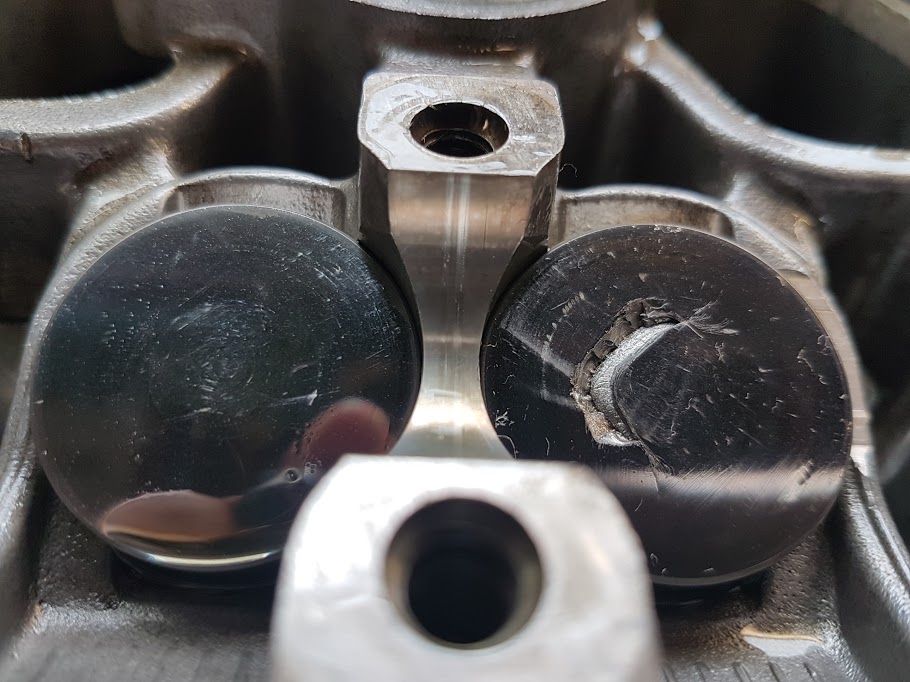
Pulled the head off and will send the bottom end to the rebuilders this week. And I noticed this very strange bit of damage while inspecting the head: I have no idea how this would have happened, but there's a substantial piece missing from the face of the bucket. There's no signs of damage on any other buckets either. The cam appears to be fine aside from a small wear pattern visible in the above picture. I'll get a DTI onto it to make sure the cam is straight and will replace the bucket. Has anyone else ever seen this?
-
Project Alan Mann (escort74's 1974 Ford Escort Mk1)
Truenotch replied to escort74's topic in Project Discussion
Looks like you're having some fun in this thing! What brake pads do you run and how to they fell? The reason I ask is that they're really squeaky and in my experience that usually points to the compound being too hard. In my car, it made a huge difference going to a softer compound. Now they work from cold and it's much easier to modulate the pedal and avoid lockups. Plus they don't squeak anymore. -
Load your pics direct into the forum using the "click to choose files" button below the text box.
-
Hamilton Monthly Meet - 29th July 7pm Cock and Bull
Truenotch replied to Truenotch's topic in Upper North Island Region
It certainly was!
-
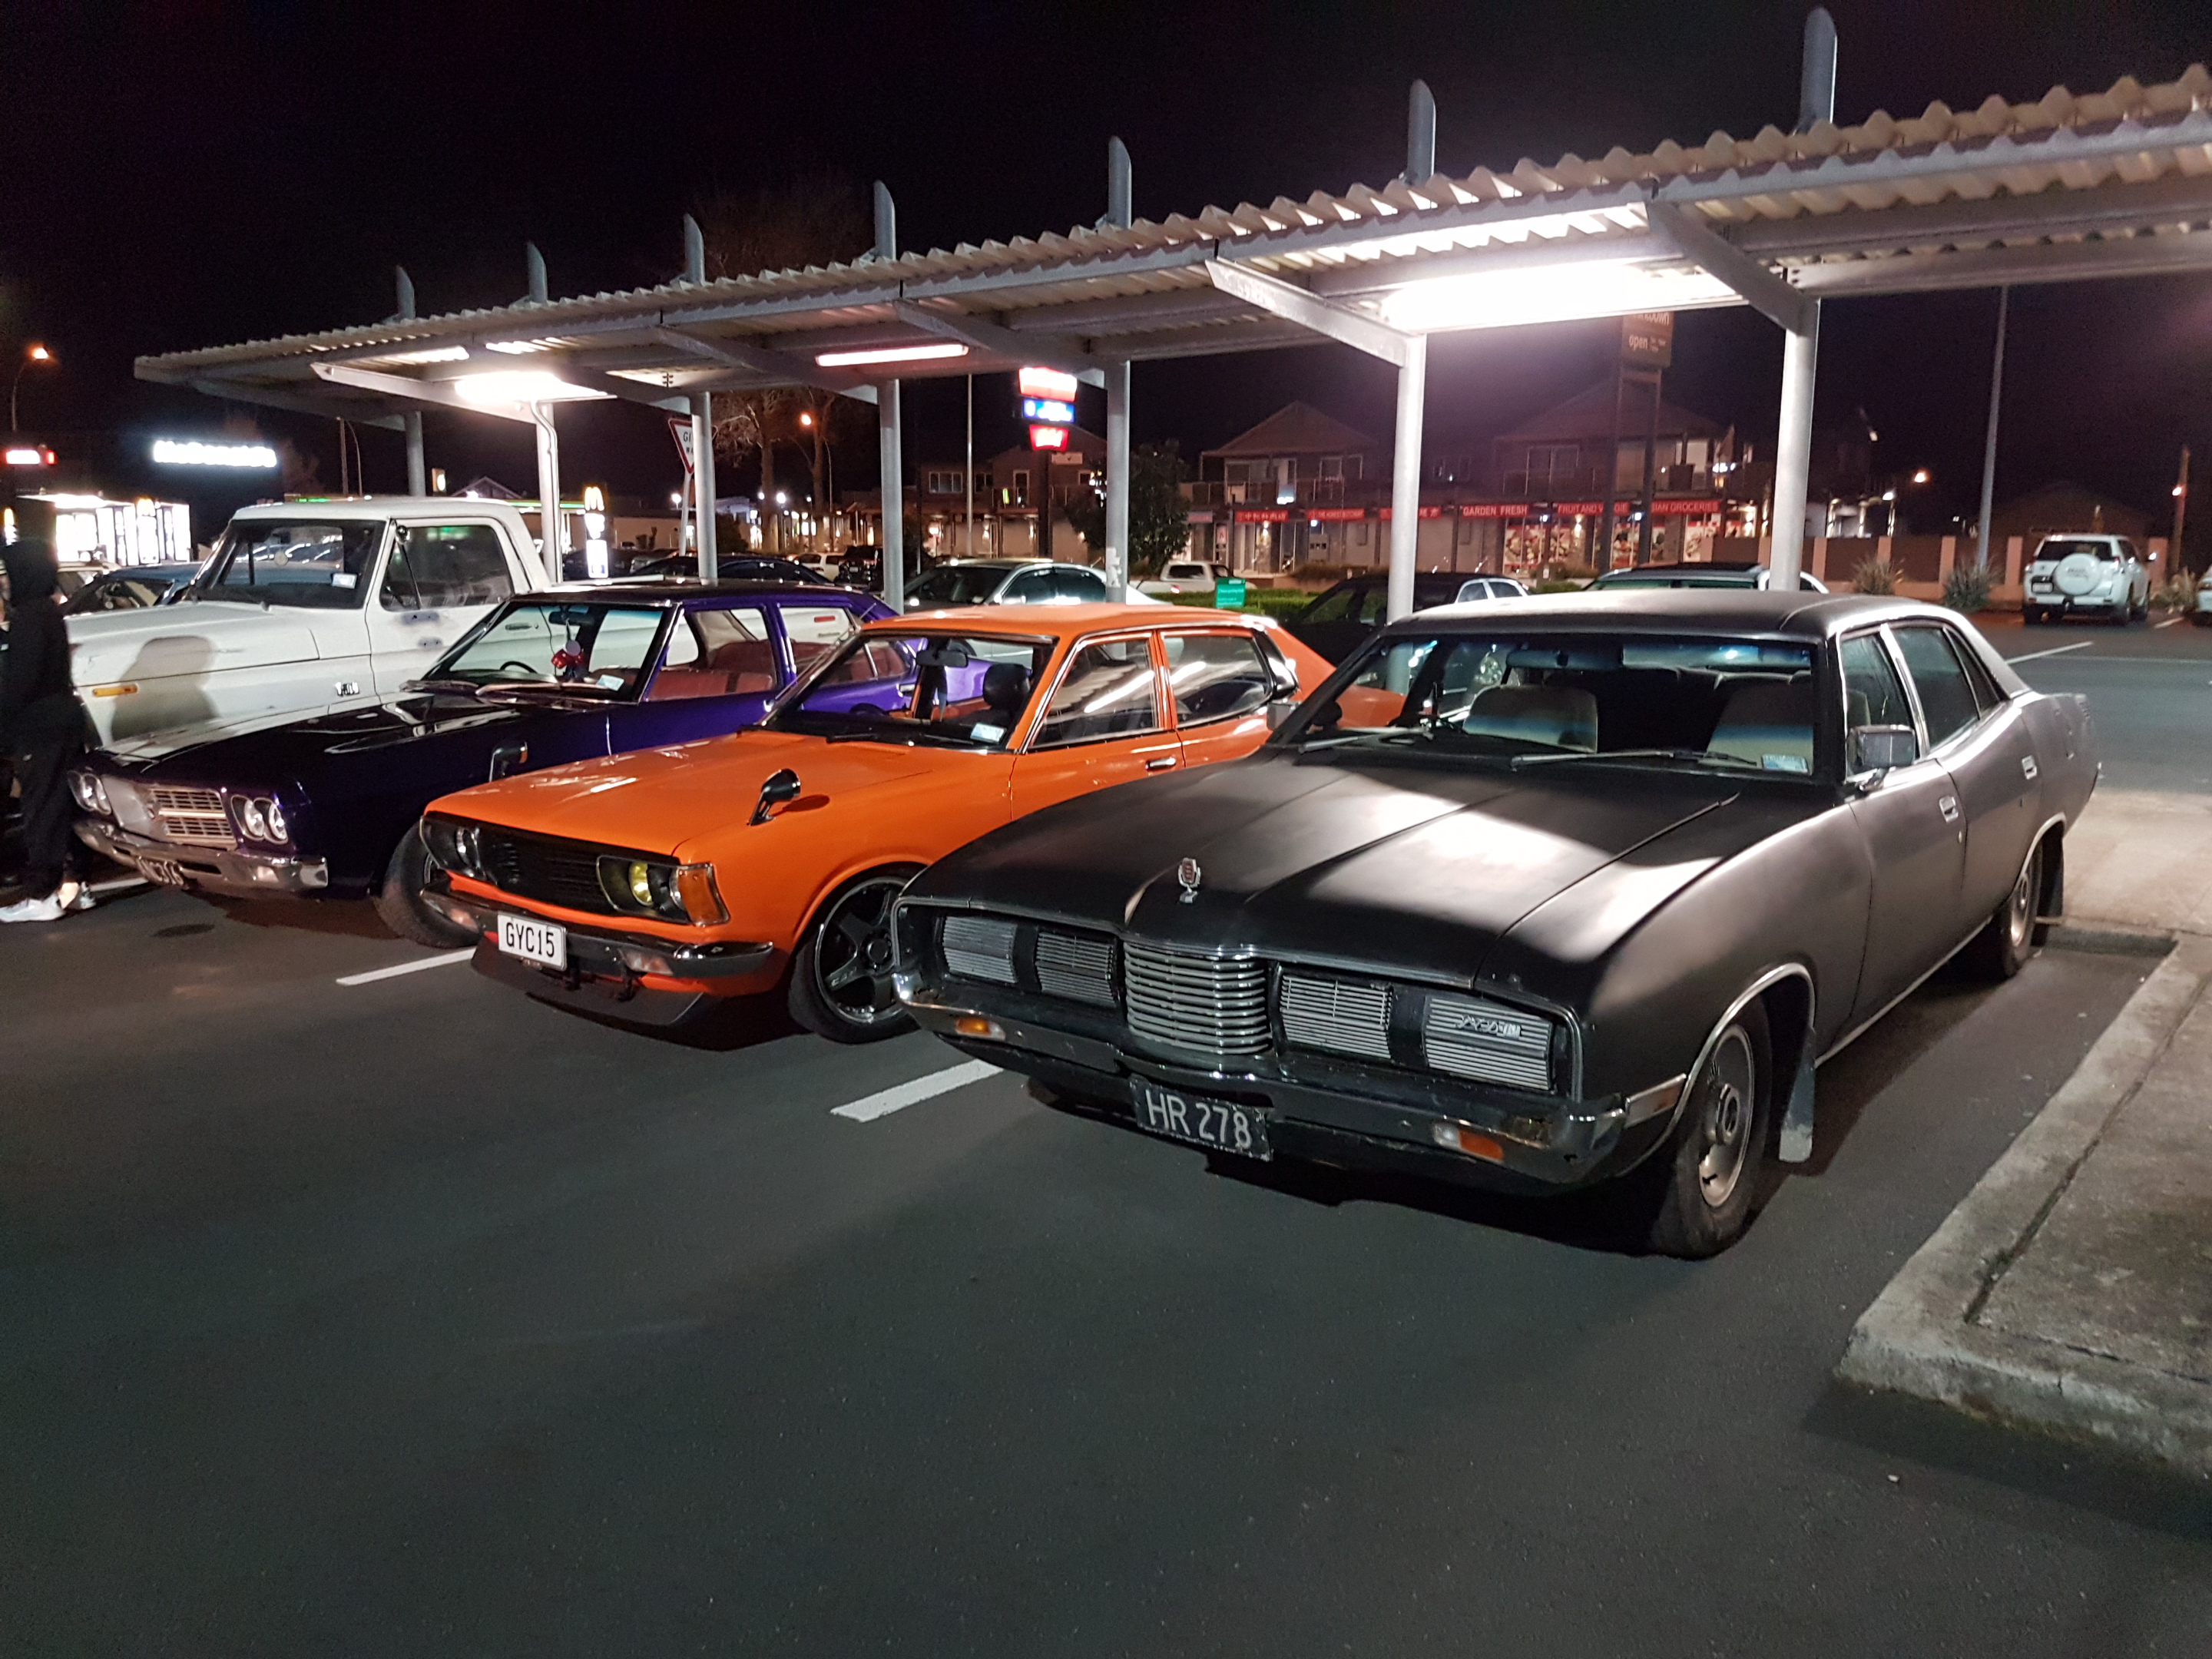
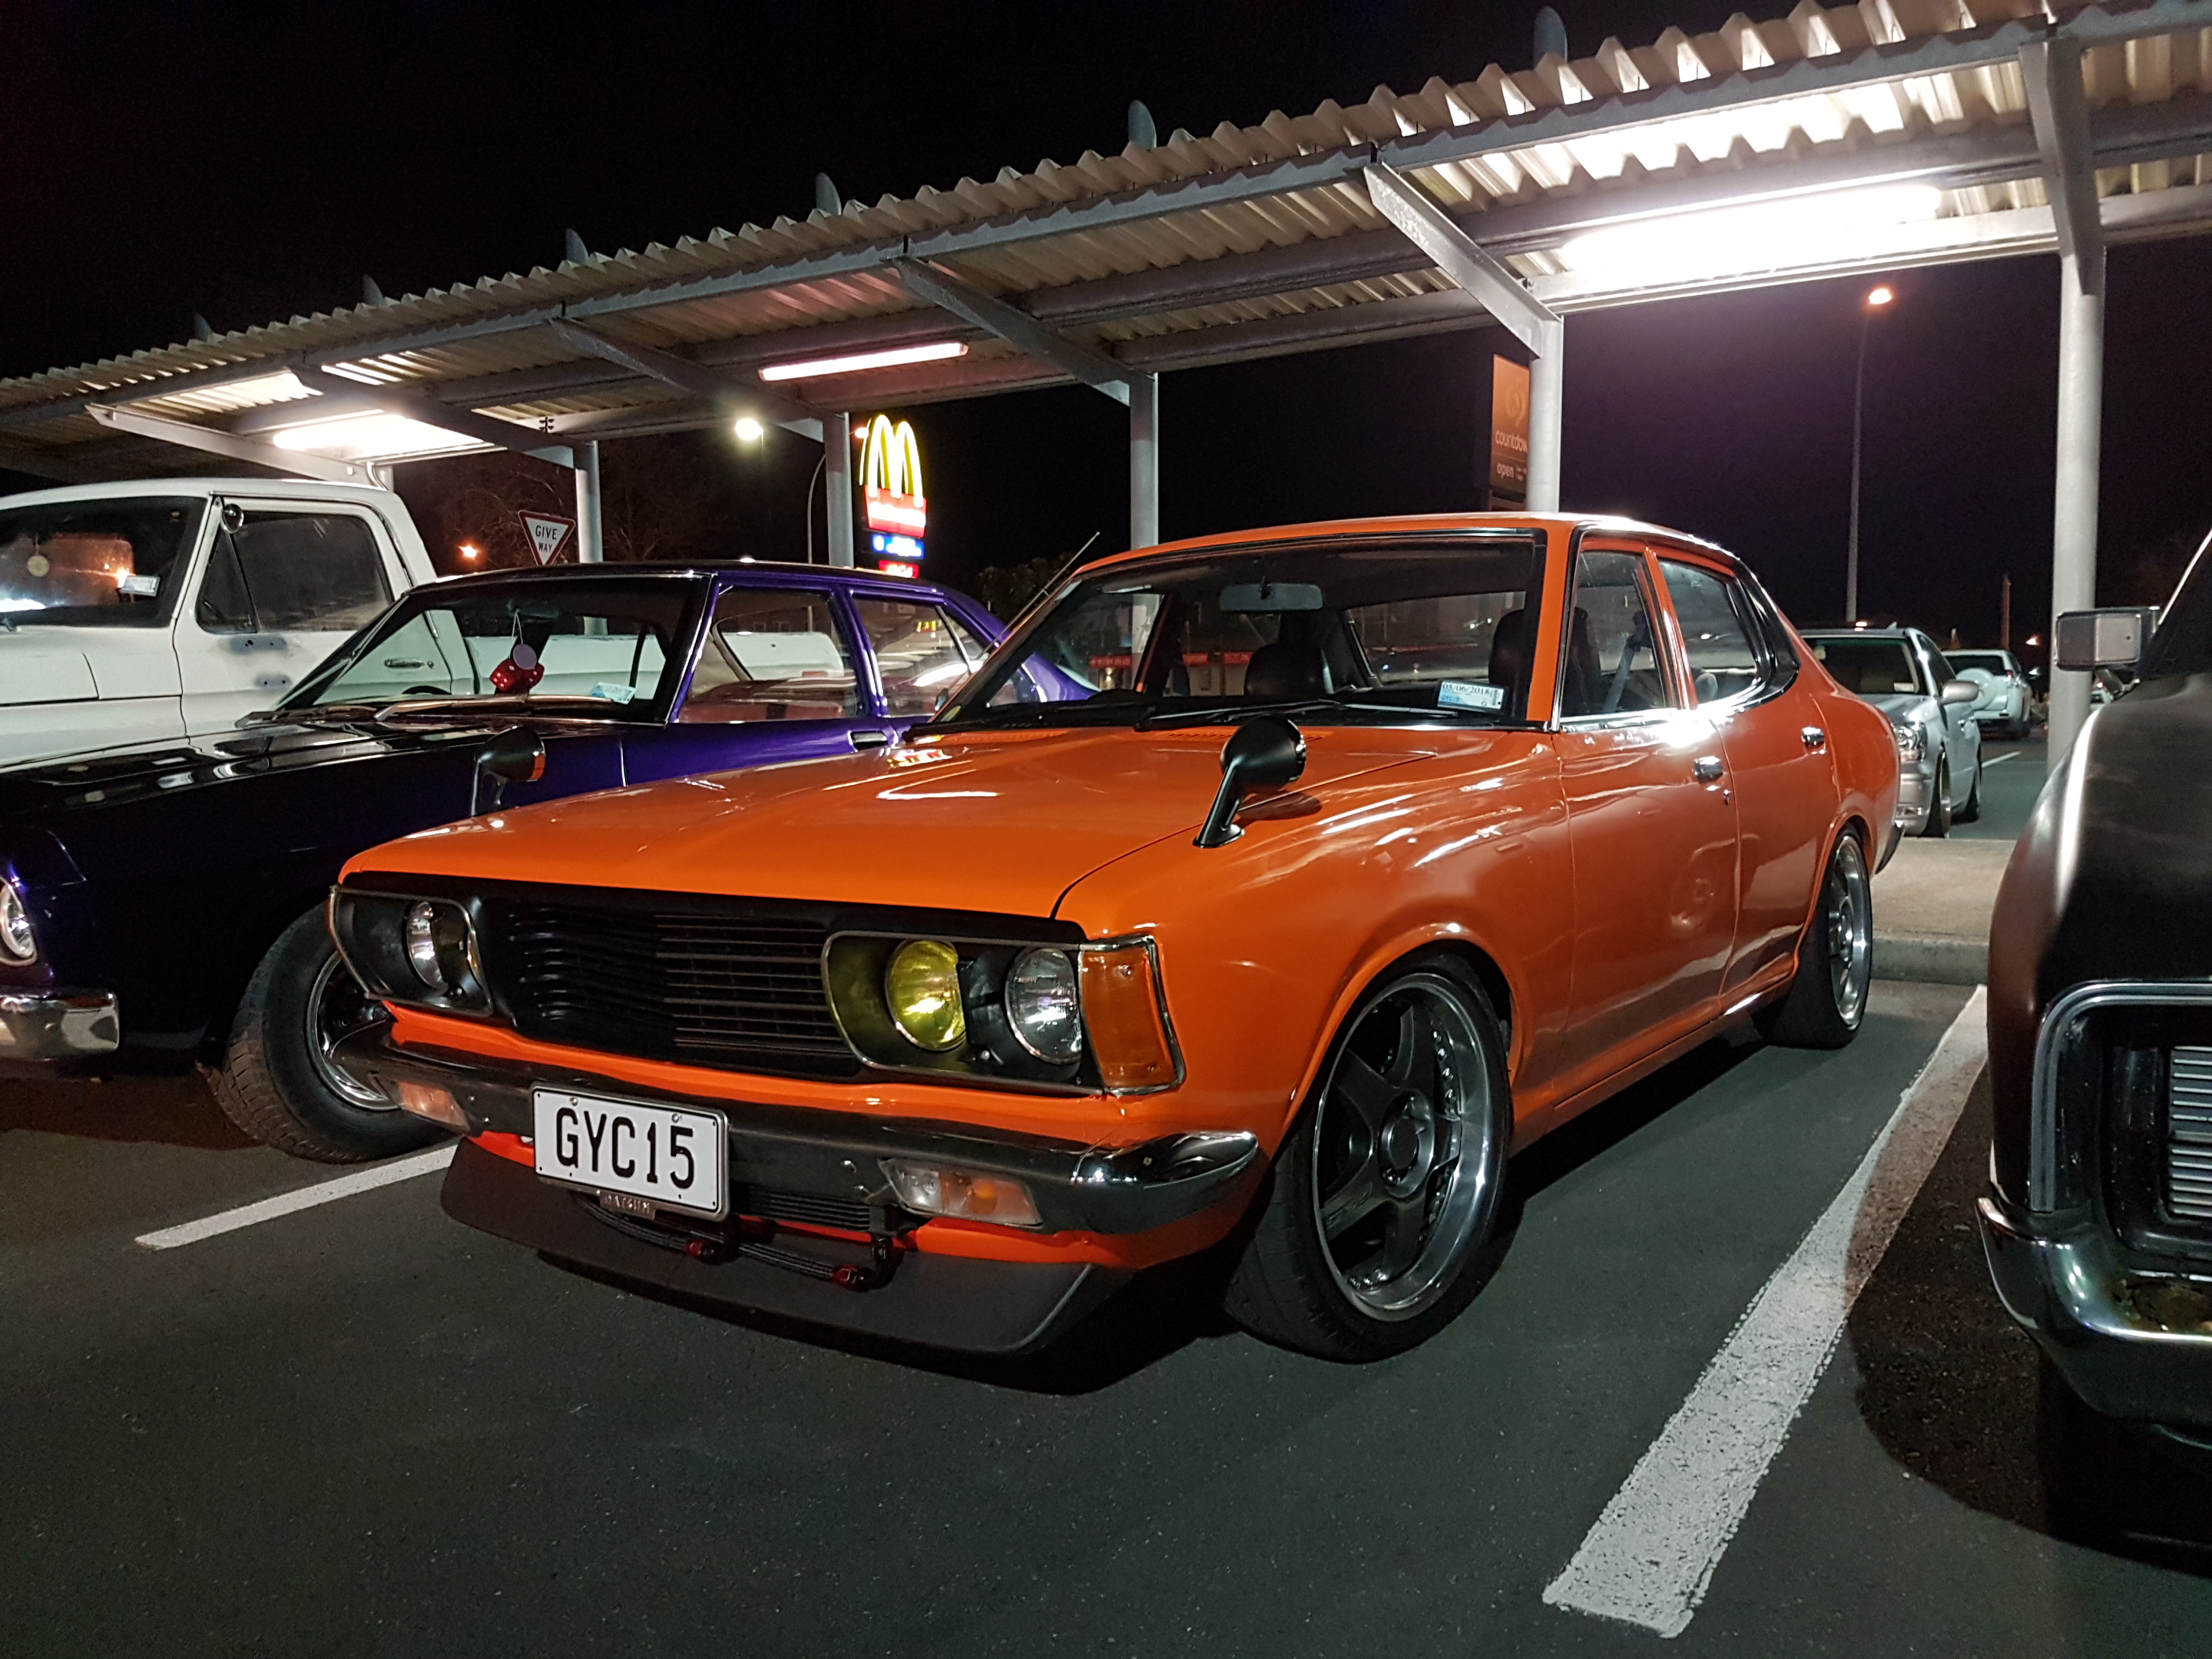
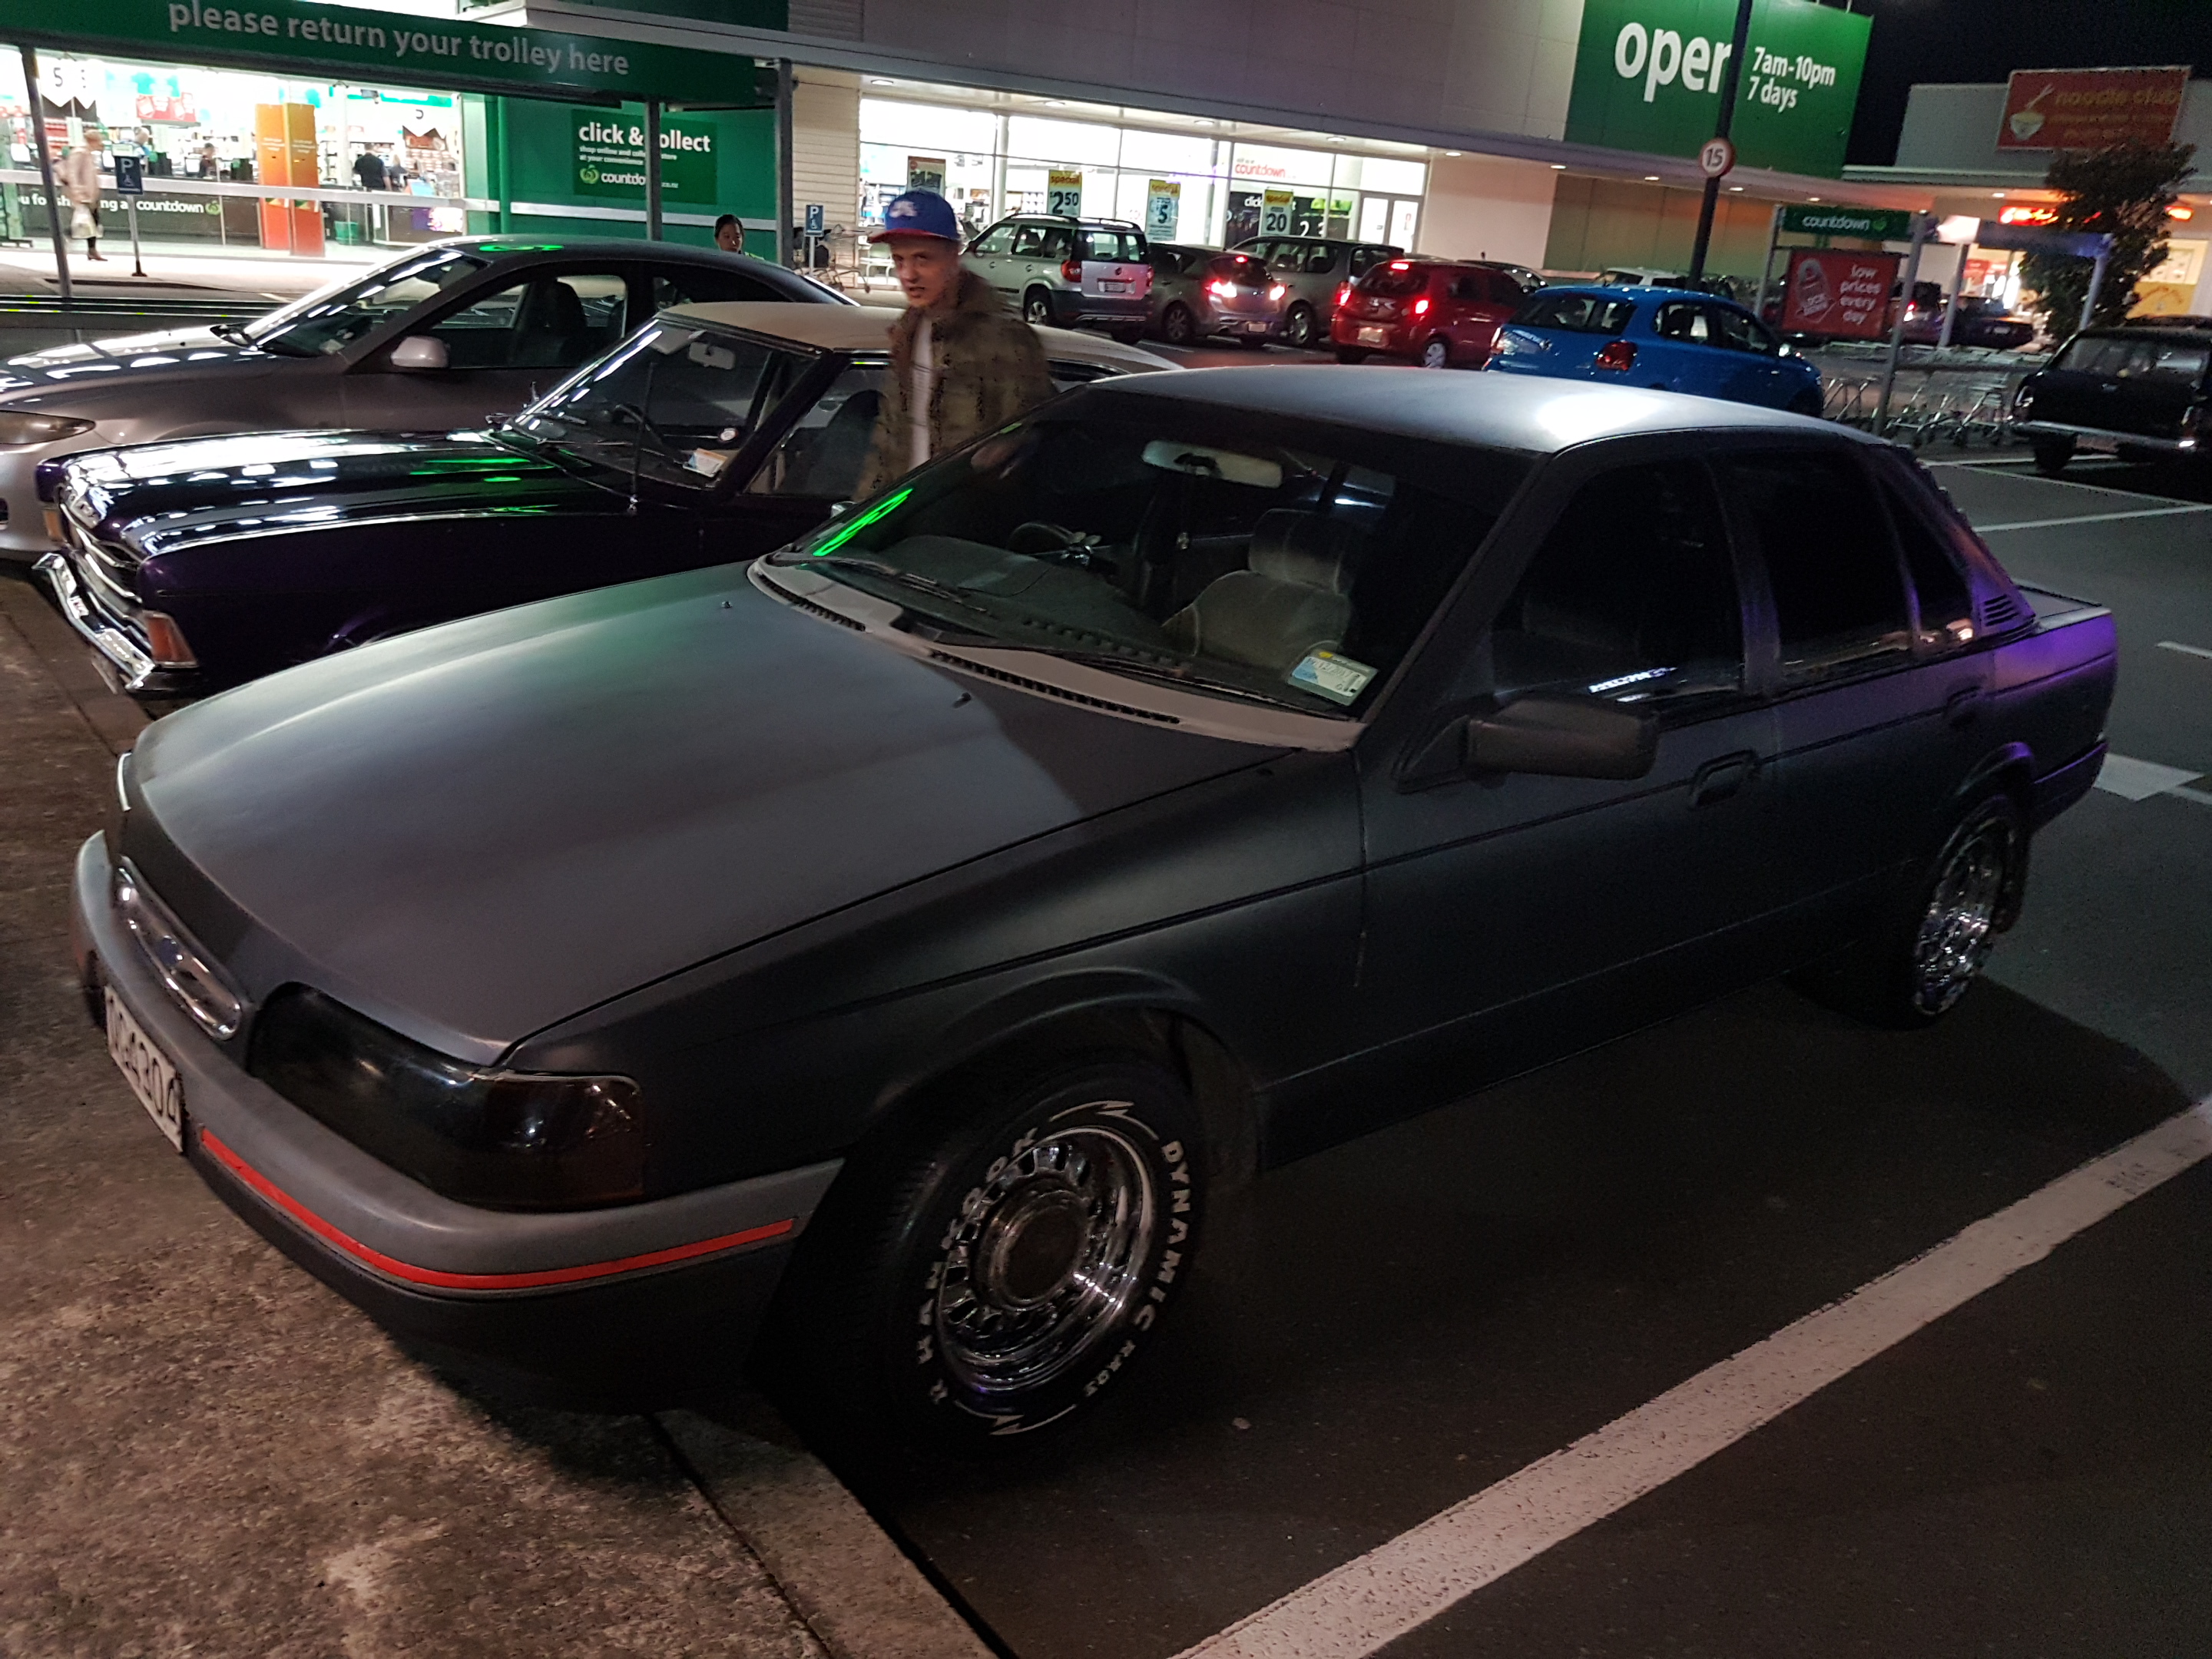
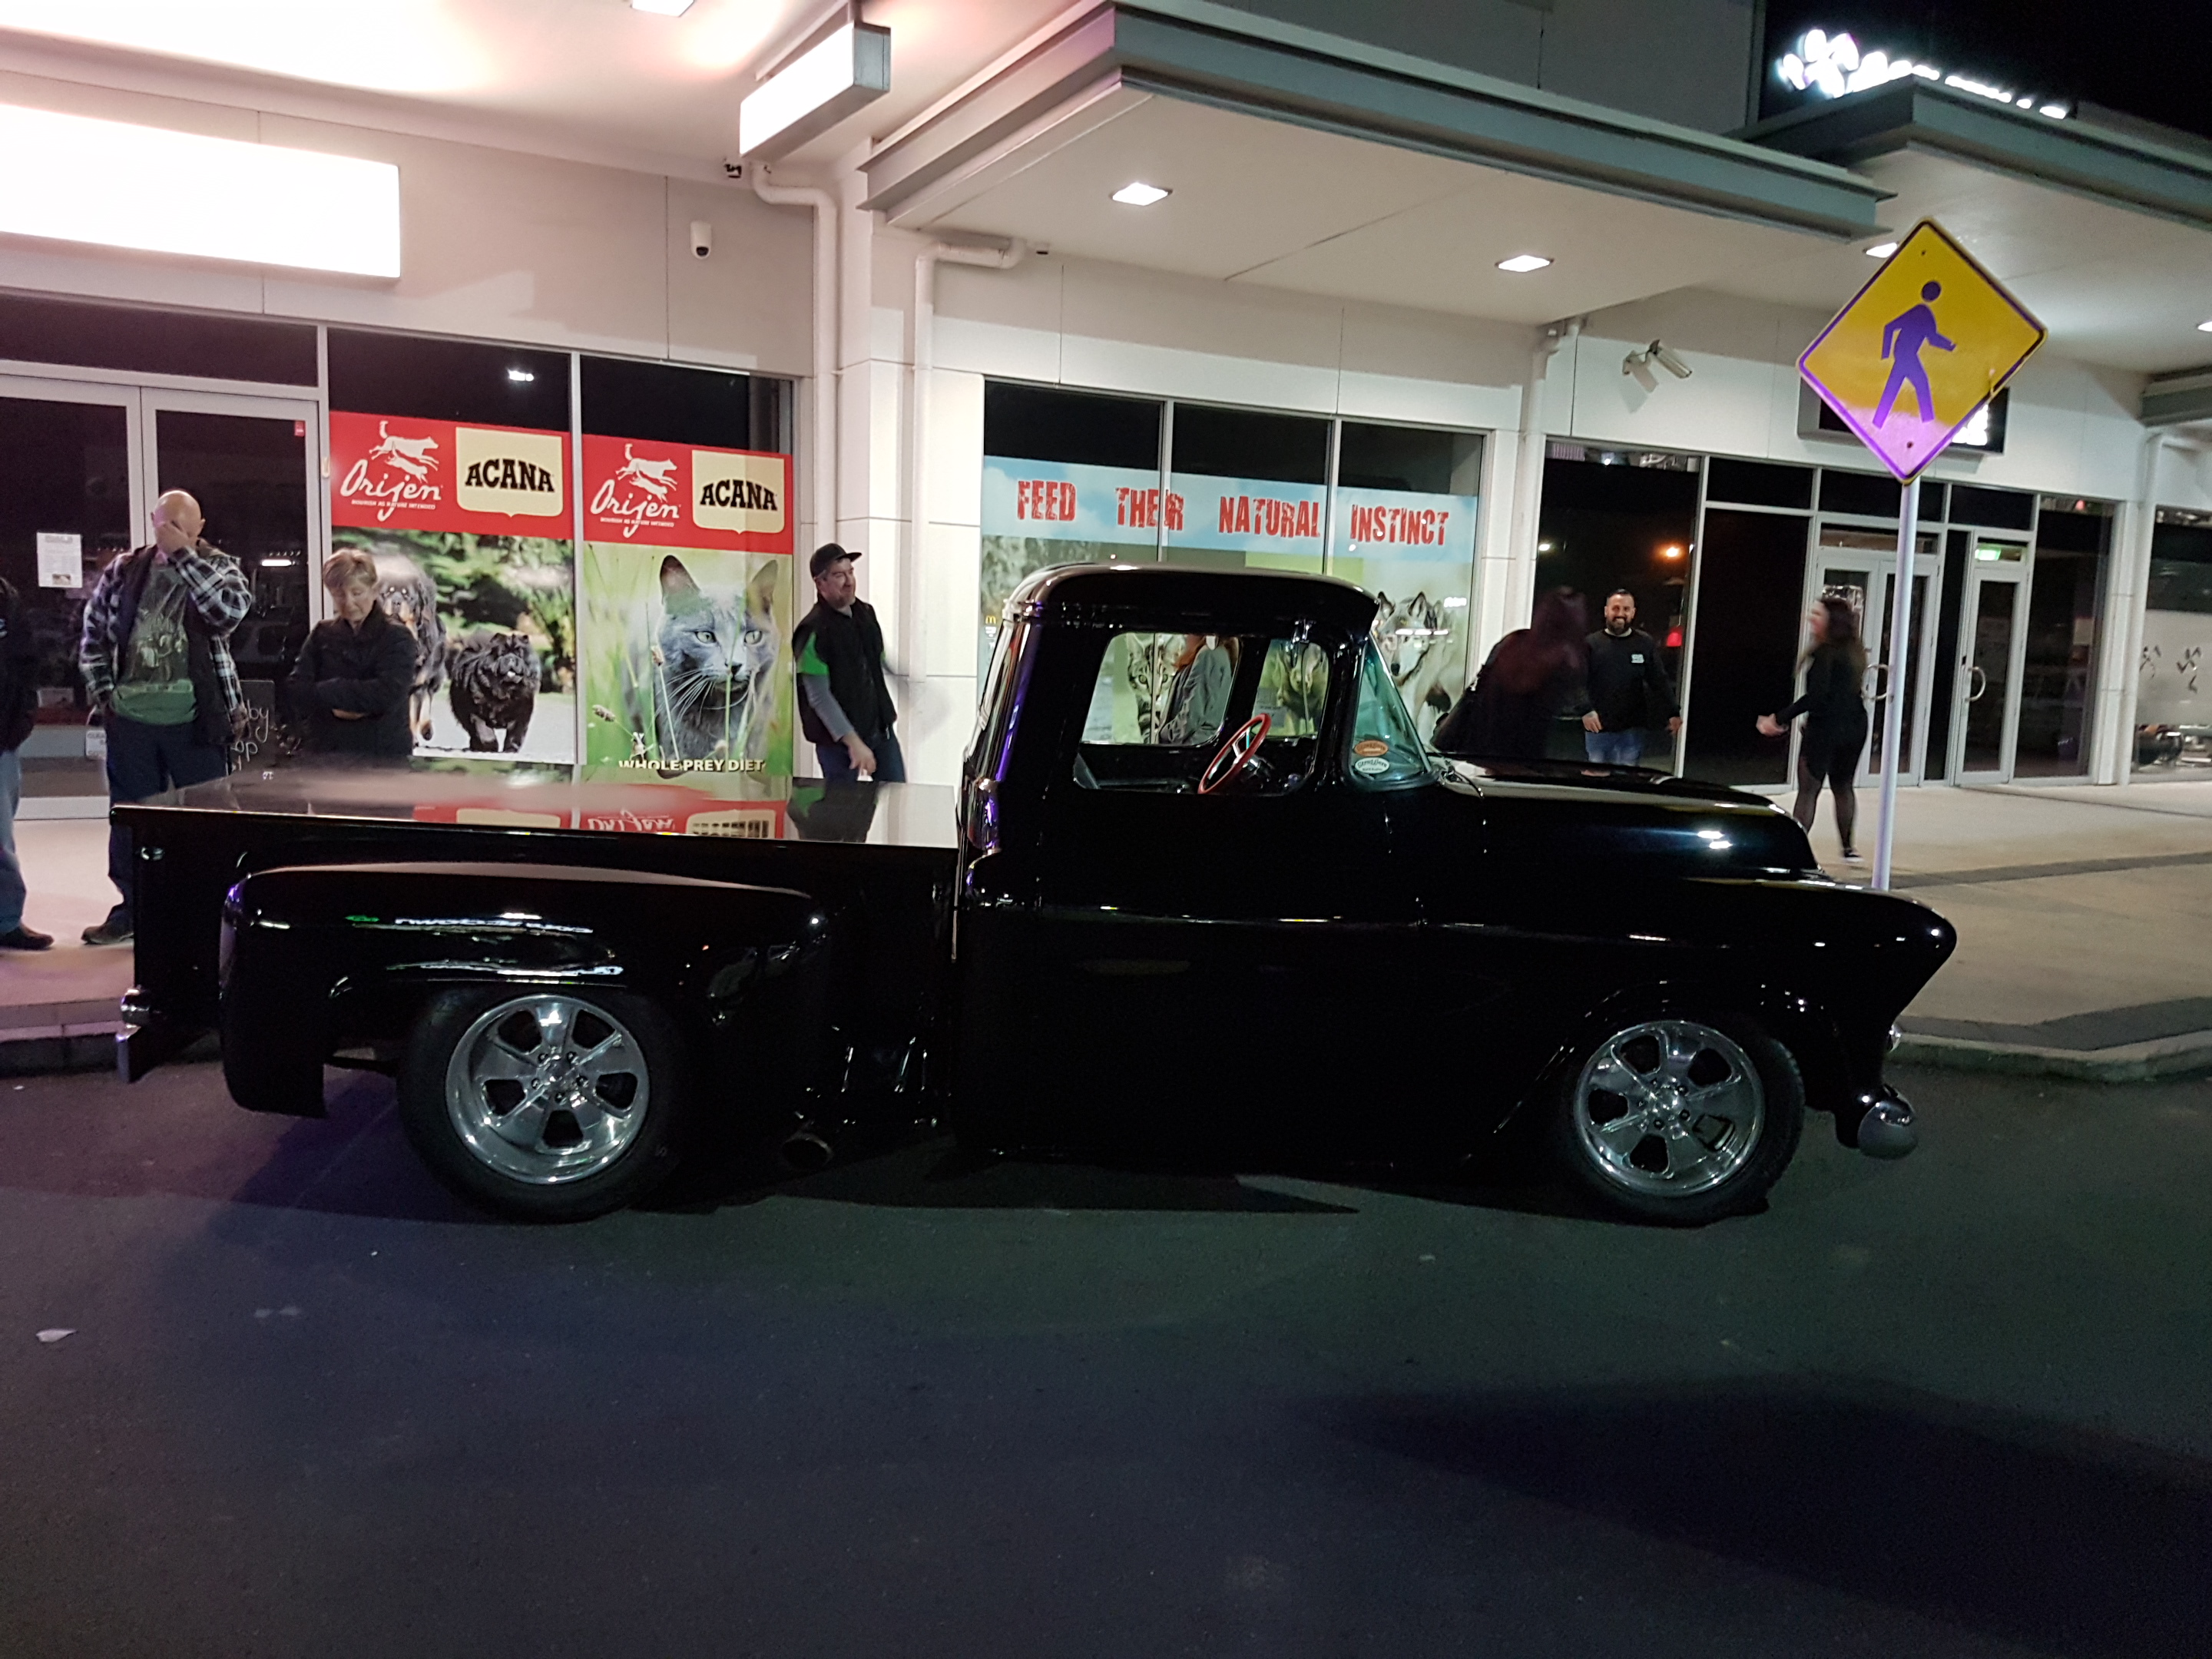
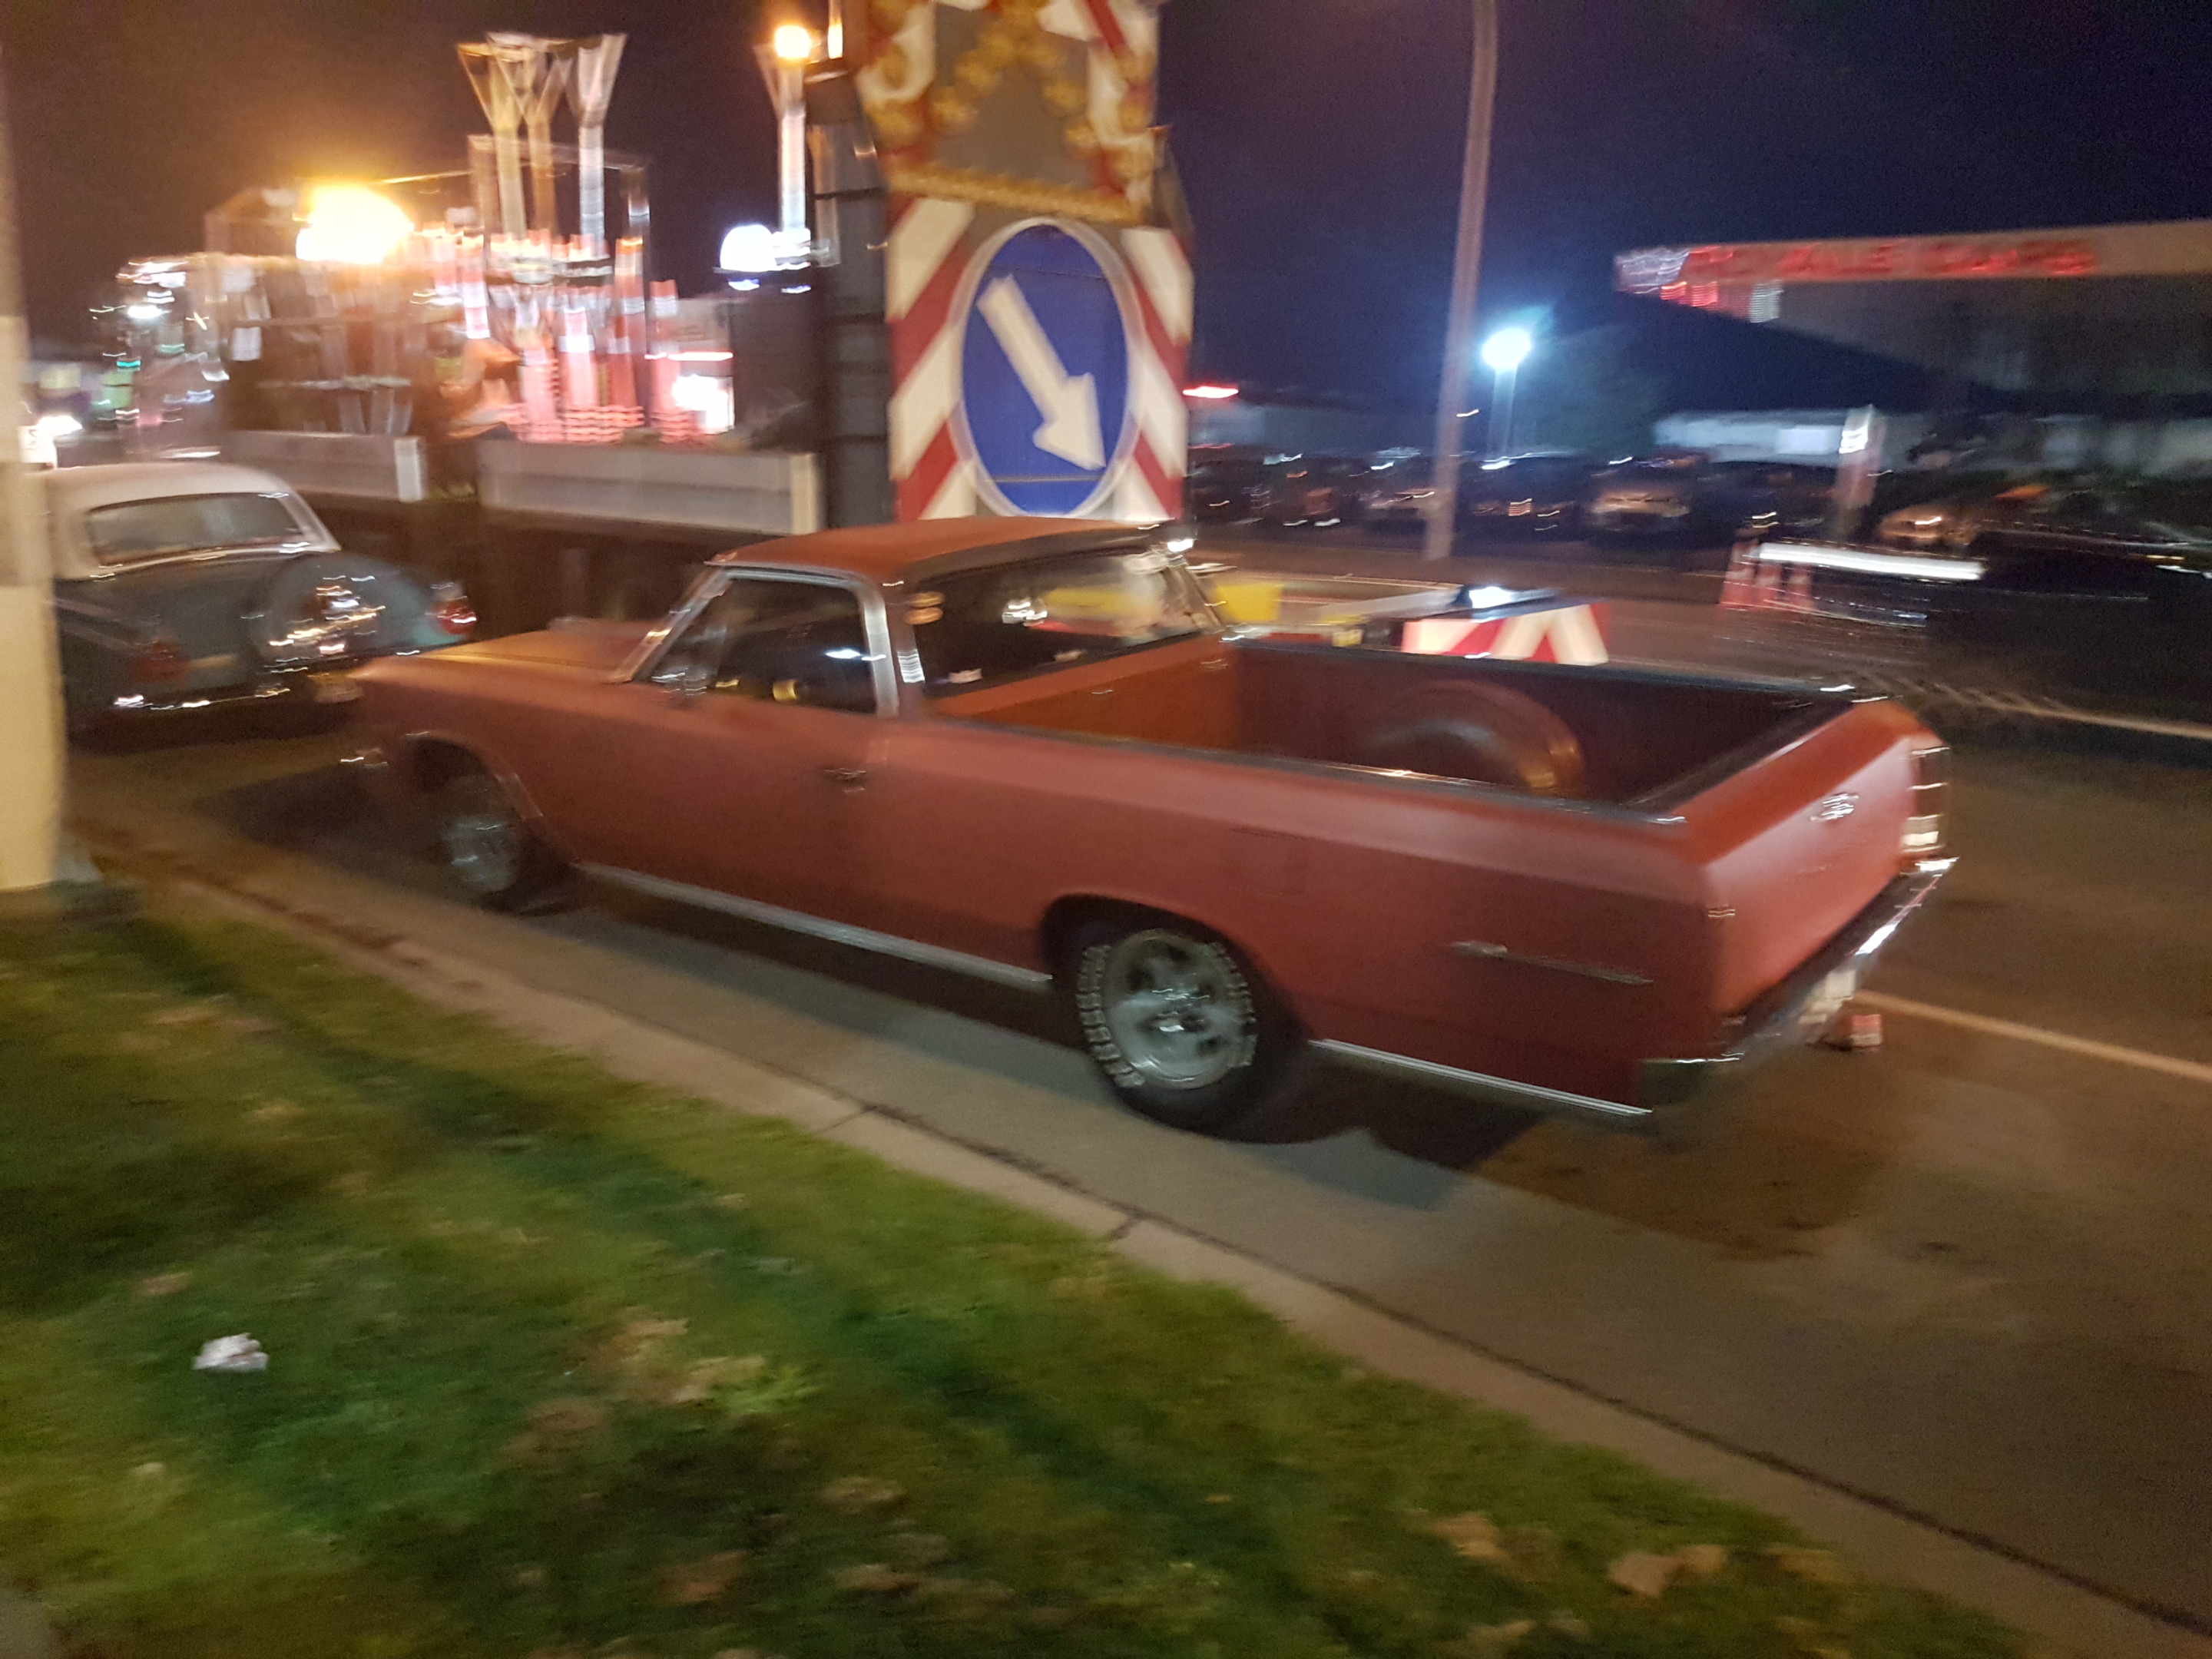
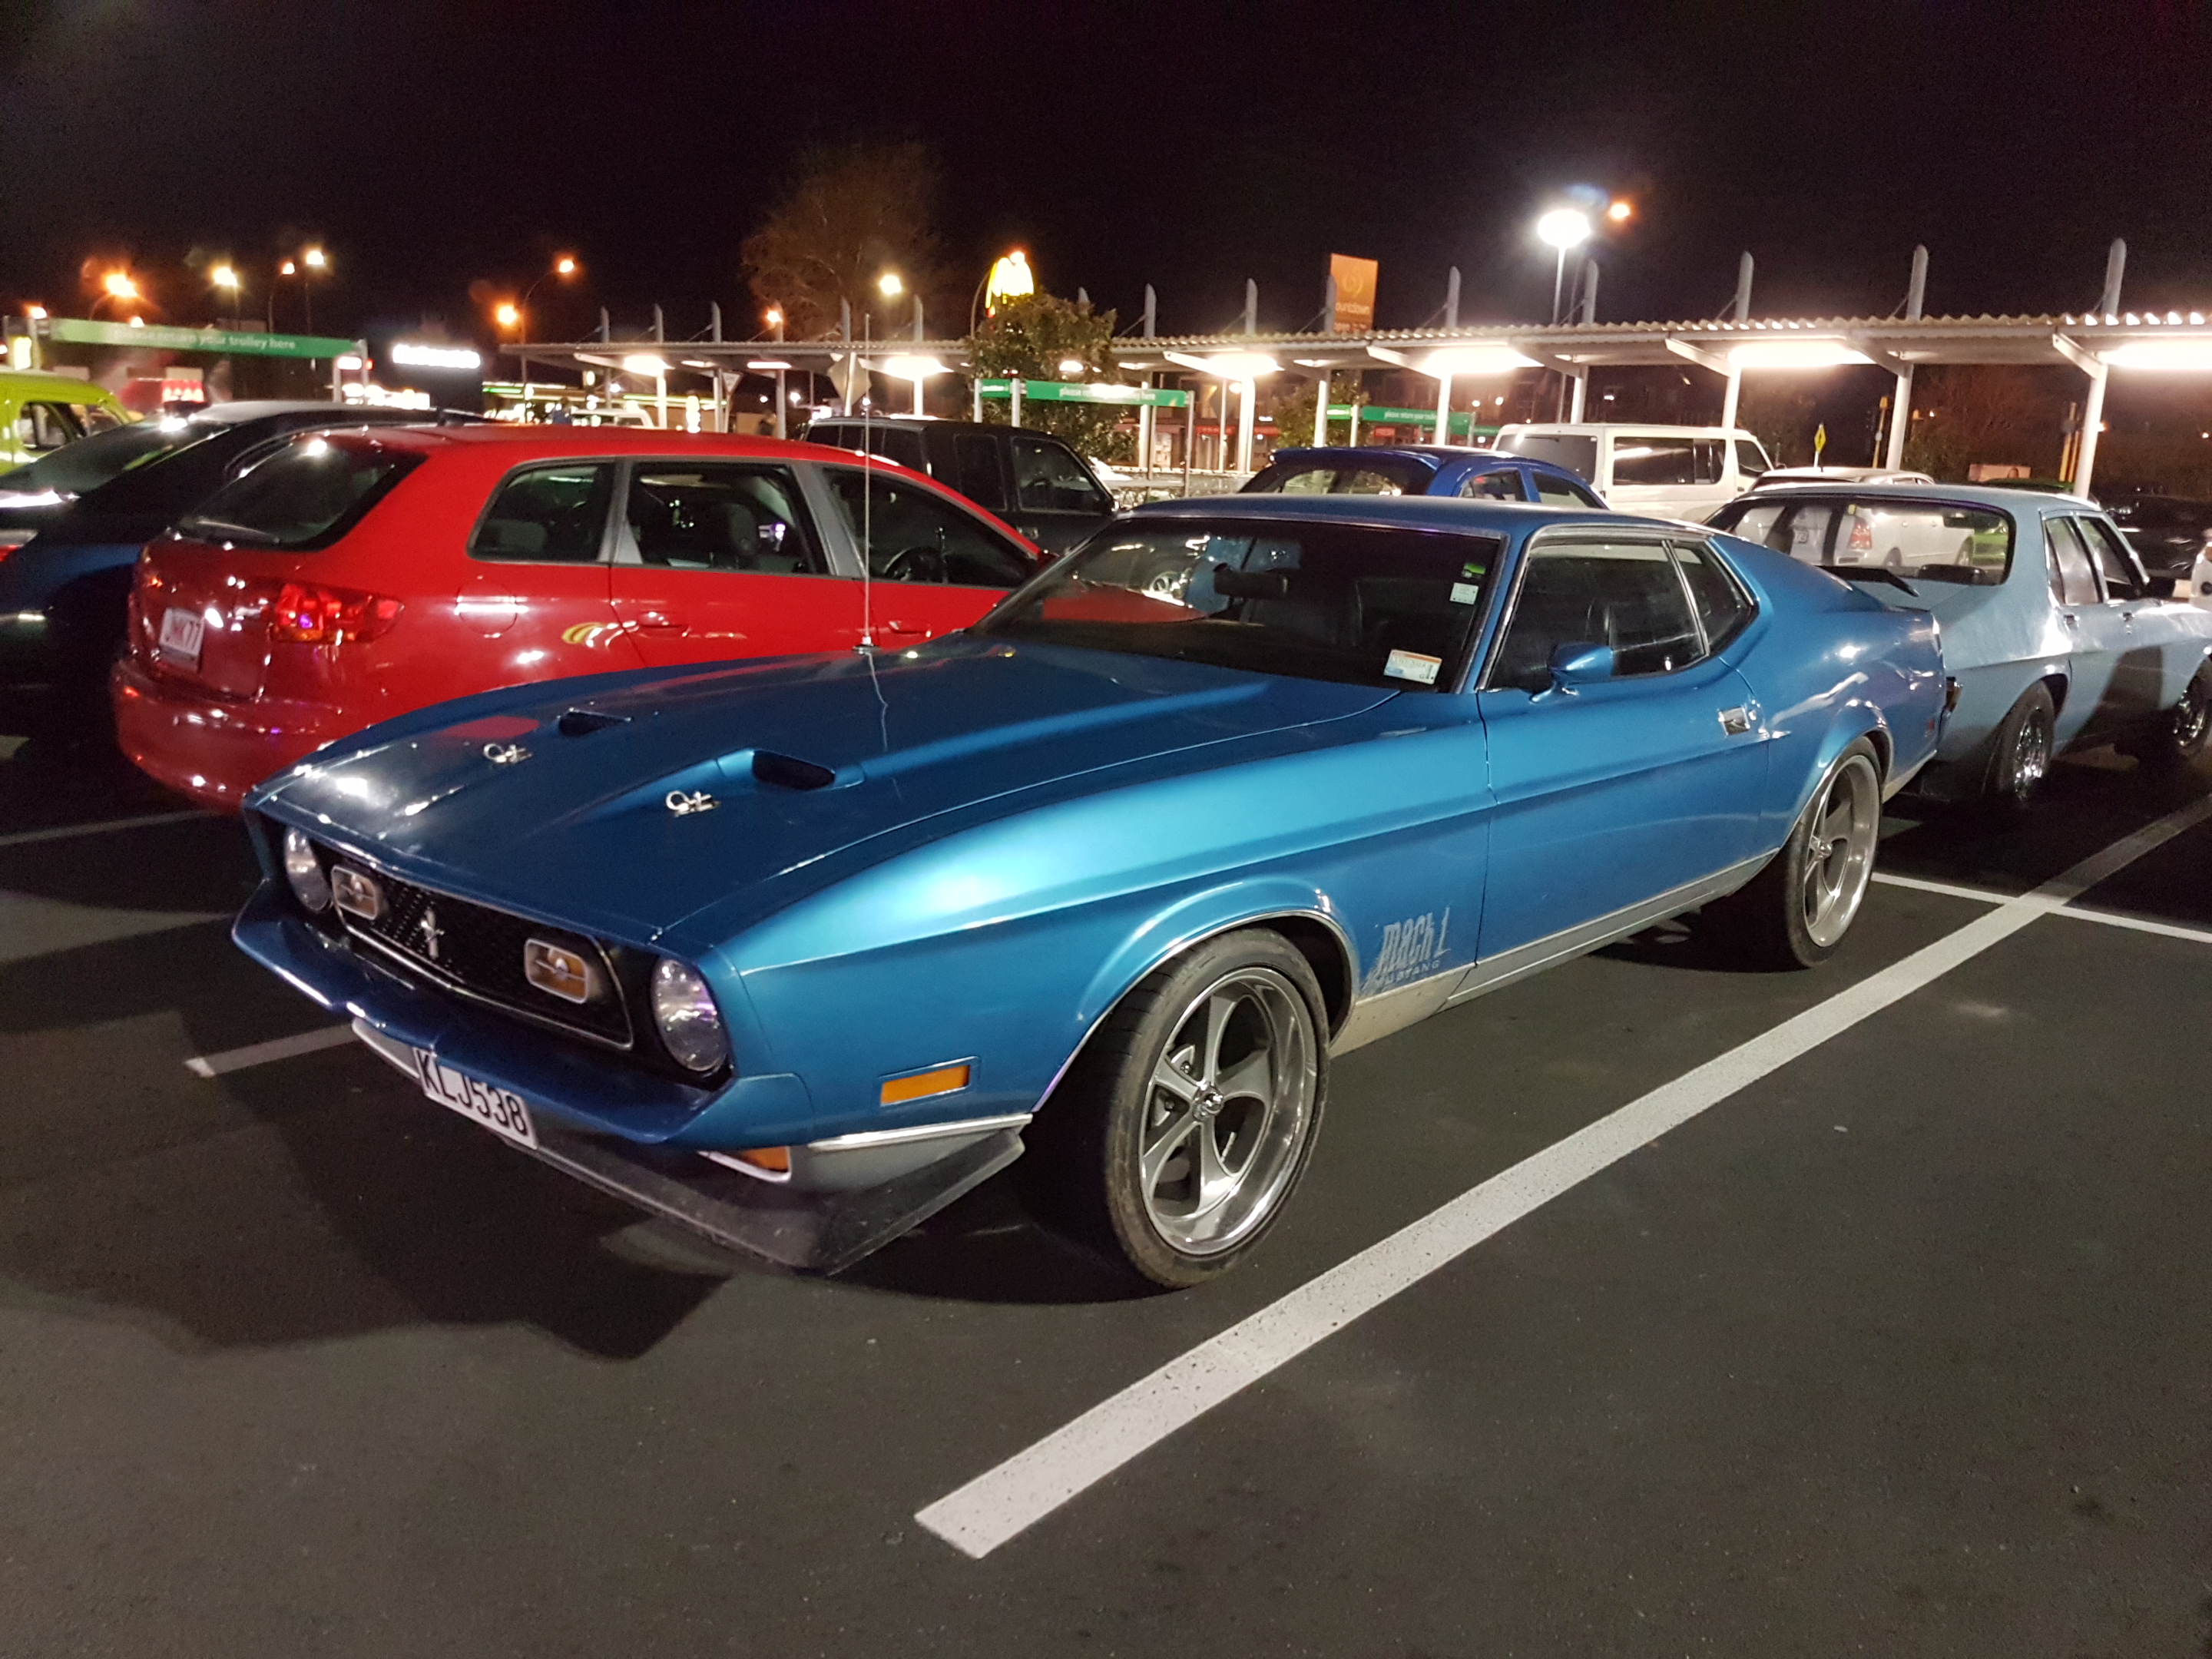
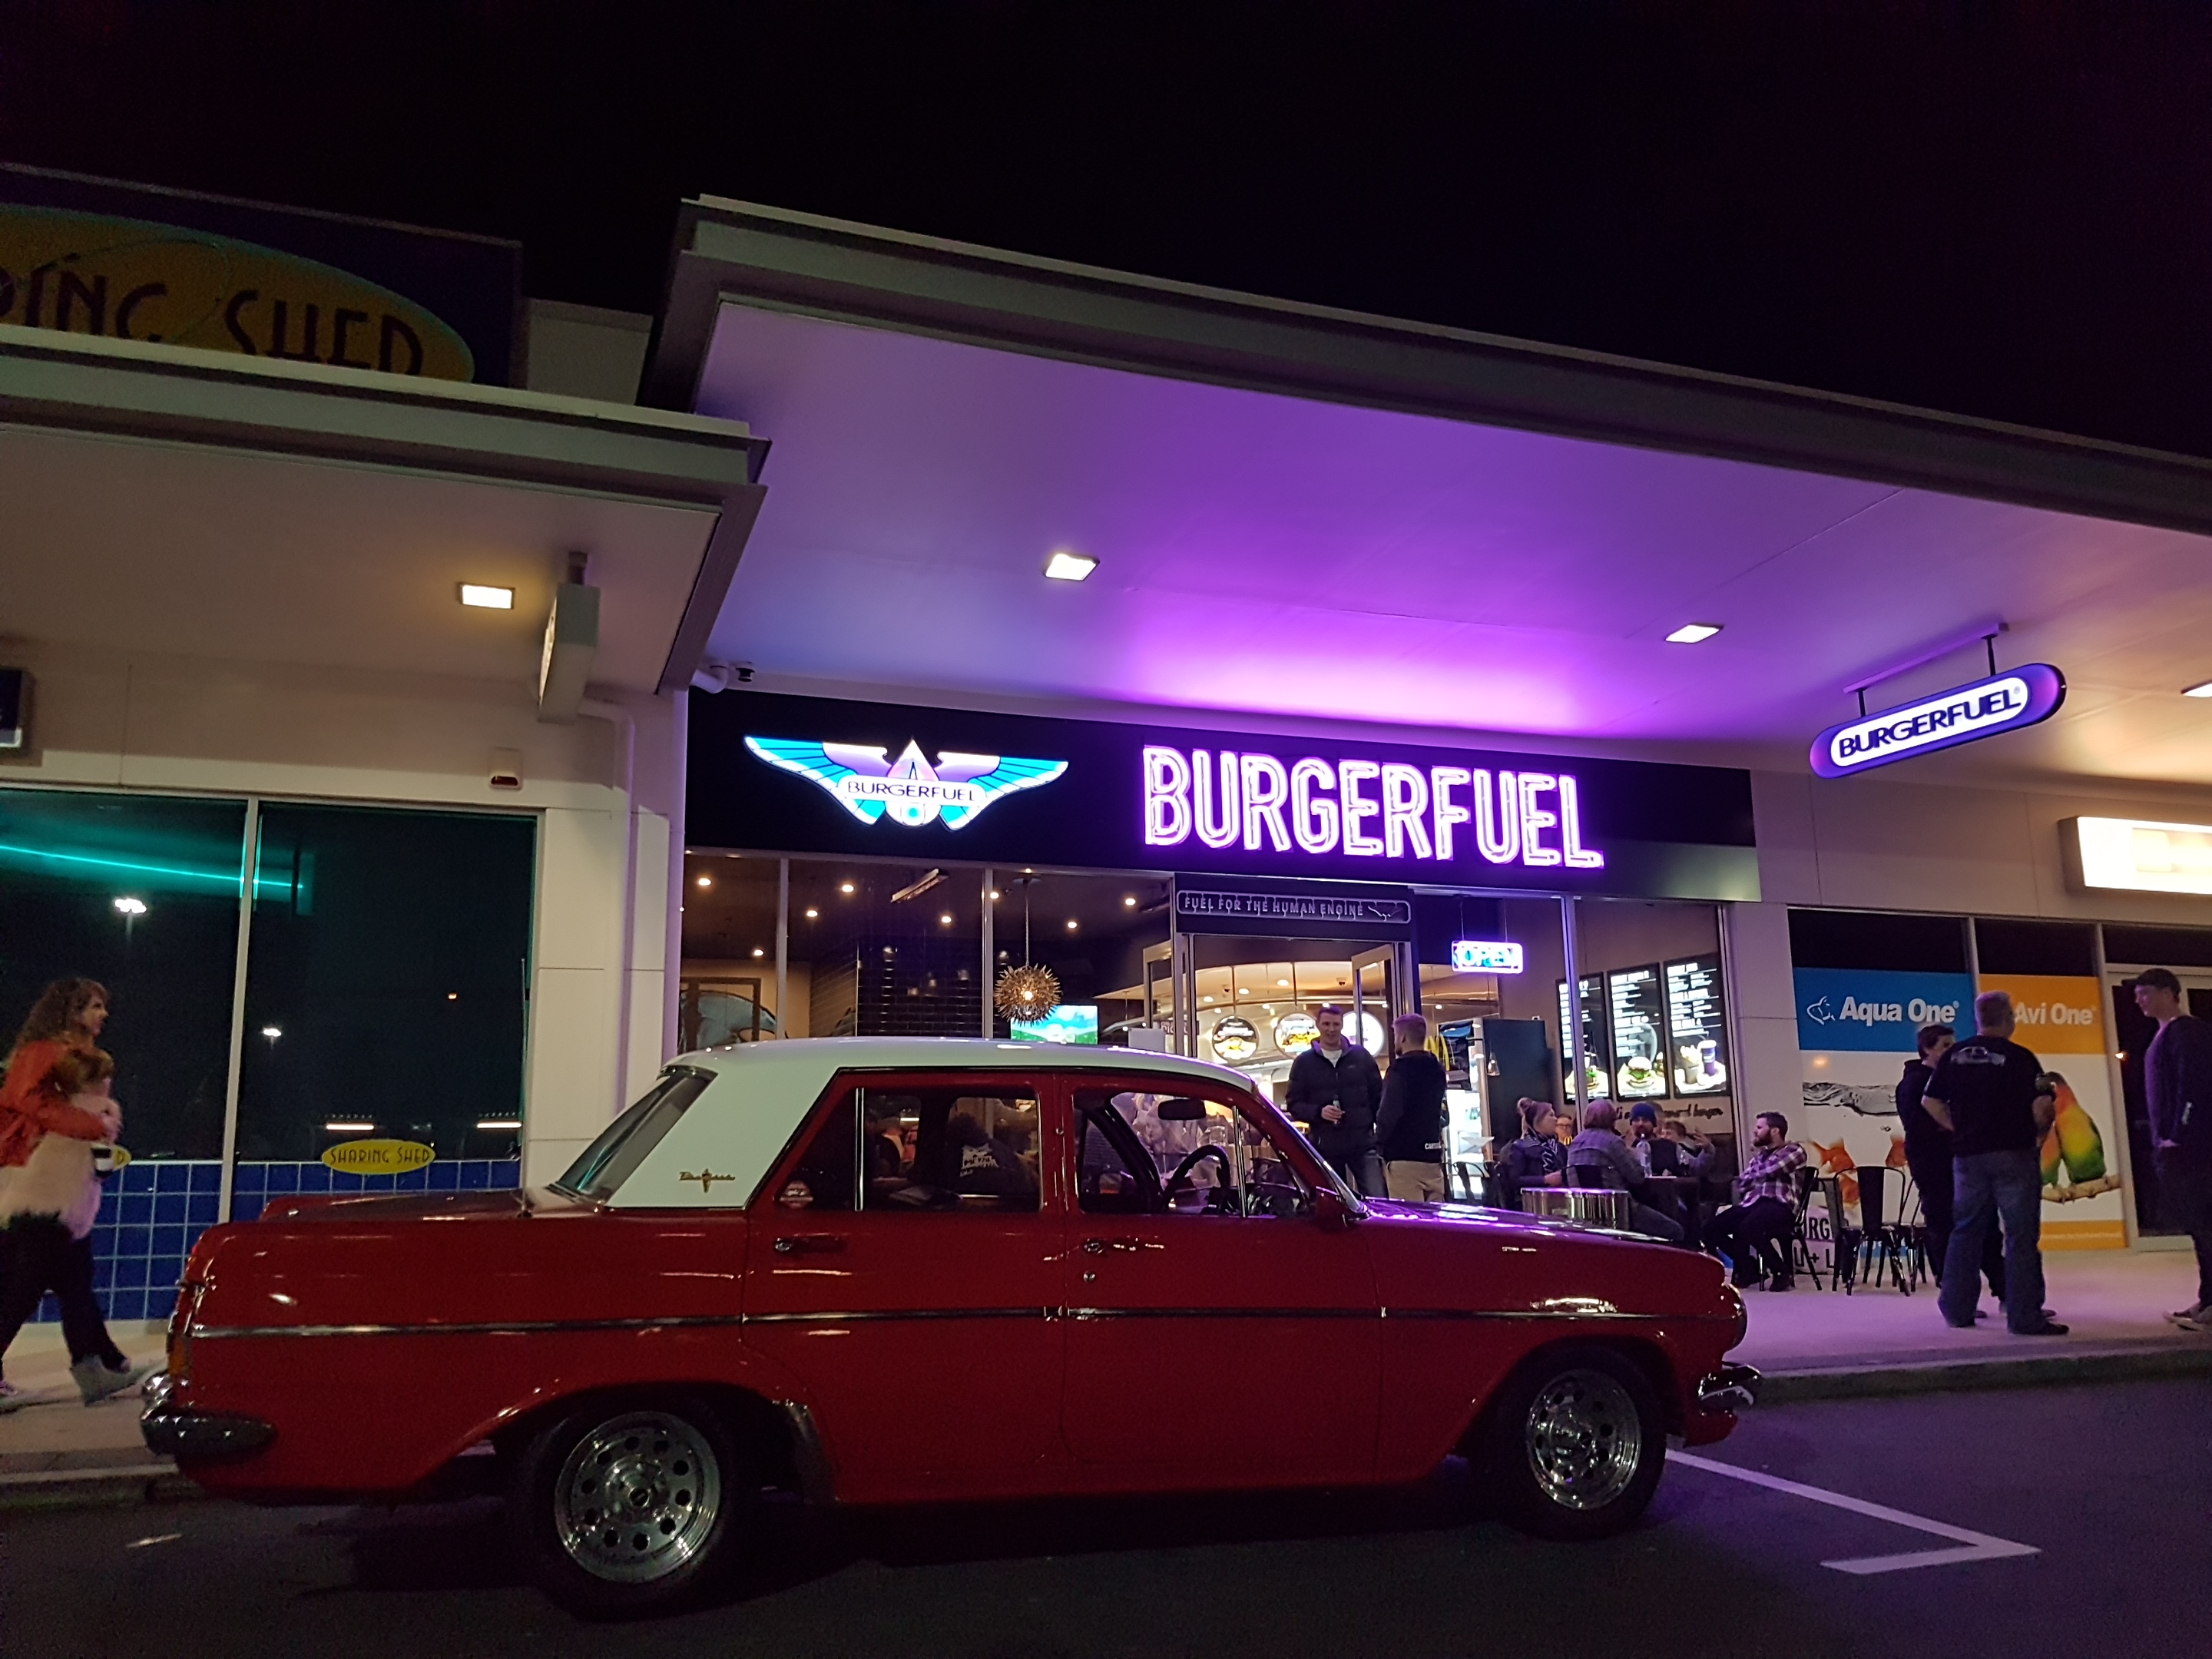
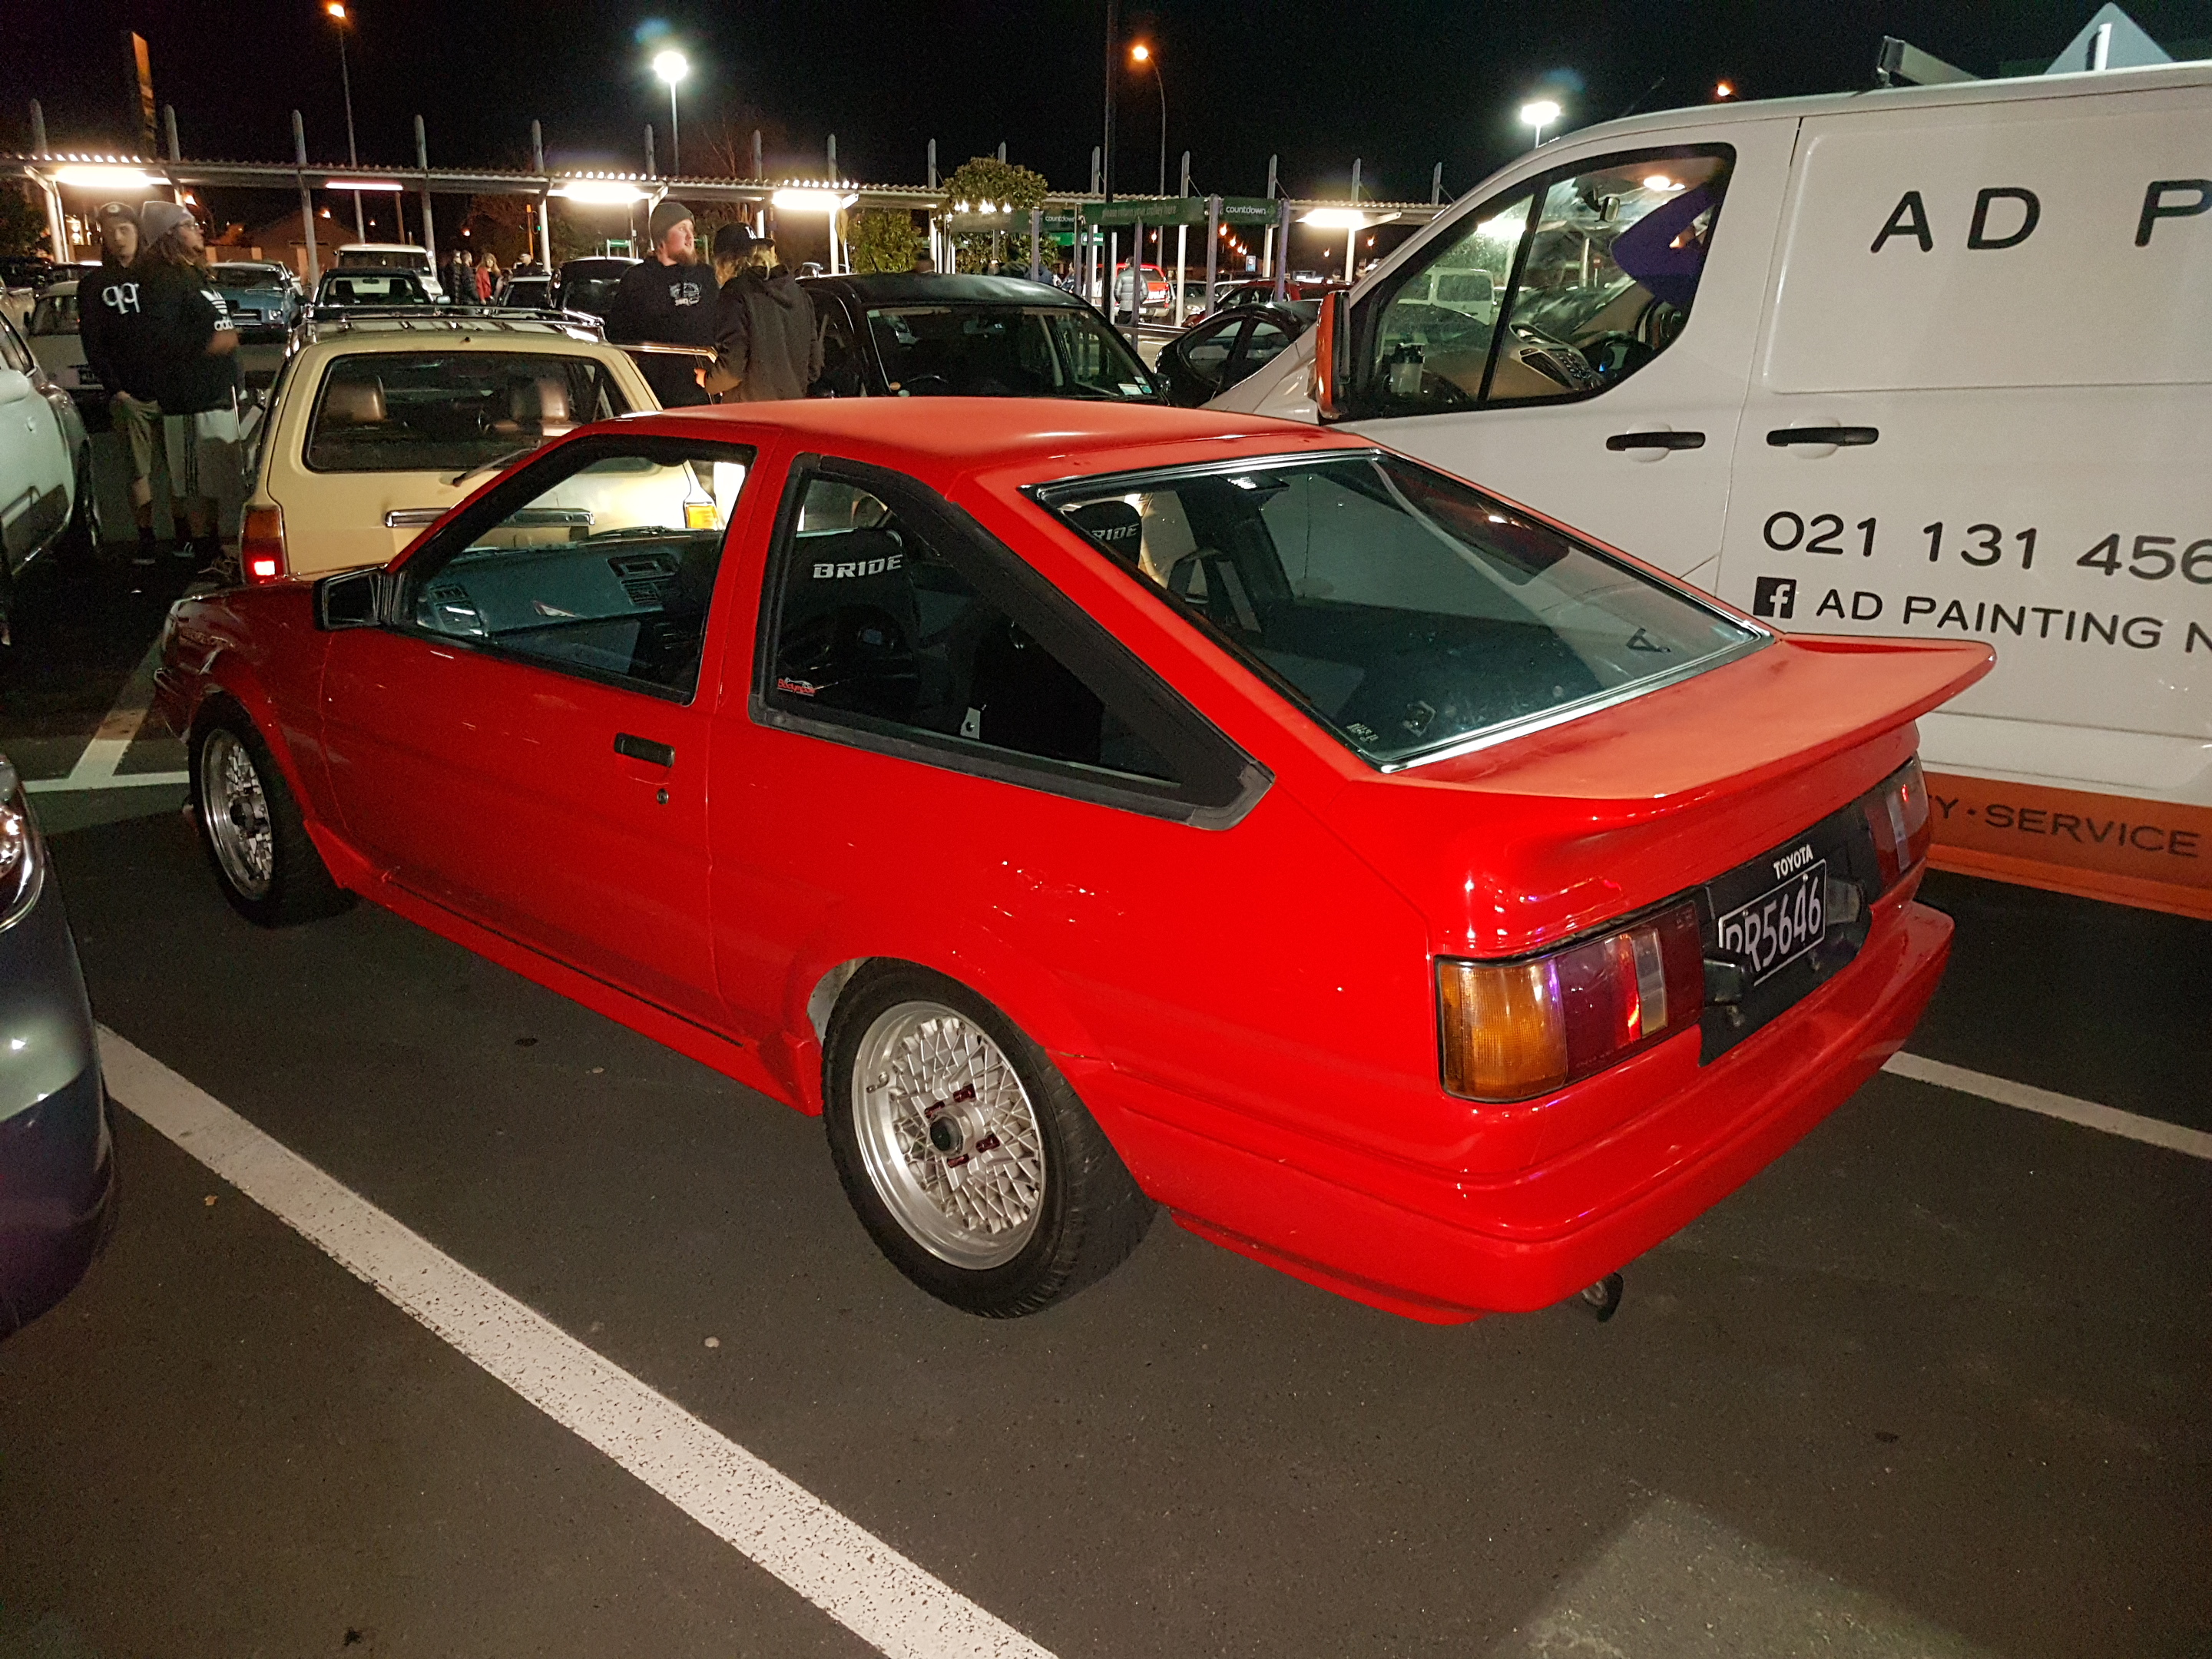
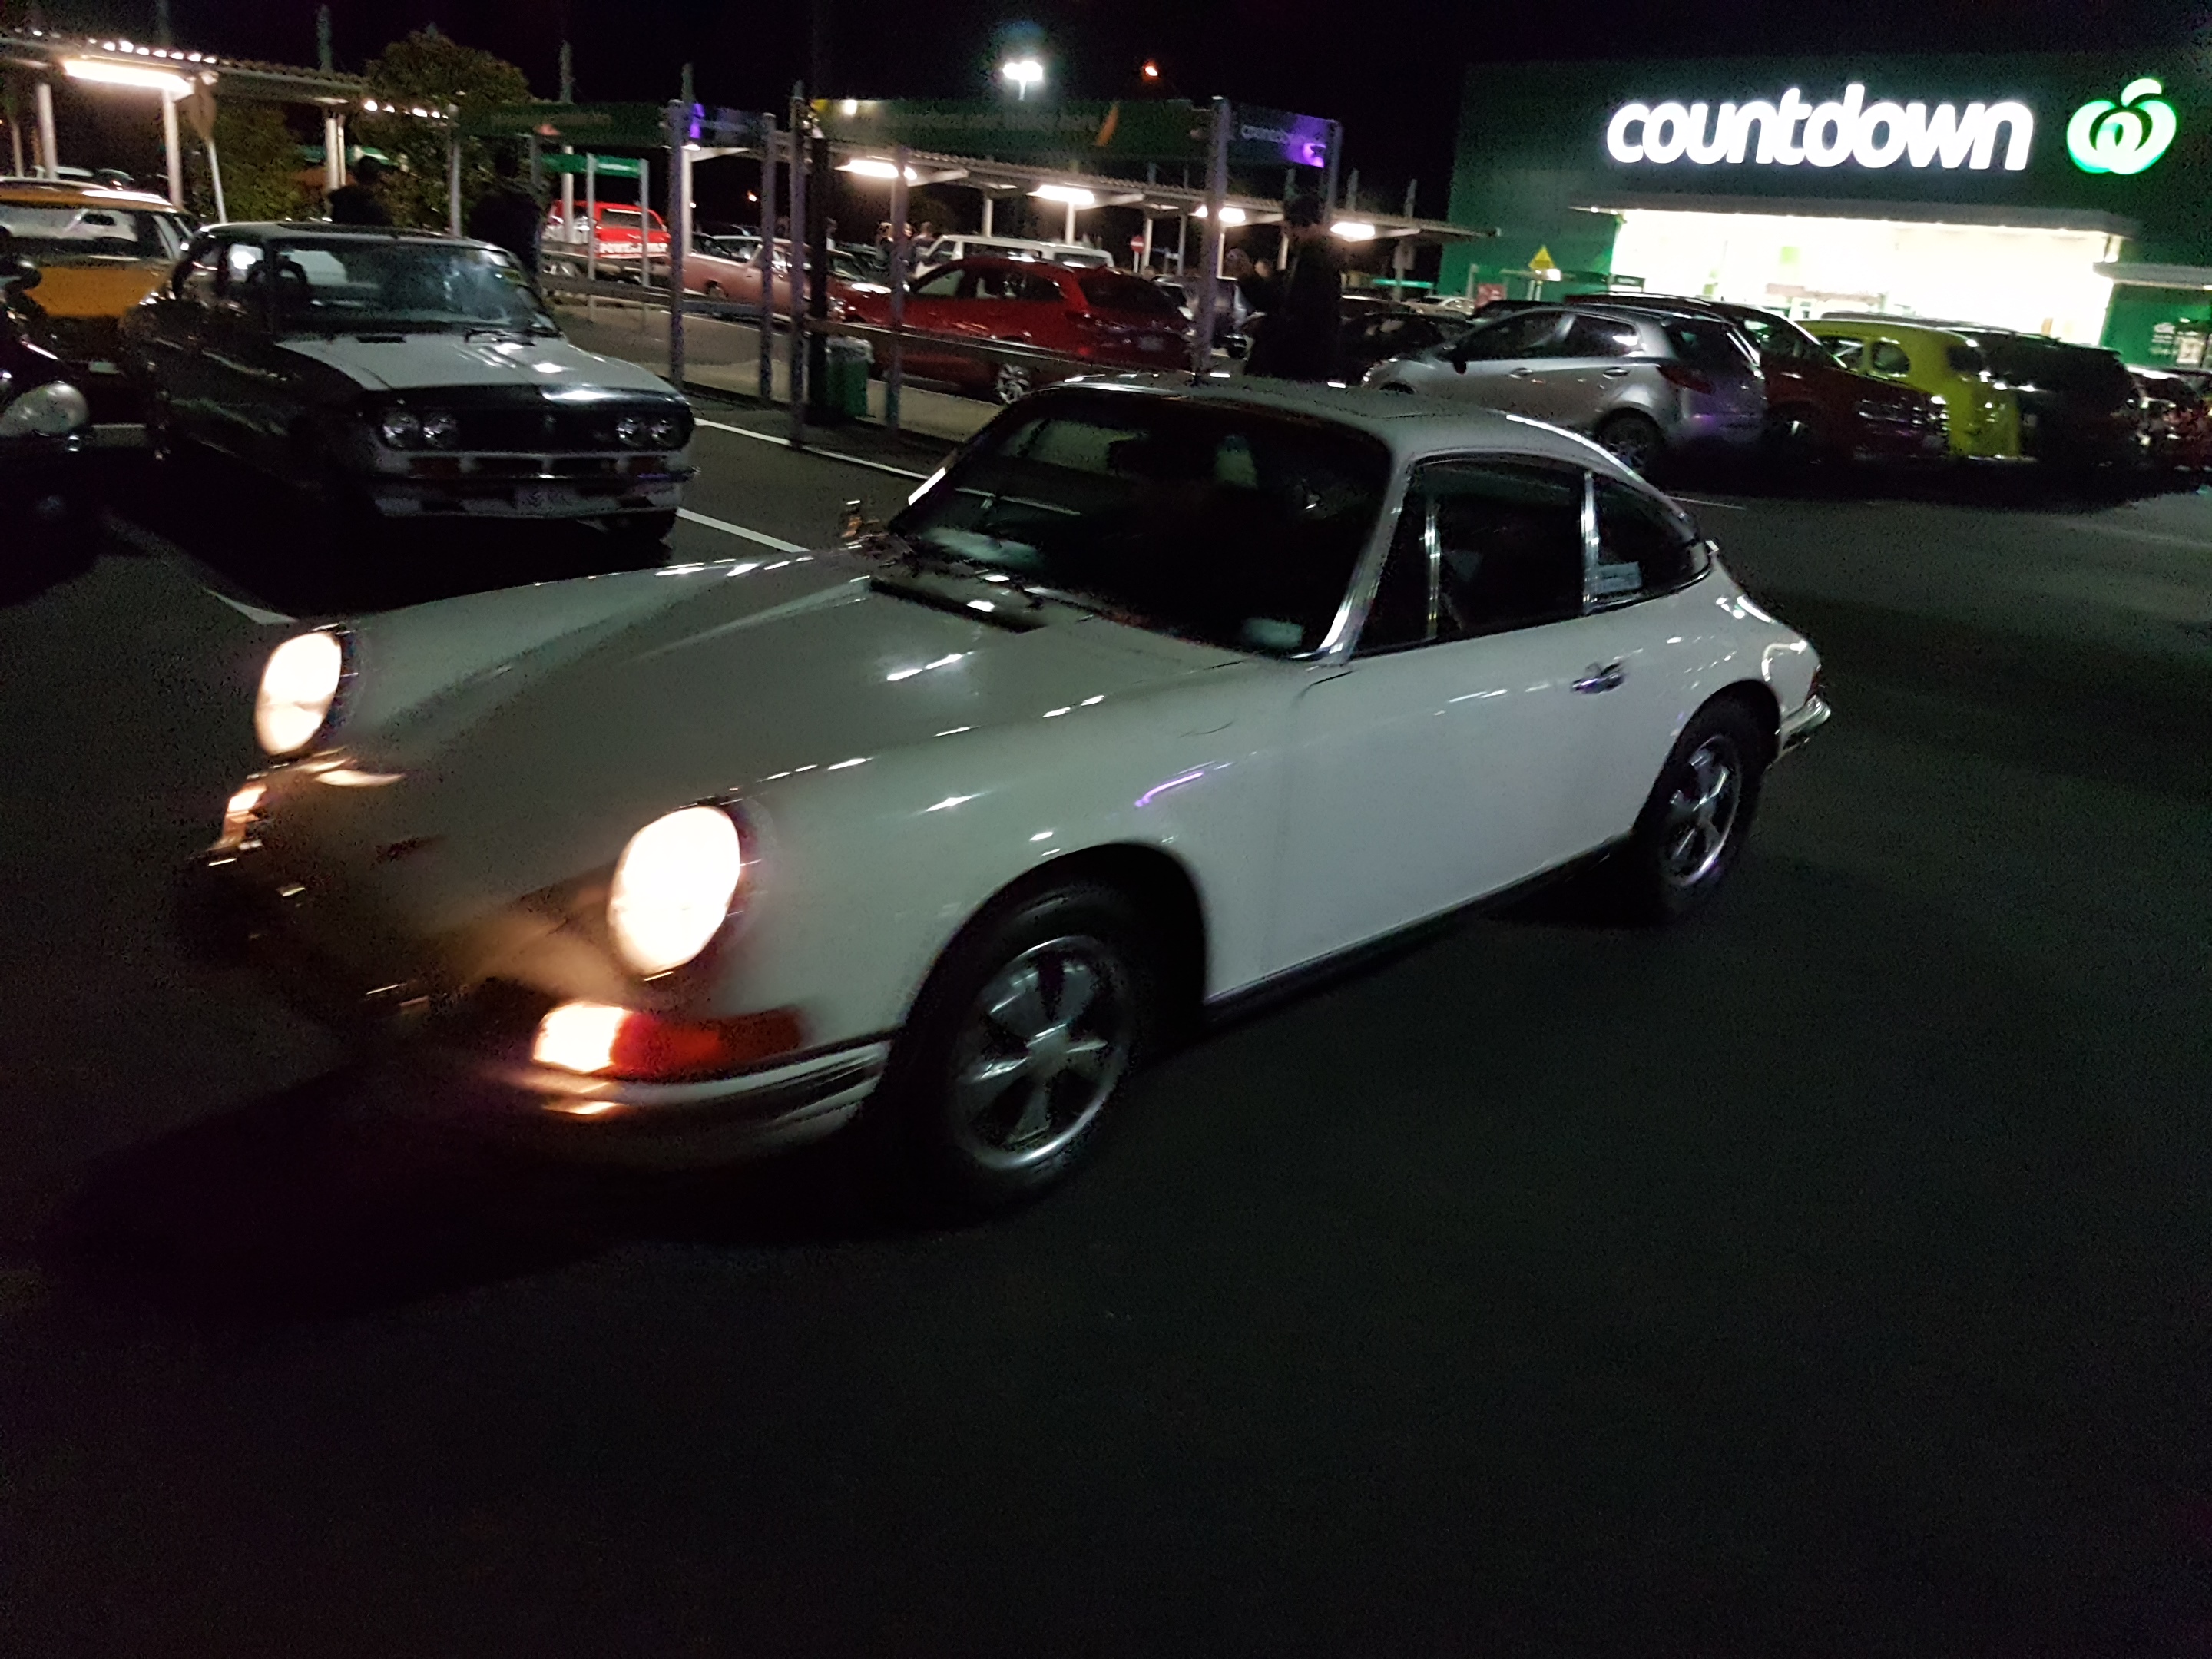
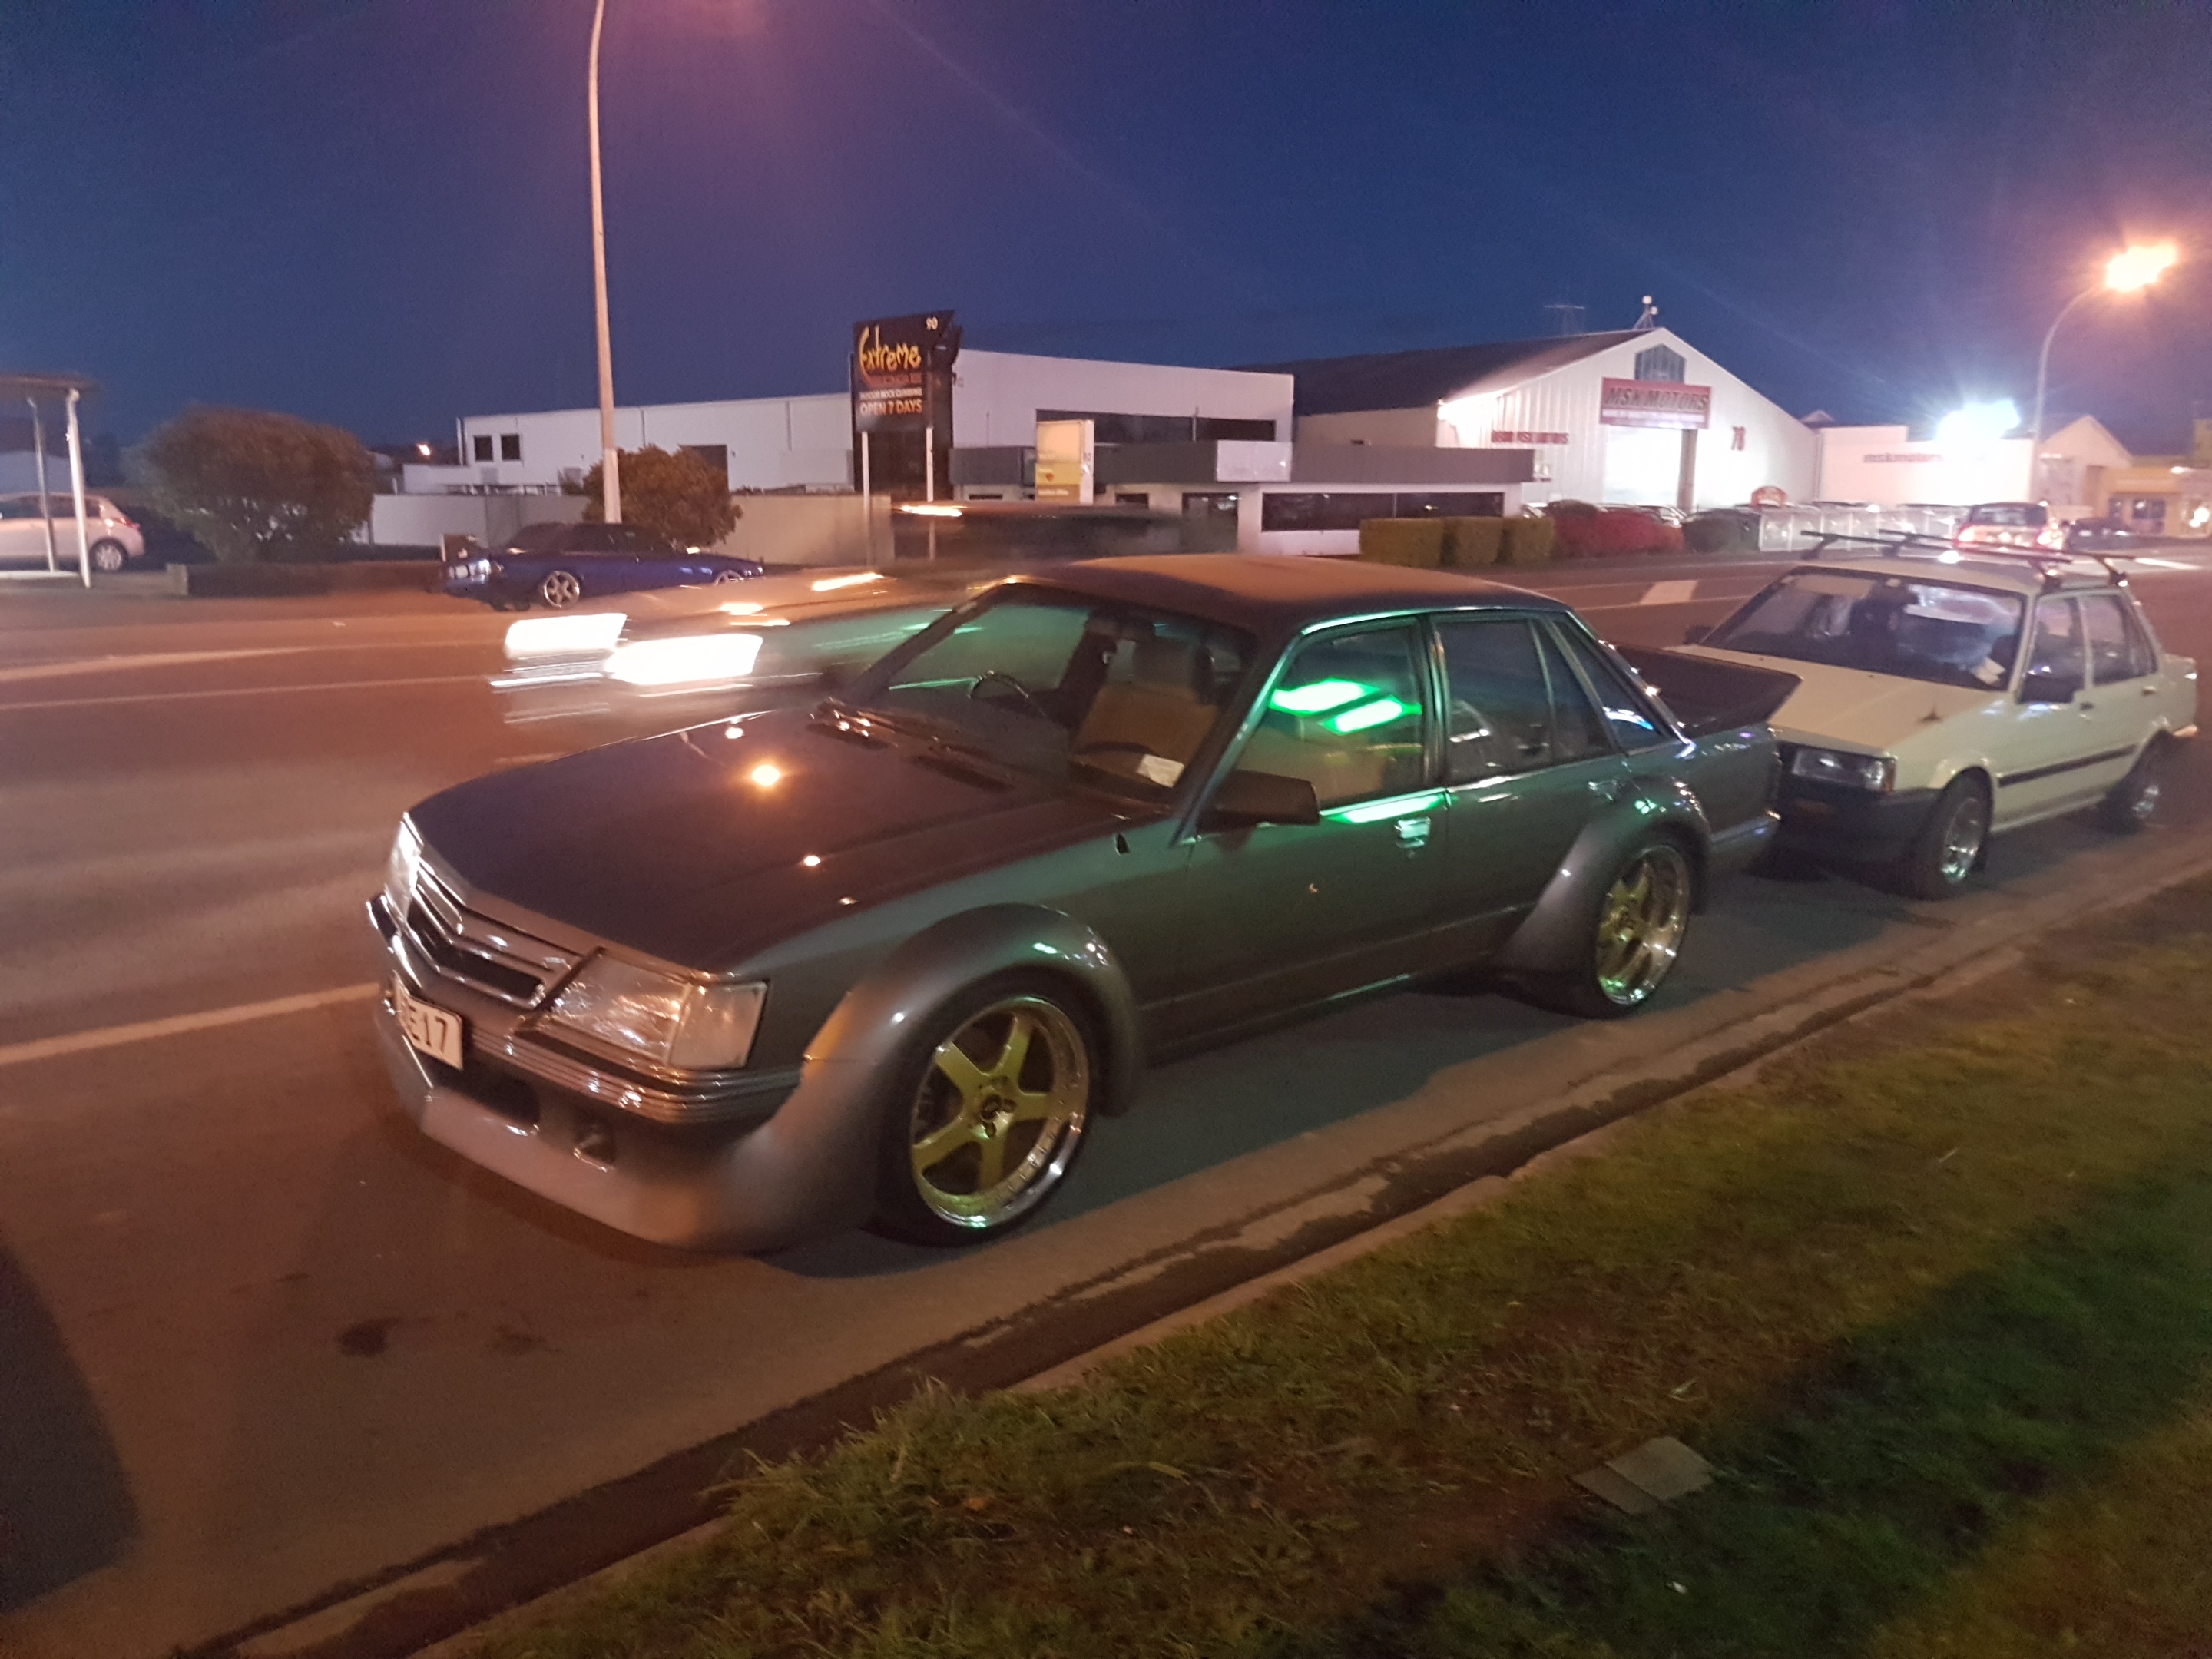
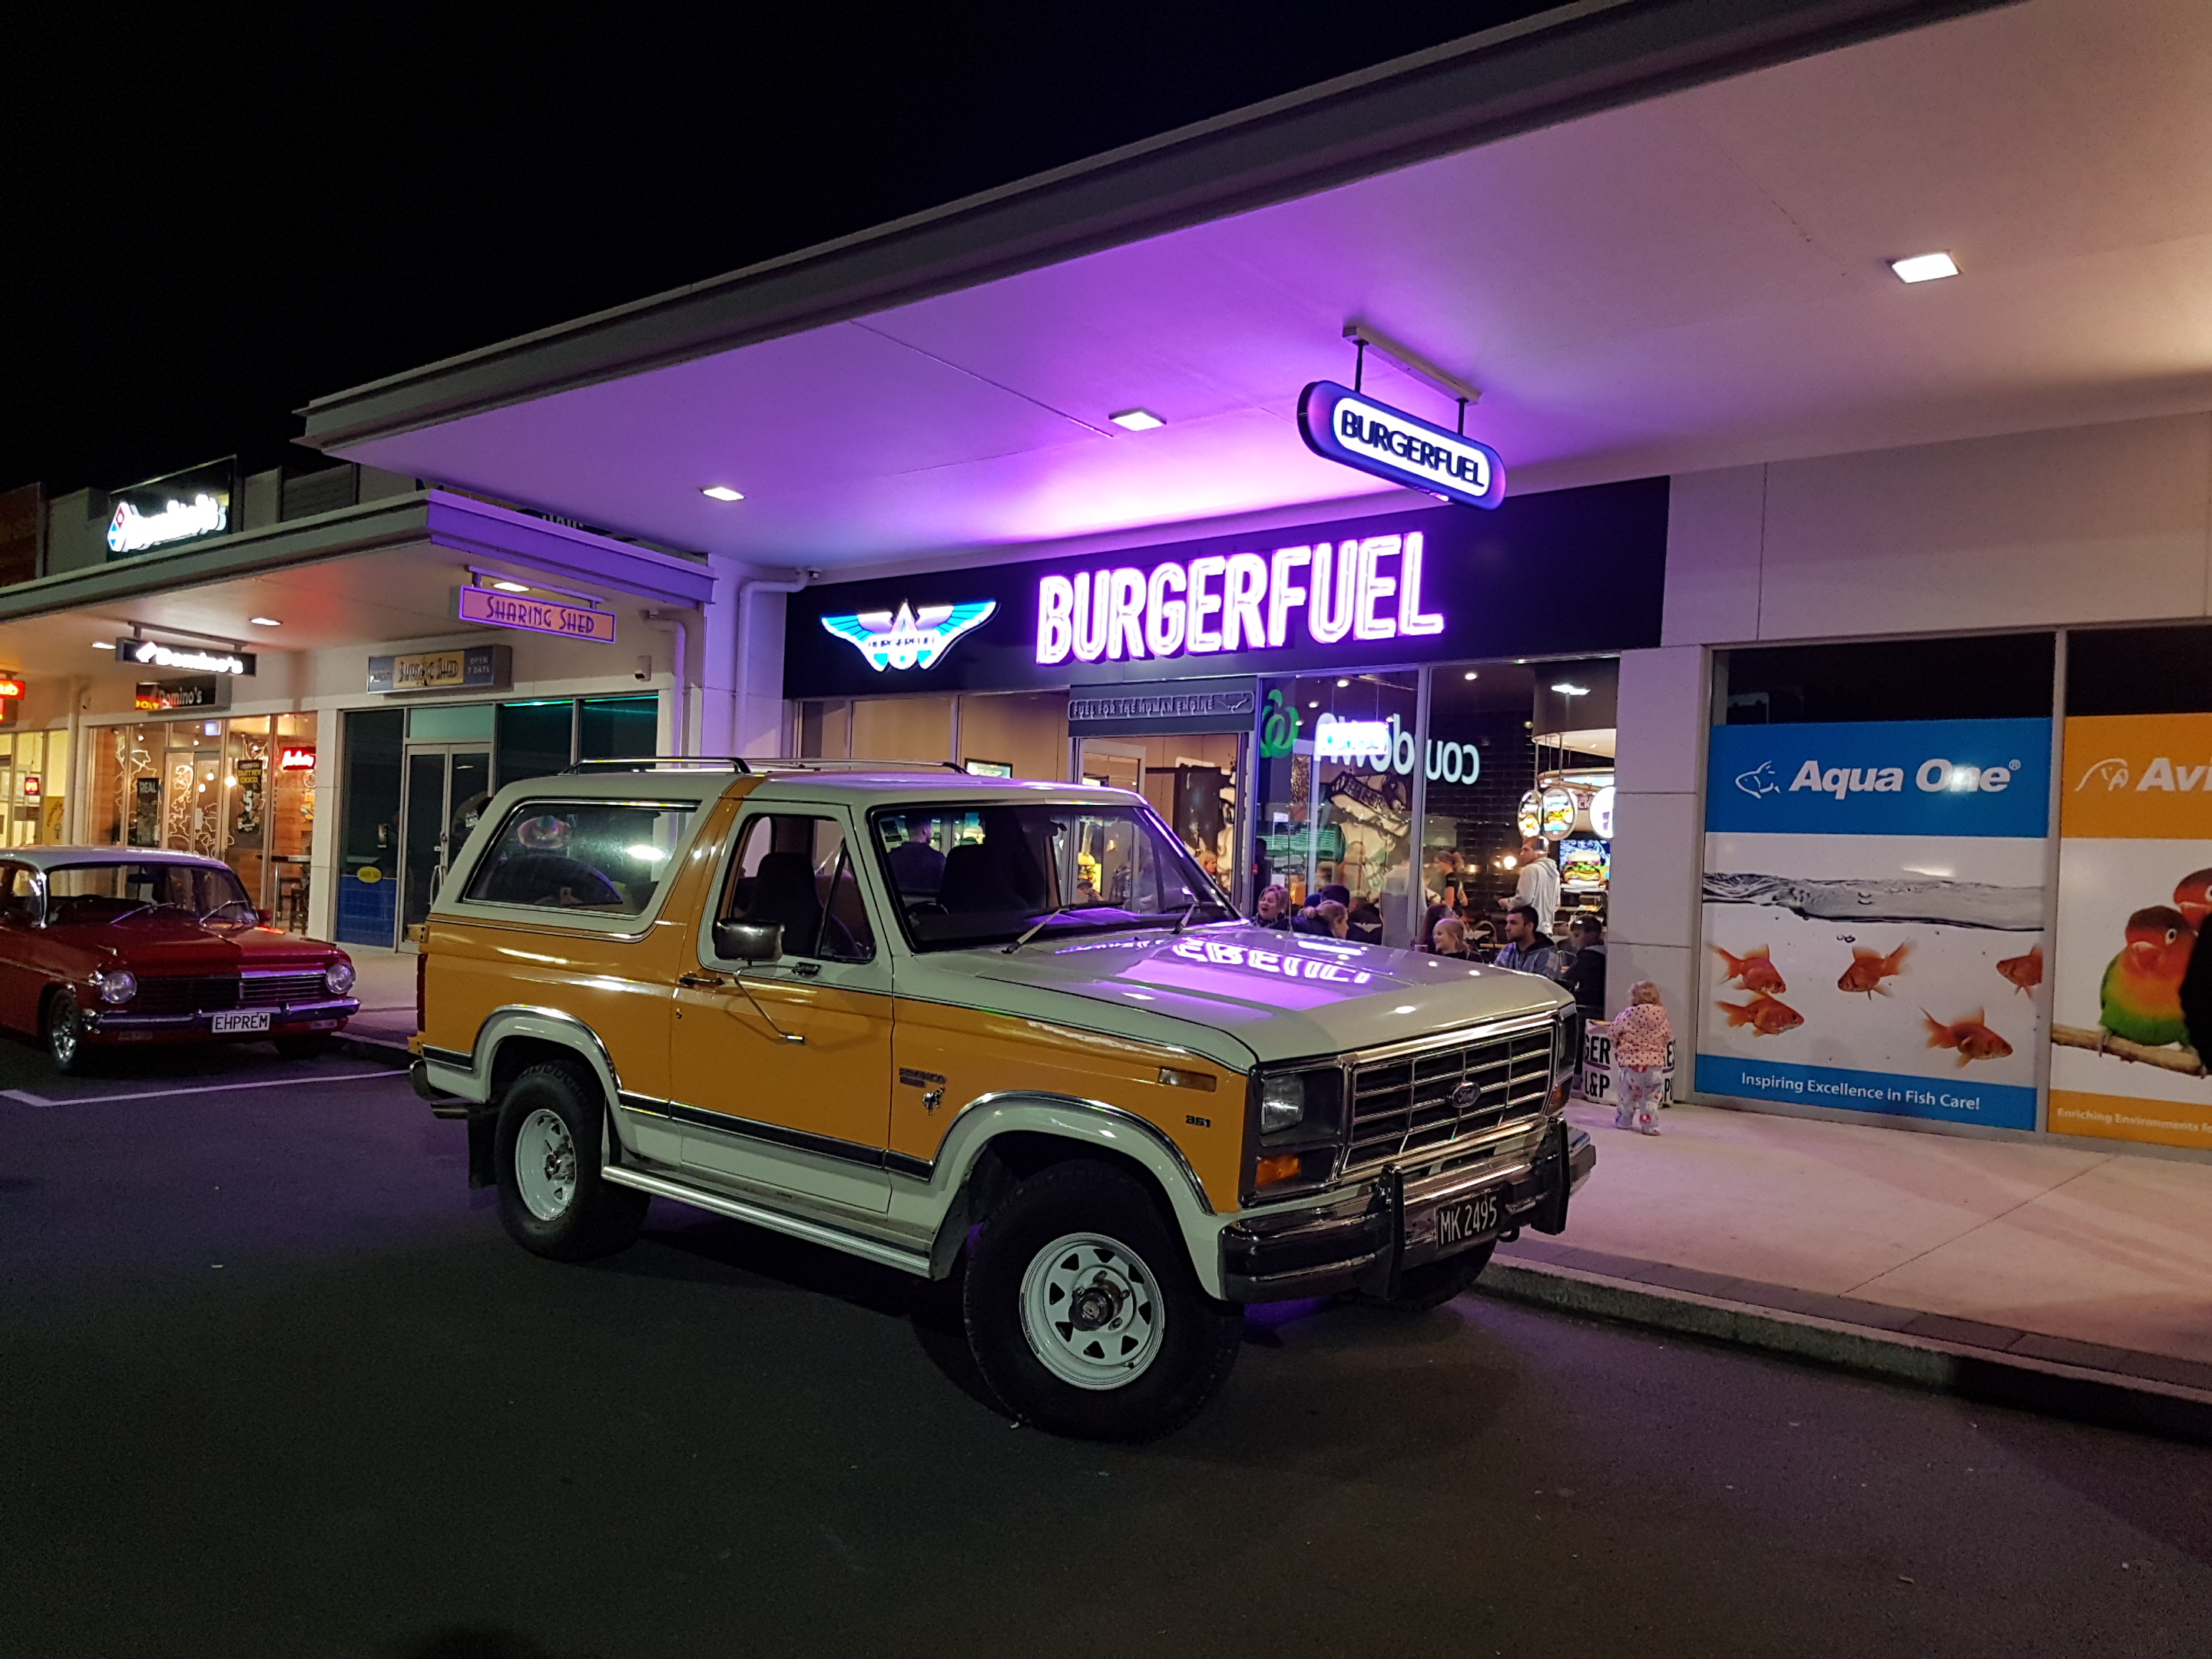
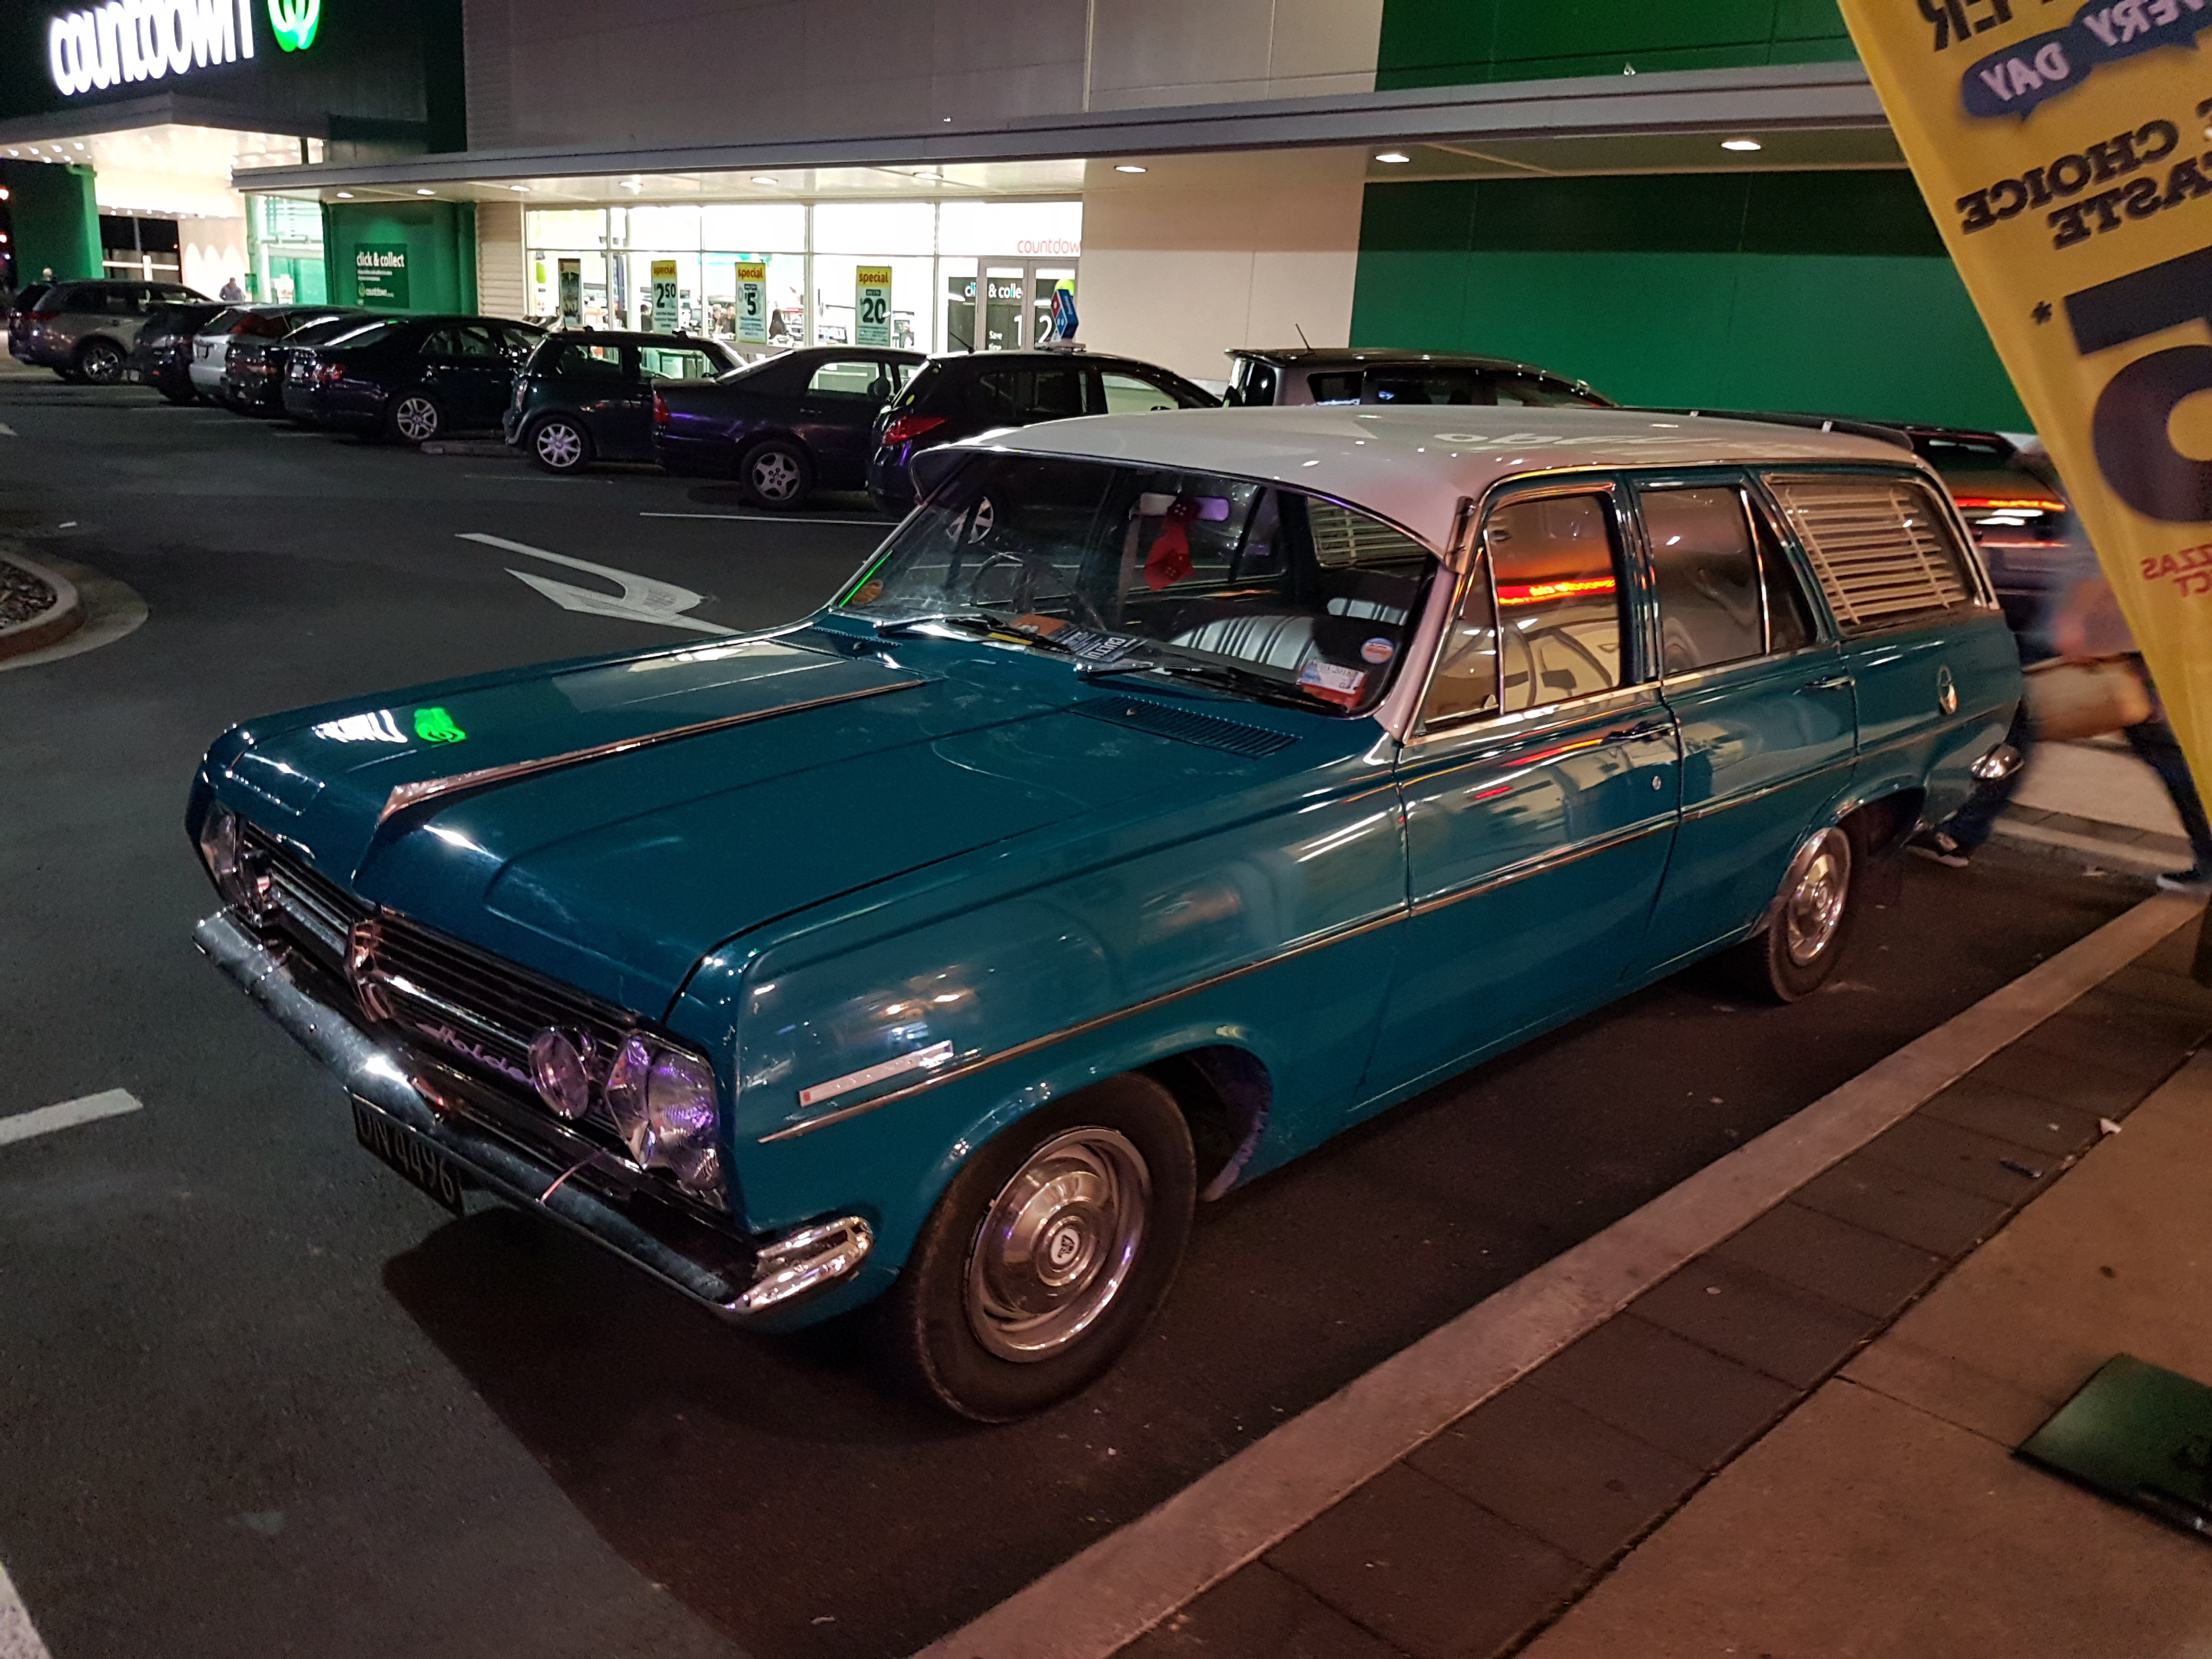
This thing is great @doullama! Well done on getting it road legal. Didn't realise you were a Waikato local! You should bring this to the Burgerfuel cruise tonight.
-
It's a drag car so it won't turn at all. Nice work Tom, it's coming together! What's the reason behind the flutes in that Nascar pipe? More velocity or just rigidity?
-
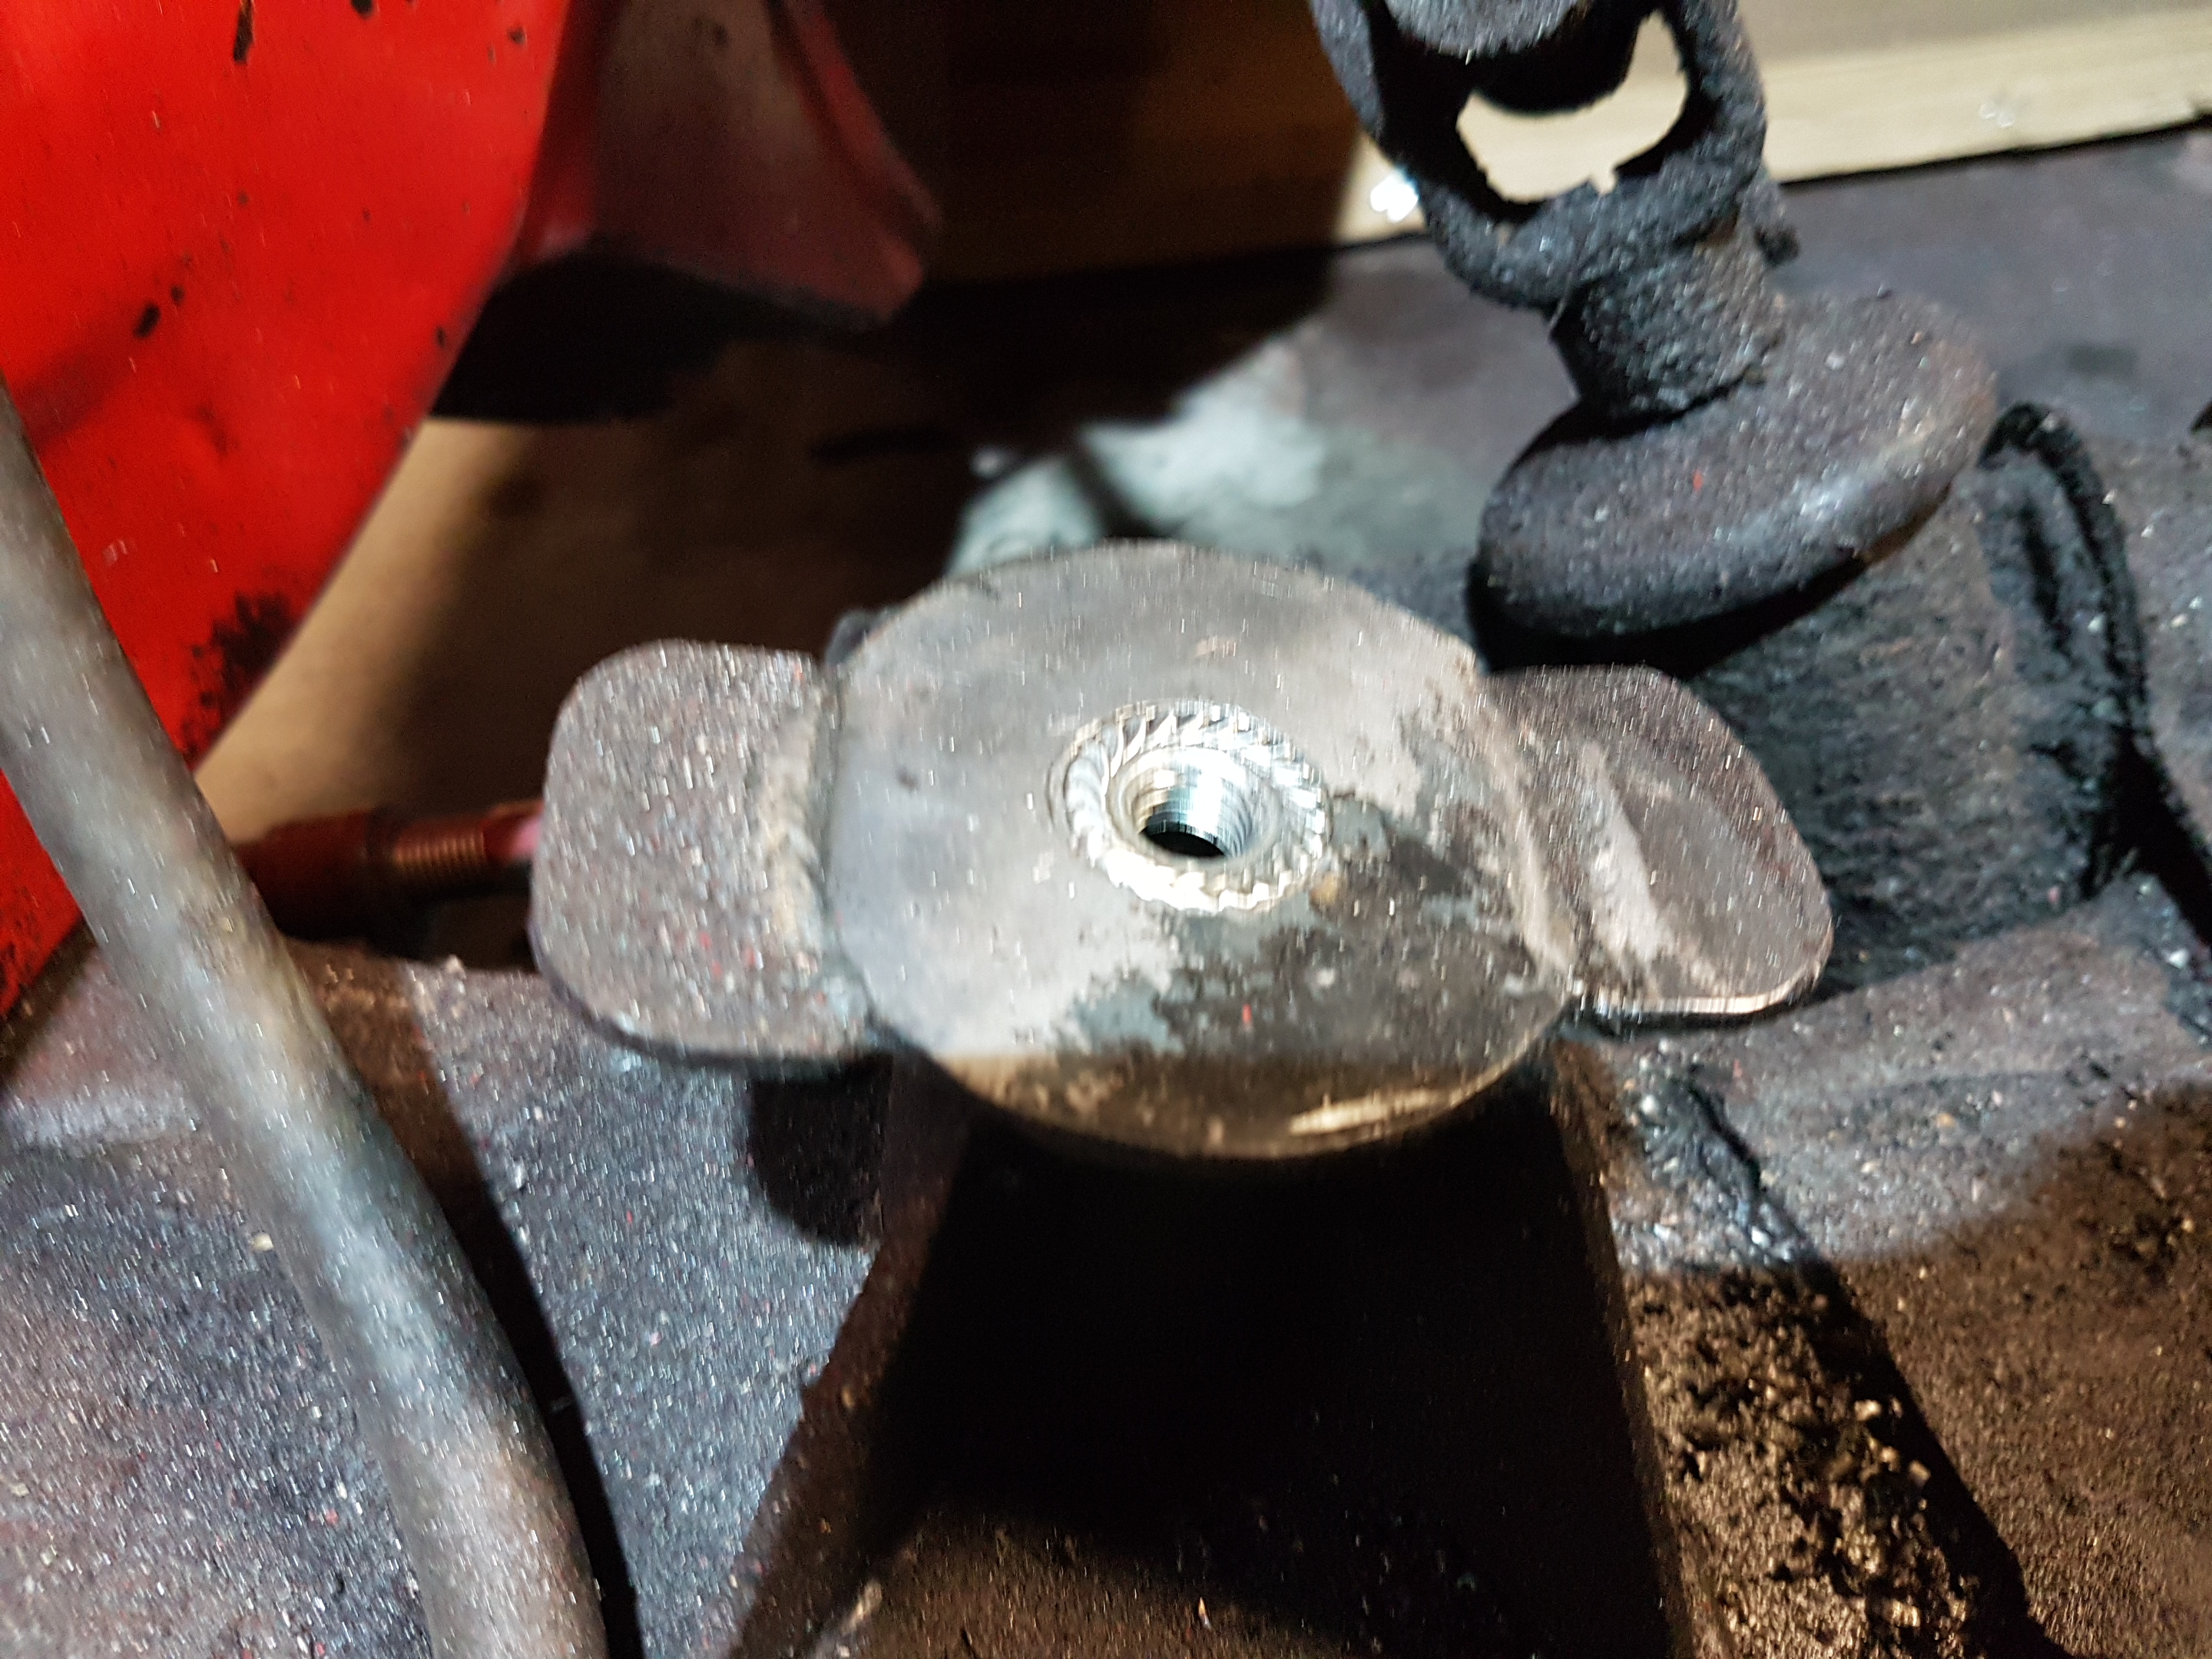
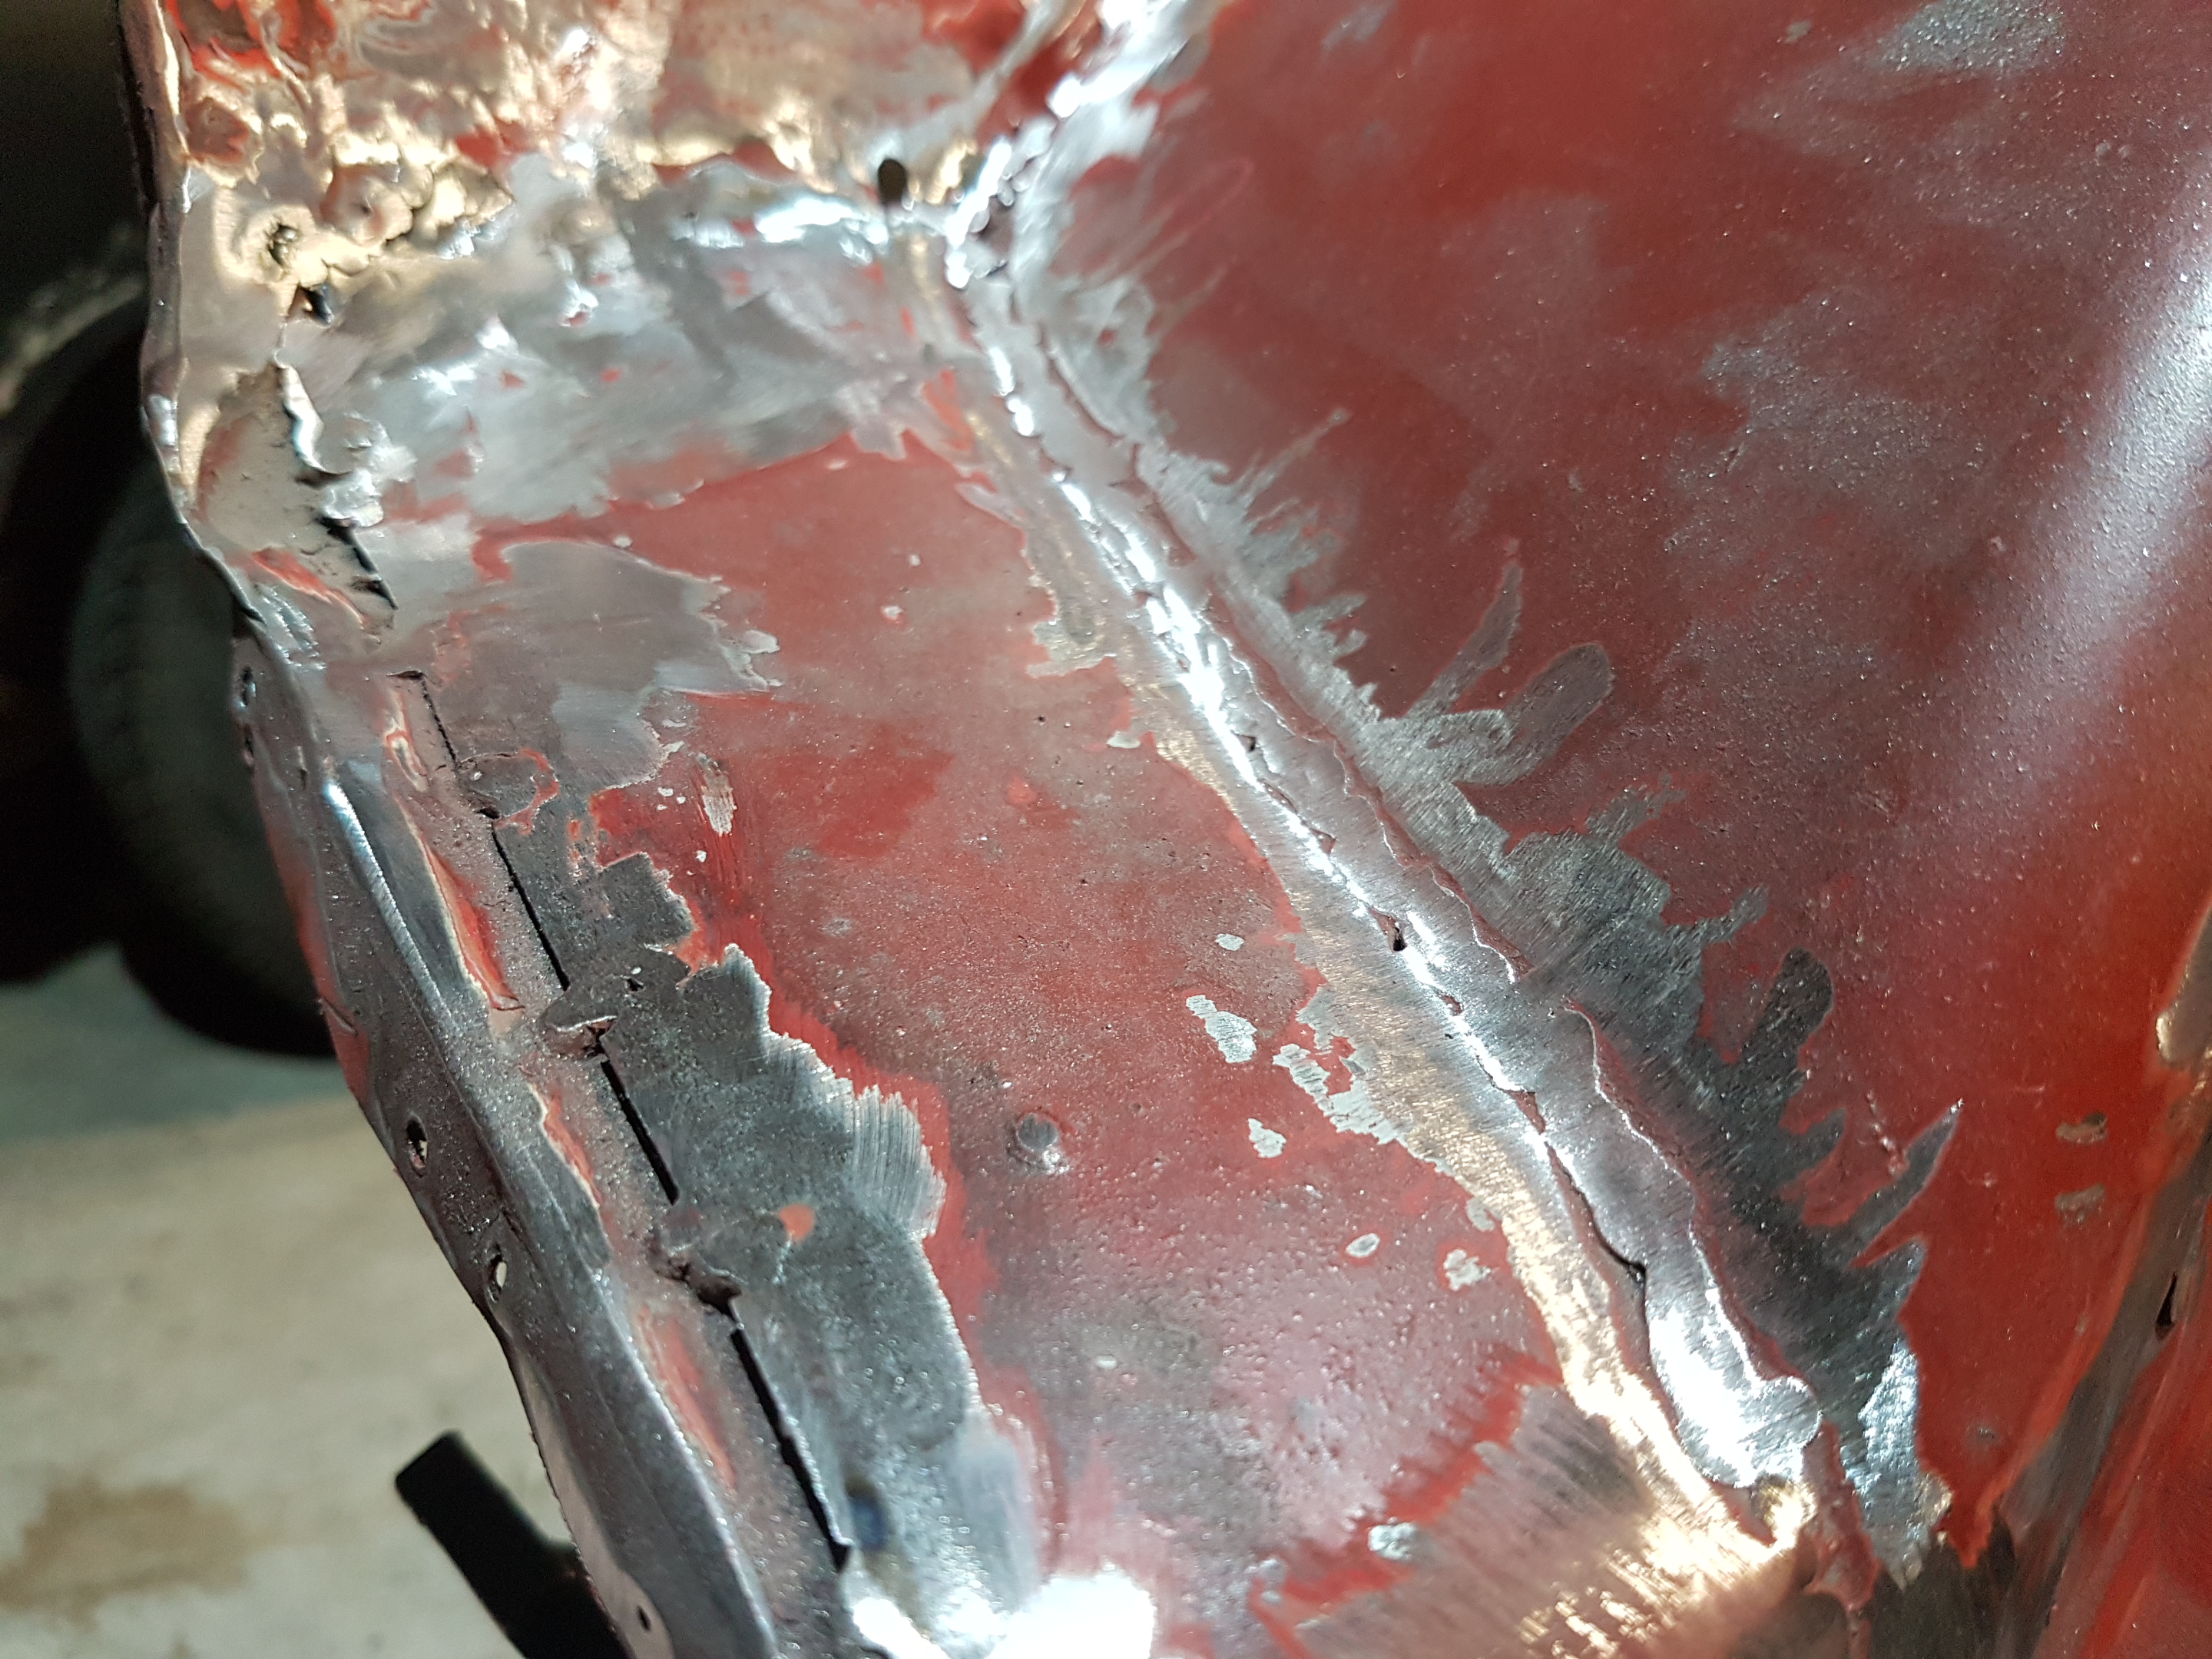
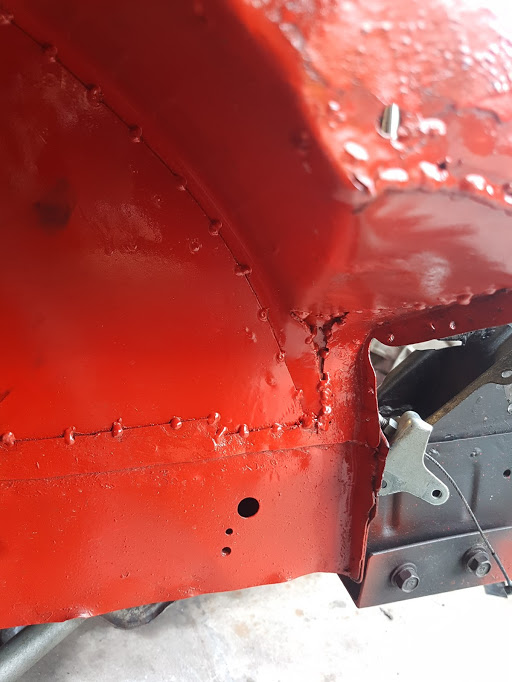
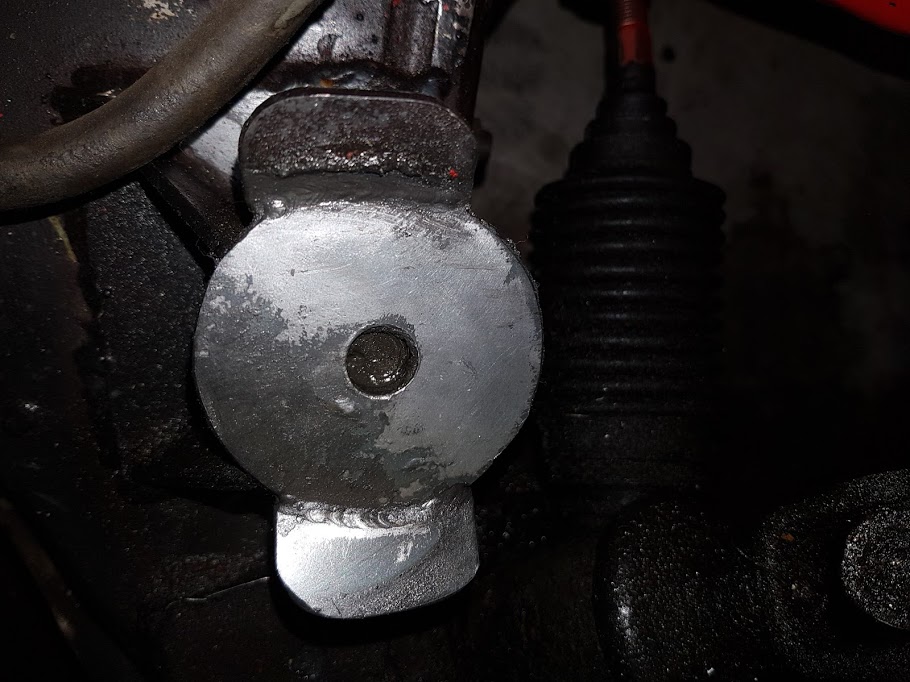
Everyone should have one of these. They make it super easy to get into tight spaces to clean up welds etc. They're on special for $99 at the Toolshed this month too. Got stuck into the engine bay with the powerfile and a flap disc. Still a bunch of finishing work to do, but the powerfile did an awesome job of the radius on this weld: Also bought myself a set of step drills. Their first job was to make the correct sized holes for the new engine mount threads: The nuts sit in there really nicely. It's a slight hammer fit to get them below/even with the surface and they can't drop any lower because the hole steps down as it gets deeper. The nuts need to be tigged in and tidied up, then that job's done.
- 194 replies
-
- 15
-
-
Truenotch's BEAMS AE86 racecar discussion
Truenotch replied to Truenotch's topic in Project Discussion
Hah, yeah. I was going to race this for another year at least before pulling it apart (note: I've been saying that for a few years and still never pulled it apart). -
Truenotch's BEAMS AE86 racecar discussion
Truenotch replied to Truenotch's topic in Project Discussion
Nah, the track doesn't care at all... But I do. I'm not aiming for prefect, I'm aiming for good. And shittiness is also the enemy of good . -
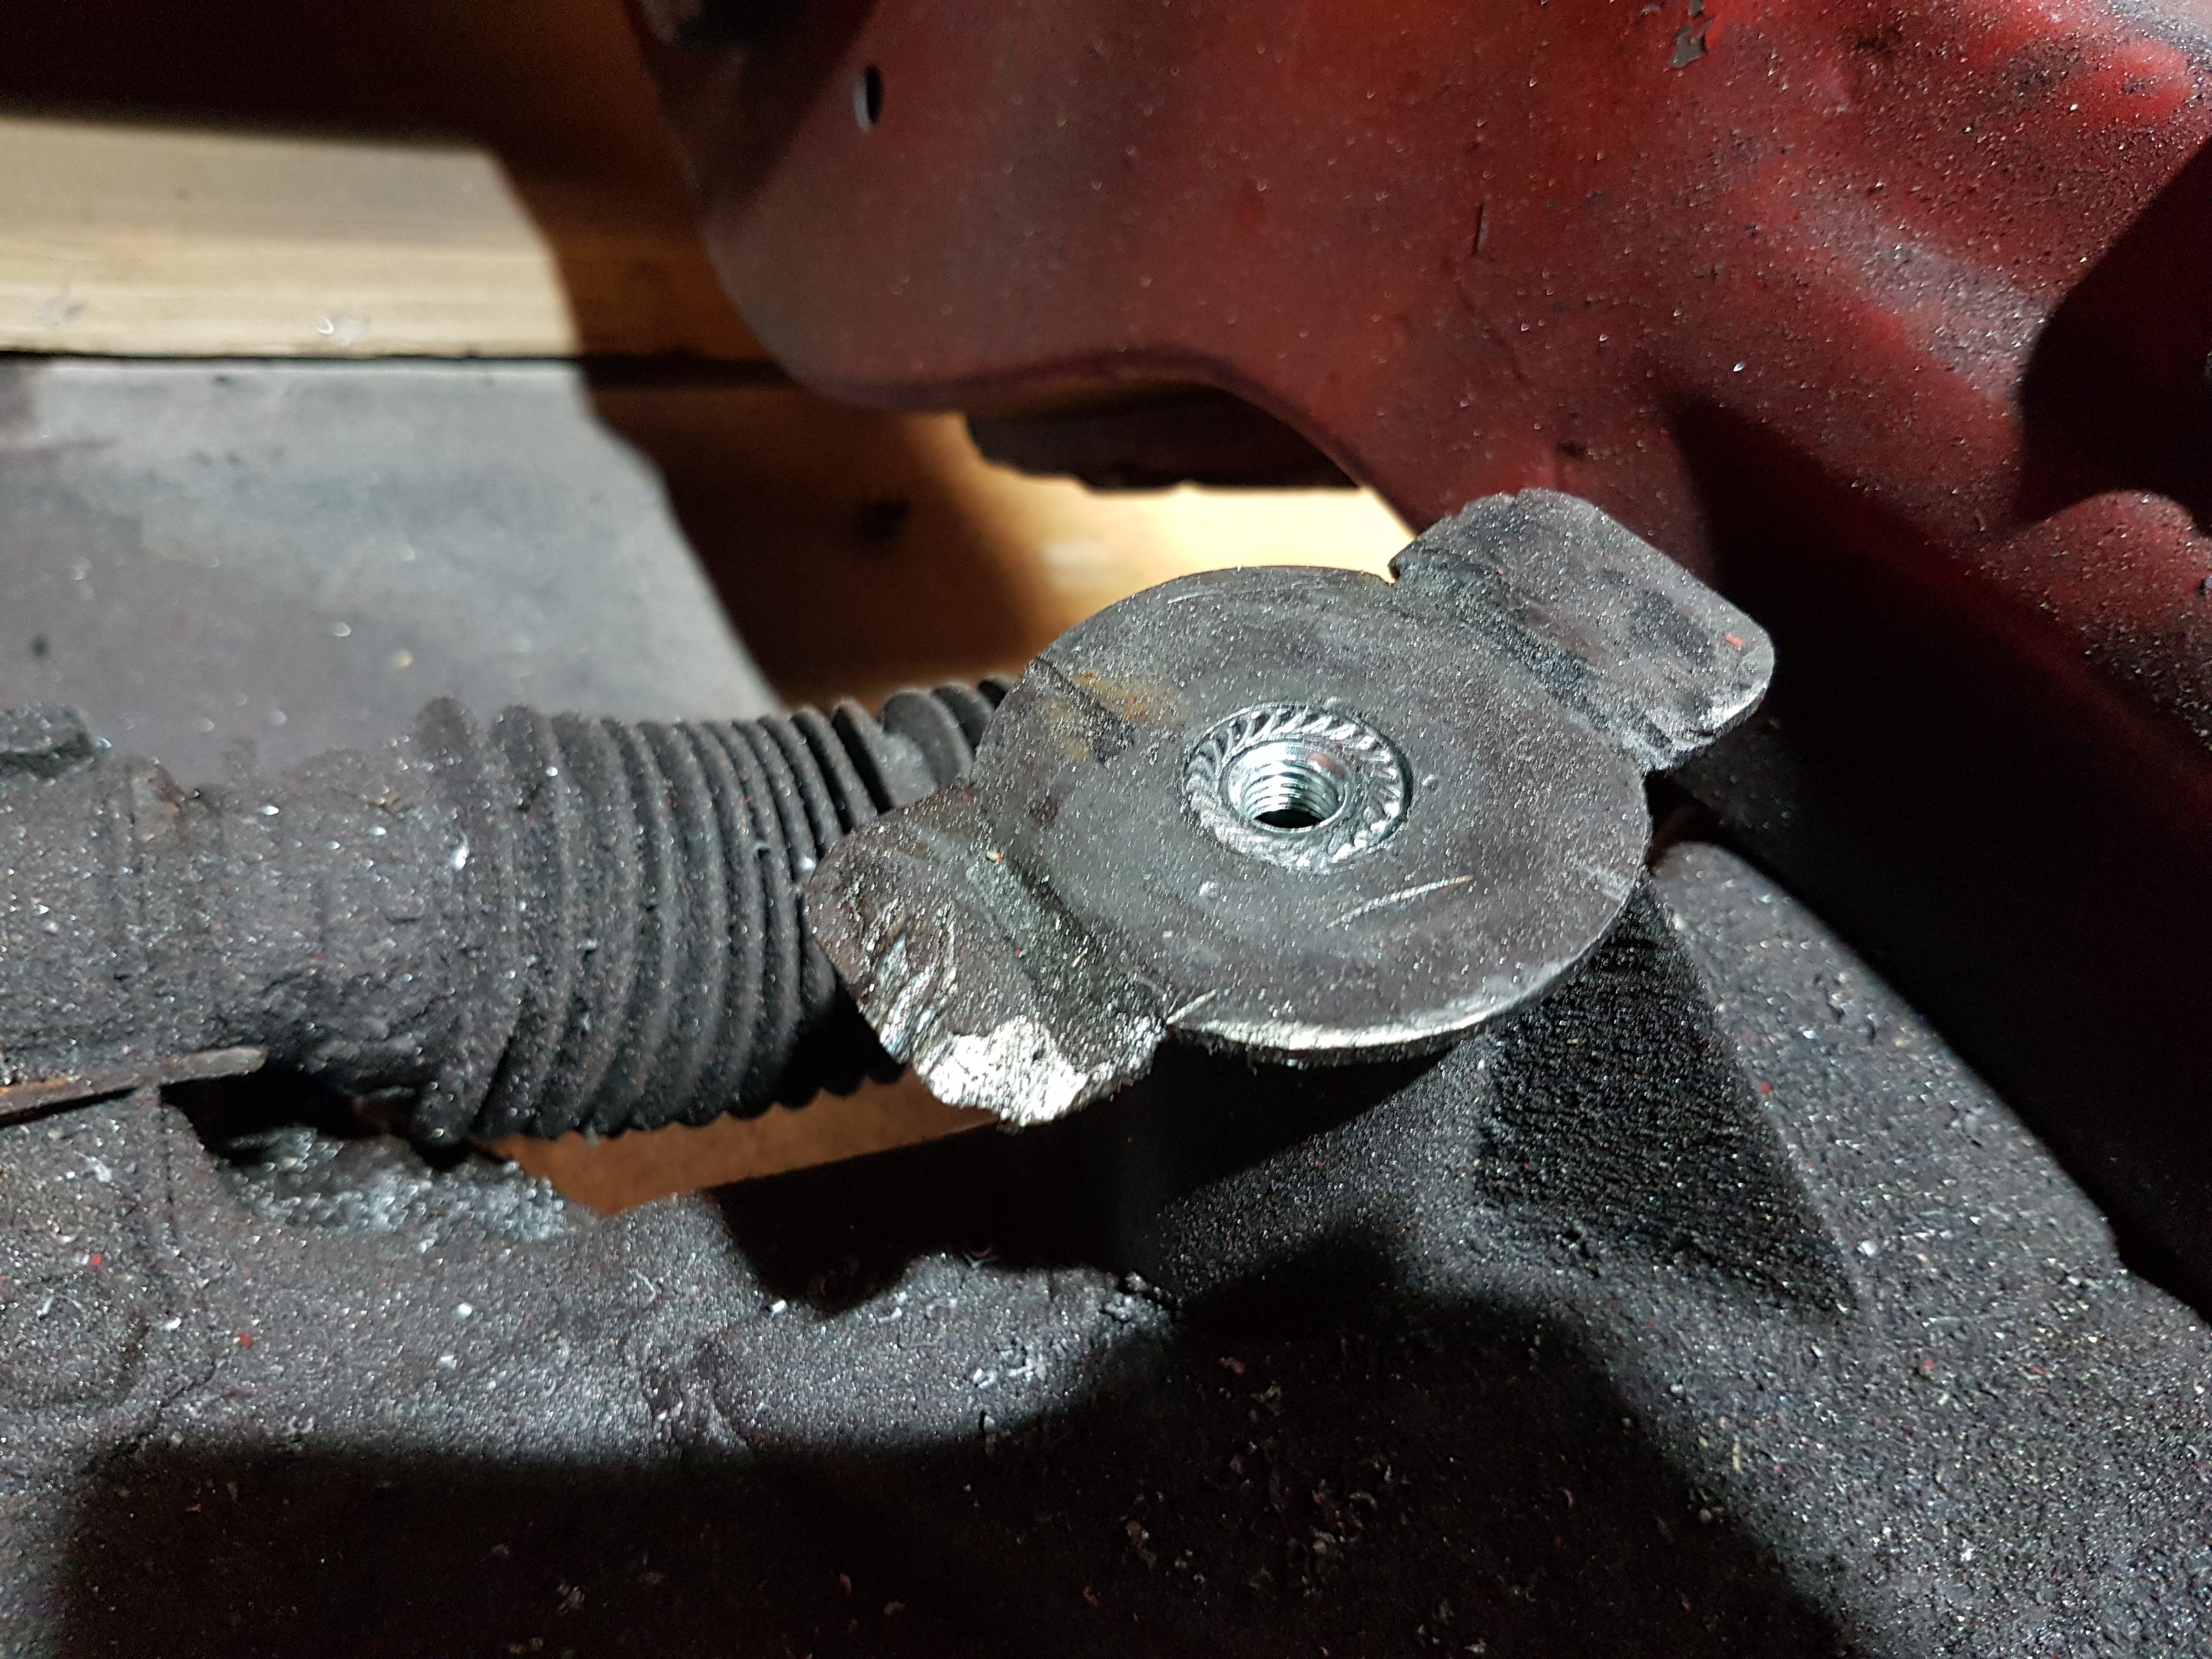
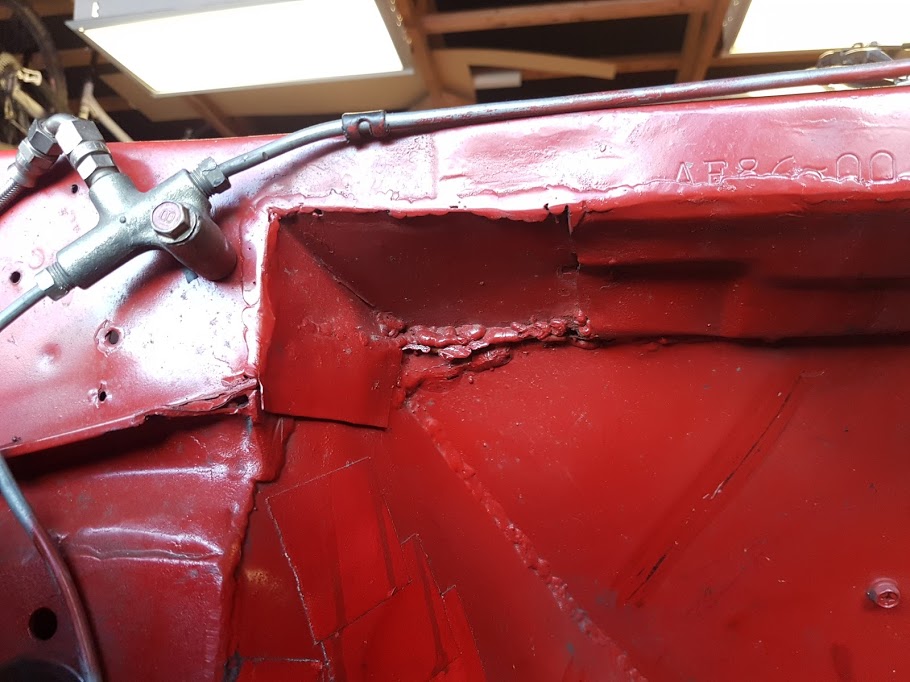
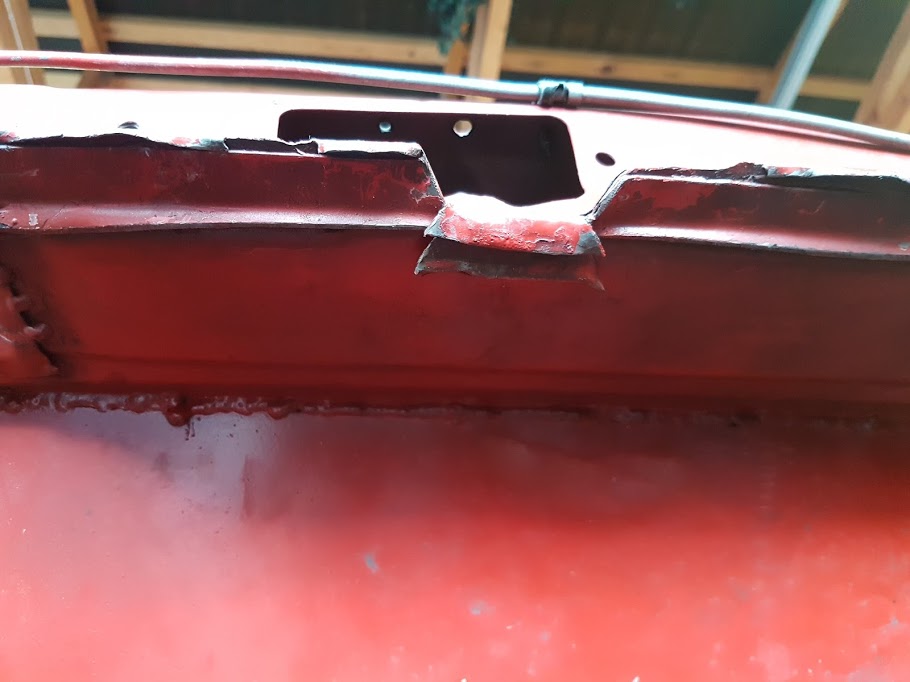
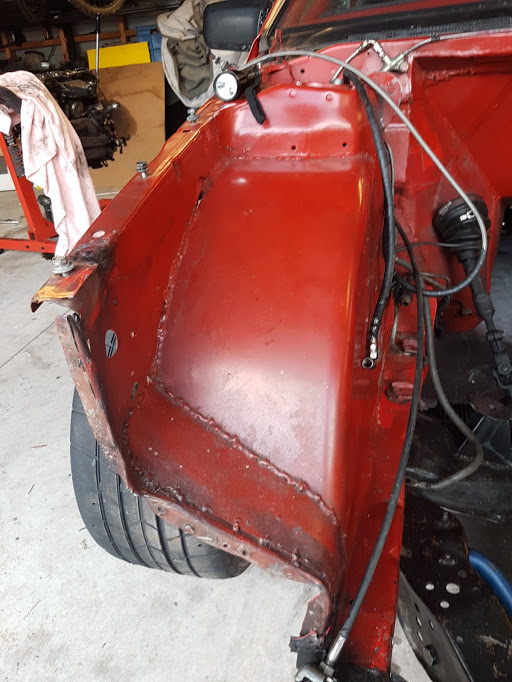
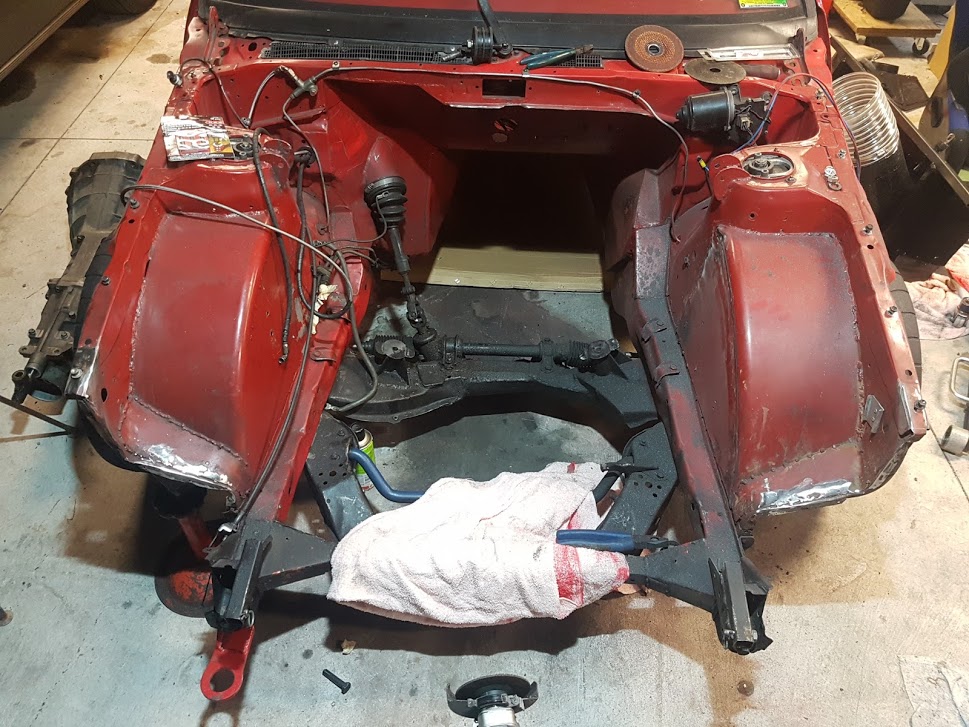
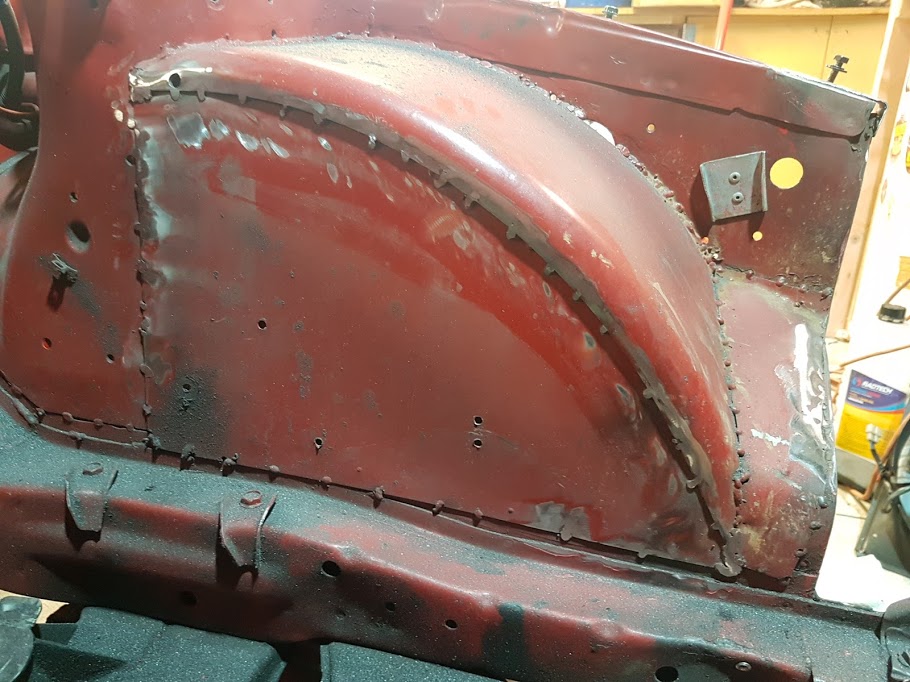
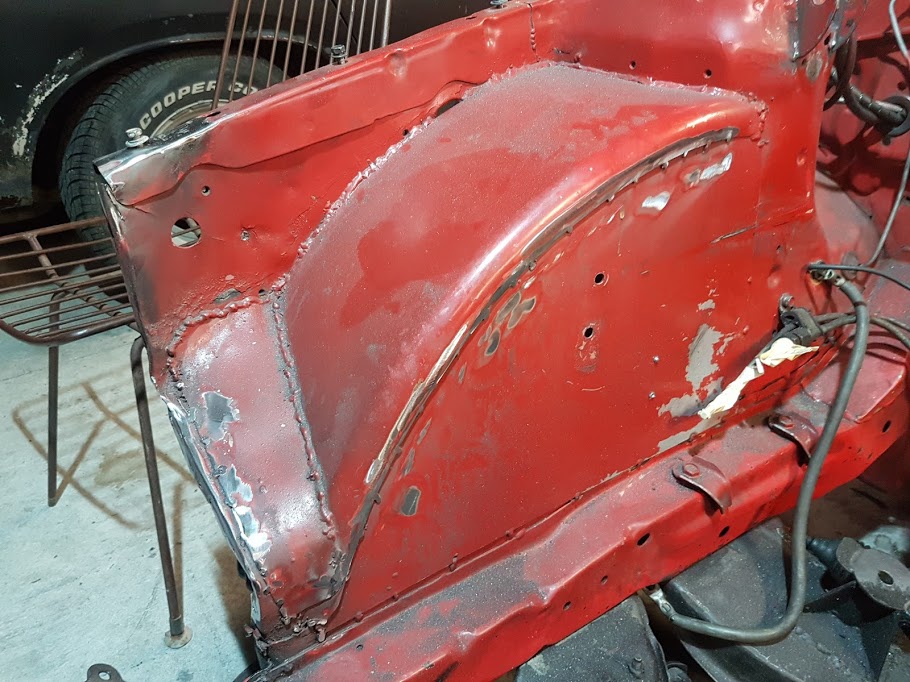
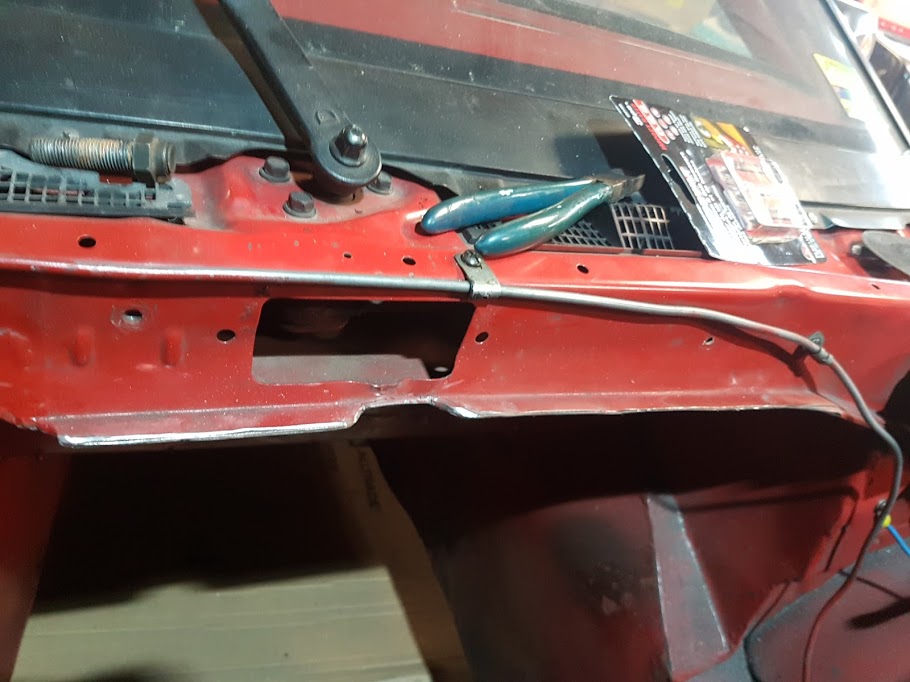
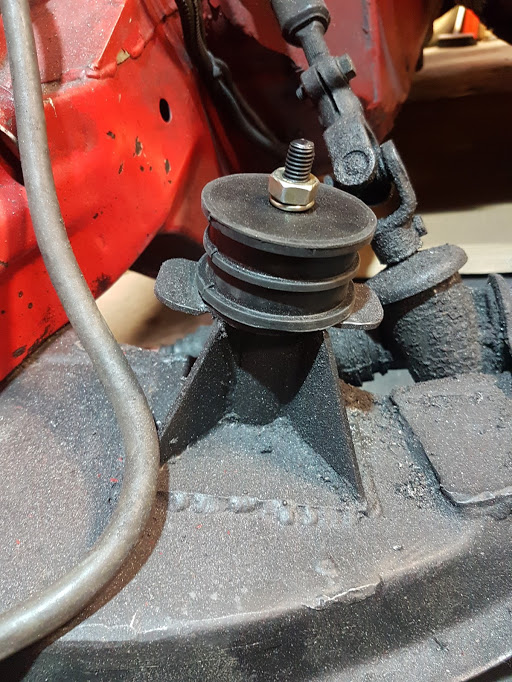
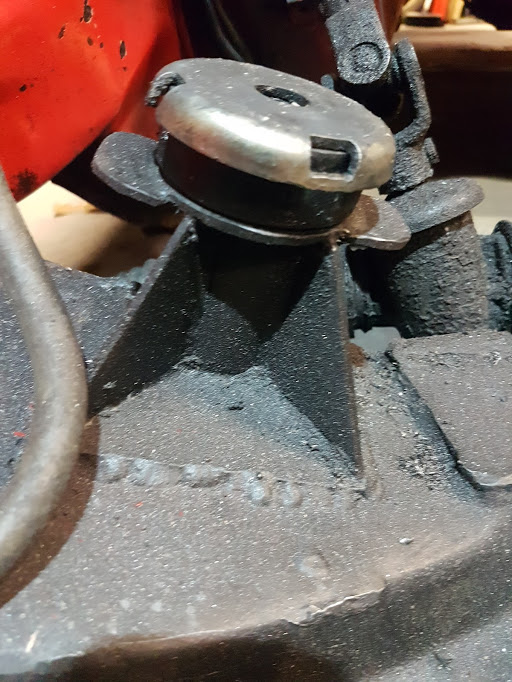
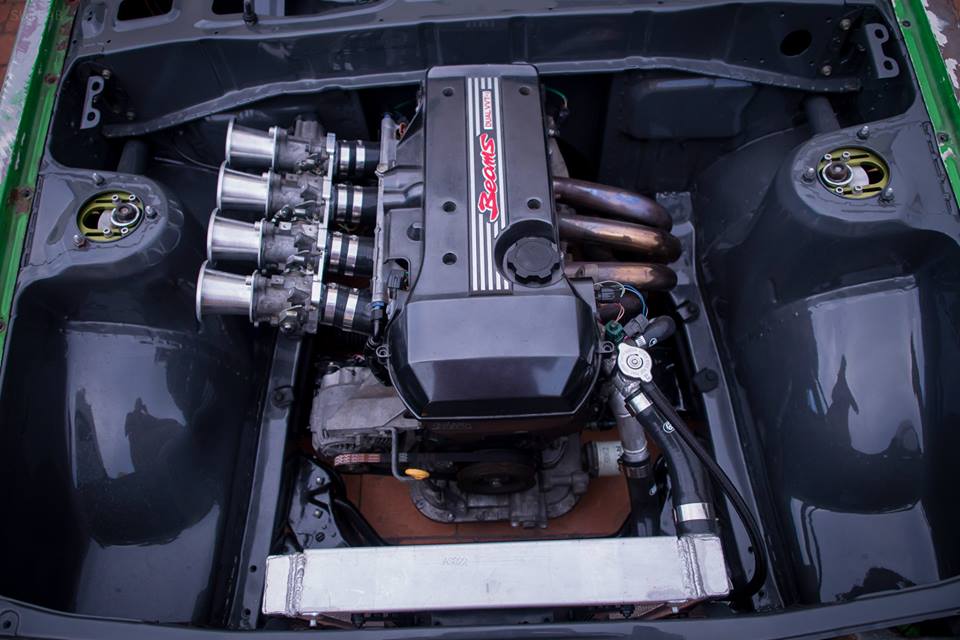
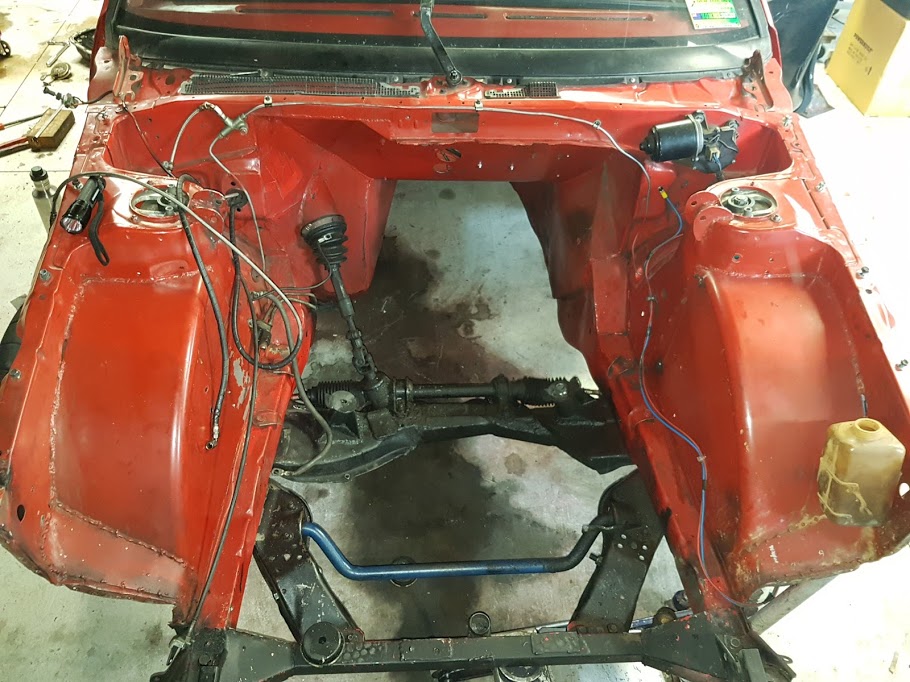
Back to those bad decisions... I don't really want to share these photos, but am going post them for the sake of good record keeping. I did all this with maximum haste and minimum care and it shows. First up, half assed tub job. From what I remember, I left the paint on for most of these welds. I also did the tubs and "wedge" sections before the front rad support panel was removed, so it was hard to get in there.... But never cleaned up the welds after removing the slam panel. Started by attacking them with a flap wheel to get rid of all the super high spots. I'm going to clean all the welds up as much as possible and will re-weld some parts. There will be grinding.... And welding.... And cleaning.... And filler. The inside is just as bad: Like, what the actual fuck 23 year old Markku? You didn't even cut the bottom edge straight! Oh well, just weld'er'up anyway I guess!?!?! Firewall - not finished and the welding at the back needs to be taken away and shot. Firewall notch to get the coil pack out - this was done at the track or on the dyno when we realised that the coil hit the seam: Started by cleaning up the edges and will weld parts of the seam: Next issue - engine mounts. The original idea consisted of pancaking a piece of Urethane between the engine mount and the pedestal with a bolt going through. In other words, it was basically solid mounted... Until the bolts snapped from the torque, vibrations and bumps. This was the situation when I removed the engine: On top of that, 3 out of 4 of my gearbox mount bolts had disappeared! So the engine and box would have been flubbering around like a kitty on crack. The best solution is a set of Land Rover engine mounts as seen in @DAD's KP build thread. These are 10mm taller than what I had before (26mm vs 36mm), but I've got another solution in the works to get the height right. Old: New: I'll also need to re-set a captured nut into the pedestal. I'm currently trying to decide on the strongest way to do this... The pedestals are welded onto the crossmember, so the only way in is from the top... I can either drill a big hole and weld a flange nut in there from above OR drill a bigger hole and weld an extra plate on top of the pedestal with a nut welded from underneath. I'm open to ideas - what have you got? So I'm taking the run bearing as a blessing after seeing the sum total of issues that need to be sorted. I'll be spending the next few months getting this right and am taking ti as an opportunity to learn some new skills and will take my time to get it looking good. Luckily I work for a company that sells flap wheels, grinding discs and linishing belts! Here's a pic of @nothingsfree's engine bay for inspiration:
- 194 replies
-
- 28
-
-

-
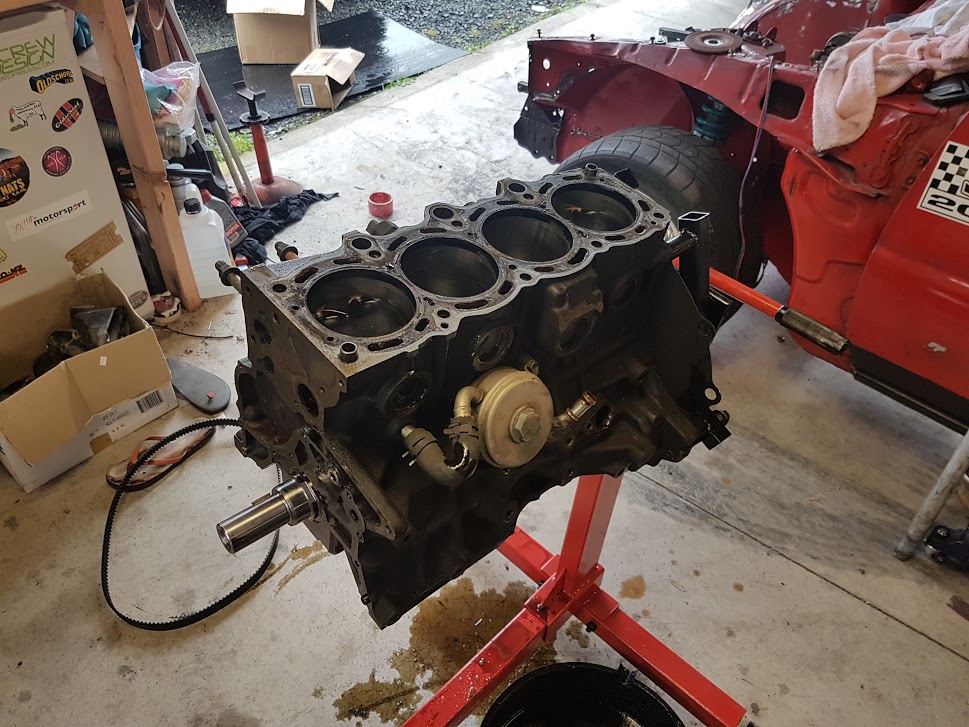
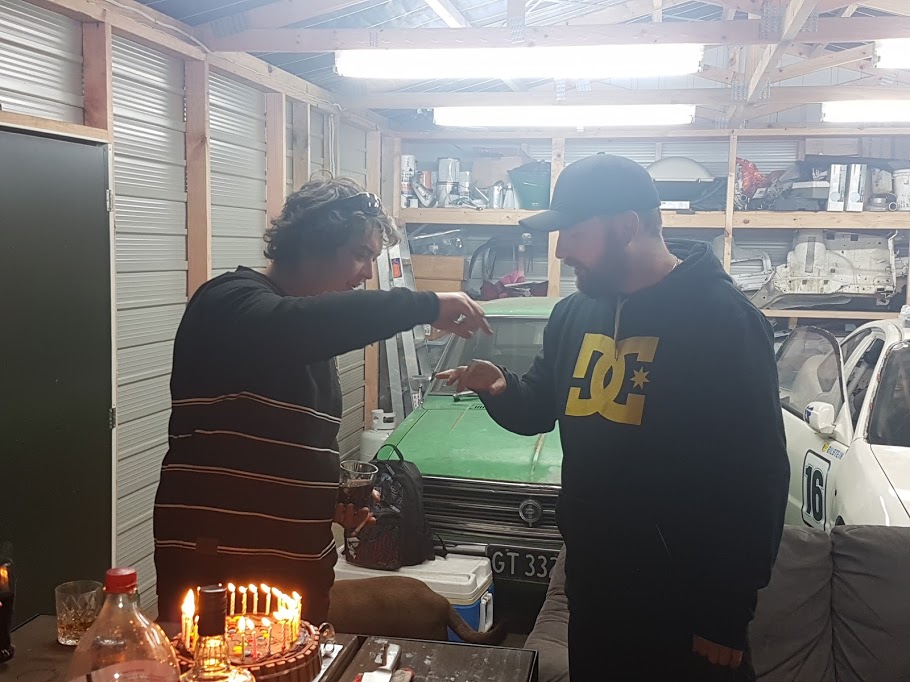
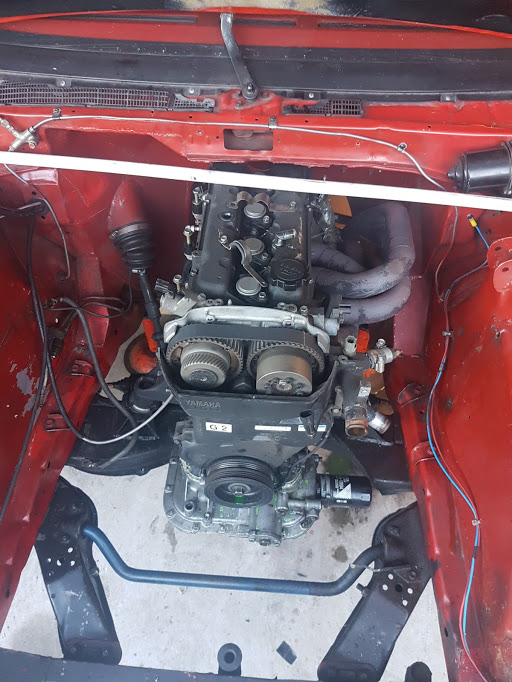
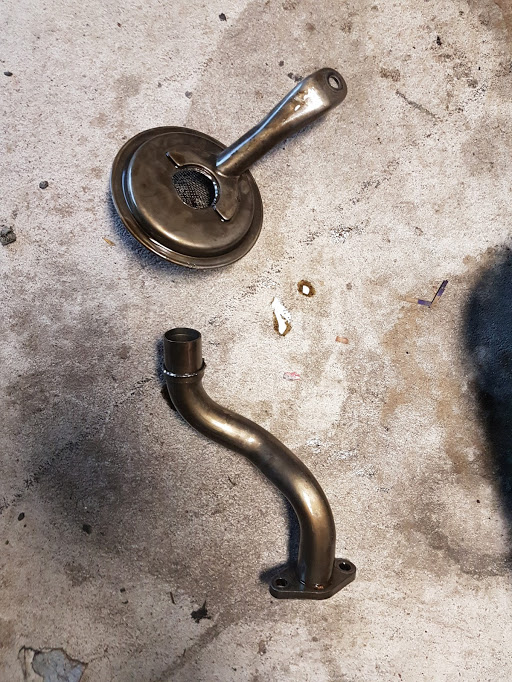
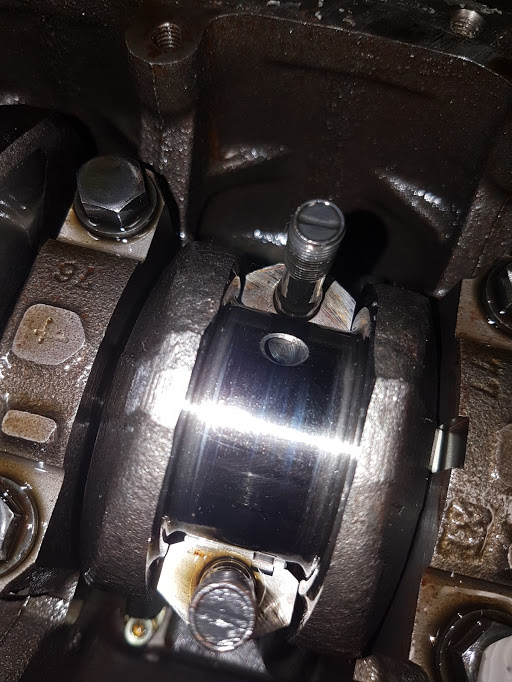
If I could go back and talk to 23 year old Markku I'd give myself a good clip around the ears. There's untold amounts of messy work that I did whilst in a rush, half cut and on a university budget... Credit where credit's due - I managed to go racing with almost no income (thanks Studylink!), but I'm about to pay the price for it now. More on that later... Last Friday after work @Rhyscar, @mark105, @japawagons and I bombed down to Palmy for the weekend to go racing and celebrate a friend's 30th. It's been a while since I last raced this car at Manfeild, so I was pumped for a good weekend. I'm happy with the look of the red bonnet too - in the right light you don't notice that it's a different shade of red... It'll look really good when we re-wrap it with the right colour! Got the car out onto the track on Saturday and it was going REALLY well. It felt peppy and was turning well. The rebuilt front shocks have made a difference! The rear felt OK, but Rhys noticed it was hitting the bump stops on the way out of some corners which was unsettling the rear - big skids ensued! I played with the rear compression settings and it got much better - good bump compliance, good turn and fast corner speeds. It felt faster than ever through the Turn 2 sweeper and was easy to point around the last corner which is a great sign. I still had a few issues with it being a bit twitchy, so now it's time to play with rebound settings and get it dialled in nicely. I left on Saturday pretty happy with the car and was looking forward to Sunday. We headed off to do some drinking with the birthday boy: Started the car on Sunday morning to warm it up and there was a ticking sound. After a bit of revving and diagnosis it became apparent that the noise was big end knock. Bugger! We drained the oil and saw evidence of glitter - Sunday was done before it even started. Turns out I could have had more to drink on Saturday night after all! Pulled the engine out yesterday and dropped the sump to inspect. First thing I noticed was this: And there was some crap in the strainer. Inspected further - all 4 big ends look like this: And all 4 mains look like this: Crank: Took the crank to ST Automotive in Cambridge today to get the crank measured and inspected. Shane said I'd got away with murder! The crank measured up perfectly and there's no grooves. Win! He looked at the big end bearings and told me that the wear didn't look like oil starvation. Most likely cause? Not enough clearance on the bearings. He's suggested that I take the block out to him and he'll get everything right and reassemble it with ACL race bearings. Now that the engine's out I've got a front row seat to see all the terrible panel work I did 5 years ago.... So back to that conversation about 23 year old Markku's bad decisions....
- 194 replies
-
- 13
-
-
-
The answer is more RPM. Got a link to that gear calculator? It looks good.
-
4.778 is ideal for almost any track car with 15" wheels IMO.
-
Sorry, not Ali... it was eBay: http://www.ebay.com/itm/261637087971
-
You can use any regulated charger with an auto cutoff, but not an oldschool one or anything in decalcifying mode. They're designed to charge from a normal alternator circuit, so delivering ~14v to the terminals is absolutely fine. My Shorai has a little charge Port that allows for cell conditioning but you have to buy a special charger to do it. My neighbour bought another brand from AliExpress for his K24A Integra an he uses it daily. It was far cheaper than mine and seems to work mint - I'll see if he has a link to it.
-
Close ratio and 4.778 sounds like a good combo! The Kia crownwheel trick is interesting too - it's the first I've heard of it. Do you use an NB housing or does it still fit the NA?
-
Looking good! I highly recommend spending a bit more on a battery and going to an LiFePo4. They are amazing. I've left mine for over a year and it still turned the car over without a worry. Make sure you isolate it completely when not in use though - I always remove the earth when the car gets back to the garage.
-
Eastcapescapade November 24,25,26 - 2017
Truenotch replied to johnnyfive's topic in Upper North Island Region
Nice. Anything wouldn't seem to out of place on one of these?
-
Eastcapescapade November 24,25,26 - 2017
Truenotch replied to johnnyfive's topic in Upper North Island Region
I've also got a few bits and bikes in bits around the place... We could possibly piece another couple together. Biggest issue will be getting registration sorted.