NickJ
-
Posts
3405 -
Joined
-
Last visited
-
Days Won
1
Everything posted by NickJ
-
There is some pretty cool background math around auditing that unless you have a post-grad statistics degree, you're better off being honest in WOFs rather than thinking you can beat 'The Man' with the occasional light bulb/washer jet.
-
I really hope your day job rewards you well for your trouble shooting and documentation skills? Applying a basic but definitive process to a new problem set and proving the underlying fault is surprisingly rare not to mention looping back to prove the proposed solution returned the desired result. I enjoy reading such posts, keep it up!
-
Buy standard mirror (non-toughened) and waterjet cut to shape. I have used our waterjet to cut glass of all sizes so don't see why this wouldn't work.
-
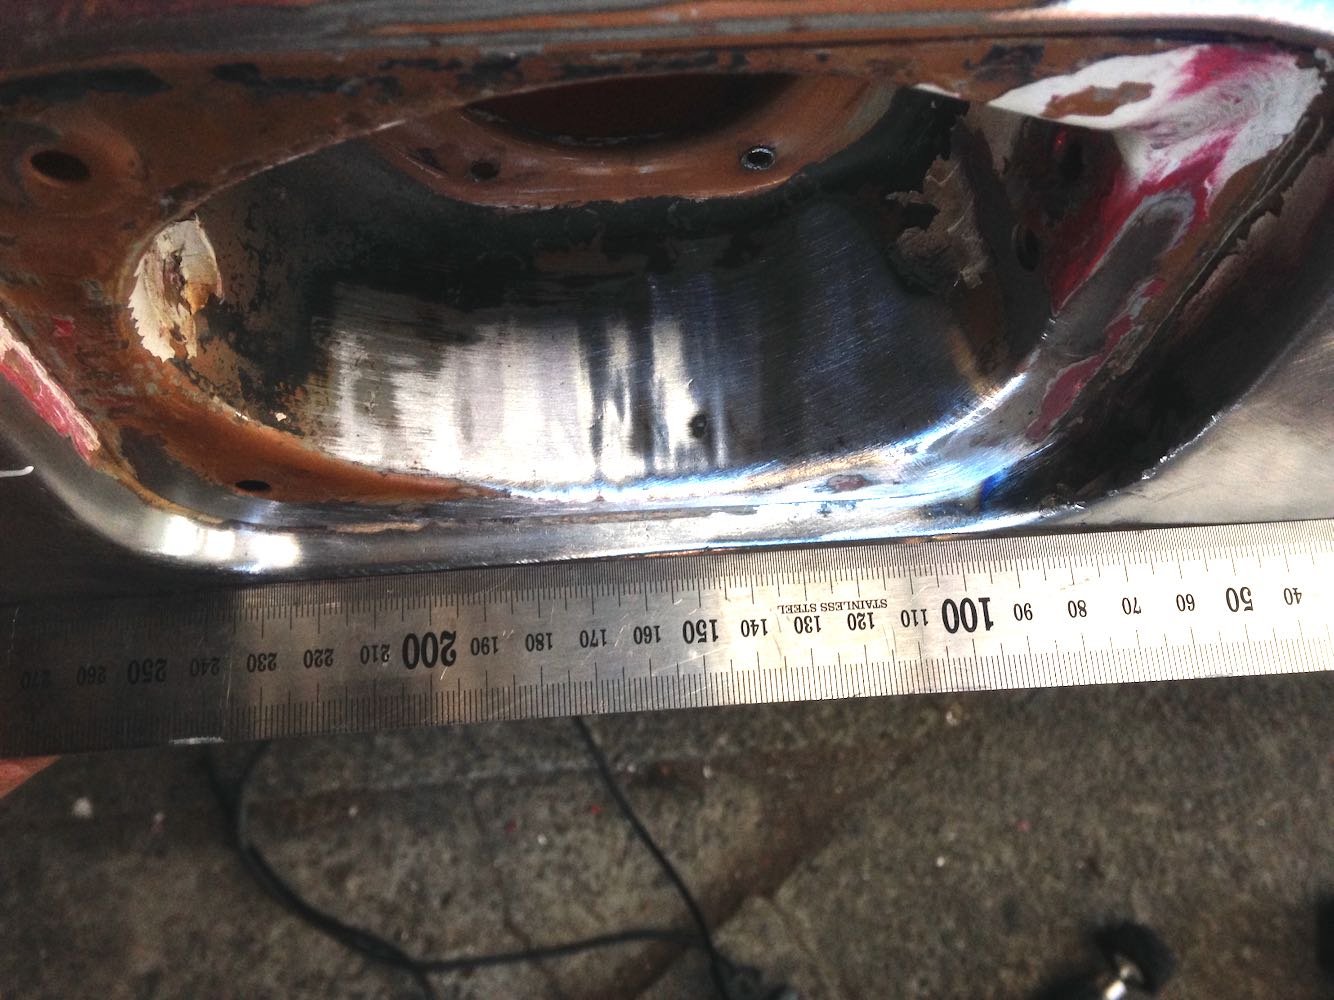
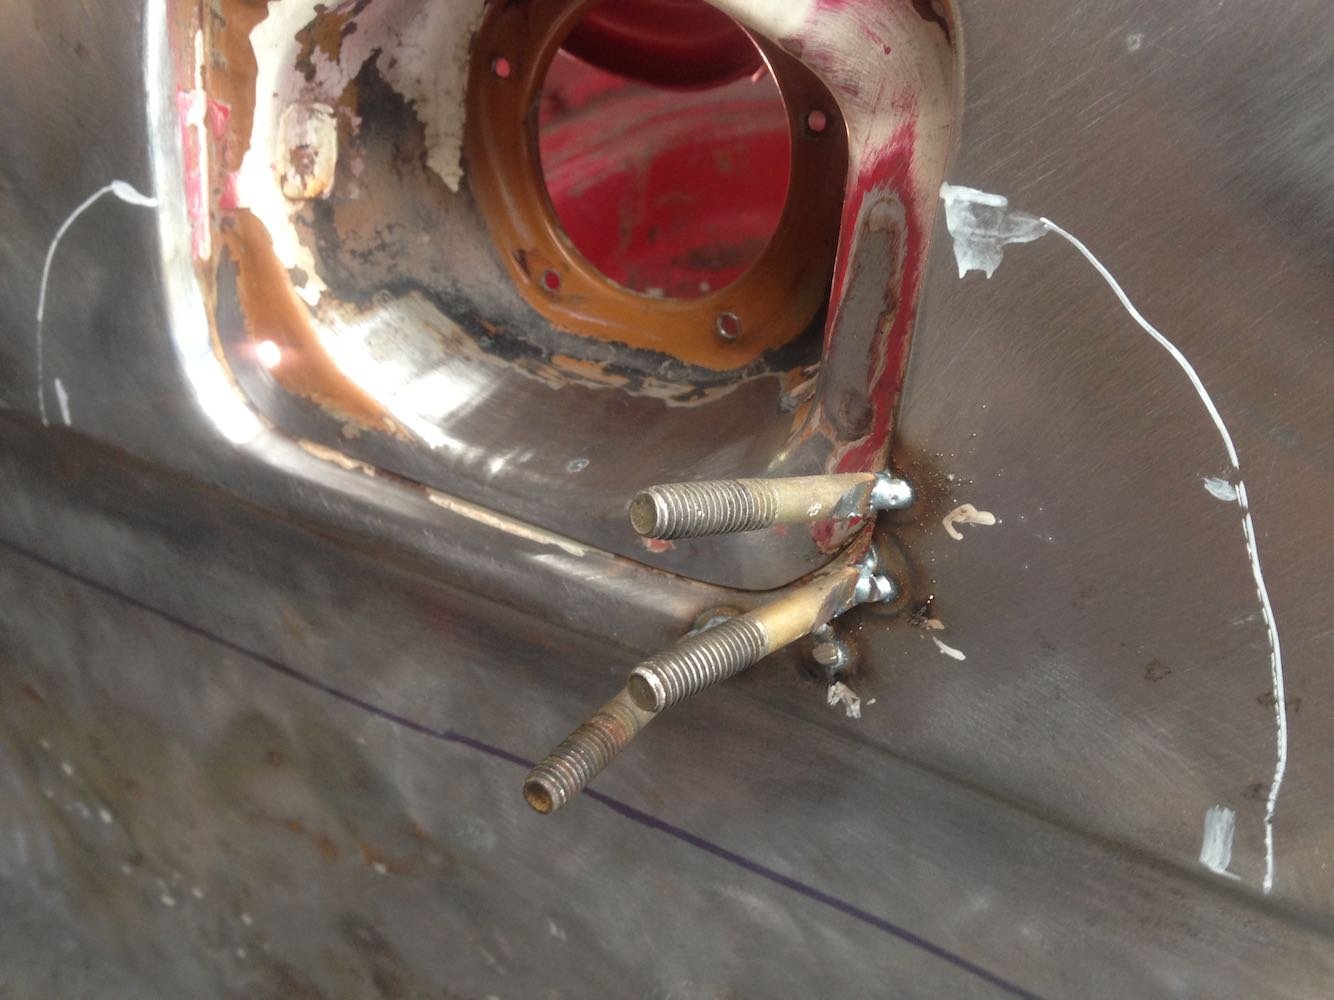
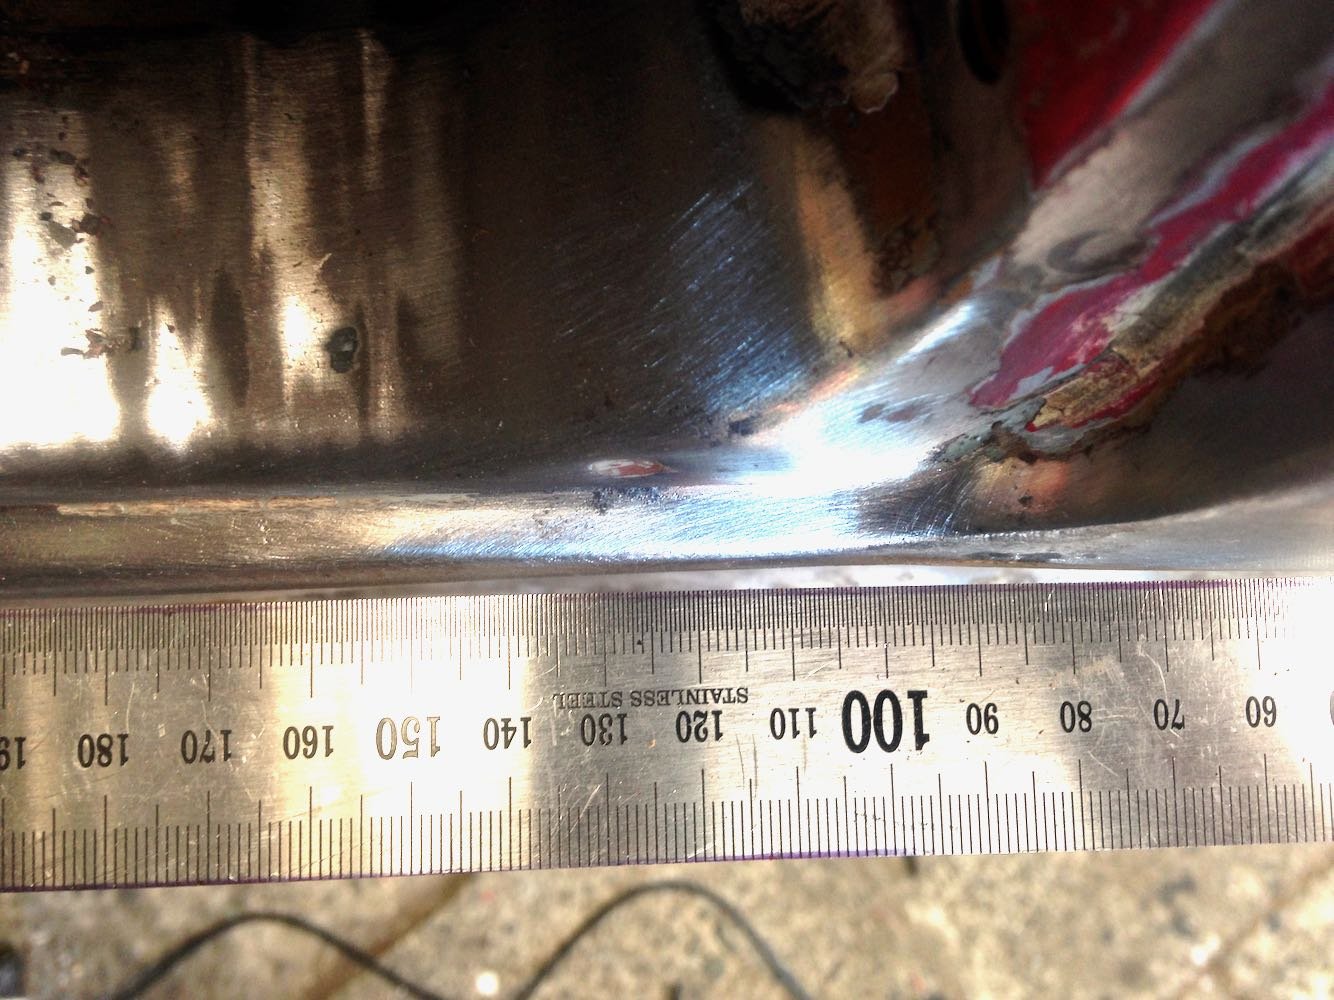
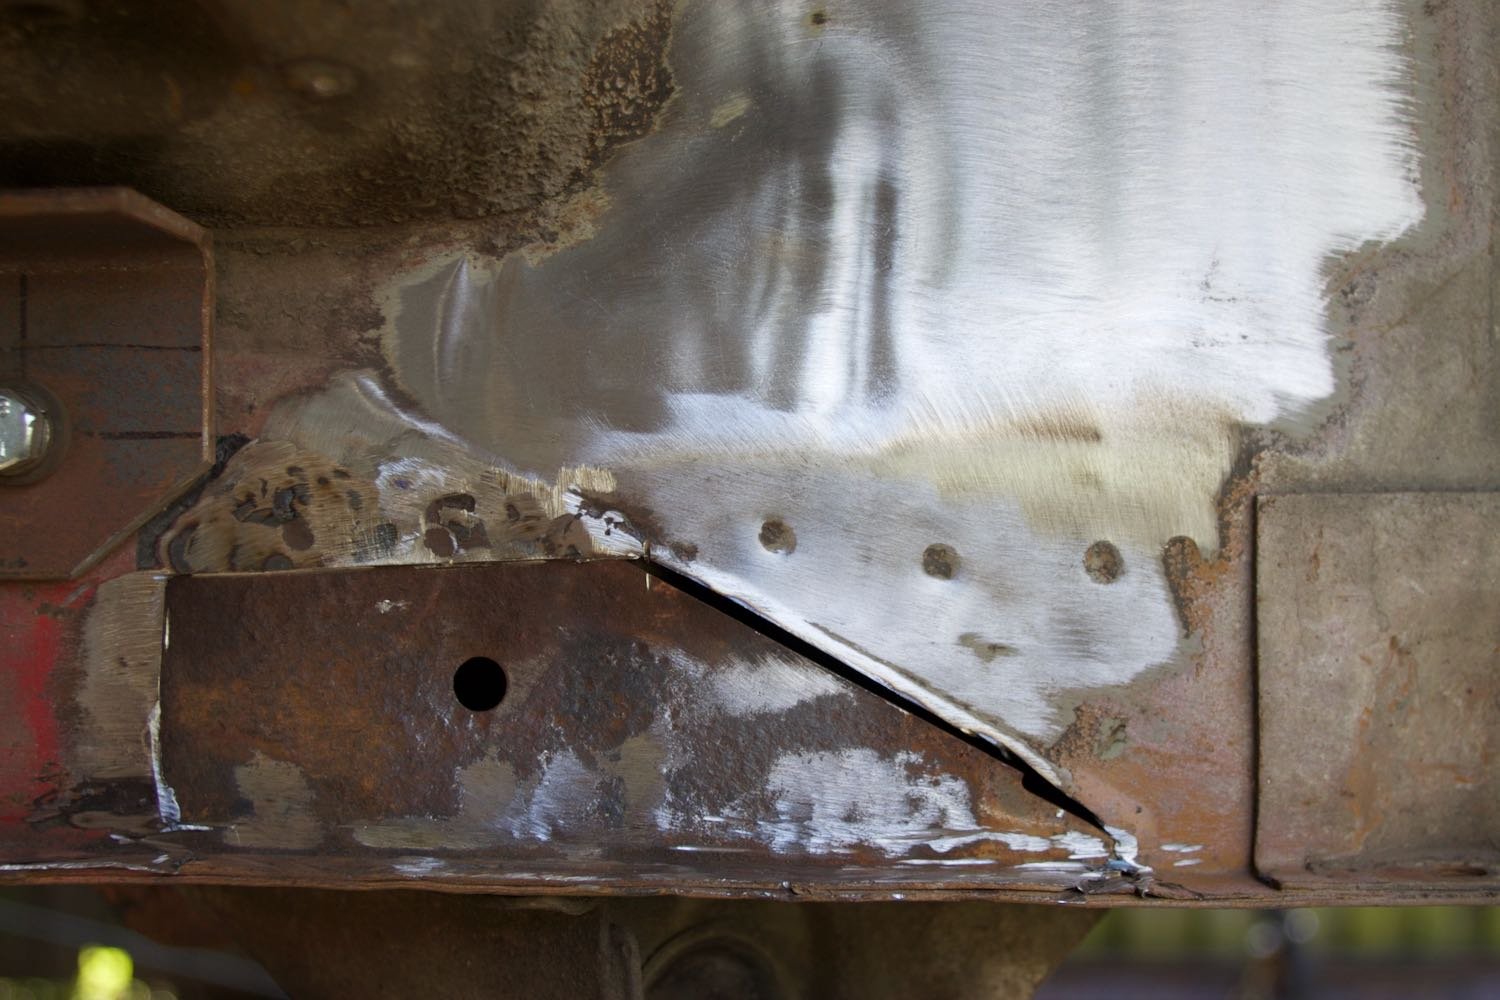
Lockdown mk2..... But this time I have a project car and supplies, could do with a bit more paint and some specific consumables, but on the whole, I have plenty of tasks to carry on with. Cut a small rust spot out of the front panel only to find nasty muck hiding behind, only way to sort this is to hack it right off, clean out the cavity, paint and back together, only I have no paint. Patch panel is however folded up ready to go once the shops reopen. Passenger footwell, bit of a pain folding this one, but many hammers and vicegrips got it there in the end. Drivers side, near identical... So much symmetry in this car! Much larger patch required and i've run out of 1mm to make it, will have to wait In tech-spam I enquired about straightening the driver's rear quarter, on the good advice of @nzstato I looked into removing the panel to bash off car, only to find it appears the factory used lead/braze to smooth out the gap at the base of the rear screen. Not wanting to hack the panel off in a very visible spot I set about seeing what I could achieve in place... First, pull the fuel filler back into line Leading edge it about 5mm recessed Marking the dented area I tacked some modified M8 fasteners to attach my slide hammer and gently pulled Fail-ish The panel is uber thin where I tacked on and after careful tapping I got there but with a few tears in the sheetmetal, filled them in but may go back and replace it with thicker material later on. Filler cap in roughly a better spot I went over the swageline with a straight edge working out where it was and how it managed to remove itself, using a lump of rimu as a longer dolly I gently tapped a few high spots and much to my surprise it came out from hiding! Thinking I was dreaming I sprayed a quick layer of etch on and sure enough, I found a swageline! Still needs some work under the filler cap but I think this needs some more thinking, appears the panel needs shrinking and that is not a skillset I have mastered just yet so will practice elsewhere and get back to it later on. Also cut out the rot in the lower guard, plenty of dust behind, will be good to get in here painted prior to sealing up. Have started attacking the boot area, what looked promising is now not so, easiest option is to cut out half the floor and replace, with no suitable material to put in there I will wait until after lockdown before digging deeper.

- 53 replies
-
- 27
-

-

-
Think I have the same model thicknesser, no plastic all steel? near put my back out when picking it up, even paid a similar price! Has power to burn, if it fits in the gate, it get chomped, even rimu! Buy one yetch, I knew I needed one for making the benchtops, but has been so handy for tidying up timber and odd jobs that would easily have justified buying a good expensive one.
-
Jacked up a corner of the girlfriend's Passat to figure out how to do an oil change and the small windscreen crack turned to a spider's web. Thats when I realised the mechanic can have my $$$, the only thing I will turn on that car is the heater control.
- 6163 replies
-
- 12
-
-

-

-
Lame, appears my workshop interwebs is not quite Zoom quality tonight, was gunna treat you all to a drunk guy stripping paint
-
Yeah, plenty of time, although I do have a bit more spare now! Once these shenanigans are over, pop round for a beer
-
I would totally be surprised if it didn't. I removed a panel from the Defender that needed touching up, was so much easier having full access to both sides with nothing in the way. Best to point out that i'm not looking for the shortest path to having the Datsun looking good again, i'm looking for the most enjoyable path where I get to learn stuff. If we can hold religious meetings under L4 you're welcome to visit and read me a sermon from the book of hammers @JustHarry
-
So obvious, give that man a cigar! I will have a closer look and see how it is all stitched in...
-
I will quit my job and complete a 5 year panelbeating apprenticeship if it saves me one day of sanding bog, this is the extent of my hatred towards that satanic dust
-
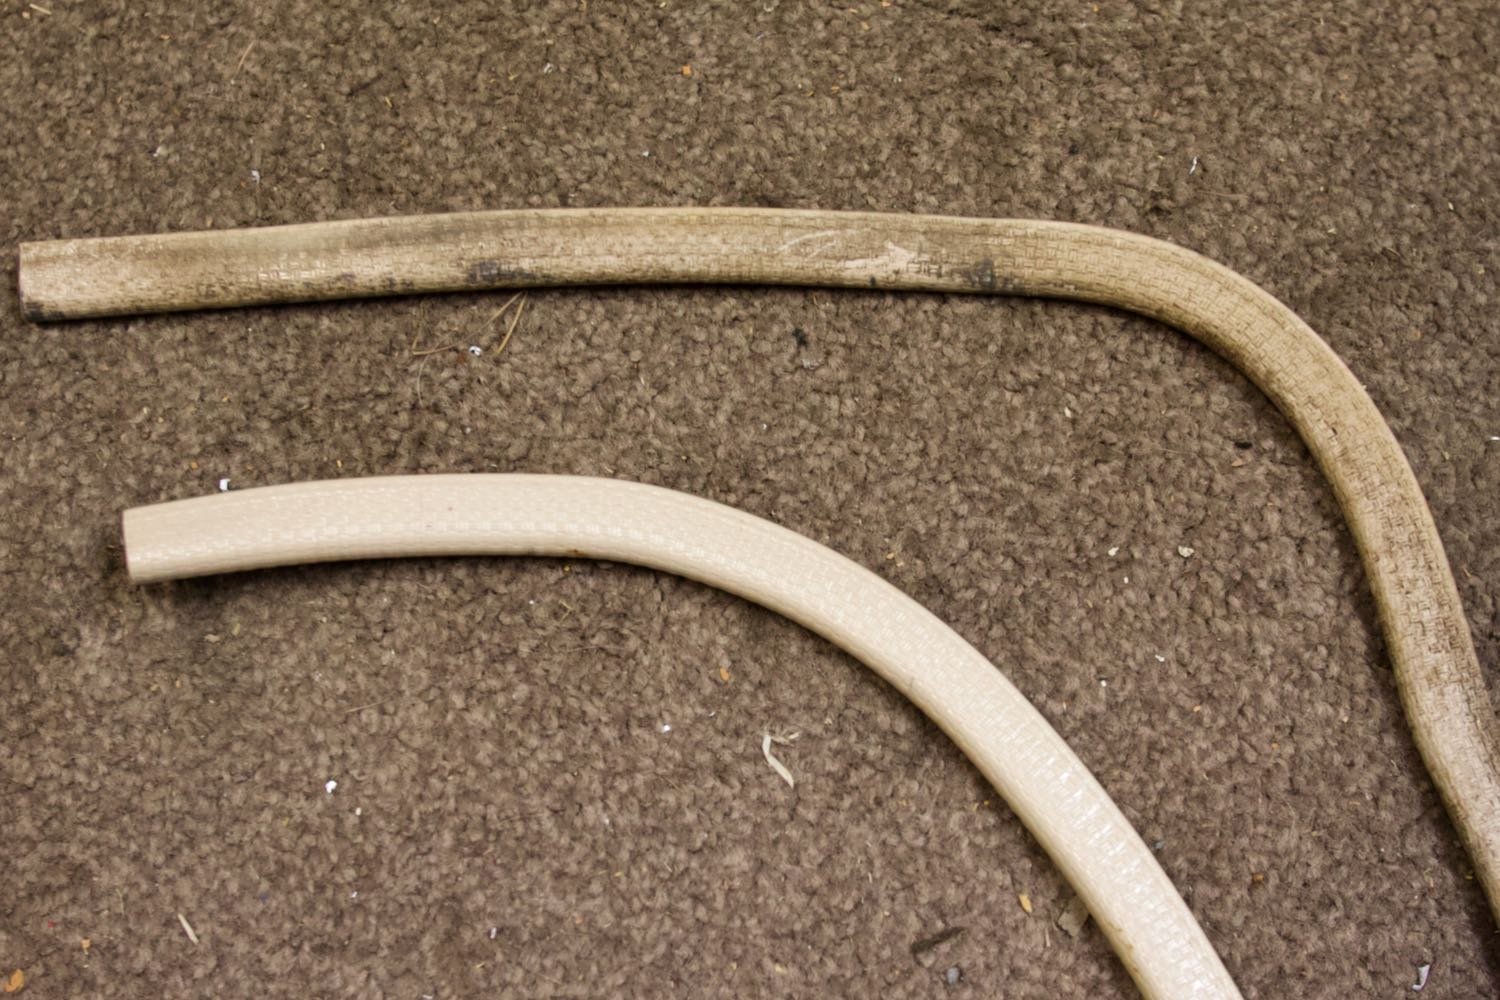
Actually not in the worst shape rust wise, just s small strip at the bottom, the arch is pretty munted, but again, fairly simple geometry to patch up. new panels are available, just at $650usd and the state of shipping right now, i'll give this a few taps before admitting defeat! I have some rimu offcuts, i'll see if any are about right, thanks for the strategy!
-
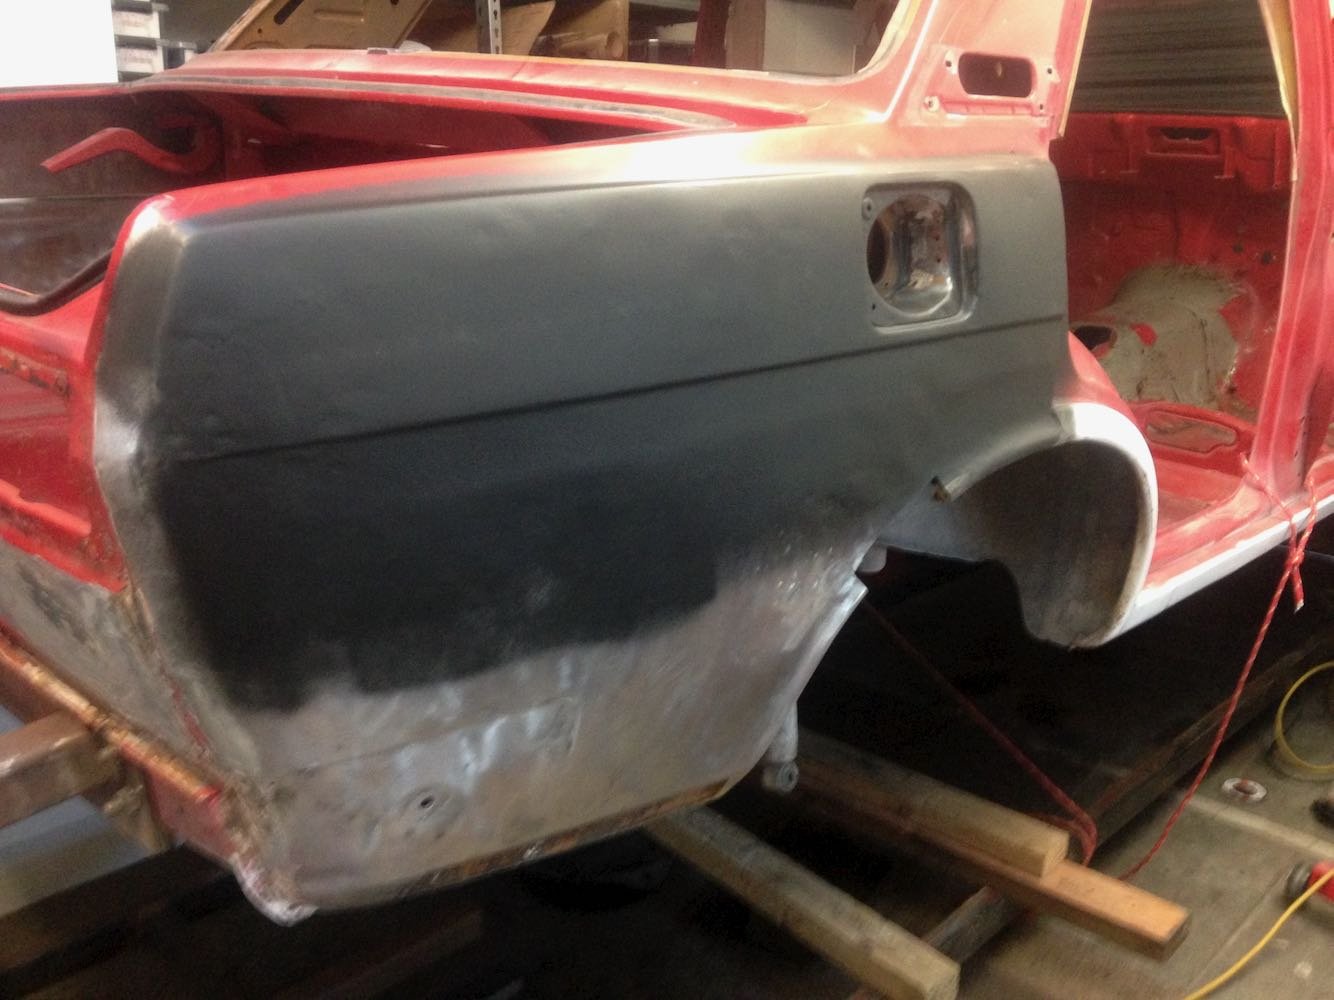
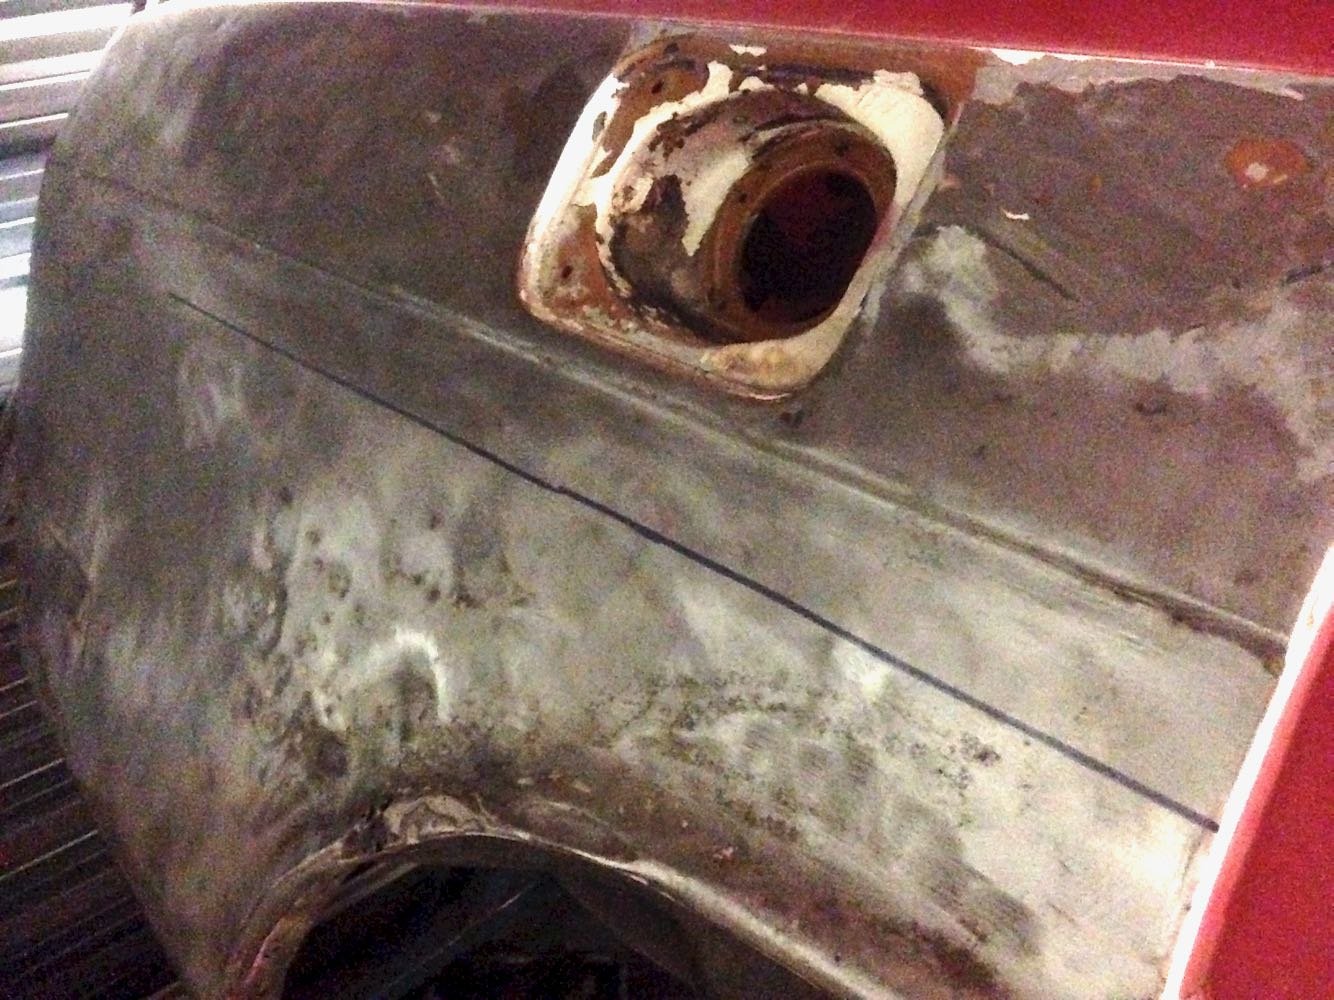
Who can share some magic? Trying to figure out how to address this panel, has lost all its shape and needs plenty of tapping back, mainly from being beaten back to pack in another tin of bog. While i'm sure I can get it to require far less, how do I go about getting the crease that should be about where the black line is back? My current thought is to address everything else and it should naturally come back, or to I address is specifically somehow then tidy up the edges? Total panel beating noob but keen to learn, worst case i order a replacement panel.
-
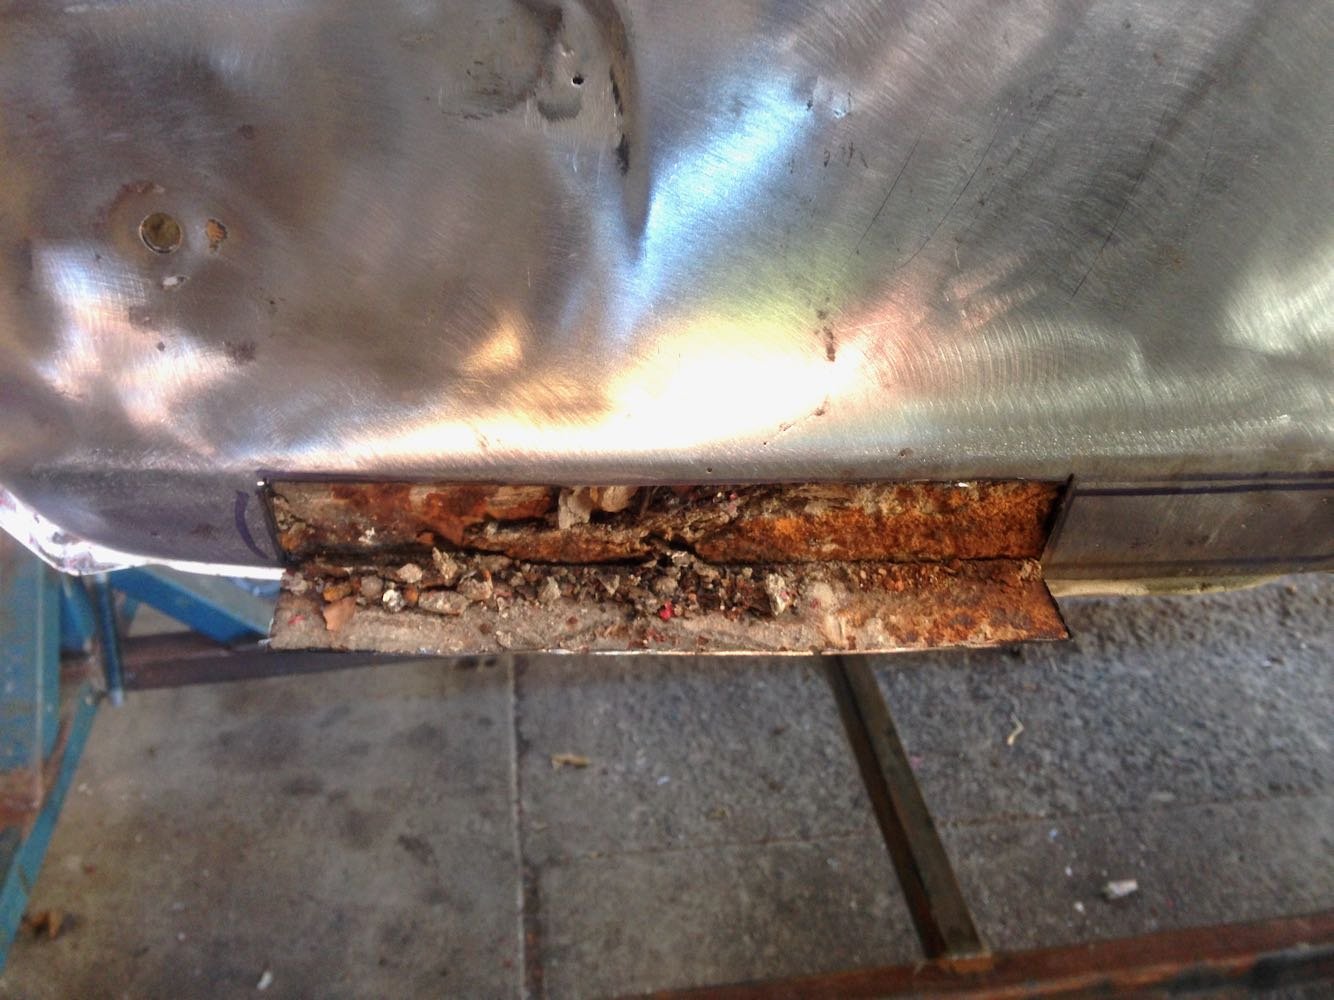
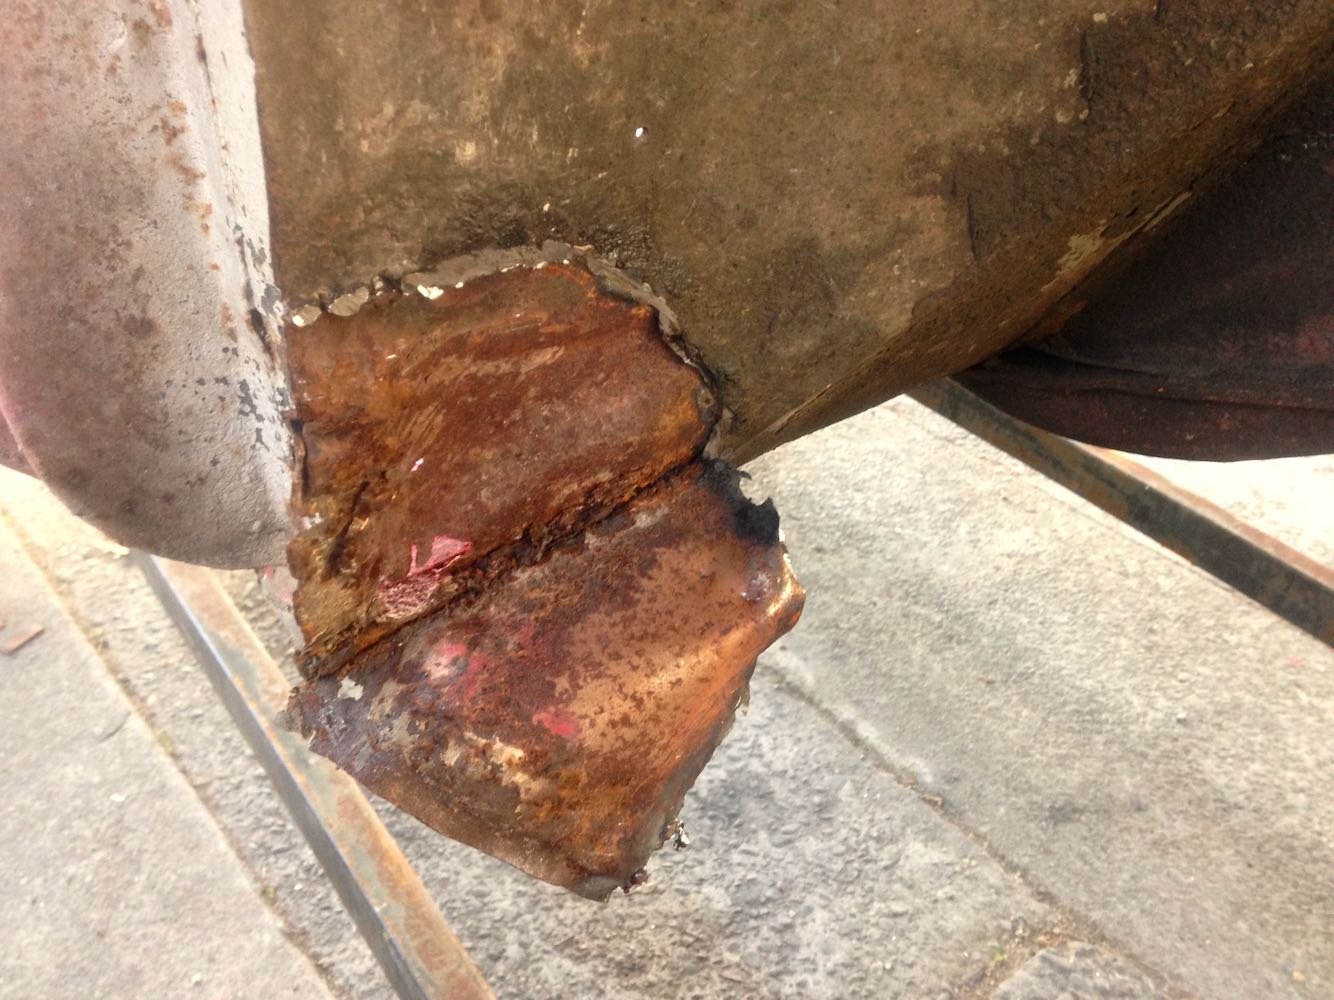
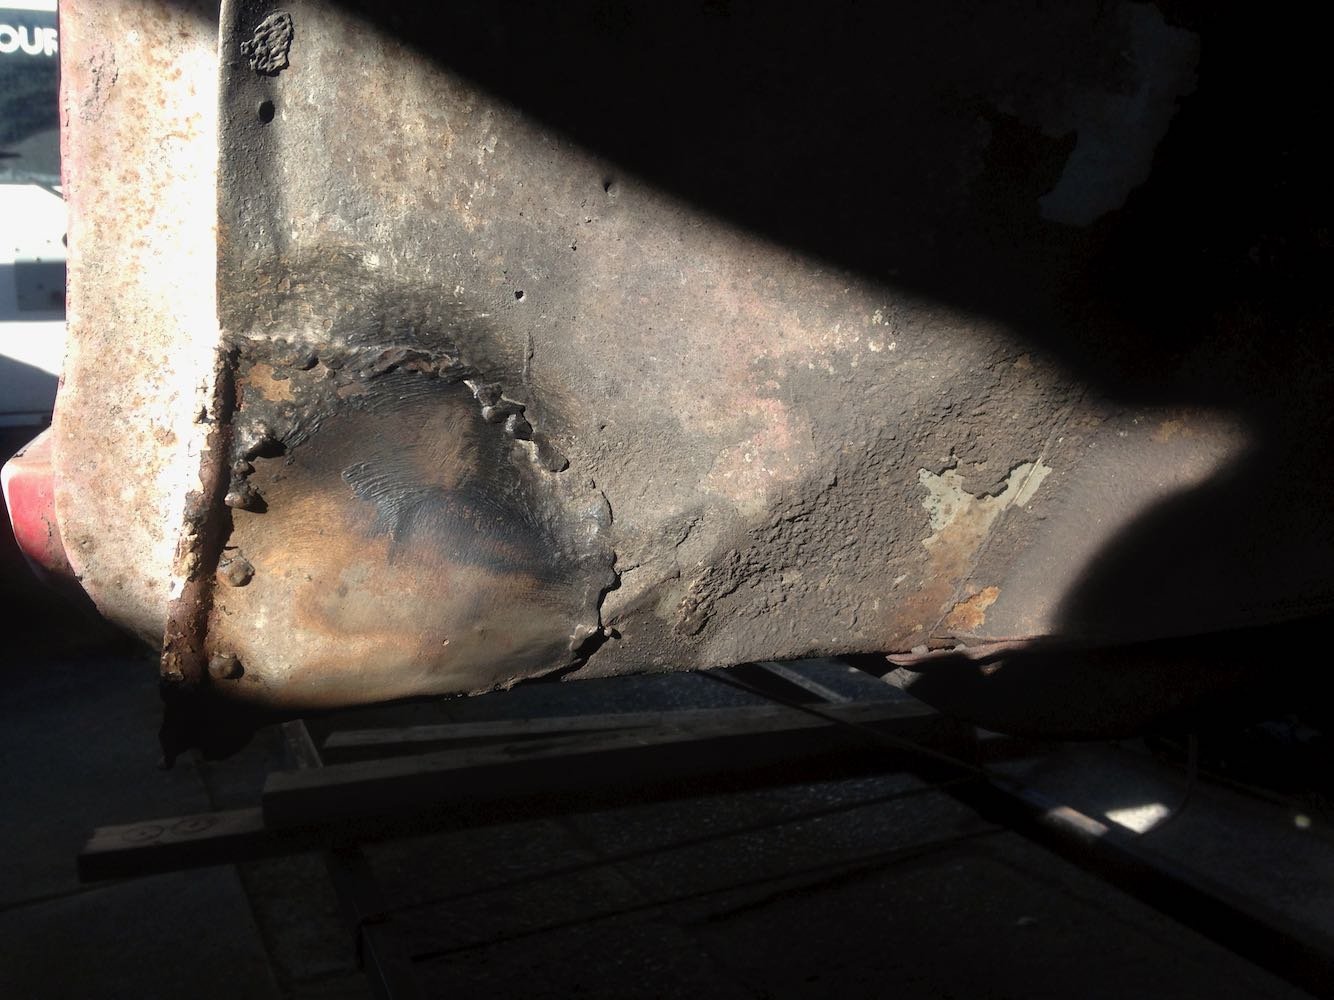
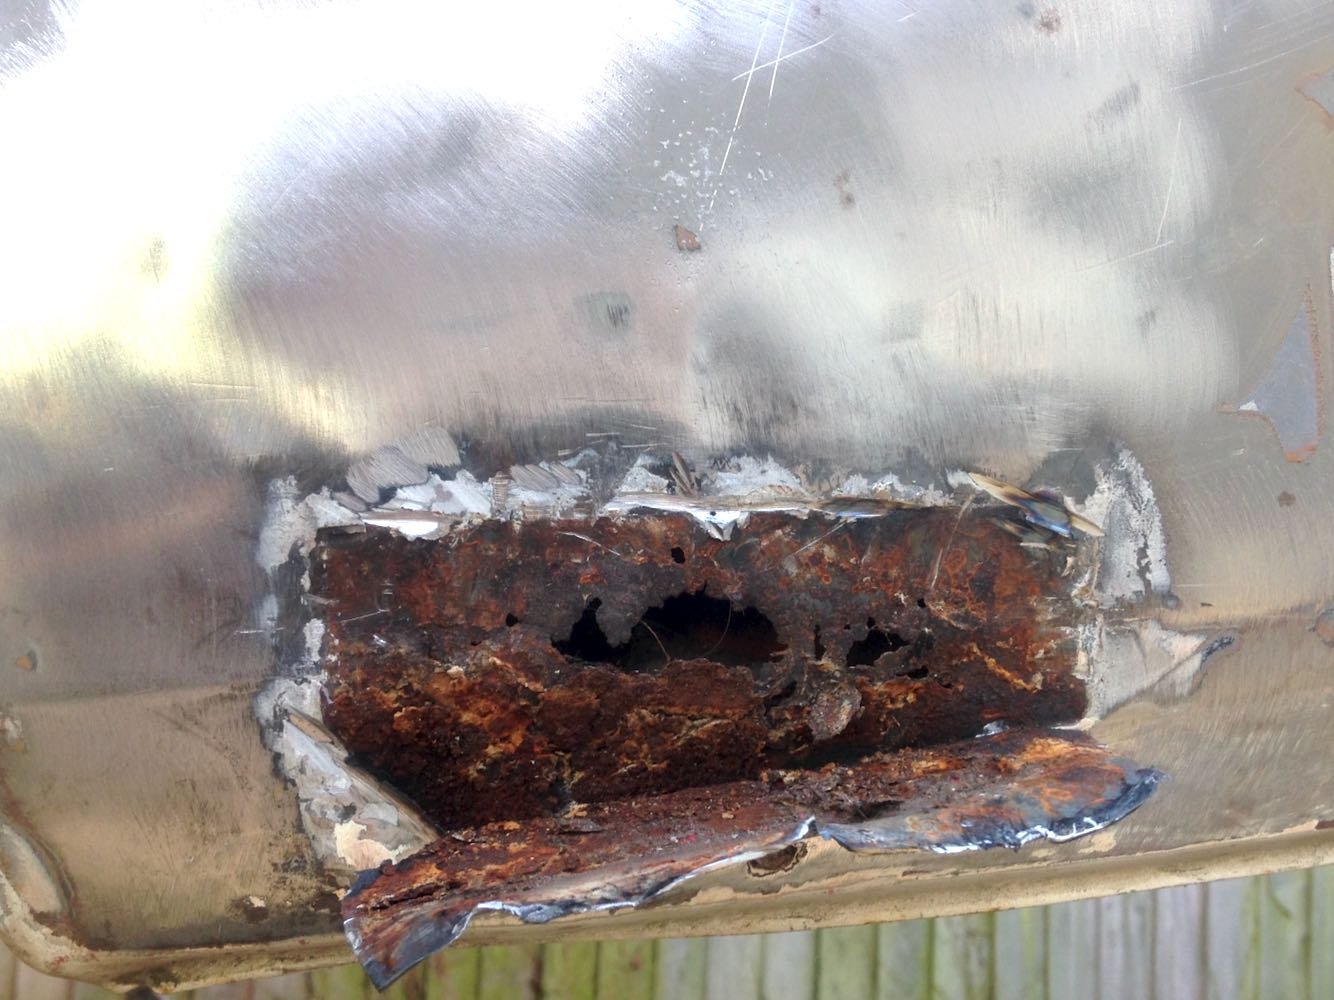
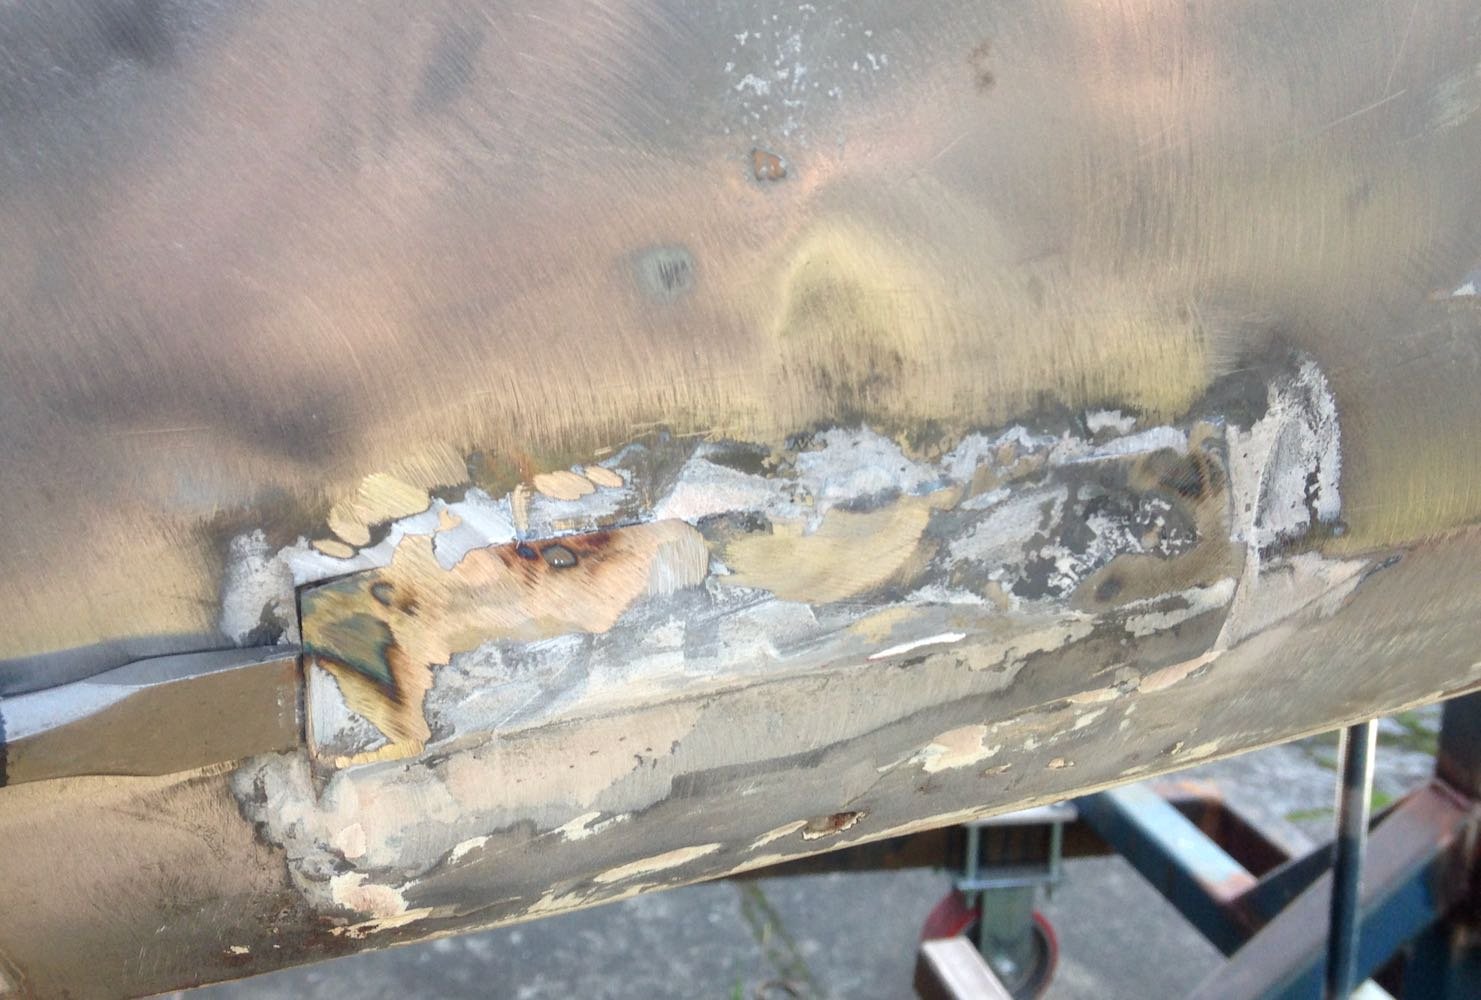
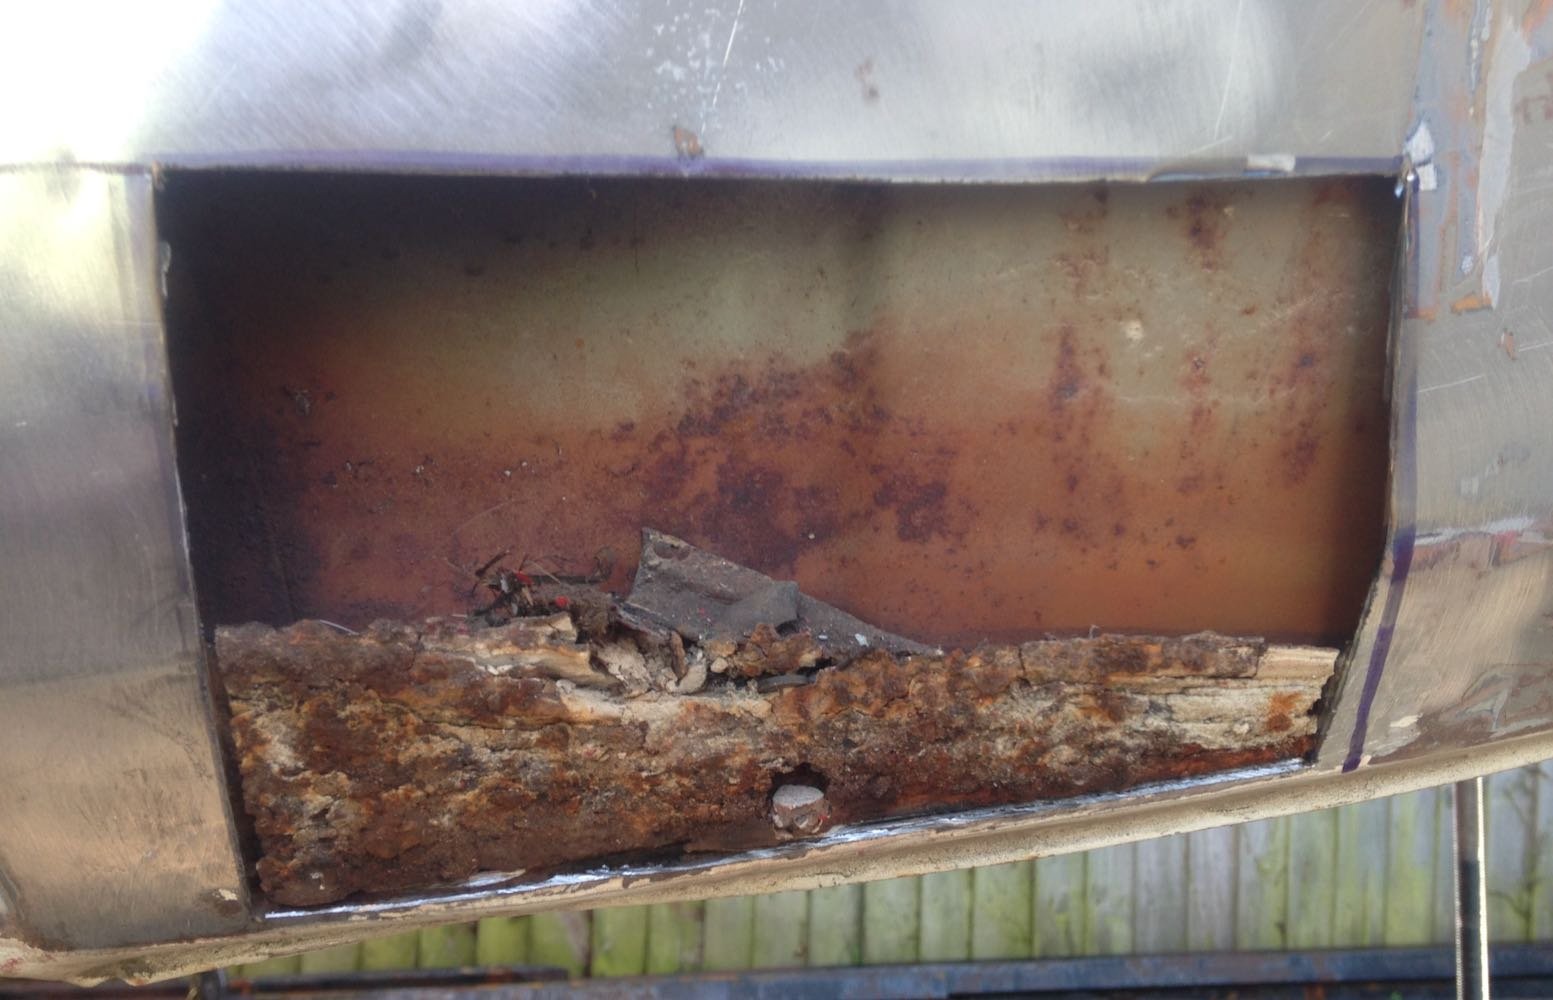
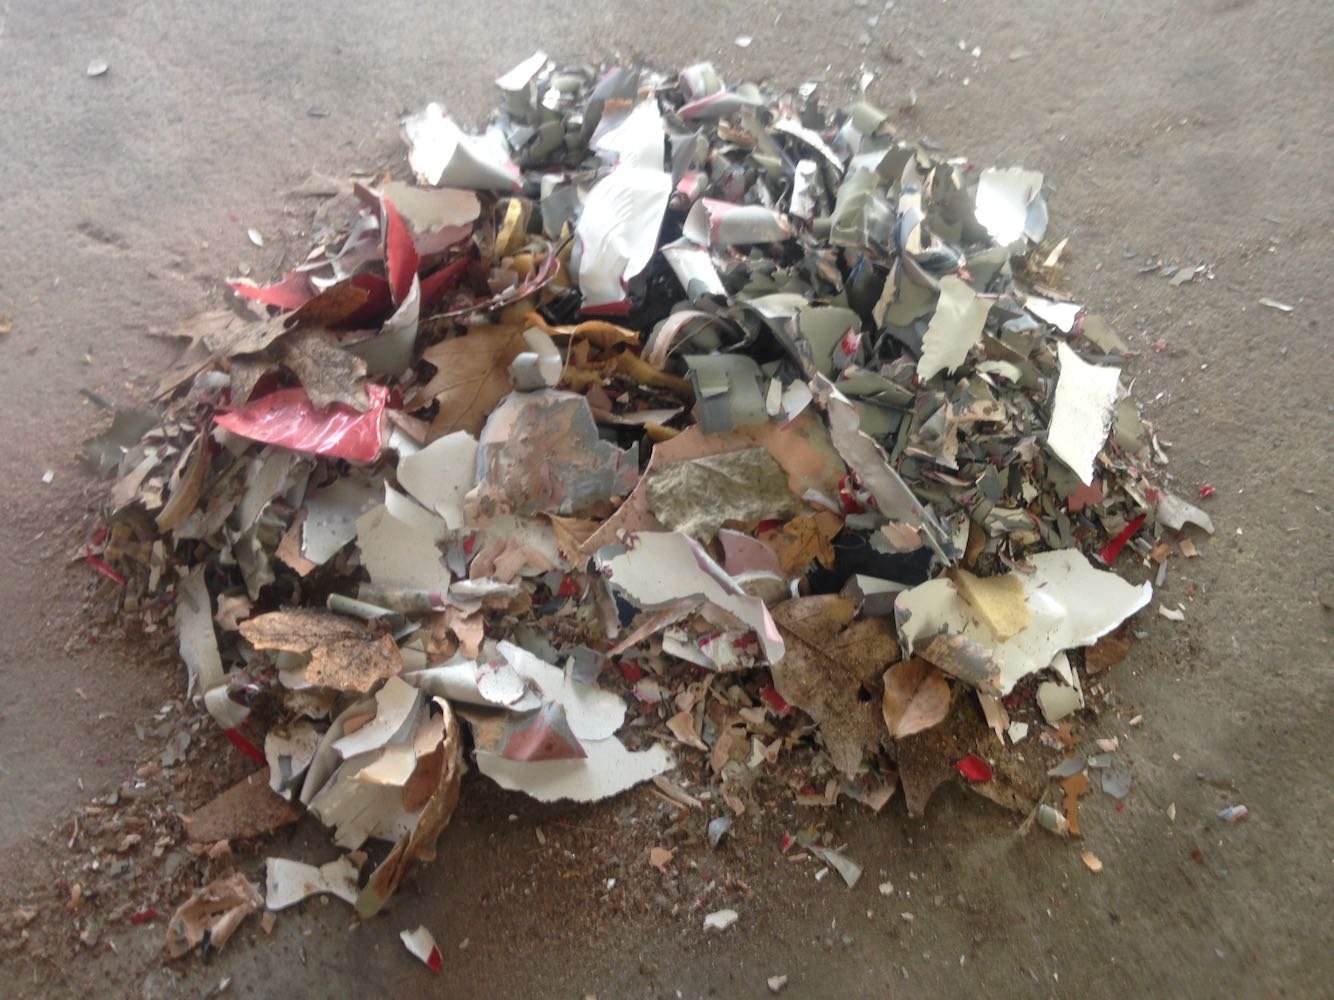
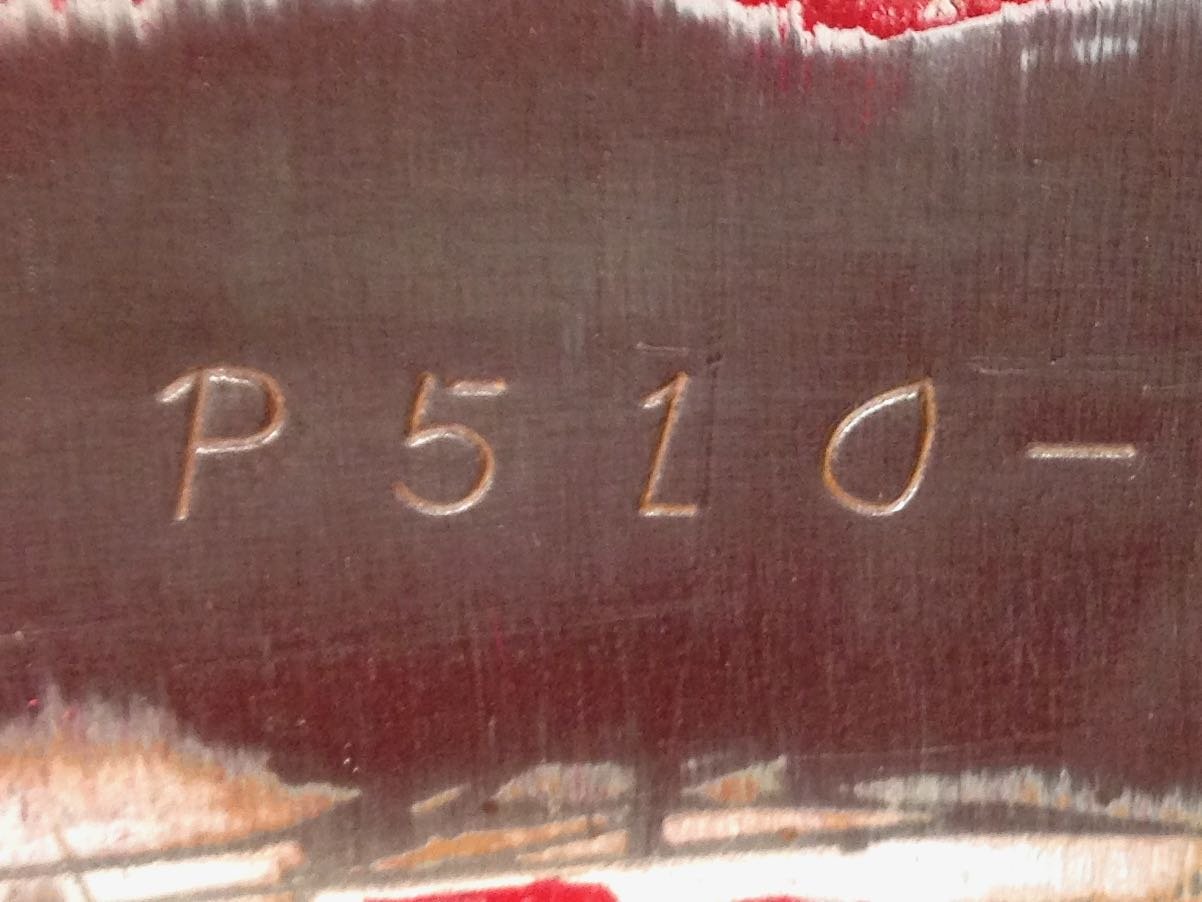
What a day, woke to no wind and blue skies, perfect for getting out and welding up some rust! GC @Bling dropped some panel steel off at my door last week, no excuses/time to rip into it. First on the list was a small innocent patch under the front arch, tore into it with the grinder only to find the reason why it has a similar one on the other side. Factory hole allowing moisture to get behind the layers. Fuuurkkkk, only way to do this right is to take off the rotisserie, peel back the entire skin and treat underlying rust before placing the actual patch. Not to worry, i'll get that at a later date, lets shift attention to something more achievable for the day, the small ripple in the rear guard. Ripping back the paint, what do we find? A text book 90s example of patch&bog.. Whats behind door #1? Hooray, Grot! Open wide... Not really all bad, cleaned out ok, went to grab my tin of weld through primer but nope, not today, just a can of copper gasket spray, dicks, no more patching this weekend. Carried on with paint stripping and seeing if I can better the dodge repairs but thankfully only came up with a pile of composites Figured i'd have a hit at the engine bay, starting with the serial # Back when my father used this body to re-shell a race car he bogged over the serial for obvious reasons, with the car returned to it's original true identity, it was left covered as nothing short of a decent full bay respray would have caused further legitimacy questions. This has been of great entertainment for me at car shows, many Barry has inspected the engine bay, ticking off the obligatory SSS factory parts before crossing arms and proudly stating "hah! no firewall number, its been re-shelled mate, you've been ripped off" before walking away chest puffed and pleased to have rained on someone's parade. Here it is, proudly back in the daylight matching both body tag and rego papers.
- 53 replies
-
- 25
-
-
-
-
Long since forgotten the exact supplier, we used to get them from a heavy diesel type joint for slapping on hydraulic oil tanks.
-
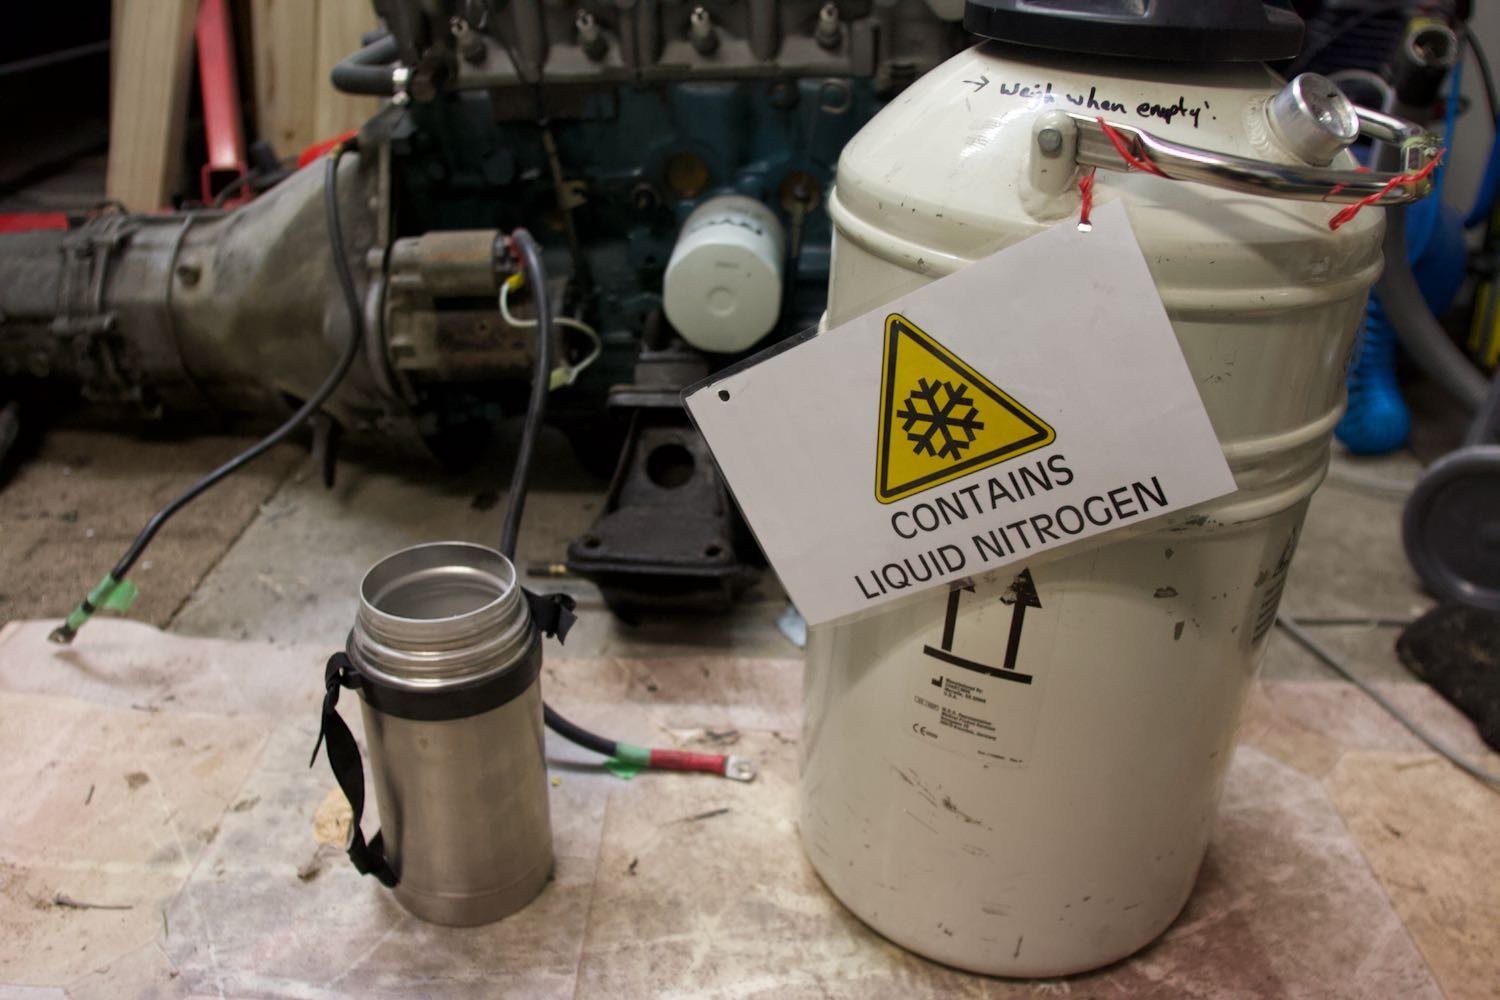
Acetone is likely the better choice, I was nervous the Leidenfrost effect would make LN2 ineffective as it prevents serious liquid cooling of anything at room temp if you can't fully submerse it. The way it worked so well I actually wonder if a bag of frozen peas would have been just as good!
-
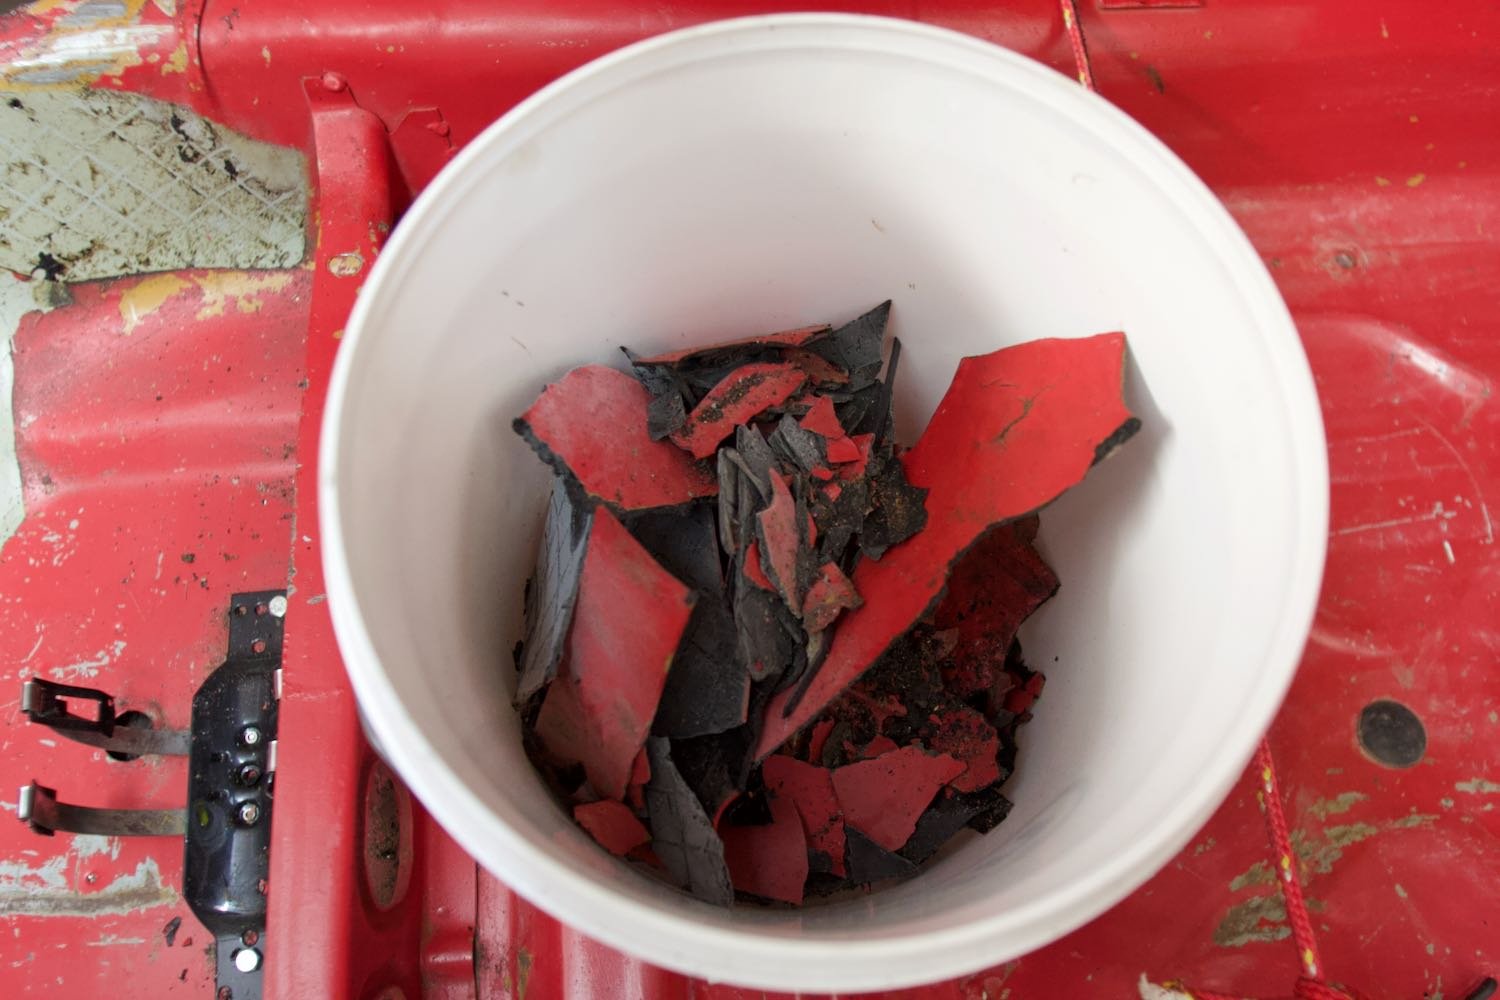
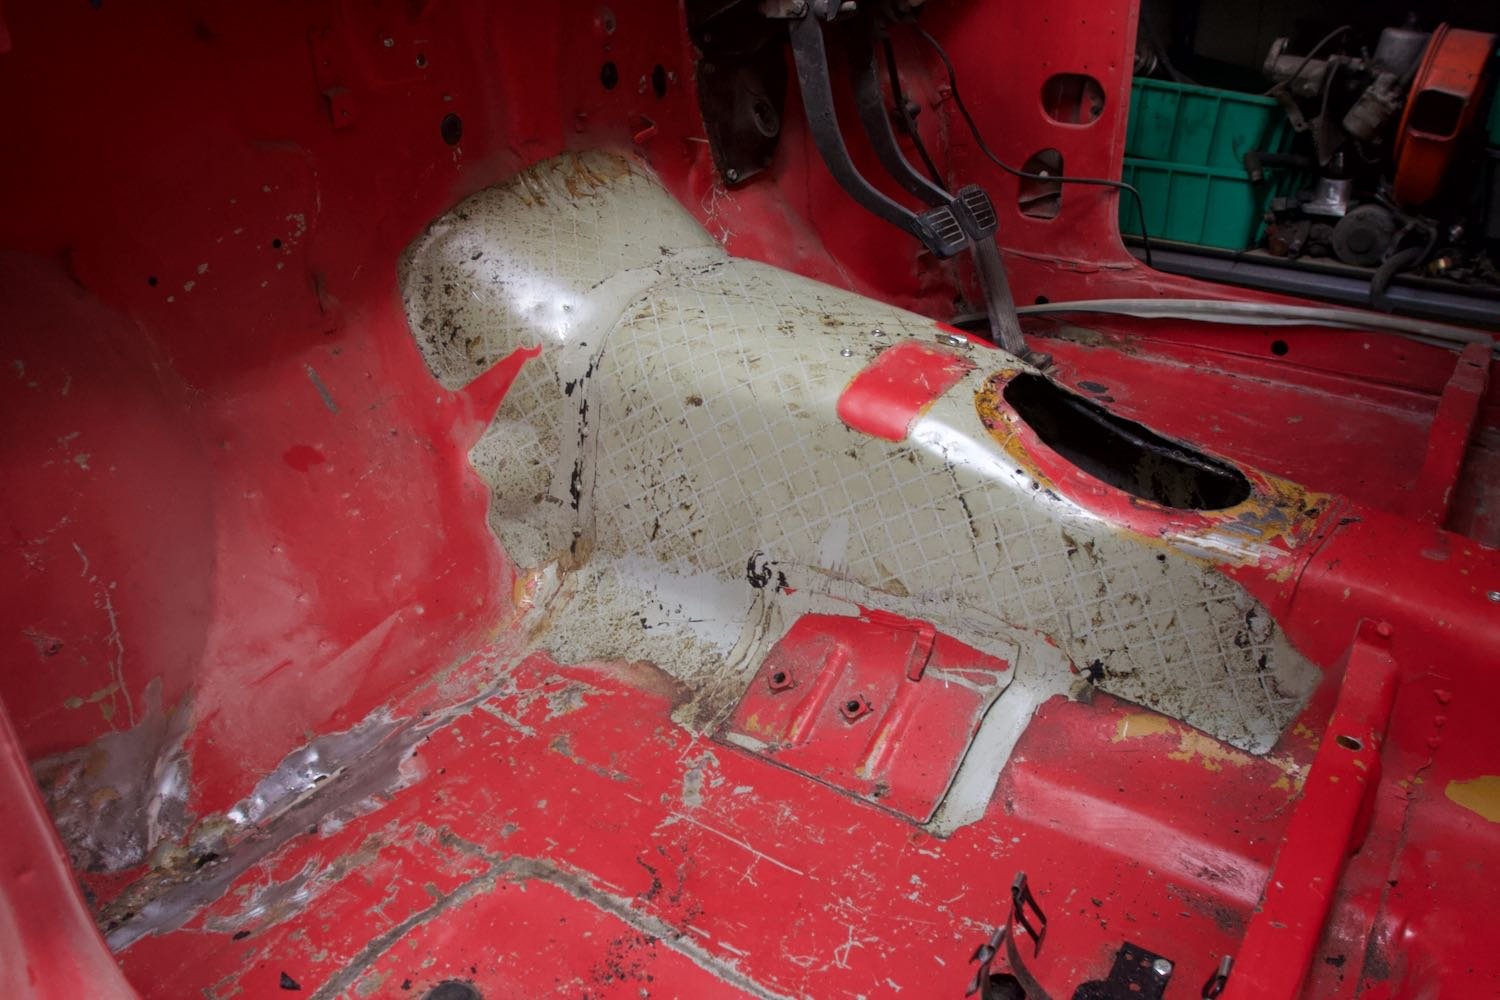
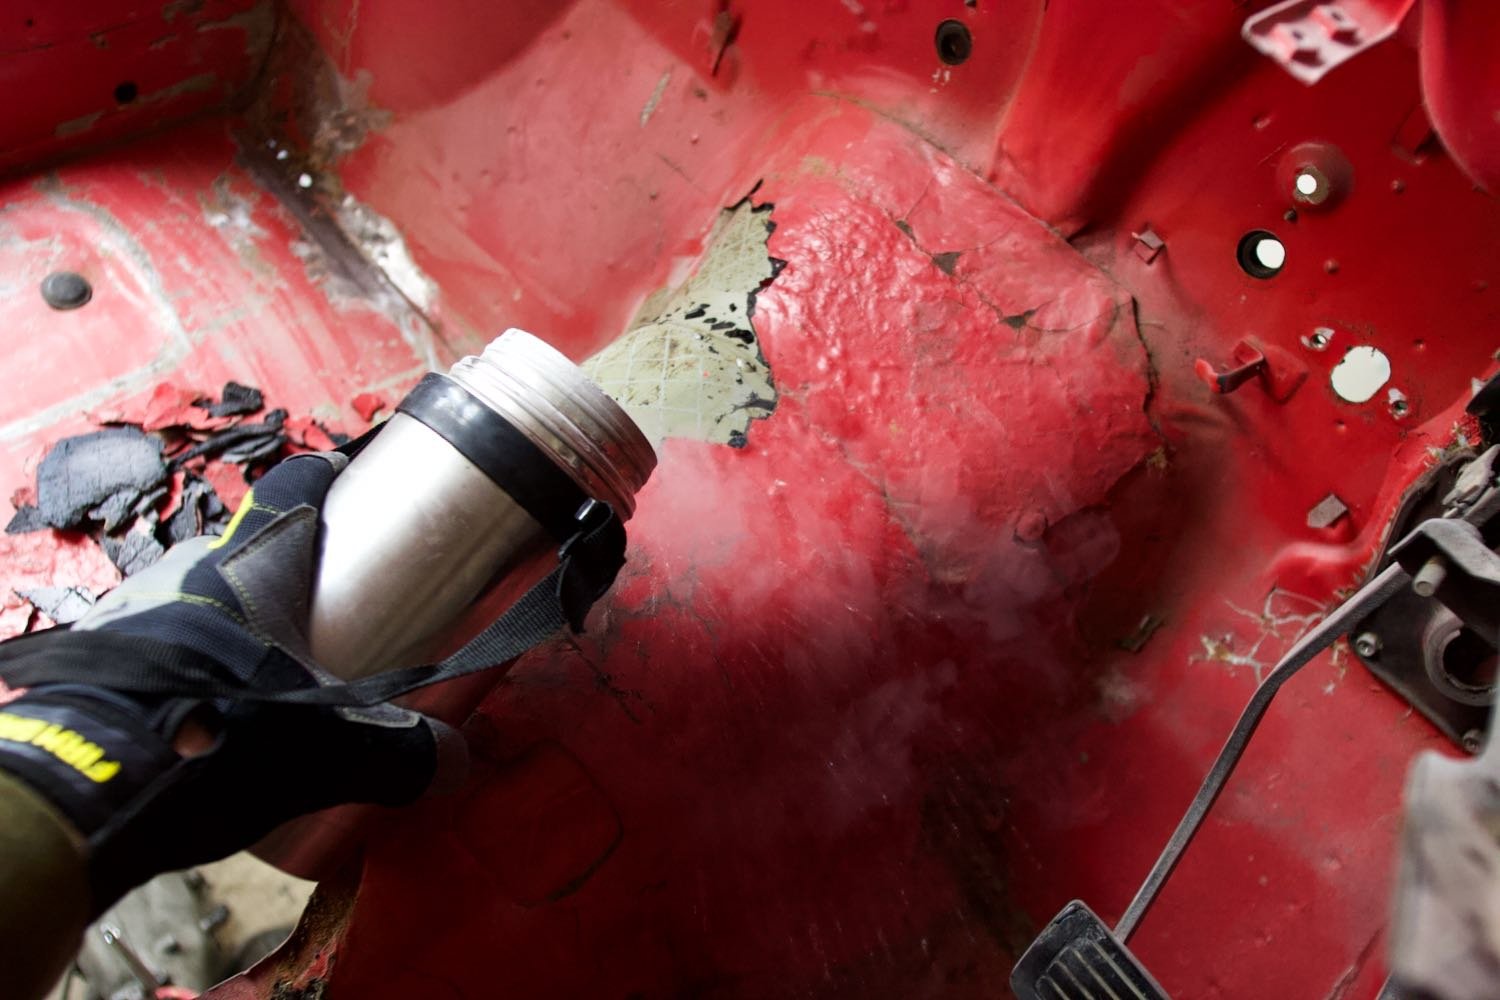
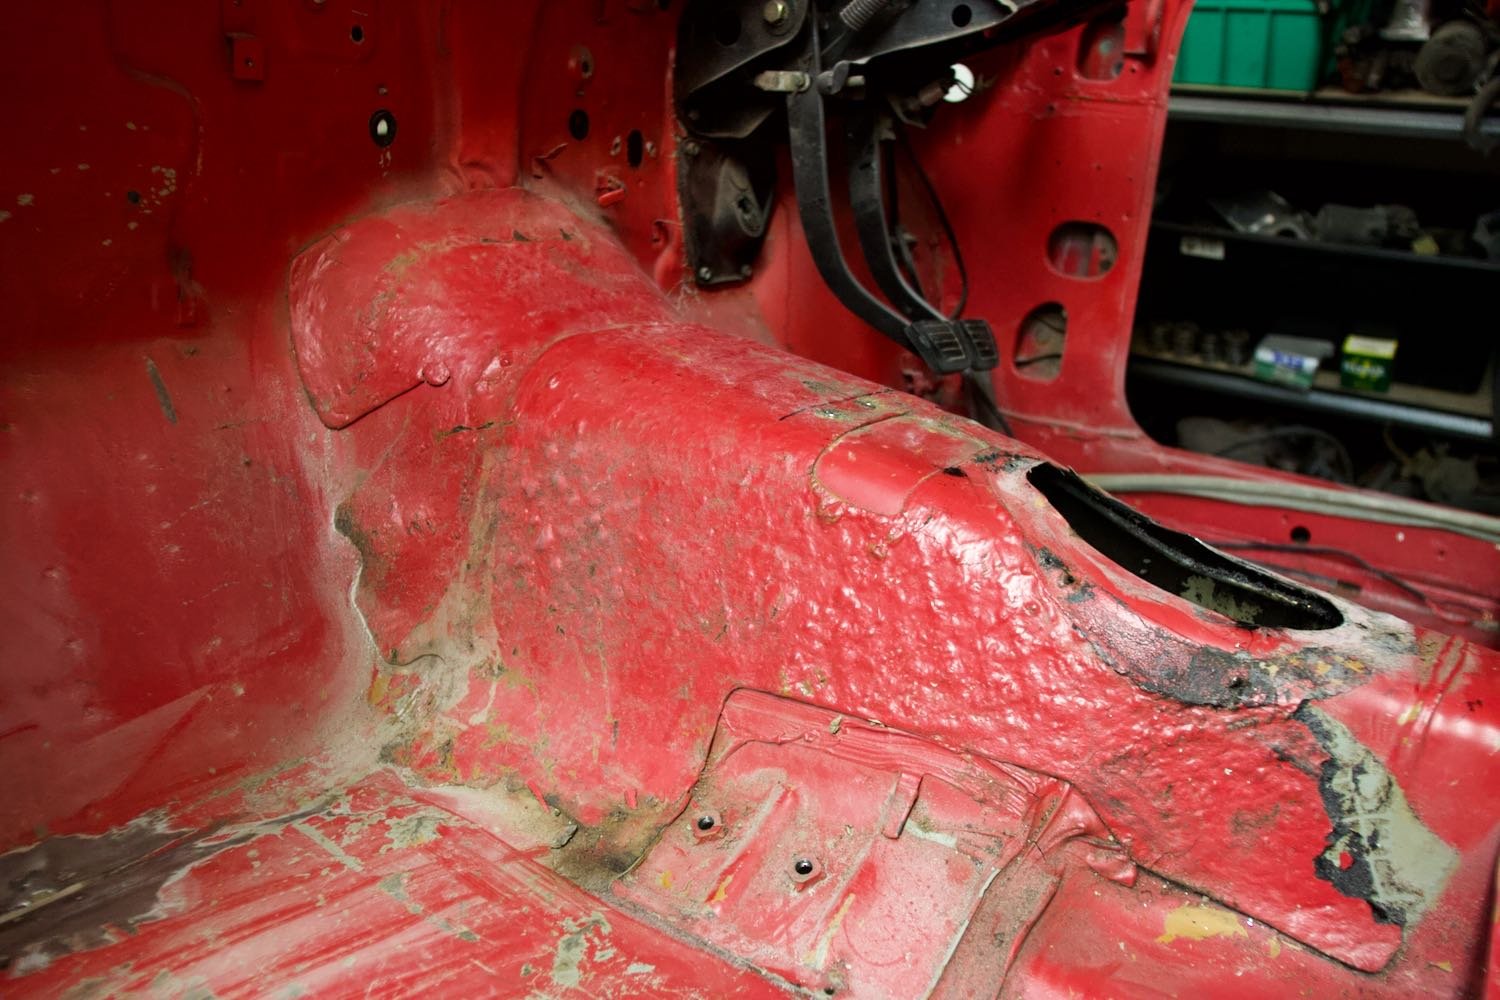
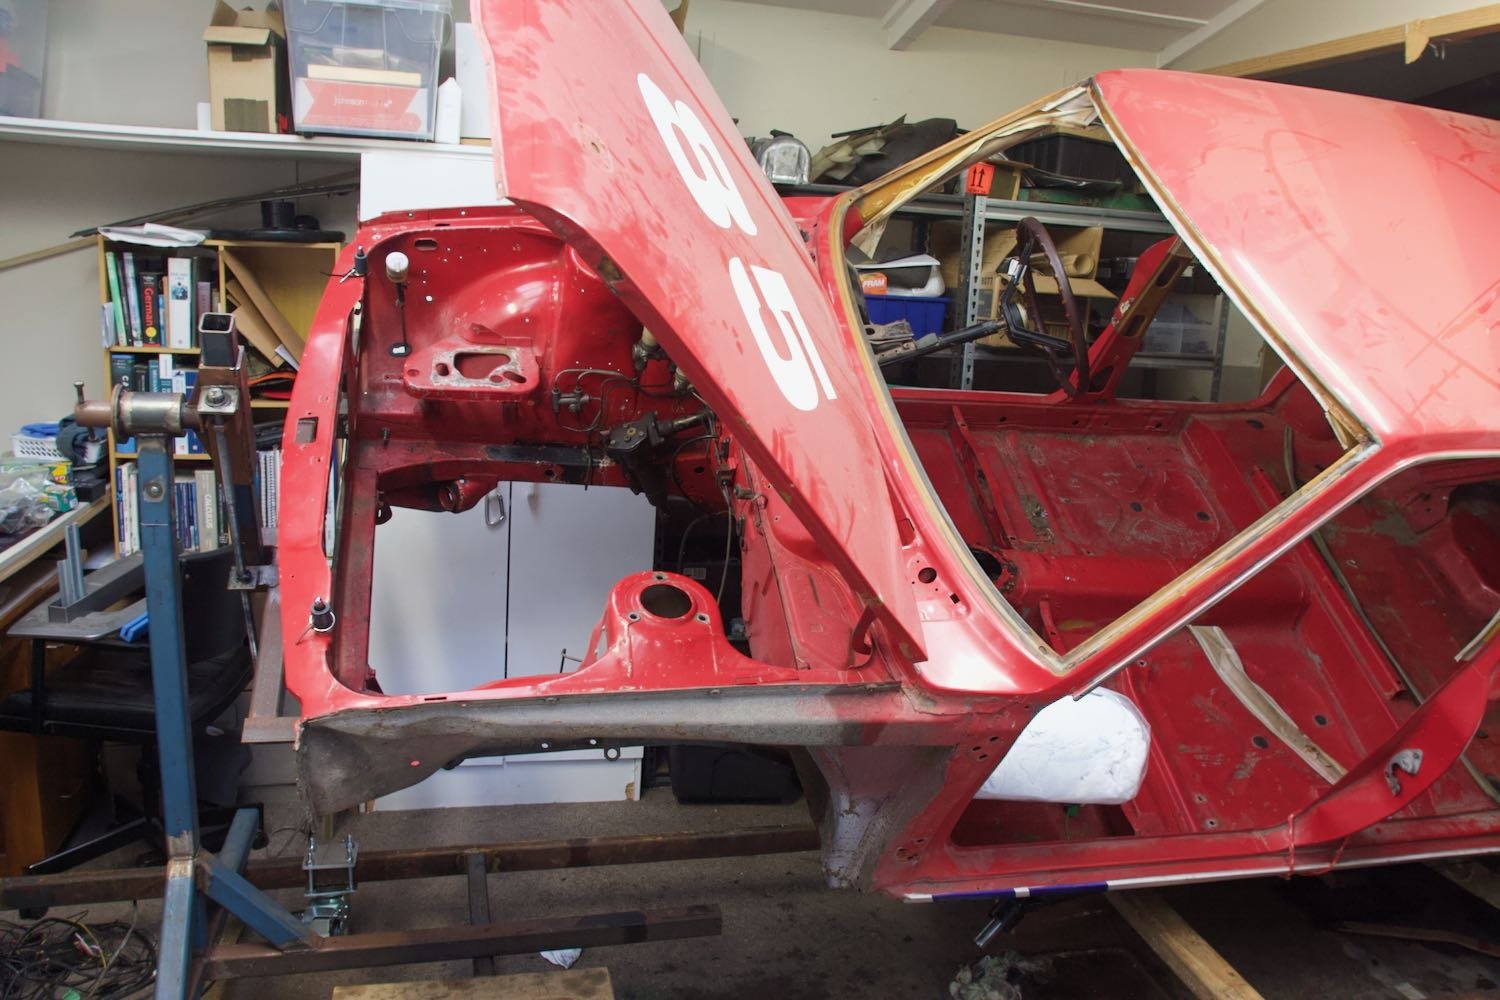
Trucking along..... Shell is now 99% stripped and mounted on the rotisserie. Motor and box were dropped out the bottom during the lift, closely followed by the rear cross member, diff and suspension. I've started stripping paint (and bog) from the known trouble spots to start building a picture of the scale of panel beating, so far nothing that make me uncomfortable, more motivational as the patches are (so far) straight forward chop&weld. Work had a few litres of liquid Nitrogen going spare so rather than pay BOC for dry ice I filled up a tank to see how well it can take to sound deadening. Before: Pouring over small sections at a time I was genuinely surprised at how effective it is, large chucks peeling off in seconds. Soon there was a full bucket and job done I wouldn't hesitate to give that another go, so fast and even strips the seam sealer out without breaking a sweat! Having the car on the rotisserie was an added bonus, could position it so that the liquid would pool in useful places.
- 53 replies
-
- 27
-
-
I built this crane from scrap rhs to lift the RTT off the Defender, not quite suitable for your situation but may spur something useable? Park the Niva on the foot and then a spare car battery to run the winch, takes me 20min to take it on or off, including fasteners.
-
So as it was told to me, the cells share a common air path at the top but not electrolyte, having a few dead batteries in the shed I gave it a go, can confirm the battery I pulled the level plug from does not have a common air space, only poured a few ml of acid out, scratch that idea
-
If I ever make time for it, I have an idea in my head for a tailgate spare mount that unfolds to put the spare on the ground, gives bit of lever advantage to lift it back into position too. Something similar that folds the wheel down to window height for yours?
-
First thought was to comment how fucked life is lifting a flat muddy tyre onto the roof, then saw you have the crane, so good!
-
the level indicator can often be wound open to top up electrolyte on stuffed batteries
-
rather than airflow, what static vacuum can you achieve with those fans? I get the feeling you may struggle to generate the vaccuum and subsequent flow required without serious spending
-

Discuss here about Yoeddynz's little Imp project...
NickJ replied to yoeddynz's topic in Project Discussion
The average Hilman Barry would just re-wind the starter to rotate the other way -
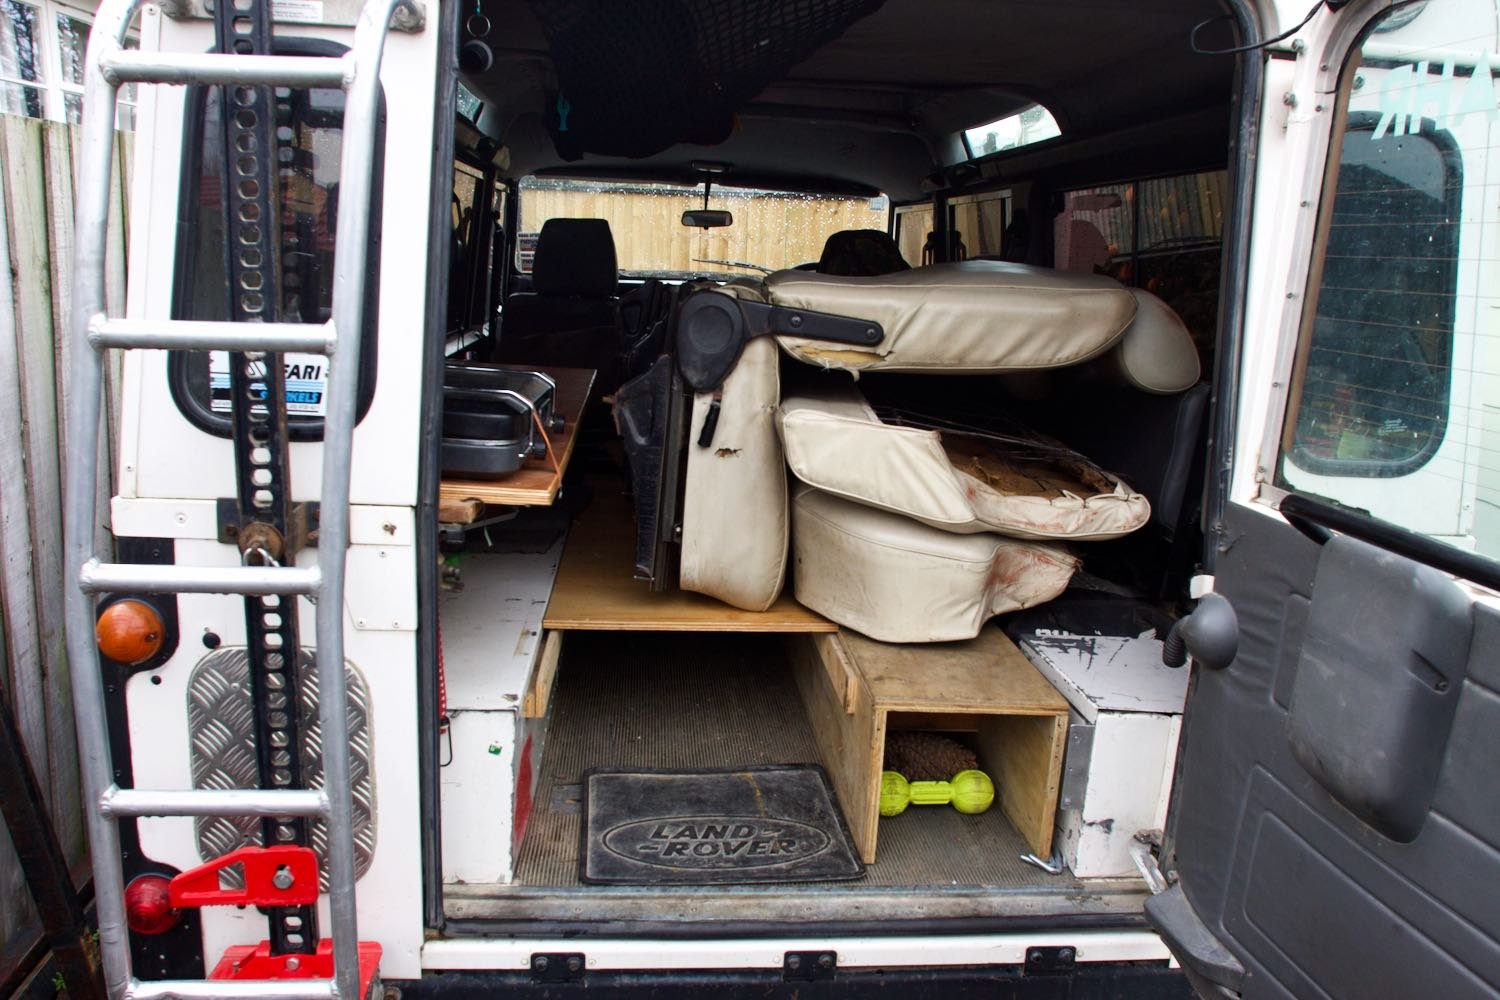
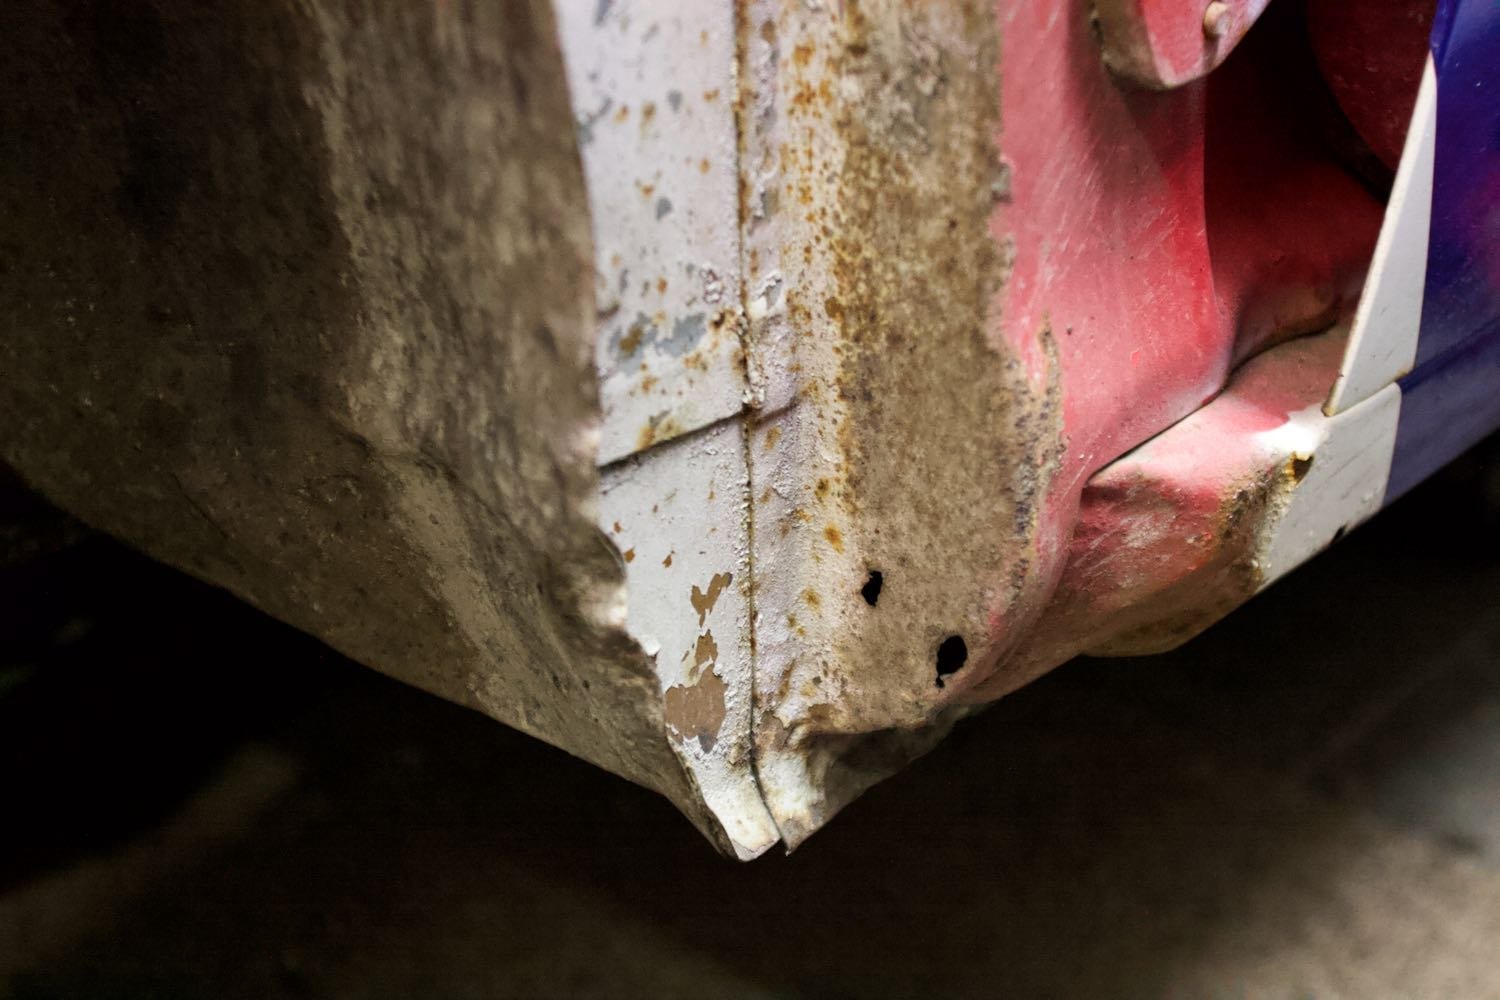
Things are moving along at a pace I'm really enjoying. Front suspension is now out, I was concerned the steering linkages would put up a fight but having collected many forms of 4wd ball joint splitters over the years everything came out with ease. For the record, this is the rust spot I was originally set to tackle, and the catalyst for this rebuild Last load of interior and parts shipped away to storage over the weekend, actually quite glad to not have the interior getting in the way or risking overspray/dust. And today after @ProZac's suggestion a while back of cleaning wiring harnesses in ultrasonic cleaners I put one of the door trims through a cycle, very impressed, will trade again!
- 53 replies
-
- 18
-

.jpeg.8d0965eca93542694c2989b9a79c2e24.jpeg)

.jpeg.4d8083cd0d545fde0dc2963bd650c379.jpeg)
.jpeg.a955098f39cae250a59a3c30263a975e.jpeg)