Kimjon
-
Posts
2,353 -
Joined
-
Last visited
-
Days Won
2
Content Type
Forums
Downloads
Events
Gallery
Everything posted by Kimjon
-
Awesome, thanks. Looks doable...just need to see my physiology now to talk about the voices in my head telling me to do bad things to a new car.
-
What's the legalities in NZ if someone wanted to put an old motor into a modern vehicle? For example, say a 350Chev into a Nissan Skyline or a 2010 Commodore? Apart from requiring certification, and perhaps needing your head read by a physiologist for taking a giant backwards step in technology... is there any legalities against/preventing doing such a swap? Cheers
-

Random slightly cool stuff you built but not worth its own thread, thread
Kimjon replied to h4nd's topic in Other Projects
Fuck yeah...damit I'm hungry now -
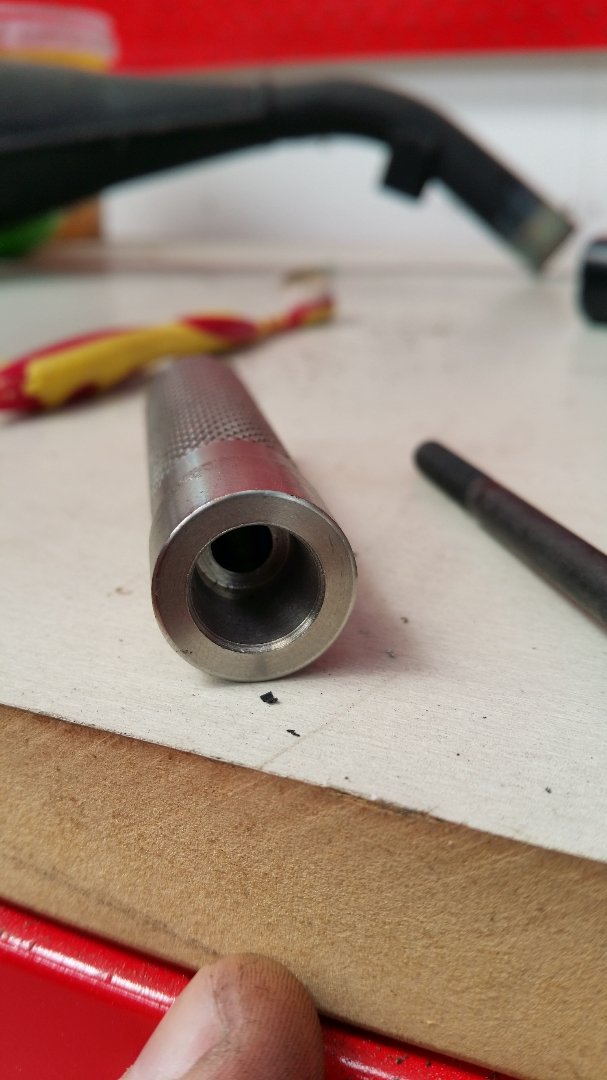
That short taper shouldn't be an issue. Just make up a spindle with that tape cut in and it will grip fine. Same as Morse taper on drill chuck etc... Gopeds use same idea, but are direct drive. They never slip. Something like this, but just put a 1/4" key in the shaft and machine OD at 1" to take centrifugal clutch. If really worried about slipping, machine a key into the taper as well, like flywheel on small motors.

-
Random slightly cool stuff you built but not worth its own thread, thread
Kimjon replied to h4nd's topic in Other Projects
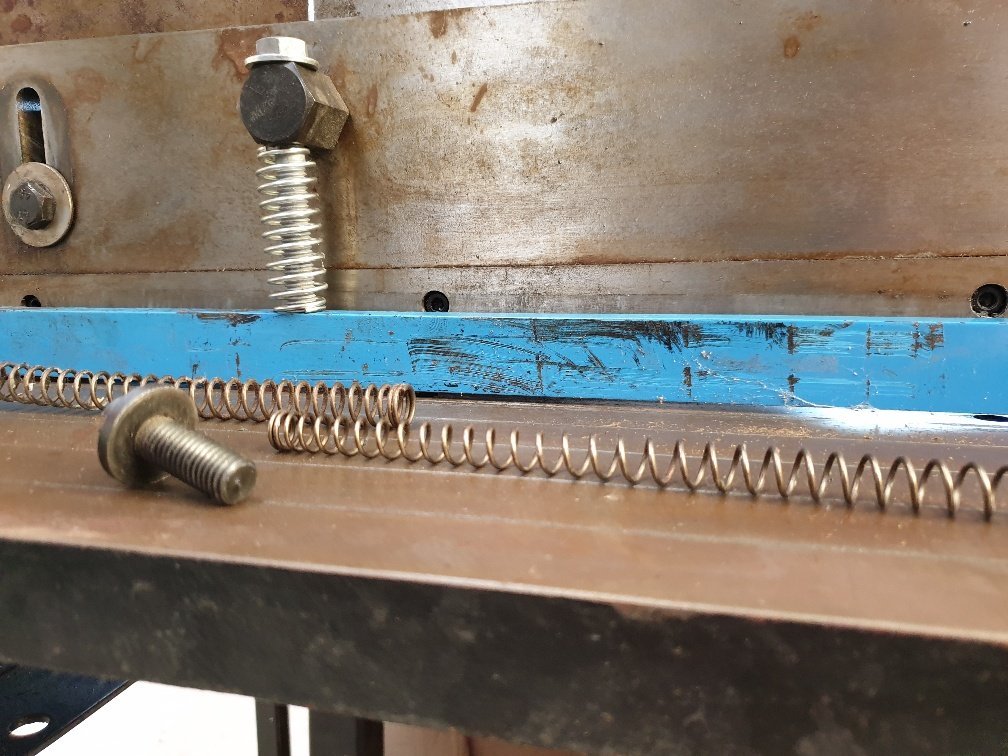
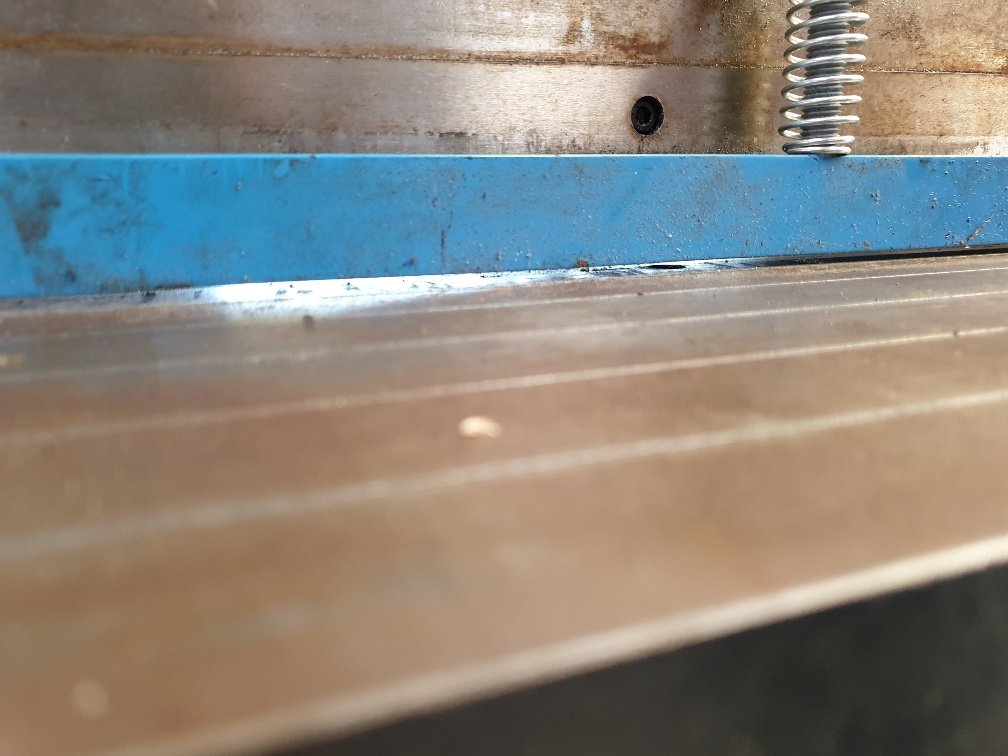
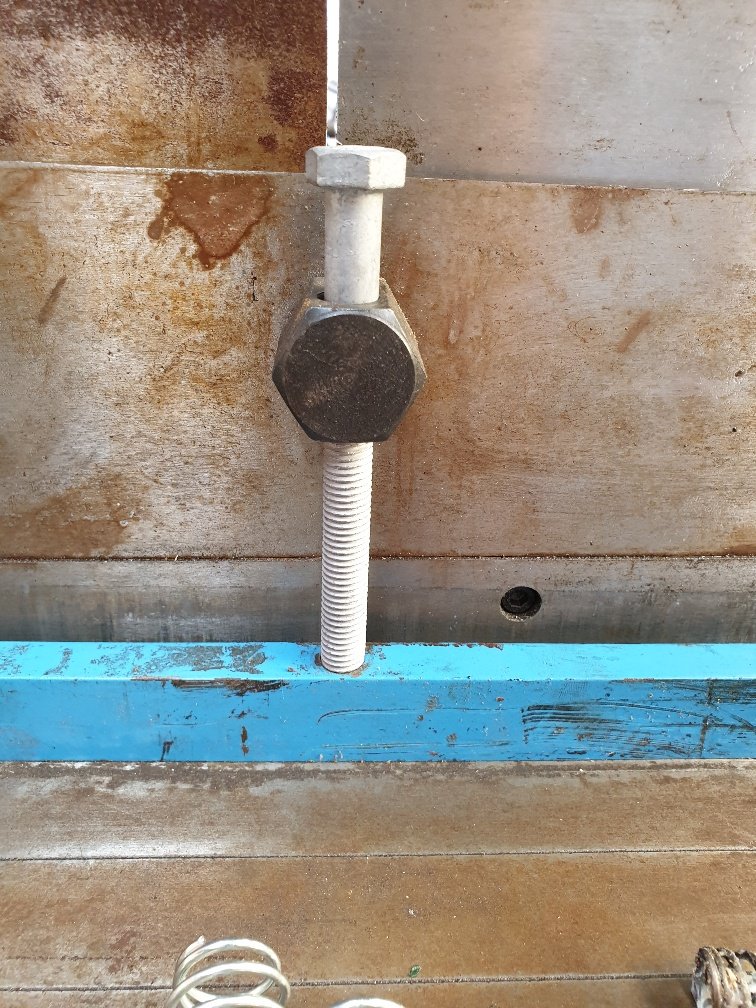
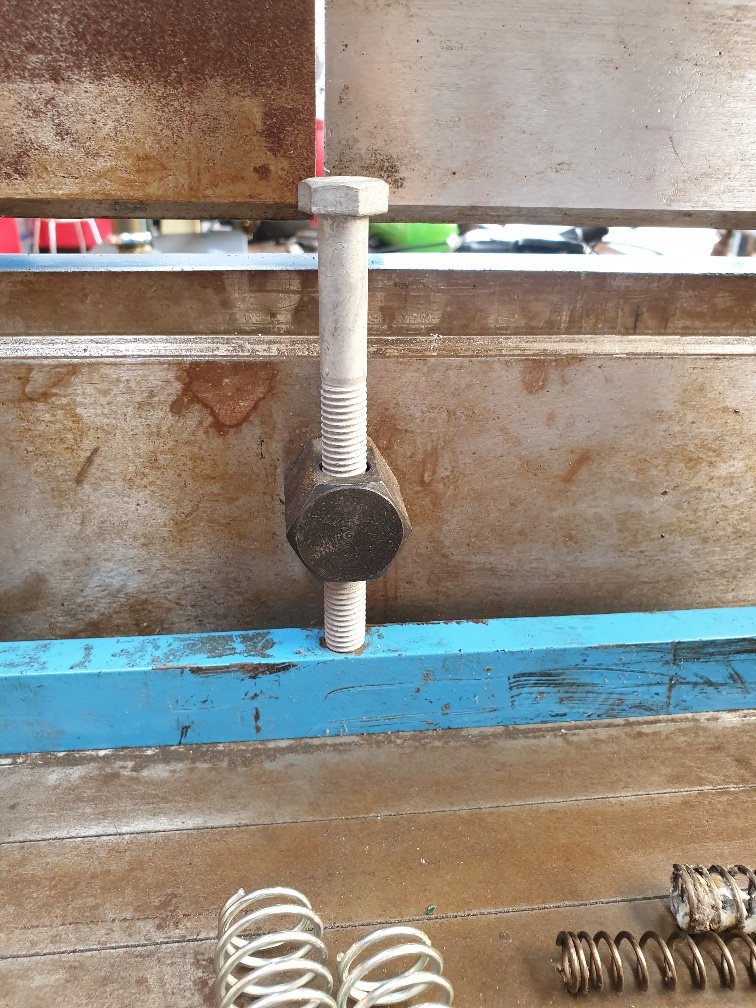
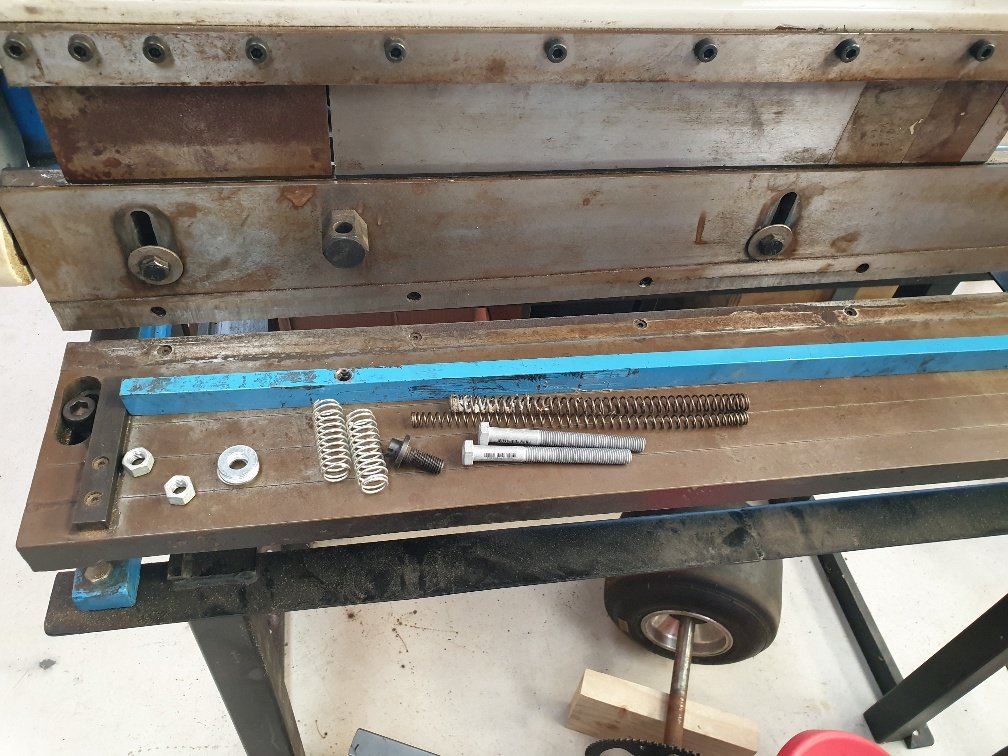
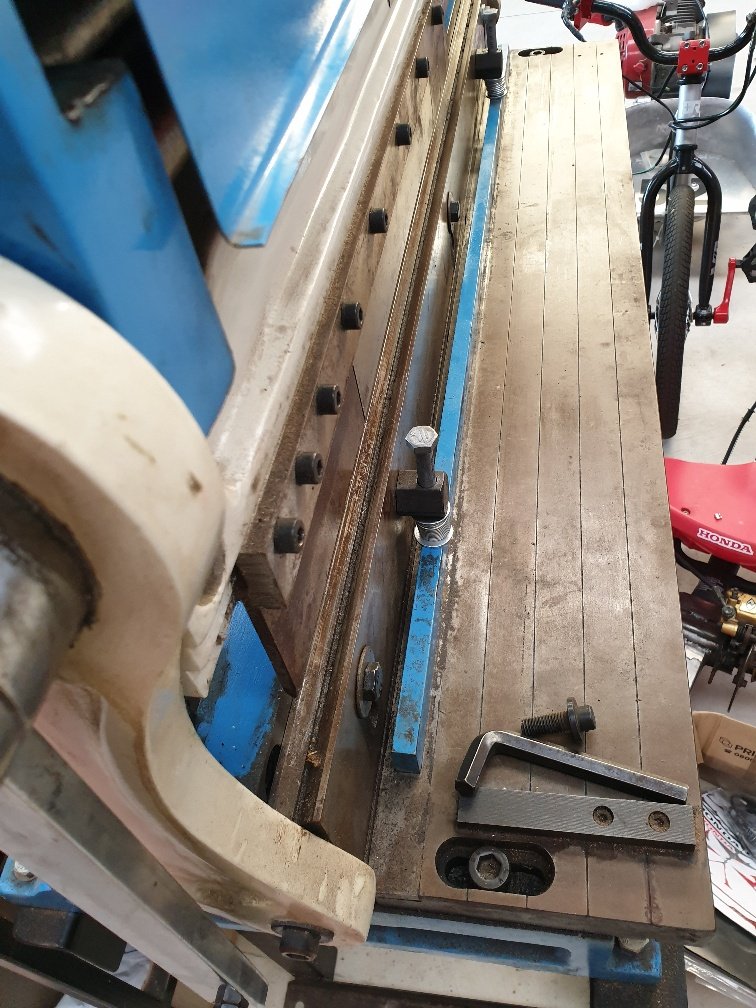
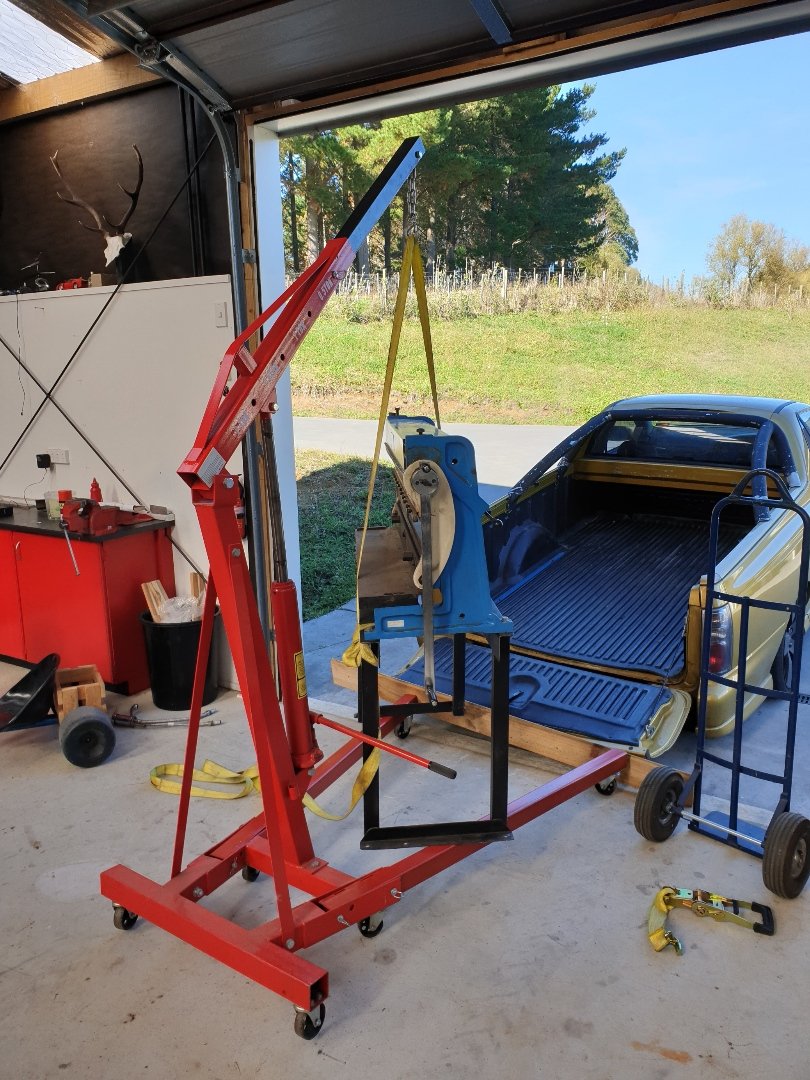
Okay, in limp mode I set about tweaking every adjustable feature this thing has. I'm glad I spent the time doing this as now it feels much better and a couple small test pieces I've toyed around with look pretty good. First up, its missing bits. So a quick rummage around and I had a selection of springs, bolts, washers etc to work with... I checked the up/down travel in the work clamp for the share. Decided to use the kids pink pram springs... Set a gap at full stroke so work can be slid through...boom!!! Done. Next, the sheetmetal shear had a large gap in the middle. Luckily theres additional adjustments for this...so let's use em. And by tightening that bolt...magic happened... Cuts like a lazer now!
-
Random slightly cool stuff you built but not worth its own thread, thread
Kimjon replied to h4nd's topic in Other Projects
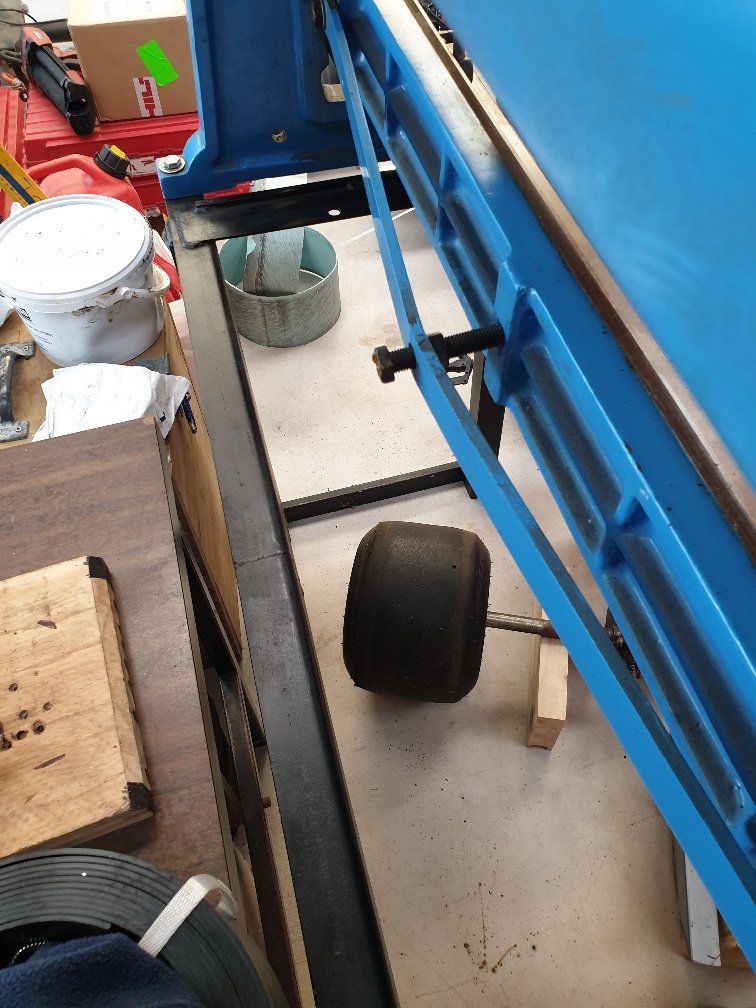
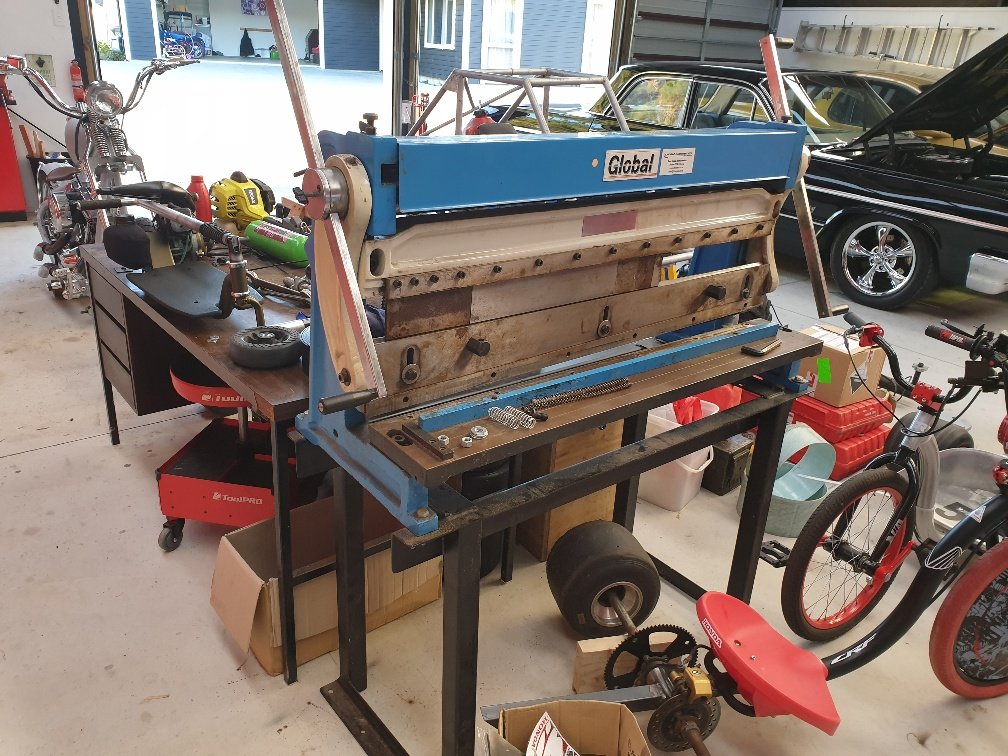
New toy arrived today. Its missing a few bits and isn't set up very well. But I'm sure with a bit more time and playing around I'll get it functioning as its suppose to. Stupid heavy. No idea of actual weight...but I'd say somewhere between "back breaking heavy" and "should have eaten more weetbix heavy"? Anyway, terrible photo. It's a 3 in 1 sheetmetal folder, roller and shear. I've been watching YouTube and all the reviews say it does an okay job at those functions...but not a great job. Considering the fact I have none of those tools - then this has to be an improvement upon what I had???
-
Random slightly cool stuff you built but not worth its own thread, thread
Kimjon replied to h4nd's topic in Other Projects
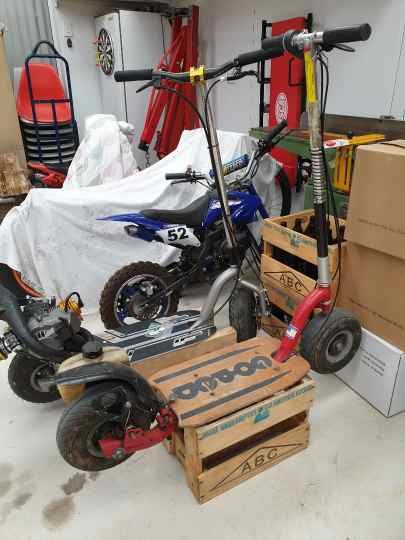
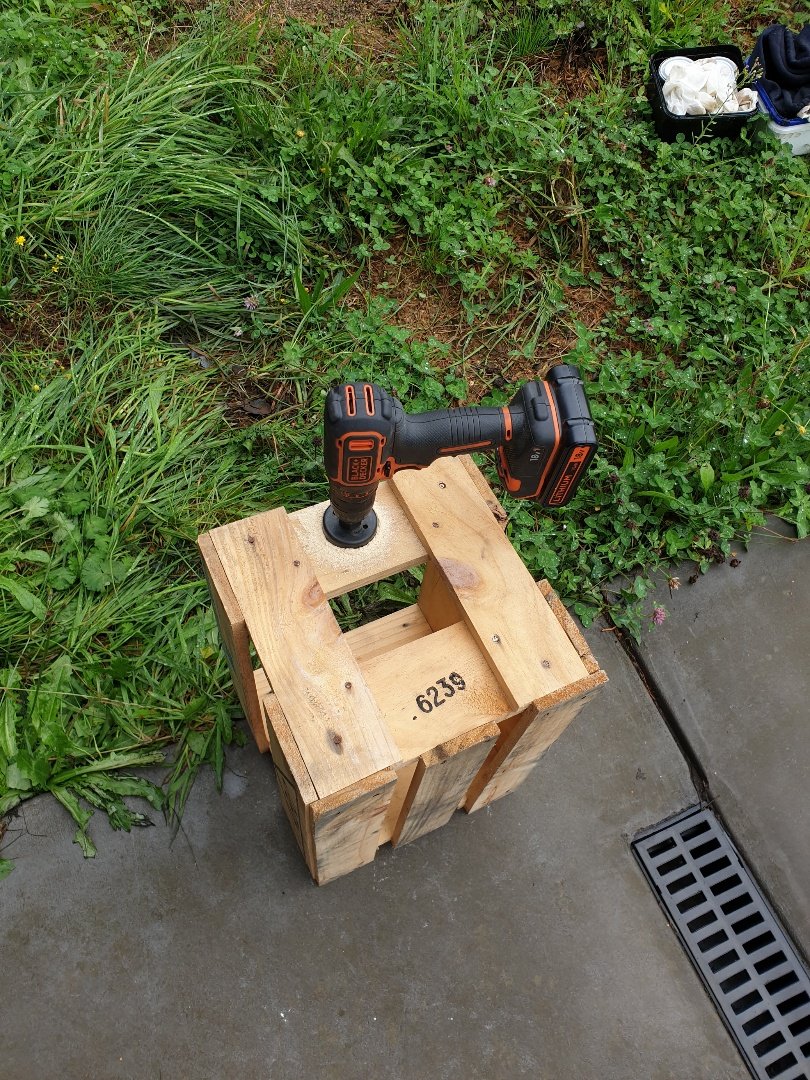
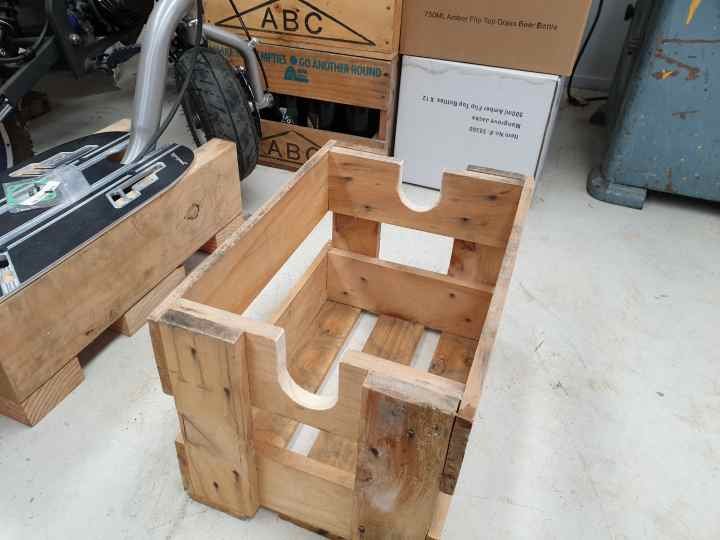
Drinking too much piss isn't all that bad. You get to hang out with your mates, talk shit and occasionally come up with the odd good idea. So when your first world problems begin to get you down...I look towards alcoholism to solve them. Problem: Fucking gopeds everywhere, I'm sick of tripping over them!!! Ah yes, I have alcohol- therefore I have a solution! And just like that, all your problems go away once alcohol is involved... Boom!!!
-
That is a cool refrigerator;)
-
Random slightly cool stuff you built but not worth its own thread, thread
Kimjon replied to h4nd's topic in Other Projects
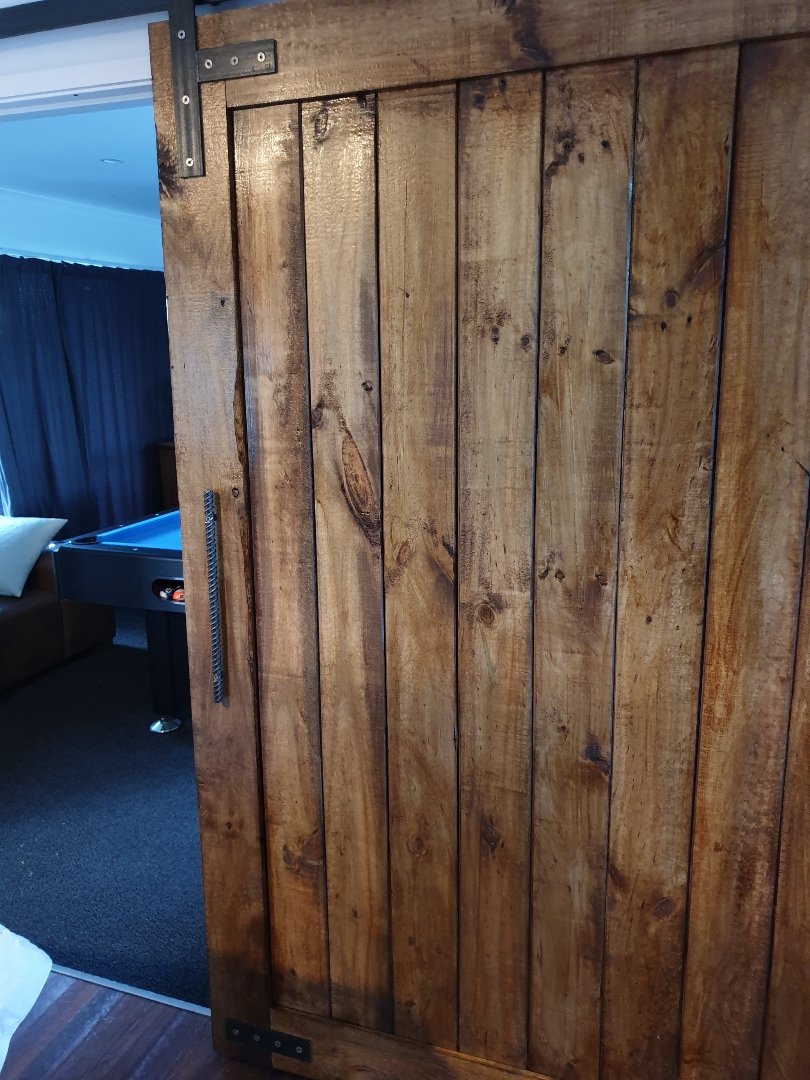
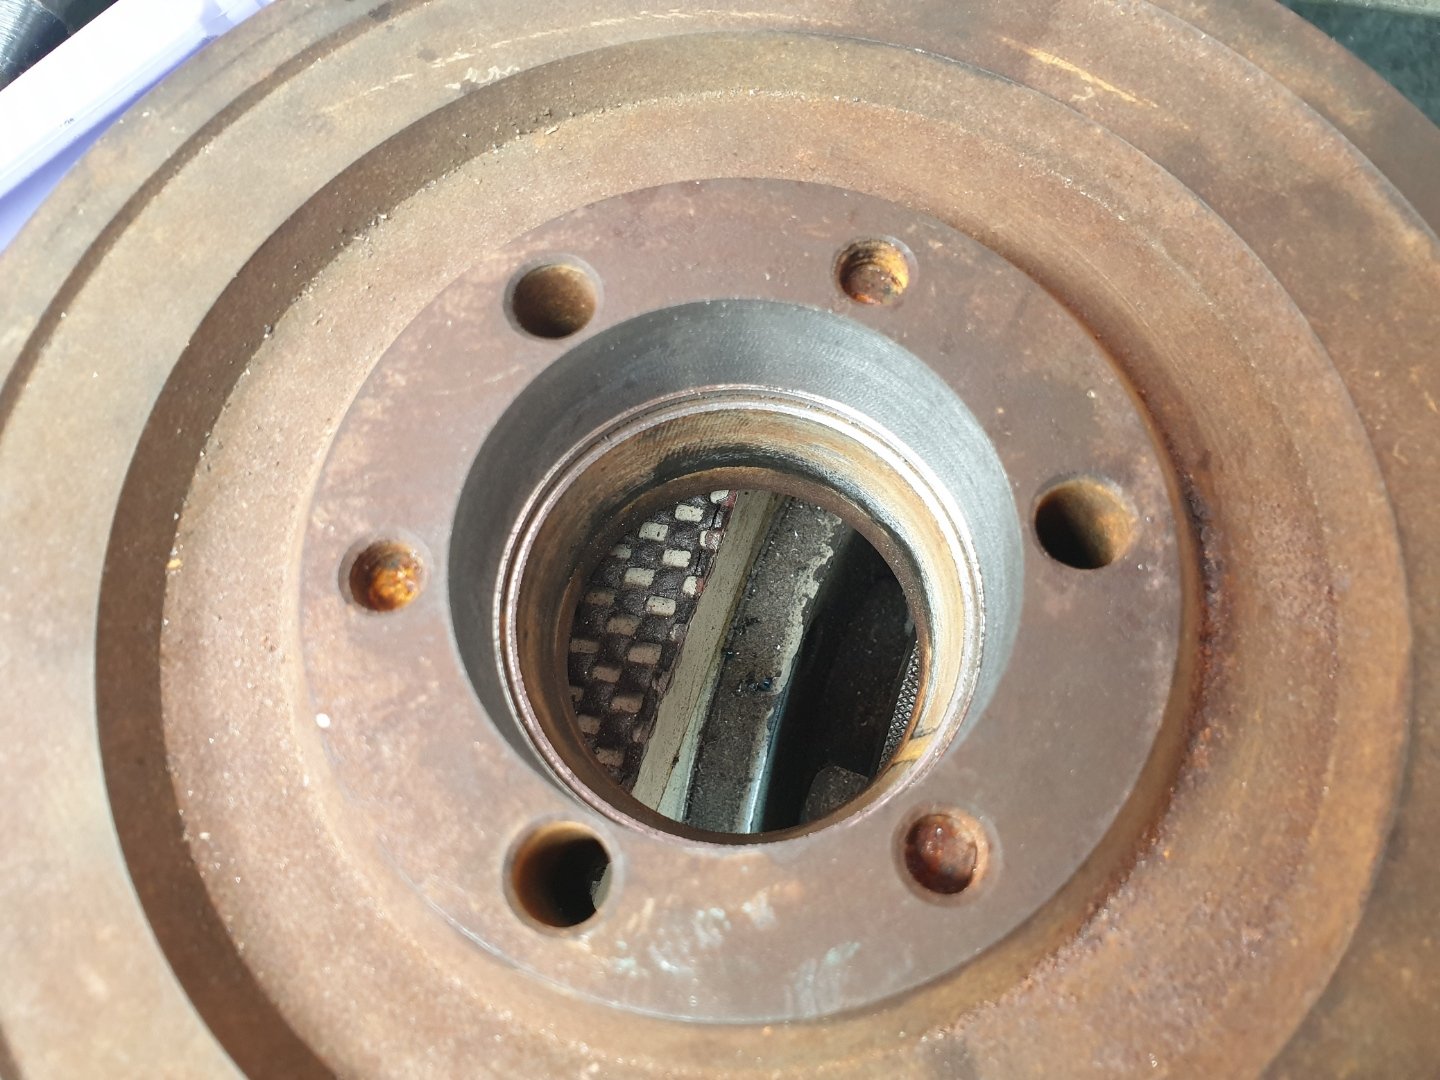
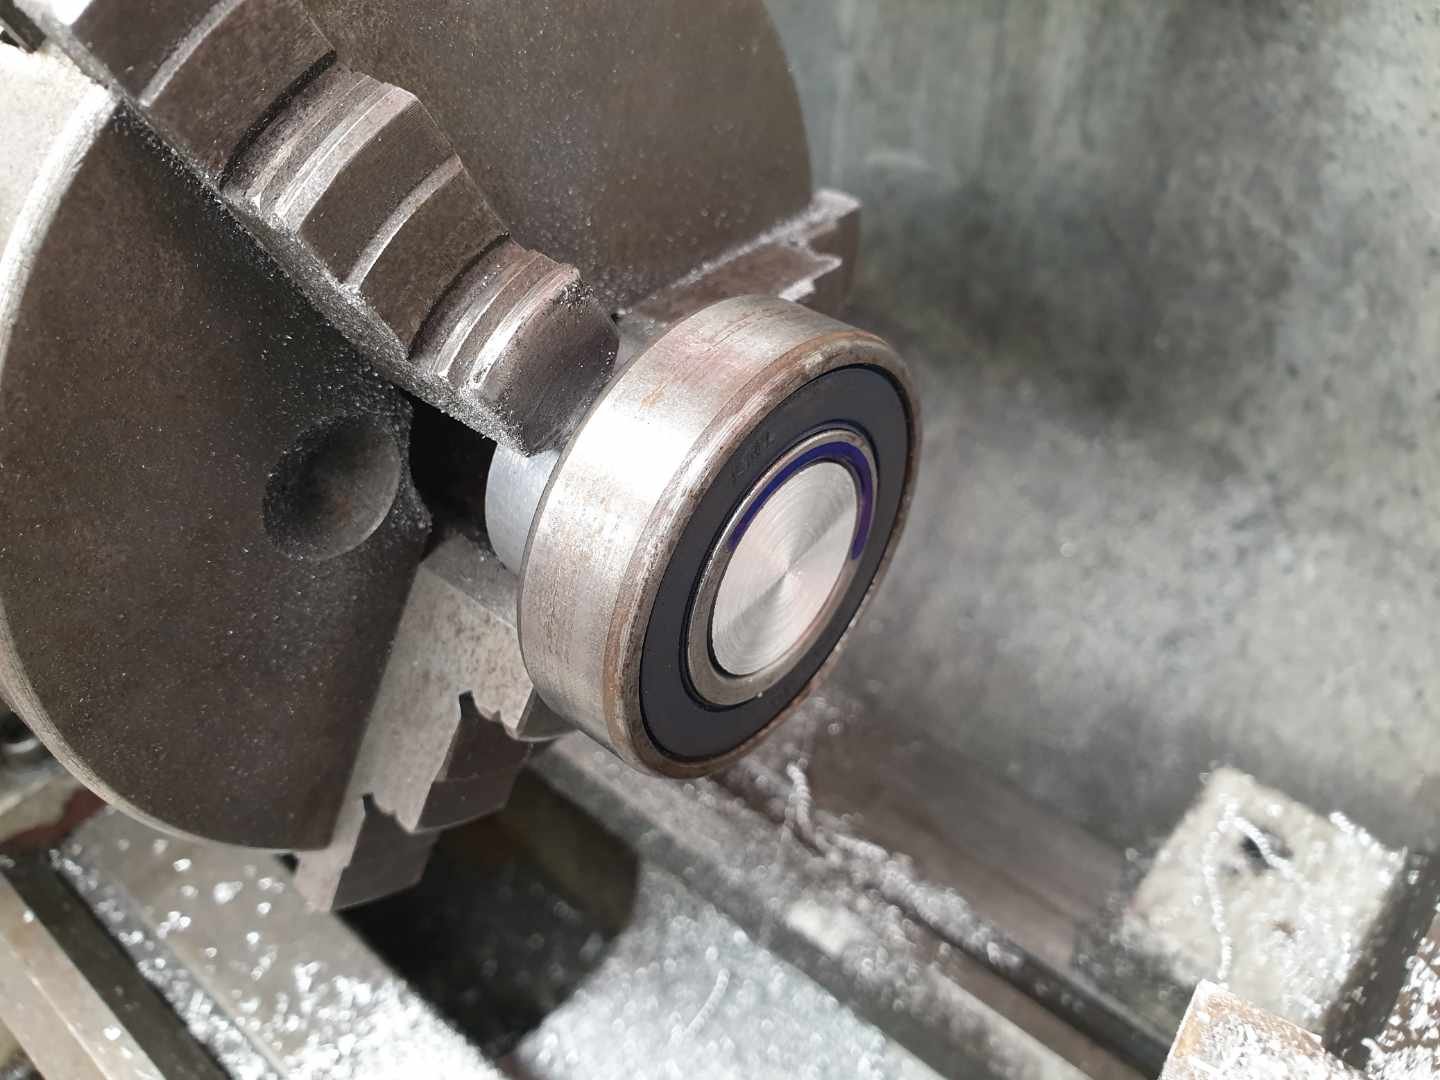
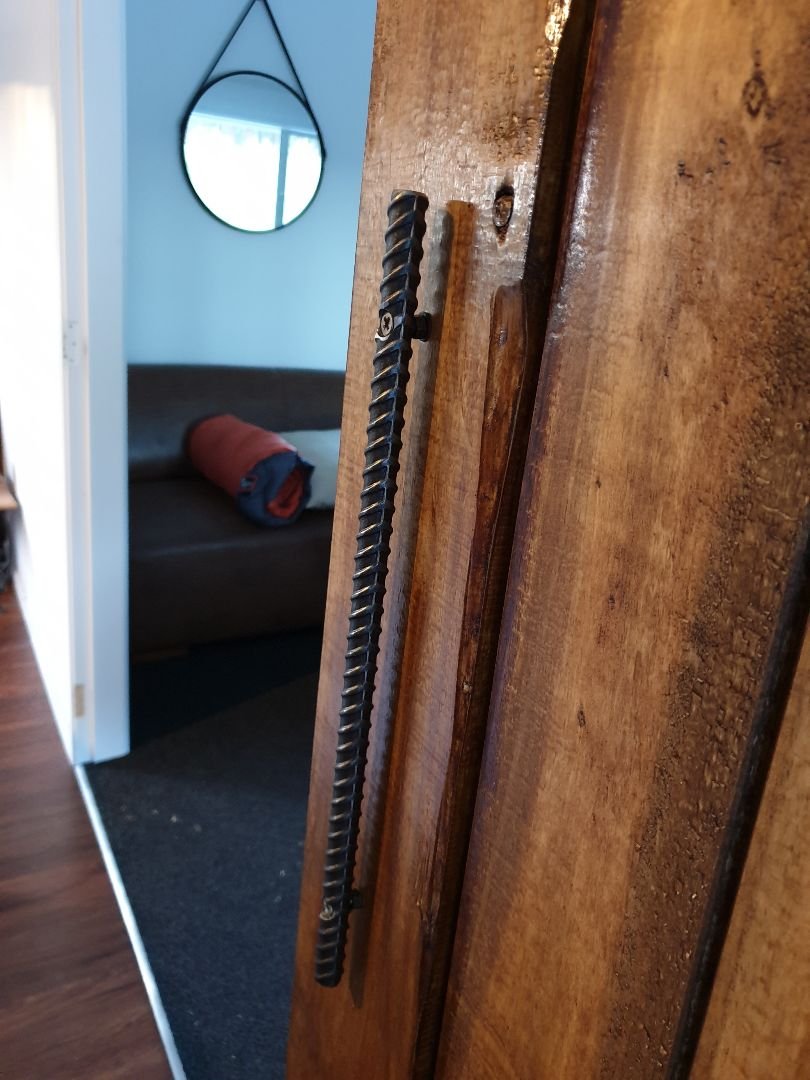
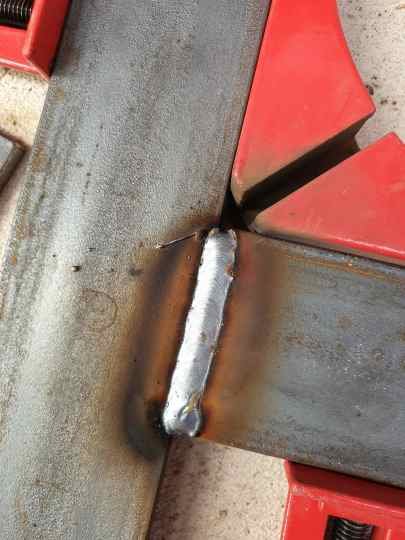
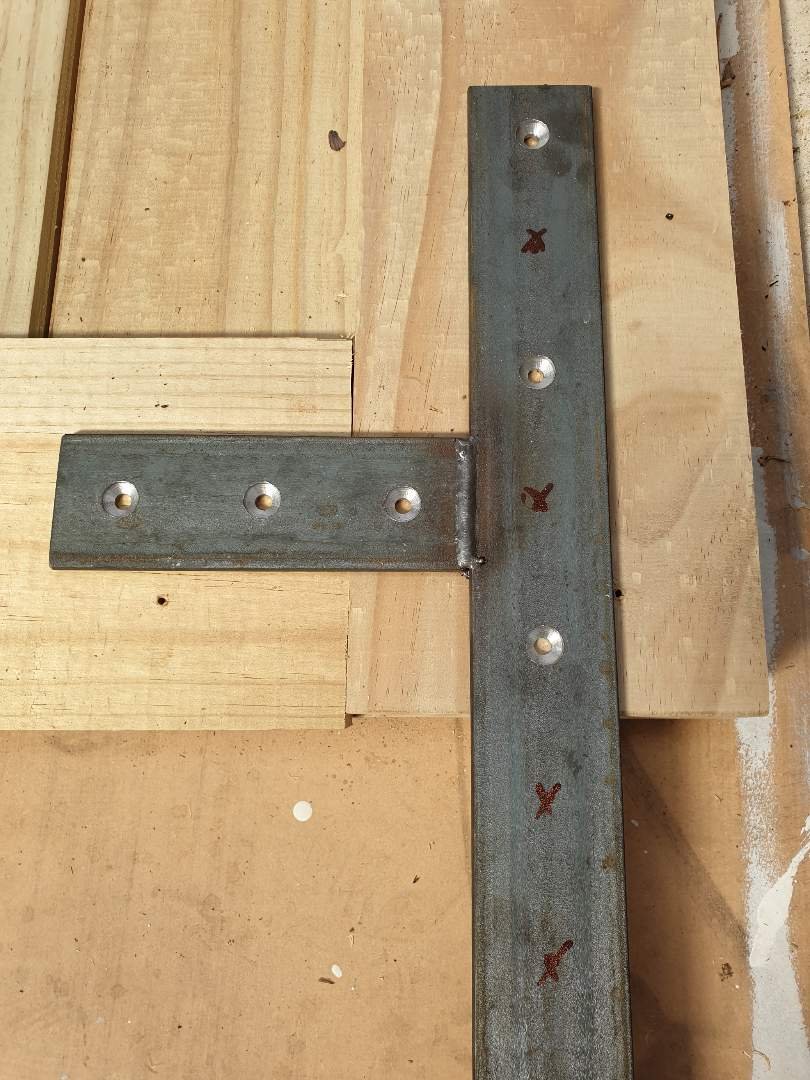
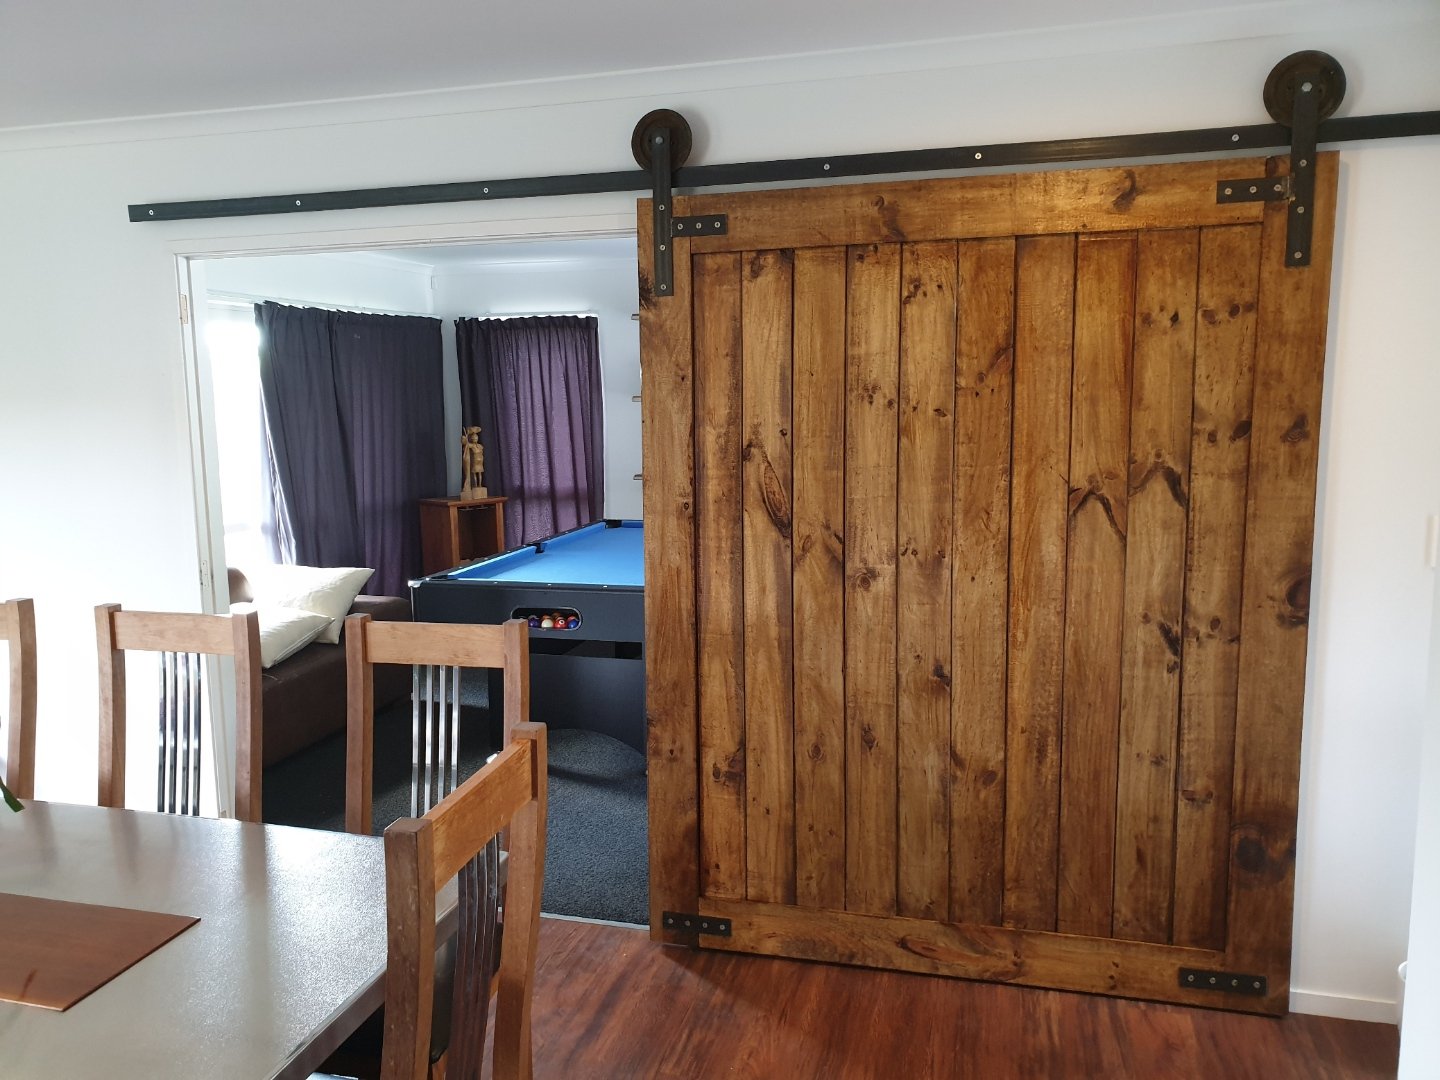
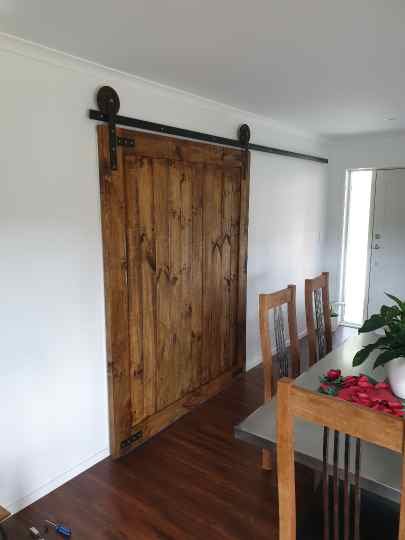
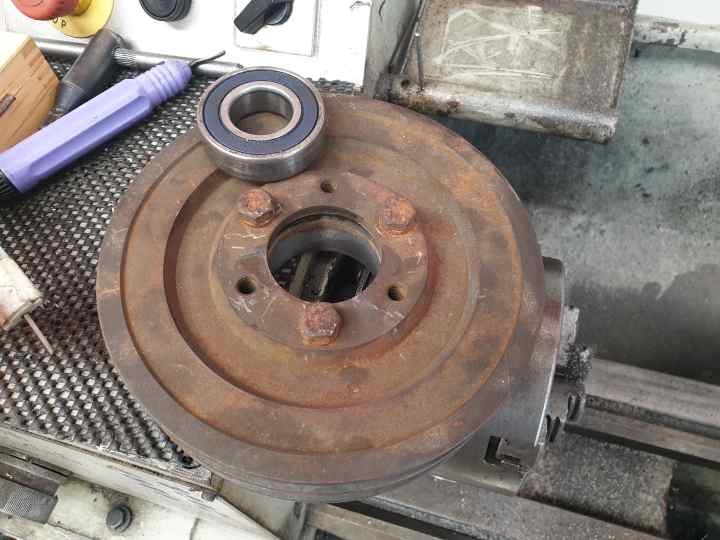
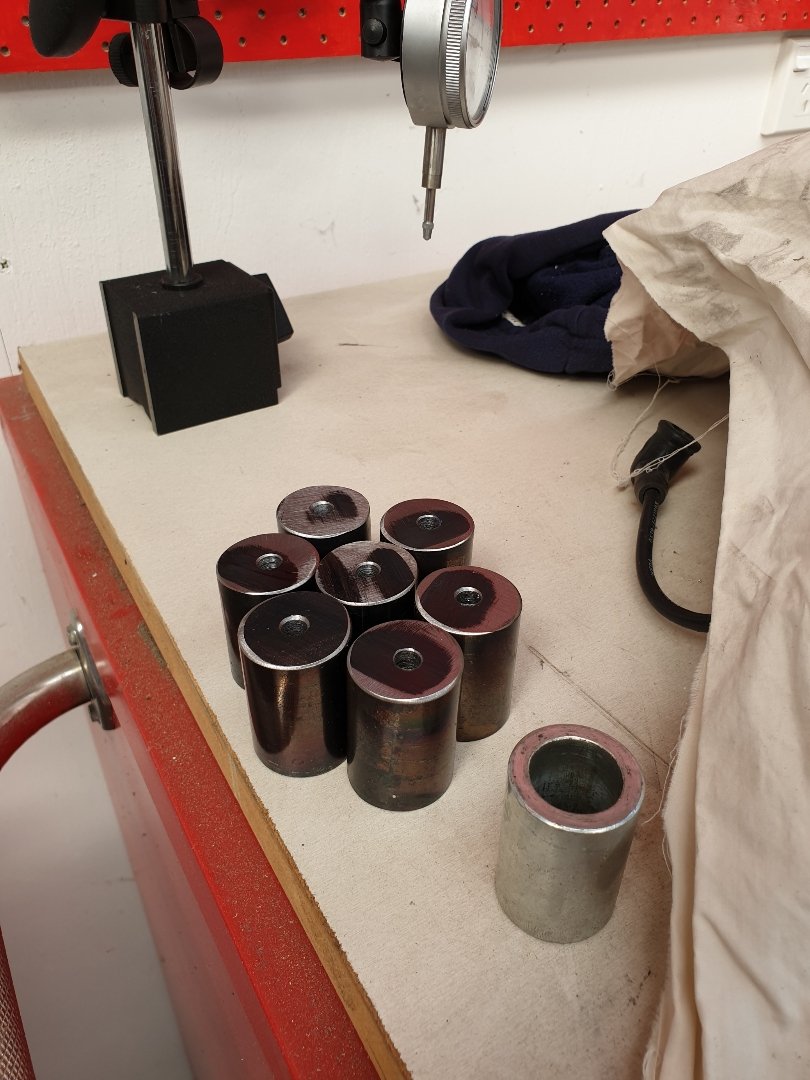
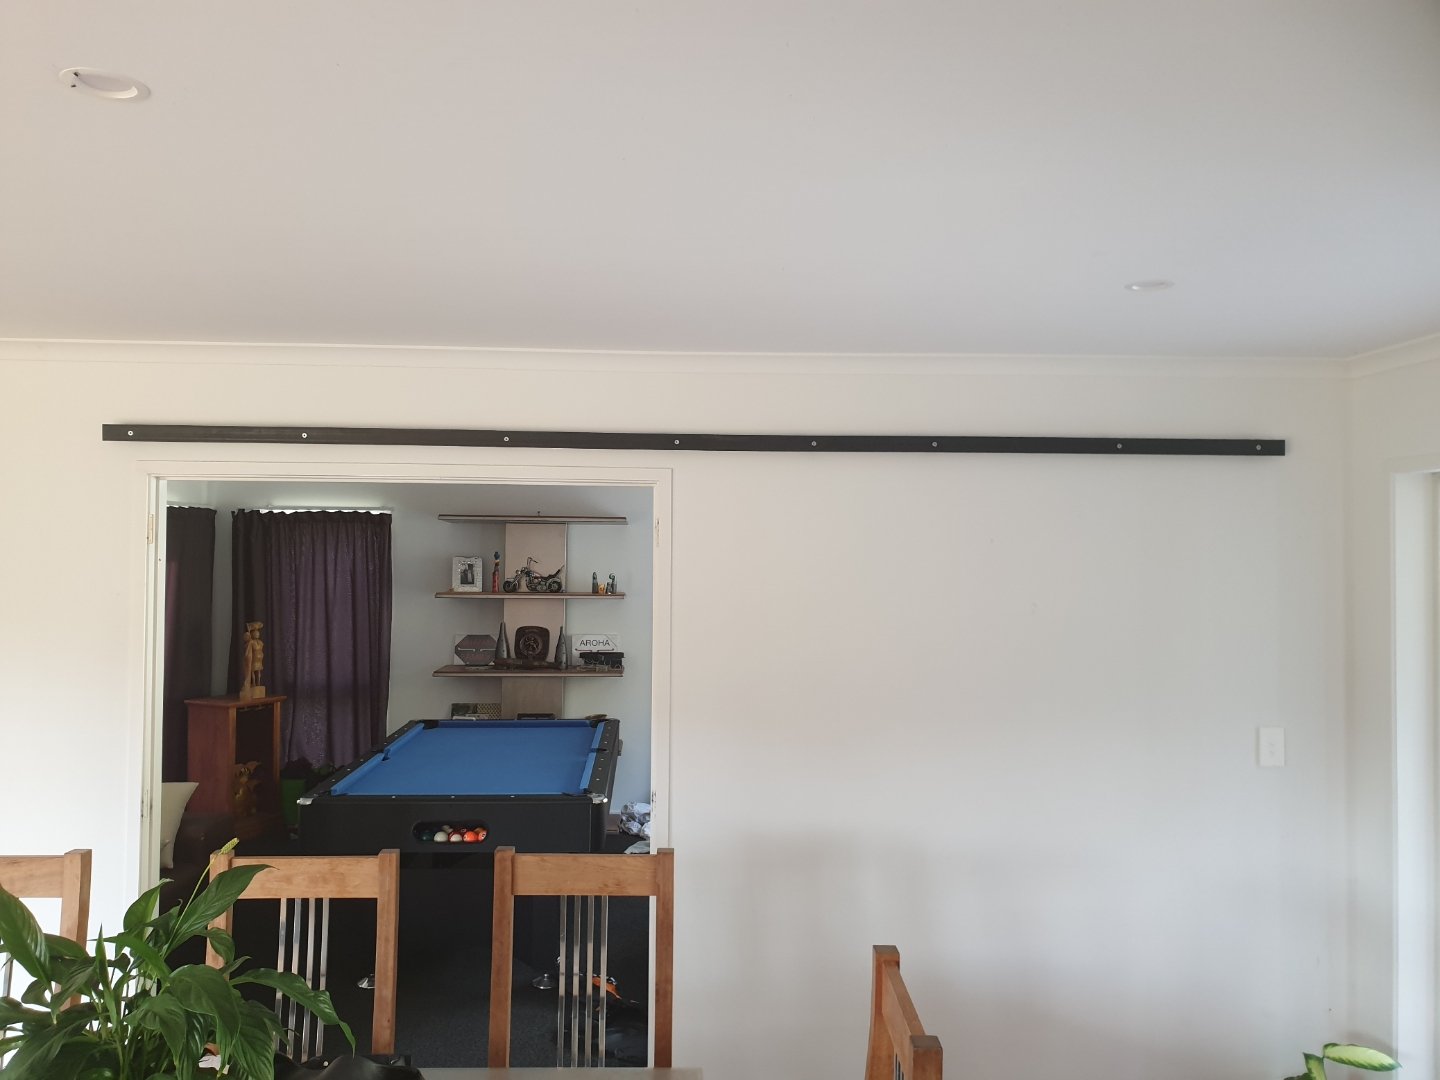
Love the e-kettle above...wicked! Finished the barn door today. Been a public holiday I totally forgot that shops aren't open. However this just made me have to come up with creative solutions, rather than buying ready made. So: Standoffs made. Then using the above standoffs I attached the rail to the wall. It's just 50x6mm flat bar. The same stuff I made the hangers out of. Then I used some left over parts from Pete's velobike. And machined in some recessed pockets to hold some leftover harley bearings. Then I had to make mini stub axles for the bearing to attach to the door hangers. And tadah!!!! It works!!! Added a big handle made of rebar. As they say "big door - big handle"... I've also added some stops, "so it doesn't go off the rails" and a floor guide for it to track on. Pretty happy with it.
-
Random slightly cool stuff you built but not worth its own thread, thread
Kimjon replied to h4nd's topic in Other Projects
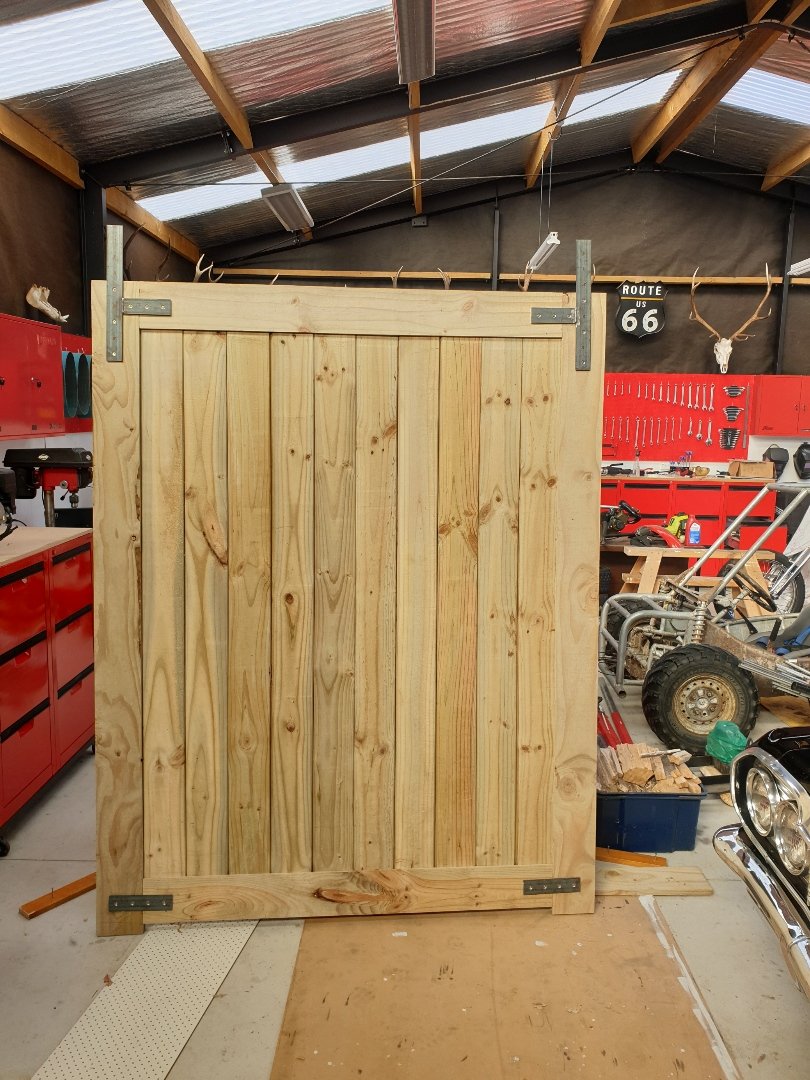
Barn door update. I've been away so much lately that this took a backseat. Anyway, a few more hours spent on getting it done this afternoon Ready to stain and hang on the wall.
-
Karol Shusbands 72 Skyline. Discussion.
Kimjon replied to CarolsHusband's topic in Project Discussion
4 doors, more whores.... -
What's the rush, if you finish it...you'd need to start another project straight away to fill the gap. So it makes more sense to just prolong this one.
-
Random slightly cool stuff you built but not worth its own thread, thread
Kimjon replied to h4nd's topic in Other Projects
I made a not so successful chain tensioner using a hairpin style spring. It worked okay(ish)...but not great. So I converted it to double coil springs and it's now working spot on! It needs this as the wheels weren't designed to have a sprocket. I added the sprocket using long bolts and spacers, so getting it to run 100% true was never going to happen. It's within about 1/4 of a millimeter but in the world of spinning mass...it may as well be a meter out! This tensioner allows a slack chain to work, and takes out the highs and lows in the system. Full tank of gas later in running time...no issues...success looks like this! -
Sure thing. After work? Or I can leave them in letterbox?
-
Potato potato....put put put
-
Or post if you needed them yestrrday
-
Free. And I could drop in hamilton at one of your mates places (if you happen to have friends in low places like hamilton?).
-
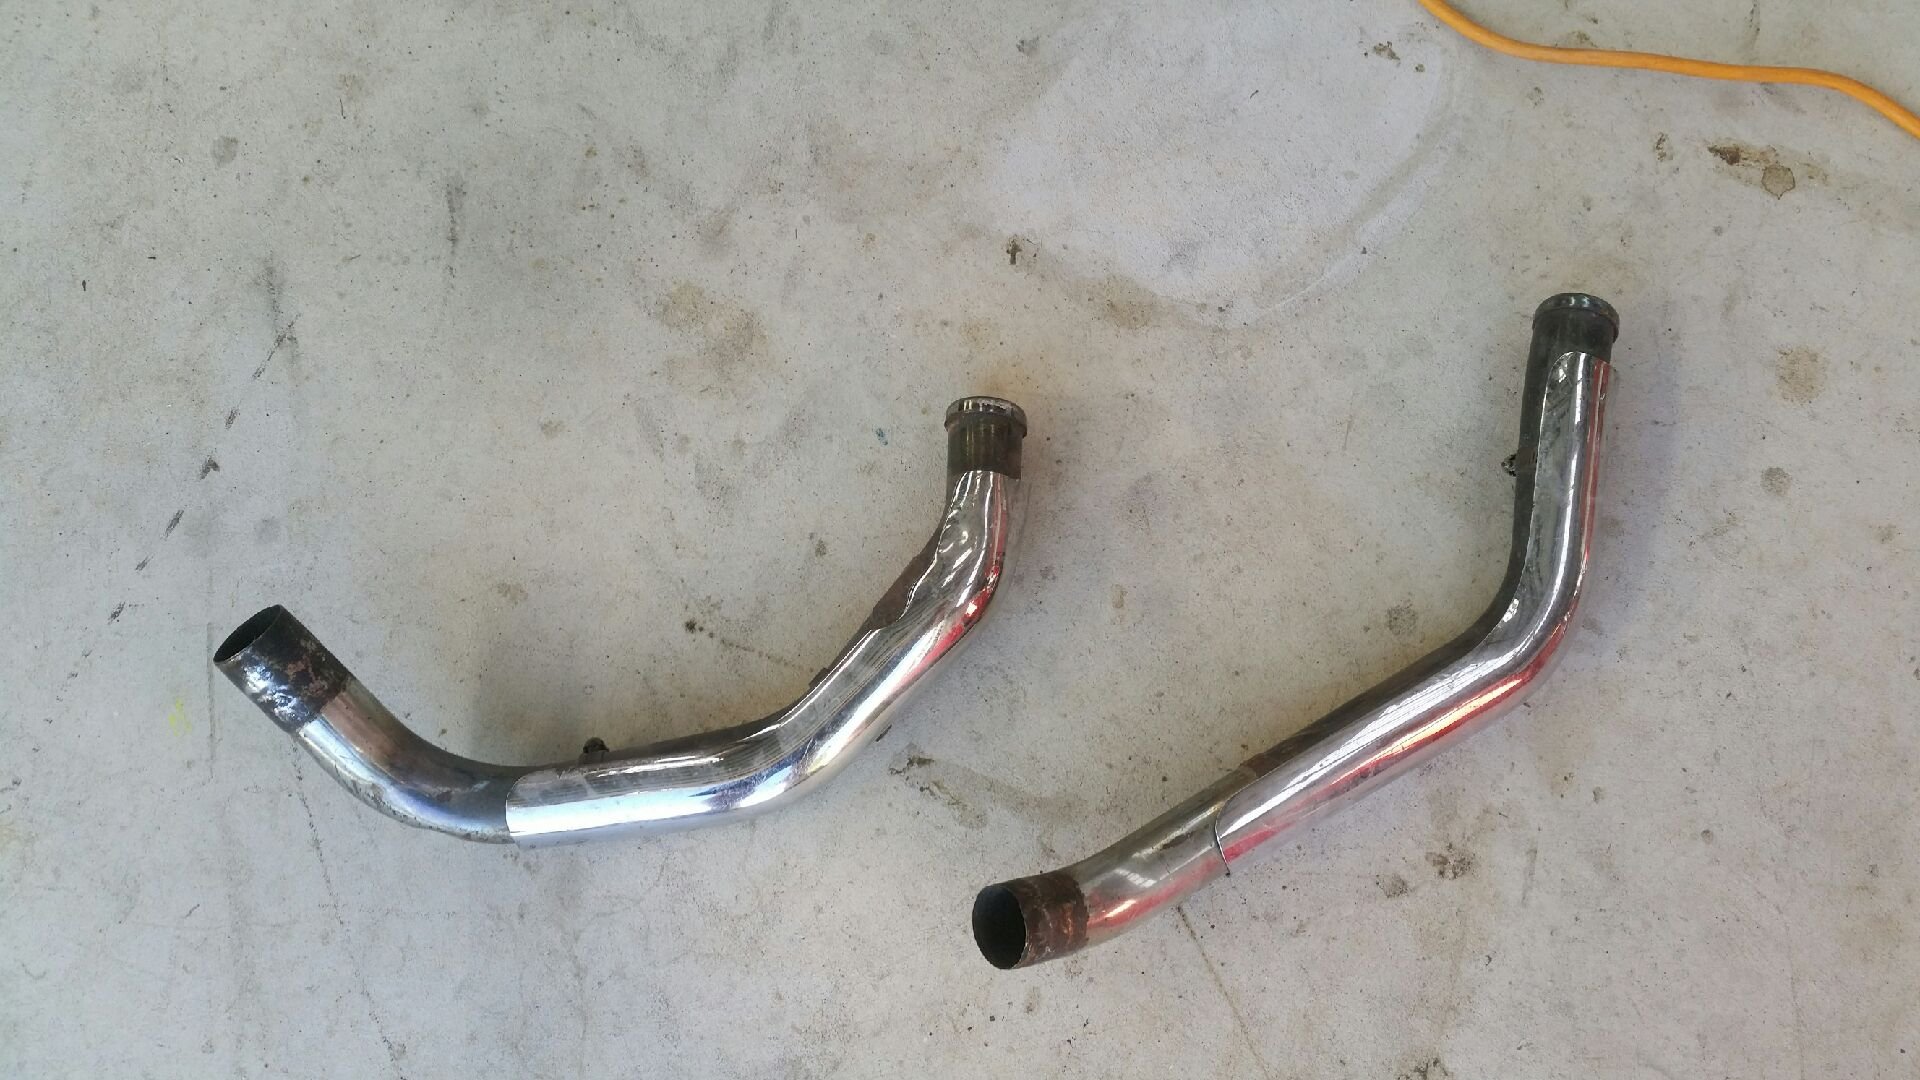
If it's not too late, I found some half pipes today (headers, no mufflers). I think they're from a sportser. May give you options if you are unsure about cutting up your nice pipes? Yours if you want them?
-
Nice work, that's looking pretty legit now. Taken on an entirely new attitude.
-
Lord Gruntfuttock’s 1975 Ironhead Café Racer…
Kimjon replied to Lord Gruntfuttock's topic in Two Wheels
How have I not seen this until now. Fantastic work...so cool. Proportion is the key to good design, it can be made out of dog shit and still look awesome if it's proportions are good. Or made of diamonds and gold and look stupid if the proportions are off. You've nailed it! Nice job.- 27 replies
-
- 1
-

-
- cafe racer
- ironhead
- (and 3 more)
-
Random slightly cool stuff you built but not worth its own thread, thread
Kimjon replied to h4nd's topic in Other Projects
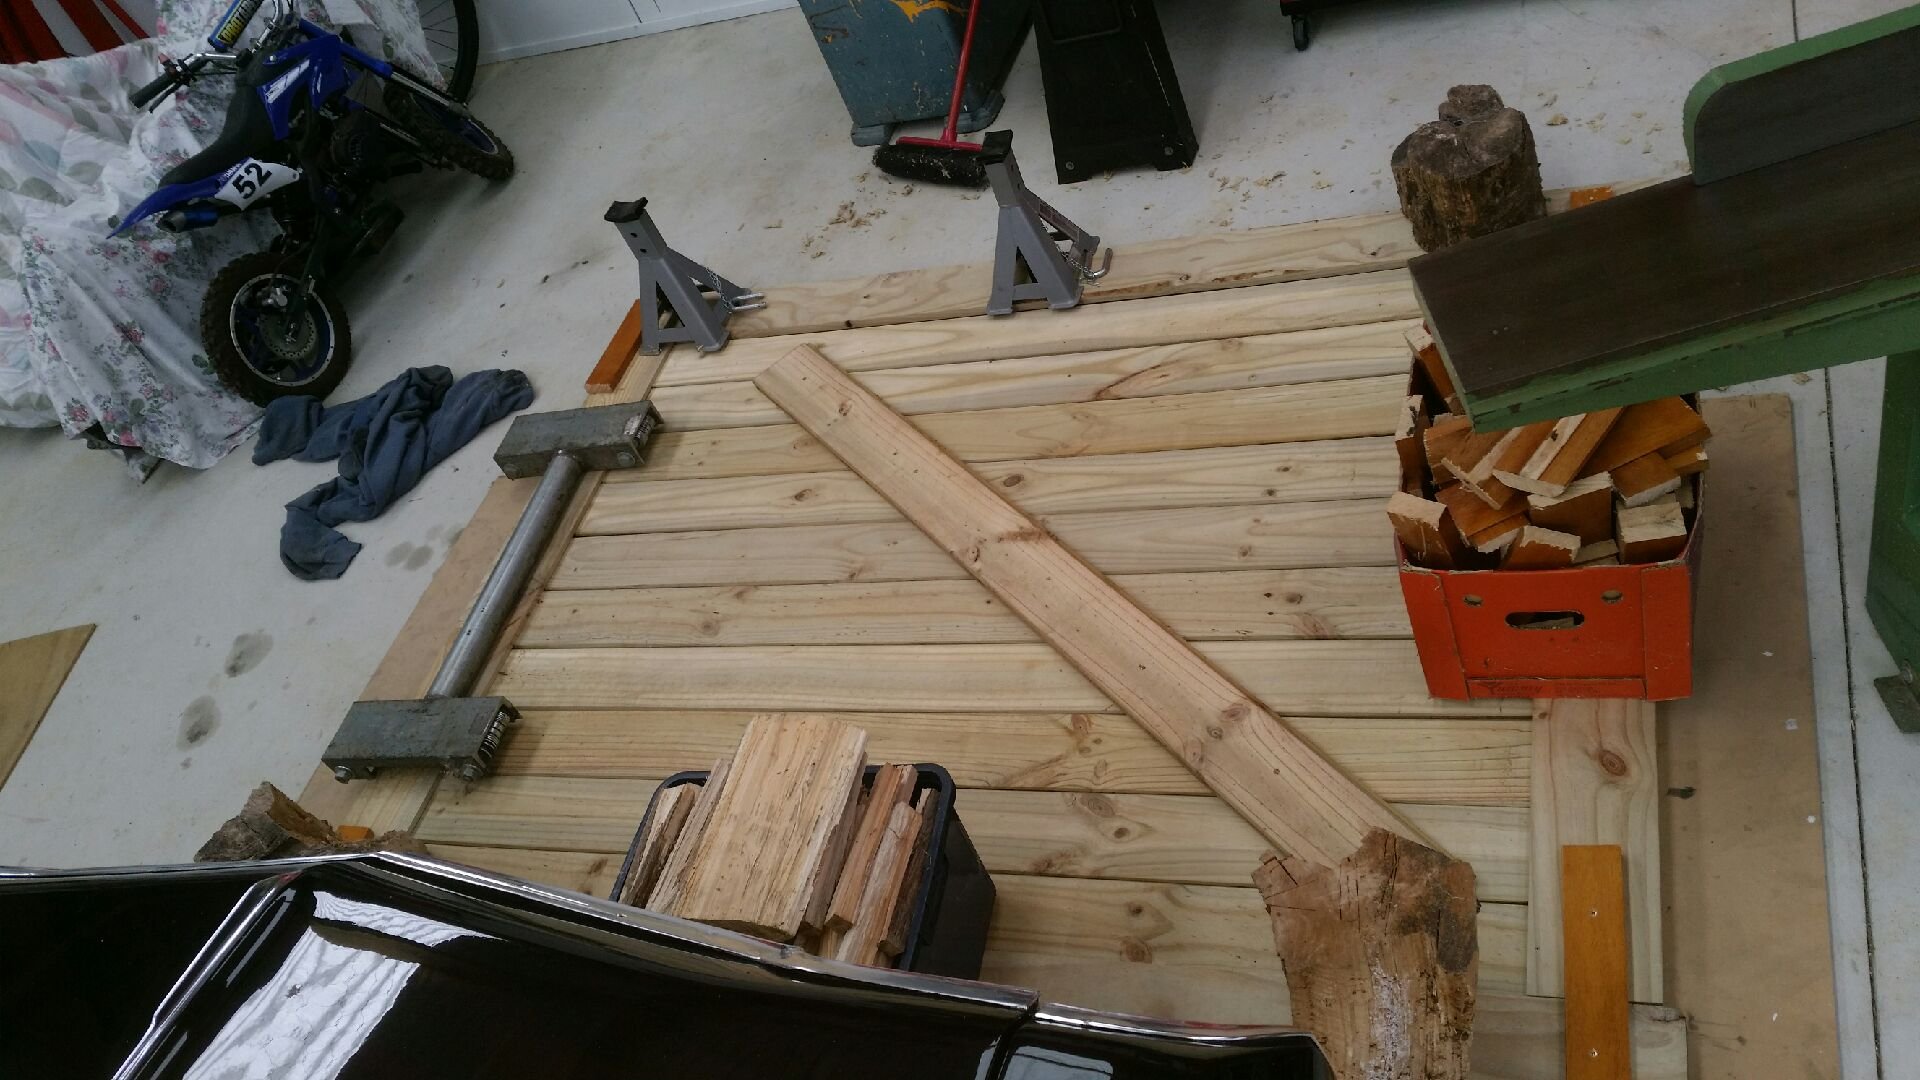
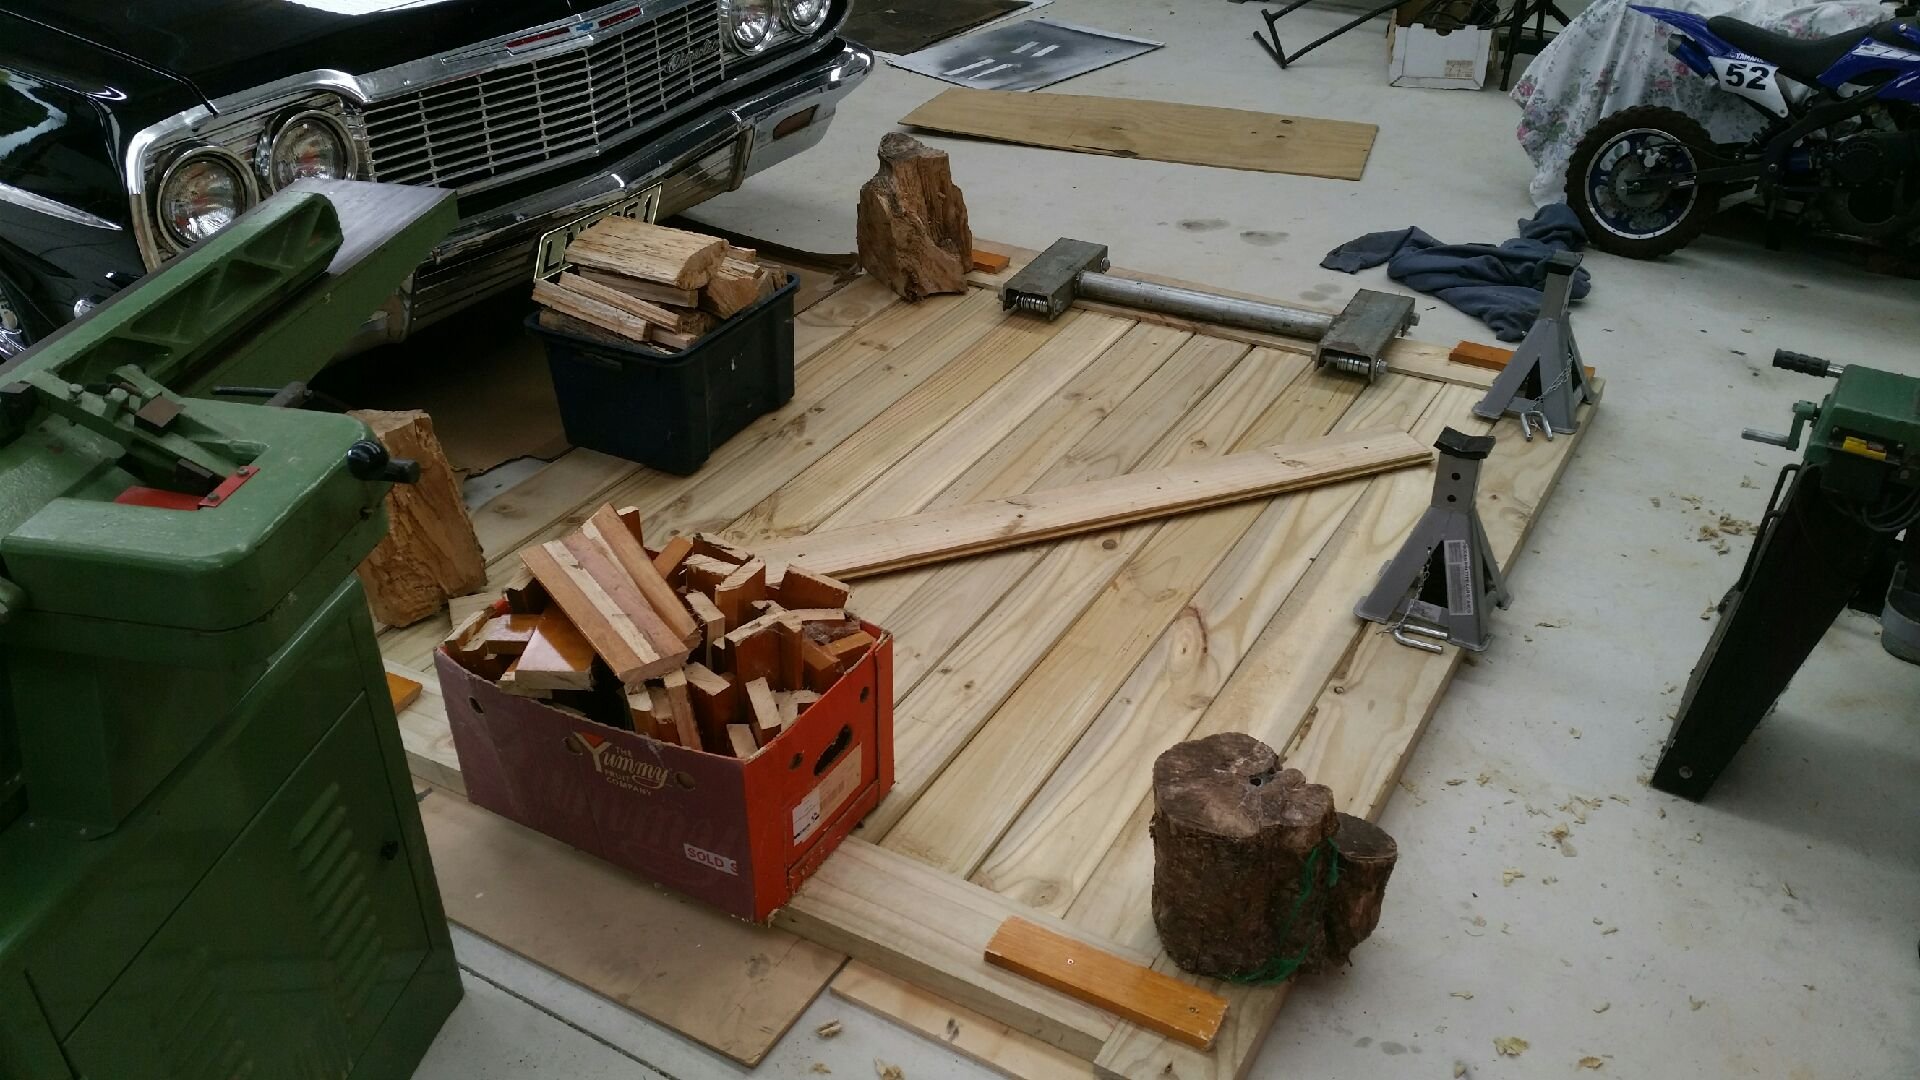
I'm having a go at making a (double) rustic sliding barn door. I had a look a at few options to buy one ready made and it was going to be a couple grand. So, off to bunnings... $200 in rough sawn timber later. Which was then run over my buzzer to bring it into shape and unify thickness etc. I'm trying to keep some character in this, so not looking to make it perfect, just a little nicer than the shit timber I picked up...but not as perfect as framing timber either. I was so absorbed in making this today I didn't remember to take photos along the way. But this is it all glued up on the floor. The diagonal and corners are just temporarily screwed on to hold it square while the glue dries. I'll call the above "stage 1". Next up is to make my own hardware, finish the door and hang it. Though those steps may be spread across a few more weeks to come.
-
Random slightly cool stuff you built but not worth its own thread, thread
Kimjon replied to h4nd's topic in Other Projects
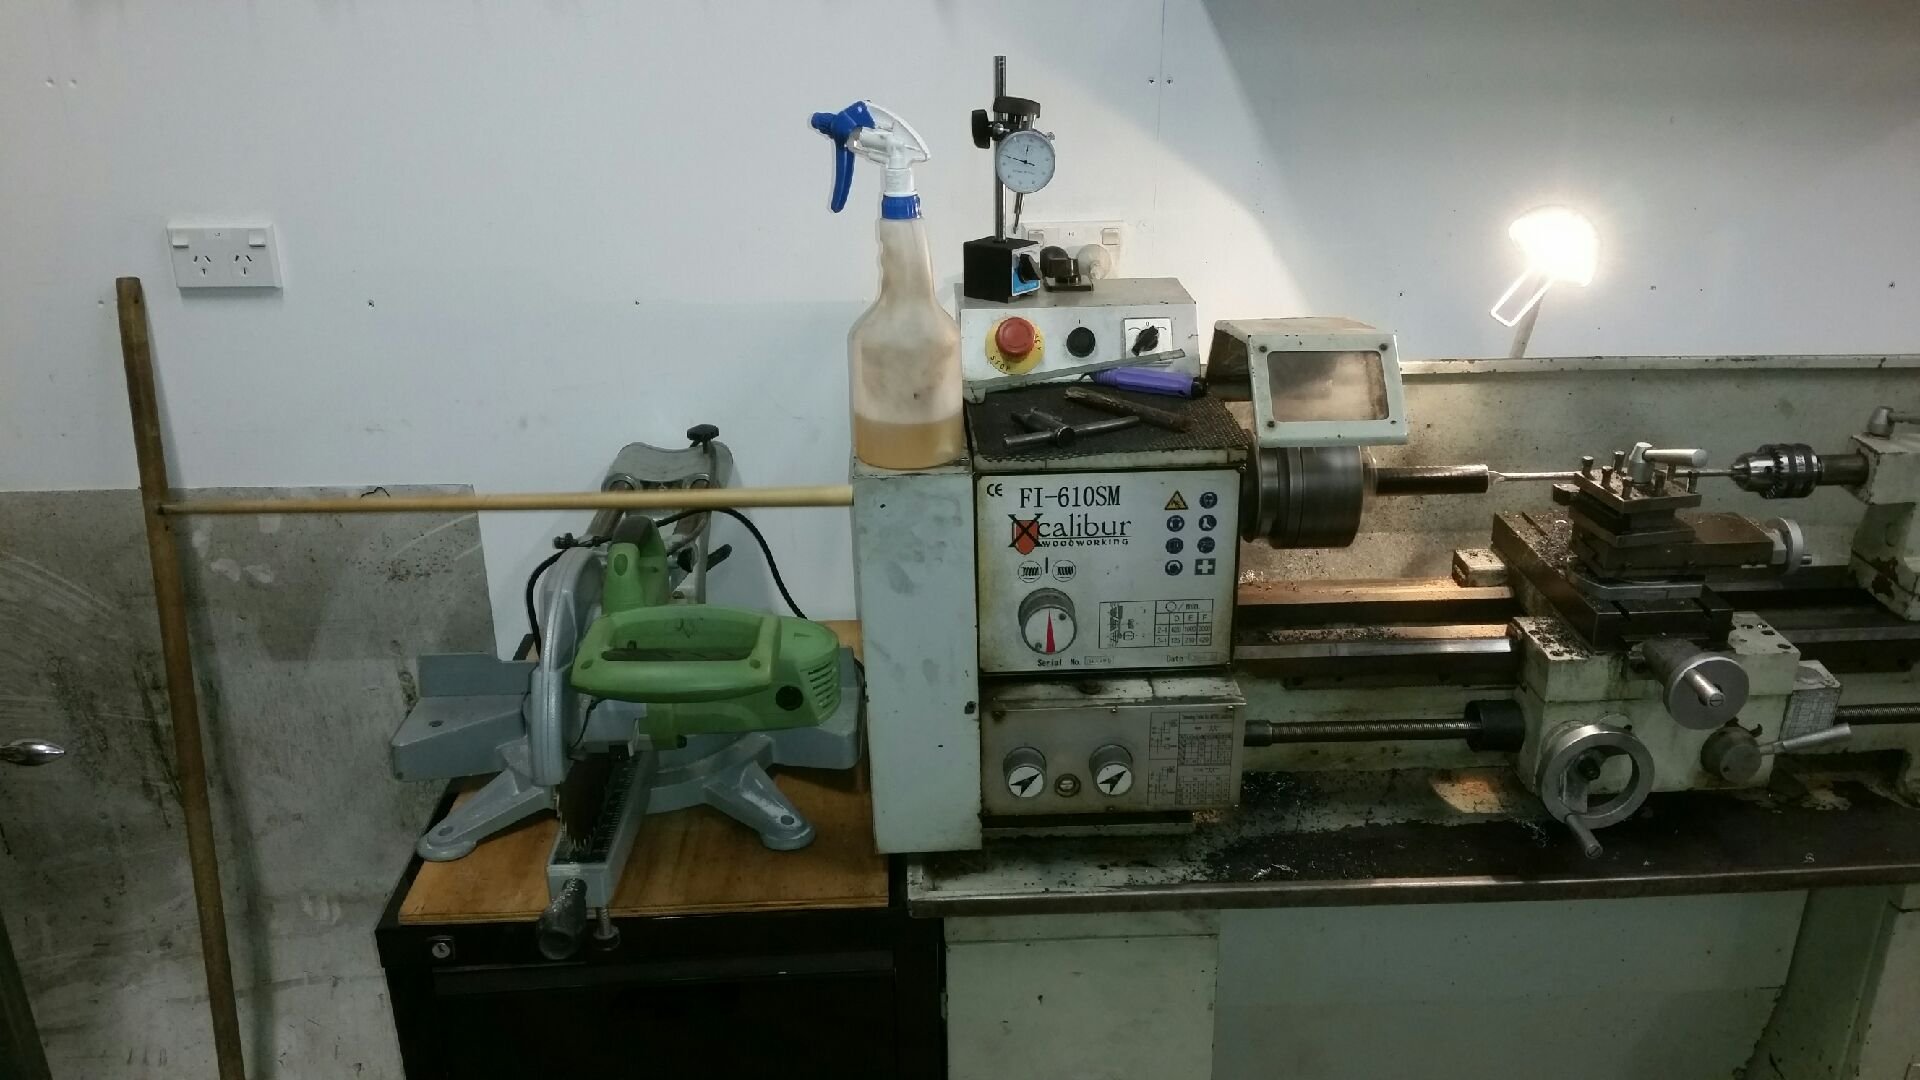
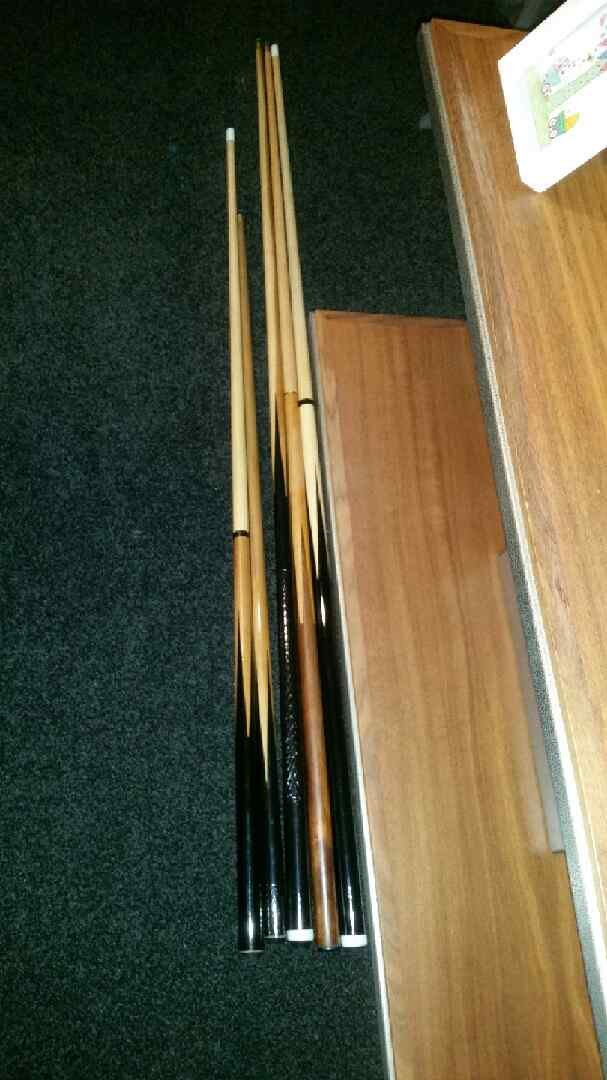
I was lucky enough to get a pool table. It's a childhood dream come true and despite not really having a big enough house to put it in, we do have a spare lounge that has no real purpose...so that's now my pool room (let's call it "a work in progress") Now there's one end of the table where the wall is a tad too close. Solution ...cut the cues down, or build a bigger house??? Okay, for now I think I'll just cut the cues down. Cue loaded in lathe. Boring a hole to stick the weight back into the butt of the cue. And there we have it. 2x shorties, 3x tall timber. Next on list is to make a pool cue rack and a sexy pool table light box thingy like the pubs have hanging above the tables.
-
Fuck yeah...looking awesome so far!
-
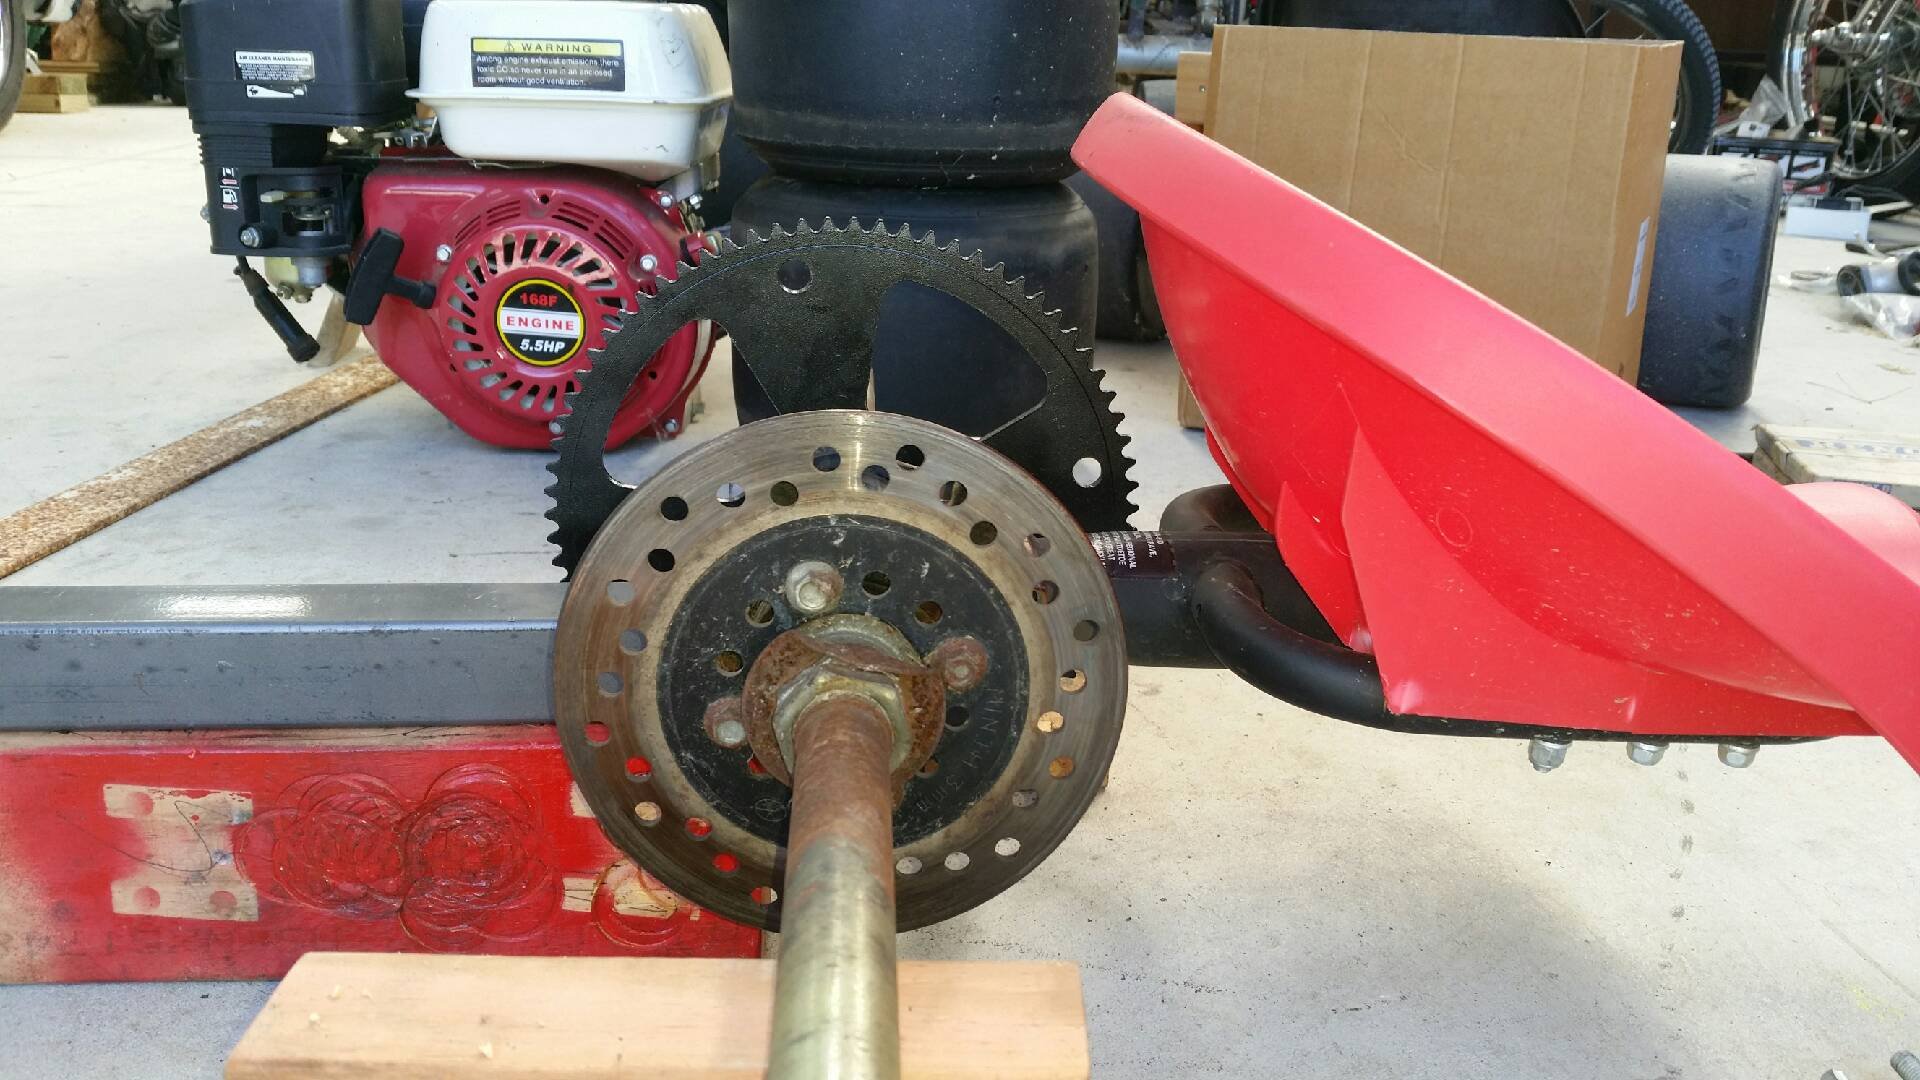
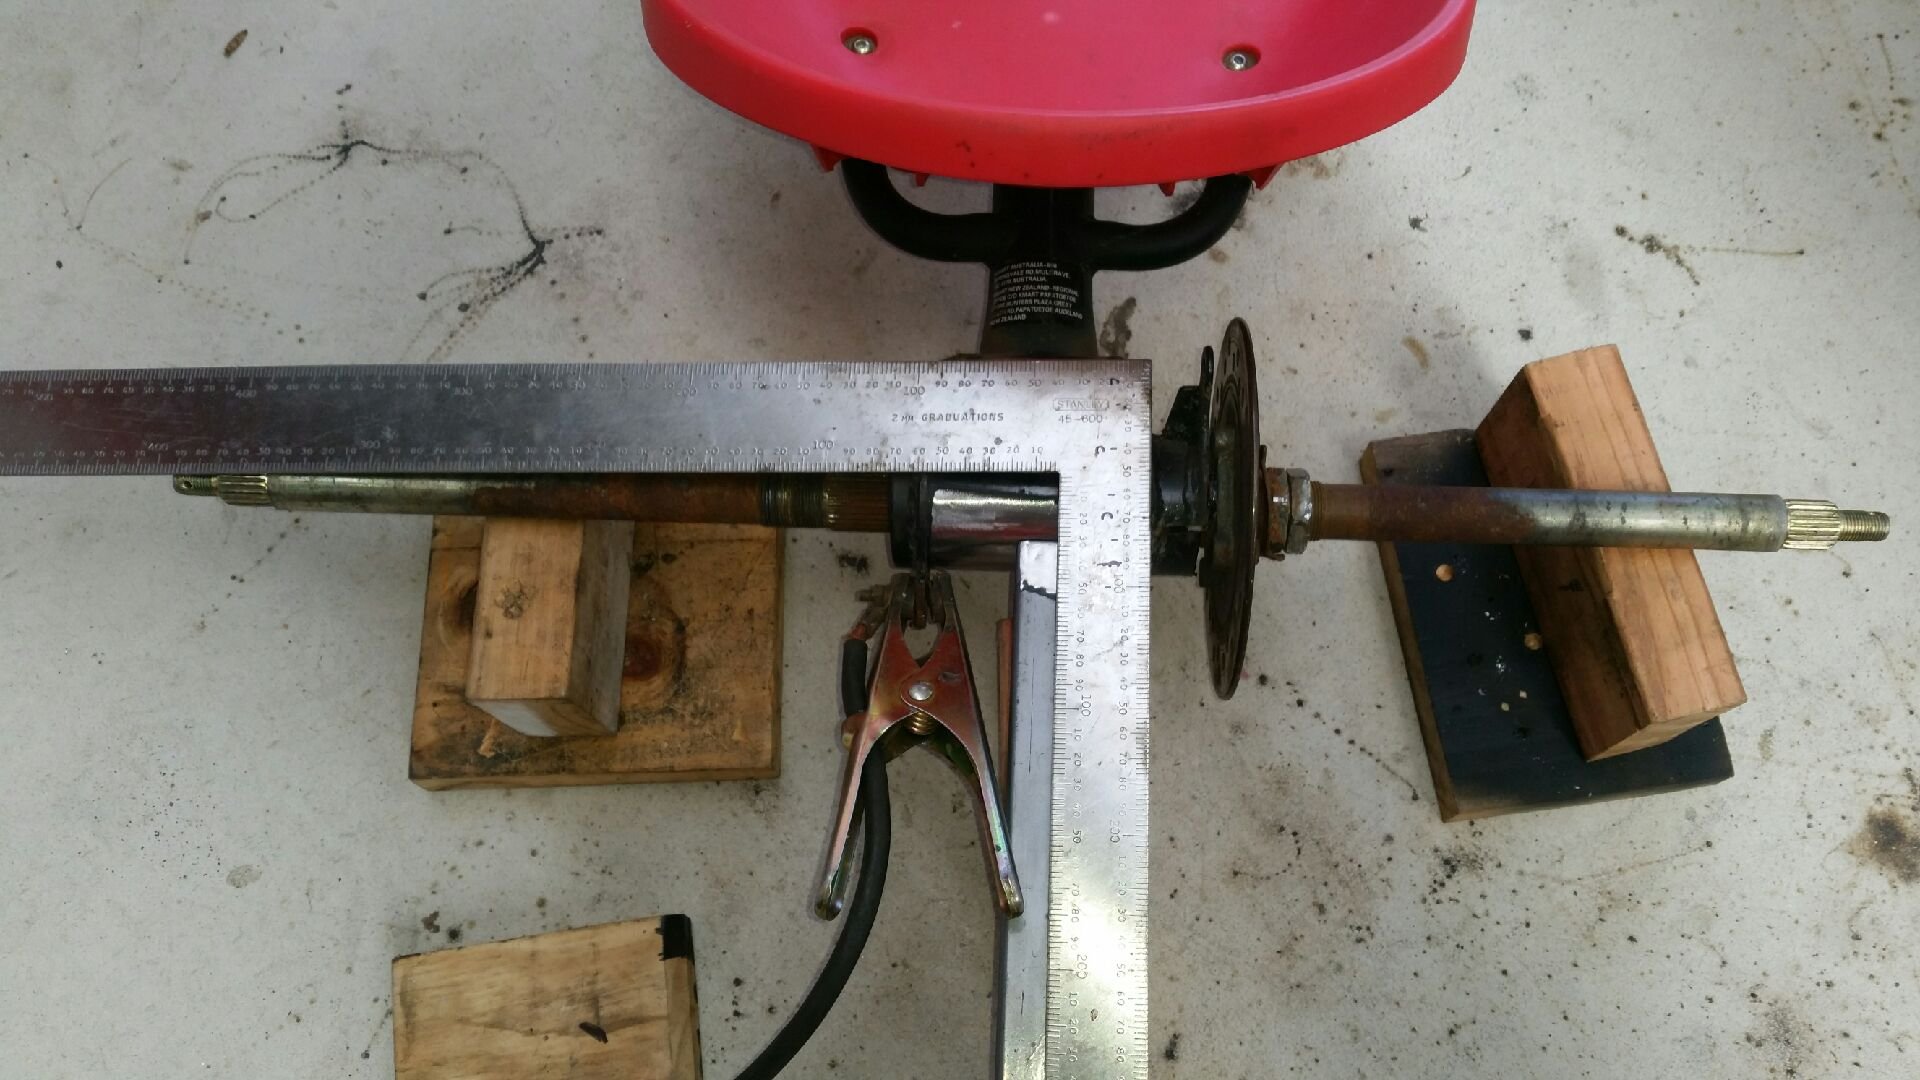
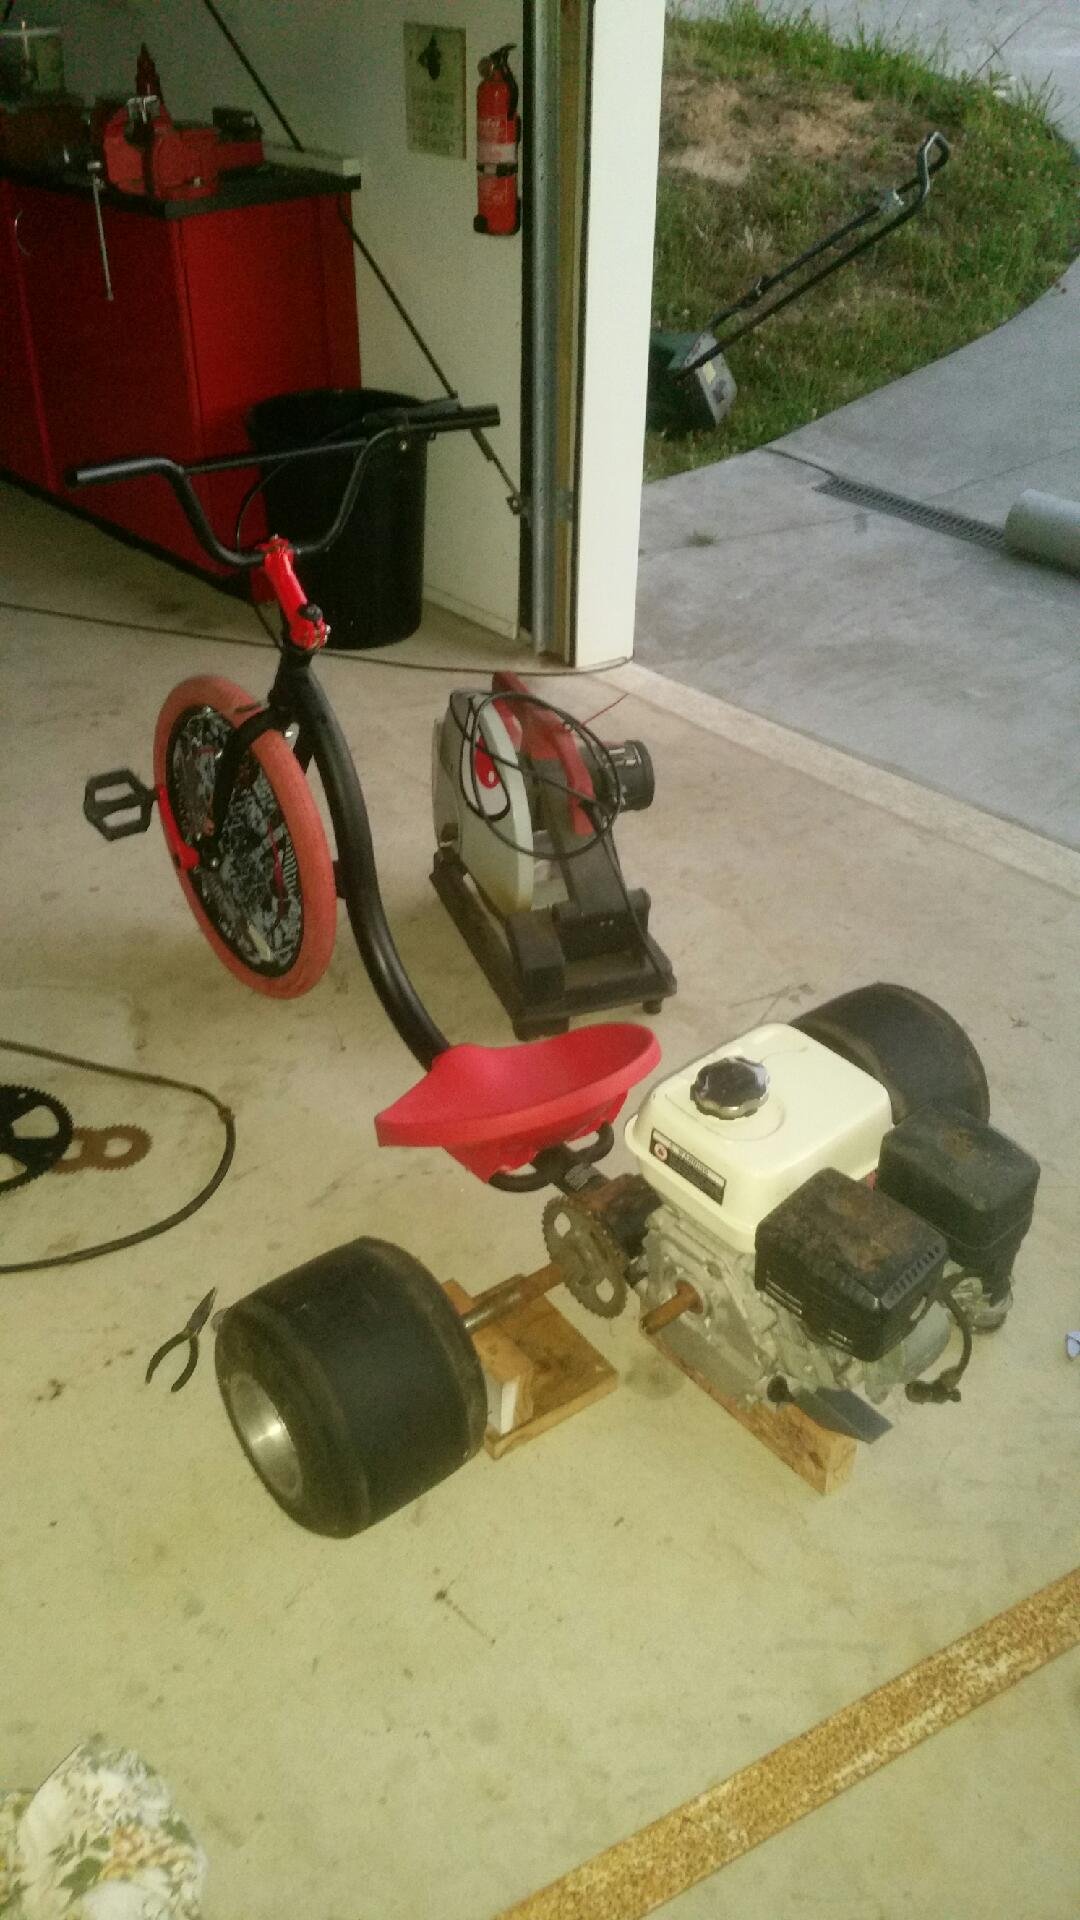
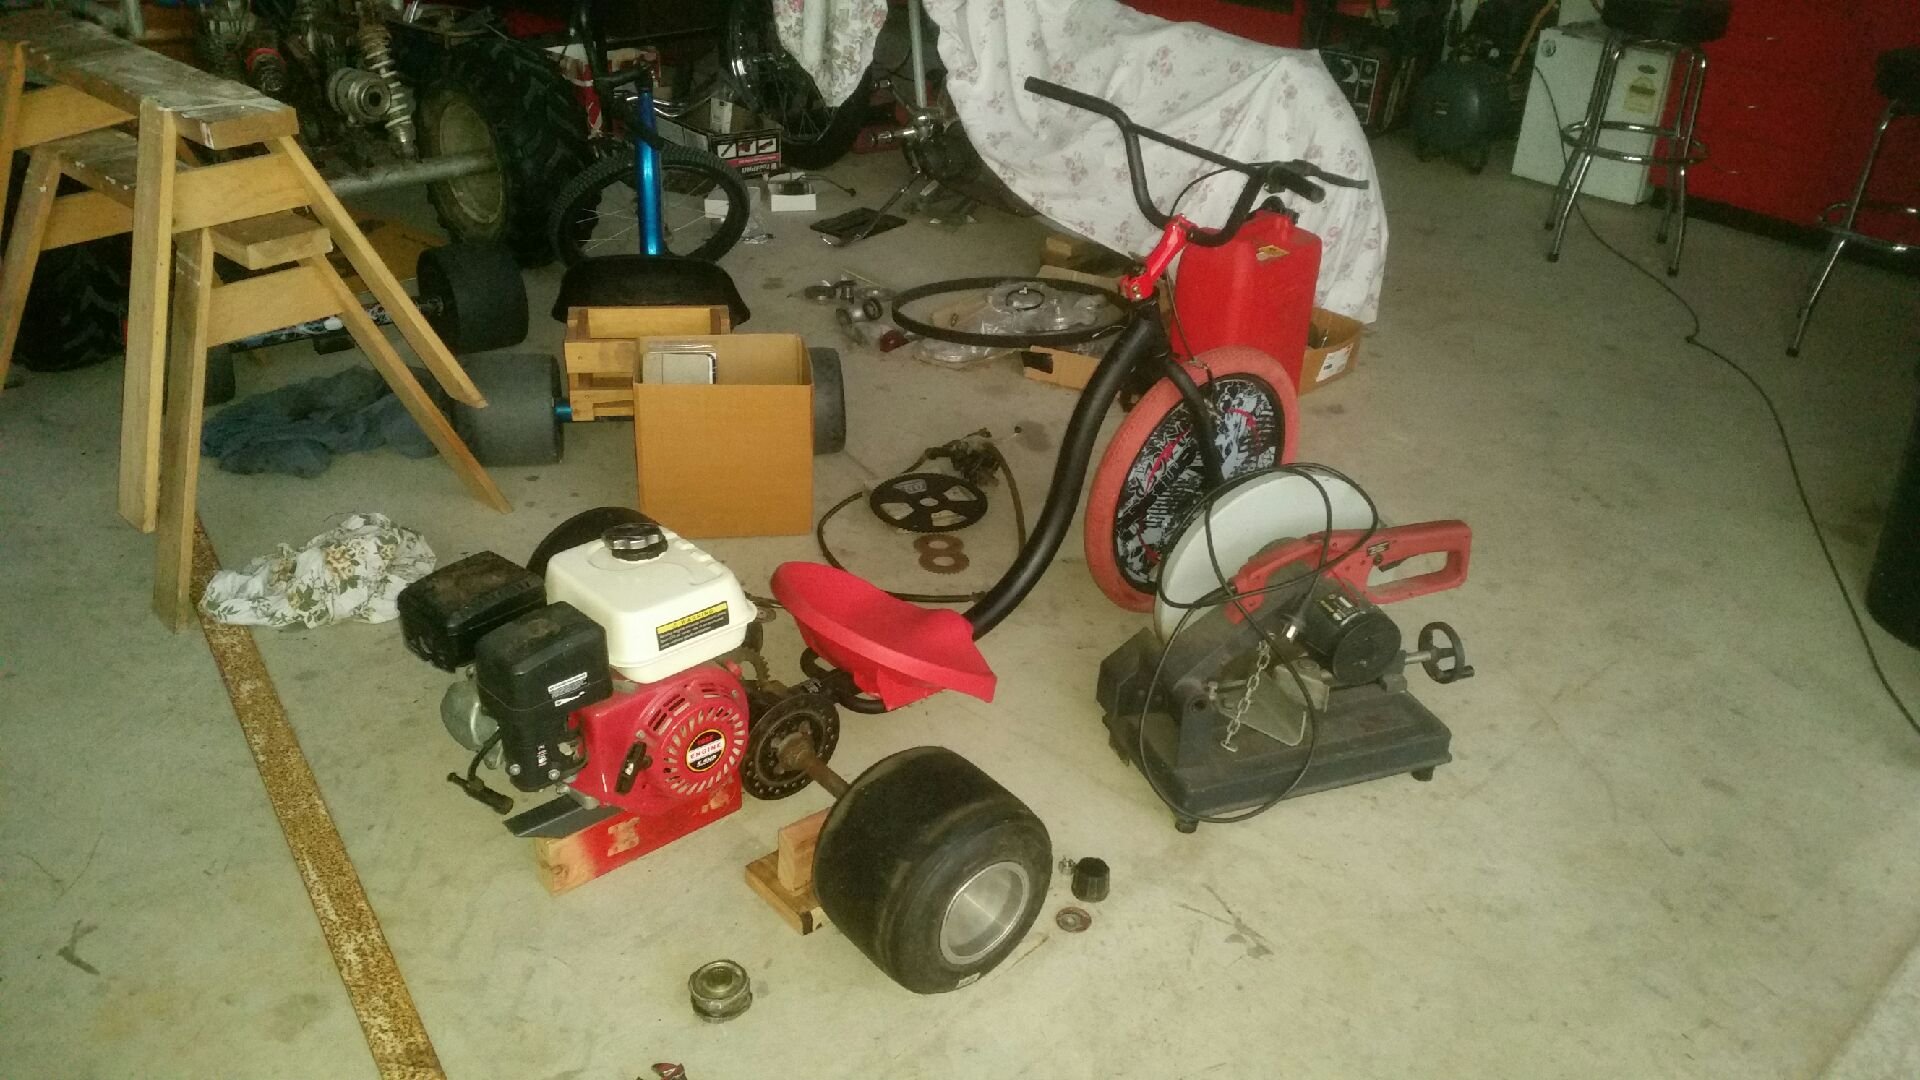
Neighbours will hate me...but got up early and got a fair bit done this morning. Sprocket swapped out for larger one. Looks simple but a fair amount of lathe work and milling was required. Engine mounts welded on. And wheel hub turned down and milled to fit, from 4 stud to 3 stud to match gokart hubs. And further mocked up for inspiration. Not done yet, but very close. Need a few cheap ebay parts to arrive to complete.
-
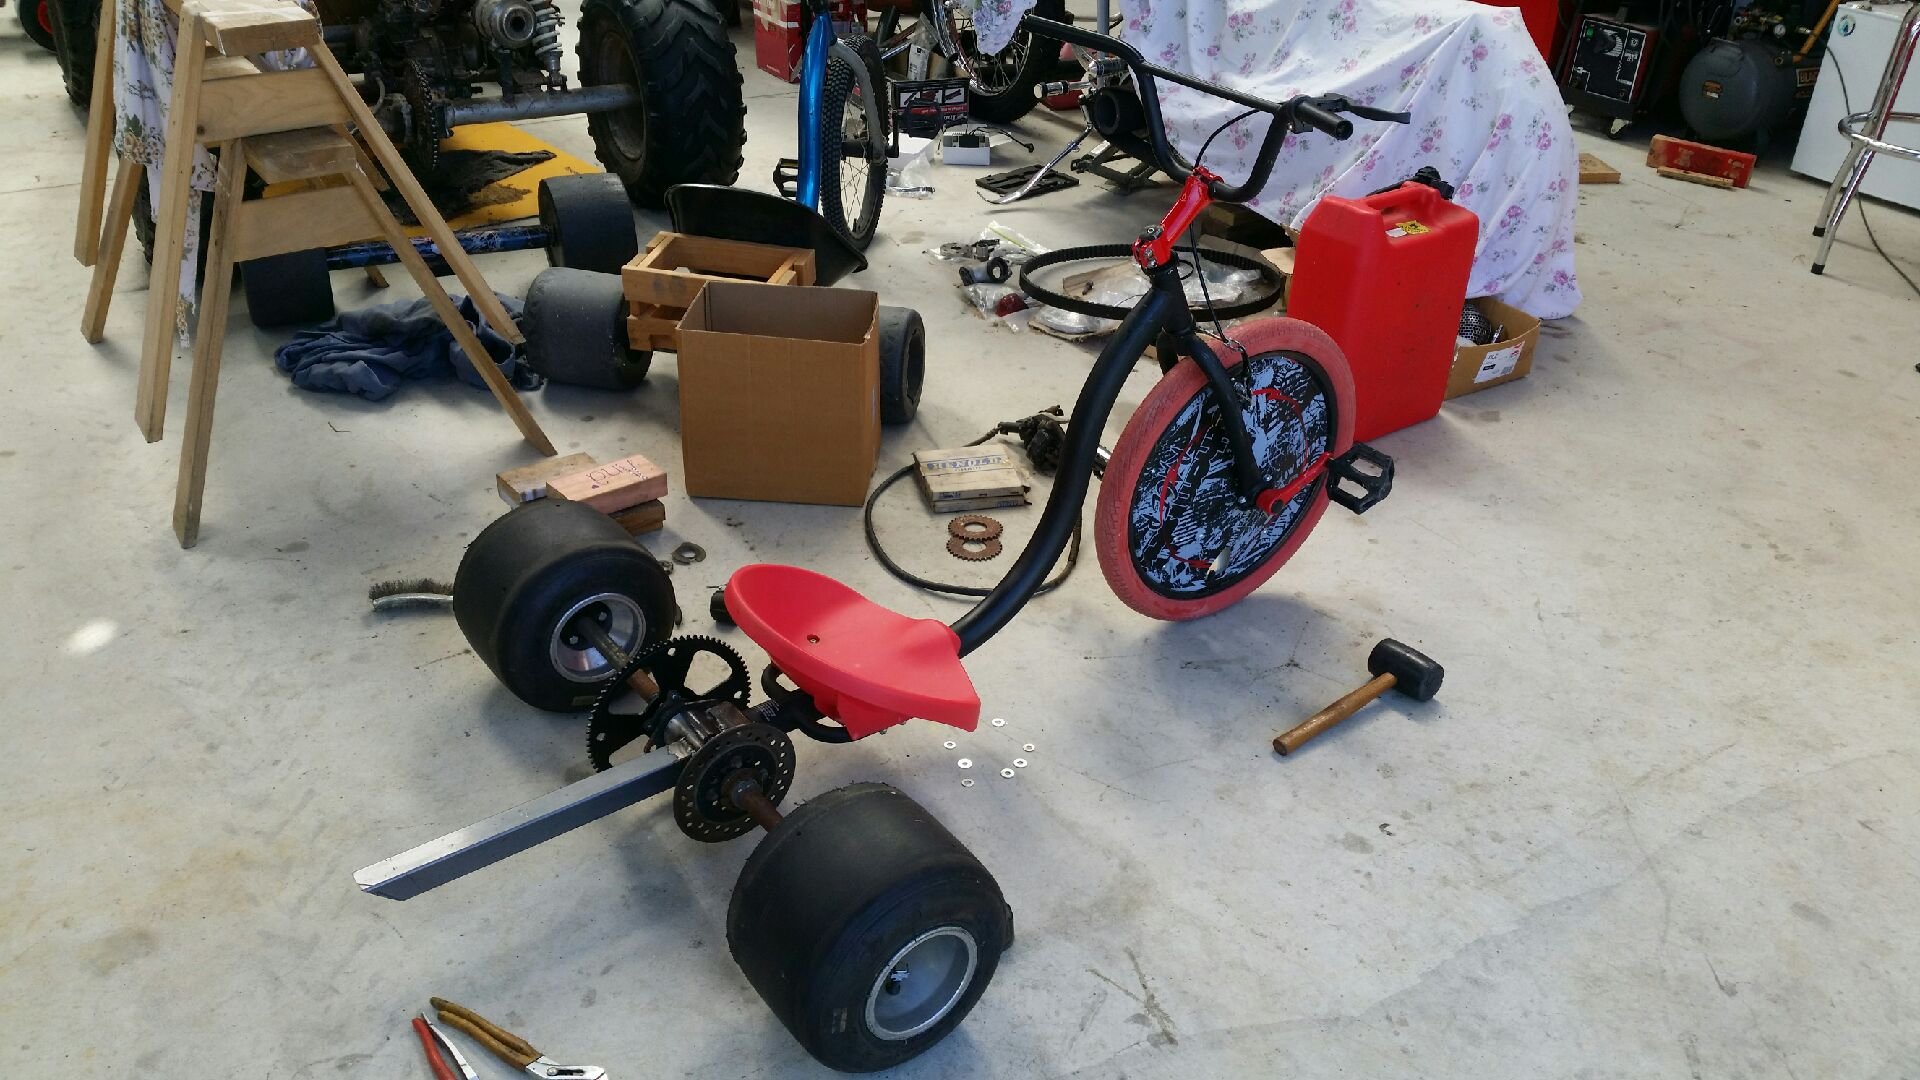
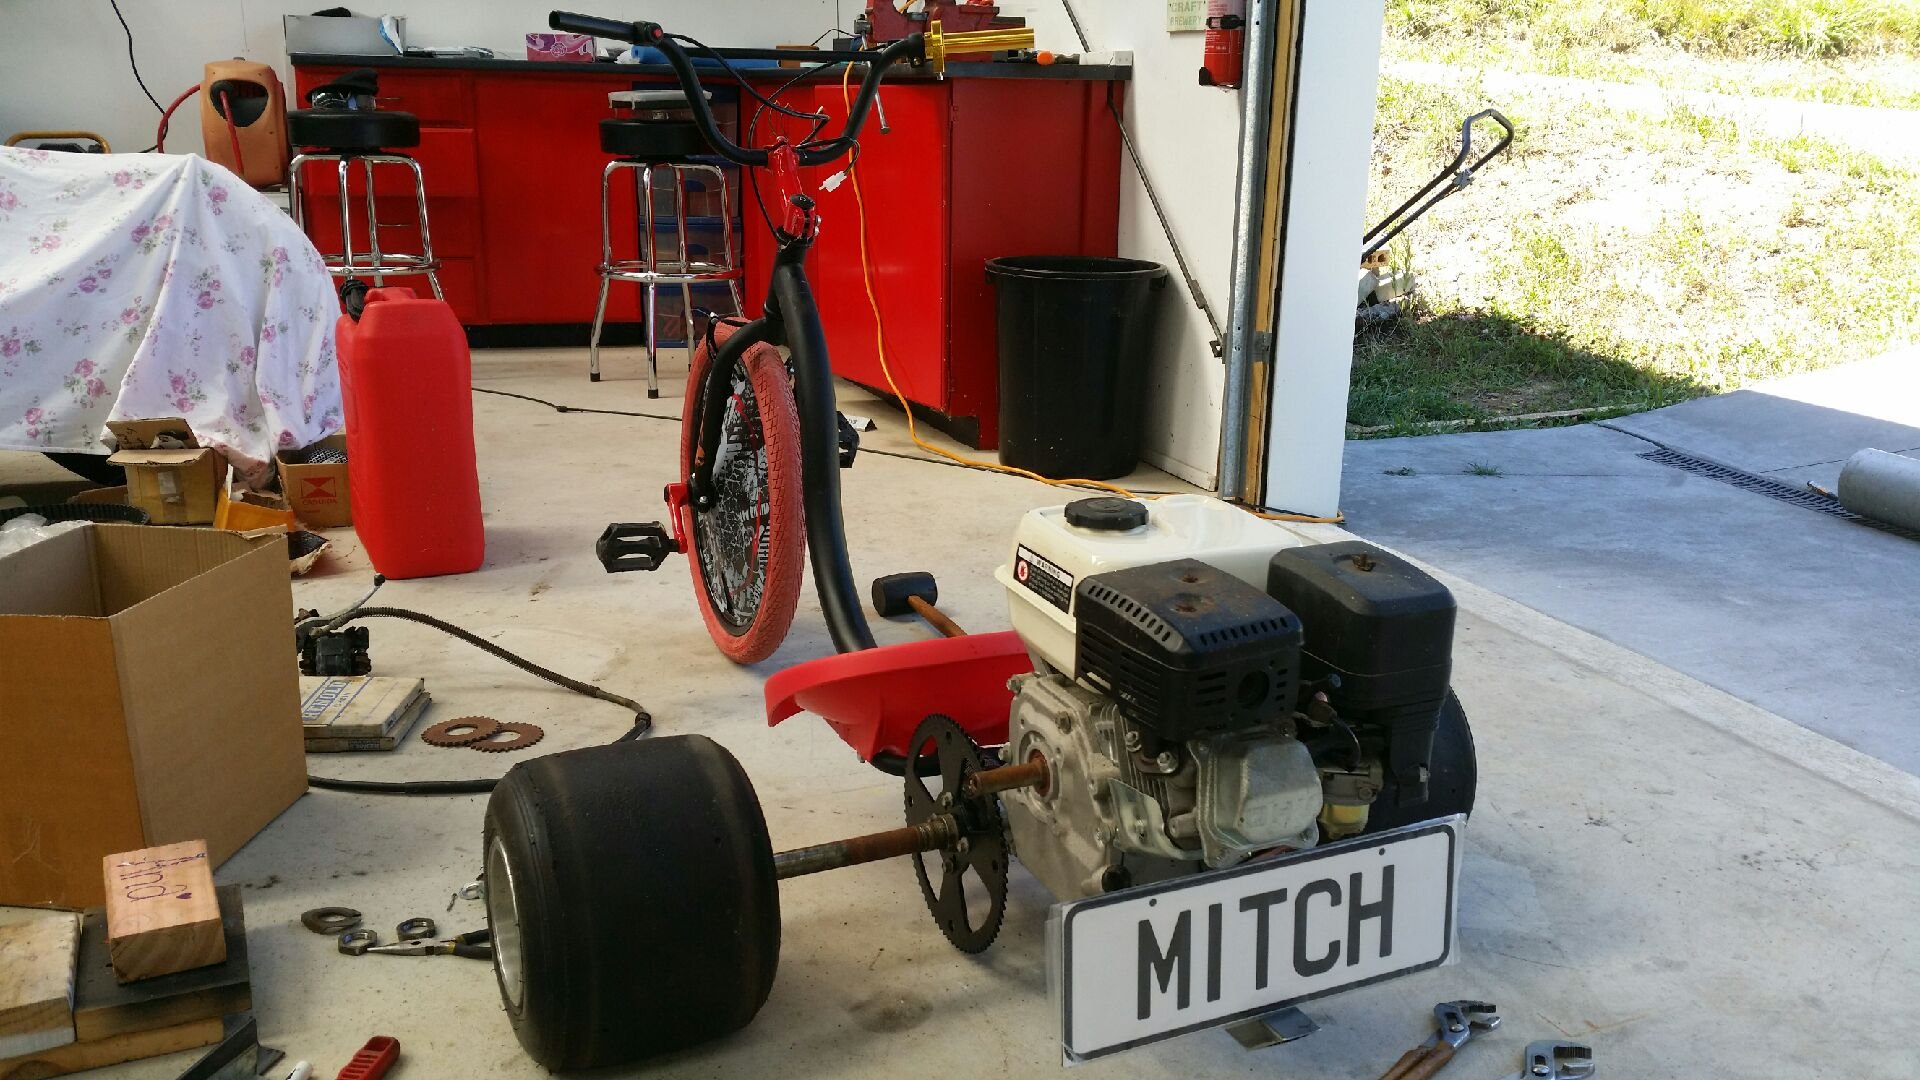
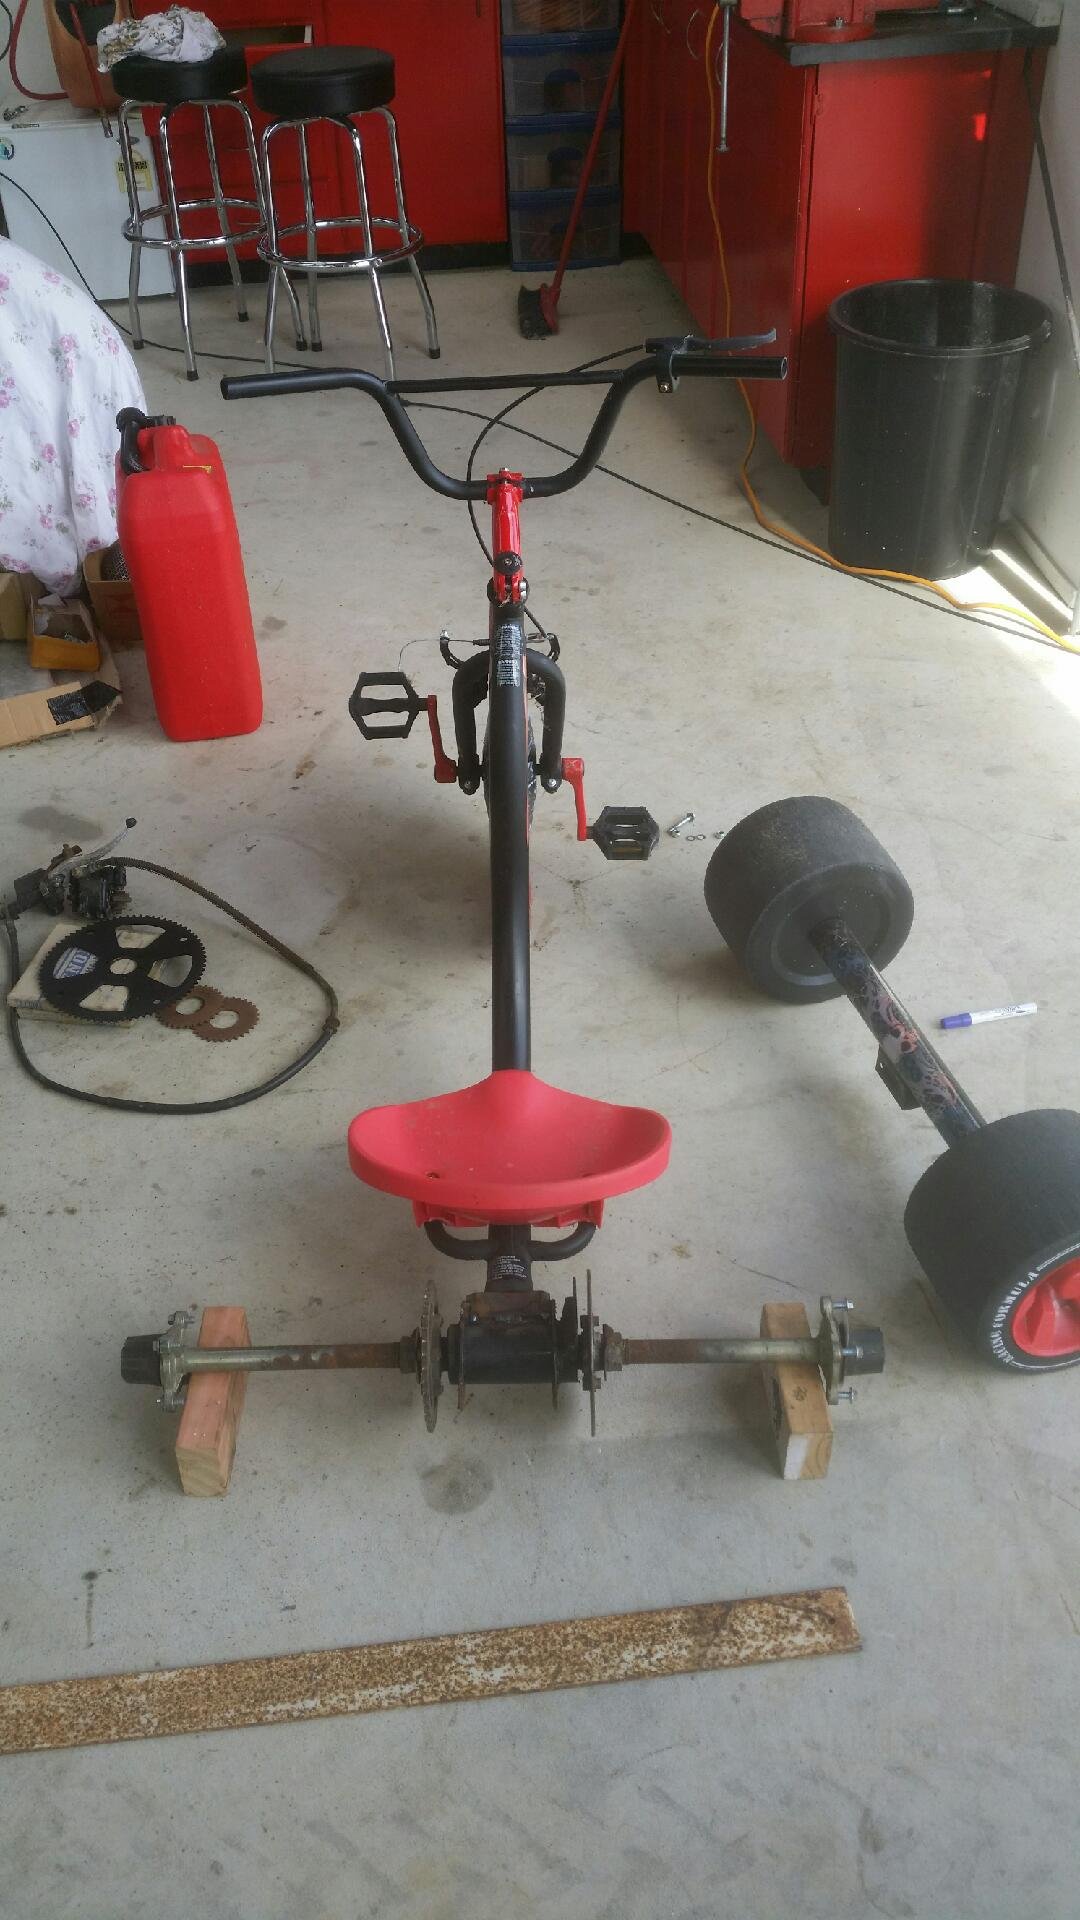
Couldn't help myself, kumeu swap meet provided just about everything I needed to make another one of these...so it'd be rude not to really? Going to roll with the red and black theme. Got this all done after work today...but still a bit to figure out.


.jpeg.ef59de6afbbf6f31315a91380539a132.jpeg)

.jpeg.9a37bc131bbda1b309ba67c93d0194c0.jpeg)