Flash
-
Posts
1,719 -
Joined
-
Last visited
-
Days Won
2
Content Type
Forums
Downloads
Events
Gallery
Everything posted by Flash
-
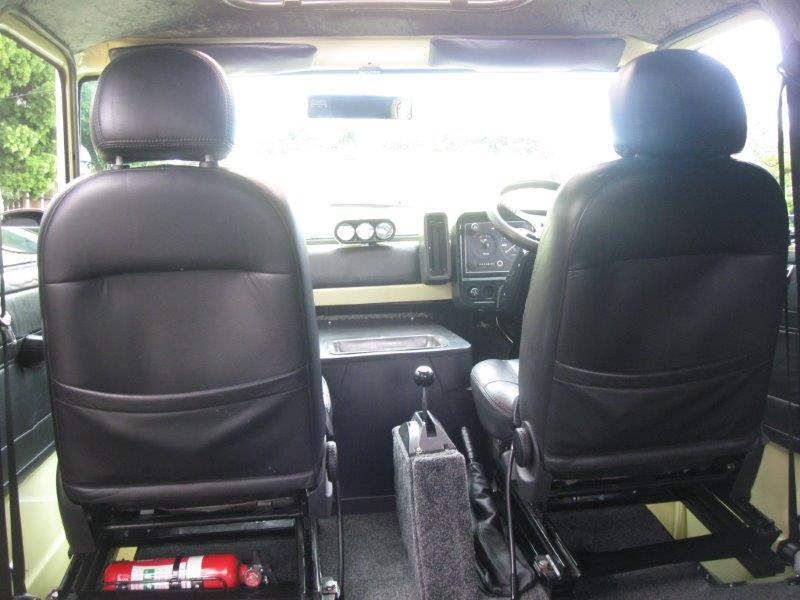
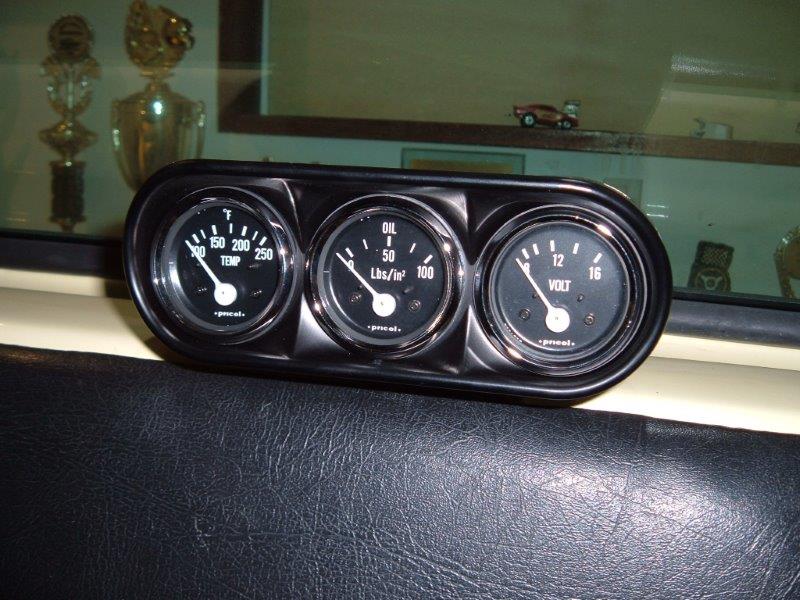
With the carpeting completed and the seats back in I made a crappy looking temporary cover for the Hurst Promatic 2 shifter that I had pulled from the donor van. I hate these shifters with a passion, so the plan was to swap it out for something more user friendly at a later stage. Note the small baking tray fitted to the new engine cover. It was much easier than trying to fabricate a tray. Apart from allowing easy access to check oil and transmission fluid levels without having to pull out the whole engine box, it also serves as a handy place to store mobile phones, keys and wallets so they don't slide about the place. I wanted to keep the original dashboard and instrument cluster, but was keen to fit some additional gauges. I managed to track down a NOS Jaeger 3 gauge pod in Crete of all places and sourced some older style Smiths lookalikes locally. They look the part but are about a third of the price of Smiths.

-
Lucas ? Surely you aren't referring to Lord Lucas the Prince of Darkness ? My van is blessed with many fine examples of his handiwork including a fuel gauge that hops around in time to the flasher unit pulse when I turn my indicators on. No amount of re-earthing seems to solve this. I think fondly of him every time a turn a corner.
-

Locost Bryan's 1972 Morris Marina TC Coupe
Flash replied to locost_bryan's topic in Project Discussion
That's them Bryan. I read an article in a magazine a good few years ago about two brothers who each bought a Can Am brand new and still owned them. The cars were absolutely original and they were getting offered big cash to part with them from an Aussie collector. Both brothers were in their late 50s or early 60s at that stage. I wonder what became of those cars. -
Locost Bryan's 1972 Morris Marina TC Coupe
Flash replied to locost_bryan's topic in Project Discussion
That Aussie one looks the business. The front reminds me a bit of the Firenza Can Ams that we had back in Africa. They were GM's answer to the Ford Capri Peranas that were also a South African developed car. Sadly most of those Can Ams are long gone now. -
Hey Bryan, it was really good chatting to you last night. We are looking forward to catching up with you again next month. Hopefully we get to see the Marina in the flesh pretty soon too. If you aren't doing anything next Sunday please come along to Caffeine & Classics at Smales Farm. That will really inspire you.
-
Wylde's '84 Holden Statesman DeVille series II
Flash replied to KKtrips's topic in Project Discussion
Jeez, I paid less than that for a brand new 350 crate engine including all of the bolt on bits and pieces. I'm glad you got sorted with a replacement unit. -
No worries Shaneo, I'll catch up with you another time.
-
Shaneo, I spent a bit of time perving over your van at last month's burger night, but sadly didn't get a chance to chat to you. I sure hope you are bringing it along tonight. I love those original side panels.
-
Stylez' - '59 Borgward hansa kombi's - discussion
Flash replied to stylez's topic in Project Discussion
Its great to see something really different. I'm looking forward to reading your updates. -
Anyone else vanning tonight ? Don't want yella feeling lonely.
-
Epic build Westy, thanks for sharing.
-
Wednesday night.
-
Its going to be cool watching the finished show. You bringing one of the vans to this week's burger night browndog ?
-
I've got a strange feeling that your van and my van are going to be starring in the same mini series. Mine is being used by the baddies though.
-
More like desperation.
-
Awesome work browndog, looks like I've met my match. Good on you, can't wait to see how this turns out.
-
Yep, the bugger with a 911 is that when the clutch goes you can select as many gears as you want, but the car ain't moving. Money was already flowing onto the wreck repairs, so we were on the bones of our arse. No other option but to bite the bullet. We must be the only folk who ever paid off a 911 clutch and pressure plate over six months on a credit card.
-
Mrs Flash says cheers Joker. Its not really relevant to the build thread but she ended up both National and Regional Champion in her racing class that year using my road car to finish the second half of the season. There were some additional adventures along the way including a blown clutch on my road car at the same track where the accident took place with Mrs Flash undertaking a 700 km tow rope trip home behind the 924 which we still owned at the time. She is a gutsy lady but can be pretty high maintenance in the garage department. When our next door neighbor first saw the wreck and heard the story he said "Thank God my missus loves sewing"
-
Yeah, John is a really good guy. He was more interested in getting the car right than in making any money on the job. I didn't mention it in the build thread but once the measurements had been confirmed he got his team to seam weld the entire front section.
-
Hey Snoozin, it was all self inflicted pain I can assure you. We still had about 2 years worth of payments to make on the car when it got wrecked, so there wasn't much of a choice for us.
-
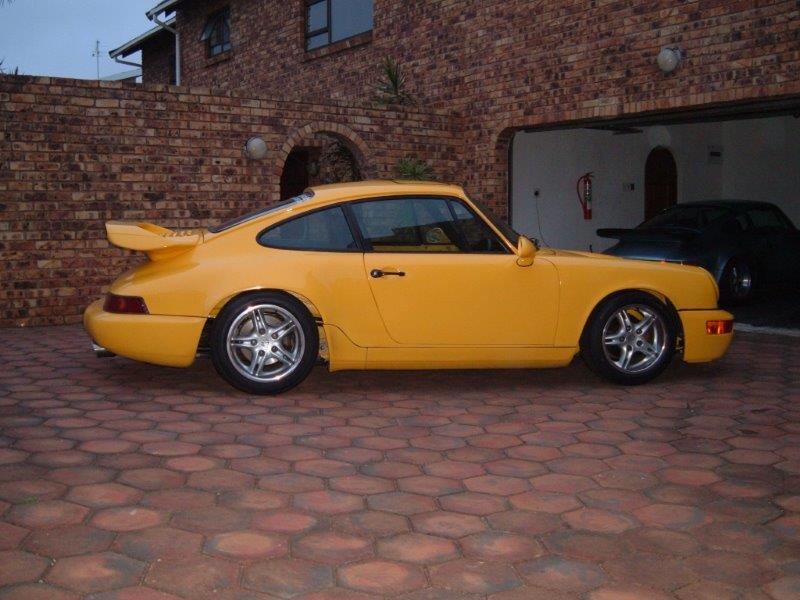
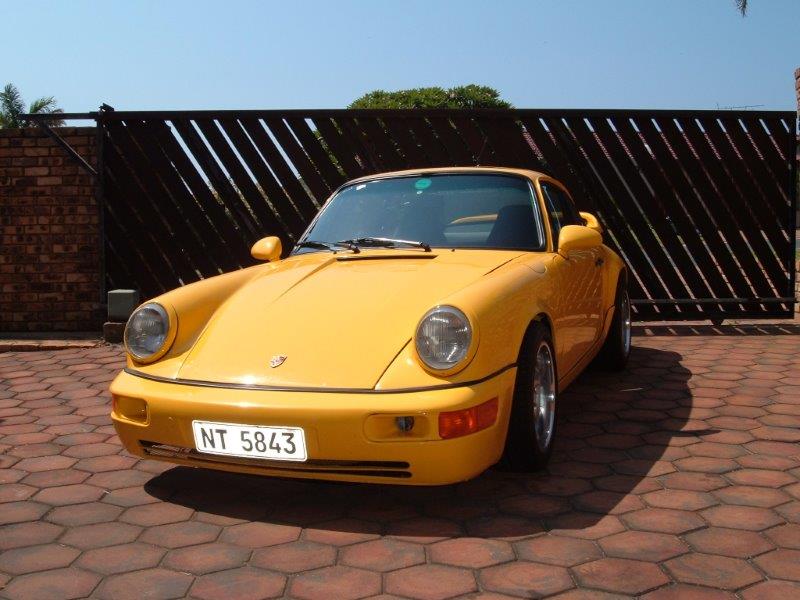
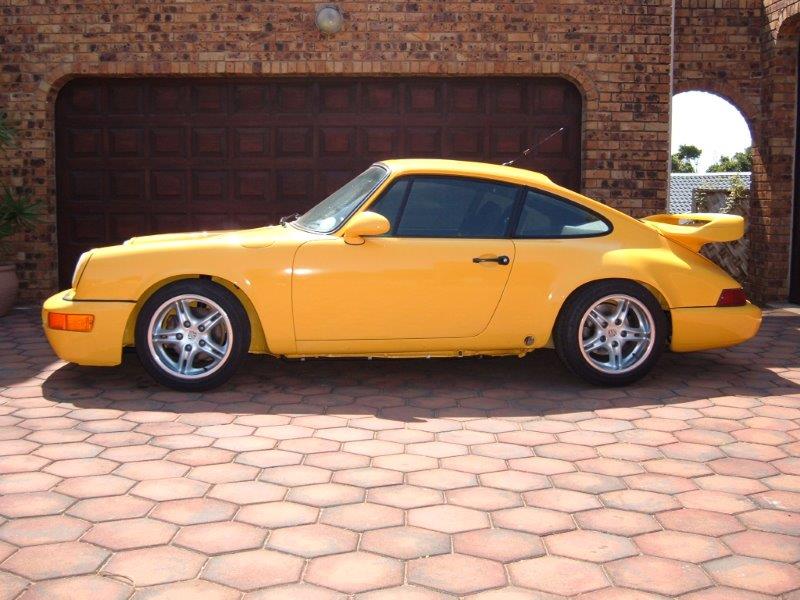
RUF yellow bird, now that is a machine of note !!
-
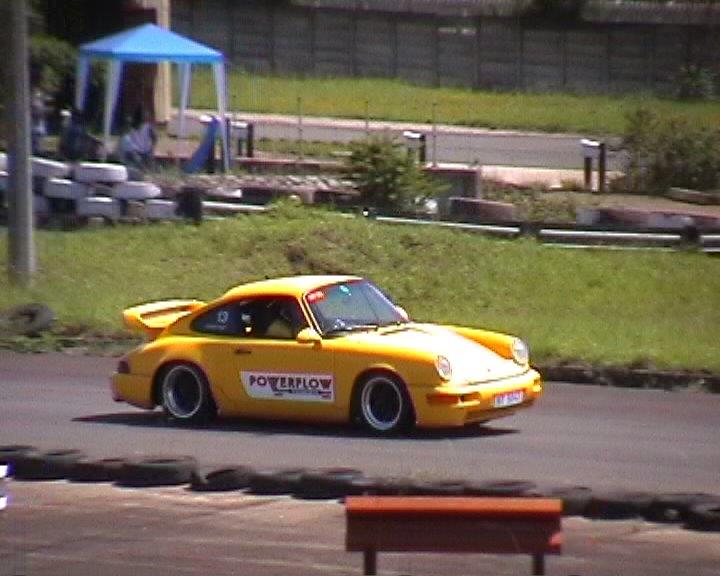
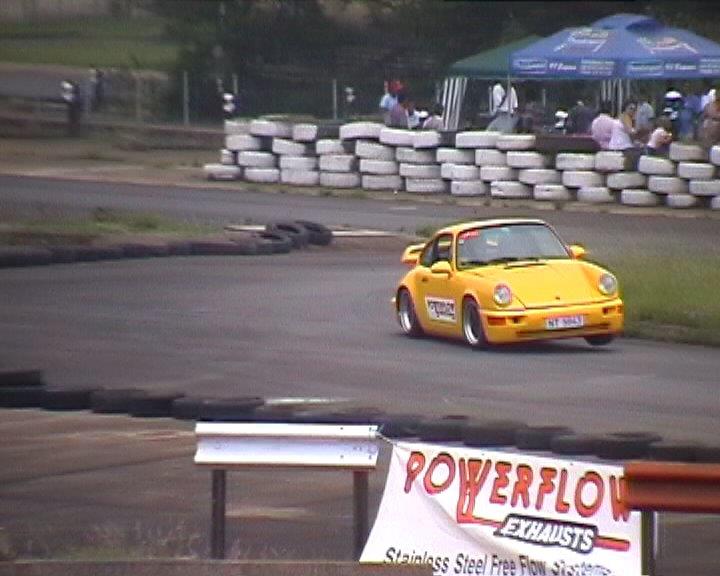
An finally a few grainy pictures of the Yellow Peril back in action.
- 17 replies
-
- 15
-

-
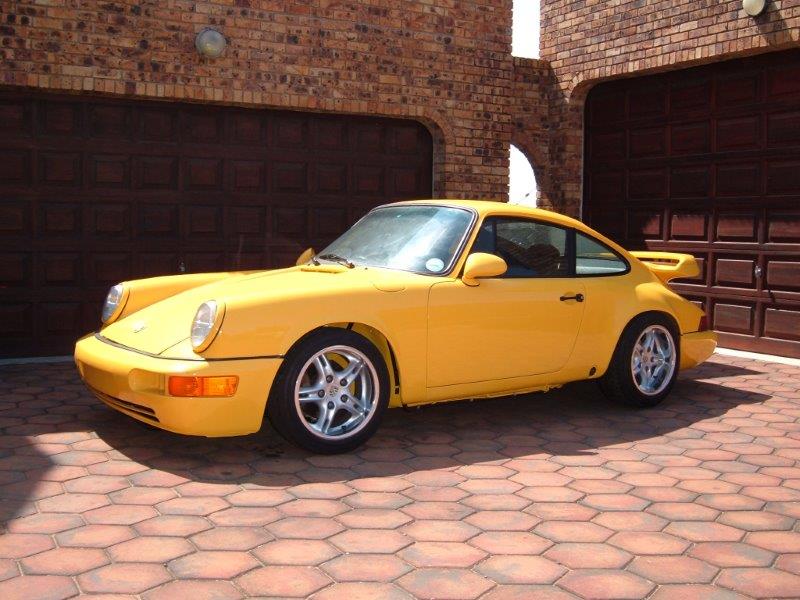
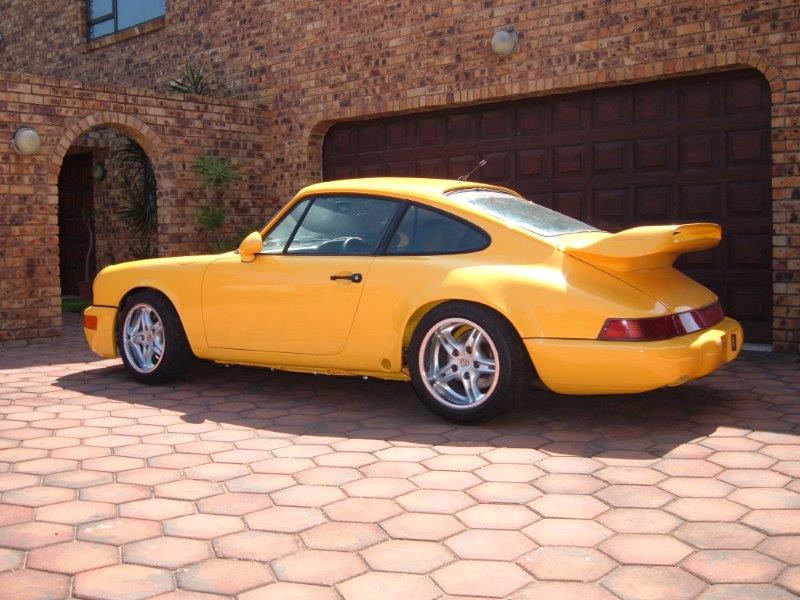
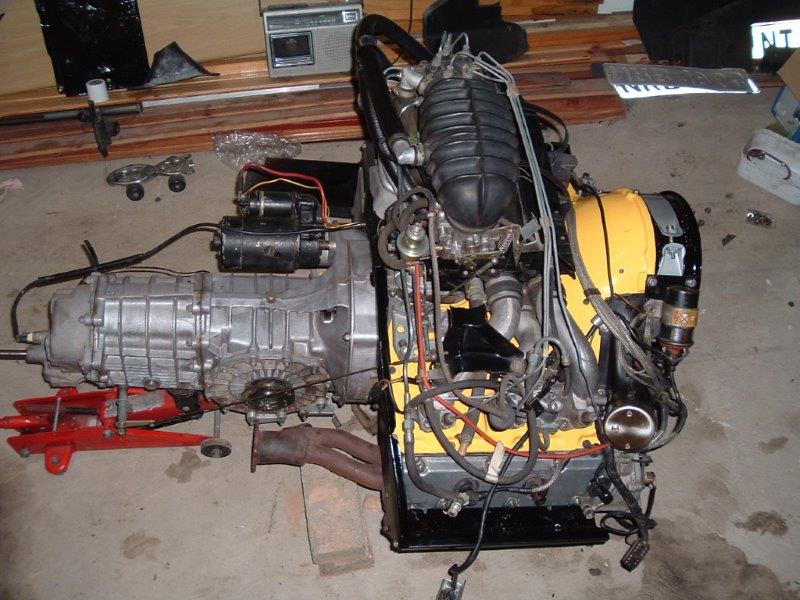
And the final reveal.
-
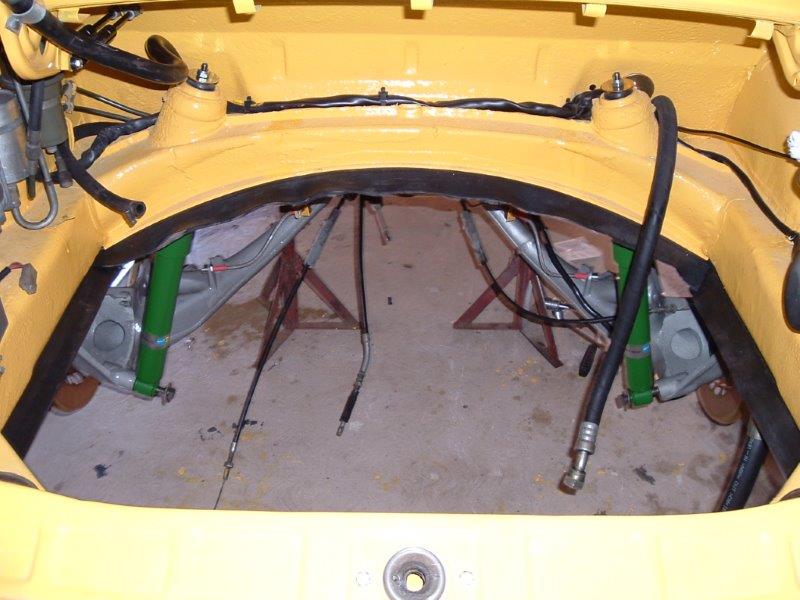
With the assembly almost complete and the car back on its wheels, it was time to fire it up and get it out of the shed. The side skirts still needed to go on at this stage.
-
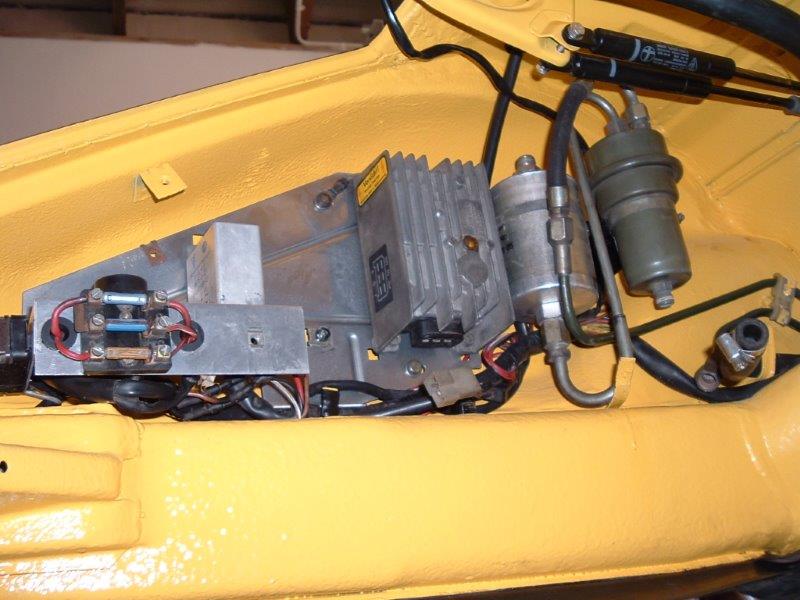
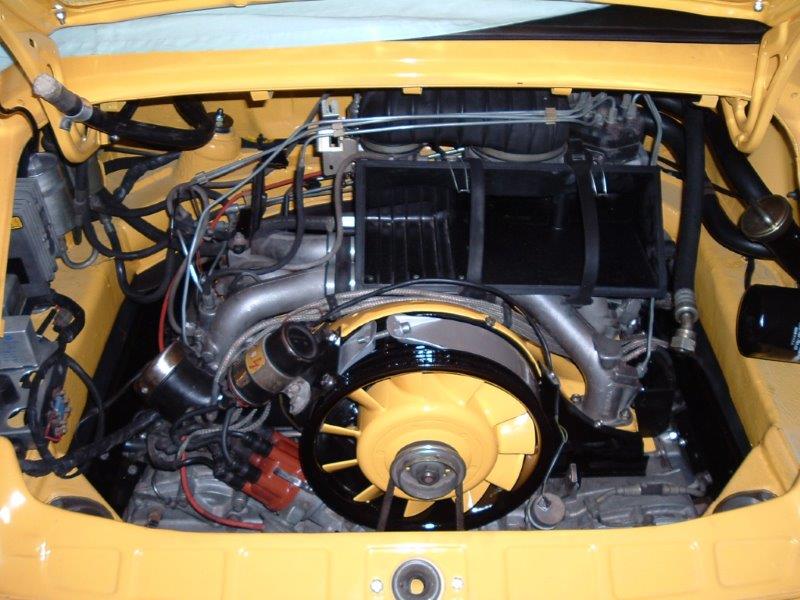
I also did a quick tidy up of the engine bay before re installing the engine and gearbox.