a.craw4d
-
Posts
4,099 -
Joined
-
Last visited
Content Type
Forums
Downloads
Events
Gallery
Everything posted by a.craw4d
-
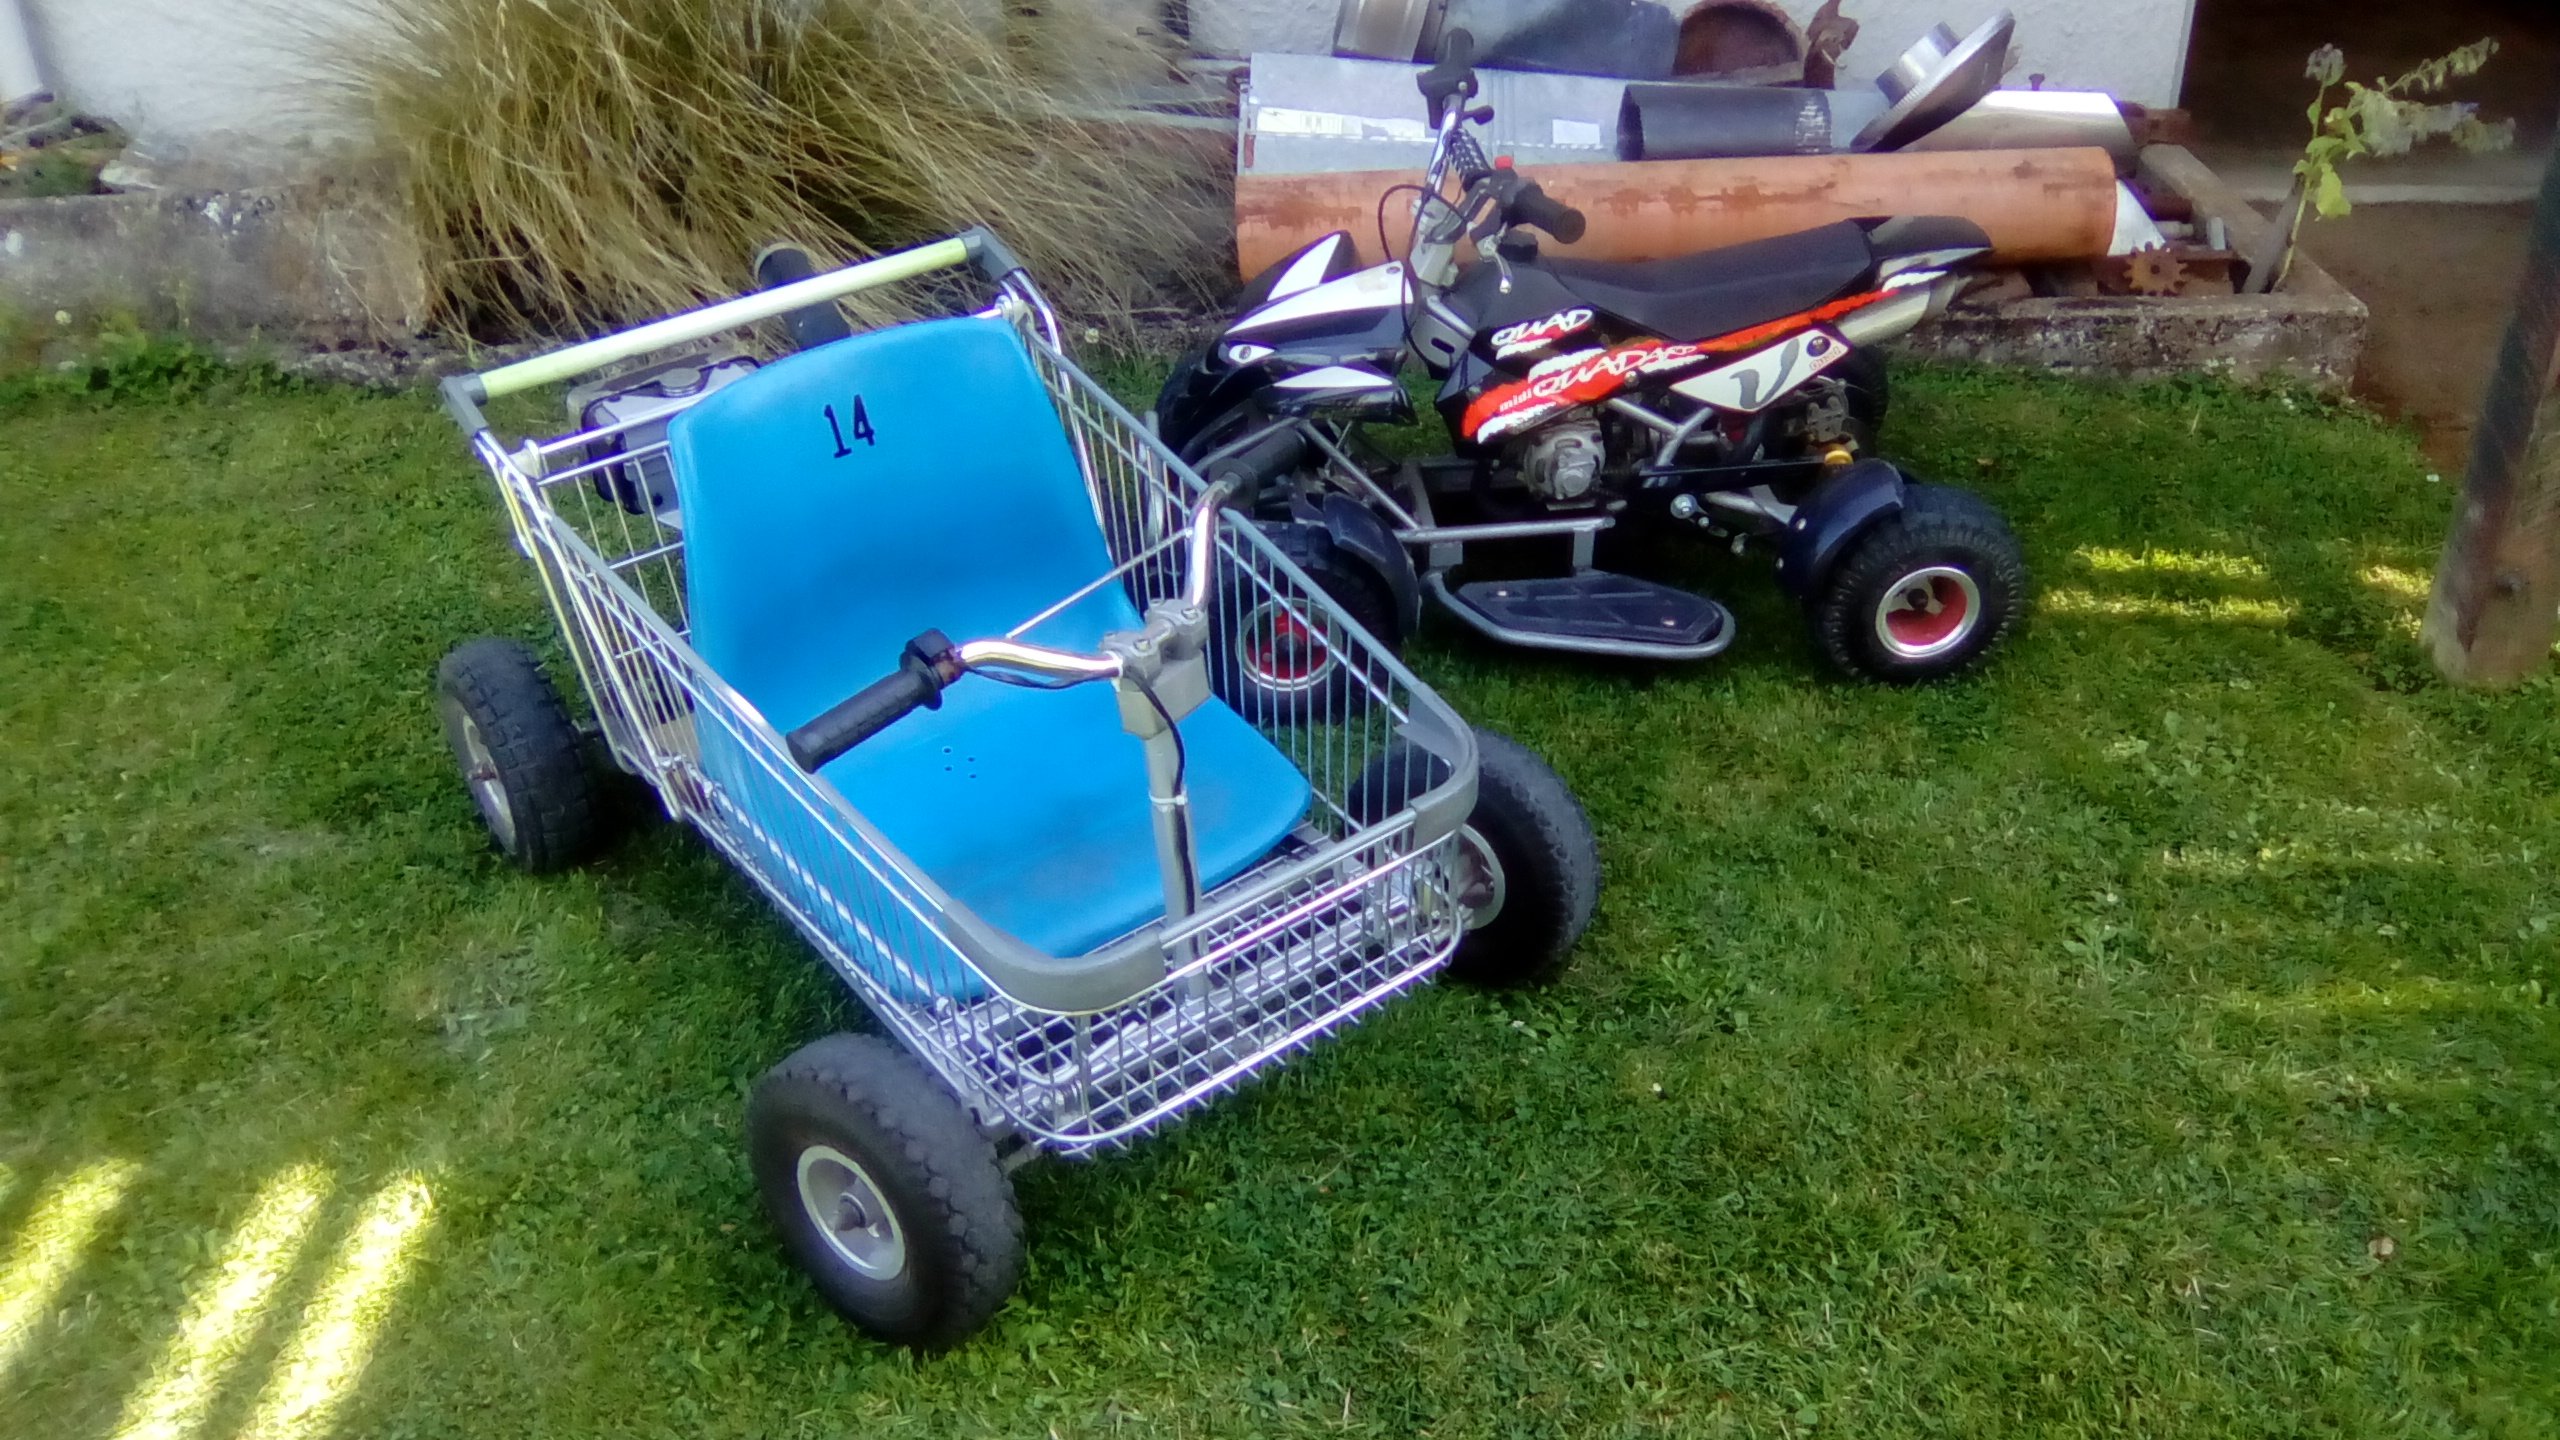
I have plastic sleeves that fit both of these. Can recommend 4 wheeled drift toys.

-
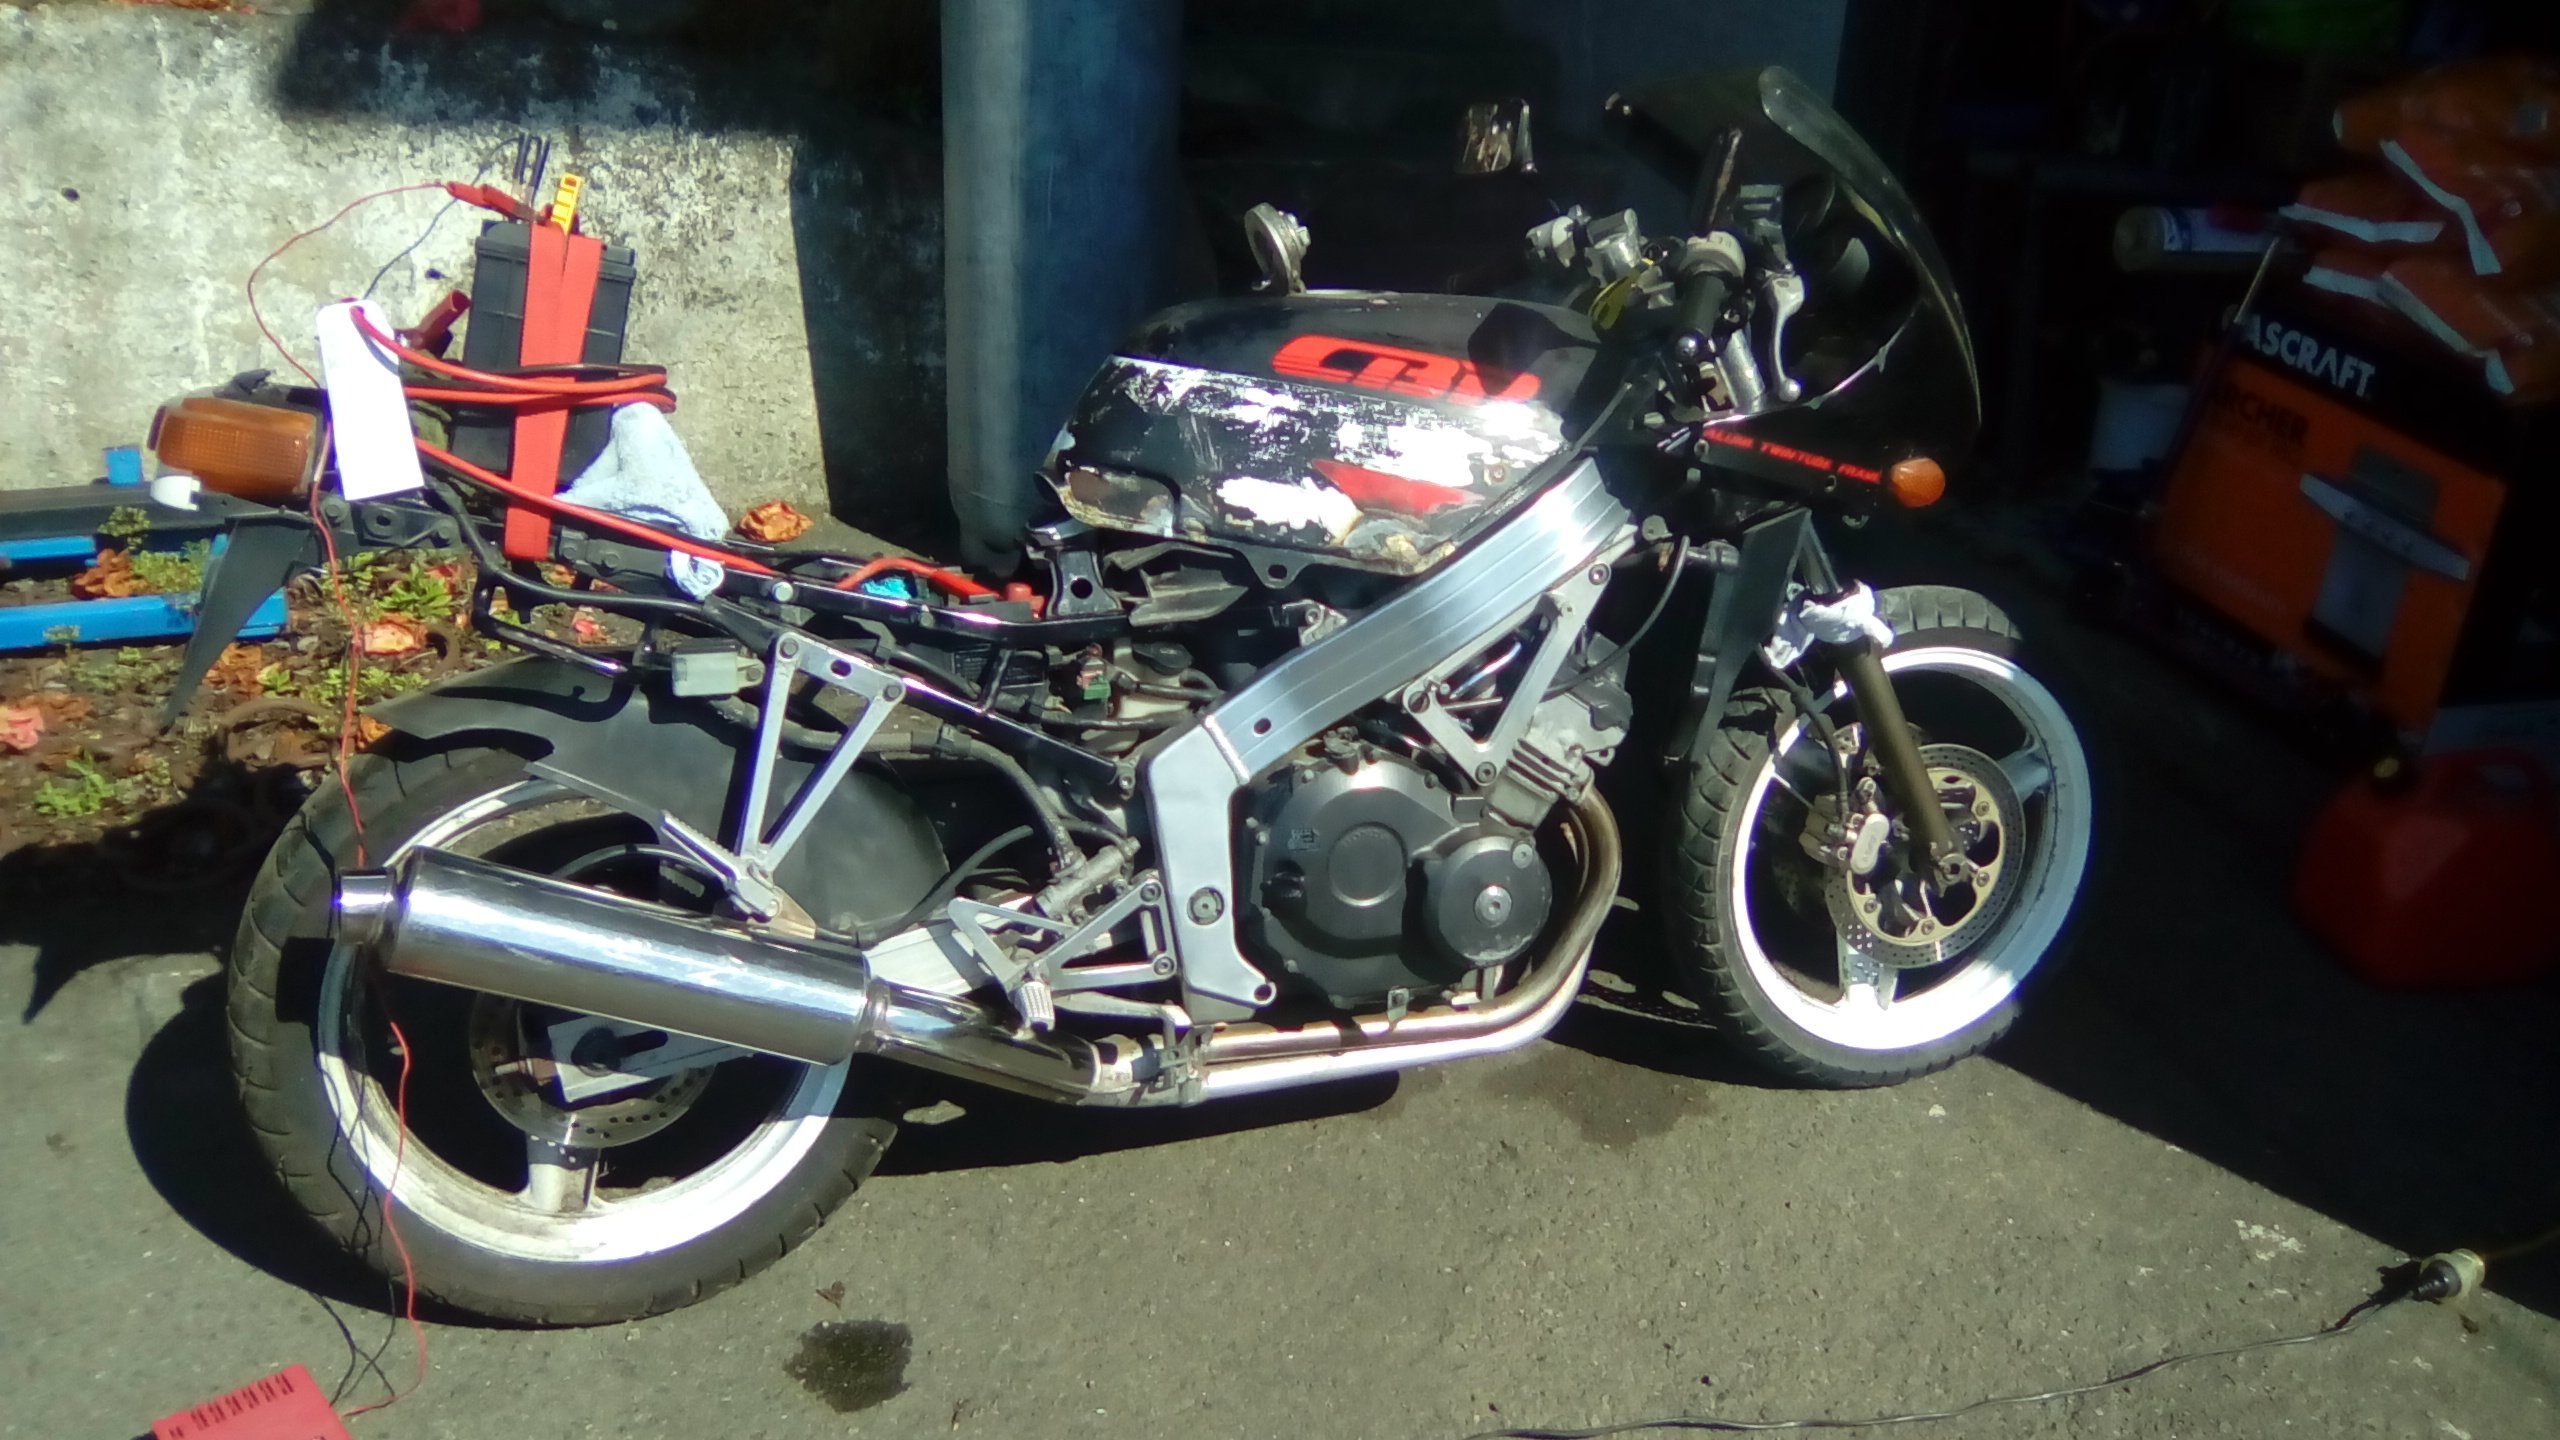
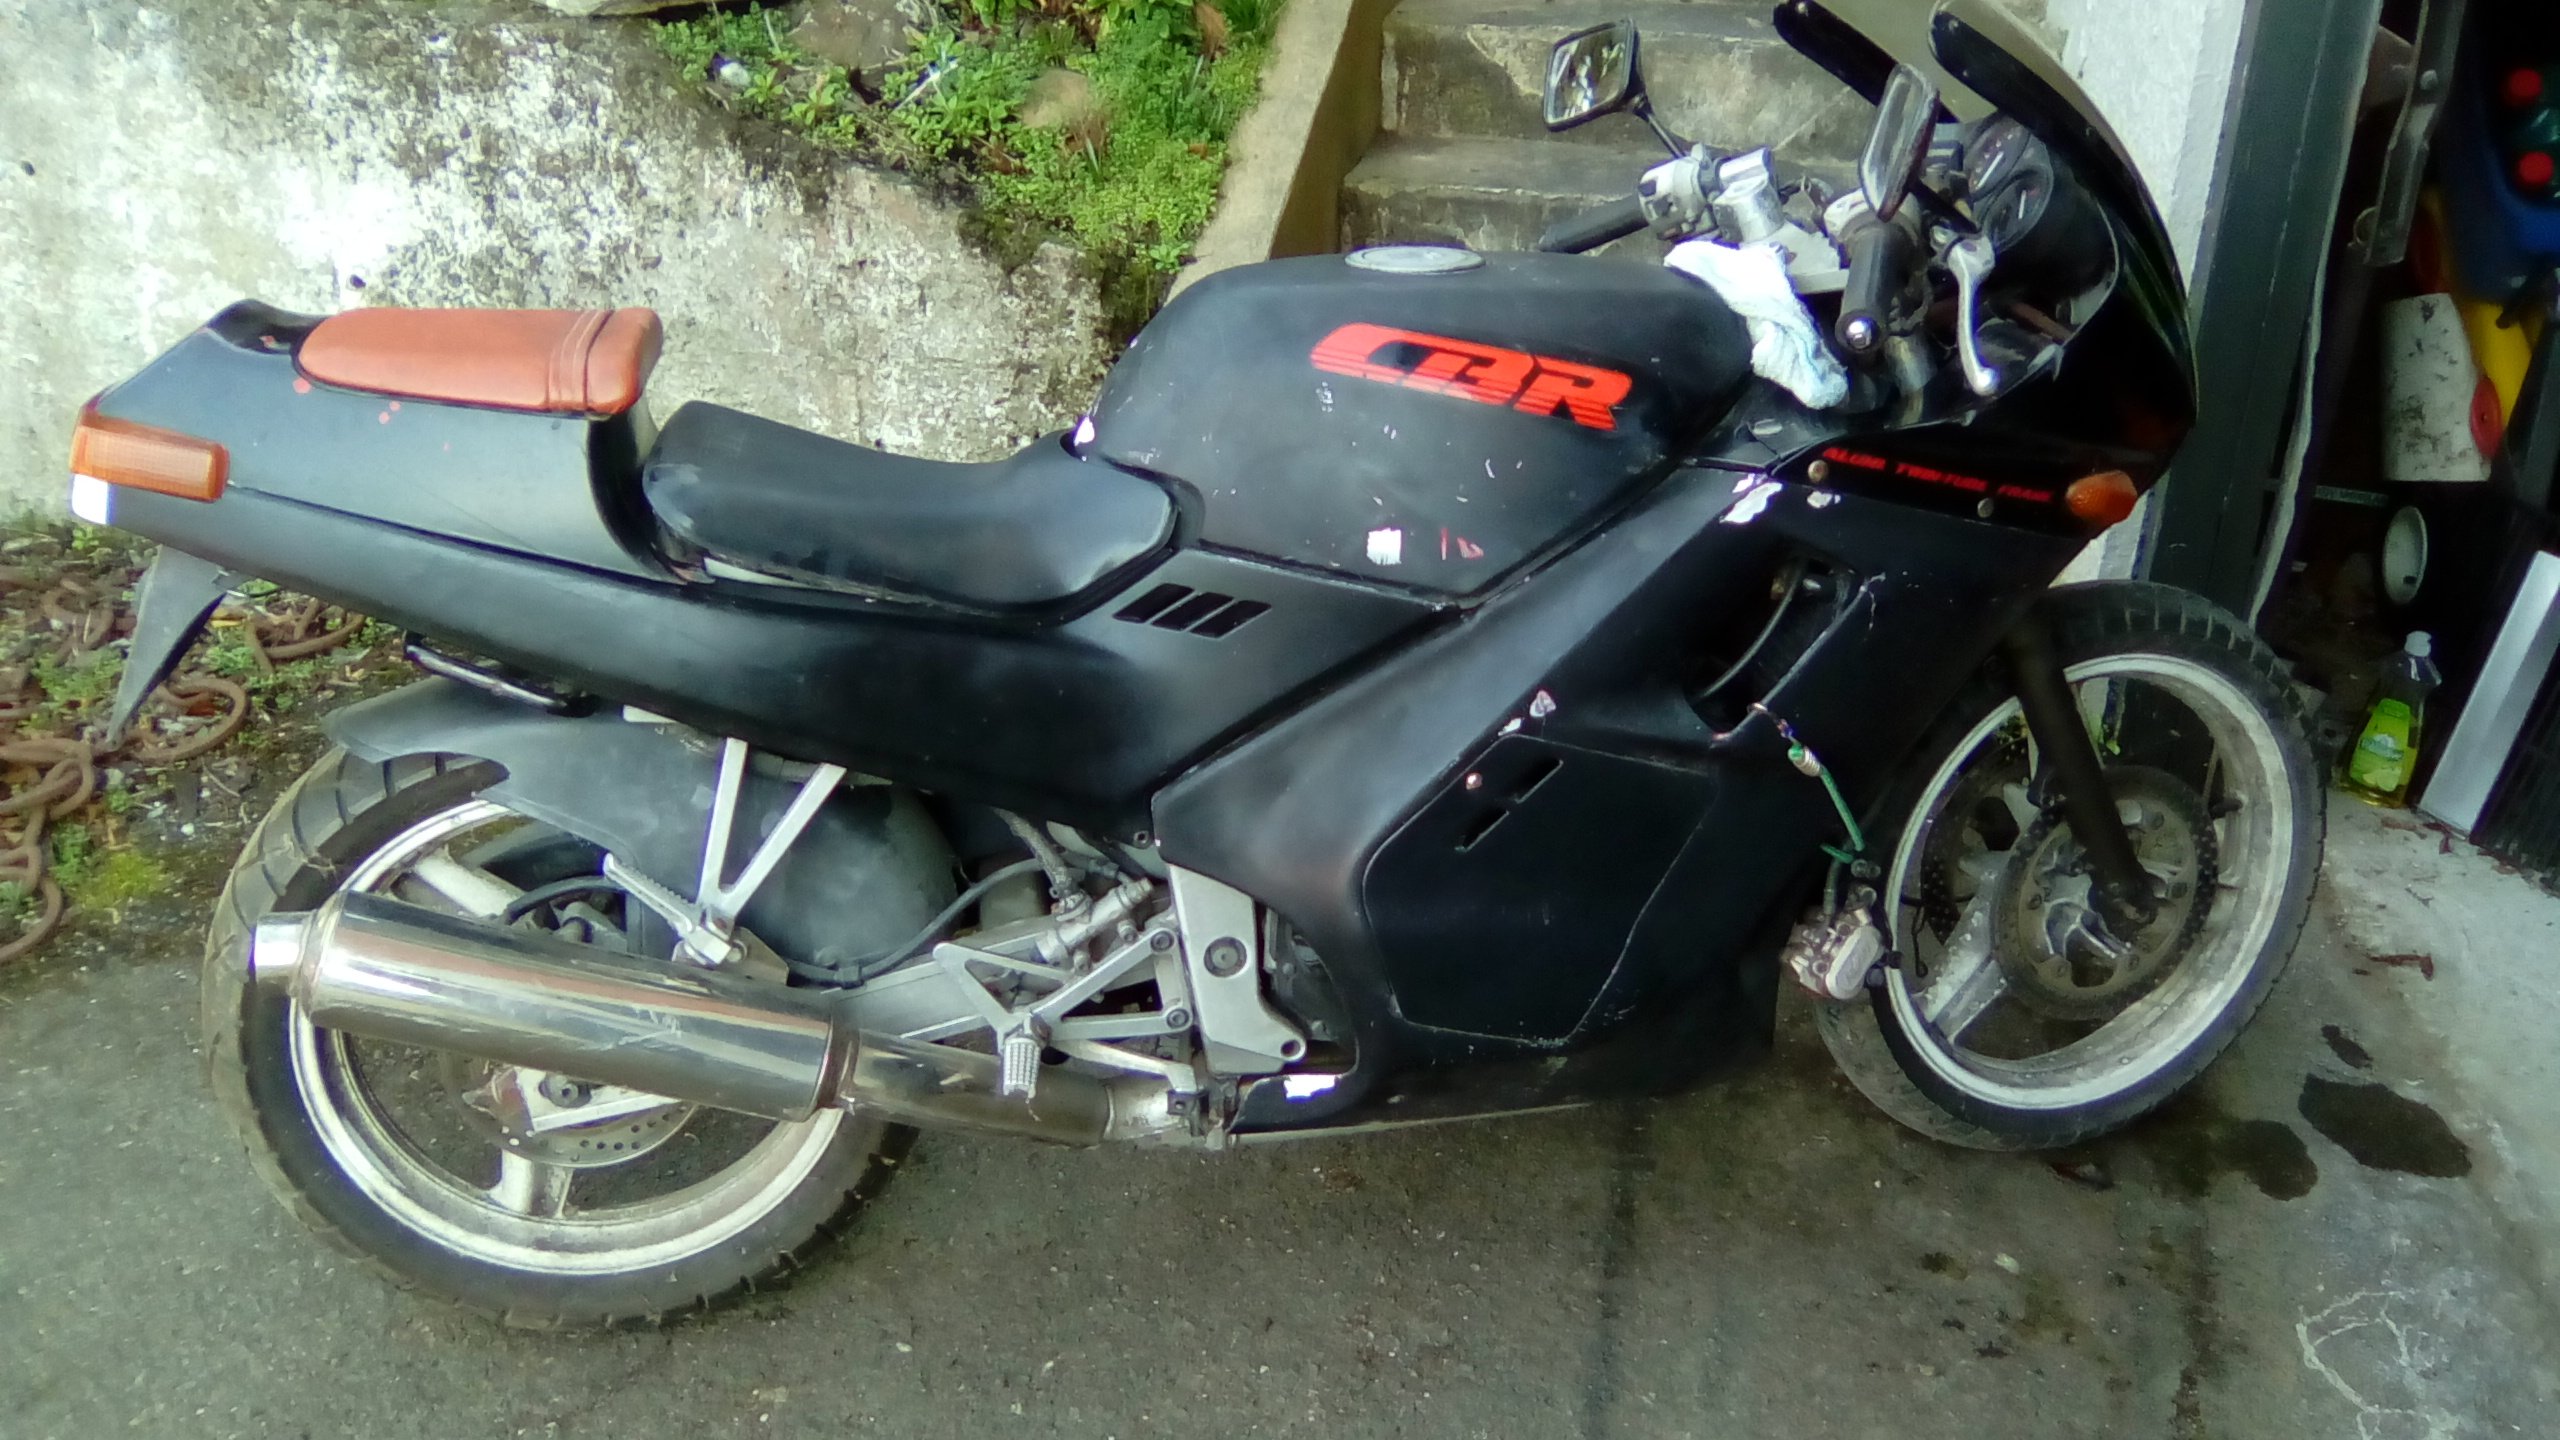
Terrible picture but I cleaned up the frame that runs along under the fuel tank and down to the foot peg. It was covered in white dust and matte black over spray. Didn't take much time or effort either. PS. You have a hillman lathe. Jack up one side (unless welded diff), put it in gear and go for gold.
-
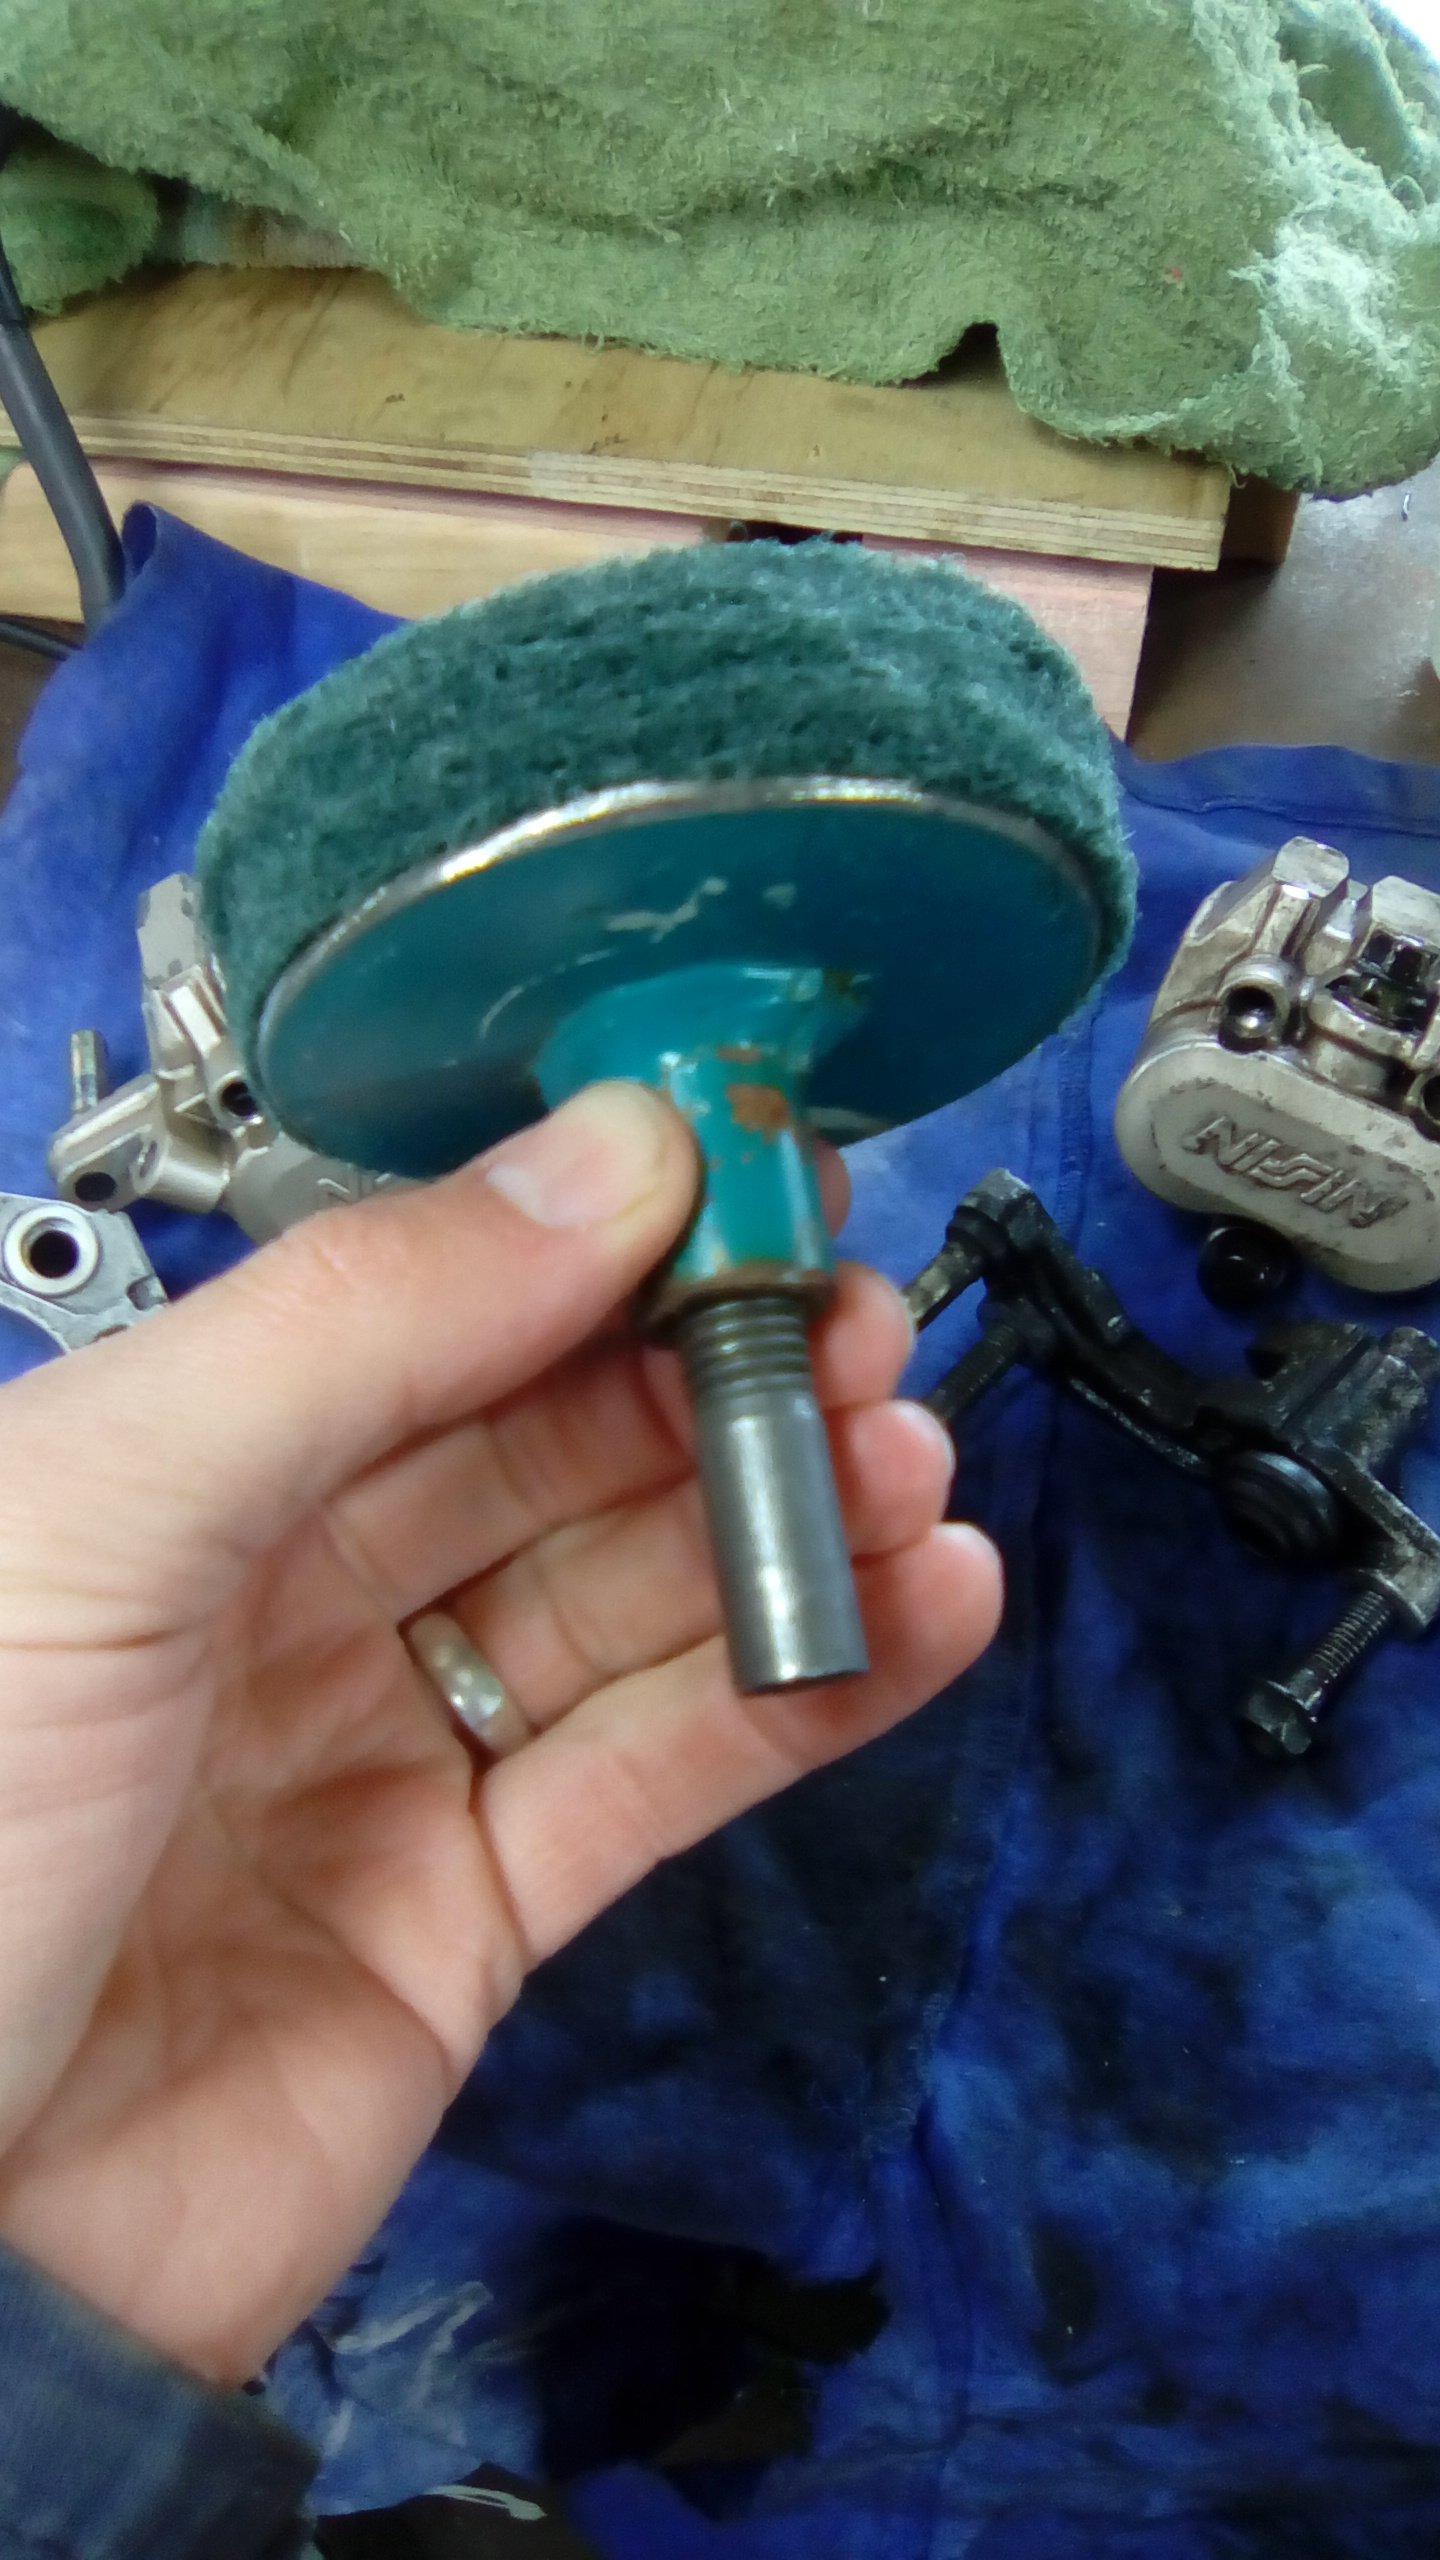
I made this doofer to clean up the frame of my CBR. You could make the same with a bolt or large screw, piece of wood and a cheap pack of scotchbrite. I used autosol on the scotchbrite and chucked it in the electric drill for max rpm's. Came up really well, not super polished but a real clean brushed look. Will see if I've got a finished pic.
-
+1 for the cigweld 135. Have had mine a few years now and built a lot of things with it. Runs really smooth for a small single phase machine. I now run flux core wire with co2 shielding gas.
-
I figured vinyl will cover some fairly major imperfections so minimal prep work Like wallpaper. It'll never be as good as paint but it'll cover this nicely. To hopefully look more like this.
-
@xsinclairx is it the frame or fairings you want painted? My fairings are fairly rough and I can't justify buying tidy ones (plus painting) that I'll probably scratch/break. Was thinking of getting them vinyl wrapped.
-
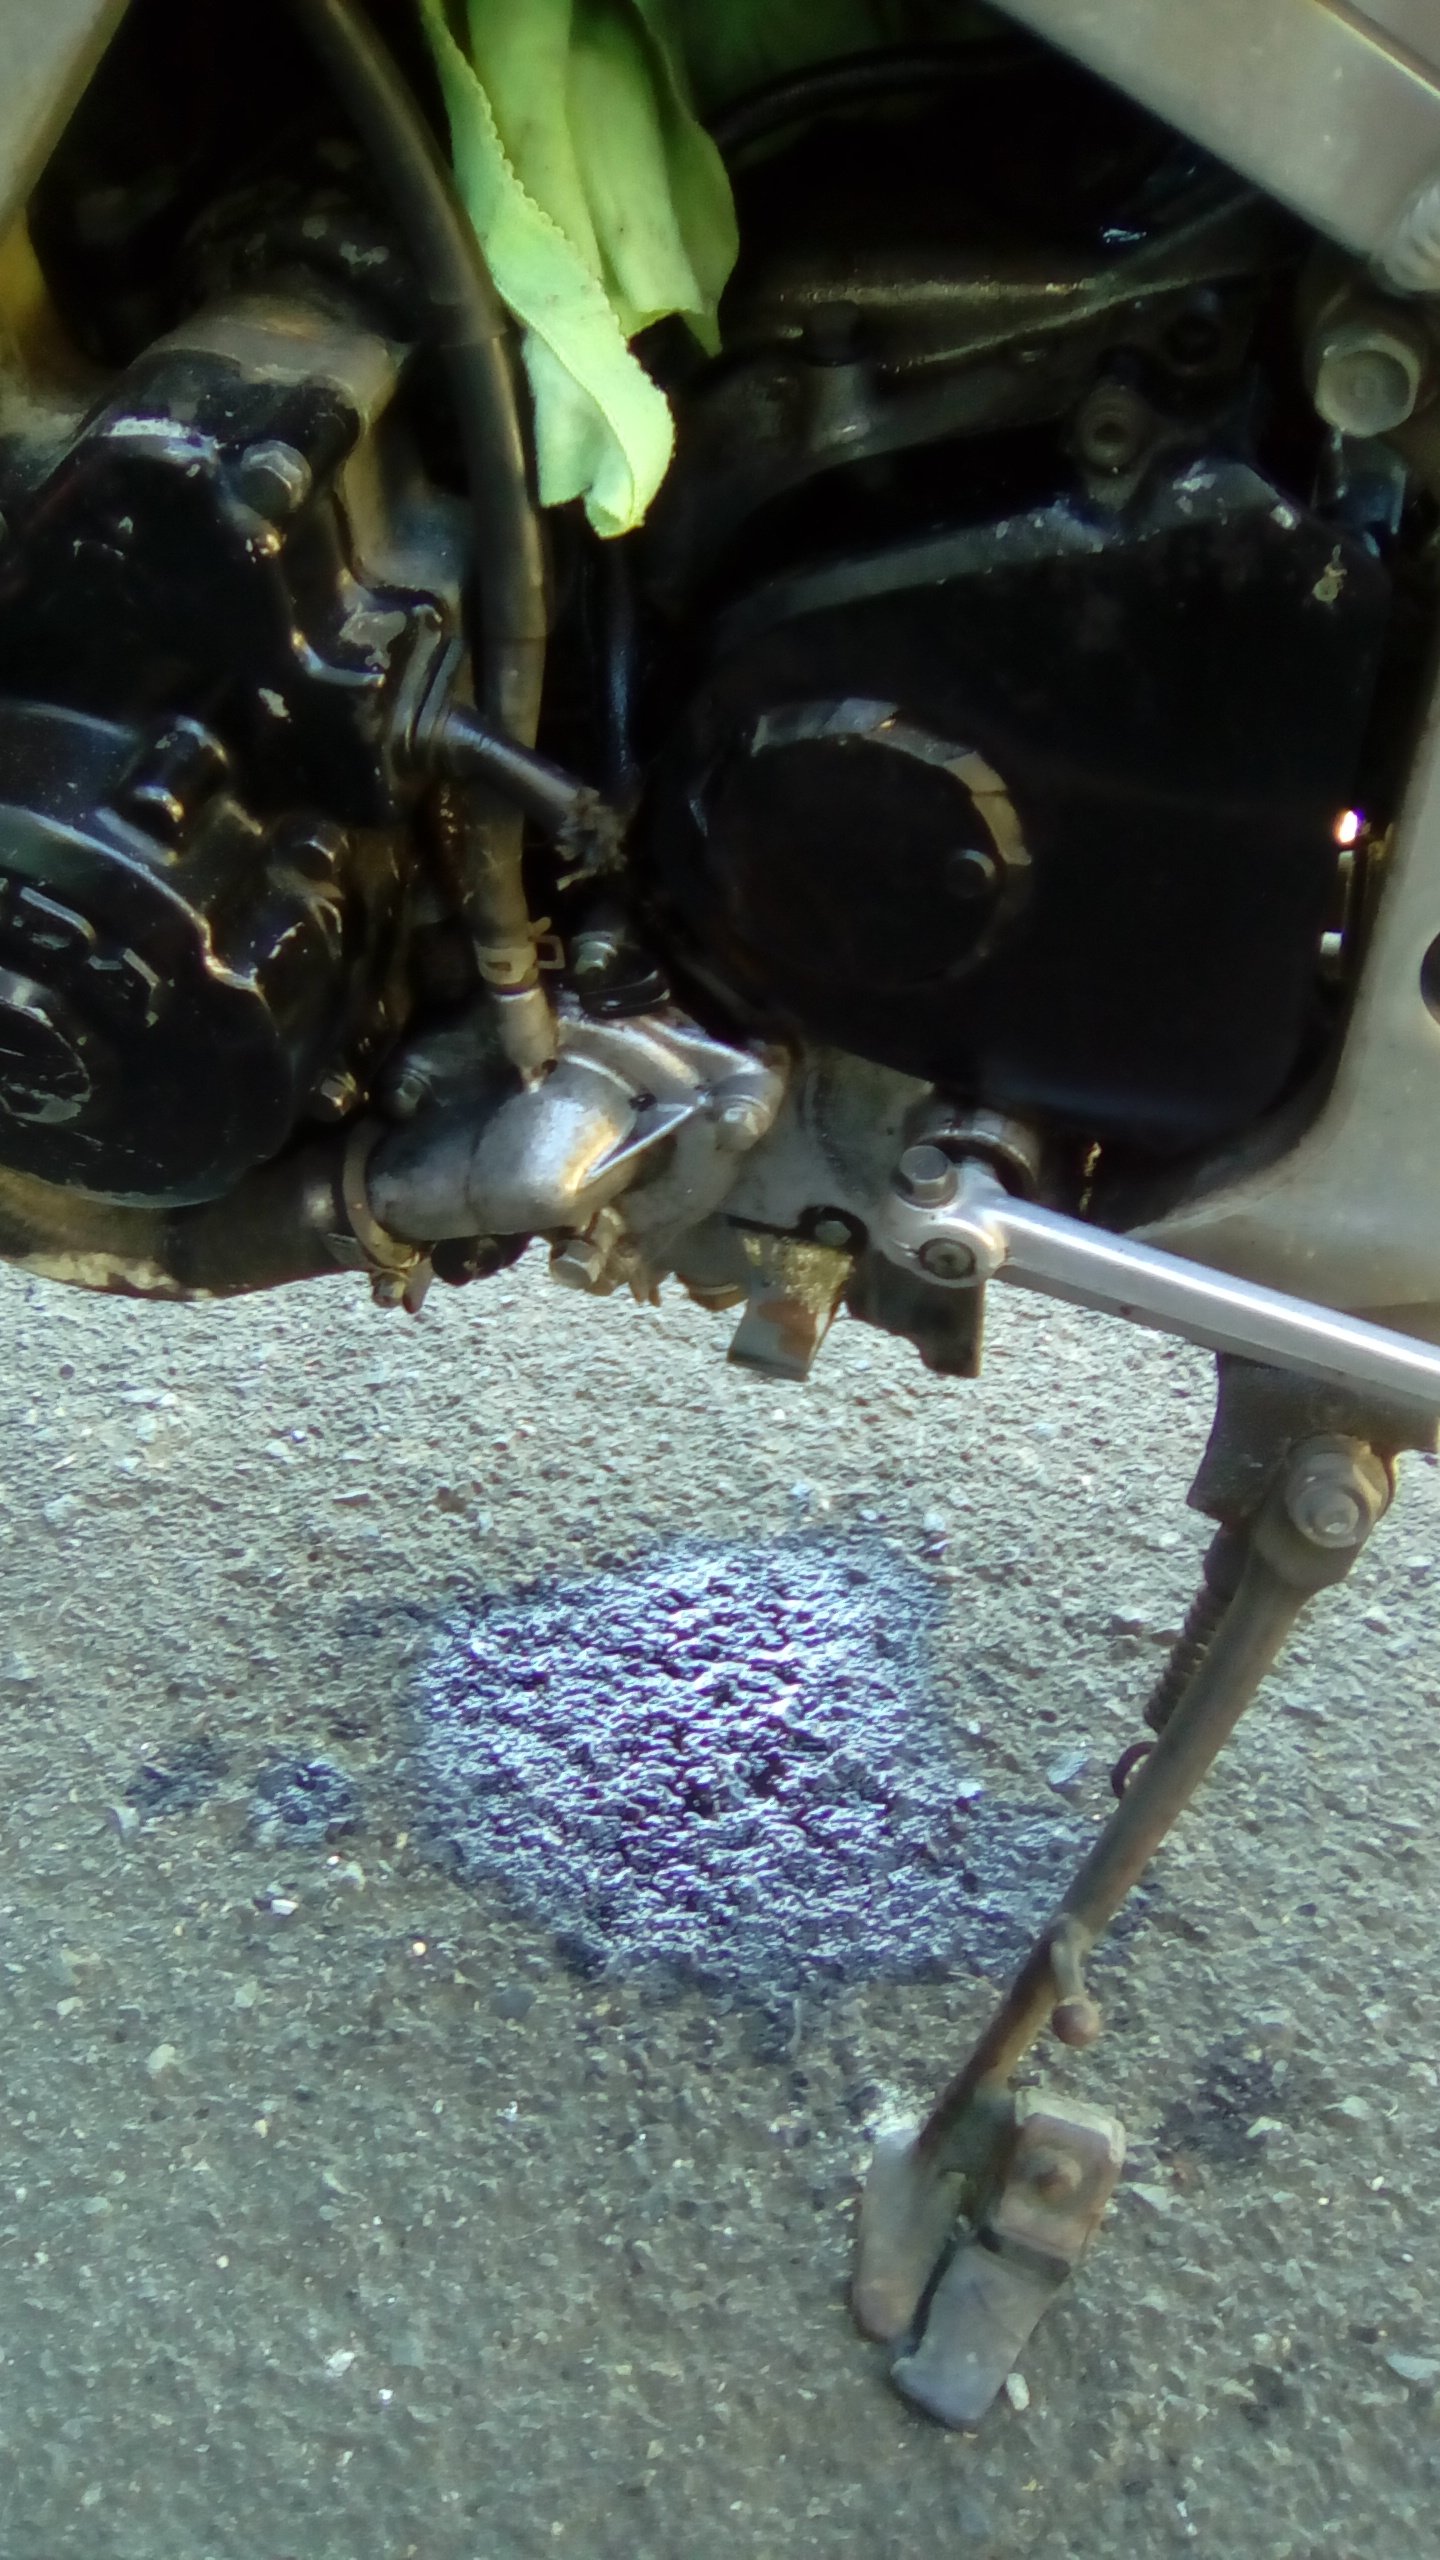
I clocked up a km going out our driveway and up the neighbors repeatedly. Almost dropped it once in a tight slow turn lol. Had a blast though, even if I didn't have the balls to pop out the drive and try some gears down the road. Sadly I think the carbs need to come off again as it won't hold a steady idle, it'll sit nicely for a while then just drop down and die, if I turn the idle up it's sweet for a bit but will then end up idling at about 4k. Blocked primaries? Need to get my stunt double to take this for a spin and see if it's ok through the revs and gears.
-
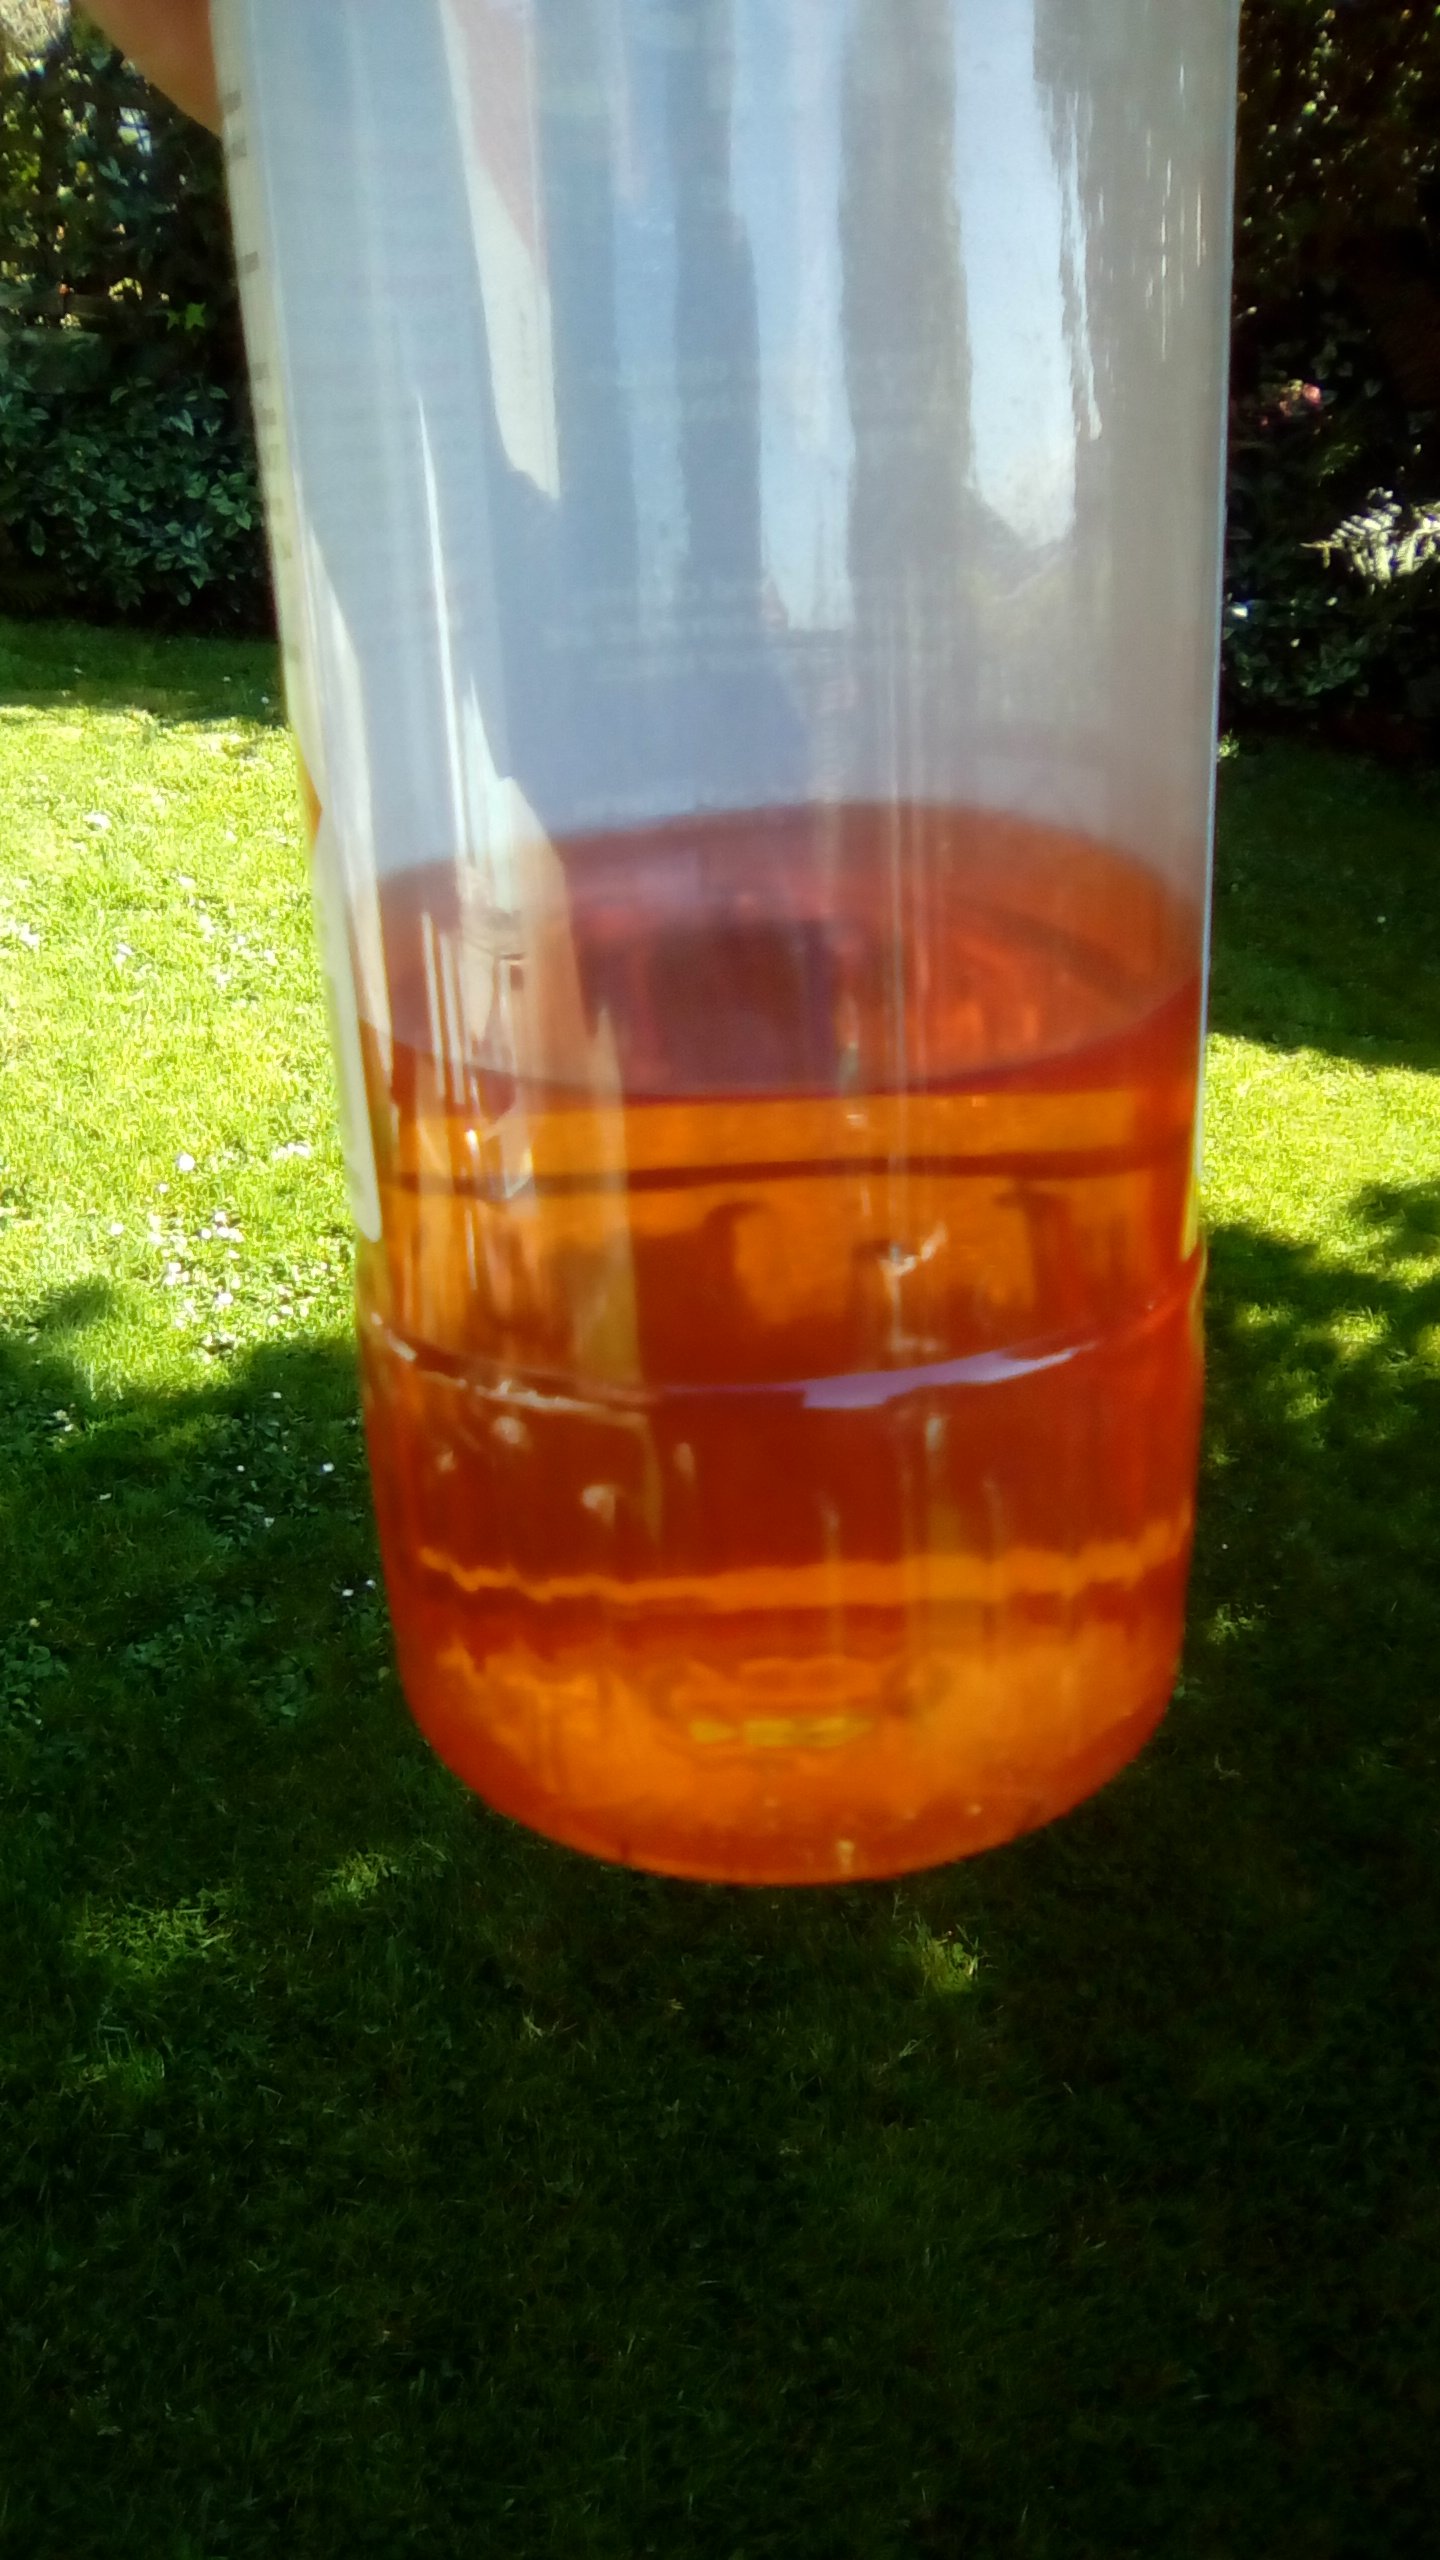
On a small plus side, the fuel I tipped out of the tank looked ok. And I got the carbs all fitted up with minimal hassle. Even topped up the coolant and pumped up the front tire while I was at it. Then I thought, Fuck it the tank's only seeping. Get on there. Bonus is that it doesn't seem to be seeping anymore, crap clogged up the hole? I'll add it to the list of stuff to do. Genuine question though guys and gals. Last year I rekitted the brake calipers with new seals and they worked sweet. However since sitting the brakes are dragging again. I cracked the bleed nipple and pushed open each caliper a bit so I could easily move the bike. However as soon as I used the brakes again they started dragging again. Any advise?
-
Wow its been a while. I took the stripped down carbs into work and gave them a good clean out, pulled the jets and got all the gunk out. Didn't take many pics because I was in the zone and getting shit done. Gave the little float valve thingys a polish to get the shit off them. All back together. Then 3 weekends later and I have time to make some decent progress. Should really tip some gas in to test for leaks, que nervous test. Yes, so relieved. Now the tank has been sitting since whenever with a bit of gas in it and no leaks, very happy. Gave it a good shake before draining to clean out any crap before chucking some fresh fuel in there. Hello, what's this? Fuck you with a pineapple. Fuel seeping out a tiny hole. A sensible person would stop here and sort this out.
-

Rusti'z 1920-26 Ford T bucket (of rust) Discussion
a.craw4d replied to Ghostchips's topic in Project Discussion
Fark what a cool project. Love the ignition system made from plastic bottles. This rocket science is way over my head but I'm loving the diy. Keep up the good work. -
This^. Just weld a simple piece of flatbar to it and undo with an adjustable crescent. Works every time.
-
Random slightly cool stuff you built but not worth its own thread, thread
a.craw4d replied to h4nd's topic in Other Projects
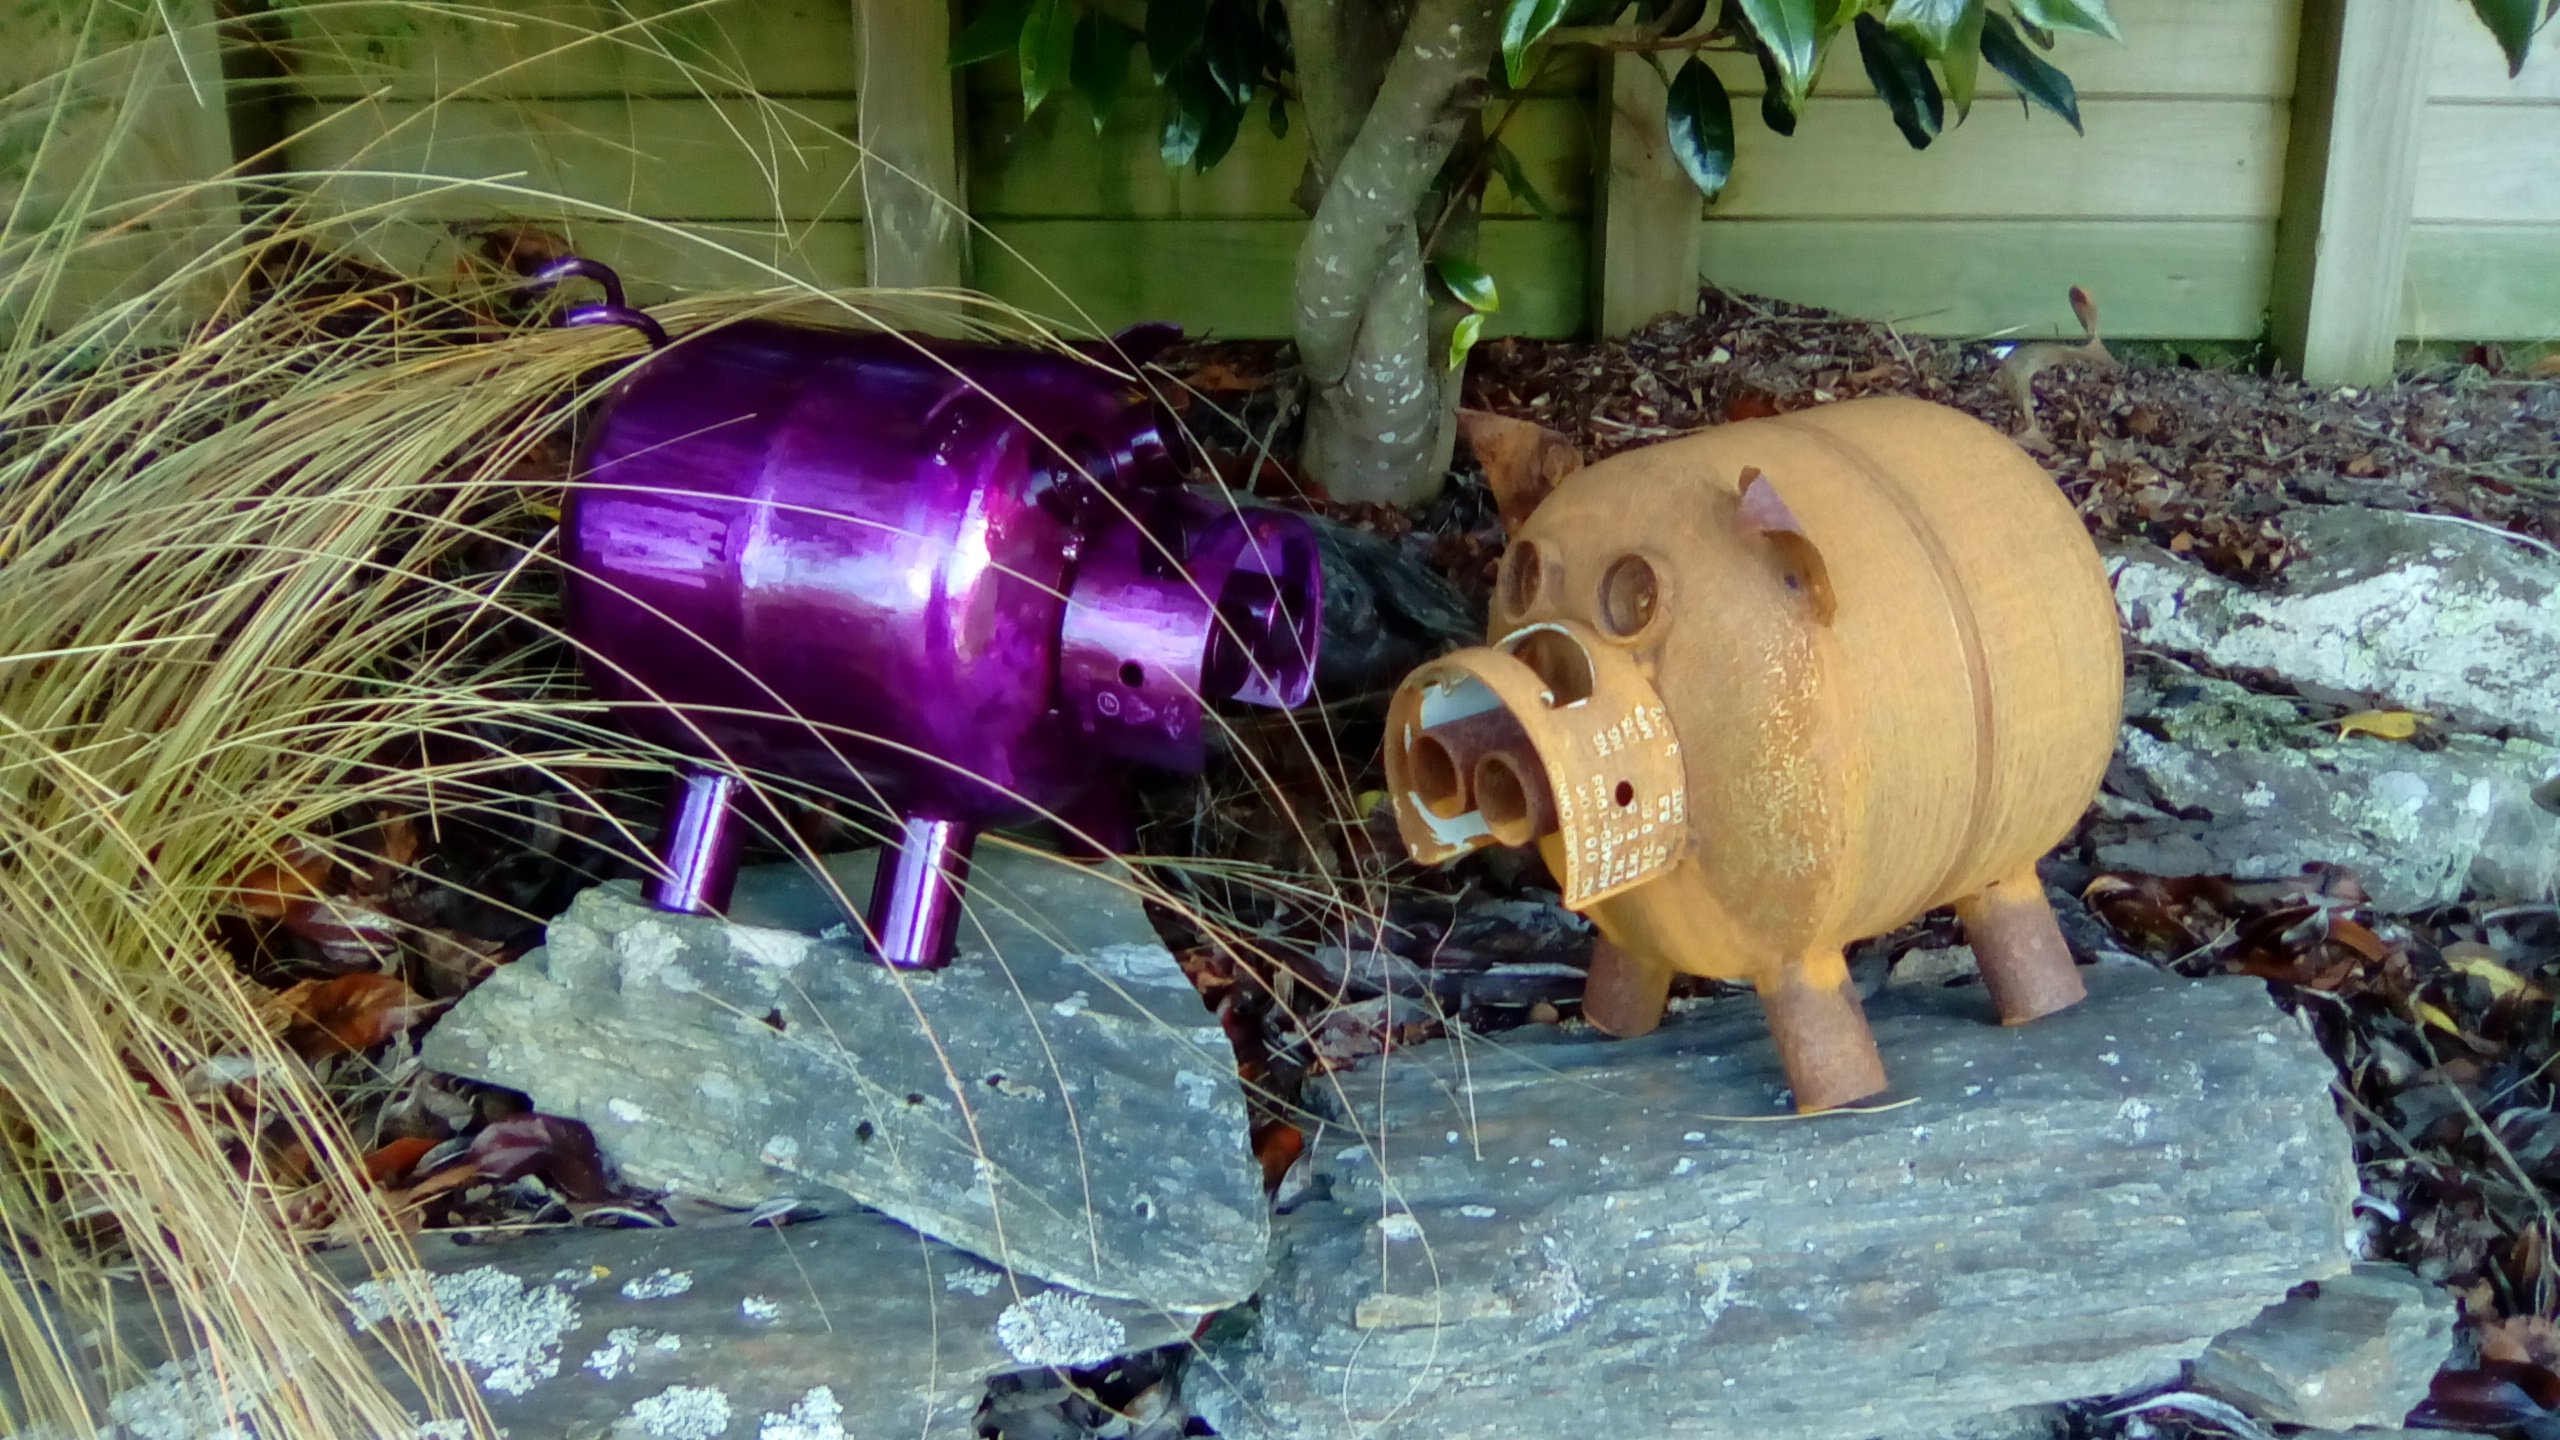
I just fill mine with water and leave them for a day. Empty them out and cut/ weld away. Some of my pigs. They are quite cool to watch as they weather. The rusty one took about 8 weeks to get a nice even coat.
-
Looks more like a cross between a spot welder and a plasma cutter.
-
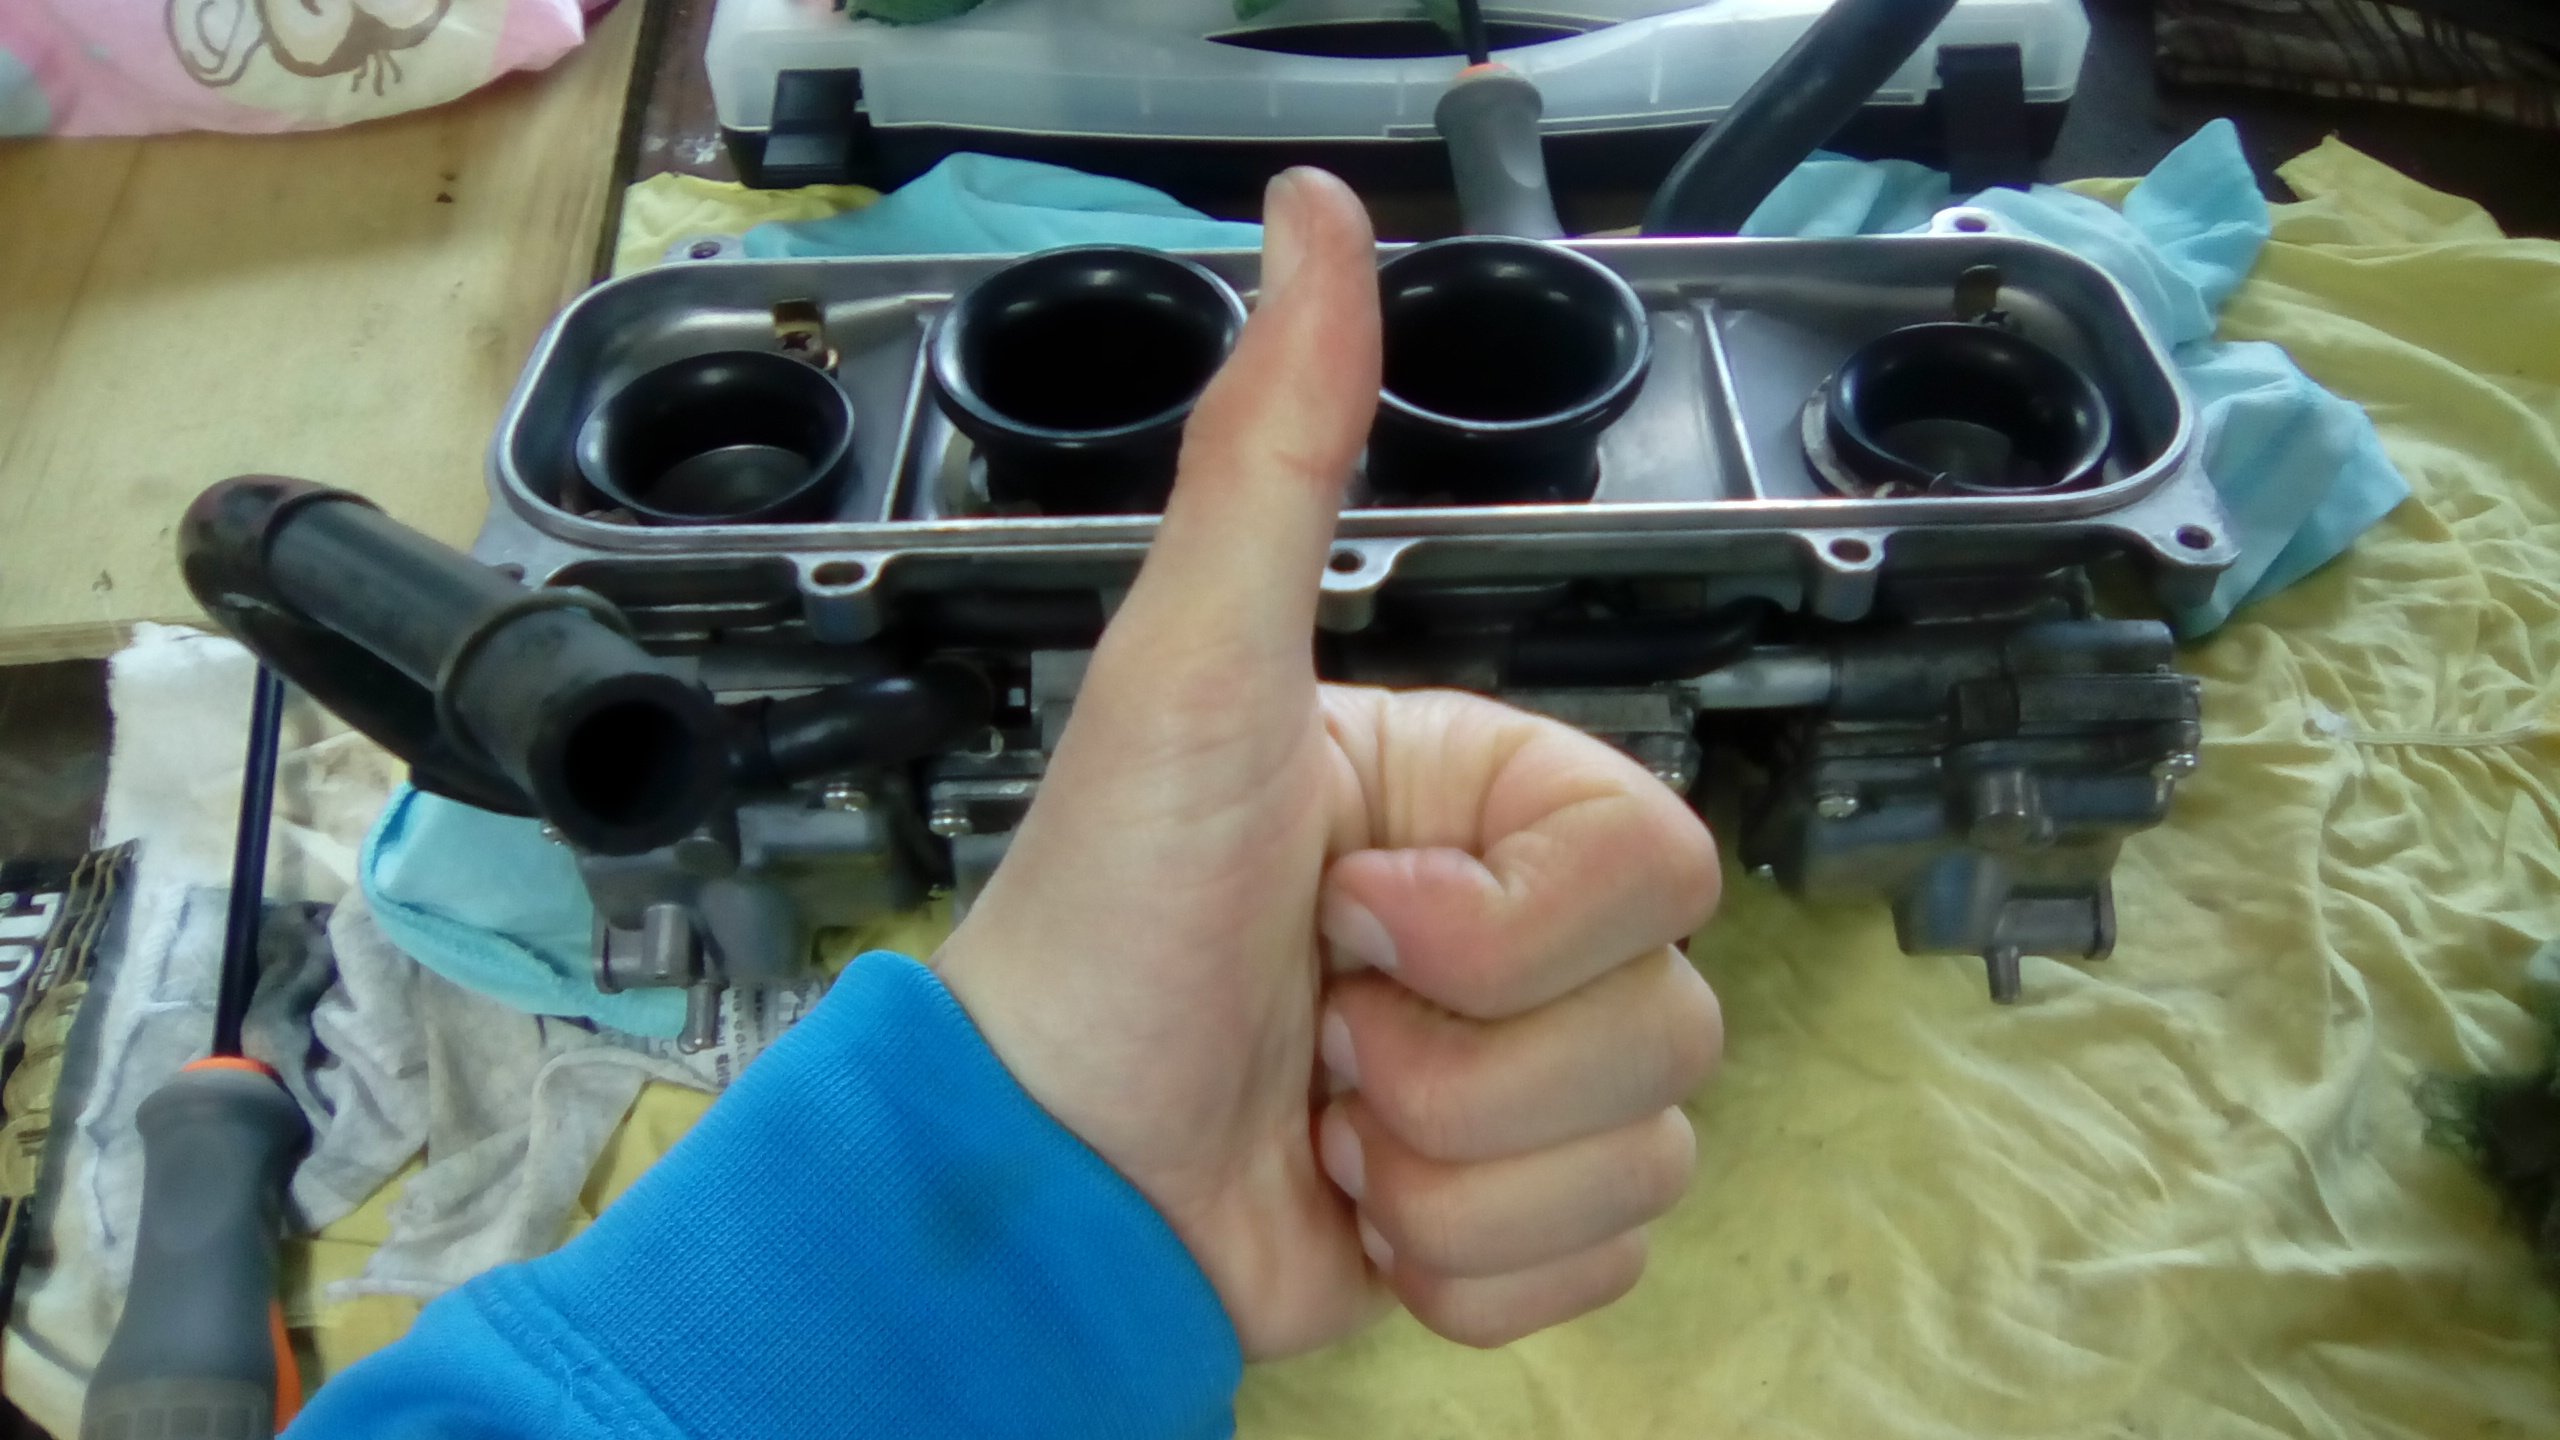
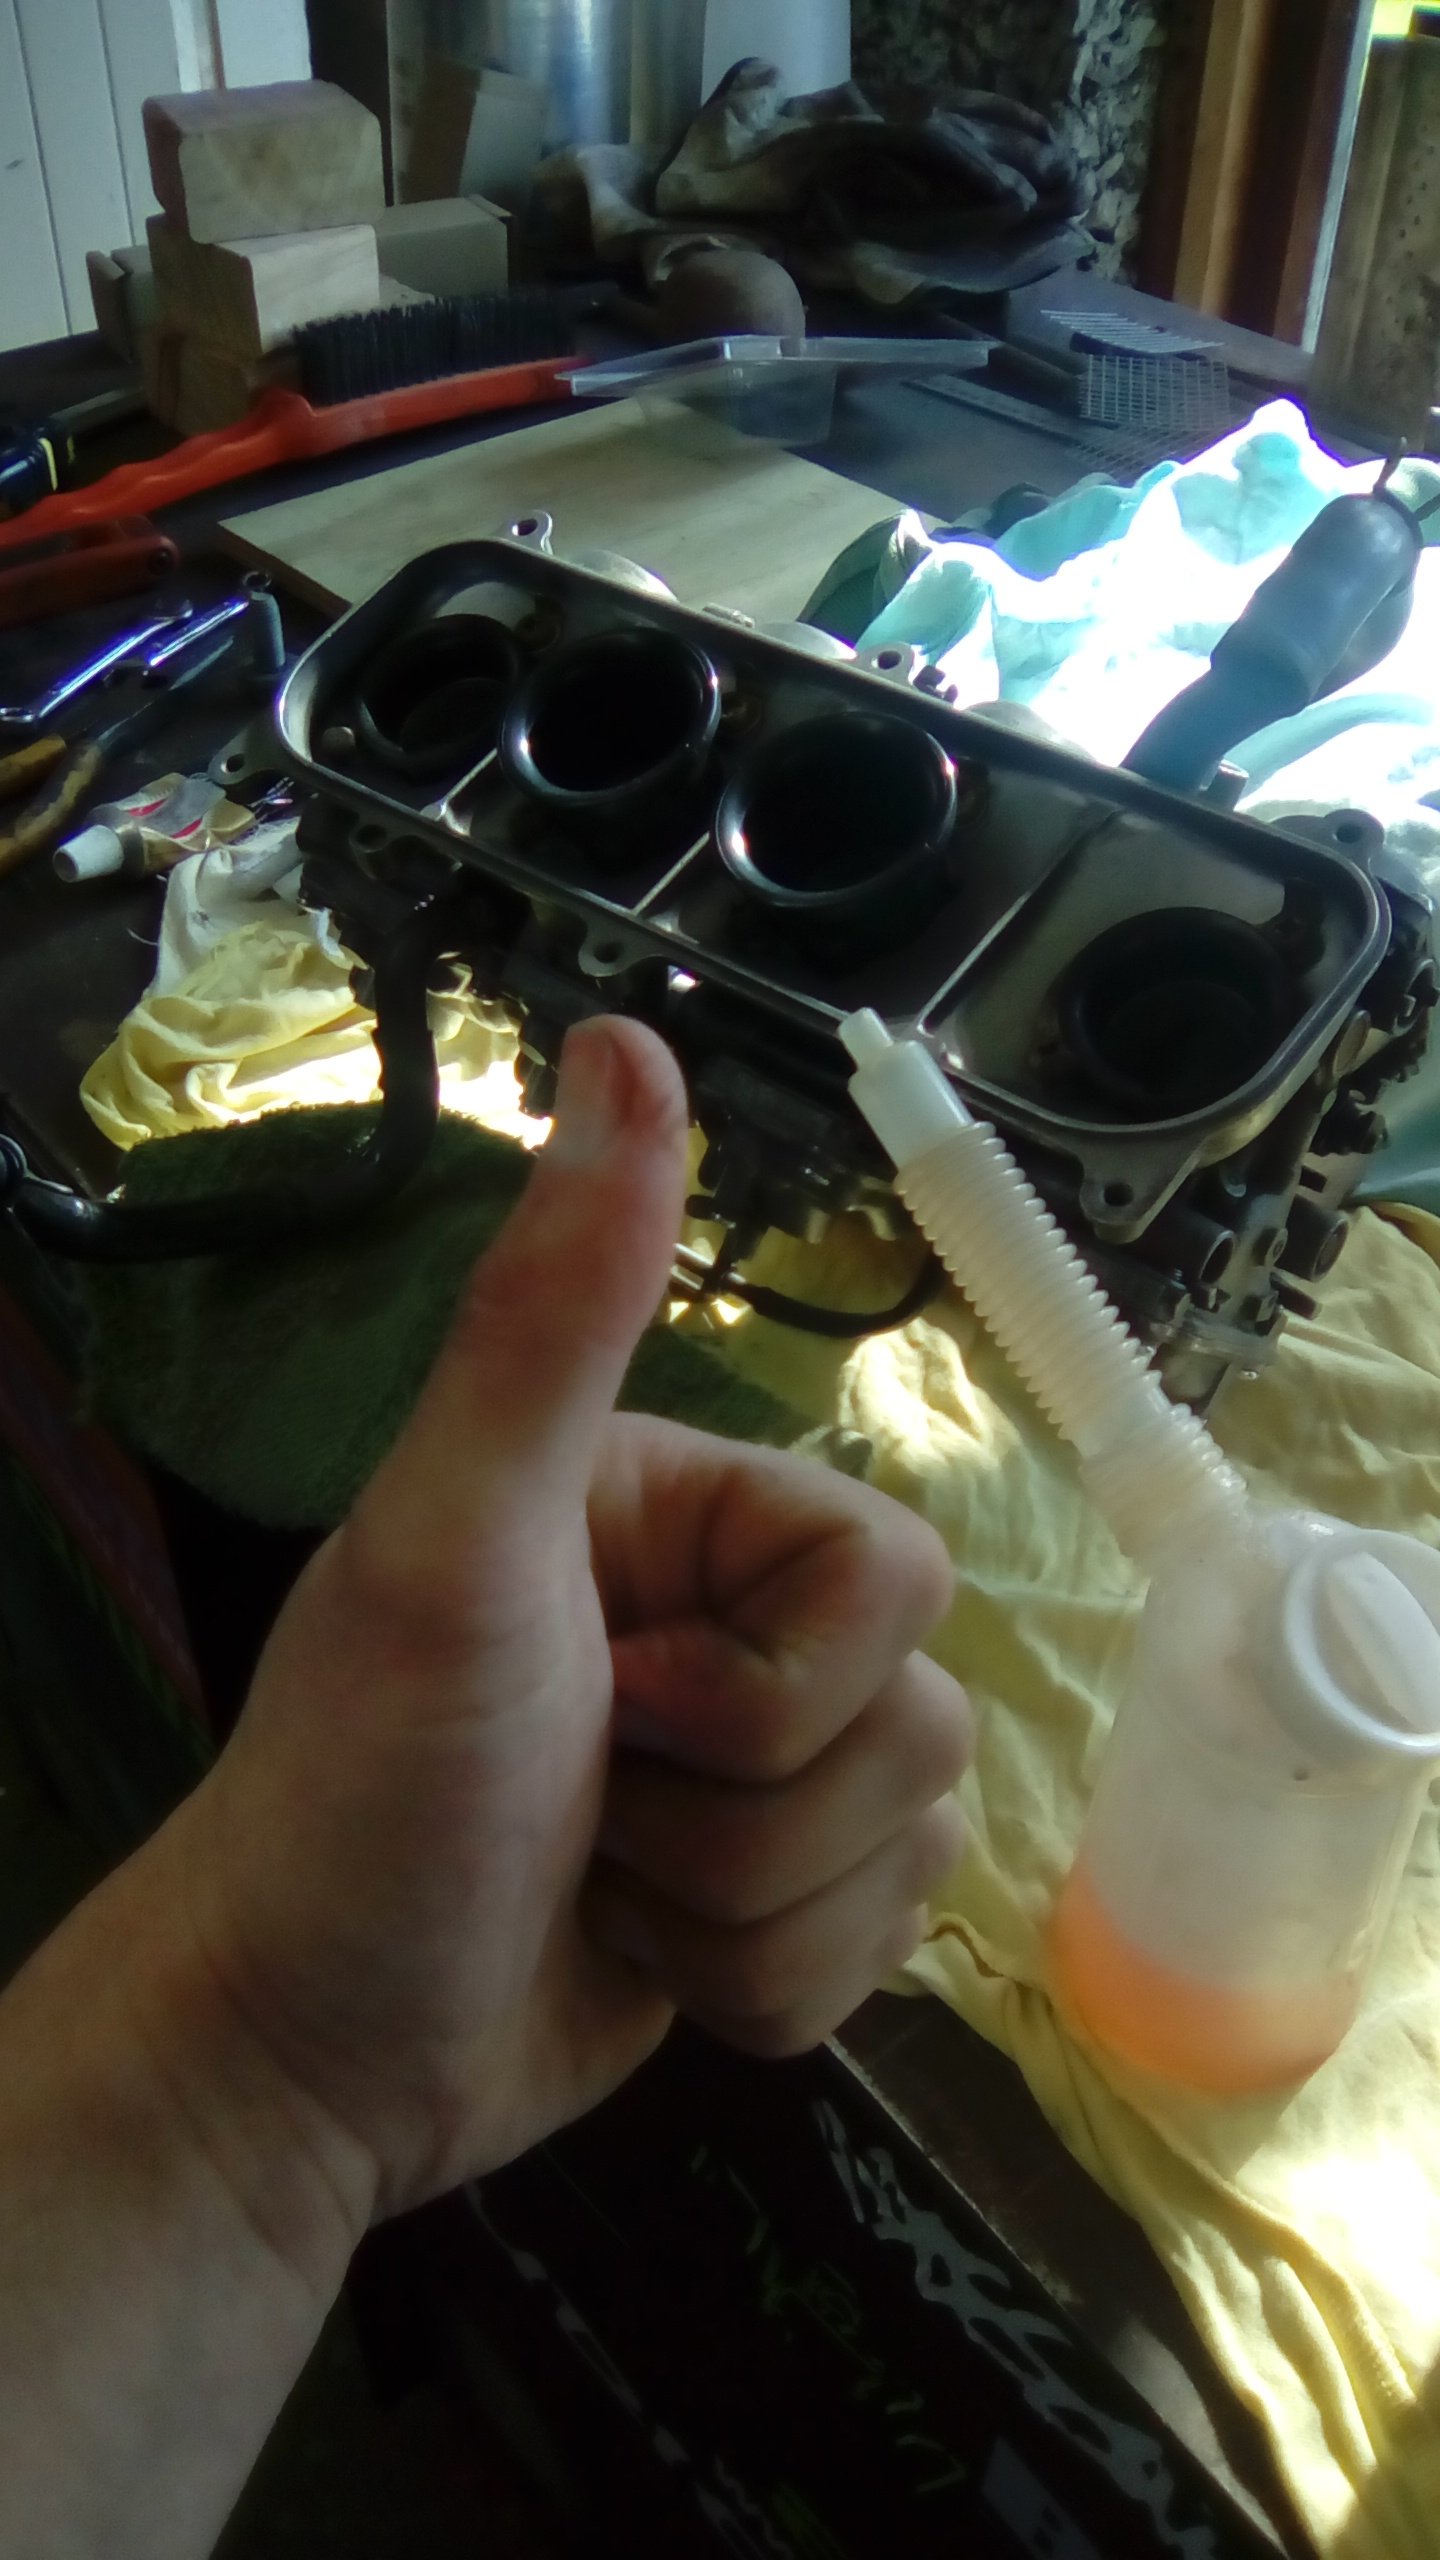
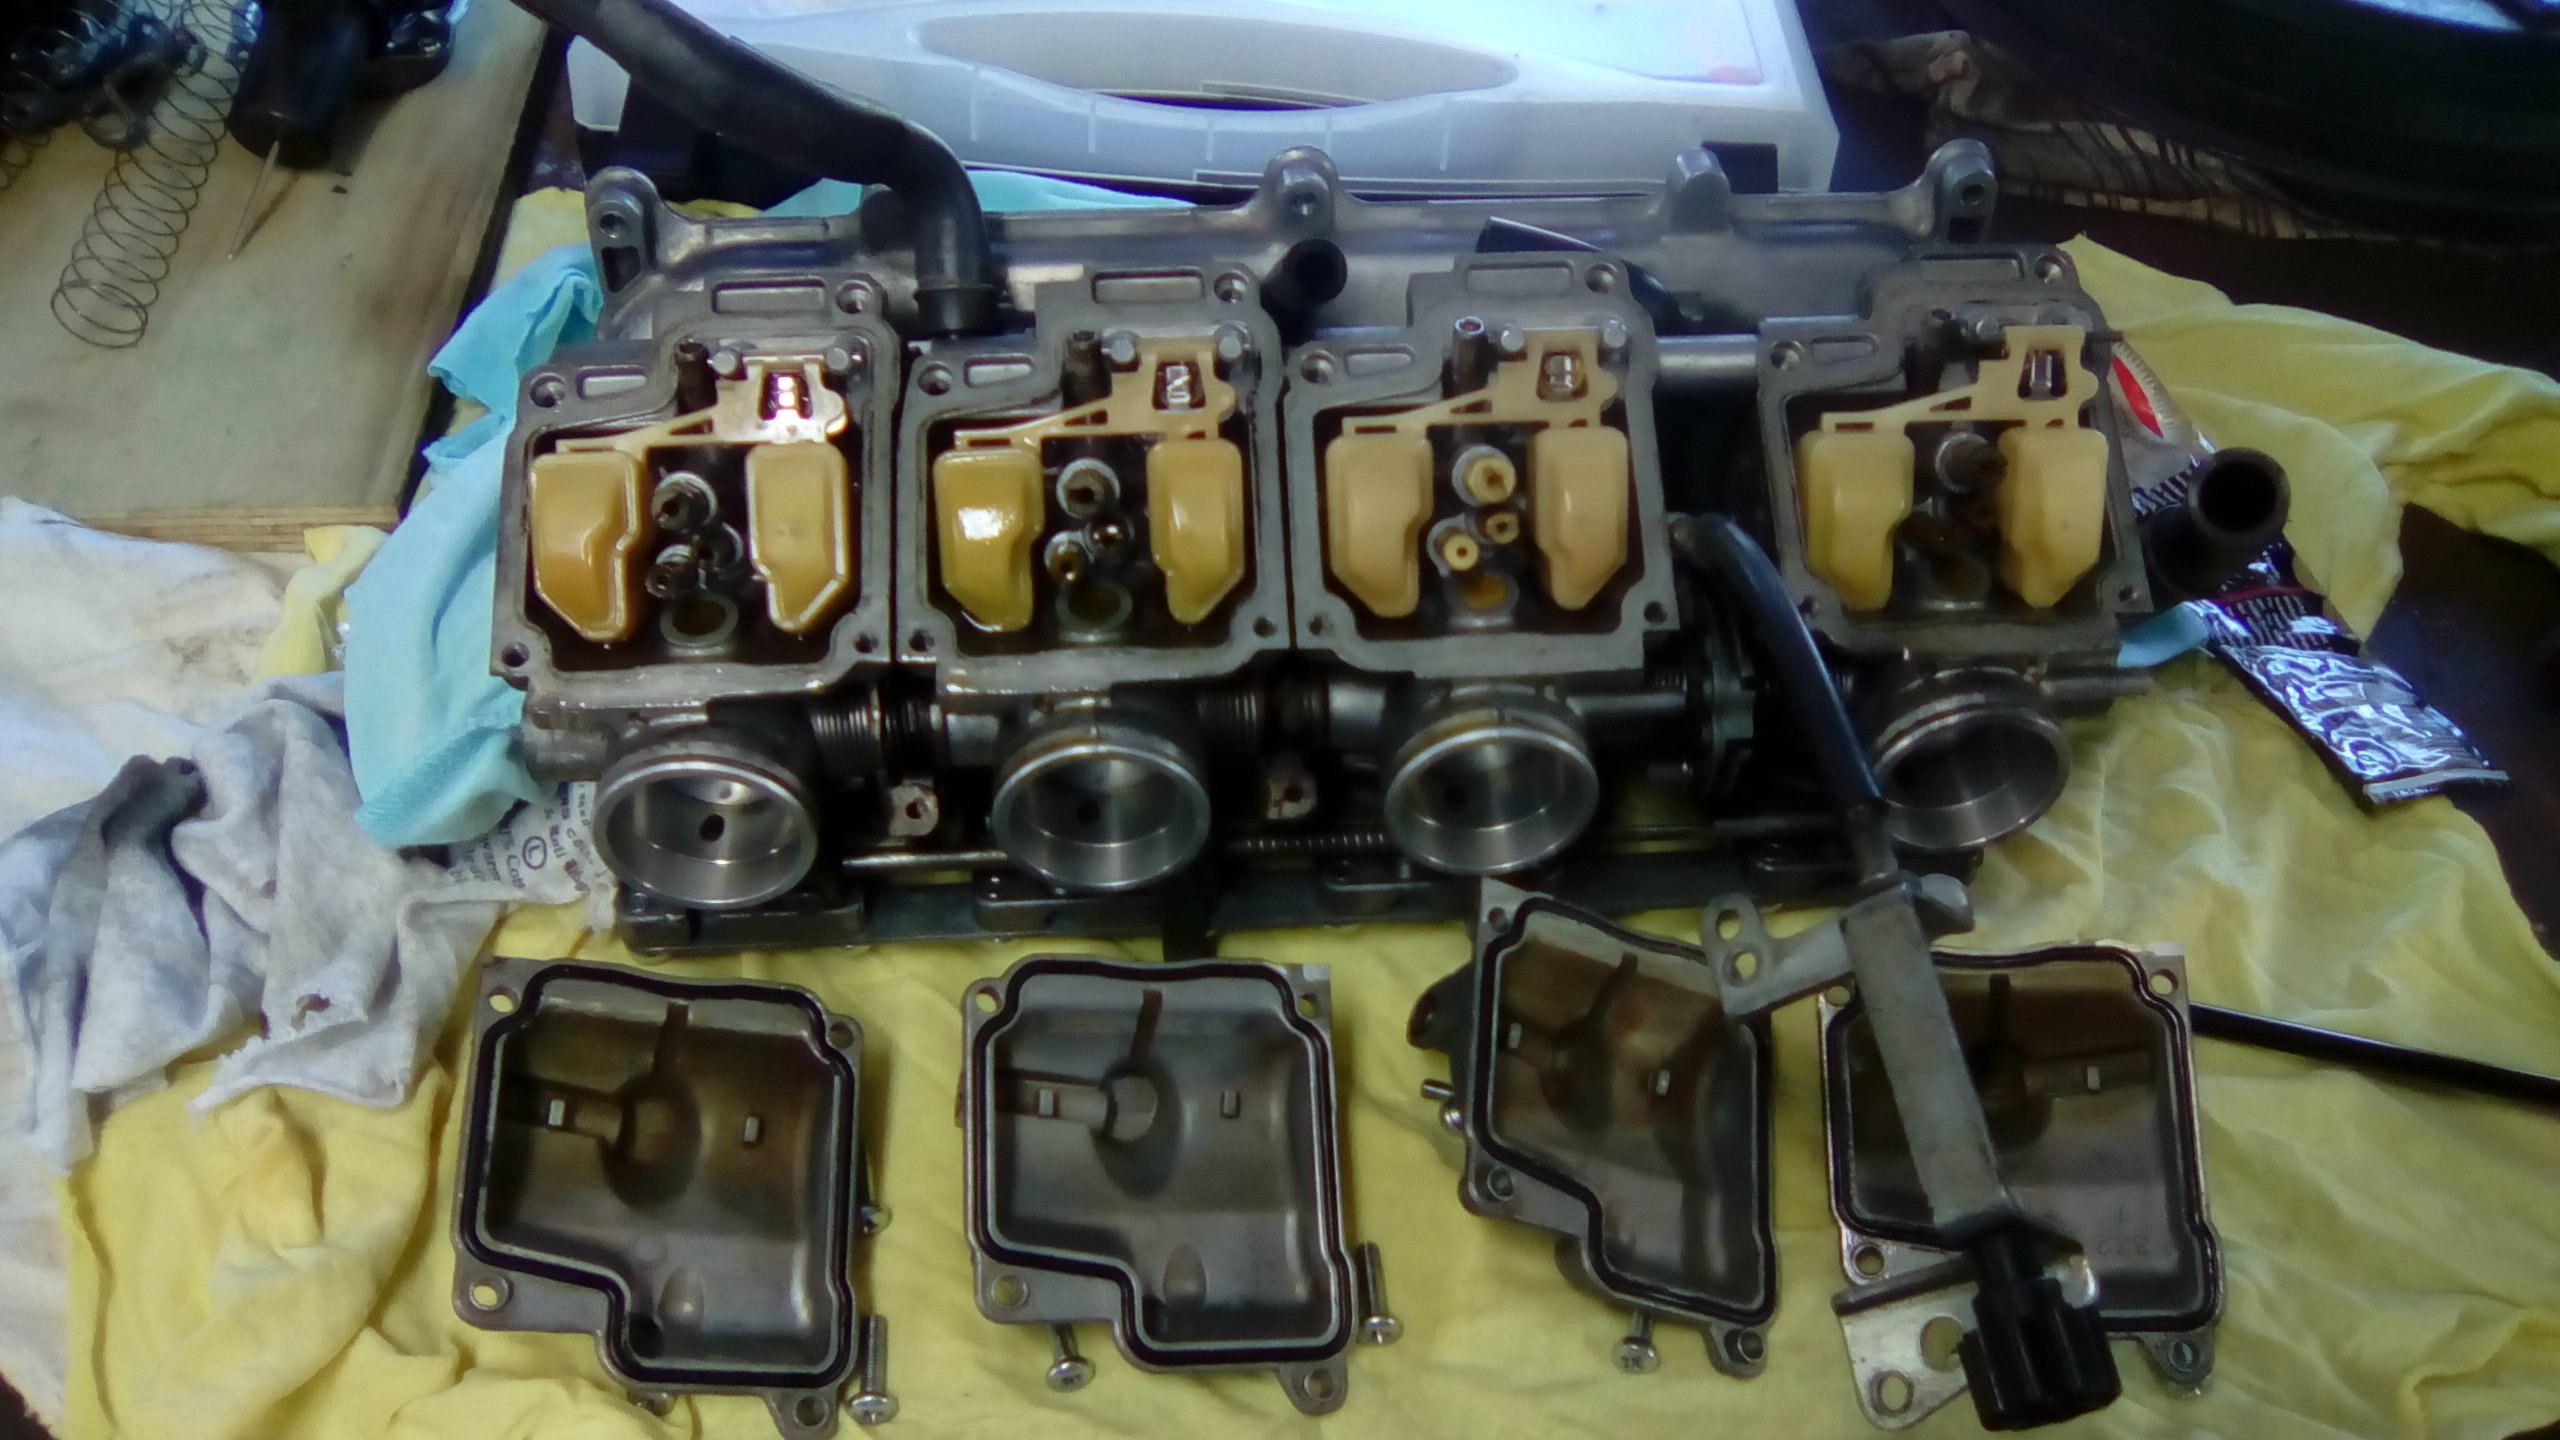
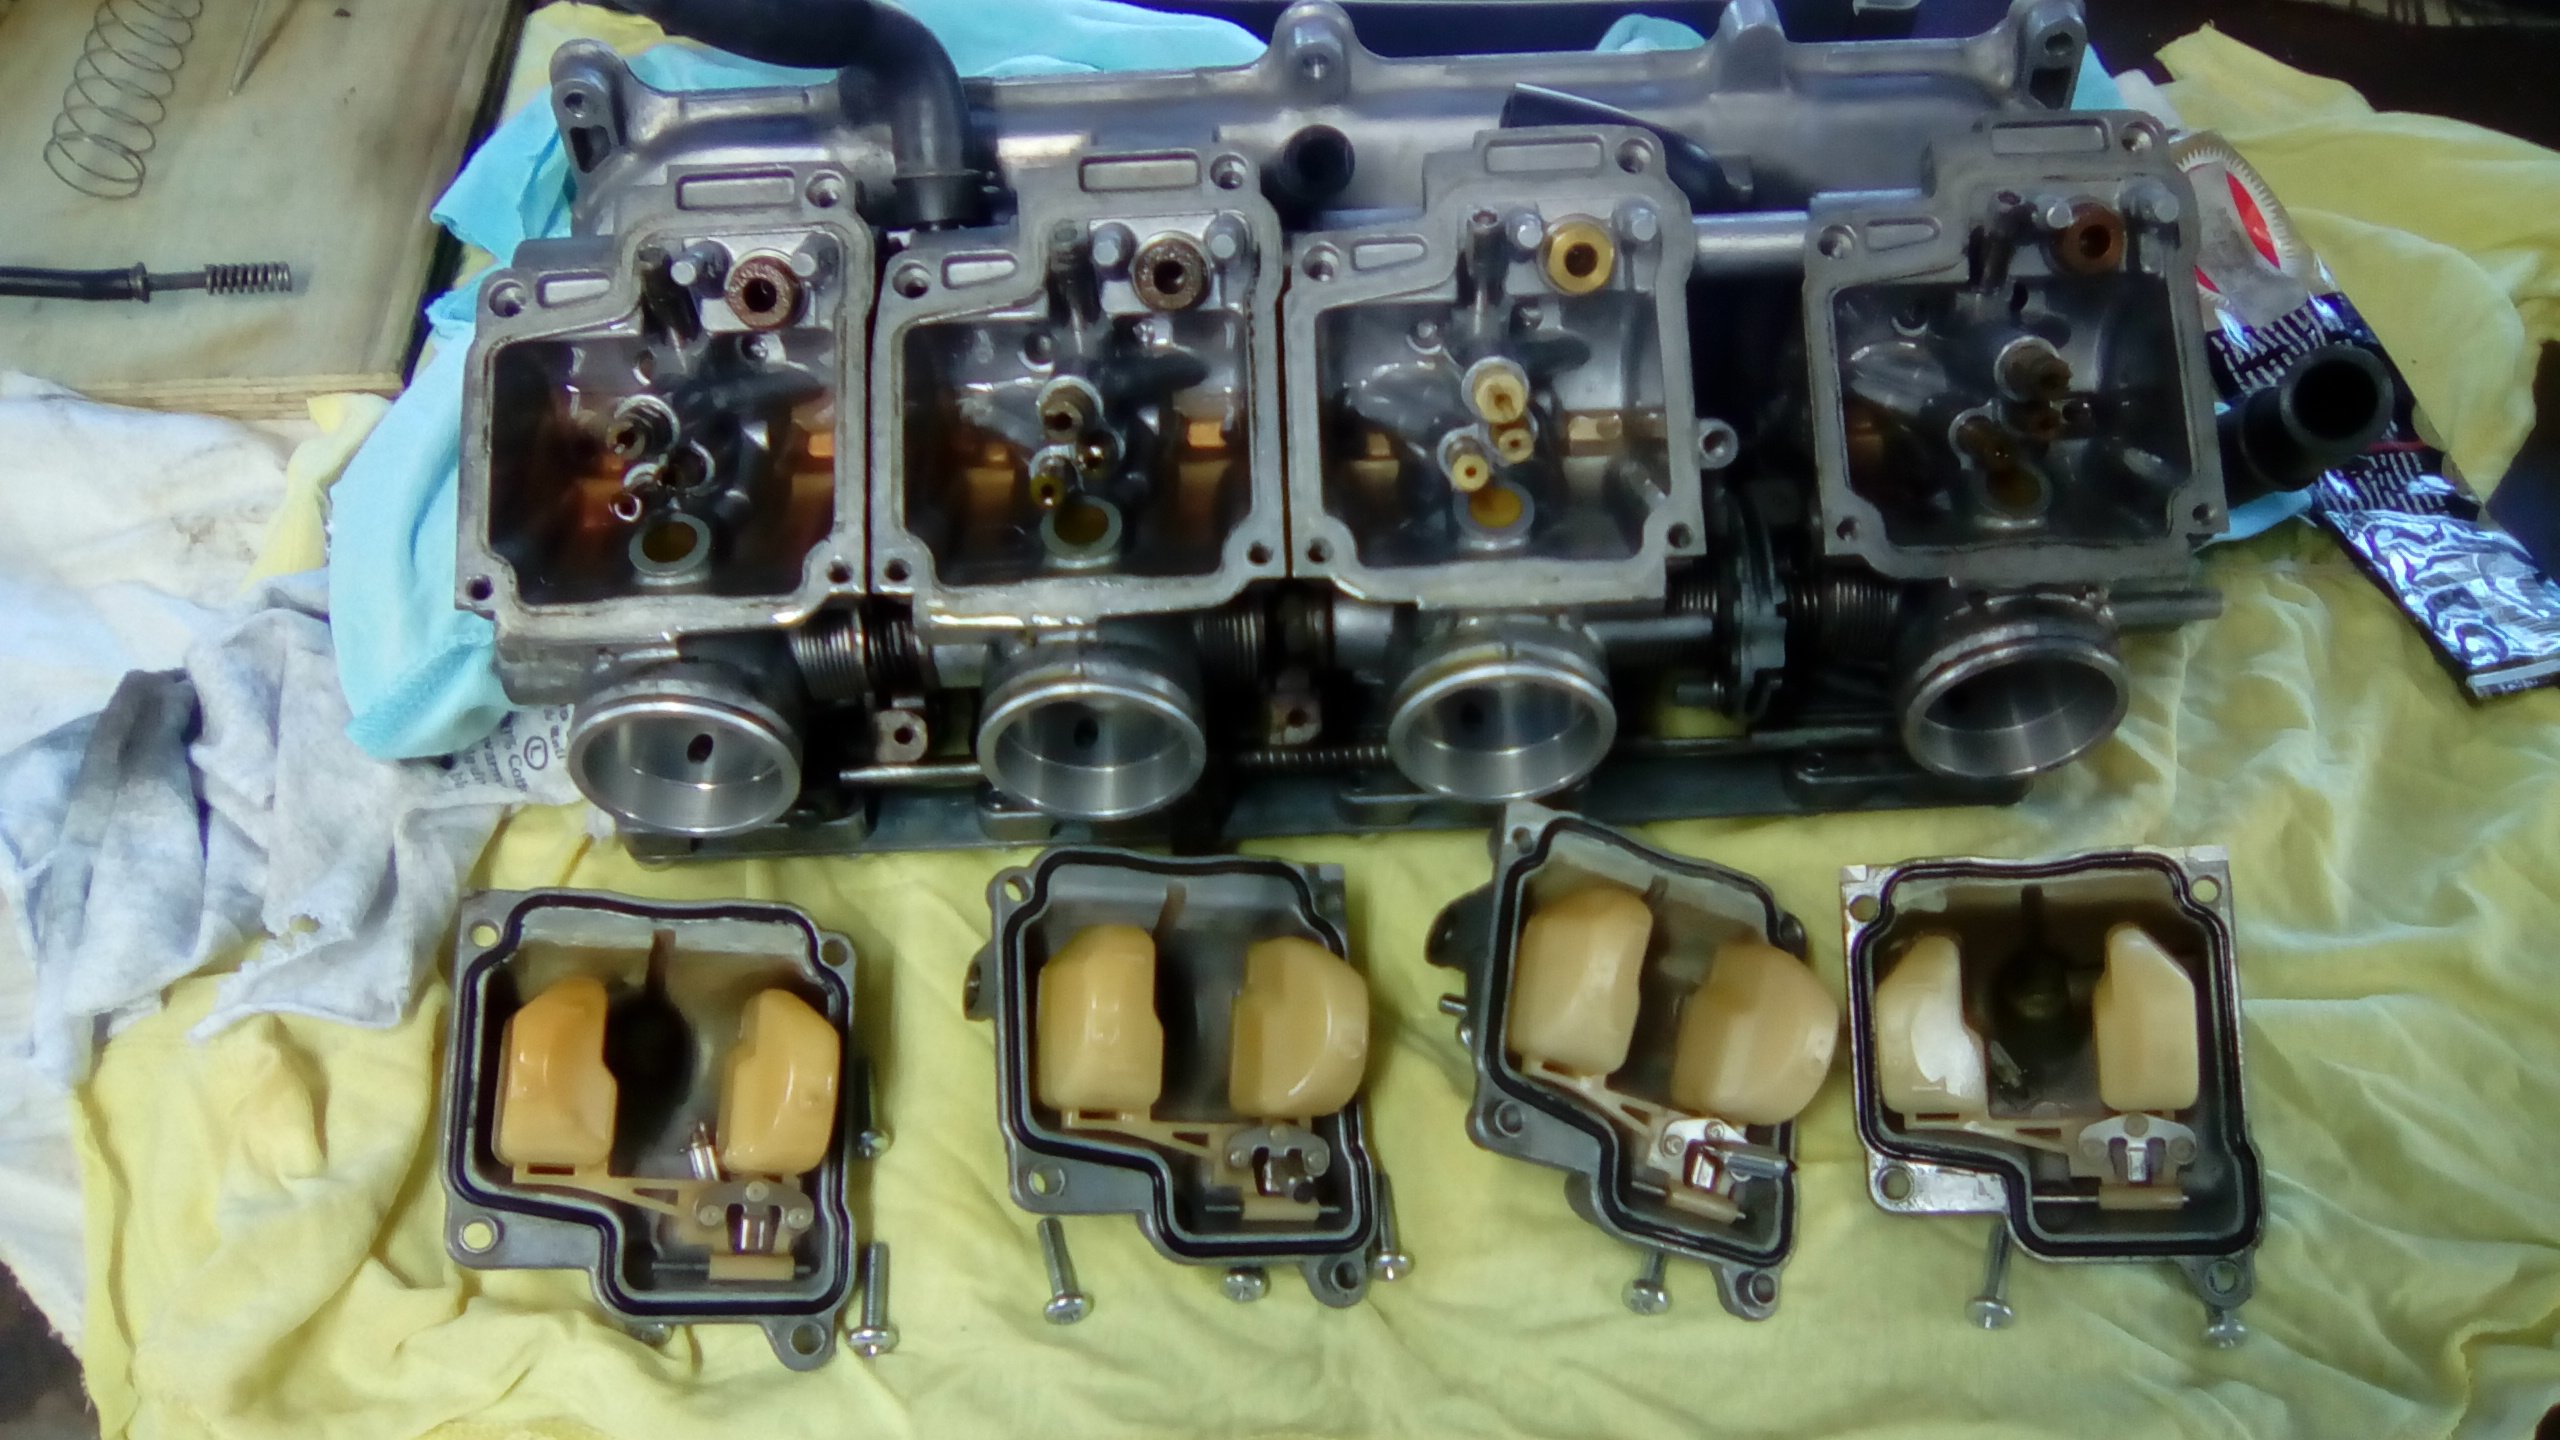
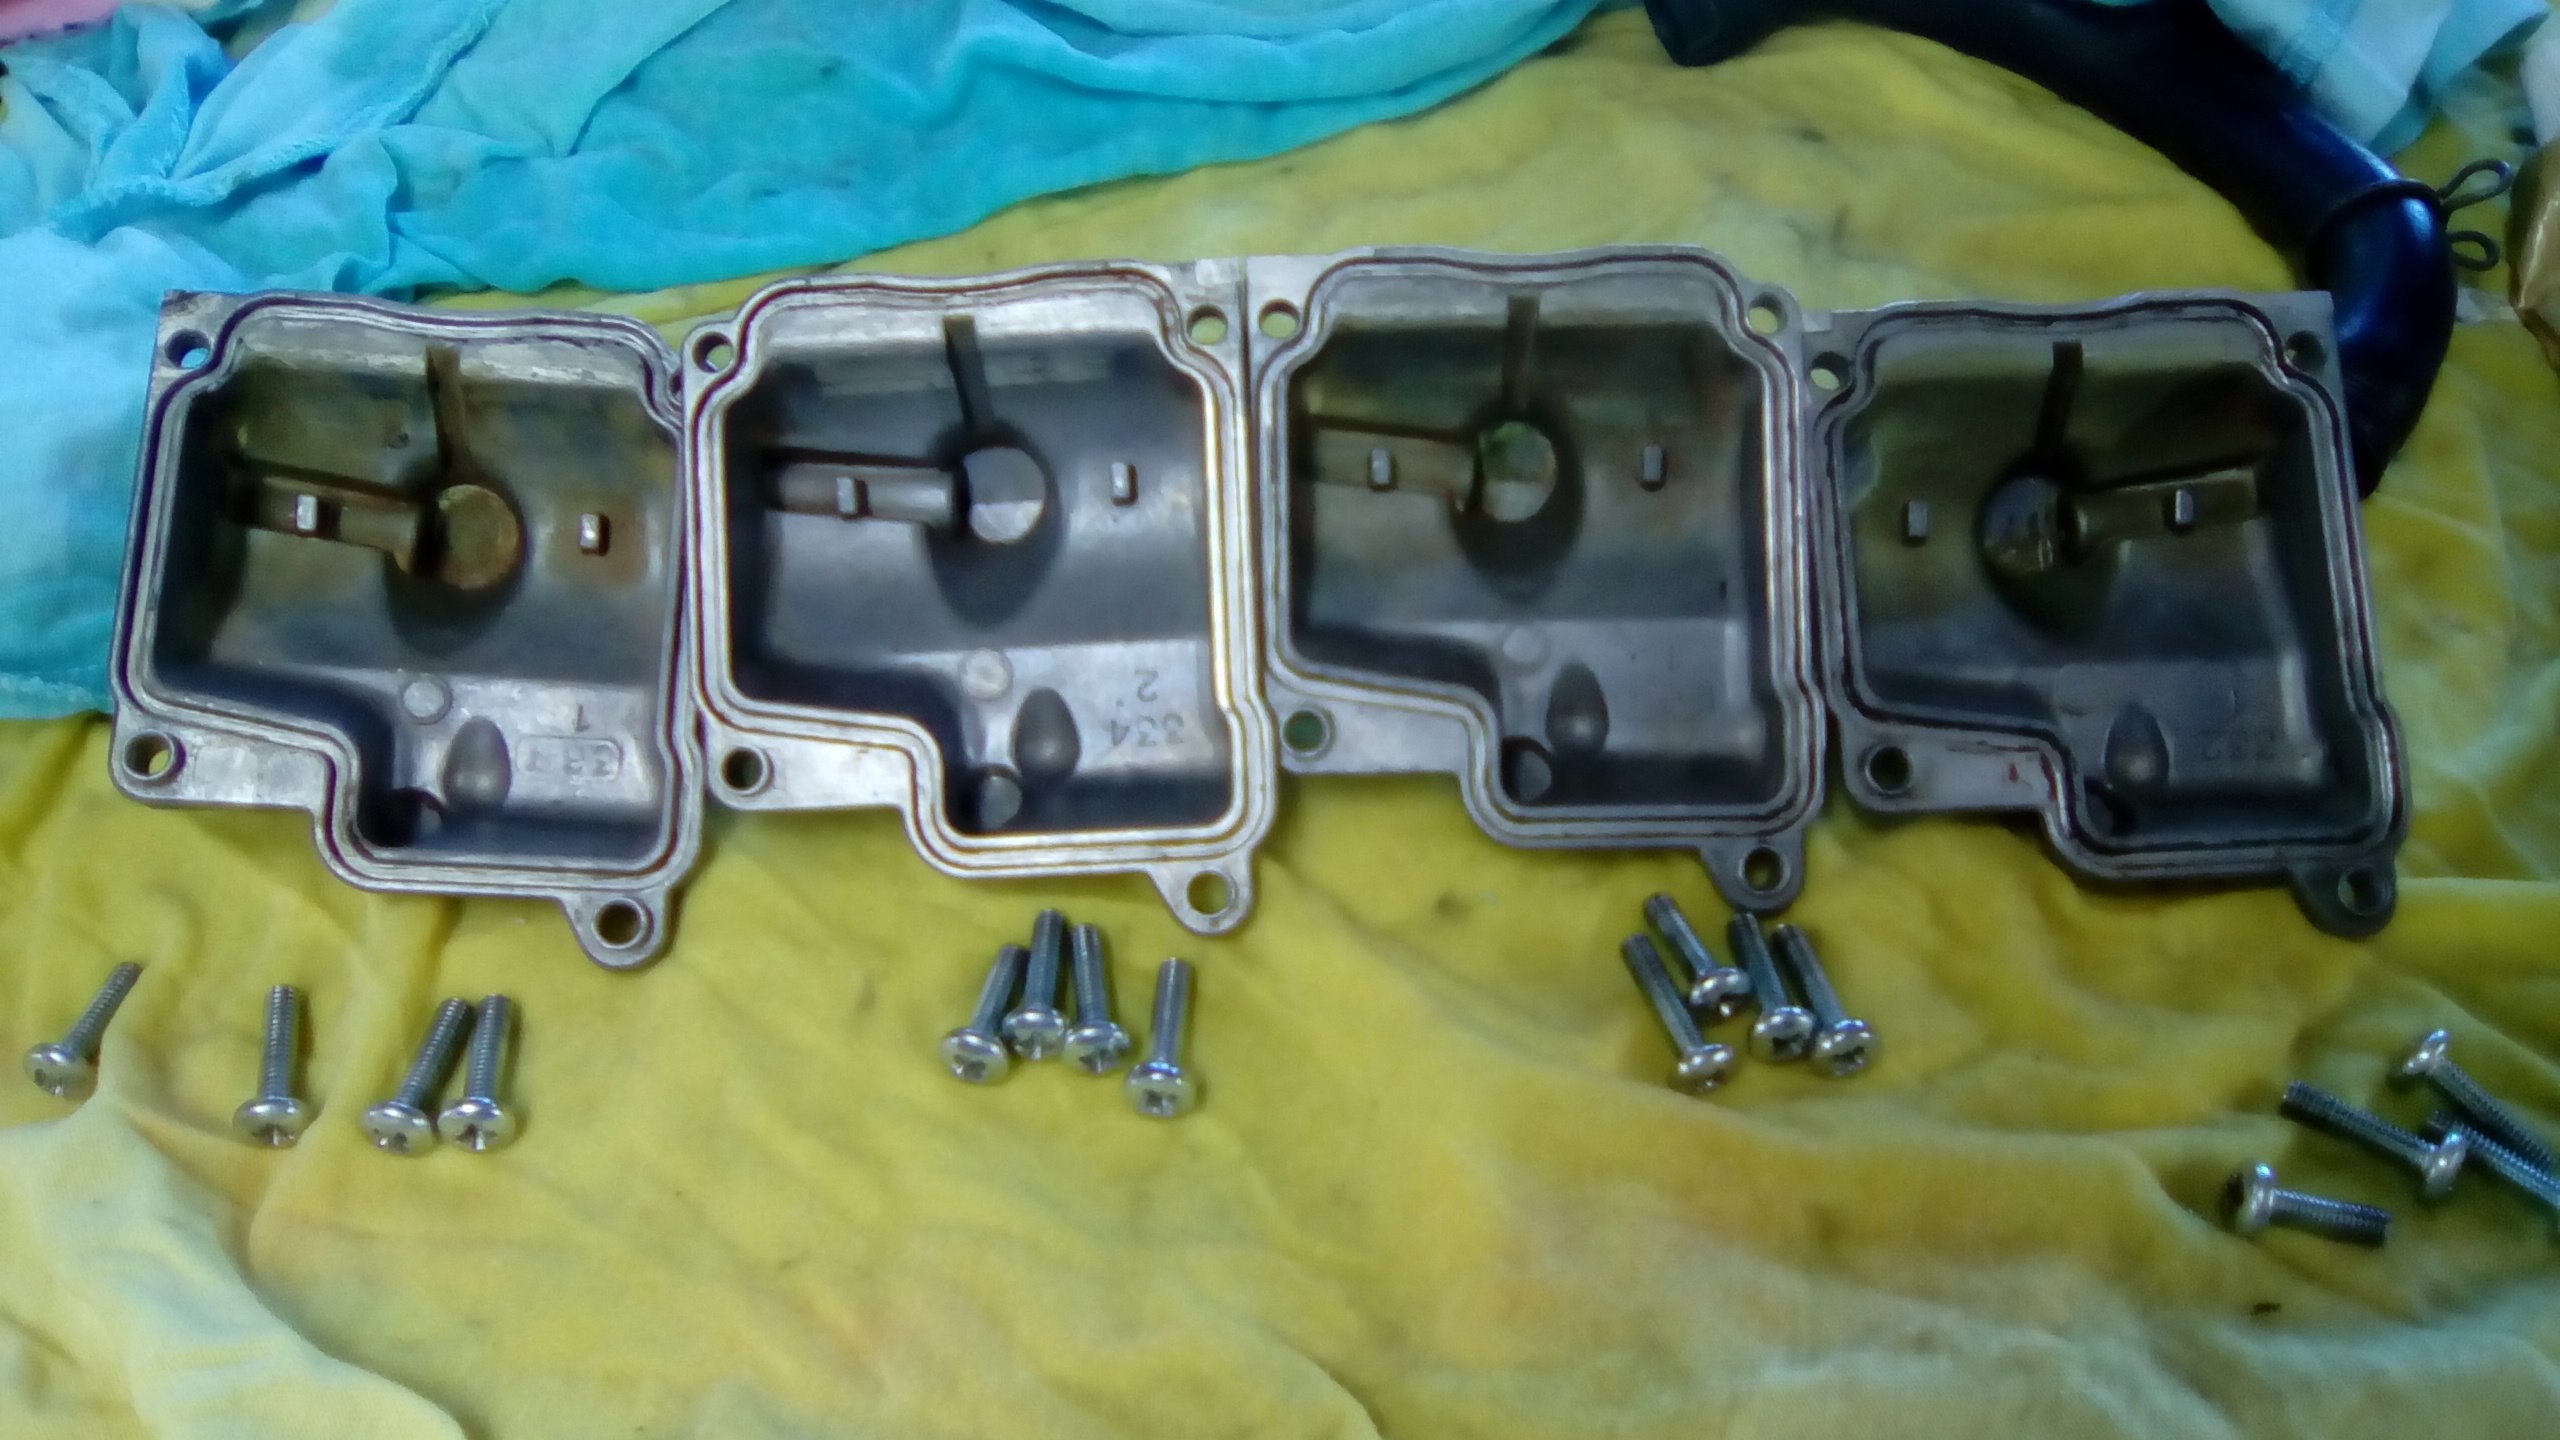
Float valves were stuck on 1,2 and 4. Bottom of the bowls are stained green, gave them a squirt and soak in carb cleaner but doesn't come off. Is it ok to leave or will it loosen up in time and block shit up? Anyway, pics or it didn't happen. One stuck valve covered in snot (is it called a valve? I'm just naming bits as I feel). All the floats and valves out. Will take the main carb assembly to work and give it a blow out. And the bowls after I've given them a quick clean. Will try scrub out the bowls with something, don't know what yet. Is there a way to stop all this happening or is it just a case of not letting it sit for too long between runs? Would appreciated some direction.
-
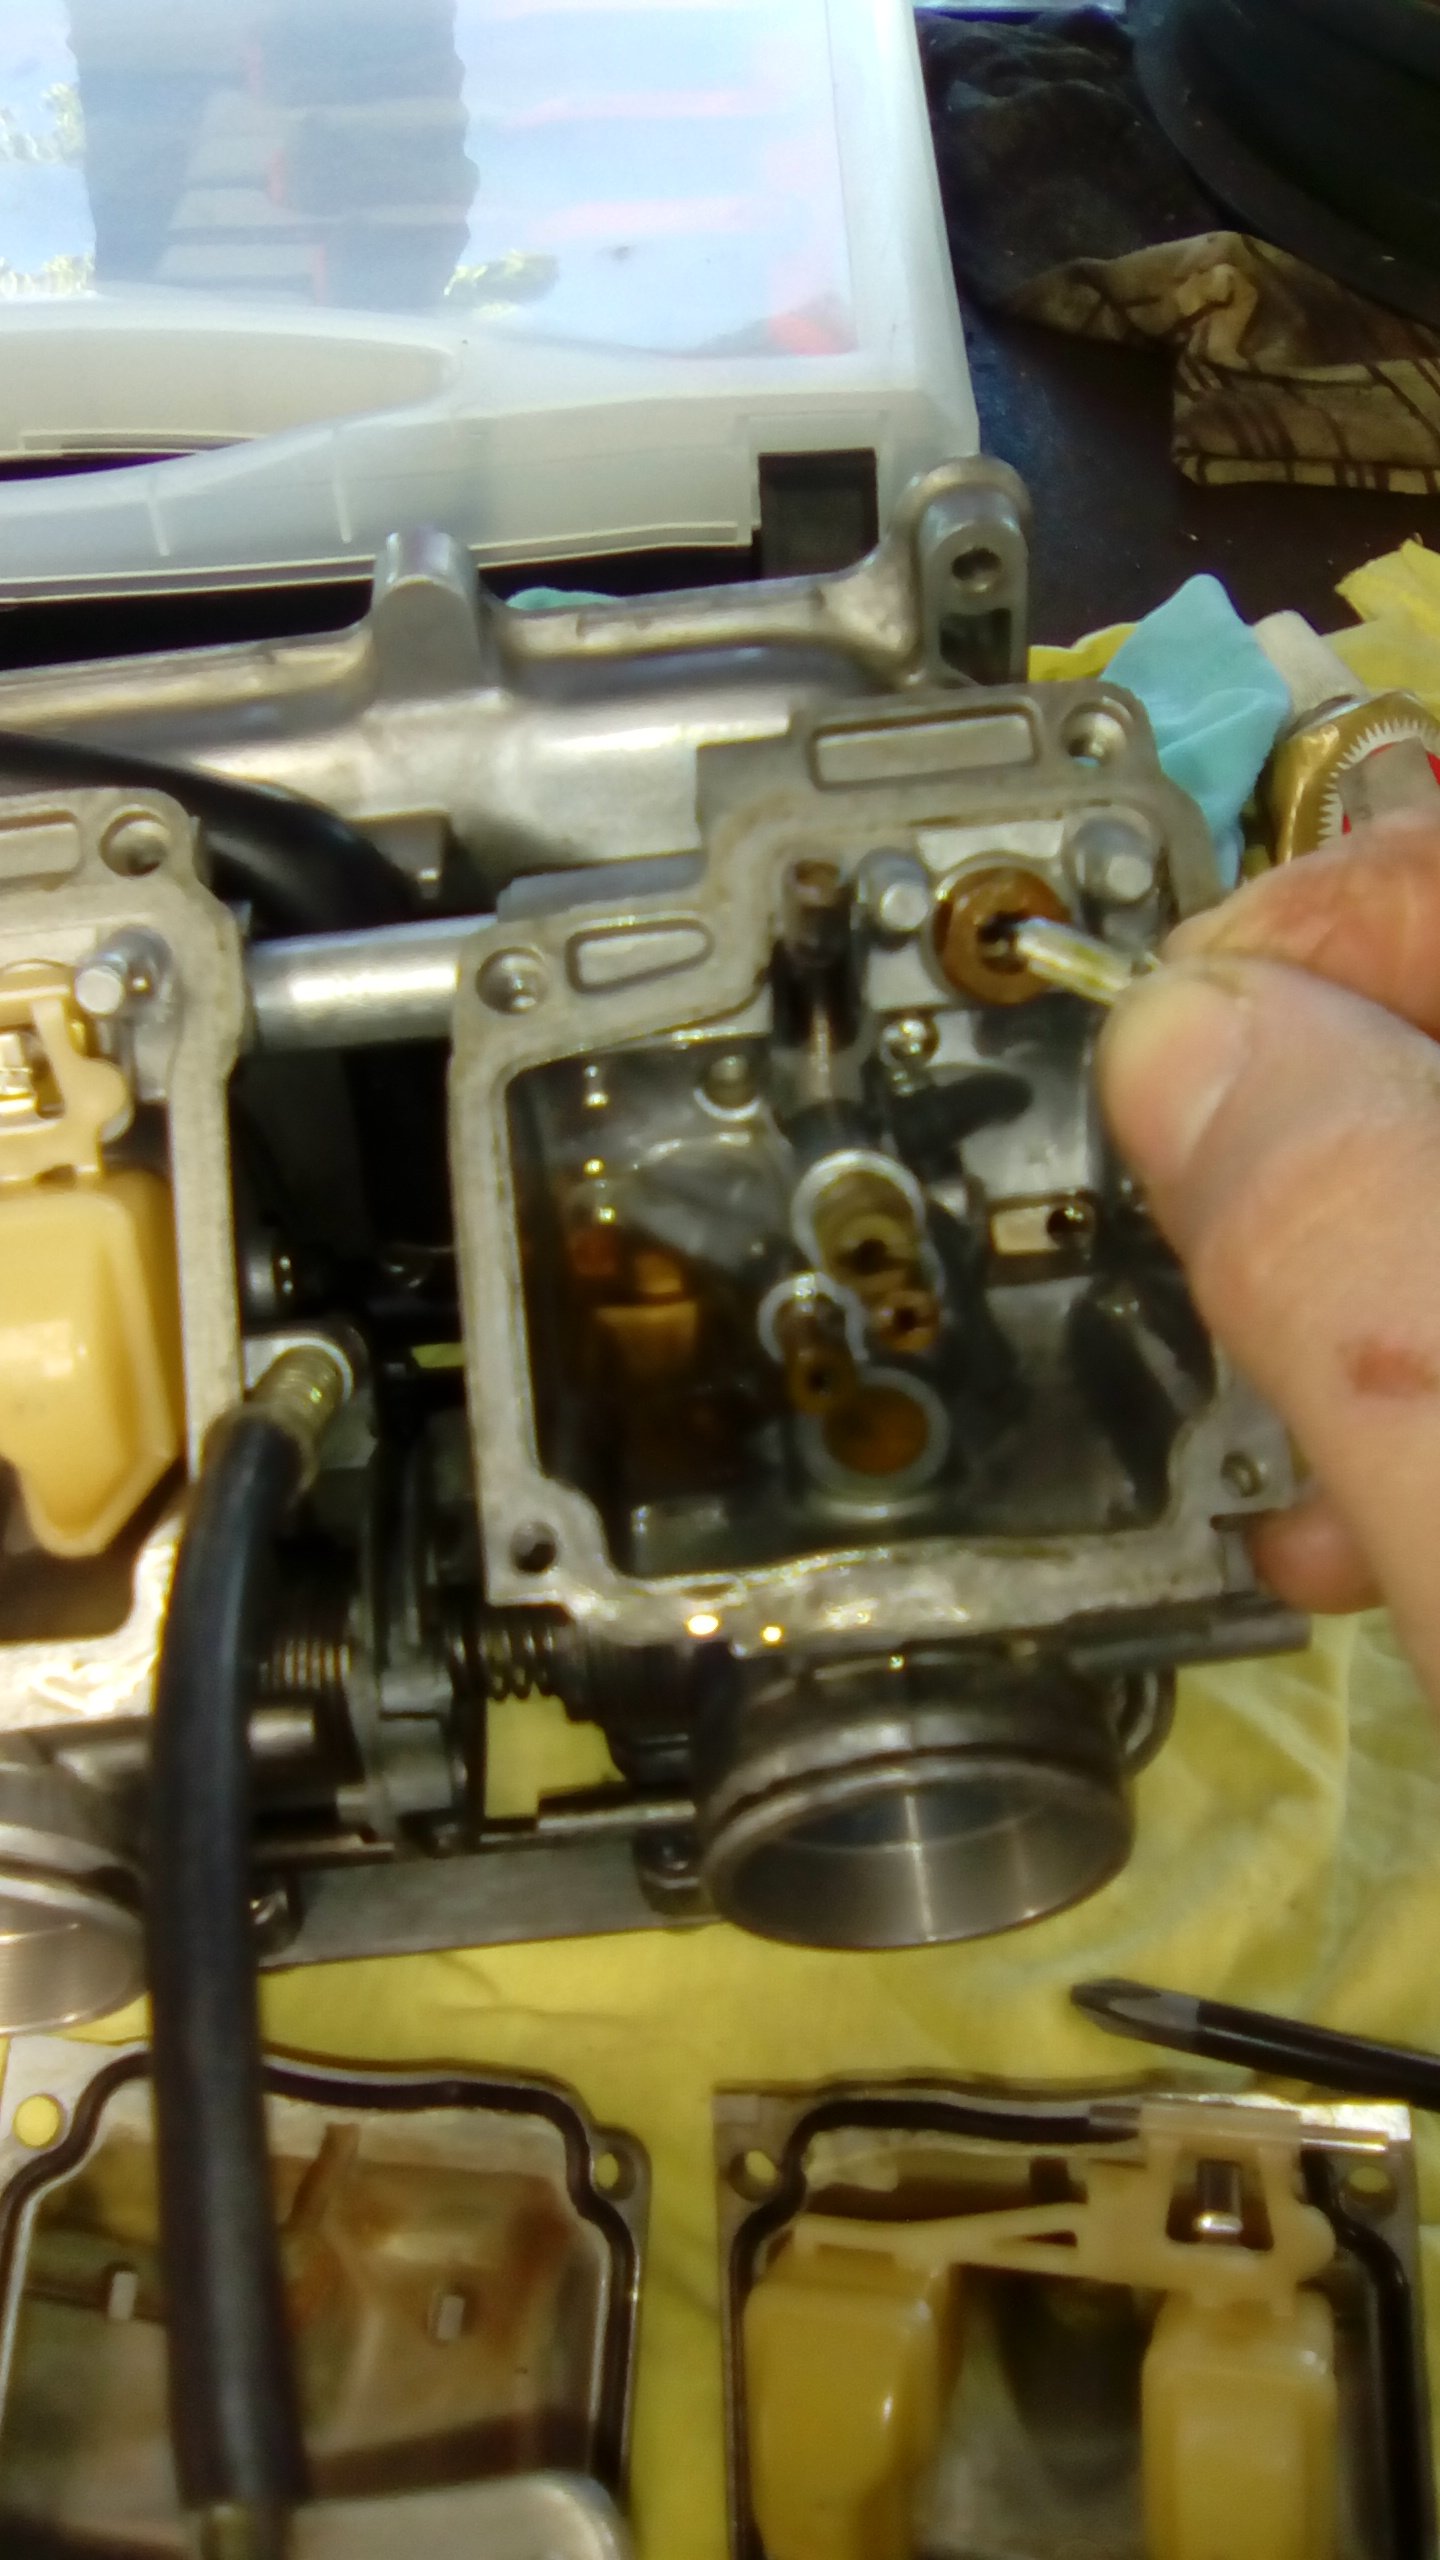
Feels like I've been here before. Starting with the diaphragm side just in case fuel was making its way up there. It wasn't luckily. The needles on numbers 1 and 2 were a bit green but it polished off with some autosol easily. Will hopefully drop the floats out tomorrow then take it to work and give it all a good blow out.
-
Could you remove the wastegate and set it up with some threaded rod or a bolt that you adjust manually?
-
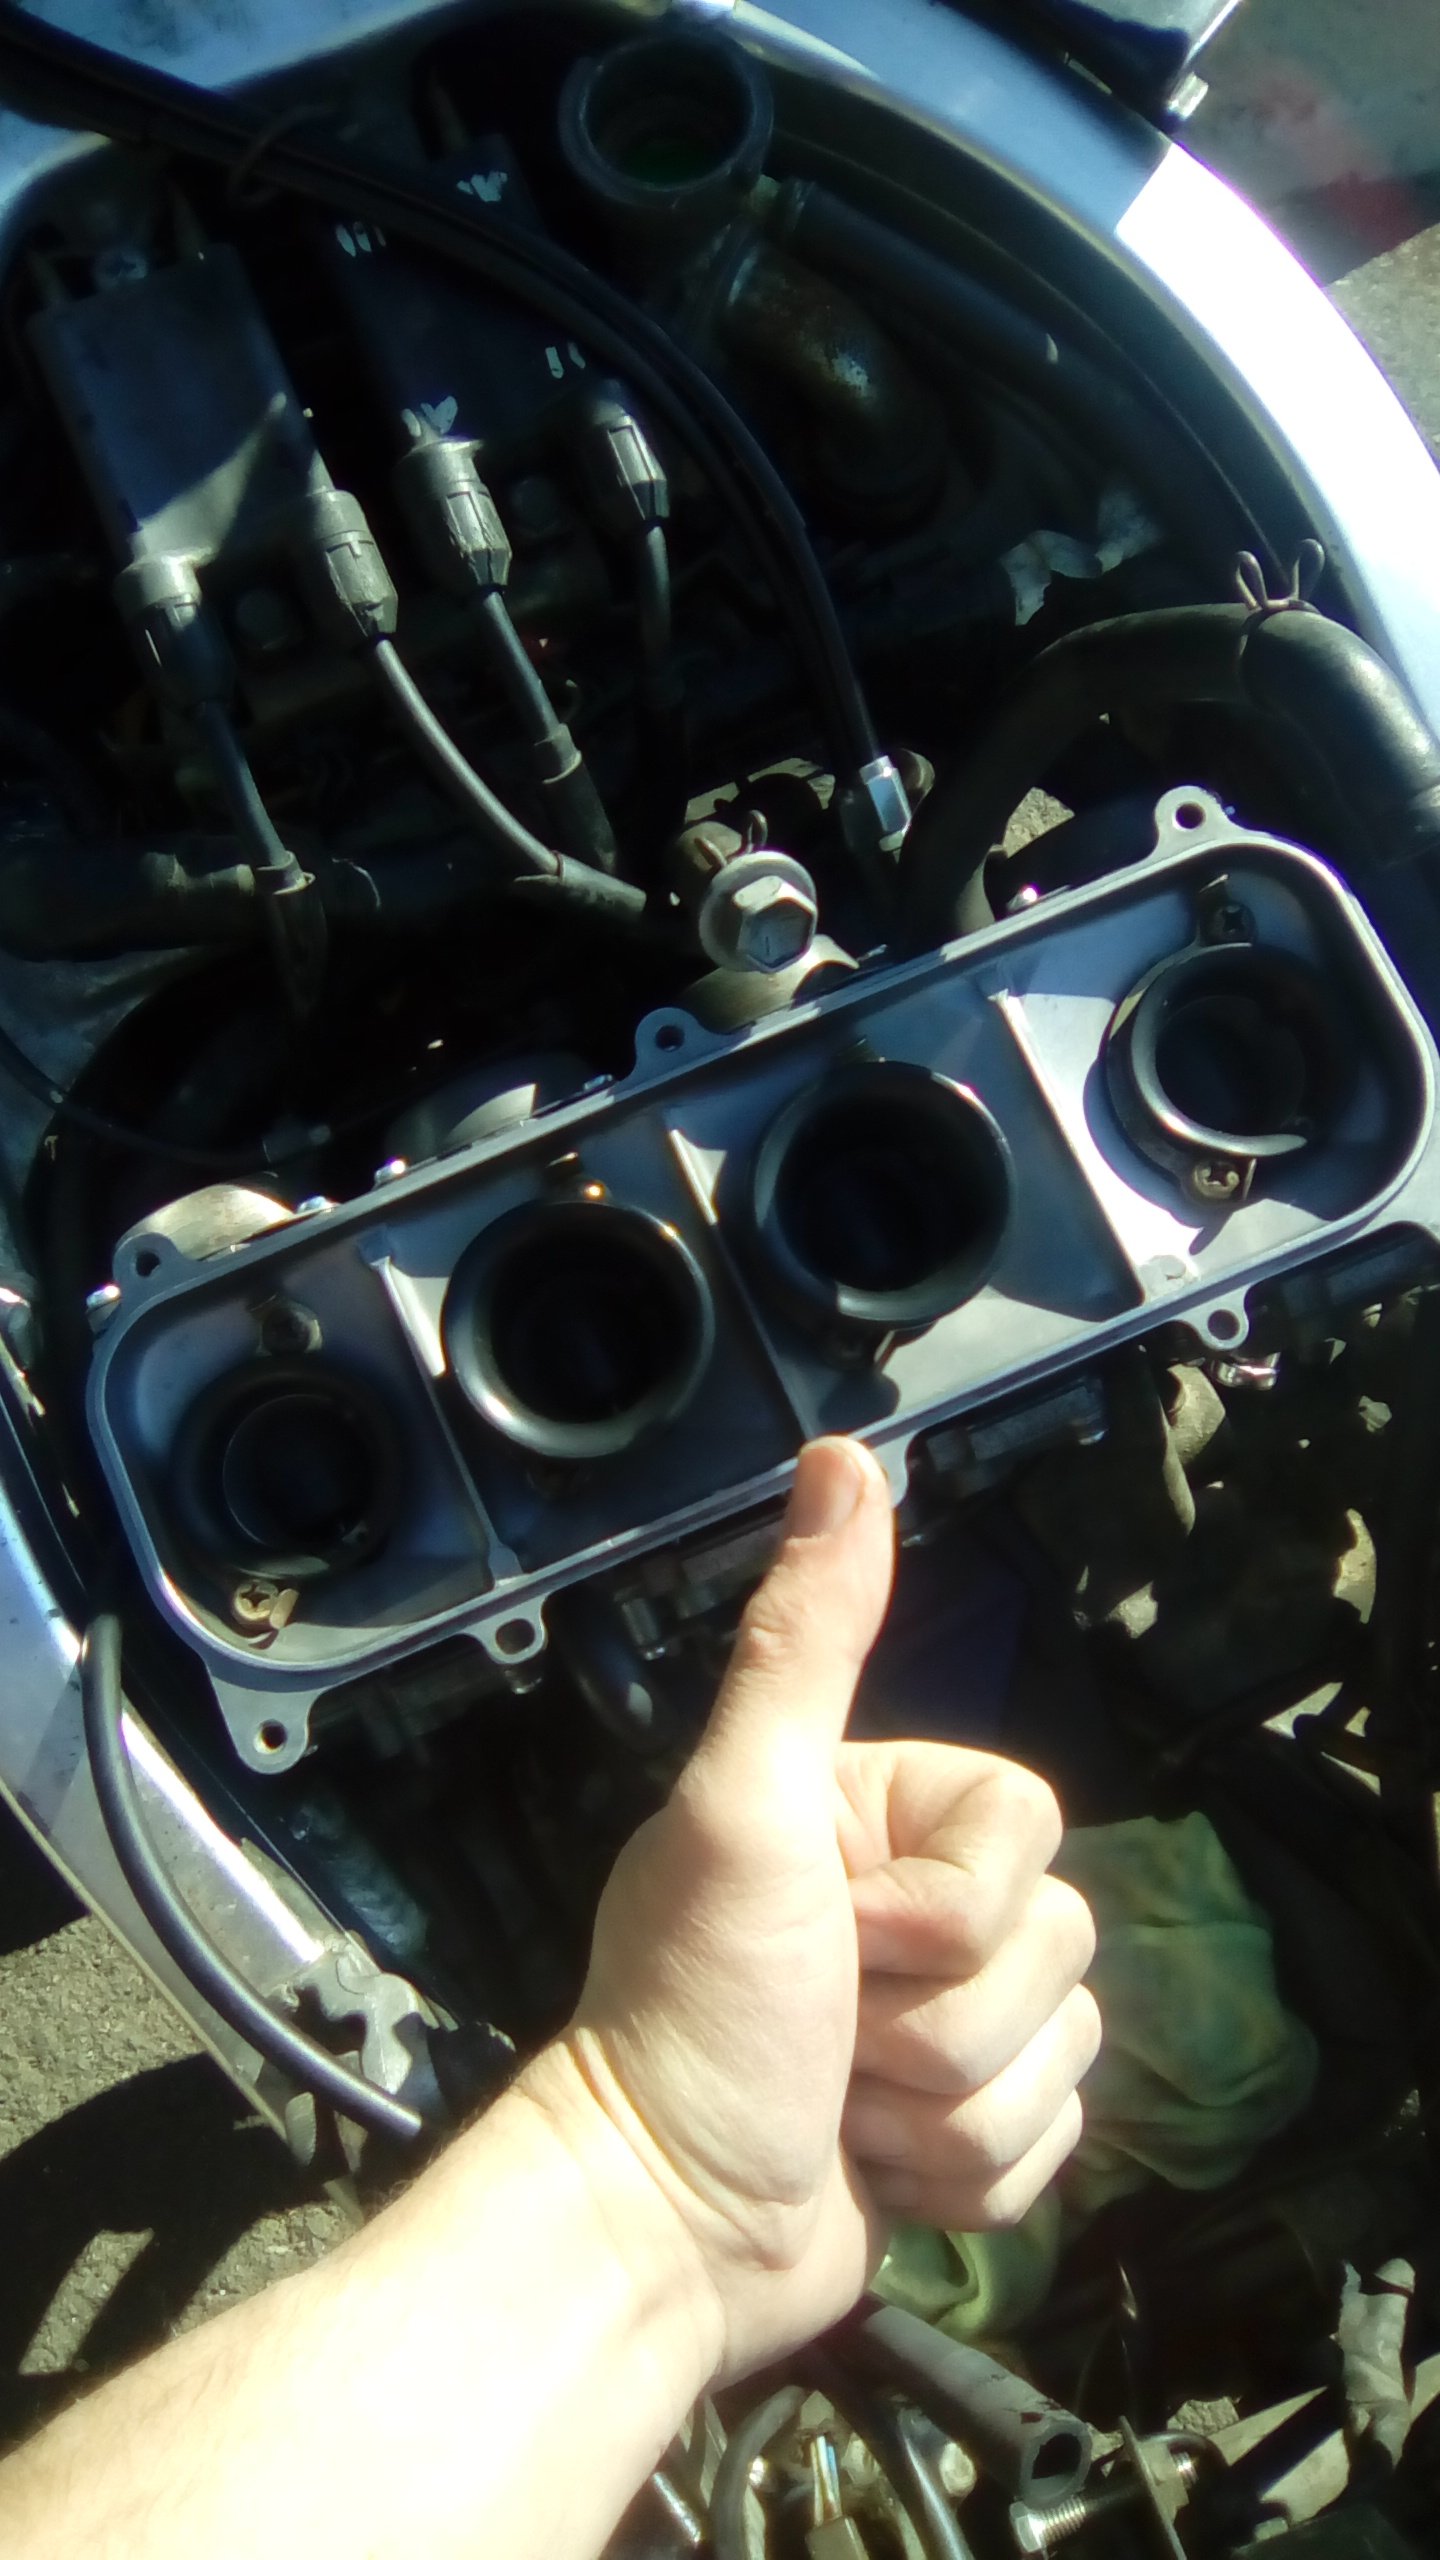
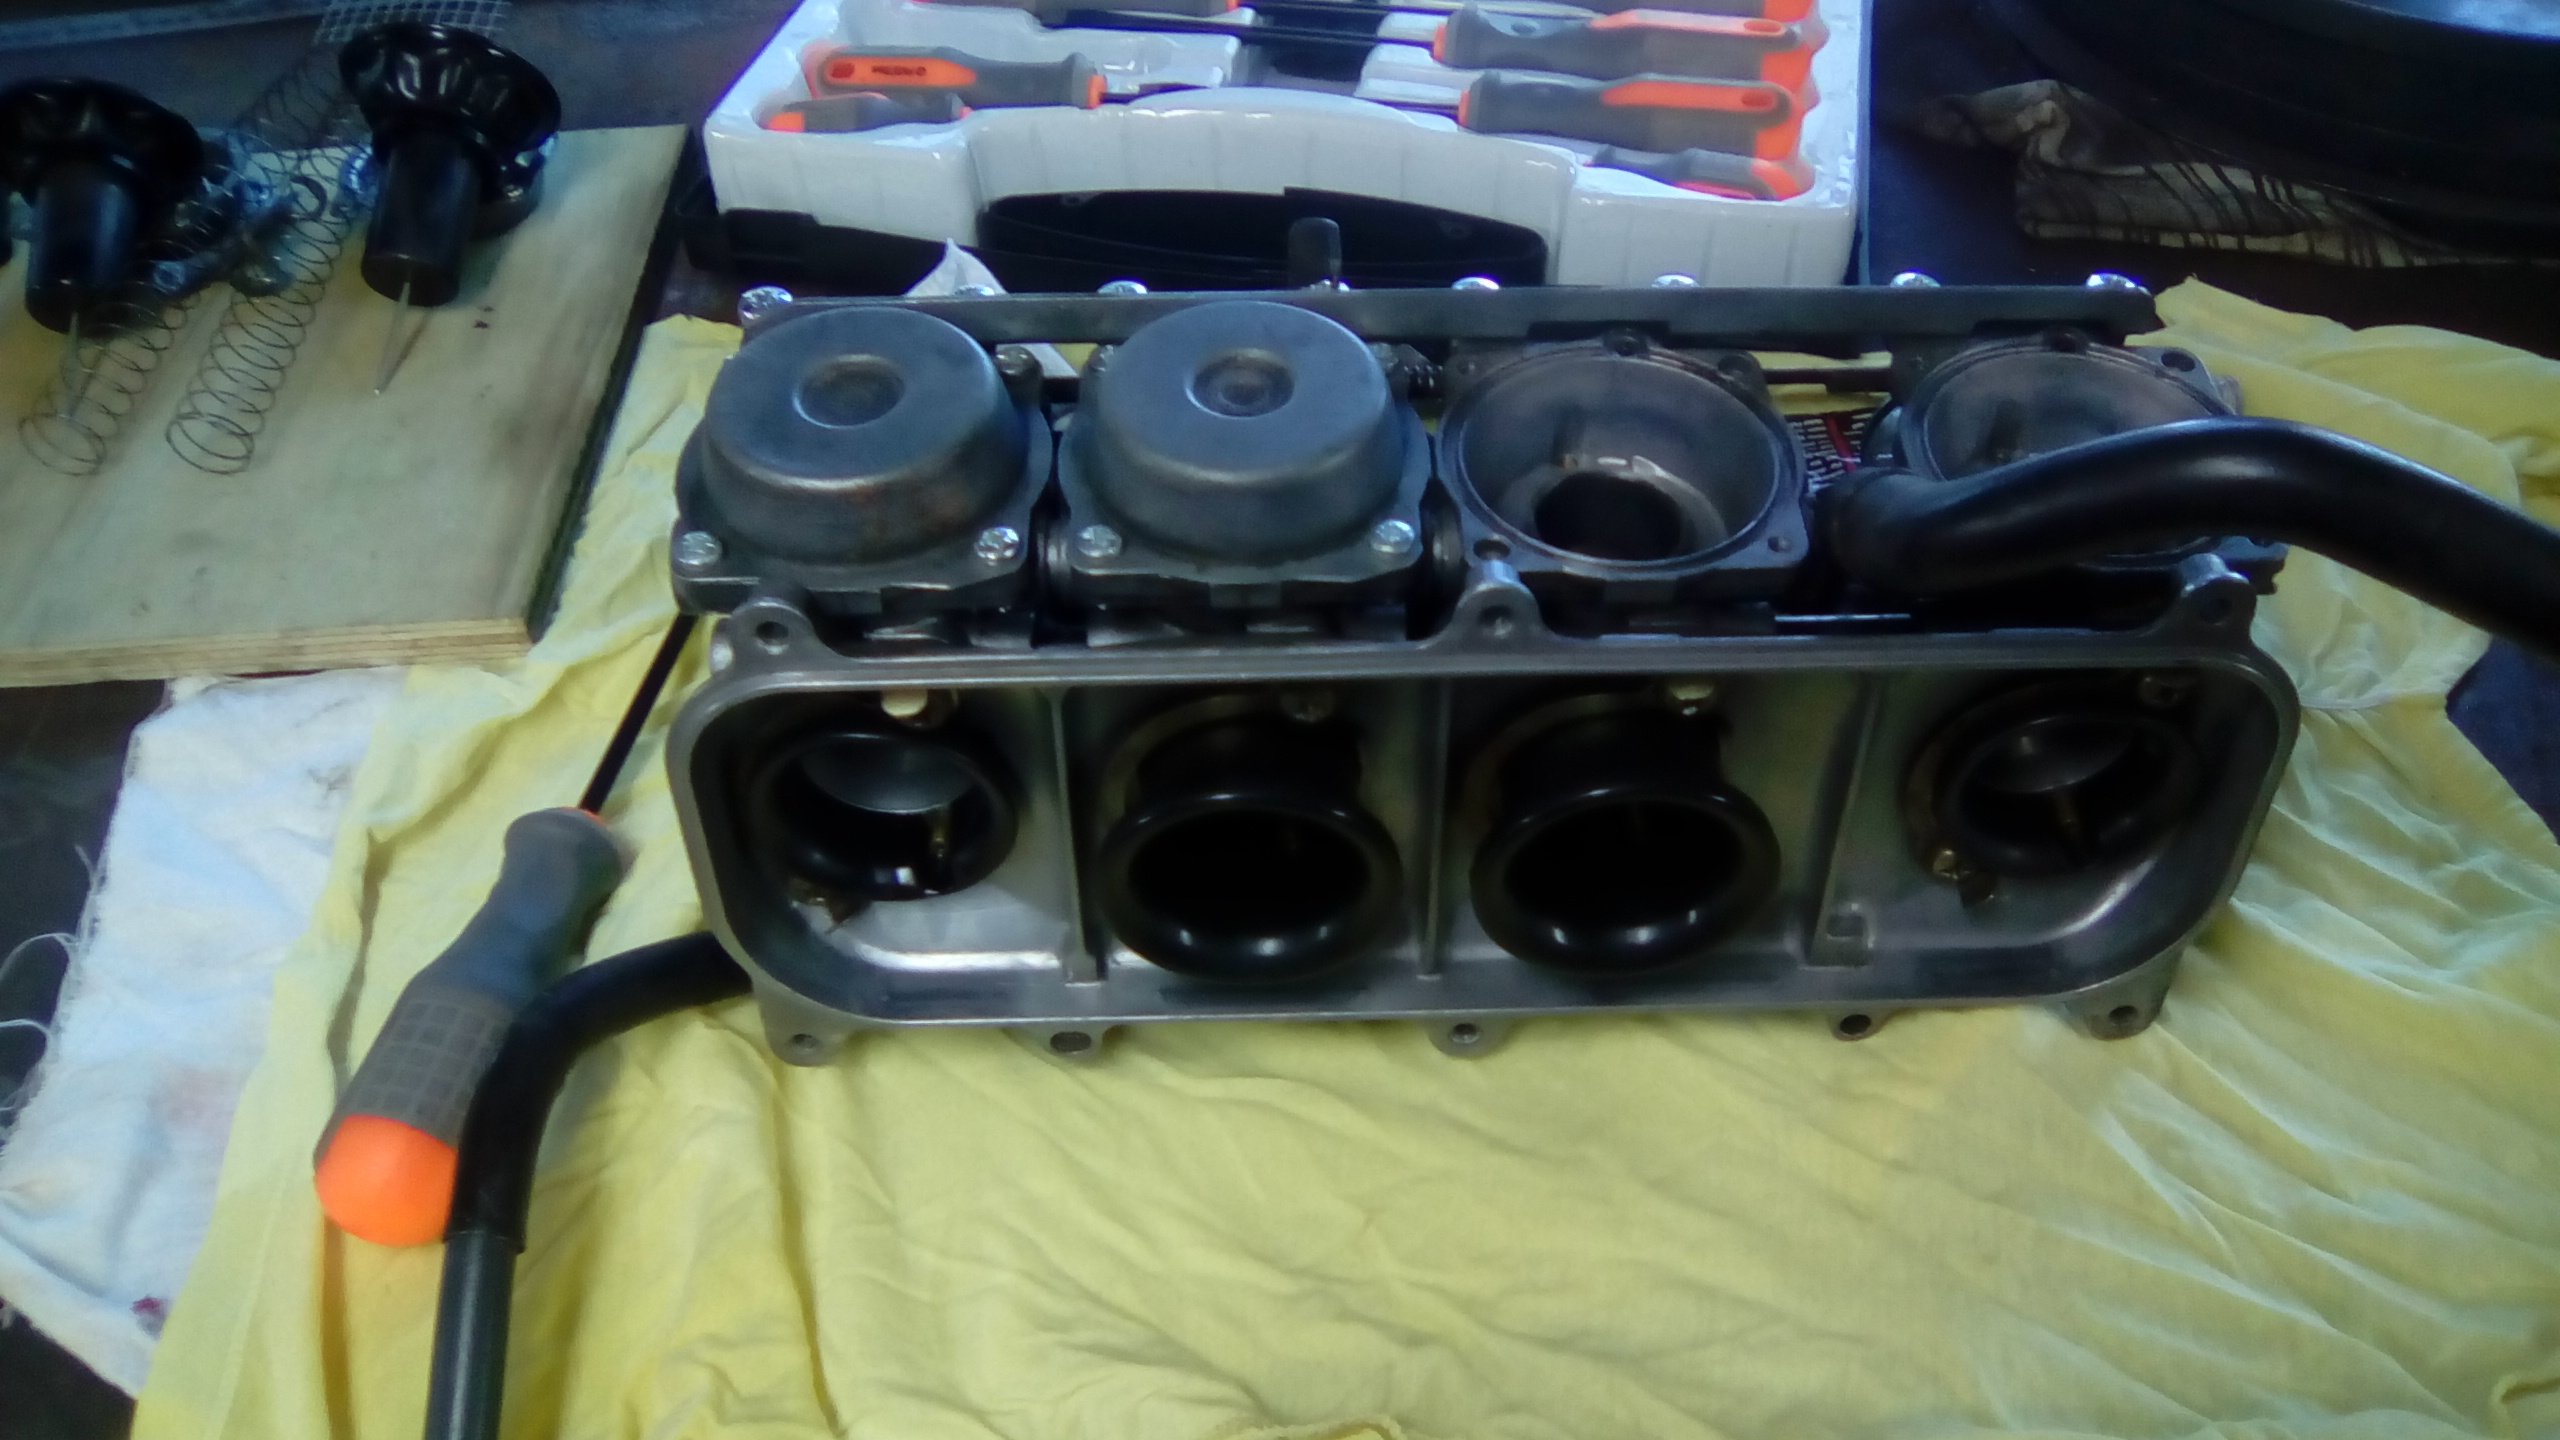
I'll keep this short as there's no pics. Gave the bike a good shake just in case it loosened up the stuck floats, nope. Dropped the bottom off #2 float bowl and found it stuck, got that freed up and checked #1 and 3. Both of those were ok but different. Back to #2 and turns out not only was the float struck but the little needle valve attached to the float was stuck. Fixed that (I think). Couldn't get at #4 easily so left it and tried my luck. Still overflows. Think I'll just pull the carbs right off and give them another going over. The rubber joiner bits are new so should come off easily this time, I hope. There was a little crap and green varnish? in the float bowls and around the needles so they need a clean. Seems odd though as I've had them all apart, cleaned and new seals. Have also sat for quite some time so who knows. Next weekends job.
-
Also, this is my fuel valve. Its been so long I can't remember which bit the vacuum line goes onto. I'm thinking the one on the left? Thanks people in the bike spam thread, left port it is.
-
So after this, And this, This, And a bit more after those photos were taken. I have a tank that keeps petrol on the inside. Excited to finally take this for a hoon I chucked it all back together. Cranked it up and found this, Floats must be stuck, fuel was fair pissing out of the carb overflows So gutted. Still really excited to go for a hoon though. I'll drop the bottom off the float bowls and hopefully get them sorted easy enough.
-
Wow, that's some real Barry ingenuity right there.
-
@Scrubb How'd you paint the 86? Airbrush, can or brush? Looks awesome.
-
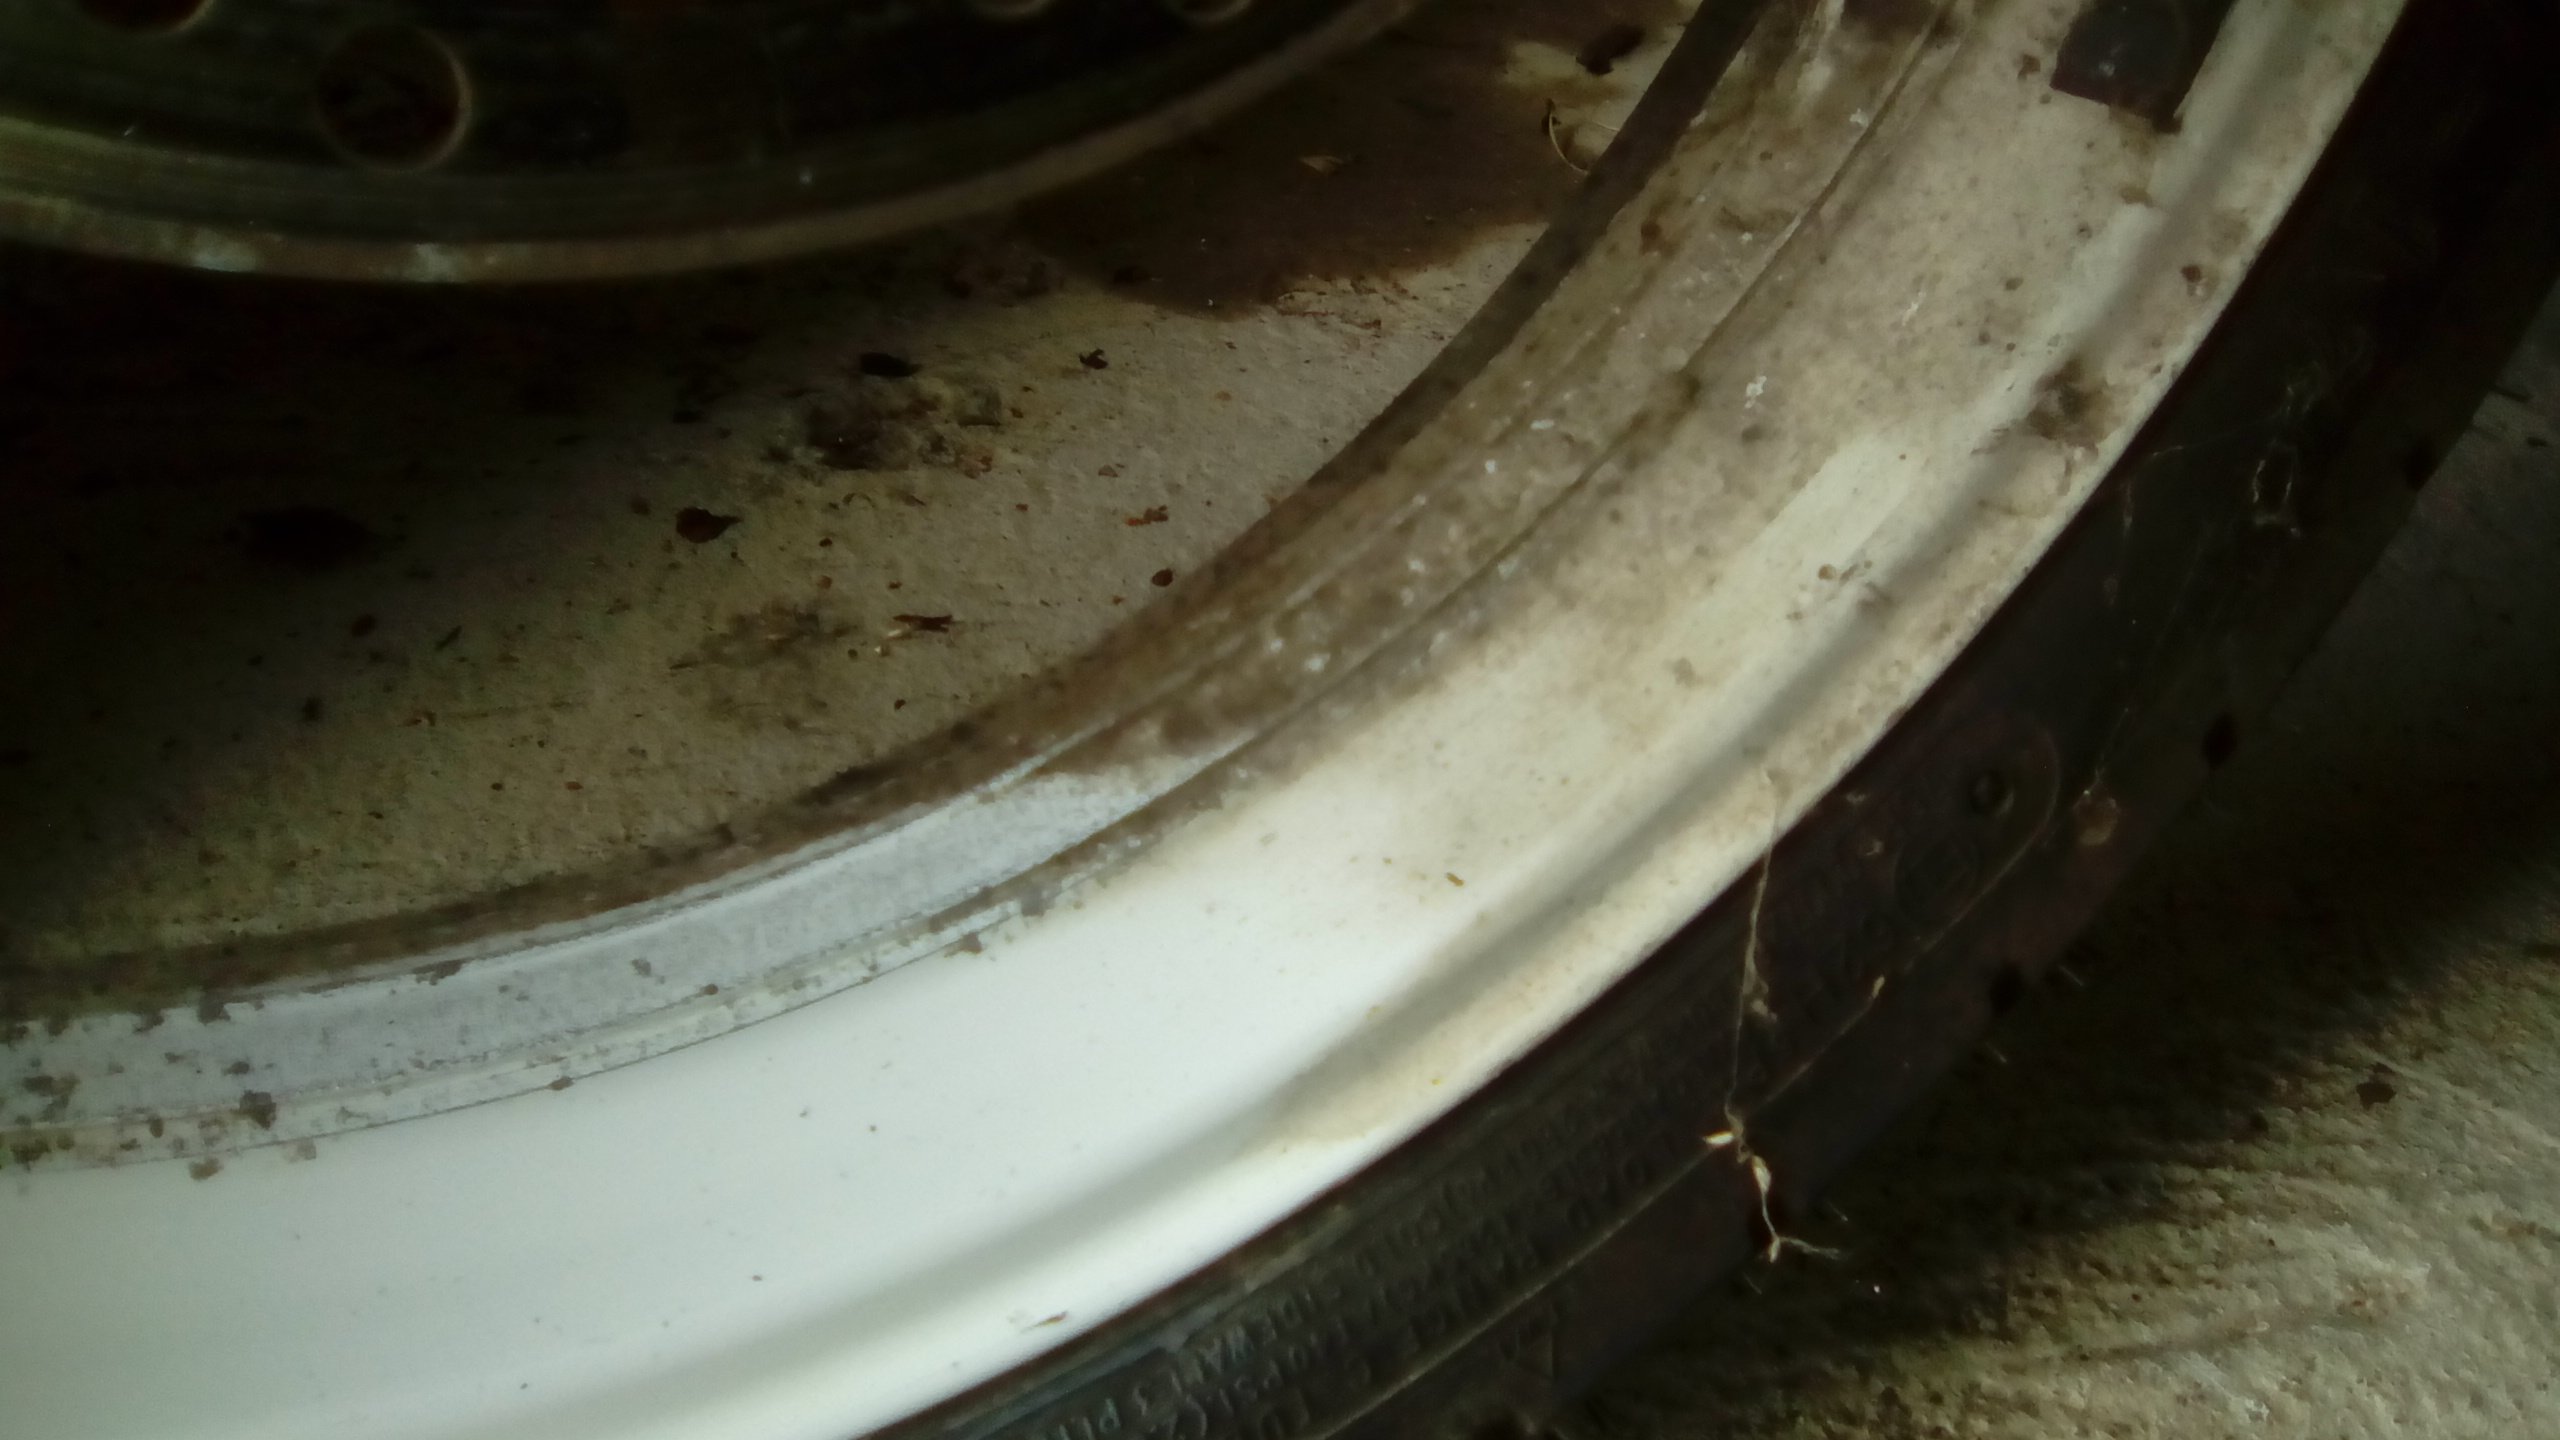
I've also started taking to the wheels with autosol. Seems to work a treat.
-
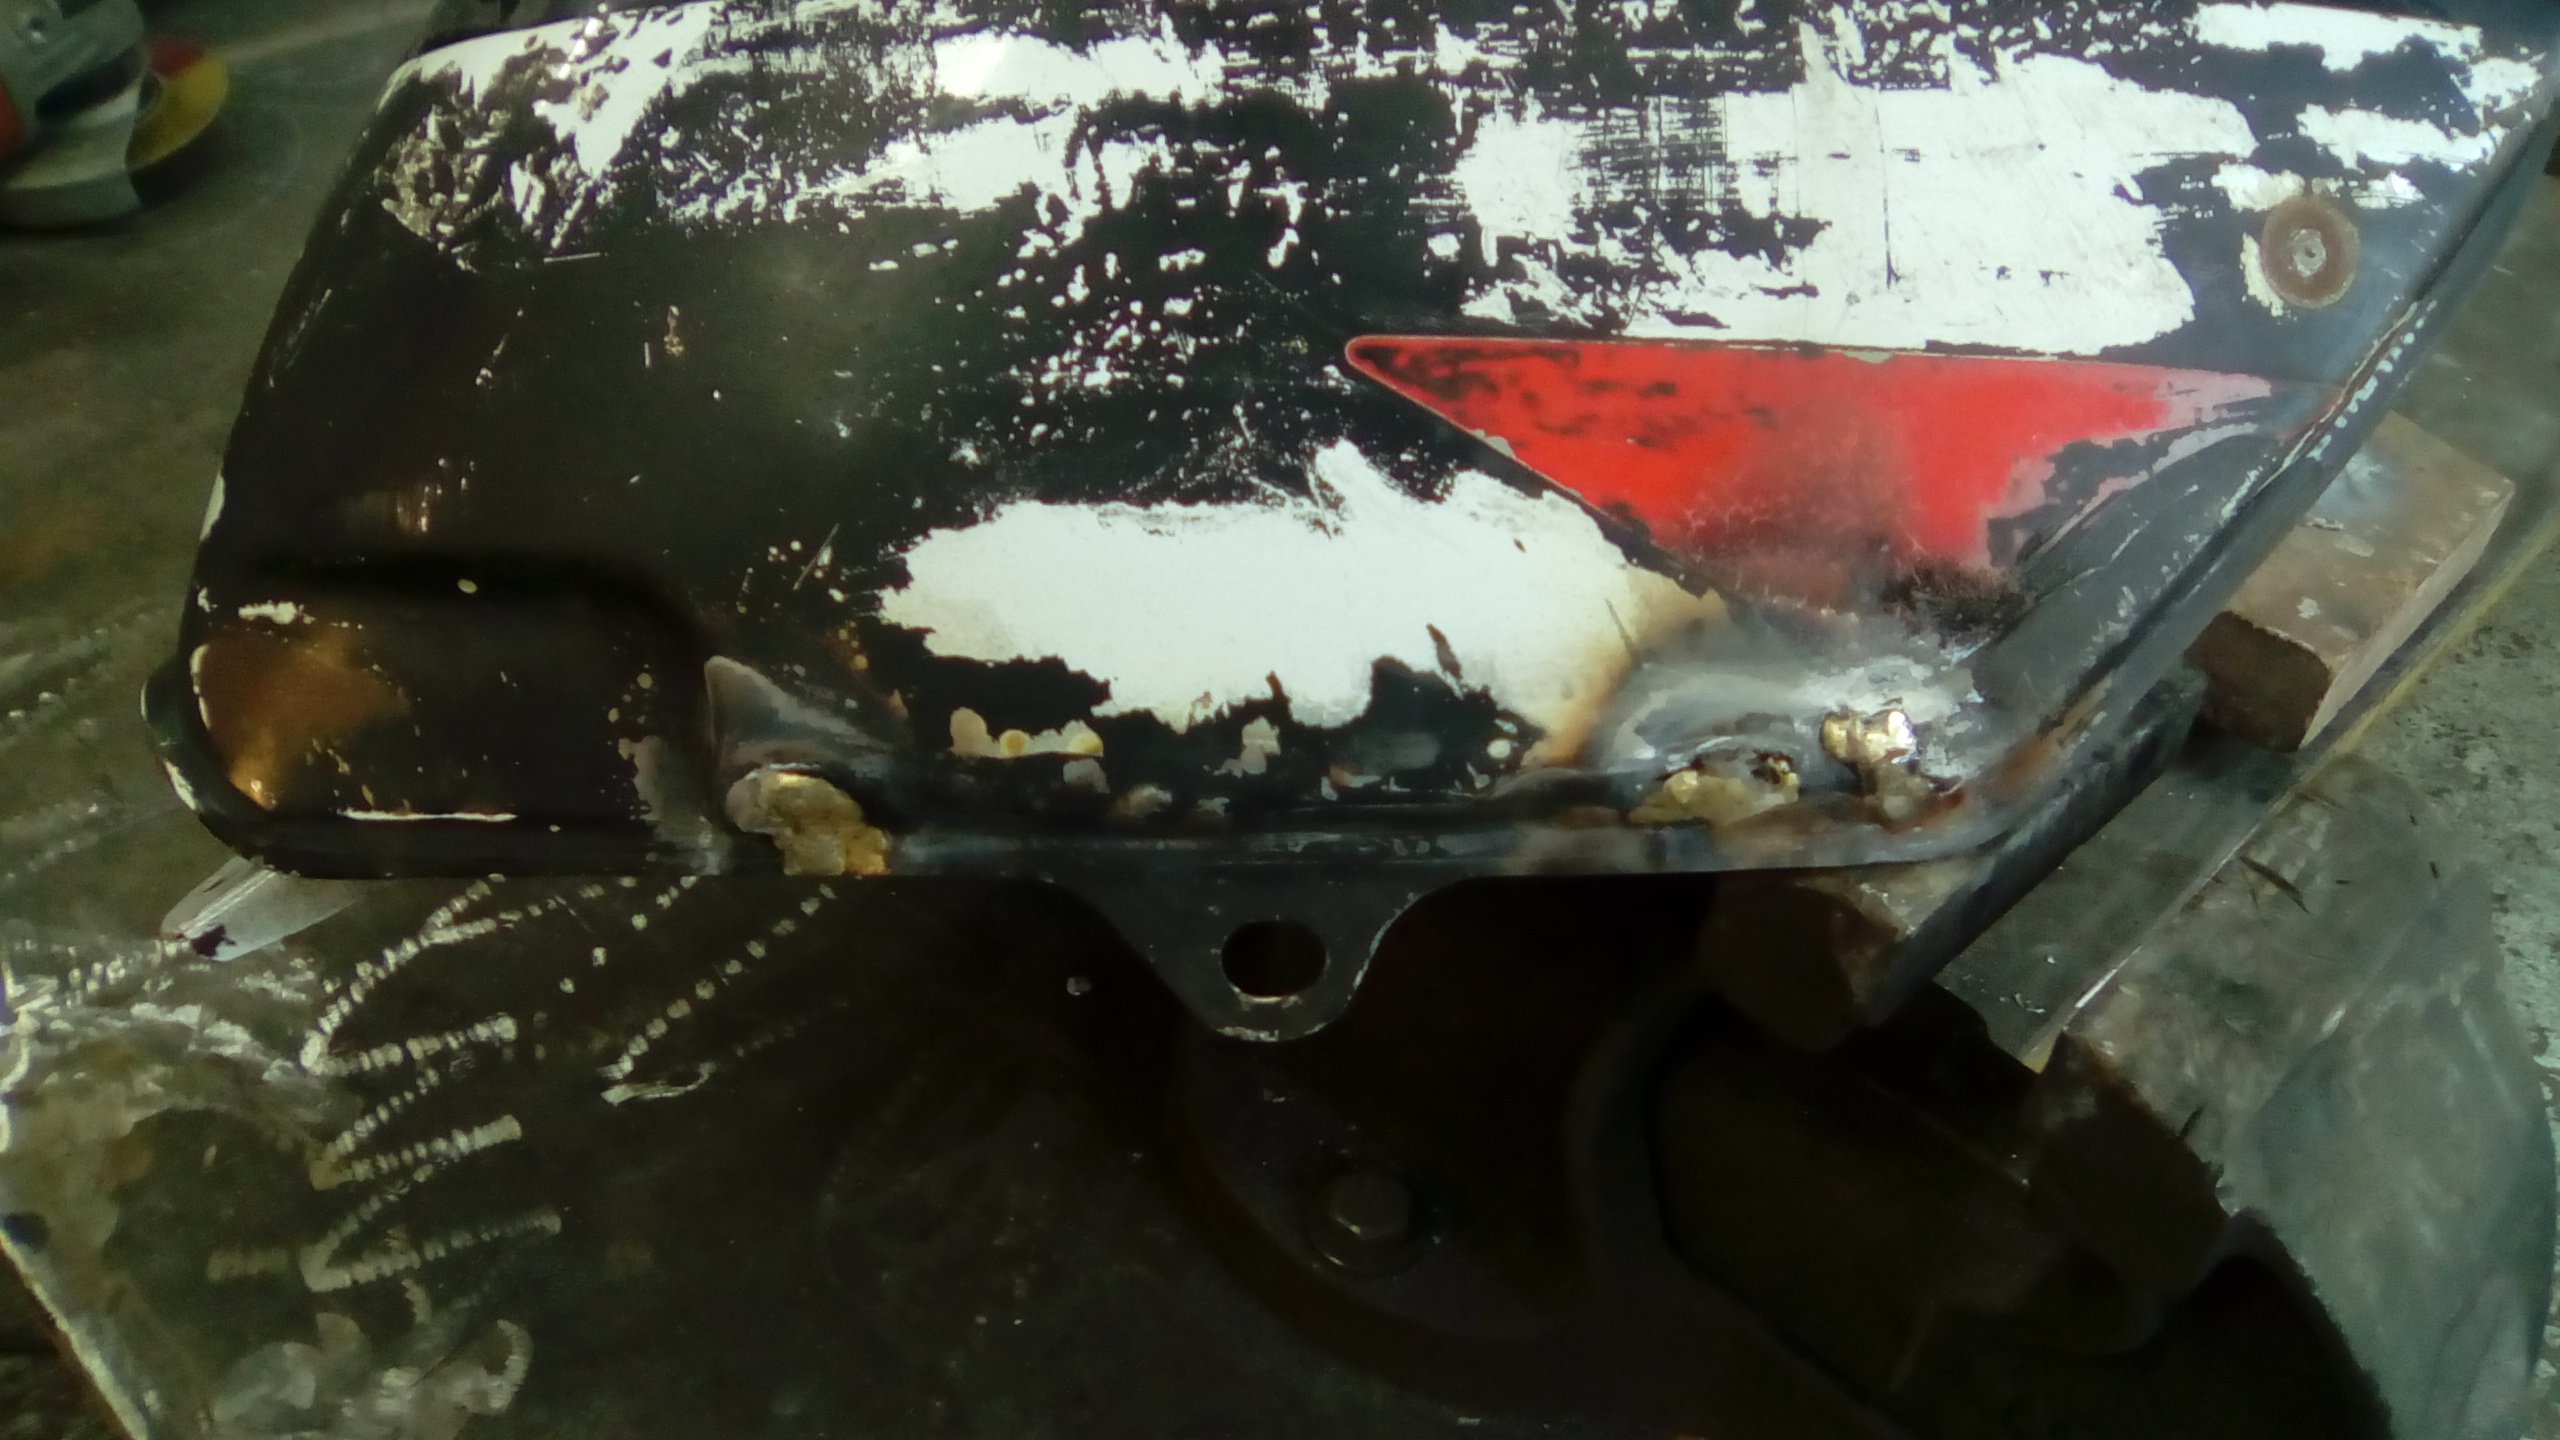
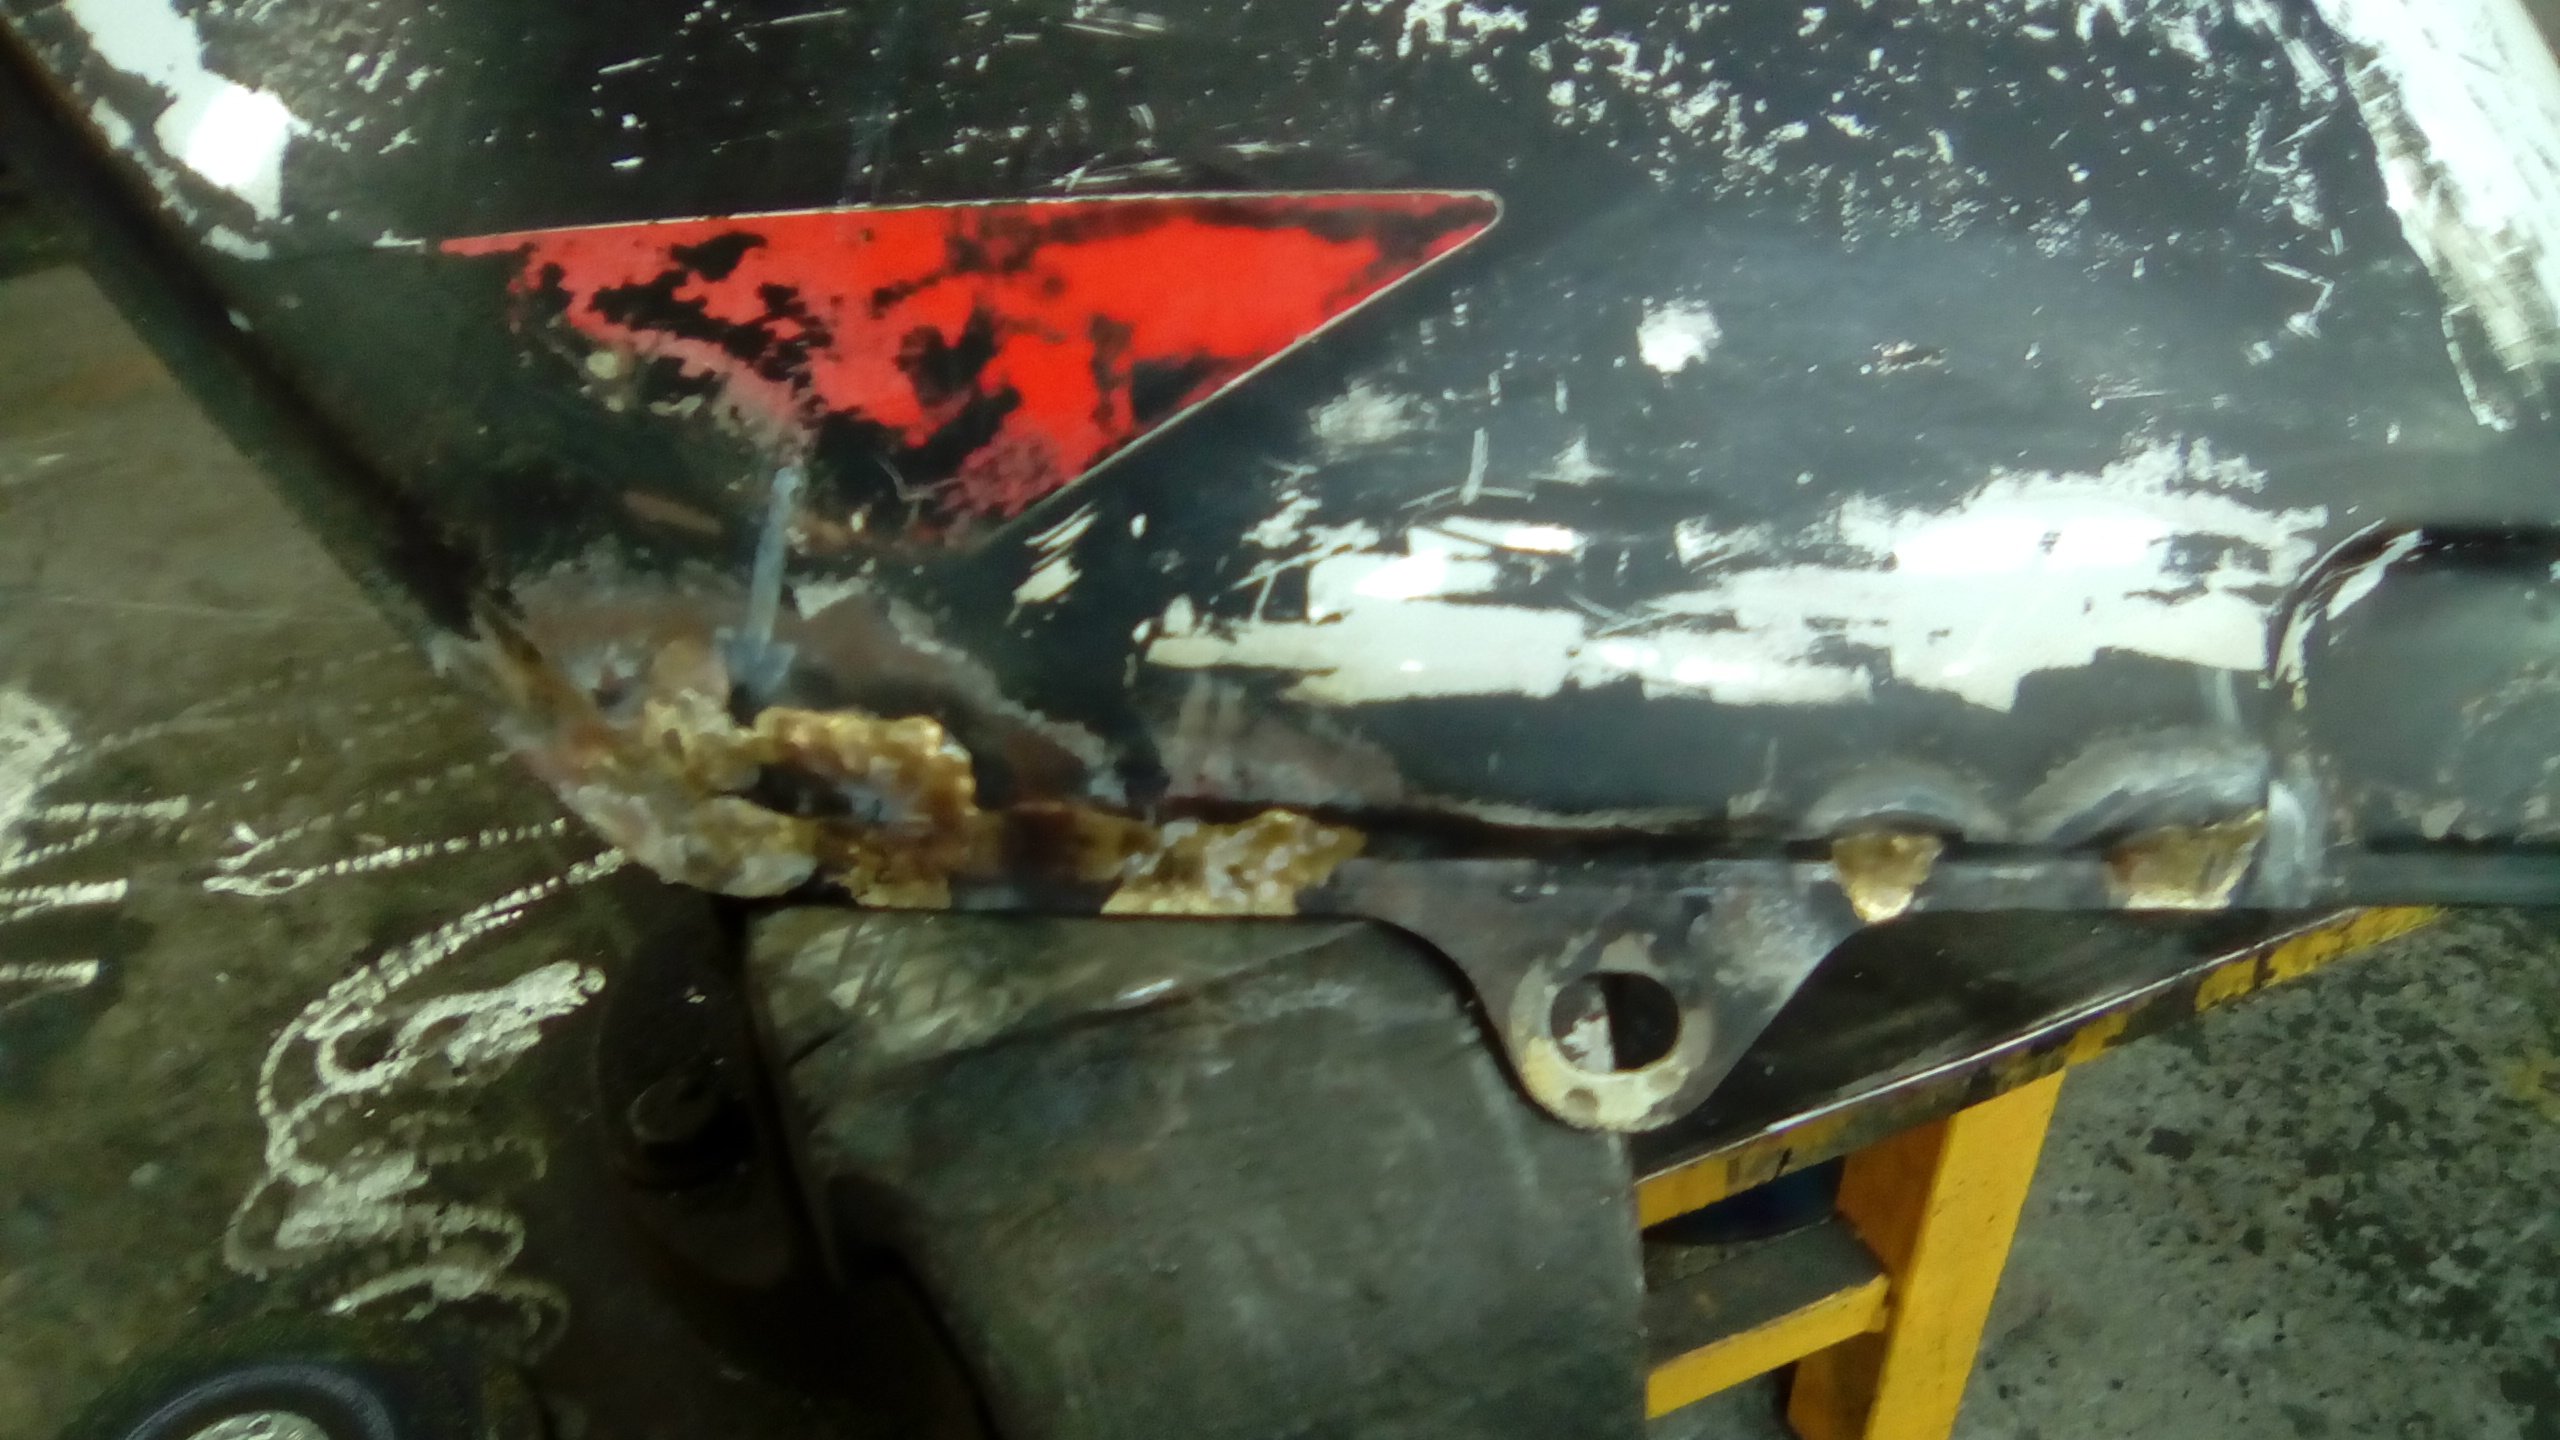
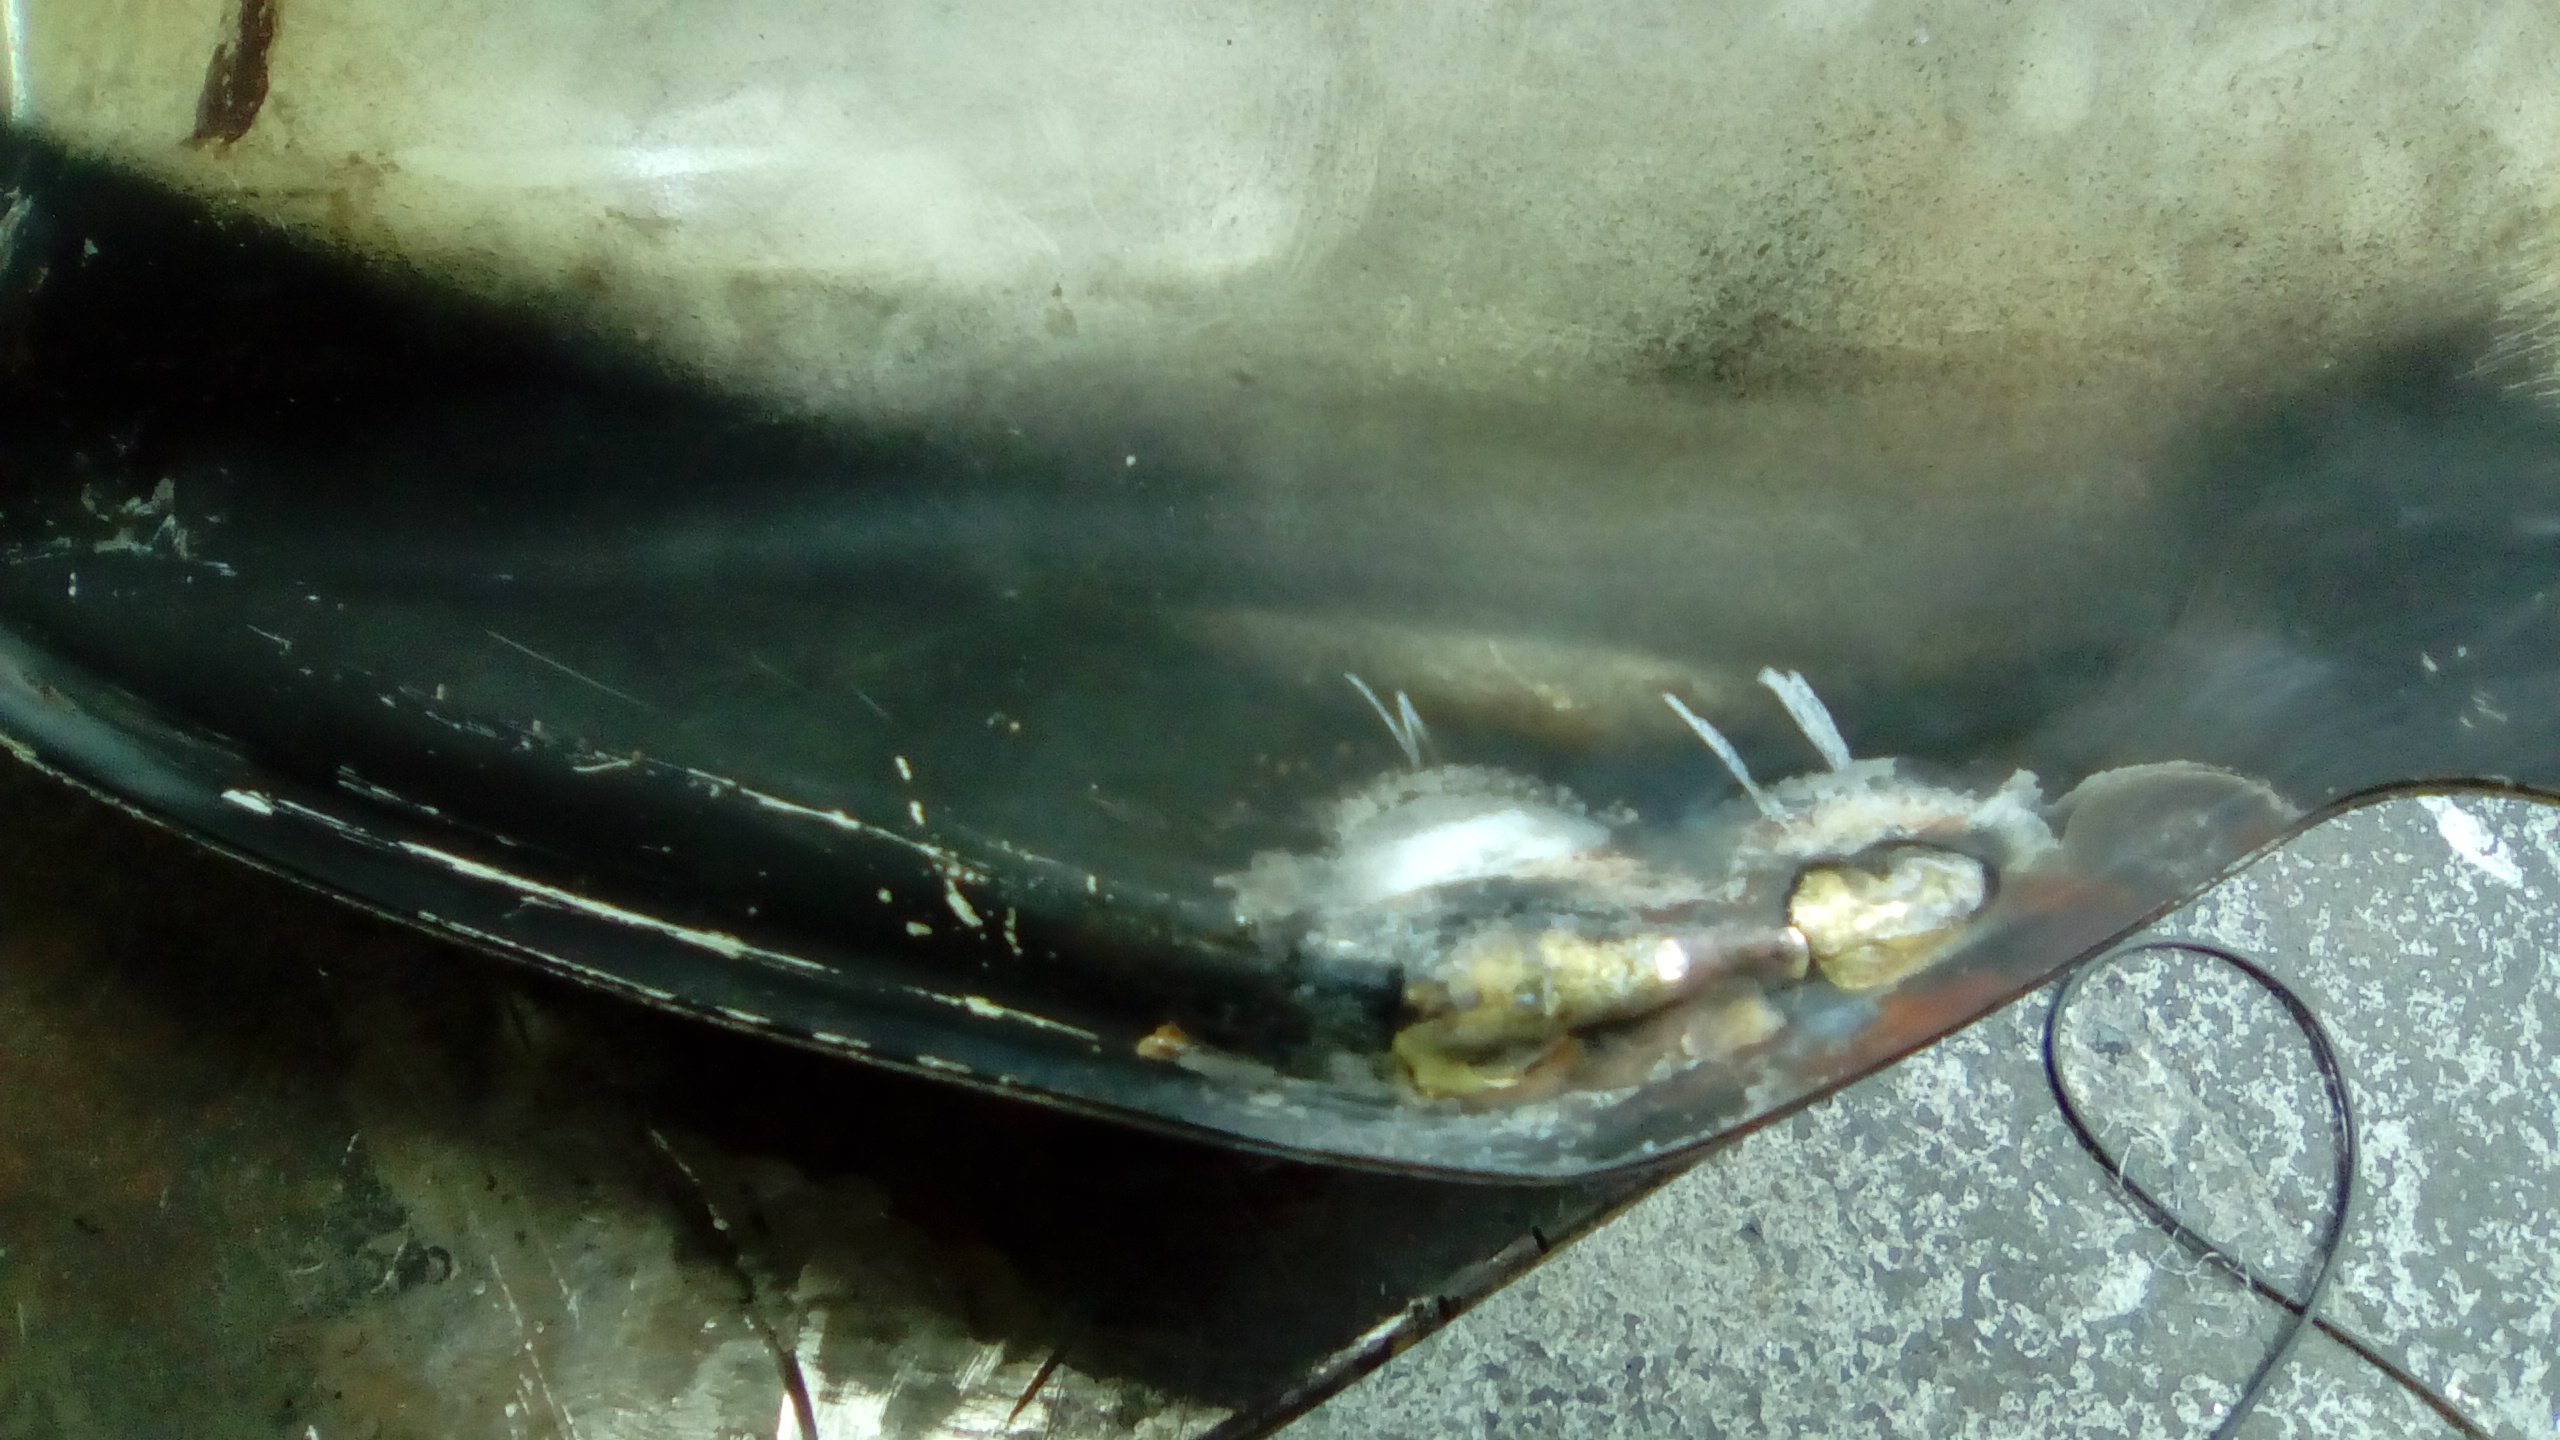
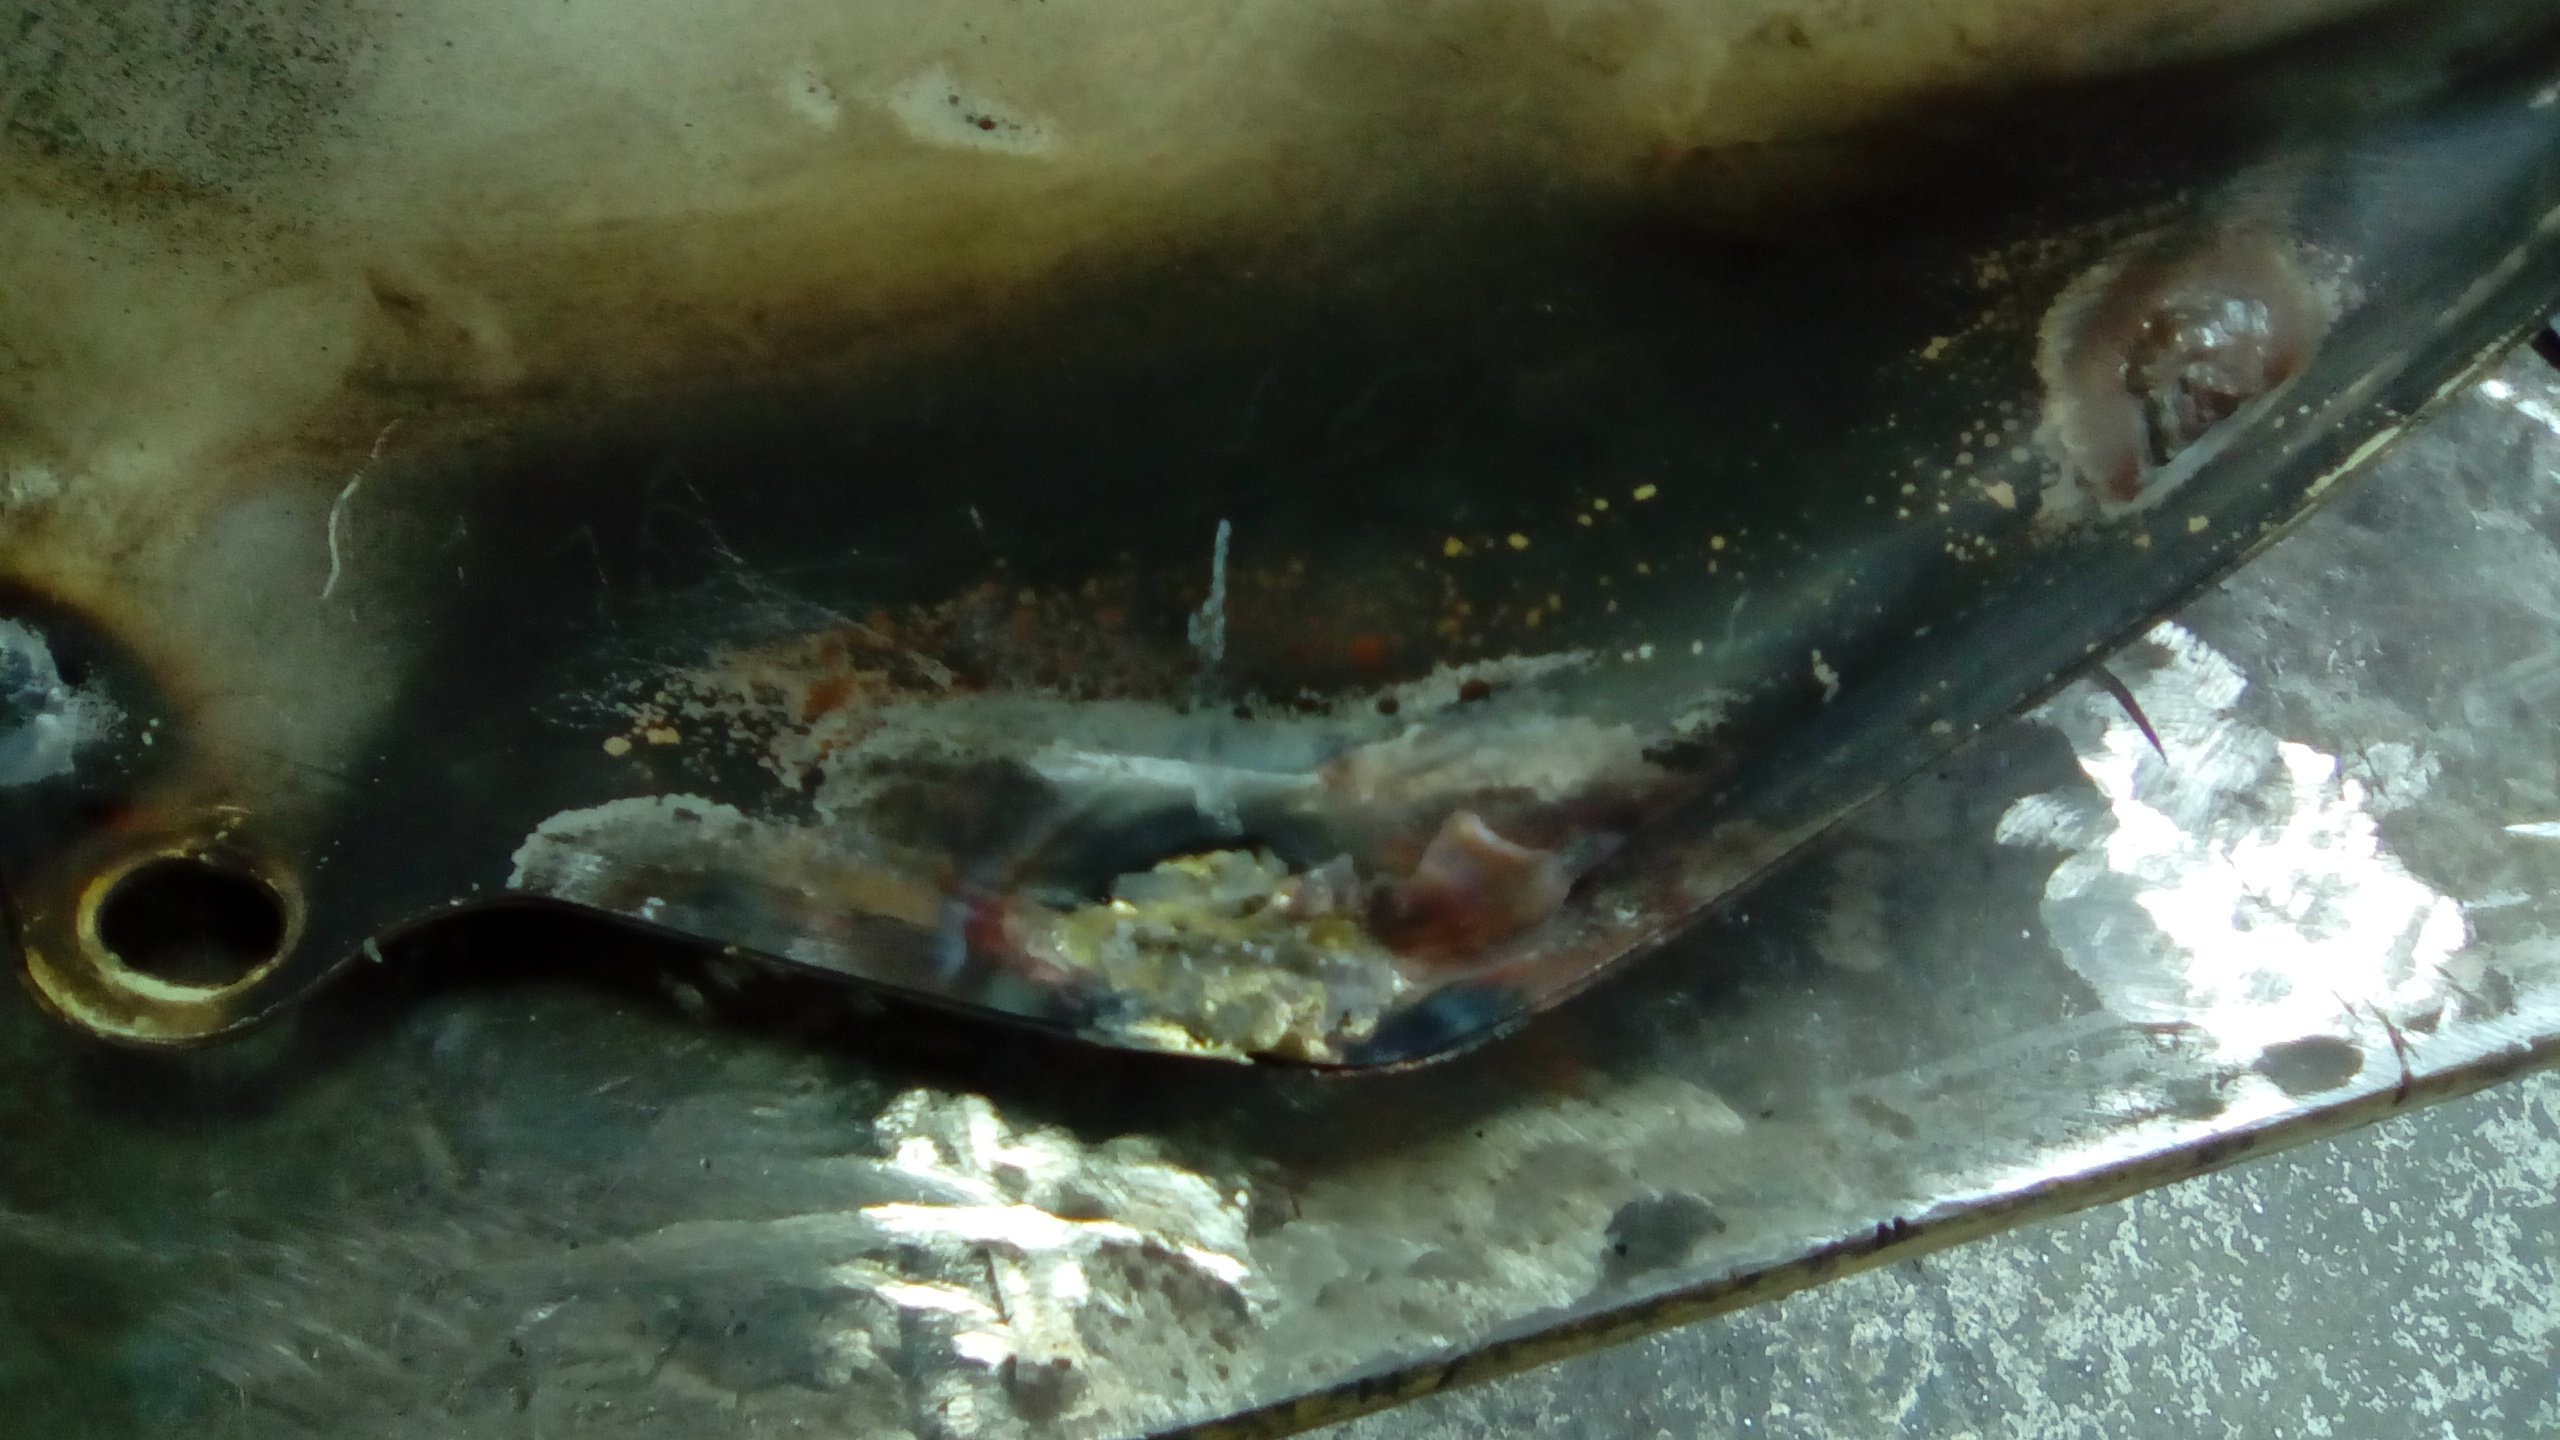
Wow, I had to dig a bit to find this thread again. I'd like to say I've made great progress on this but... well, this is oldschool so I'm moving along ok so far. I tig welded up a few little holes in the tank but run into trouble when I got close to some previous brazed repairs. I didn't have the gear to braze so I gave it to a mate to do. He fixed the holes, I put gas in and found more. He fixed the holes, I put gas in and found more, and so on and so on. In this time I gave up being a stay home Dad and went back to work so now I've got access to everything I need but no time to do it. I've had the tank sitting beside my toolbox with what I hope is the last hole to fill. When I saw @estate_ mc17 for sale on here it reminded me how cool these bikes are, so I sacrificed a smoko break and fixed the hole plus sweated some braze over any patches that could be suspect, blue out all the crap and dust from inside it and, fingers crossed I'll chuck some gas in it today and it won't leak. PS. I will get a new tank for this eventually. Pictureless updates suck so here's a motivational pic. How do people go about a replacing fork seals? Do I just hang the front from the garage roof and strip it while the front's off the ground or is there another way? Edit: Aaaannnnnnd nope still one more hole. On the plus side, Mr 8 wanted to go for a ride on it when it's going so that's a step in the right direction
-
Random slightly cool stuff you built but not worth its own thread, thread
a.craw4d replied to h4nd's topic in Other Projects
Hmmmm. I have a set of unemployed shopping trolley wheels.