nzstato
-
Posts
2,175 -
Joined
-
Last visited
-
Days Won
1
Content Type
Forums
Downloads
Events
Gallery
Everything posted by nzstato
-
Would one of those plugs which change colour based on rich/lean be a better option?
-
4xoverland on YouTube has a bit on turbo a 1hz. A few dos and a lot of don’ts... run light psi and get and EGT gauge. Thin crowns easy to pop and overheat if not careful. Result was general improvement open road driving
-
It wont fit but 1zz are getting popular for mini boats
-
1. Yes 'cavitation' is the water boiling because your're drawing too much vacuum into the unit than what you can flow out the back end. It sounds like you're driving a concrete mixer. 2. From what I read the solution is to drive the jet unit off the back of the clutch, typically have to manufacture a bellhousing up for a new shaft. 3. If in doubt, right foot...
-
A few have done it but its a hassle, most dont even go there and get jetski running gear to drop in.
-
The early prototype Hamilton was a centrifugal type but his real innovation was to get the axial design to work. Who manufactured the pump that is on it?
-
-
Looks to be an axial jet but the older 'rudder style' nozzle?
-
Everyones getting squirts! Mean.... Thought about re-hulling it? Those Wattscraft kits are pretty cheap.
-
That's pretty cool... Bunch of guys with the super tiny boats run JS300 engines/pumps out of the older stand up jetskis for future jet barry points.
-
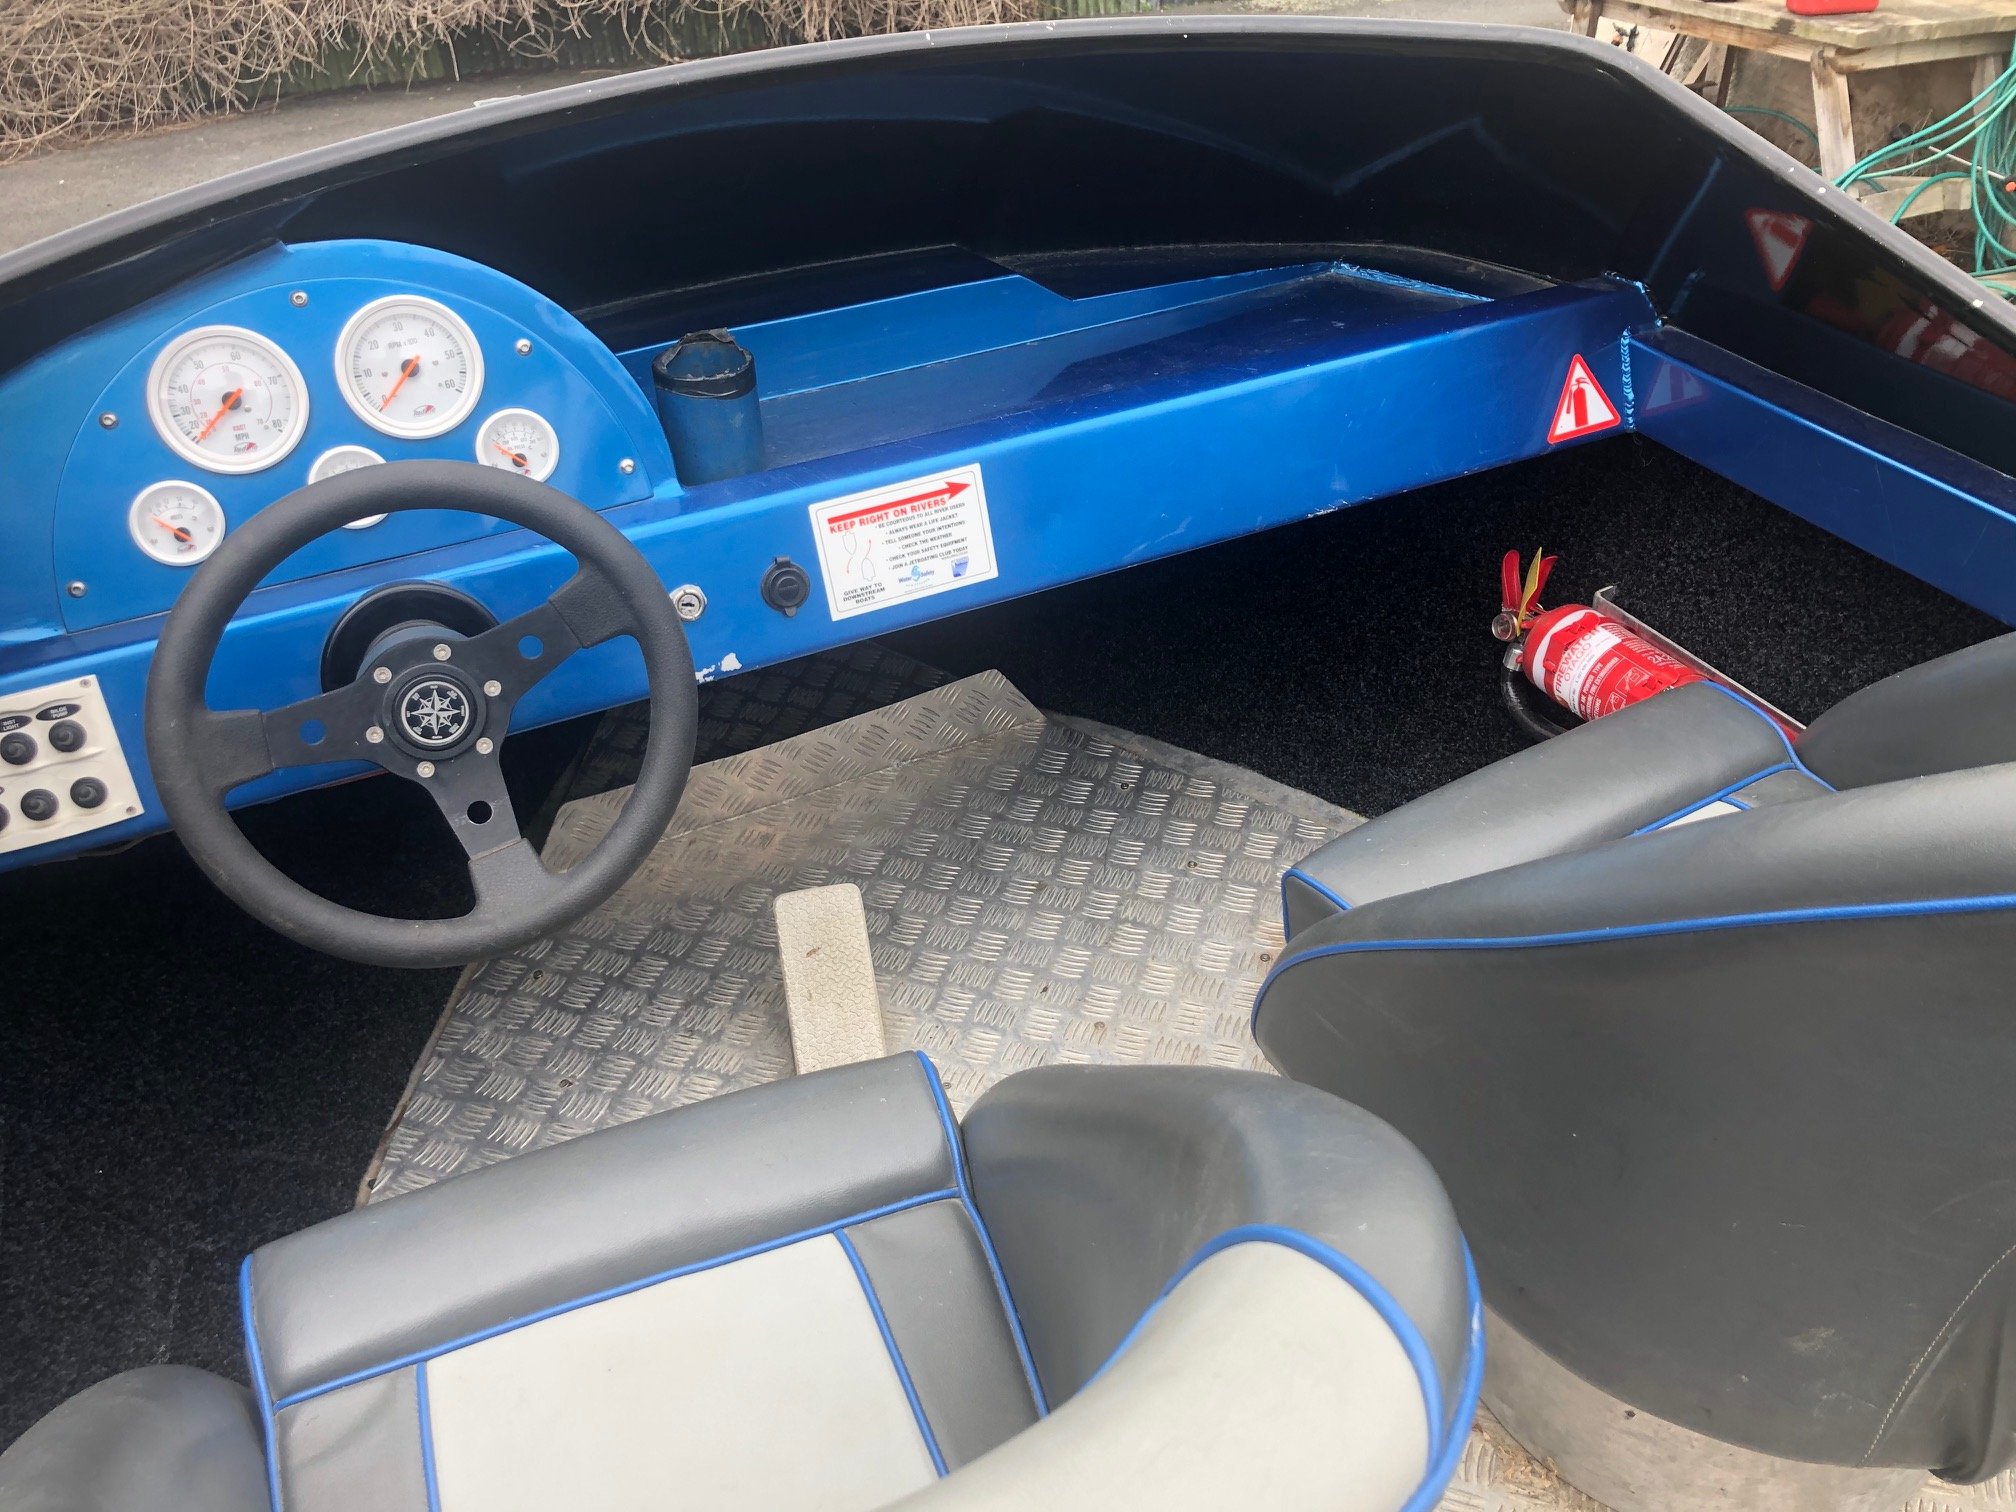
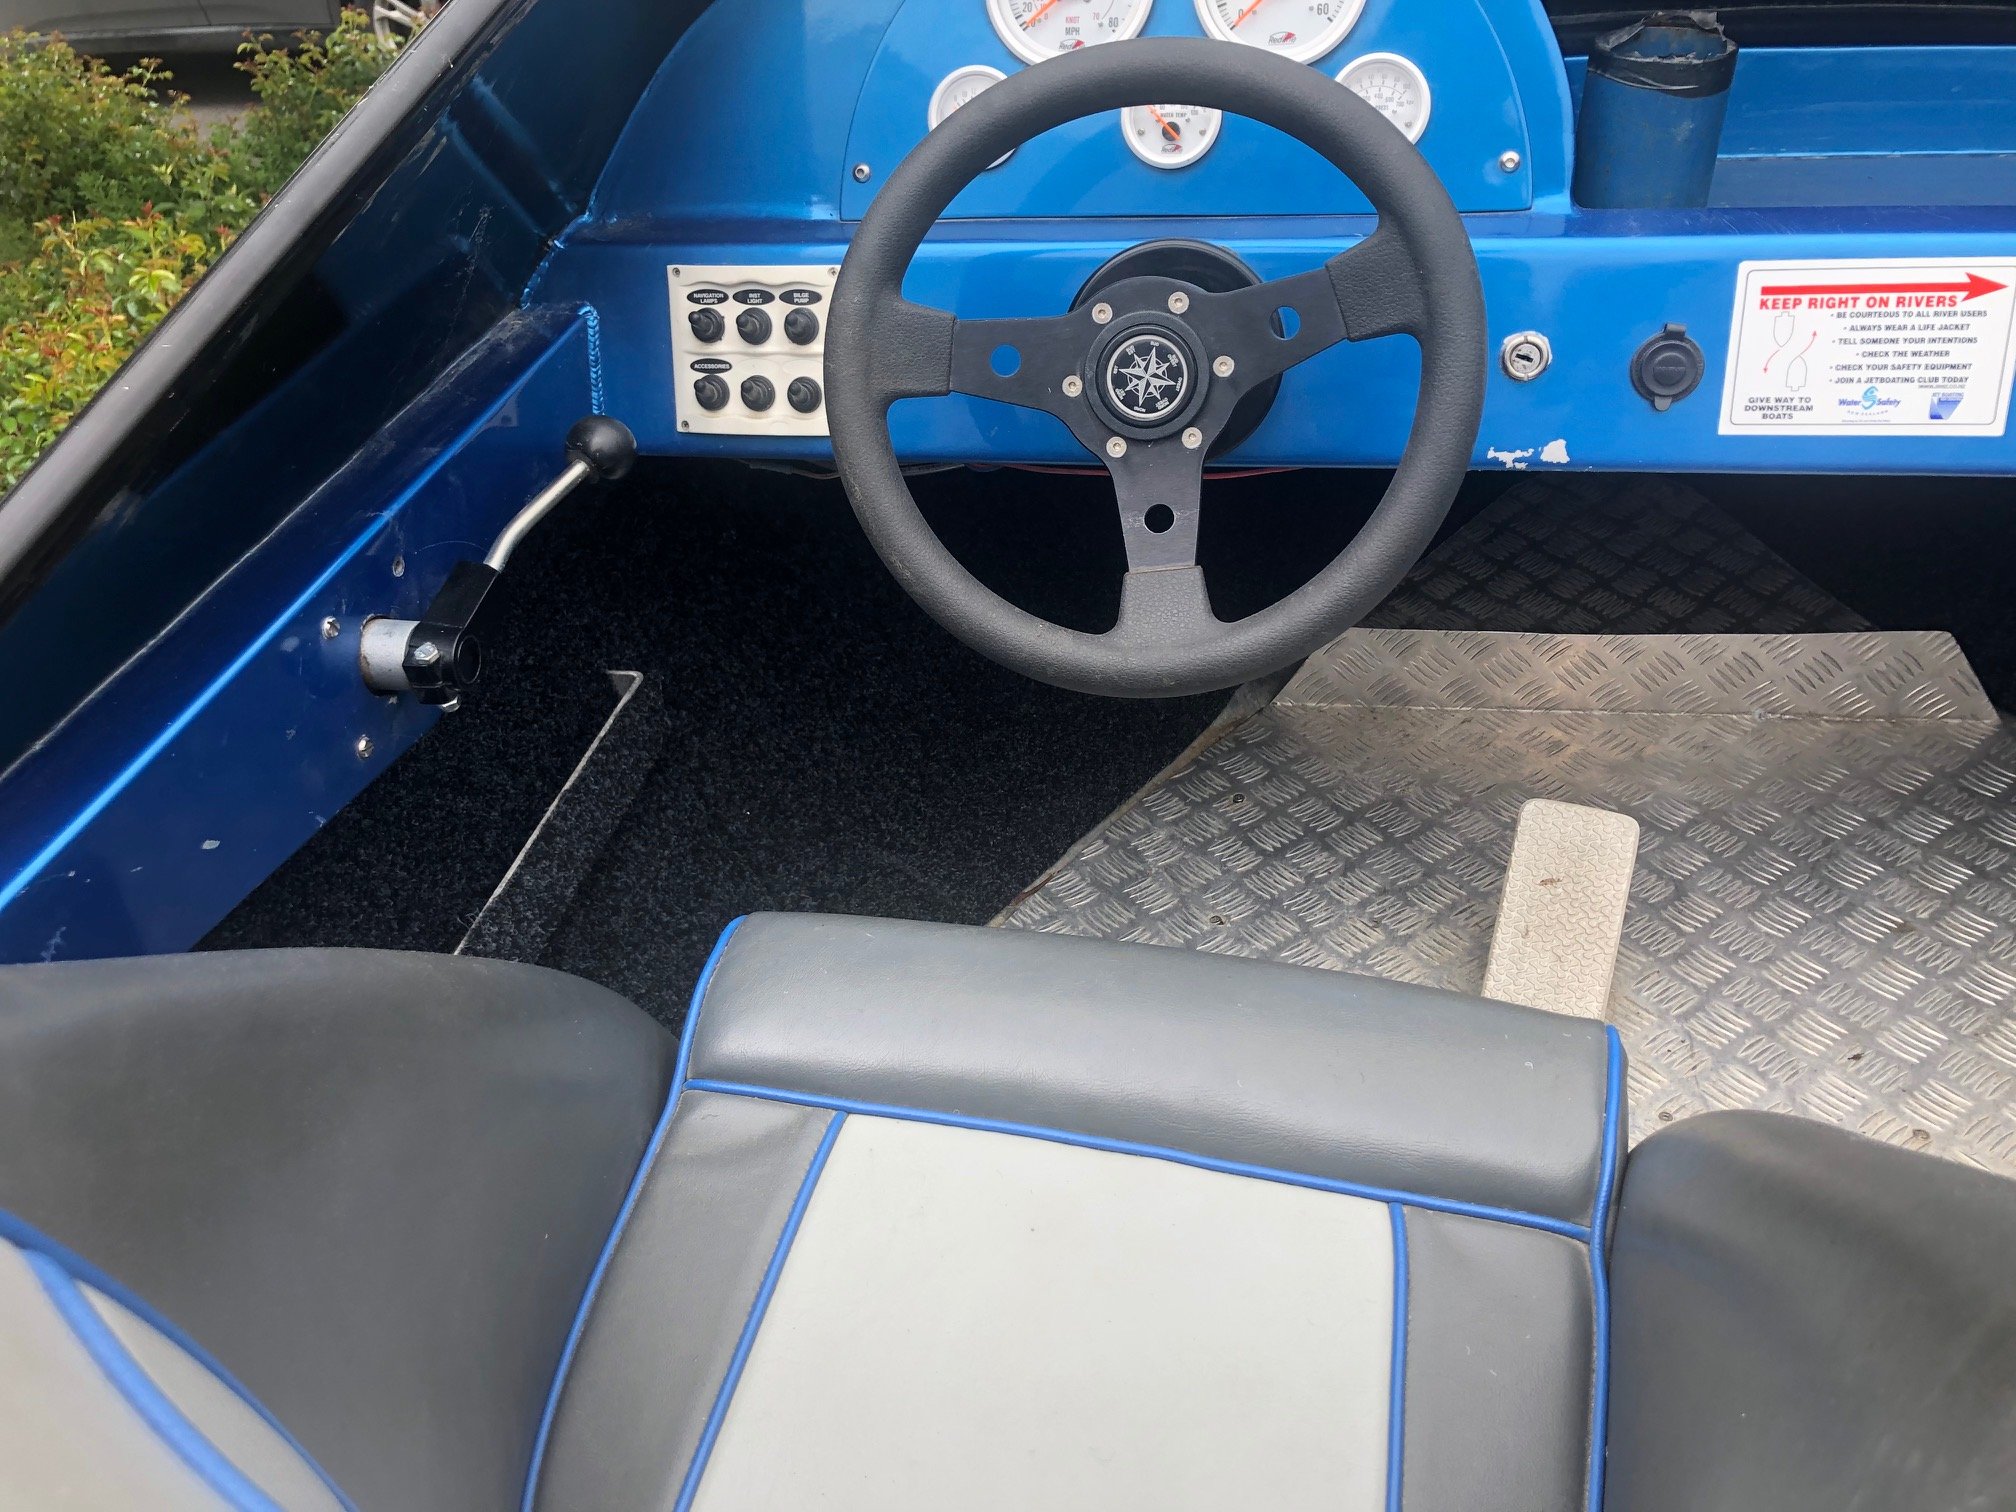
Bought a few m of marine carpet and glued it into the front hull and sides. Makes it look a bit tidier but also hoping it'll make the hull a bit quieter when on the water. Mounted in a new fire extinguisher, coz, you know, safety....

-
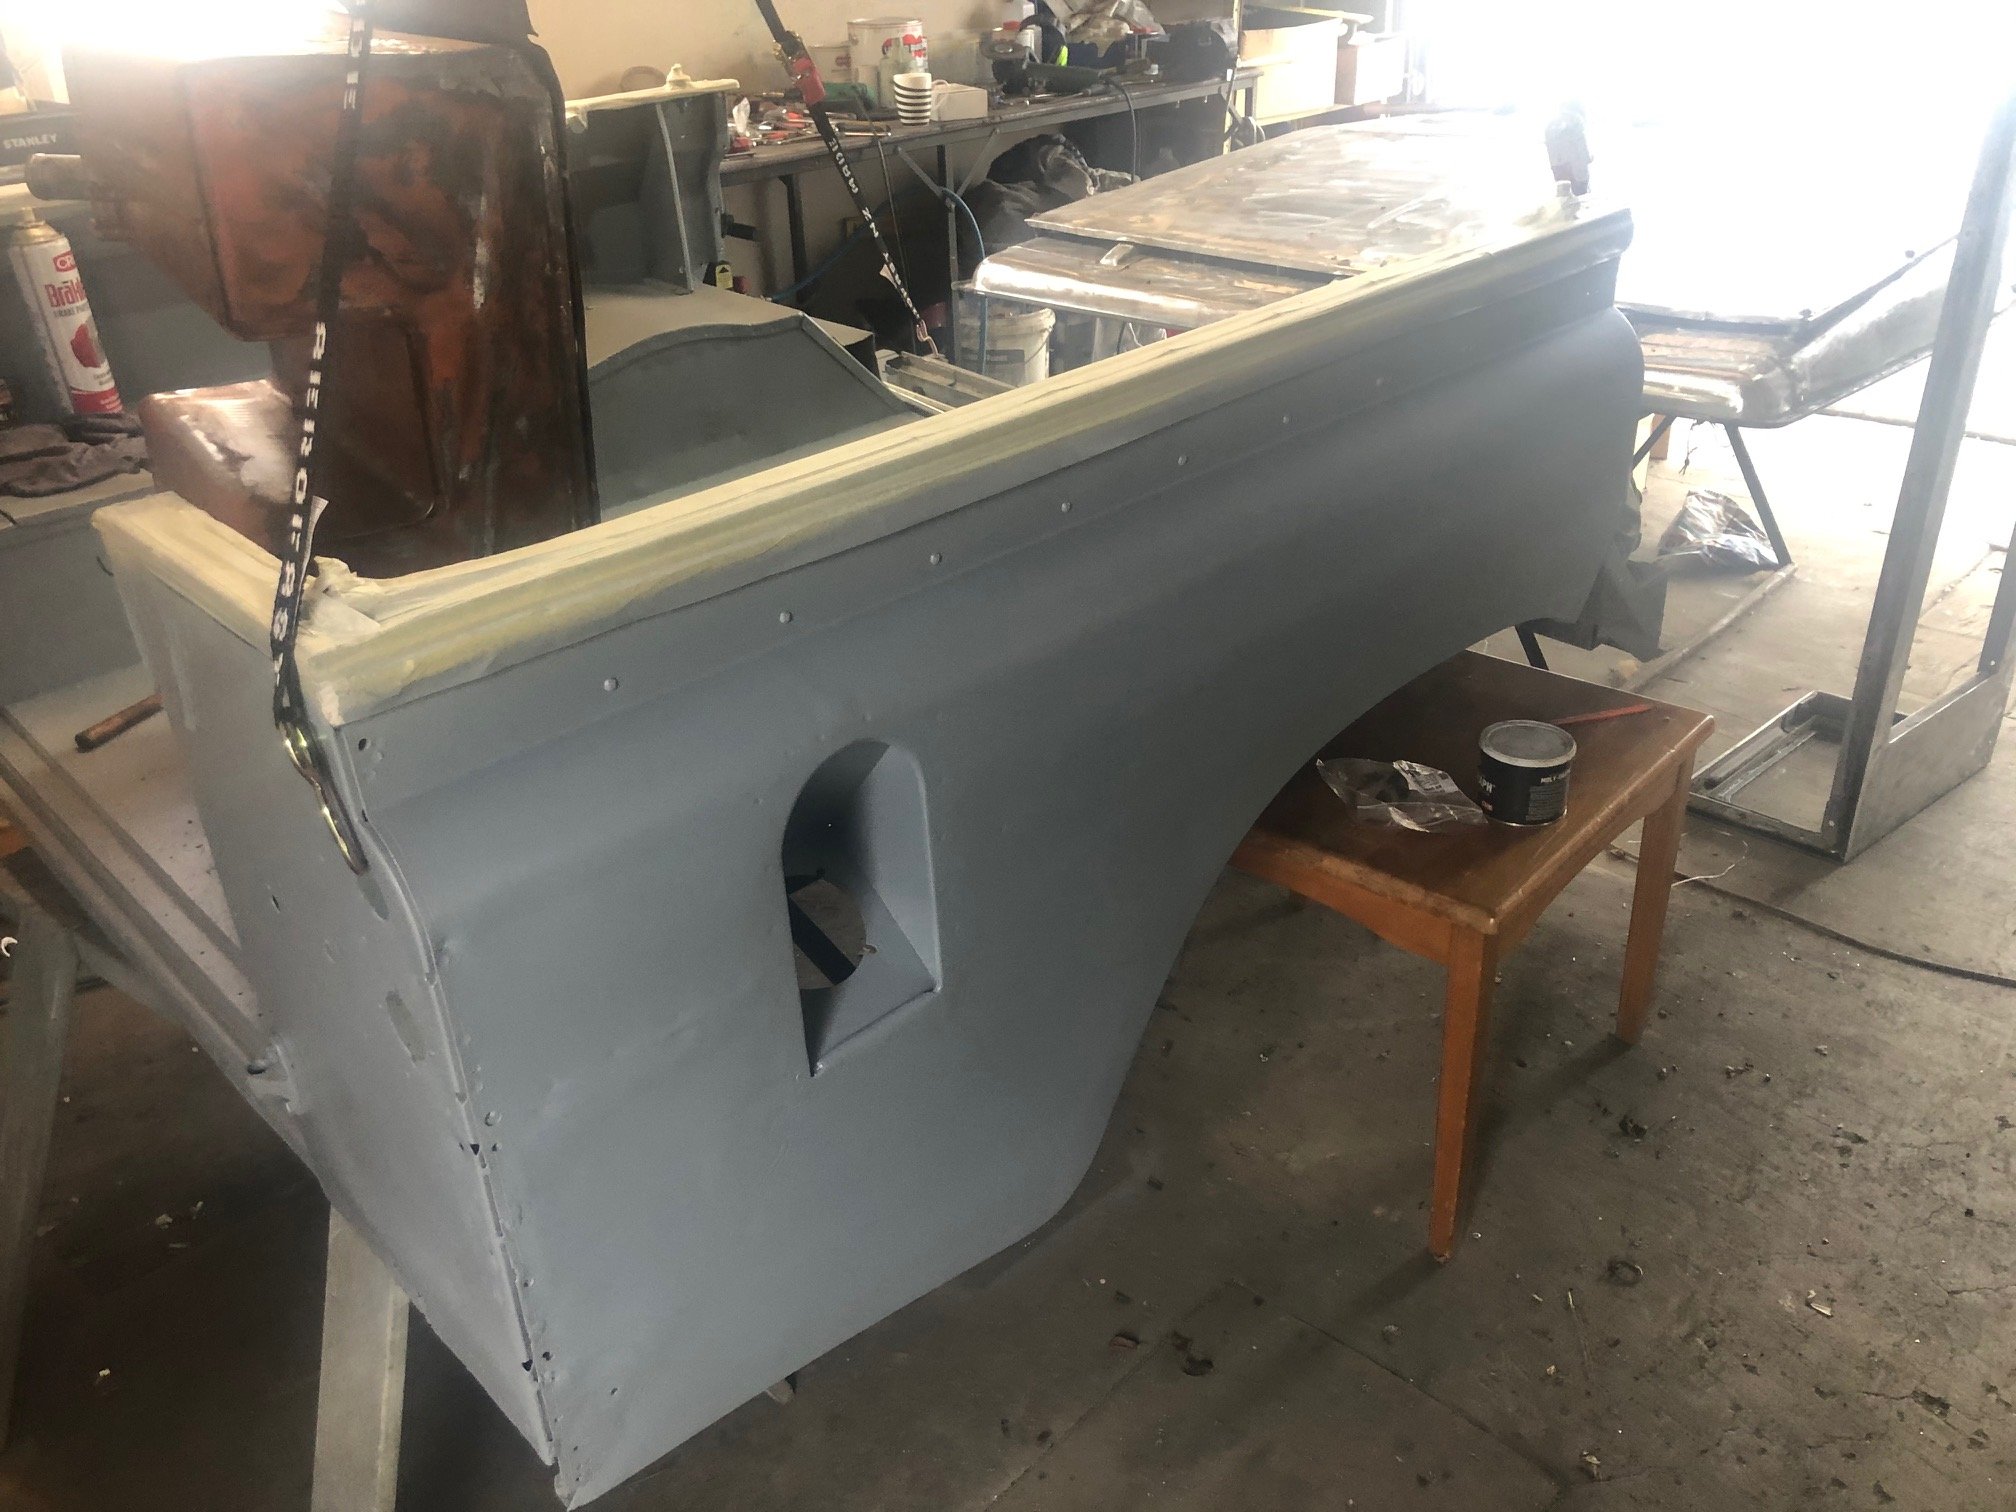
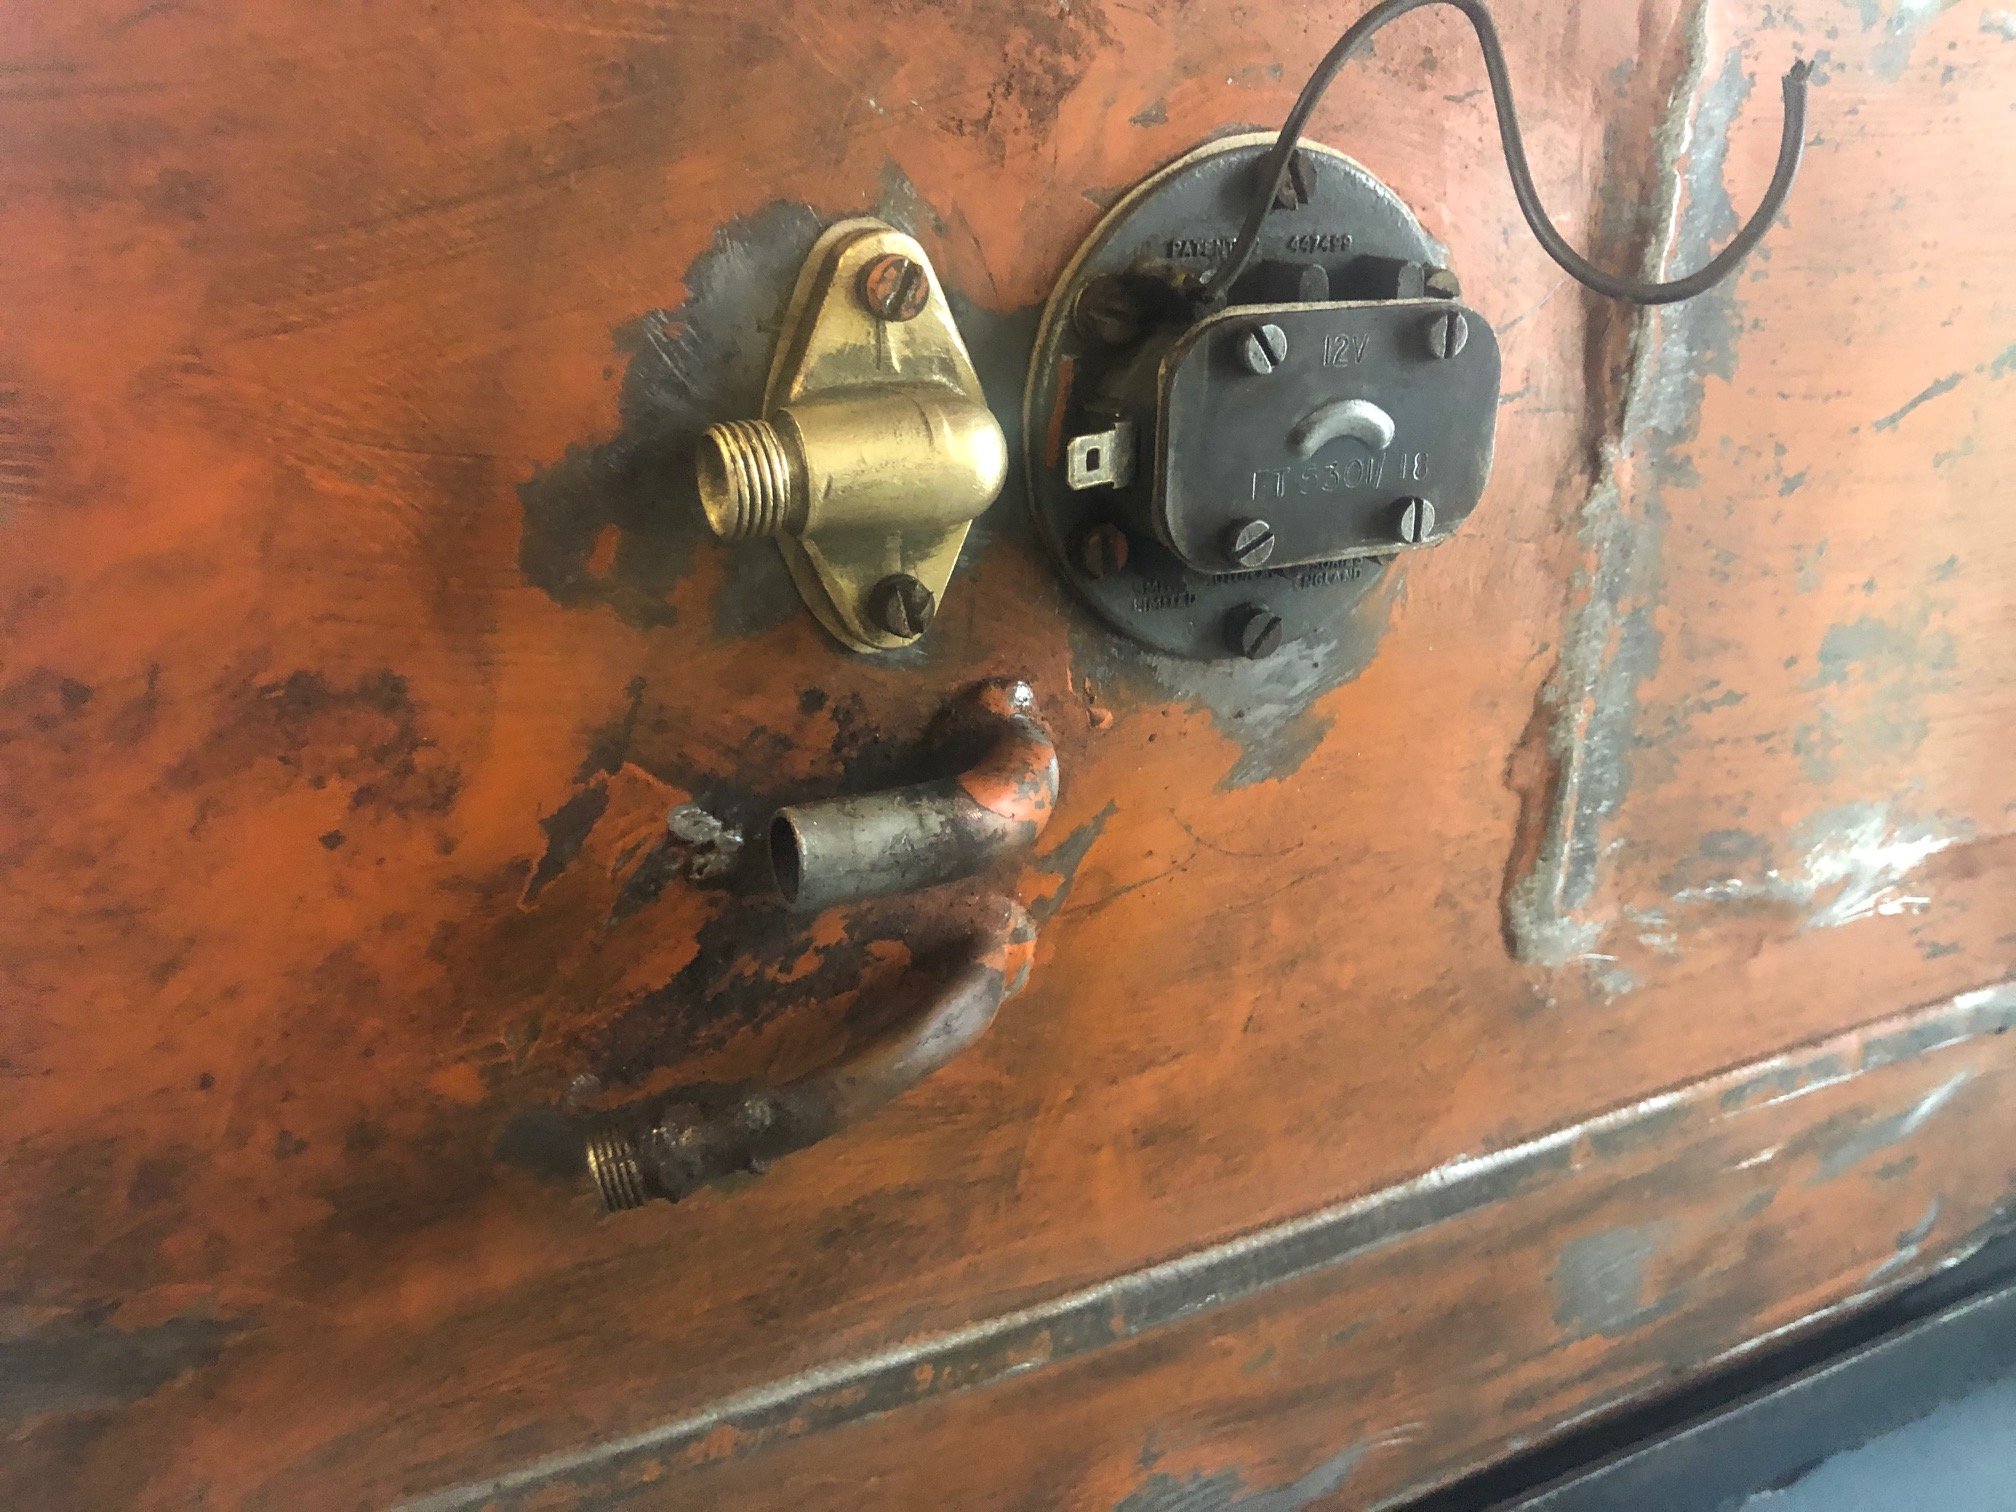
Still plugging away but have been a bit slow... Roof has been stripped and I've fixed up a few holes and redone some of the rivets Its pretty tight in my single garage now... am working on the cab sides to mount fixed glass rather than the original sliders. Resoldered on the fuel gauge and cut some new gaskets. Need to fix it back into the chassis so I can drive it round into the shed and start mounting up some of these body panels.
-

Yoeddynz's 1985 Hino N0915 housetruck build.
nzstato replied to yoeddynz's topic in Project Discussion
Interesting.... I'm rebuilding the doors with new skins for one that has gone down south. -
Yoeddynz's 1985 Hino N0915 housetruck build.
nzstato replied to yoeddynz's topic in Project Discussion
Forward control land rover.... -
I hear ya, I never tend to trust pre-built stuff too. Is the core of it all at least good ? No cracks where they are notorious?
-
Yep that sounds about right... pricey still in the states too... might be worth finding a runner here or import one?
-
Give Scotty if needed a bell, hes a GC and does plenty on older vehicles https://whitepages.co.nz/w/scottys-speedos-auto-electrics/
-
That's so awesome....
-
Thanks, I try to run 30psi (~2 bar), as you say its likely not enough paint to lay it down, I notice areas where I'm better at this. Just havent got experience to know 'enough' before risk of getting runs.
-
Basic question time: what causes orange peel? How to I stop doing it? less/more paint? less/more thinners less/more air etc
-
Vid isnt the greatest and my dad didn't learn to hold it landscape but here is a quick blat up the Taieri river. You can only go ~6km up the gorge and it quickly goes from placid to some heavy lifts to completely un boatable - didn't go as far to show those parts.
-
And I think I've figured out how I'm going to mount the glass in the back since I'm ditching the sliding windows
-
Thanks, I'm still getting more orders for the door skins I've been making. Quite a number have asked if I was going to be making complete front guards from scratch.
-
Yes the 'yellow' you see on some of the panels is an etch primer I've been advised to use for painting on the alloy. https://www.unitedpaints.co.nz/Products/Unietch-etch-primers/Unietch-2-pack-yellow/
-
It certainly has some history in these panels. Everything is 'straight and 'solid' i.e. there are more tears in other places I need to fit but I'm happy to leave it as is. I'm also now on the clock to finish this to some point (where that point is I don't know..) as with our house subdivision going on I will loose my shed. If its not finished in time it would have to go into storage...