Bling
-
Posts
24,284 -
Joined
-
Last visited
-
Days Won
3
Content Type
Forums
Downloads
Events
Gallery
Everything posted by Bling
-
Yeah it's bad value for sure. One of those 2.2L cylinders probably costs the same as a full size cylinder refill. Costs a bit more up front, but having a cylinder tucked away means you can weld as much as you want. Could pick up a cheap reg off trademe and a cylinder off there too for not silly money. Test every 5 years ~$100 (with co2 fill) and no other costs other than refills. If you really have super limited need, just give someone a Rutherford to bring their welder over and get it sorted. Rental options when I first started were super limited, so I purchased a cylinder. The bunnings deals seem all good now. $250 gets you a 5KG co2 cylinder delivered (trademe) plus ~$70 for reg delivered (trademe). Bit more than the above combo of 2.2L cylinder + a reg. But you'd get 50 times the repairs done i'd say.
-
Most of that information is on wikipedia, if you're after pure numbers.
-
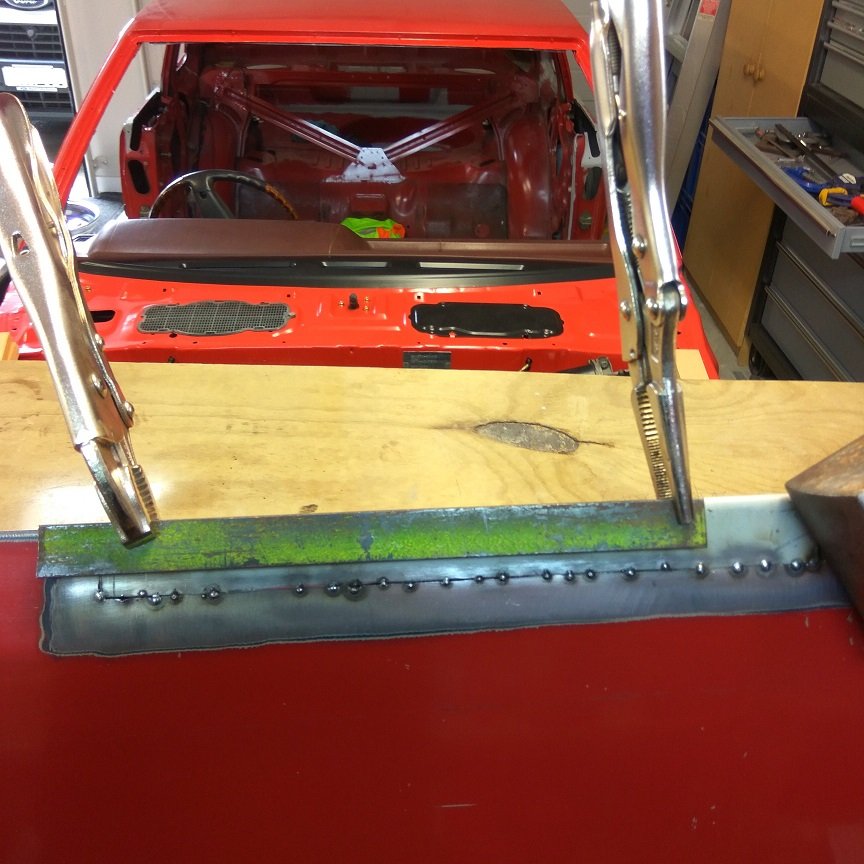
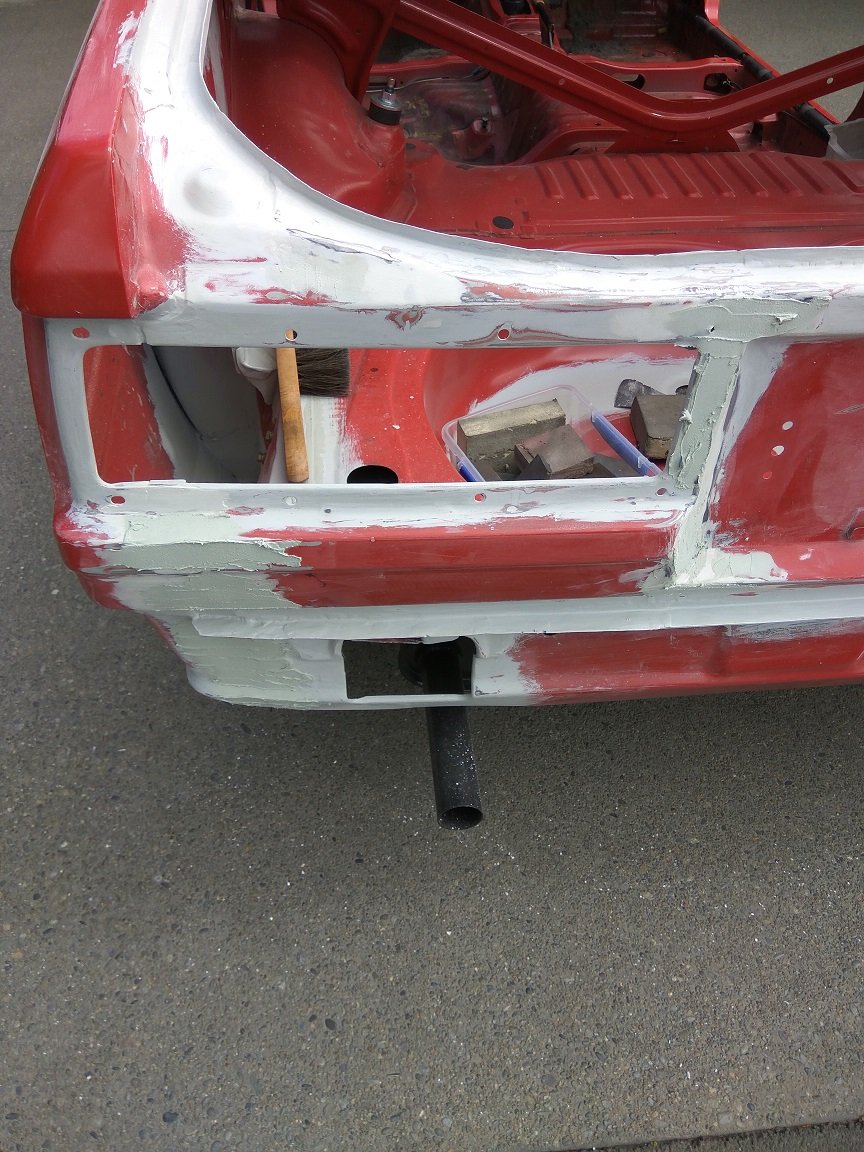
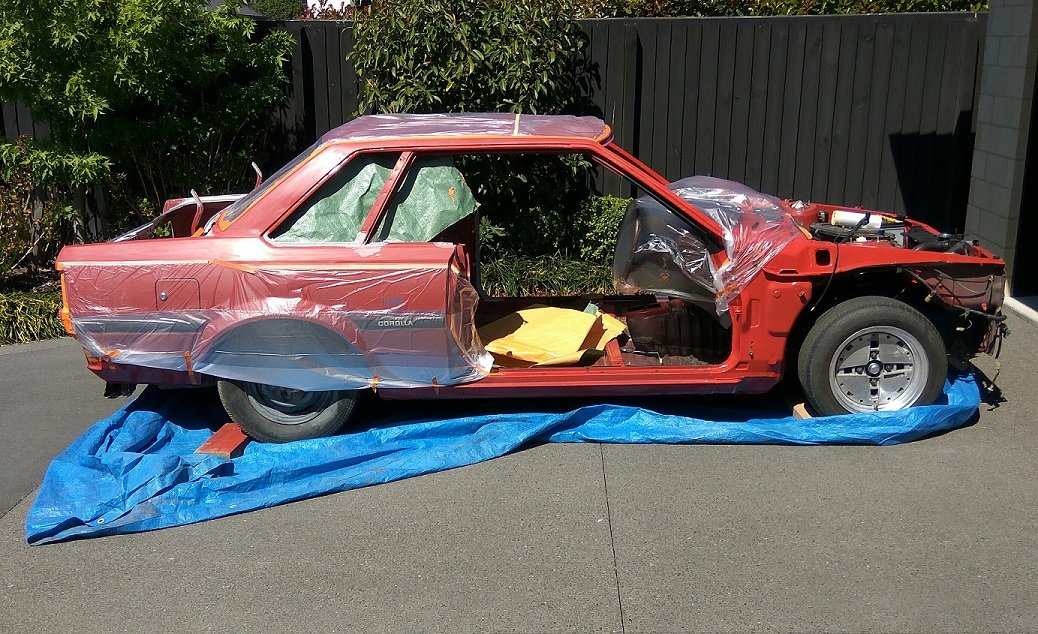
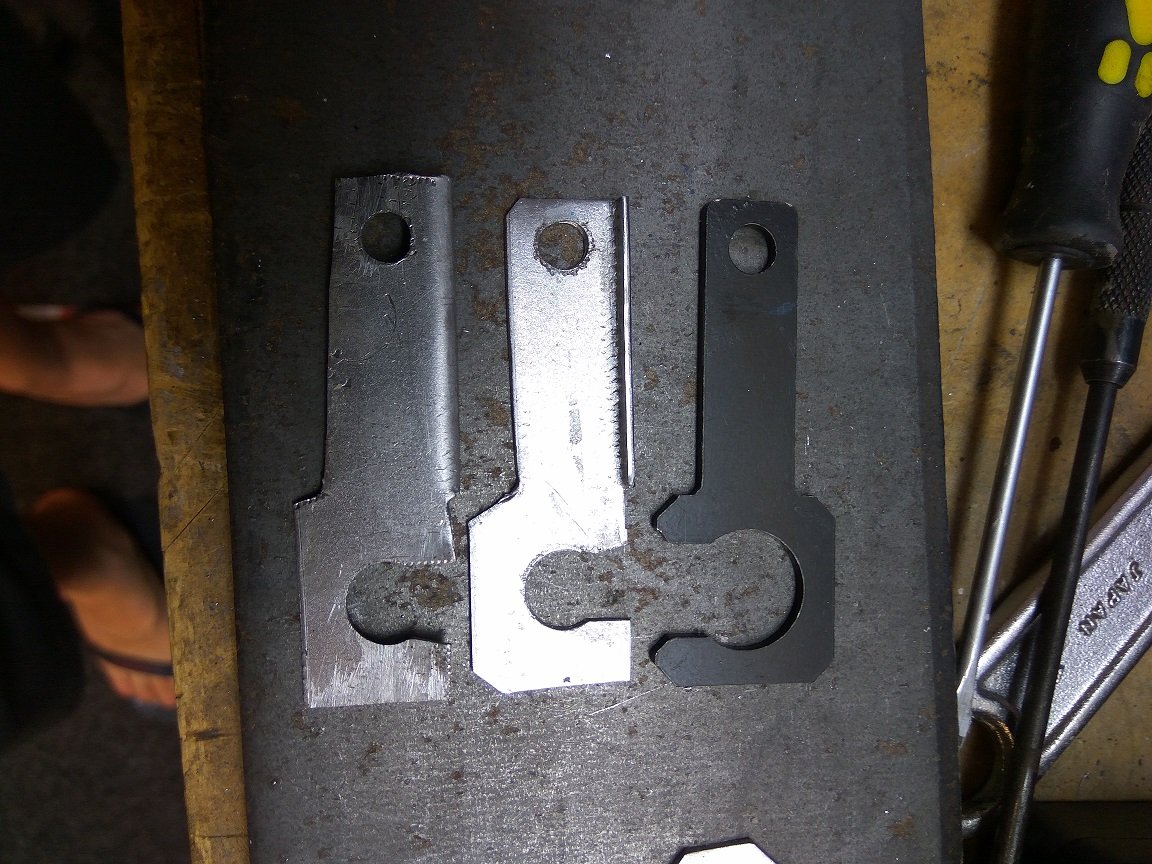
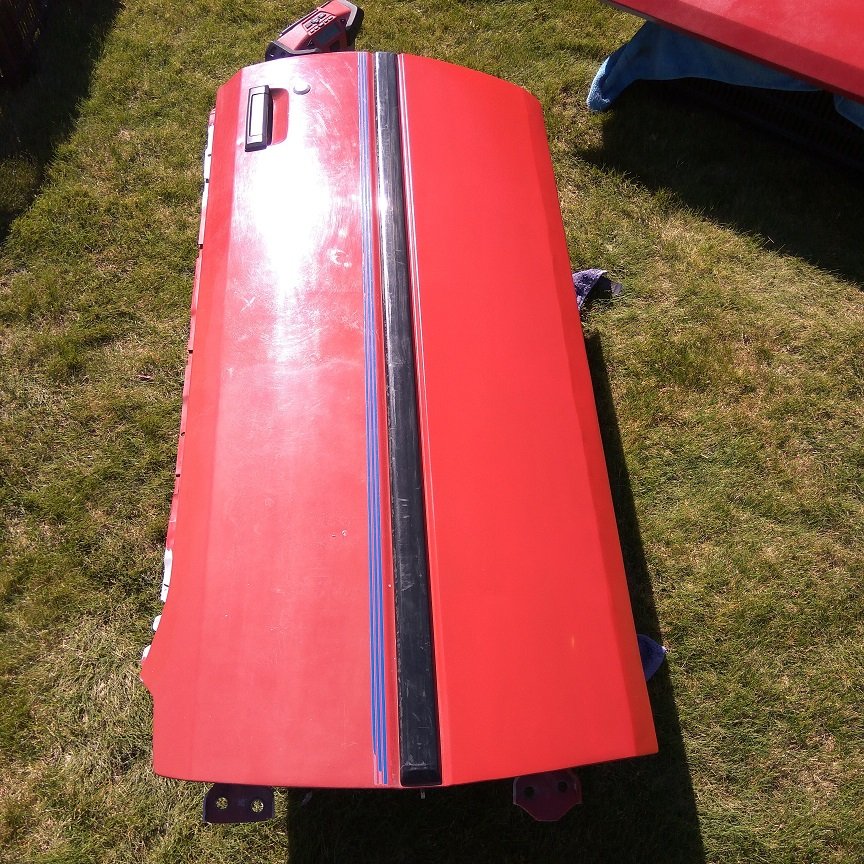
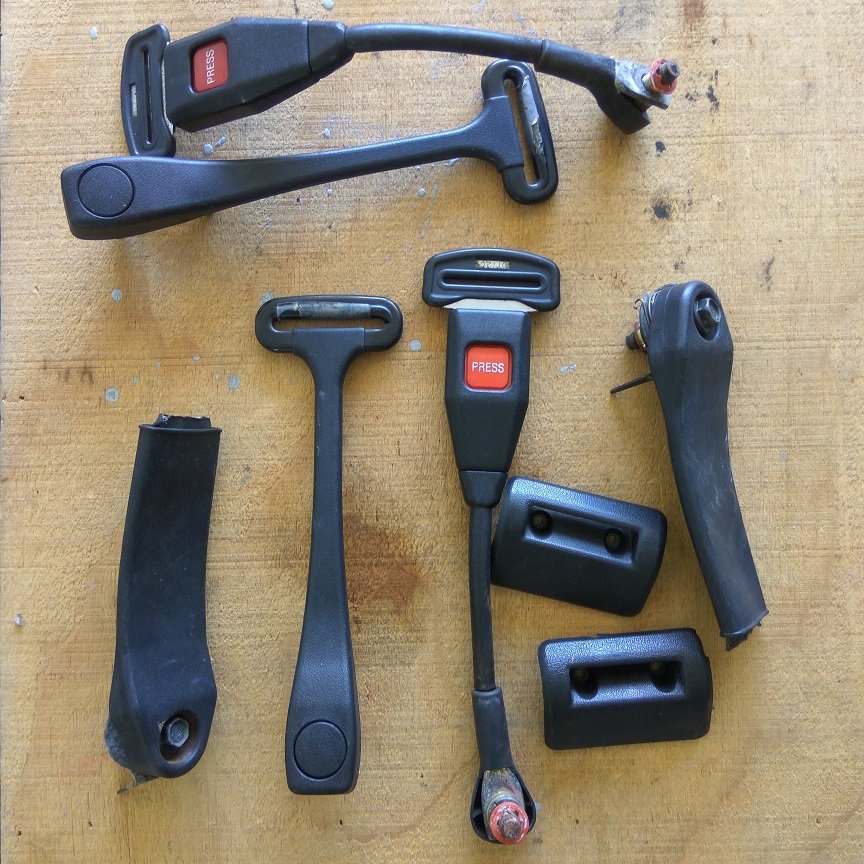
If you don't want to read a book, just look at the photos, I waffle a bit in this post. Not many decent photos this time, have been focusing on getting stuff done and forget to take progress pics. Have given the exterior repaired areas a coat of paint. Ran out of paint pretty quick, so ordered some more cans off the paint code, close enough is good enough. Ran out again, so had some made from the 500ml of paint code paint I had lying around, and a couple of cans made from paint I got matched pre-lockdown. Up until about last week, I was still planning on getting first cert inspection this year. Bit everything on this car is fighting me and so i've come to the realisation that just isn't possible. More rust, wheels don't fit properly, brake lines don't fit properly, certain parts i've struggled to track down, parts from Japan destroying my wallet (will explain below) list goes on. Anyway enough of the negative vibes, here are some potato photos. On the plus side, i'm hopefully getting a deal on a DSLR next week, so quality of photos may or may not improve. Content of the photos, will not improve. First the rust, doors had quite a bit, I removed all I could, and rebuilt quite a lot of it. Then had Warrick @ Canterbury Auto Fabrication work his magic. He fixed the rust on the bonnet previously, and subsequently took most of the distortion out of the doors. Due to lack of time / skill I have just given then a quick epoxy / bog skim and paint. Appearance is at the bottom of the priorities for this car. So long as the rust is sorted, it can be painted properly down the road / never. So yeah just a couple of pics of doors. One of the doors after a skim / paint. Will need a buff up to finish the paint off for now. All repairs got two brushed on coats of epoxy primer, then seal sealer. So they are well sealed and shouldn't cause me any problems for a long time. Rear end bog, lots of epoxy on this too, a quick tickle up, then primer / paint. Rear end got a primer and paint with colour matched paint. Bit light in a few areas after a tickle up, so will give it another couple of coats, then buff up. Will do that after spray bombing the inside of the boot as this is currently all epoxy primer and seam sealer. Brackets that come with coilovers for brake hoses don't fit. Either I am missing something, or they just sell them as two separate things with zero interest in making sure they work together. /rant. I made up some sheetmetal tabs that when the supplied brackets are fitted, lock to the bracket and mean the hose support is locked in place. Gave them a coat of Mathew Black ZincIt, noice. Supplied one of right, which the brake hose passes straight through, the others are mine pre paint, probably obvious because sows ear. They both got tidied up since this photo so they are closer to identical. Car came with one correct belt, which had camo treatment, and one sedan looking belt. Tried to source some poo brown ones locally but to be honest got the run around, so said don't bother in the end. Sourced a pair from Japan. Drivers side looked to be in good enough condition to install as is, passenger side needed repairs. Grabbed them through Buyee as they got listed with pretty short auction lengths. Won both auctions, thought I was doing well. Turns out they wouldn't send them internationally. So I could either bin them or have them sent within Japan. Thankfully I know someone there, so had them sent to them. Much to their annoyance I bet. Had them cut the belts off the parts I needed and bit some perfectly good bits, boo. They sent them to me and I had them in a week. Sweet, by this stage i'm bleeding money, just to get original parts as I want the drop downs from the roof due to them being low profile and sort of a must with the hardtop look. They got the last laugh though, they sent them in a box nearly 10 times the size of the belts and filled the box with heavy packing (not actually protecting the parts, they were at the bottom). Thanks bro... But hey, beggars / choosers eh. Anyway, said parts, which i'll now pay even more money to get remade into usable belts haha, fuck my wallet. From a liftback I think, so the covers for the door panels are different, not a big deal at all. I have one good one and one that needs fixing, so i'll do that then paint them both black. I don't think i'll add up the cost of making these belts, i'll just cry. And last pic the wheels that don't currently work due to lack of clearance from front struts. So i'll scratch my head over the holiday and see about getting some spacers made. Guess I should find out from cert man what clearance he'll be happy with. 1mm currently won't cut it, so i'll try for 5mm, even though spacer maker man said 5mm was too annoying to make, we'll see. Anyway, peace out, probably won't do another update this year.

- 23 replies
-
- 20
-

-
I get the same thing, happens in Chrome for me, but not in "Edge" browser. Only ran Edge to test it and they loaded instantly. Car is looking good! Seems pretty solid really? Sills go on everything but most of it looks not bad at all. Do you have a rough time frame for how long the rust repairs will take? The repairs look niiiiice.
-
I slapped sealer on a bunch of my repairs that could trap water. Could be the same situation? Seems legit to me, some of the factory seam sealer I removed was thick as fuck, but did the job 100%. Also that paint colour is fap worthy.
-
I found the opposite recently, no sea shipping option on Buyee. I'd normally use someone for my Japan buys but the item popped up in short notice so had to go Buyee.
-
How long? I have some cable somewhere that I could terminate for you. I would need it back though so may not work for you if you'll need it in future.
-
This could be relevant? https://lvvta.proboards.com/thread/65/shorten-weld-axle-half-shaft
-
I'd just weld them back on, not worth going through the cert process for that. All of a sudden there is a big list of requirements the car will need to meet. No cert = no worries. Guards will be good for another 40 years i'm sure.
-
The top feelers would work best when wired to the drivers seat with some electrons flowing on contact.
-
What are they going on? Does it have decent sized brakes? Current tyre size for overall diameter? I'd always go with tyres made for the vehicle type they are going on, but if price is the main driver then it will be hard to compete.
-
Only just saw this, is it just the thin backing plate? Bit late on the reply eh.
-
The clip is much better at 2x speed, just sayin'
-
No perfect solution I guess. But nine times out of ten i'd say the changes people have made post cert will be obvious. Chopped out another 50mm, wheels now @ -5 degrees. Gotta be better than hoping for the best. If WOF man has a concern about a modification they can check photos pretty easily. I don't recall the last car I saw with a cert that was still passable. RFID is in all sorts and doesn't seem to care about 240v running and the likes. So probably no issue?
-
Here you go: https://www.lvvta.org.nz/documents/newsletters_pub/LVVTA_Newsletter_2020_January-July.pdf Got that via their mailing list, interesting read about the RFID stuff.
-
Spotted what I assume to be a wild @DoBro Jesus out testing his turning circle at Hornby lights, looks good mang.
-
Well there you go, told you it was above my pay grade. Good information to know though!
-
Yeah it's all beyond my pay grade, but consensus seems to be that stronger isn't always betterer. I don't know much about the cyclic side of things. But from a brief look, it seems the braking / moving of suspension would fall into cyclic loading. As to if 12.9 would ever cause me an issue, i'm not sure. Impression I get is no, in my use case it won't be a problem. I have new bolts so that it ticks that box and keeps everyone happy lol.
-
Yeah i'm more than happy with 8.8 / 10.9. Pic of the CCM chapter I have in stock, I have the whole chapter somewhere as LVVTA had it available at some point for download. http://iforce.co.nz/i/zn4shv1p.bc0.jpg The nylocs were holding the brake rotor to the hub, so a bit toasty, so out they go.
-
Seems hydrogen embrittlement is a higher risk with 12.9's too, which I guess relates to the brittle / sheer issues above. https://www.boltscience.com/pages/the-stronger-the-better-is-not-necessarily-the-case-for-fasteners.pdf
-
More brittle, prone to sheer than 8.8 / 10.9's. That was the gist I got from the people I spoke to. I was informed that they would probably be fine in my application. But given what the manual says and that I want the wheels and brakes staying put, it was a no brainer to just replace them. Will repurpose the other bolts in other locations. Probably 12.9's installed in modified cars everywhere with zero issue. But from what I read, that's just not something I want, whether it can get signed off or not. Mostly 10.9's now with nord-lock washers so shouldn't be a problem.
-
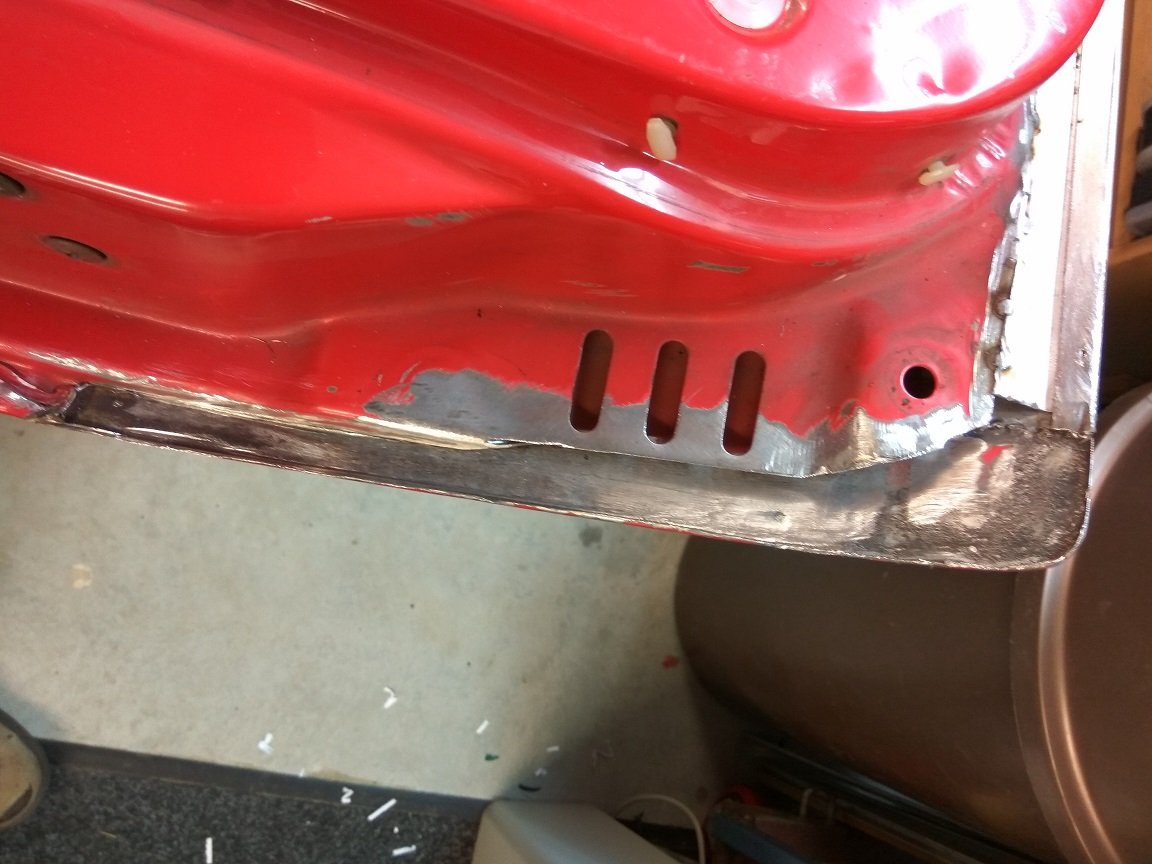
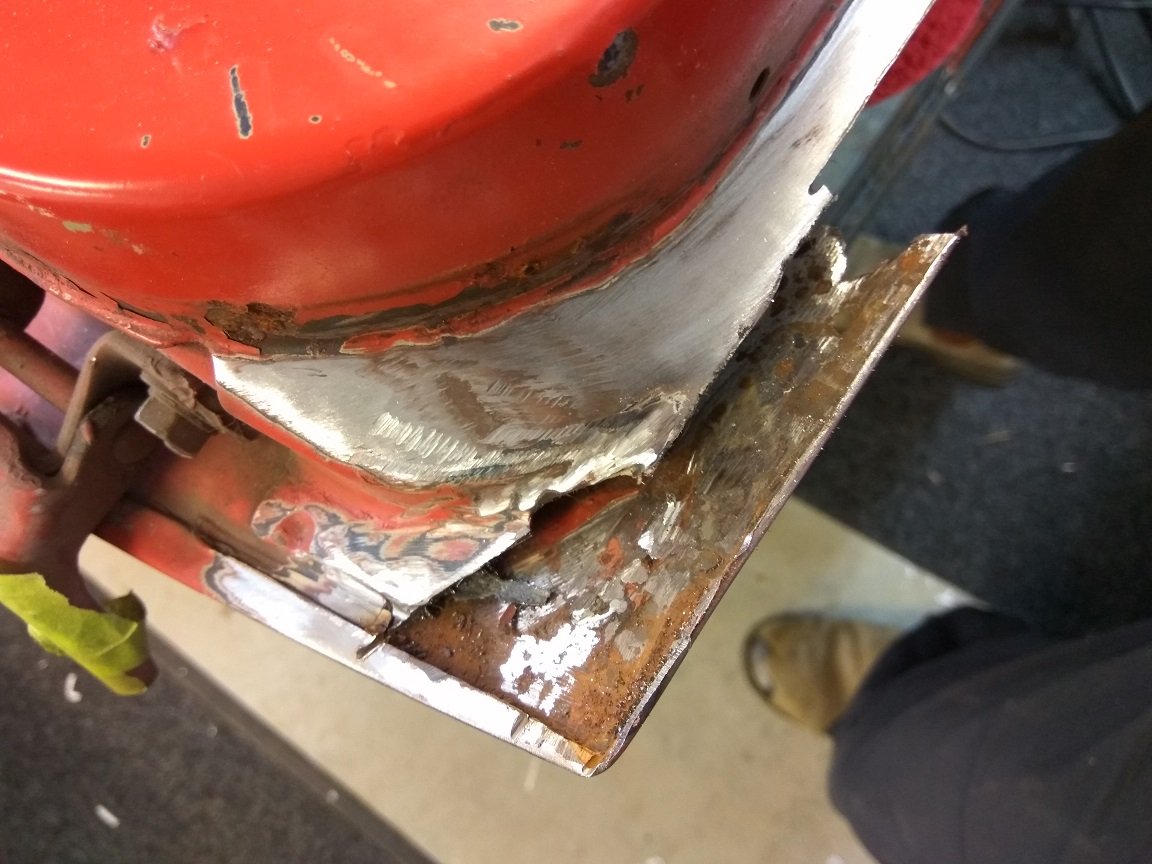
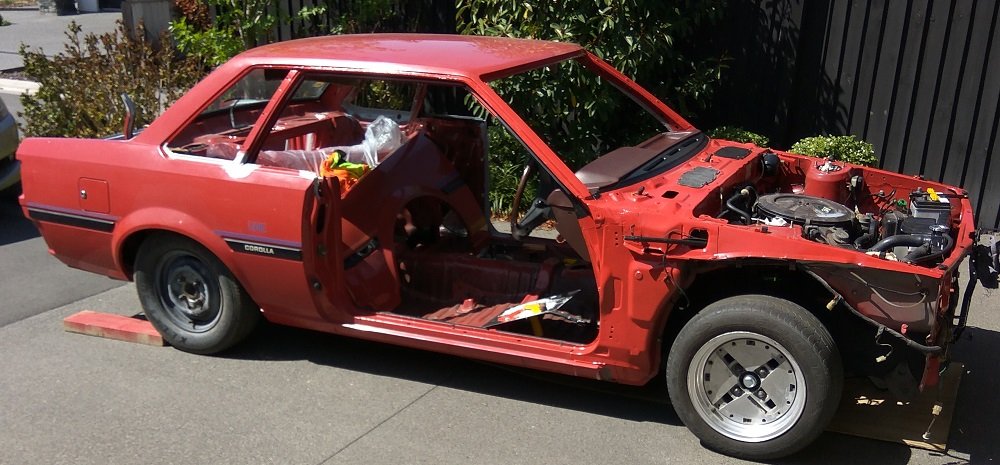
So yeah, famous last words last month with brakes together for last time. Turns out that all the bolts I got with the brakes are unsuitable. 12.9 bolts are not suitable for cyclic loading and use with steering, suspension or brakes. As per the Car Construction Manual. 10.9 and 8.8 are fine. They would probably be fine, but not something I can be bothered replacing later if they get picked up. So grabbed all the replacement bolts and Nord-Lock washers this arvo. Pulled it all to bits, replaced bolts / nuts (including the also unsuitable nylocs (thanks for the heads up @cletus) previously shown) and added so more grease for good measure. Since last update i've had the front edge of the bonnet repaired as it was rusting in the seam and had blown out more than a fat person in a cake shop. I had a pro do that as i'd most likely fuck it up. I also finished welding in the door patches and remade the bottom corners. Ground it all back and dropped the doors at the restoration man. He will remove the distortion in the first door I did. He gave me some tips for repairing the second door and it made all the difference to the end result. I have dropped him that one too though as there were a couple of hollows in the door to pop out. Should get those back in a week or so hopefully. Ordered tyres last week after asking in spam about sidewall sizes. Went with RE003's as they were one of two tyres I was looking into and @xsspeed mentioned the sidewalls aren't extreme. Getting them fitted to wheels tomorrow arvo, so will give the wheel bolts a quick polish, last minute spec. Have been spending all my time on other car jobs until I knew tyres had arrived in stock. Fingers crossed the weak offset wheels fit on the front without contacting the struts. Coilovers means thicker diameter shock body by probably 10mm or so. So it makes it a really tight fit to jam a 7" tyre between the strut and stock wheel arch. Nothing extreme here size wise, it doesn't need it. Closer the wheel sits to the shock the lower I can probably get it before it rubs. Will be doing some sanding of bog and priming to finish out this week. Will likely need to get some more colour match cans as I don't have the space to use proper gun, so proper backyard shit job it is. Don't really care what it looks like though at this point, just need it in for cert next month. Which if you looked at the car in person, you'd just laugh and go with "yeah right" Photo so this isn't a photo-less update.
- 23 replies
-
- 15
-
-

-
Looks like a sweet run. A bit too snowed under to make it, but will try for the next one.
-
How much were the recore quotes compared to that cost / hassle? I don't recall exact price of my recore, but it wasn't that much more than that. Was similar cost to an aluminium radiator. So I went recore as it just bolts in.
-
Seems deserving of a give a little page to get it certed in it's improved form. So rude it should be illegal lol.