flyingbrick
-
Posts
11,673 -
Joined
-
Last visited
-
Days Won
2
Content Type
Forums
Downloads
Events
Gallery
Everything posted by flyingbrick
-
I have used one of those remotes on my battery powered air horn setup. Works well
-
Hi man. I think if you spent $750 on a helmet you'd be disappointed by how little you actually benefit. Value wise you'd be better off buying a virgin sheet of 1.2mm material, some decent portable lighting and just practicing. This is the helmet that I recommend to everyone https://m.lowes.com/pd/Kobalt-Auto-Darkening-Variable-Shade-Hydrographic-Welding-Helmet/1000003026 Mine is the older version- the new one has a larger window but still 4 sensors and amazing value for money... You could spend far more on a helmet here in NZ and get less... Edit. Also.. my helmet (and I'm guessing this one) don't need visible light to darken as they sense electromagnetic stuff (or something) and magically darken. Mine will only flash ya if the batteries are flat (probably 3 sets in 4 years) But Practice is really the only thing that will give decent results. I use electrogalv 1.2mm sheet and unlike everyone else here- I really like it. I started using it because I knew an experienced bodywork guy who was buying a few sheets at the same time and that's what he suggested.. he TIG welds it with zero issues. I know ur flooded with conflicting advice which is usually worse than nothing so GOOD LUCK
-
oh wow, this is awesome
-
For our VS i purchased the cheapest new trademe radiator i could find. I forget the brand but google said they were actually OEM for many japanese producers. Perfect fitment and been in there a few years with zero issues. Looked identical too- cant fault it at all.
-
that is fucking BS, email tank sealer manufacturer?
-
wtf!!??
-
Hahahhahahahaha.
-
Hi man. What's a PC unit?
-
Thanks mate. http://www.midwestmotion.com/speedcontrols.htm , http://www.midwestmotion.com/products/speedcontrols/MMP 100A 20-62V Manual.pdf.. no idea on price though, will phone next week but i expect $$$ $650 for a unit that works reliably isn't bad, I'll take that number back to work with me on monday. I'm unsure what mechanism brakes the winch but its purely mechanical and there are no issues with it falling due to any electrical failure- motor reverses to lower it back down. In both horizontal and vertical positions it is kept securely locked with a big pin.
-
Thanks guys. Kk I'll flick you a message. @Bling your idea is pretty awesome but likely too complex and bulky. But thanks. Can any electrical gurus explain how I could reliably make a DC motor run at half speed? Would need to be approx 12v and 100a capable. @Ned I'll send you a pm
-
Unfortunately not. I can't discuss specifics however it is used to raise and lower a very long mast.. the mast has a very expensive and heavy flag on the tip. Hard to explain but a winch is the only viable option for many reasons.
-
they have already turned down my request for a propeller propelled container house rolling on turbos...dont wanna push my luck
-
I was going to say that custom stuff is outside the budget HOWEVER we may have to consider this idea. It would be a relatively simple job to laser cut an adapter plate and with the right winch (one that has a planetary gearbox on the opposite side to the motor driven by a driveshaft which runs through the center of the drum) it would be easy enough to couple the new shaft. Thanks spencer! food for thought. edit. Perhaps rather than a stepper I use a DC motor/worm drive gearbox adapted to the winch..hmmn. i am hoping at this stage that one of the suppliers comes back with the ability to stack their planetary sets to increase ratio hugely.
-
this is where i need help- I understood pwm was very good at keeping TQ high because voltage stayed the same but you simply pulsed the motor? I'm happy to be told otherwise but need to know. The other bonus is with a decent controller we can program in acceleration/deceleration ramps. Ideally i can find a suitable winch but after many emails around the place it doesn't seem that easy. line speed needs to be around 1m/minute or slower. preferably slower. max weight loading needs to be around 1T and we will use maybe half that. Neal is correct- I have had to retrofit a pulley system to previous systems to slow things down however it is a messy and difficult setup which we really need to avoid. the main drawback is that the two components we are pulling together end up very close to one another- there is extremely limited room left for cables to change direction between pulleys and with wire cable going around 3 pulleys you end up with a fair amount of resistance needed to stretch things back out again. I have found a great controller in the states from midwest motion products HOWEVER i cannot send them an e-mail as all their addresses bounce. Only other motor controllers suitable seem to be on ali express and banggood.... i wont put the customer through that! bahahaaha
-
Hi guys. I have a project at the moment which requires the purchase of TEN electric ATV style winches. The kicker is that they need to be SLOW. We have used ATV winches before and although perfect for the job I've ended up installing a triple pull pulley system to get speeds low enough. You'd think that this wouldn't be a problem however winch users usually want things as fast as possible - being SLOW isn't considered a good thing. I think I currently have two real options- a PWM style electric speed controller that could be set and forget (pwm should mean the DC motors maintain their tq i think?) or finding a slower winch (which could be $$$) Does anyone have any ideas or other input? I figured there's enough smart people here of varying backgrounds that ya never know what may pop up. Ps, the amount of total PULL required is around 2m- I will look at reducing drum layers to reduce diameter, this will help some. Anything much appreciated!
-
Very cool project. Admittedly i know very little about these things and wheelbase etc but from what i have heard about chassis strength and rust you'd probably be better (mentally and financially) using a later model chassis (like a nissan safari, could use a SWB chassis or chop down a LWB chassis to the perfect length) to give you strong diffs/easily turboed motor etc etc. I love that they made these out of aluminium!
-
if it starts to roll then jump clear and let it do it's thing.. having a cage to trap you is a bit scary. PS, it's a damn good looking bike!
-
Ok so your welds look too big, and possibly too hot @Adoom. What wire size are you using? .6 is the standard for body repairs in the auto industry. Also, your gaps look far too big! They need to be hair sized
-
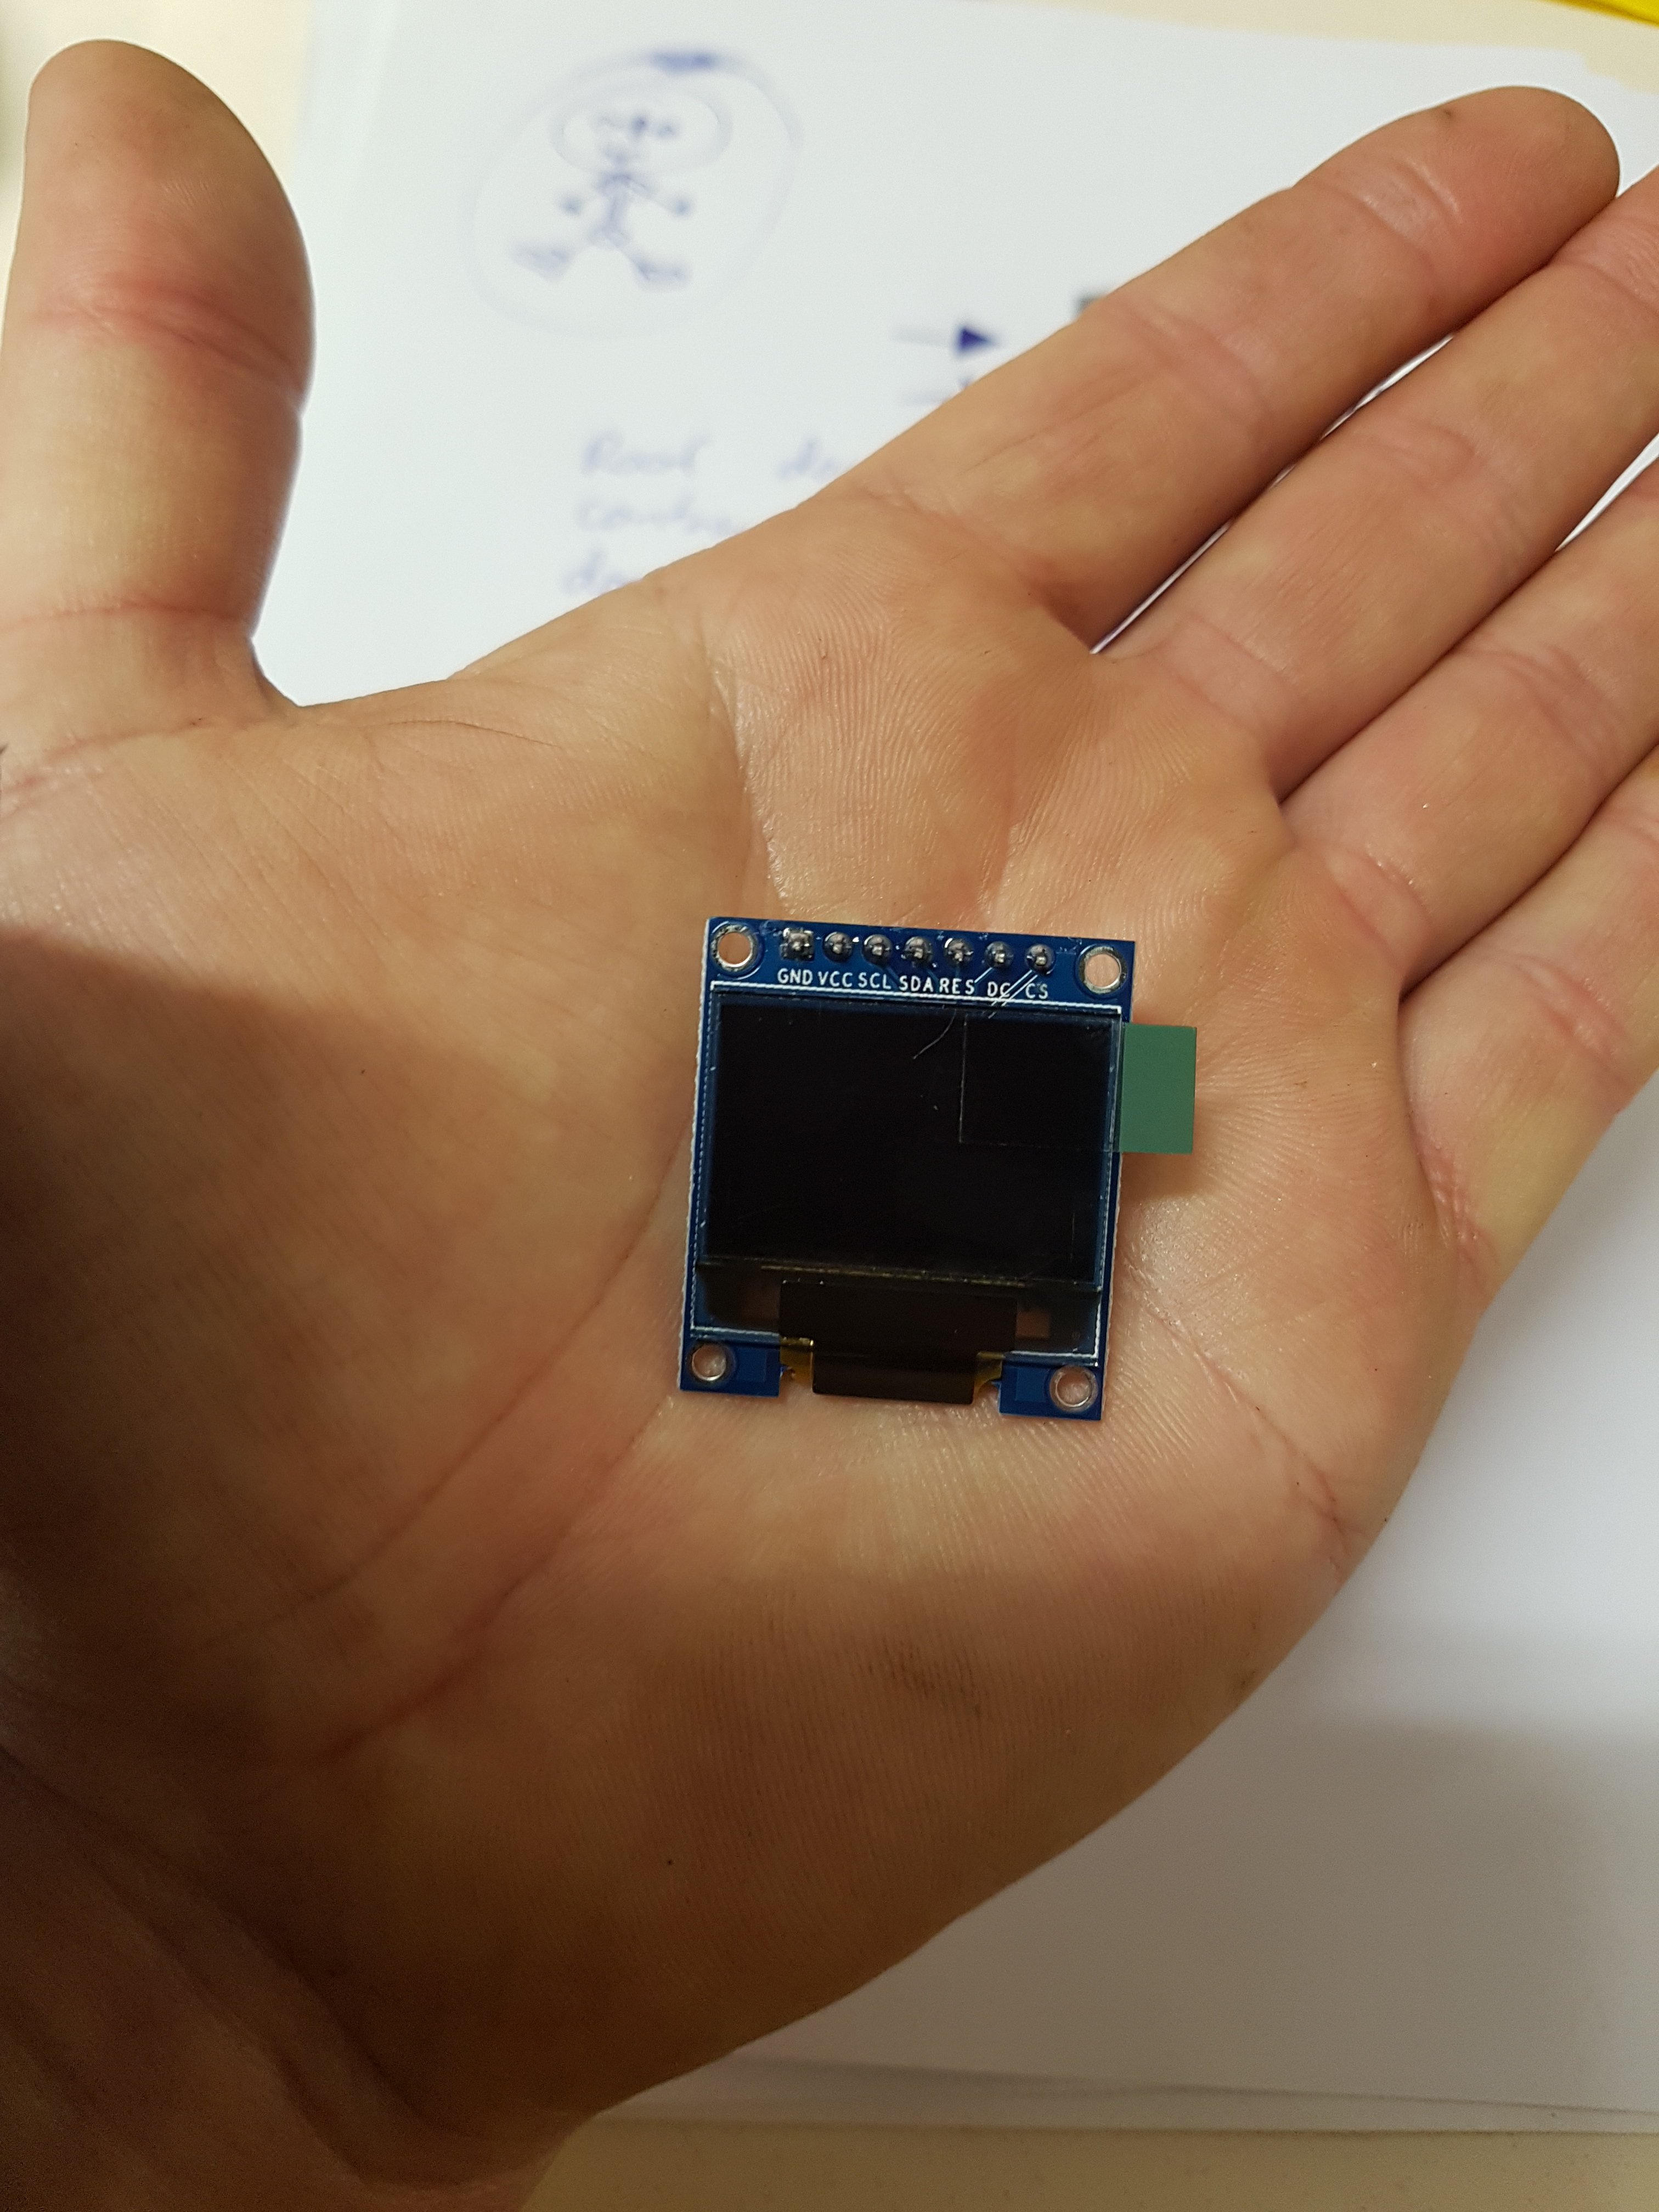
Just had my little color OLED turn up. I admit it's a bit smaller than I kinda imagined (even though full measurements are given haha) I may get a second but will see how the TFT looks first.. I think OLEDs are better in this application maybe.

-
Heaps of YouTube available for sure. Also Chris go to tinkercad site and play with Arduino circuit simulator and do tutorials with it.. bloody good way of learning
-
Hi mate. Yeah I bought a couple of these https://www.aliexpress.com/item/Nano-CH340-ATmega328P-MicroUSB-Compatible-for-Arduino-Nano-V3-0/32740641316.html?spm=2114.13010608.0.0.f8qGLh I'll have one on the desk for testing etc and one that will be used in the vehicle. Can't wait for the mailman!
-

Tech Spam thread - because 1/4" BSP gets 5 hand spans to the jiggawatt
flyingbrick replied to Roman's topic in Tech Talk
Yup.. start your weld in the very middle of the hole and then work it ouwards till it's slightly proud. Sometimes easier said than done- an 8mm hope should make it reasonably easy- iv tried smaller and it's been a cunt to consistently catch the back skin properly (the wire/src sometimes wants to go to the edges of the hole rather than the back skin) -
Tech Spam thread - because 1/4" BSP gets 5 hand spans to the jiggawatt
flyingbrick replied to Roman's topic in Tech Talk
You should only be cutting through one skin so that you have a solid back skin to plug weld through onto ? -
Edit.. is that making rod from glass string and resin?
-
Thats amazing Ned. I watched that video the other day (as well as a shit tonne of others...well before deciding to buy an arduino) and I thought it was cool but didnt view it as achievable (both from a coding and price standpoint)...now i know differently. Anyway.. spent 30 minutes in that simulator and used an android dictionary app thing to help... managed to get a button working with two LED's which alternated on button press at one of them flashes... Pretty exciting to have something that works. I did get a shit tonne of errors which were driving me batshit crazy- the usual issue with capitals and all that. Having a simulator is invaluable (i havent used any actual arduino software, no idea if it has fault finding stuff)