yoeddynz
-
Posts
19,480 -
Joined
-
Last visited
-
Days Won
158
Everything posted by yoeddynz
-
More Ropey wagons on turbos. This is the forum that just keeps on giving Plus 1 for mazda v6 repower. There could be a collective.
-

Discuss here about Yoeddynz's little Imp project...
yoeddynz replied to yoeddynz's topic in Project Discussion
Ha.. Its funny you mention that. I'd been watching this one in the uk out of interest and it ended up selling for way more than I expected. Wow @what folk will pay for old dinky toys. https://m.ebay.co.uk/itm/DINKY-138-HILLMAN-IMP-SALOON-/123159391457?oid=302816683204 -
mitchs 924 - tell me i made a terrible decision to buy here
yoeddynz replied to Mitch.W's topic in Project Discussion
Fixed -
Oh and this photo here. Fuck it looks cool. Ropey old wagon on turbos. So choice. But I might be a bit biased..

-
Yeah for your application megasquirt will do every thing you need and then some. Plus, rather than just forking it lots of money for an off the shelf item you'll get to continue on 'building' your car as you have done so this far. So much more satisfying and now having done one is easily one of the easier bits to do (once I learned all the ecu stuff.. Which is always fun) and save a shit load of coin in the process. Id lend you my DIY efi book to read..but I'd already lent it out a couple of years back and I damned if I can remember who it was to. It seems that who ever it was has forgotten too
-
Oh hey.. I can't remember what ecu you'll be using but if it's speeduino or ms2 then you can use my files. If you end up with even a remotely similar inlet then my tables I saved will work.
-
16mm will be fine as long as you've machined it well and it looks like you're skills are top in that regard. I just wanted less hanging out plus it allowed me to line up the v6 starter without having to cut away the bell housing. But really.. Whatever works....works - and that will be all you need Yeah it's been bloody hot here. Will be a shock to come back.
-
Oh wicked. Good man for posting that up! your measurements are much the same as the one I made except I used the stock v6 flywheel and just off set the v6 starter to sit is smaller diameter. I think next time round I'll use a rx7 bellhousing on an mx5 box so I can get away without a spacer for the flywheel...as Steve has done. Which ever way is much better than the ones from Claire which hang the flywheel out by 16mm (because she uses 16mm alloy plate!!!) Is great to have your numbers to double check against. What are your plans for the inlet? The one I made was simple but worked so well. Now that I know it didn't have to be modular in order to fit it in place it could be made even quicker and easier. It looks like you've got the room to fit something similar. I have a fella in oz and one in Canada who want me to make inlet plenums for them but its not happened because many other jobs on (let alone getting to play on my own cars..and now I'm away cycling in England)
-
Oohh you make me blush I hope you have the cad files for your plate so you can sell me one. Chopping it that 10mm thick alloy plate in a large bandsaw got boring real quick.
-
As he said.. Great work. Makes me wanna do another v6
-
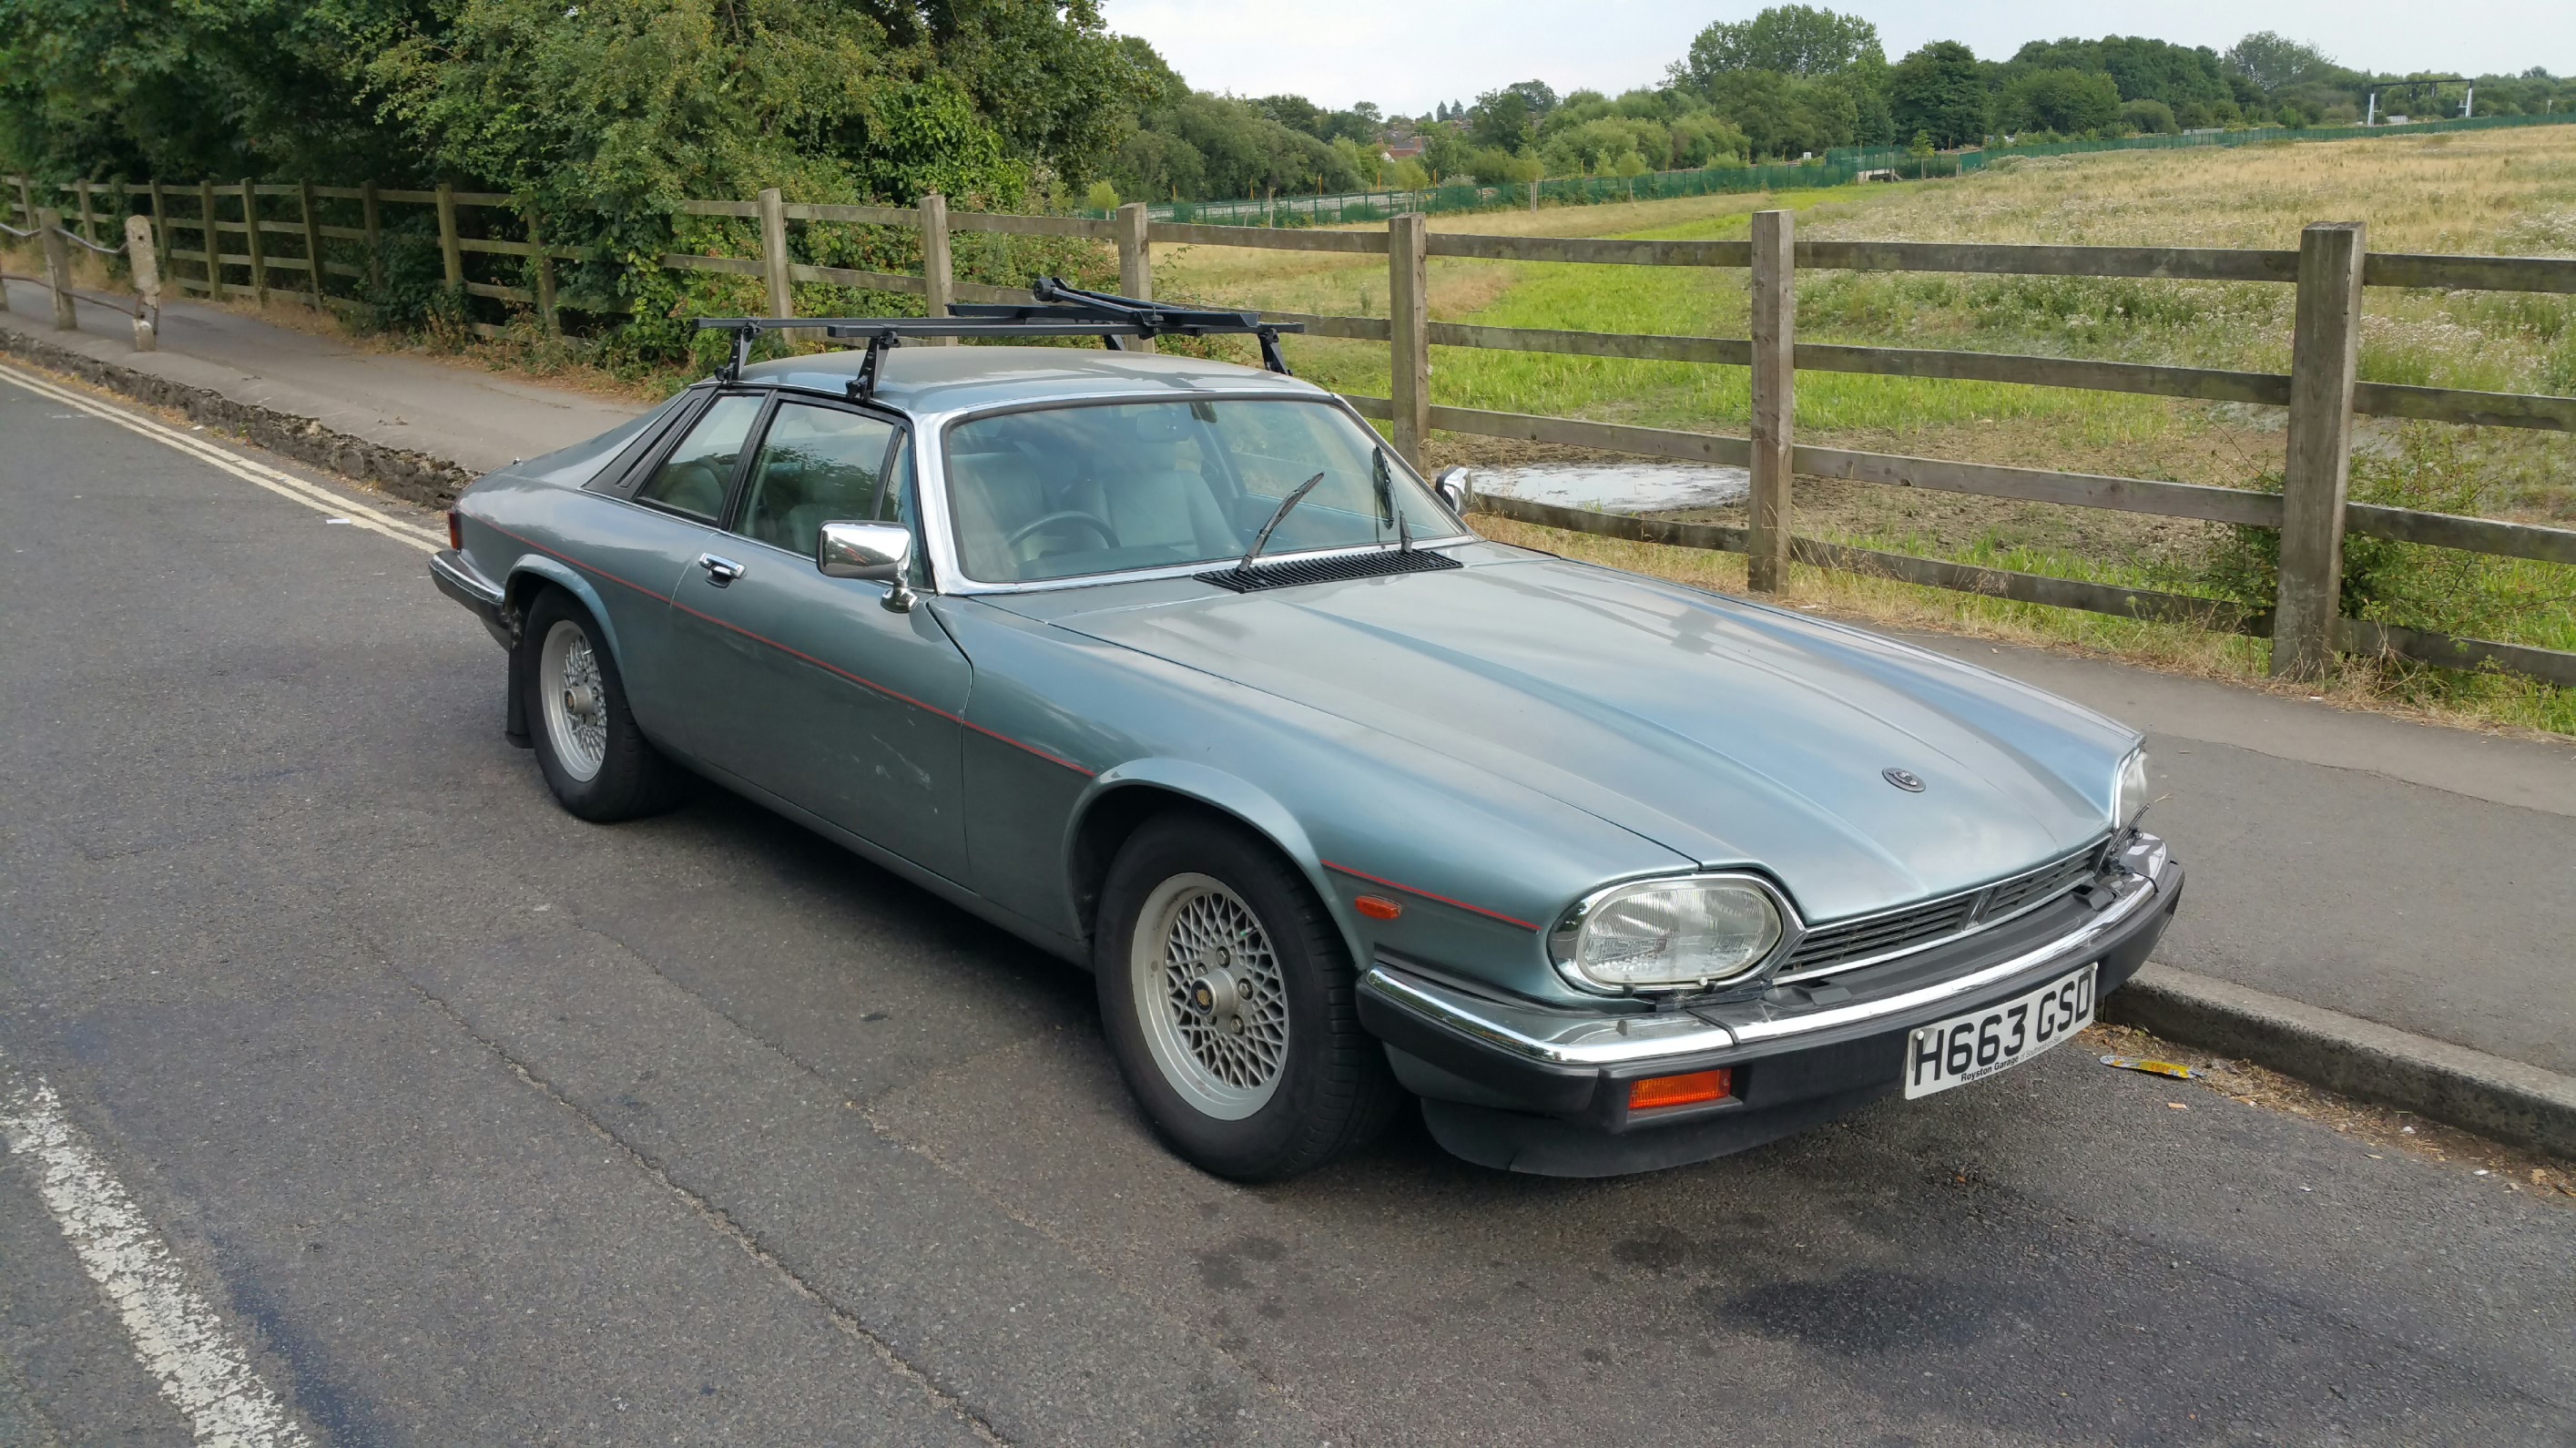
Thousand Dollar Supercar's 1988 Jaguar XJ-S 3.6
yoeddynz replied to Thousand Dollar Supercar's topic in Project Discussion
Spotted this today and thought of yours. This one just looks so cool in a slightly dirty rough way especially with a roof rack...
-
Looking that paint job. It's looking really smart. I think I recognise where you're working on this - the landy fella out of Nelson?
-
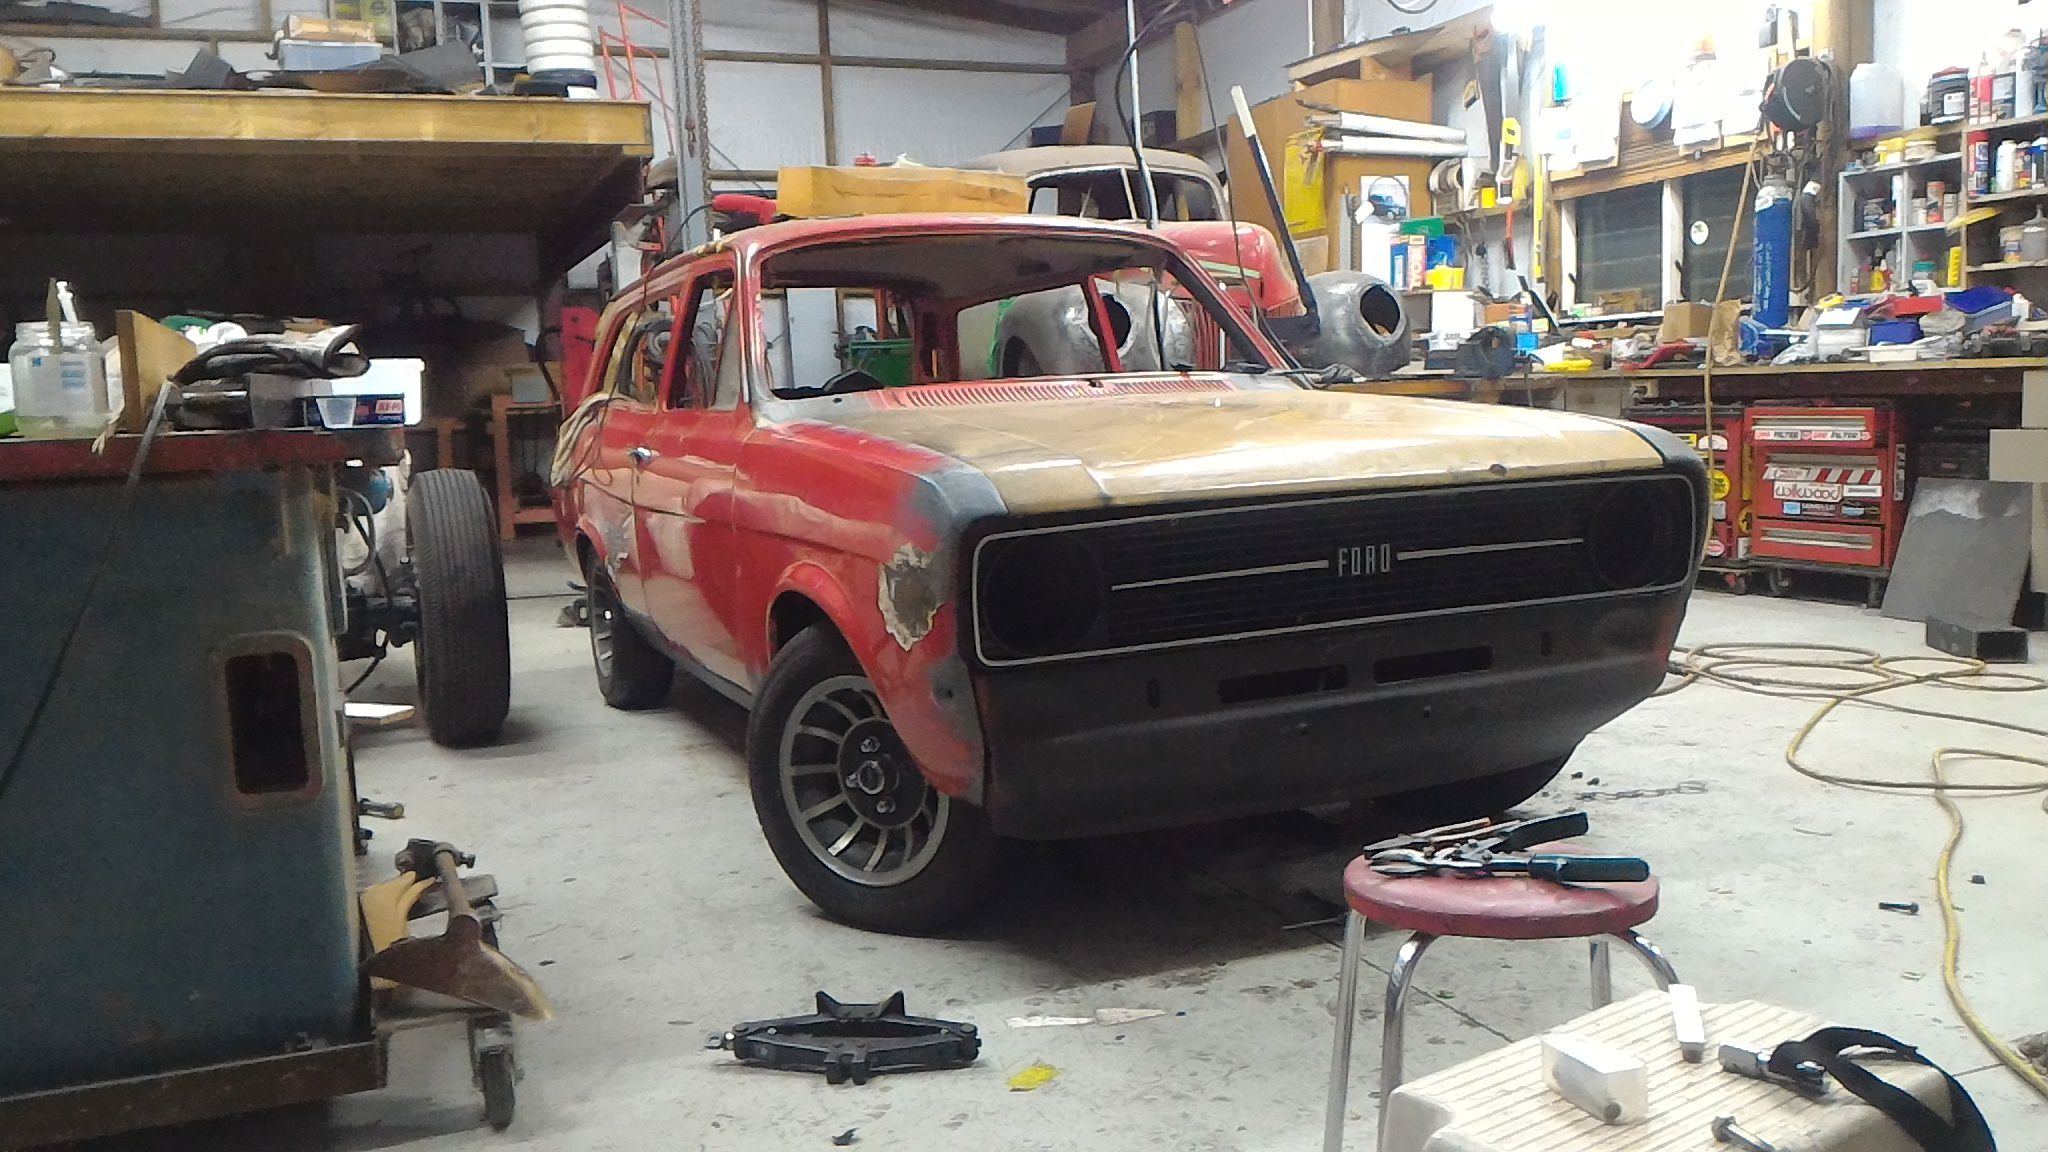
Here's an update...it's been a while. We have both been using this wee car heaps as our daily and apart from the rev counter dying, creating a short to the coil and cutting ignition its been reliable as. That one took a bit of head scratching to work out. I checked everything and finally had a guess at the rev counter. Well it did only cost $7 secondhand 6 years ago.. That has now been disconnected and every thing is back to being tickadyboo We got bored with sliding sideways in the original vinyl seats when corning enthusiastically and I had a pair of Mx5 seats waiting for the Imp project. Decided I might as well fit them and put them into use rather than just sitting there wasted. I made all the mounting points to certification standard as it'll be going through the cert process when the Duratec is fitted. They are so much better in for driving with! Not as heavily bolstered as Recaros I have had in the past but good enough. This pair will find their way into the Imp when its ready and I'll keep a look out for other seats to fit the Viva. The mounting points looked so similar in placement to the points for the Momo branded (but actually Recaros) Alfa Romeo GTV seats I had fitted in the Viva. So I'm am figuring that Recaros might hopefully fit in place fairly easily using the new mounts. Seats... Now the eagle eyed among you might have spotted the Motolita steering wheel. Yep- its the one I had in my V6 Viva. I kept it as part of the sale agreement and made a boss to fit it into the wagon. This time I have moved it backwards even further and its great to have back in my hands. Much nicer the than skinny, torn bus wheel that was originally there. Here it is with the old seats in place... Yep- this little car has been great to use and is even better now. Handy car for carting mowers (I do quite a lot of mower repairs in our valley as one of the bread earners)... But the car is gonna be so much better with more ponies. So I have been slowly chipping away at collecting things. I cant do the actual engine swap until the Imp is on the road though. No pressure then On this front I have to shout out a big thanks to @chris r and @Gozza who picked up and transported the gearbox from Auckland down to Nelson. Chris picked it up from the seller, packaged it onto a pallet and delivered it to the airport. Awesome. Then it got a first class flight in Steve's private jet. Steve then brought it out to our place. What a neat wee trip for an NA Mx5 gearbox... Thanks fellas!!! I opened up the packaging... With the box here I propped up an Rx7 bellhousing next to it. You can see the difference in length that will allow me to use an adaptor plate without having to space the flywheel back. A lot of work? Yeah but I have continued looking for a bolt on NC box and they just aint cheap here in NZ. I have looked in the UK, much cheaper..but in the UK. So for now I will continue down this path. It's one I have trodden before and its pretty easy. Next up... the elephant in the room that is the Duratec that needs a rebore. Not any more! Another big thanks goes out @Tumeke and @chris r, again !, who found a free Duratec engine, offered it to me and then @64vauxhall brought it down in the back of his Falcon on the way to the Oldschool nationals. Its in good condition but the head has been popped off bu the previous owner for inspection/cleaning. The bores are really good and the block is very clean. Its what appears to be a good honest engine. So I am back on track. I'll be getting a headgasket set and new headbolts from England very soon and will build this up over time. Its great that I now have a spare engine which I can use for the mockup. Much nicer lifting a stripped out lightweight block and head. New engine... Also- @NickJ was one of the fellas who came up to collect the Datsun 120Y. He brought up a collection of electronic components he had spare from building his Speeduino ECU and he and Hannah sat in the morning sun and sorted through bits I needed for my ECU build. I just need to get the main Arduino Mega chip and a few other bits then assemble it. Right on track for a decent $100 ECU though Thanks Nick!.. But for now...its back to the Imp.
- 40 replies
-
- 21
-

-

-
Richy's 1991 Porsche 944 S2 - BEWARE OF SHARN.
yoeddynz replied to Snoozin's topic in Other Projects
So clean!- 85 replies
-
- 2
-
-
- midlifecrisis
- notarealporsche
- (and 2 more)
-
Explaining to younger folk that all cars used to driven like this...
-
Please tell us that you kept it that way for months and replaced the string twice.
-
Well... you've just stated whats wrong with putting filler on first. So why would you? Either cost cutting or laziness. Sure - do it filler first if its a crash repair on a tiida. But we aint talking about Tiidas eh. Its just better to follow best practice eh. Id rather always do it epoxy primer first instead of watching my car slowly bubble up down the road. One little tiny scratch through the top coat can let moisture in. Times have changed along with paint technology. The old 'slap some filler on first.. she'll be right mate' guard can fuck off back to their cave. Also- it means you can take your time with the filler stage. Even a high humidity environment, ie doing the work on a wet winter day, or in auckland... any filler present can start to pull moisture.
-
But still better to follow best practice eh. Id rather always do it that way instead of watching my car slowly bubble up down the road. One little tiny scratch through the top coat can let moisture in. Also- it means you can take your time with the filler stage. Even a high humidity environment, ie doing the work on a wet winter day, or in auckland... any filler present can start to pull moisture.
-
And then fill cavities with waxoyl or similar. Then fit 12A drill port and modgies.
-
That filler on your boot lid, the stuff that fell off, is a prime example of why one should never put filler directly onto steel. It never sticks properly and will absorb moisture through the paint, hold it against the steel and cause corrosion. It's why youll so often see old repairs with big blisters as the filler swells away from the steel. For fresh steel repairs paint it with resene industrial 440 epoxy. Then you can smear it with filler to your hearts content knowing that no matter how damp the filler gets it won't affect the steel beneath. Damn I like this car!
-
Edited double post..
-
Fantastic update!!! Big thanks for taking the time to post up so much good info and photos. I love reading threads like this. Looking real well engineered. How much did it cost to get the adaptor plate machined Inc cost of steel? Looks like you've got a bit less room between the bonnet underside and the cam covers than I had.. I'd have thought the escort would have a similar height within the bay? How close is the bottom of the block sitting to the cross member? I made quite a thin sump pan to get as close as possible.
-
Discuss here about Yoeddynz's little Imp project...
yoeddynz replied to yoeddynz's topic in Project Discussion
Yeah you are completely correct there. That race car shell will never see the road again with its front end in that state. But its sills and complete rear end are in great condition but for some localised typical areas of old car rot such as the very bottom of the rear corners etc. If I dont end up selling them together to someone who wants a project then it will most likely get cut up for panels. I certainly have enough stuff here to build another car. Must keep a look out for live plates and tags which always helps. -
Discuss here about Yoeddynz's little Imp project...
yoeddynz replied to yoeddynz's topic in Project Discussion
Oh that.... been on TM for yonks. I'll pass... -
Just hot up the 1300. Inject it. Lumpy cam. Make car handle amazingly and for sure it won't be the fastest at the lights but it will be great fun in the twisties, hooning along, wind in your hair. You waving enthusiastically... "heeeeelloooooo boys".....