yoeddynz
-
Posts
19,490 -
Joined
-
Last visited
-
Days Won
158
Everything posted by yoeddynz
-
Yeah stay in touch. Just send a pm. If you're on facebook then send details.
-

Yoeddynzs 1965 Hillman Imp. Chasing Flappy whirrs
yoeddynz replied to yoeddynz's topic in Projects and Build Ups
Work has been continuing at pace on my large model car build as we both clean bits and piece it altogether. Its fun. Its taking far more time then I ever remember. I always forget about just how long these 'little jobs' take. Made longer because the car looks so clean and fresh so how can we possibly put dirty or crusty bits back on. I ordered some new 175/60 13 tyres last week. Of course the rims look yucky. Not a fan of all silver rims, especially Minilights. I have always planed to paint them to how I want them to look. Really make the rim dish stick out as much as possible. So my friendly local garage where I now get my tyres from popped the old tyres off, we took the rims home and I did this... Which was fun and quick. Very handy that the Viva shares the same 4" PCD. The rims ended up like this.. I then selected a colour from a book of swatches lent to me by the local paint shop. This process of selection took bloody ages! Just how many 'metallic greys' does the world really need?!!! Paint finally selected, bought and Hannah masked the rims very carefully (I tried to do one rim and gave up- I really have no patience for that). I threw some paint at the rims... Because Hannah had endured the boredom that is masking wheels she got the fun job of peeling off the tape.. They looked fantastic. I was very happy. So here is a sexy rim shot... then with tyres... But they cant go on the car just yet. Many jobs to do with the Imp back on the hoist. First off. Radiator pipe work. I had bought a length of stainless pipe a while back along with some 90 degree bends I could chop up. I measured, cut, tacked, checked, tigged and ended up with these... I blocked the ends up and filled them with water to double check them. Two little pin holes. Glad I checked. Whilst full I weighed one. 3.5kg. Not as heavy as I was expecting. Phew. I then fitted them up... Next step was the brakes. The front calipers and discs are from a ED Honda civic. I had never bothered to check that they were free when I removed them from the race car. Oh. Wish I had. Seized! Bugger. I managed to free the pistons with a bicycle track pump and sure enough the pistons were rooted as were the seals. I priced some up from several places. !!!!!!! Crikey. Rebuild seal kits were horribly expensive in NZ. I wanted to sort them out asap so didnt want to wait to get stuff from the states. So I tried an old place in chch I've used in the past who re-sleeves brakes in stainless. He sold me some seals cheap and I machined up new pistons from some stainless. Made quicker by the larger drills we got from my uncle with the lathe... Front brakes all sorted. While I was there I machined up some nice spacers for the caliper mounts rather then the stack of odd washers that had been doing the job. I also added back in the missing flexible line tabs I'd forgotten to do whilst rebuiding the shell.. I then re-fitted the rear brakes, after having unstuck, cleaned out and reassembled the wheel cylinders which luckily appeared new, as do the shoes and the drums! Then onto the master cylinder. That lovely one from Russia with love. It fits so well into the imp pedal box but I needed to make a push rod, something to secure pushrod in place and a pushrod yoke. All really fun little jobs at the bench. It came up well and fits in nice. Fitted it in place and made all new brake lines and clutch line. Re-used the old 8mm fuel line from the race car but neatly this time. Ideal for future power upgrade... Clutch line was copper, left over from the Rx3 in the UK. Fine for clutch lines but not for brake lines in NZ, which have to be steel. I've made the pipes long enough to swap positions on the master depending on whether it has biased springs inside. Time will tell on that. Added new tubing from the, nicely cleaned and fitted by Hannah, fluid reservoir... While I was in there I had also found an ideal piece of stainless mesh left over from our compost toilet build. Perfect size to fit in here neatly... The steering rack boot had a small split and was leaking like a proper British car does- all over the floor. I was getting bored with placing bits of carboard everywhere I moved the car but I cant afford a new boot plus shipping so instead, as per some advice from a fellow local Imper friend I added some grease nipples. Much better then oil puddles everywhere and no protection within the rack!... Fitted a new universal on one of the driveshafts to replace a knackered one. New one has a grease nipple. Yay for IMProvements We both worked together on the door cards, a job we had been putting off. Glued some new felt on to the new hardboard and then glued on the sweet looking red and black vinyl, which had come with the car from Christchurch. They'll look great against the blue... This afternoon Hannah cleaned up the Datsun engine, masked it up and I sprayed it with Black epoxy (Resene Durapox). I had also cleaned up the rocker cover and fuel tank for the same paint. The rocker cover will get some nice blue next... And that is all for now folks. I was really hoping to have the car on the road for a classic car show next weekend but there are still so many jobs to do. Wiring, put the transaxle back together with its new bearings, make a new improved, tidier engine crossmember, plumb in the engine. However it was great to have a date to aim for and we are both really excited about getting it on the road before Hannah's brother comes to visit in a few weeks time. So I'll just keep cracking on with it (in between the paid work we have building up that is..)- 120 replies
-
- 32
-

-
Discuss here about Yoeddynz's little Imp project...
yoeddynz replied to yoeddynz's topic in Project Discussion
Cheers man. My motivation was waning quite a bit in the middle part of the project but now it is getting close to being finished I'm itching to work on it! It's at that fun part where it's lots of little jobs and piecing it together like a big model car -
Andre's vauxhall magnum into Firenza droopsnoot project
yoeddynz replied to yoeddynz's topic in Project Discussion
That suit! Those shoes. The squealing tyres. Only the 70's Brilliant. My fav advert... https://www.youtube.com/watch?v=jYsG0Sh4NqA -
Far out!!!! So much rot. Good on you! Is it in your own workshop where you're doing the work or at someone else's /some business? Youre certainly diving in at the deep end for someone new to mig welding. Cheers for the detailed updates.
-
Wow! Awesome. Thanks for sharing. They're is a fiat 126 floating about Nelson, used as a daily. So cute. So cool. So small- it makes my imp look huge. Whereabout in nz are you? . You are more then welcome to pop by our way for a cup of tea, stay the night and talk shit about little cars. We are near marahau. Alex
-
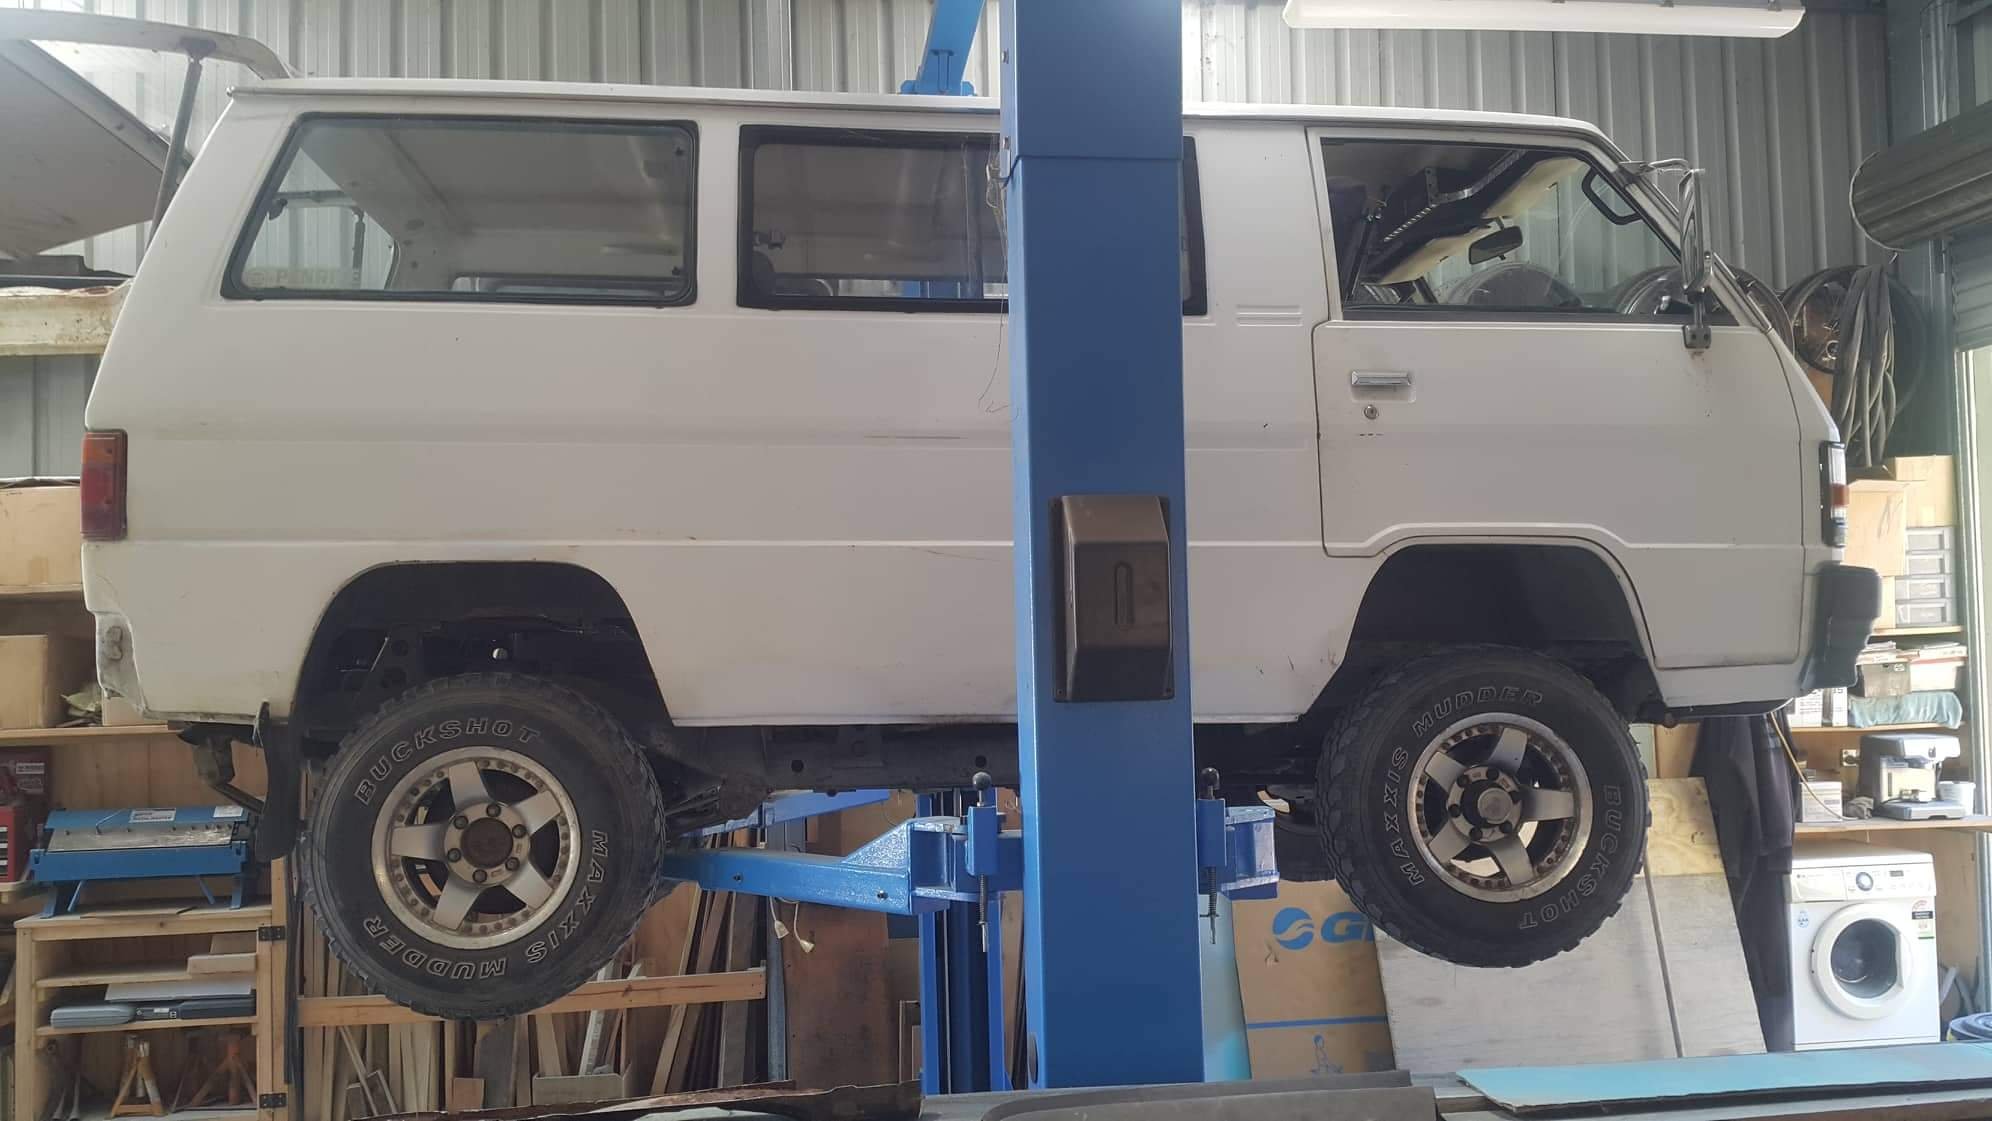
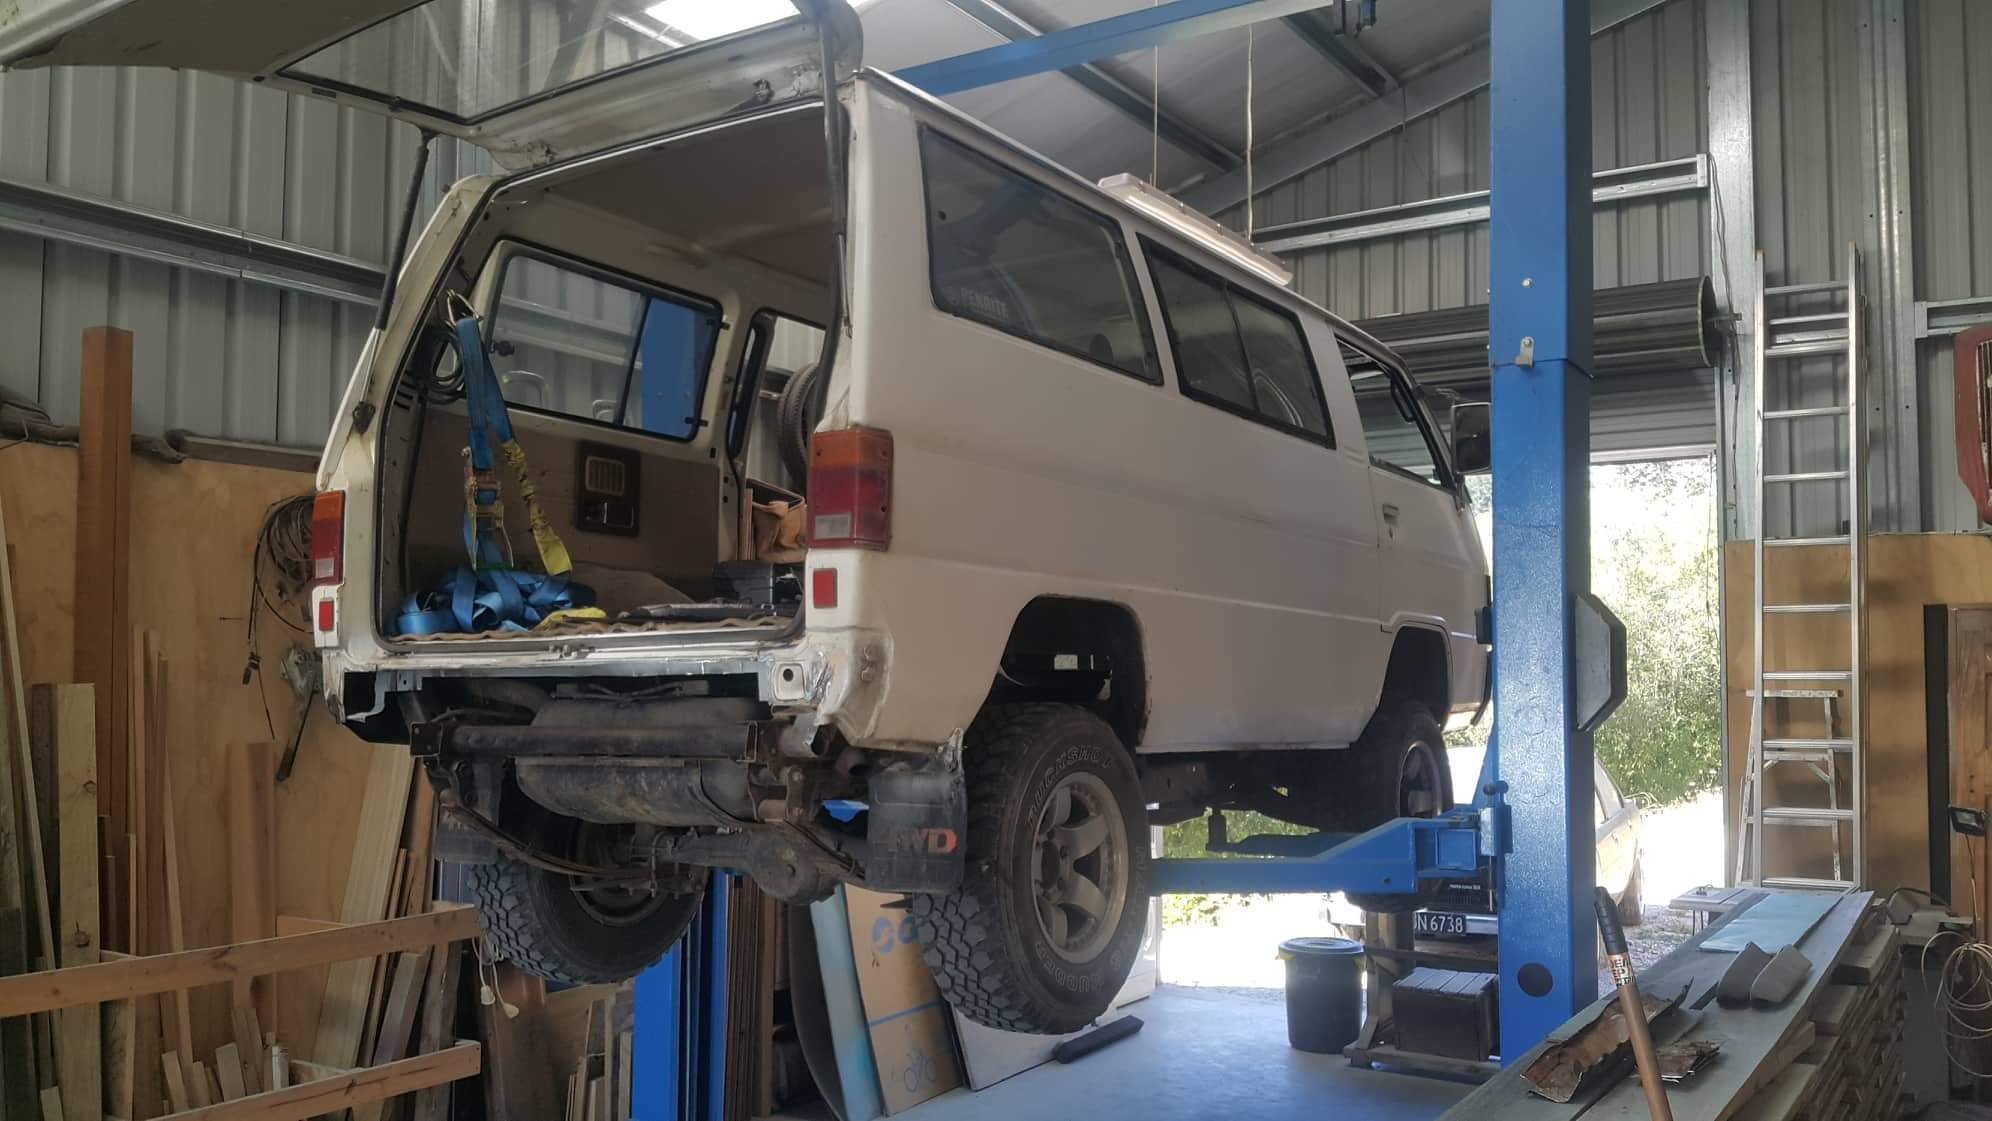
So cool. I really like these. Not a much room as our old hiace 4wd but much better of road with those approach angles. I was actually doing a load of rot removal from the back of one this weekend. It belongs to a certain Sam von slacker... Its pretty damn cool eh @Slacker_Sam.

-
Discuss here about Yoeddynz's little Imp project...
yoeddynz replied to yoeddynz's topic in Project Discussion
Oh thanks. It took me days slaving behind my super graphics computer (note 4) to craft those pics. Some of that time was indeed just trying to get decent photos because we'll, as we all know, taking photos of animals is always tricky and dinosaurs are no different. The Romans were no easier to snap.. Poncy bloody Italians always worried about their hair. -
Discuss here about Yoeddynz's little Imp project...
yoeddynz replied to yoeddynz's topic in Project Discussion
^that is Bruce's Imp ute. He has many an Imp (and lots of Vauxhalls too..) I've actually just listed my spare imps up on Trademe- let someone else have some fun with them... https://www.trademe.co.nz/Browse/Listing.aspx?id=1956094077 -
Nice Cortina!
-
I think they are 3m badged...but Chinese. I might use the for other jobs one day but for now they just got thrown in the drawer. I put my compressor outside in the fresh air away from the paint spray so I was breathing in nice clean air. There is a water trap and a filter on the belt as well.
-
I used it with an airfeed.
-
Yoeddynzs 1965 Hillman Imp. Chasing Flappy whirrs
yoeddynz replied to yoeddynz's topic in Projects and Build Ups
Oh I forgot to mention a while back that I managed to get my Mum to do a spot of sanding to when she visited. I doubt she would have lasted log though but I think she did like the fact she had a trapped audience to waffle on to while she did sand... However- that was obviously before paint. Now we are right into the fun jobs of piecing back together the big kitset. The trickiest thing is trying not to get too carried away with cleaning things but it always does seem such a shame to put messy, rusty or dirty items onto a clean shell. I think in the future I'll try to stick to ratty cars like the Viva wagon. Saves time when things can be messy So yeah.. cleaning things. First the bumpers. I straightened both as best I could and Hannah then cleaned the backs and painted the surface rust in Por15... I then trial fitted the front but once bolted up it was slightly wonky. I ended up having to whip up a bending tool to straighten out the slightly bent mounting points... All straightened I mounted the bumper and stood back to admire the first bit of bling... We then hauled in the other two Imps and went over them like a team of car stripping Piranhas and removed all the last morsels of useful bits... With bits removed they then needed cleaning. Hannah quite enjoys these jobs and did a stirling job of making things all shiny again... I filled the roofline and inner wings over the rear arches with cavity wax. Much more enjoyable this time round then the first time I ever used some back in Blighty on my Rx3, in winter on a very cold day. This time round it flowed perfectly... Together we fitted the head lining we removed from Imp 3- the one rescued from Christchurch. Its a bit discoloured around the edges where the contact adhesive that the original factory worker had brushed in place has stained it right through. Not much we could do with that. But its rip free, pulled up nice and tight and looks better then nothing. Its in keeping with a 54 year old car... I then made a engine cover stay. Because the cover is fiberglass and had no mounting points for a stay I had added some before painting along with a suitable point on the car with them further apart then the standard imp placement to take away extra leverage over a flexible f/glass lid. Now to connect the dots. I had a rough Idea of what I was going to make when I added the mounts and just went with it. I had a piece of stainless the right size and used a plastic knob from an old broken cafetiere I had stashed in my bin of 'might be useful one day' bits. I bent the stainless rod in such a way that when the lid is opened it slides up and drops over a stainless bolt then cant go further. To drop the lid you have to lift the knob slightly- this way a gust of wind cant lift it and make it drop. It works sweet as!... Next big job was to get the wee car back on its wheels because I had some work coming in that required the hoist. I refitted all the suspension and luckily had collected 4 decent shock absorbers with good shafts. However the springs were going to be too long. I'd happily pay the $200 for some Montie Carlo springs. For those not aware they are the popular lowering spring set for Imps that most people fit. However the freight costs for a set to NZ is too much for me to cope with and anyway- I have 3 full sets of springs I can play with for free. I like free. So out with the Makita... After doing a heck of a lot of web browsing I deduced that one coil off the front and half off the back would be a good starting point. Totally aware that I'd be raising the effective spring rate I reckoned this would still be OK. The car is going to be a touch heavier all round anyway but too much extra stiffness to the coils without adding extra damping would be no good. I definitely cant afford new posh dampers at this point so I played it safe... I then heated the cut ends up with the Tig in several zones, flattening the coil as I did. This worked well- the heat didn't travel very far. Its not optimum. Optimum was what I used to do back in the day when I spent 3 months of my apprenticeship working for a Blacksmith resetting leaf springs and shortening coils etc. But I dont have big furnace at my disposal nowadays so Makita it is Then cut the ends flat and they came up sweet. It will be really interesting to see how it sits on these and this I wont know until the car is fully built up to full weight. I reassembled the struts and finally I was able to fit the minilight wheels from the racecar on and lower the Imp to the ground. Ooooooohhhhh. I dont know when this car was last rolling but I suspect it was a very long time ago! It felt so good to roll it away from the hoist, stand back and admire it. Plenty of premium positive camber to come out as the weight piles on. I'll soon be ordering some better sized new tyres and getting them onto the rims. While the car is off the hoist Hannah can continue assembling interior bits and I'll be attending to some work on other peoples cars.- 120 replies
-
- 66
-
-
I bought these... 3m clone. Comes with cartridges for other jobs too. https://www.trademe.co.nz/building-renovation/building-supplies/safety-gear/protective-gear/listing-1950980698.htm?rsqid=768fbb3df824447d9c31a18af1d7128d Fed air into with this unit.. https://www.trademe.co.nz/building-renovation/painting-wallpaper/paint/other/listing-1950982284.htm?rsqid=768fbb3df824447d9c31a18af1d7128d Worked a treat.
-
None of the above helped my paint job though. I ain't a painter that's for sure but hey.. Orange peel finish is all the rage...
-
Now having used it a few times id never paint 2k without an airfed mask. It works really well and I feel a lot happier knowing I'm not breathing in anything but clean air. I'd not risk using so called 'iso safe' cartridges etc because don't forget that this shit will get absorbed through your skin too. Aint worth the risk for the sake of $120. Another bonus when painting in summer is that your face remains cool and the mask clear from condensation. I got over spray on my mask (along with every fucking thing in the shed) and for the light misting of paint meths actually removed it OK. Only downside is that you are now feeding a mask with air so you'll have to make sure your compressor can keep up with both that and the spray gun. Our Stanley compressor was fine but was running almost non stop.
-
Updates updates please!
-
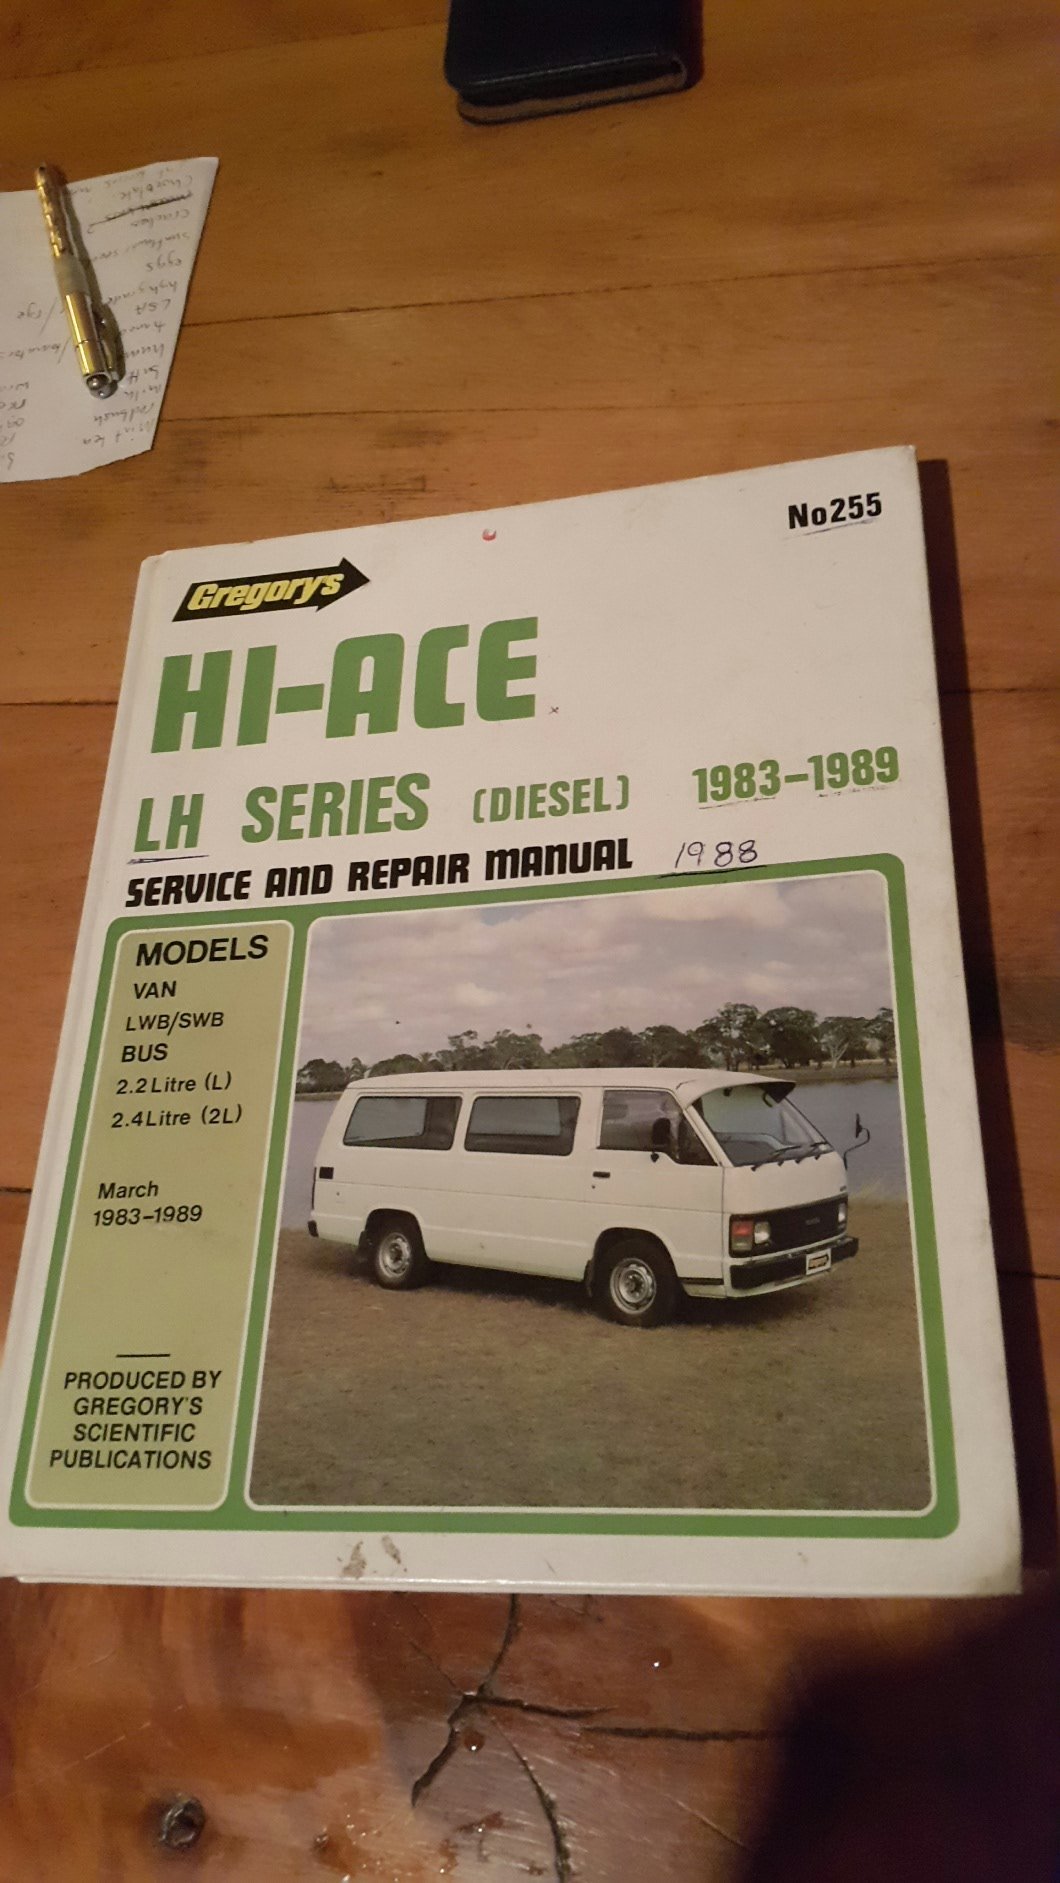
@Lochky I just scored this book at a swap meet today.... I can scan bits that might be of use to you. Just let me know. Alex.
-
Yoeddynzs 1965 Hillman Imp. Chasing Flappy whirrs
yoeddynz replied to yoeddynz's topic in Projects and Build Ups
I just couldn't help myself but take this photo... Having fun stripping remaining bits from the other two Imps, cleaning and painting bits and generally playing about with what is a big model car. Proper update soon.- 120 replies
-
- 65
-
-

-
Super happy to hear that you have orange peel to deal with.. Not happy for you but happy that I'm not the only one who will be sanding sanding sanding. My imp paint job is like a moon surface..
-
Wow. Its amazing that considering all the various damage to it in its early years it was kept on the road. I can't imagine that it was a particularly expensive car but obviously it had enough charm to get the love required. Cheers for taking the effort to write a thread here. Are there many of these left in the states? Any clubs?
-
Yoeddynzs 1965 Hillman Imp. Chasing Flappy whirrs
yoeddynz replied to yoeddynz's topic in Projects and Build Ups
OK so I was thinking I was not far from painting the shell when I realised my repairs to the rear guard behind the drivers door had a slight bulge, maybe 5mm outwards in relation to the edge of the door shuts. A classic case of working up close and not standing back to look at the complete picture. It showed up worse when I sat the door in place. I thought I had taken a photo but alas no- trust me when I say it would have done my head in noting it each time I looked down the flank. This panel had been badly bashed in at some point we had popped it out. But obviously too far sadly I never realised until now. I tried beating it back in but no luck. It had been previously repaired by someone else and was full of lots of sharp dents. So this happened... Following that I did a super careful replacement of the steel, butt welded in, with very slow careful welding so not to warp anything. In pictures... It turned out great. I still needed a skim of filler to get it spot on but considering what it was like prior I'm happy with it now. It lines up really well with the door... I then gave this and most of the rest of the shell another coat in primer, smoothed it all back with 400. Oh yawn. Helps having beer and loud Reggae playing. Hannah just loved sanding... With the sanding done I then preceded to turn the workshop into something resembling a Smurf murder house. If there was a song to be played afterwards it would have been this... https://www.youtube.com/watch?v=68ugkg9RePc We masked it all up and I painted the door jams, door backs, engine bay, interior, frunk, door bins etc. Next day, re- masked the shell and painted the rest. On the first days painting it was so hot at 34 degrees... The following day time I started as early as I could but it was still about 28. Luckily a very dry heat. Not fun in all the gear... I never really considered how far the blue mist would travel. It covered everything. Great fun. Now we have a blue floor which luckily is slowly going to wear off I think. I hope. After it was finished I shut the doors and let it bake in the oven that was the shed, drank a cold beer and went to the beach for a long swim. Here is a blue Imp. Its very similar to an original Imp colour I like so I went with this. Not sure of the name of the colour. Its very bright and changes from a mint blue to a aqua blue in different light. I'm so relieved to have finished the painting. It'll need a flat back to get rid of the orange peel and shine so it looks more like a original paint job. But I'm going to ignore that job until after the car is road legal. Enough body work and painting!!!! Its time to bring the other Imps inside and play musical chairs with all the various parts. Pick the nicest bits and reassemble one car from them all... It certainly is a fair bit better then when we first looked at this shell a year ago and I'm pretty stoked to be at this point in the restoration- 120 replies
-
- 68
-
-
-
Discuss here about Yoeddynz's little Imp project...
yoeddynz replied to yoeddynz's topic in Project Discussion
Very good! (now please keep it hush hush so not to ruin the surprise for everyone else...) -
Yoeddynzs 1965 Hillman Imp. Chasing Flappy whirrs
yoeddynz replied to yoeddynz's topic in Projects and Build Ups
The Imp is finally all painted, after first sorting out a bulge in a panel. It looks great and I'm stoked with the colour. I'll do a proper update soon. But in the meantime here's a quick peek at the colour. But which one is it?...- 120 replies
-
- 18
-
-
-
Thousand Dollar Supercar's 1988 Jaguar XJ-S 3.6
yoeddynz replied to Thousand Dollar Supercar's topic in Project Discussion
Nothing a couple of trees, a chain block and a large tub of filler couldnt fix. Buy it and start a resto thread on a jag forum.