


yoeddynz
-
Posts
17522 -
Joined
-
Last visited
-
Days Won
136
Everything posted by yoeddynz
-
Picked up this a couple of days ago from our neighbour in return for doing a service on their car. They've had it in storage for 8 or 9 years with the intention to restore it but life etc did its thing to that plan. So now its ours (Hannah's already smitten with it) Last rego in 2009. Pretty low mileage for its age? This is the first motorbike Ive ever had in NZ. When I was doing the UK living thing we both got our CBT licences and I bought a classic 1976 Honda SL125 while Hannah bought a 1978 XL125. Then I bought a CL125 and used that for commuting. Once back in NZ we'd both had ideas about getting bikes but just never happened. Then this turned up and it'll do for a bit of fun. I have looked on the nets and not found much info on these. Not sure what the difference is between this F50 and a FR50? I'd love to know more about the history of them. Wiki has nothing really. We both thought it best to crack into it and see if it runs. First off Hannah gave it a bit of a clean and removed the cracked fairing. Then I modified the lock barrel to accept a Bedford truck key which happened to be sooooo close to working already. Neighbours will no doubt find the original key now. Then put some two stroke mix in. Just some chainsaw mix and I think 50:1 so probably a bit lean? I'm not sure but its probably like the 'which oil weight to use' question. It has a oil tank on the side but for testing purposes I left that empty. I don't even know what oil goes in there- just 2 stroke stuff yeah? 2 stoke m/bikes are a whole new thing to me! Lots to learn. Gave it a kick over and on the 5th kick it started! Wow. Neat. Sounded great. But learnt that the carb was leaking... Took the cover off- weird place for a carb Looks clean in there but a sticking float needle needed sorting. I first removed and cleaned the fuel tap. It has a vacuum operated diaphram valve on the side that is meant to close off the tap unless the engine is running. Is this common? Tap was ok but could do with a new rubber sealing washer between it and the tank outlet stub. Then the carb. A little bit tricky to get out as I didn't want any split hoses but all seemed fine. removed the bowl and cleaned out the valve. Works good now. Bowl had a bit of gunk in it but not much considering the time the bike has sat... Put it all back together and started it up then took it for a hoon up the drive and back along the road. Fuck its cool. Much more of a giggle than I was expecting. Its like a tiny engine with a big turbo. Nothing nothing nothing and then powerband. Gear lever is bent and fucked if I can downshift with my heal. Checked the plug and its not a bad colour.. Took the cover off above the carb and adjusted out the slack in the cable. Odd size - needs a 7mm spanner. Lubed the twist throttle end and its much nicer to use. Brakes seem fine and tyres are holding air plus have good tread and not perished. Then went out for more hoons up and down the road. Goes well. Quite fun. I best check/change the fuel mix before I fuck it though. 40:1? So I'll sort the gear lever out, fix the fairing cracks, sort out the broken indicator lenses (any ideas on where I might find them ? They look like trailer lights but are the originals) and get a new spark plug. Then it needs new rego and plate so I'll pop in and do that bit of paperwork. Keen on a workshop manual but cant find anywhere to download one that suits this model ?
- 23 replies
-
- 11
-

-
Yay for updates!!! My my - that is rusty
-
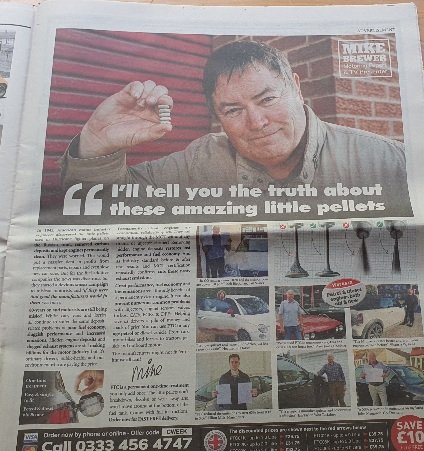
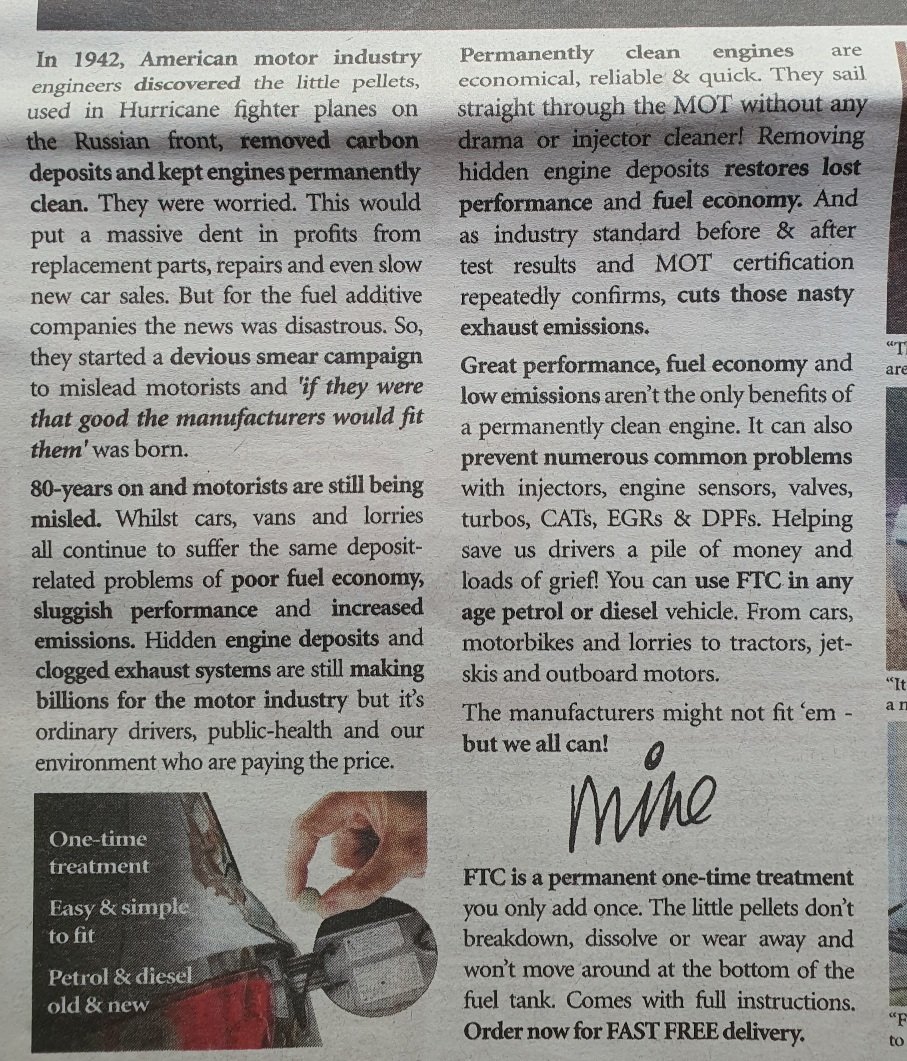
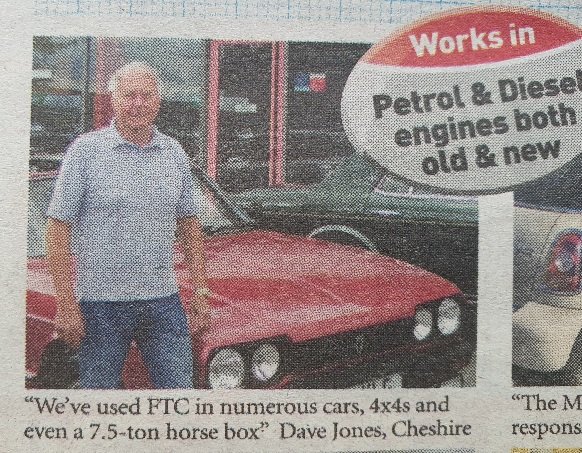
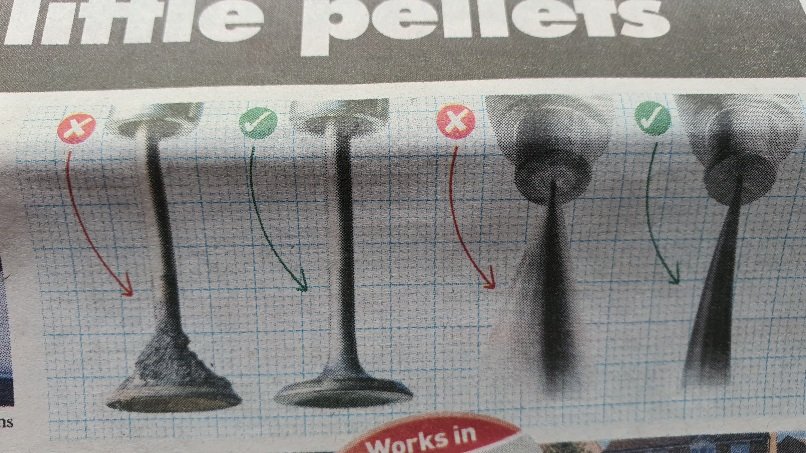
Hannahs mum is over and brought some magazines Inc classic car weekly. It has this advert ..

-
Loving the updates Ellen. Cheers for posting.
-
You can do your own tie down points etc and there is a local fella, very friendly and helpful, who will certify them. I'll find his number and pass it on to you.
-

Sleeektoy's 1965 Daihatsu Compagno. Discussion
yoeddynz replied to sleeektoy's topic in Project Discussion
Just found this thread here that will be of interest for you... https://forum.retro-rides.org/thread/213970/1967-daihatsu-compagno?page=2&scrollTo=2765734 -
C please. But its your choice.
-
You lucky fucker! They are one of the sweetest little hatches ever made. I've only ever seen one down this way. Such neat fun little cars.
-
Mr Sierra and his mighty rs500 replica build
yoeddynz replied to yoeddynz's topic in Project Discussion
Awesome- so cool to see you've got it on the road! I hope we'll see you and your lad along at Nats Marahau 2023!... -
Discuss here about Yoeddynz's little Imp project...
yoeddynz replied to yoeddynz's topic in Project Discussion
Jobs like this are fine and I get nice enough looking results. Doing similar framework on site where I'm upside down under a bench top means I got pretty good at welding without a pedal.
-
Discuss here about Yoeddynz's little Imp project...
yoeddynz replied to yoeddynz's topic in Project Discussion
It's one of those horrid pressed steel pedals. But it works ok. Just need to practice with it more and do more tube work! Honestly - there's only so much that paying about with settings can help when it still comes down to talent and experience. I know what to do and the settings to use. Sometimes during this job when my stars aligned id get mint welds. Other times it was lumpy. I wasn't really fussed about it looking perfect though - just strong. So I'd have to double pass on places to smooth it out and make sure it was a thorough well penetrated weld. Hence it can look really 'hot'. Give me a job on 1.5mm box section and I'm fine. I also do all previous stuff like that just with the torch trigger. -
Discuss here about Yoeddynz's little Imp project...
yoeddynz replied to yoeddynz's topic in Project Discussion
I've got some pickling paste that I use on furniture stuff but those welds deserve it/customers don't want grey scale (my welding on thicker stainless is much much neater, also because not round tube... ) -
Discuss here about Yoeddynz's little Imp project...
yoeddynz replied to yoeddynz's topic in Project Discussion
My amps are pretty low. My big issue is purely skill and speed. I hover for too long and it gets too hot because I'm just too slow and unco. I know exactly the technique I need to follow and I know exactly the technique that I'm doing - which is wrong So I've tried my best but it's a hand eye co-ordination thing that I just need to keep practising at. I'm fully aware that I might well never be an amazing welder, creating weld porn that I can show off. But ho hum. Hopefully in time I'll improve enough. Oh and I was using 1mm wire btw. Just need to practice In fairness to myself, not a proper excuse but something that I'd change if I could afford it. My old jasic welder ain't that smooth at low amps. This I've had other owners of the same model machine tell me as well. Plus my torch is quite a hefty old thing and a bit awkward to hold when doing tricky bits. If I was to get into doing a load more thin tubing work I'd look to upgrading equipment but at this point in time that's not something my bank balance allows. -
And what's cool about it is that you'll in time be able to have injecting it and improving its efficiency. But yeah- just drive it for now. Its summer, you've put some hard effort into getting this far, entertained us all with your brilliant thread as usual so you deserve a break!
-
Discuss here about Yoeddynz's little Imp project...
yoeddynz replied to yoeddynz's topic in Project Discussion
Yeah a neat heat shield on each side, mounted on brackets which would be bolted to the exhaust studs is one idea floating in my head. Easily removable because being horizontal they would accumulate dust and oil etc. I'm really only concerned about rising heat up into the cam covers. Not fussed about heat anywhere else because they'll have quite good airflow over them once moving. Luckily my not so 'arty' welds are hidden from view But yeah- I'm happy with the overall look. Bends could be smoother I know but fuck it- they'll get the hot gases hot from the heads. If this engine setup proves to work well without exploding I could always look to getting the headers scanned one day down the line, let someone magical on cad improve the curves and then get the likes of auto bend to try to cnc bend the runners. If they can do such small tubing that is? But for now they should be fine. -
Yoeddynzs 1965 Hillman imp 911 build. Flat six in....
yoeddynz replied to yoeddynz's topic in Projects and Build Ups
Slow progress is progress nonetheless. I have made the sensible decision not to stress out and try to get this engine swap in for oldschool nats. That was a big carrot to aim for but its not realistic now. There are far too many other jobs going on with our landscaping etc plus several family members are coming to stay over the next couple of months and we both want to enjoy some holiday time. I think the main reason though is that I know how stressy its can be trying to rush a project and suddenly the fun has gone and corners start to get cut. If I take my time and work on it when I really want to then it'll be better for it. All that aside- I have still been plugging away on it and today it rained all day so I had no excuse but to stay inside and finish off a long tedious, but satisfying, part of the conversion. The exhaust headers. But before I delve into that part there's some other bits that have happened. I blew the dust off my bank card and bought an spendy shiny part of the project. Yay. I got it while they were still on sale and it can now sit in the store room to collect some dust. Another thing that I had to spend some money on, as mentioned in the last update, was to get this lot balanced.. I made some inquiries about and found an outfit very well recommended by many down in Christchurch way - engine reconditioning services. The owner Evan was very helpful and managed to fit the job in to suit my brothers trip south - saving plenty on postage! I whipped up some sturdy wooden boxes to suit and away they went. A couple of weeks later my brother returned them to me with a properly balanced assembly. They'll stay stashed away safe until I can assemble the crankcase- which really is just waiting on me to give the pistons a clean and make some custom ring compressors similar to the honda items for assembly of the two halves. More on that later. Back to that exhaust thing. I looked at various options for how to go about making some headers with compact enough bends to suit. Kept coming back to getting some bends and piecing them together bit by bit. I decided that with the tighter bends I knew I'd end up with that I would go up one size, 28mm, on the header tube diameter to help keep the flow nice. The maths works in my head so I'll go with it. Really all I need to do is get the hot stuff out of the heads and out the back. Priced up various bends within all the NZ suppliers I could find. Horrendous prices. Did an order through Ali express for a load of stainless bends of which arrived 10 days later - a nice surprise. They'll do fine. Plasma cut some flanges to suit a jig I was going to make - exactly like I did on my Viva V6. Machined a little sleeve so my holesaw would take a tiny drill bit. Then I made lots of holes. The bits that the holes gave up (wooden marshmellows) were pushed onto equal lengths of tig rod which had been welded to the centre of each exhaust outlet area on the flanges. I was then able to bend them to suit and mock up my exhaust header runs. From what I have read it was not strictly needed to try and match the primary lengths on a flat six as there is nothing really to be gained. But it cant hurt to keep them matched so that's what I did. I wanted them tucked up away with no chance they can get smacked on anything and made sure I could get to the oil filter easily. Now I knew what I was going to build I had to copy them with this lot.. I cut the remaining stubs off the old header flanges and tacked in some short bits of stainless tube.. I started to tig them in but the steel on the flanges was really odd and did not tig weld at all nicely. The arc was all over the place. Maybe magnetic? What ever it was it had me stumped. I ended up mig welding them - heaps of weld which I then ground down with a flap disc. Now onto building the runners up. This is the first time I have made any headers from stainless steel and I wasn't going to take any chances with oxygen affecting the back of the welds ('sugaring') so leading to potential weakness or cracking. So I would have to purge the inside of the tubes with argon. I didn't have a suitable purging setup and buying the bits was a bit too spendy for my liking. Instead I rummaged through my box of old brass fittings... dug out an old argon regulator and removed one gauge. Bought some vinyl tube ($7 ...big spender) and cobbled together something.. I needed something to plug the tube ends quickly and easily. I'd seen many people using tinfoil but it looked awkward and leak prone. I made a mold using a bit of tube the next size up, a bit of wood, a bit of copper tube and some grease. Filled it with budget bathroom silicone sealant. out popped some plugs which I shaped to a taper in the lathe with a flap disc. Hey presto- heat resistant tube plugs... Tee'd a line off the main feed to the welder. It worked a treat. I'd set the main regulator on the bottle to flow a bit more and then set the extra reg to flow just enough. I would then set the actual flow rate through the tube using the little brass tap so I could just hear the gas flow through the tube.. I was very happy with the way the welds on the inside of the tubes stayed so smooth and clean. No yucky porous flaky crystalised welds. But there was nothing I could do about the appearance of my welds on the outside. I really can't make any excuses - I'm just not not experienced enough at welding stainless tube. So my welds here I shall call functional. I'm not even going to bother trying to clean them up. All I wanted was decent penetration and strength. My welding did improve over the duration of building these. There were glimmers of neatness... I had to use a foot pedal again- something I had stopped using years ago because its a hassle when building awkward furniture, kitchen framework jobs etc - which is the most common thing I use the DC for. I got used to the pedal again and started spotting where I was going wrong. Mainly my speed and feed technique required was too slow- (the tube I'd bought was 1.2mm - a bit thin perhaps but all I could find in this diameter). I bought a bigger shroud for my gas lens which helped too. So yeah - I'm afraid there will be no welding porn with these headers. I will cunningly take my photos from a distance I got tired early on of trying to hold bits of tube awkwardly in the vise to weld them so I built this little tool.. and bits of wood turned down to locate tubes to bends for mocking purposes.. plus a jig on each side to build towards and make sure the ends align with where I wanted them to head.. things took shape and I enjoyed the process... Finally today I finished the last bits. I will now have to make up a couple of reducers/collectors to suit. They will feed into a V band flange, then a flexy joint on each side, then straight back to a large silencer assembly mounted across the back, pretty much like an early 911 has. For now though I'm just very happy to have some headers built that from a metre away look quite fancy ... They sit nicely on the engine. I'm not sure if I'll use any heat wrap as I have always done in the past - I'm a big fan of it (opens up a pub debate..) I'll have to see how they go. Next thing to look at is finishing the water pipes. I'd also bought some smaller stainless bends for that but now realise I'd not bought enough. Ho hum. Maybe I'll find some under the xmas tree (red and white striped ones)- 101 replies
-
- 81
-
-

-
Alex and Hannahs bushblock shinanigans. Look at my deck..
yoeddynz replied to yoeddynz's topic in Other Projects
Still whittling away at this new bbq area. We had stashed away a pile of old power pole hardwood cross bars that were left on the land when we bought it. For the last 8 years they've been hiding behind the water tank waiting for a use. Moved them out and propped them up for a wall. Tried it out for a morning coffee.. Then sunk some treated poles into the ground - again - left on the land. The same stash has been used for the boat shed and all four wood sheds scattered about the property. Bought some timber and along with some douglas fir given to us we started a framework for the deck. Removed all the old screws from some old decking we had down next to the housetruck when it was parked up.. Bought new decking for the longer runs and then it was time to get baked in the sun and use roughly 600 screws. Kevin watched but did not offer a paw to help.. Was the longest day yesterday - nice to day to get the deck down. Next step will be steps. Oh and some handrails to suit.- 575 replies
-
- 44
-
-
-
You are the boss my man.
-
-
Sleeektoy's 1965 Daihatsu Compagno. Discussion
yoeddynz replied to sleeektoy's topic in Project Discussion
Wow. Fuck this is cool. I love these sort of build threads and this discussion thread is already super interesting. Man that 2 wagon is cool too! I just looked up the sizes and according to the wiki gods this little car is close to 100mm narrower then my Imp! But longer. So tiny then. Gonna follow your thread with much interest! And yeah - If it were mine I too would be keeping that patina intact and just get the car safe and reliable + lowered on some widened steelies. -
Discuss here about Yoeddynz's little Imp project...
yoeddynz replied to yoeddynz's topic in Project Discussion
Cheers Ben! I showed it to one of our farmer neighbours the other day. I don't think he quite understood the humour and sillyness behind what I've done. So with that reaction I really can't what to see what the various barries will say at car shows/events in the future -
Alex and Hannahs bushblock shinanigans. Look at my deck..
yoeddynz replied to yoeddynz's topic in Other Projects
Sounds like you are richer than us paupers -
Alex and Hannahs bushblock shinanigans. Look at my deck..
yoeddynz replied to yoeddynz's topic in Other Projects
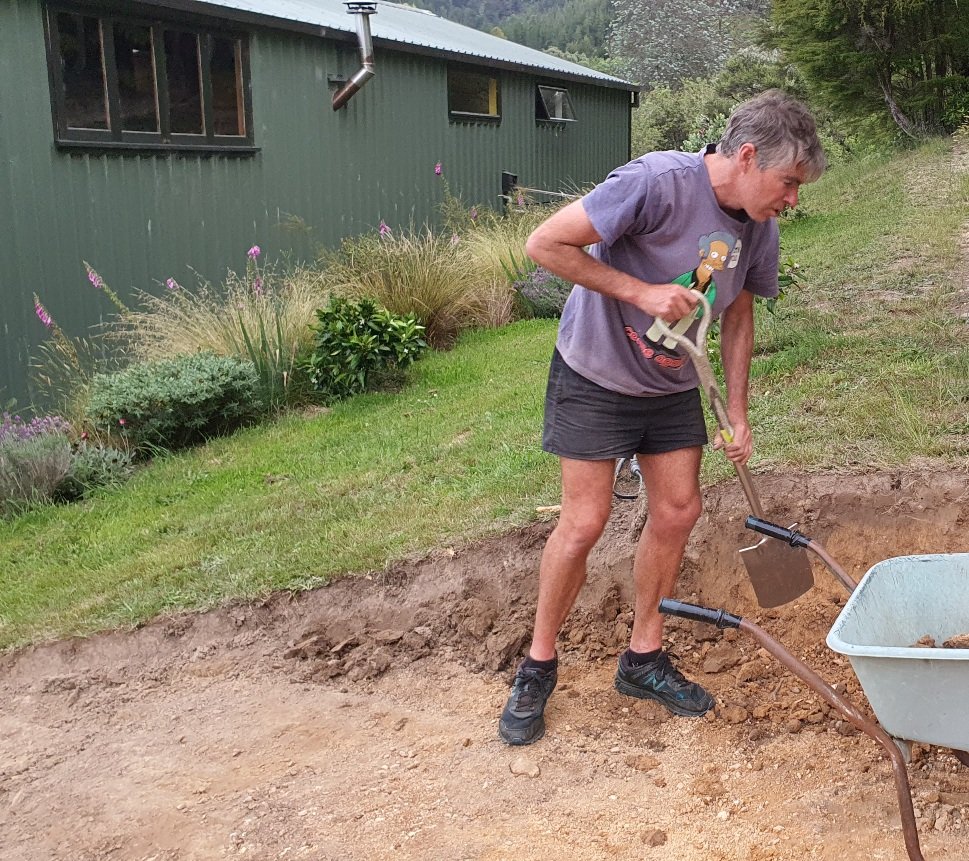
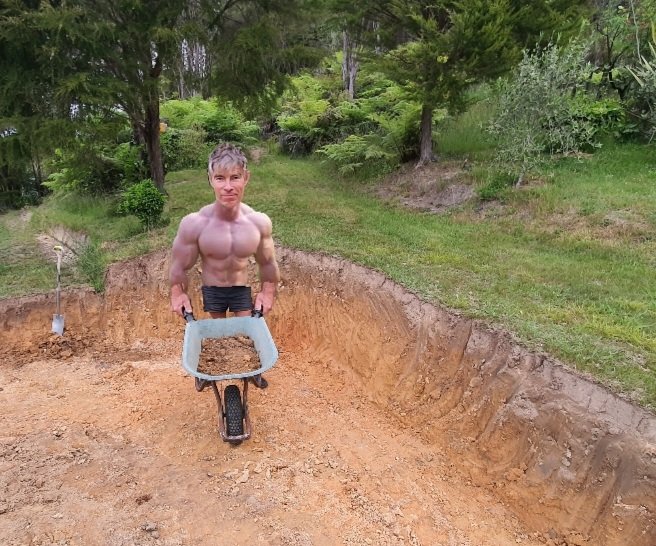
Phew! What a day. Started out full of beans but man it was hard work.. I'm sure I've burnt some fat and bulked out a bit. Started off digging in here.. Sun was intense but was getting into it. I changed my outfit.. But the end of the day I was pretty wrecked and my muscles felt pumped!..
- 575 replies
-
- 49
-
-
-

-
Alex and Hannahs bushblock shinanigans. Look at my deck..
yoeddynz replied to yoeddynz's topic in Other Projects
Gonna dig this whole bank out and create some sort of nice seating/eating/chilling area. Started this evening... I'll report back soon - with more muscles. And a sore back.
- 575 replies
-
- 19
-
.jpg.b1859fa64e848fa9fc39d919819229bc.jpg)
.jpg.bc1db55b71a57f7e8f5f147c0ffa2c55.jpg)


(Medium)(Custom).jpg.23094b0f74b0c2bba4b712db4b43395f.jpg)
(Medium).jpg.9f83e45ff70dbac48b26bad40469061b.jpg)