RXFORD
-
Posts
1,188 -
Joined
-
Last visited
-
Days Won
1
Everything posted by RXFORD
-
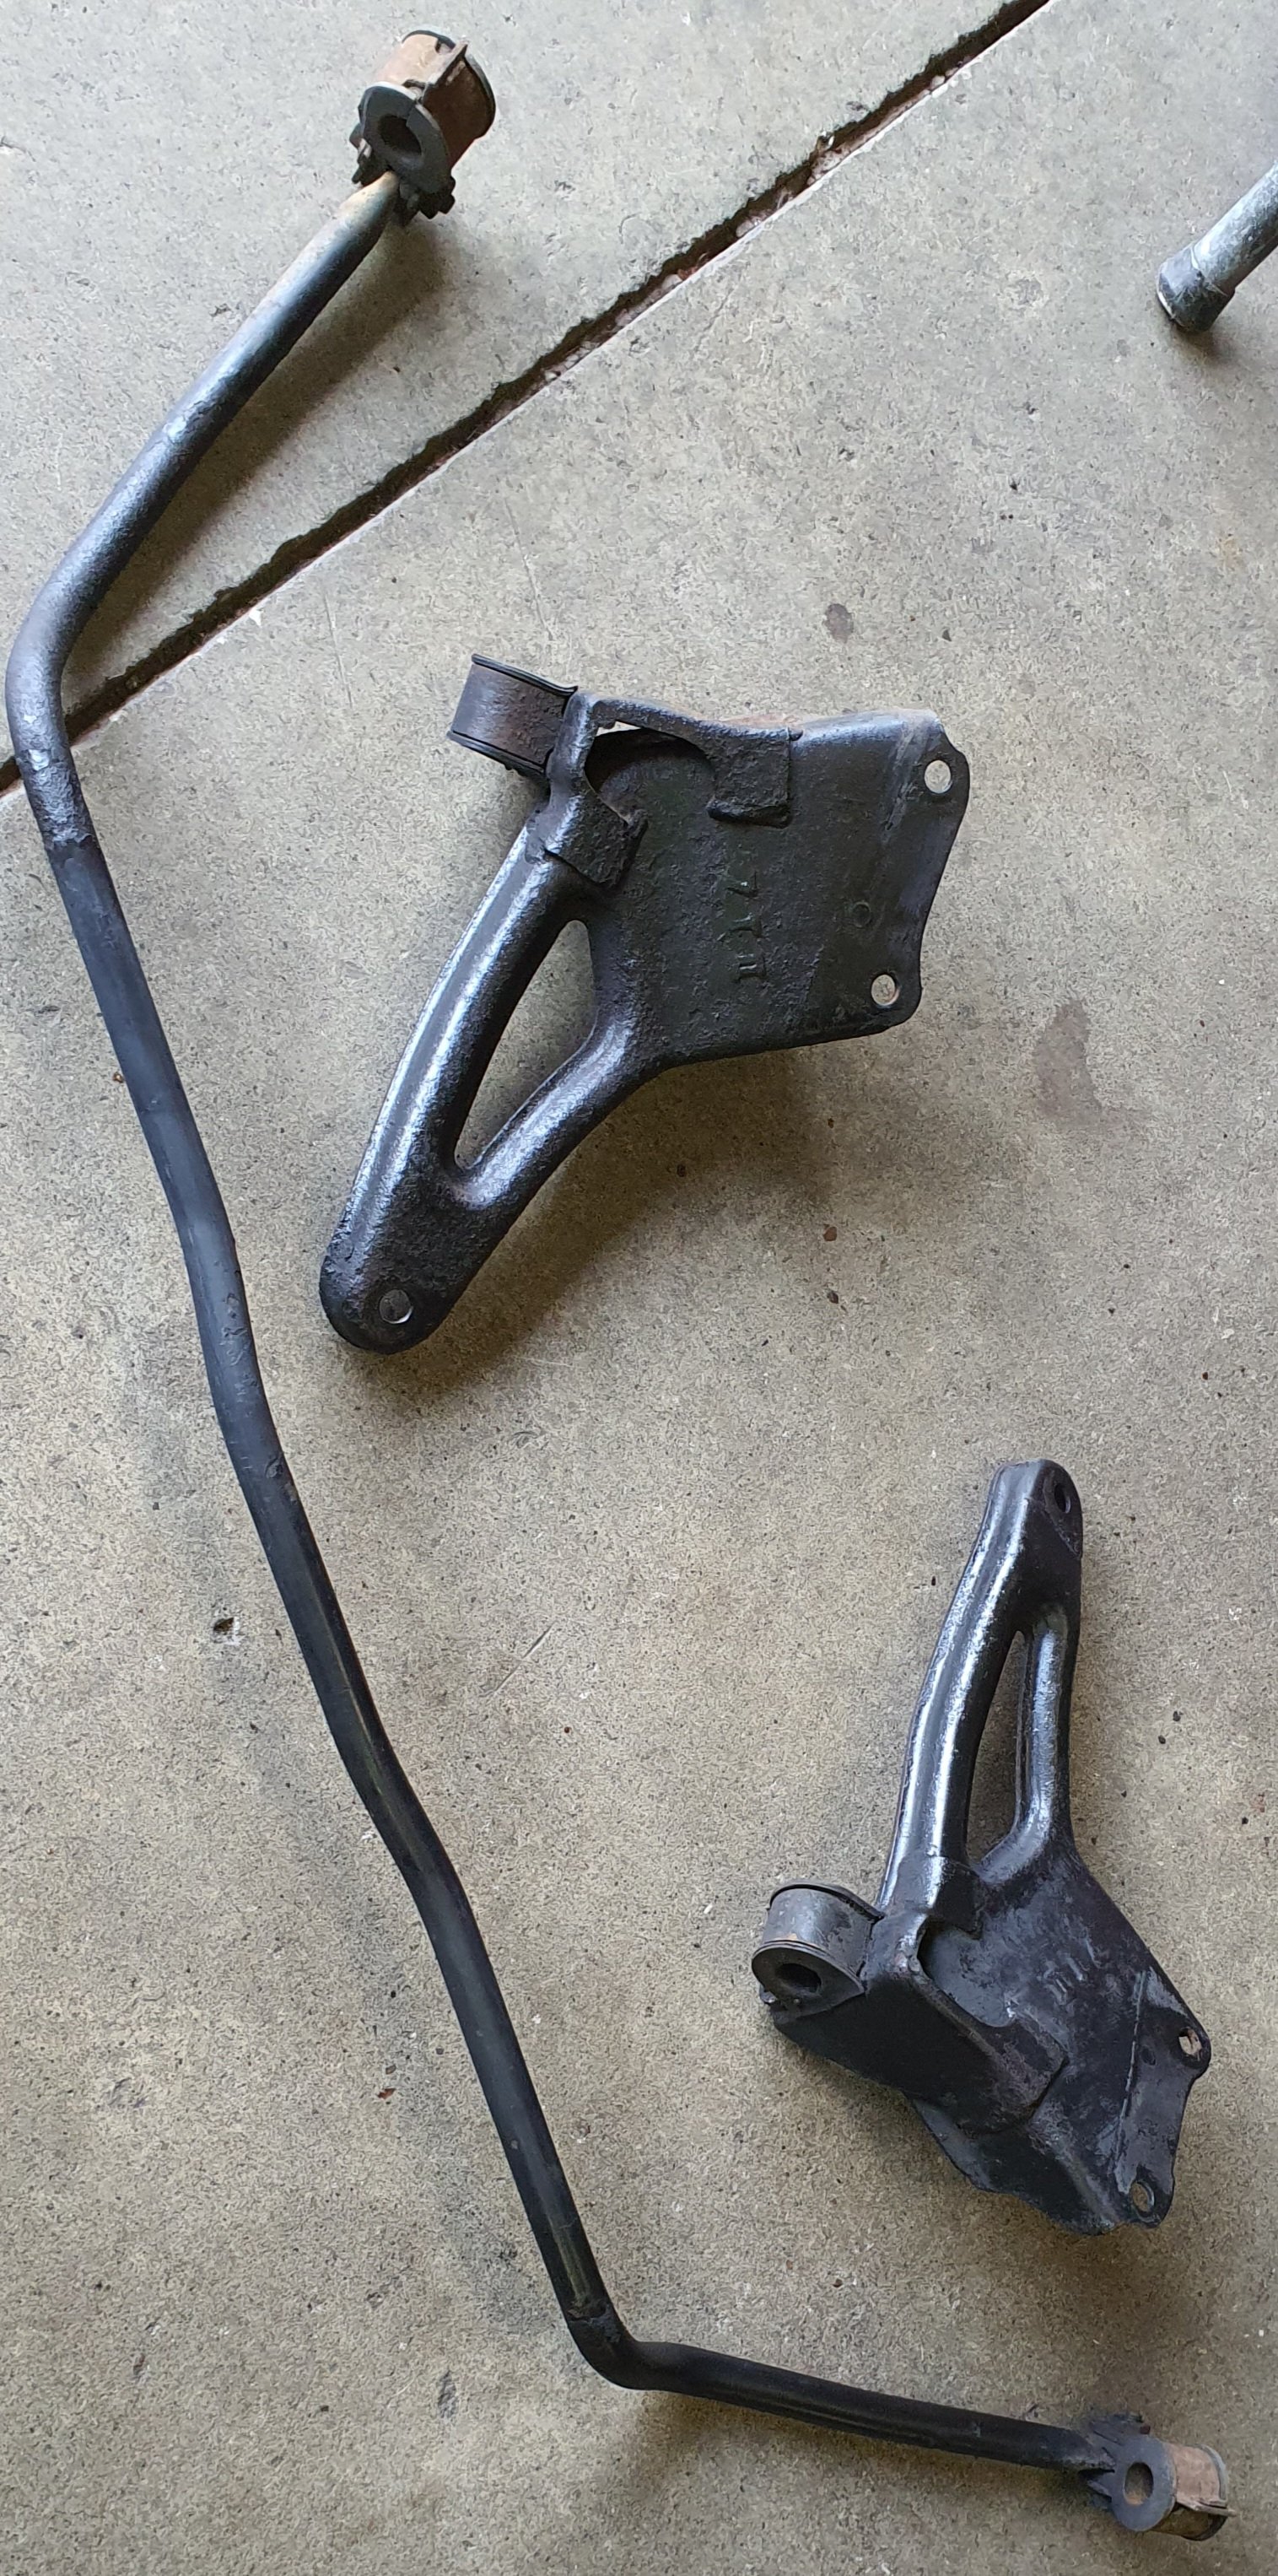
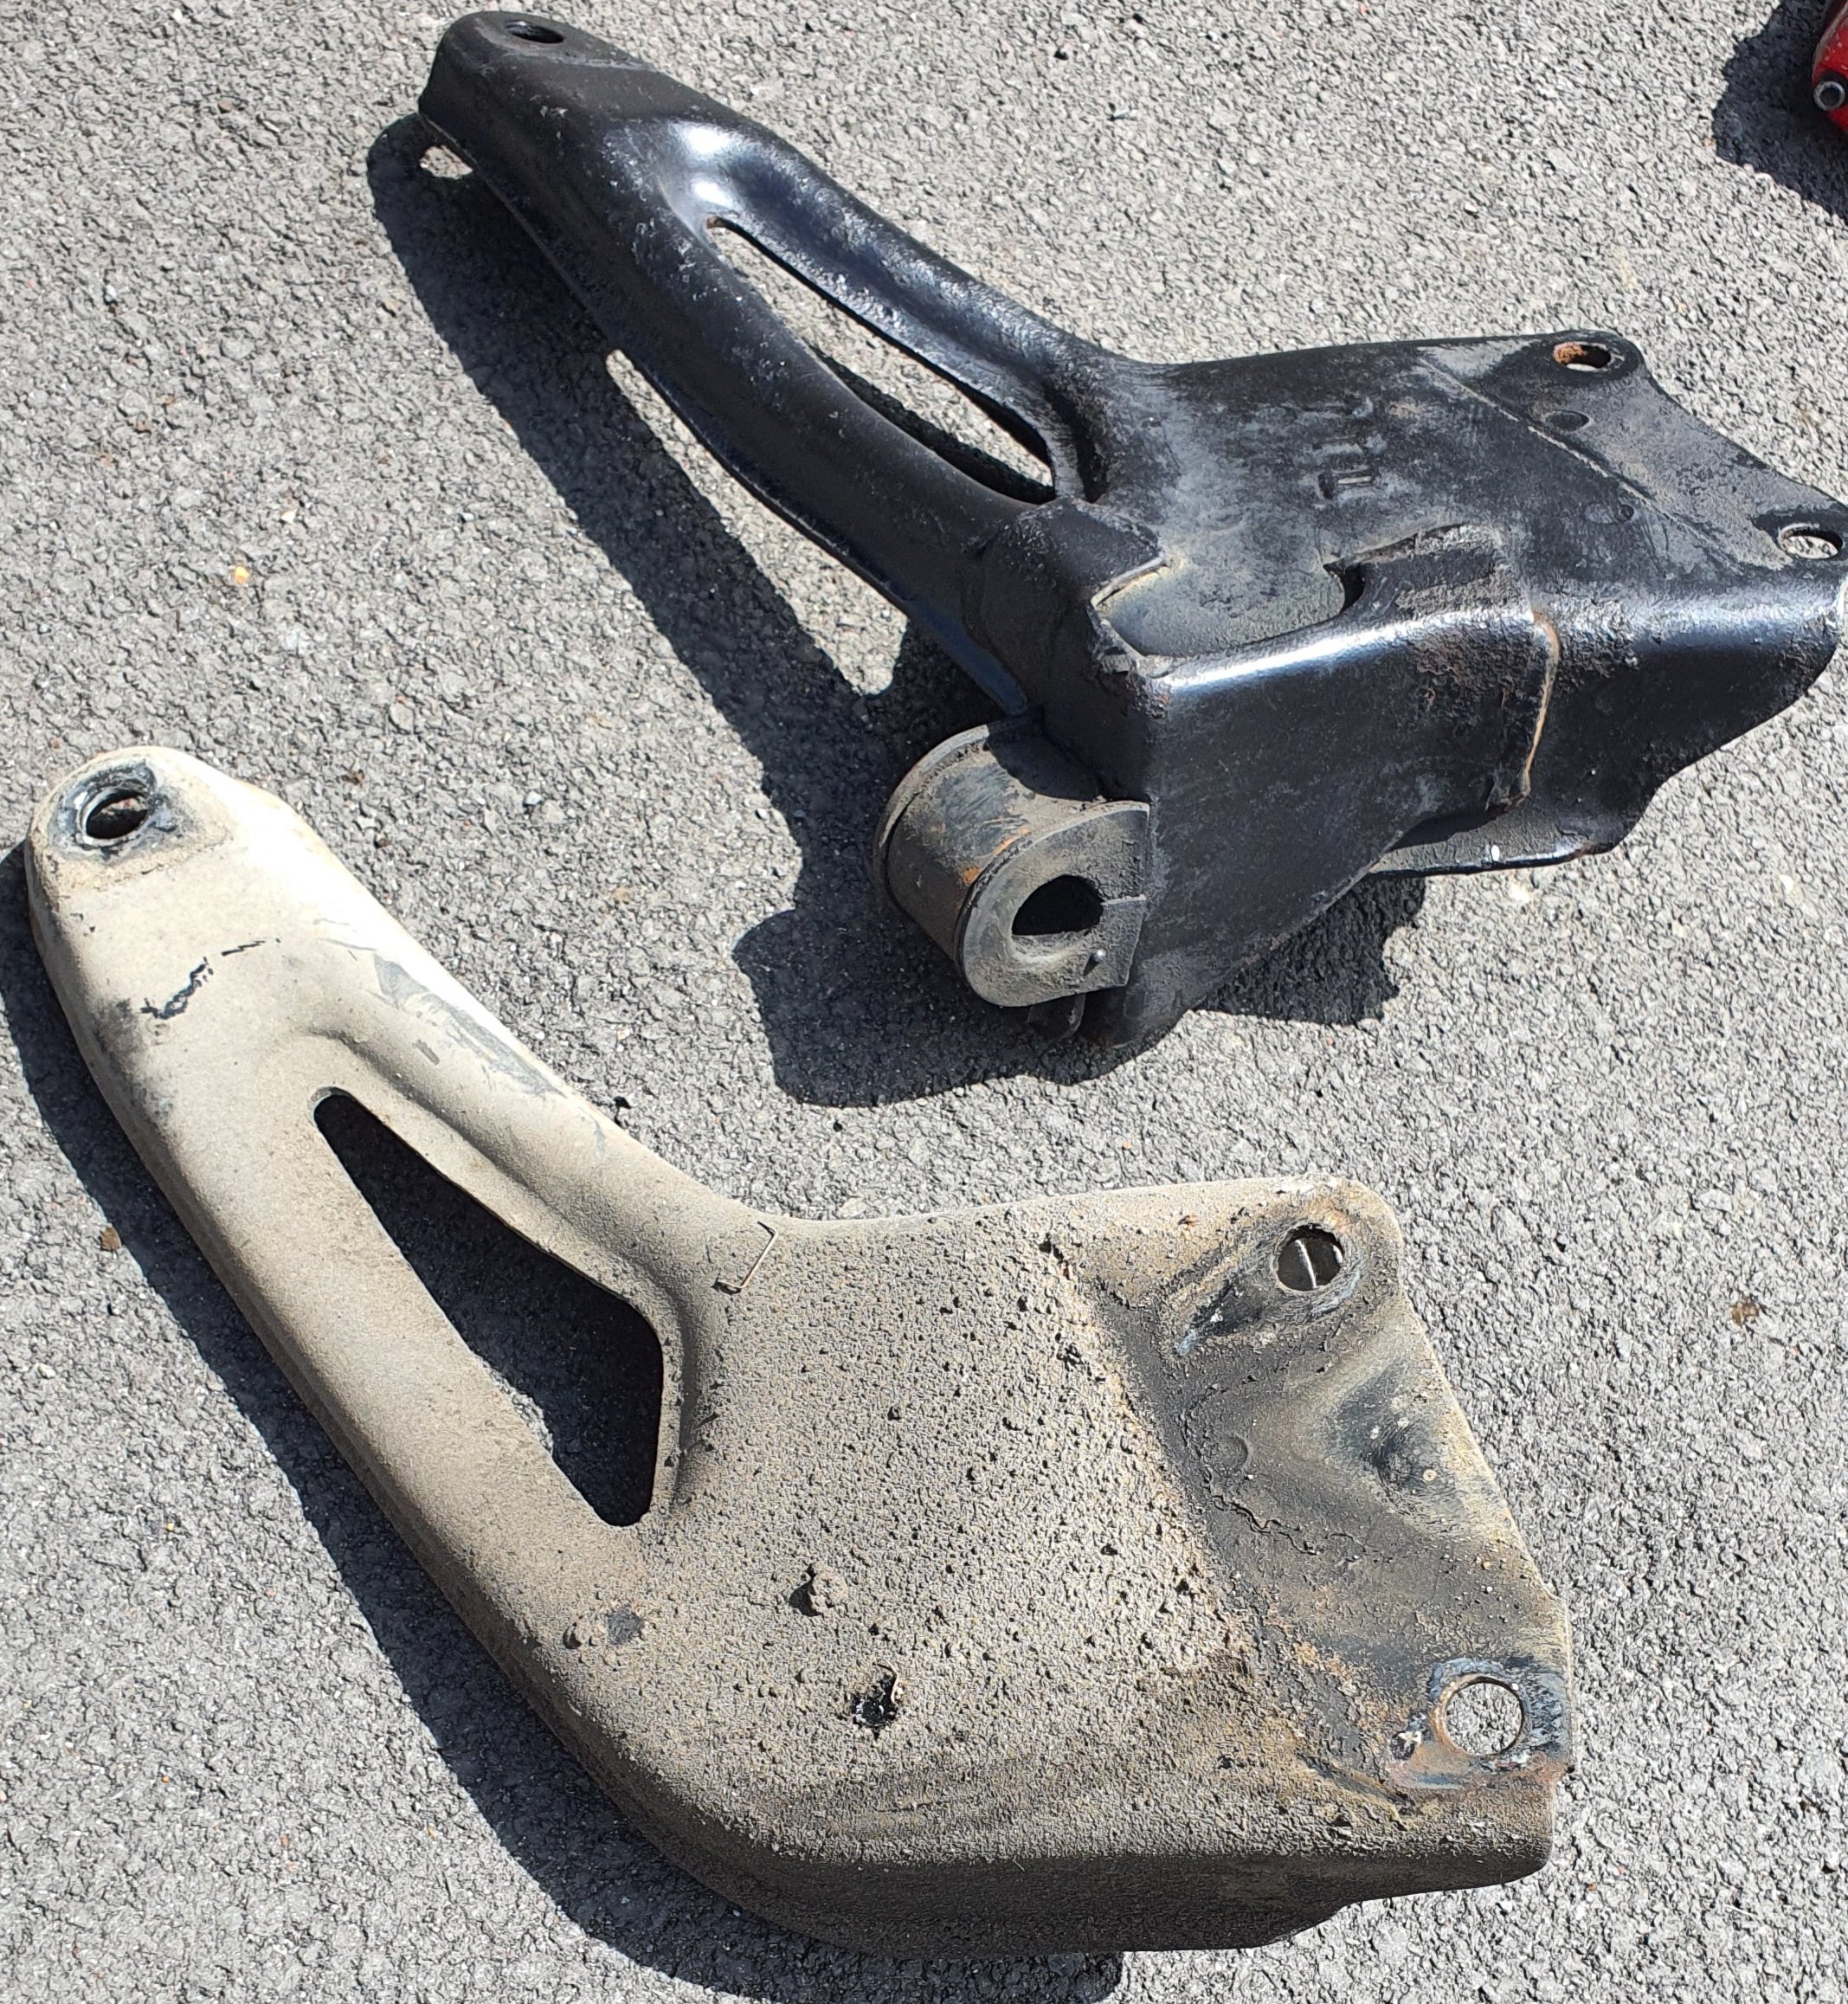
While it was in the air I thought I'd see if the T2 front swaybar shit I had would work. I know people have done it on a narrowbody city but wasn't sure what hurdles they had. Unless it was ordered from the factory the narrowbody citys never had swaynar or even the provisions for them. Radius rod mounts on the T2 have the extra bracket for swaybar and were a straightforward swapover, so that was easy. The issue I came into was the swaybar itself hits the main engine crossmember that runs north/south. I think the T2 crossmember has a slightly different shape to allow for the swaybar. I have one amongst my parts hoard but that will be a mission for another day.

-
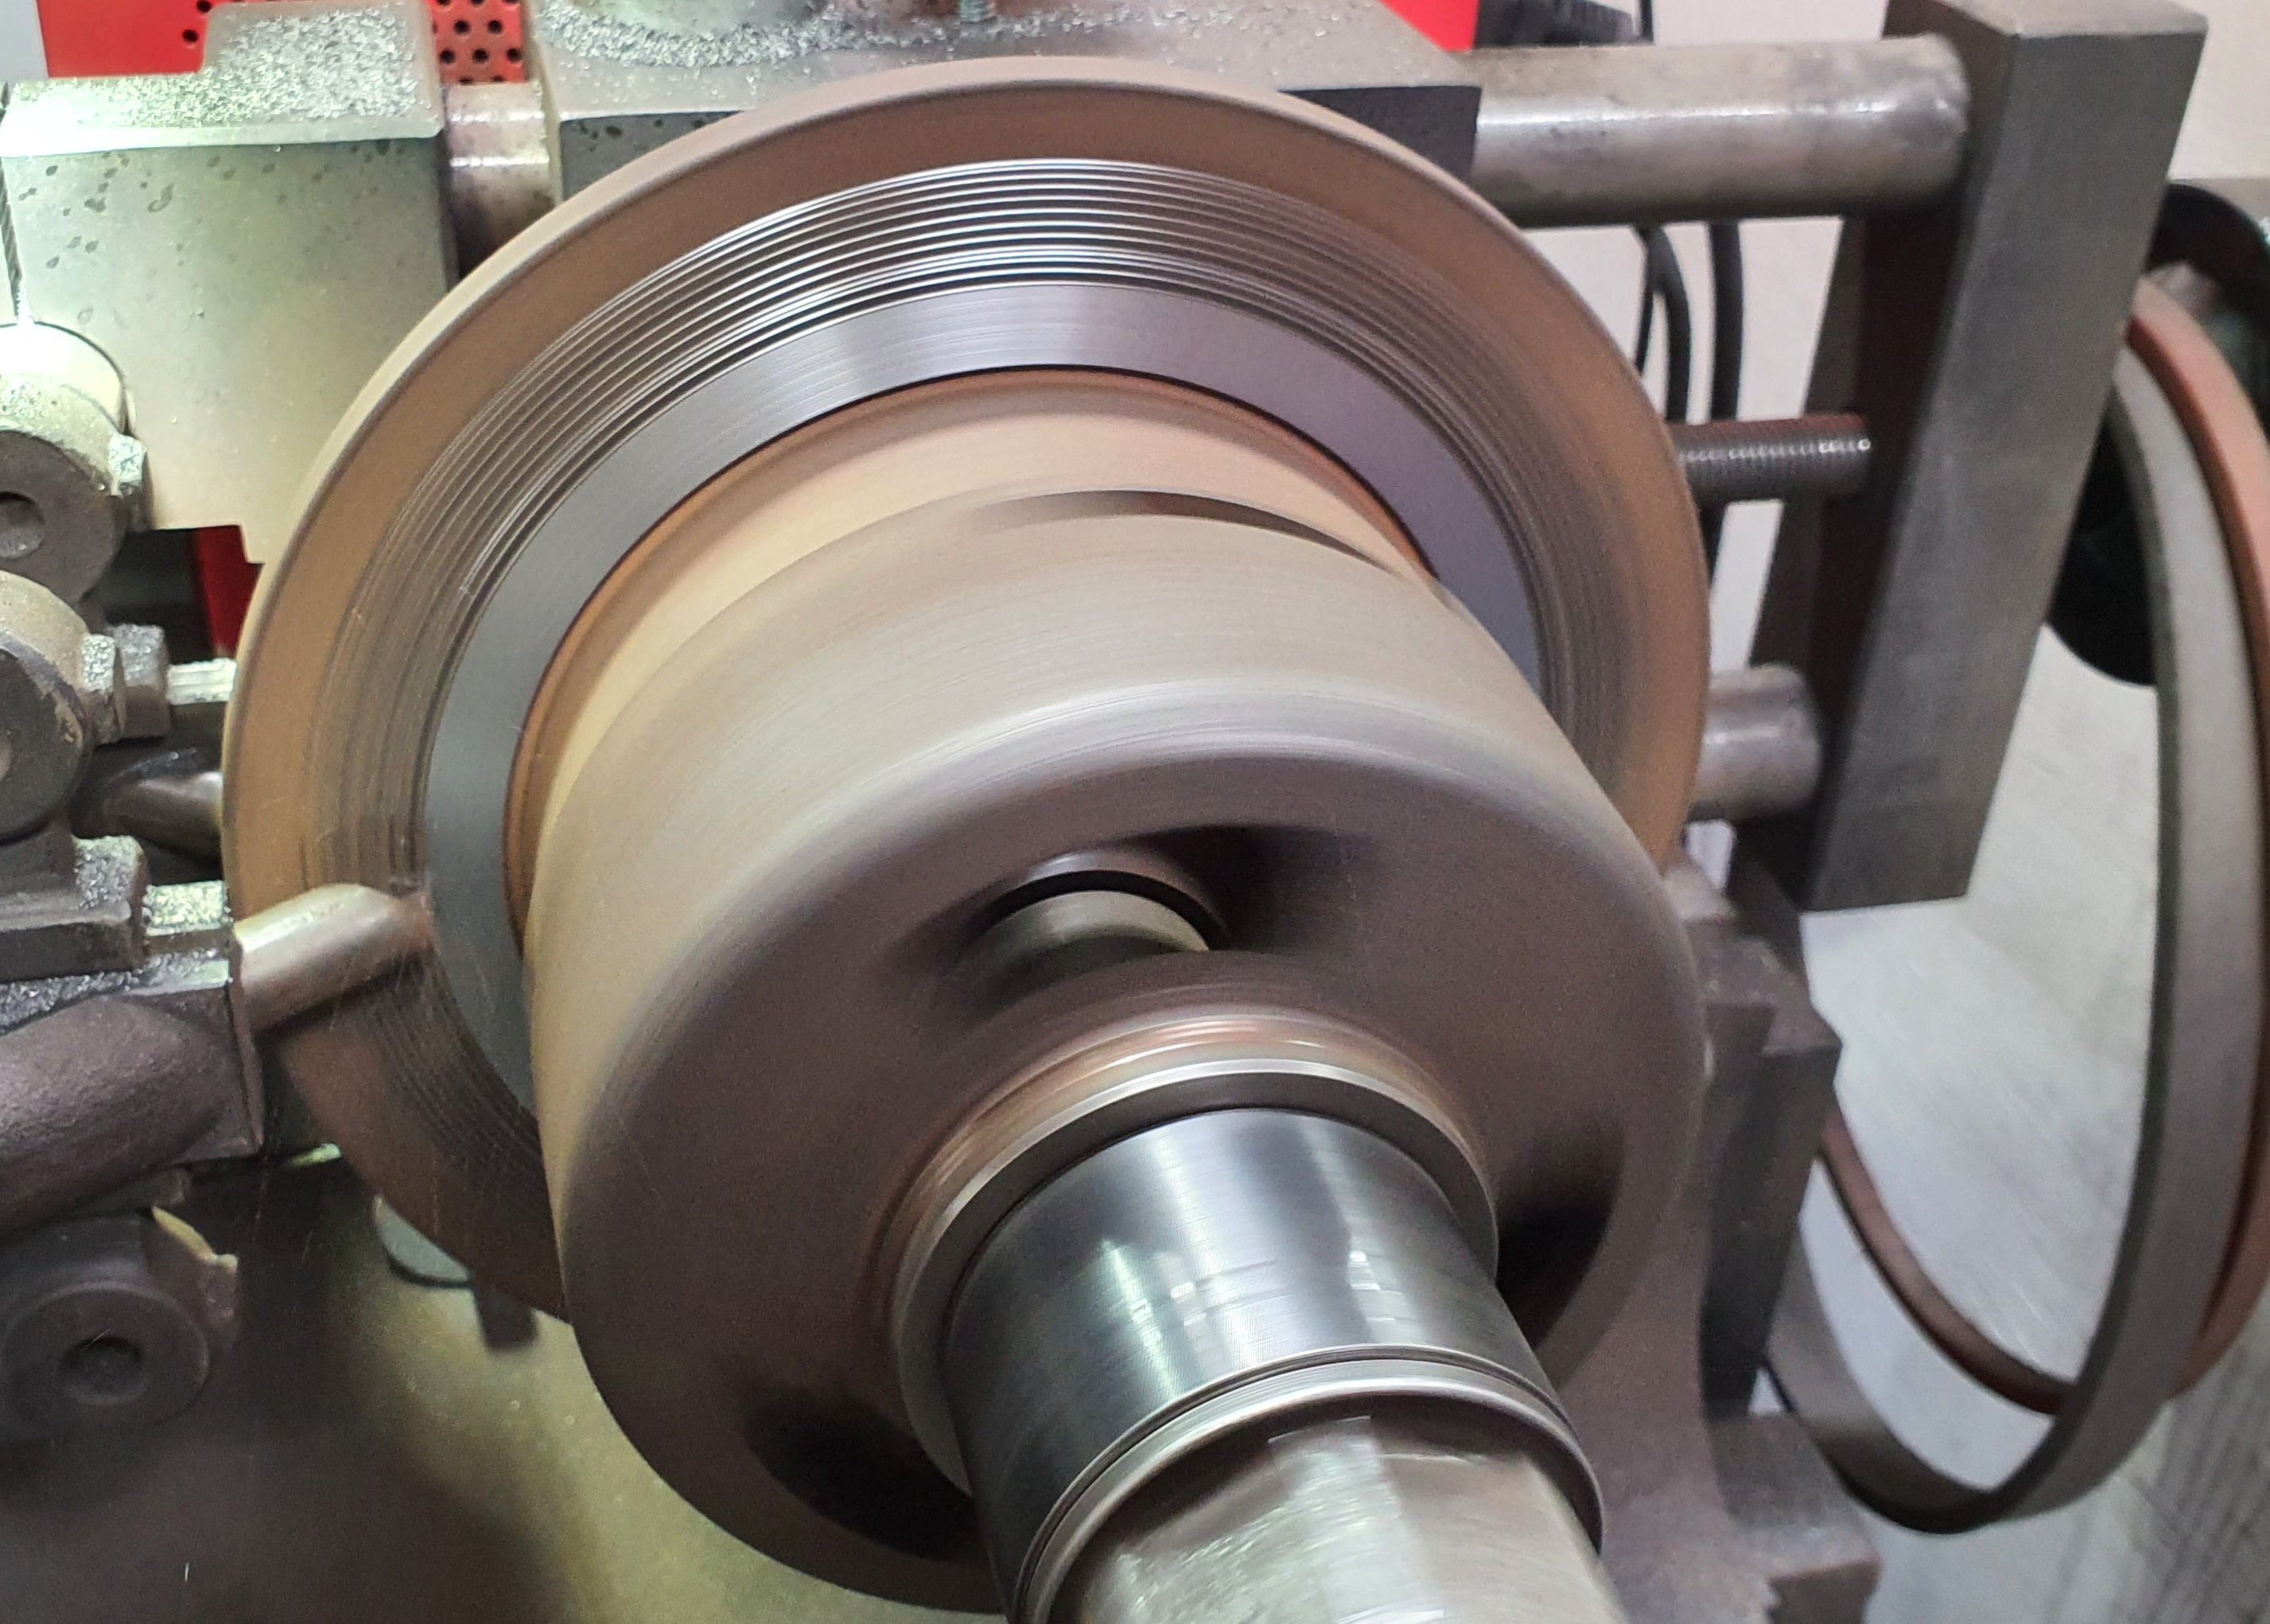
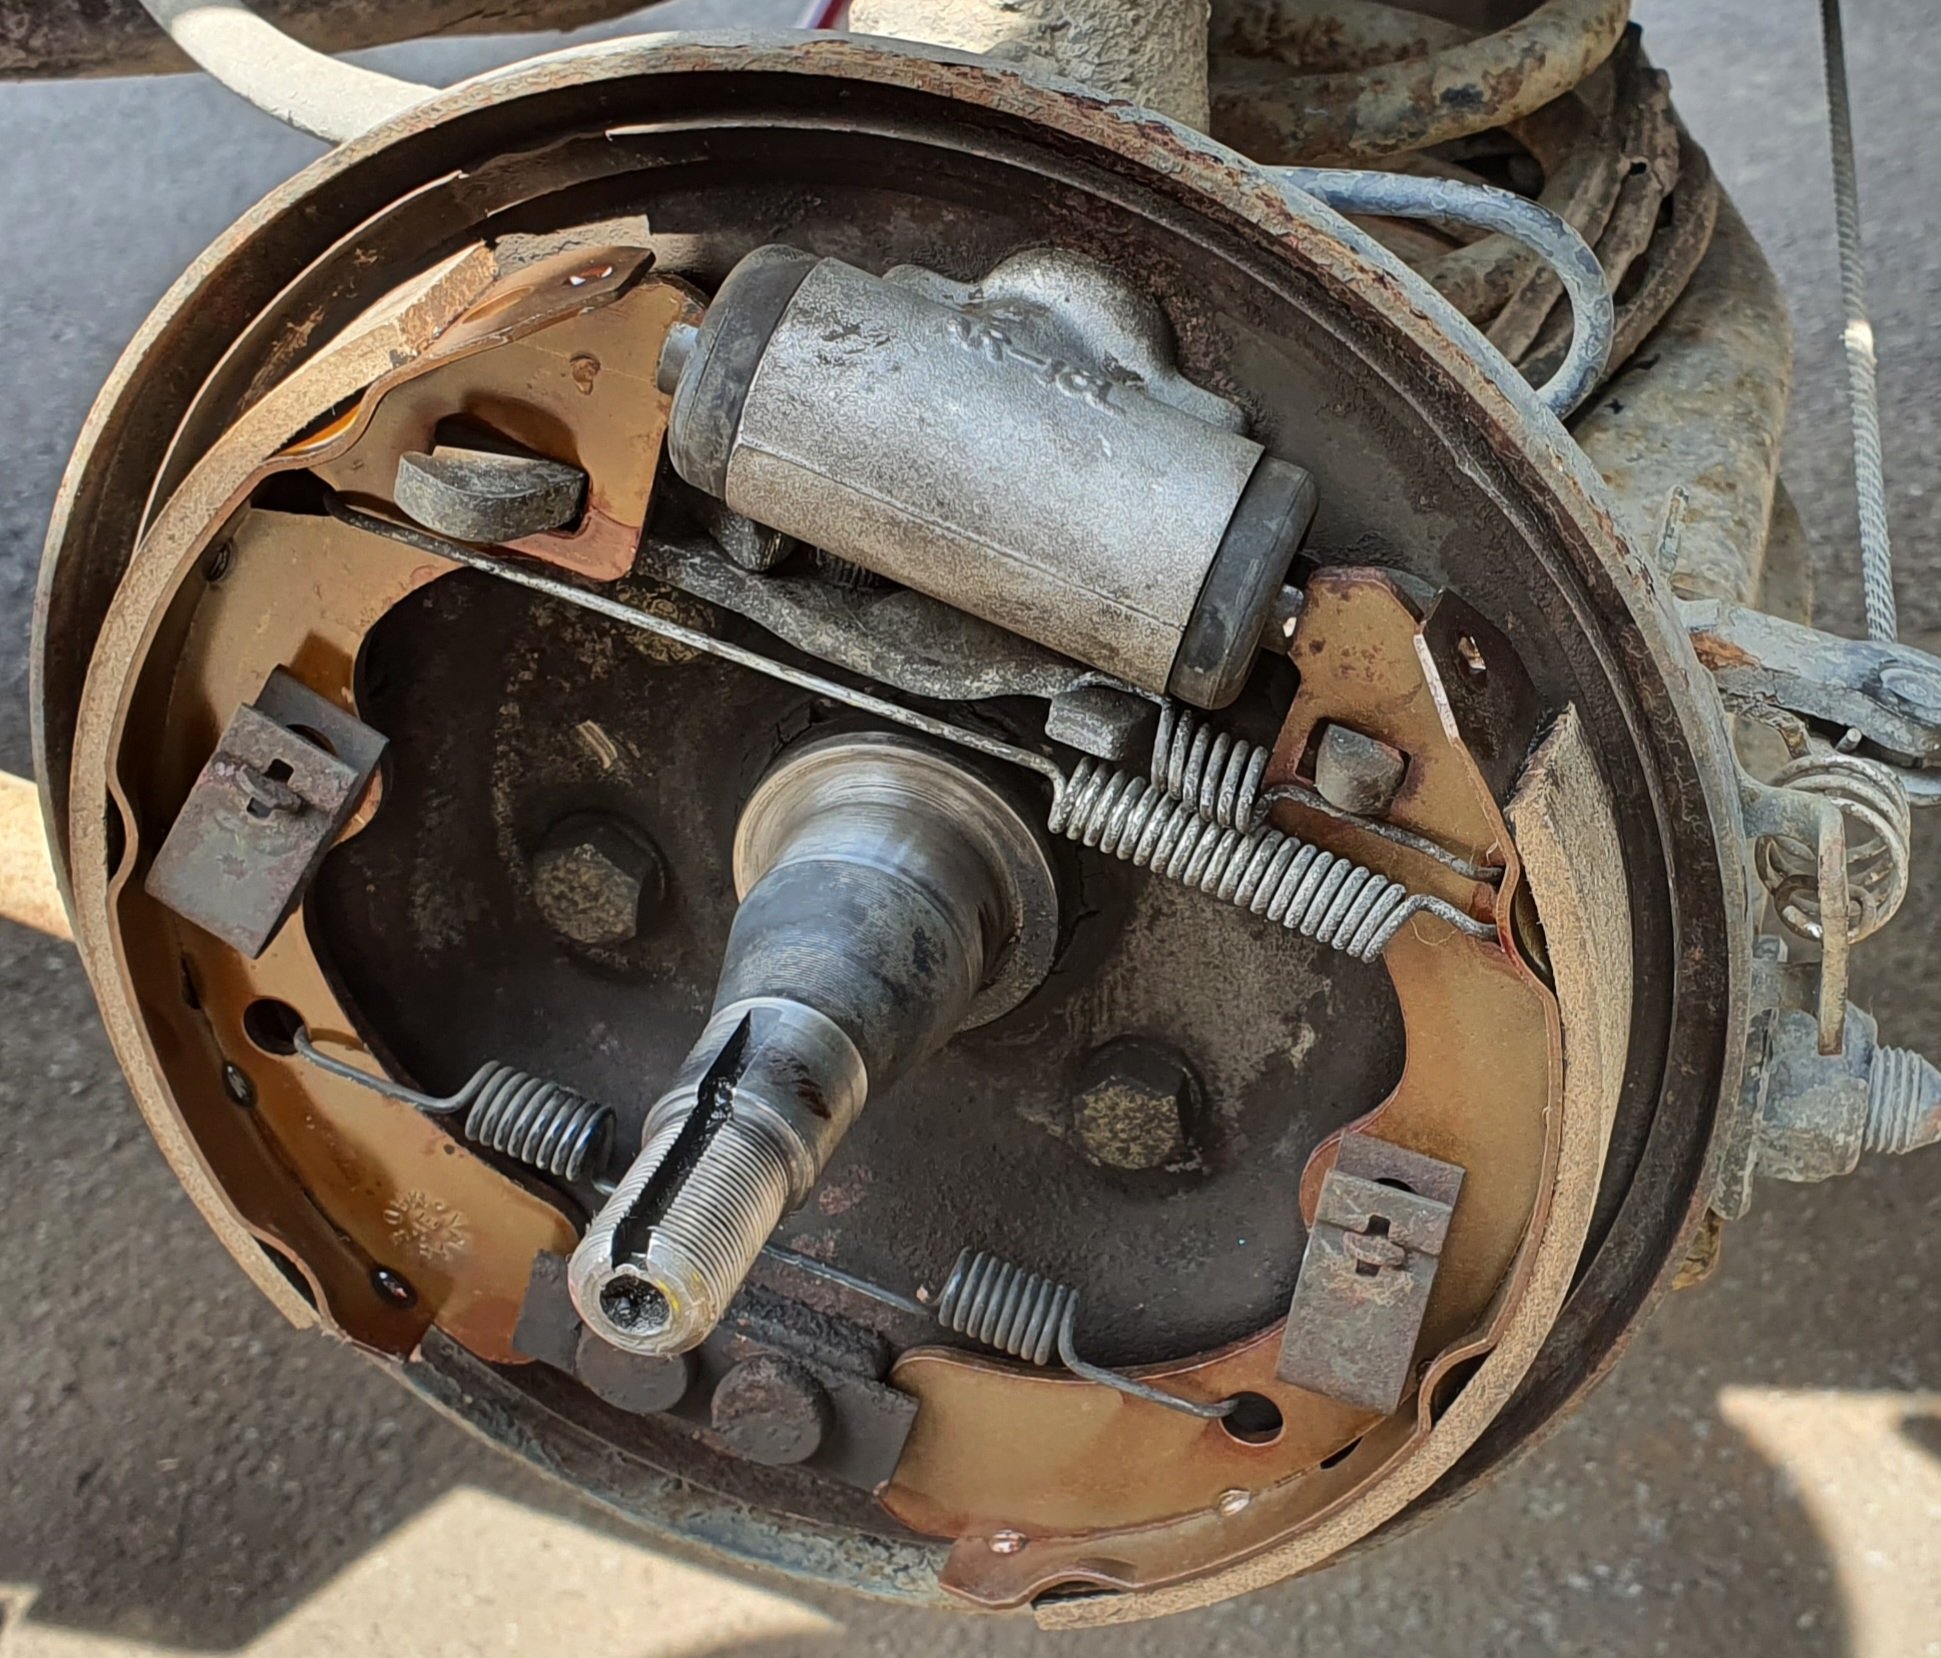
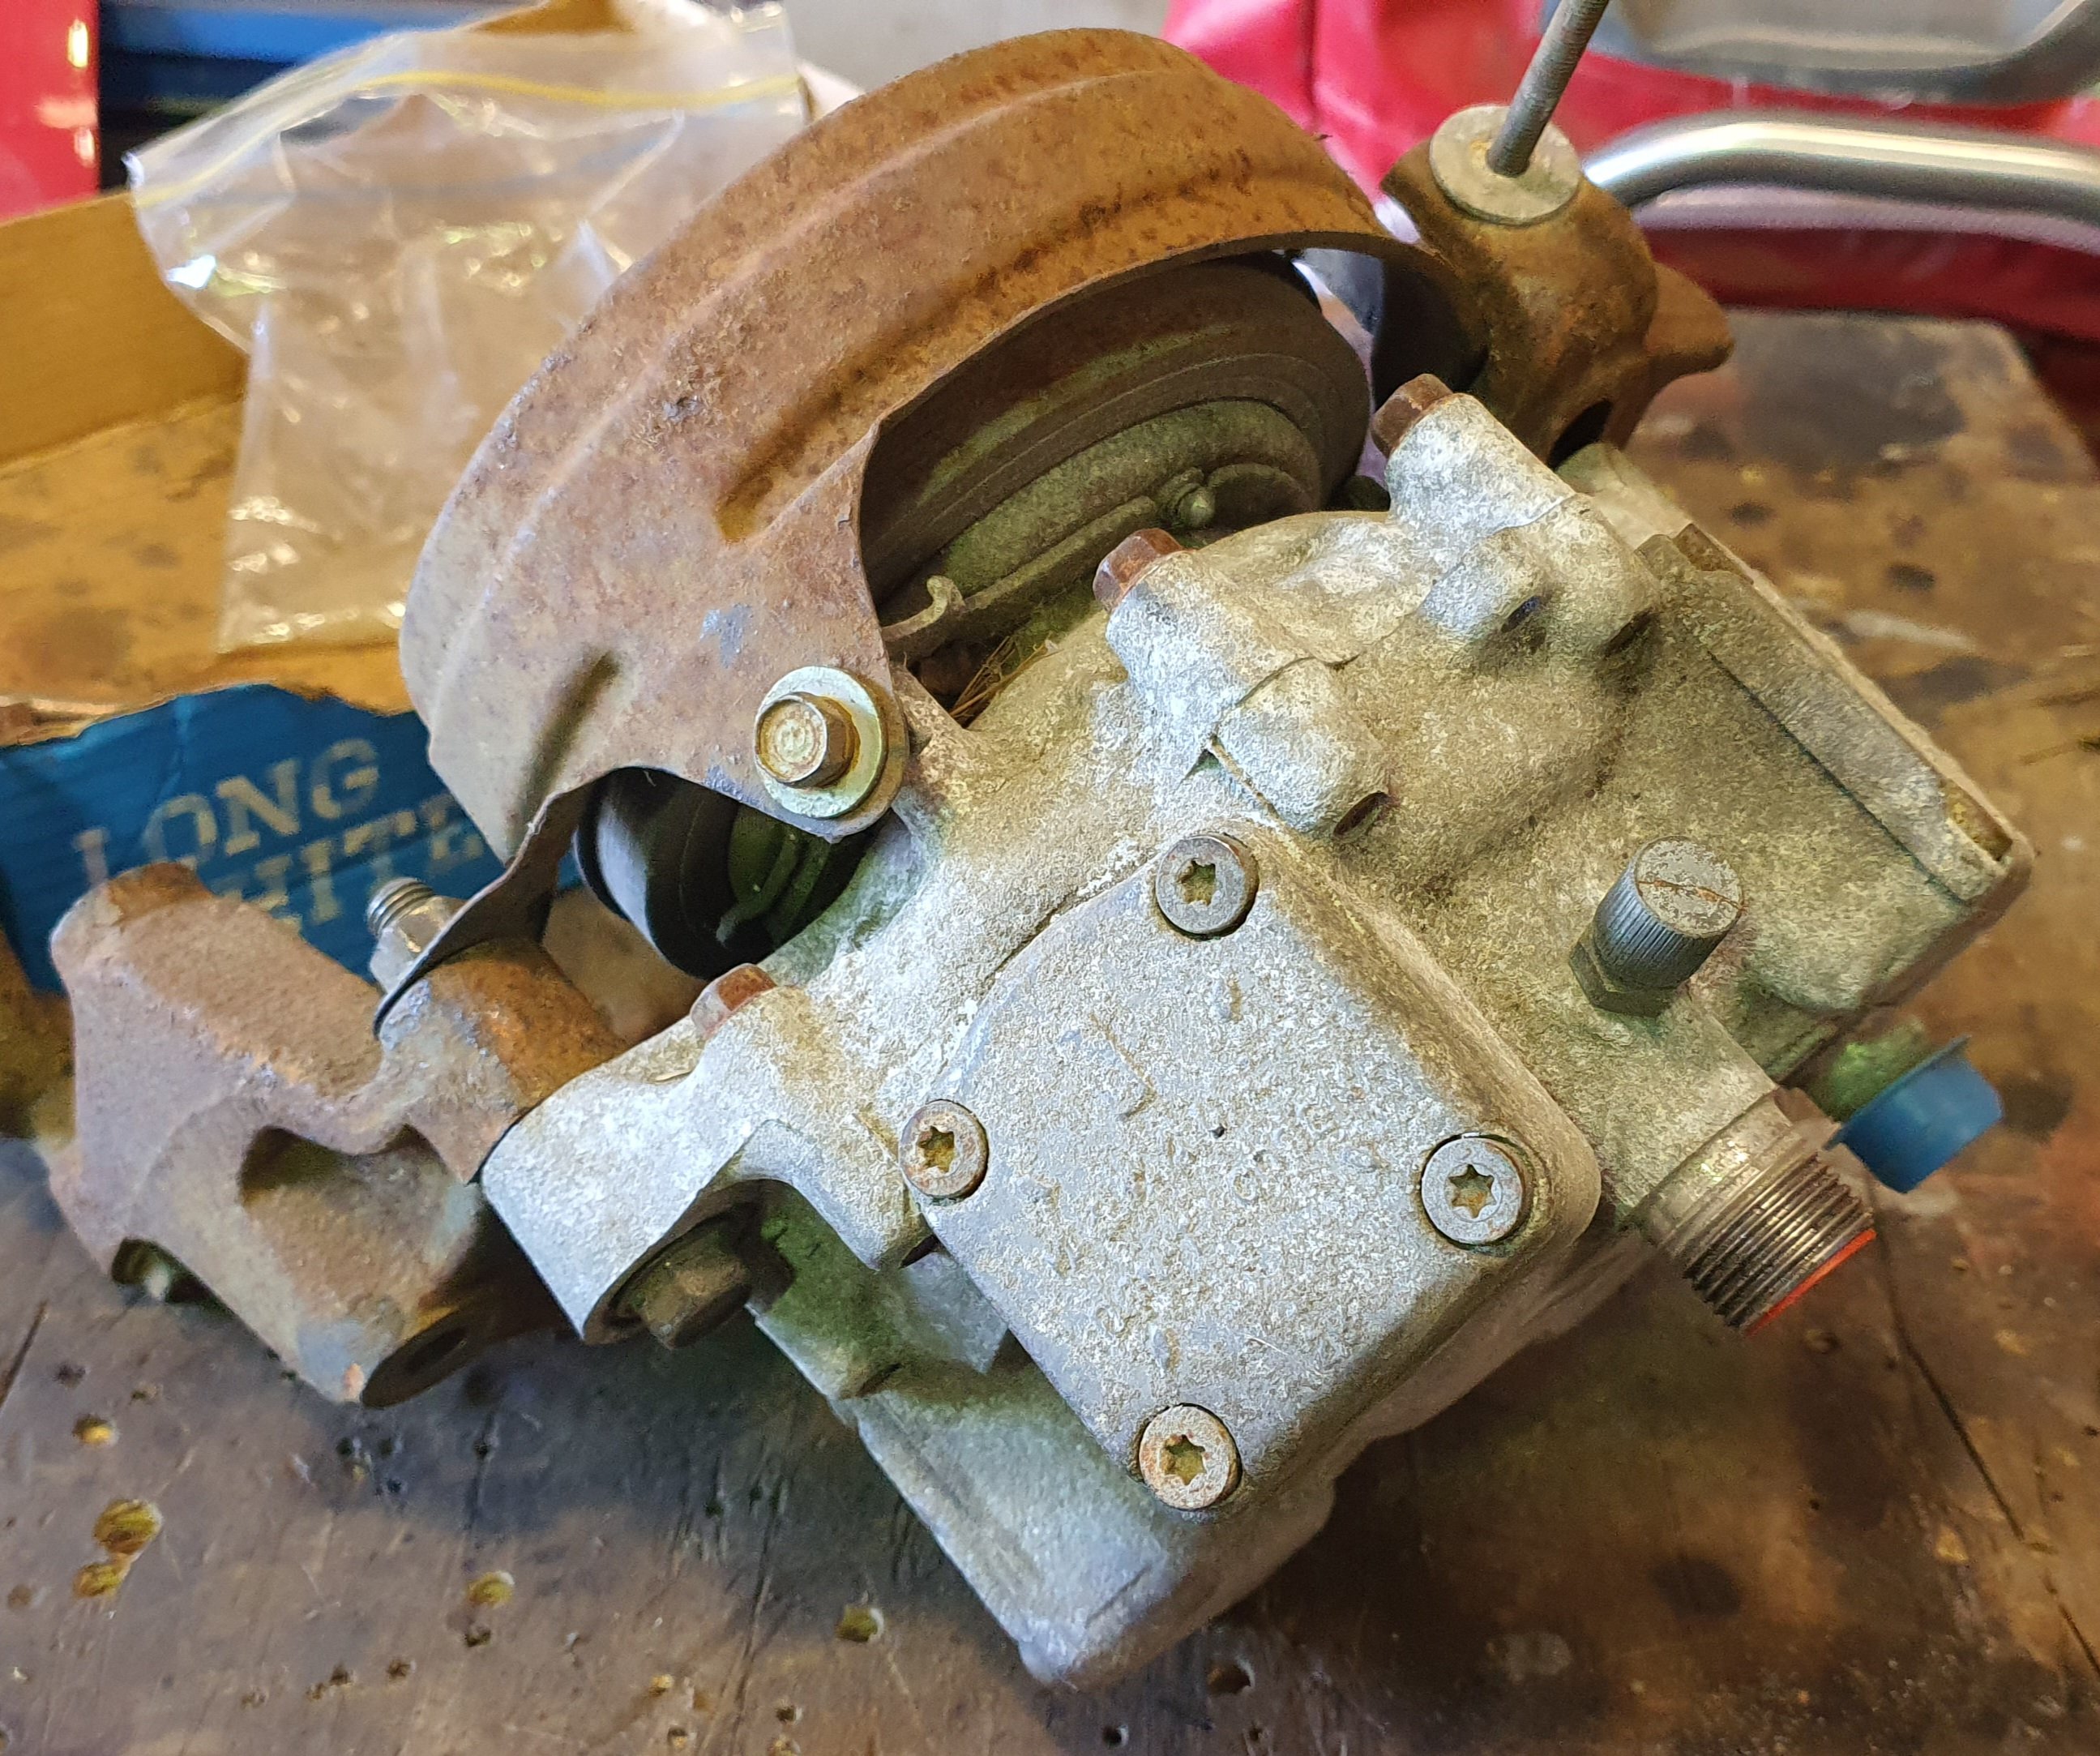
Bit of thrash the last couple of days to get this thing sorted for the Jap Meat today. Thursday night was the first time I actually got it up to temp properly and checked fan was switching on/off. Also threw a beer crate in it and made sure clutch worked and it went forwards/backwards a few metres. Brakes were pretty jammed up and it was hard to push, so I did half a day at work Friday then got busy doing Honda shit. Got it up in the air and pulled rotors off. Dropped them to the local 'we do winz quotes mechanic' and traded him some watermelon I had for a skim. I free'd up the pistons and threw it all back togethor. Whipped the rear drums off and gave them a clean/dust off inside and the shoes a sand up, and free'd up the cylinders. It all look relatively new under there. Put back togethor and bled up.
-
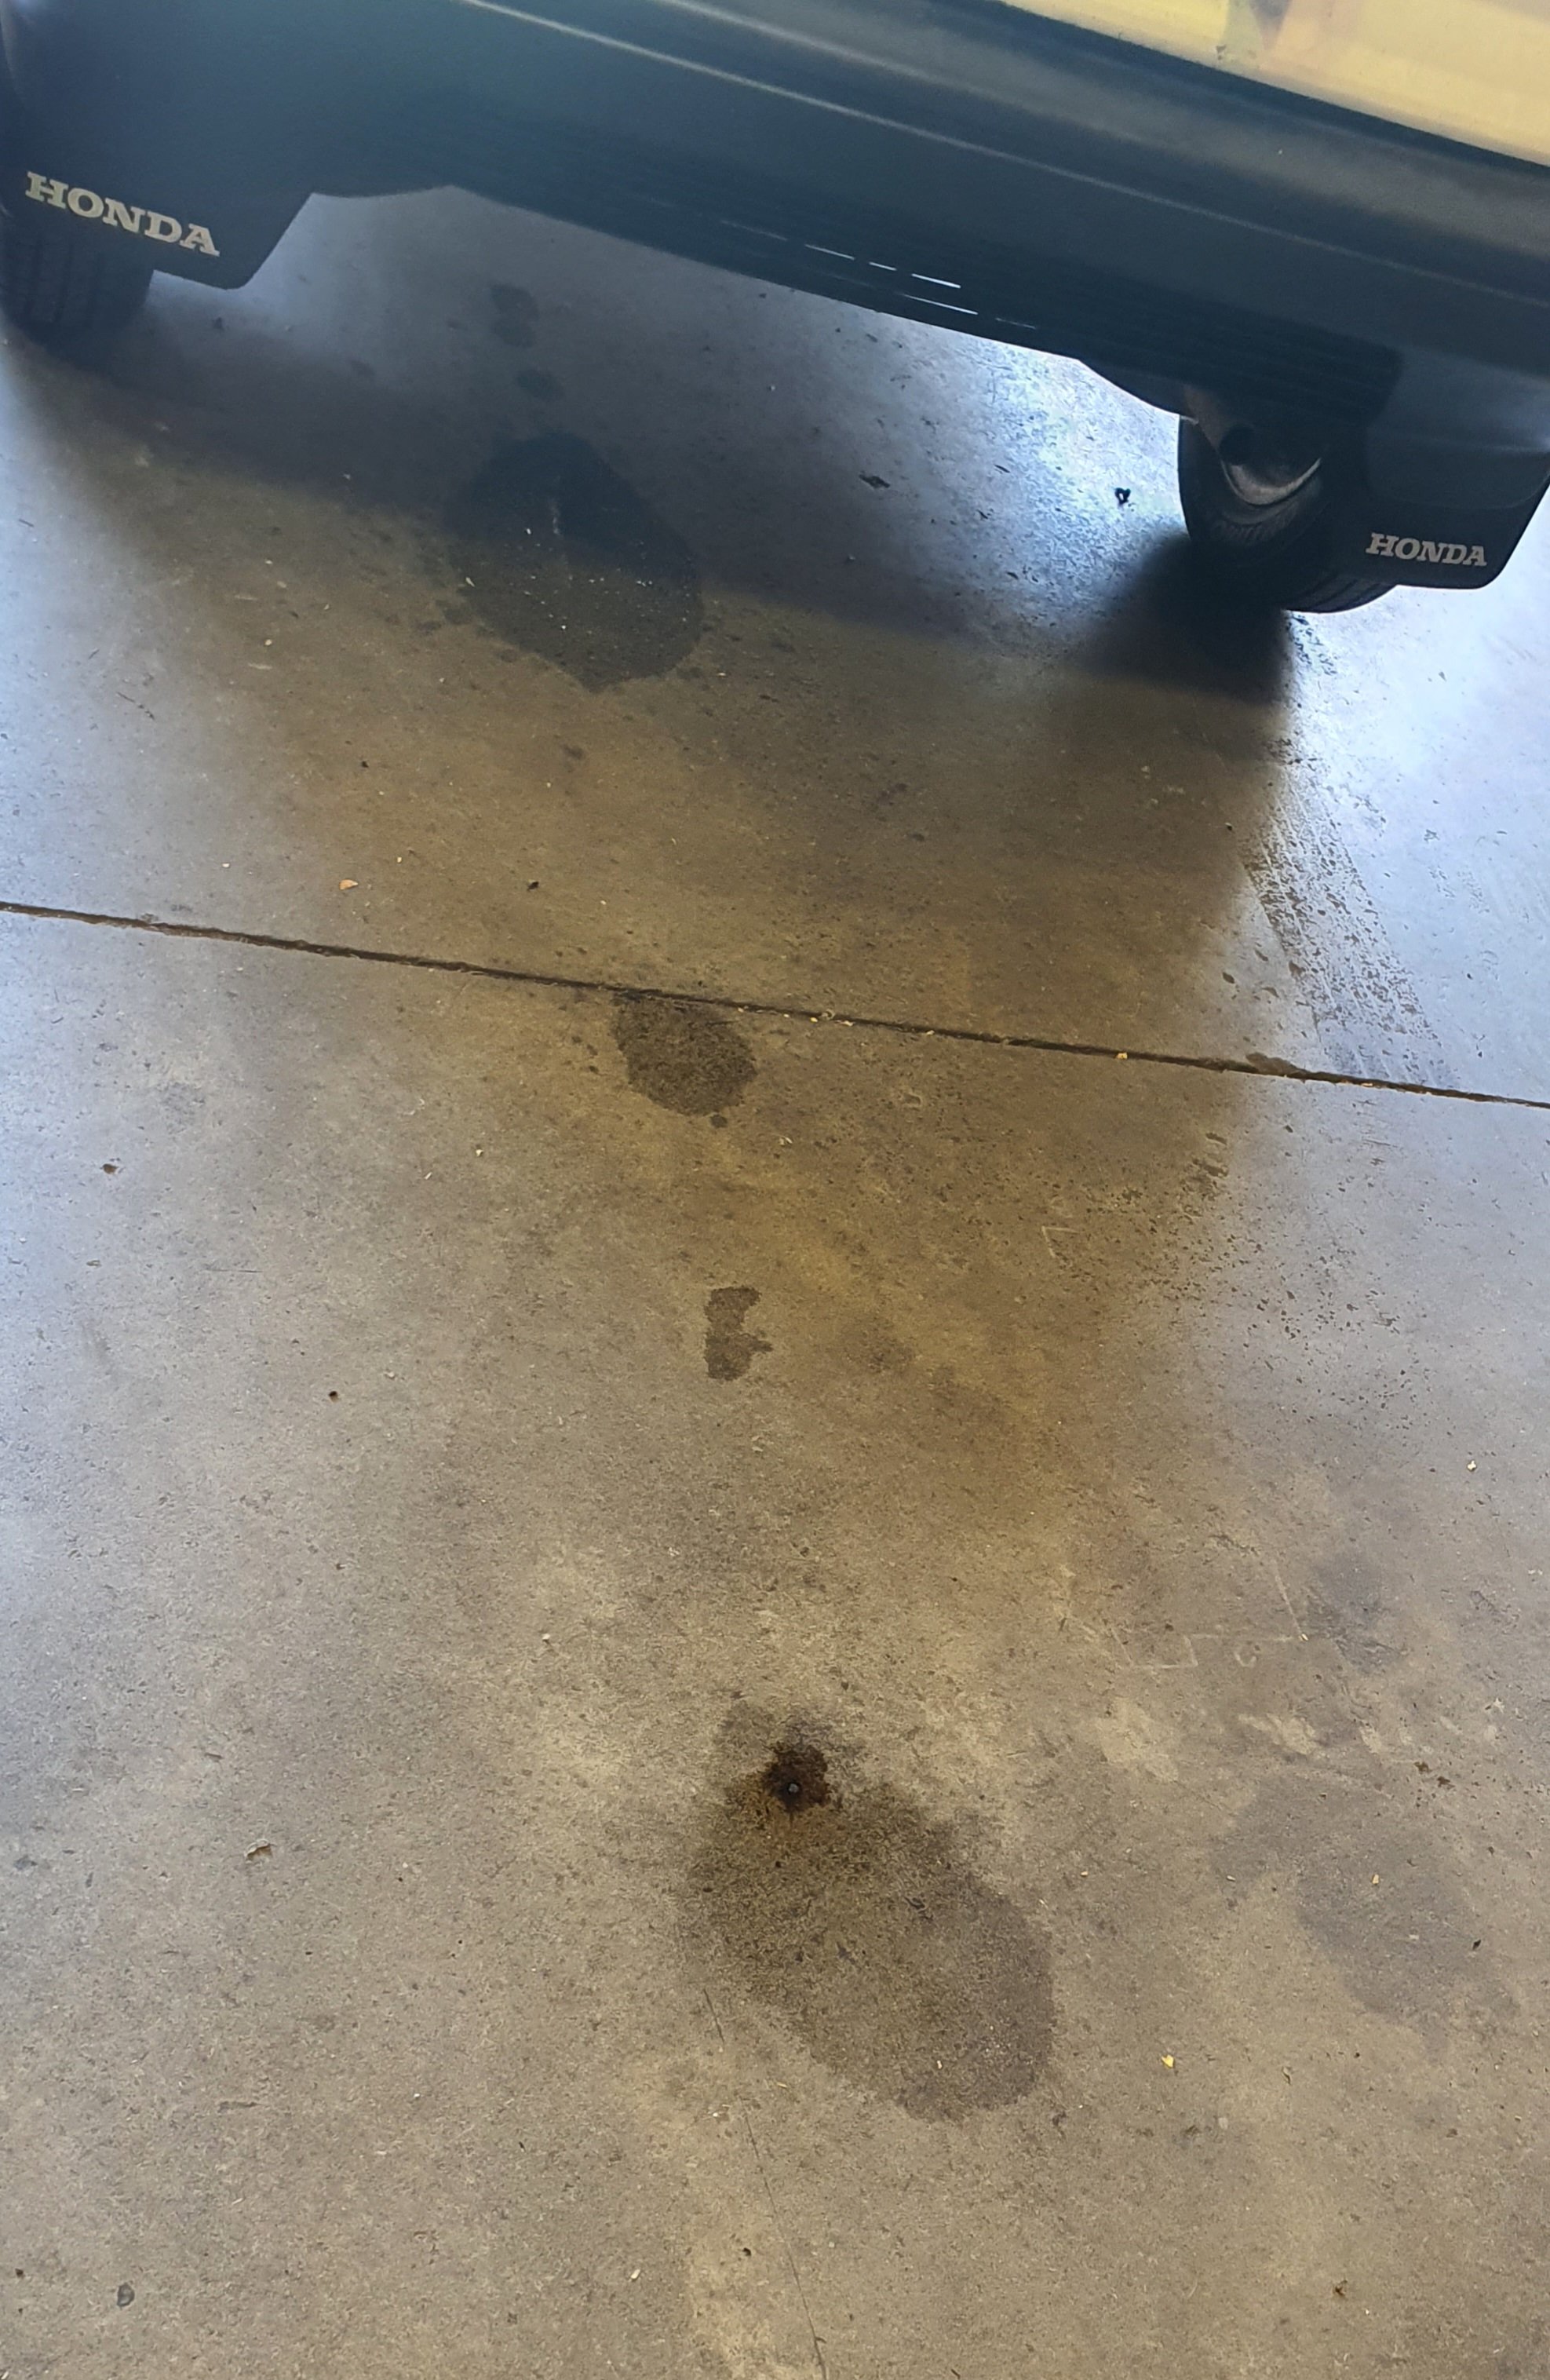
Shop stunk like fuel when I got into work yesterday, but when it was no better today, I got curious and wondered if the filler cap was leaking or a hose on tank was missing a clamp. Pushed the car forward and saw a couple puddles so got it up in the air. As soon I crawled underneath I found the culprit. No bloody drain bung fitting. Rookie mistake. Out of all the pre-start checks I did I failed to check the tank, but to be fair, I didn't notice any spillage/puddles when I put fuel in it on Monday but that must have been by fluke as I can see the stain on my floor from what spilled. Fuckin muppet.
-
Got it all back togethor and wizzed it over again. Cranked for maybe 10 seconds then it fired into life! Fuck Yeh, stoked. 1st of the unknowns ticked off.
- 178 replies
-
- 14
-

-
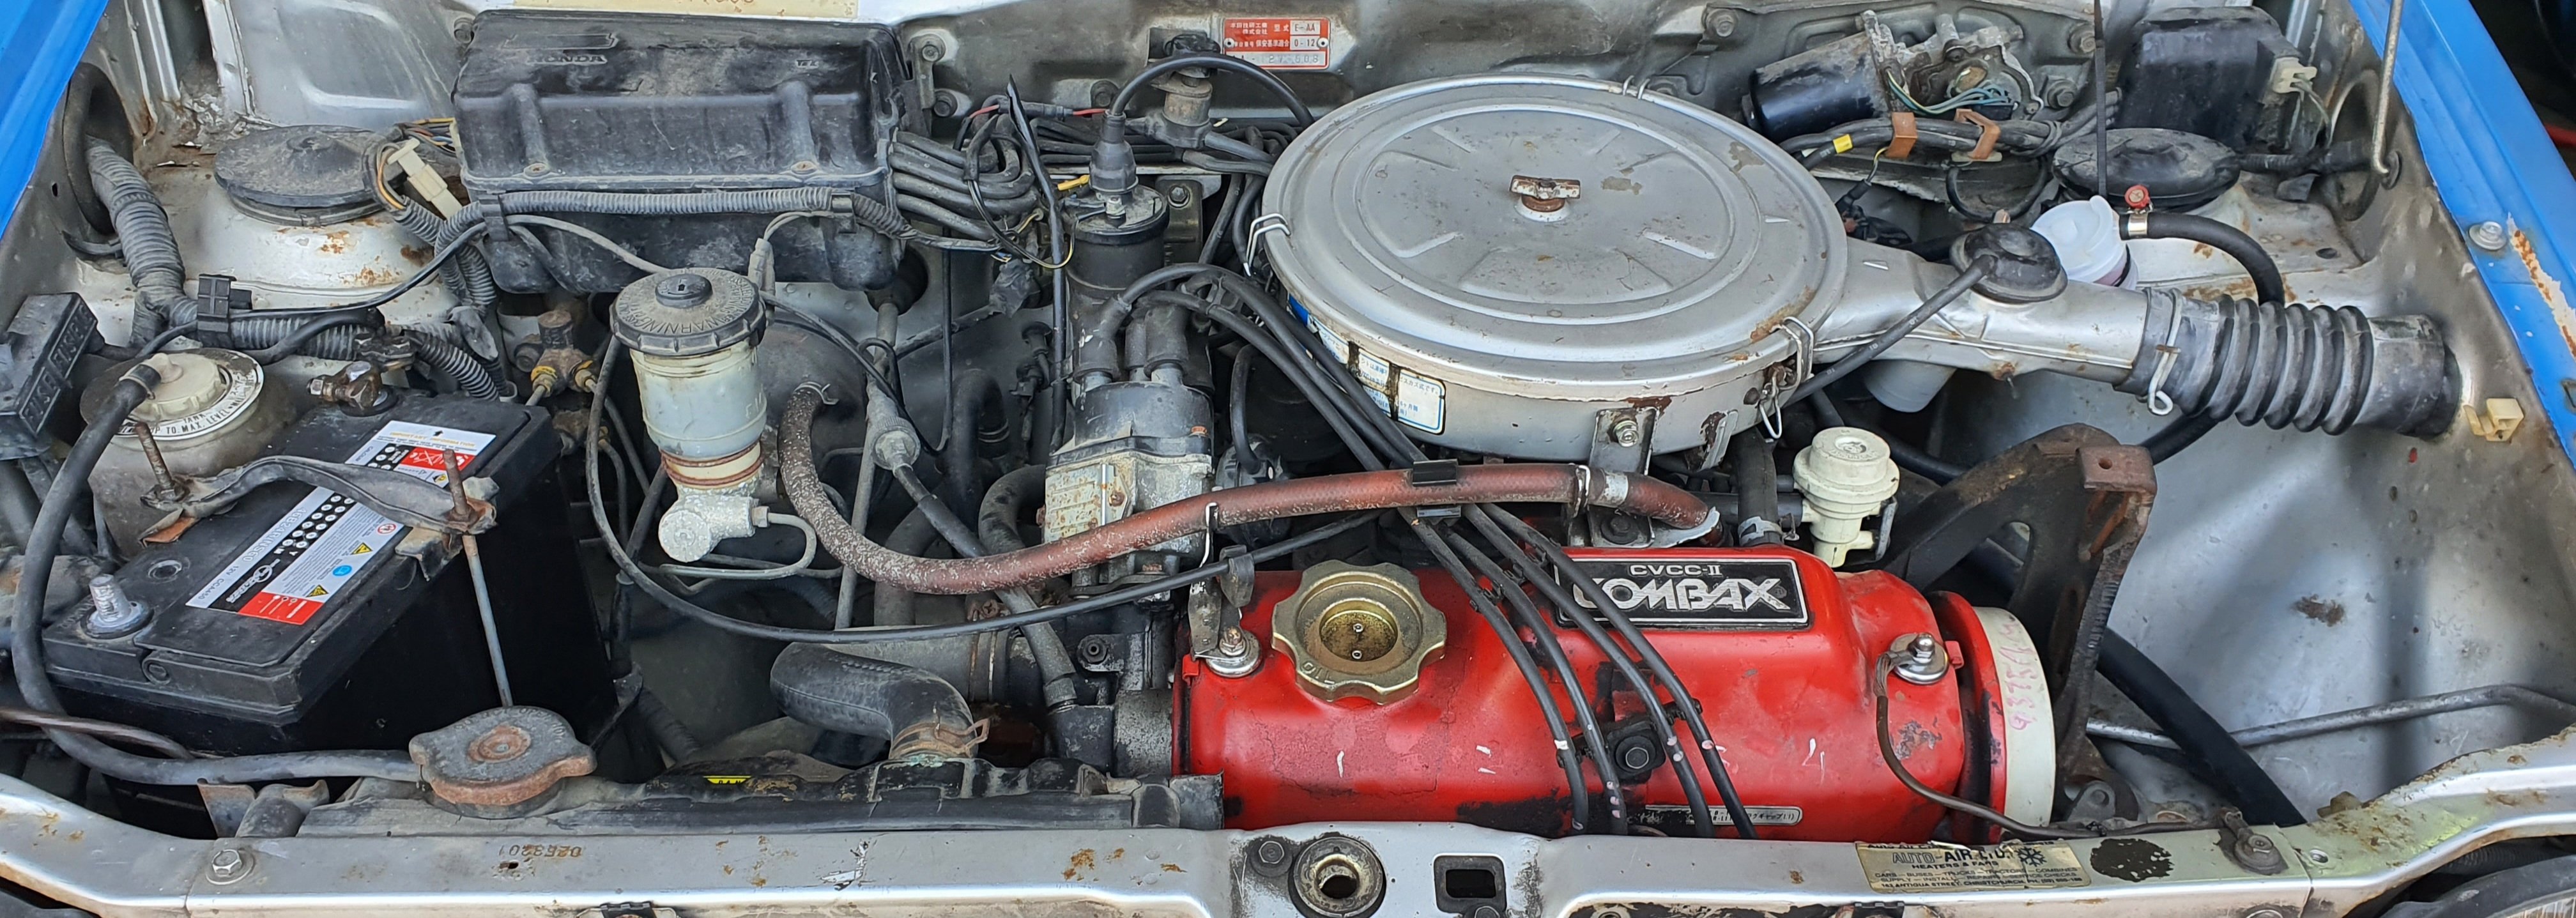
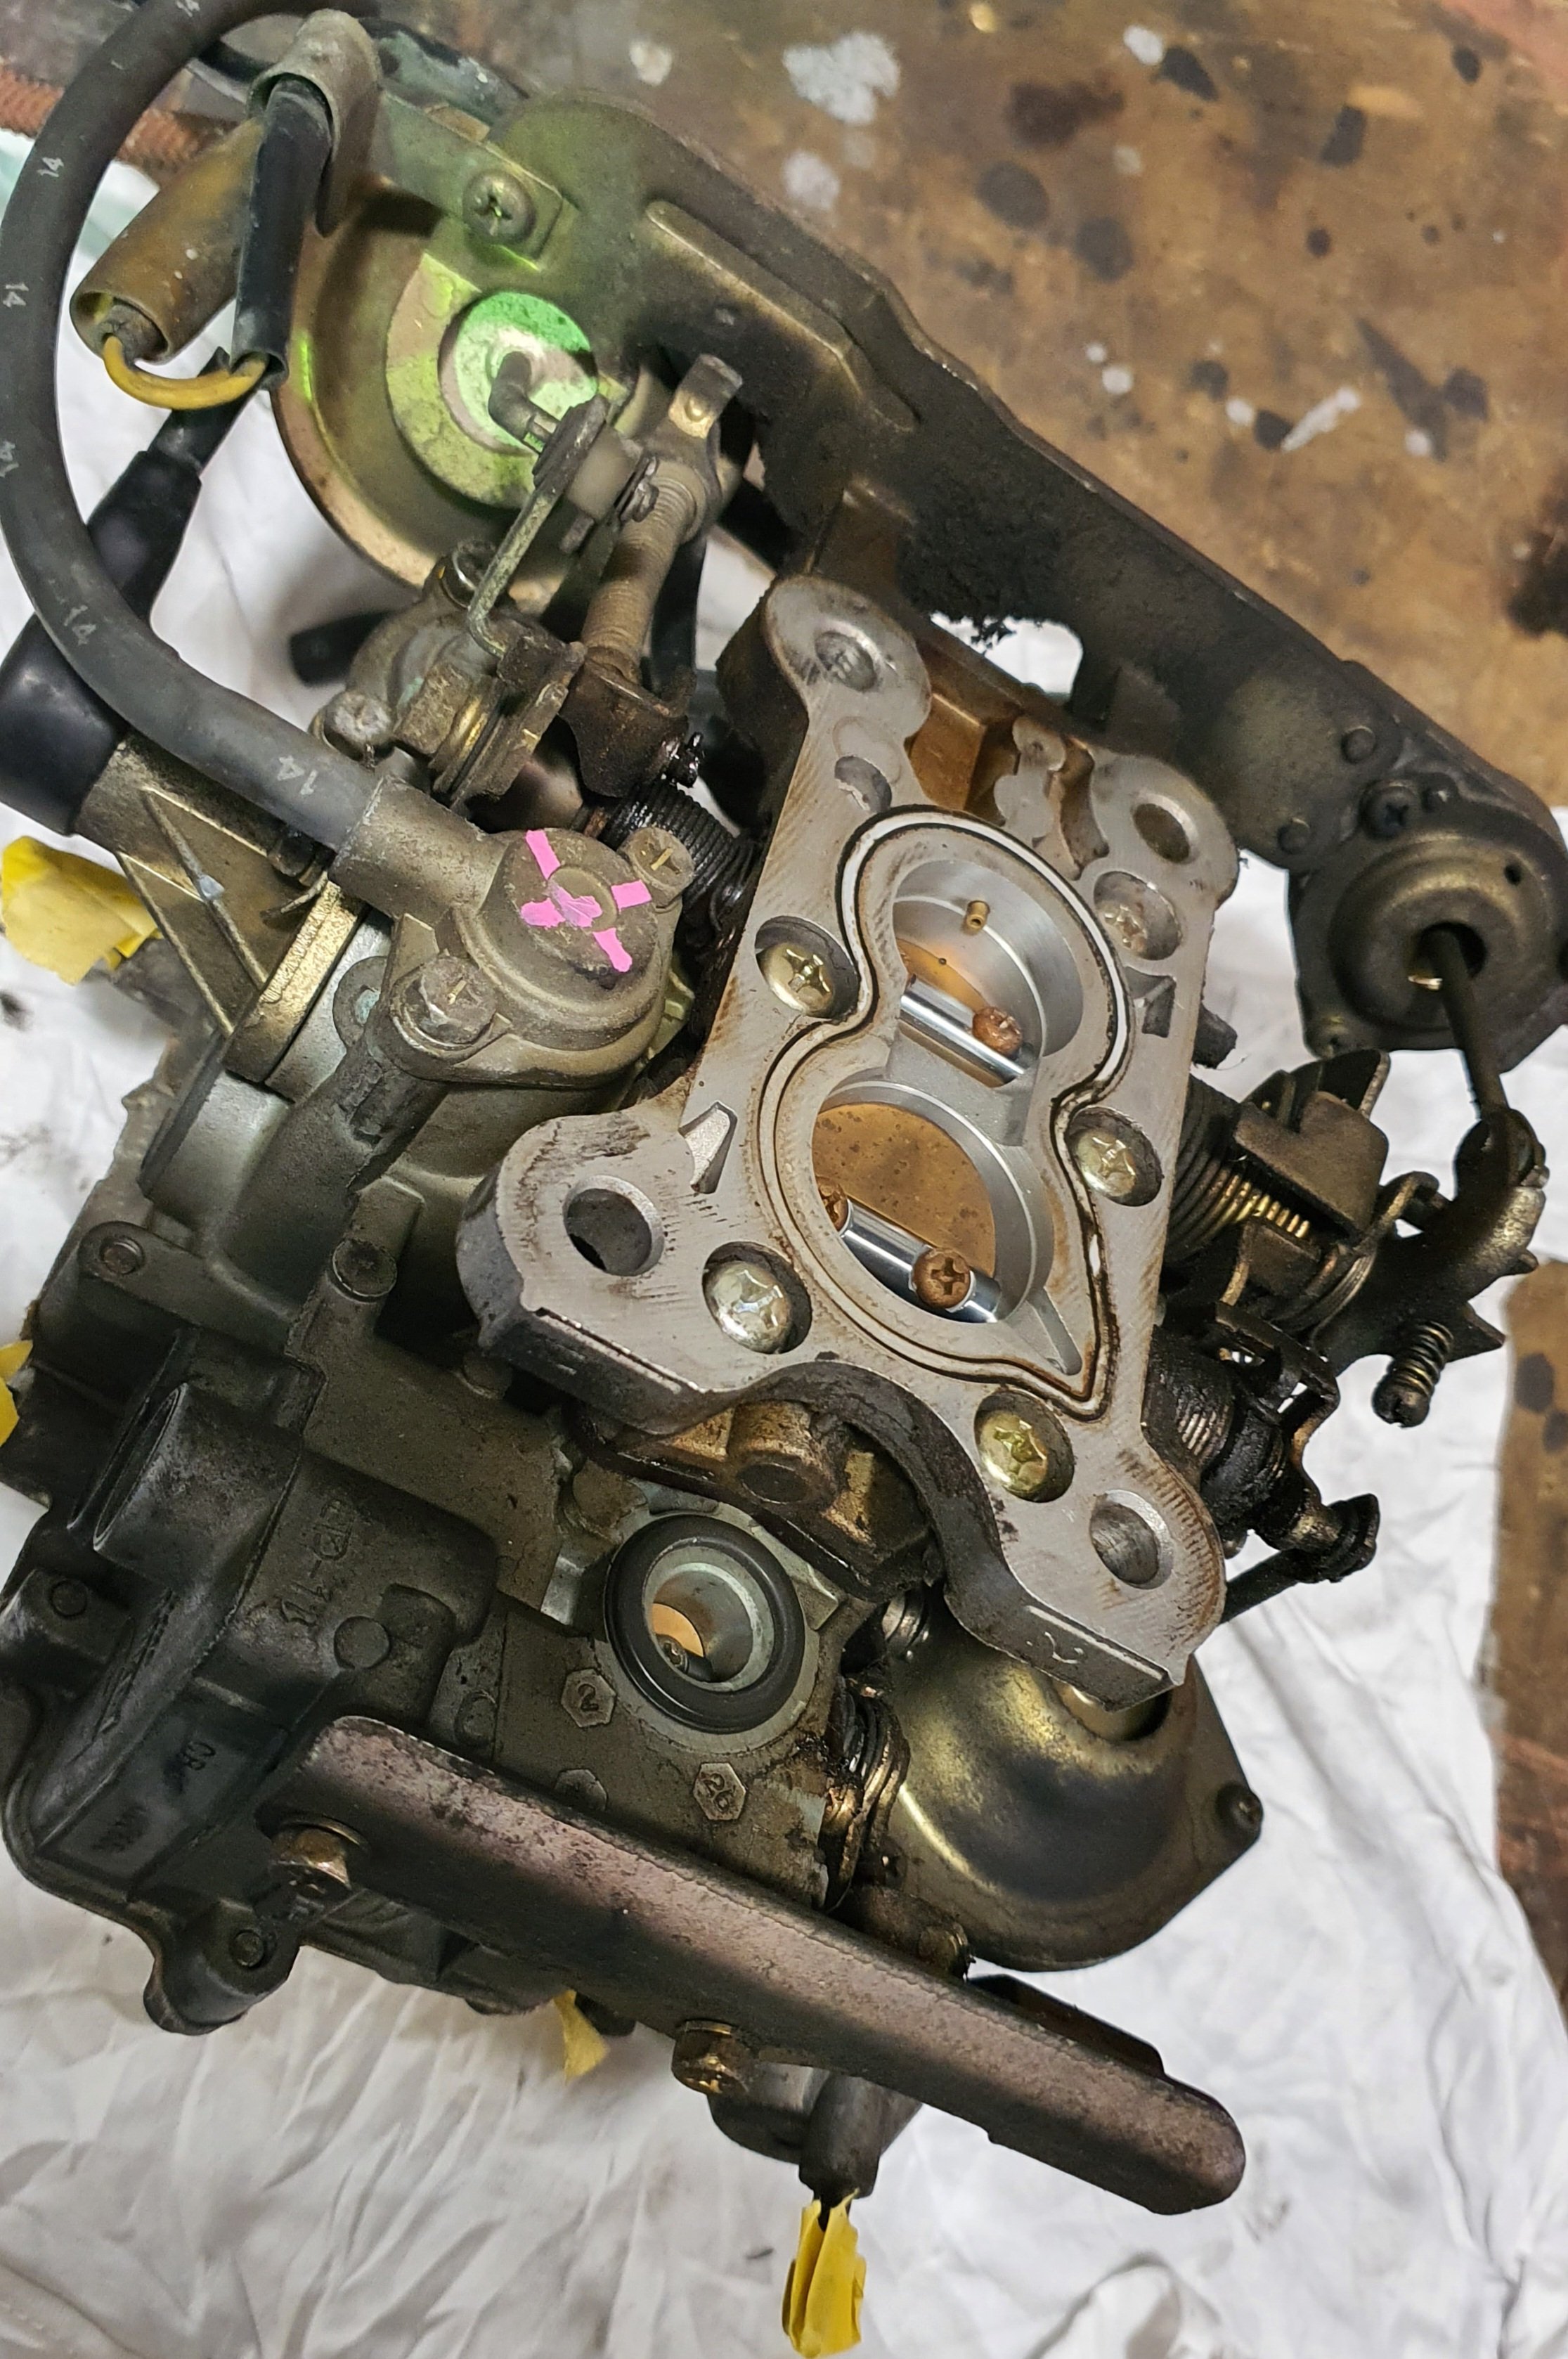
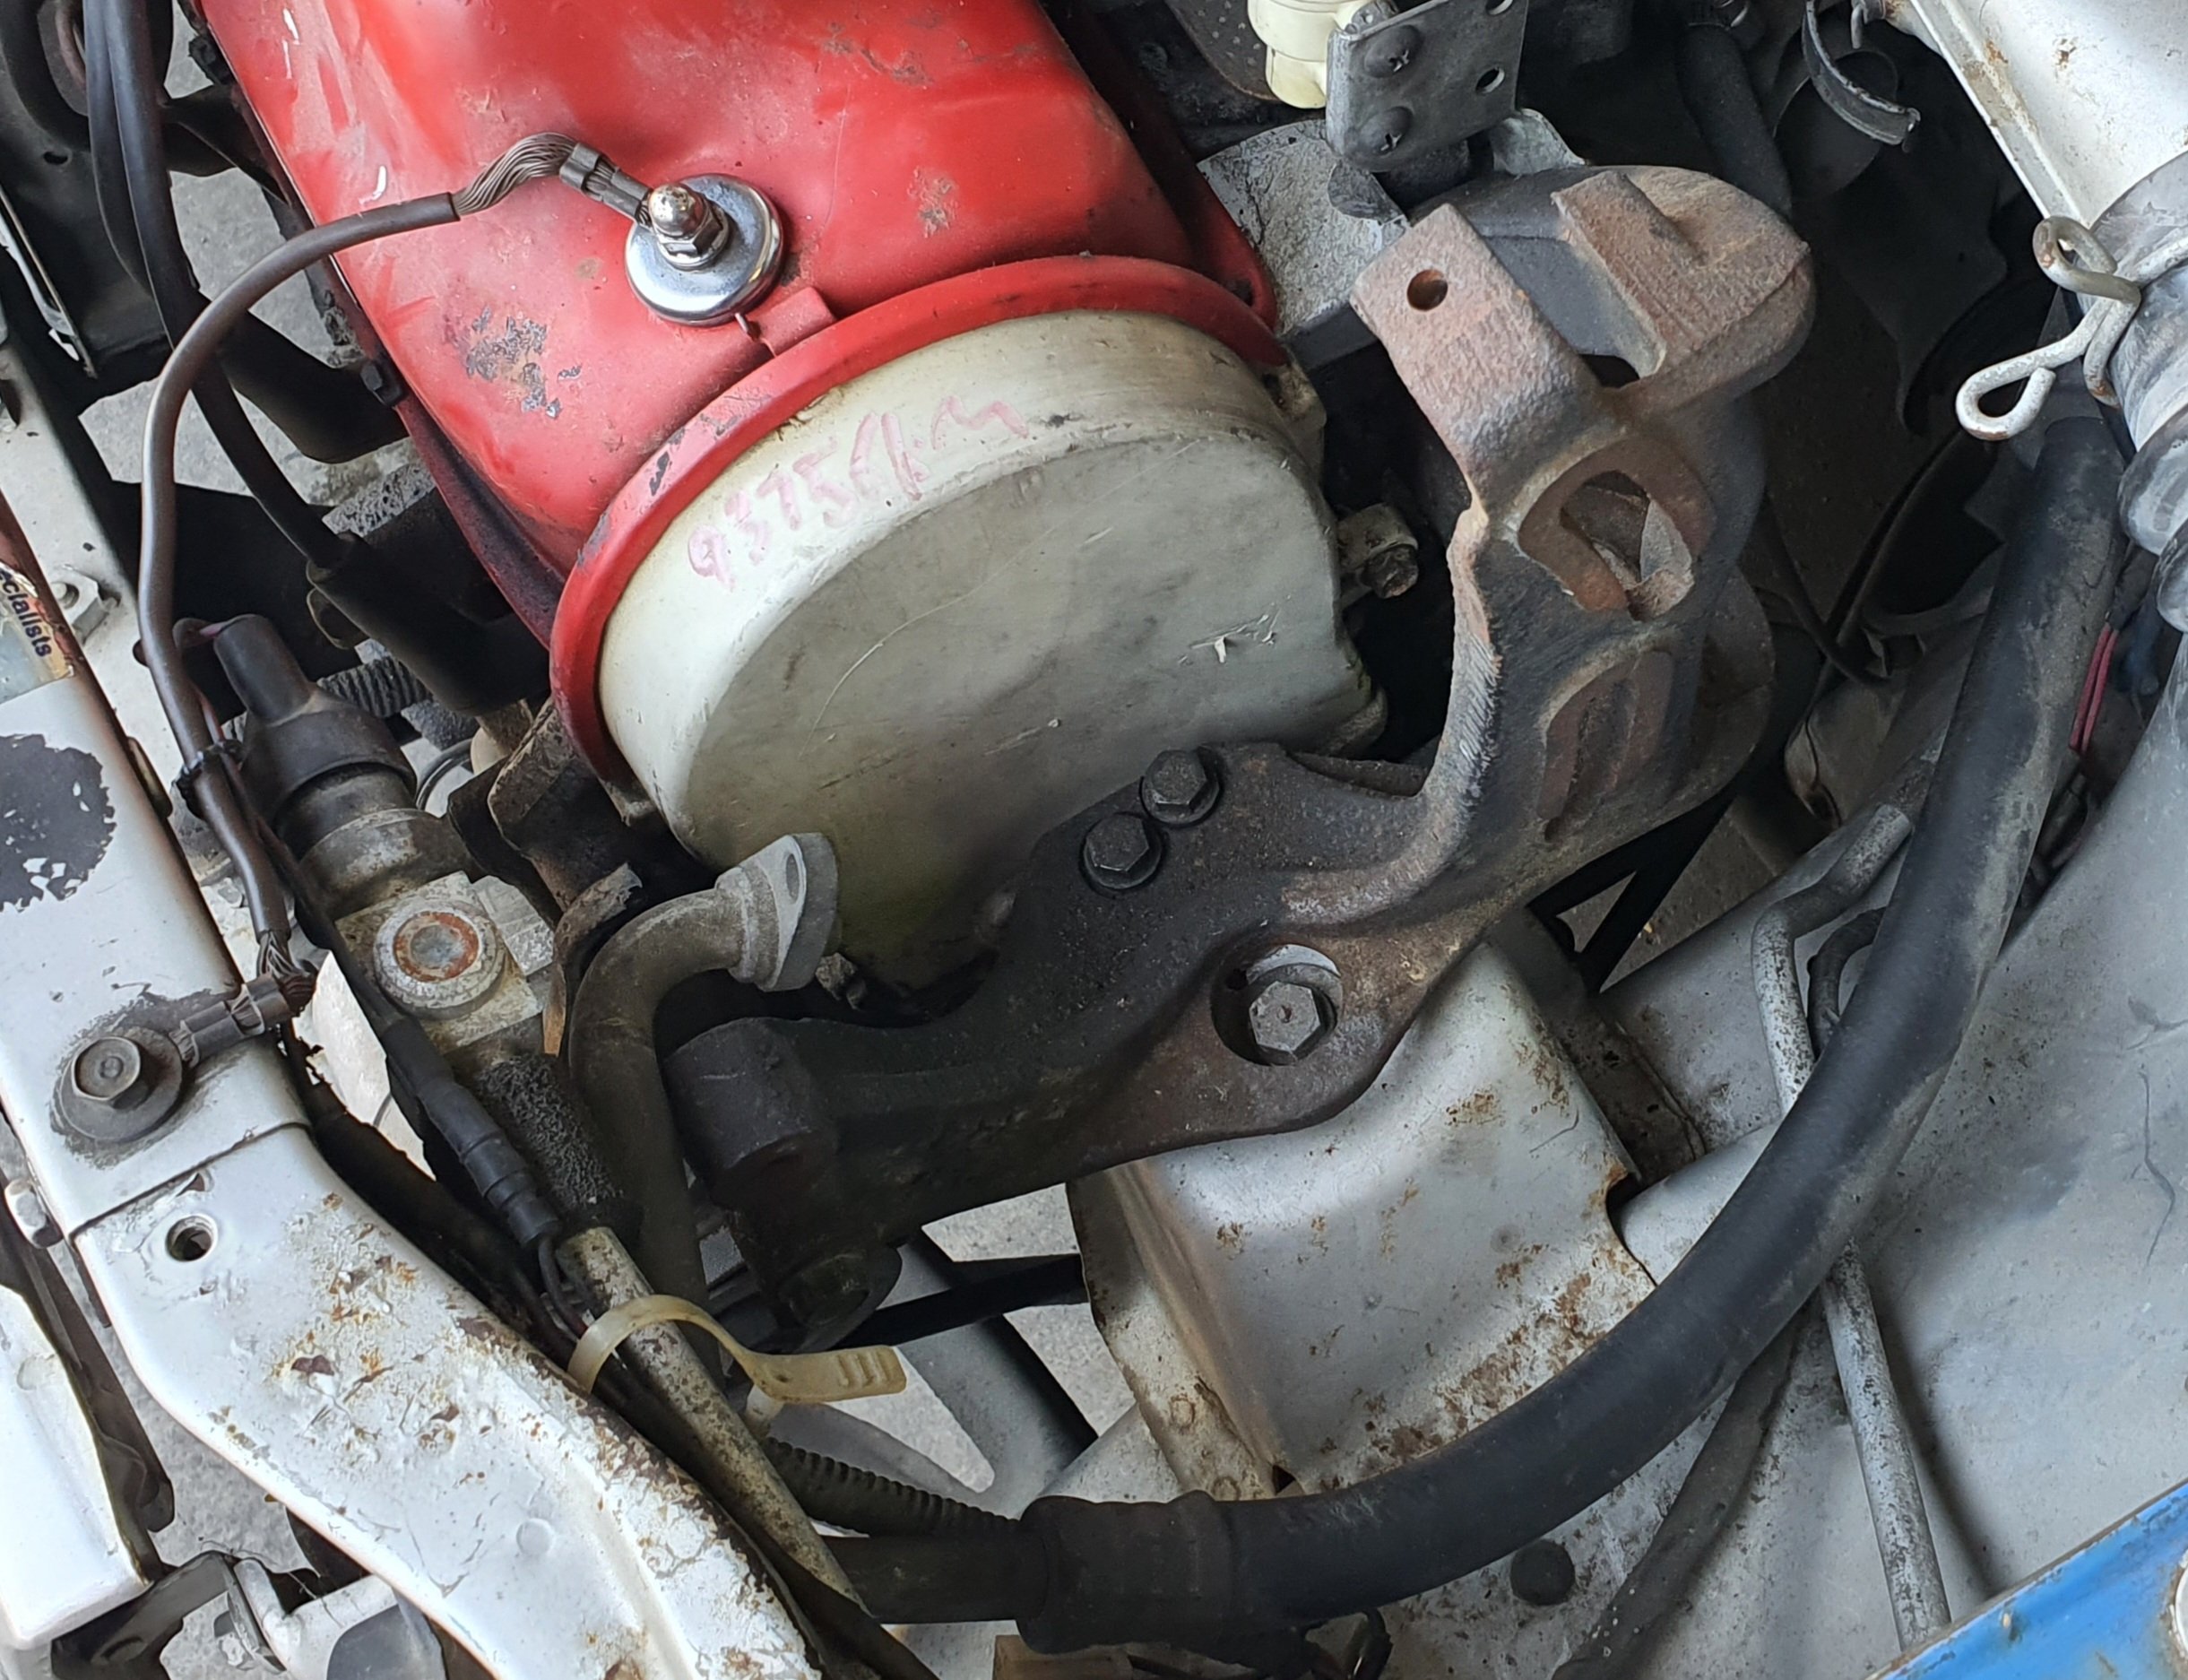
The last wof on this car was in 2019, and I brought it as a non-runner with no info on why it was parked up. I figured I'd try make a push to get it running so I could take it to the New Years Jap Oldschool meet this coming Sunday. Very ambitious, but worst case I'd swap motor from blue car into it. On monday evening I threw a battery in it and did the usual pre-start checks. Pulled plugs and checked they were sparking, fuel pump was doing its thing, checked cambelt wasn't all old and cracked, pulled rocker cover and oiled the rocker assembly etc etc. Fed it some fuel and wizzed it over after freeing up the starter motor. I soon found why it was parked. There was a fuel leak from base of carb (marked in pink). It was 9pm already but I was pretty determined to find out if it would run that night. So I ripped the carb off and put the carb off blue car on it. I took a shitload of pics beforehand as these things have a crazy amount of vacuum lines. The Combax engines from the Jdm Citys are basically a slightly newer Cvcc setup with the separate pre-combustion chamber and port on carb so they are over the top complicated for a little engine. Alot of guys swap out the 12-valve combax head/carb for a the 8-valve head/carb from an Nzdm cityE
-
Both cars had aircon factory but I had already removed the pump from blue car ages ago as I planned to get it rebuilt, and manhattan was missing most of the bits other than some hoses. I pulled the dryer, lines and bracket off the blue car and mocked bracket up with the pump on the bench to refresh my memory and sort the fasteners. Then fitted the bracket, dryer and lines to the manhattan. Keihin pumps for these are pretty hard to find in working condition. I have a few as spares just incase.
-
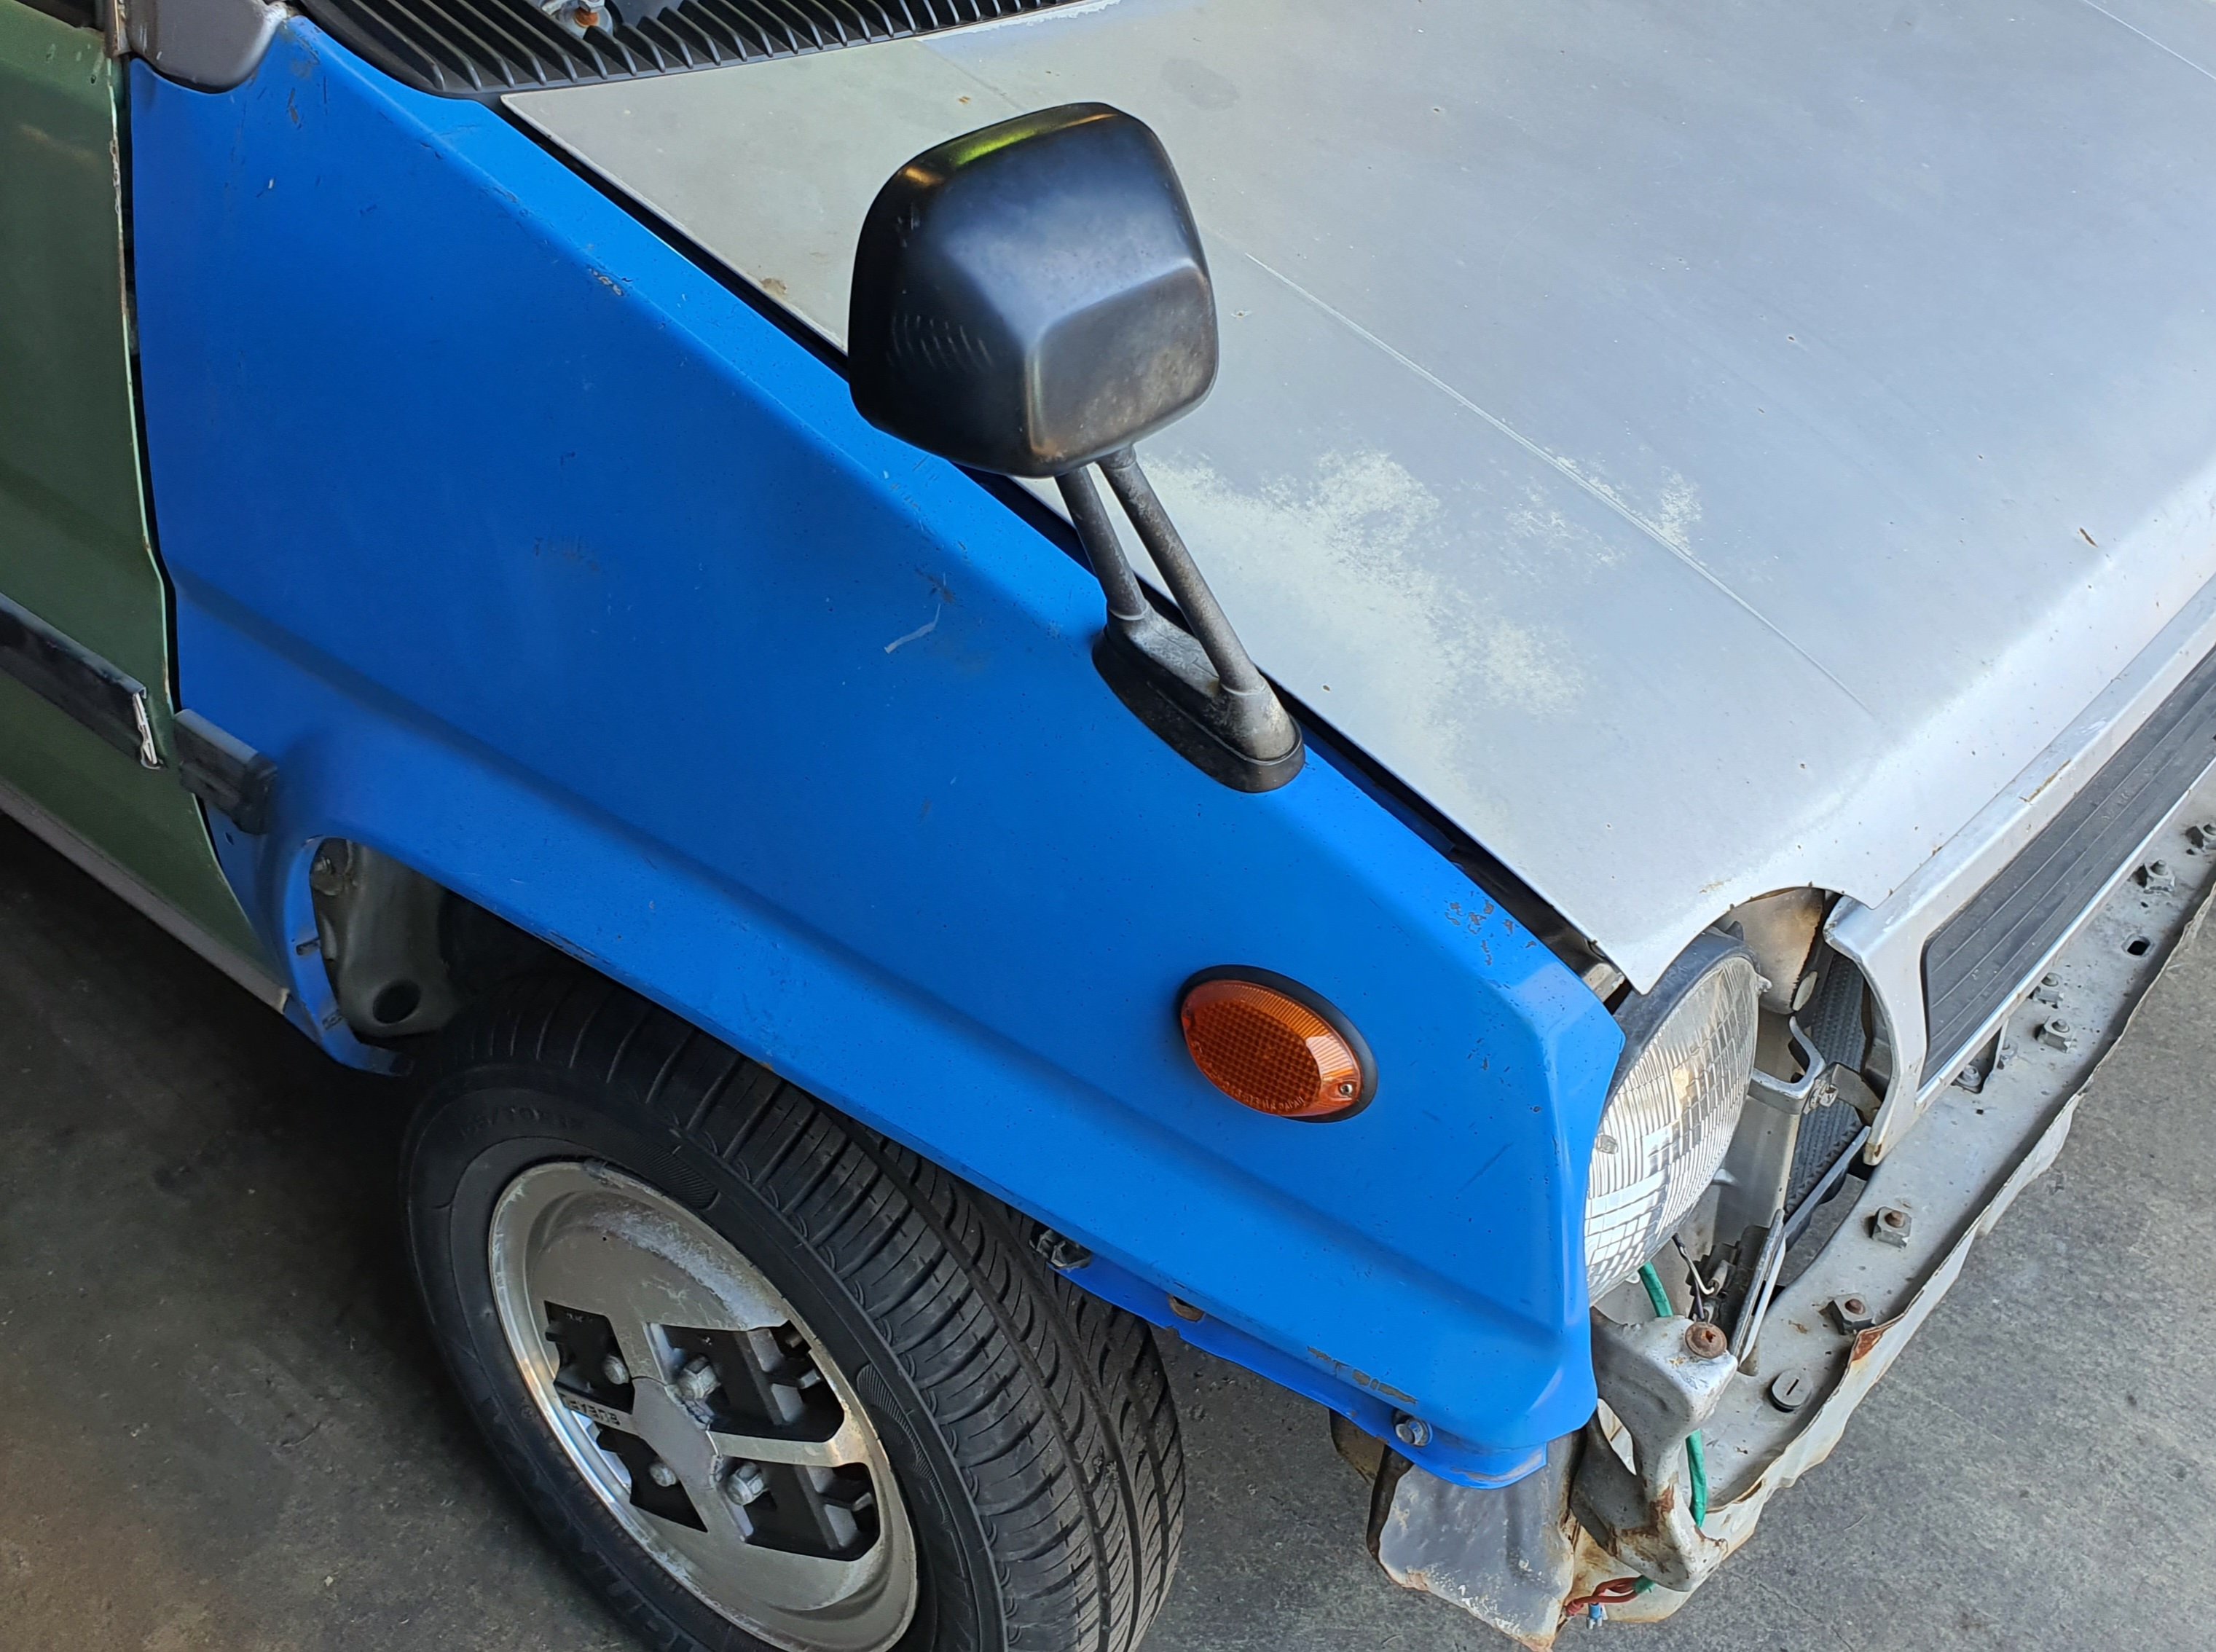
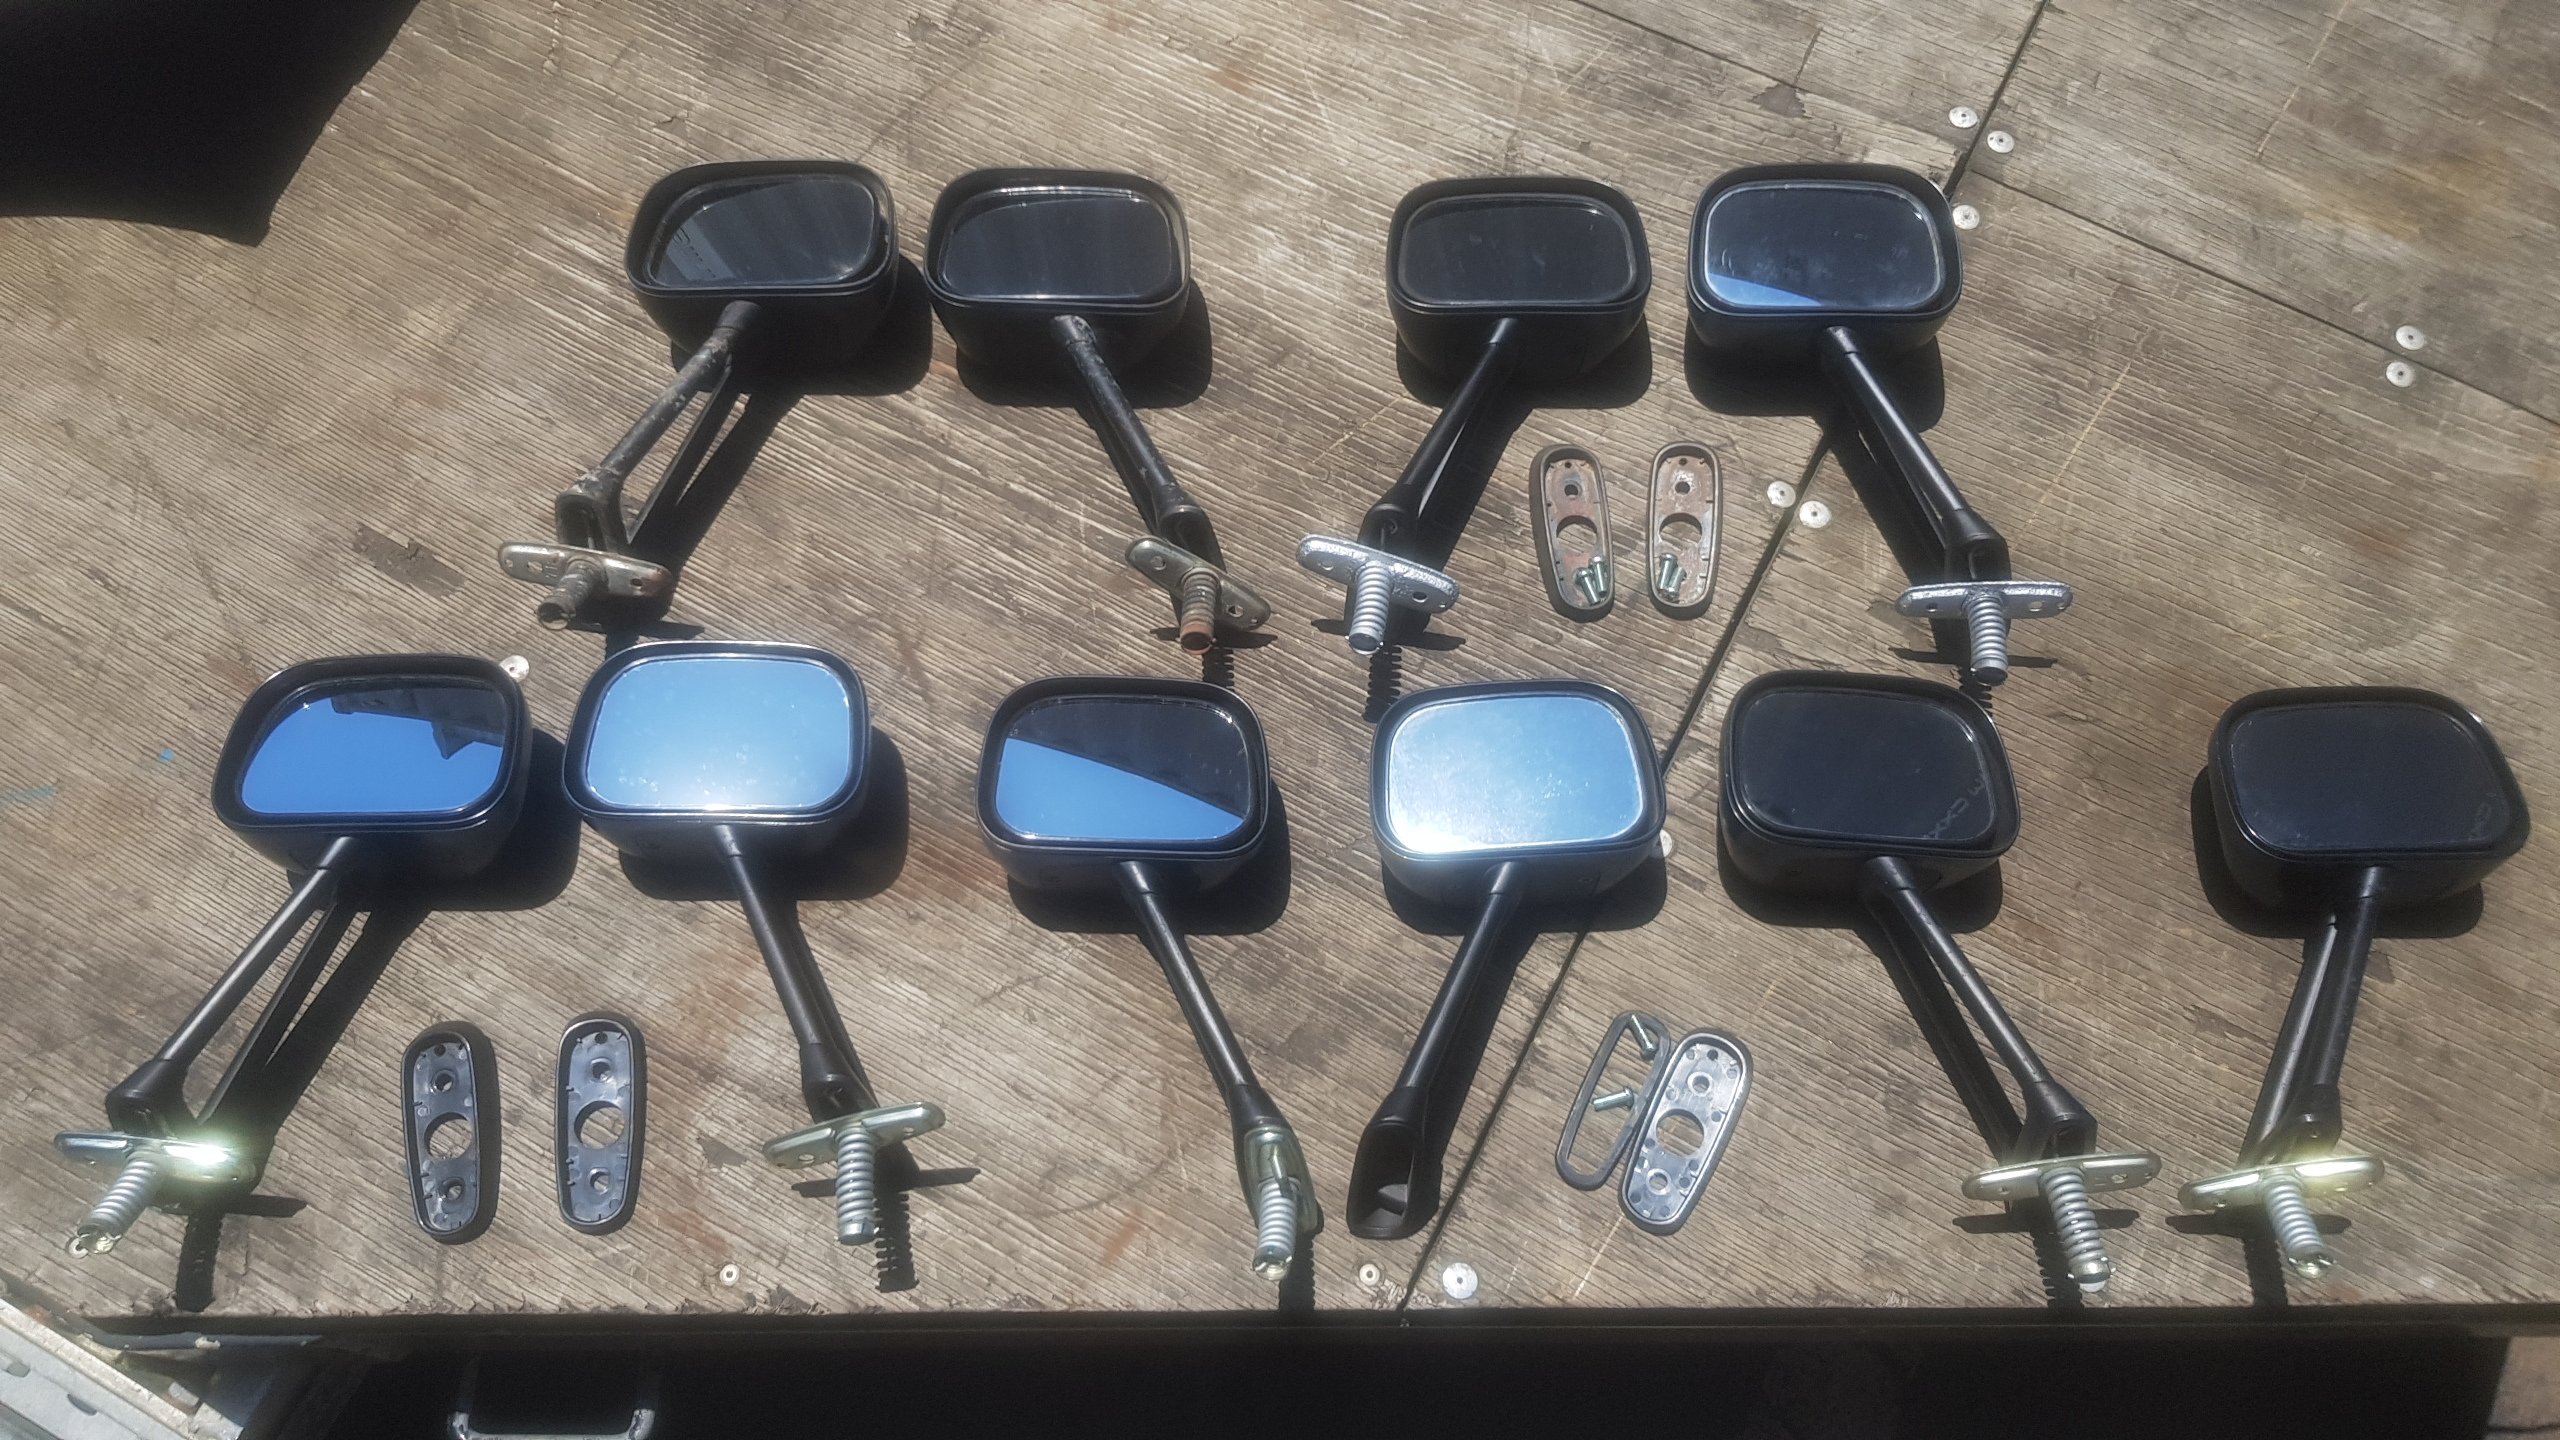
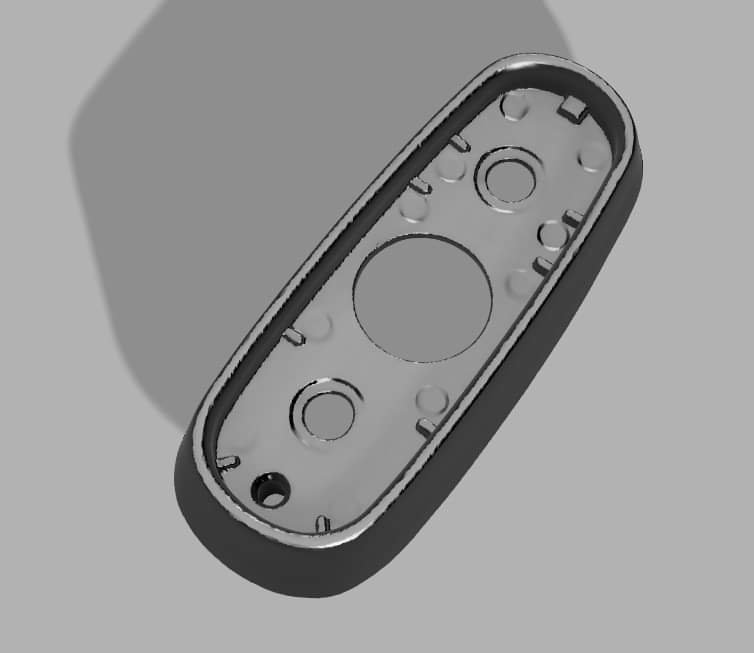
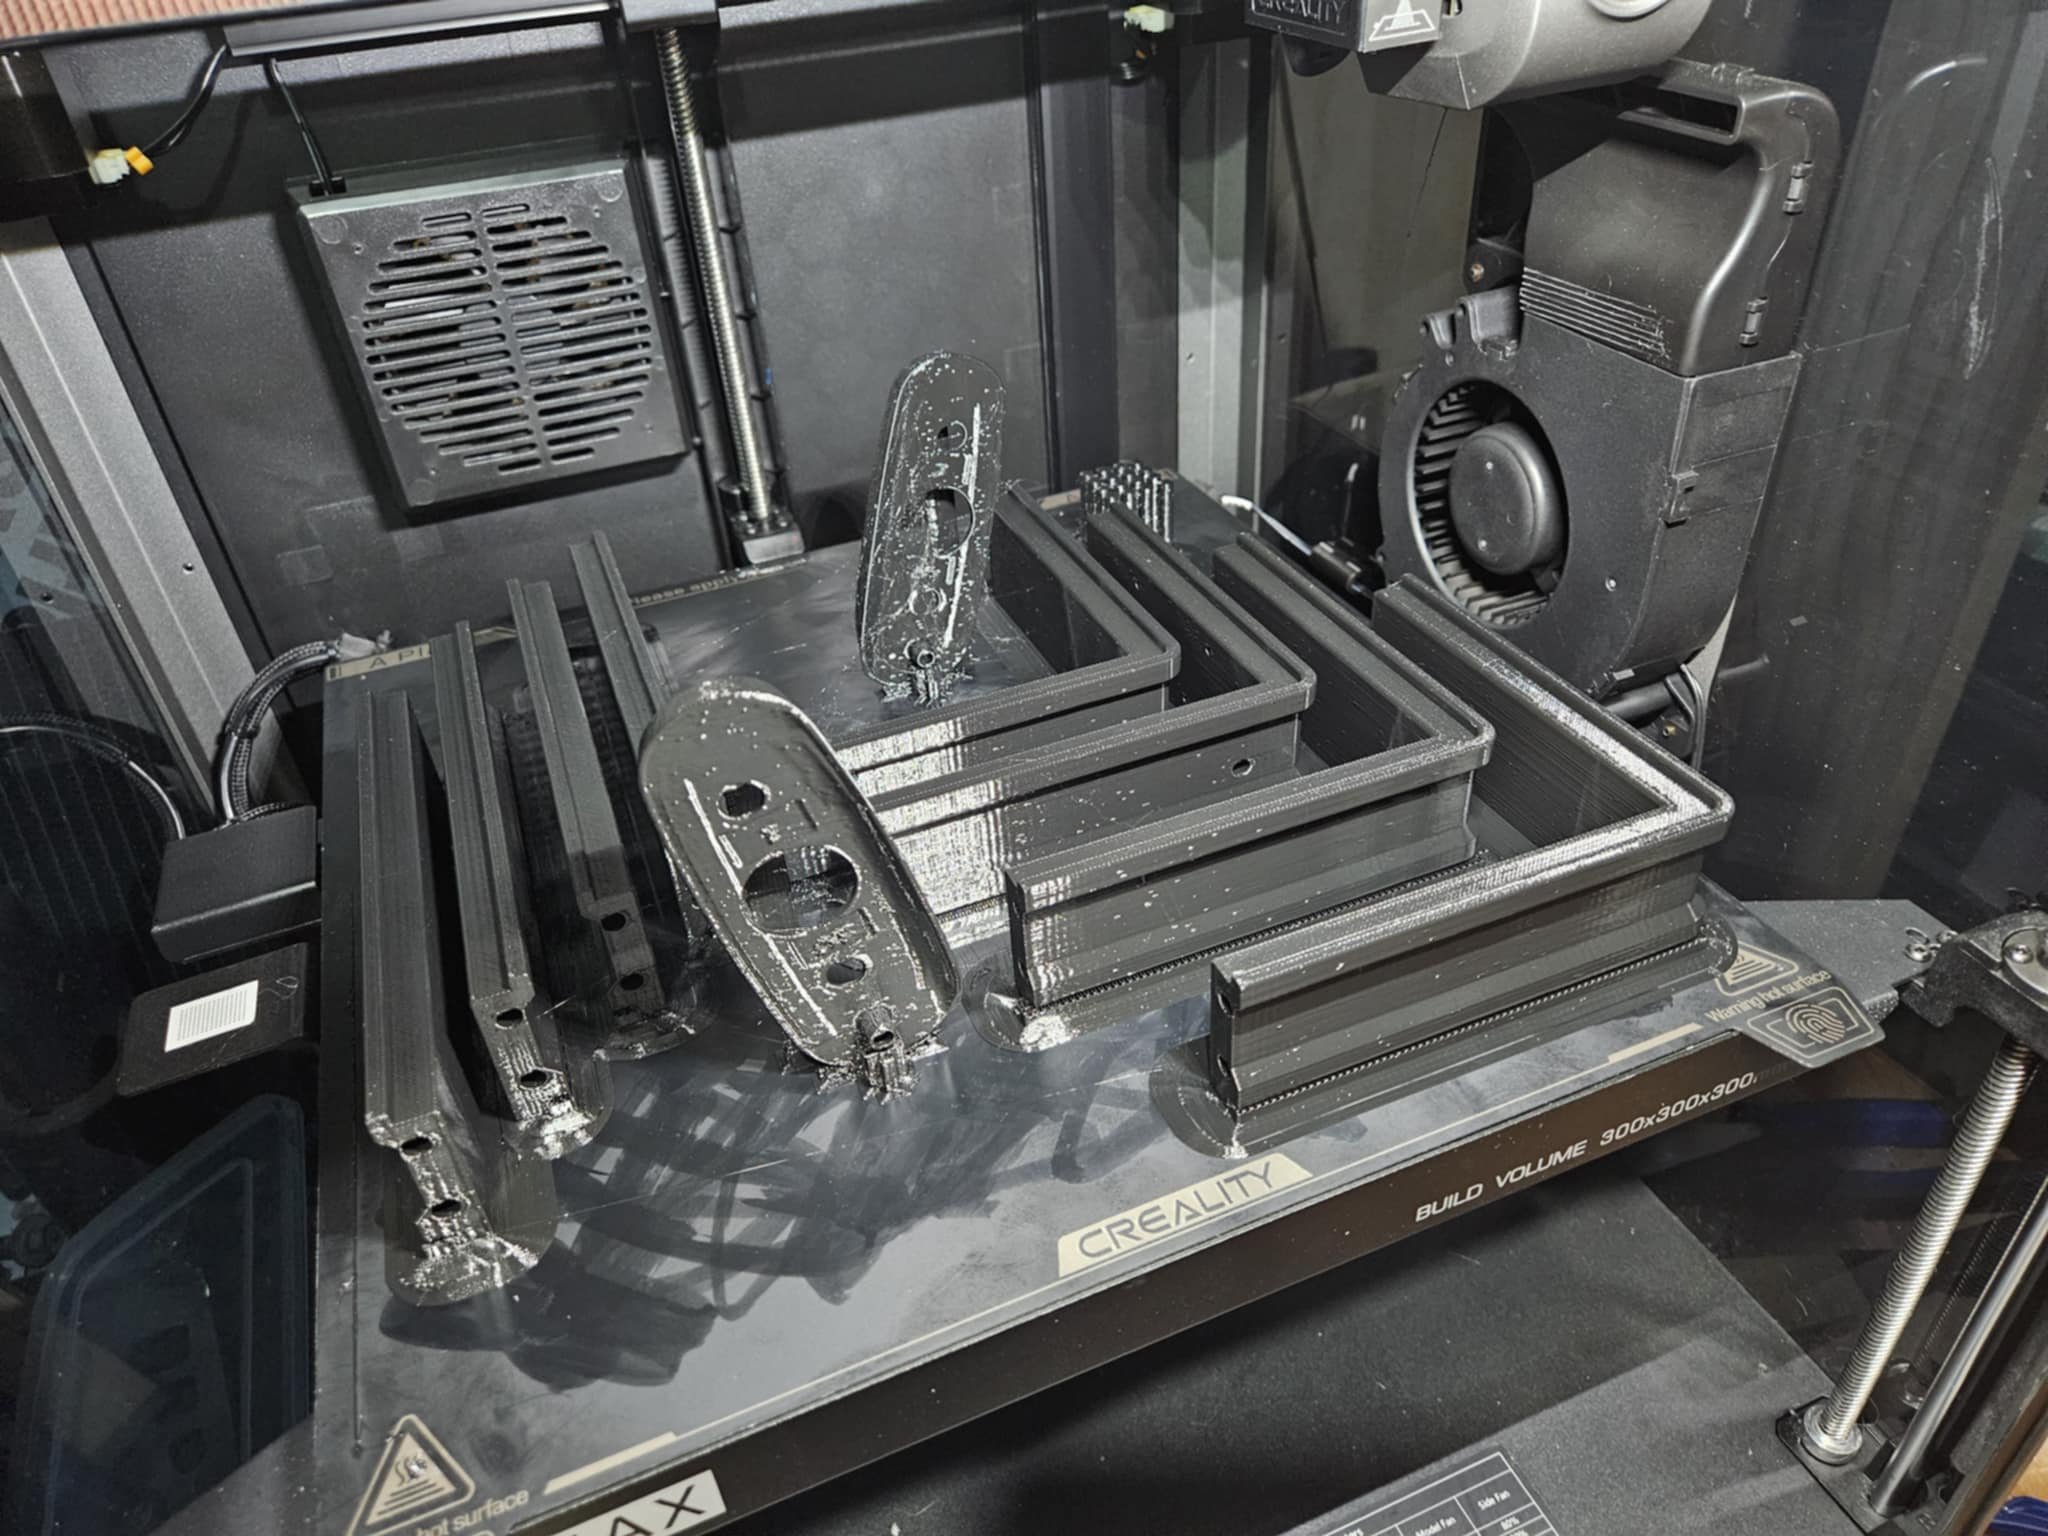
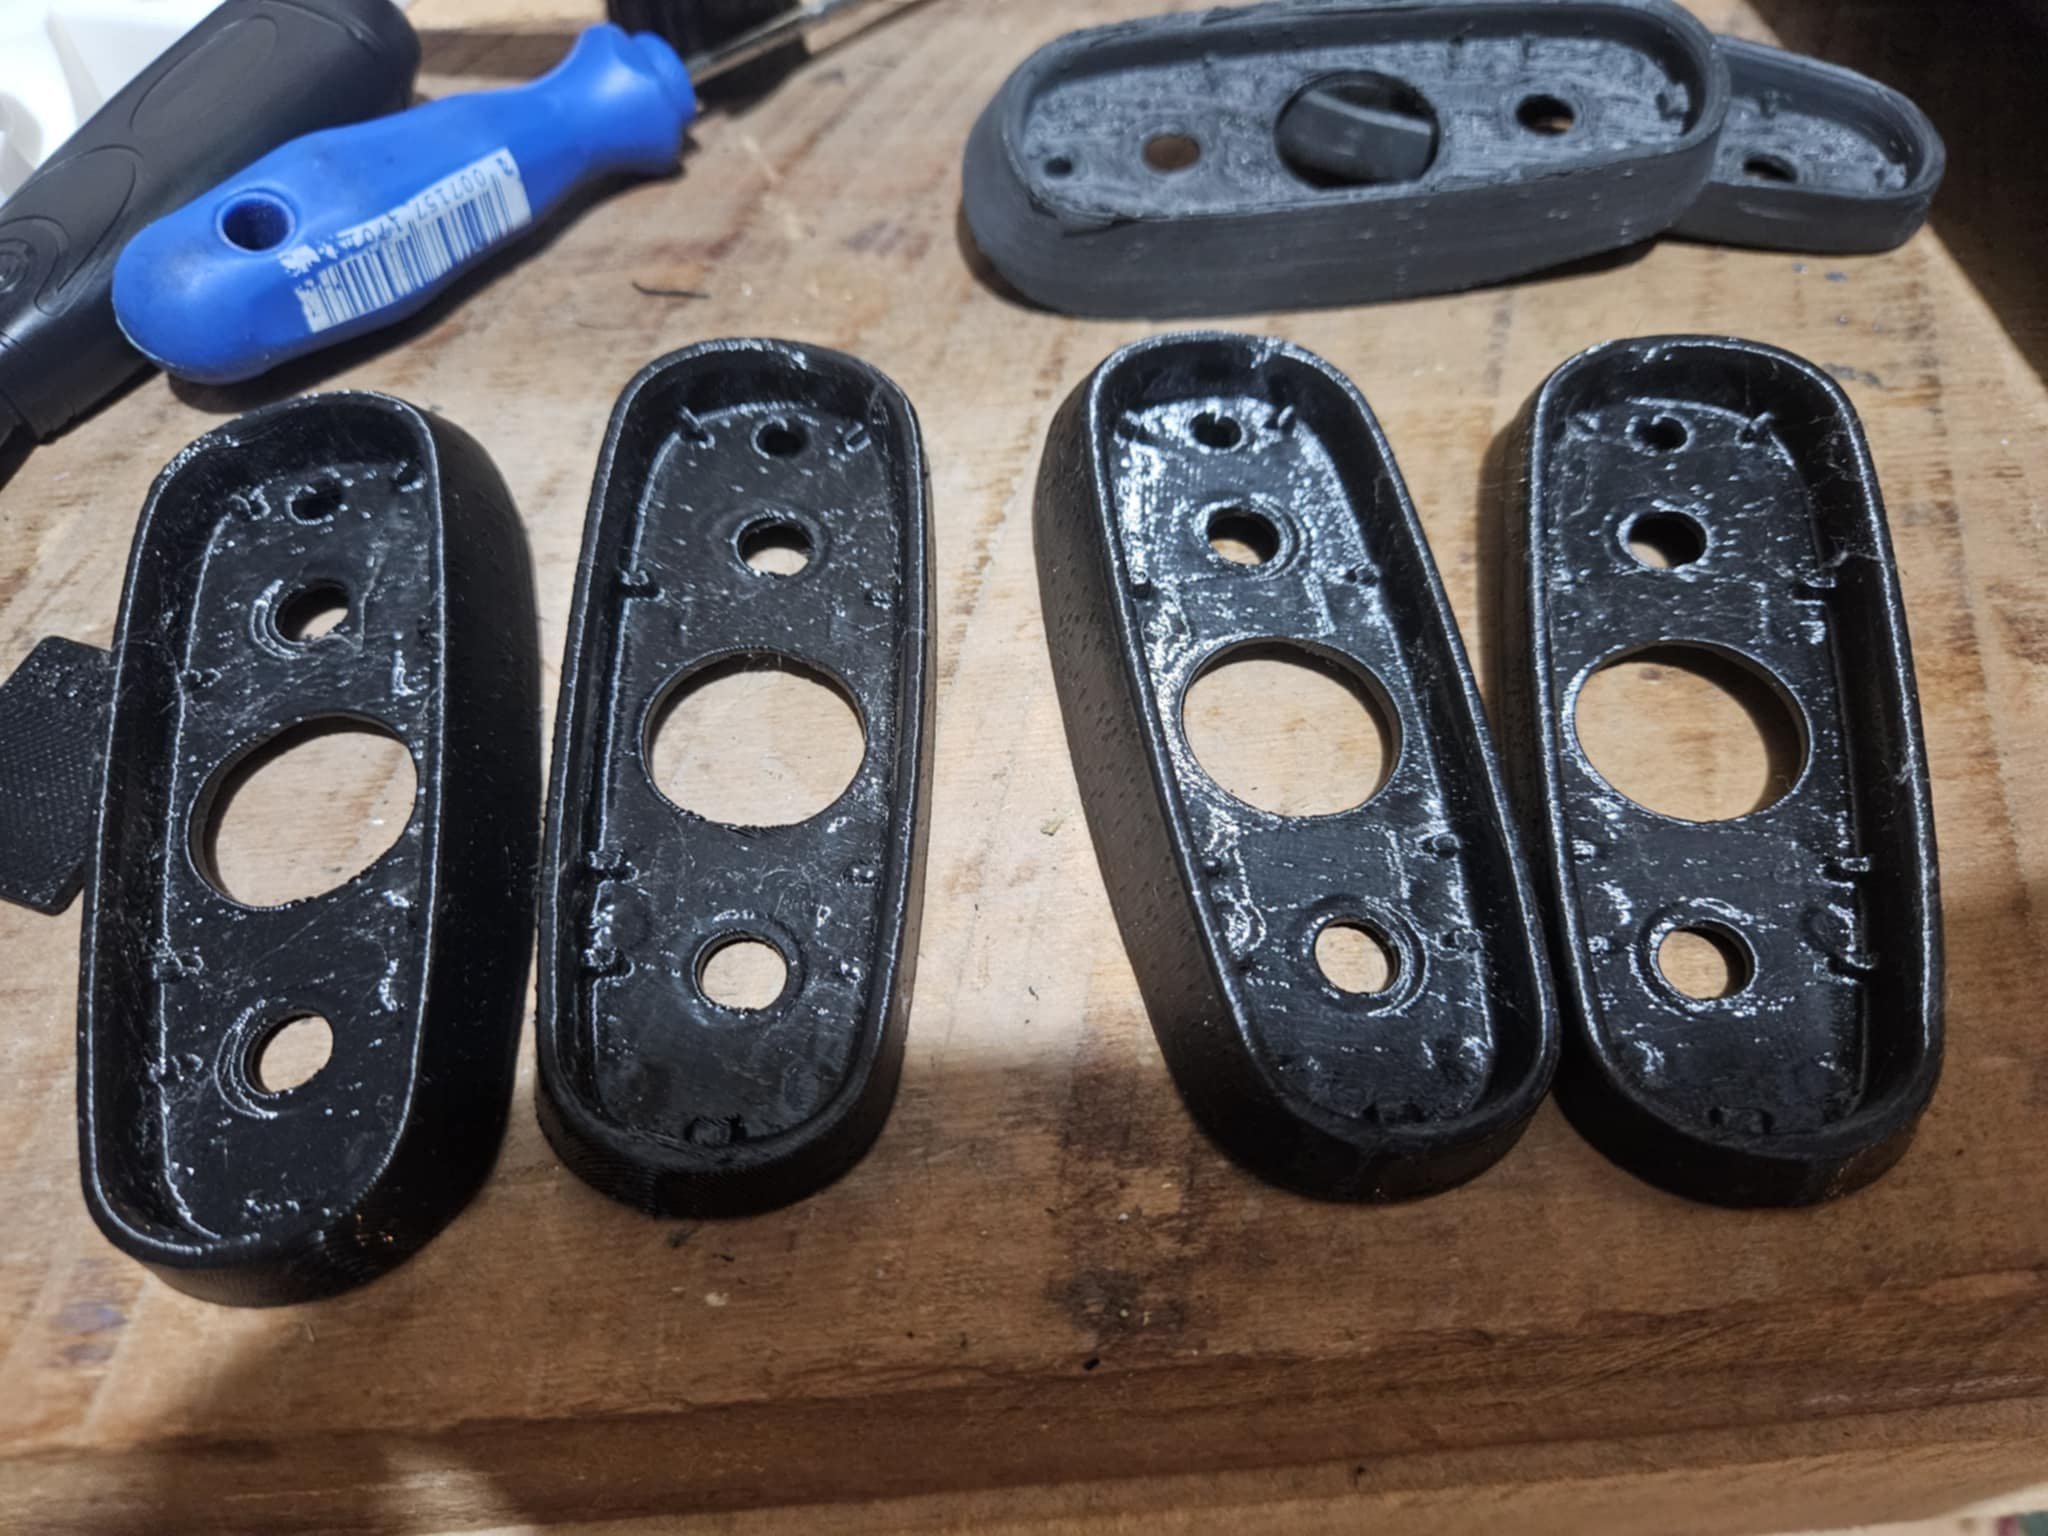
The original silver passengers fender had a big crease in it so I robbed one off the blu car. The drivers fender that was in the car when I brought it was from a cityE which have the indicators back toward the pillar. Luckily I had a good one in my spares pile, which happened to also be blue, as the drivers fender on the blue car was shit. I've been tracking down, buying and selling City fender mirrors for years now, and still have a few sets stashed. I have a 10/10 mint new old stock set waiting for when I paint the car, but for now I'm just fitted an average set. The main drama when I find some used ones, is the plastic base shroud that hides the mounting plate are always missing. I tasked a mate from Ram3d in Tauranga with scanning a pair of nos bases and printing some for me. They mostly 3d print inconel & stainless but have a normal printer for doing tests and prototypes sonit came in handy for this job. He tried a few orientations to minimise the layering lines. They still require a bit of a sand up but its not much work.
-
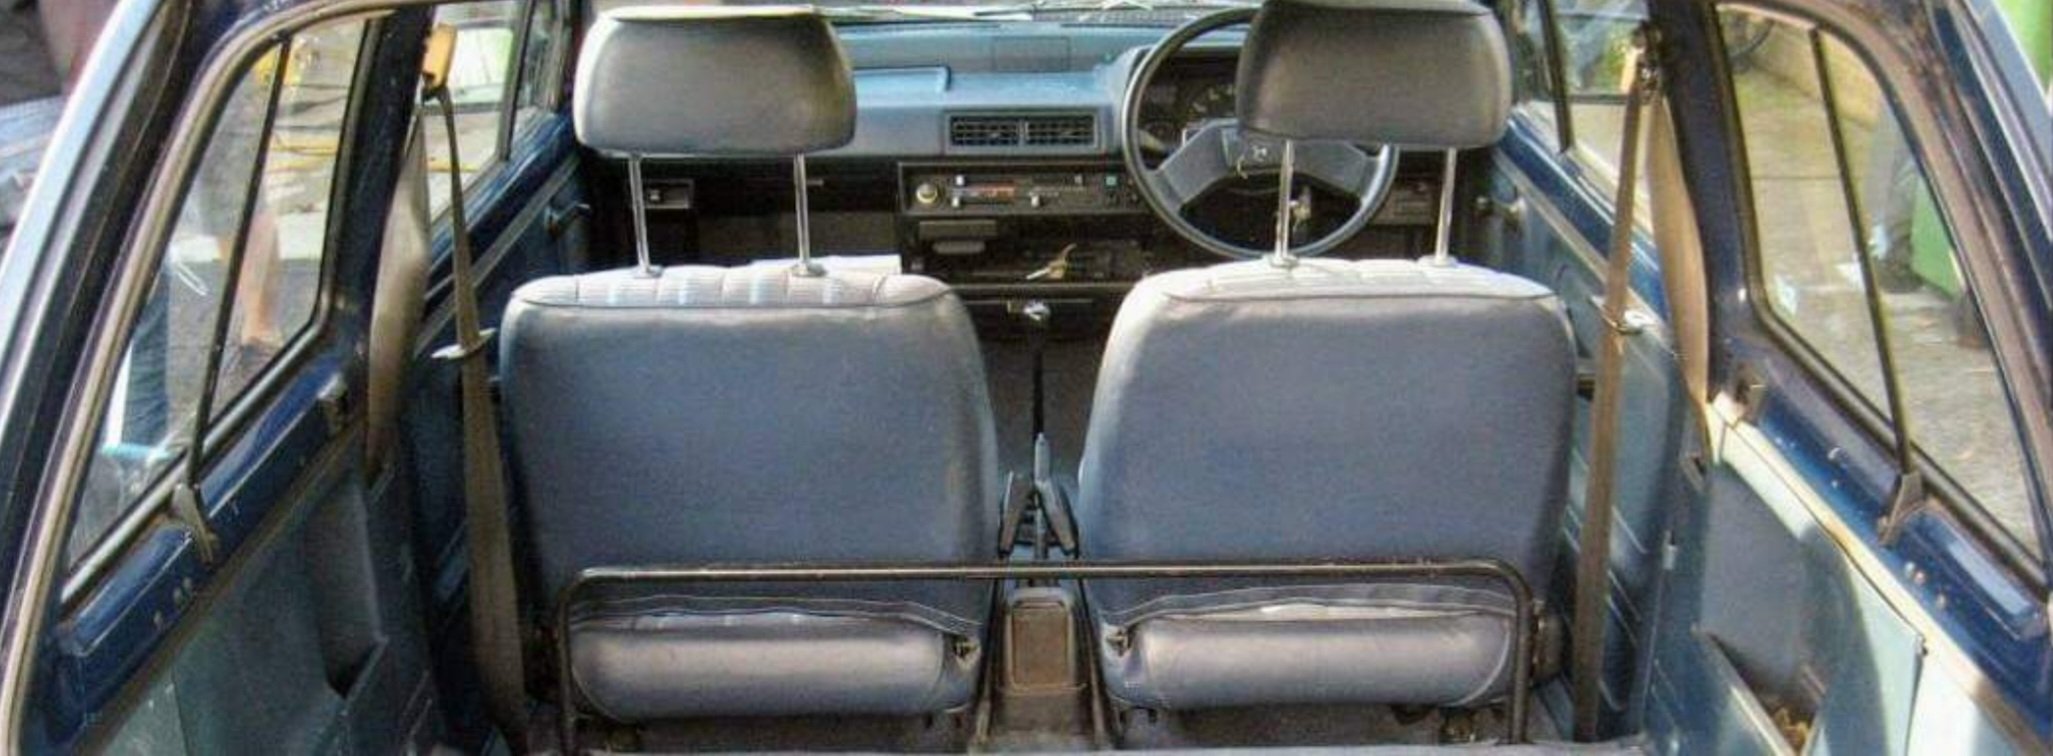
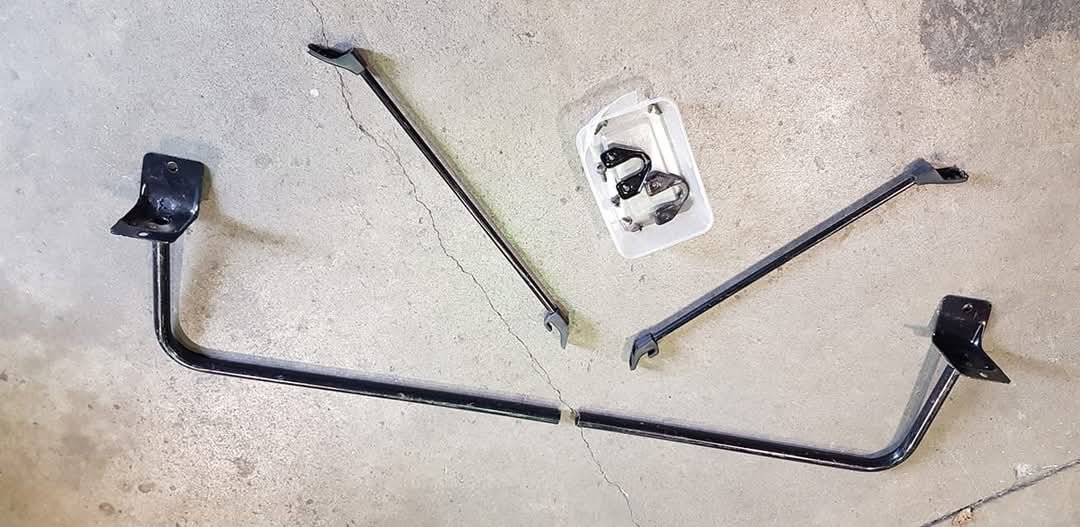
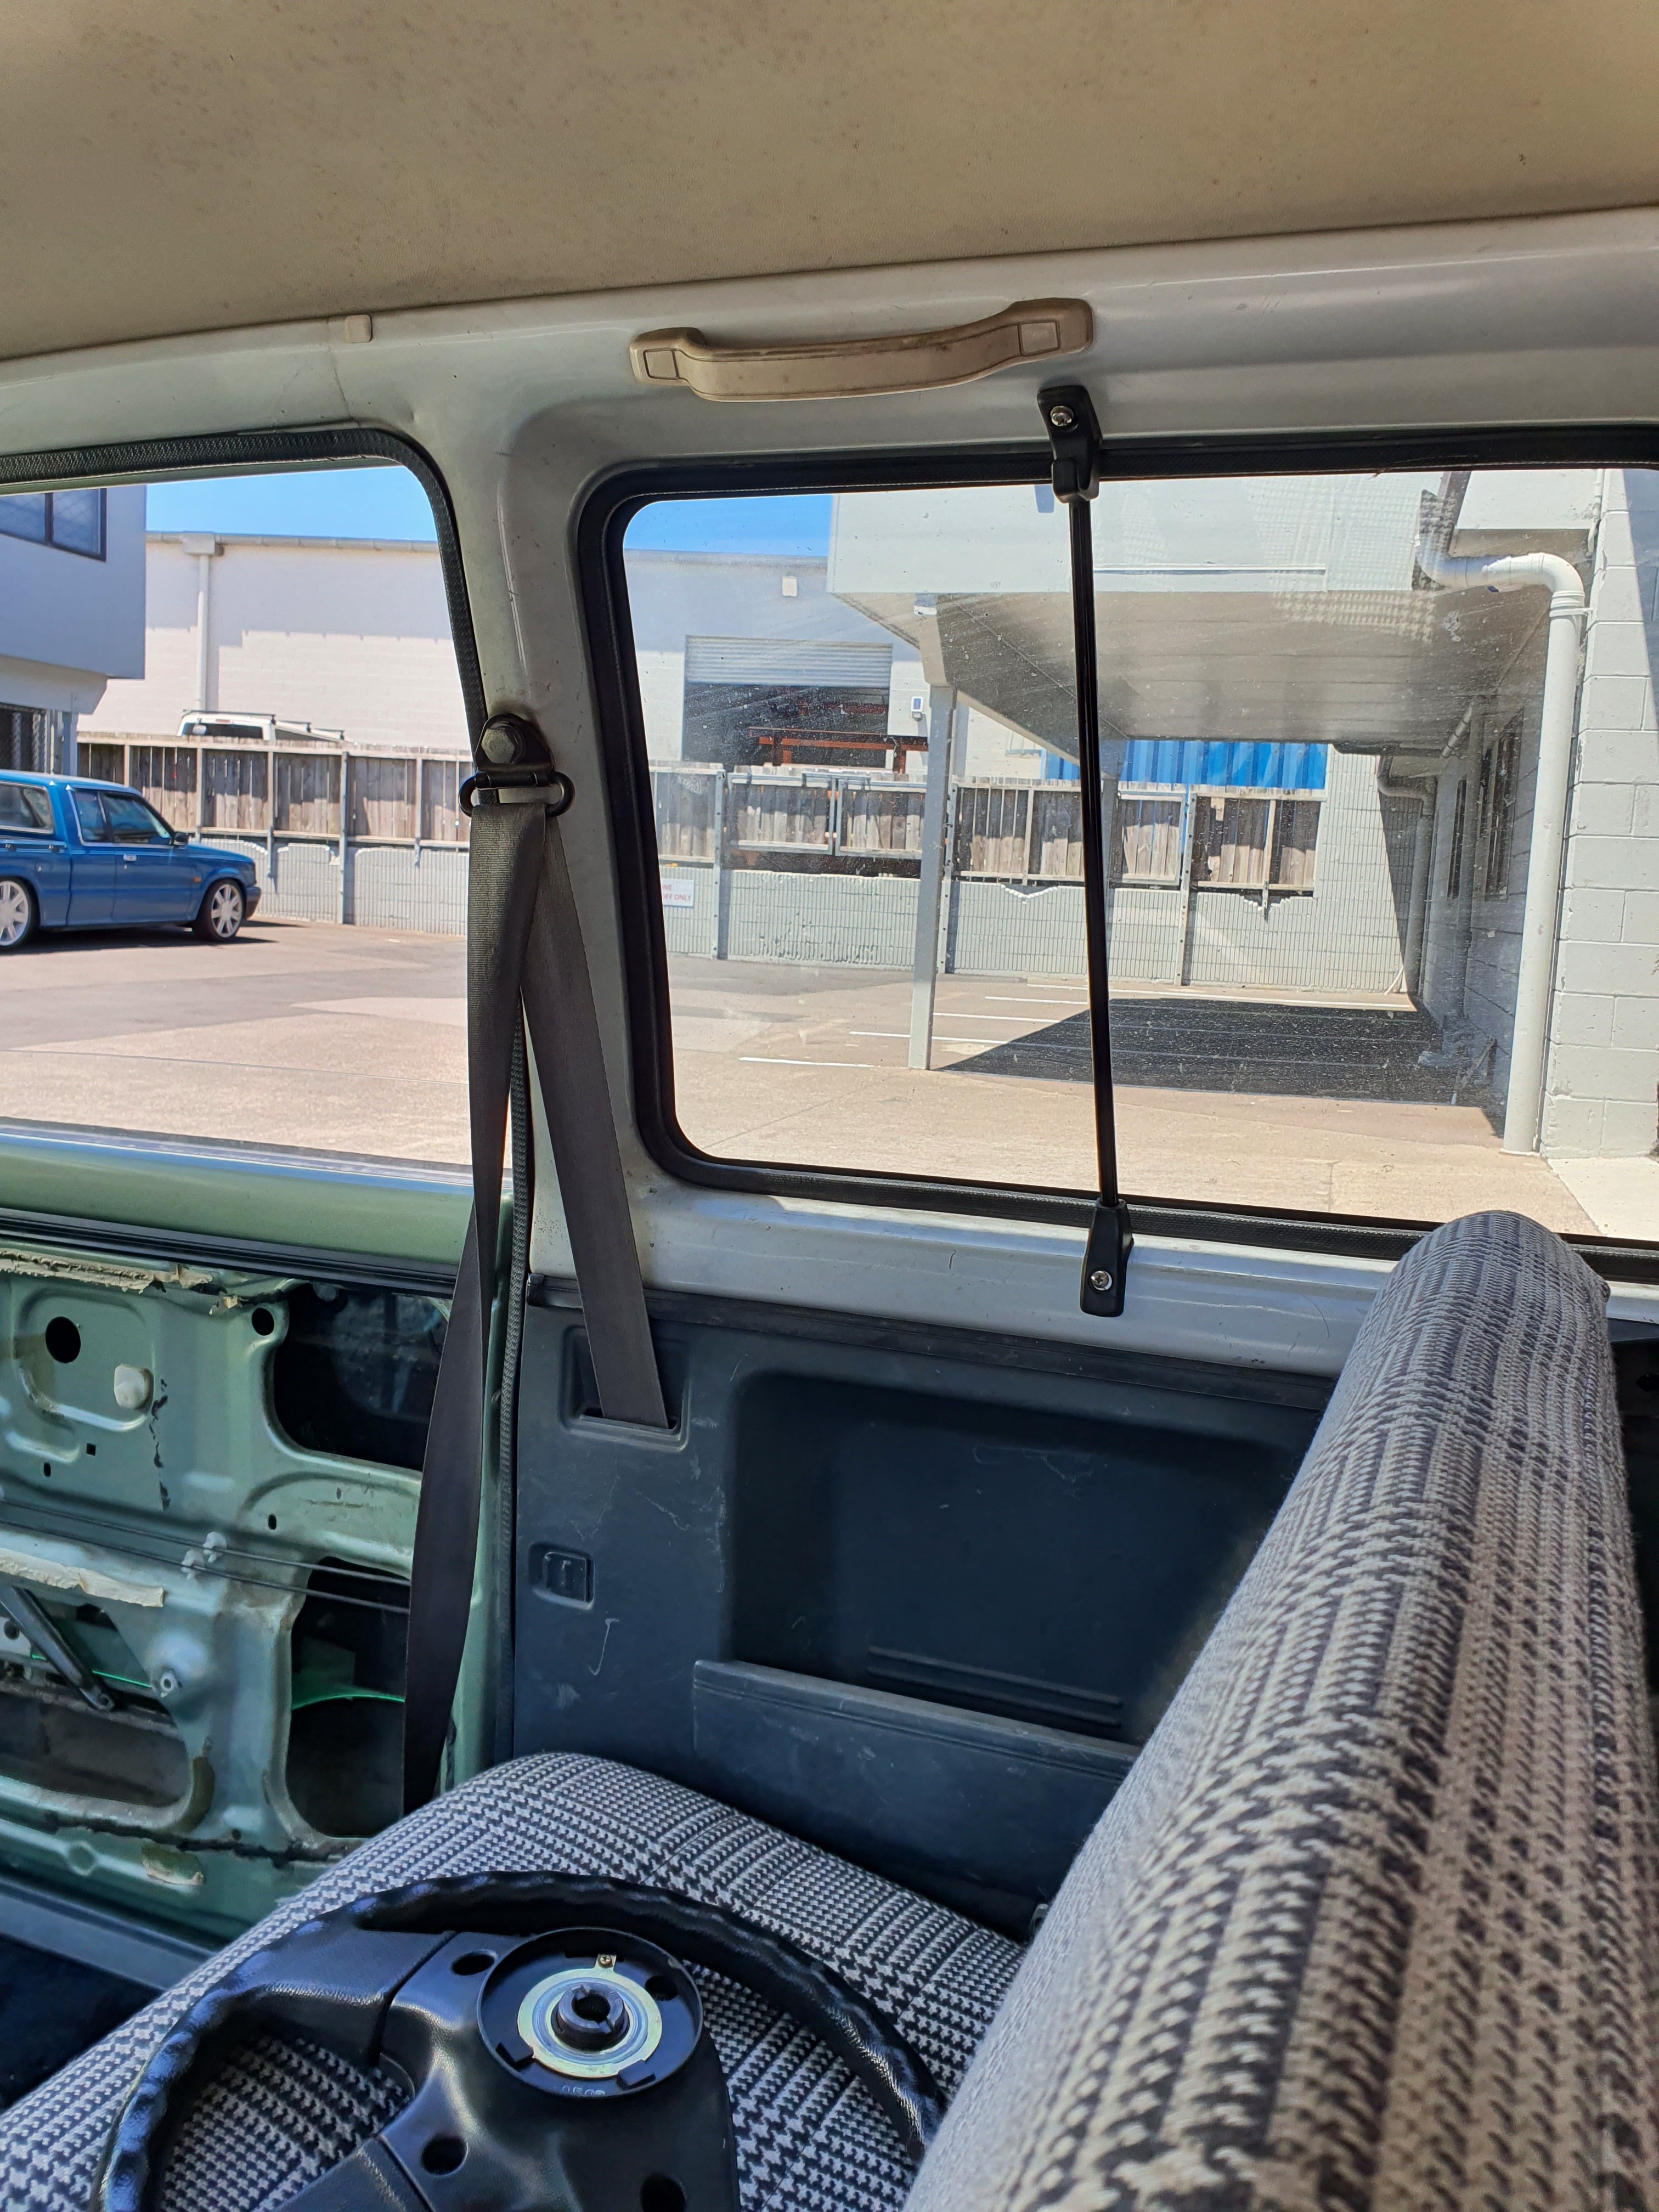
Another optional item is this rear cargo bar setup. They were a standard part in most Aussie Citys as they had rules around importing 'passenger' vehicles in the 80s, so they got around it by importing the City Pro-T as a delivery van then the dealers would sell a rear seat as a separate item. Top pic shows the setup. I had a setup sent over incase I wanted to remove the rear seat so the dog could have room for activities. I got the fella to cut the bar that bolts in place of the seat mounts in half easier postage. For now I just decided to mount the window bars for the hell of it. Once again, a couple of rivnuts each side got them locked in place. I think I mounted them a bit far forward compared to what they should be, but it works better for rear seat passengers and tilting seat forward.
-
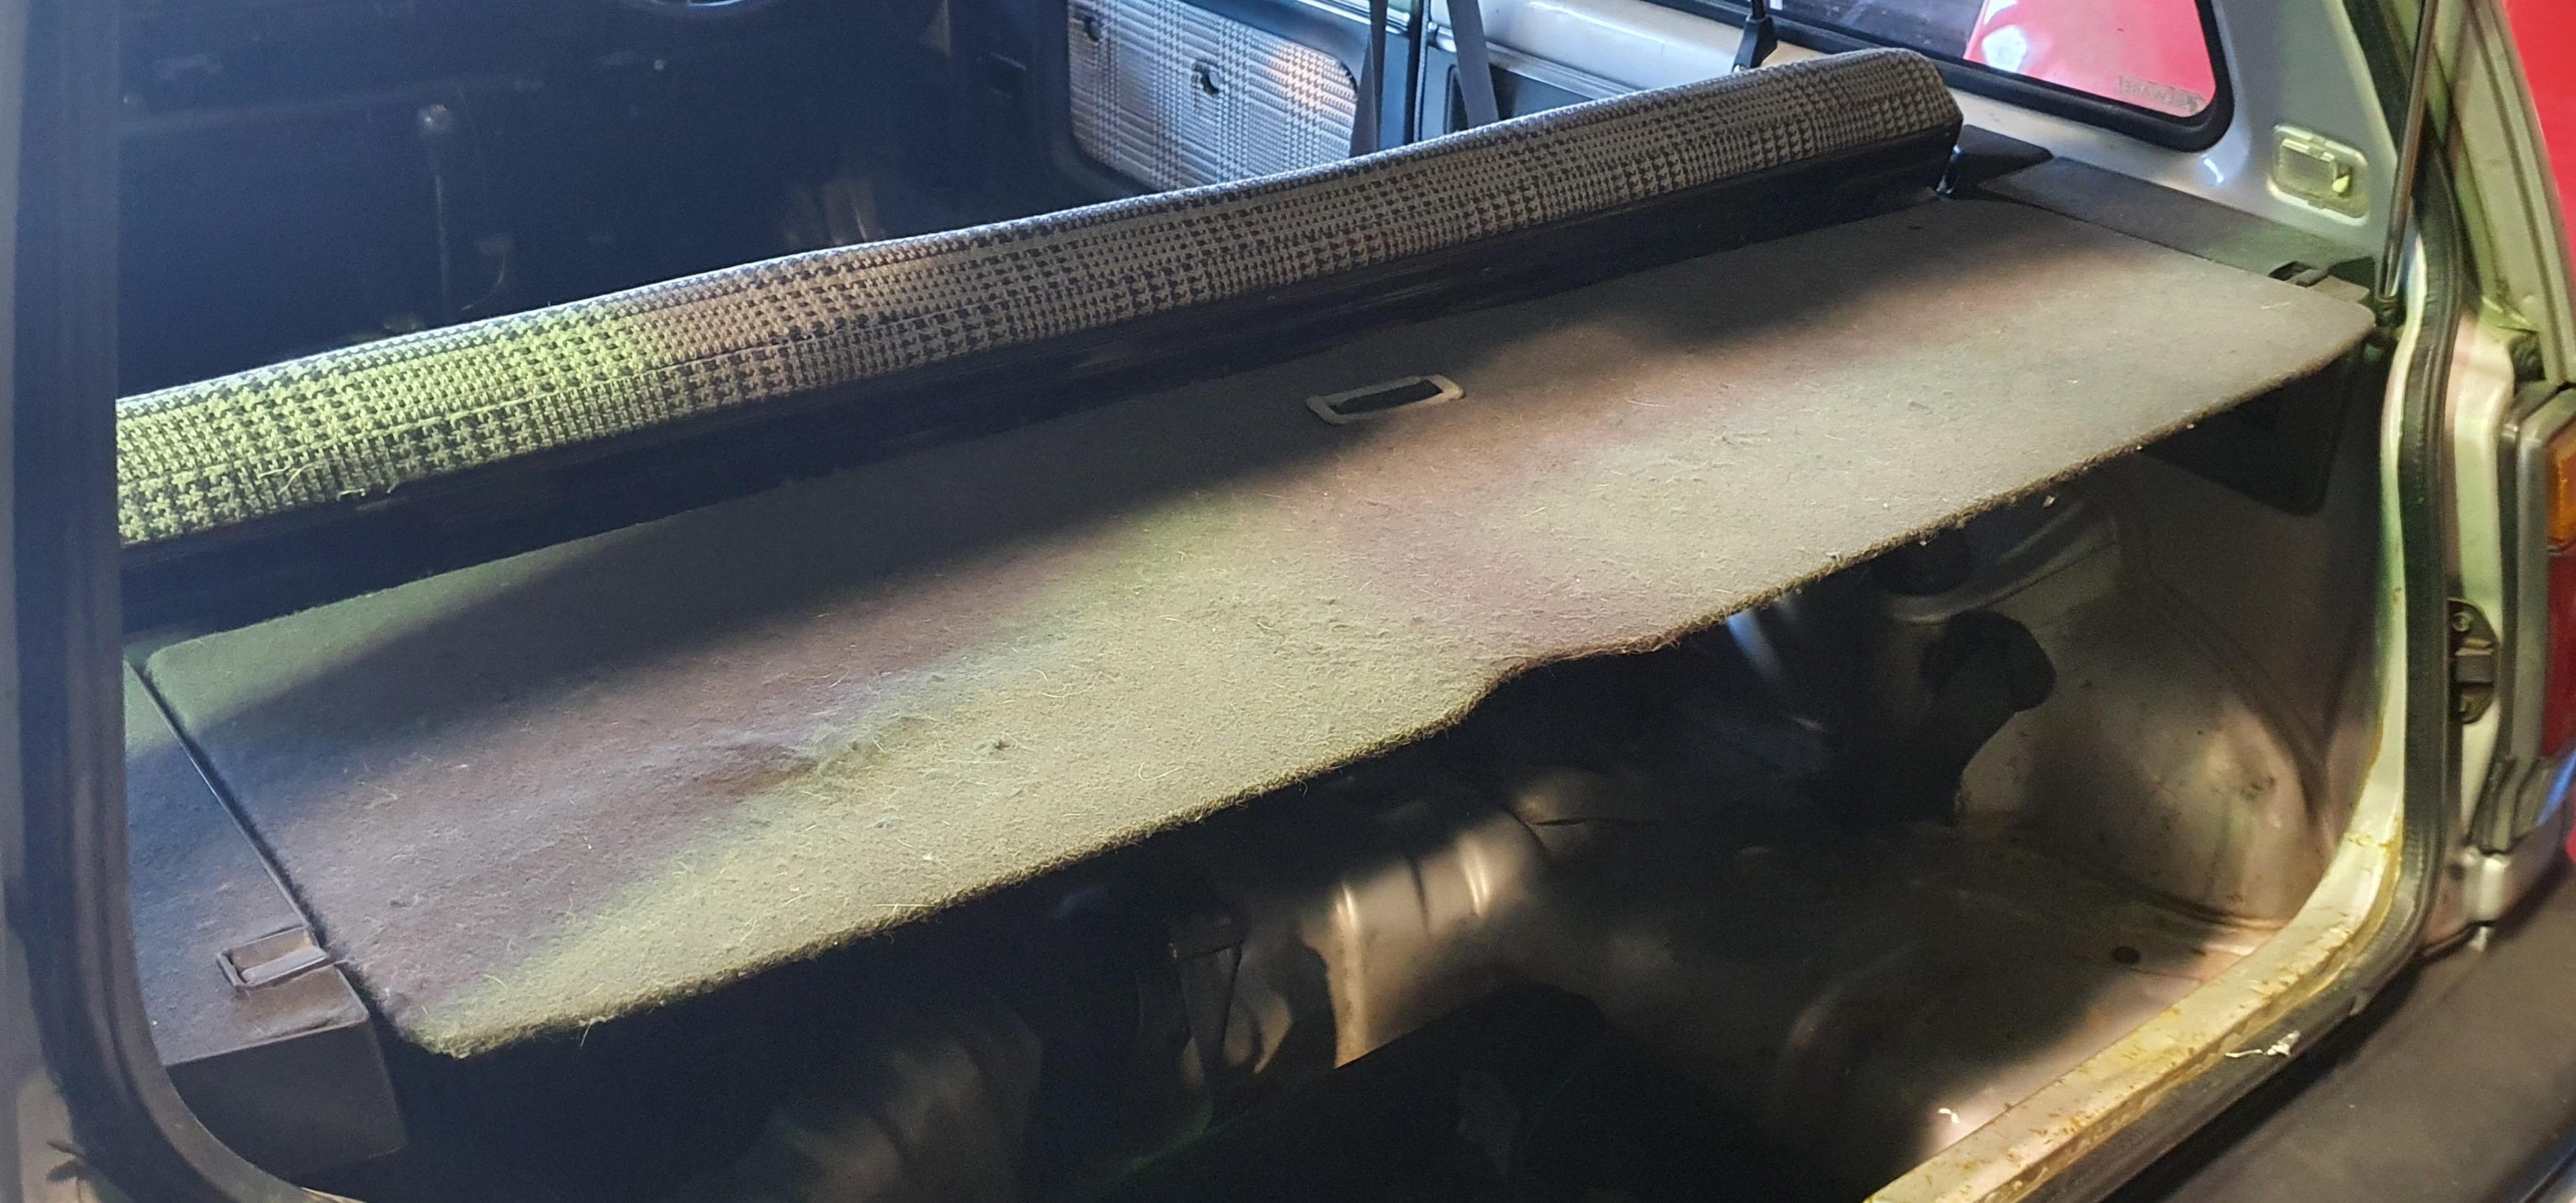
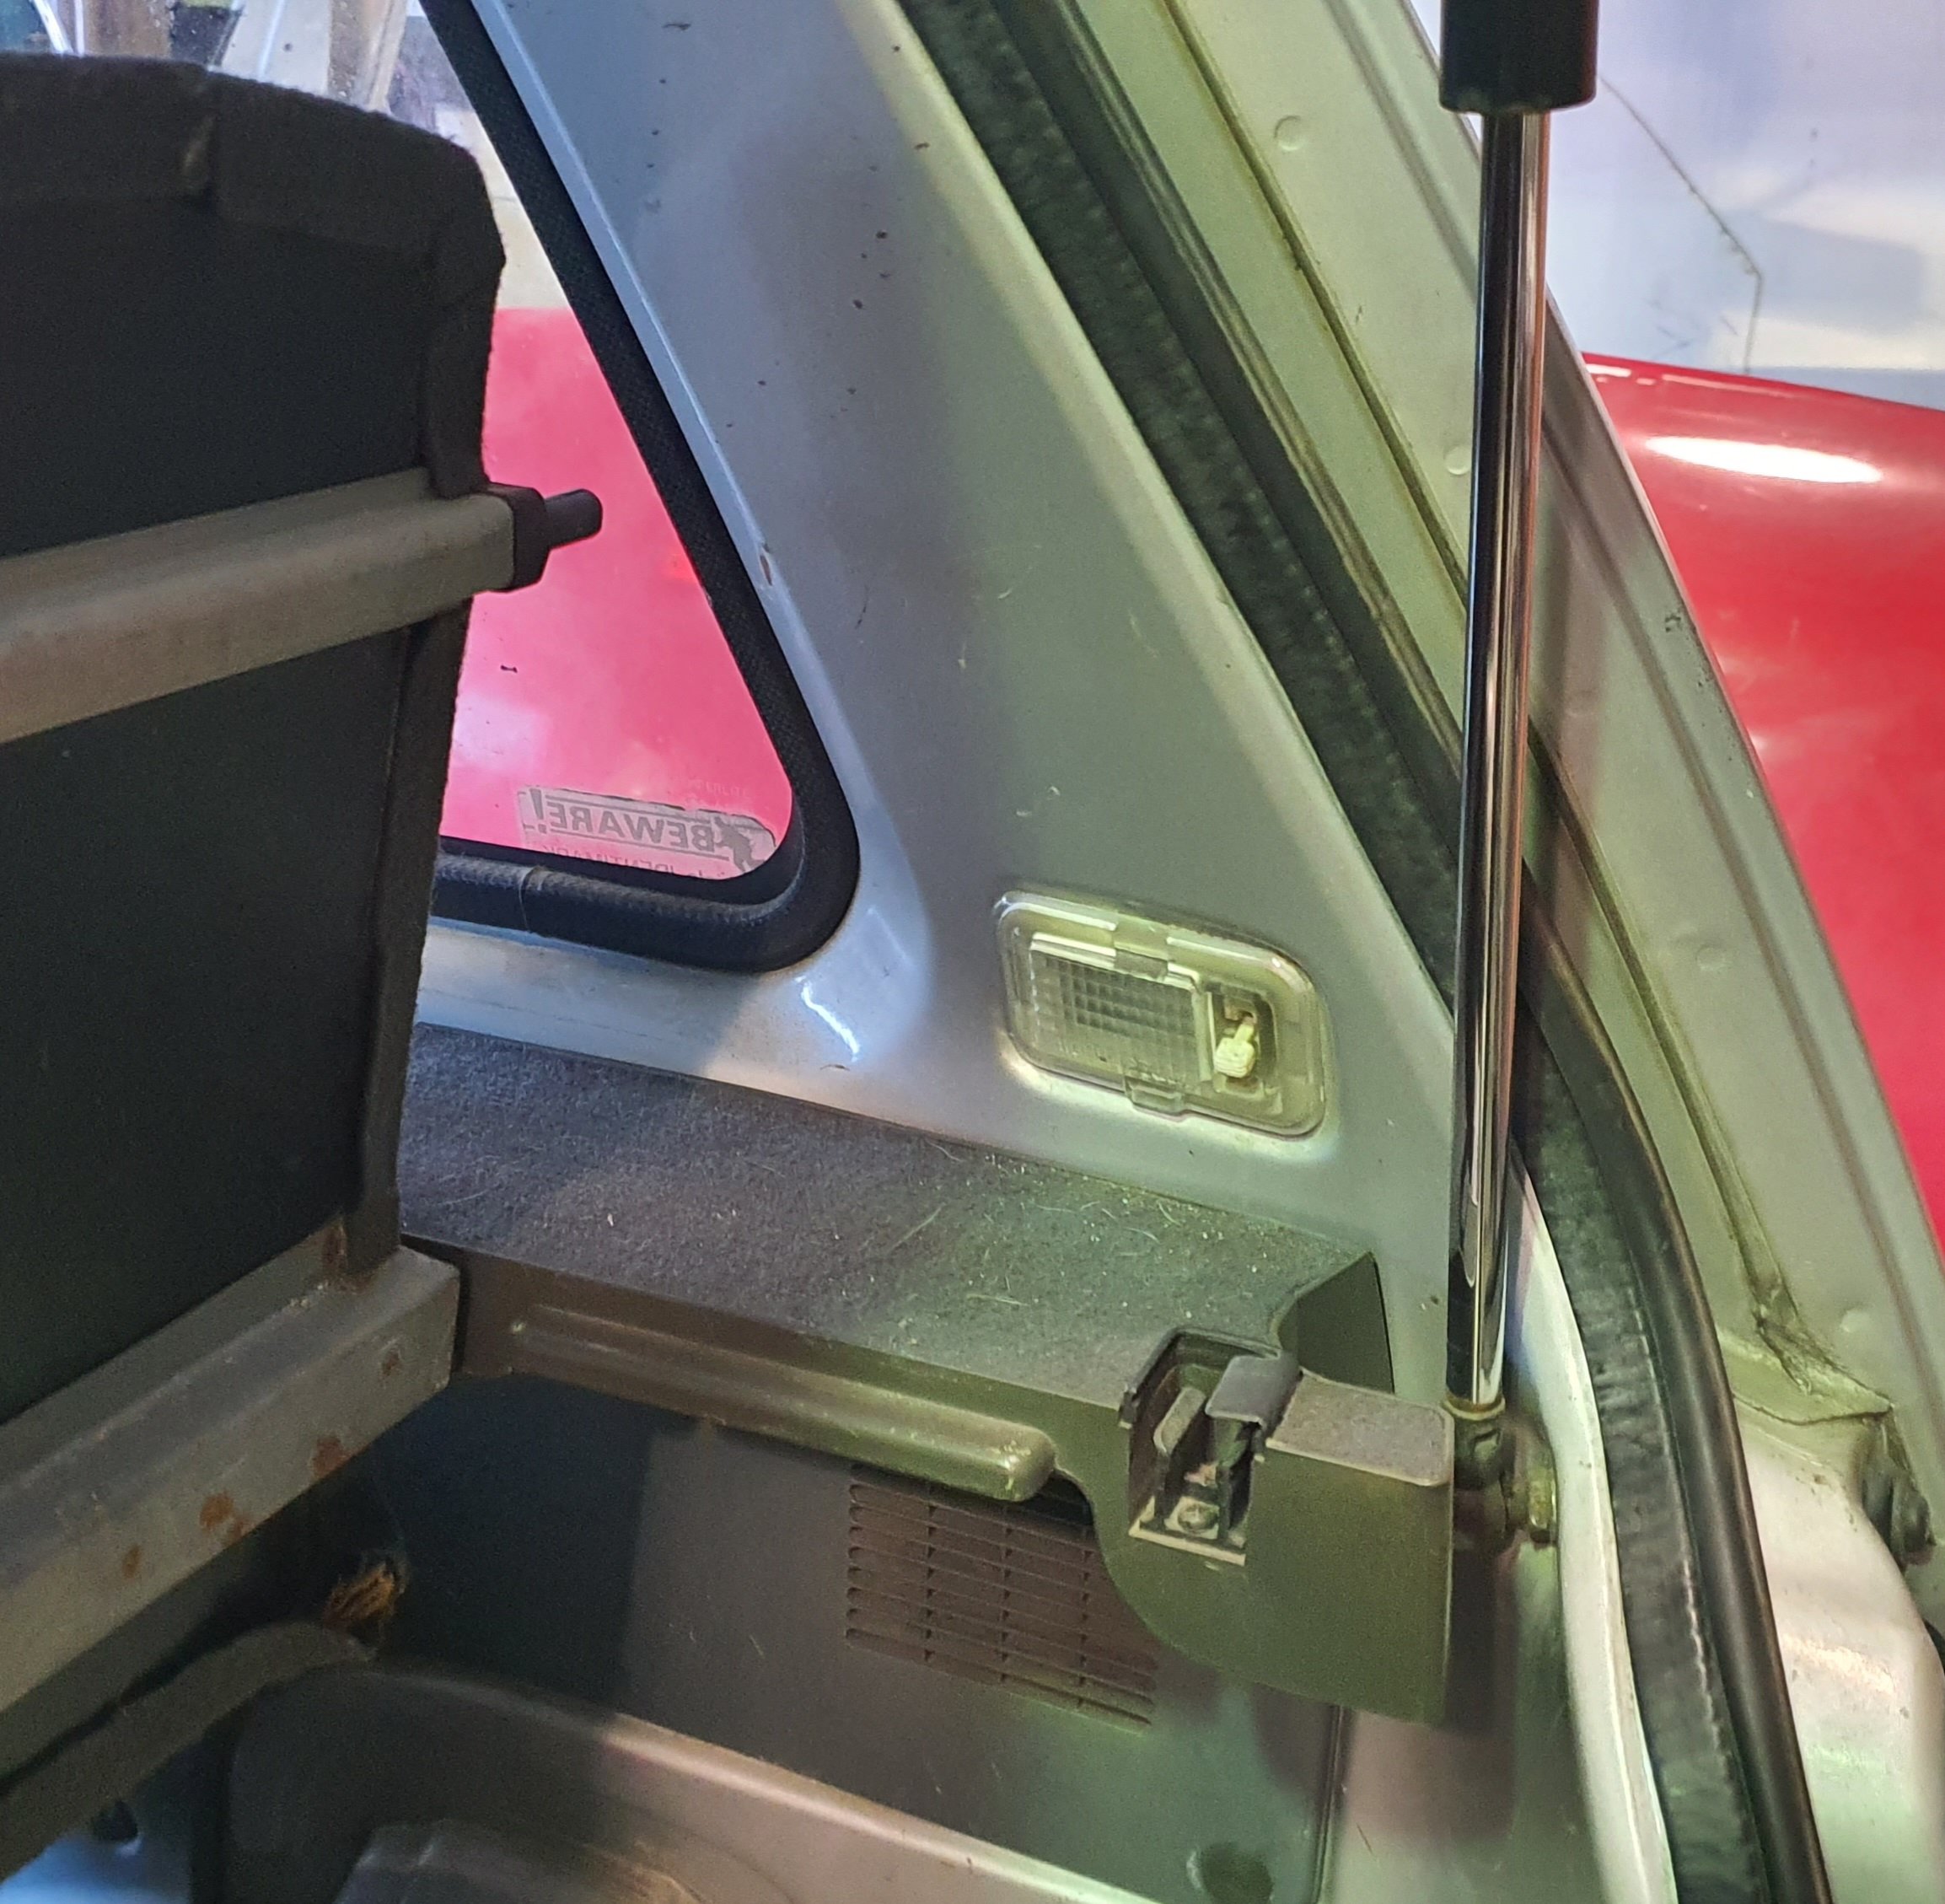
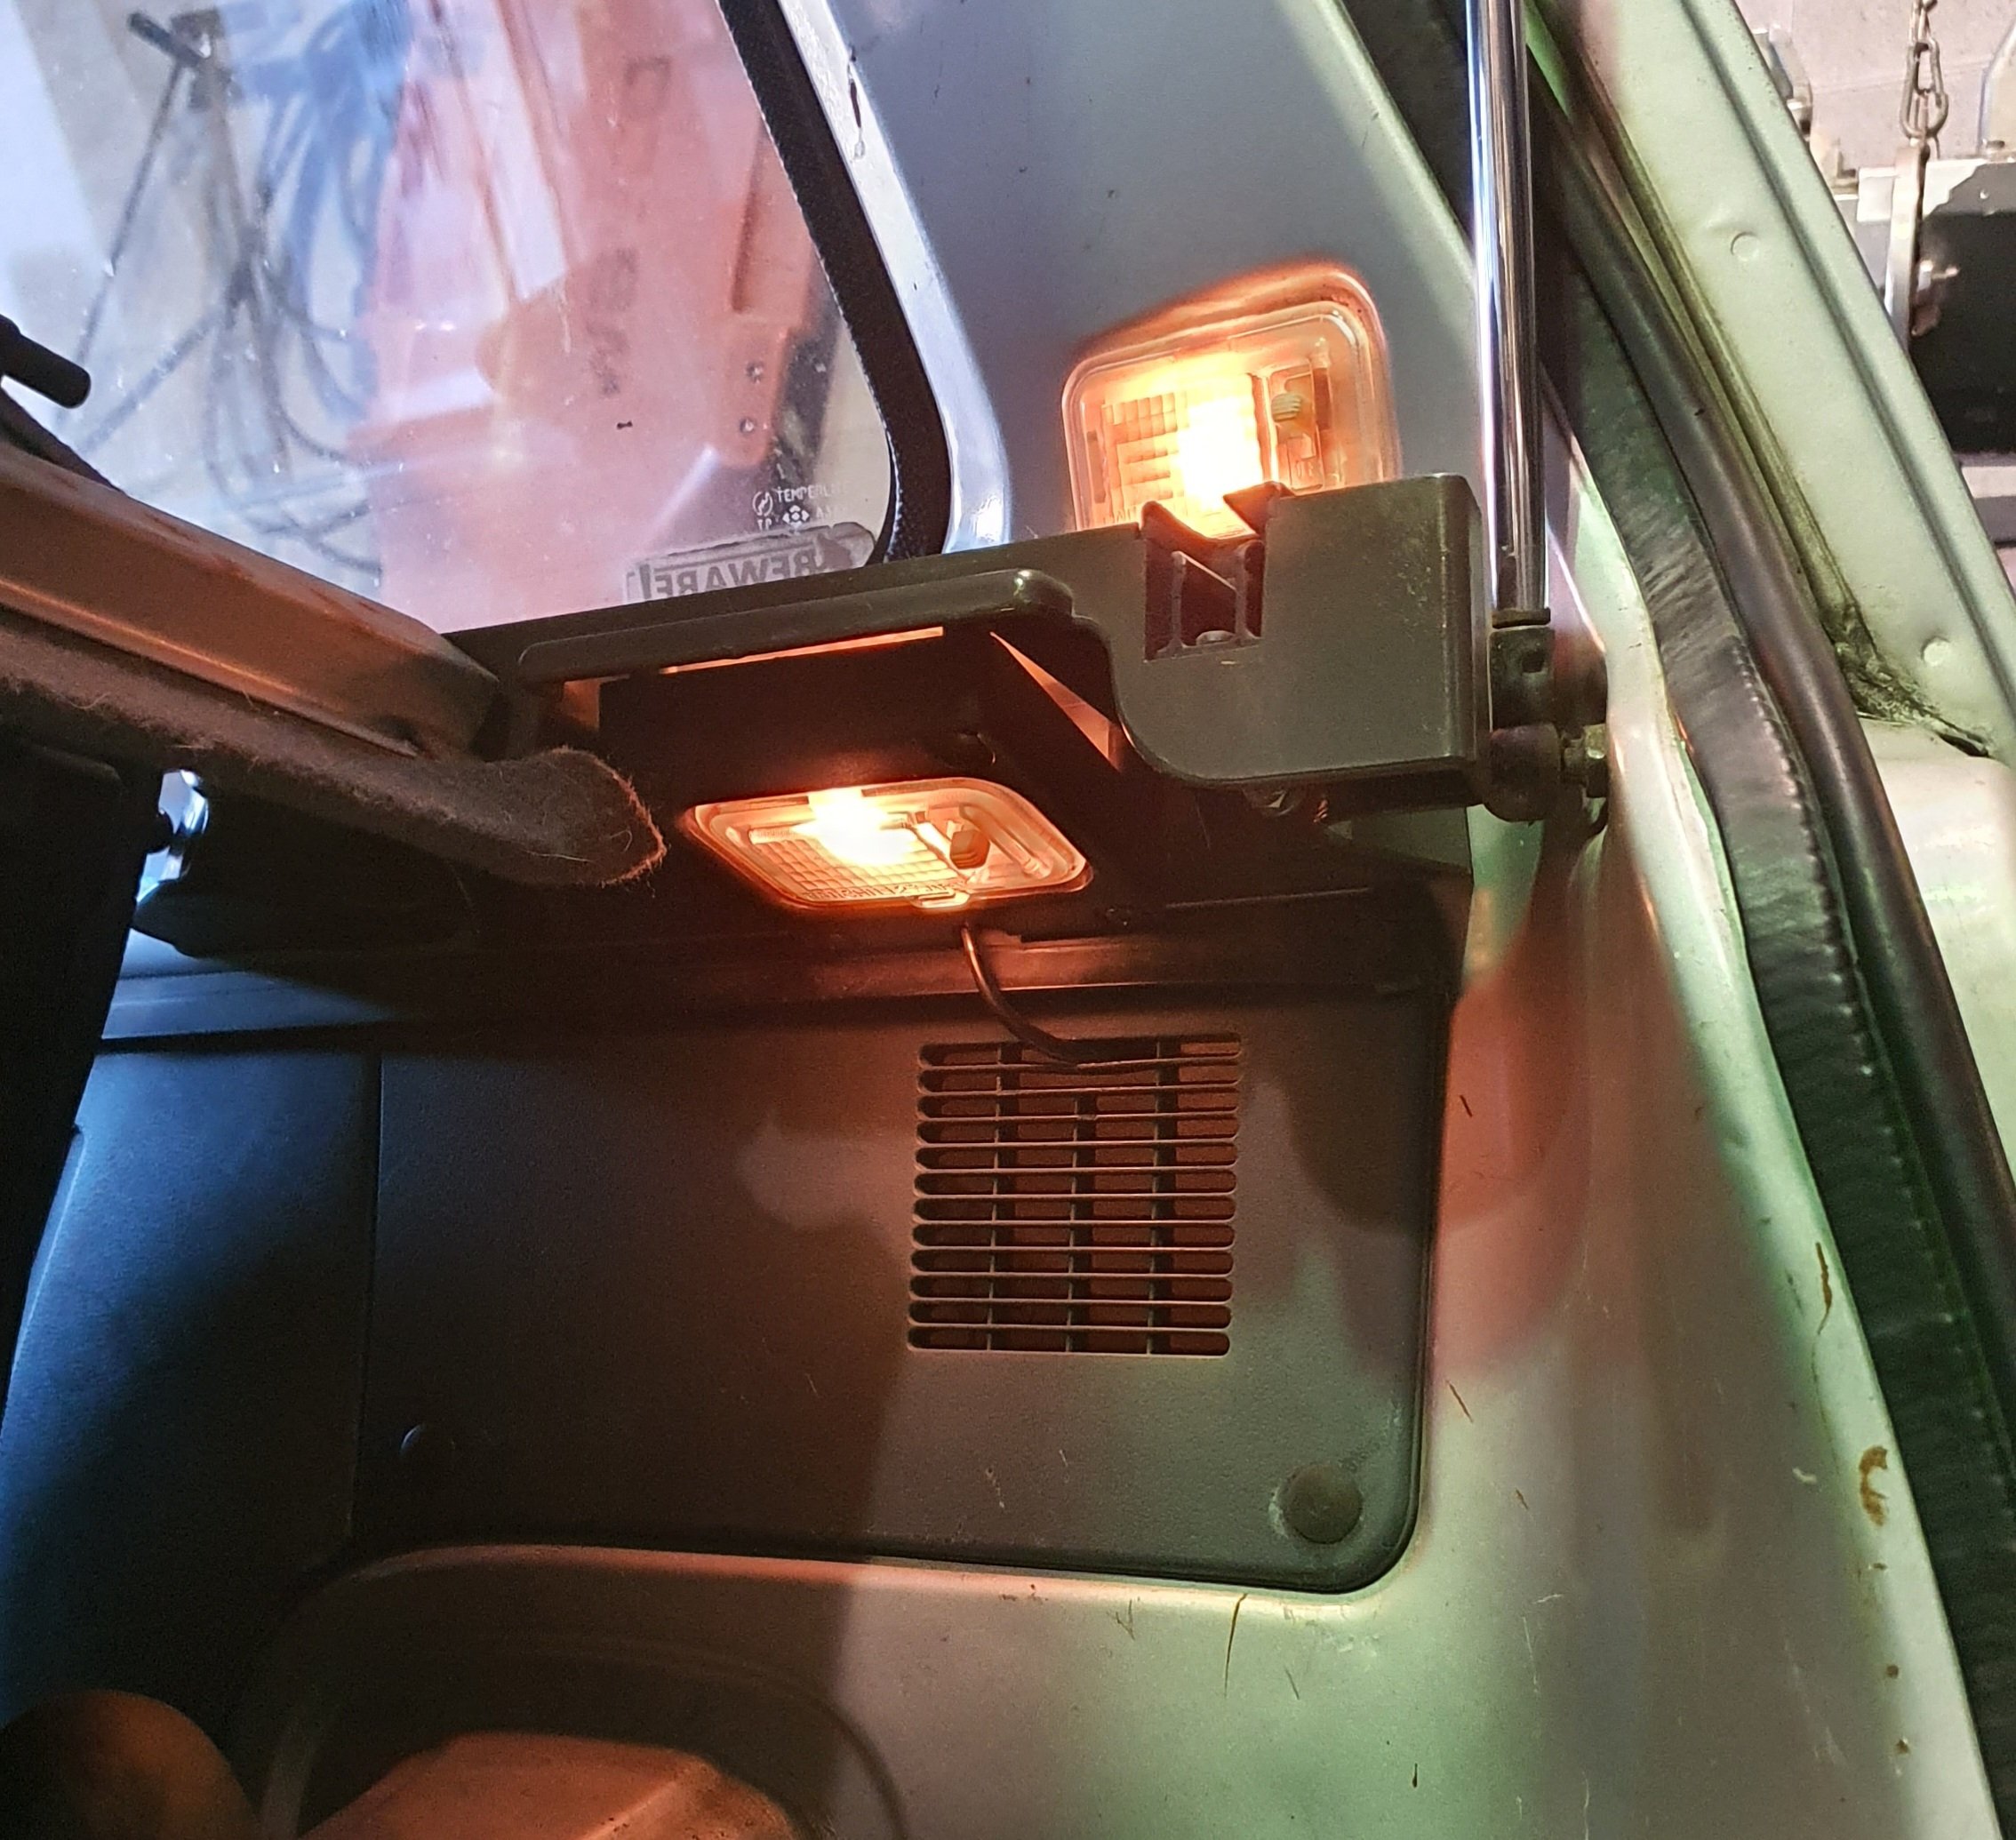
I've been collecting a few cool/rare/hard to find optional accessories for these cars over the years. One of them is this parcel shelf. As this car wasn't ordered with a parcel shelf it didn't have mounting provisions for the outer brackets in the body, but a couple ruvnuts in each side solved that problem. A well thought-out feature with the parcel shelf is a relocated mount for the boot lamp. I had a spare, so I left the original in place on the 'C' pillar and made a piggyback loom off it to the 2nd lamp under parcel shelf.
-
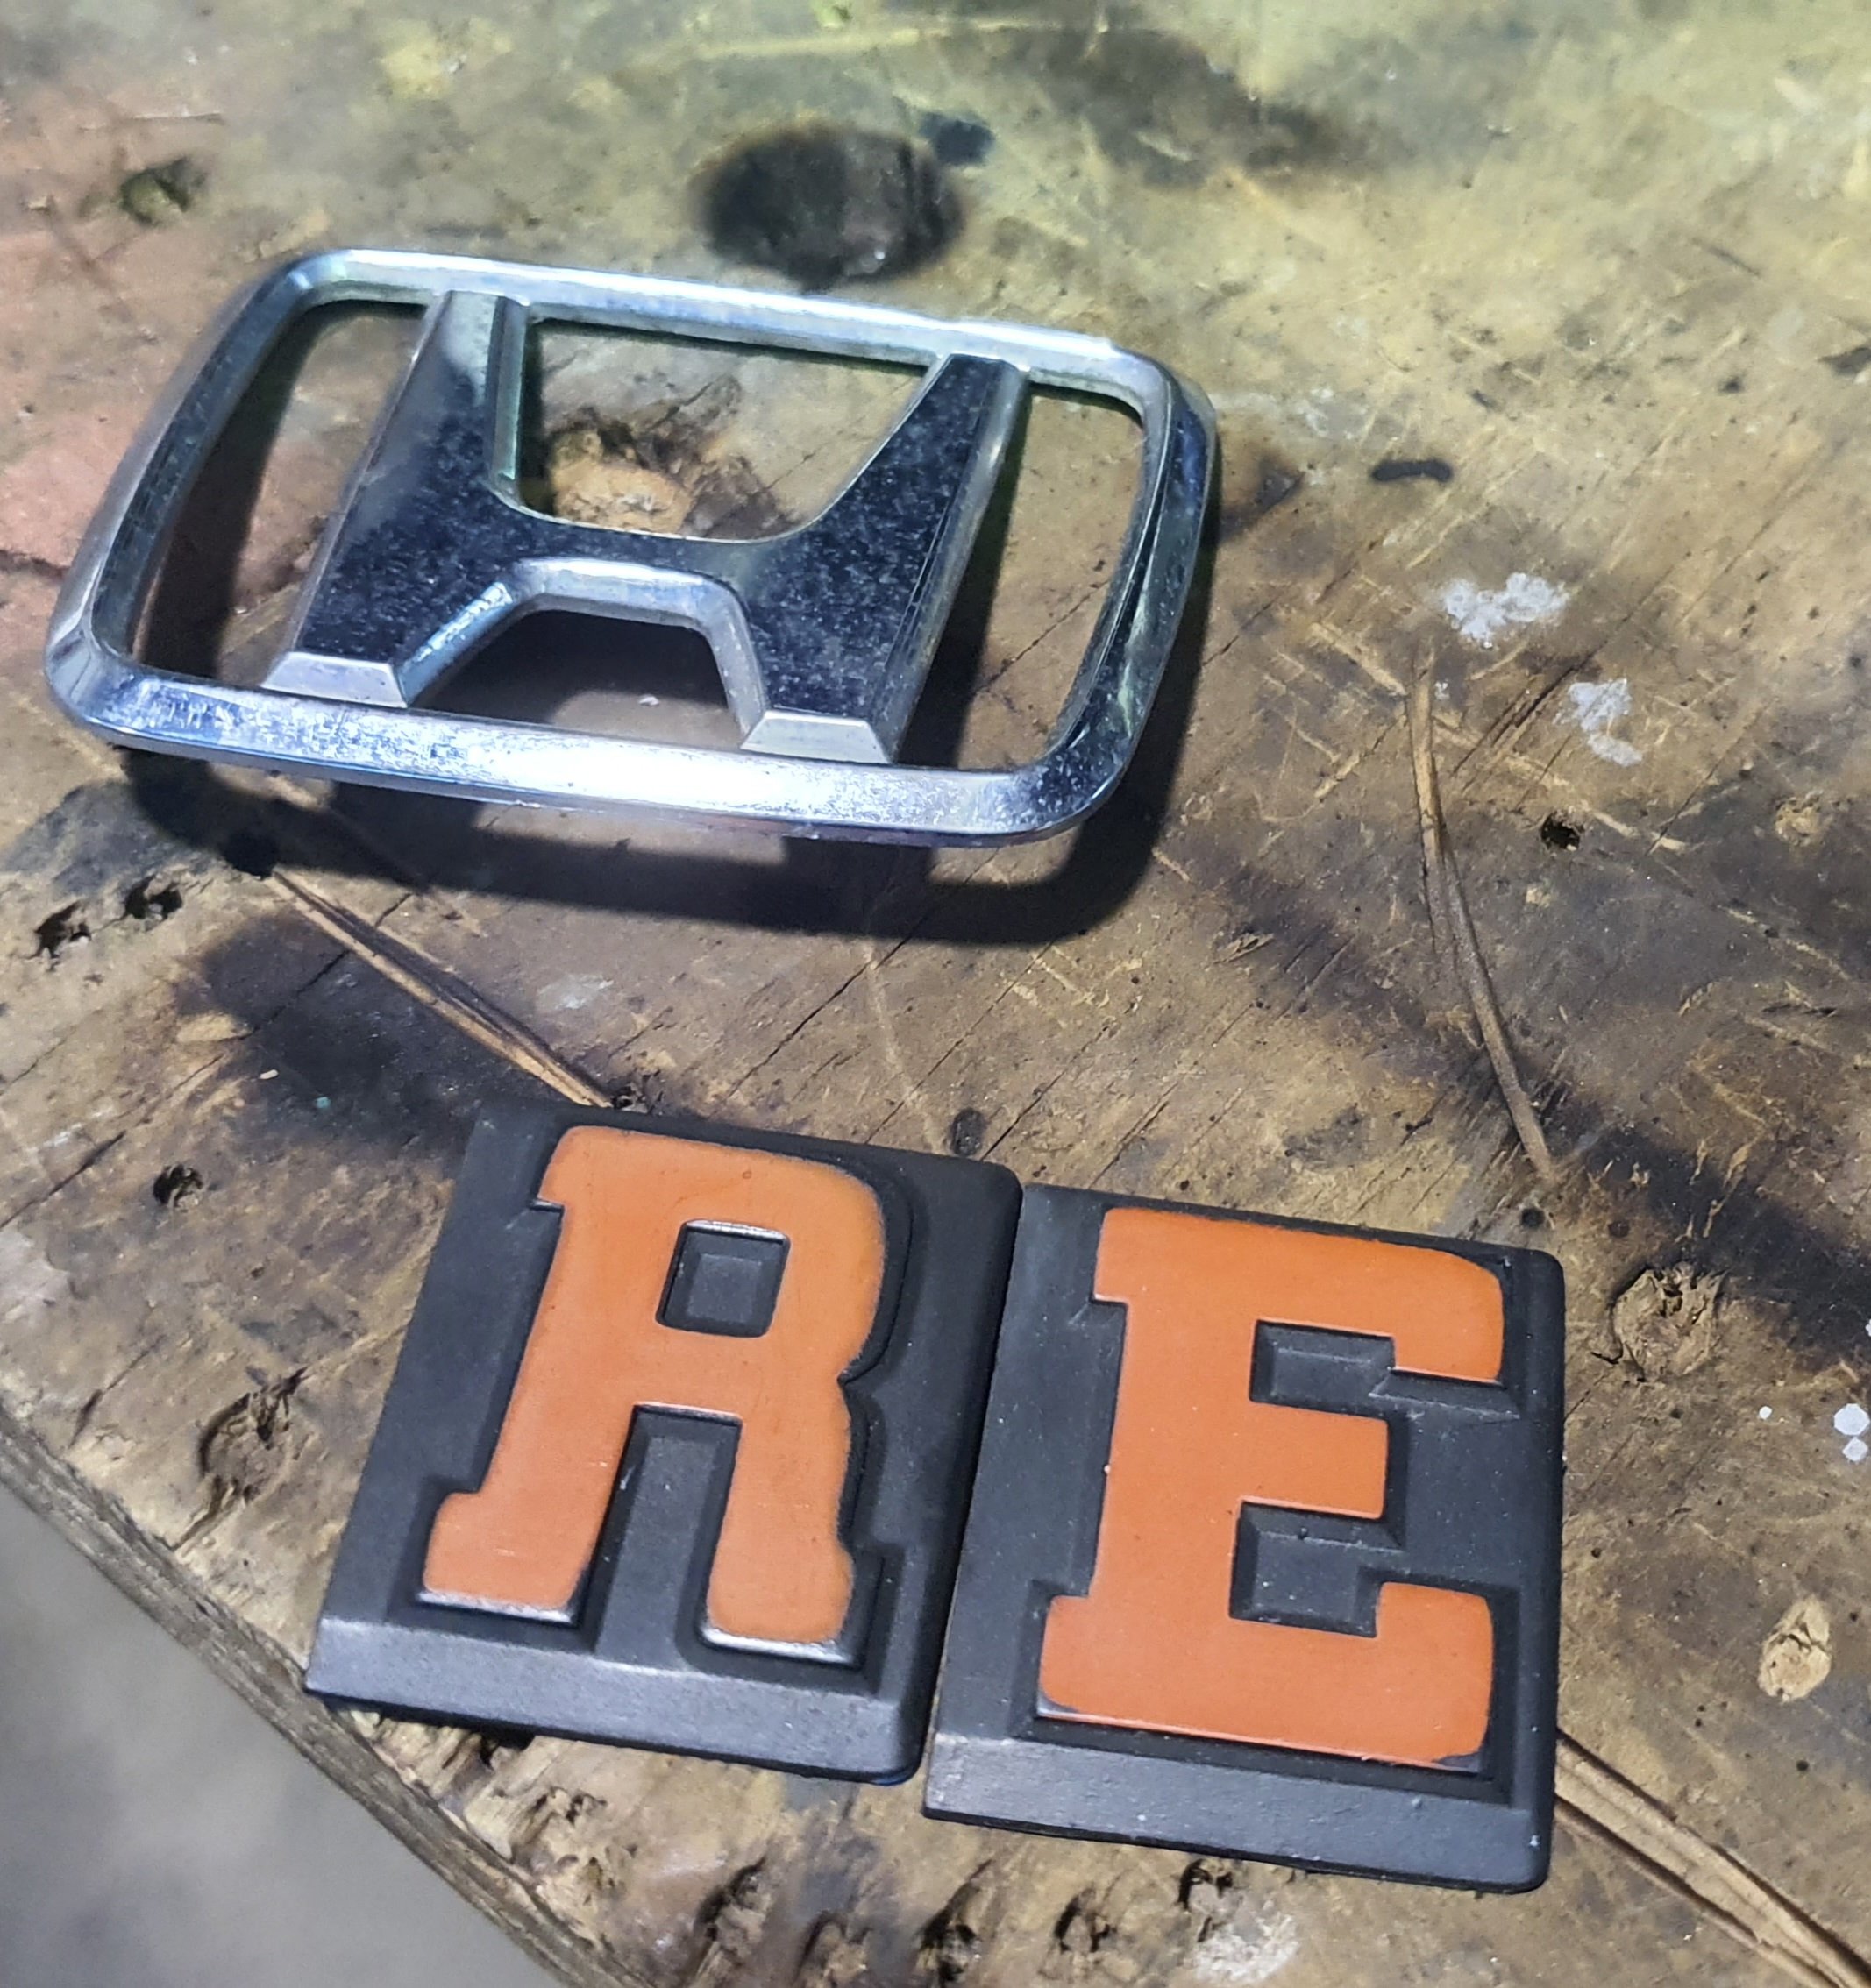
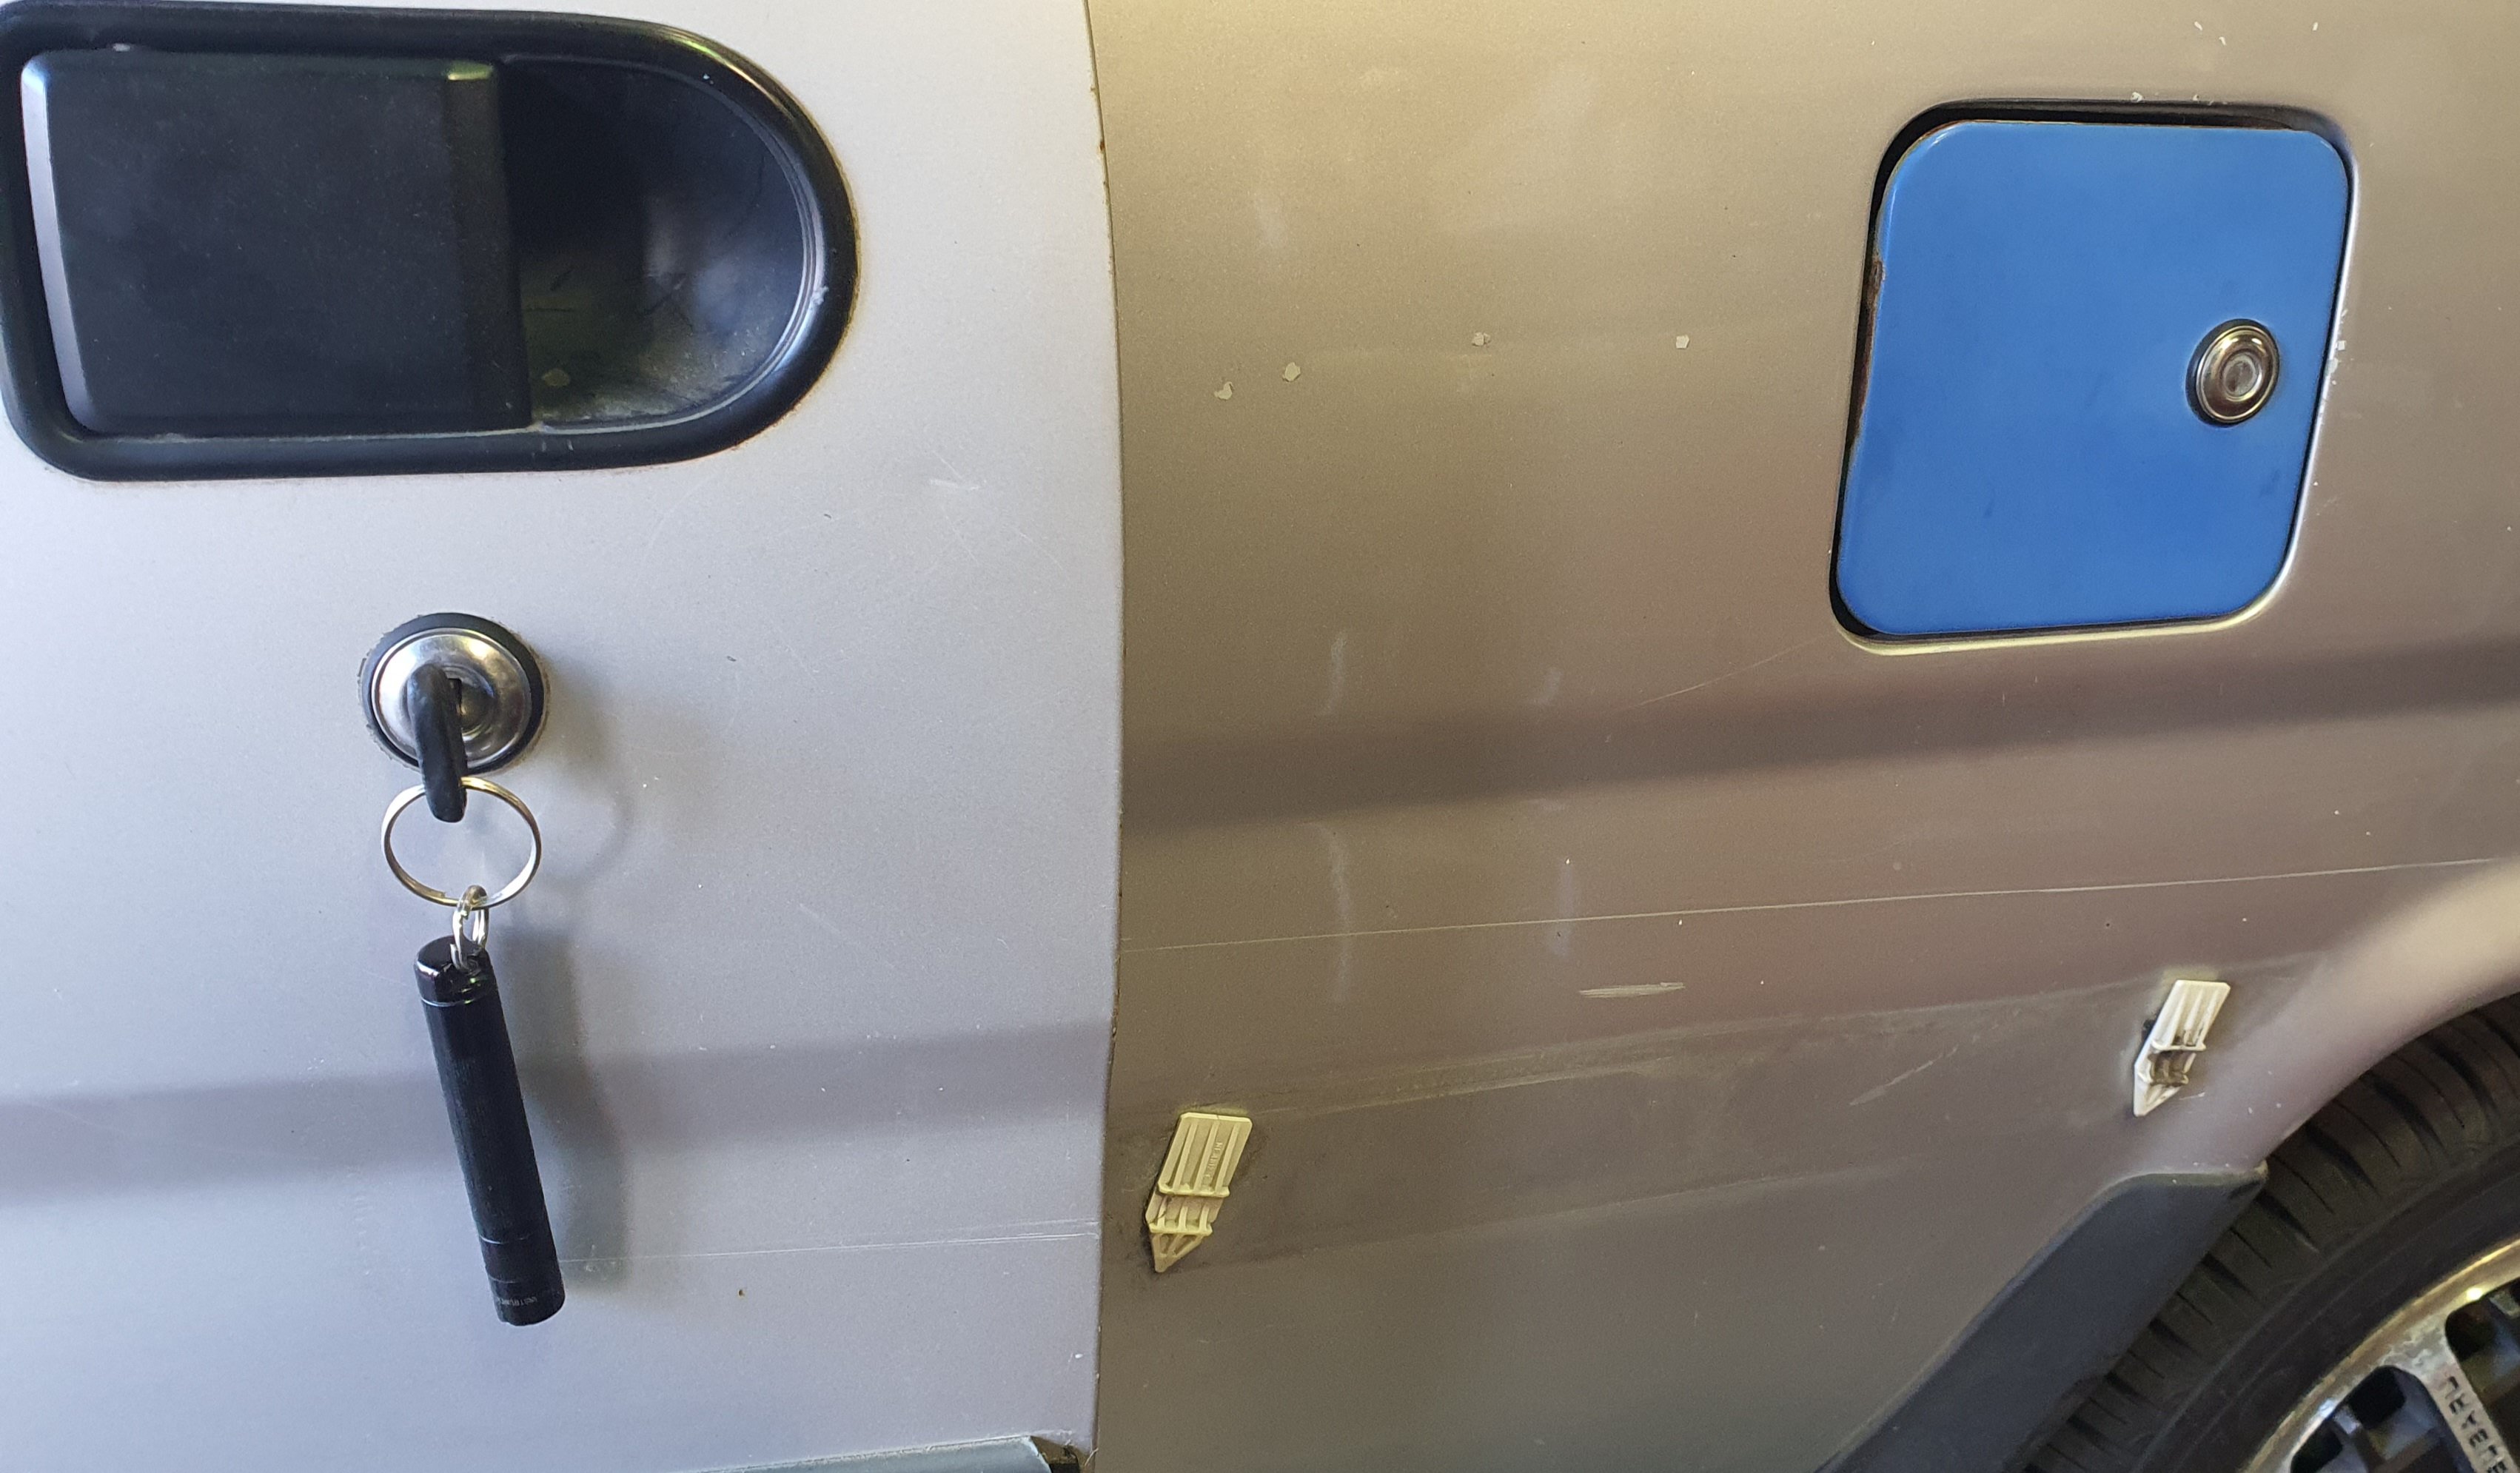
Started off by swapping out the rusty hatch, with a reasonable one I had stashed. Its a bit dented but is useable til I find a better one. It was just a bare shell so had to swap all the guts and glass over which is actually a bit of pain in the ass on these. I knew there are a couple different types of latch which are totally different but luckily the white hatch, which is from an Nz new CityE, shared the same type as the original CityR/Manhattan in this instance. I did however learn that the original cityR 'H' emblem is smaller and the locating pin spacing doesn't suit the CityE hatch, but luckily I had one from my old T2 hatch which happened to match up. I need to get some double sided tape and fit it, as well as swapping out the 'E' for and 'R' badge, or maybe I should 12a swap it and make it a CityRE. I also started swapping over the door locks and fuel door & lock from blue car as they were all matching with an original Honda key and the manhattan locks were a bit damaged.
-
Yummy
- 178 replies
-
- 13
-
-

-
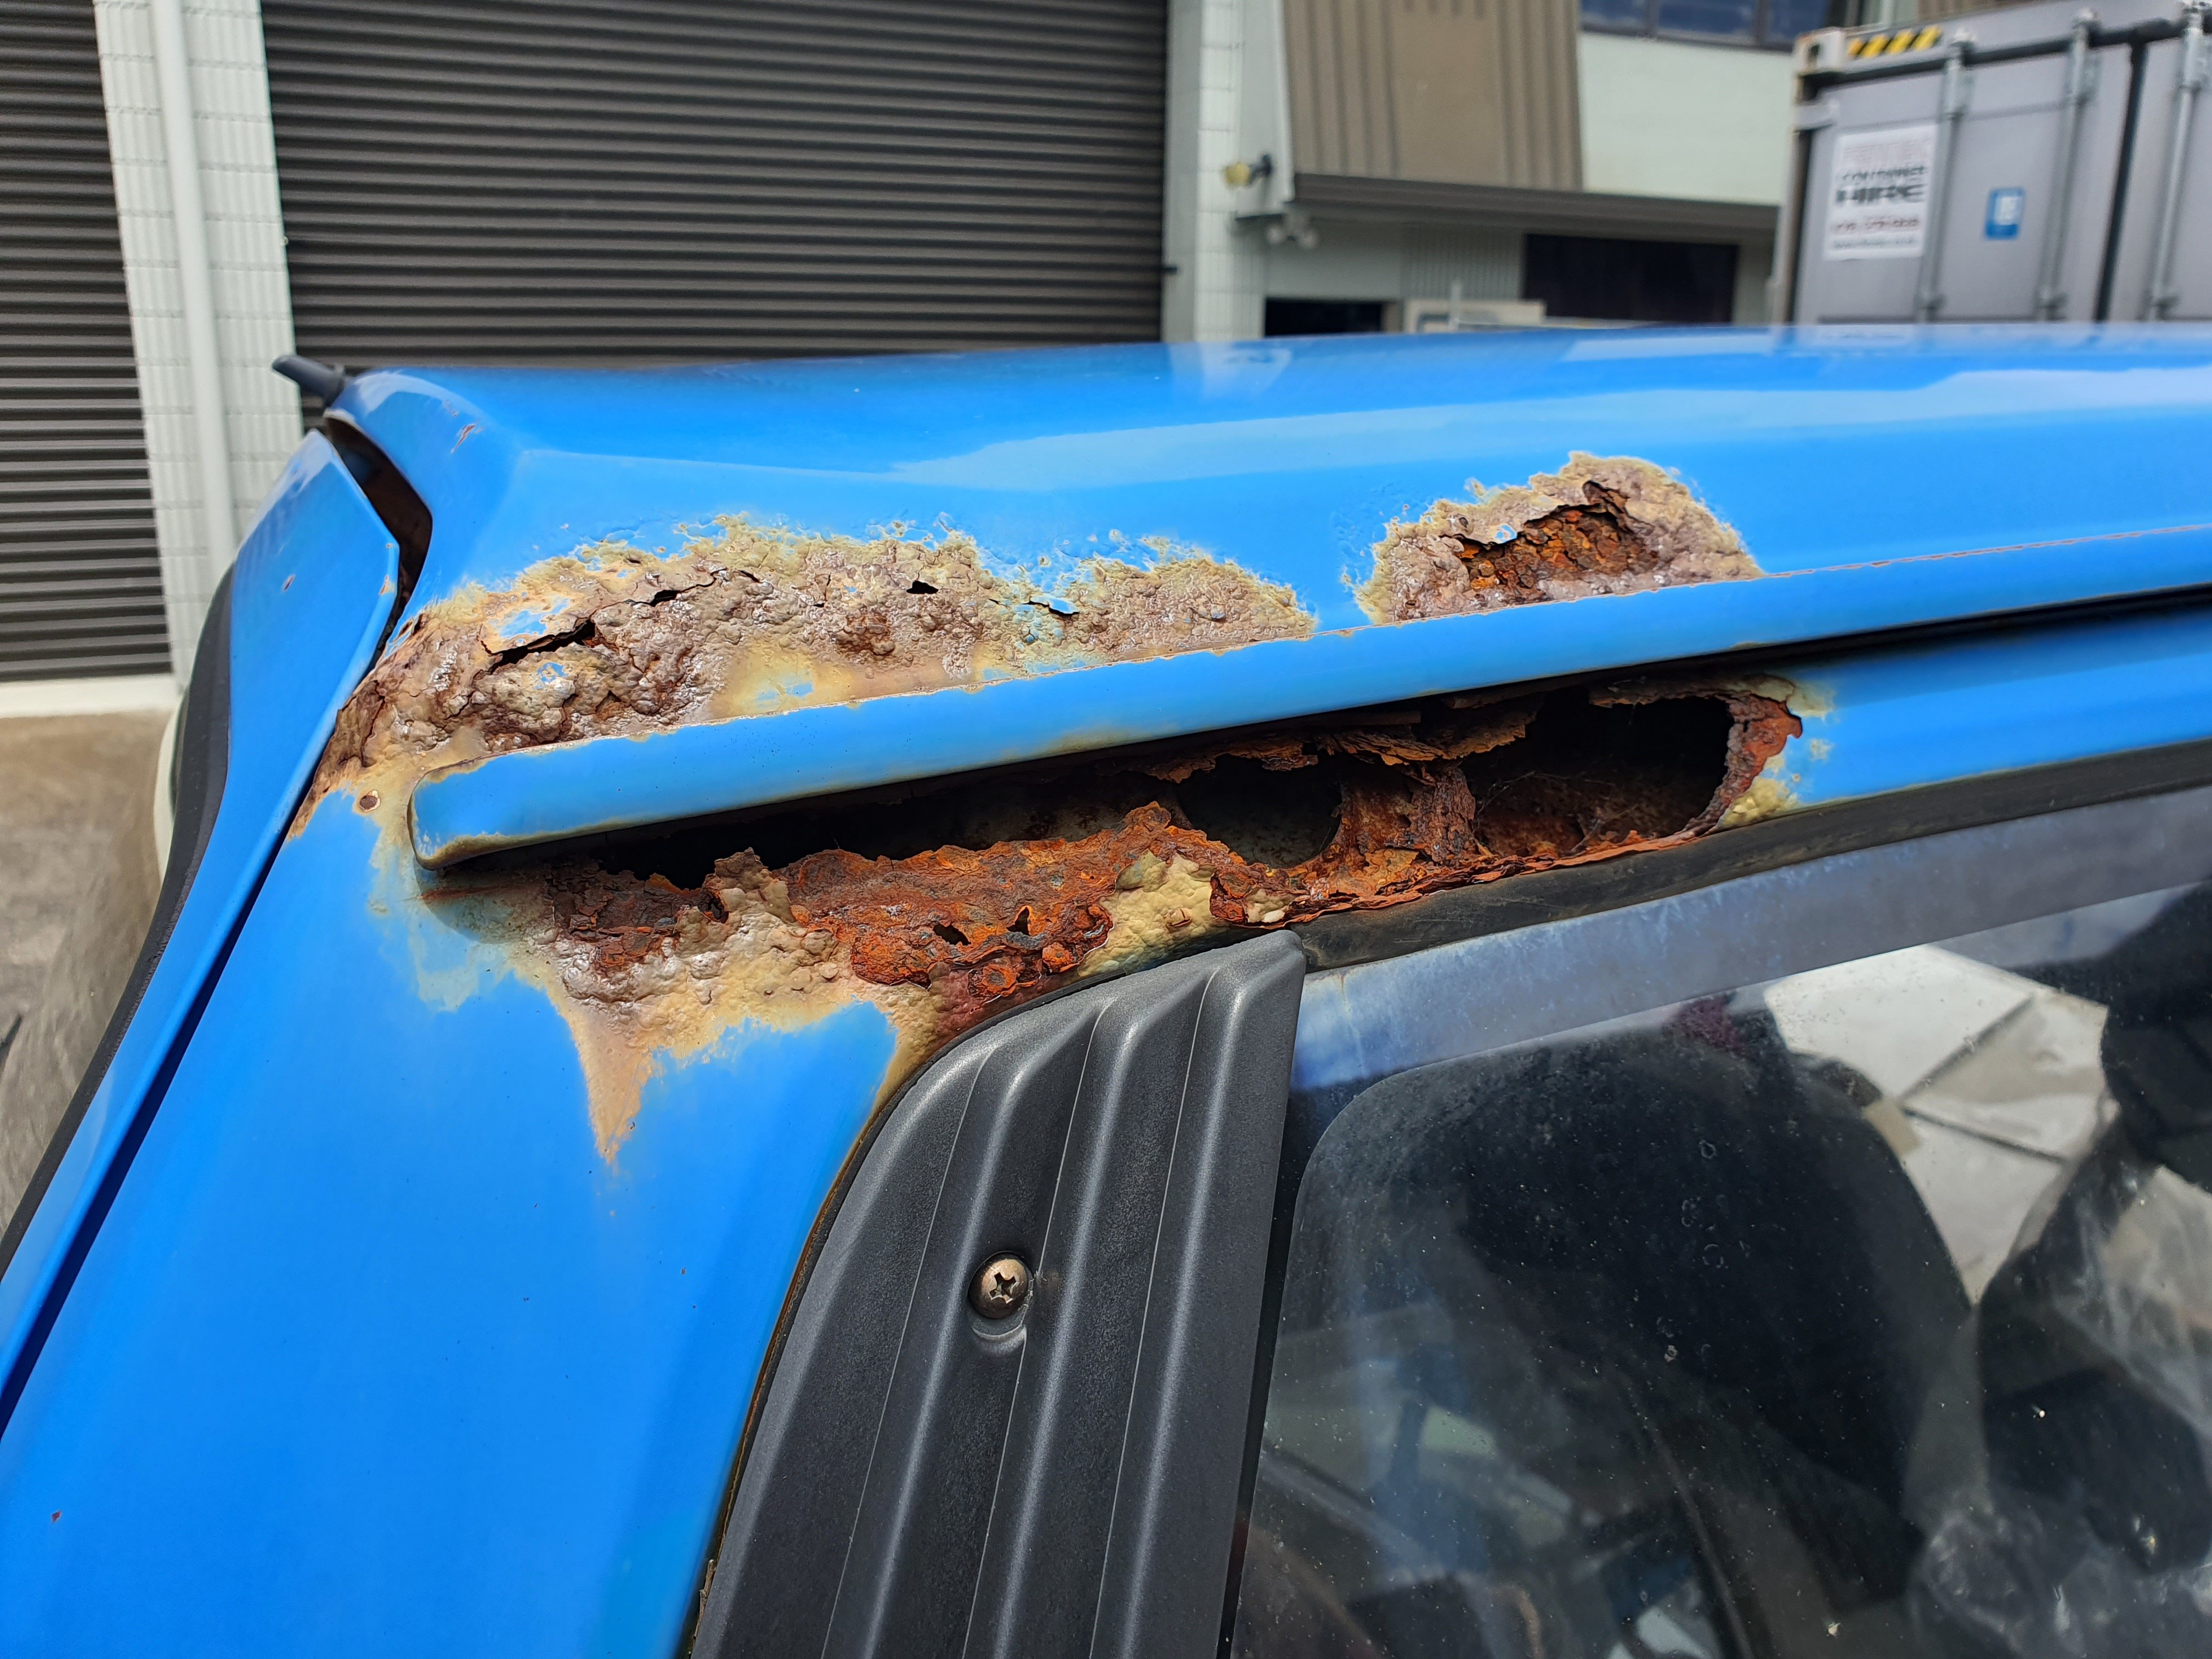
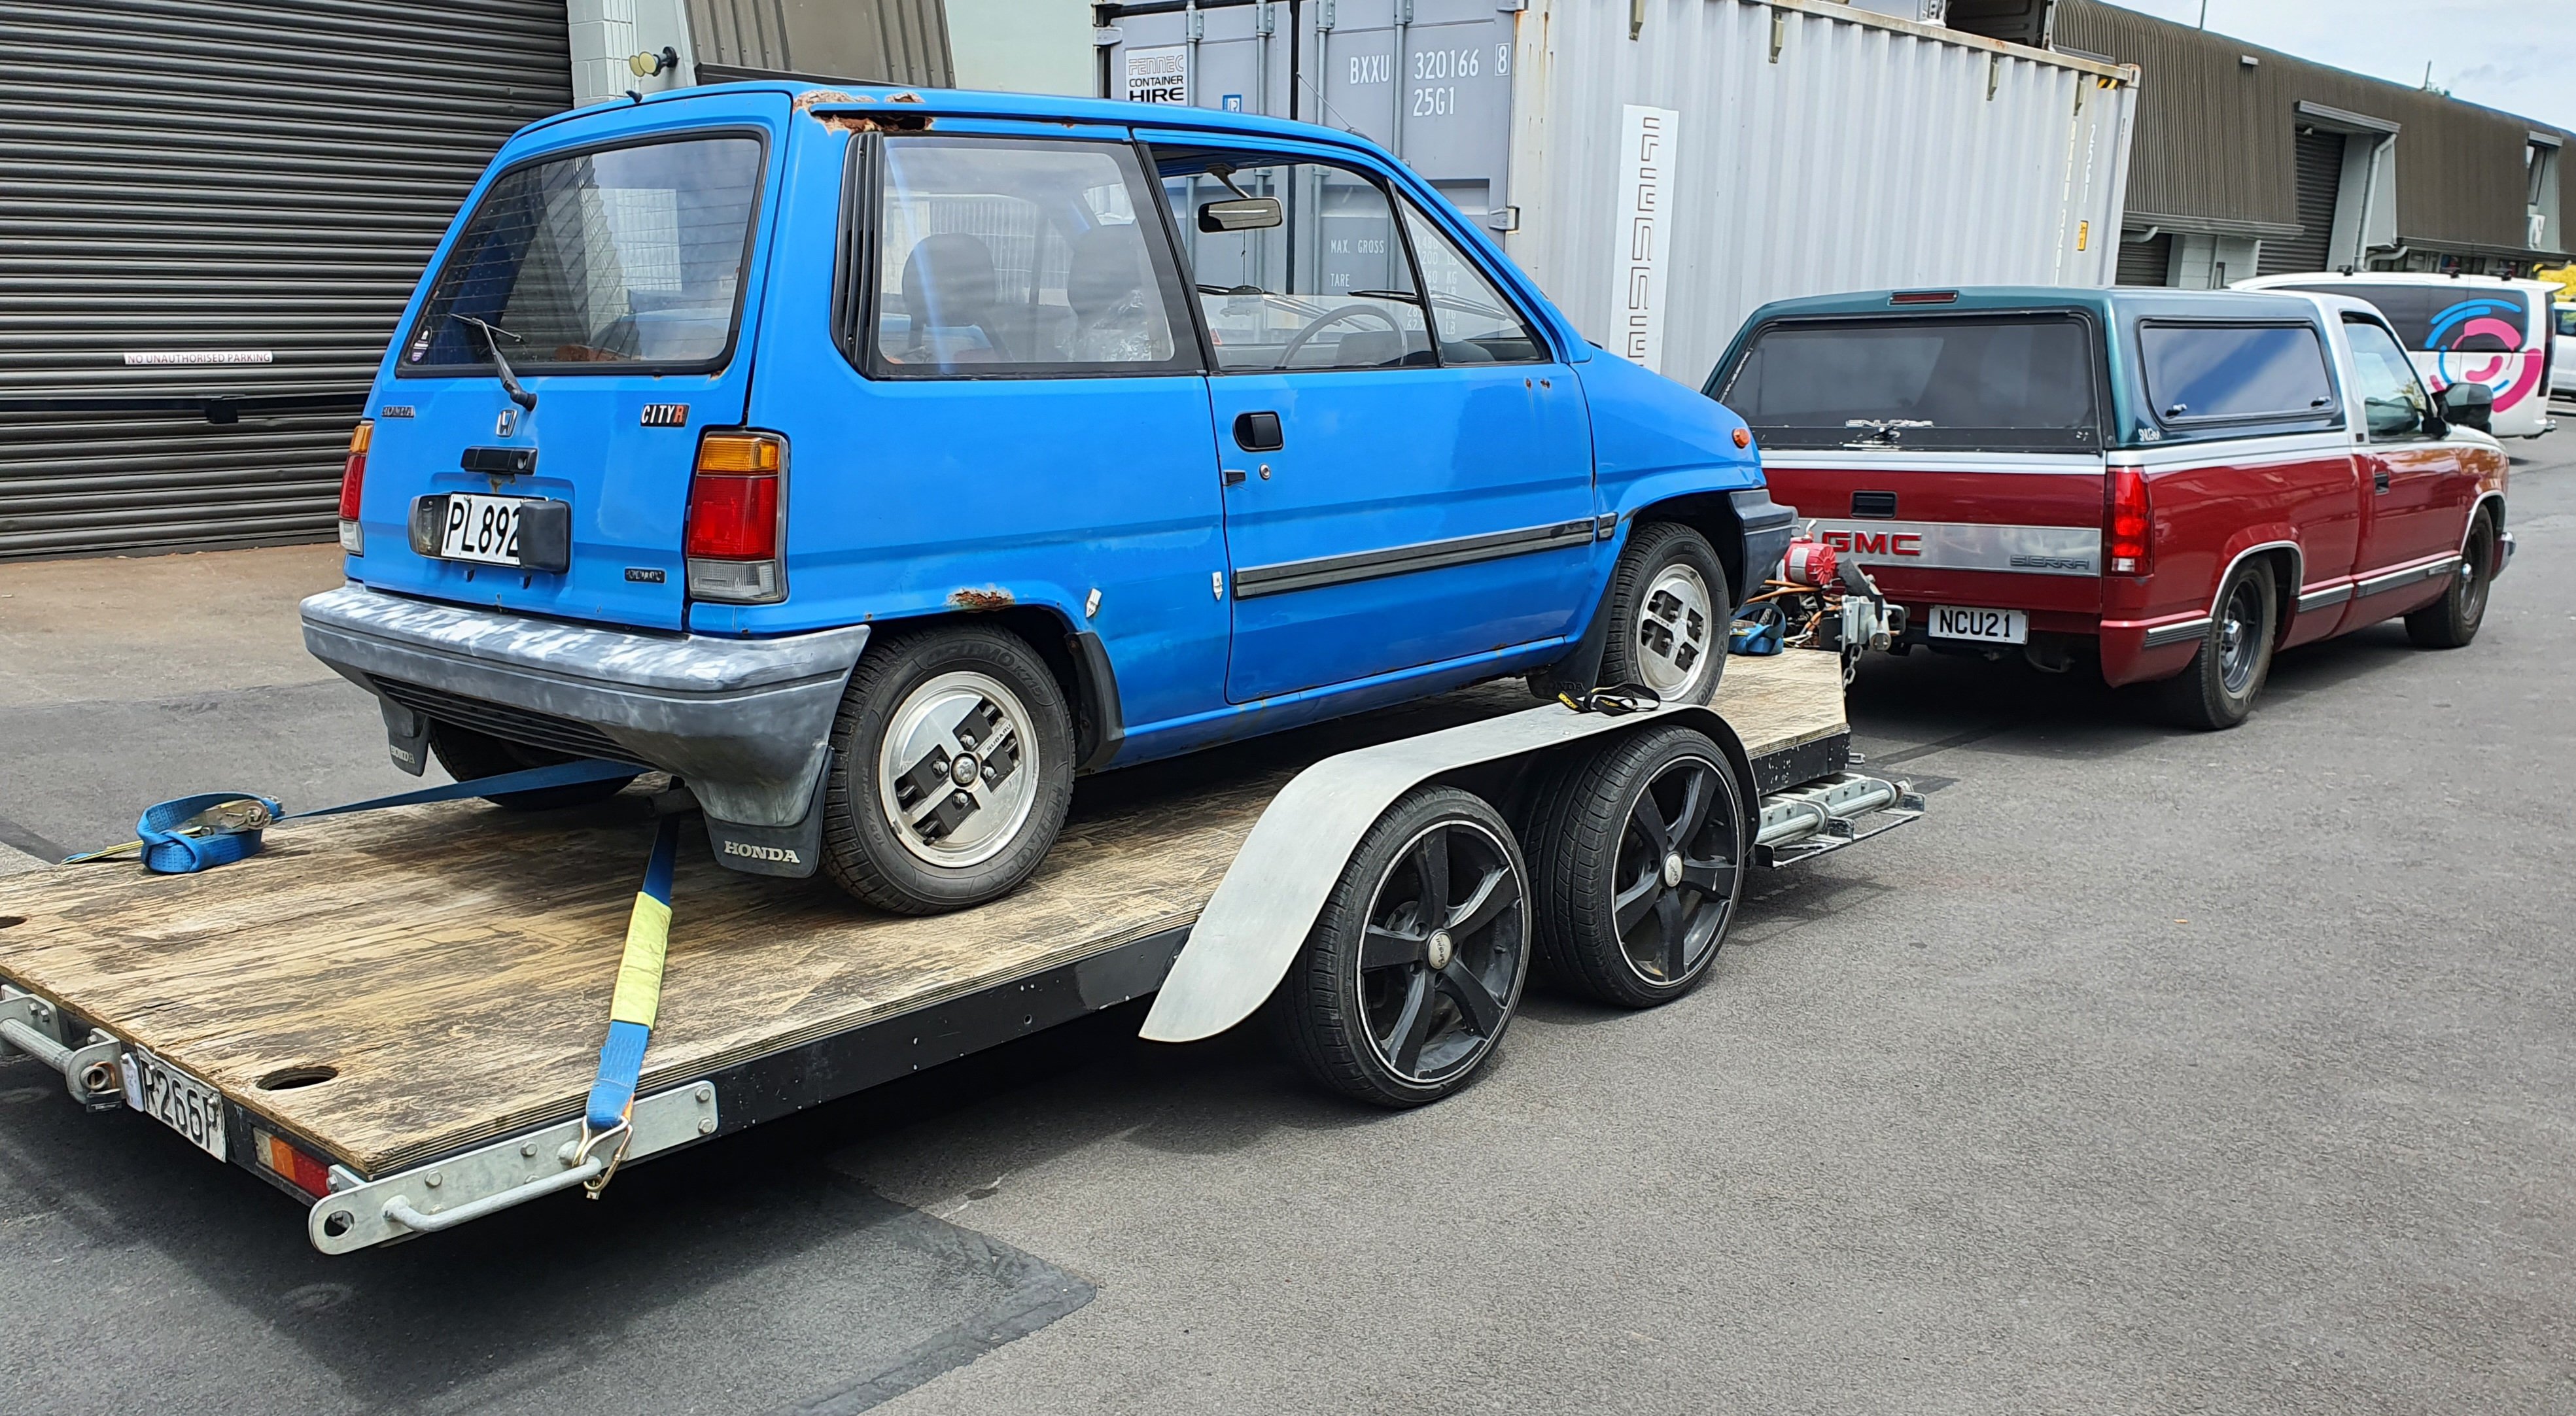
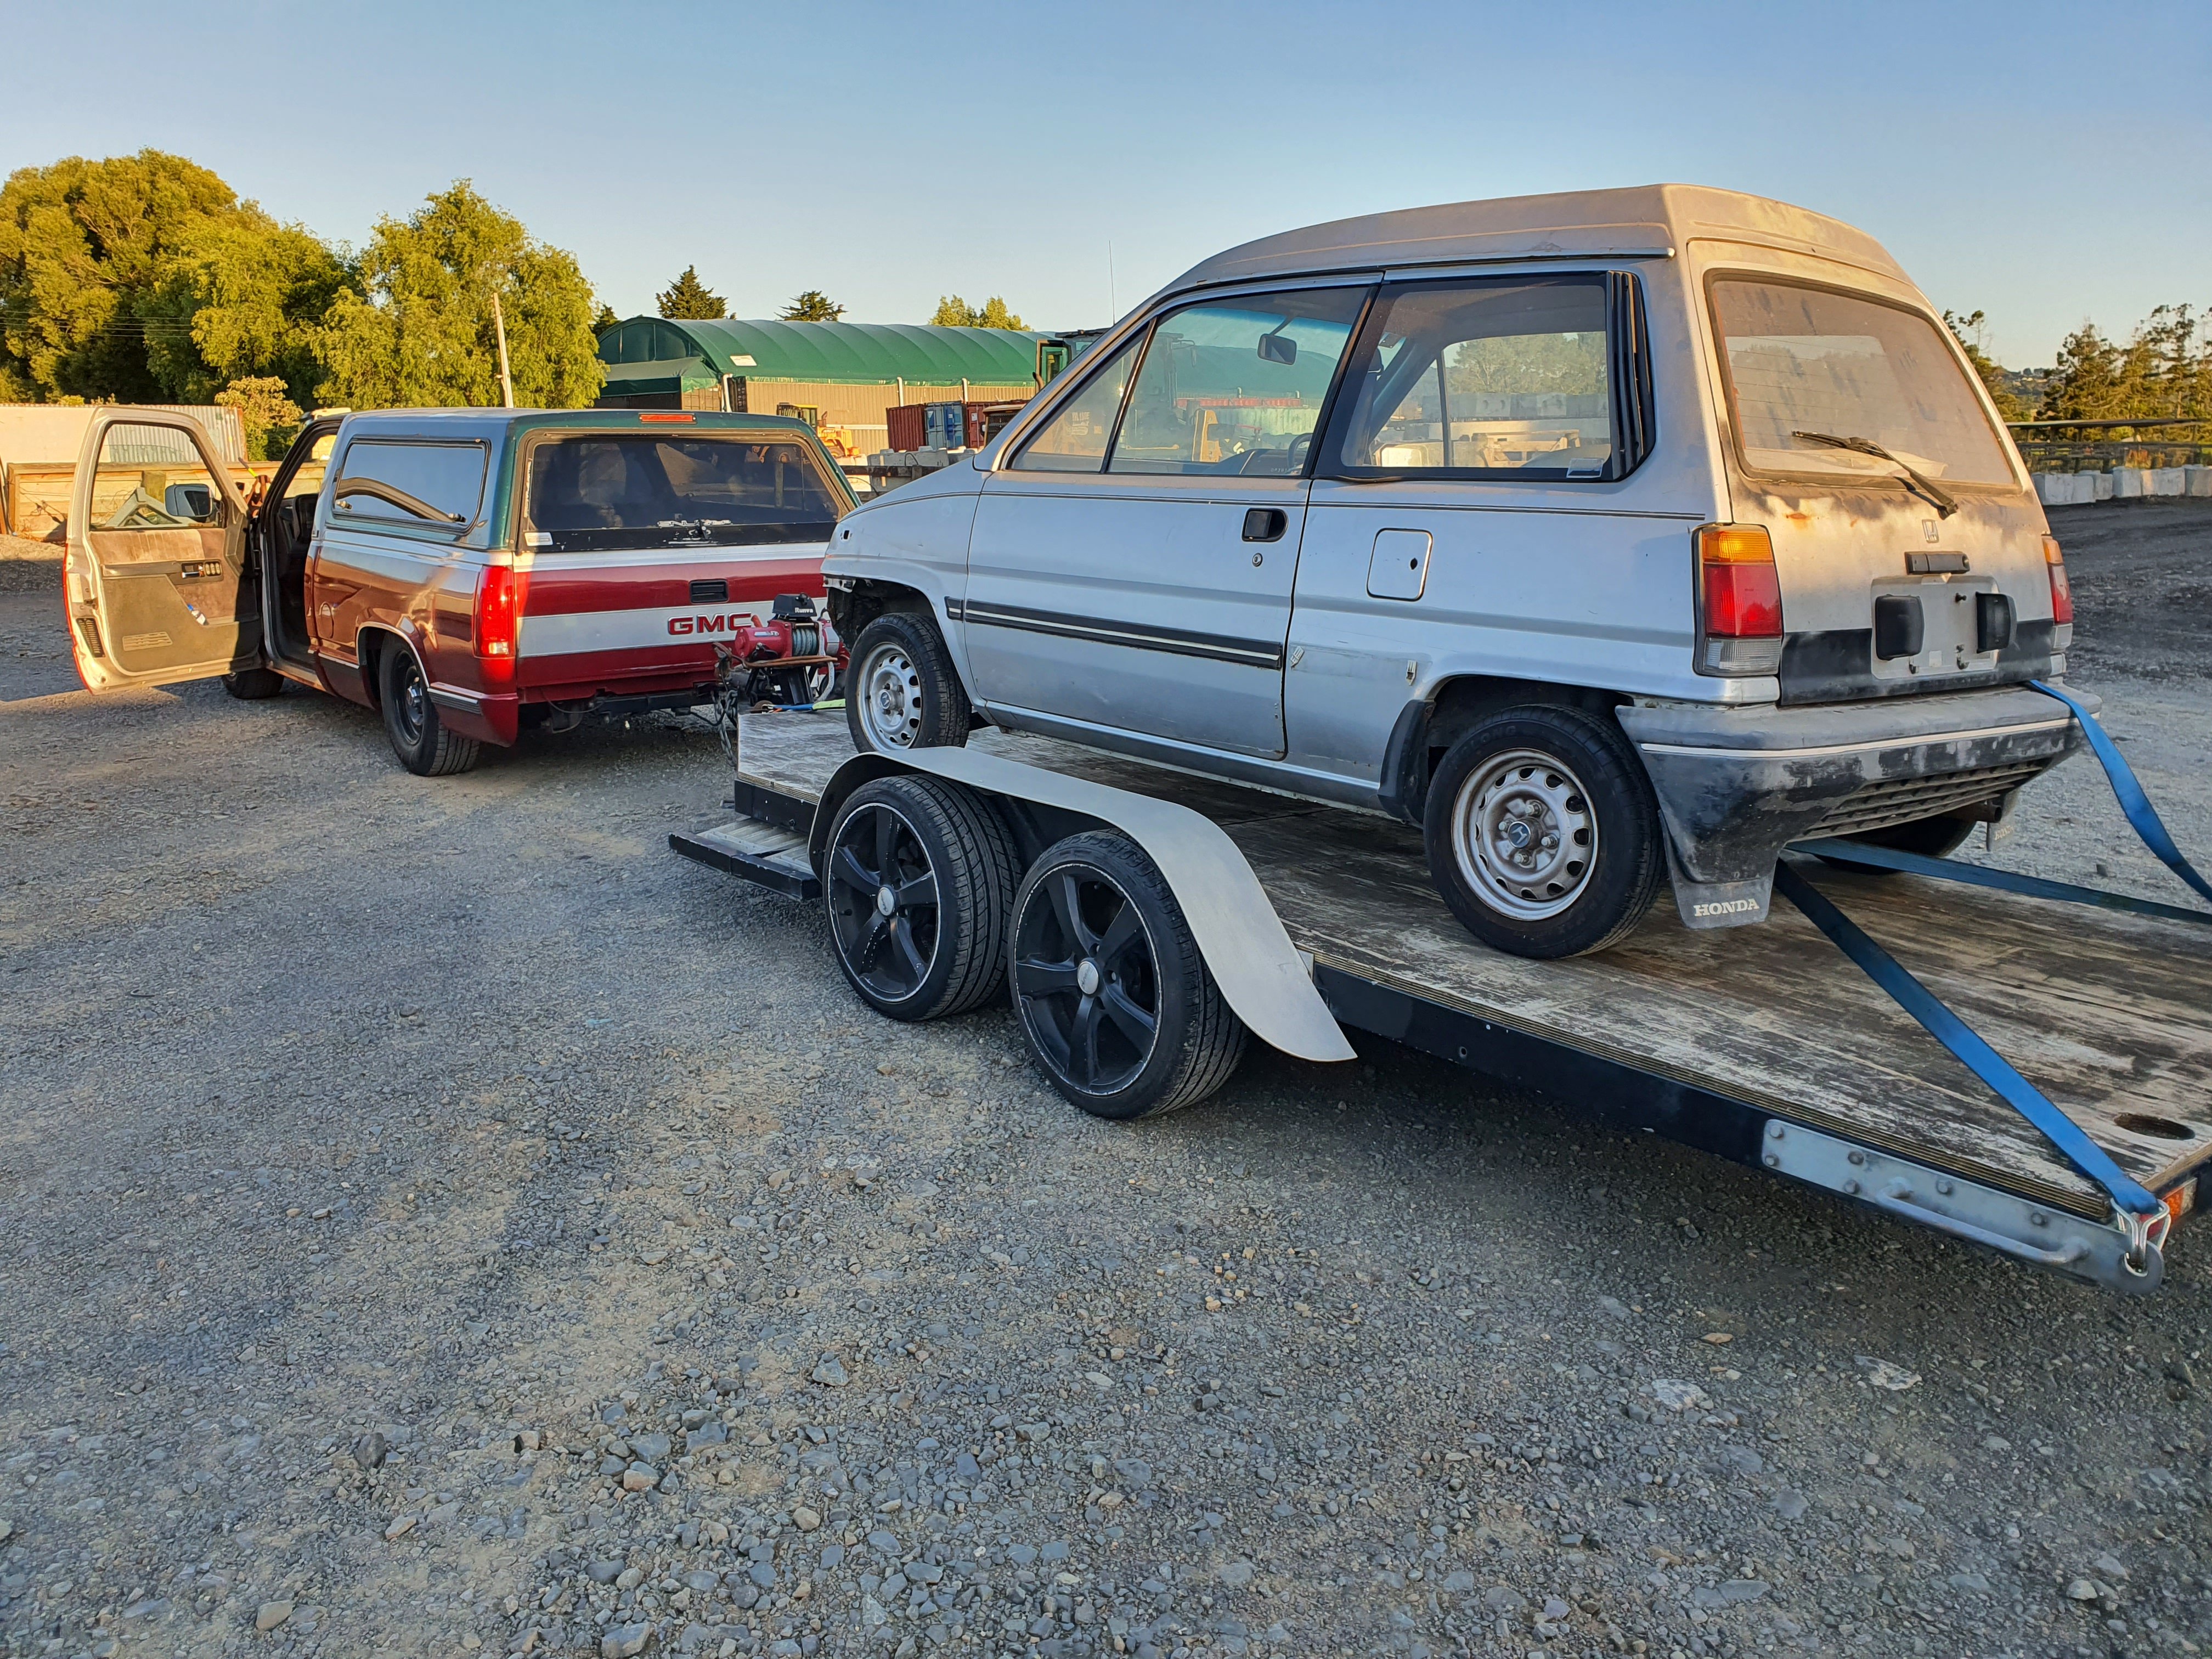
The blue waffle has sat in my backyard for a year or 2 now and its pretty fucked. Rust has blown out way past saving so I've just been using it for a storage shed and as a motor donor incase the Manhattan needs it. I fired it up Monday after Xmas and loaded it up to bring into work.
-
Man I really have been slack in here. Not that many interesting things have been done on my shitters. A few weeks back on Xmas Eve I got the Manhattan out of storage and got it into work for the time being. Plan is to have a sort and condense all the City bits I'm keeping onto this one, then sell off the rest as I've got too much shit lying round.
- 178 replies
-
- 11
-
-
Yeh minor stuff won't be an issue. Doing sills or 1/4s on one is a bit mental though. What sort of vehicle?
-
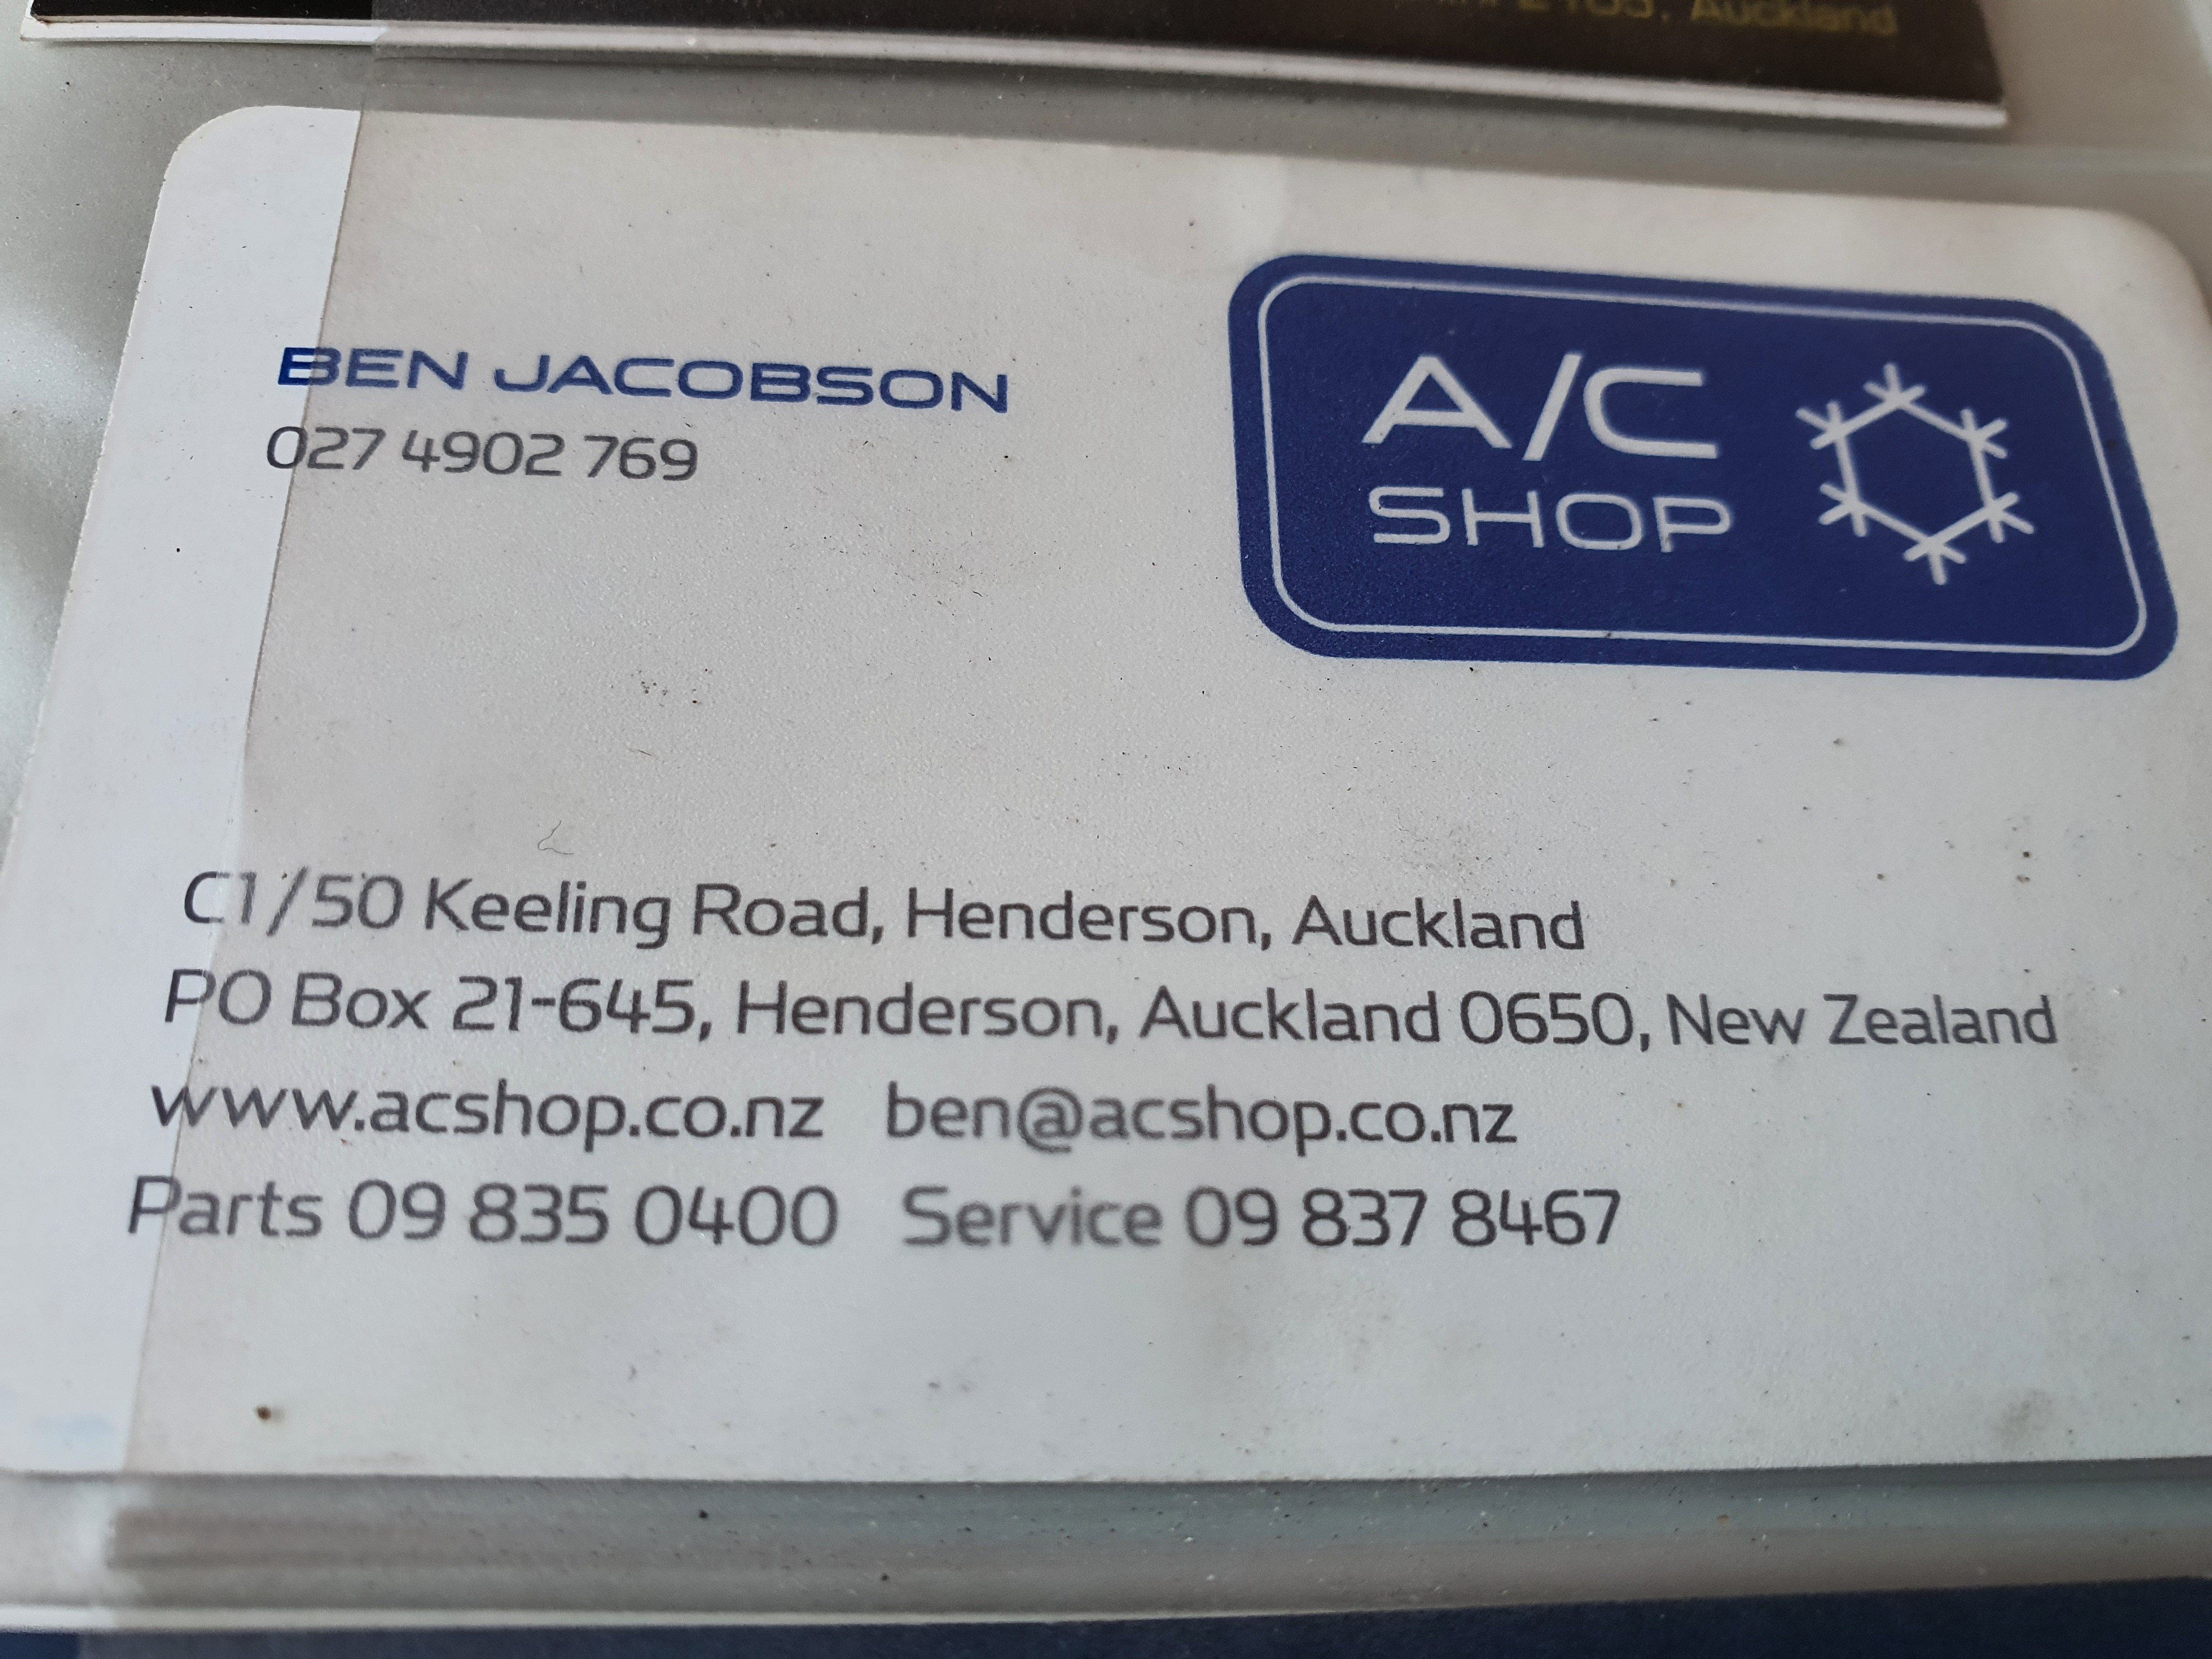
Ben at the A/C Shop in Hendo is a good sort and does alot of high end older cars.
-
Sweet, the big question is have you decided who you are going to prospect for?
- 528 replies
-
- 12
-

-
-
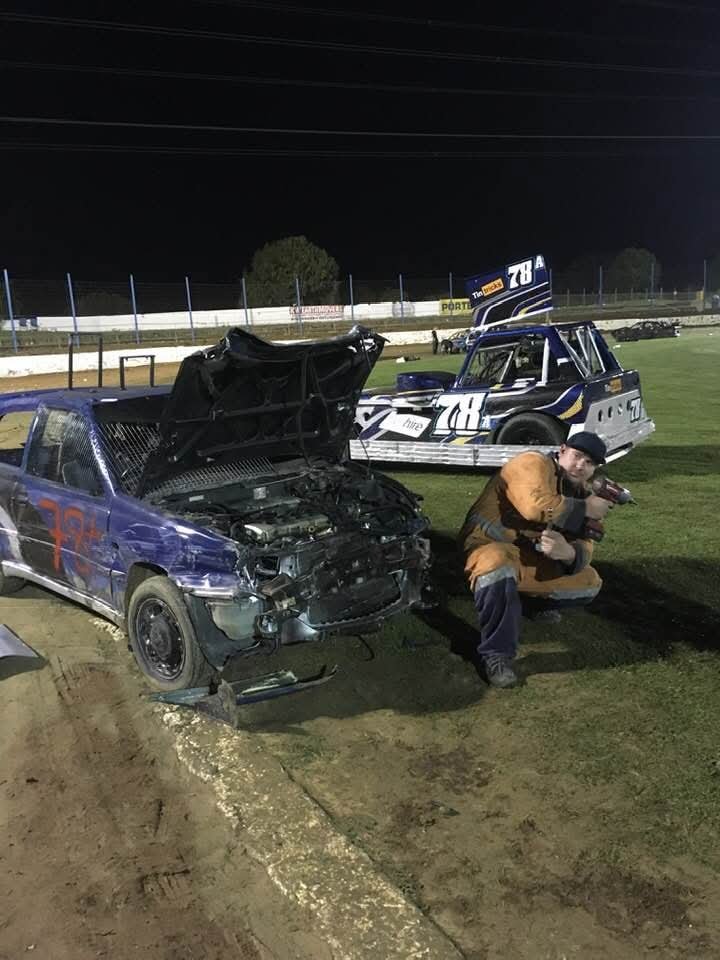
 If anyone is interested I can put you in touch with a fella who has a couple of roll bars/belt setups available. We salvaged one from the pulsar I derbied years ago.
-
Why does the wss need to be so thick? If you can't make it thinner to get more spline engagement (1.6/2mm sorta thing) I would consider attaching the wss differently. Drilling/tapping the axle then bolting it on, and just having a hole/pocket so the stud can attach to the axle directly.
-
It will decimate all after you spend about 15 grand on it. And if you have to, overnight parts from Japan. Just put it on your tab at Harrys.
-
Axle end float specs are in the Haynes Manual. If you don't have one flick me a message, I can take some pics of mine. You'll need a dial test indicator to do it properly though. Although plenty of people just chuck a few shims in and call it a day.
-
Ladder bars are great for making cars go up on 2 wheels. They don't allow proper articulation, and also give alot of pinion angle change. Definitely junk compared to a 4 bar, and its not much more work to set up a proper link.
-
Yes, just divide your gvm by 4 and that gives your corner weights. Tyres need to suit the gvm also. Thankfully axle loadings havn't been introduced as that would complicate things even more especially with utes.
-
Yeh squarebodys need an aftermarket 'dropmember' or raising of the stock one. Fews ways to skin a cat, I'm sure you will figure out what the best option is for you, but @square is a bit of a foamer for these things and has put a couple on the ground so might have some good insights. Bag on the lower link bars will likely need Lvv design approval, and you most likely won't be able to run adjustable/threaded ends on those loaded bars, but the extra effort will make for a better ride quality than bag on diff.
-
Unstressed means the seatbelt and clasp mount to the floorpan of vehicle, so seat mounting fasteners can be 8mm or 5/16" Stressed means the seatbelt or clasp is attached to the seat itself, so seat mounting fasteners need to be upgraded to 12mm or 7/16" Yeh doesn't have to be one of the sizes on the chart. Just needs to be minimum 3000sq/mm and a minimum of 30mm wide. So as an example 30mmx100mm would work, but I wouldn't use that size for your application.
-
As long as the mounting hole is kept as central as possible on tje doubler plate (which is looks like it will be based off where your 4 holes are) i don't see why you can't just make 55mmx55mm square doubler plates and have them sit flat between the ribs. 3000sq/mm is the minimum requirement so 55x55 will be fine. Don't forget to radius the corners to 5mm. Are they stressed or non-stressed seats?