dmulally
-
Posts
1,408 -
Joined
-
Last visited
-
Days Won
3
Content Type
Forums
Downloads
Events
Gallery
Everything posted by dmulally
-
Hi All, I want to run my SIII Landy as roofless. I have seen quite a few on the road but haven't really looked too closely how they are doing their seat belts. Options are: Put on the truck cab for WOF's Run lap belts (which is what it has now) Run a belt bar (which I have but doubt they were factory) The more I look into it the worse it gets! Anybody got any hot tips for what other landy owners do with soft tops that get through WOF's no worries?
-

Dmulally's 1985 Mitsi L200 Discussion Thread
dmulally replied to Bearded Baldy's topic in Project Discussion
Youre a legend thanks! -
Dmulally's 1985 Mitsi L200 Discussion Thread
dmulally replied to Bearded Baldy's topic in Project Discussion
Hi All, This is driving me nuts but I can't find a gearbox mount for this thing anywhere that fits. I got one from Rock Auto that was similar...as in it will bolt into the cross member but is way off on the bolt spacing and height is way off. I do have the option of cutting the old mount apart and welding on the tops but the rubber will be pretty close to it and I'm worried about melting it. The original one is a lot thicker where it mounts to the box too. Anybody know where to get a gearbox mount from?
-
I honestly can't remember sorry. I think it was from some place in Auckland. EDIT: Found it. It was from Amazon. It's been pretty good so far but there is a point for podcasts/audiobooks that is either too quiet or too loud one click apart. Fine on the open road but stuck in traffic can be a little annoying. Completely unrelated but I'm 80% deaf so I'm sure that has nothing to do with it.
-
Throw it at a series land rover and record the results.
-
So sadly the vibration is still there. It isn't there all the time but I want to get on top of it. Sadly I have been given the wind up at work so it may have to go onto the back burner for a while as it's a money pit. But I'll have a tinker with what I have and see if it gets sorted. I have the engine on a slight tilt and have a feeling that may be it. Righting the engine will mean redoing all the mounts, exhaust, oil fill tube and depending on how much it changes things the half shafts. But I think that will be unlikely as the VW cv's have a lot of travel. The kingpins are back in and reasonably ok. The passenger side one has a bit of play (ironically before I "fixed" them that was the good side) so if I left it alone it would have no play and Id have a working speedo! Yeah that is still on the fritz. The brakes also dont work but I have a feeling it is because when putting the drum covers back on the shoes moved and I need to re-adjust them. Something isnt right in there as there is no air in the lines. Into the shed it goes for a while.
- 119 replies
-
- 12
-

-

-
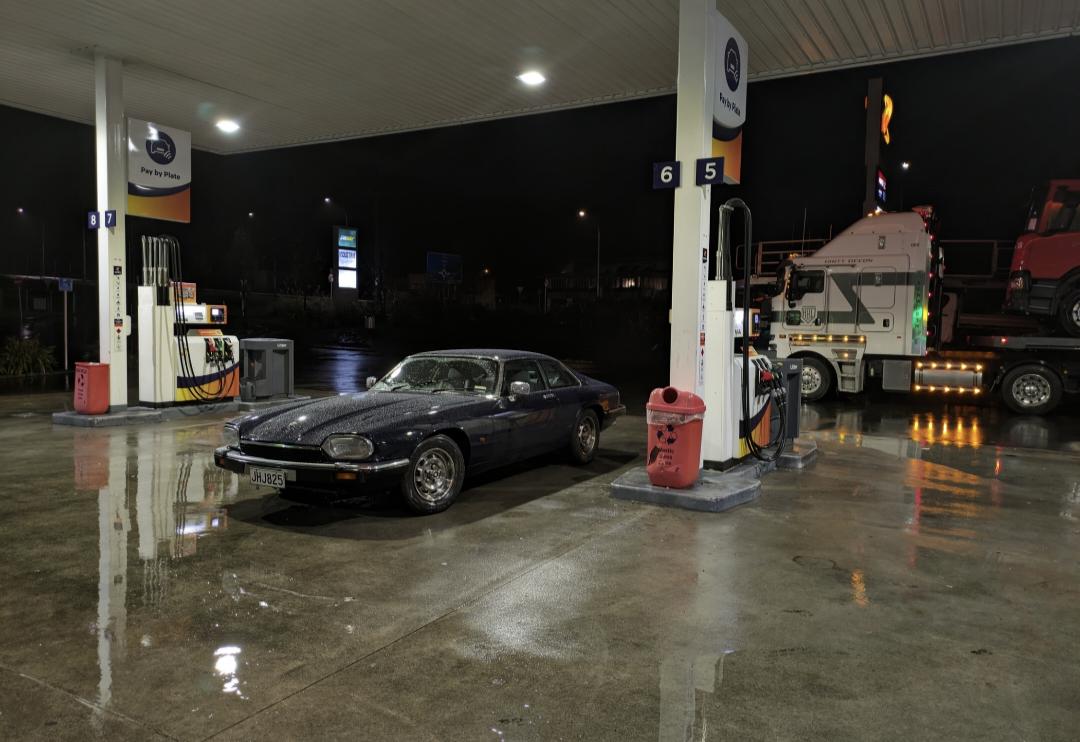
I have the balanced half shafts back and ready to be installed. The guys at Lambert Engineering in Masterton were fantastic and took me for a tour of the shop and showed me the machine they use to balance it. Looks like something from the 70's and Im gutted I didnt bring my phone for a photo. I'll get that and the kingpins/stub axle installed in the car this weekend and see how it goes. Would have done it last night but I flew to Auckland to pick up the XJS fresh from getting the head gasket repaired. The AJ6 is such a fabulous engine. Going up long steep hills at 100kph on cruise control and never dropped a gear. Just a shame it pissed down most of the way so I couldn't fling it round the corners.
- 119 replies
-
- 21
-
-
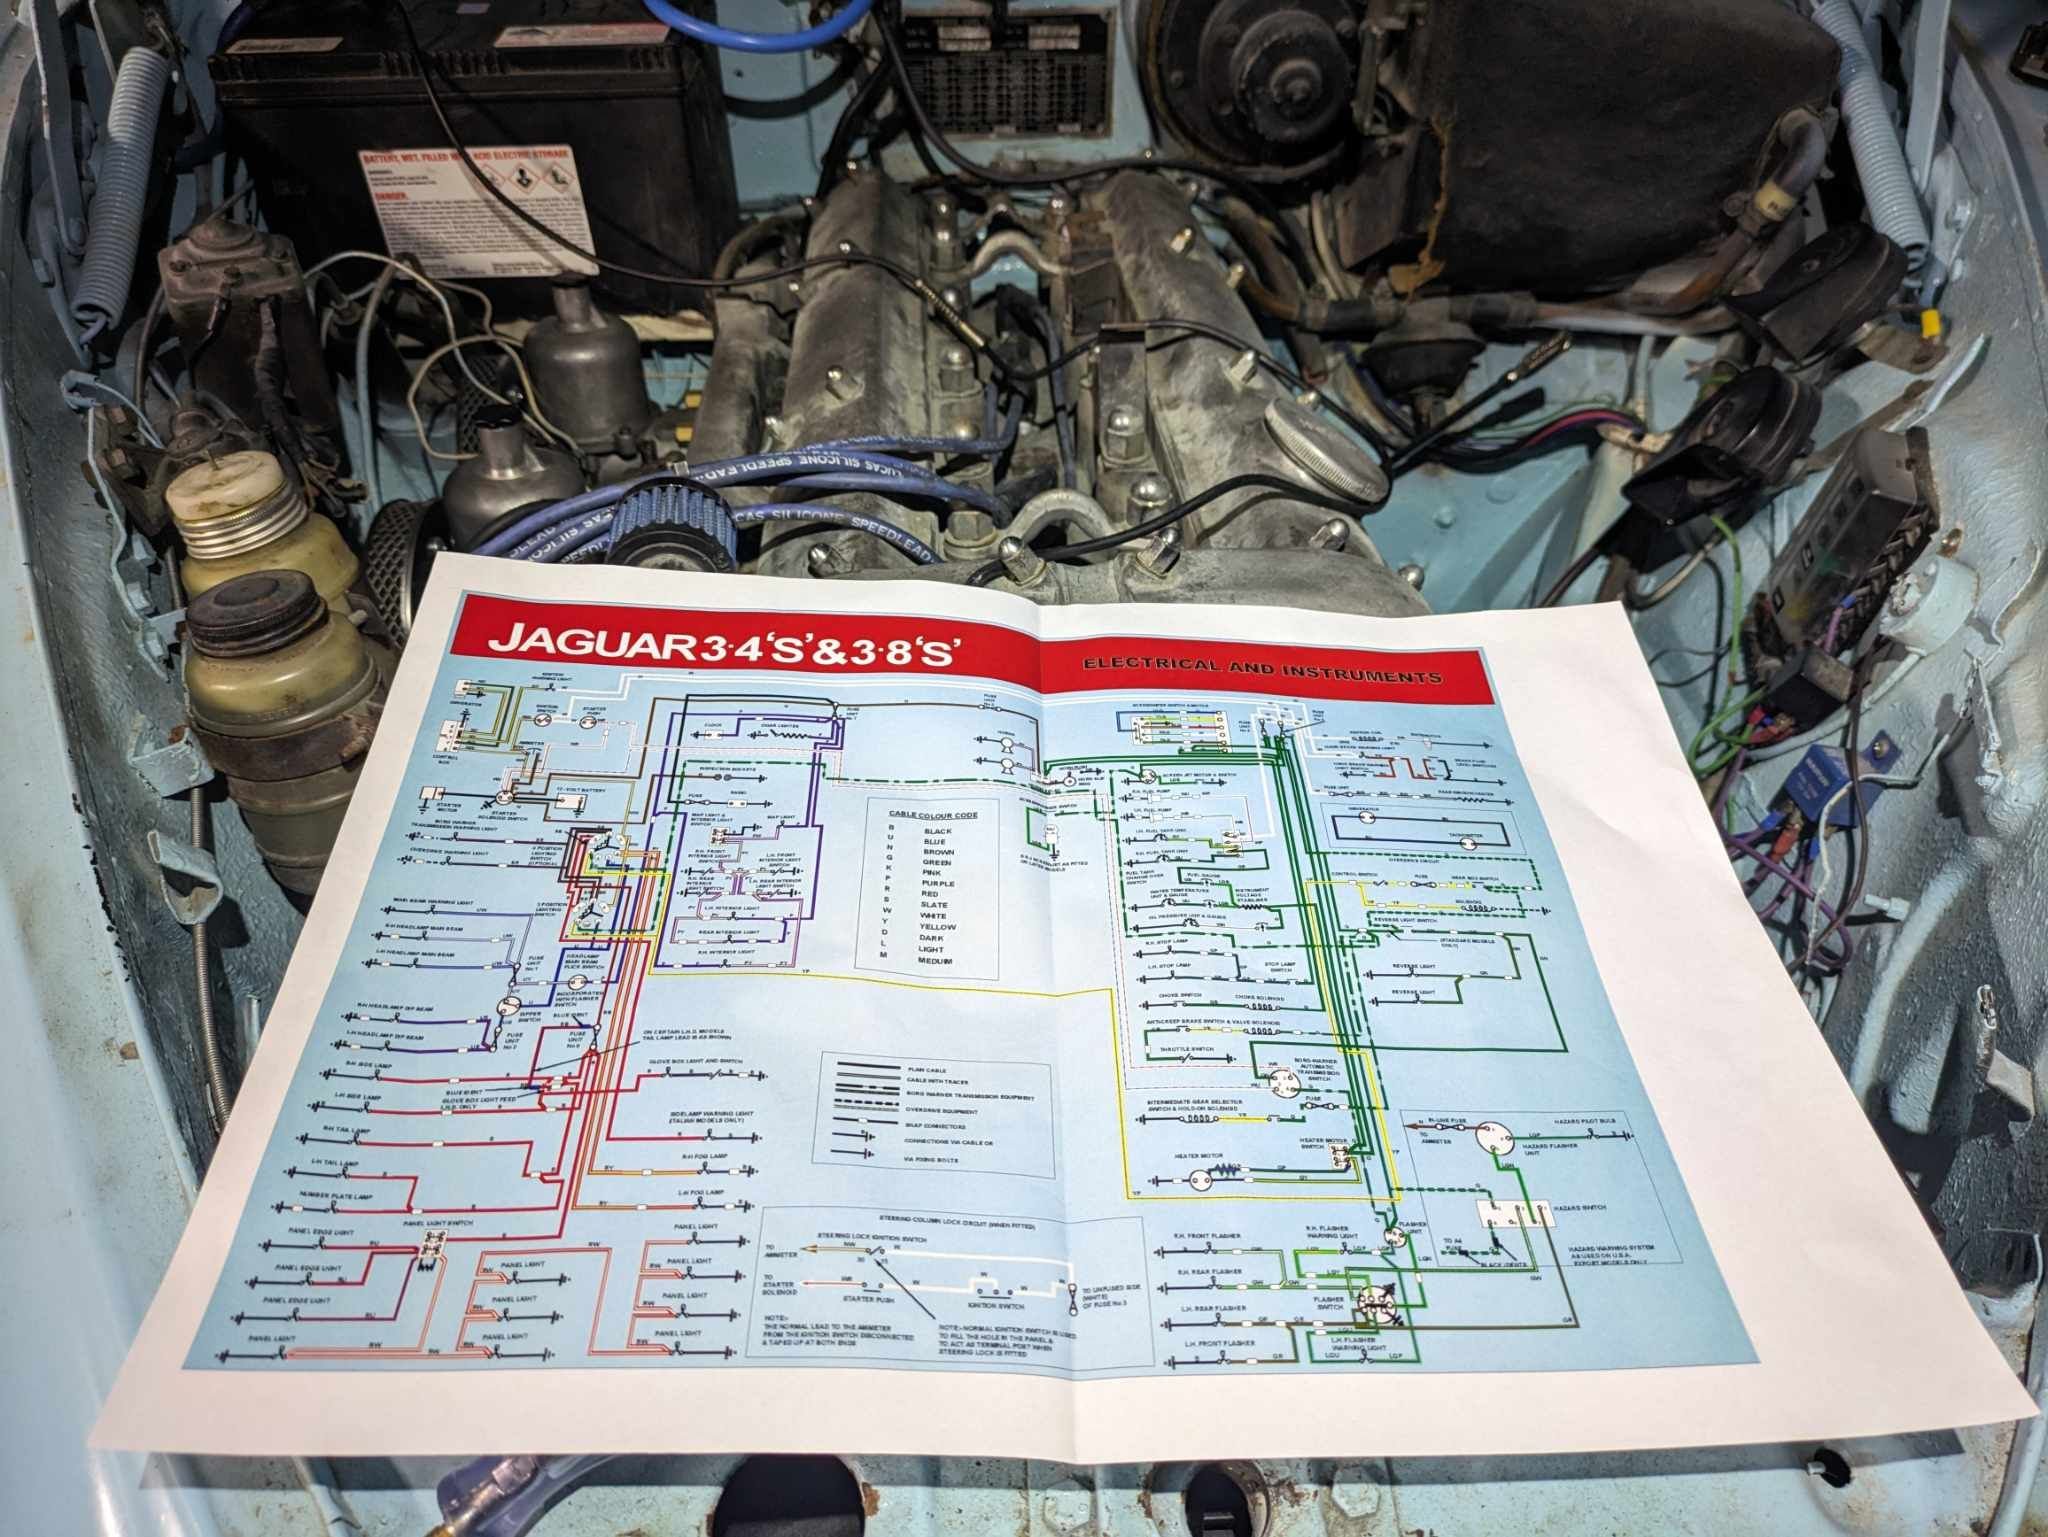
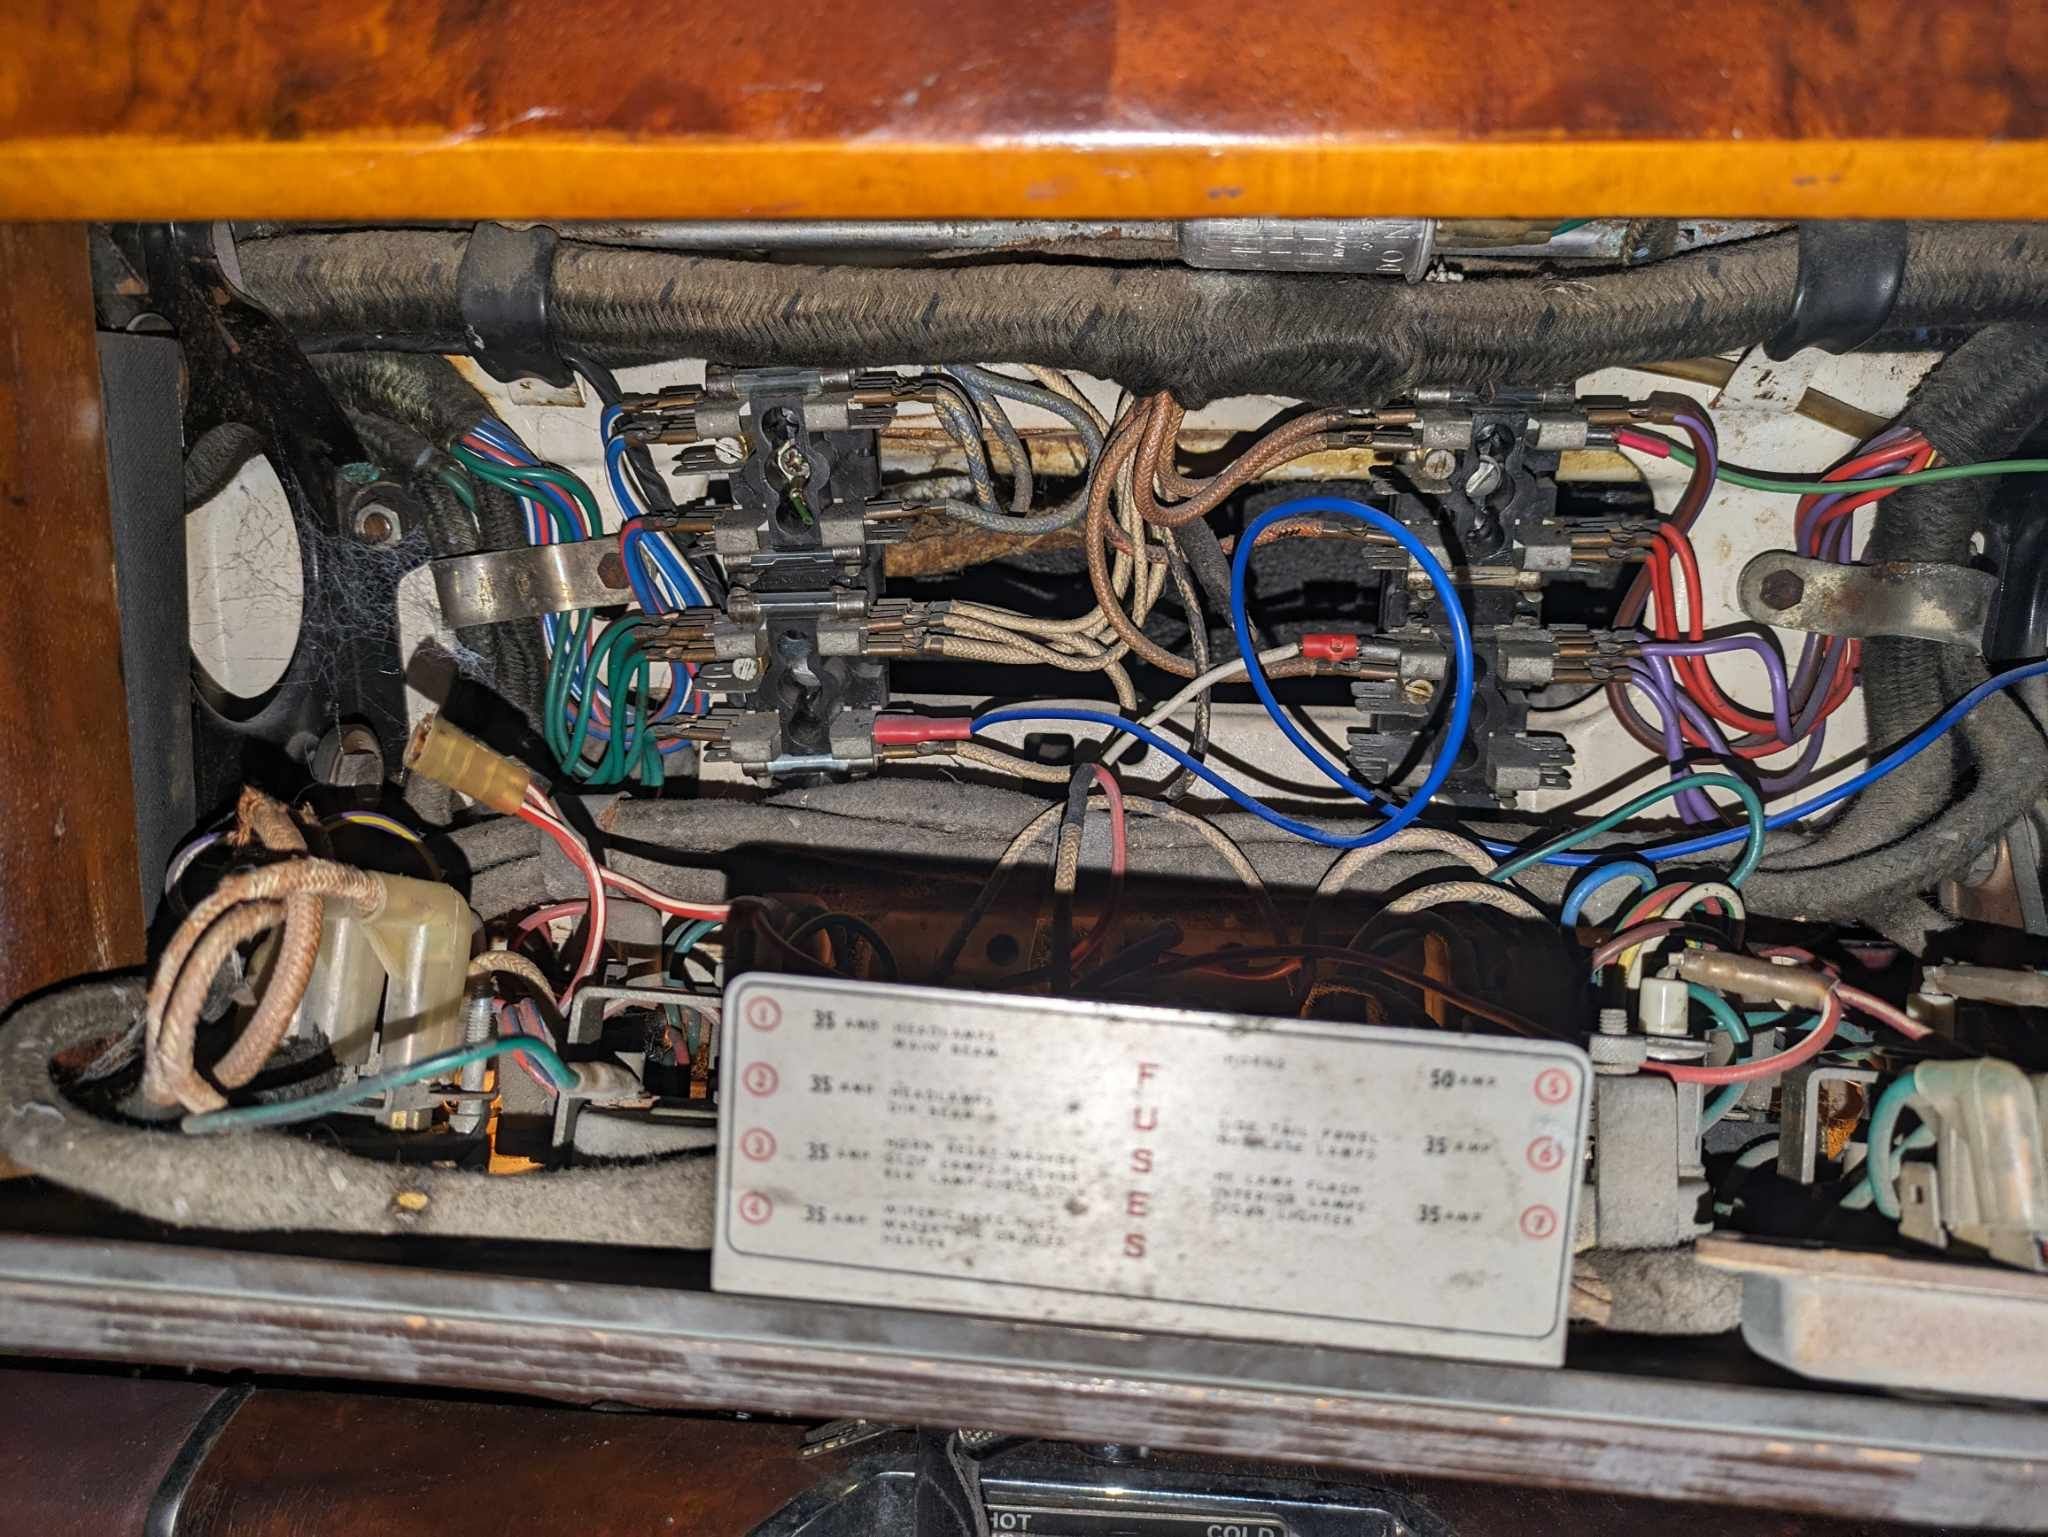
So whilst I am fitting door rubbers and re-hanging the doors I am plotting my next move with the stype. I saw a busted fuse in the dash so swapped it out. Smoke then started appearing from behind the clock so I whipped it out. The fuse didn't blow but was glowing hot which was fun to extract. I could either set out a list of things that need doing such as headlight wiring, cleaning any random hot wires floating around the engine bay (it was a positive earth when I bought it) and taping up any of the old wiring so it looks cleaner. Or I can rip the entire thing out and start from scratch. The biggest problem I have is that apart from a couple of things (headlights, hisser carb and tacho), everything works. Including the indicators, ignition and all gauges. I guess I'll have a think about it. Probably the biggest ball ache will be getting the old loom out as it is bundled pretty tight and being that old is tough as wood. You can see some of it below. It has zero flex. I have to fully rewire the Land Rover because it has 2.5 looms stuffed into it (yet still nothing works) so perhaps I'll do that to get some practice in before I do the jag which has a lot more circuits. I quite enjoy wiring. For the Imp I didn't do it from scratch but created a separate loom that is fully fused/relayed where required. It's relaxing. If I'm to do the jag I'll probably pull out the dash to do the wood trim at the same time which will give me more access.
-
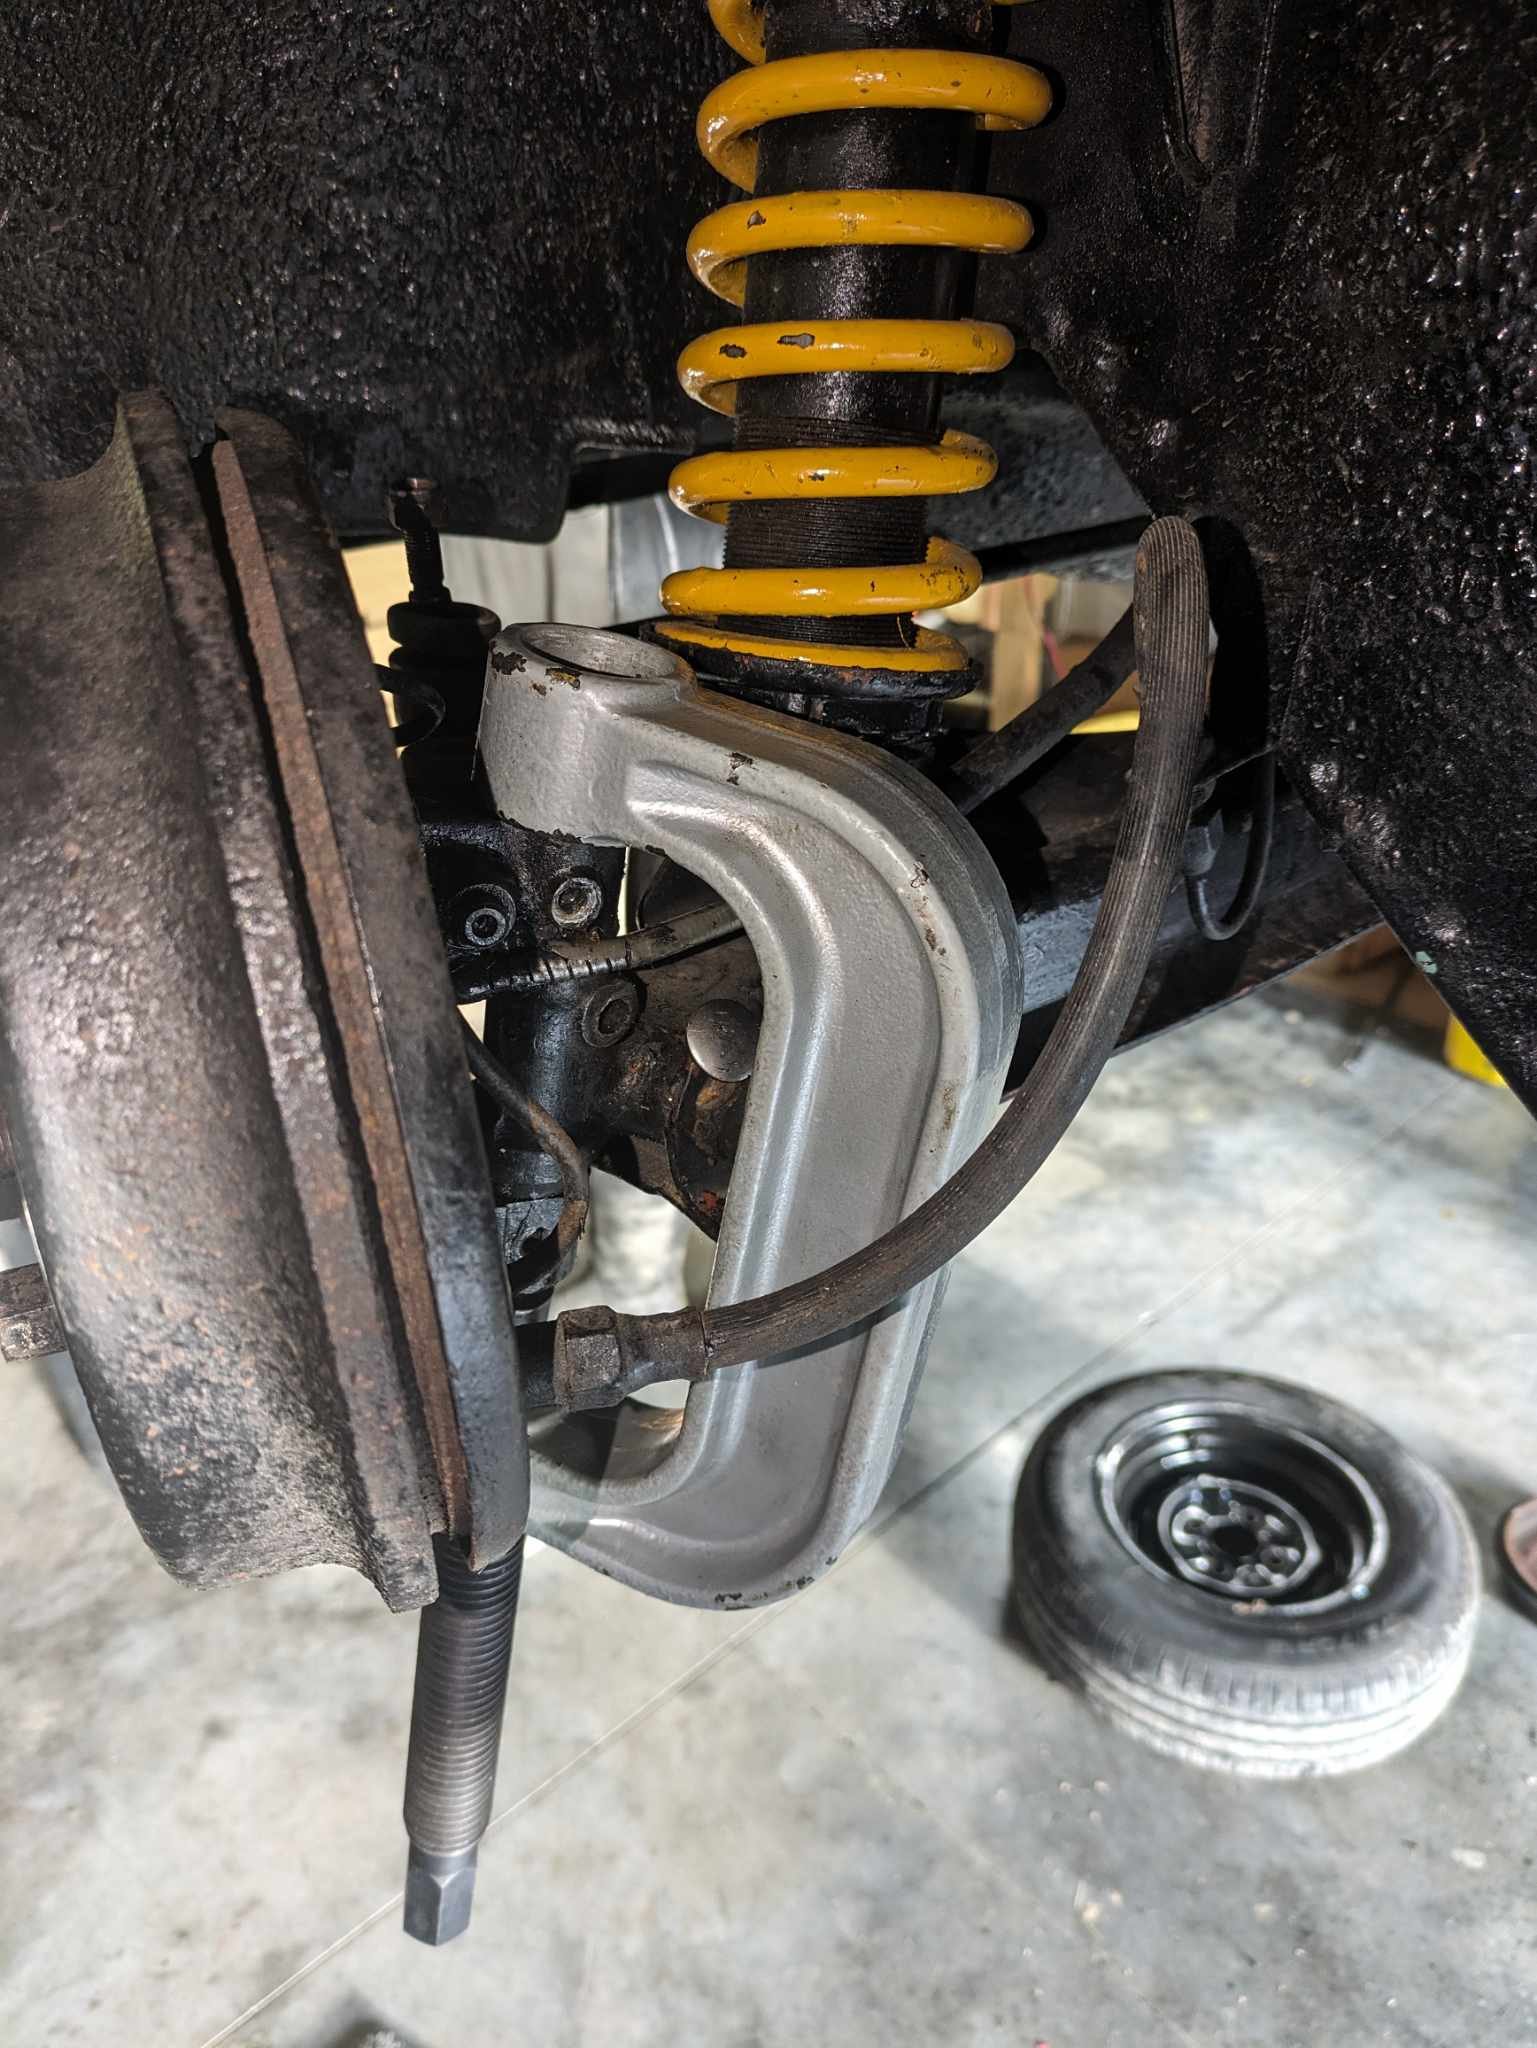
So I ended up taking out the kingpins and hand reaming them in situ in order to get some more movement. Sadly even though I only took off half a mm there is noticeable play in both sides. So in case anybody is wondering it isnt a job to be done on the car and the should be done on the bench. Pretty crazy that some bushes need machining and some don't. And there is no way to know until you assemble it really. I have about 30 extra bushings so I can have a bit of a play. Only difference is that I have to drill the grease hole manually which shouldnt be too hard. The half shafts are still off being balanced so I'm trying not to be too bothered about it. To try and "relax" I have dragged the S type into the shed. I really need to get it ready for a wof. So far I have drained the old fuel and tuned the carbs. Installed the radiator properly and the grill. (The grill can only be installed with the rad out). Bled the clutch. Fabricated some alternator brackets to convert from the dynamo that didn't work. Changed the dash bulbs to LED. Installed a new bonnet release cable that actually works. And now I'm working on installing the door trim and hanging the doors so they shut properly. When the Imp fucks off the hoist I'll get around to bleeding/renovating the jag brakes. Easier said than done with the jag irs as to get to the bleed nipples you have to take the rear forward shocks off to even get to them!
- 119 replies
-
- 17
-
-
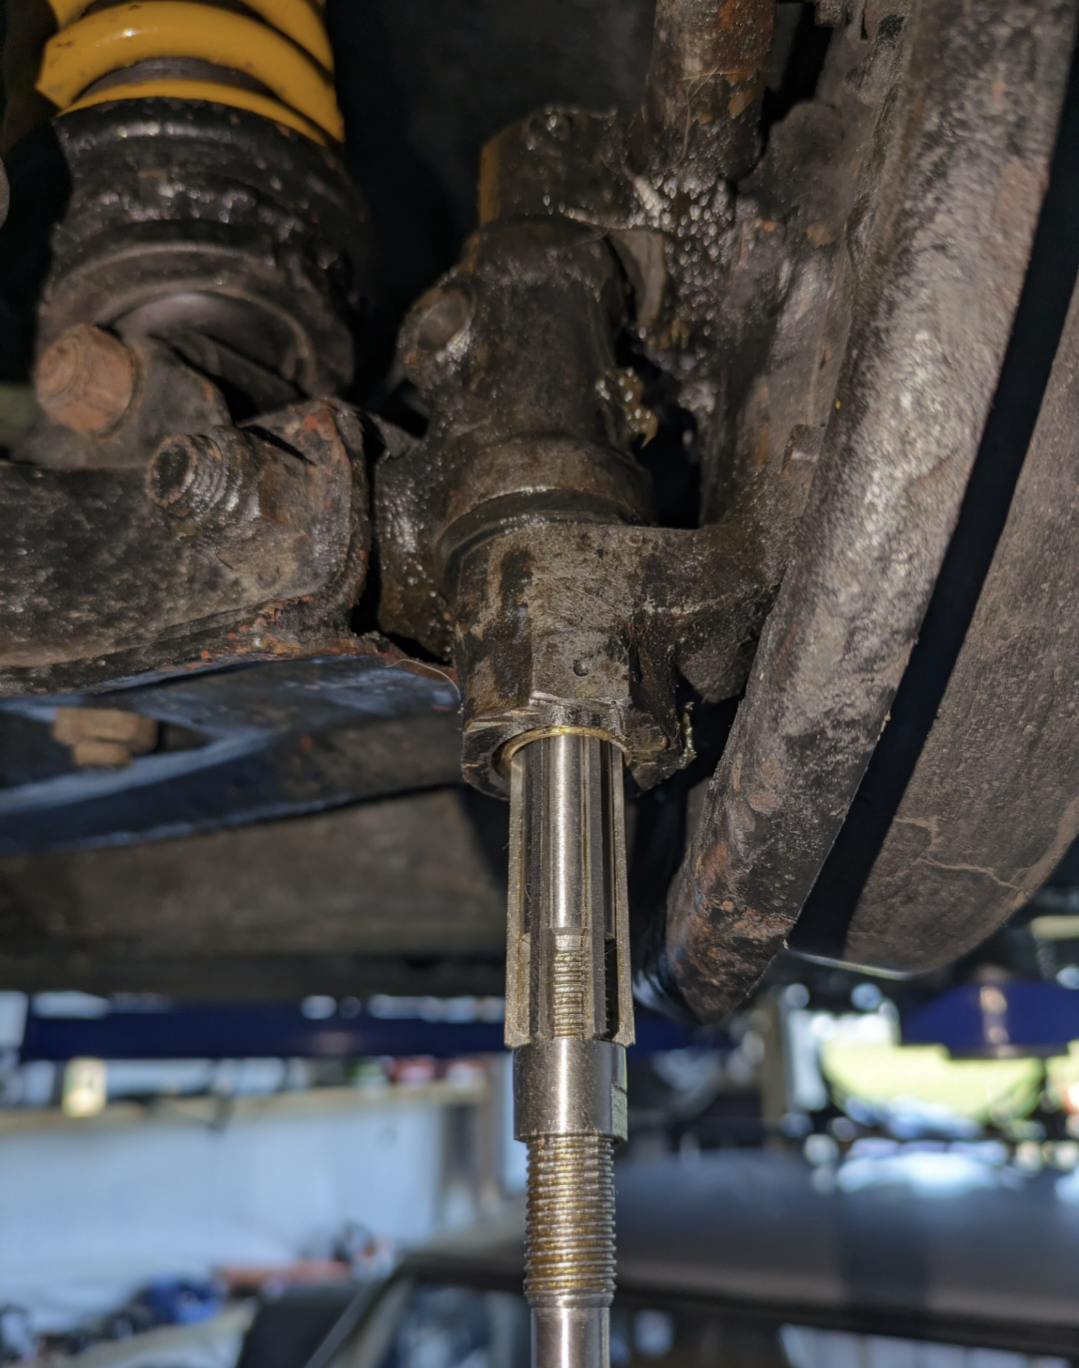
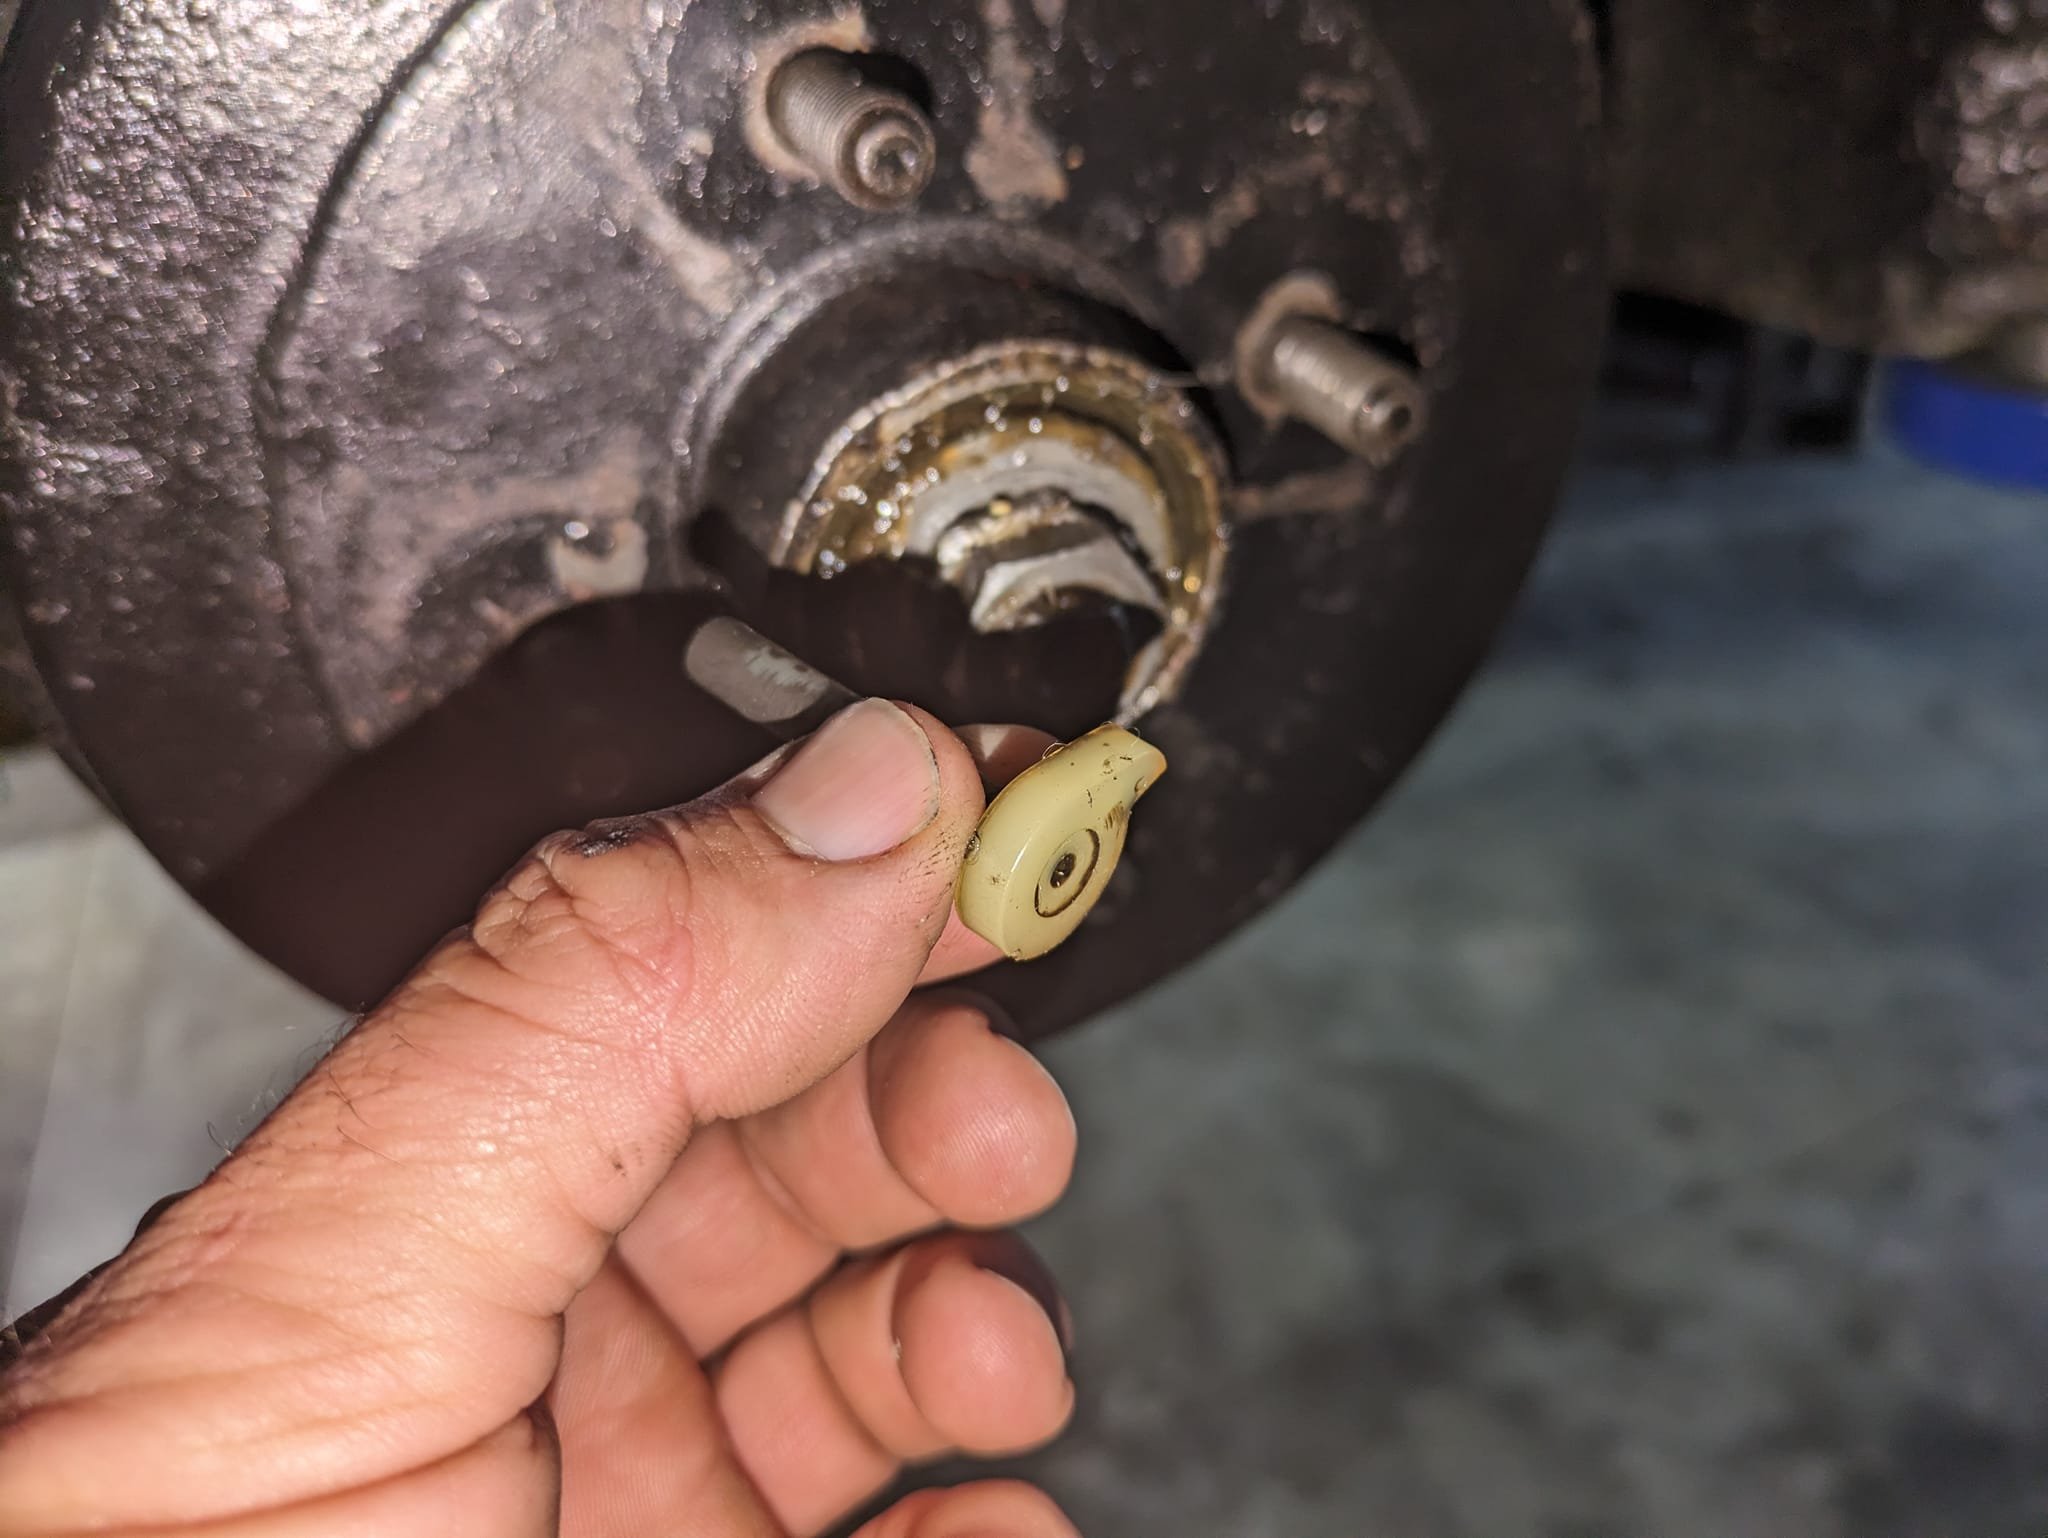
Bit of a frustrating week on this shitter. Was hoping it would be going to LVV this weekend but those plans were scuppered by silly things that really could have waited until after certification. It used to have a bit of play in one of the kingpins and to pass a wof I would just pack it with grease on the day but even then it was marginal. On the highway it would wander a little bit so there was definite cause for concern but not anything dramatic. So being the dickhead that I am figured I'd change the kingpins. What a cunt of a job. One side took about 12 hours and the other was 45 minutes. The shitty side went in a little crooked so the retaining pin which mates with the surface of it wouldn't fit. So when it was done there was an obvious binding in the steering. So back out it came. Once it was all buttoned up there was zero play but now there are two greater issues. One is that it is way too tight. I have greased it thoroughly but it's still like when a car loses a power steering belt. Add to that and it doesn't self centre when coming through a corner. Massive change from the old sloppy steering that's for sure. I put it up on the hoist and thought about my life choices as I worked the wheel side to side for ages but I can't really tell any difference. I'll regrease it I guess and keep driving it a few more times to see if that loosens it up. On top of that shitfight the speedo stopped working. I changed the wheel bearings as I was feeling frisky and since then it doesn't work. I cbf'd diagnosing that problem for now so will put that on the back burner. How it works is that a little gear catches a cam inside the dust cover which turns the cable. I think my fucking about on the kingpin dislodged or broke something. Joy. Pretty sure I have spares so I'll get to that when I'm not sick of the sight of it. Finally that vibration is a real thing. It isn't getting worse but I dislike it. I need to get the L200 tailshaft rebalanced next week so will see if I can take the half shafts in and get them balanced too. If that doesn't turn out to be it I'm parking the cunt up and double tarping it behind the hay pile! I have more relevant projects than this little cunt.
- 119 replies
-
- 17
-
-
-

-
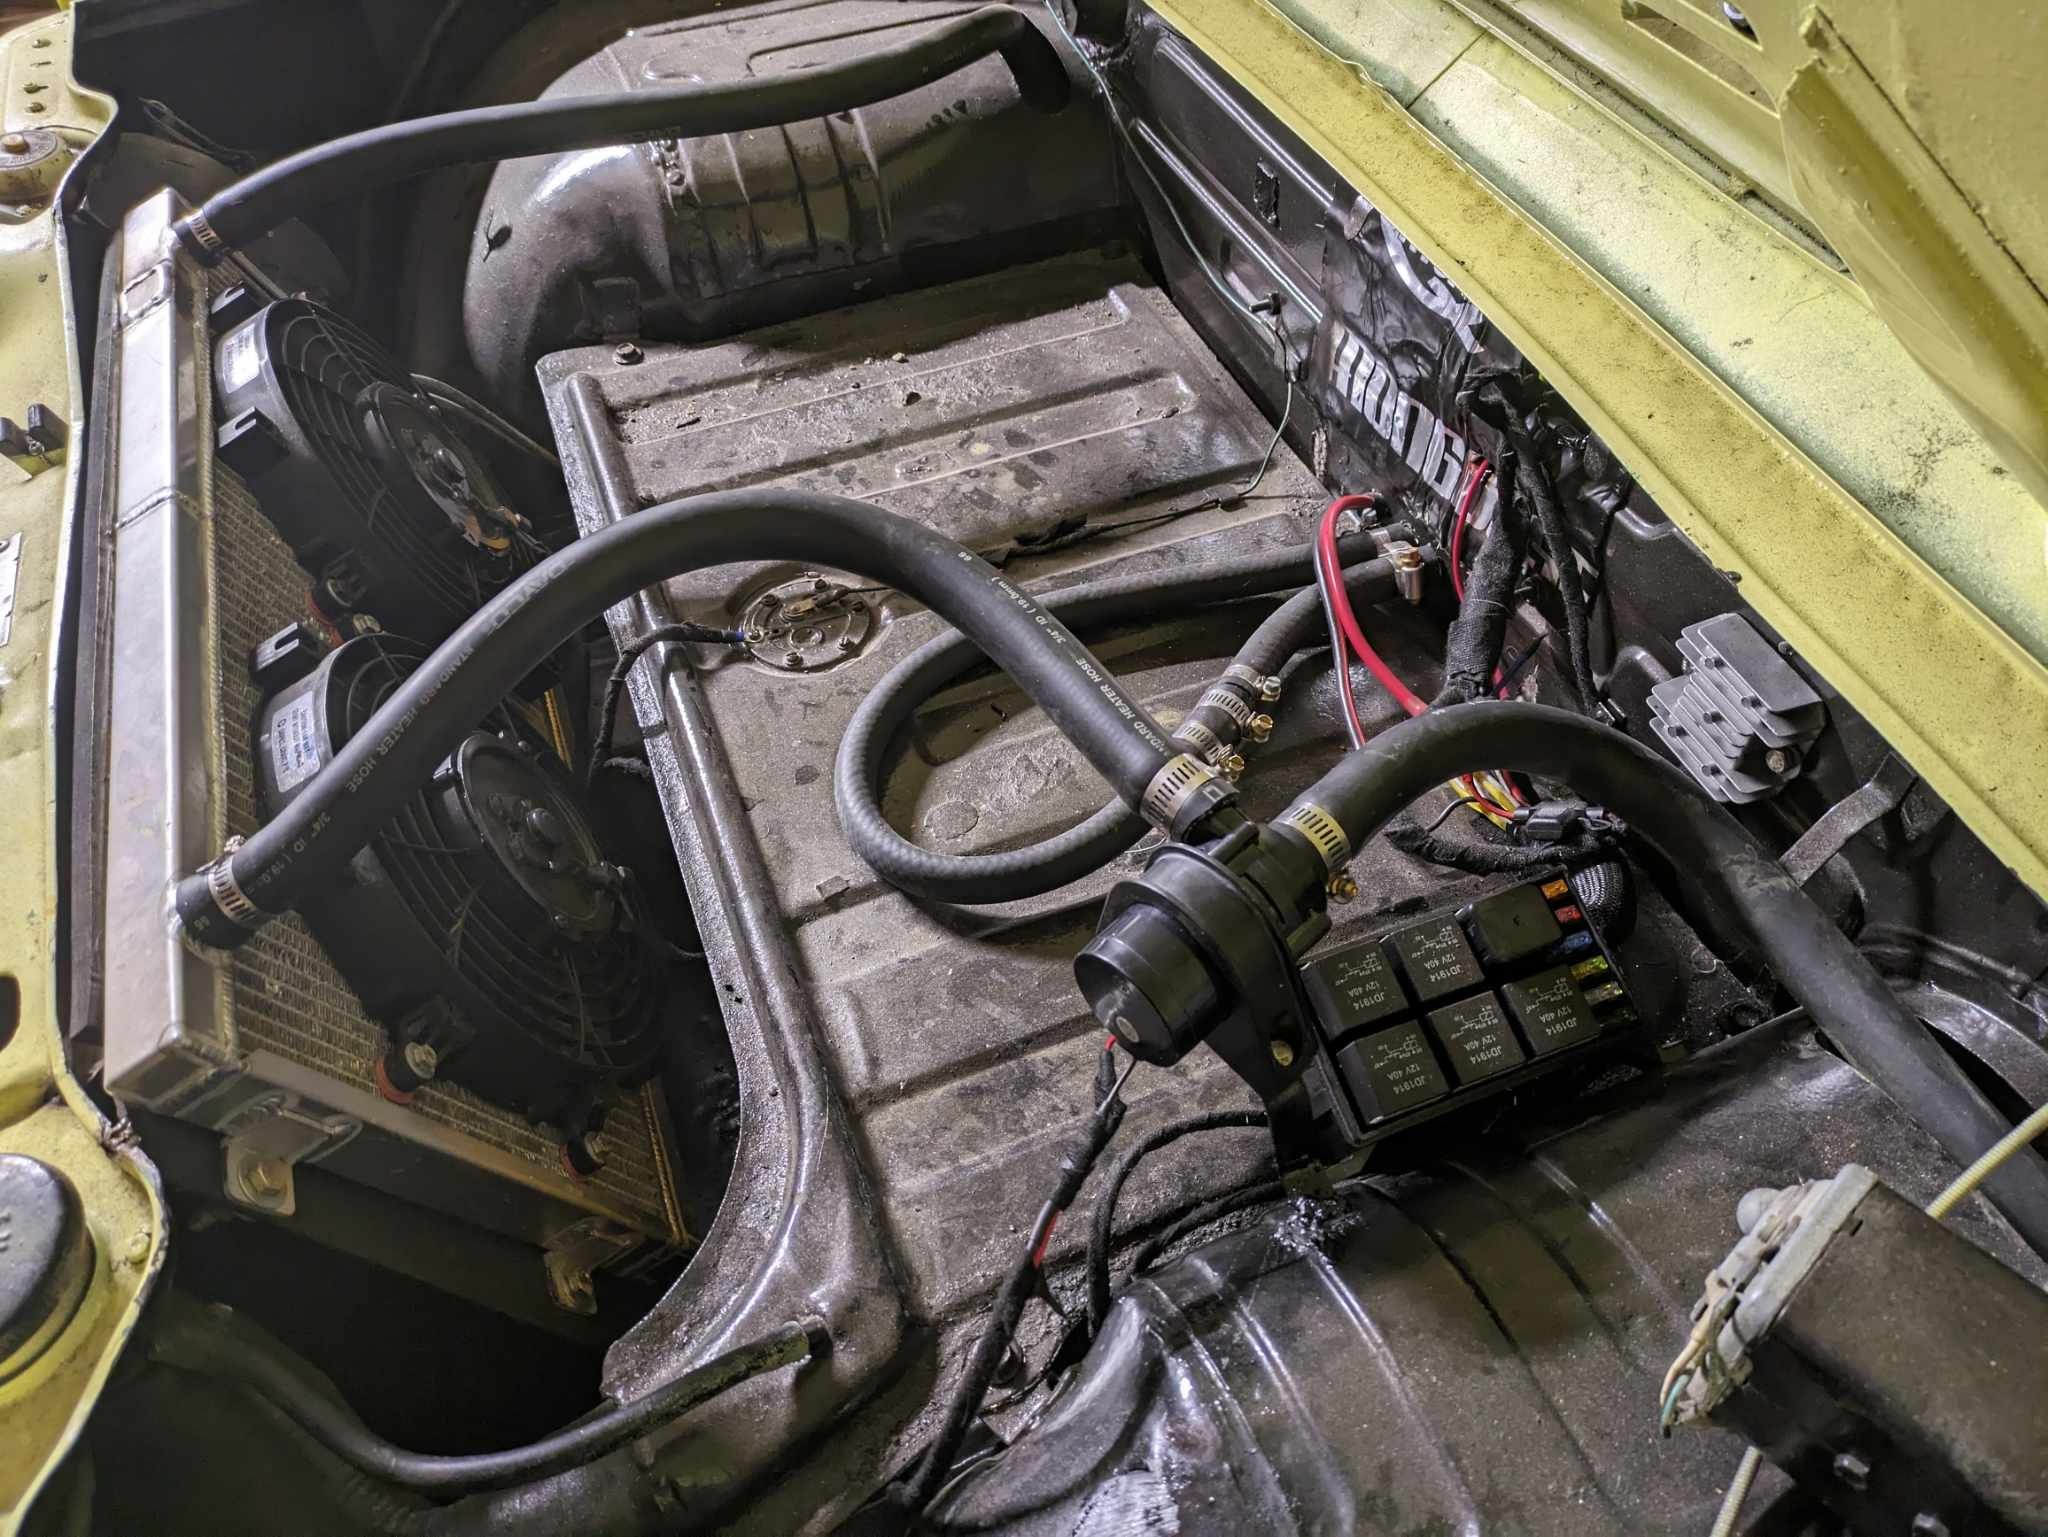
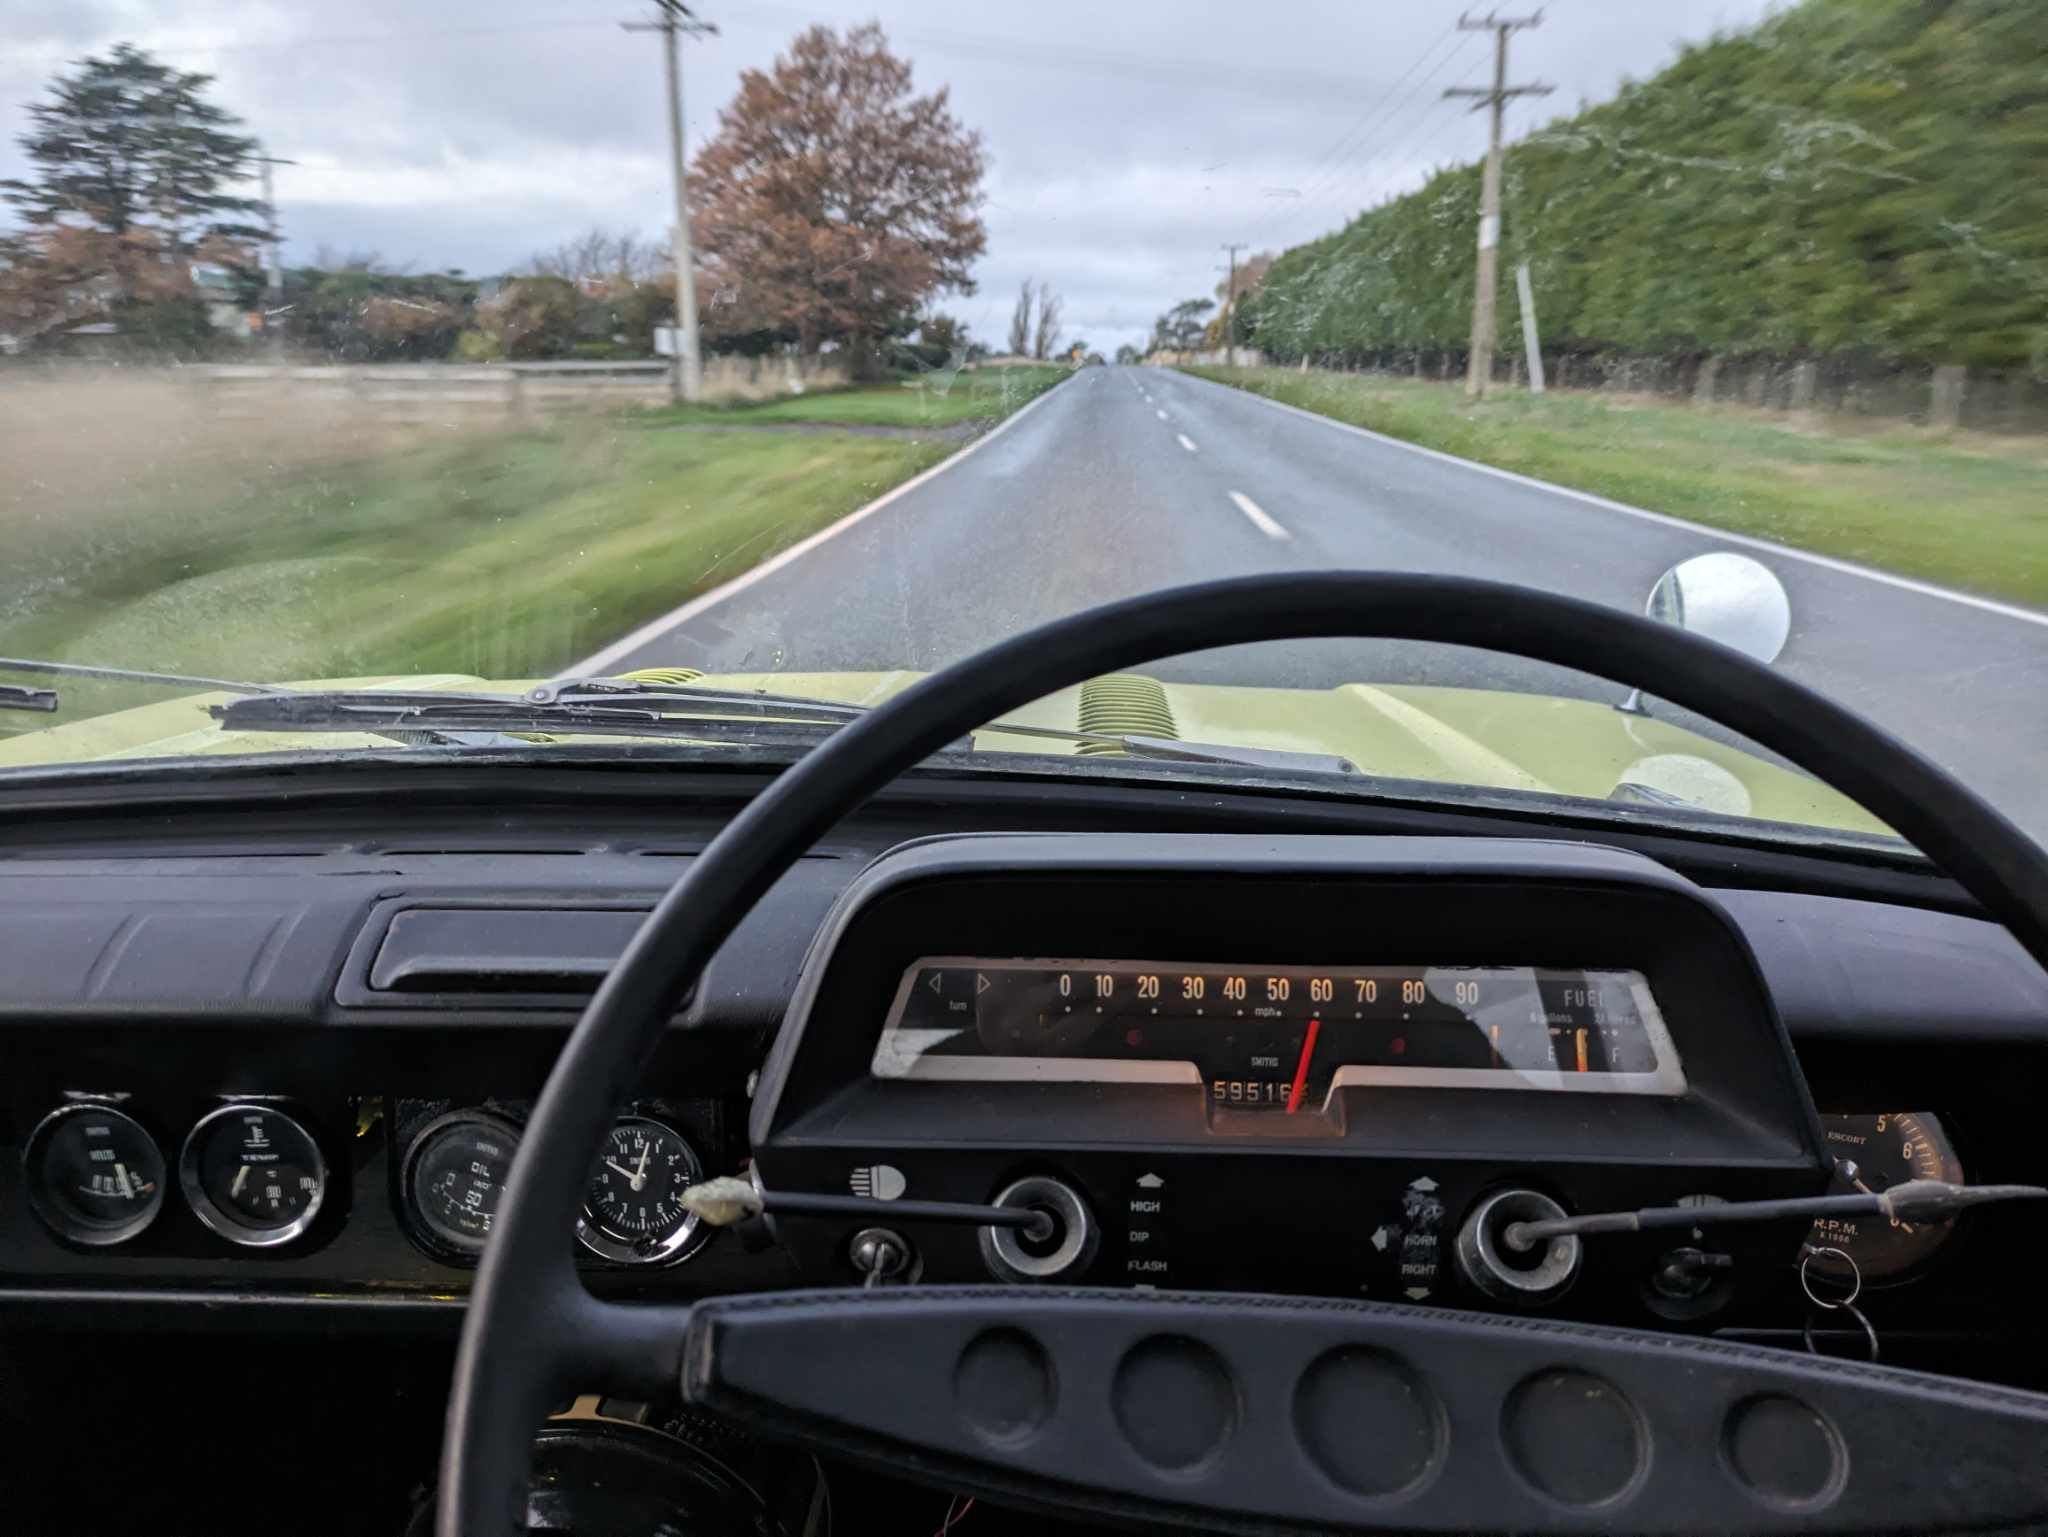
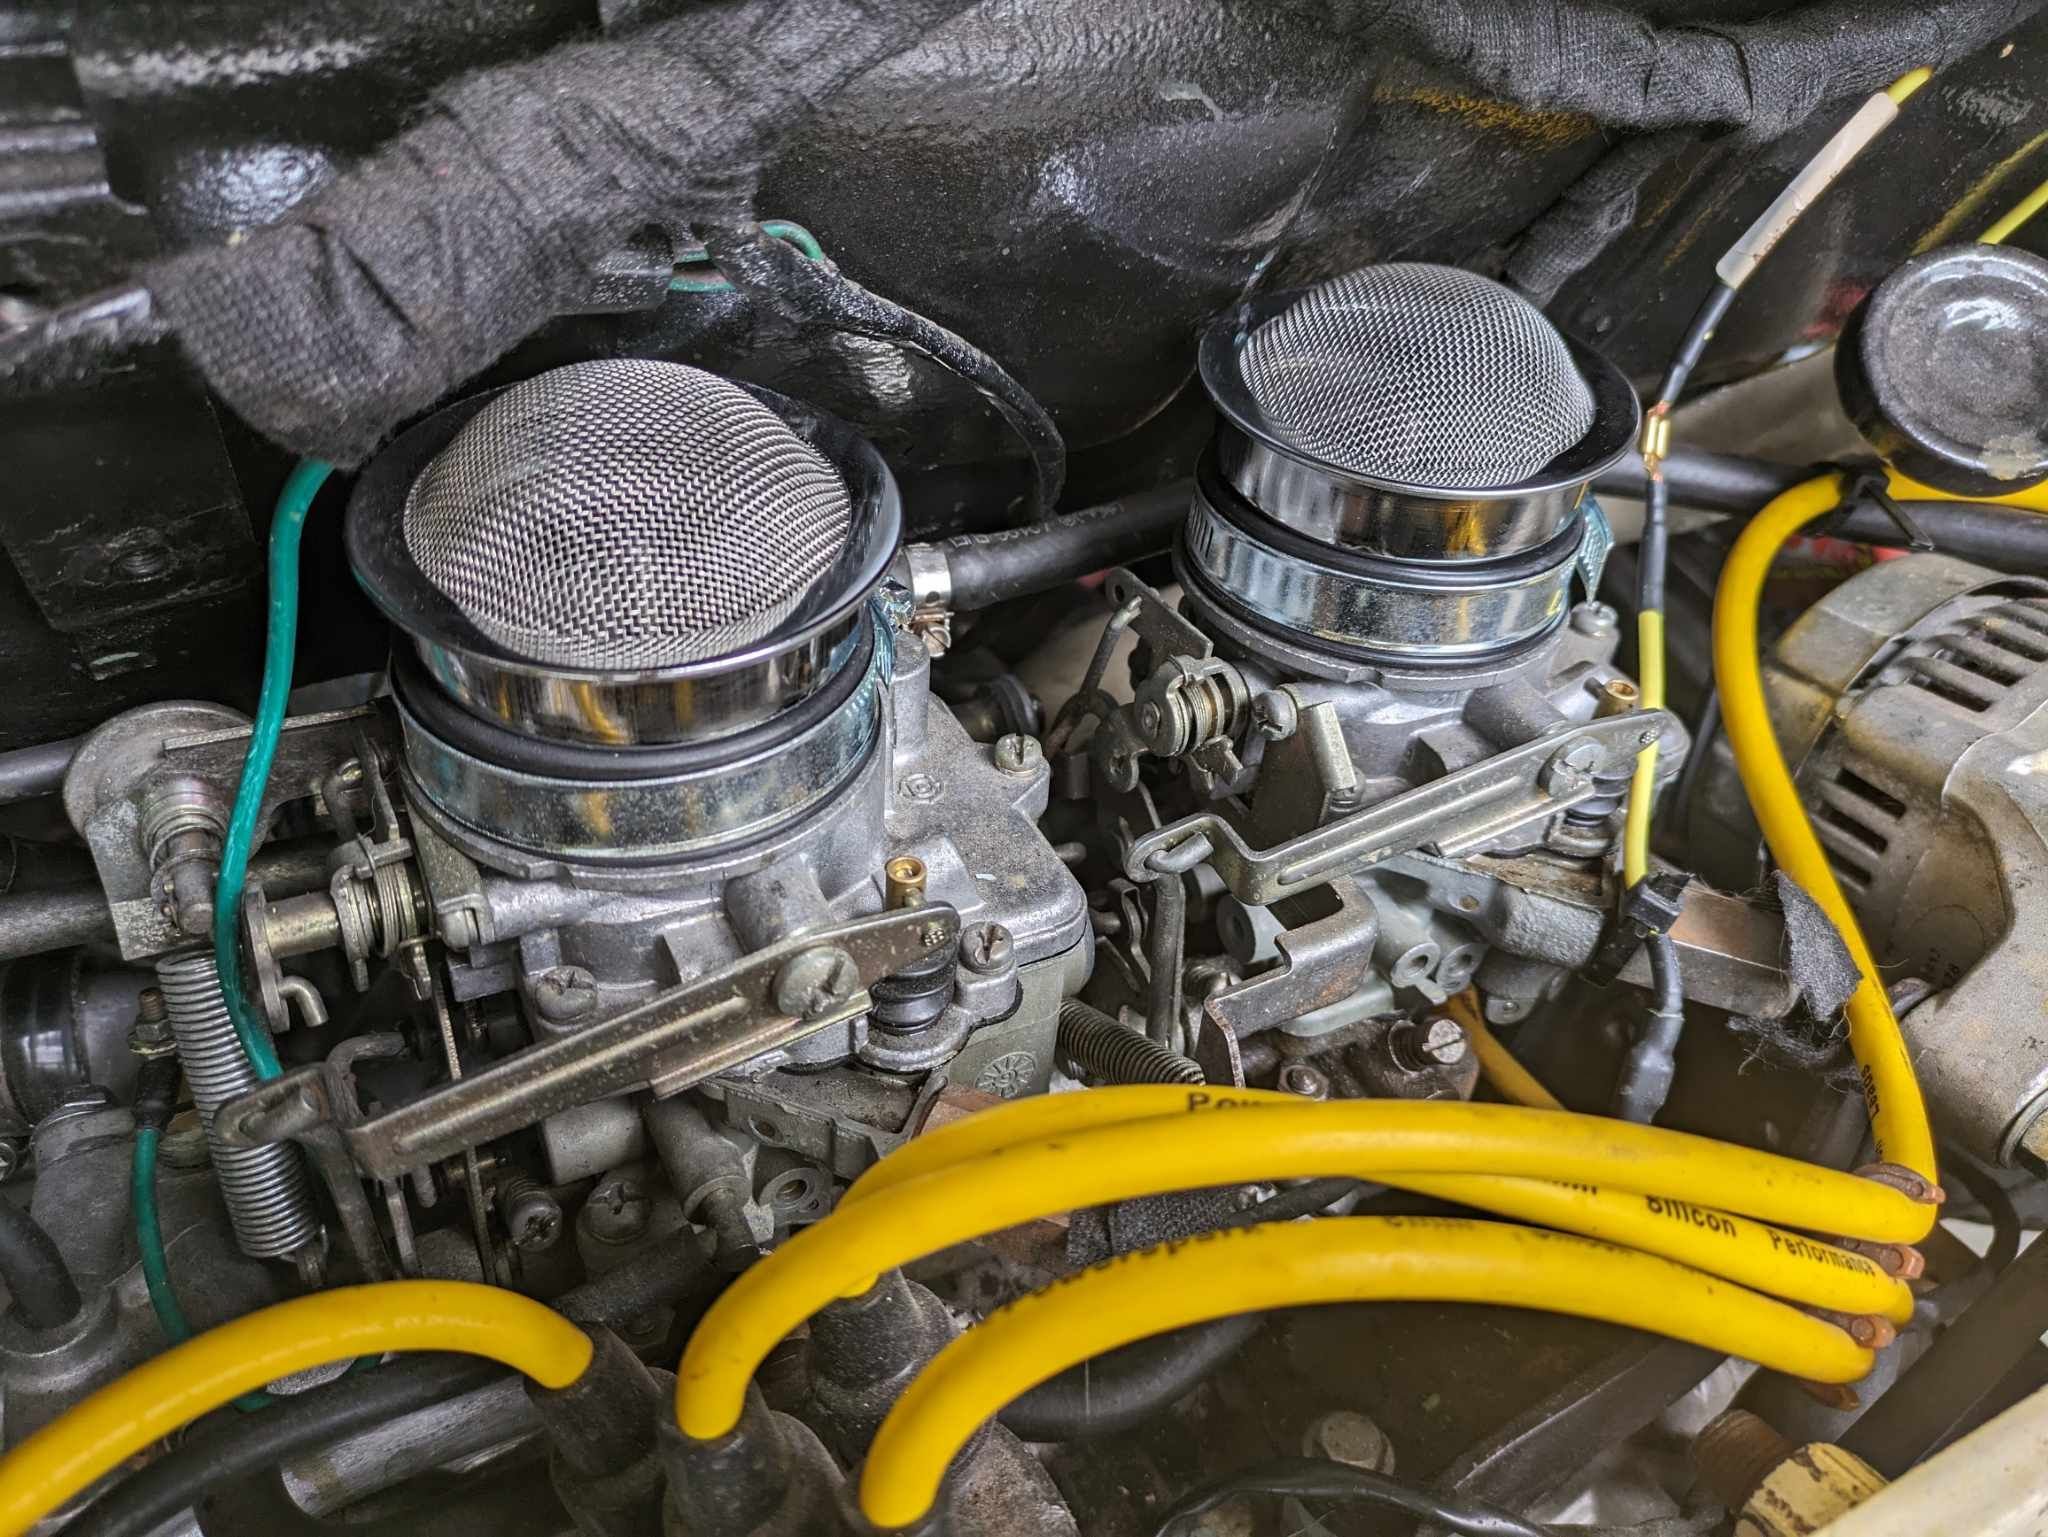
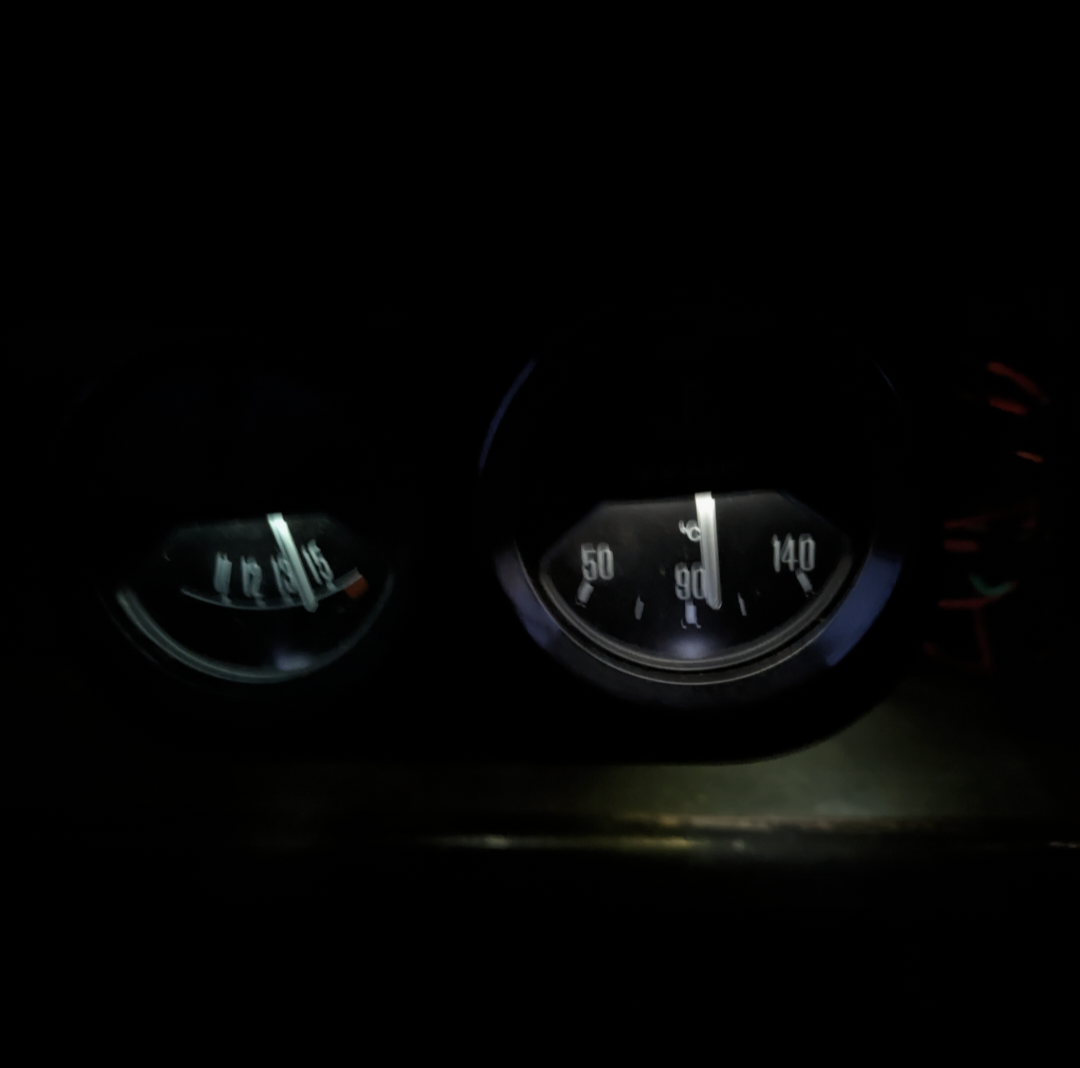
Sorted the overheating issue. Thankfully with the first fix. That was to swap the booster pump upside down so the outlet was at the top. Wasn't too tricky. Just extended the wiring and welded on a bracket to hold the pump. I made the wires quick connect incase I want to put in the bigger pump which I'll likely need for the heater. The car actually ran very cool. I bled the car with the bum in the air and in the morning I'll check the fluid level. It needs a flush anyway. Below you can see the temp gauge and it has hardly left the starting mark. By this time yesterday she was blowing steam and the gauge was pushing 100 degrees. The other thing I did was add some basic mesh filters. I still haven't sorted out a custom filter yet but I'll get around to it. Super frustratingly there is a vibration over 50mph. It is minor but can deffo feel it. I don't remember it being there before so what I'll do is take off the intermediate engine mount I made and see if it's still there. I don't think it's something that would stop LVV but I want it to be right too. It really really needs a wash. I ordered some new door rubbers so as soon as they come in I'll give it a decent bath.
- 119 replies
-
- 19
-
-
I just run my air hose over a rafter from the compressor and the water separator near the gun end. Not sure if the rafter thing does anything but makes it easy to get the hose out of the way when I'm done to hang on the wall.
-
All good mate. Toyota make some great engines so the world is your oyster with this really.
-
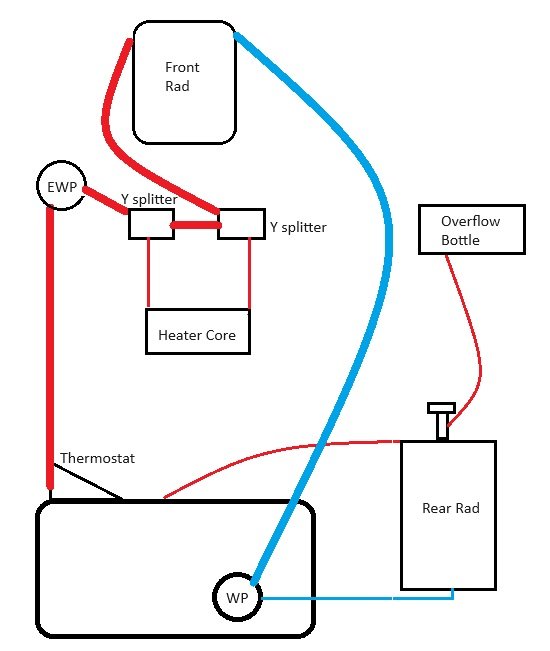
So looks like this needs a bit of a design change. I took it for a decent blat tonight and about 10kms of 60mph the temp gauge started climbing and the overflow bottle was steaming. I limped it home and had a bit of a poke and a prod around. The rear radiator had overheated. The hose line from the thermostat/outlet was hot up until the booster pump. The front rad was cool to the touch. So I have a few options here. I have a bigger ewp I can fit. Also I can try it without the ewp and just the mechanical pump. The water coming out of the overflow was pretty cruddy so I might give it another flush. I also have a thermo fan for the rear rad but I dont think that is the problem. Might give it an overnight burp with the rear lifted too. It's pretty tricky as there are so many curves and turns in the hoses. One thing I also need to try is putting the outlet of the booster pump on the top. But I have to figure out how to do that due to hose angles. Might be easier to move it to the other side after the front radiator.
-
I would have thought the choice was obvious.
-
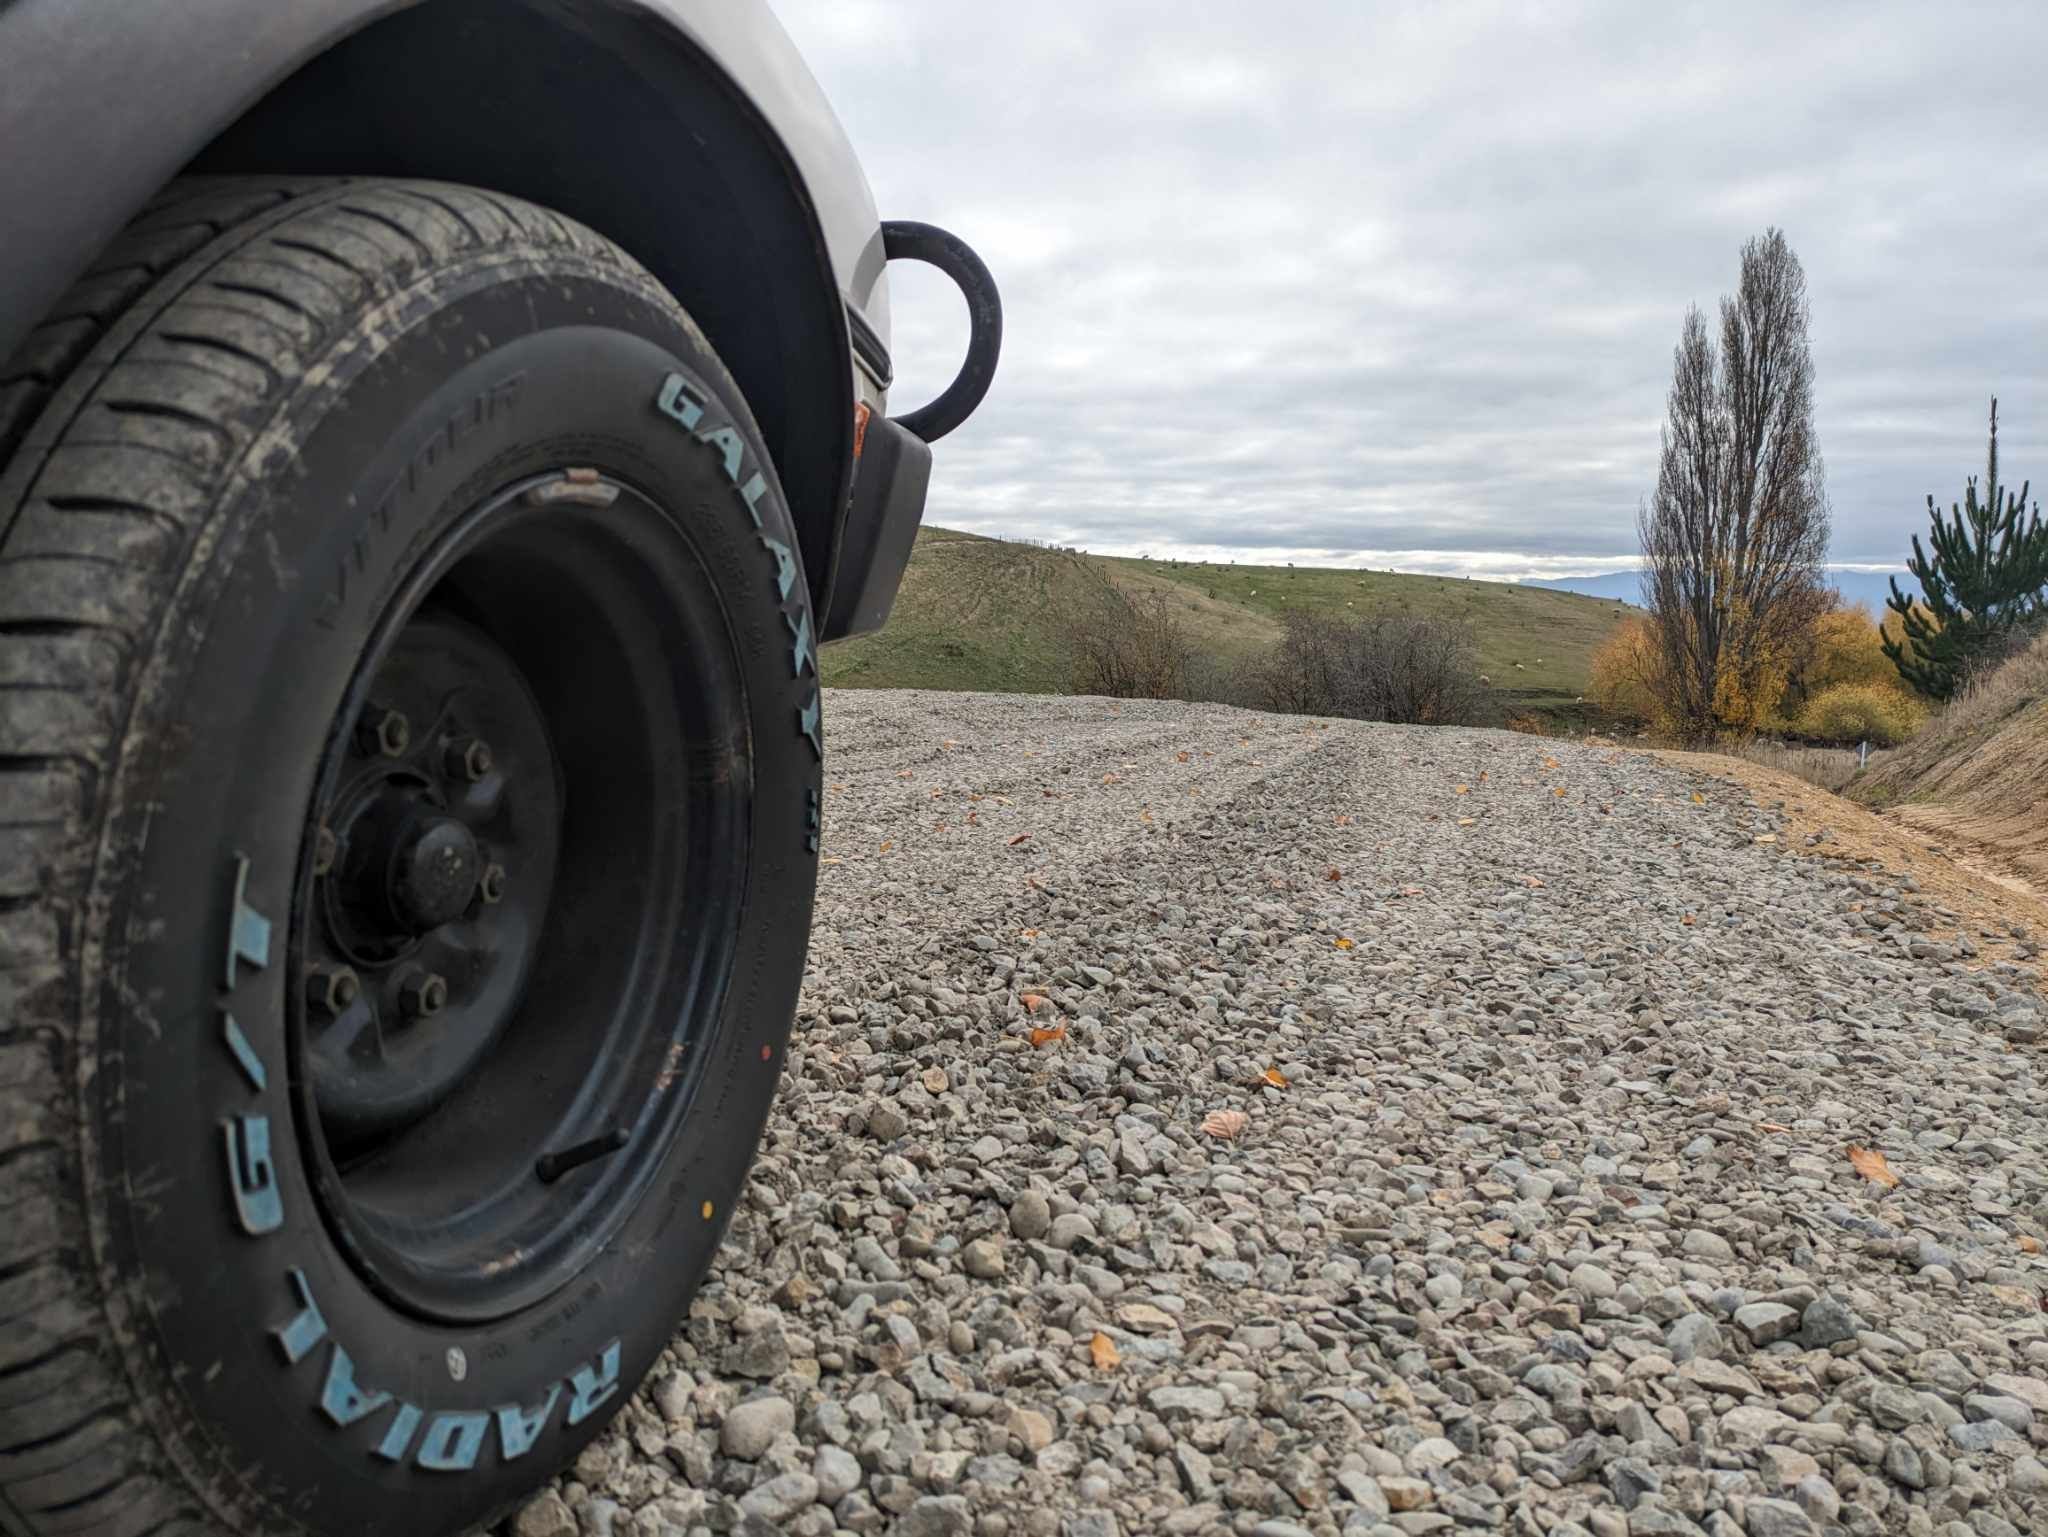
Finally was able to sort the annoying vibration at 80-90kph. Whilst it isn't Jaguar smooth, it doesn't feel like it's driving with square wheels. Turned out to be the centre hanger bearing. The old one looked fine with a visual inspection but had a bit of flex. The new one is much more stiff (fnar fnar). Wasn't too hard to swap over. Just one of those annoying ones where you have to keep undoing more things than you expected to get to where you're going. Anyway all done and now means I can drive it much further without worrying about something breaking as much. To celebrate not jiggling in the car I dragged the drum roller to do some different type of jiggling the bush block to pack down some AP40. It has no torque at all but it gets the job done in 4th with no dramas. I asked for a few loads to get dropped off to the trucking company and they managed to drop off over 10. That will be fun come invoicing time. Anyway I made use of the Mitsi widened steelies and gave it a first pass with that with a load of gravel in the tray to give it some weight.
- 78 replies
-
- 18
-
-
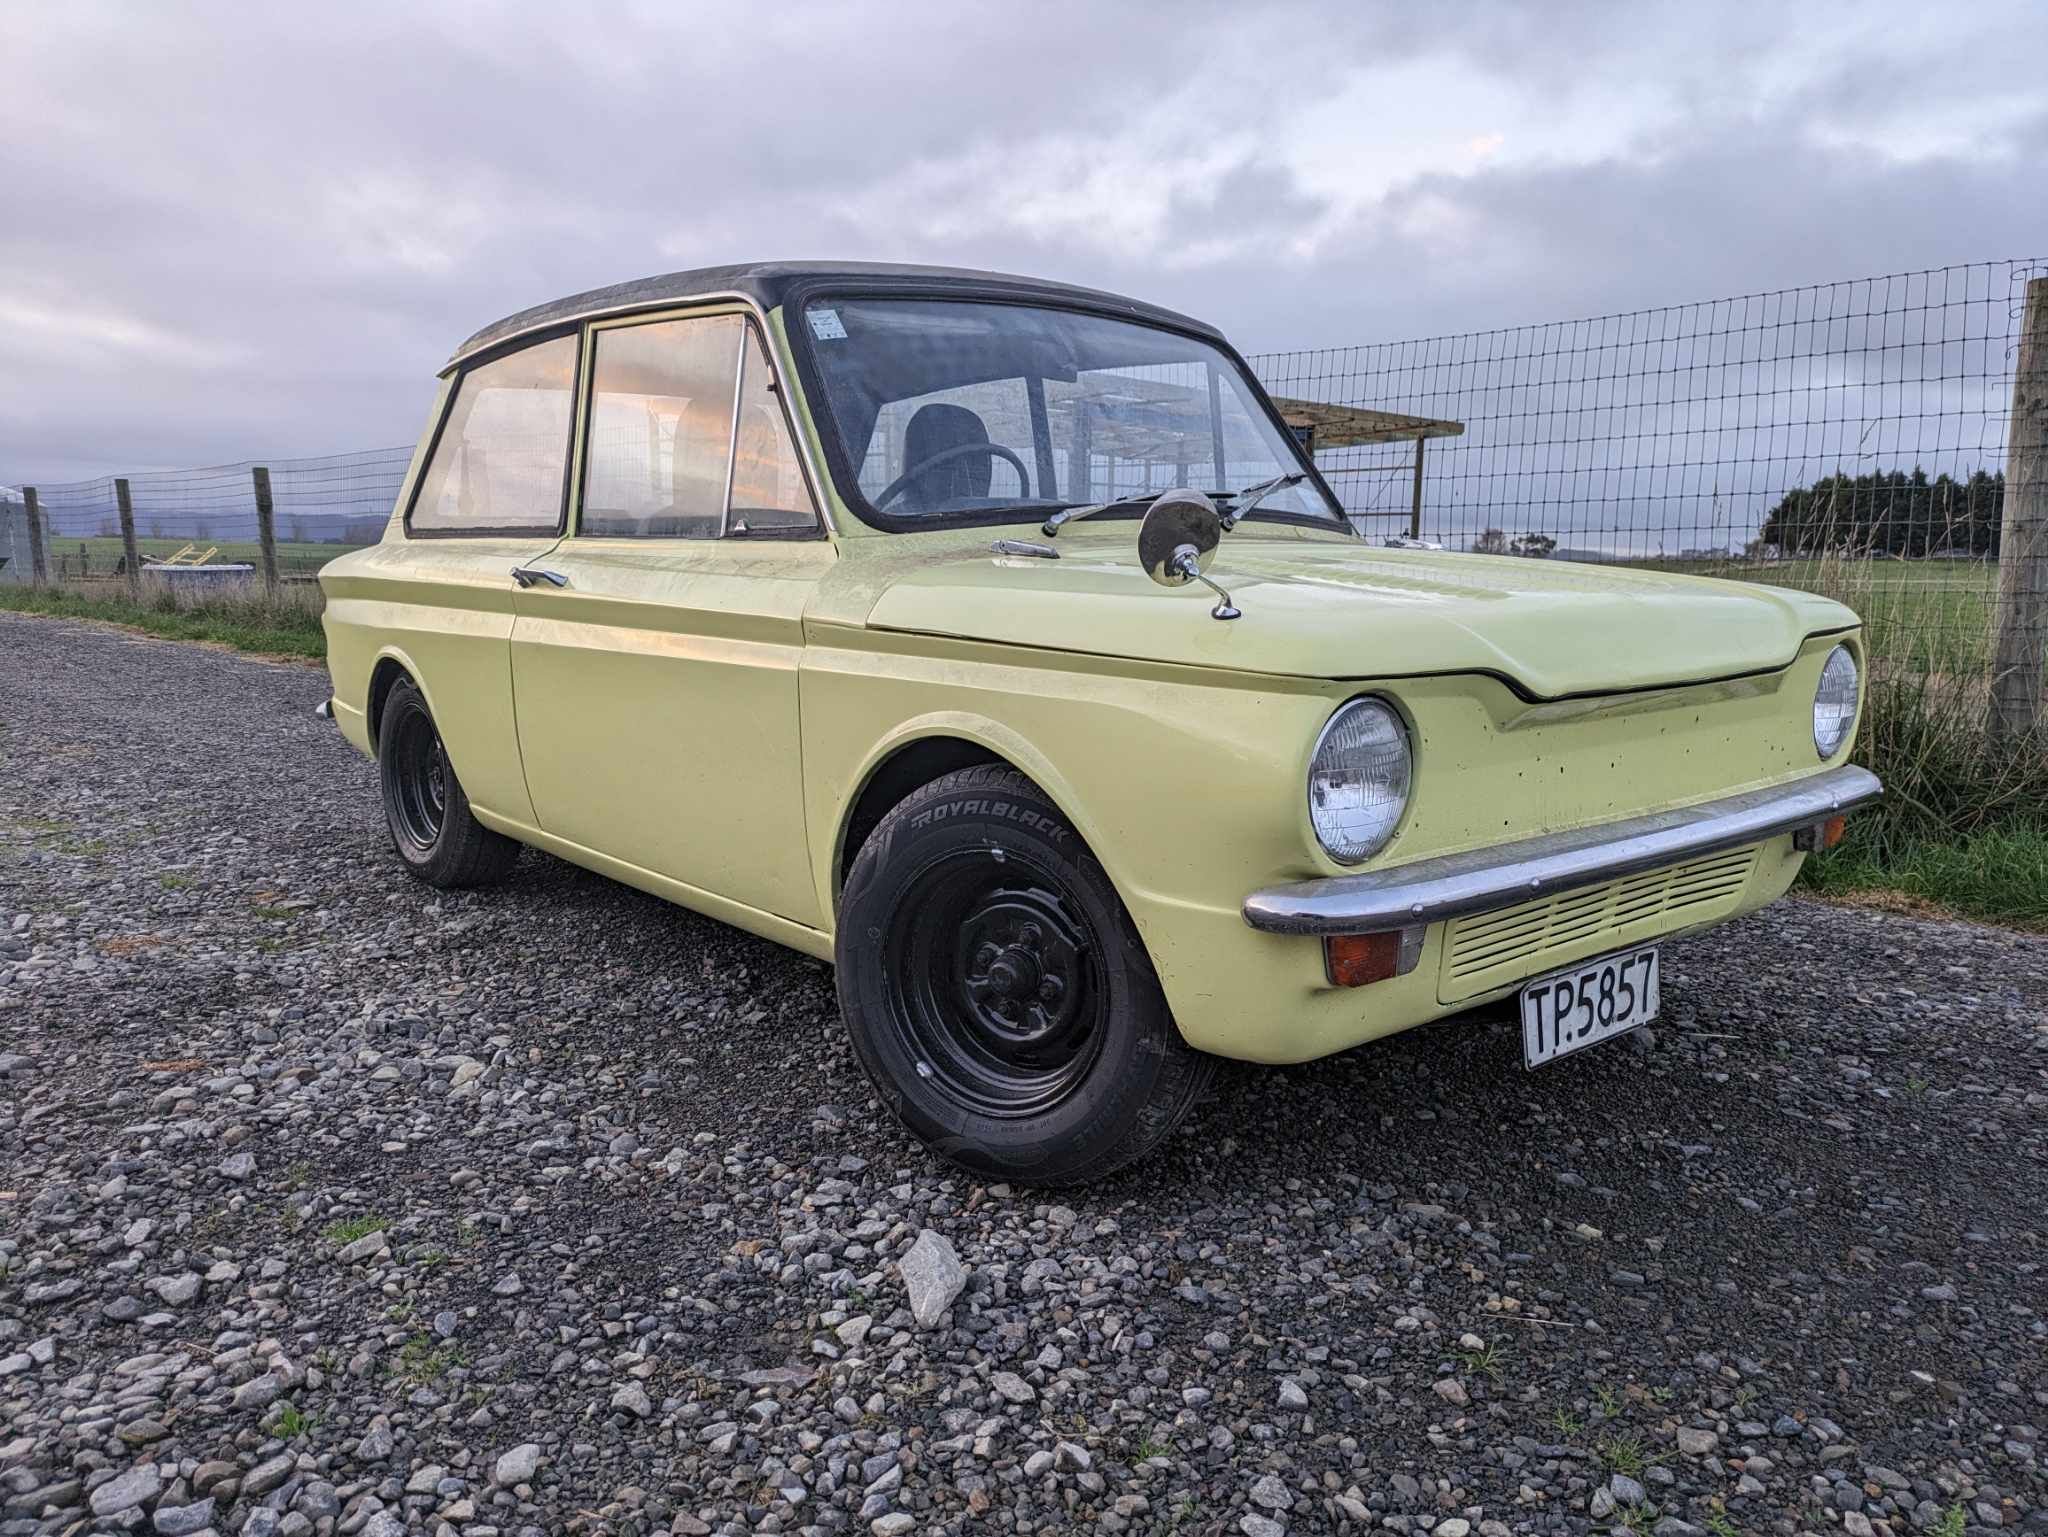
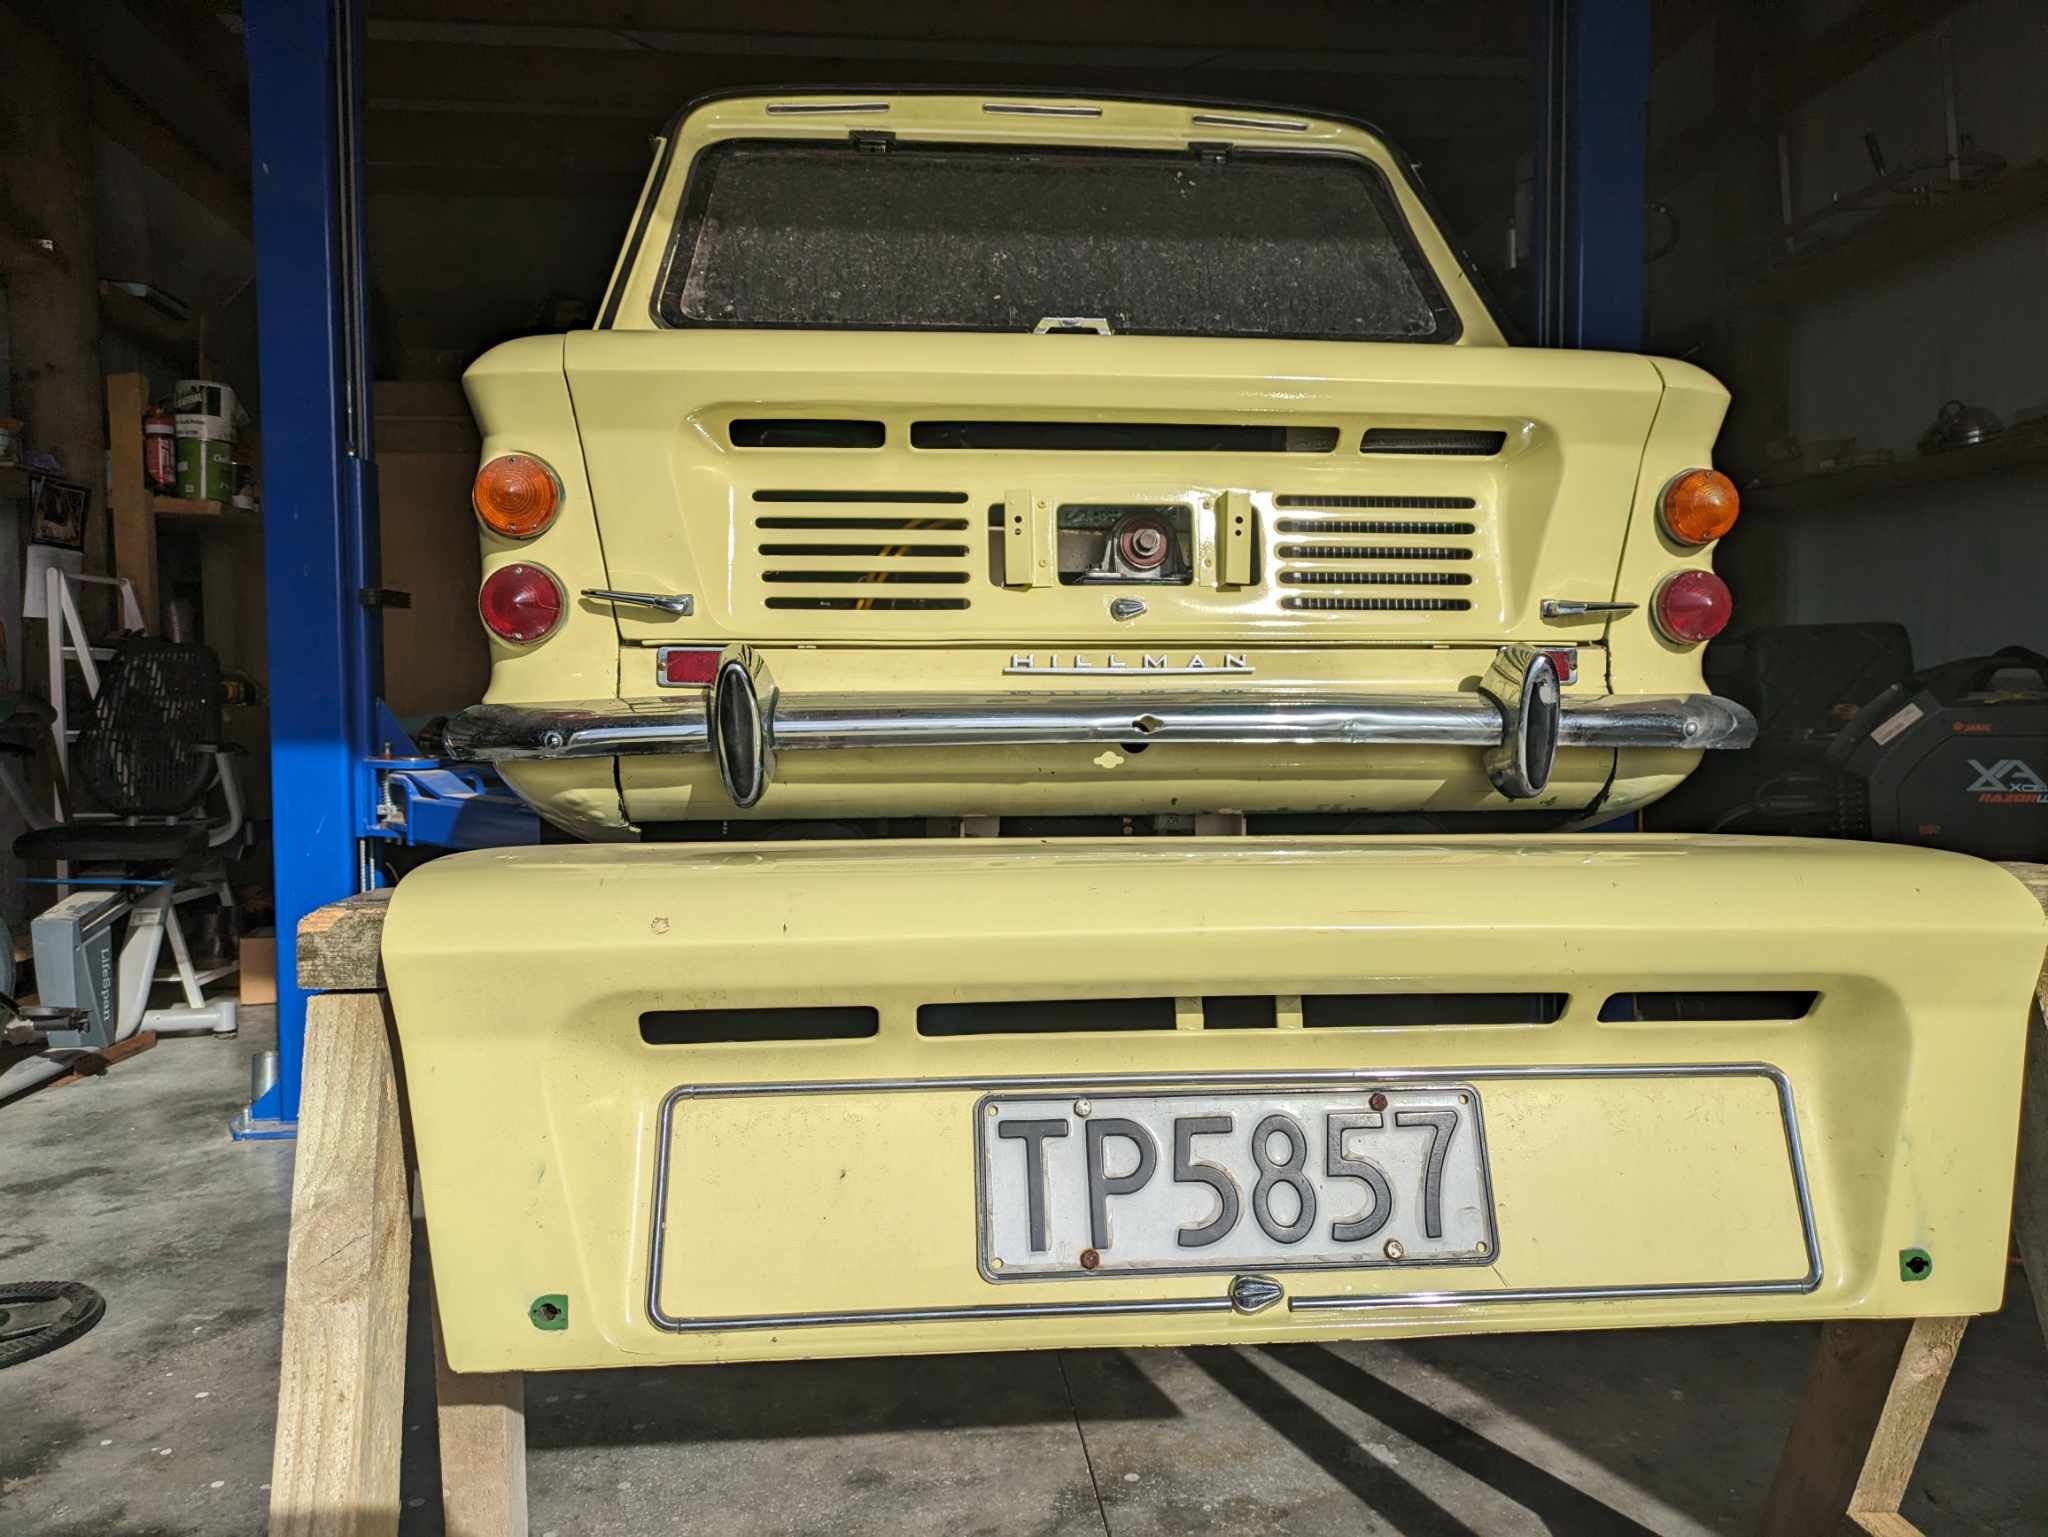
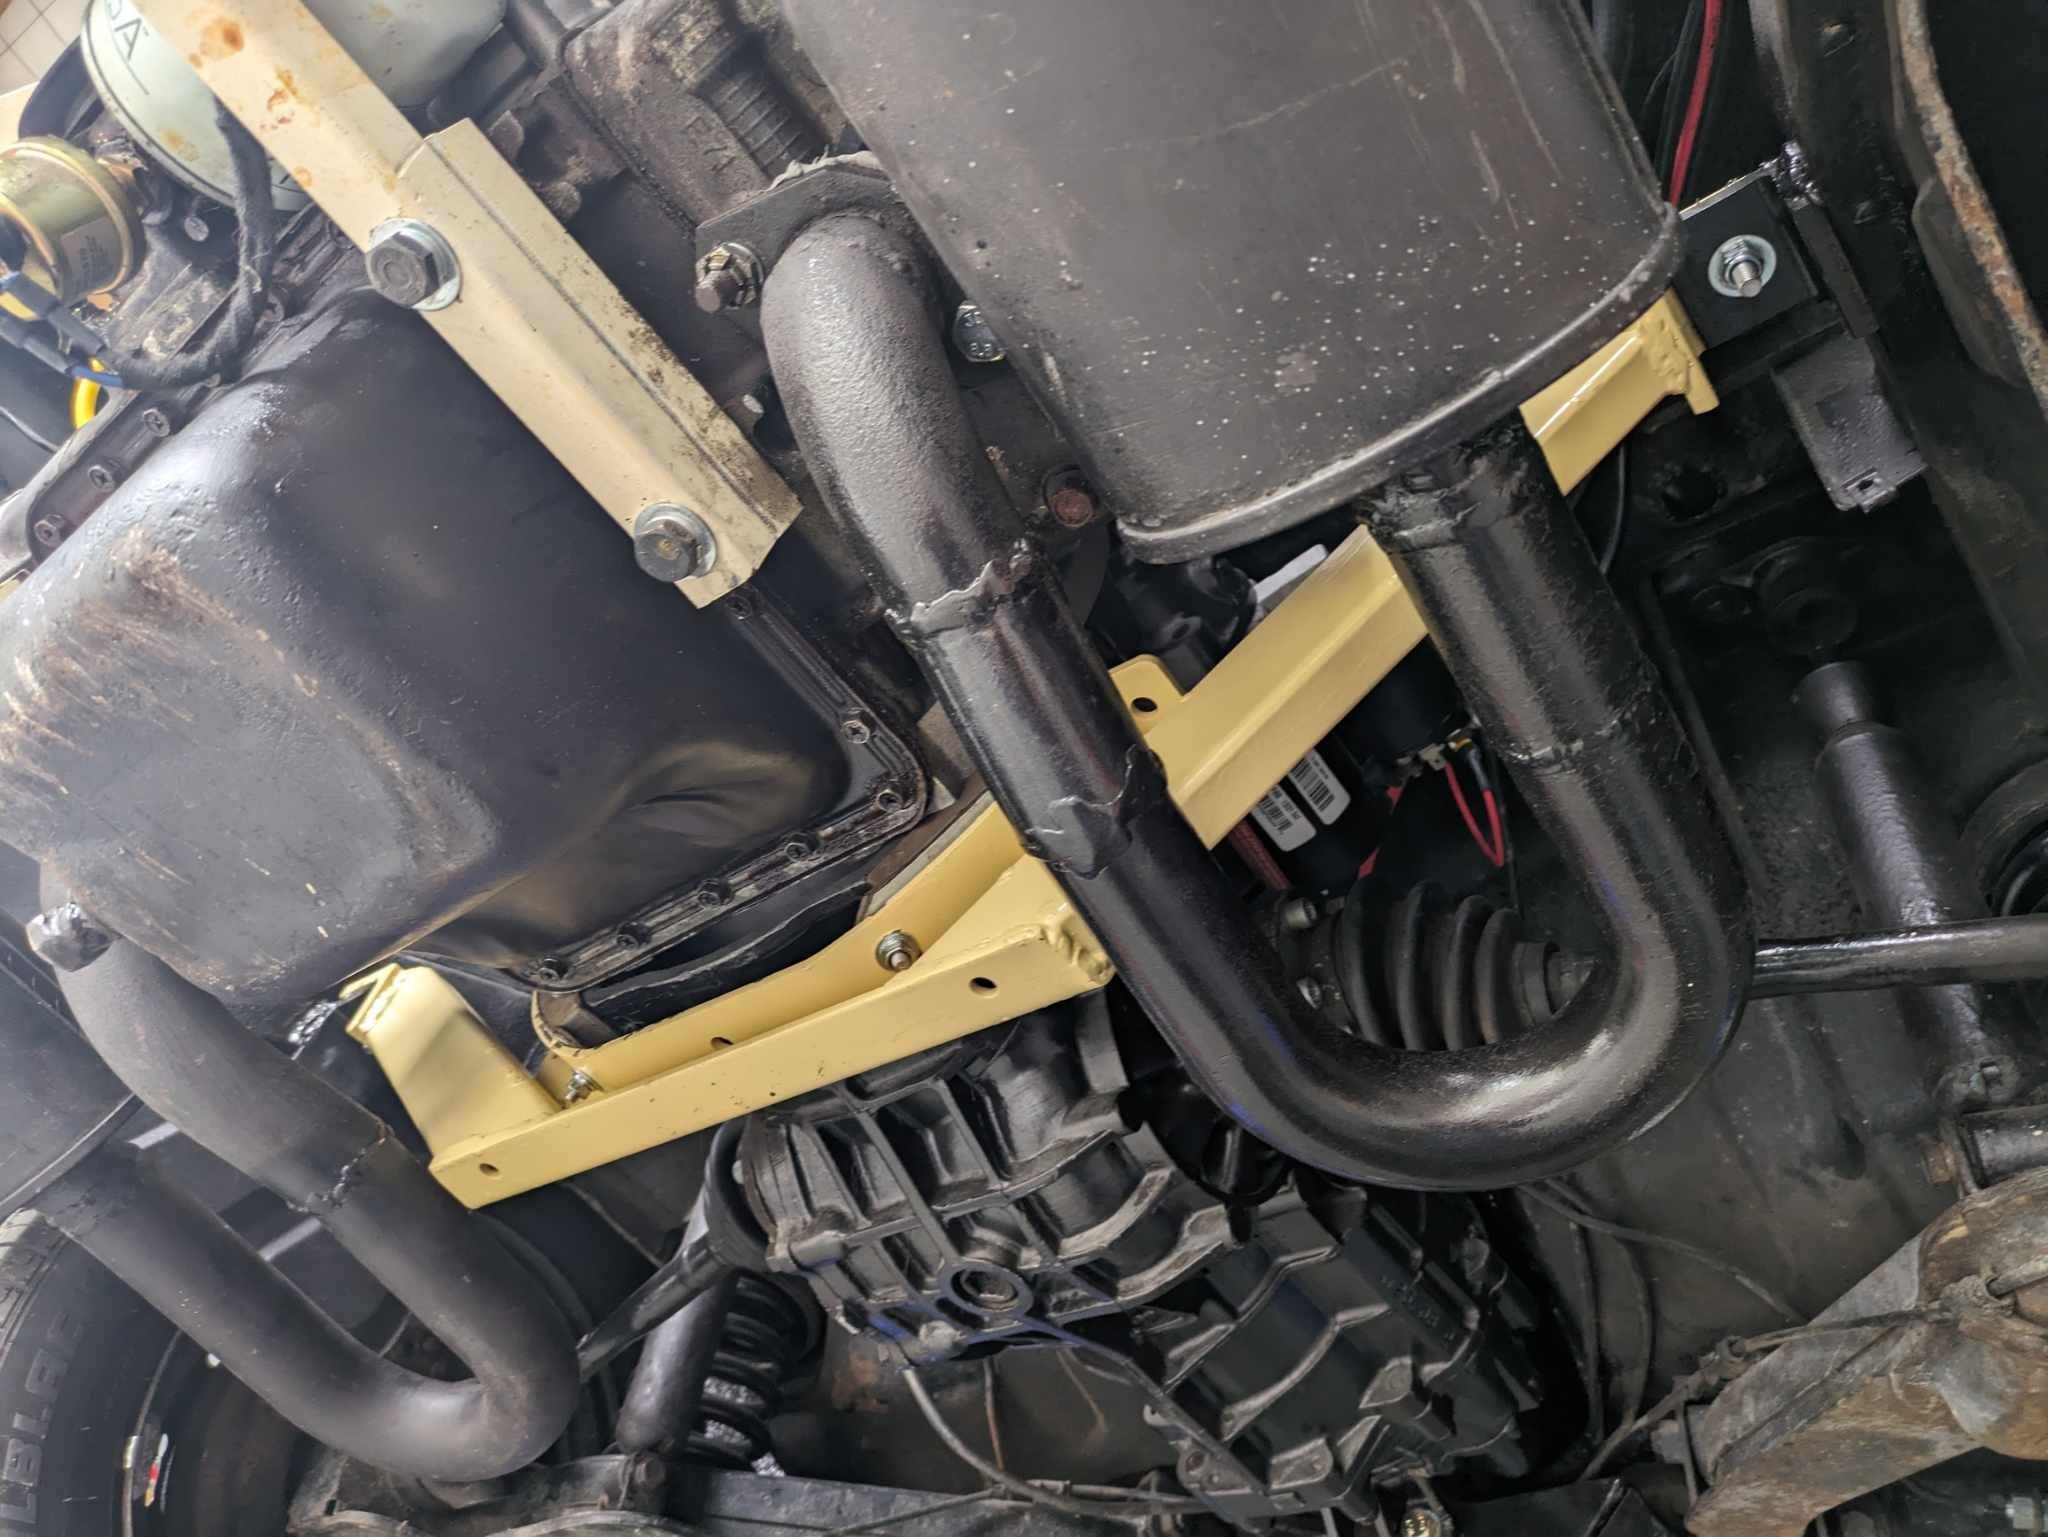
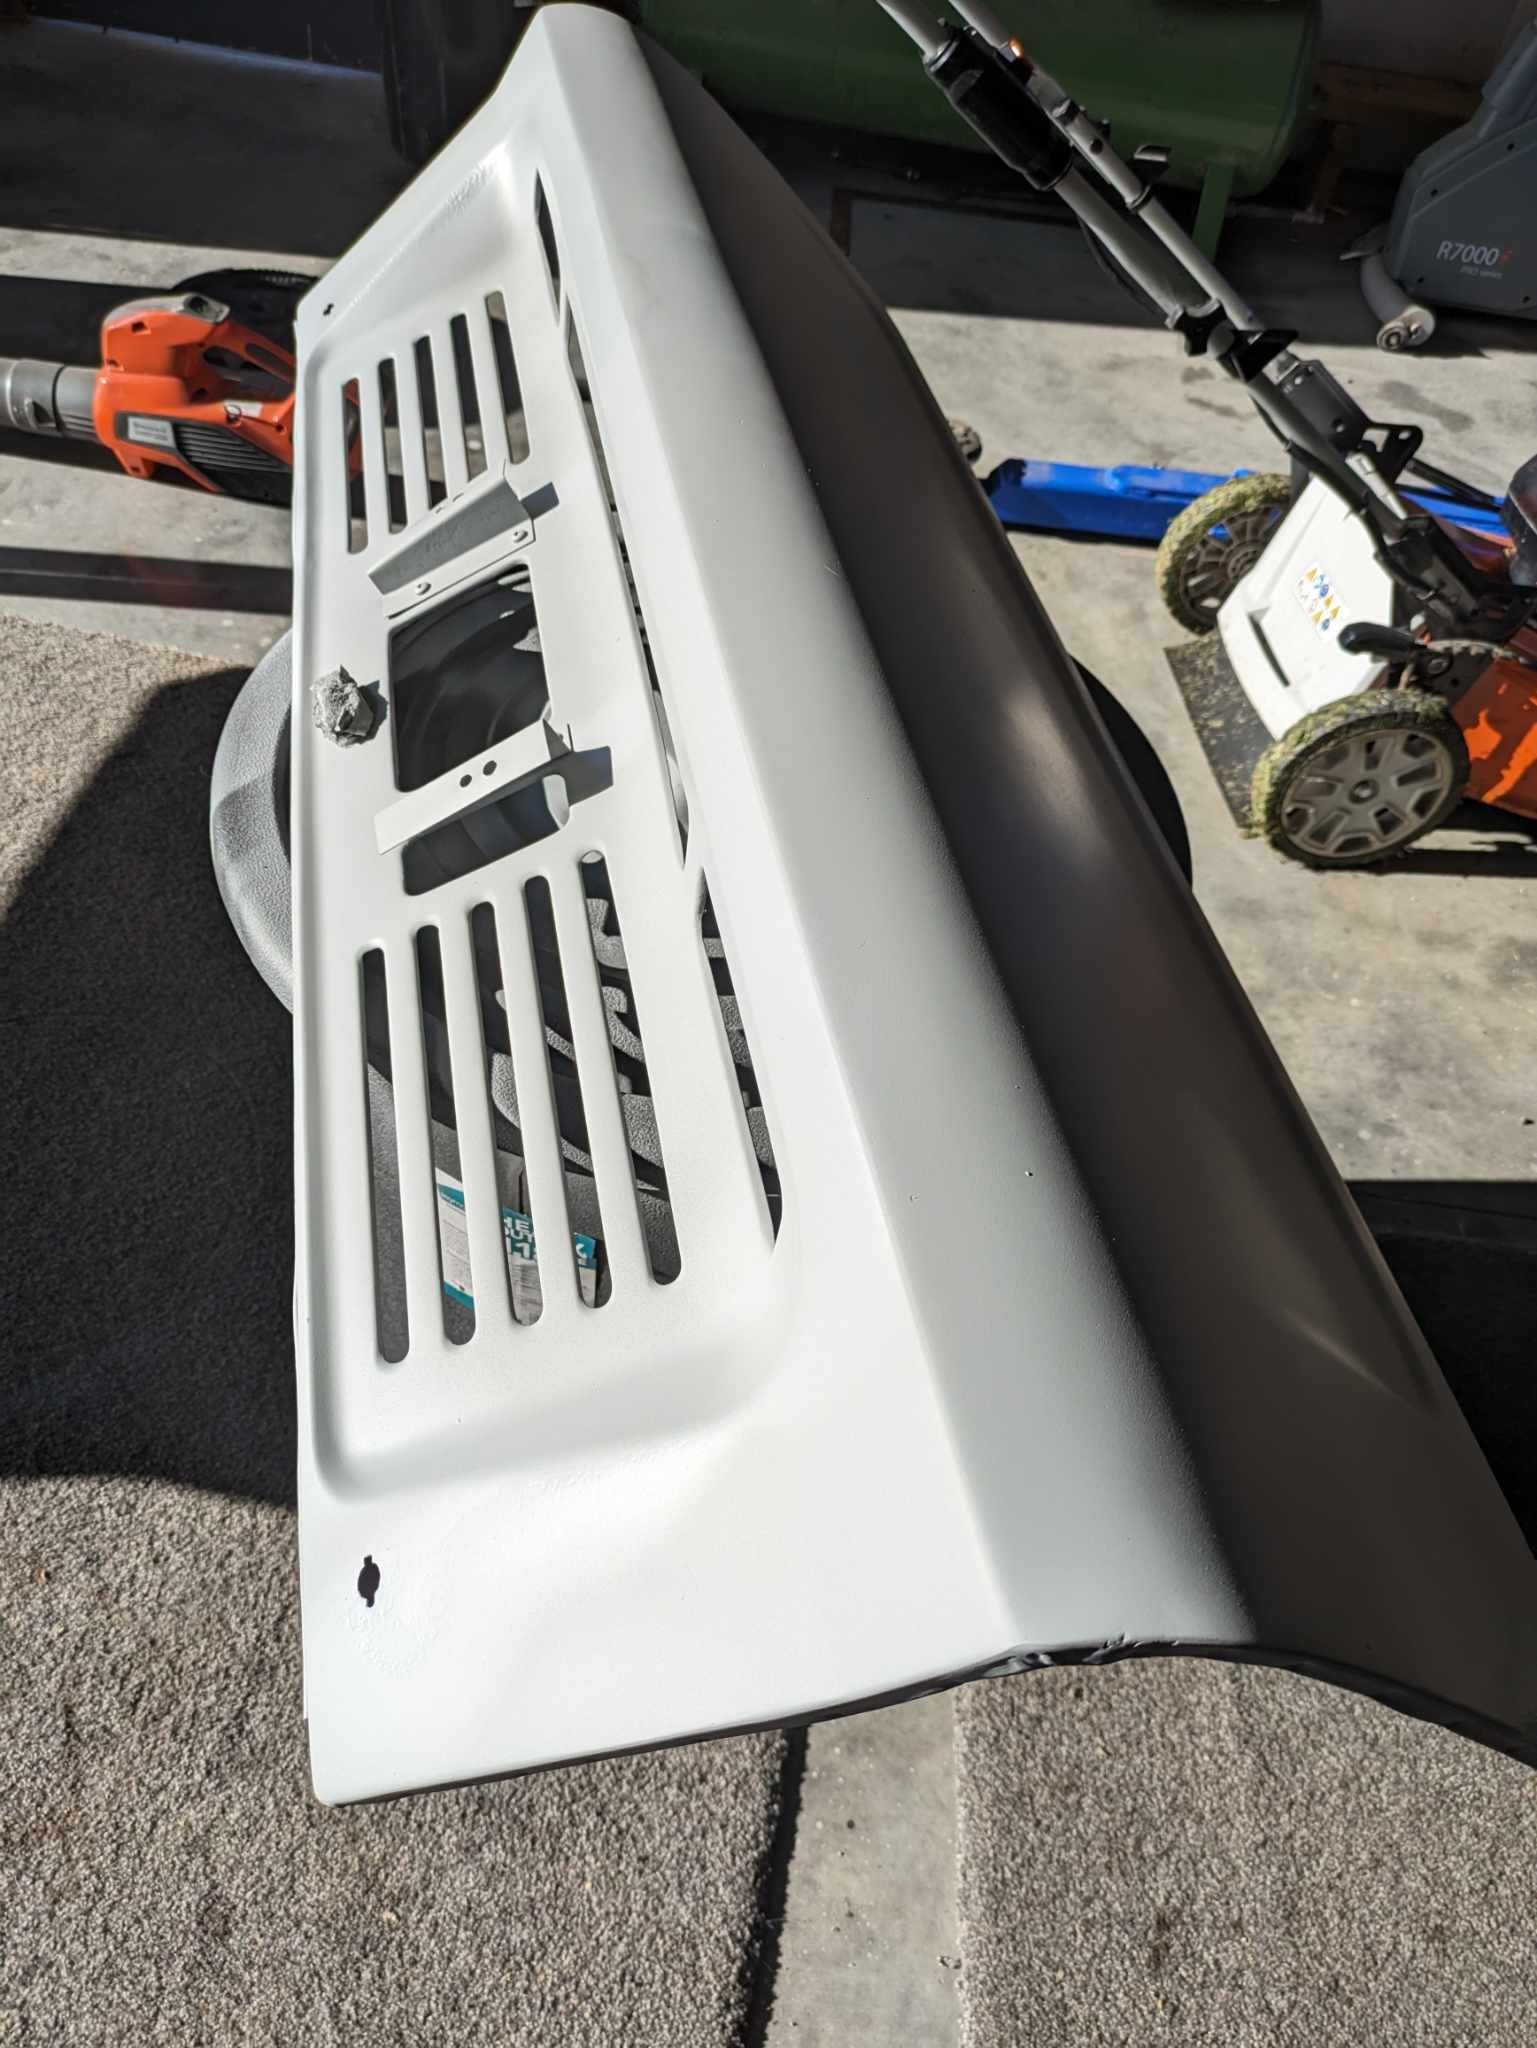
If anybody wanted to see the difference between a standard imp boot lid and a GT lid then you're in luck. You can see the rear radiator peaking through the slots here. Over the weekend I put together a new engine mount. The cert man didn't ask for it but I know that if the rear most mount fails the engine will just plop onto the ground. In this direction it should just drag rather than pole vault the car but having a mid mount will nullify that situation entirely. I was able to put the engine on a slight tilt to get the oil filler tube away from the firewall too. I was just going to cut and move it but the alternator is very close and it was all a little awkward. Hoping it won't affect much on the engine but I still need to redo the sump anyway as it sits too low. The vibration the engine had with mounts at opposite ends has been mitigated too. It was substantial. You can see it here. So I got a stock VW rear mount and just added some arms to some brackets on the body rails. I'll see what cert man thinks as I'm never precious about these things. I had to re-rout both exhausts but wasn't too tricky. One needed two curves put in and one just needed a slight mod.
- 119 replies
-
- 30
-
-
Just havent had much to do with them. Rarely see them for sale near me. I want as simple a setup as possible. Less to go wrong and easier to fix because I'm a basic bitch.
-
Are you able to shoot me your address via a flirty PM please? As for the 6B engine I'm waiting here with a tape measure and nursing a semi before descending on Stratford to see if we can break an engine hoist.
-
I have some tank sealer I'm probably never going to use if you want me to send it to you. It'll rot on my shelf. I got it for my Armstrong Siddeley which has a small hole in the tank but instead Ill weld a patch in it (which is always good explosive fun). Anyway my go to method is to put a length of chain inside the tank. Wrap the tank in a blanket. And then leave it in a cement mixer for an hour or two. If it's a car I really want to keep I'll get it down to the local radiator repair shop to sit in their tank overnight. I don't bother coating it after that. I just make sure that it's never left empty for longer than a few months.
-
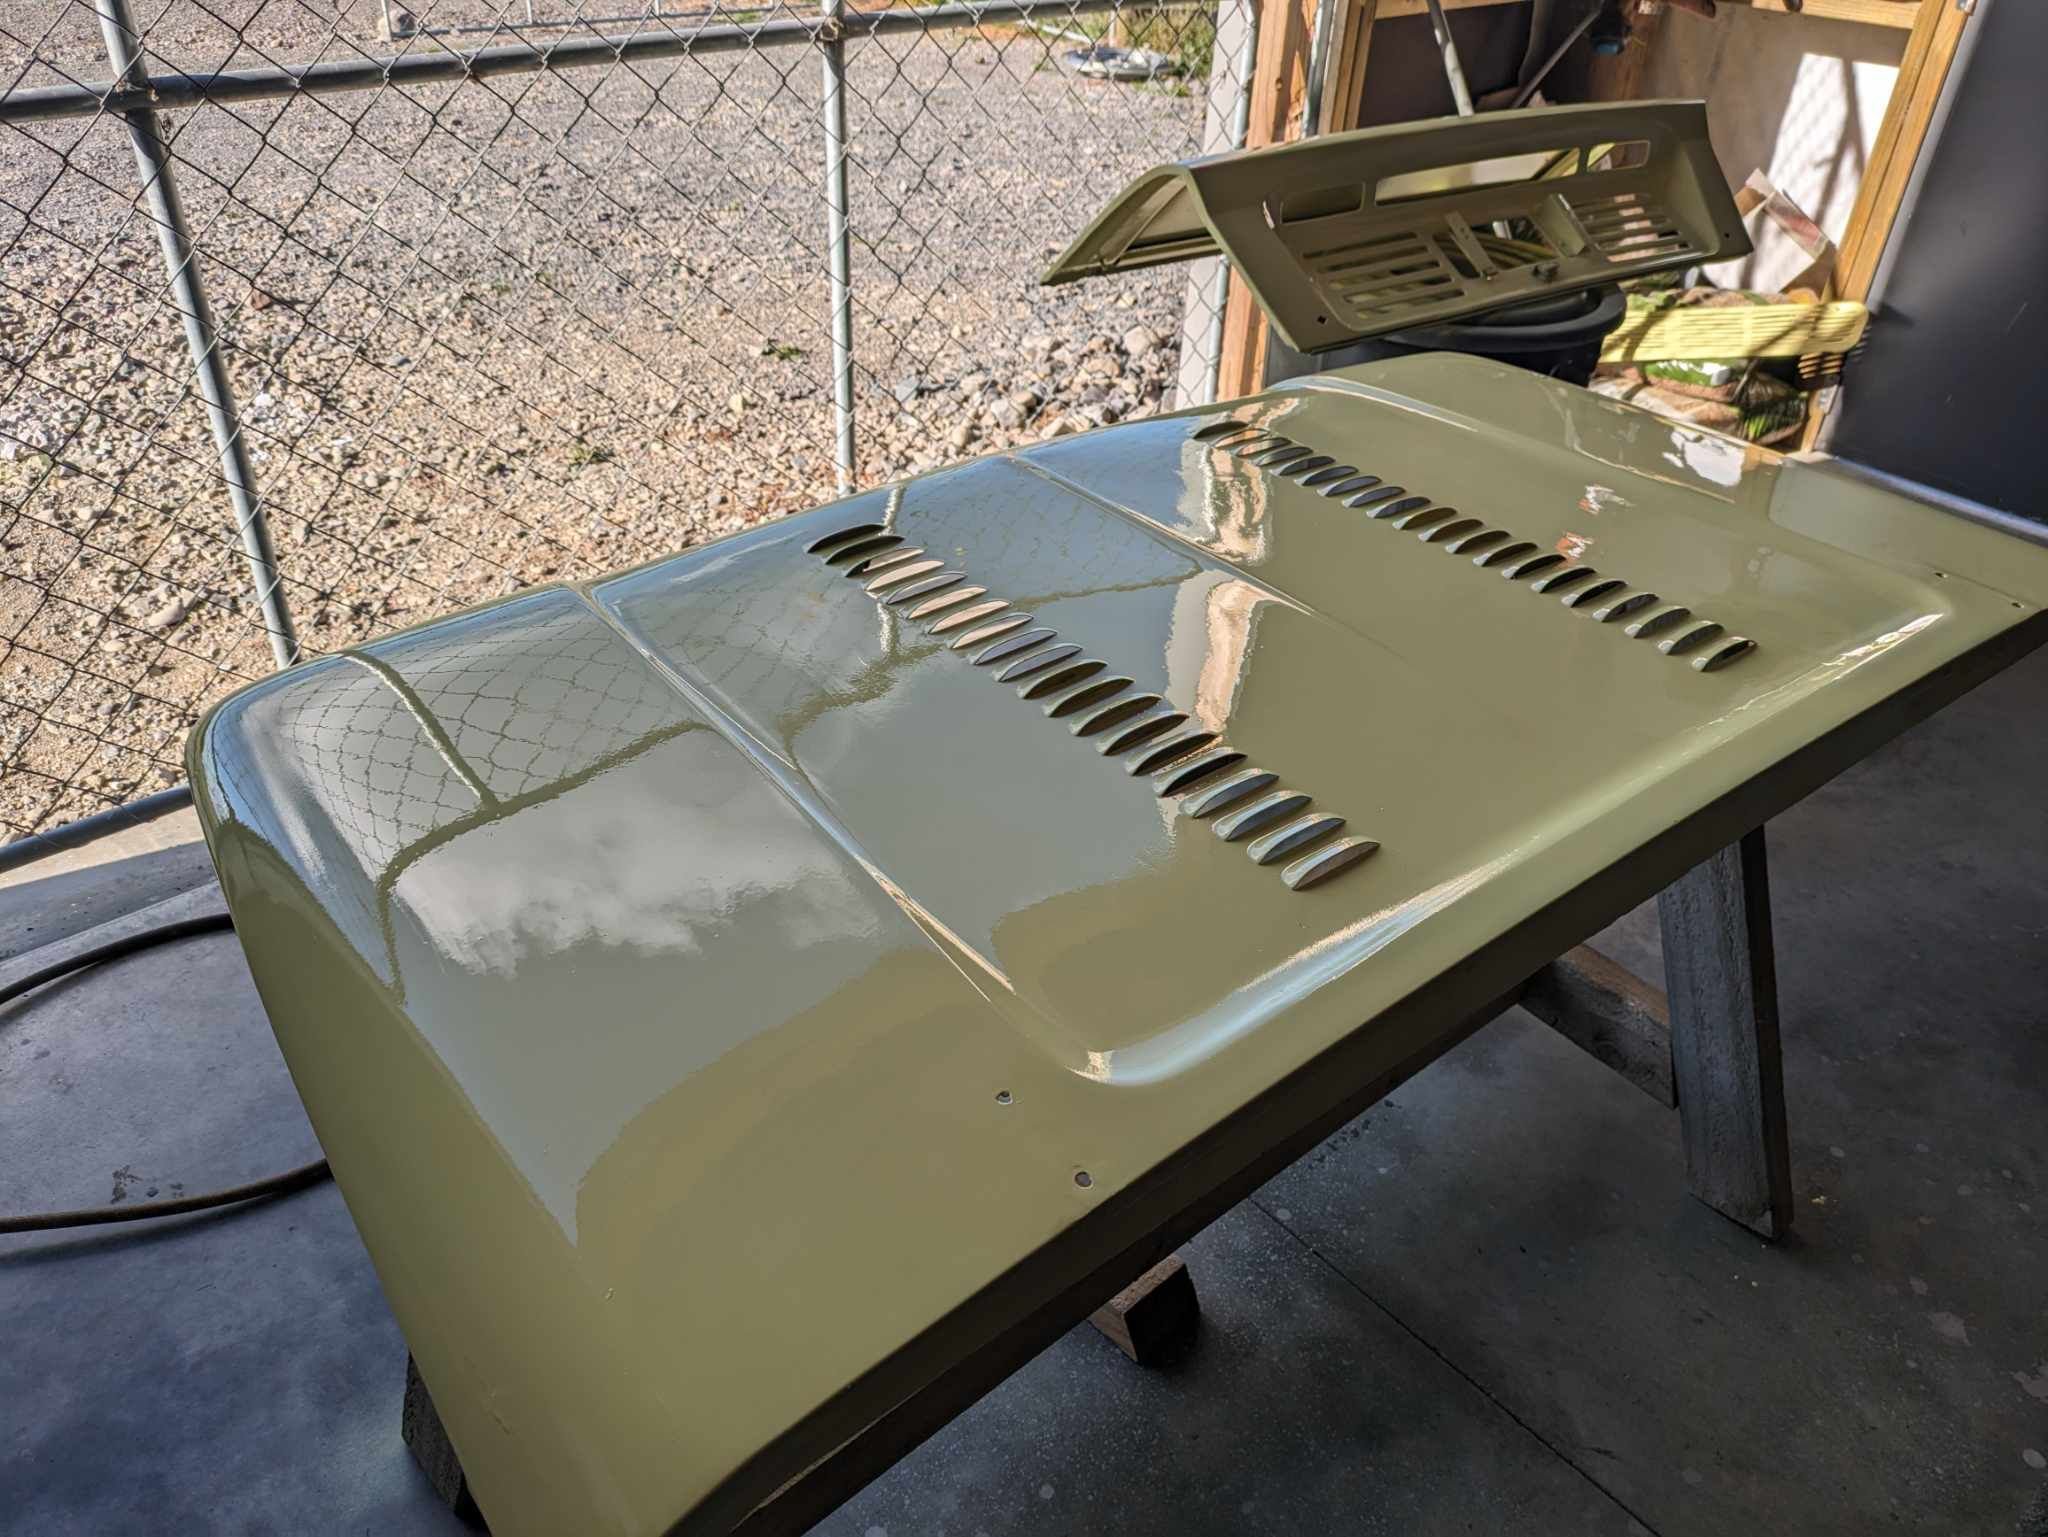
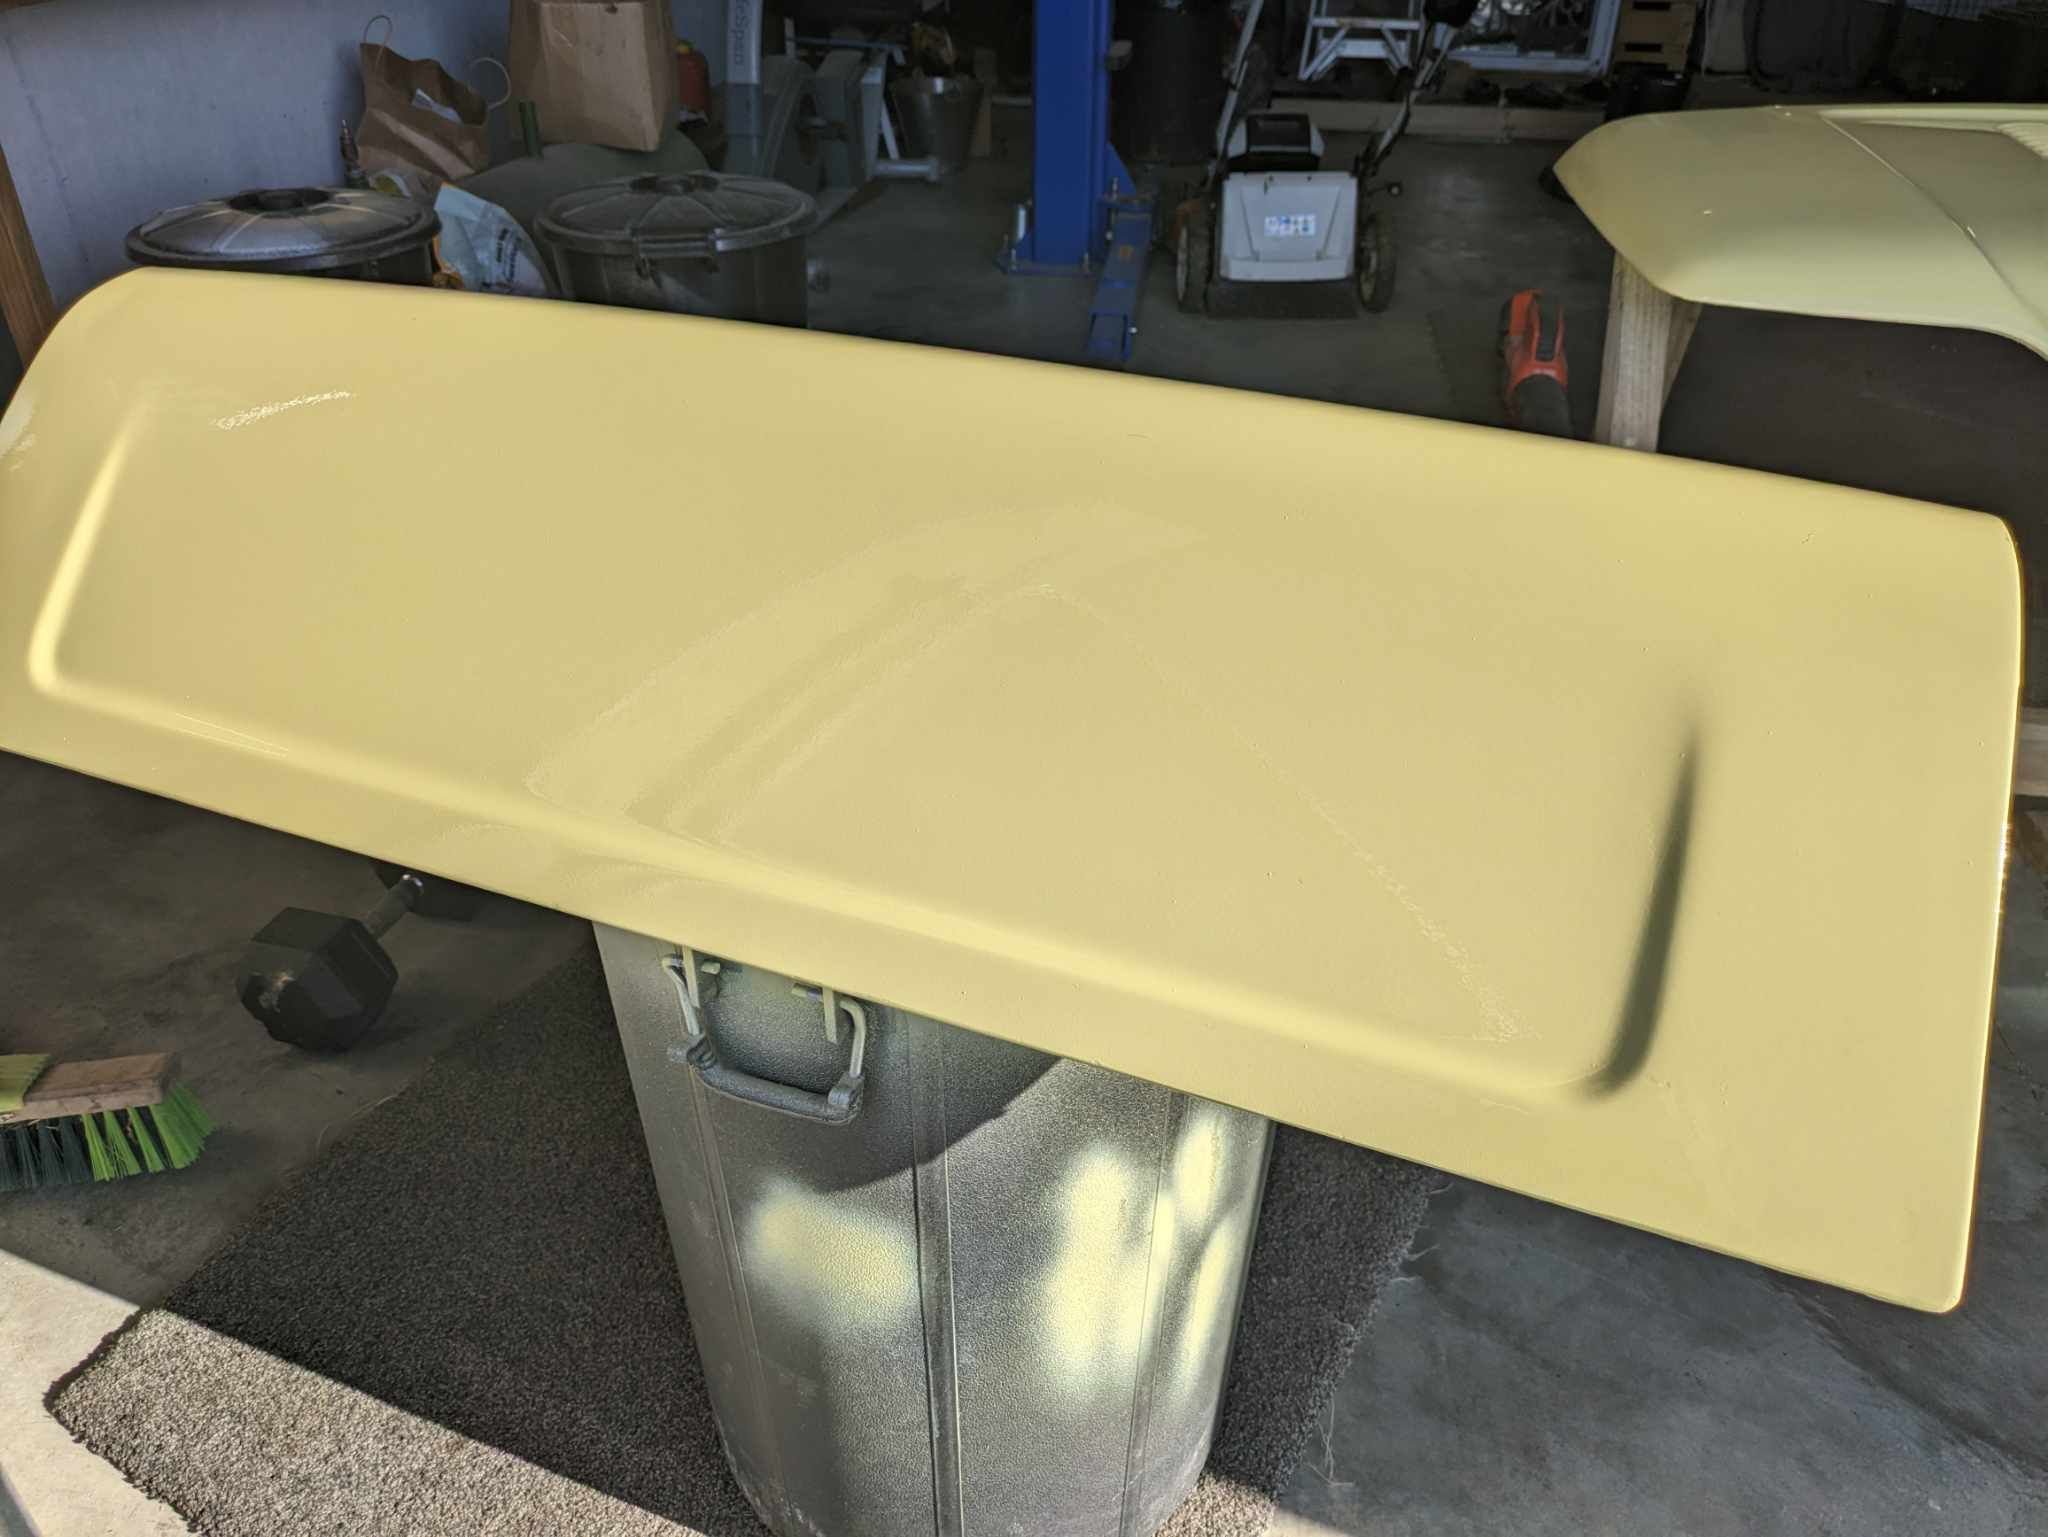
I slapped some colour on it at lunchtime today. I didn't do nearly enough prep on the bonnet but I'm on a deadline for certification with other fish to fry. The fish being engine mounts but I'll get onto that tomorrow. Standard operating procedure for painting. Old paint. Not enough hardener/thinners to test fire so adjusting on the fly after too many dry spots or runs. Oh well. At least the shit job will match the rest of the bodywork so I'm not concerned.
- 119 replies
-
- 21
-
-
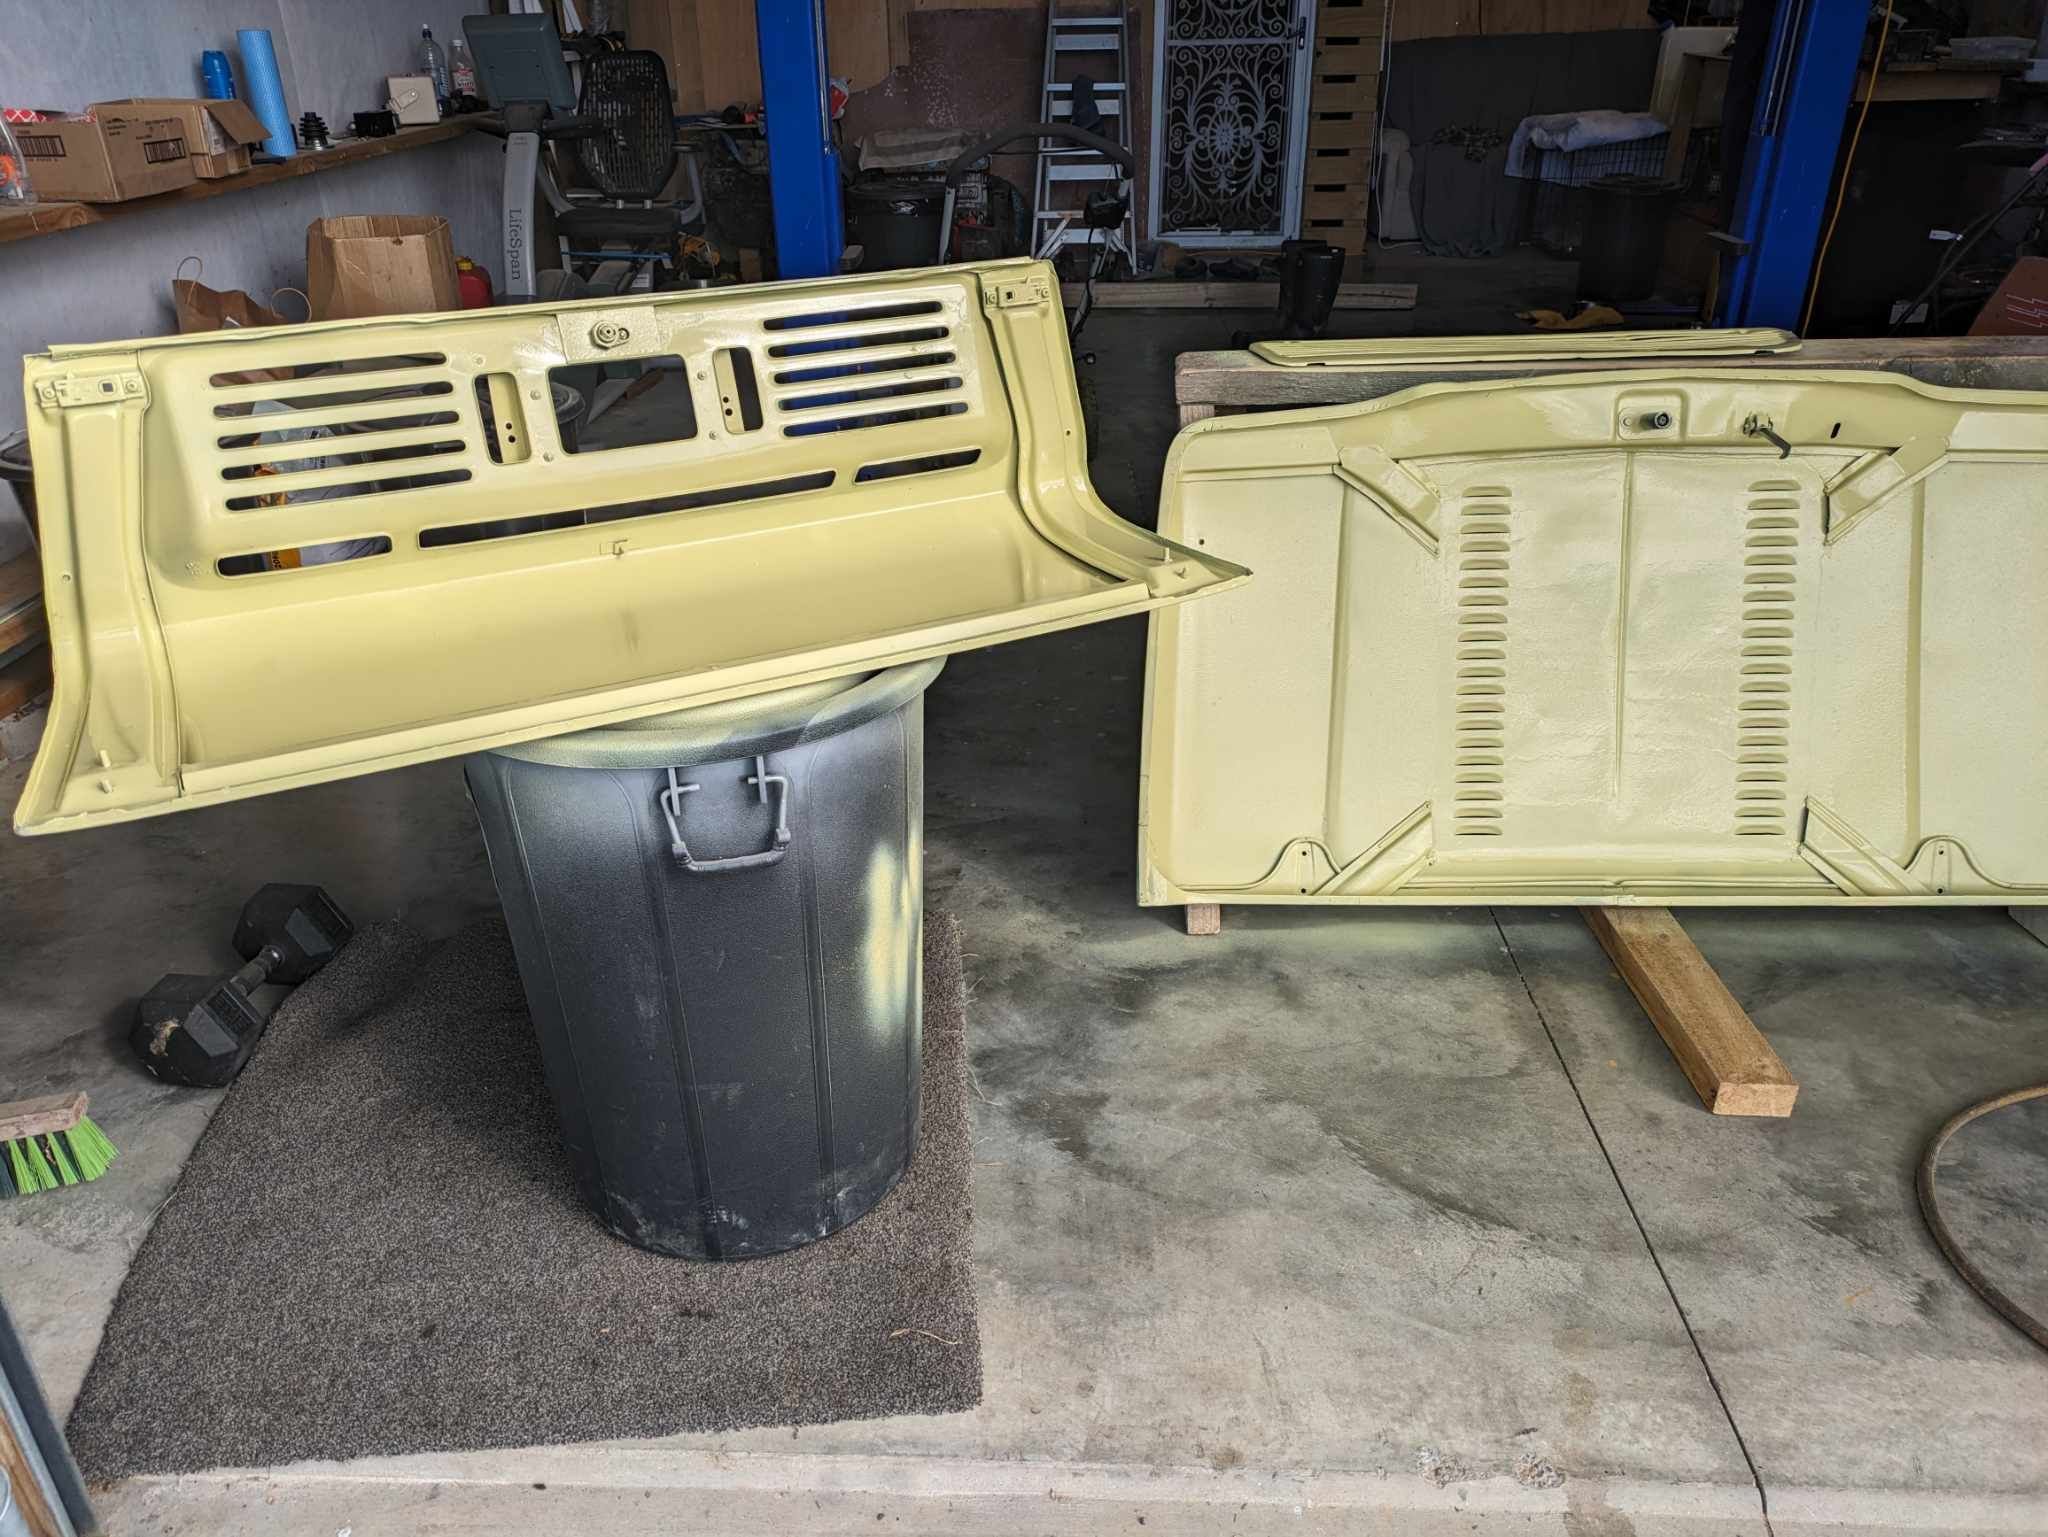
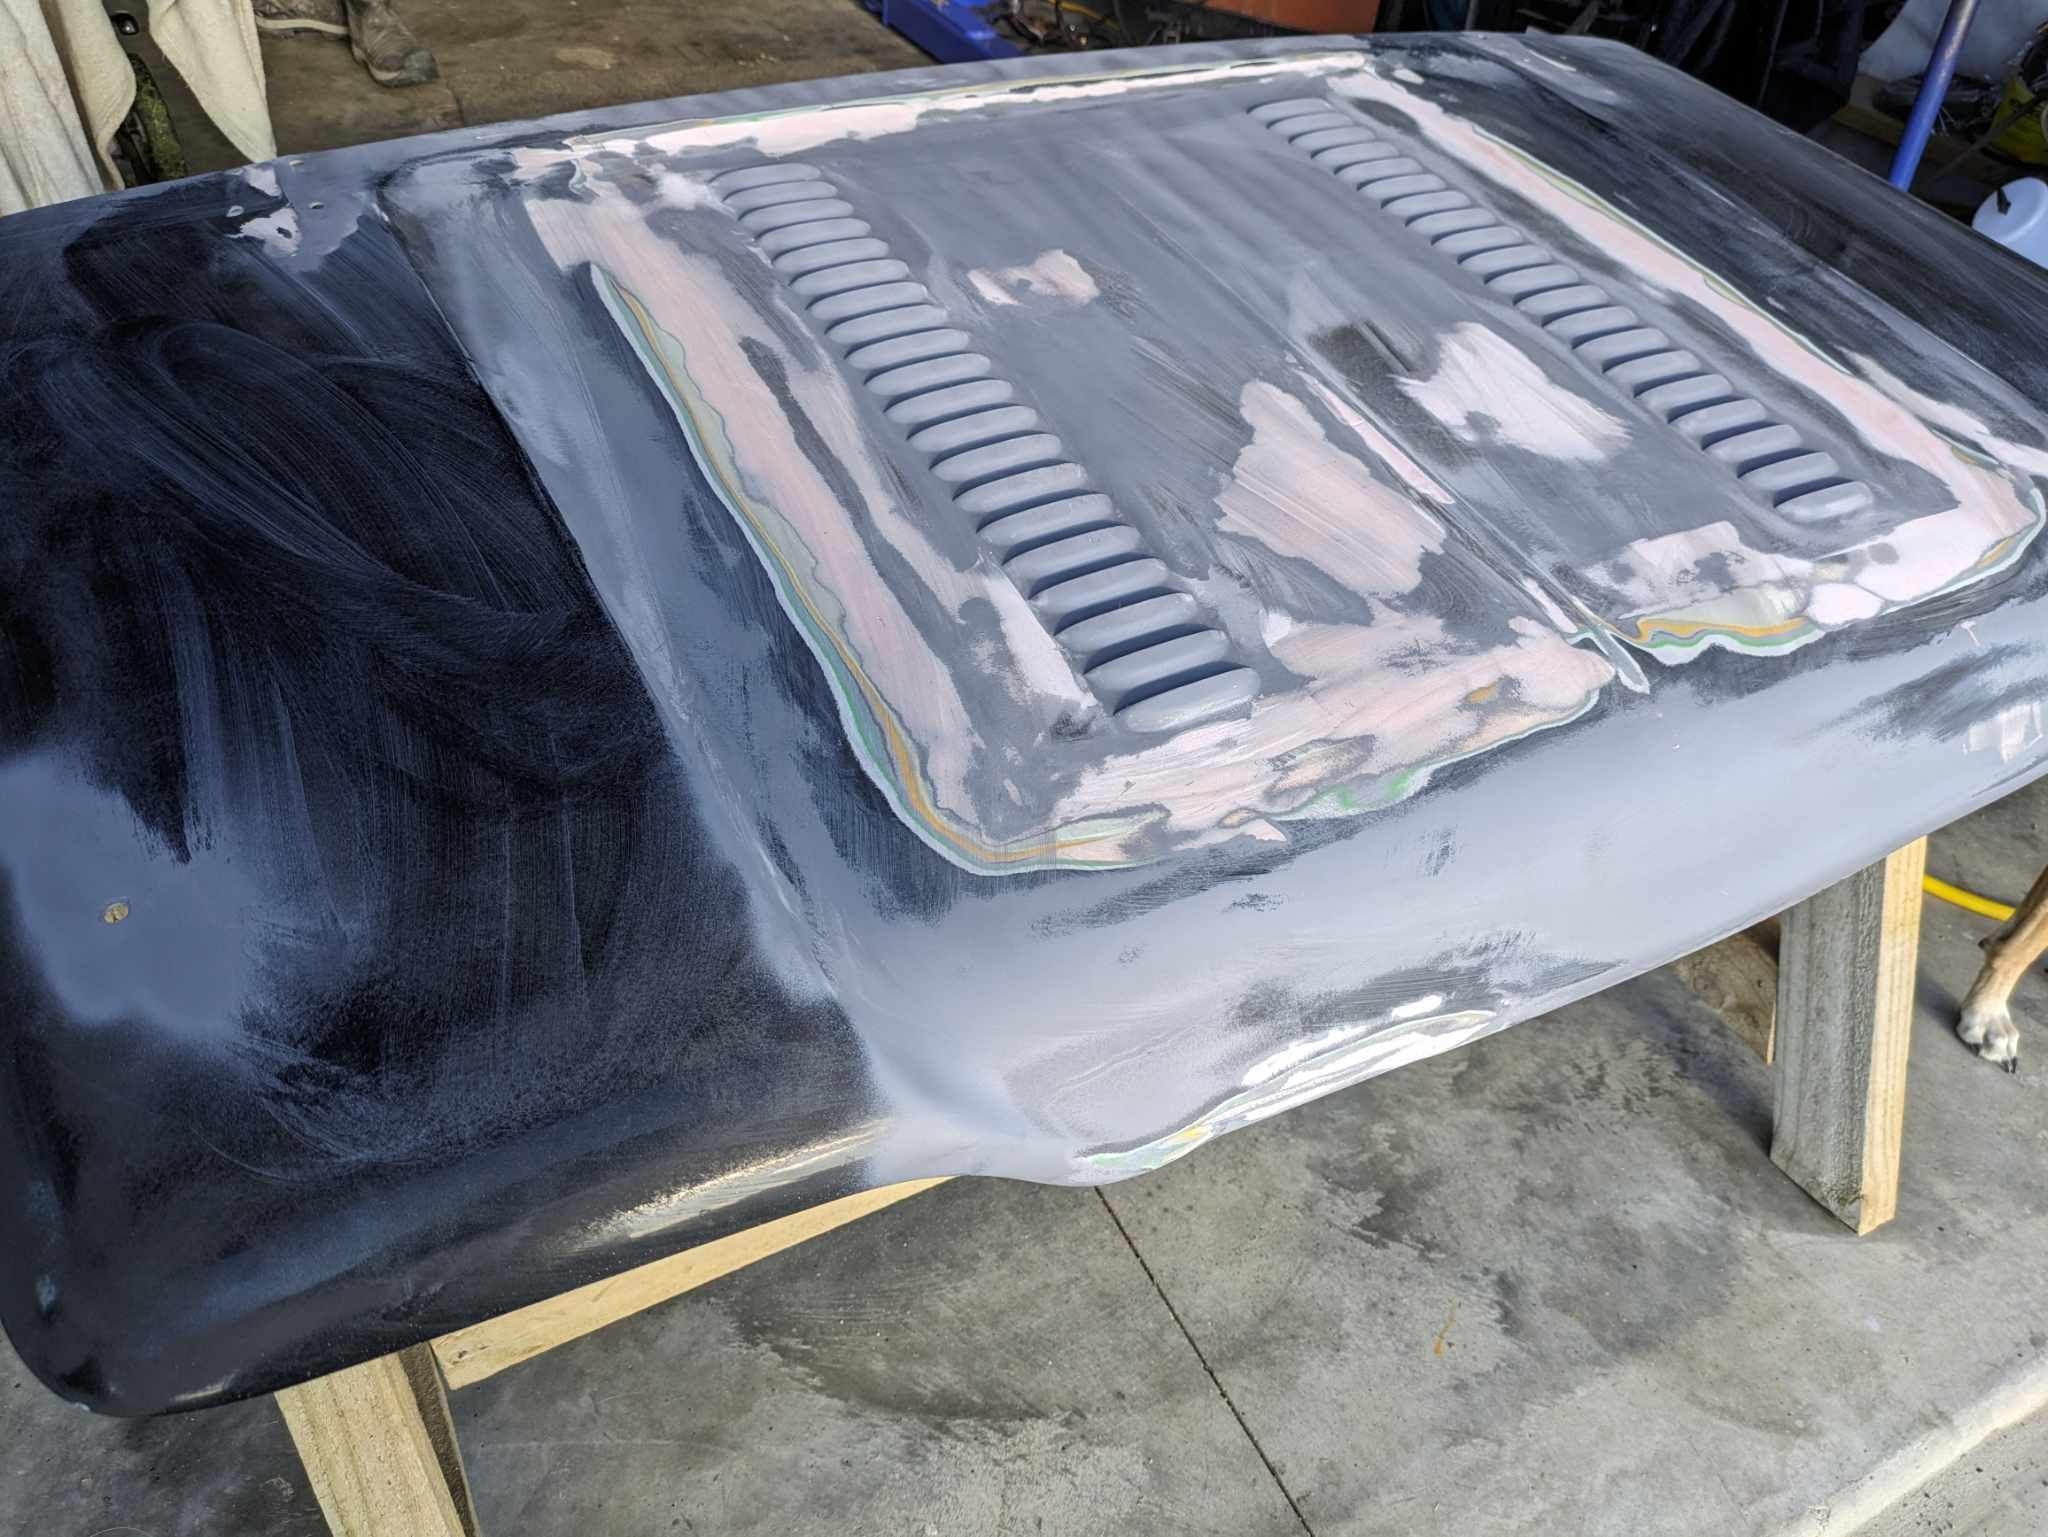
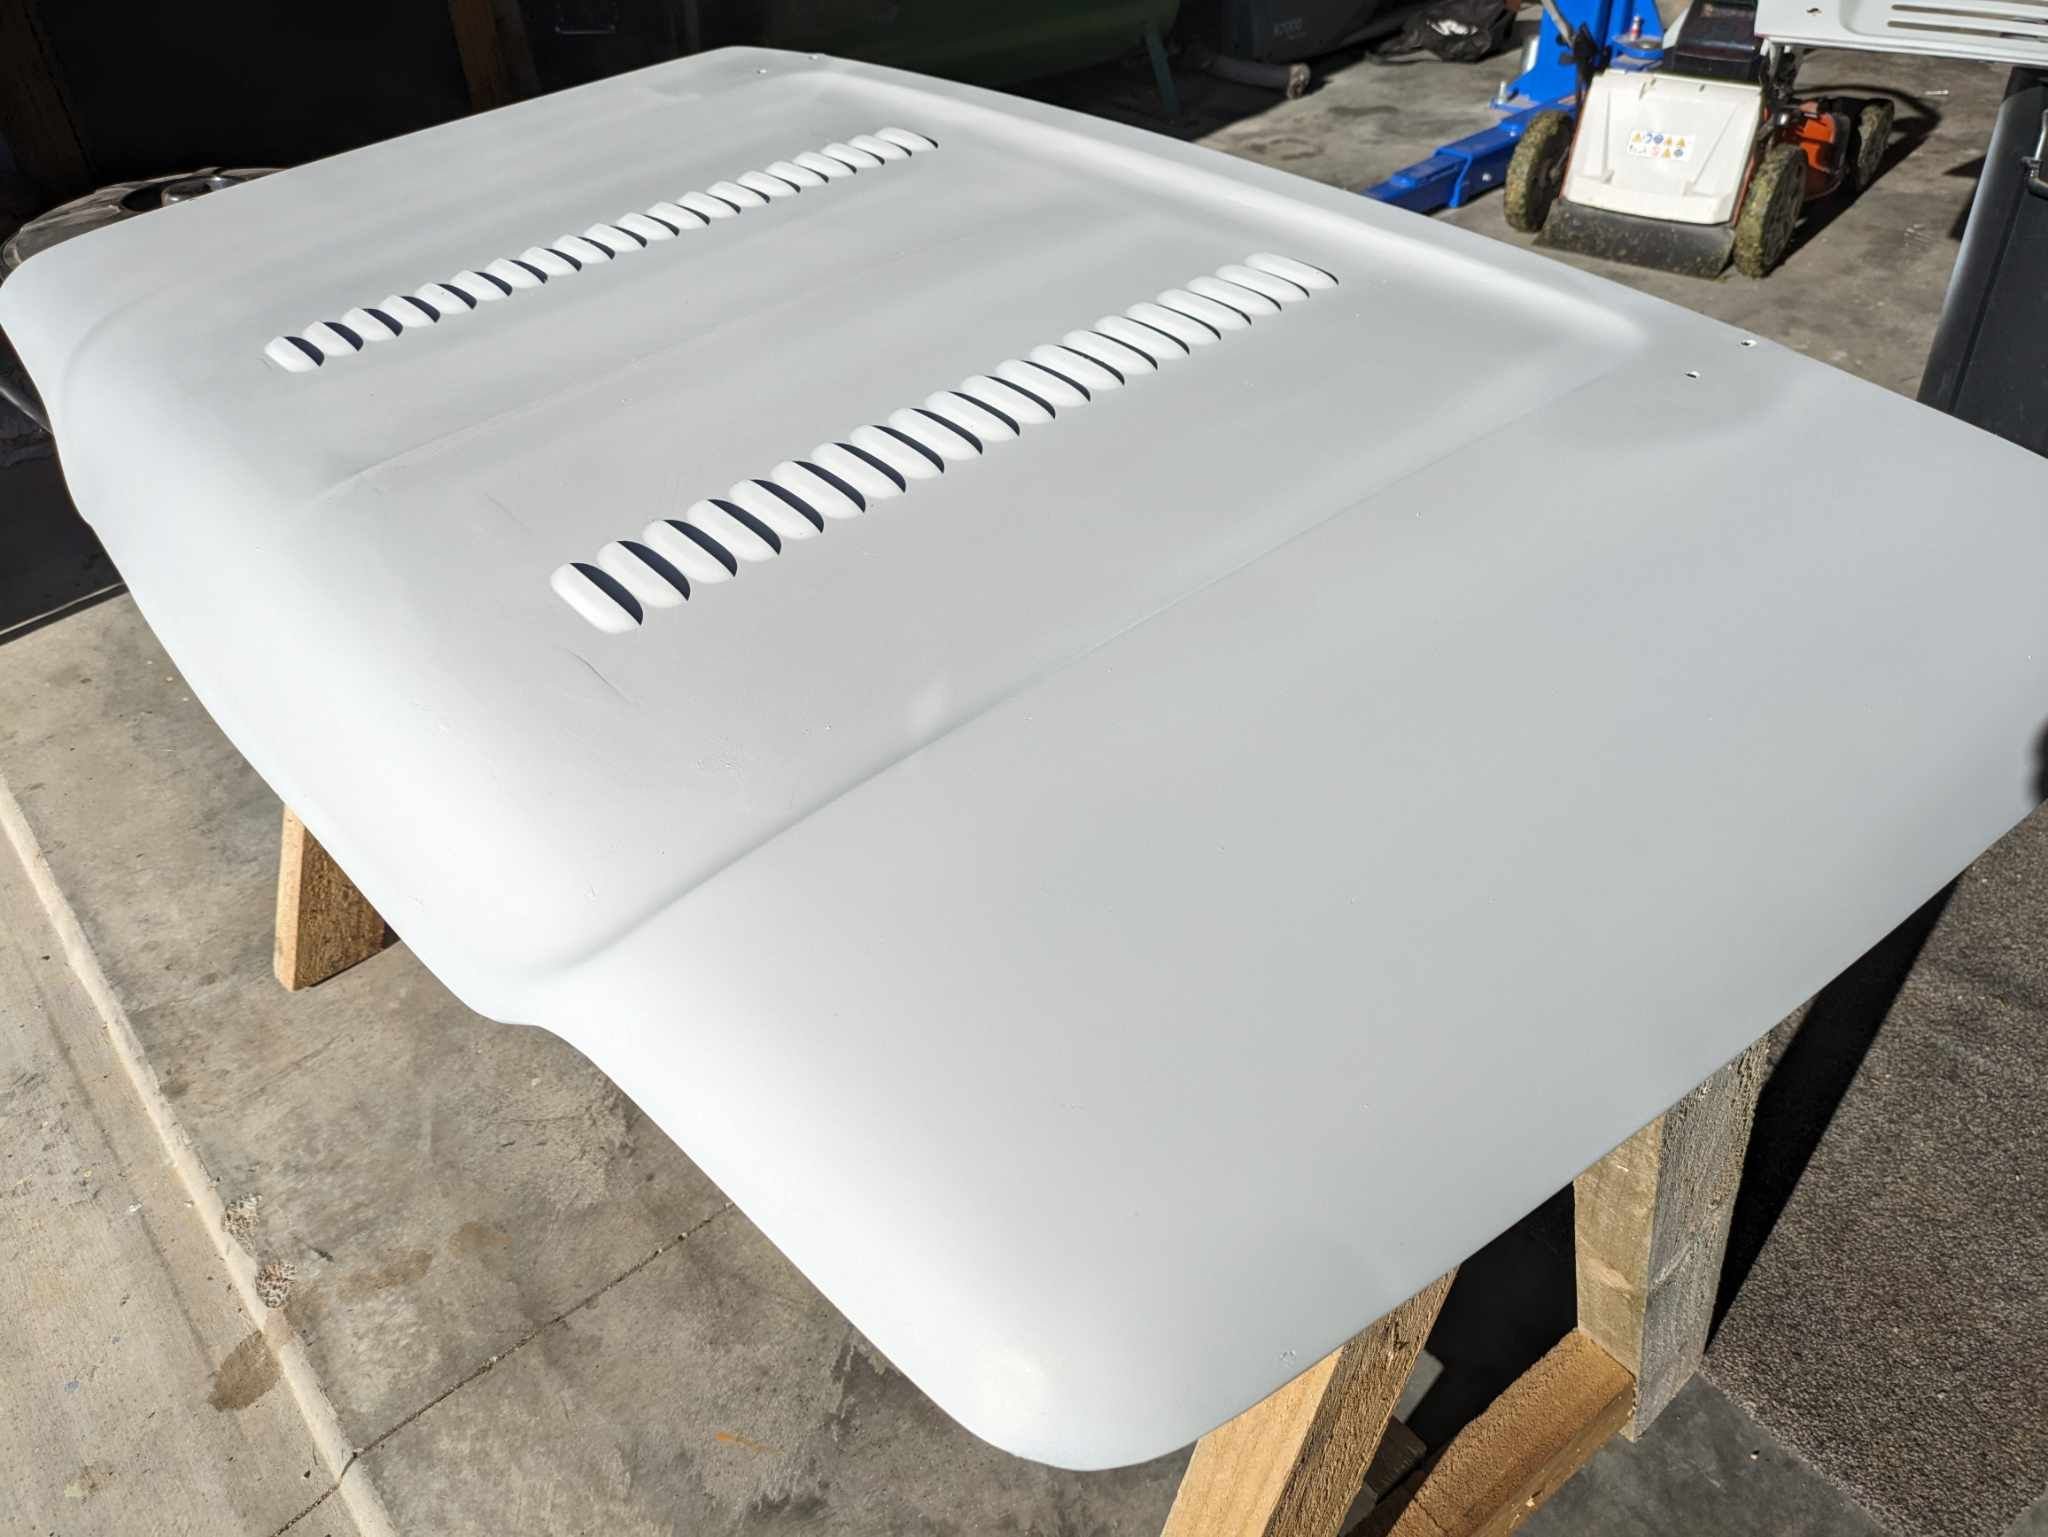
For a change of pace I am doing some bodywork. After the louvre pressing the bonnet was in a bit of a state from previous paintjobs so it required a fair bit of work. It's presently in the first coat of primer so I'll give it a bit of a tickle with some sandpaper before doing a final coat of primer. This first coat will just make it easier for me to see where needs more work. Also dug out the spare GT lid I've been hoarding which will help the rear radiator get some much needed air.
- 119 replies
-
- 20
-
-
Don't you enjoy reaching under there and giving the glass fuses a gentle rub between the fingers to get it going?
-
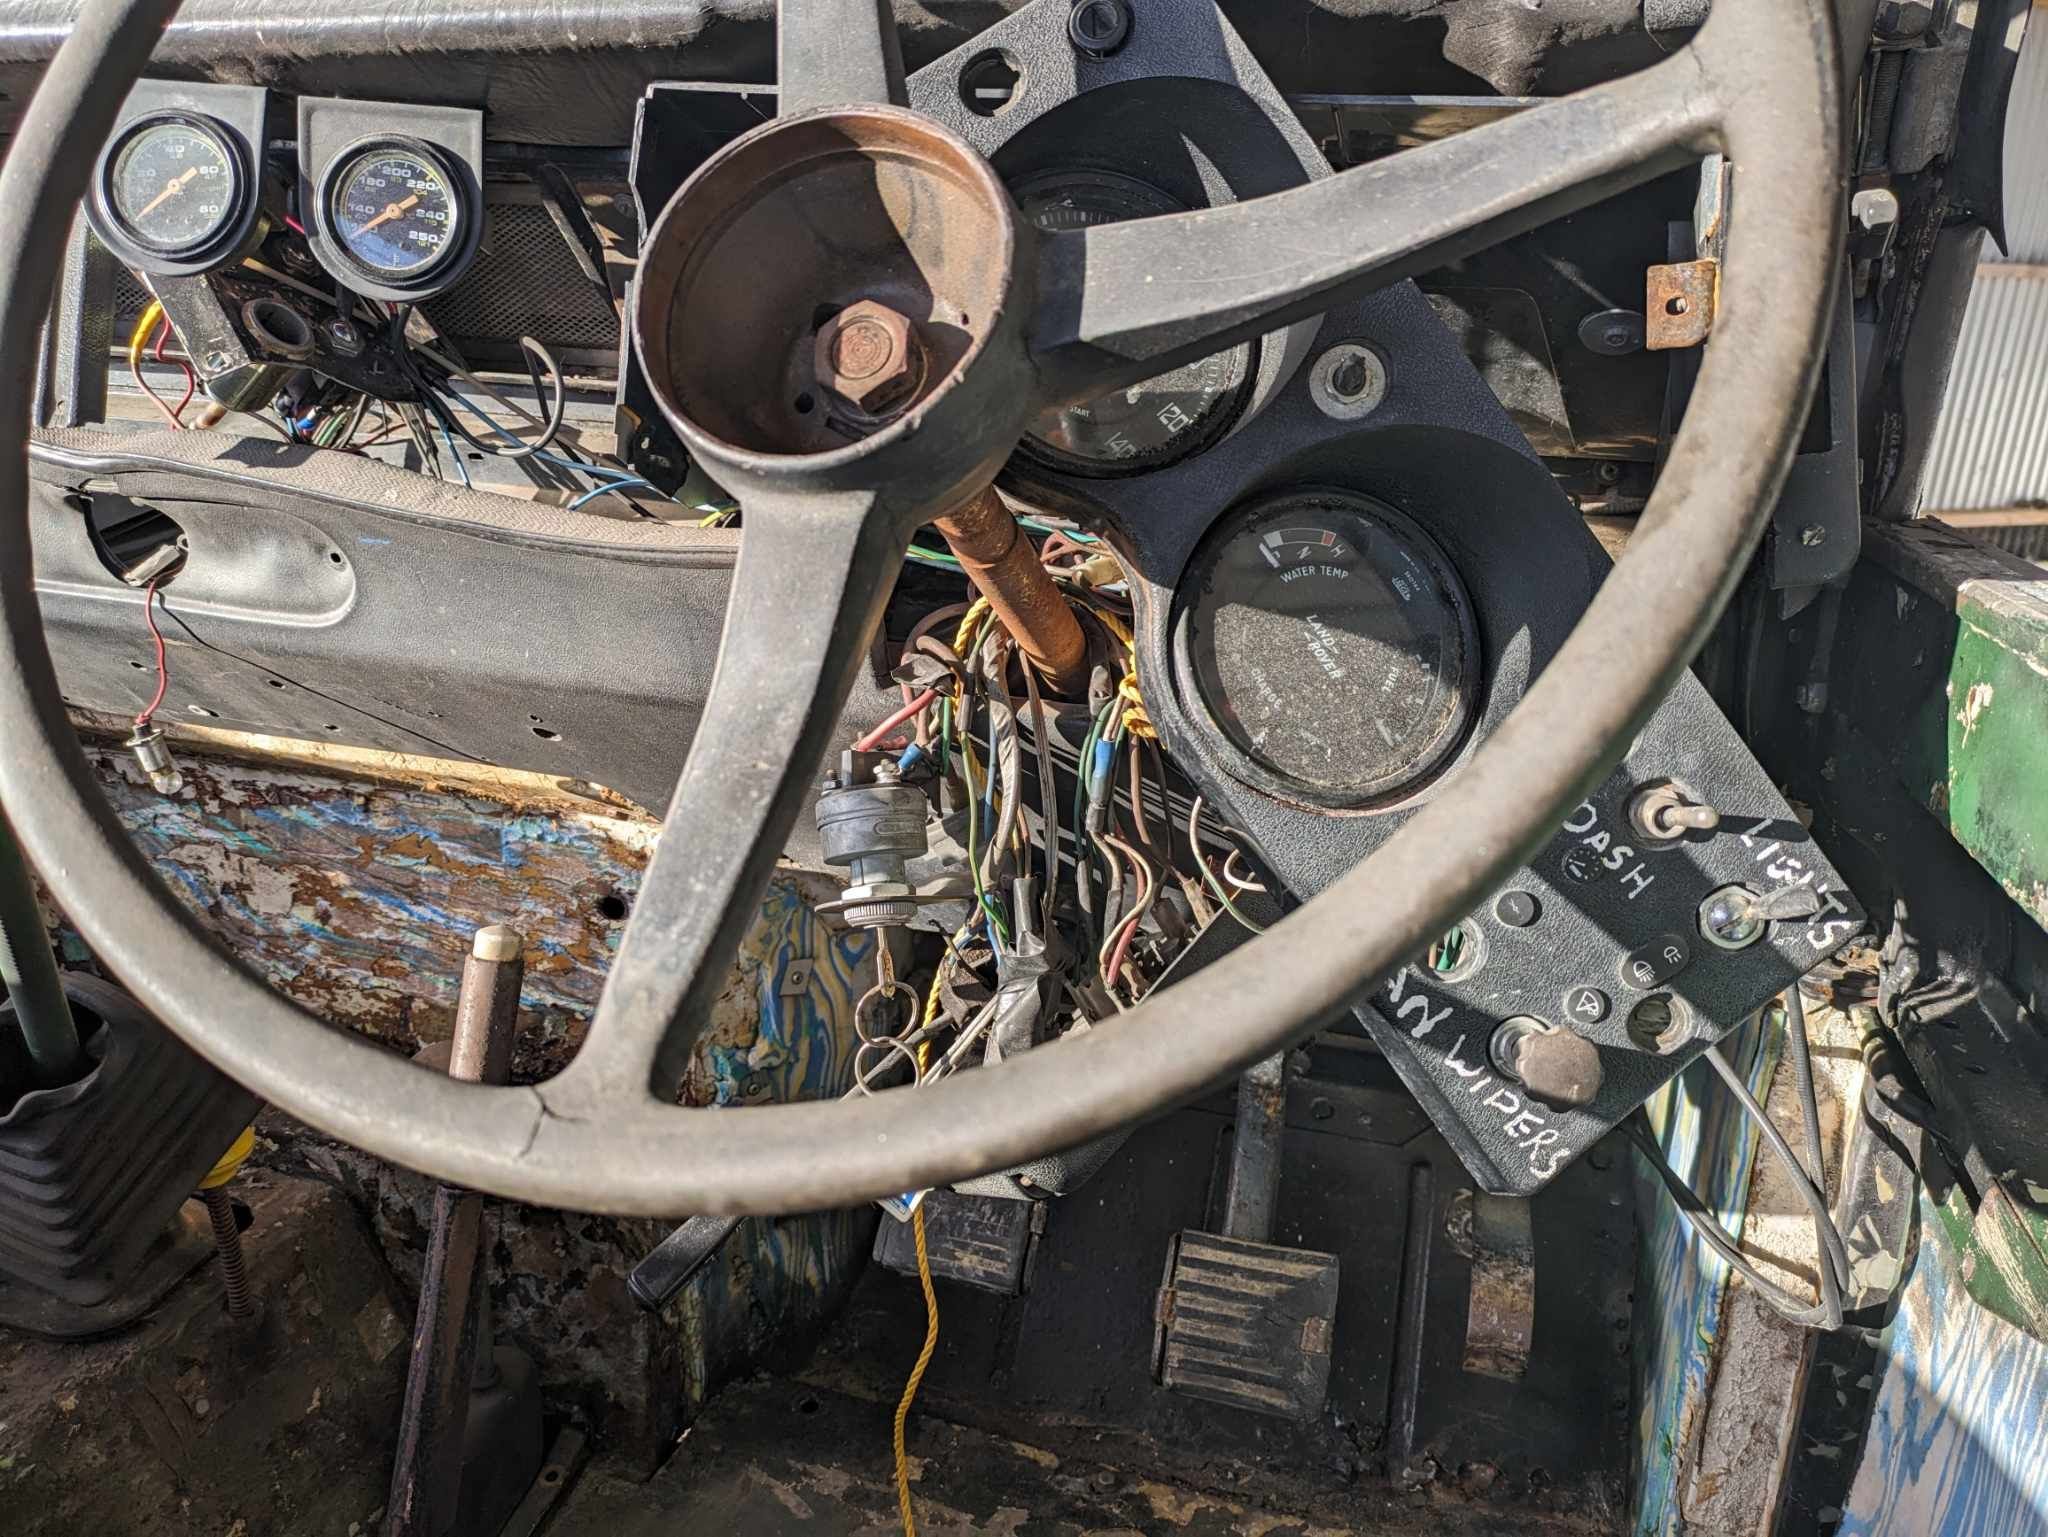
BUMP. Not worth starting a new thread but I have to re-wire a couple of cars. Namely a series landy and a 67 econoline. I'm not a fan of those wiring kits although I did enjoy using the American Auto Wire model specific one for my Chev. It was rather pricey however. Does anybody know where I can get bulk wiring for cheap? I like the look and feel of the SXL wiring and the last one I got was from Amazon here. Does anybody know where I can get it in bulk for cheap? Temu? Ali Baba? Jaycar? I use this as my fuse/relay block seeing as I'm lucky to even have a heater fan let alone a stereo. I don't need much.