NickJ
-
Posts
3,973 -
Joined
-
Last visited
-
Days Won
1
Content Type
Forums
Downloads
Events
Gallery
Everything posted by NickJ
-

Jason’s Bush Block and Self Sustainability Ramblings - Ready for Roofing
NickJ replied to j.e.d.'s topic in Other Projects
Water is roughly 0.5psi/foot of depth, if you ran a compressed air line to the tank on a warm day, an outlet into a suitable column of water will give you a very accurate pressure. A rubber glove taped over a pipe also makes a suitable low pressure relief valve just don't ask for ASME certification. In all seriousness, large pressurised volumes are why certain regulations exist, tread carefully (or go full Wile E Coyote) -
Did I drop some off to you when we electro-nerded in the sun ages ago? I'll recheck my stocks anyway
-
I have plenty of 4cyl starters here, can take pictures/part #s if that helps?
-
Don't you mean complex pipework and valves to divert gas flow to a single sensor?
-
If you have confidence in the system, one bank is fine and swap to the other just to confirm. Or temp sensors on both sides that will give relative conditions for cheap on initial start if it is that important you need both banks for tuning, then really all cylinders should be monitored.
-
Kinda yes, there seems to be no widespread industry standard for V band clamps, i've found plenty of variance in both size and contour from different suppliers additionally some size off the band, some off the tube.
-
Random slightly cool stuff you built but not worth its own thread, thread
NickJ replied to h4nd's topic in Other Projects
Whats the go to resource on building waste oil burners? For research purposes...... -
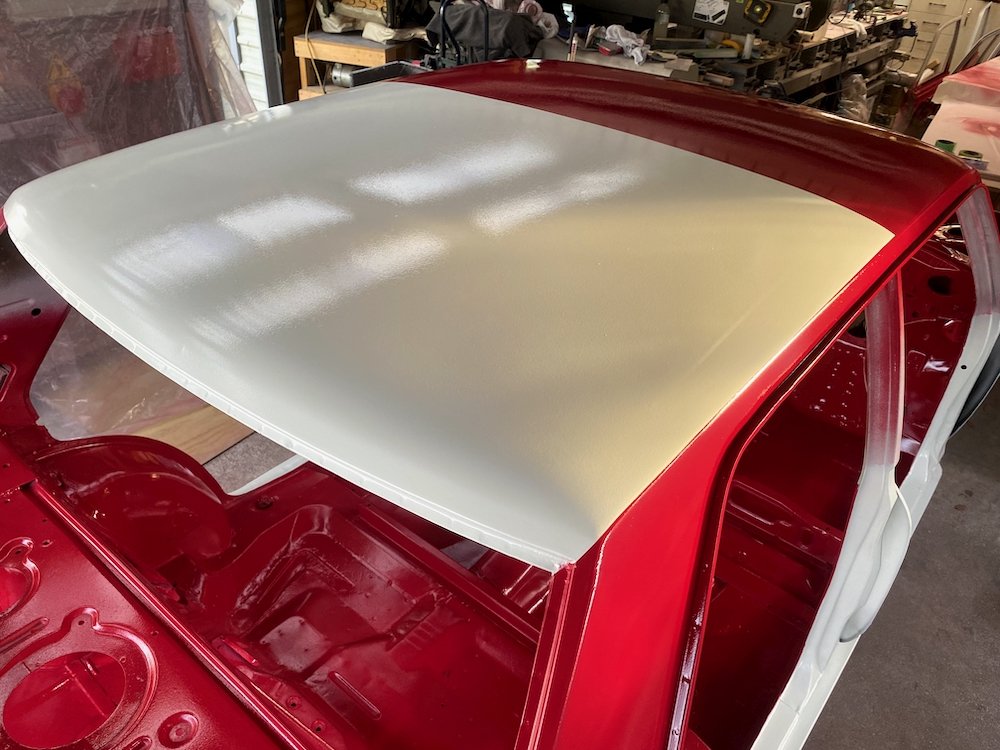
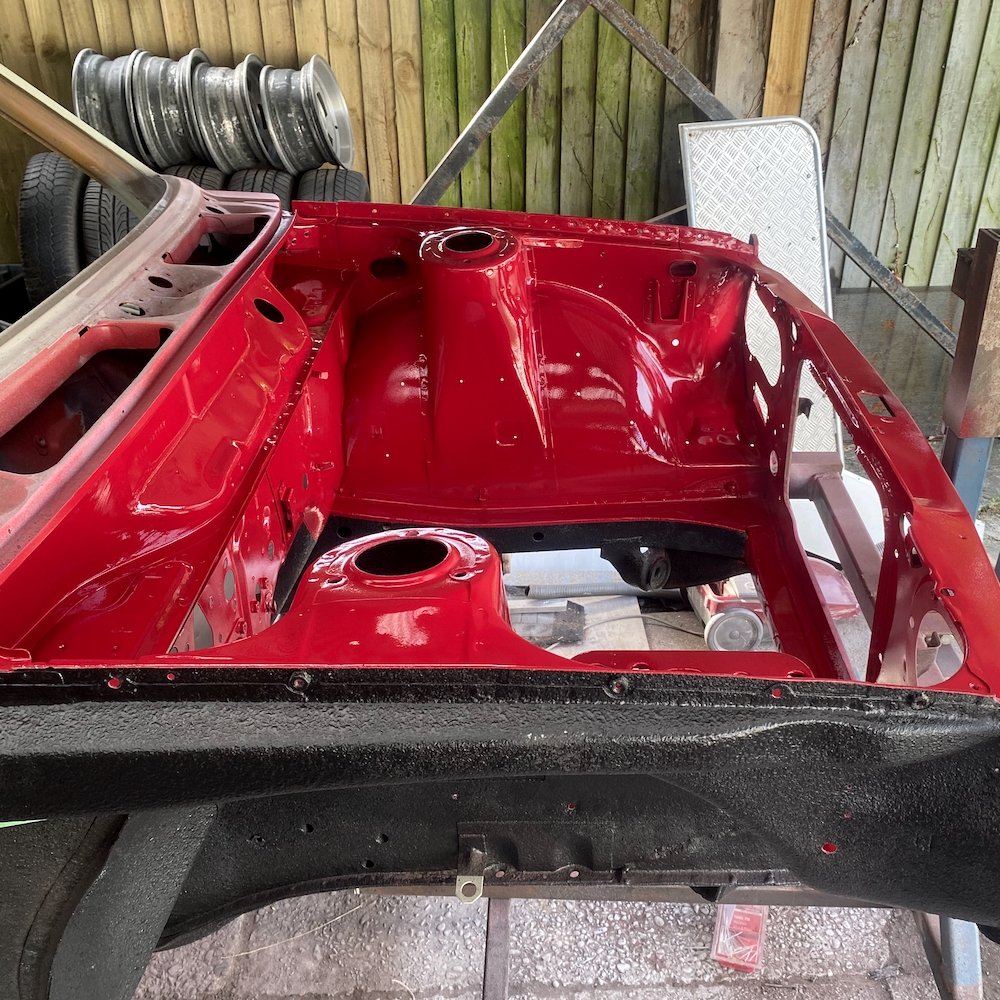
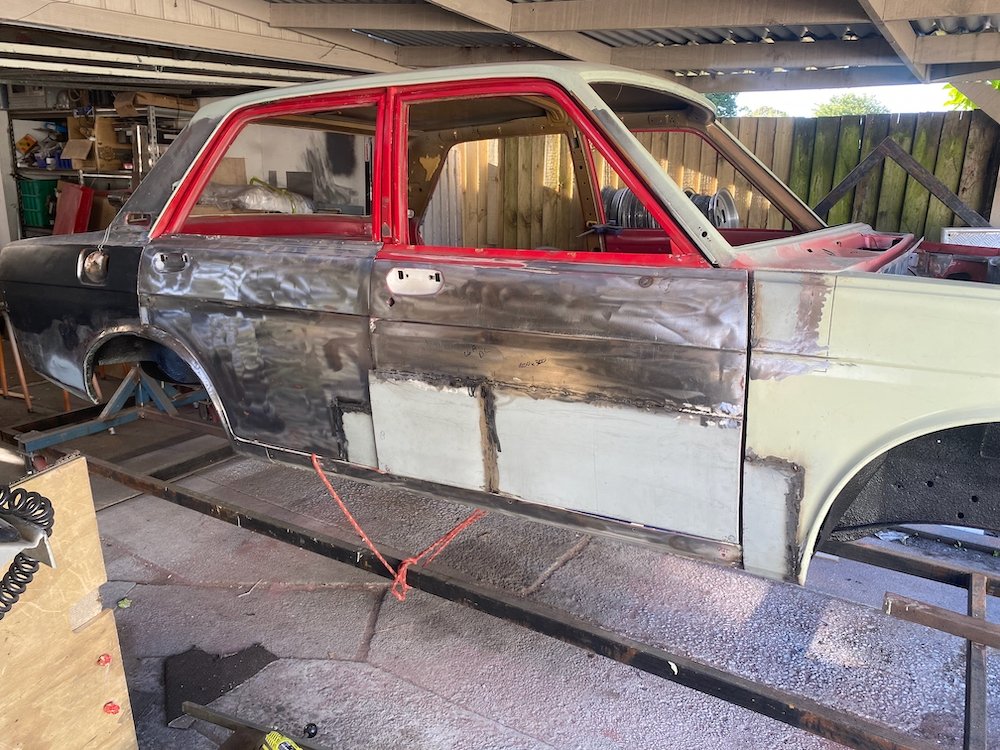
Yes, yes and yes This weekend has been both warm and no wind, this allowed white paint to go down on Saturday followed by the red on Sunday. Still have black around the window frames and forgot to sand the bonnet so it still needs a final coat..... Important part is the main body has been completed before winter, having the car running this summer should be possible. Overall quality has come up pretty good, a couple of runs/sags that will need cleaning up, very satisfied with how crisp the masking came out, only a few small bleeds to clean up, nothing that can't be touched up later down the track. I can now start refitting parts, next goal is to get it rolling again.

- 53 replies
-
- 23
-

-
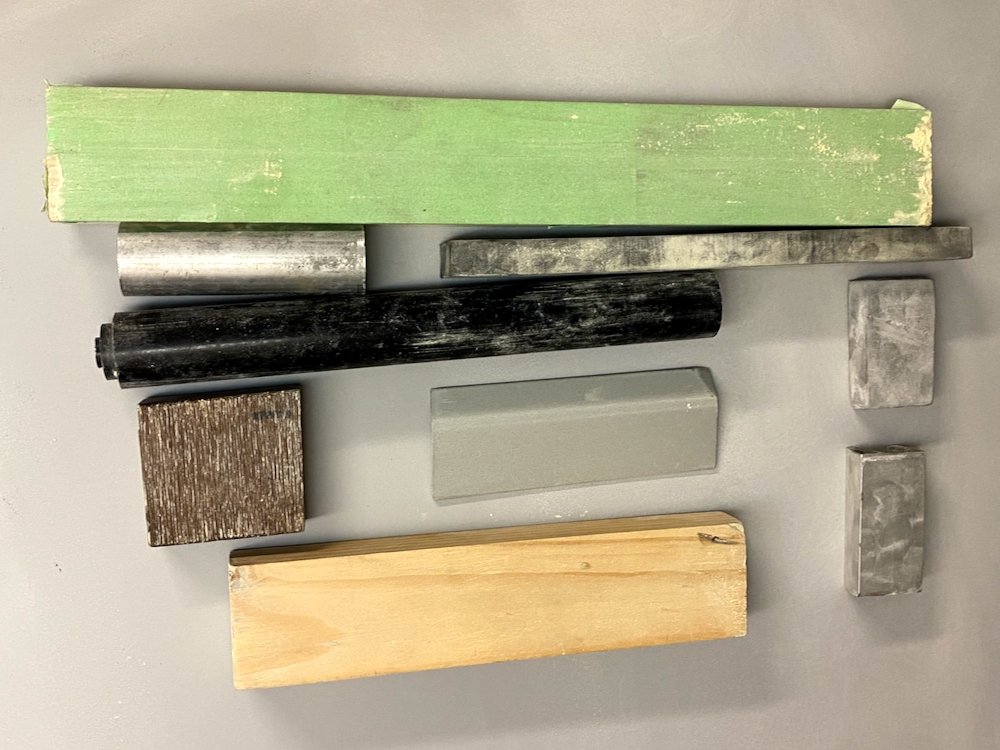
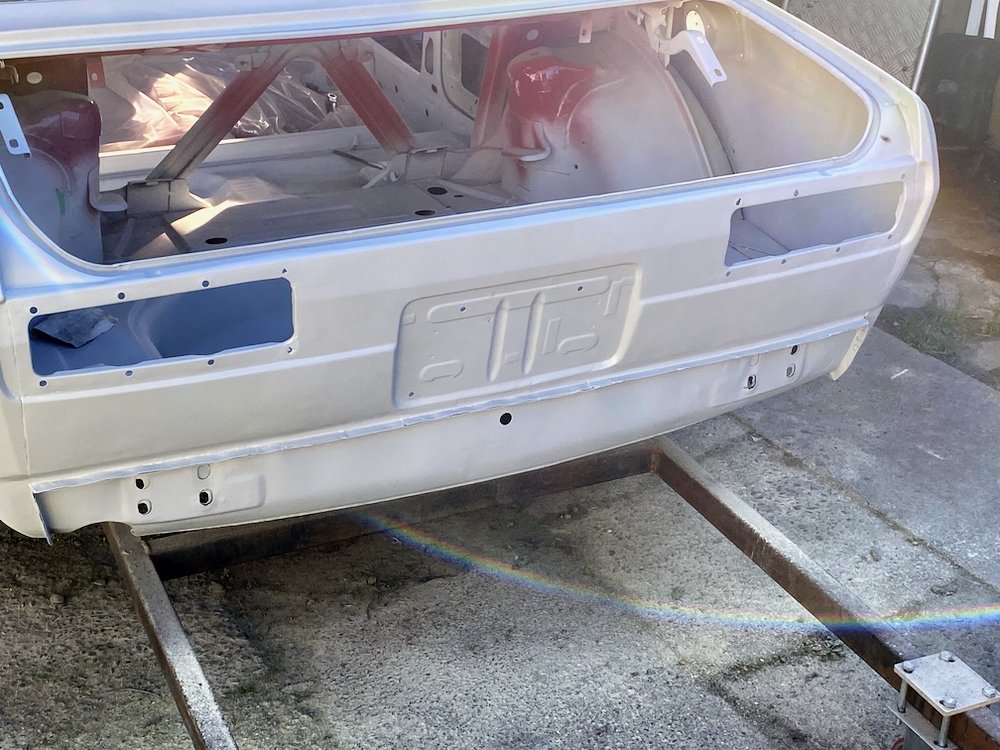
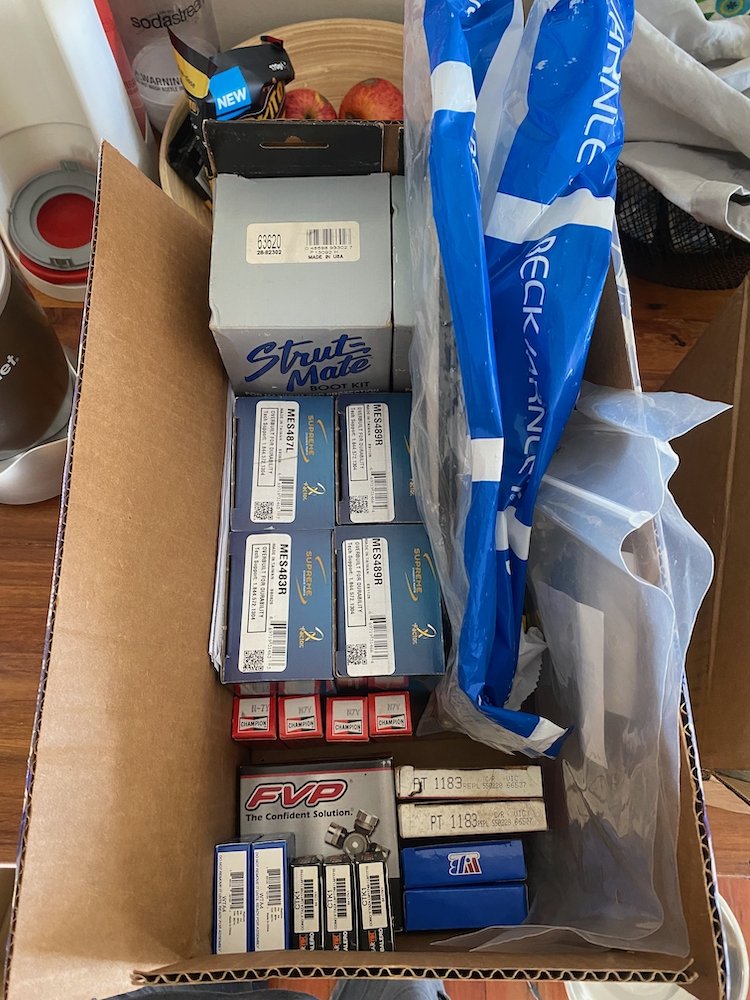
The dust continues...... Progress is trucking along with the rotisserie out of the way, both front and rear have been cleaned up, filled, sanded and base coated. The front has cleaned up nice and managed to sneak a coat of satin black, this ticks off the bodyshell complete from the firewall forward........ Firewall back however....... well my days are currently filled with a full upper body workout based around the gym equipment above, thankfully everything now has a base coat that their days are numbered. I was all set to start with topcoat today until a gust of wind caught my makeshift spray booth delivering it direct the freshly painted rear panel, cry a little, sand, start again. So, a few more weekends creating dust are still required, but moving forward. And on the reassembly side, my crate of goodies is overflowing, new brake lines, seals, bearings tierod ends etc etc turning up each day and to be fair, the prospect of re-assembly is quite motivating.
- 53 replies
-
- 23
-
-
yep, if I had kids and lost interest in the resto, it would have made a great swing. Was super easy to shift to easy work positions, def A+ tool, you will love it!
-
Day one took me 3 days at a leisurely pace, wouldn’t be stopping much to enjoy the views. Bit far out to confirm dates but if i’m free I’d happily drive that route
-
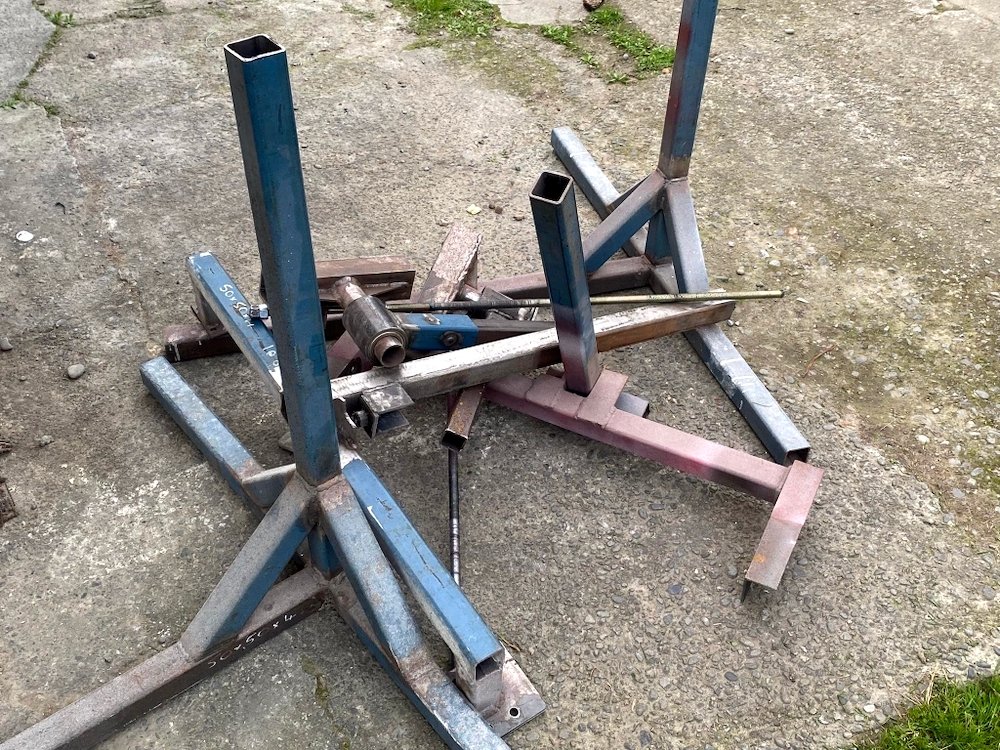
Be gone rotating shed space occupier!
- 53 replies
-
- 19
-
-

-

-
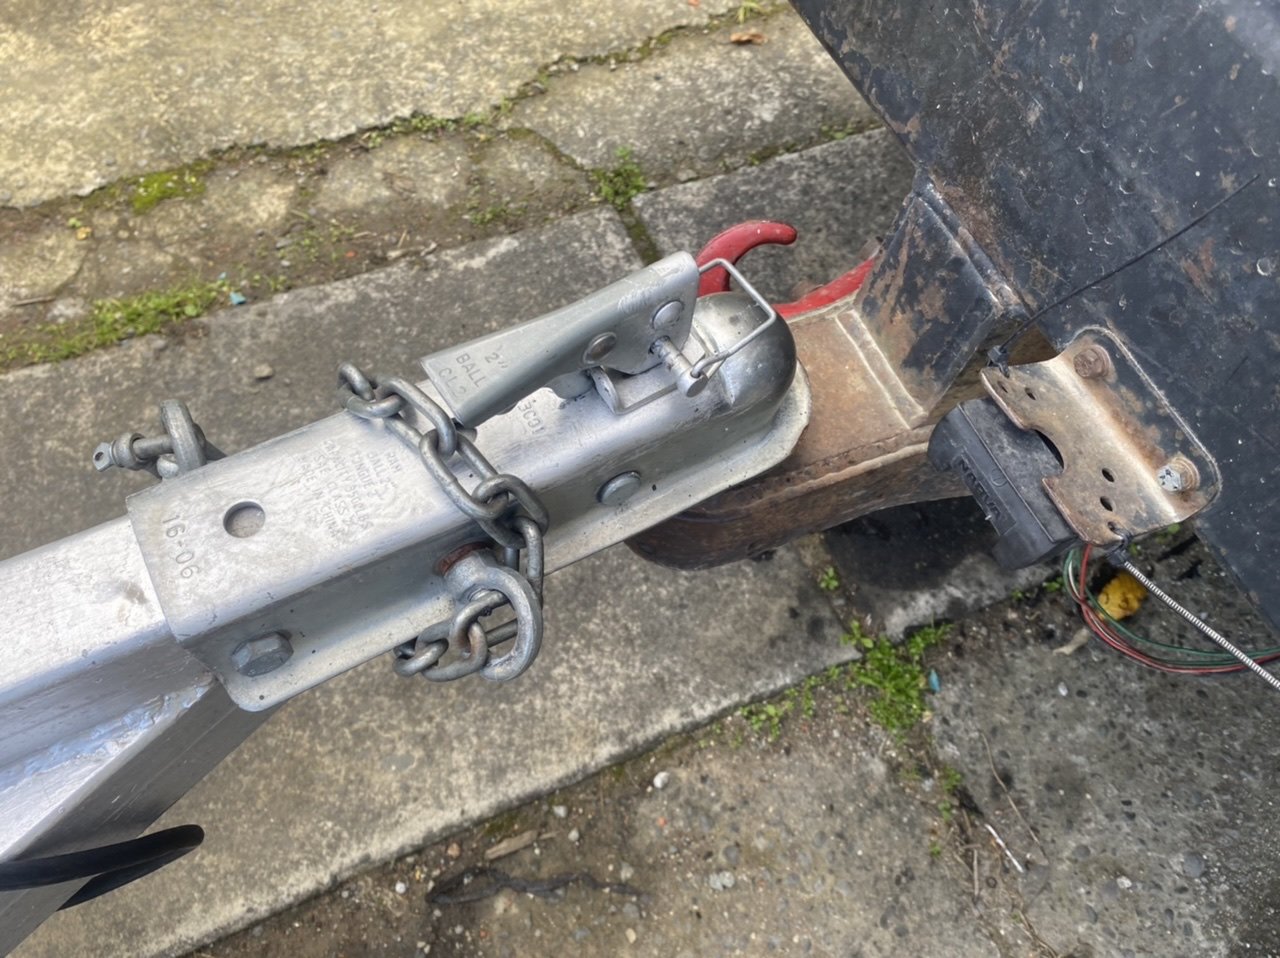
Keen, otherwise was going to steal the one off the Datsun A-frame. I have no idea when I can call over, maybe next weekend… Sounds like to the scrap bin it all goes, rated chain and shackles for sure
-
Yep, got a multiball on the truck for this very reason, as you can expect is was adjusted right up to work on a 1-7/8 ball Yeah its very similar to American braked couplings that are on boat trailers except for the made in China and no brakes.
-
"Made in China" "3500lbs" Yes?
-
Whats the go with these tow hitches? the lever is a pos to open but is okay if adjusted to be super sloppy. not far off just replacing it unless they have some magic benefits? And yeah, not super stoked about the safetychain hooking up to the attachment bolts.
-
Used to do sand bending quite a bit on 2" tube, we'd use a length of rebar to pack handfuls at a time of damp sand, weld up the ends then bend around whatever was the right diameter, no heat needed. Washing the sand out afterwards was the biggest pain.
-
E14 always drag you in with expedited shipping options which turns into 2 weeks of delay. RS just overcharge but at least it seems to arrive in acceptable timeframes.
-
Is this from Greta Valley pub? looks epic!
-
What a right pain in the arse, no where near perfect and I can confirm, I do not enjoy spraying engine bays.
- 53 replies
-
- 33
-
-
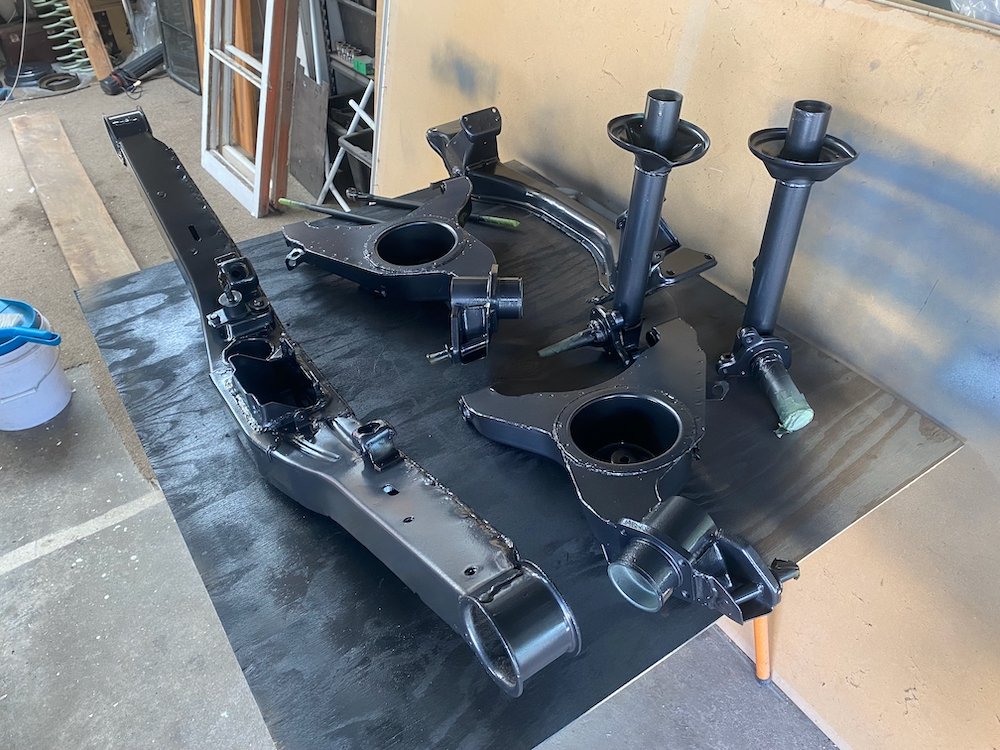
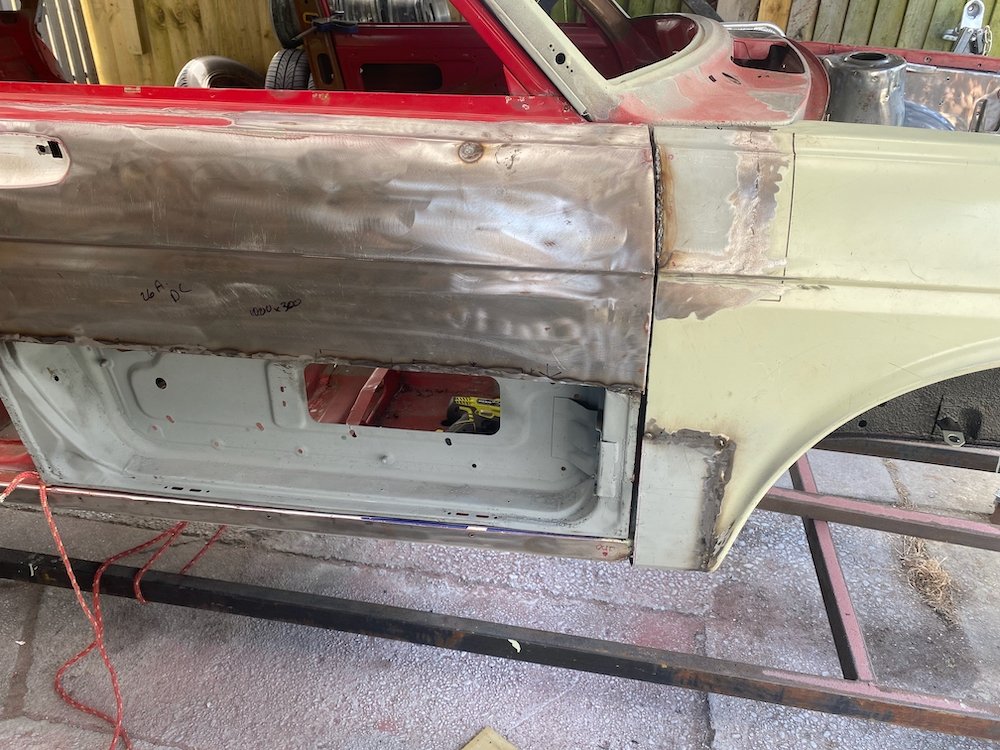
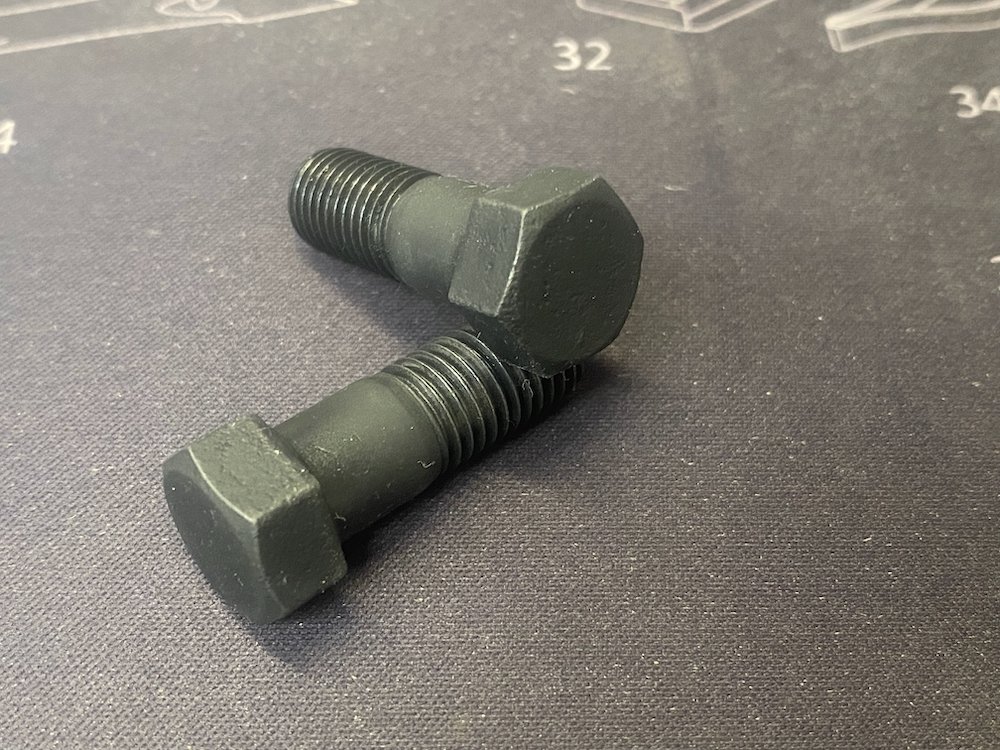
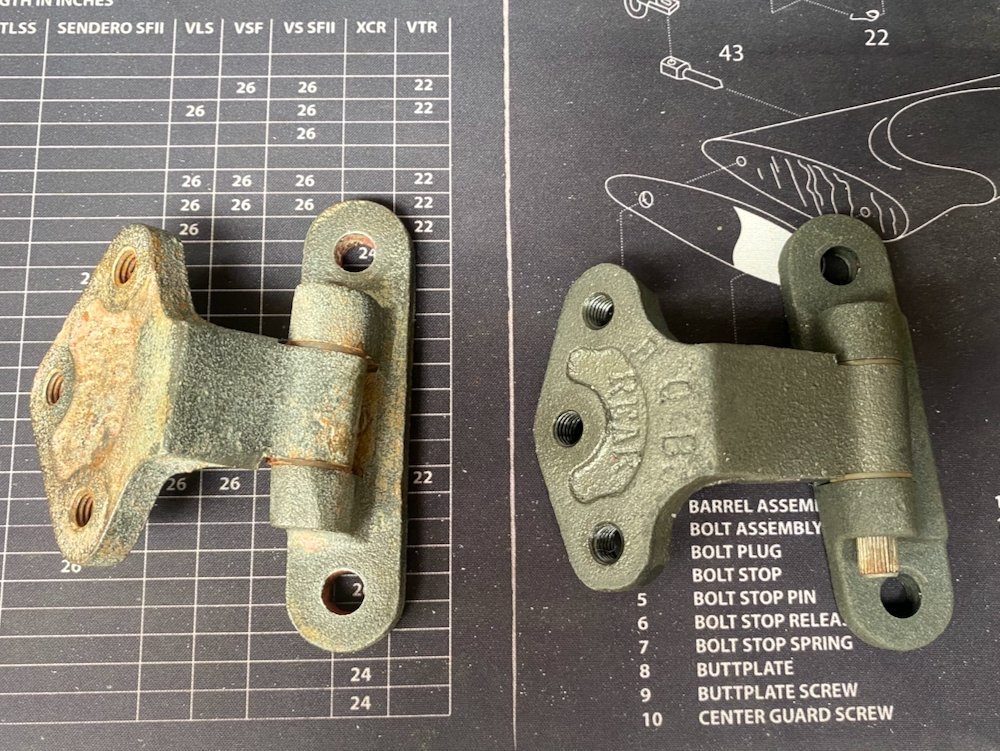
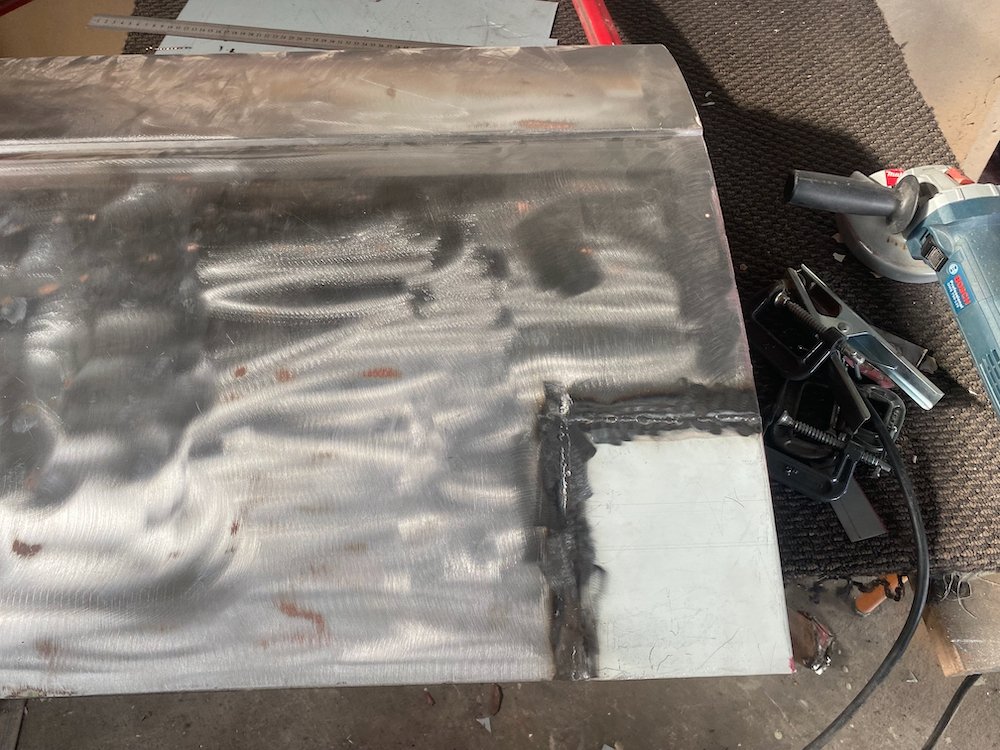
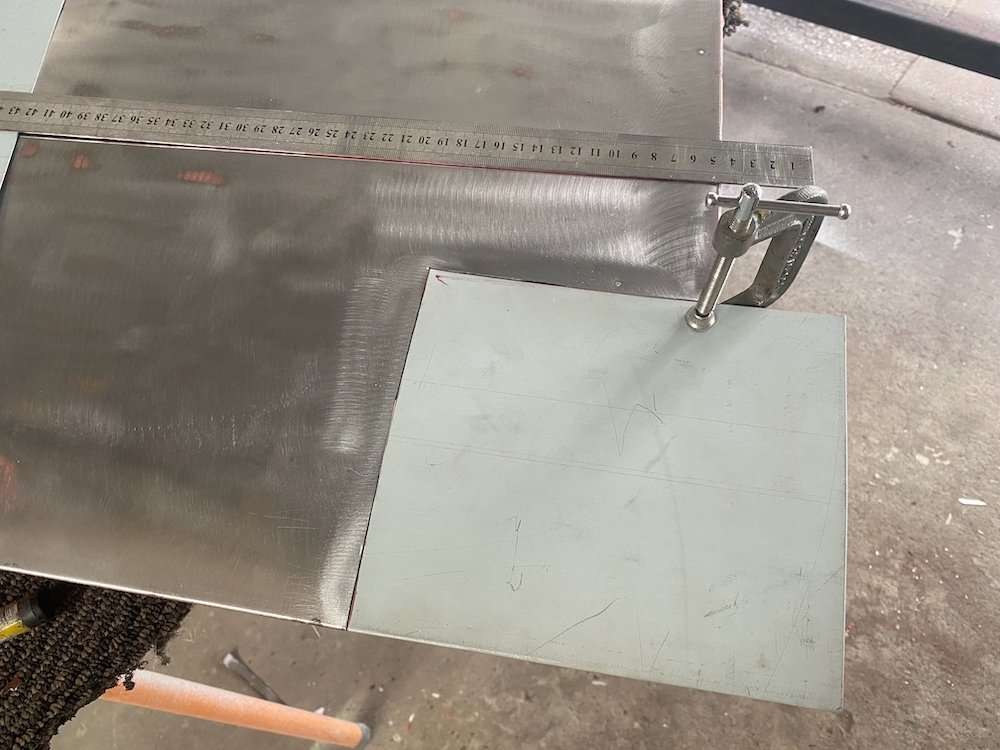
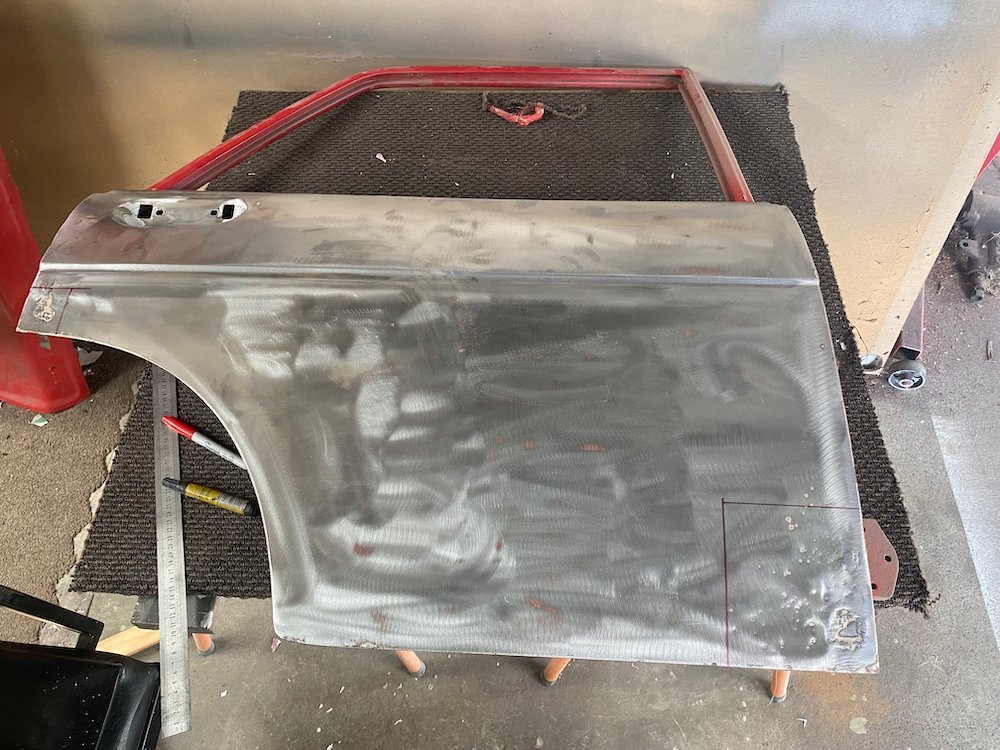
While working on the house I also managed a few sneaky coats on the suspension, these have all been packed away awaiting reassembly which is actually a blessing, I always seem to rush from paint to car so getting some time to set will hopefully pay off. Back to panel work, again, I soon decided the repair on the drivers door wasn't cool, the fold at the bottom just wasn't that straight, especially next to the sill. This happened because I don't have a folder wide enough and tried to form the bend manually, way too difficult for my talent levels. So, off with repair #1 Careful cut, fold weld of the new panel to give a laser straight bottom edge, wave the wand and... First panel fit down, not concours perfect, but more than enough after fettling to satisfy this rookie. A few more weekends have come and gone, not all productive for painting, the usual adult duties and bad weather has kept the body shell tucked away, not to give up all hope I started sorting out smaller stuff. Originally I had planned to Zinc plate all the fasteners, sorting through this wasn't really an option, existing bolts are old/damaged/incorrect head etc not to mention new bolts are cheap ex West Island in full car kits, a stack of effort with not much gain. As usual curiosity got the better of me, one wet afternoon I stumbled on parkerising, pretty much boil up the bolts in a Phosphoric acid based tonic which is mildly protective but more so, quite a nice matte finish, test pieces came up pretty good. So I proceeded to strip and treat the hinges, main reason was I can't decide if I should paint them and if so, how to go about it, at least in this way they have some protection in storage until I make up my mind and the coating makes a pretty good base. Paint stripped left, blasted and parkerised right. Eventually the weather did play nice and I got primer onto the interior. Very excited to be getting to this stage, not much in the way of re-fitting suspension which will allow grinder access to the front and back which the rotisserie is blocking from final clean up. On the subject of that, Bart, you're on notice, the rotisserie is very close to being dropped back Right, over the upload limit so be sure to tune in next time, the paint rep has dropped off some goodies.
- 53 replies
-
- 29
-
-
-
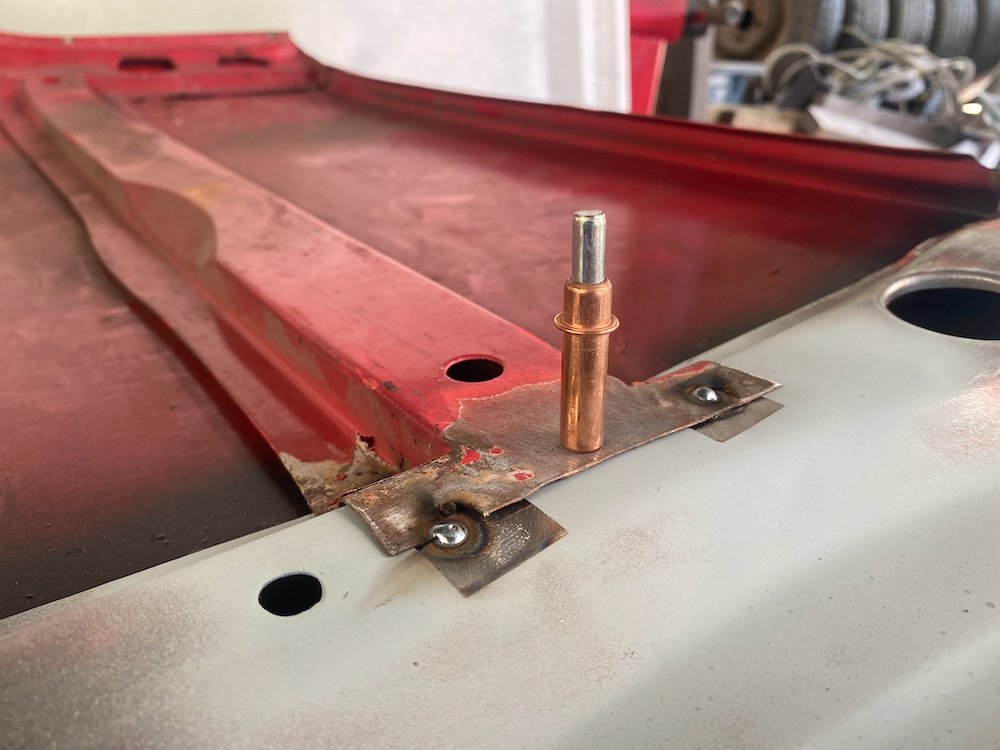
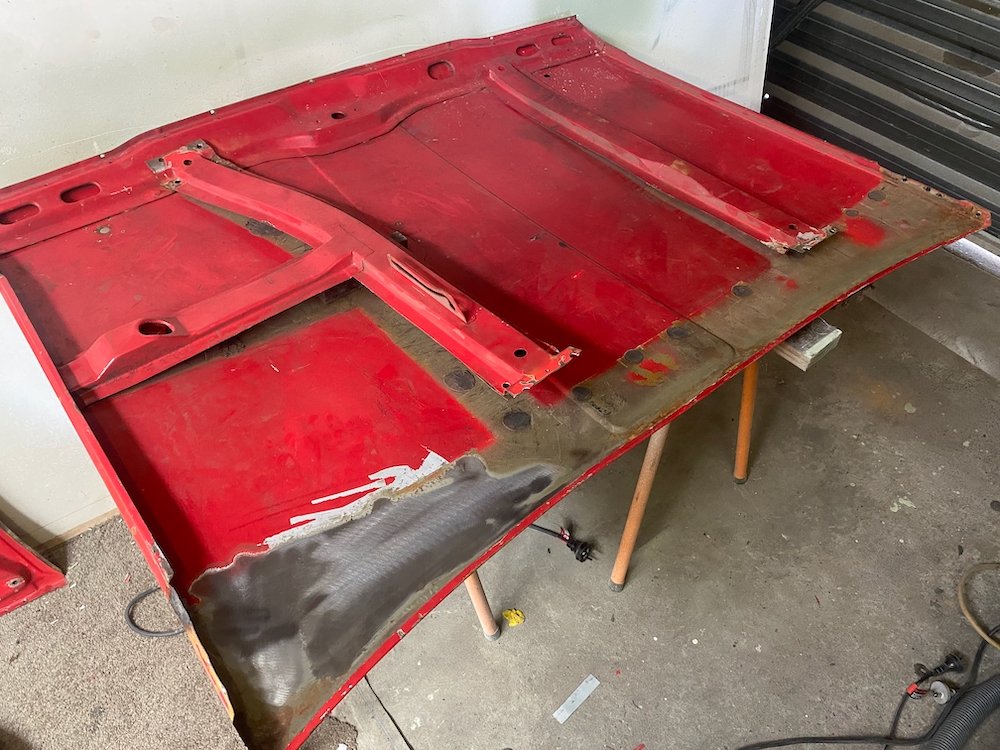
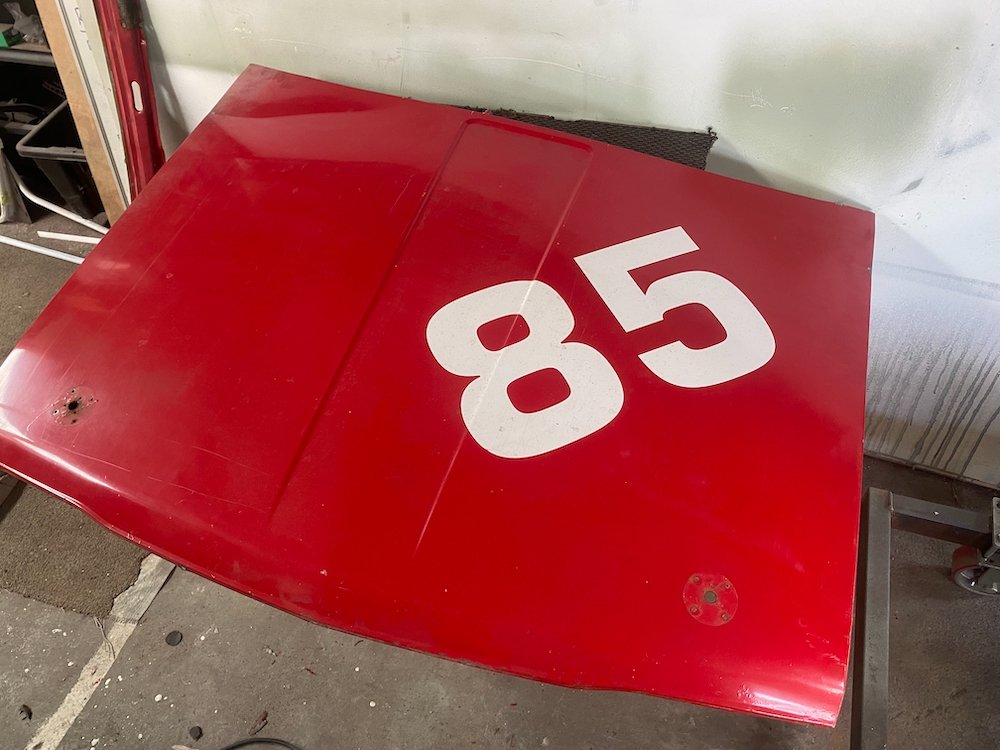
Long time no update etc. Well as this goes, whenever I update, momentum dies, but i'm not one to fall to superstition so here goes. The last big push was to get running for Nats, sadly that never happened, in the week of summer that I put to get the body shell done I found rust I had not expected, more cut, more weld. This patch was oddly symmetric on the rear doors. The boot had a few more surprises that got dealt to also. Back when the car was running my brother had a breakdown not far from our place and called asking for a pickup, with the Datsun out I figured this was a good excuse for a drive, only silly me in a rush didn't complete the usual pre-flights and drove off without the bonnet pins in, needless to say I was pretty embarrassed but got off easy with just a crease in the driver's corner of the bonnet. When I kicked off the panel work, this was a spot I was not even contemplating having a go at as when I re-sprayed the Niva, I didn't do a very good prep job on the bonnet, the resulting ripples a constant kick in the nuts every time I drove it. By now my panel time has increased immensely that I had a second look and figured, why not? Off with the paint, strip out the internal framing and tap tap. Quite likely the easiest fix so far, gentle tapping pushed the crease out and just mild shrinking on the side flange to finish off, well chuffed. And not to be out done, past Nick also drilled datums prior to drilling welds so that clecos could re-locate all the bits, good boy. Bonnet back together, finished stripping and blew on more epoxy. So, in the week that was meant to be everything ready for top coat, all I managed was doors ready for primer, boo.
- 53 replies
-
- 18
-
-
Aramid/Kevlar is used for toughness (impact resistance) and only when really needed or the engineer is a dick cos its a pain to work with.
-
I did take a magnet with me and selected the largest, least magnetic pot as to be the most likely 316 which at the concentrations at play hopefully won't cause problems. But still, outside etc etc etc
-
A stainless pot from the junk store on a gas ring outside.


.jpeg.23135eacf946402c95060b4cc729bf61.jpeg)
.jpeg.a243d93e9fa539b903fe7ff97d7ce9e9.jpeg)