Flash
-
Posts
1,719 -
Joined
-
Last visited
-
Days Won
2
Everything posted by Flash
-
Thanks for the offer of parts fellas, but I'm across the ditch so would cost moonbeams to get here.
-
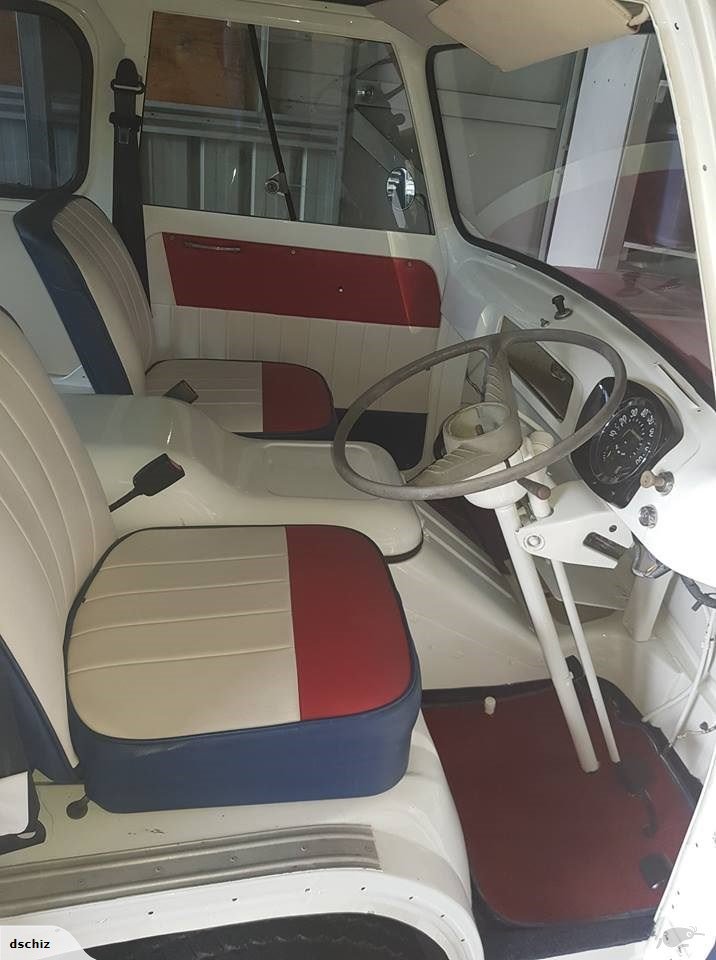
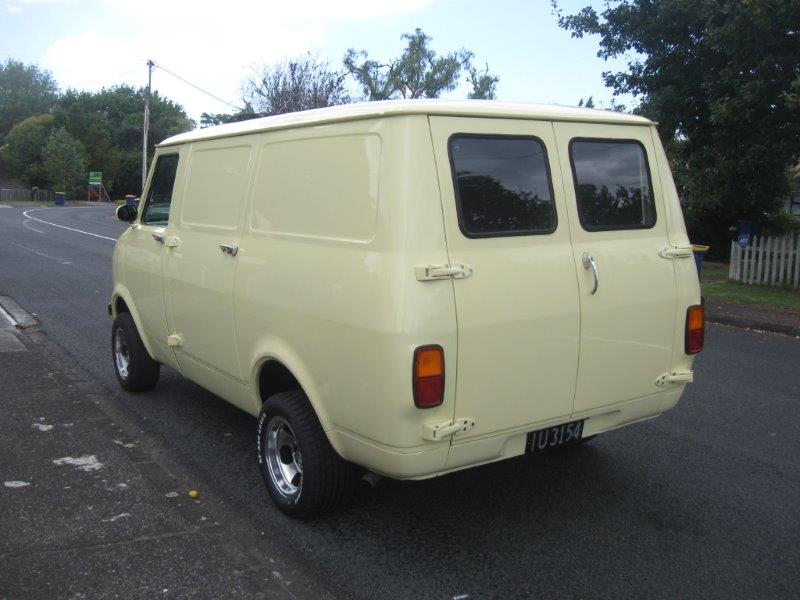
Currently running a factory standard 1700cc Ford Consul engine in front of the factory standard 4 speed column shift. The plan is to eventually daily this so needs something more modern, reliable and easy to find parts for. The engine bay is tight and I don't really want to cut up the floor if I can help it. I also don't want to spoil the inside by putting in a floor shift. See pic of interior below

-
Thanks for all of the suggestions thus far. Okay, so time for me to come clean on what this setup will be going into:
- 25 replies
-
- 10
-

-

-
Thanks very much for the detailed info Yowzer. This gives me a few options to work on.
-
Hey drftnmaz, thanks for the heads up on the e2200 van also being column shift. This is starting to sound like a good option. I'd happily grab your gearbox but I'm across the Tasman at the moment so the freight costs would kill me.
-
Thanks for this Yowzer. So if I understand you correctly a G or W series bellhousing will bolt directly on to the L series gearbox and I can then bolt on a G or W series engine ?
-
Excuse this basic question but I'm a total newbie when it comes to anything Toyota related. For my current project I need to source a 5 speed column shift manual gearbox. Uncle Google says that the third generation Toyota Hiace vans came equipped with such an option. I've found a 1987 Toyota Hiace column shift 5 speed equipped van that is up for sale but it is running a diesel engine (a L14 I think ... hope this makes sense). I would rather replace this with a petrol engine. So knowing absolutely nothing about Toyota I am wondering what petrol engine would bolt up directly to this gearbox. First prize would be something around 2 litres, SOHC and if it was fuel injected that would be even better. Any advice would be greatly appreciated
-
Hi Damo, Nice van! I don't know much about the Commer vans, so apologies for the basic question, but is the standard setup a floor or column shifter?
-

Browndog's 1979 Ford Transit Sundowner (yes another one!)
Flash replied to browndog's topic in Project Discussion
There is no such thing as having too many vans ..... -
Guess you caught a glimpse of the van on Westside last night Denham. Our 30 seconds of fame.
-
Cheers for that. The only thing about keeping these old girls on the road is that there is always something that needs doing. I really should get inspired to update my build thread.
-
Good to see another Bedford. I'm looking forward to watching your build progress.
-
I reckon Kiwibirdman is on the right track. I suffered the same issue with my van. Eventually rerouted the tail pipe to come out at the side with a slight kick down end that points the gases towards the road. Problem solved for me.
-
Obligatory 2015 Beach Hop Shit Talking & Whatnot Post
Flash replied to The Bronze's topic in Upper North Island Region
Got my van certed for self containment today, specially for the Hop. Took the van there last year. The evenings are definitely the best with the live bands and lots of cruising. -
I had the rust work on my van done by The Rust Guy. Barry is his name and he does have a website. I would highly recommend his workmanship.
-
Jeez Neal, how many vehicles in your fleet does that make? Its a good looking wag tho.
-
A bit of useless information - I had a similar issue with a Ford V6 a good few years back that was running standard points setup. Turned out to be a dodgy condenser. I'm guessing the Lumenition system has done away with the condenser, so it can't be that.
-
It looks to be in really great condition body wise. I'm looking forward to hearing how your engine upgrade pans out.
-
Hey Neal, awesome to see another van that is still sporting the original side panels. Can't wait to see it in the flesh.
-
Yea, more story please
-
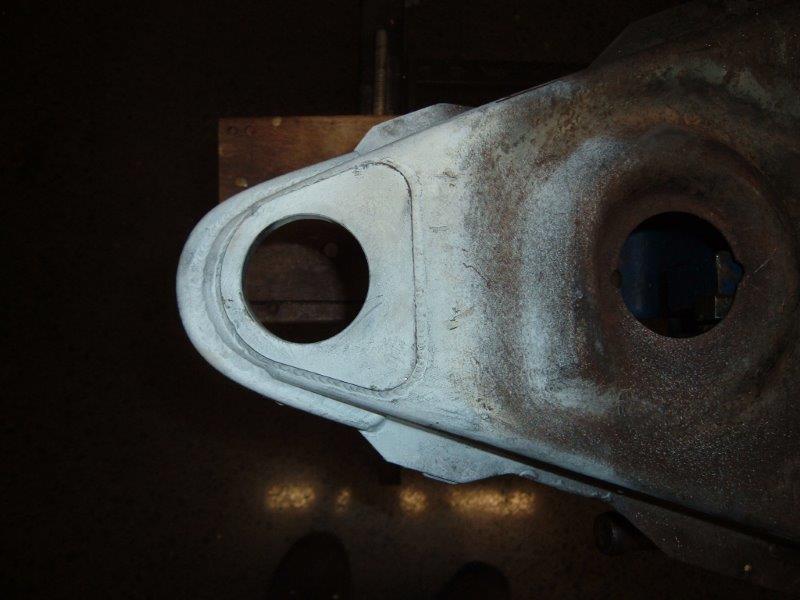
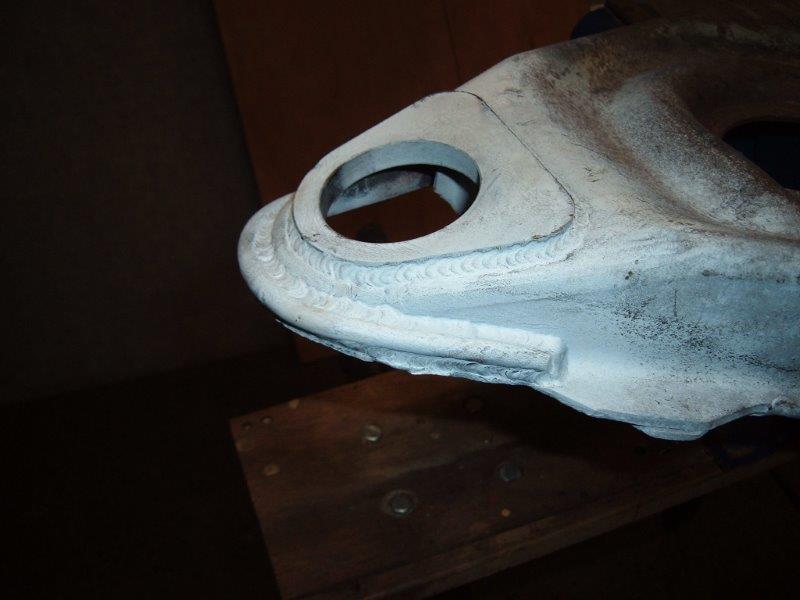
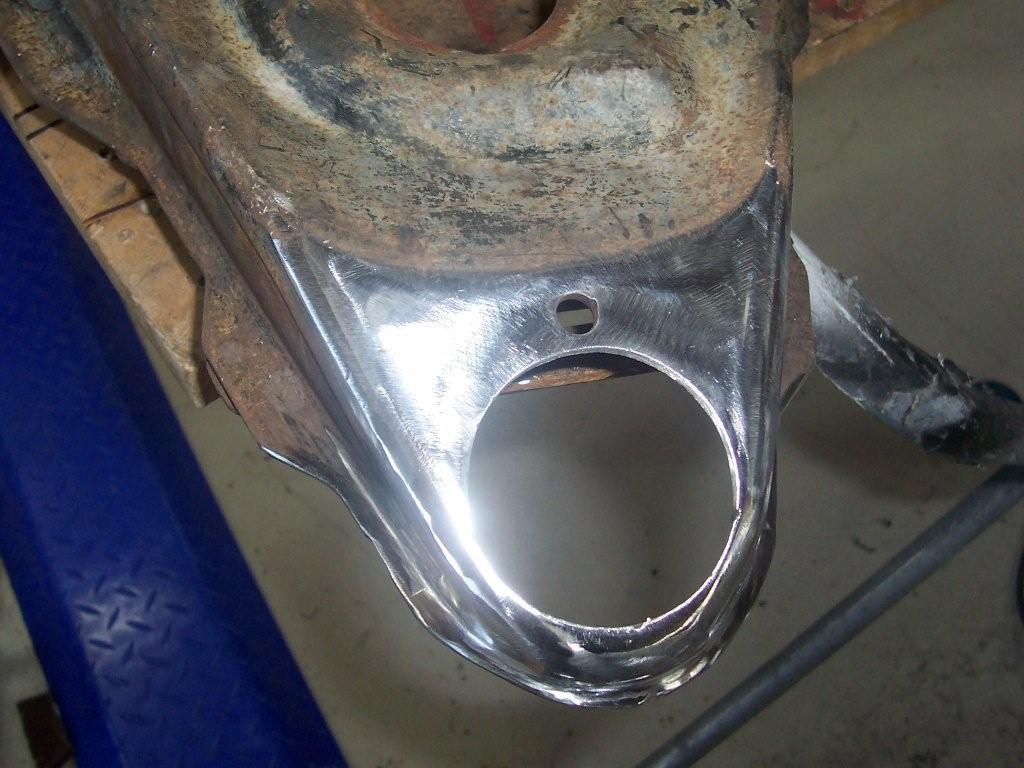
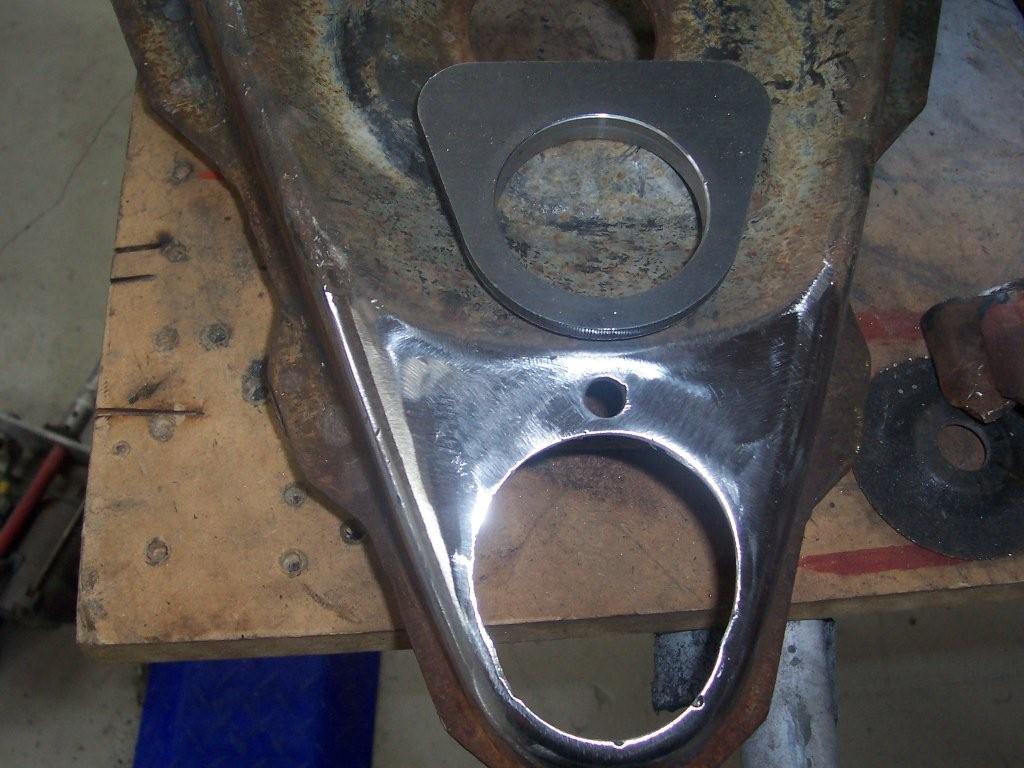
Then fixed the new ball joint seat into position. The arm end was then reinforced. Cert requirement was for TIG welding and crack testing.
-
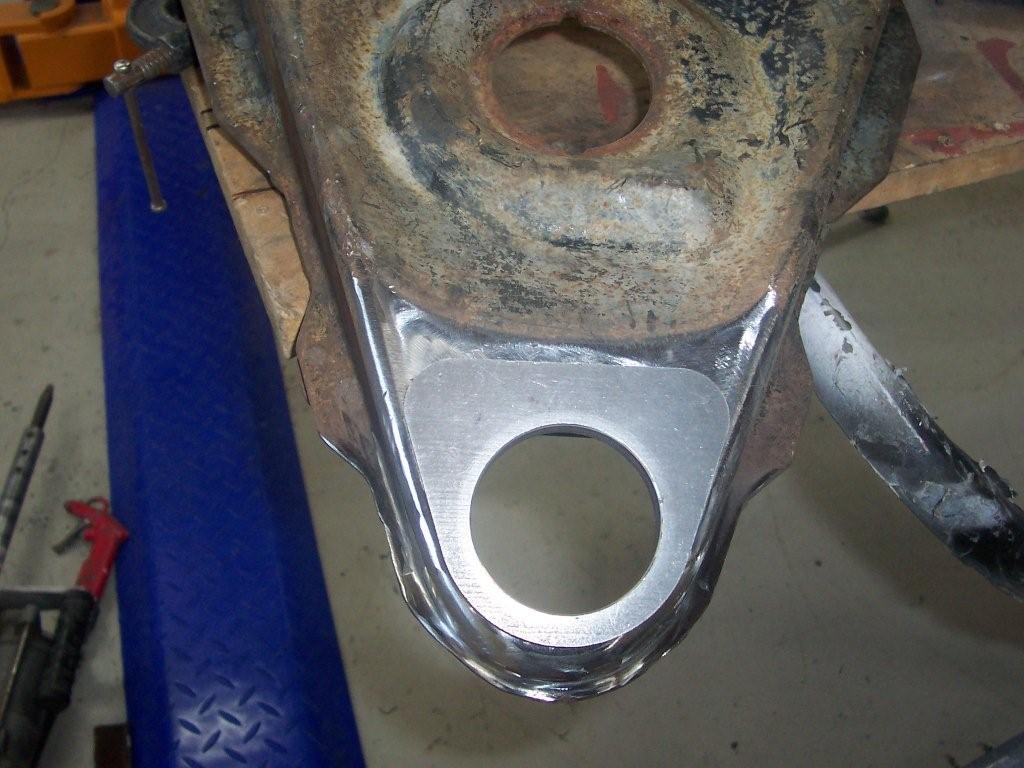
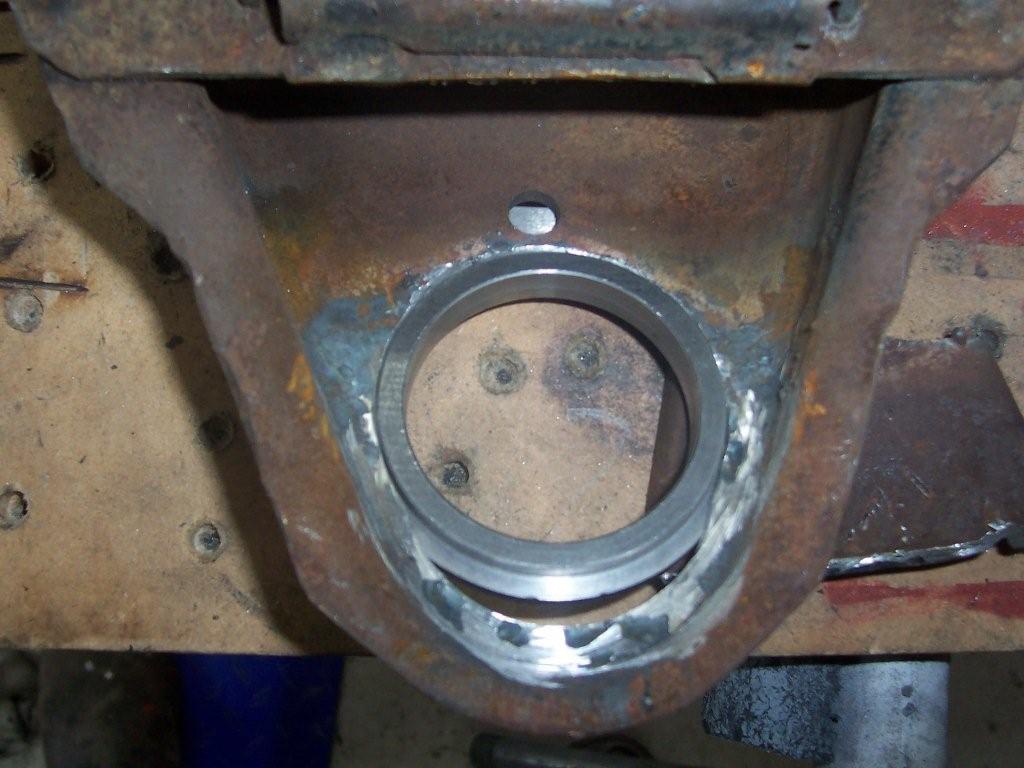
After a quick test fit of the new ball joint seat we cut off and shortened the end portion of the arm.
-
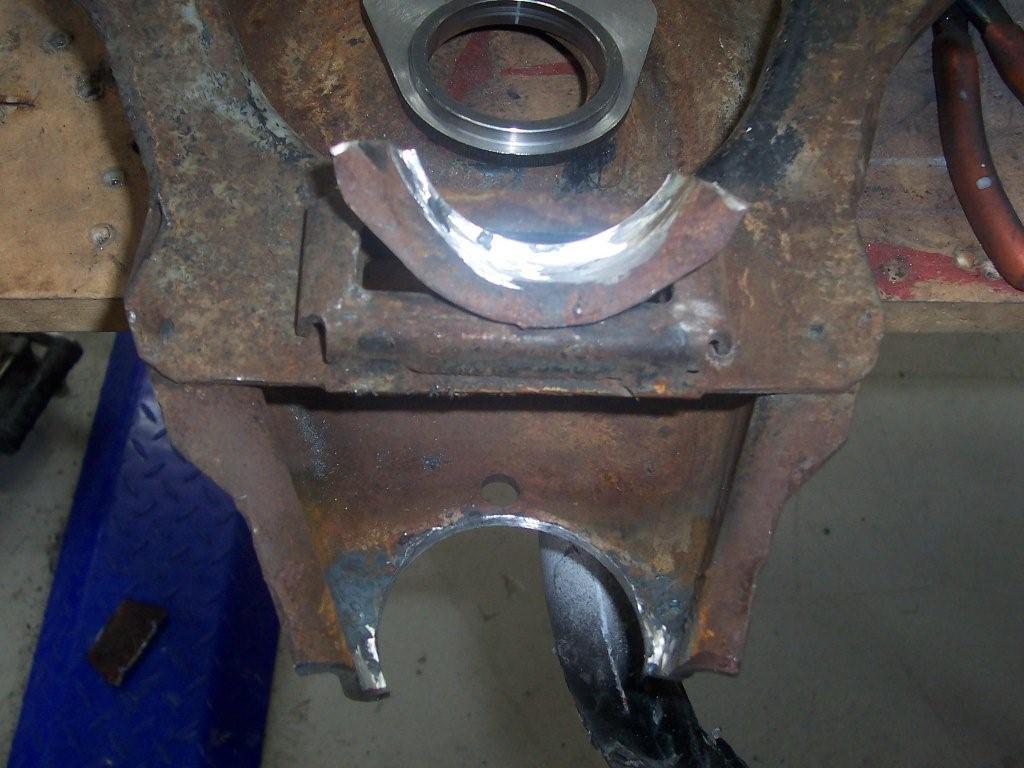
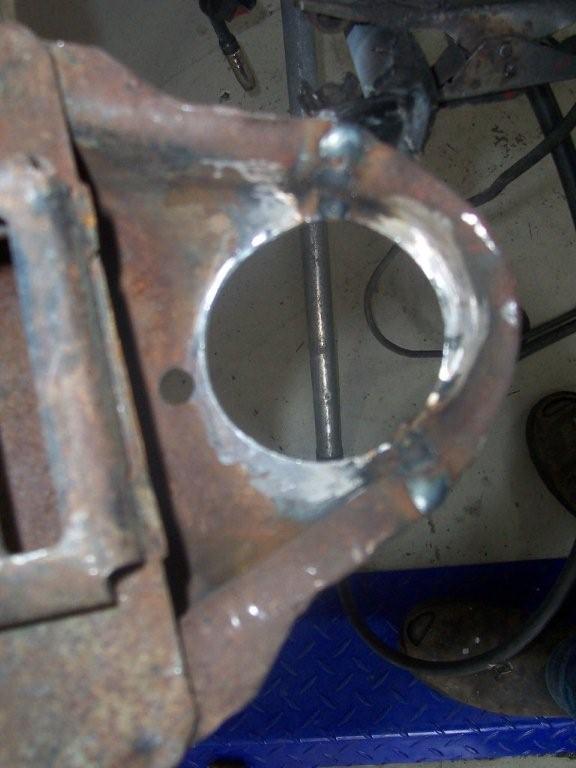
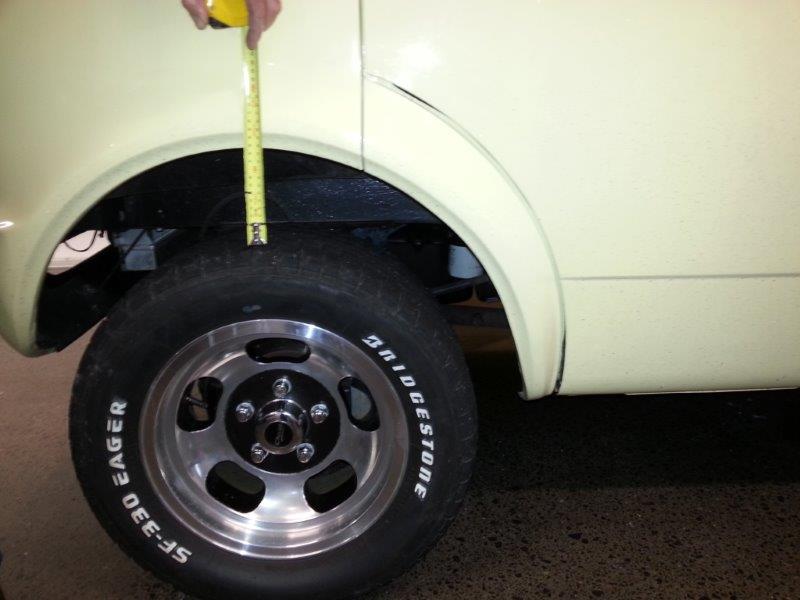
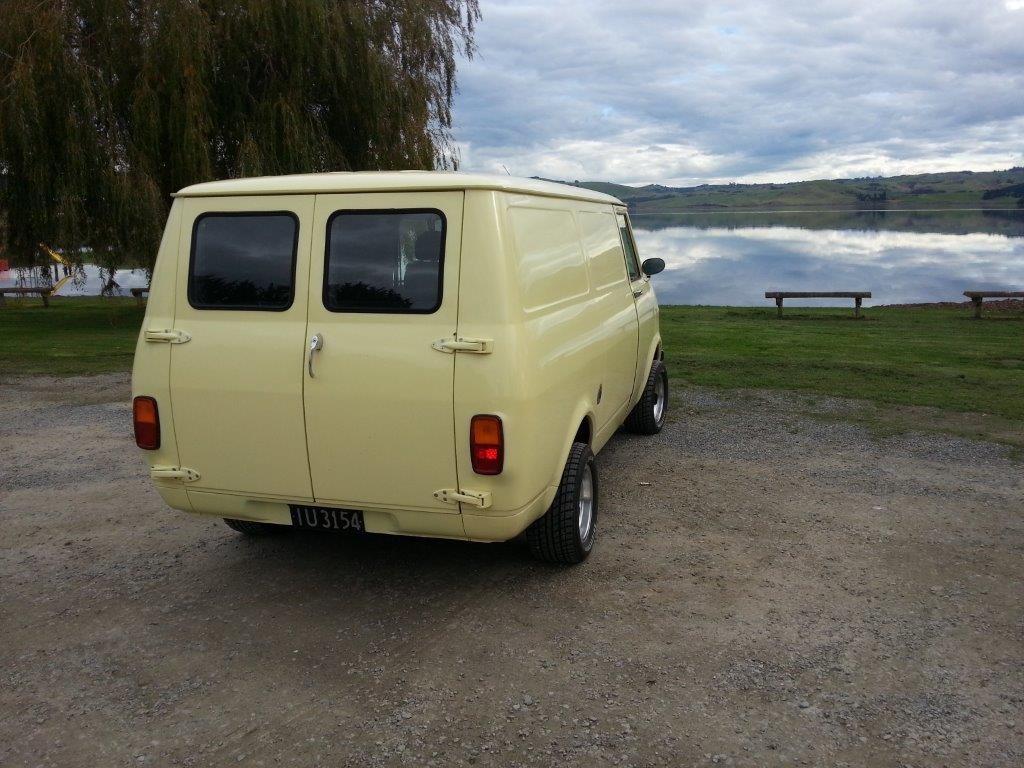
Back home we put together a list of things to tackle over the winter. Top of the list was to slap in some low as the van had a bit of an agricultural look going with the big fat gaps between the fenders and the low profile tyres. The tricky thing with these vans is that they have no camber adjustment on the front suspension and came preset from the factory with positive one degree camber. The easiest way to lower them is to cut the front springs or get shorter springs fabricated but if you take too much you start to suffer with tyre wear issues. After doing some research I tracked down a company in Aus called Stubtech who still have a few sets of dropped spindles for the Bedford. These spindles give you a 3 inch drop whilst retaining the original suspension geometry. The conversion sounded pretty straight forward so I bit the bullet and ordered a set. The parcel duly arrived with all of the paperwork needed for certification but in terms of fitting instructions there was only a dodgy photocopy of a set of hand written notes. First step is to cut out the original Bedford ball joint seat from the lower suspension arm and replace it with the supplied plate that takes a Holden HQ ball joint. To make matters more tricky the new ball joint seat needs to be moved further in on the arm in order to retain the correct geometry. The measurements provided were pretty vague, but I had a spare set of lower arms, so decided to plunge straight in.
-
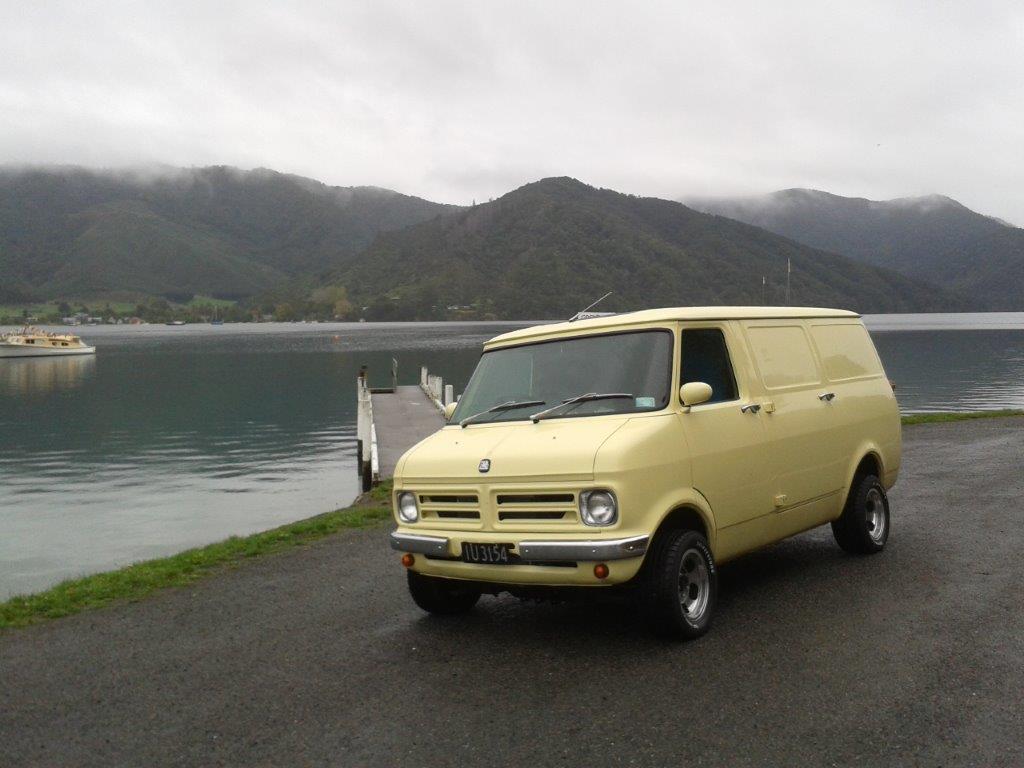
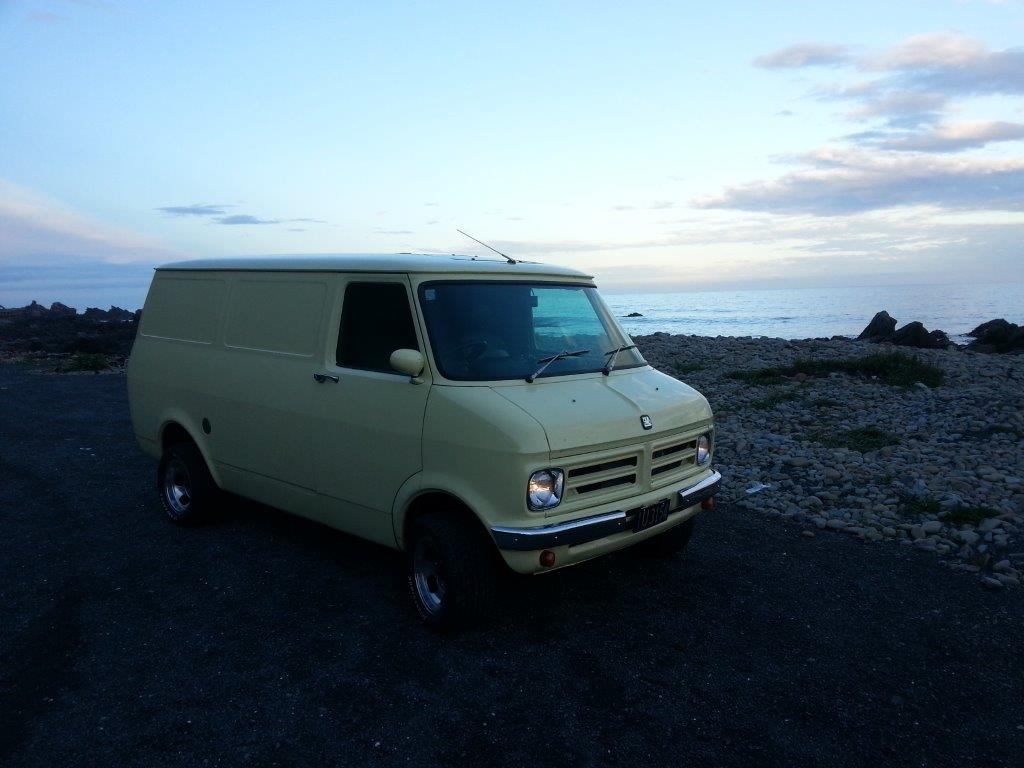
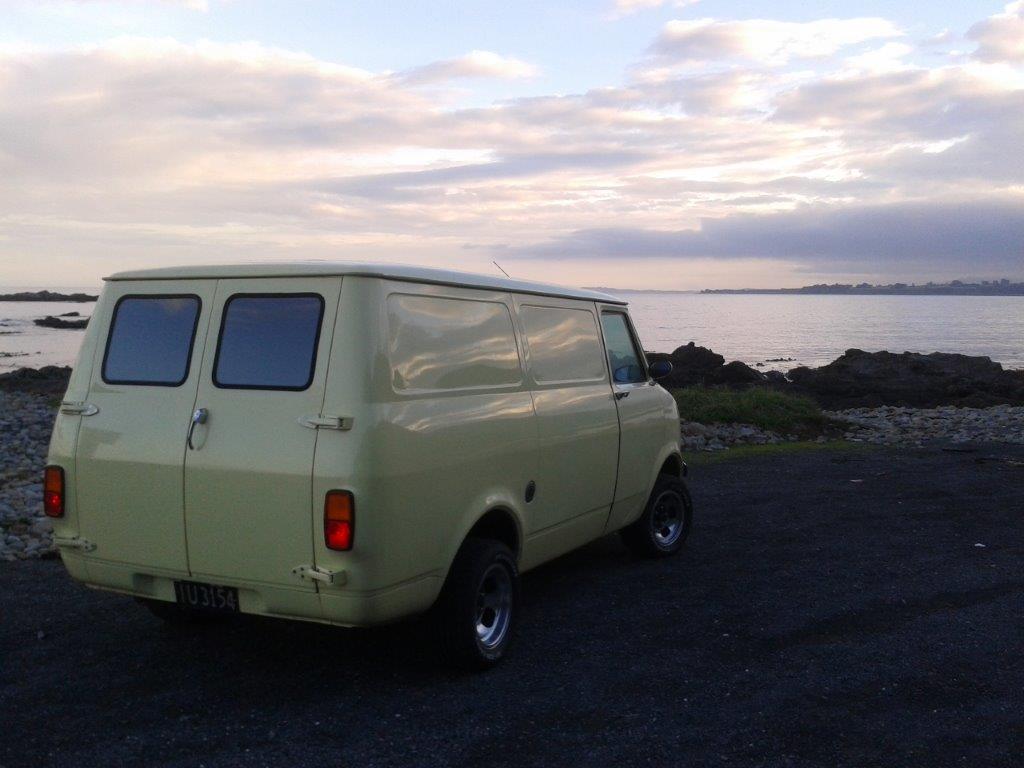
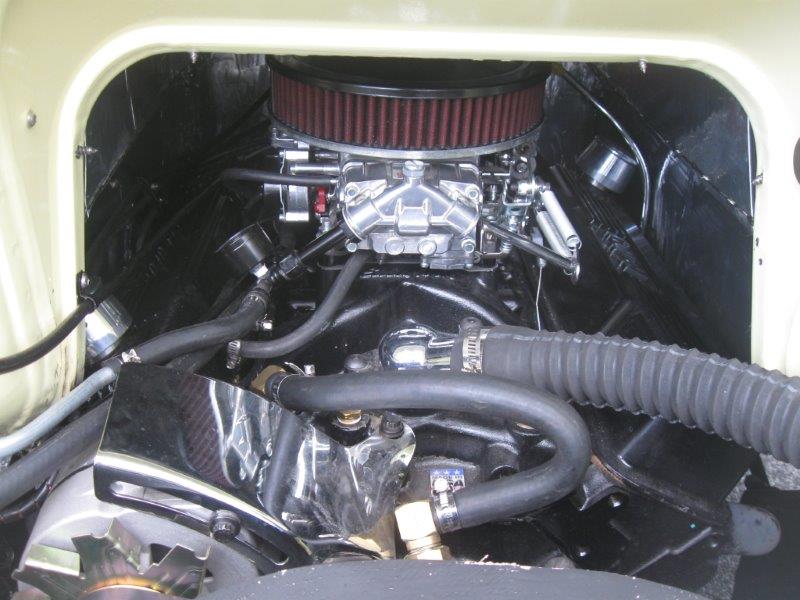
So I quickly chucked in a set of 10 inch electric fans with a Davies Craig thermo fan switch before we headed off on an epic 4,800km journey around the South Island over Easter. Again the van performed really well with only one nervous moment when a loose fuel pump wire caused the van to grind to a halt as we were heading down the ramp off the ferry in Picton. A few pics of the van taken during our South Island trip.
-
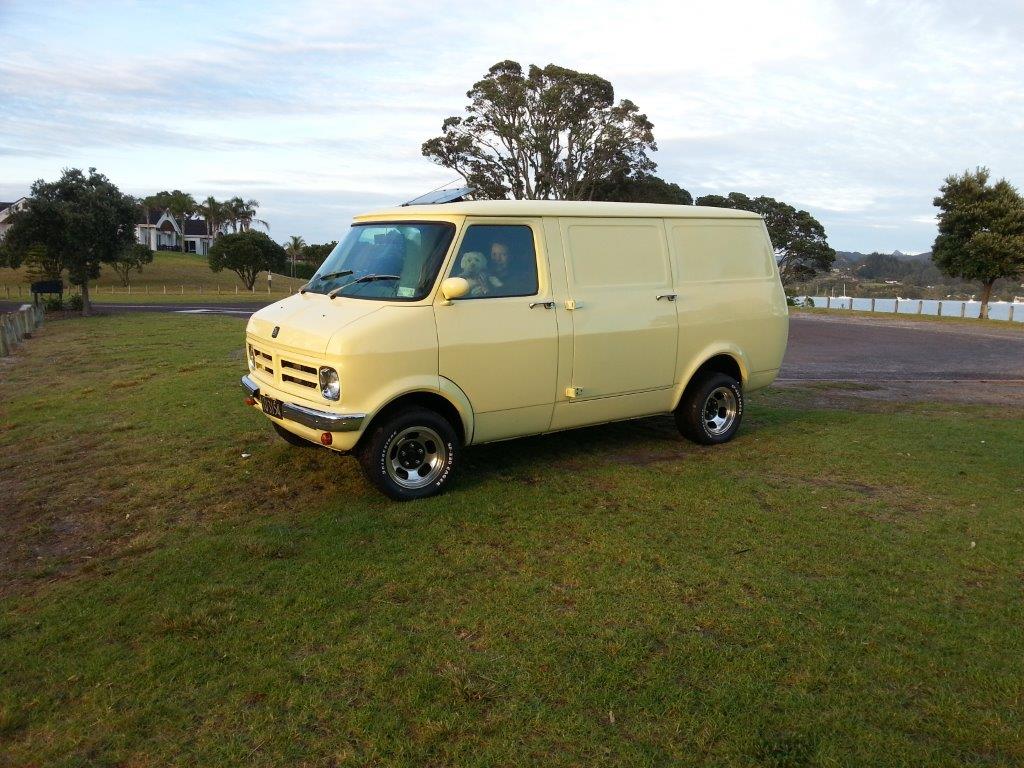
We managed to get the van relatively complete and back on the road in time for a trip down to Beach Hop 2014. The van ran really well apart from some nervous moments when the water temp gauge started creeping up in bumper to bumper traffic. So a change from a single mechanical fan to twin electric fans was added to the "To do" list.