-
Posts
2744 -
Joined
-
Last visited
-
Days Won
3
Everything posted by azzurro
-
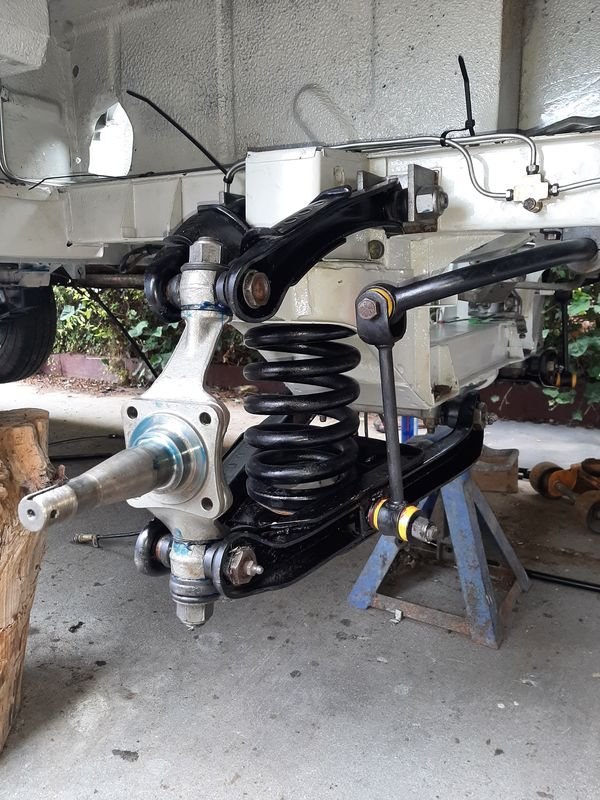
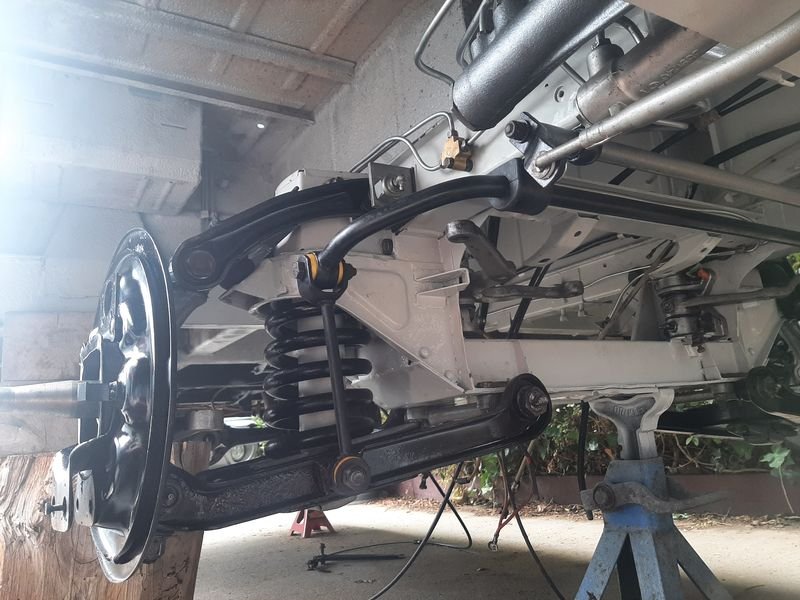
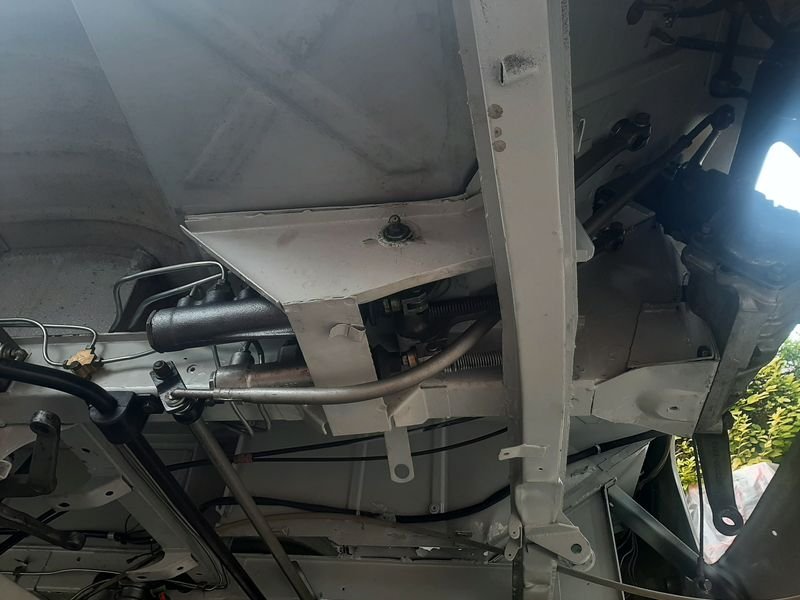
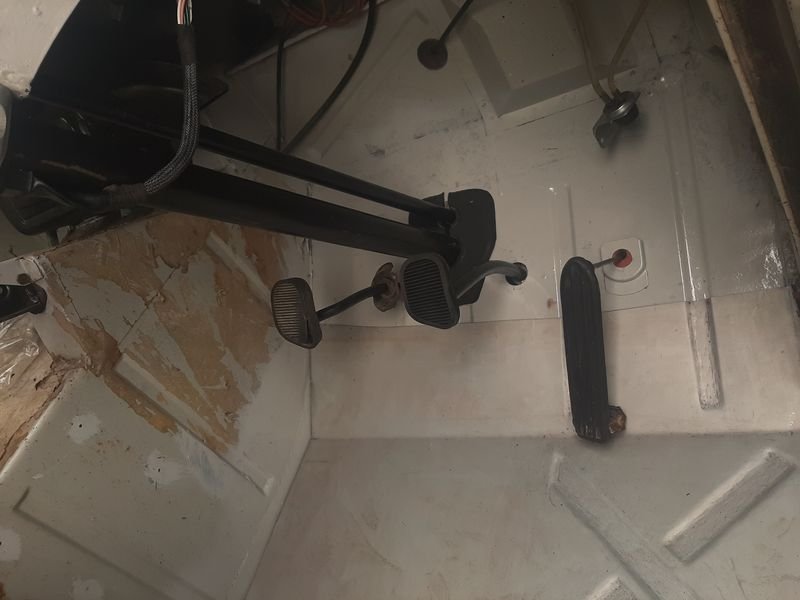
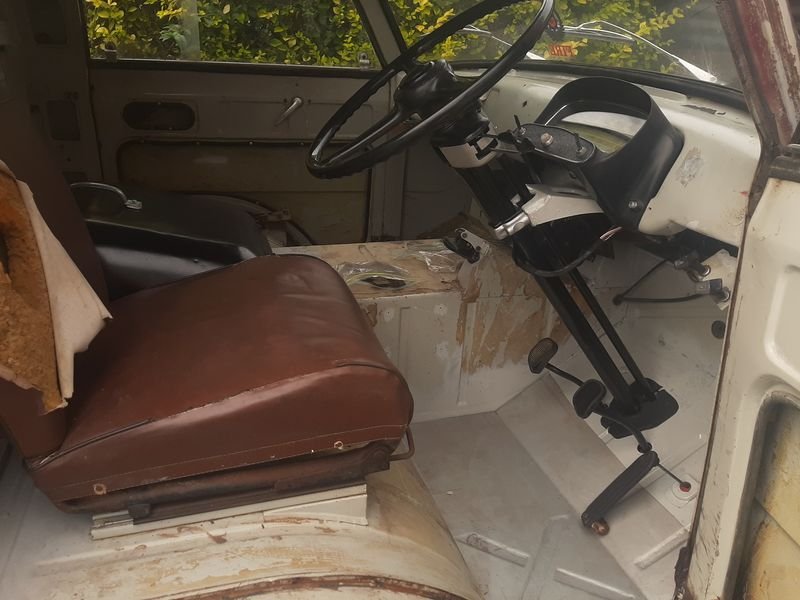
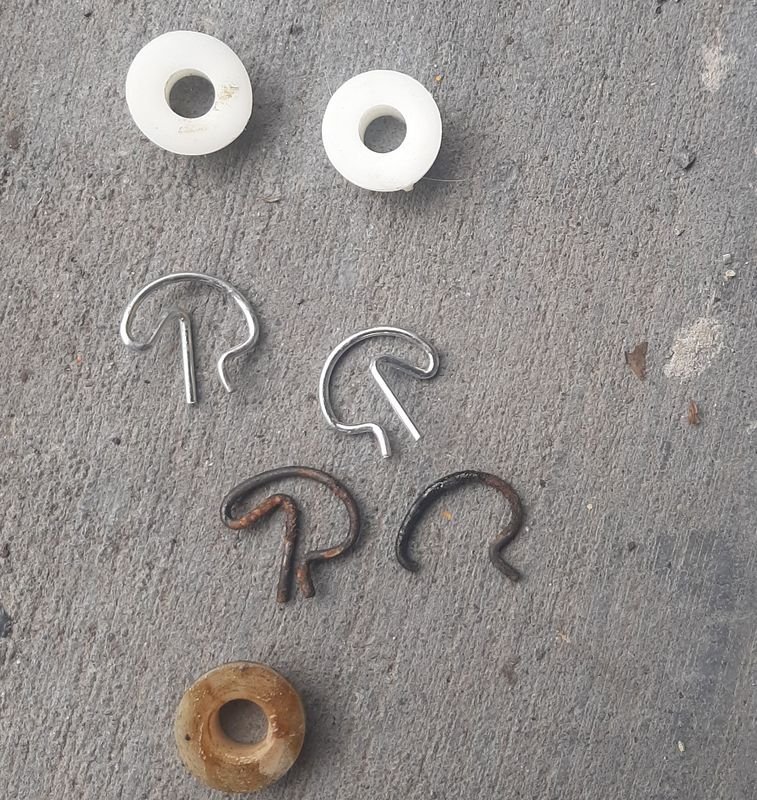
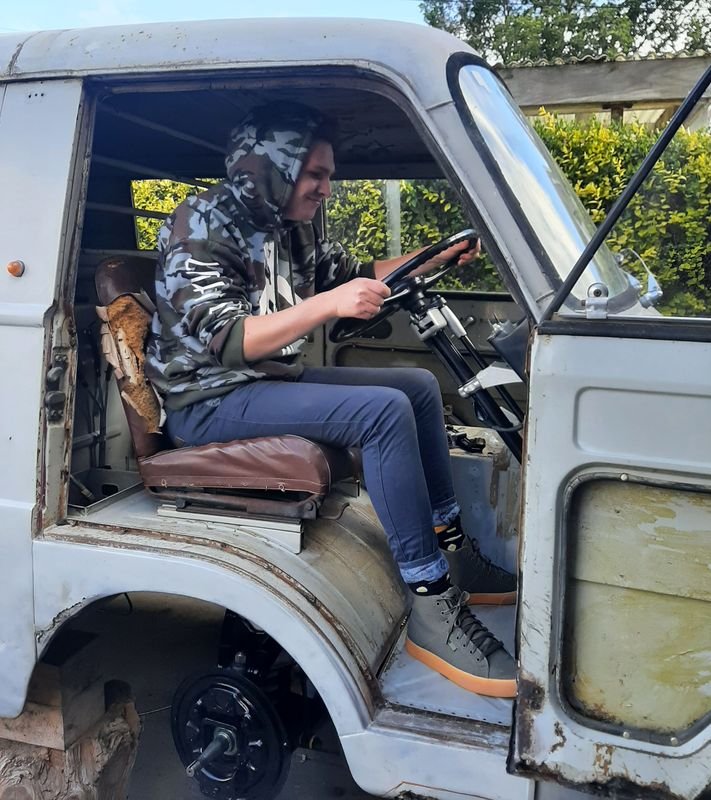
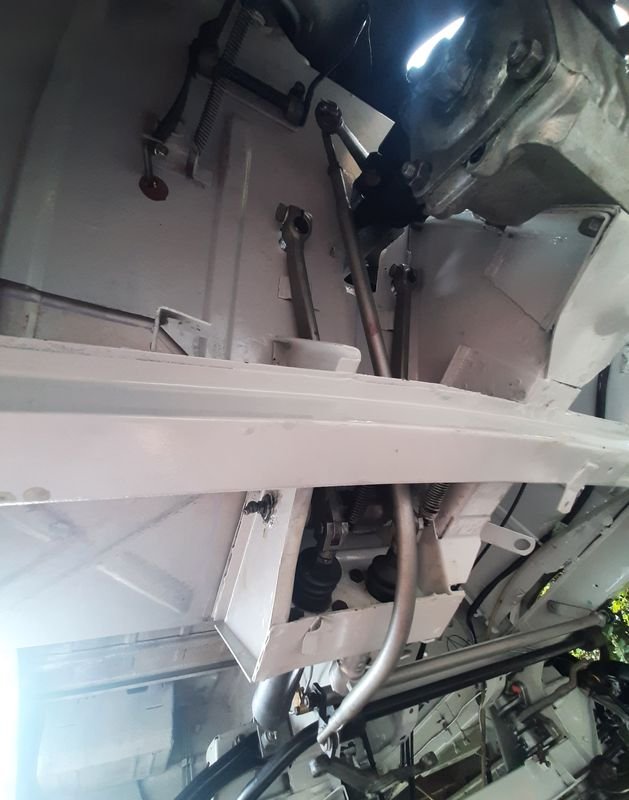
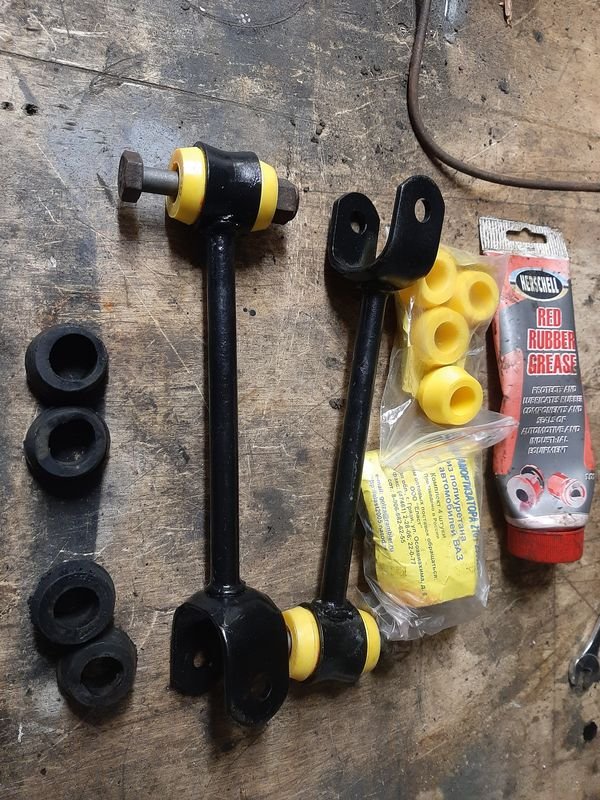
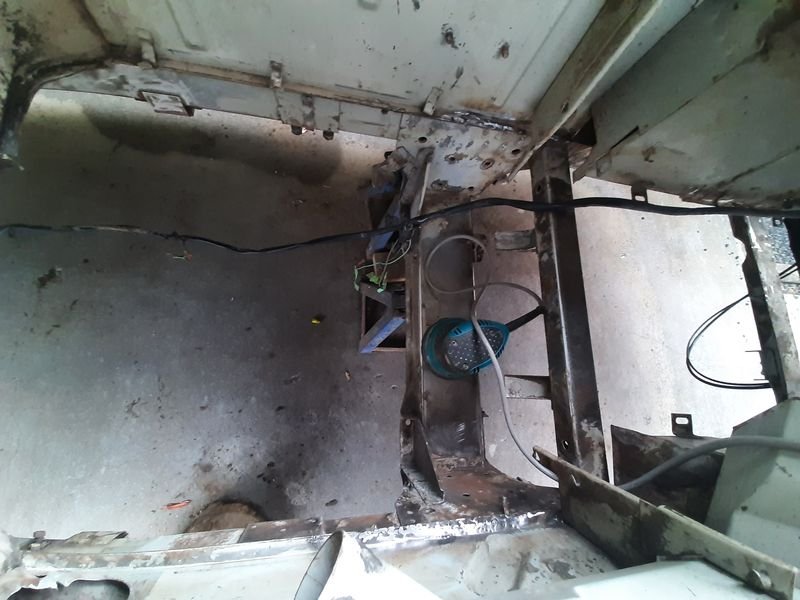
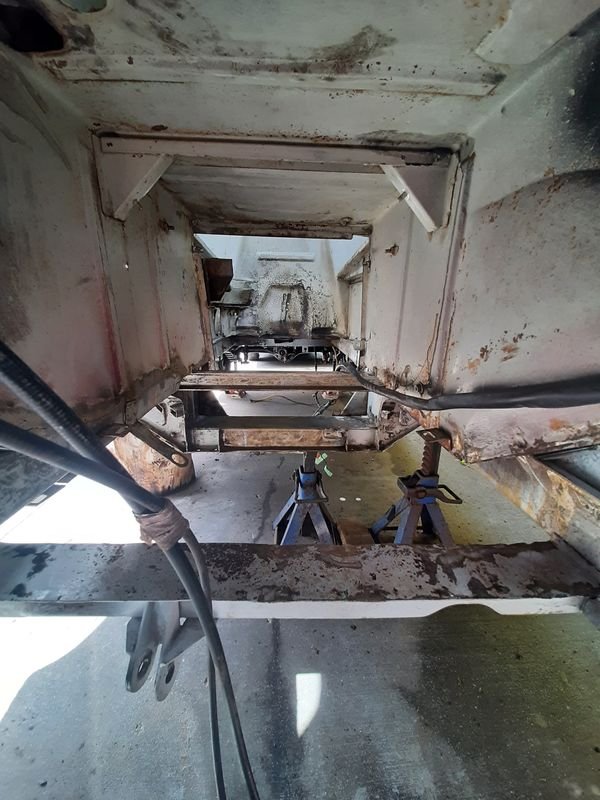
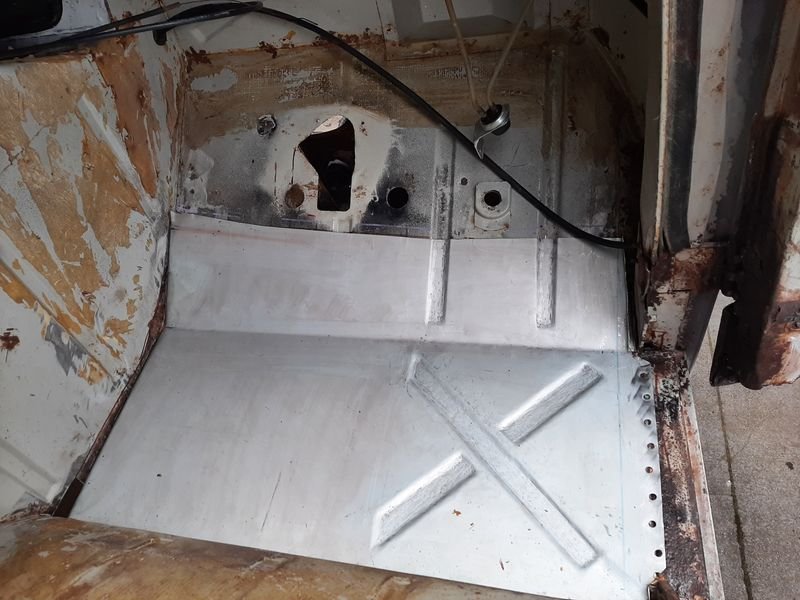
Bolting more stuff on, Suspension all back together, didnt need a spring compressor, just jacked up the lower arm till the top kingpin nut poked through, so thats good news for easy future altitude adjustment. Fiat parts bin allows new top quality russian poly bushes for the front swaybar, for picking up a few extra 10ths around Bathurst. Also got the steering box and gear shift in as well, got a helper for a couple of weeks Front half of the gear linkage in, the rod takes a totally bonkers path though the middle of the master cylinder box to a shaft to the other (ie LHD) side where the rear rod takes over. Fiat first gen Panda linkage bushes and clips are a perfect replacement and will also suit the 2300, and also very cheap so i bought enough for both vehicles Compared to the madness going on under the floor, the interior is pretty clean. Pedals back on and first time they are not at floor level. Ill clean up the accelerator pedal and mount it to the floor repair panel so it can be driven easily in the meantime. Dash and column back together, and with a seat, thats pretty much the entire interior, lol
- 64 replies
-
- 23
-

-
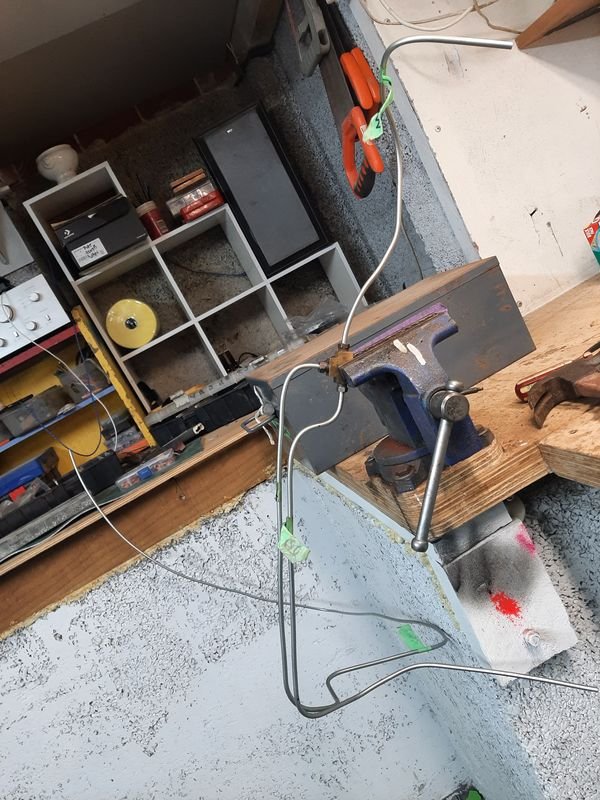
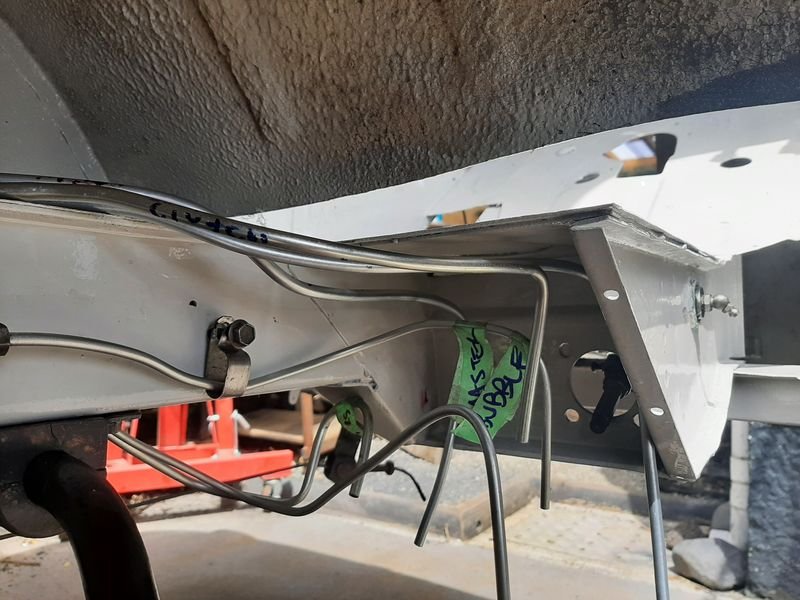
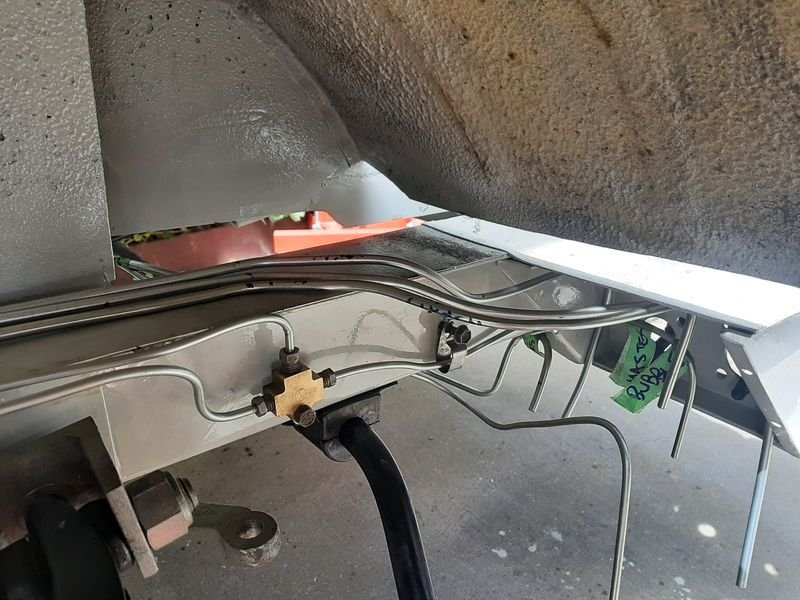
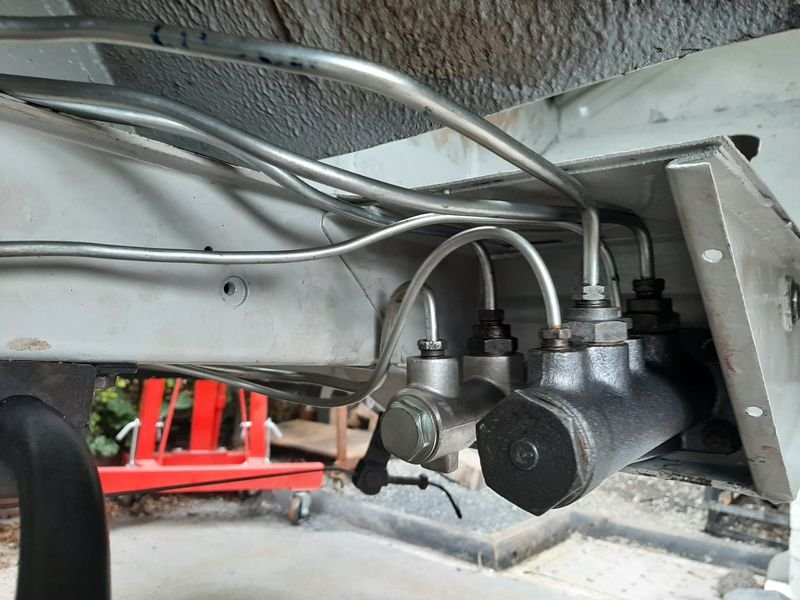
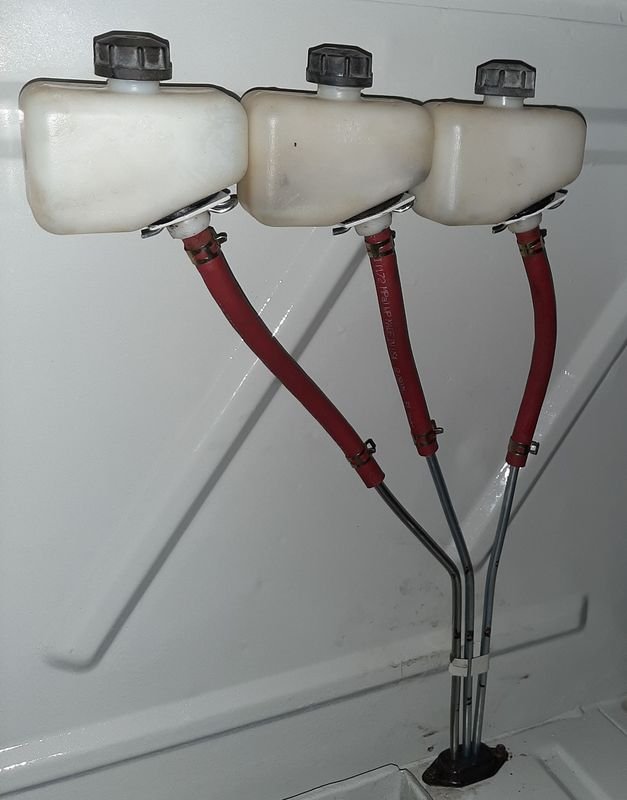
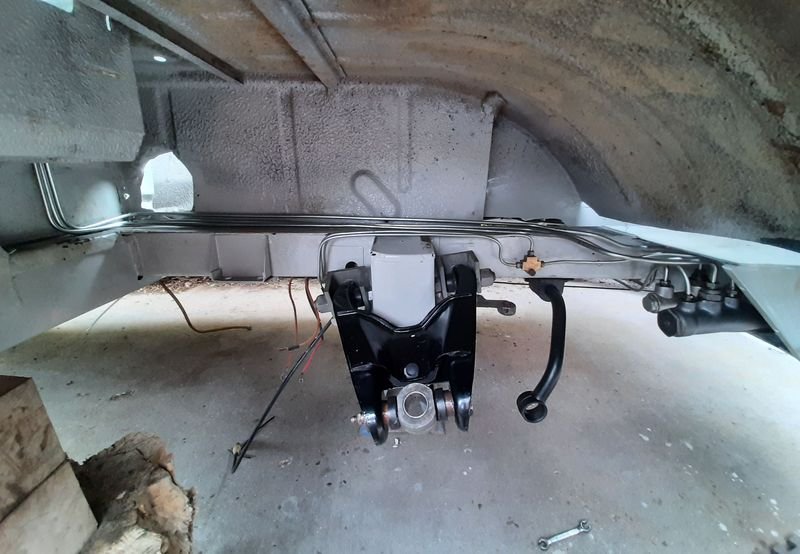
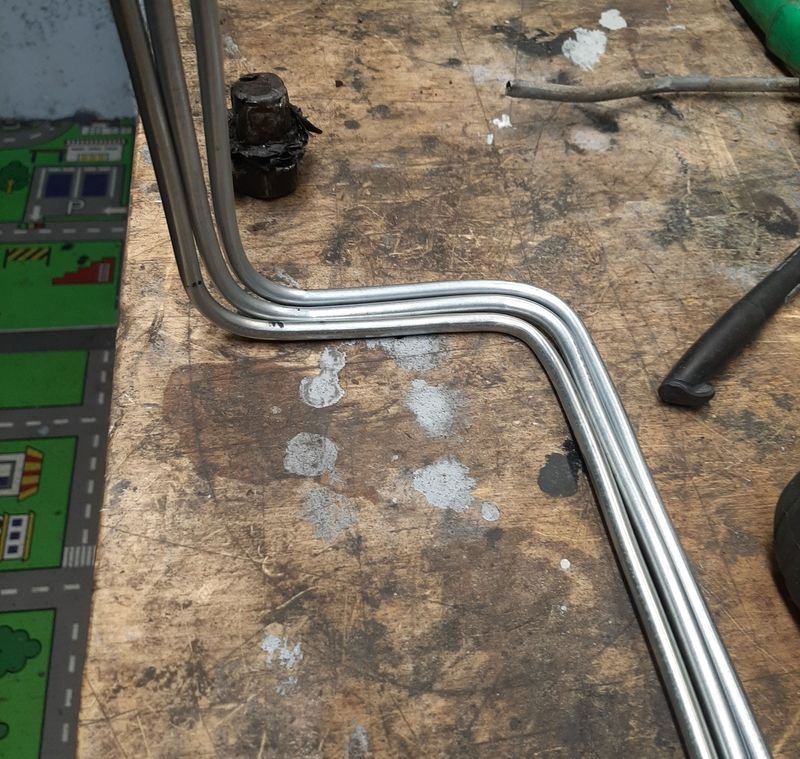
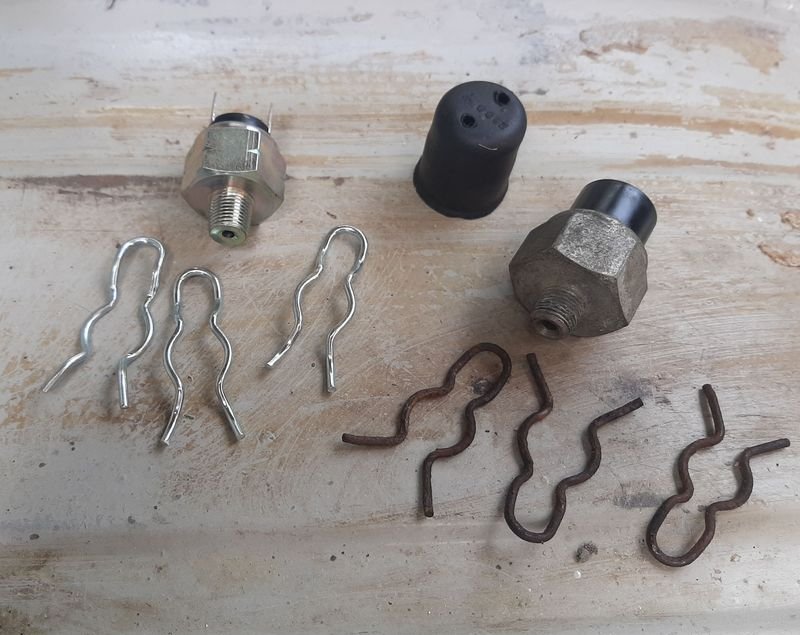
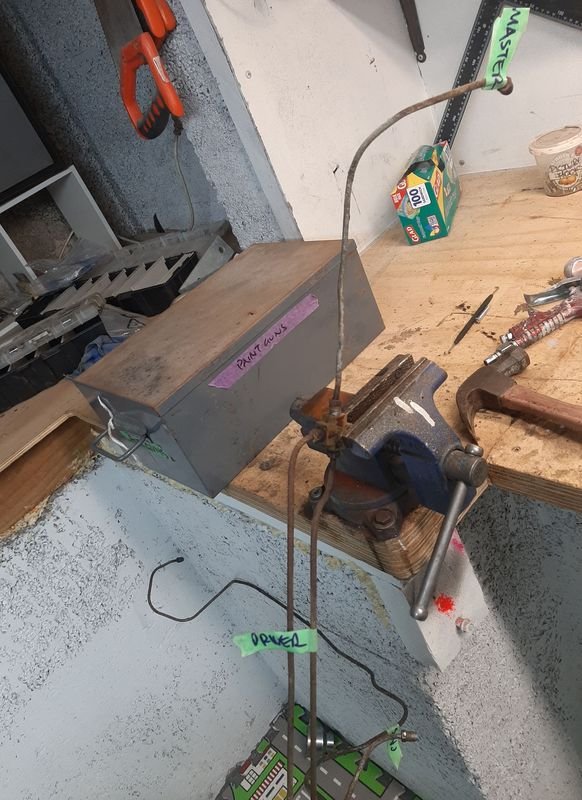
Yay 2022. Putting stuff back on. First up, hydraulic lines. Usually the first thing installed at the factory for the same reason im doing them first, its much easier with everything out the way. Also the reason for painting the driver side wheel well and master cylinder mount even tho there is still a big hole in the floor and rust in all the doors. I had picked up plated cunifer line, 6m of 1/4" (for feed from the reservoirs and the clutch line) and 26m of 3/16" for all the brake lines. This is the brake and clutch master cylinder, where 6 lines, 4x 1/4" (3 inlets and one clutch outlet) and 2x 3/16" (Front and rear brake circuit outlets, which both split off L & R elsewhere): Woops, wrong photo! Here it is: Basic process was use the original lines as a template to start with (leaving them a bit long both ends) fit up on the van a million times and finally cut to length and flare. Then cut off the flare, put the line nut on, and flare again... This is the front brakes, single line from the master then splitting at the T to the right (short) and left (long) Feed lines from the reservoirs: Getting closer... Now has - New Clutch Master - resleeved Brake Master, - all new plated cunifer lines - refurbished OEM line nuts (I got new nuts but they are a bit different and didnt clamp the lines in the fittings, so i couldnt use them) Still need to clamp these all down but pretty happy: Other New brake related bits from the fiat parts bin, -pressure switch for the brake lights (if the OEM one does not work) and - clips for the reservoirs: Reservoirs all fitted up too. Will put a bubble flare on the feed lines to make a better seal i think. This all ended up taking waaaaaay longer than i thought, and im not quite done yet, but at least its all laid in and plumbed up and i can start putting the suspension back in.
- 64 replies
-
- 30
-

-
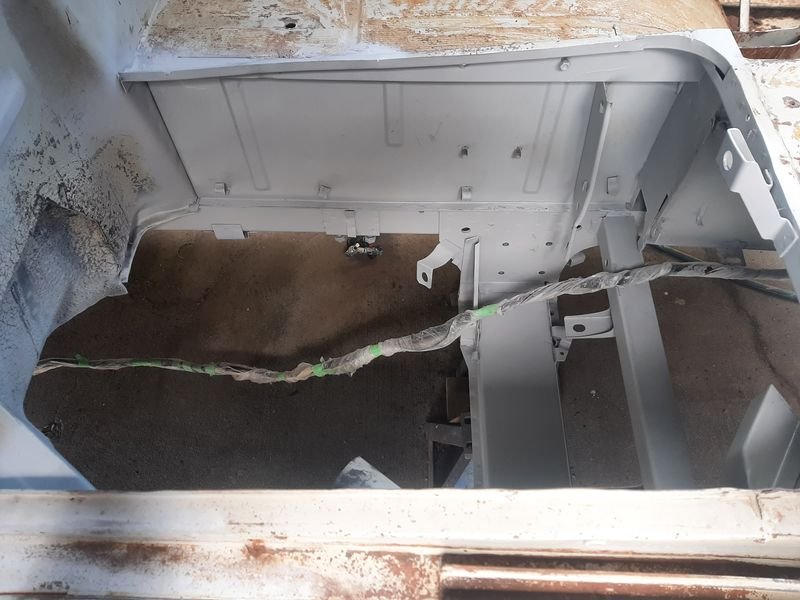
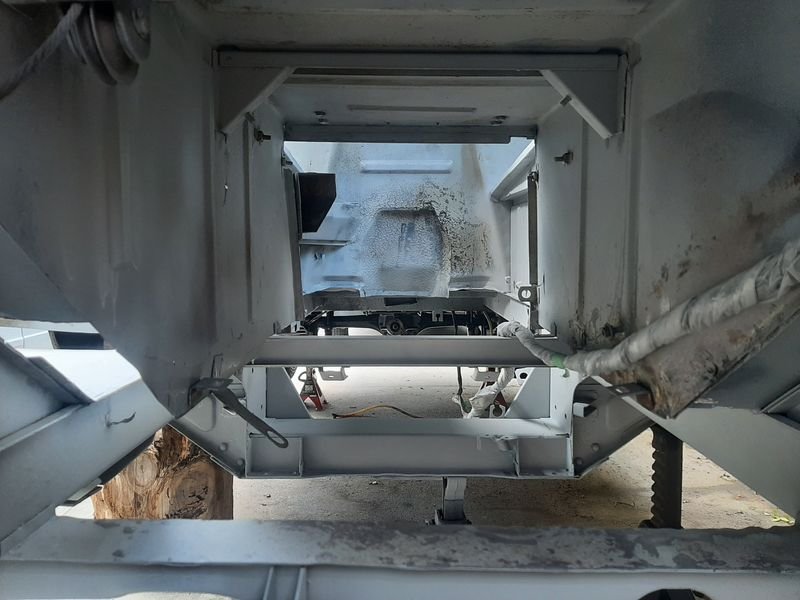
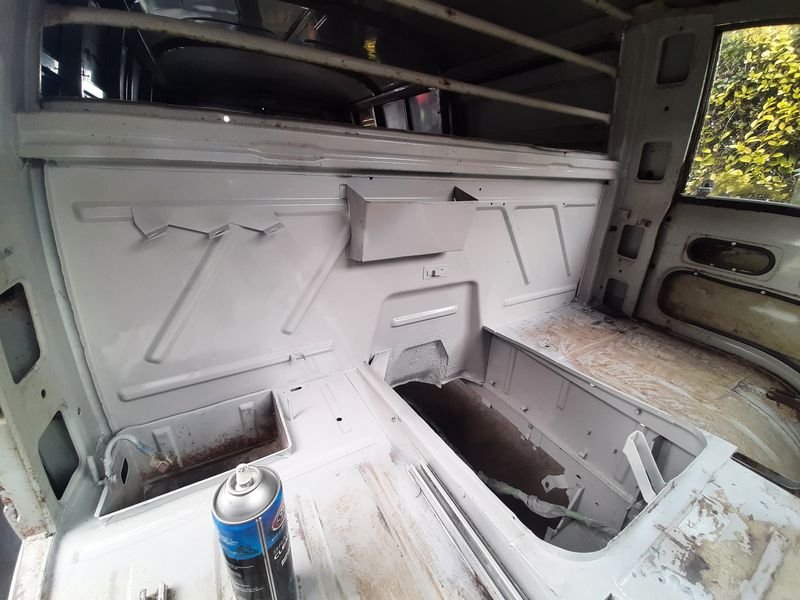
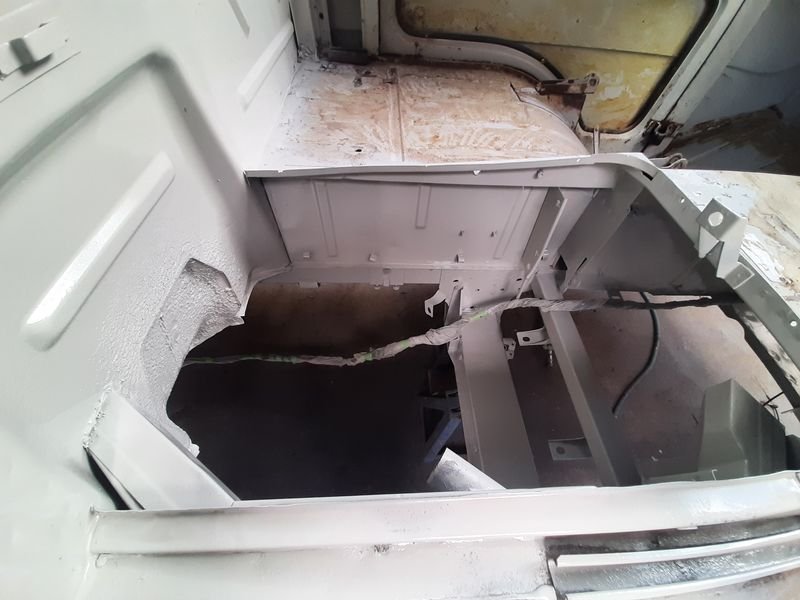
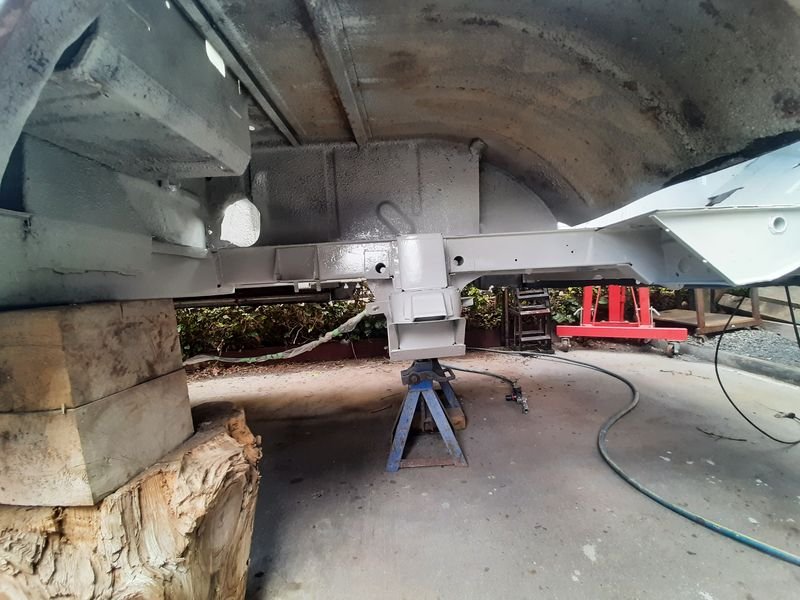
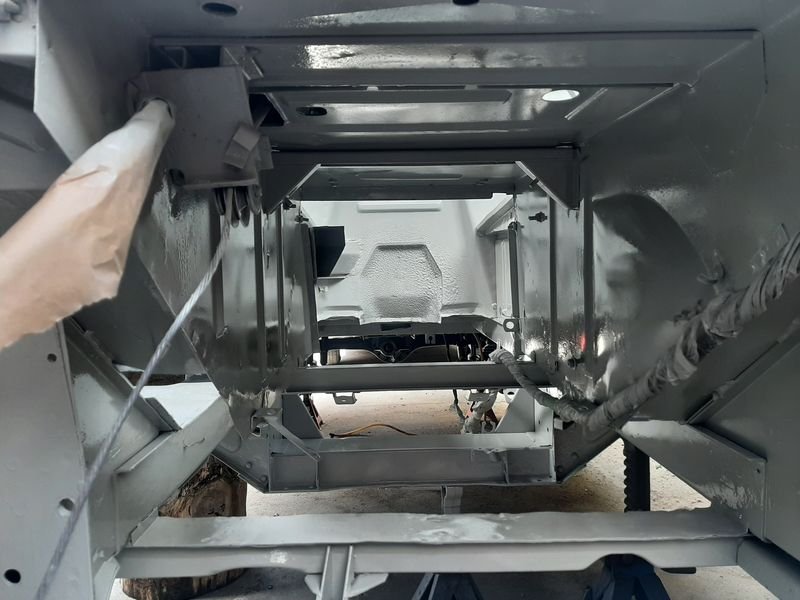
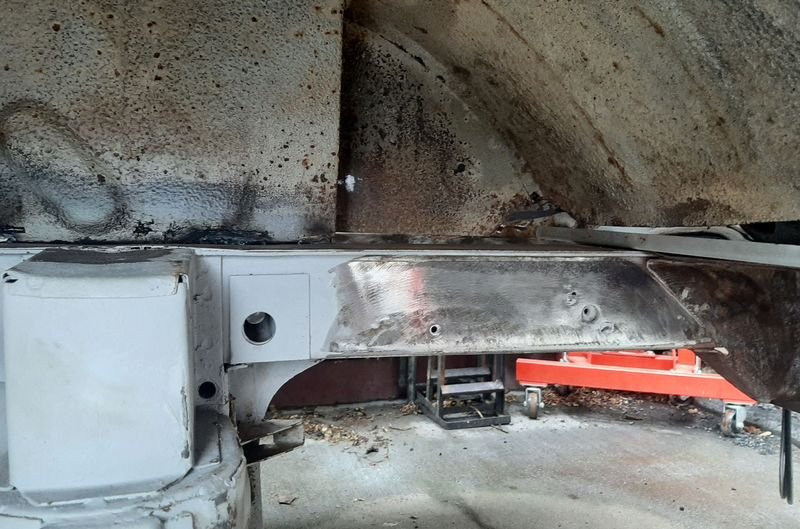
Vajazzled the gubby underparts. Engine Bay: Stage 1: Get sick of catching sandpaper and fingers in brackets and tabs. Wax and grease remover spayed everywhere (i wish i liked paint prep better, cause stuff would turn out better, but, well, i just don't) Stage 2: Get primer mostly where its supposed to go. Lying on my back painting up mostly. Stage 3: Top Coat. Very happy with the colour Radiator Tunnel/body smuggling area: Similar scenario as above, but i did my *first welding* on this thing and let in a piece that i cut out with the floor, as it carries a couple of brackets. Had a few more rounds of hole filling and grinding after this shot. And a bit of a waft over the cargo barrier/battery area - the three brackets are carry the clutch and brake fluid reservoirs which made the whole area pretty rusty And the in the wheel wells, concentrating on the suspension mounts and brake/clutch pedal and master cylinder mount area. This photo from before i got into the master cylinder mount area, shows what nice clean metal was hiding under the grubby rust on the frame rails. Painted. Stoked to get to this stage by the end of the 2021. 2022 will be all about putting things back on.
- 64 replies
-
- 17
-

-

Bluebear01's 1936 Austin 7 of Cheap Pre-War Fun!
azzurro replied to Bluebear01's topic in Project Discussion
Doin it right! Getting out and about with the fam, Grandad would be stoked. Dont be afraid of reliability or saftey mods (points and 50yo nos lucas condensers? Get in the bin!) as most are reversable, in the imaginary scenario that some maniac-barry wanted to reverse them. I would imagine that aside from electrics/ignition it is pretty reliable, robust and designed to be repaired. If it helps with the primary directive of 'using it on the regular with the family', then you're doing it right. -
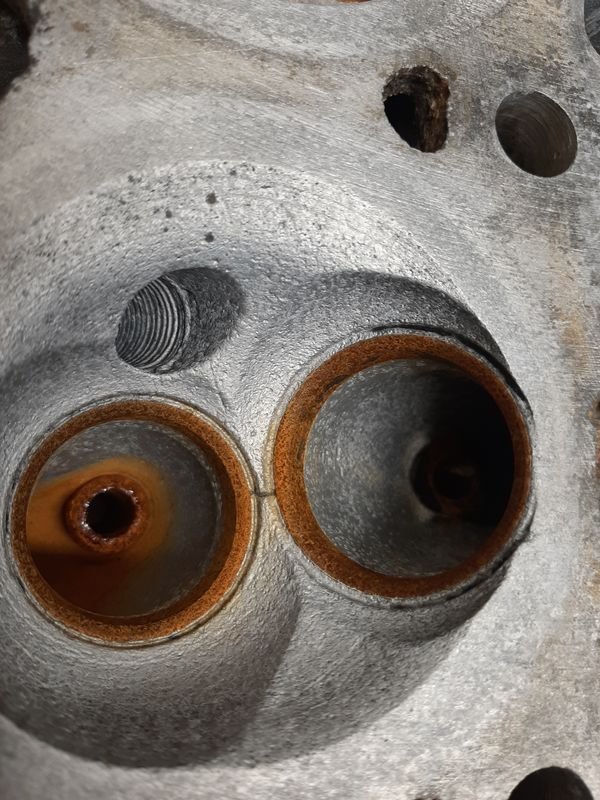
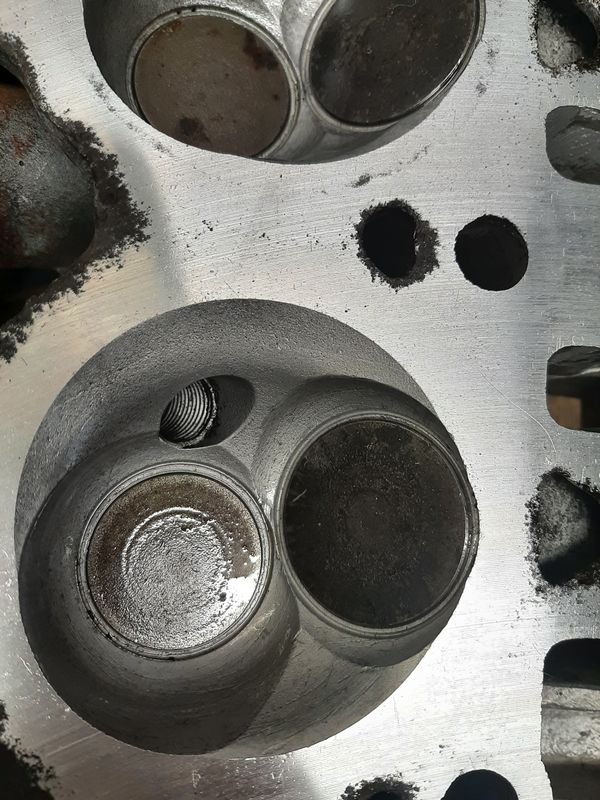
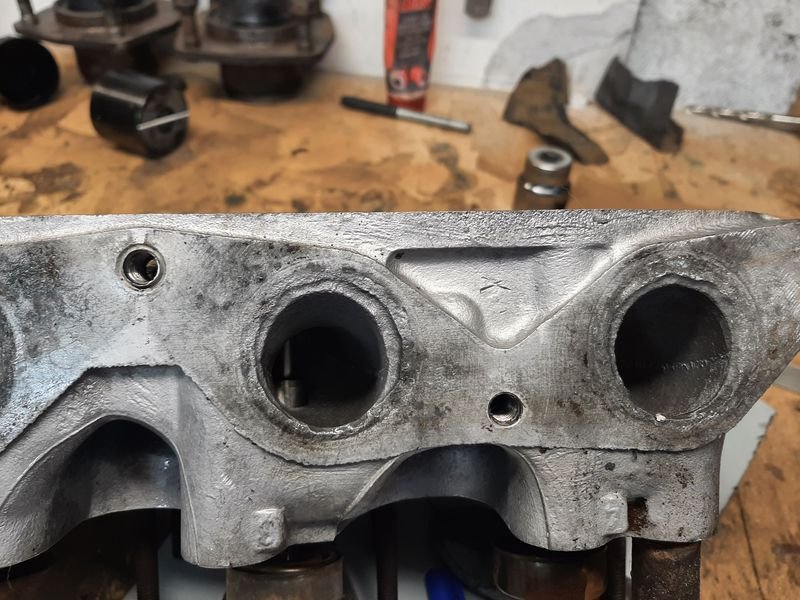
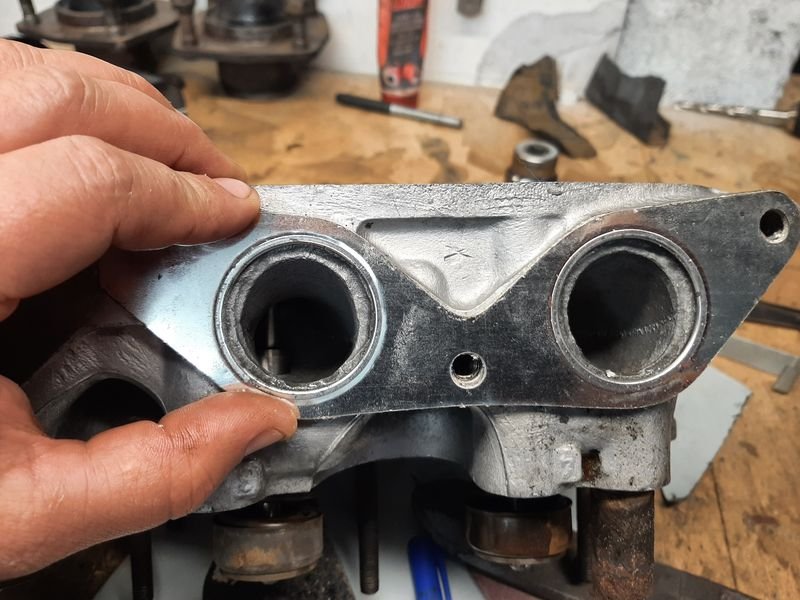
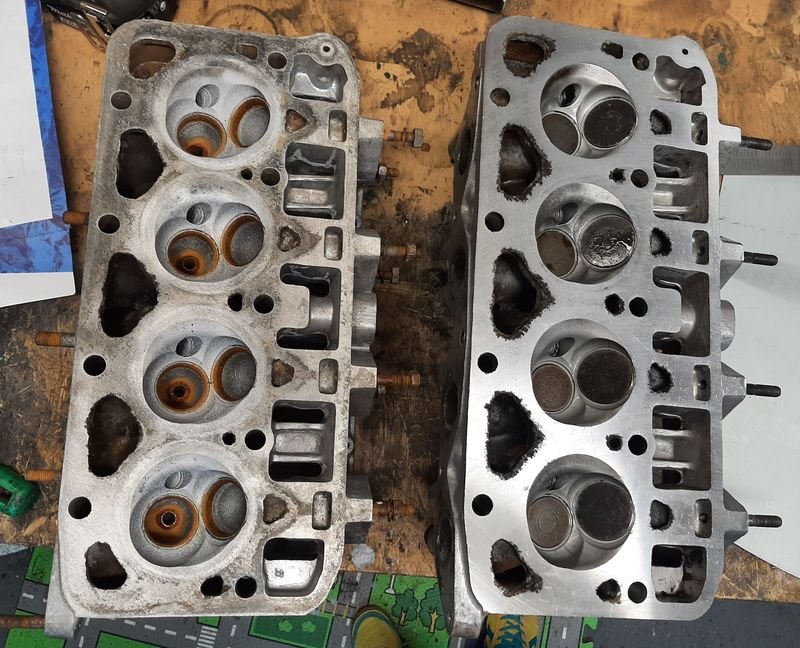
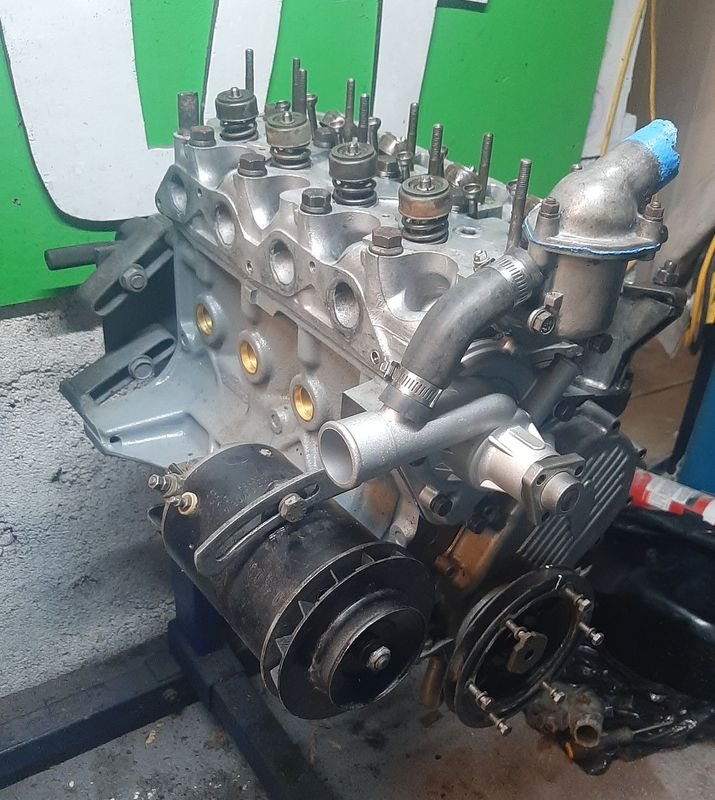
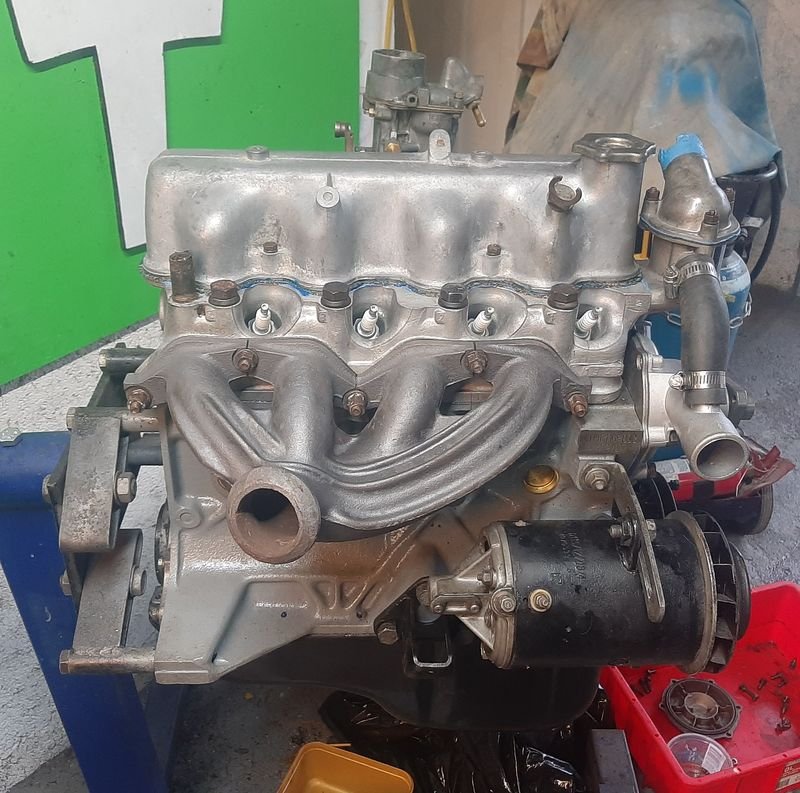
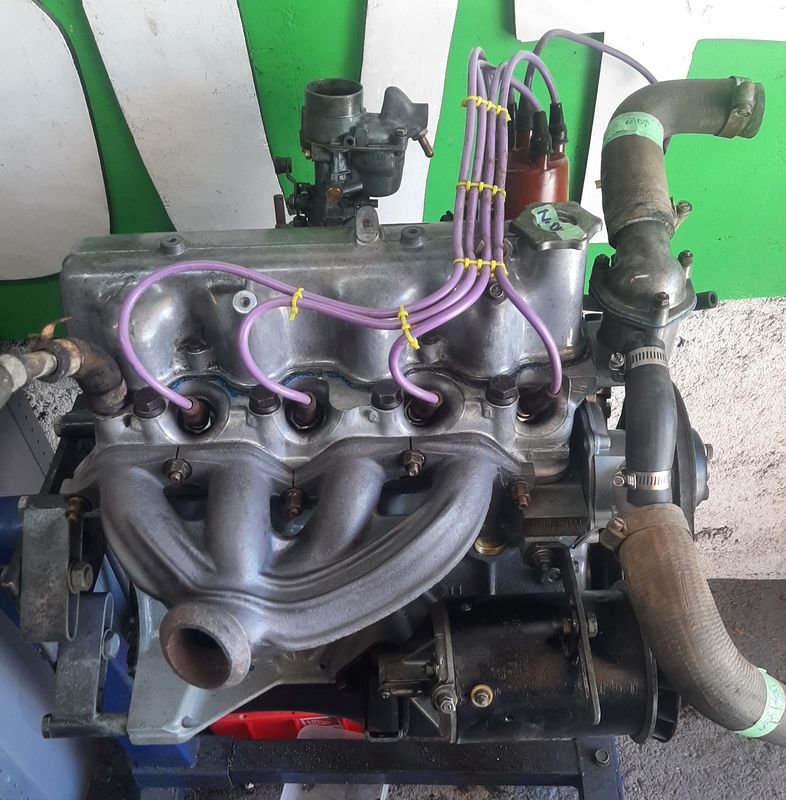
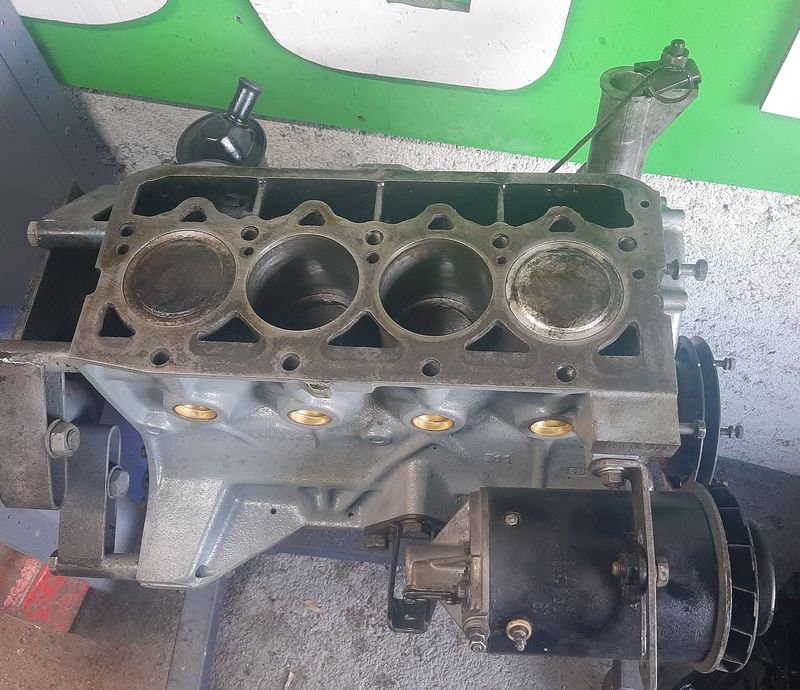
Dropped the head off at Rods Engine Services on the recommendation of @nzstato and very happy with ol' mate Rodney's work. Turned into a bit of a mare but Rodney sorted me out, all for a very reasonable price. Sidesharn follows: The first head i dropped off in November was the car one, as they both looked like poop, the van head had some corrosion around the exhaust ports, and the car one didnt. Rod sucked his teeth, and took the head, as well as a set of nos valves and new valve stems, and would see what he could do with the seats, i said no real rush but i would like to get it before xmas. he didnt get onto it until mid-December, and unfortunately it turned out the car head was cracked between the valves on 2 of the cylinders. DANG Not only is it cracked, the surface inside the chambers looks porous and banged up. "Nevermind!" I said to Rod, i said, "i have another head that might work, or might be just as shit?, we will see!", so dropped the Van head back off the next day, and on initial look he thought this one would be much better. Got it back only a week later (i think he felt bad about having the cracked for so long and then ringing me with bad news after about 3 seconds of looking at it!, lol) . Cam back with a very lightest tickles of a skim (close to the edge of the inlet valves even without any skimming), and he supplied supply and fitted new valve seats, and also fit my supplied new valve guides. He also resurfaced the NOS valves i left with him to remove the 'nos' surface patina rust). He also installed them, along with holden o-rings valve stem guides whcih i wasn't expecting as id left the old manky springs and collets etc and had a clean set on the bench waiting, but im not swapping them around now! All for a very reasonable sum. Very high recommendations for Rods Engine Services in Fox St, Dunedin, A+ would give head again. Check out how smooth the casting in the chambers is compared to the car one above! Side sharn ends. TLTR:, 'spare' head was total crap, original head from the van that i thought was poop actually turned out to be a minter! This is the exhaust port corrosion that made me initially chose the other head as the first/best candidate. There was a matching 'outie' of rust on the exhaust manifold which must have been galvanically corroding while it was sitting in mouse piss wet? Its all inside the gasket tho, so its not really an issue anyway. I did a very light 'porting' tho really more of a slight smoothing as the exhaust manifold is a good match to the head already and seems to be made from tool steel and on only had one spare belt for the belt sander, sooo. So, took the jumbo rubbish bag off the already assembled block to jam this back together and gave the gasket surfaces a good wipe down with wax and grease remover Plonk! Plus new water pump and thermostat. Water pump takes a late model Fiat 1500 water pump pulley ( as also used on lada ) rather than the heavy fixed fan, ill run an electric one, probably set up as a pusher (not much room in the bay, but lots in the radiator tunnel) Then installed the Valve gear (the van set was better starting point after sitting both in the Exoff for the last week) so I installed that after selecting the best of the adjustment nuts, tappets and pushrods from from the two sets (plus a couple of NOS bits i already had collected as 2300 spares). then the inlet and exhaust valves are all adjusted to 0.2mm, which on this engine you have to do when a cylinders valves are 'balanced' (which is about 9deg BTDC on the opposite cylinder) which is basically how you can be 'certain' the cam shaft lobes are pointing directly away the tappets or on the base circle, which can be tricky to find otherwise as these engines dont have many useful timing marks In fact the FSM book uses a special tool (whcih is just degree wheel) mounted to the flywheel, suggesting proper valve adjustment is an engine out job!). Got that all done, then install the inlet manifold with rebuilt Solex BIC (i noticed the throttle shaft play is really quite bad tho) and the special 4:1 van exhaust manifold (that kicks the exhaust out a hole in the side of the engine bay into the drivers wheel well!) Dizzy and the sweet purple solid core wires i got cheap with some other odd fiat stuff from ebay, They have been run on the ute before i switched to electronic ignition And checking out all the hoses and stuff to see what i needed and what i dont and can go in the bin or storage. The car inlet manifold is for a twin downdraft carb, so there is also room for some pretty solid performance gains over the single pumper and skinny runners, and but fitment is likely to be an issue (have found that the Weber DCD of which i have 3 in various states in the stash looks like the best candidate width wise so that may happen sooner than the exhaust, but ill worry about that much later. The car exhaust manifold is a 4:2 setup with long secondaries in the exhaust pipes, compared to the 4:1 into pea shooter of the van one and would be significantly less restrictive, but it kicks the exhaust forwards towards the generator, and im not sure there is room to scoot the pipes between the engine/generator and the chassis rails. These vans were originally designed in the early 1950s for a post war design 1100cc engine, but by the mid 1960s they were shoe honing these alloy head 1500cc big boys in which are almost half as big again in displacement, and probably more than half as big externally and so its all a pretty tight squeeze as it is Need a few bits and pieces like a 11A0955 drive belt, and various hoses, but its basically ready to sling back in the hole, but the hole needs a bit more work first.
- 64 replies
-
- 28
-

-
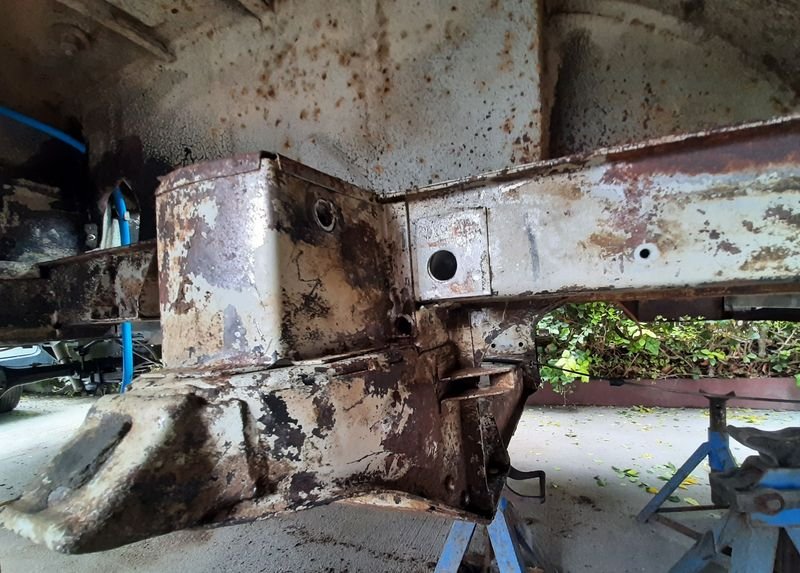
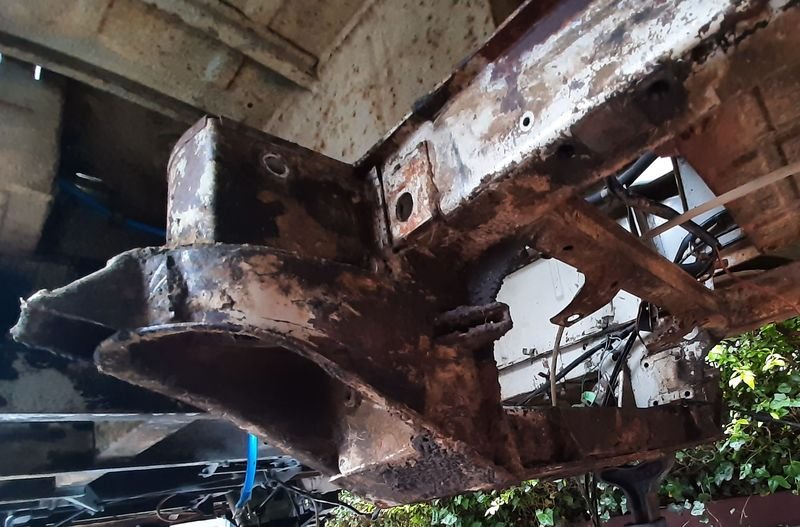
Now with everything unbolted or ripped out, access is never going to be this good for sanding and painting. The engine bay also needs a couple of things tidied up while the engines out of the way, torn brackets and bent panels the like. The tunnel/coffin from the grille to the radiator is pretty tidy too and just needs a light sanding and metal sealing. I would also like the van to be drivable while I'm fixing the the rust, and really dont like to bolt clean/new things back onto rusty poopoo. So if the drivers side floor can get sort of fixed then the brake and clutch lines, both master cylinders, the pedals, steering, and electrical wiring can be put back on permanently. If i paint the engine bay too, then i dont need to drop that out either, and the driveline will be sorted while i poke at the rust, and it can drive itself onto trailers for taking to inspections or going to get cheeky ice-cream at the beach... Ive already sanded and rattle can primered the outer ends of the suspension cross member, and shows what a difference a light sand and some primer does, even making it one colour makes it look much less shit (its actually pretty good nick, the brown grease and surface rust just make it look super turbo fucked) , so i foresee some time under here with some sand paper. Too many brackets and stuff for the grinder Pre choppy (to be fair some bits are turbo fucked as well ) Chop! Nothing of value was lost. Mostly back to clean metal First loose toss, figuring out where everything goes and how best to cut both parts for both finished strength and ease of assembly/welding taptpptptppptapaTPtpTPppatpapptatpaptatpaptpaptaptpapatpatpaptpappatpatppatppapataptapatpptaptptaptapatptapatpatpatptapapt tappytaptap Boom! Cleaned and inspected the seats they came up better than i thought! Had some cheap leather cleaner stuff that didnt do anything for the seats in my Forester, but the old vinyl just drank it up. Drivers needs a new upper and a couple of rubber support straps (still available new - same as 500/600!) Both seats are front pivot (lol) and only the drivers is adjustable. Such extravagance! Ill also weld in the 20-30mm strip around the bottom of the wheel cover and side of the engine bay that ive cut off , clean and paint underneath and do the enginebay/tunnel/crossmembers and probably leave the floor panel unattached for now so i can show whats been done and still access the base of the A-Pillar, front sill for further repairs after its more mobile.
- 64 replies
-
- 24
-

-
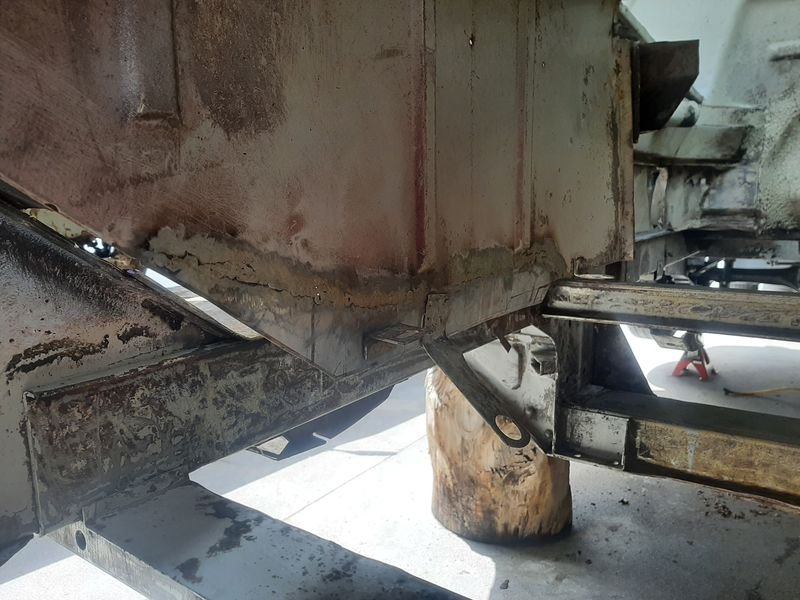
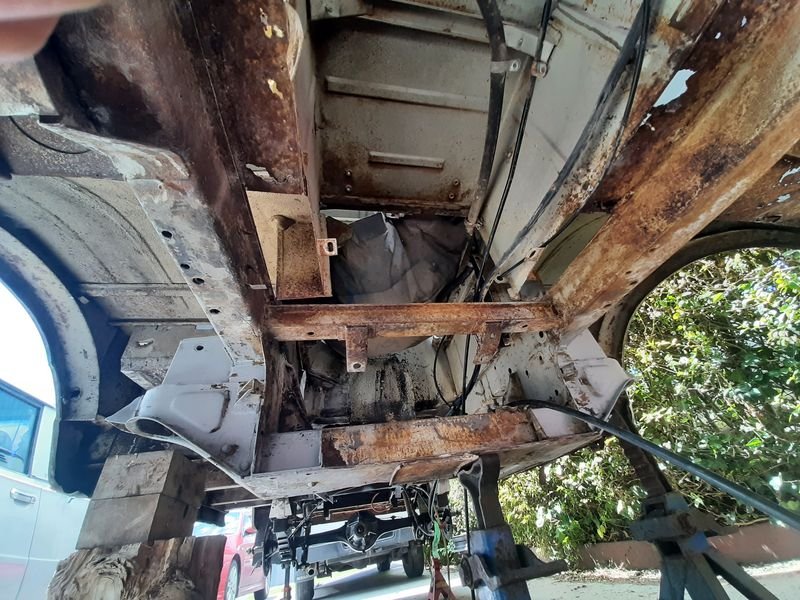
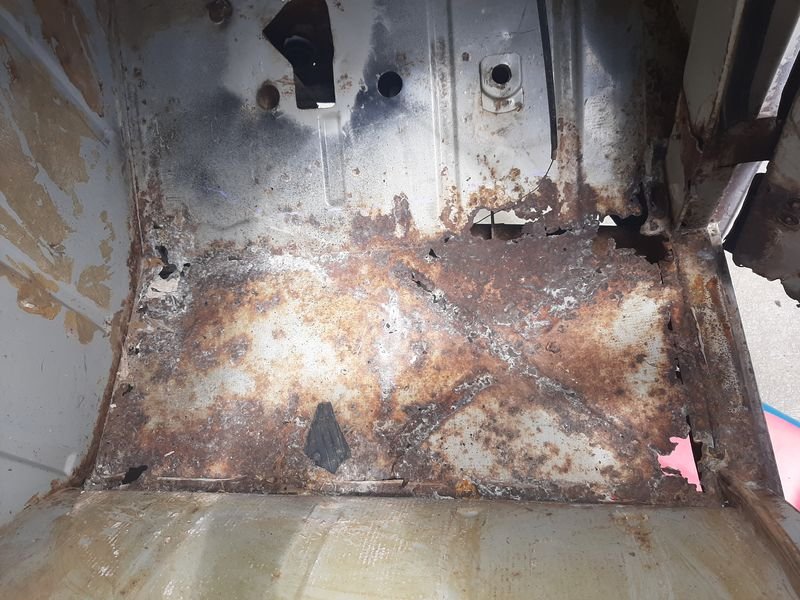
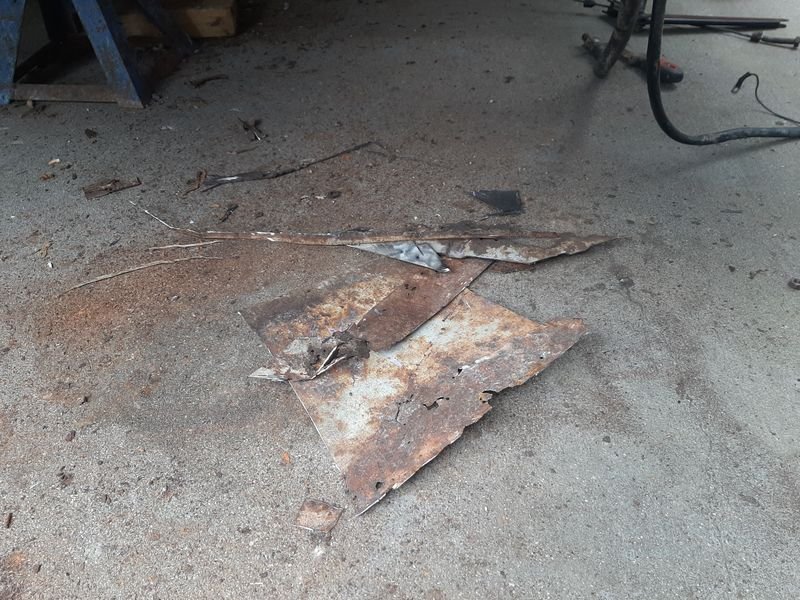
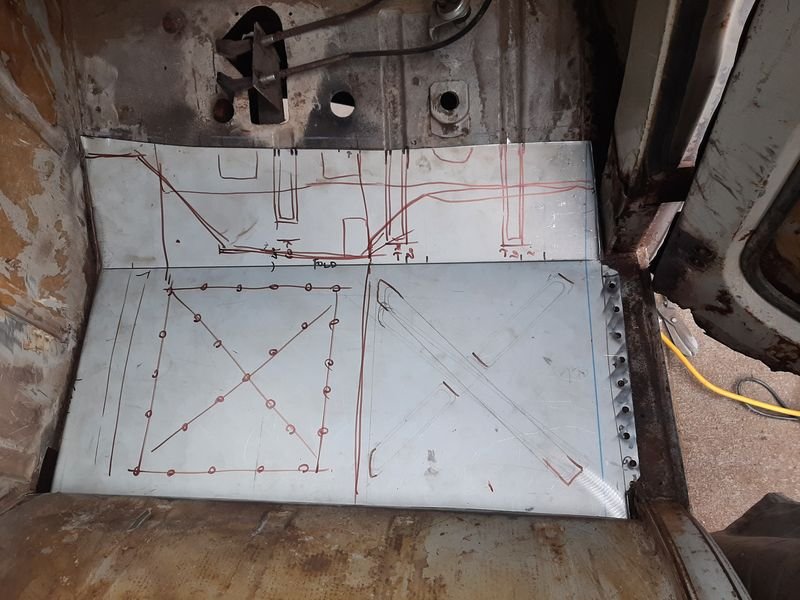
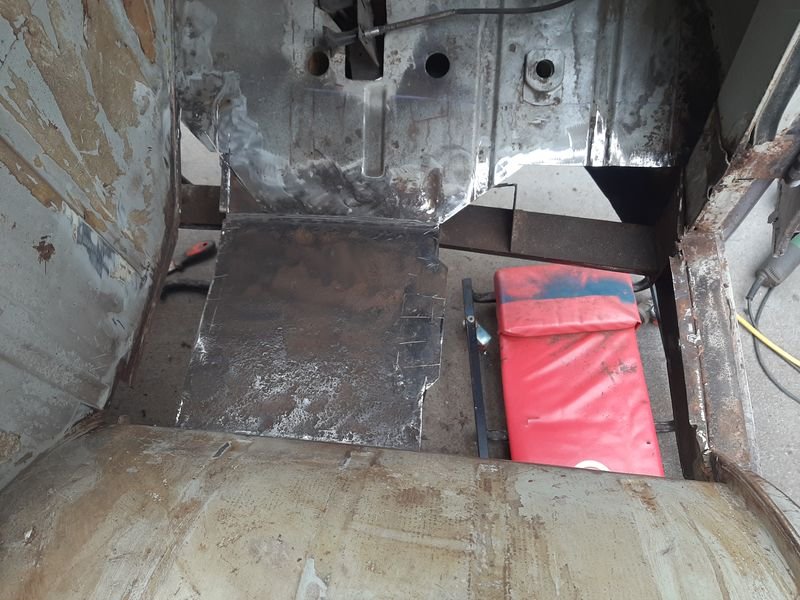
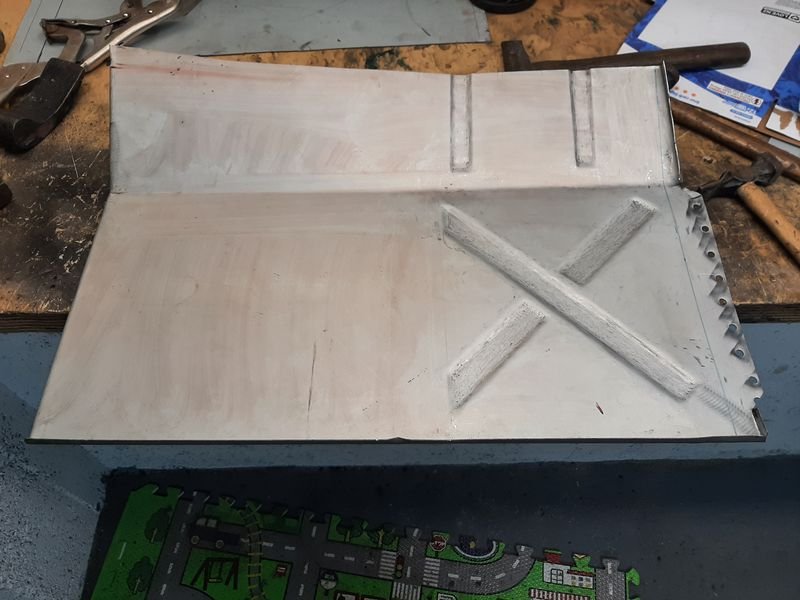
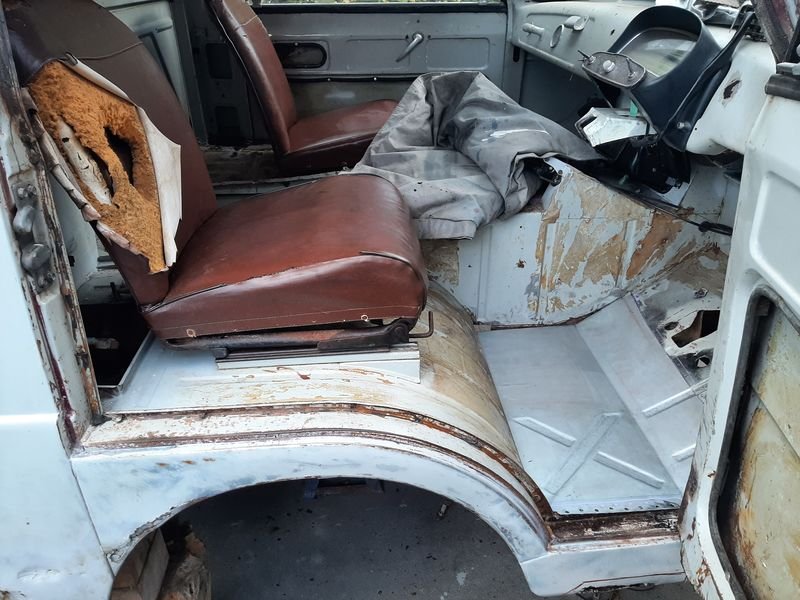
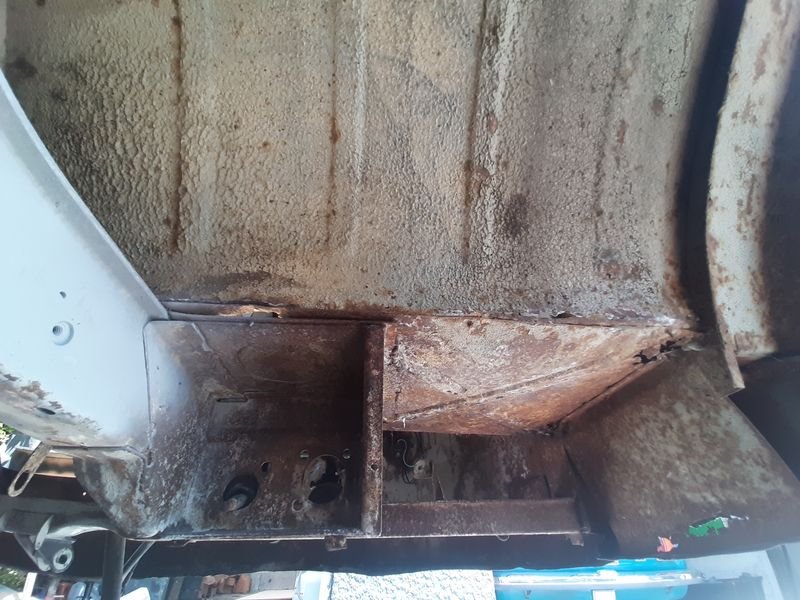
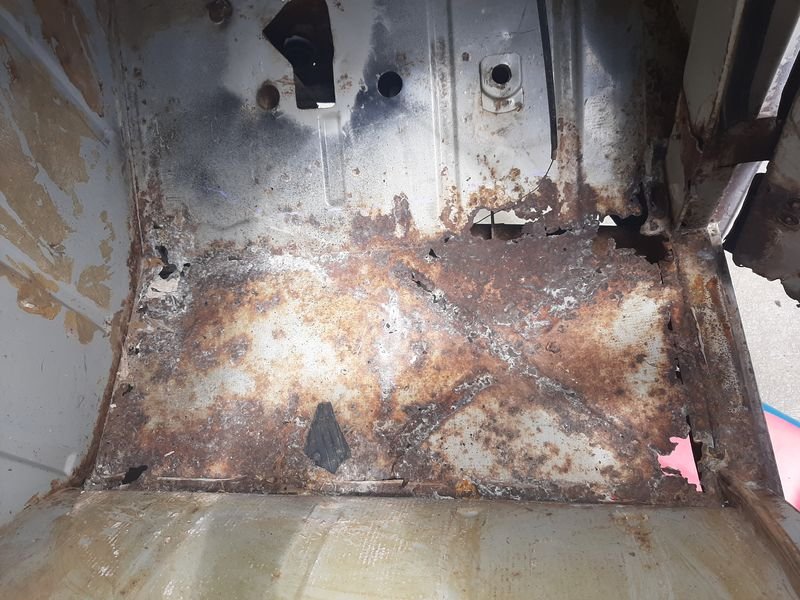
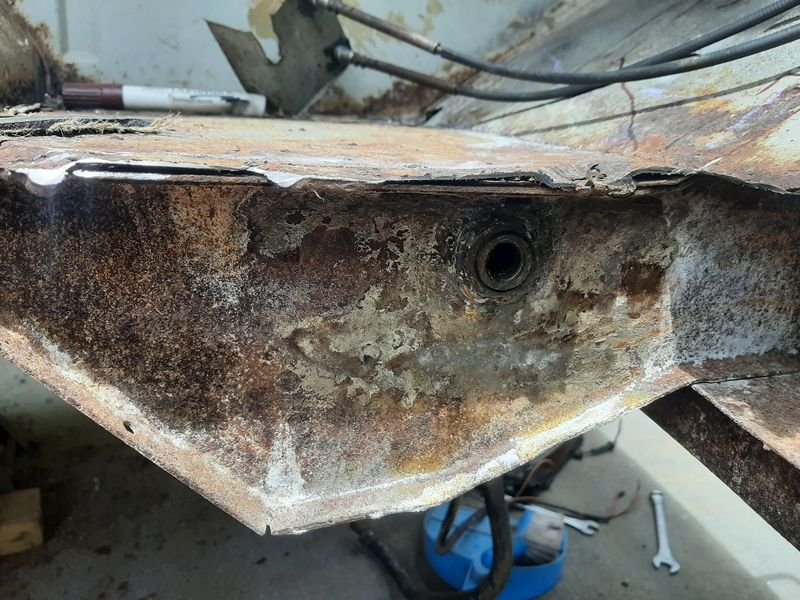
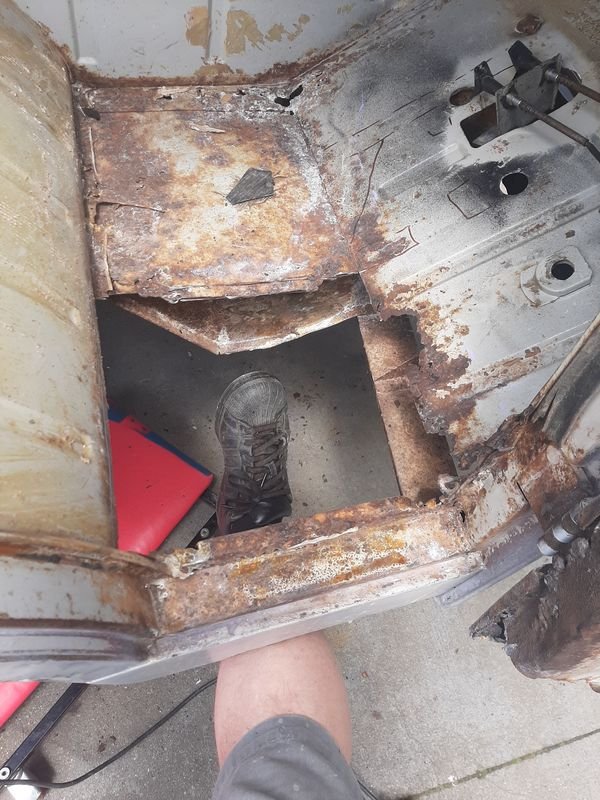
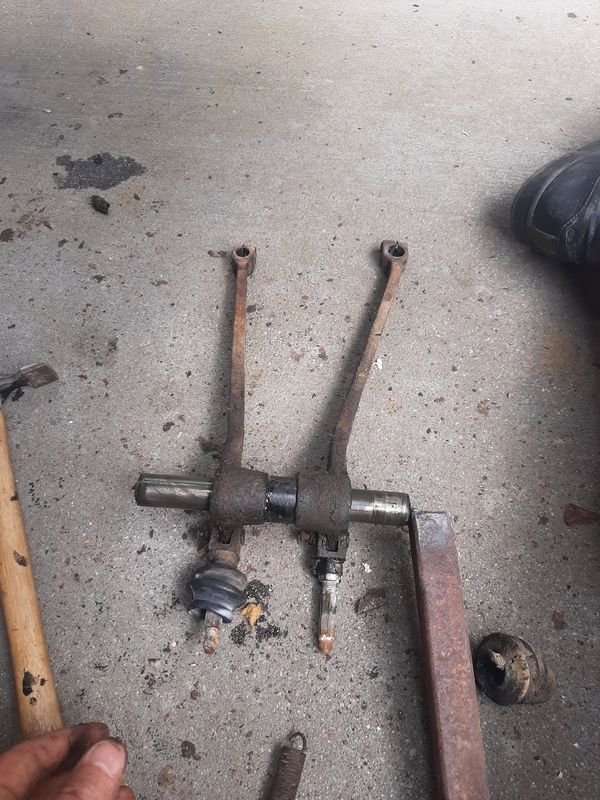
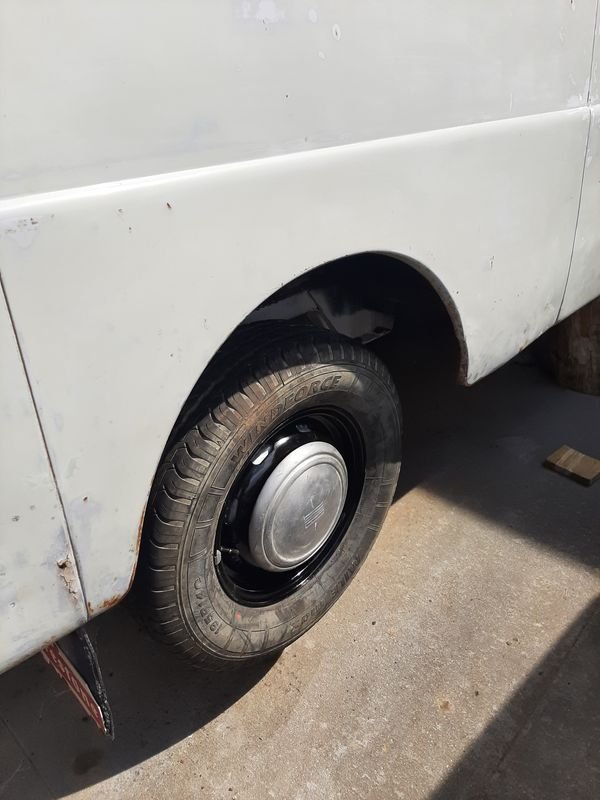
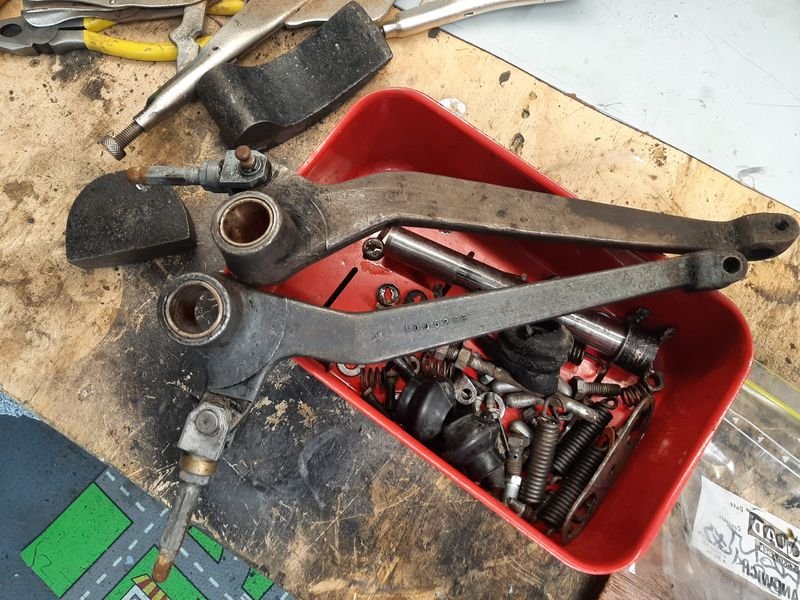
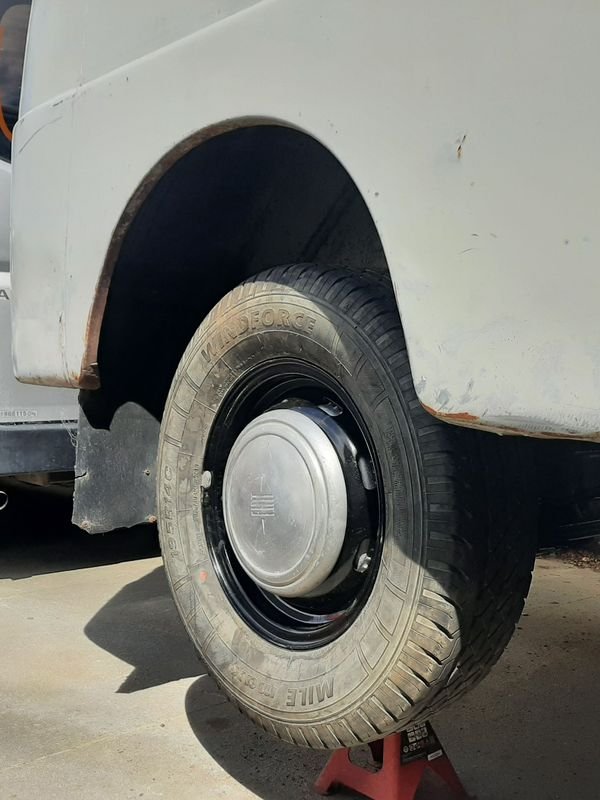
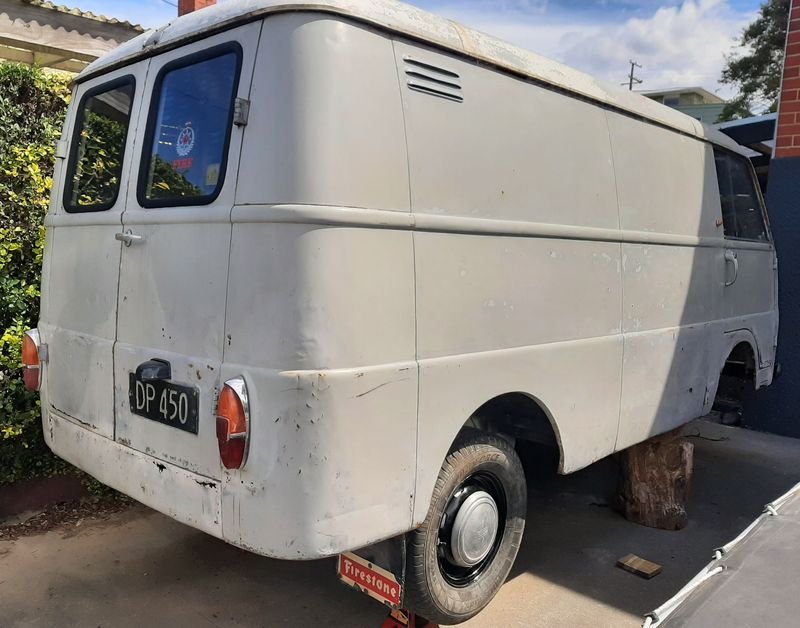
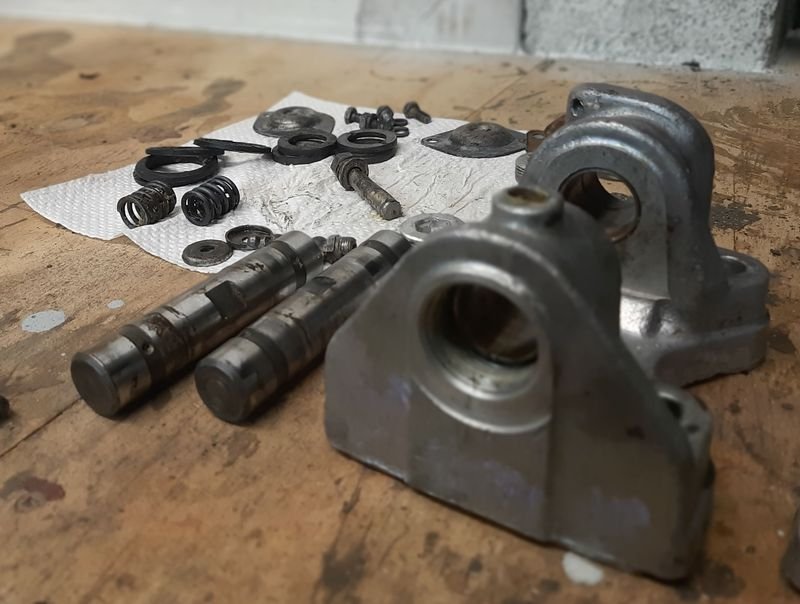
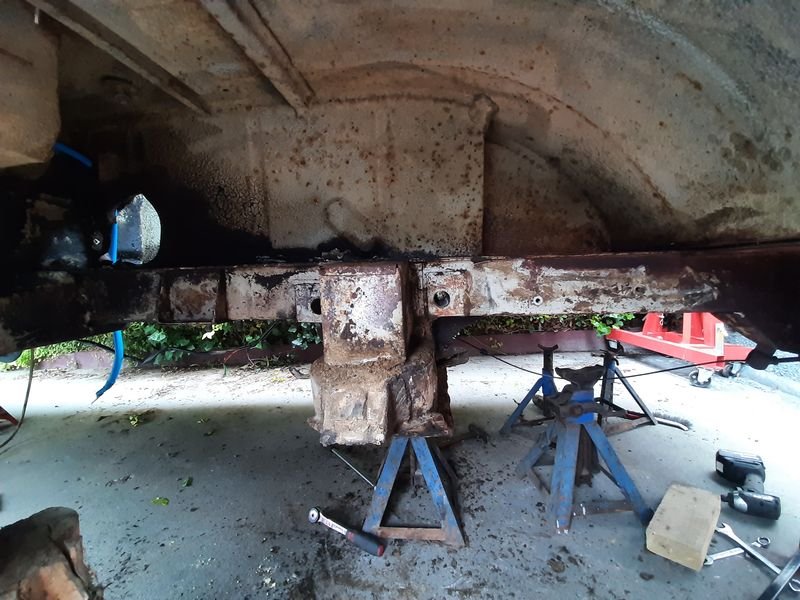
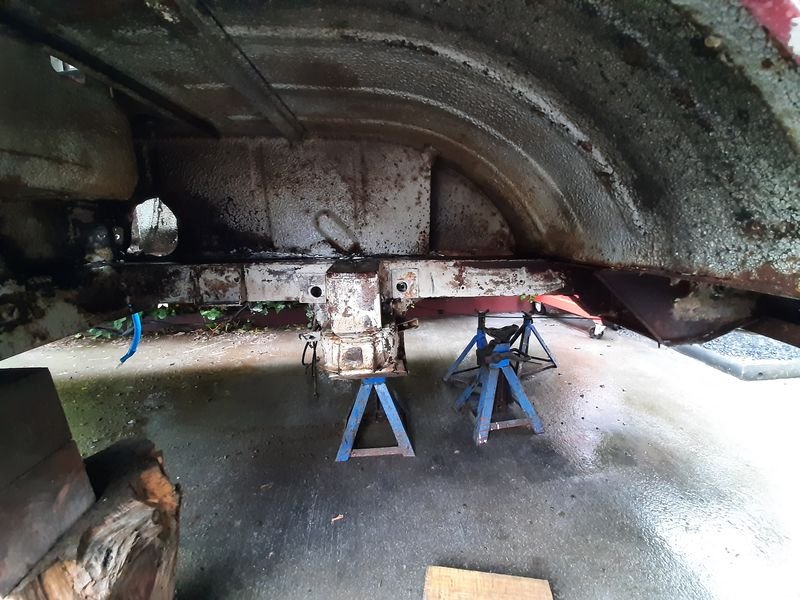
Couldnt stand it any more and cut some rust out. Drivers side floor looks pretty simple, but underneath there is all sort going on. The cabin is sparse, minimalist even, the pedals are pretty much just on poles sticking out of the 3 holes in the floor, and all the pedal nonsense and steering linkages and steering box bits are underneath between the front skin and under the floor This is from underneath with my head in the wheel arch looking towards the front, showing the back of the pedal box and the cross members. Started with an access hole for the pedal box, which is the chunky trapezoid under the floor by my toe. Didnt take much cutting to join up all the holes. So i could get to this, which is the pivot shaft for the brake and clutch which was just too tight to remove without anyway to actually grab it (after i pulled the grease nipple right off) and Its blind on the other end. Welded some scrap onto it to get it rotating then leverage and it eventually wiggled out. This is the last untidied part to be removed, every other bolt and nut has been undone at least once. To the degreaser tank to soak in the exoff for a while and voila Also tidied and checked the rear brake parts are all present and correct (still need new cylinders and pads, next year maybe), and chucked on the cleaned rear drums and repainted rims and tyres so they are out of the way, and make the van look less of a wreck Pretty happy with that
- 64 replies
-
- 16
-

-
Like for Castlepoint (and the hauler)
-
Love your work! Not sure if you are joking here or not 1: pretty sure, that yes, yes it is, one of the best ive ever seen (tis but a light tidy up, a flesh wound!) 2: yes you will
-
Cheers bowl, I guess a few hours here and there adds up - i dont watch a lot of TV, instead go and poke away at greasy rusty shit in the shed, so i suppose I dont really consider it hard work either This one is particularly satisfying because its looks so irredeemably fucked, but under the bad paint and layers of greasy dirt its actually pretty good. Kinda like carving, the finished work was always in there, just need to get the crust off the outside to reveal it.
-
Si, grazie!
-
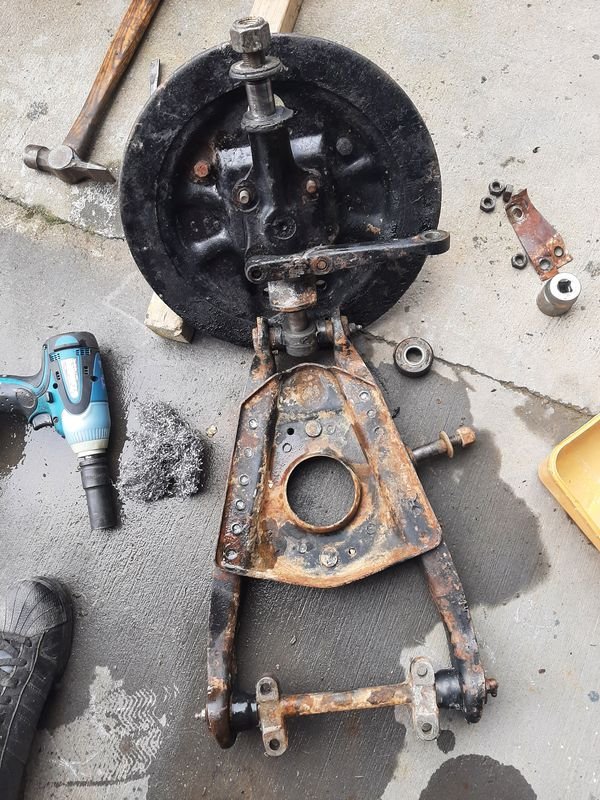
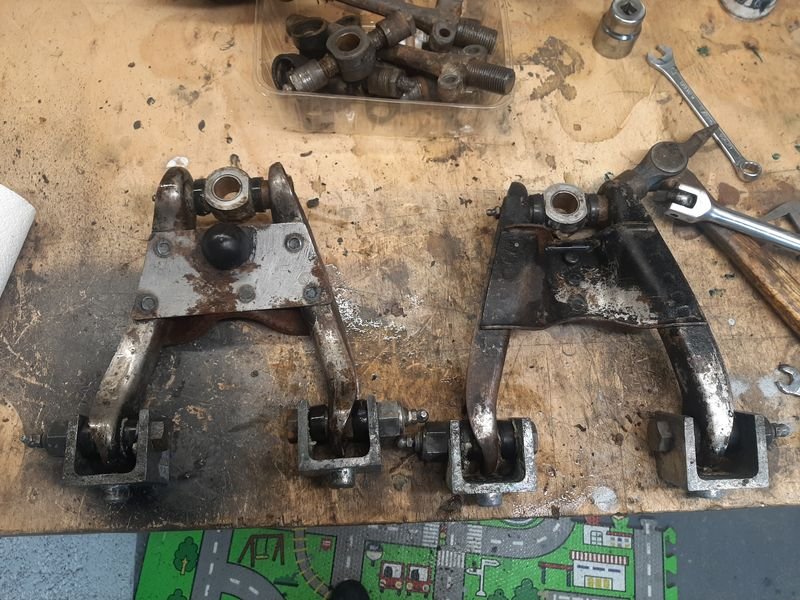
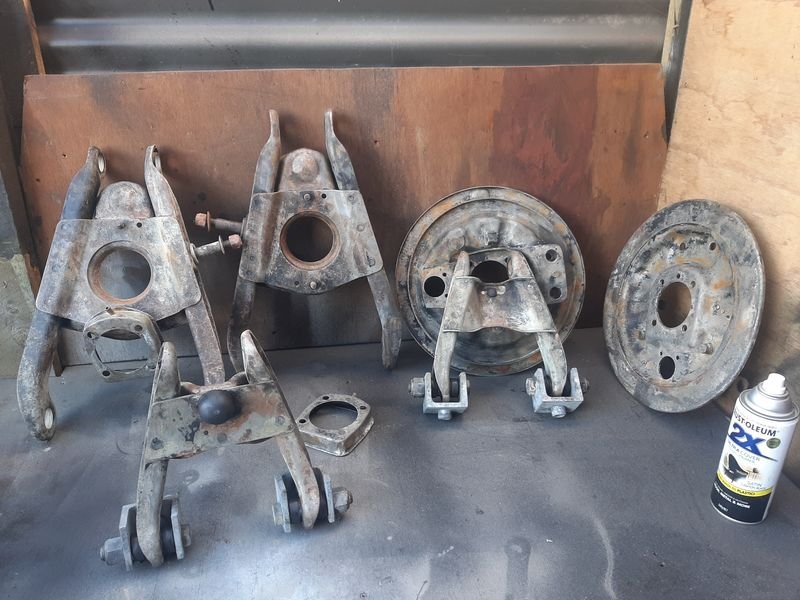
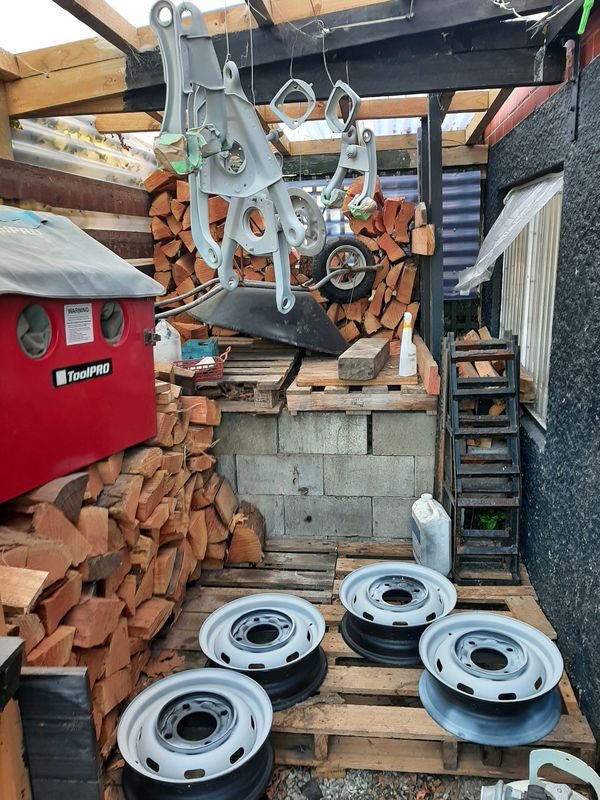
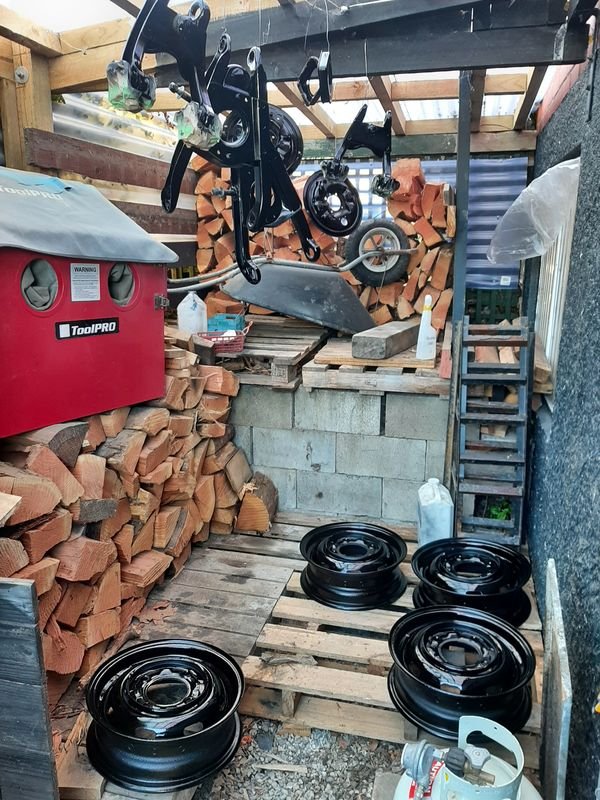
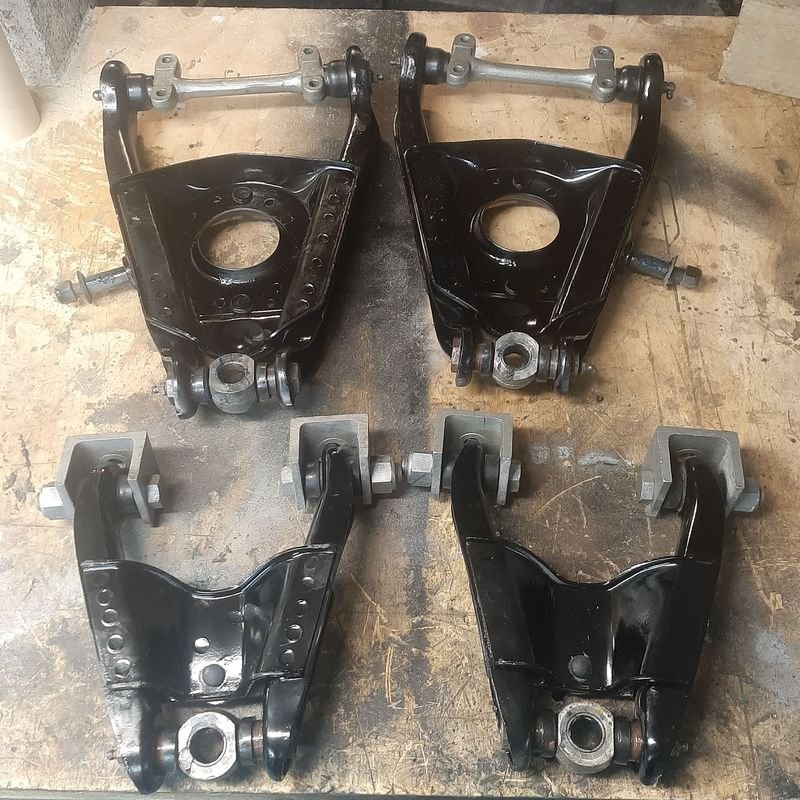
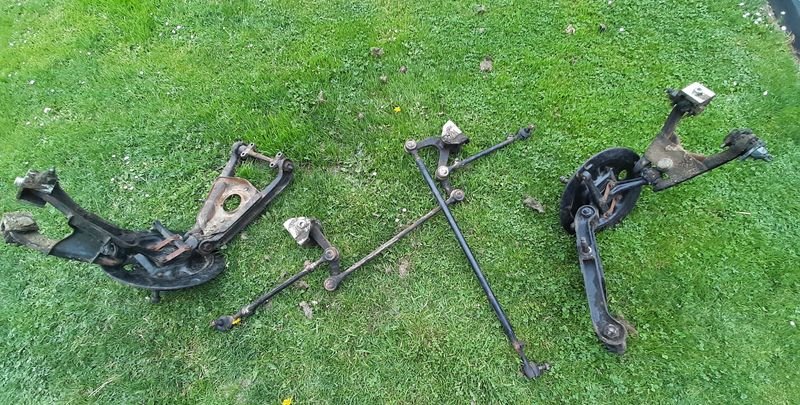
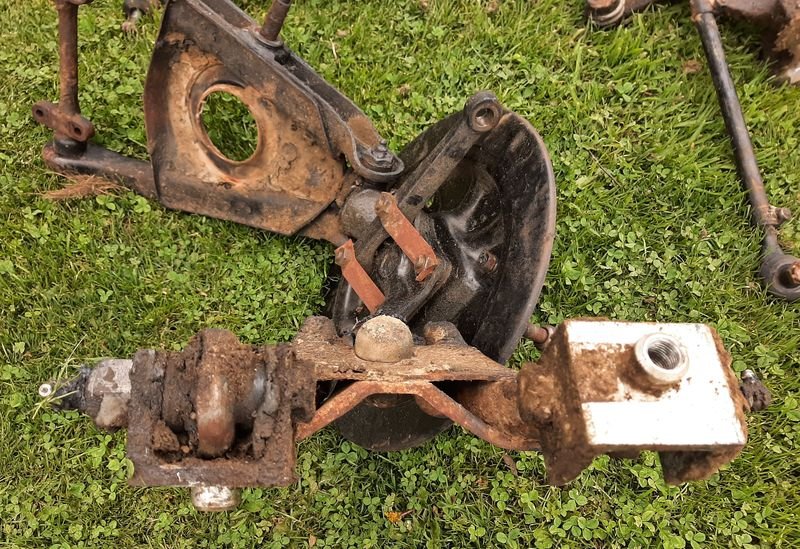
Also tidied up the front suspension arms and that also got a coat with proper 2K paint while i had it out too, instead of Rustoleum in a can. Dissassembly After a soak in the Exoff. Can see the 'spiders' and 'self tapping bushes' from the lower arms in the background which were all in very good nick. Couple of rounds in the sandblaster/degreaser and phosphoric. Just before hanging them up, Primer 'satin' Black And all reassembled with fresh grease etc. In other news, My man Rod at Rodneys Engine Services rang and said unfortunately, the 'car' head was cracked between a couple of the valves I still had the van head that i originally considered but looked way worse, so i dunked it in the Exoff then disassembled it - turned out iunder the rusty springs and baked oil its probably a mech better condition than the other one, so i should have that back before christmas. Im at point where to progress I need to start putting things back on as the shed is getting crammed and everything can be bolted back on , but not keen on bolting clean stuff to things that really need the same treatment. I want to respray paint the engine bay and where the suspension bolts to, but there is a lot if 'whileiminthereitis', and i hate to do things twice (like remove and reinstall the suspension twice) but not as much as i hate overspray. Basically there is a lot of things i could do that would be way easier to sort out with the front suspension and steering box out of the way, and ideally just the once like I want to clean up the pedal box and paint it , so i can put my new master in there, and bend up new brake lines, so i mayaswell make a start on repairing the floors around it all so its all painted (at least on the underside in one go, etc, but not so sure i should start on that without a repair certifier looking first?
- 64 replies
-
- 22
-

-
No, it means Tired and Tatty. Ive looked around but ive not seen it stated anywhere, so possibly just a coincidence, but i suspect 'Trasportatore' (transporter) as it was a contemporary to the VW Type 2 (or split window kombi or Transporter). These were also developed as pickup , and the pick up (il camioncino = literally, 'little truck') or truck (camion). the italian for van is 'furgone' so it would be F or C if it were one of those words? FIAT wasn't much for model names at the time, and preferred numbers that tended to relate either to the engine capacity (eg my 2300, Duemillitrecento) or model ( like my (tipo) 125 (uno due cinque) , or 125p being a 125 made in Poland (uno due cinque Polski)) . So 1100 (being that was the engine size it had when first released in 1954, and based on the 1100 ('millicento') car) with a T for Trasportatore? 1100T Millicento-Ti or Millicento-Trasportatore The model names sound heaps better in Italian!
-
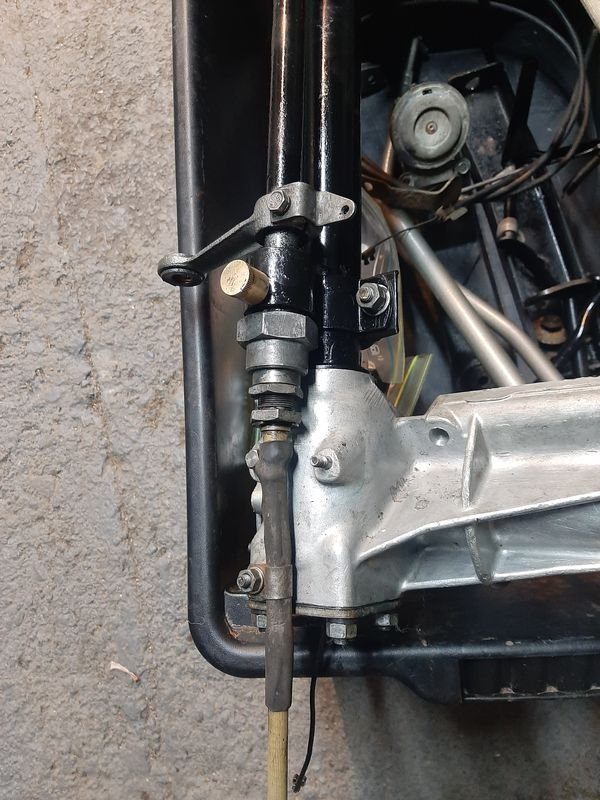
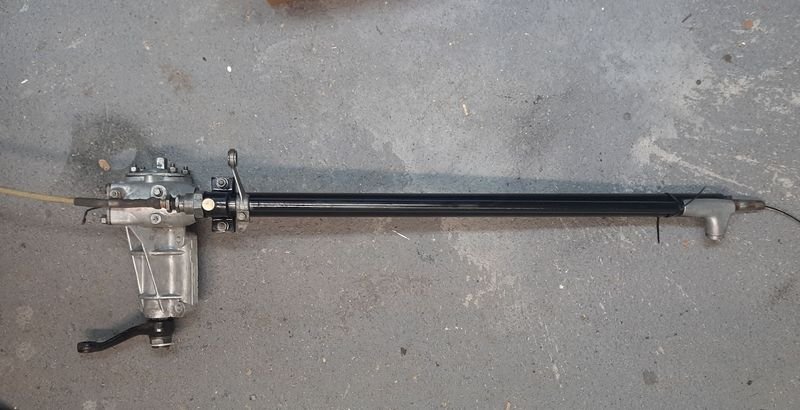
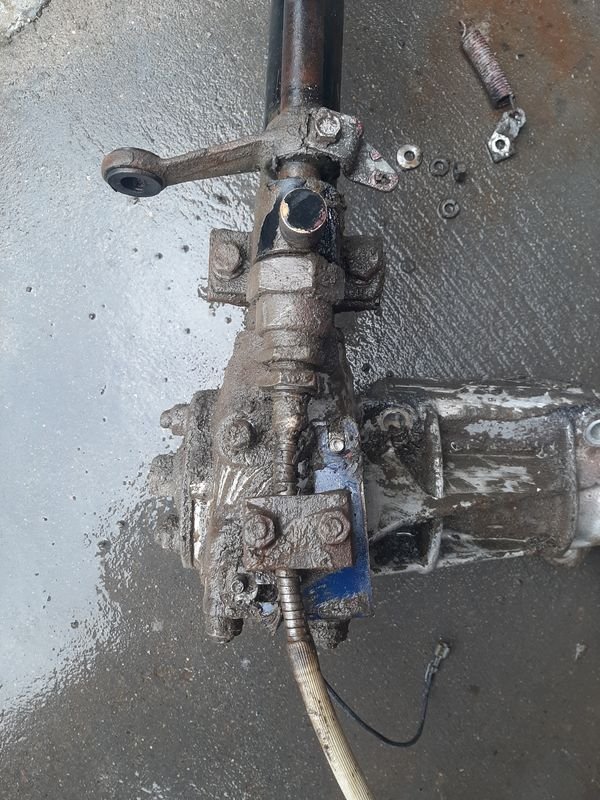
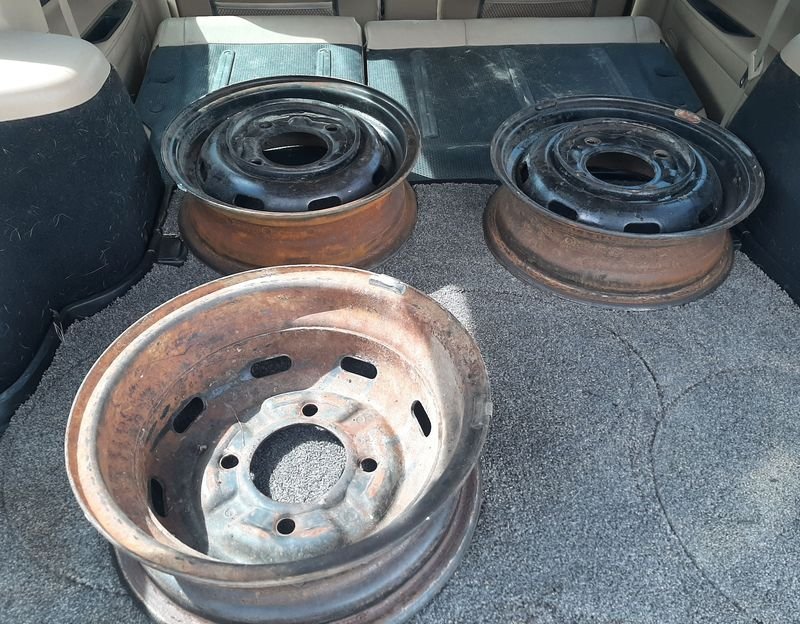
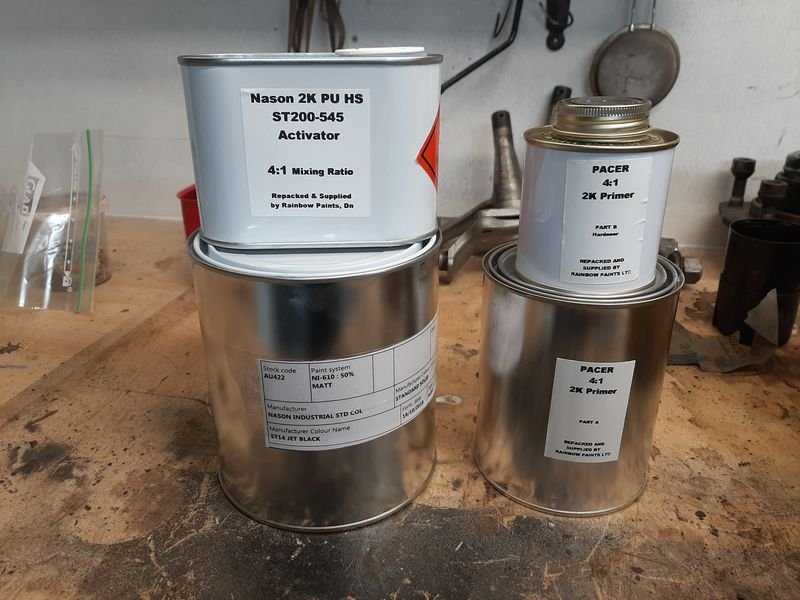
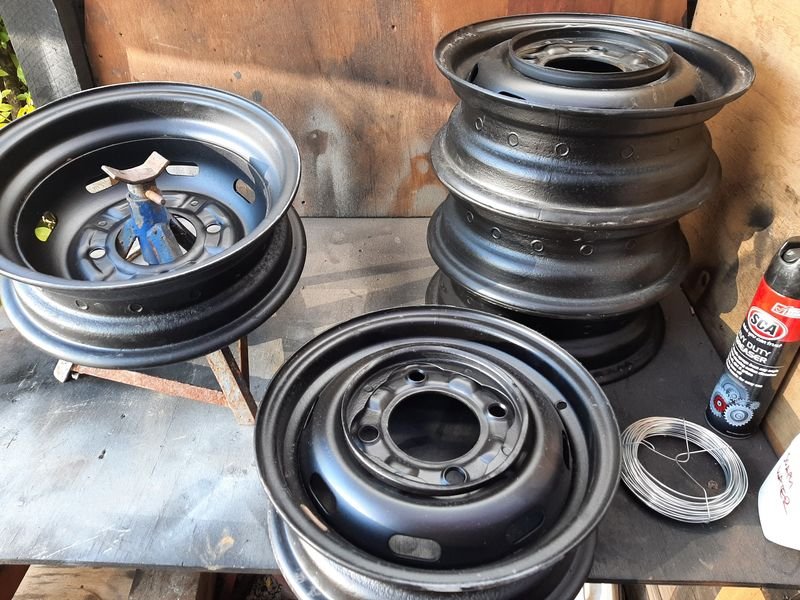
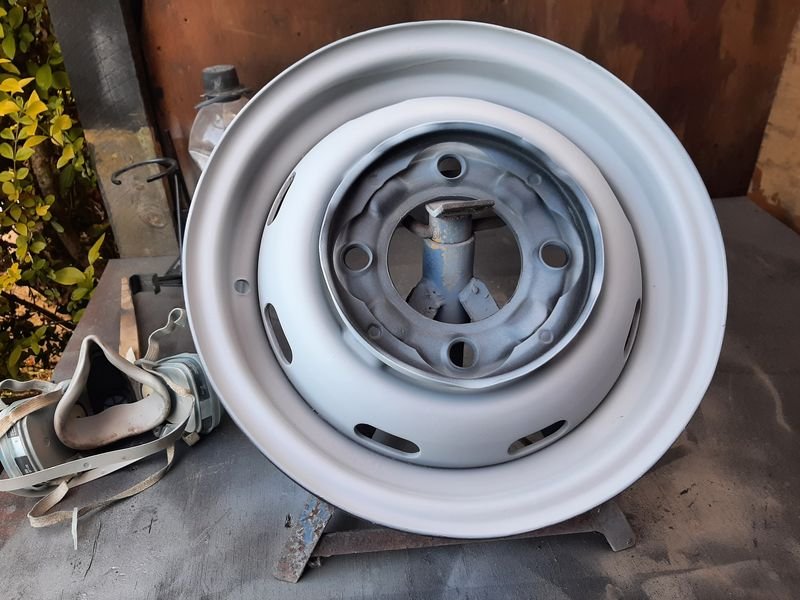
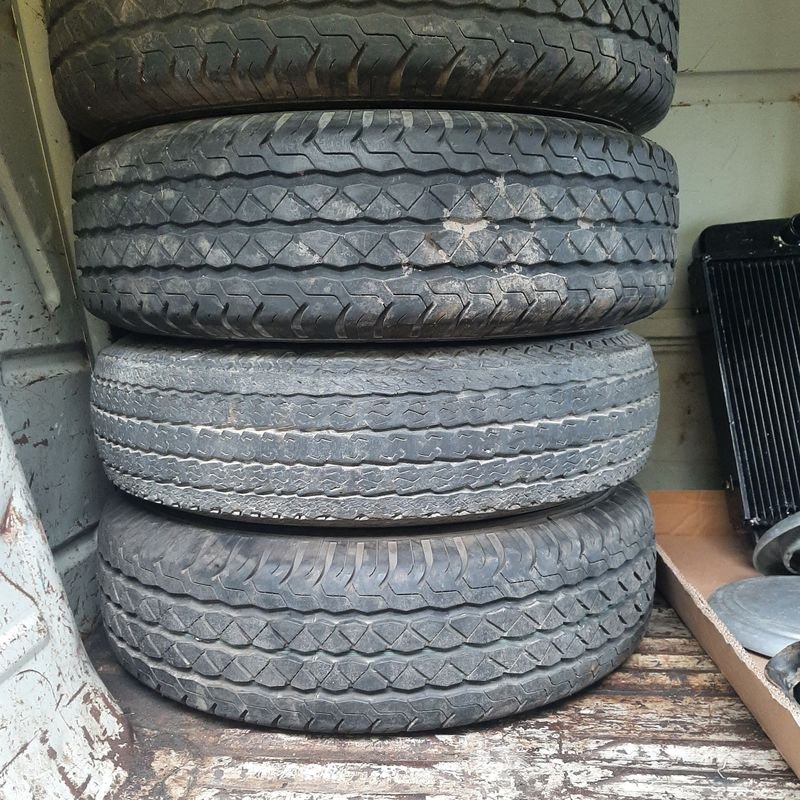
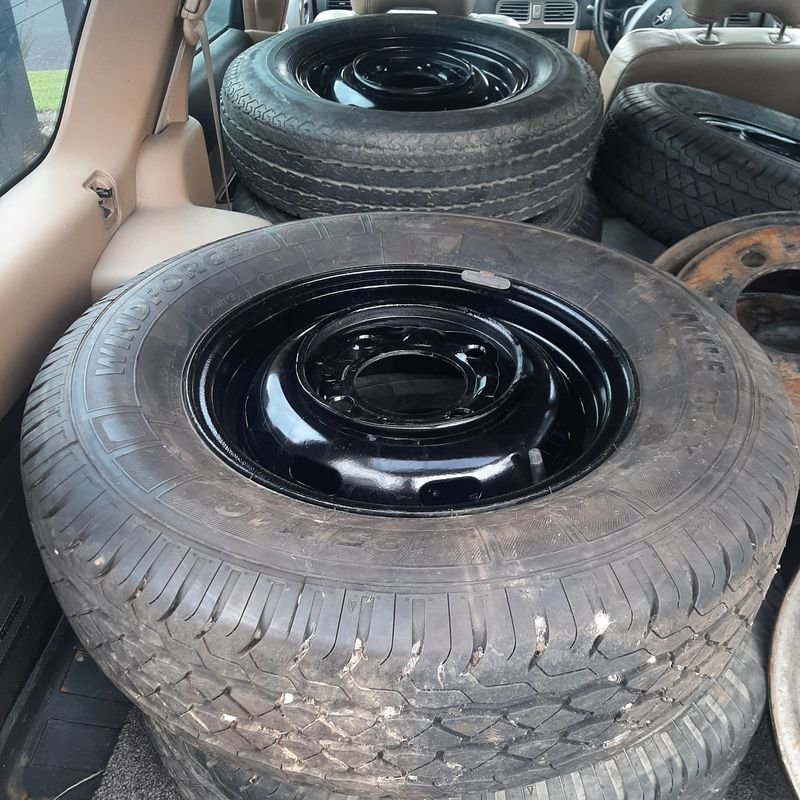
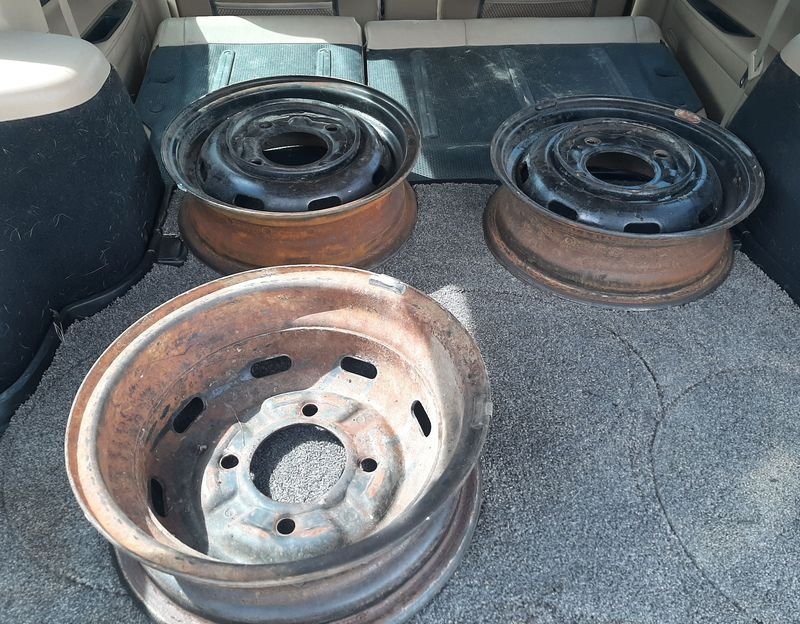
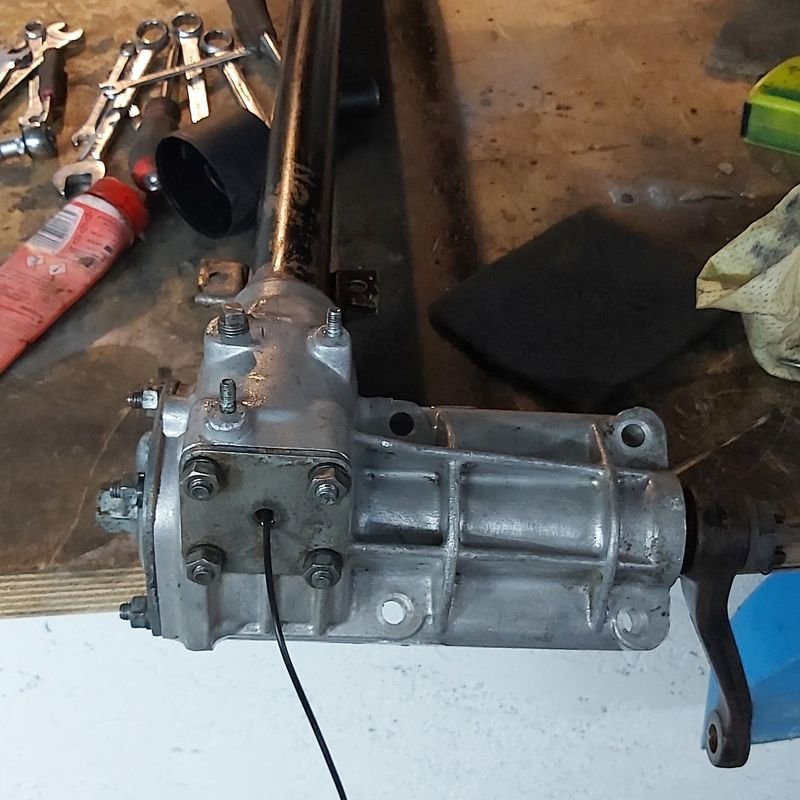
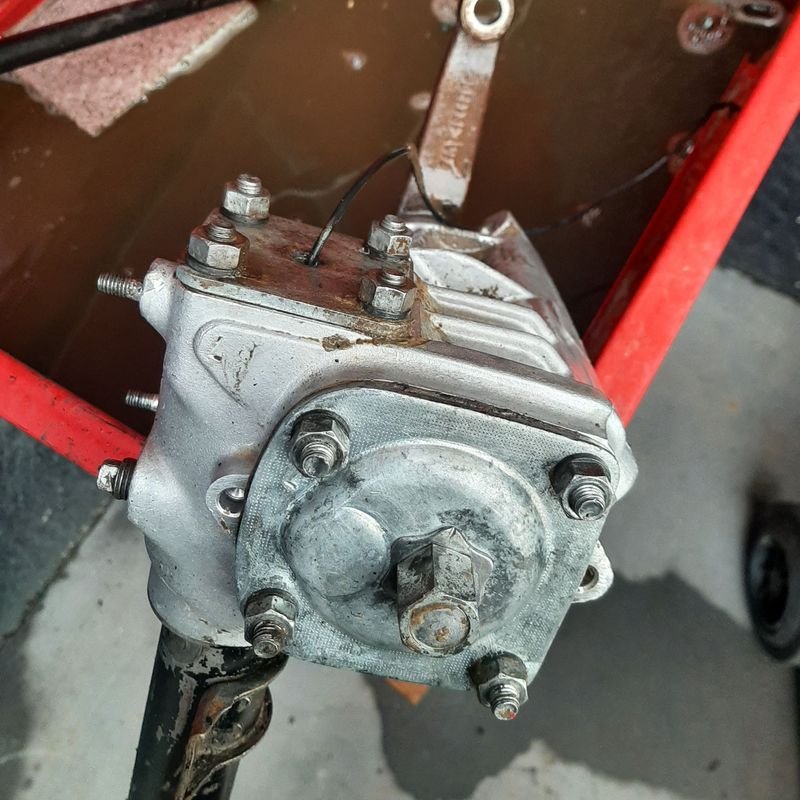
More Progress Steering Column now looks a lot better - I was also able to get rid of the ugly clamp thing that someone had made to fix the bowden cable sheath with some super thick heat shrink, so its now back to factree. Figures out the leak is definitely the pitman shaft preload adjuster screw, which is slotted and relies on a thin metal washer and the locking cap to hold the oil in the box. Lol, nope. I bought a pitman arm puller too, so ill pull the arm and get a new seal ordered for the arm end and put a blob of hylomar blue in the slot to seal that end up too, probably for the first time ever. Also need to recreate the box end spring mount for the gear selector shaft that a PO chopped up to fit the previous fix. Got some more paint, some primer and some black for the rims which i got blasted and etch primed. On the way to the blasters Blasted and etch primed. Very happy with Blasting and Coating Services in Burnside. Primed the visible bits And all tyred up with a matching set of pretty much new 195 14C tyres I got for a hundy off FBM, and the original? spare Pretty close match to the original tyres for overall size too. 185s would have probably been closer but whatevs, there werent any cheap, good sets around while i was looking.
- 64 replies
-
- 23
-

-

Dunedin/Otago meet up and cruise Sunday 12 December 2021
azzurro replied to vivaspeed's topic in South Island Region
Sounds like a plan, not been up ol' George yet. -

Dunedin/Otago meet up and cruise Sunday 12 December 2021
azzurro replied to vivaspeed's topic in South Island Region
Well thats worked out well then. Tomorrows looking much nicer than today and im feeling heaps better. -

Dunedin/Otago meet up and cruise Sunday 12 December 2021
azzurro replied to vivaspeed's topic in South Island Region
Im out duders. Got the squirts -
It 'chelates' it as adoom says, which in practice means the rust pretty much just falls off with the hose after soaking for a while leaving clean metal. You can then dip it and let it air dry on the thing as a weak antiflash too, but needs rinsing off before paint. Also old containers are on spesh (all gone where i saw it) as crc seems to have bought it out and are now advertising it on telly in a new label
-
Evaporust is legitimately magic and you can reuse it.
-

Dunedin/Otago meet up and cruise Sunday 12 December 2021
azzurro replied to vivaspeed's topic in South Island Region
Keen! I think Peter Johnstone Park is in Mosgiel? @nzstato? -
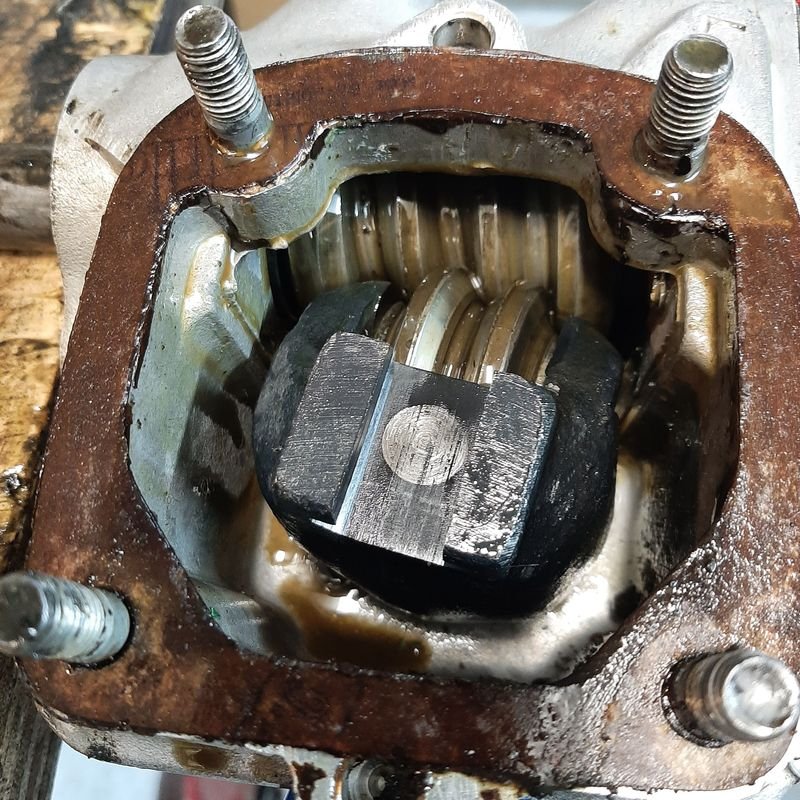
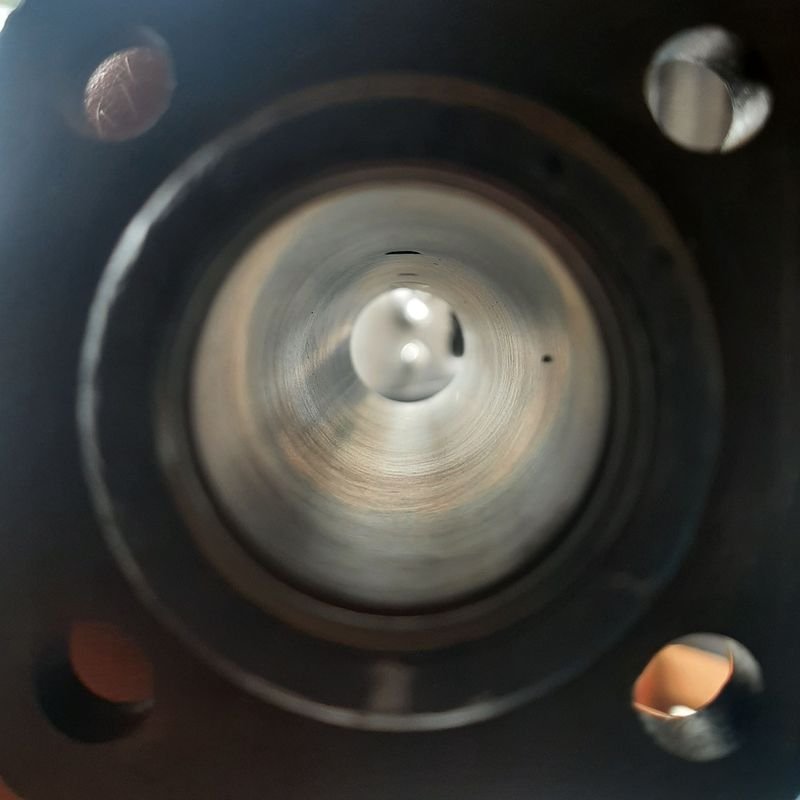
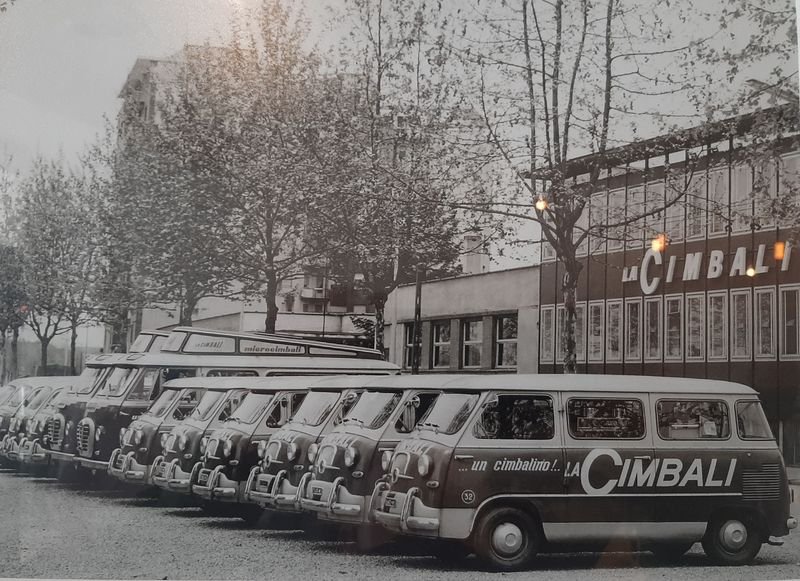
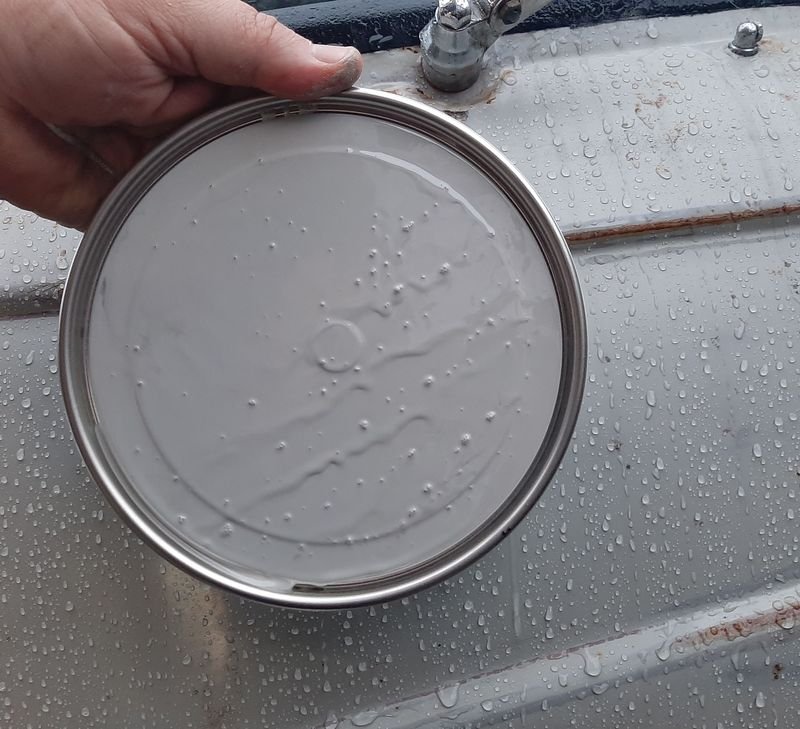
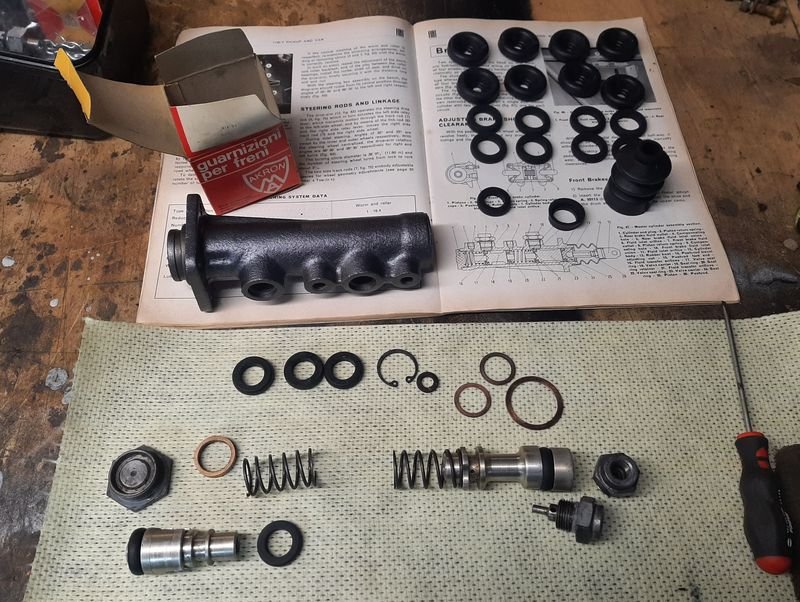
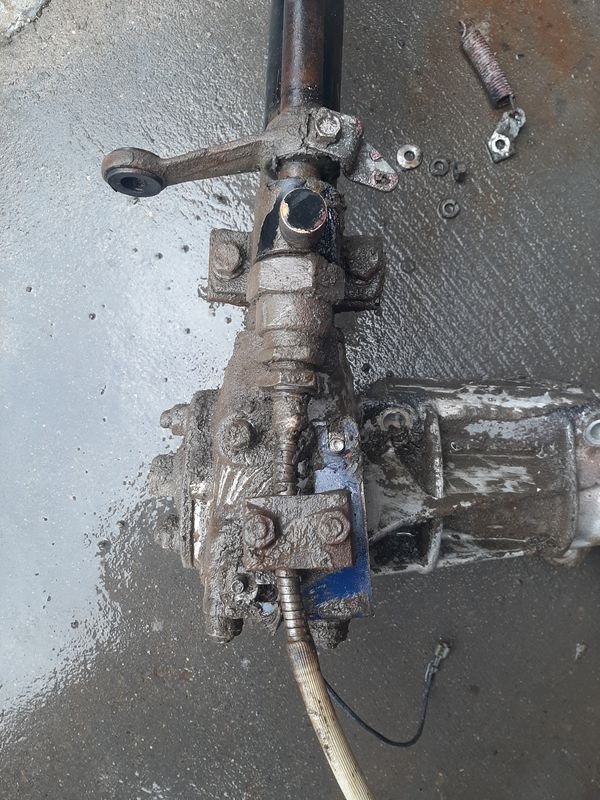
Spent some money on stuff Master cylinder bored and resleeved with a new stainless sleeve Got to unbox my nice NOS rebuild kit - the master is different (later?) from the books one, but lucky i took lots of photos when i disassembled it! Got some paint mixed up from my swatch, chose the closest swatch they had in their book. Looking forward to wafting some around next year sometime. Future reference Nason Ful-Thane 2K Urethane, Spectro #030 Got the rims stripped, and dropped them off to the blasters. Got a set of pretty much new 195 R14C for $100 of FBM to go on them once i get them resprayed. Unsure on black like factory or the new body colour? And pulled the last main component off, the steering shaft/box. it was utterly minging. But came up pretty good! Horn wire runs right though the hollow steering shaft from the wheel and out the bottom of the box. - i thought it may have been leaking though the hole but it turns out the bottom plate has a pipe on it that goes above the level of the cast housing. Genius but total madness at the same time. Pretty sure the source of the grimness is the pitman arm seal leaking, and maybe the adjustment nut too. It smells like its been (re)filled with gear oil which is too thin. I cant get the pitman arm off with any of the pullers i have to change the seal so ill use a mix of grease to fill the shaft up with and and a wee bit of moreys for sticking too and thining the grease around the gears when i refill it like i have on all the other cars steering boxes so it shouldnt leak (as much) Steering shaft carries the column shift as well, this is the housing which was factory painted but i think ill leave it raw Ol' Mate Jay at Daily Coffee has this pic up on the wall. The big vans are Alfa Romeo Romeo's but the little ones im not sure, might be coachbuilt Fiat Multiplas?
- 64 replies
-
- 28
-

-
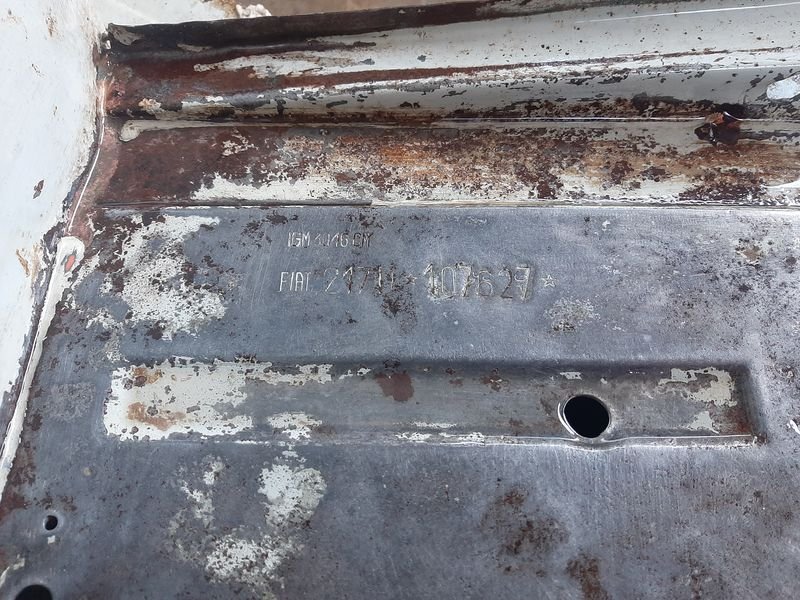
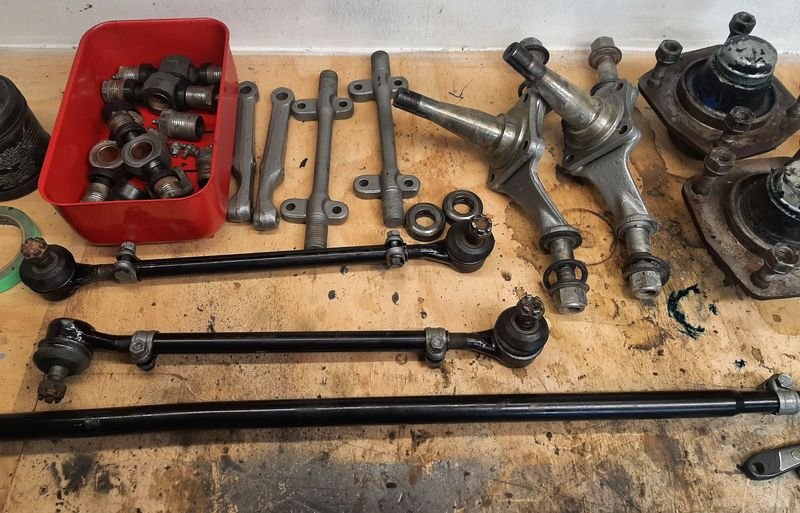
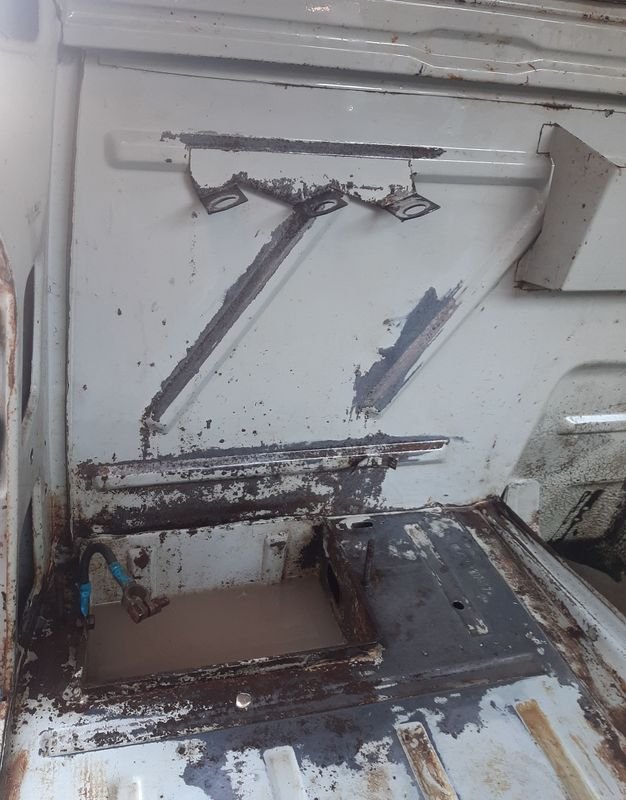
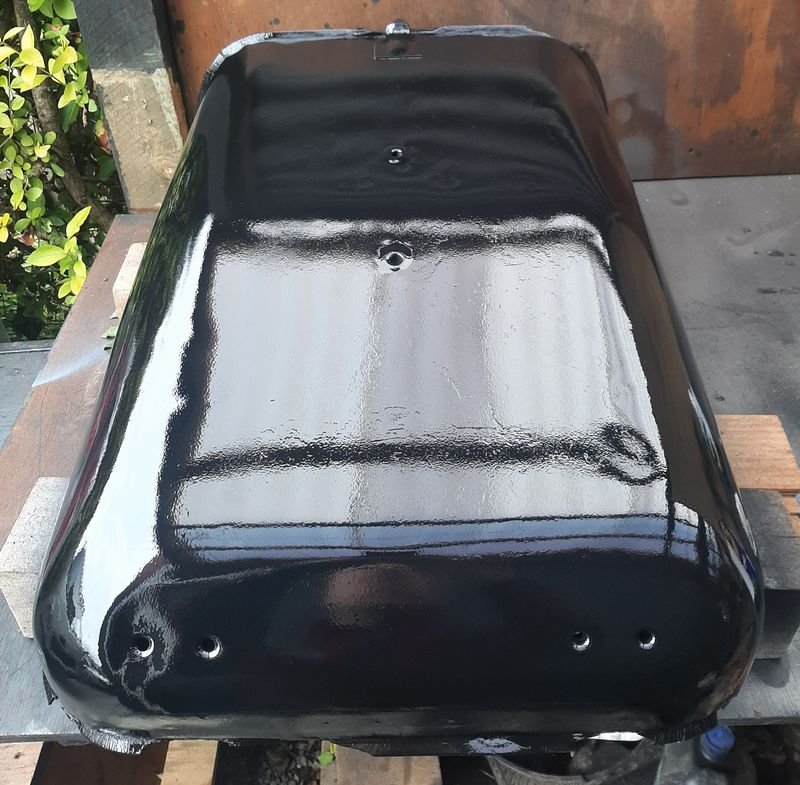
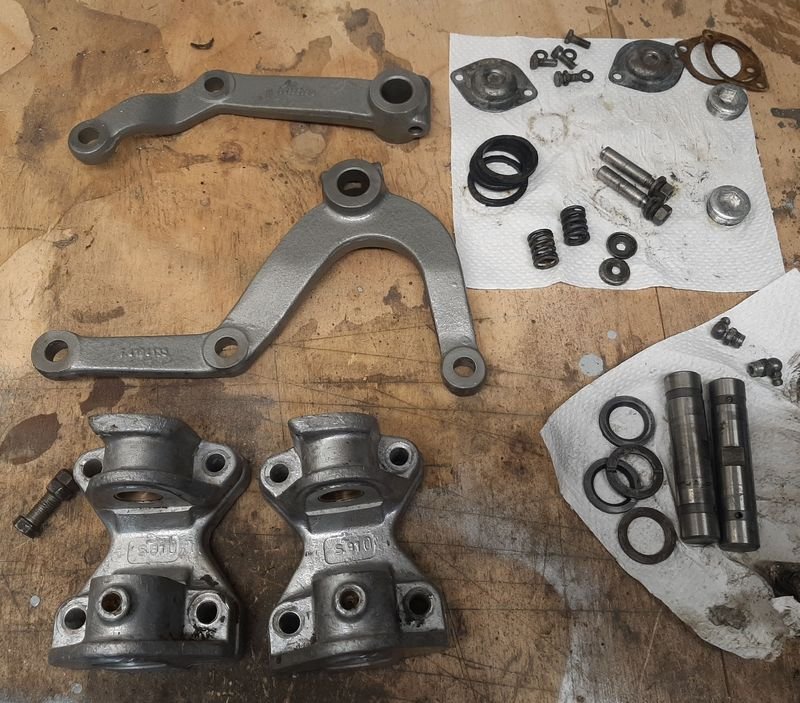
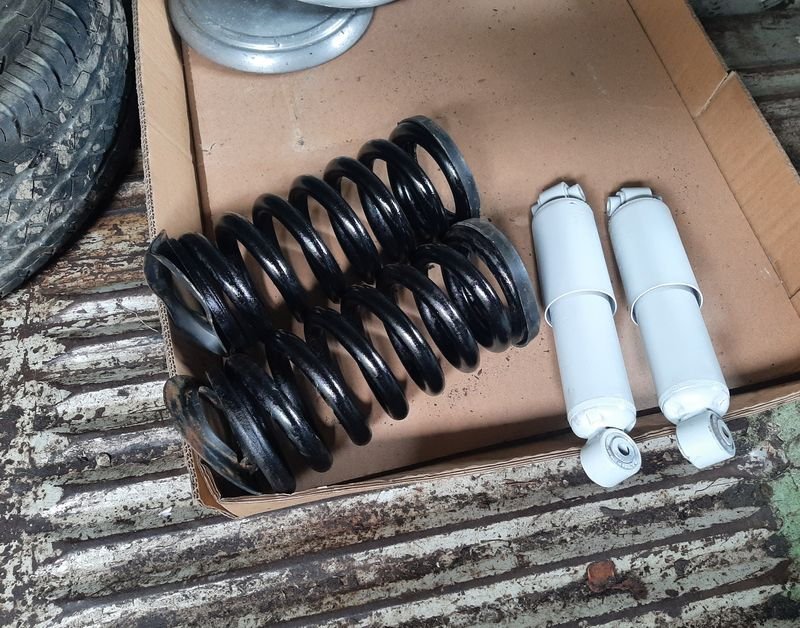
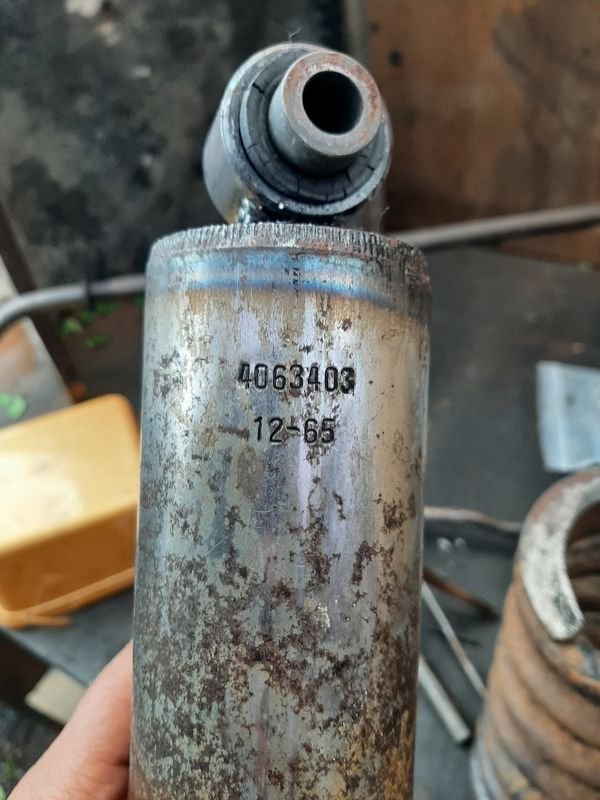
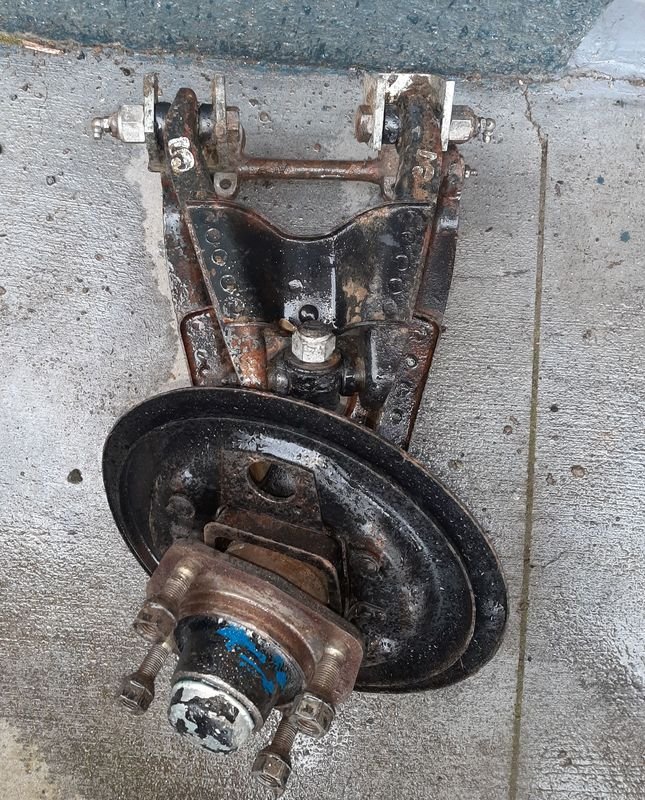
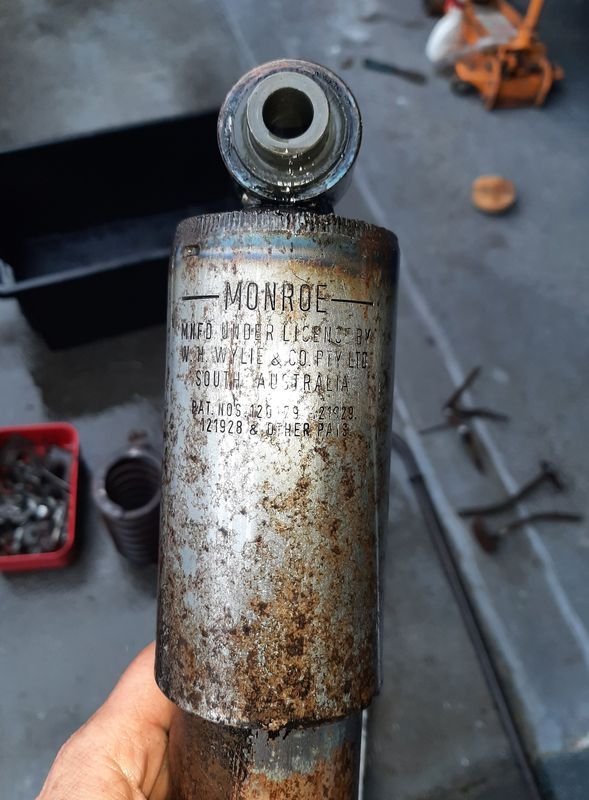
More cleaning and painting of the front suspension which is cleaning up very nice. No real wear or damage. Shocks and springs. Shocks do need replacing but not today satan, not today... They are short stubby bastards too, my stash of Nissan e2x series van front shocks are too long and they are pretty short by modern standards Steering arms all come out lovely, fresh grease and ready to go back on Hubs and kingpins, spiders and tierods. Need some replacement tie rod boots (available from ladapower - the tie rods themselves are also hared with lada/125/2300 too) but otherwise everything is good to go. Engine Cover got a quick rub down and some gloss black May put a coat of satin on it to tone down the obviousness of my lazy prep Ive also been removing all the lines and wires so i can roughly paint and protect where new/restored/cleaned stuff will bolt back on. The 3 reservoirs (front & rear brake and clutch) live on the cargo barrier behind the driver seat above the battery compartment, so this corner was pretty crusty looking. I hit it with the sander after doing the engine lid and sprayed some phosphoric acid on it and it come up great. this is just the first go. VIN number is in this corner too, so I'm very glad all the rust is light and just seems to be from where brake fluid, battery acid mist and rat piss was just sitting and pretty much wipes off after a soaking with the phosphoric. IGM 3046OM FIAT 217D *107627*
- 64 replies
-
- 18
-

-
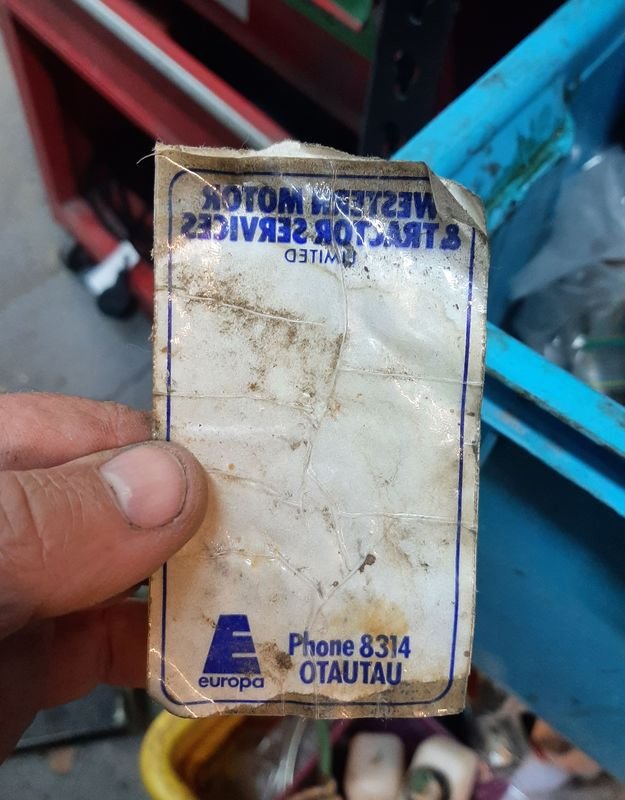
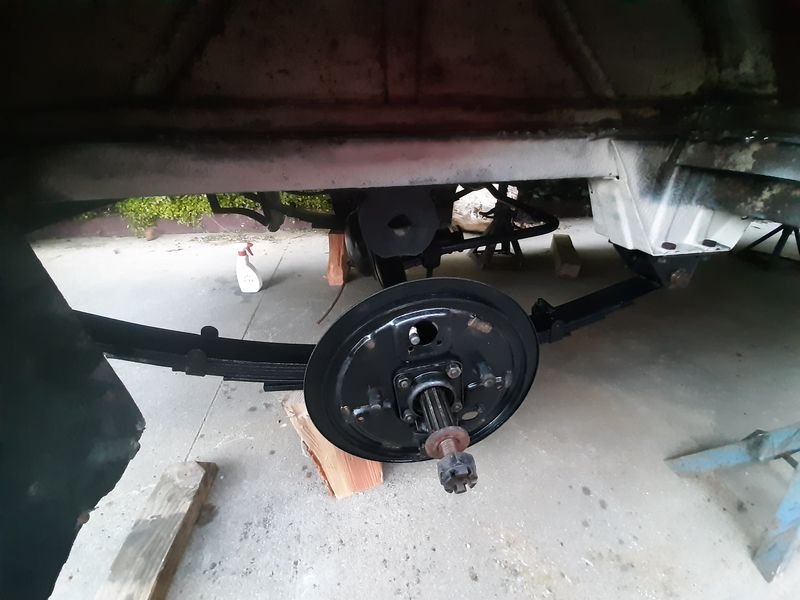
With the rear suspension done, and reinstalled the handbrake cable, i started to unpick the front end. I want to clean all the greasy dirt that is still caked on everything (and has actually done pretty well at preserving stuff) and then i can clean, paint, regrease and reassemble. Im very pleased to say, the rust is all on the 'outside' of the van in the panels, and not the chassis structure. Took all the brakelines off first, including the lines from the reservoirs (they are up behind the drivers seat) to make later, they all unscrewed easy. I didnt have the right spring compressor so just used the jack under the lower control arm but i think ill need one for putting it back together! Some before and afters Drivers side after dropping the wishbones out, and then after a scrape and waterblast Same area immediately after dropping the suspension and after a scrape and a waterblast. The light brown is a mix of oil, grease and road dust that is anything from 1mm to 20mm thick. Usually clean paint or metal under it, so could be worse! Only surface rust really is where the greasy smeg wasnt - a lot of cleany shiny metal where the paint came off with the waterblaster. This pic show where one of the main bolts comes thought, the inside of the rail is minty mint mint The two wishbone assemblies and the steering rack. ALL of the tie rod ends! One of the suspension assemblies, give a good idea of the crust on everything. Ive water blasted under the van about 10 times. After a clean, still has factory (?) shim count stamps . I got some new CRC degreaser for the parts washer, stuff is magic, seems to have a slight derusting action too. The gear change linkages came lovely, and have no discernable wear which is another sign of low milage Pretty sure these would have been factory fitted (CKD built by Torino Motors in Otahuhu), but cant believe how clean they came up! Pretty sure thats a manufacturing date stamp, which also makes me think this van is also a later (66 on) one. I re-found this service sticker that was in the cubby in the van that i thought id lost put somewhere for safekeeping . Along with the Kelso address painted on the Hubcaps, I reckon she is a Southland Van Place is still going Im going to get some paint made up soon (i have lost my paint swatch) so i can make a start respraying the shock mounts and engine bay etc before bolting everything back in. Still a lot of cleaning and stuff to do first. Head is off at the machine shop getting looked at, and i have the rims in the back of the daily to get the tyres stripped and then off to the sandblaster, so progress is continuing.
- 64 replies
-
- 32
-

-
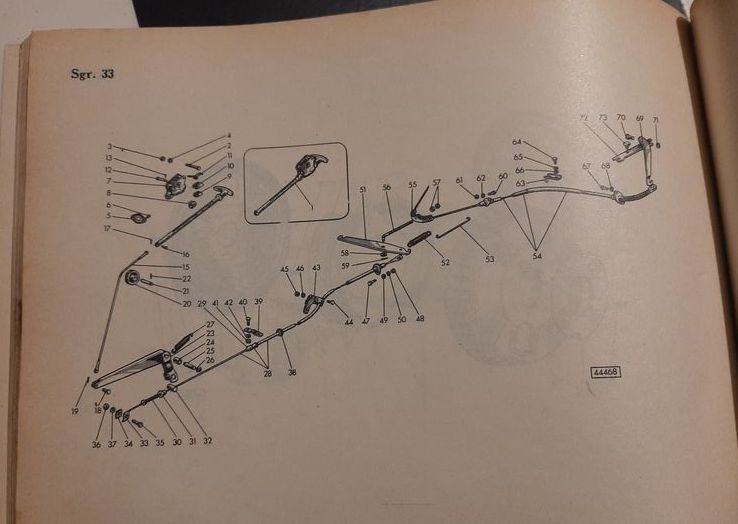
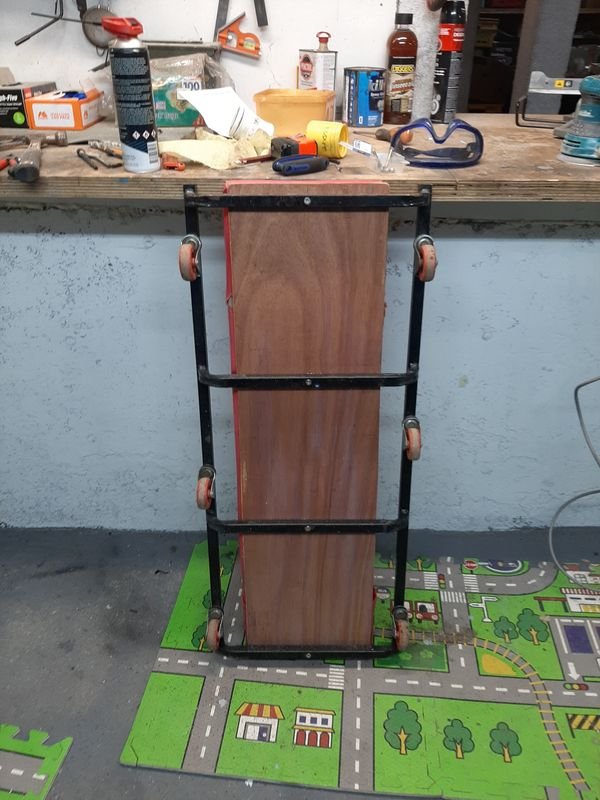
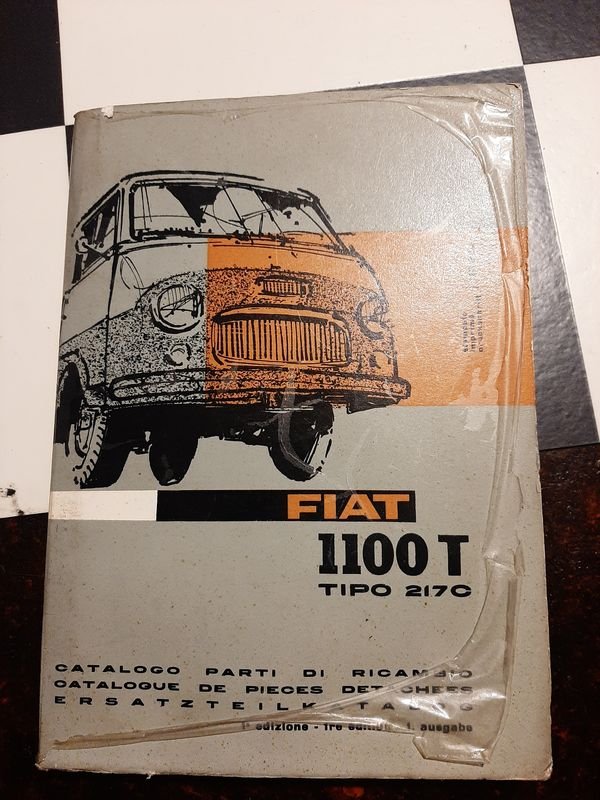
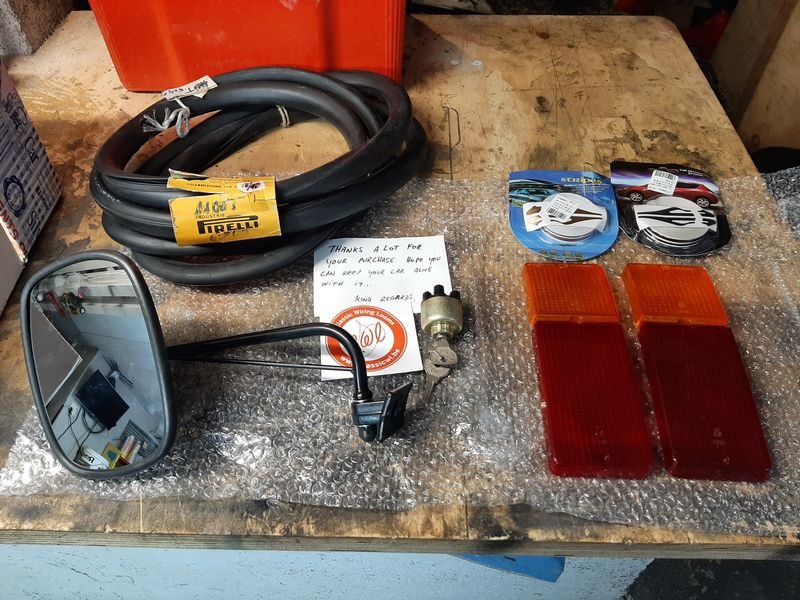
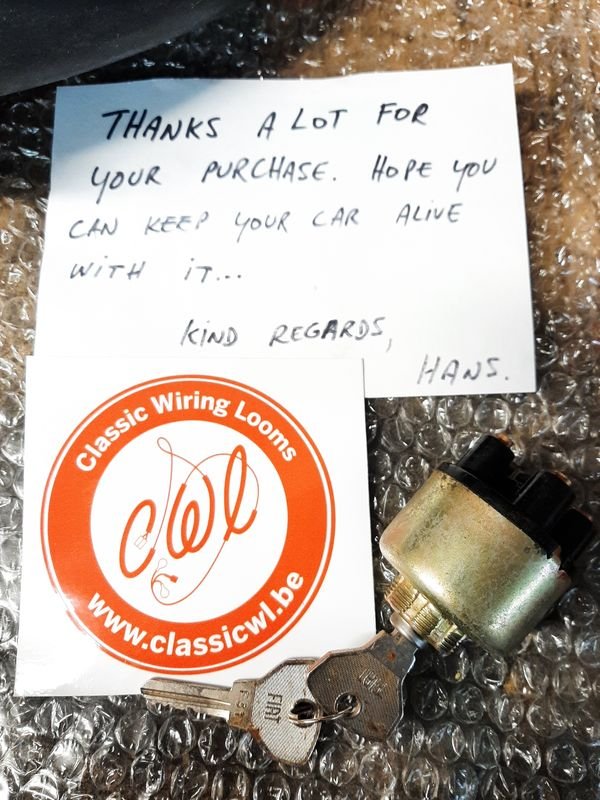
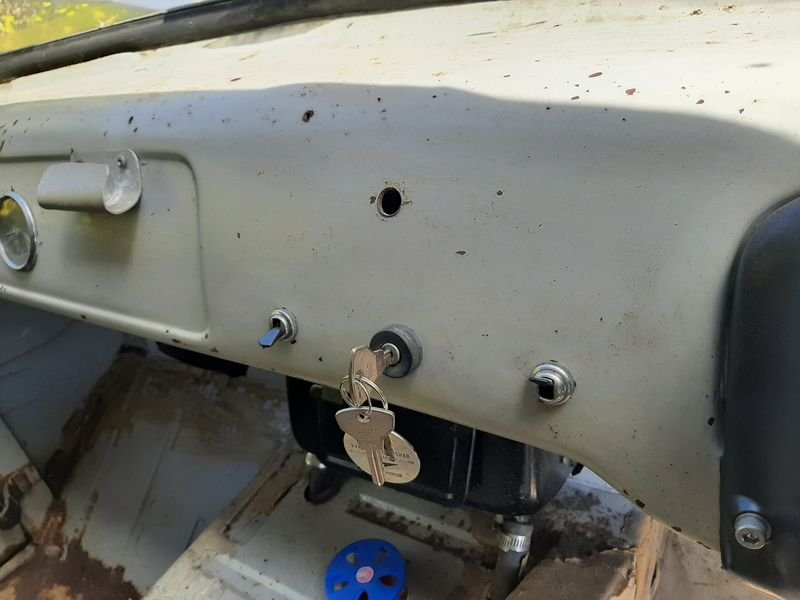
Chucked the diff back in a while back, fresh black makes everything else look worse. Had a bit of a splurge on ebay, got a NOS Pirelli windscreen rubber, which means i can cut the old one off eventually a NOS Sipea ignition switch a replacement (not NOS but made in Italy) passenger side mirror some NOS tail lights lenses for the 125p ute Ignition switch came with a nice note Thanks Hans, Installed, so van finally has some keys Also got this parts catalogue, good for practicing the italian, french and german But full of great diagrams like this, which has already proved invaluable taking a few things apart, and putting them back together. Also broke my crawler with the diff so that got new base wood - used some random ply that would result in the least waste - tuned out fancy!
- 64 replies
-
- 14
-

-

Dunedin/Otago meet up and cruise Sunday 12 December 2021
azzurro replied to vivaspeed's topic in South Island Region
No no no, bring the trailer


