Adoom
-
Posts
2,279 -
Joined
-
Last visited
Content Type
Forums
Downloads
Events
Gallery
Everything posted by Adoom
-

Yoeddynz and Hannah's HB Viva Wagon Discussion
Adoom replied to Willdat?'s topic in Project Discussion
Did you try petrol for the brown tape? It's the only thing that worked for me on duct tape. -
I may do. This door isn't really rusty inside. Most of the rust is outside along the bottom where there is a c-channel to hold the rubber seal. Bonus, the baking soda/washing soda is making the waxoil stuff.....emulsify? and become easy as to just wipe off.
-
You mean anode. The cathode is the door. My anode is an 'L' shaped bit of re-bar that goes the length of the box. It could be better designed, but I threw this together in about 5 minutes.
-
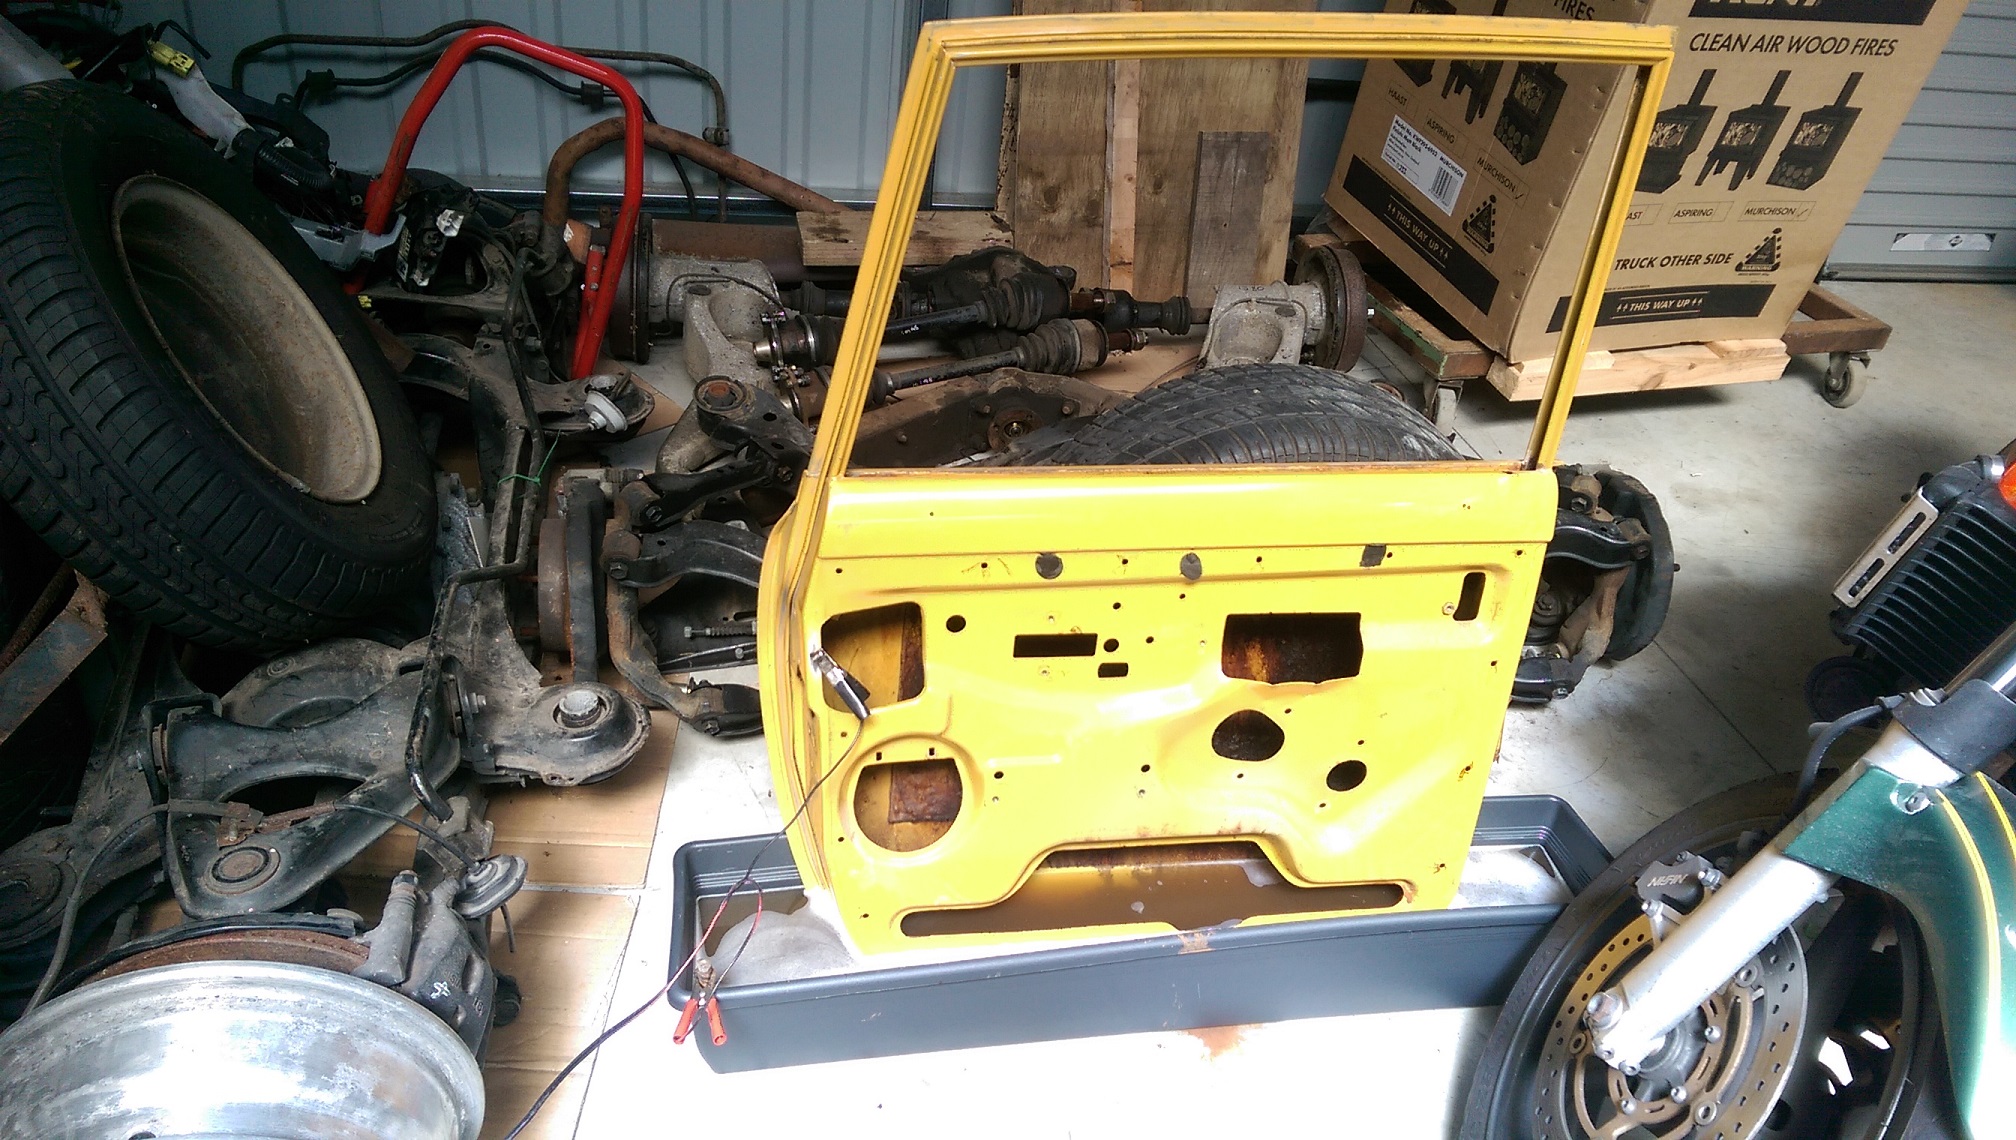
Electrolysis ing. Seeing how it does with the rusty bits on the bottom of the door. I've not bothered cleaning anything first. Unfortunately, I didn't remember the measurements of the doors and the longer front doors are about 30mm longer than the planter box.

-
Yep, I got that bill. Couldn't get out of it either.
-
Random slightly cool stuff you built but not worth its own thread, thread
Adoom replied to h4nd's topic in Other Projects
I would like to see an educational youtube video of how @tortron uses his Australian Slapper. -
Require use of parts washer - Waikato/Cambridge
Adoom replied to bonkas's topic in Upper North Island Region
@Seedy Al put his rusty flywheel in citric acid to remove surface rust. I'm not sure if it still works when the parts are also greasy/oily. -
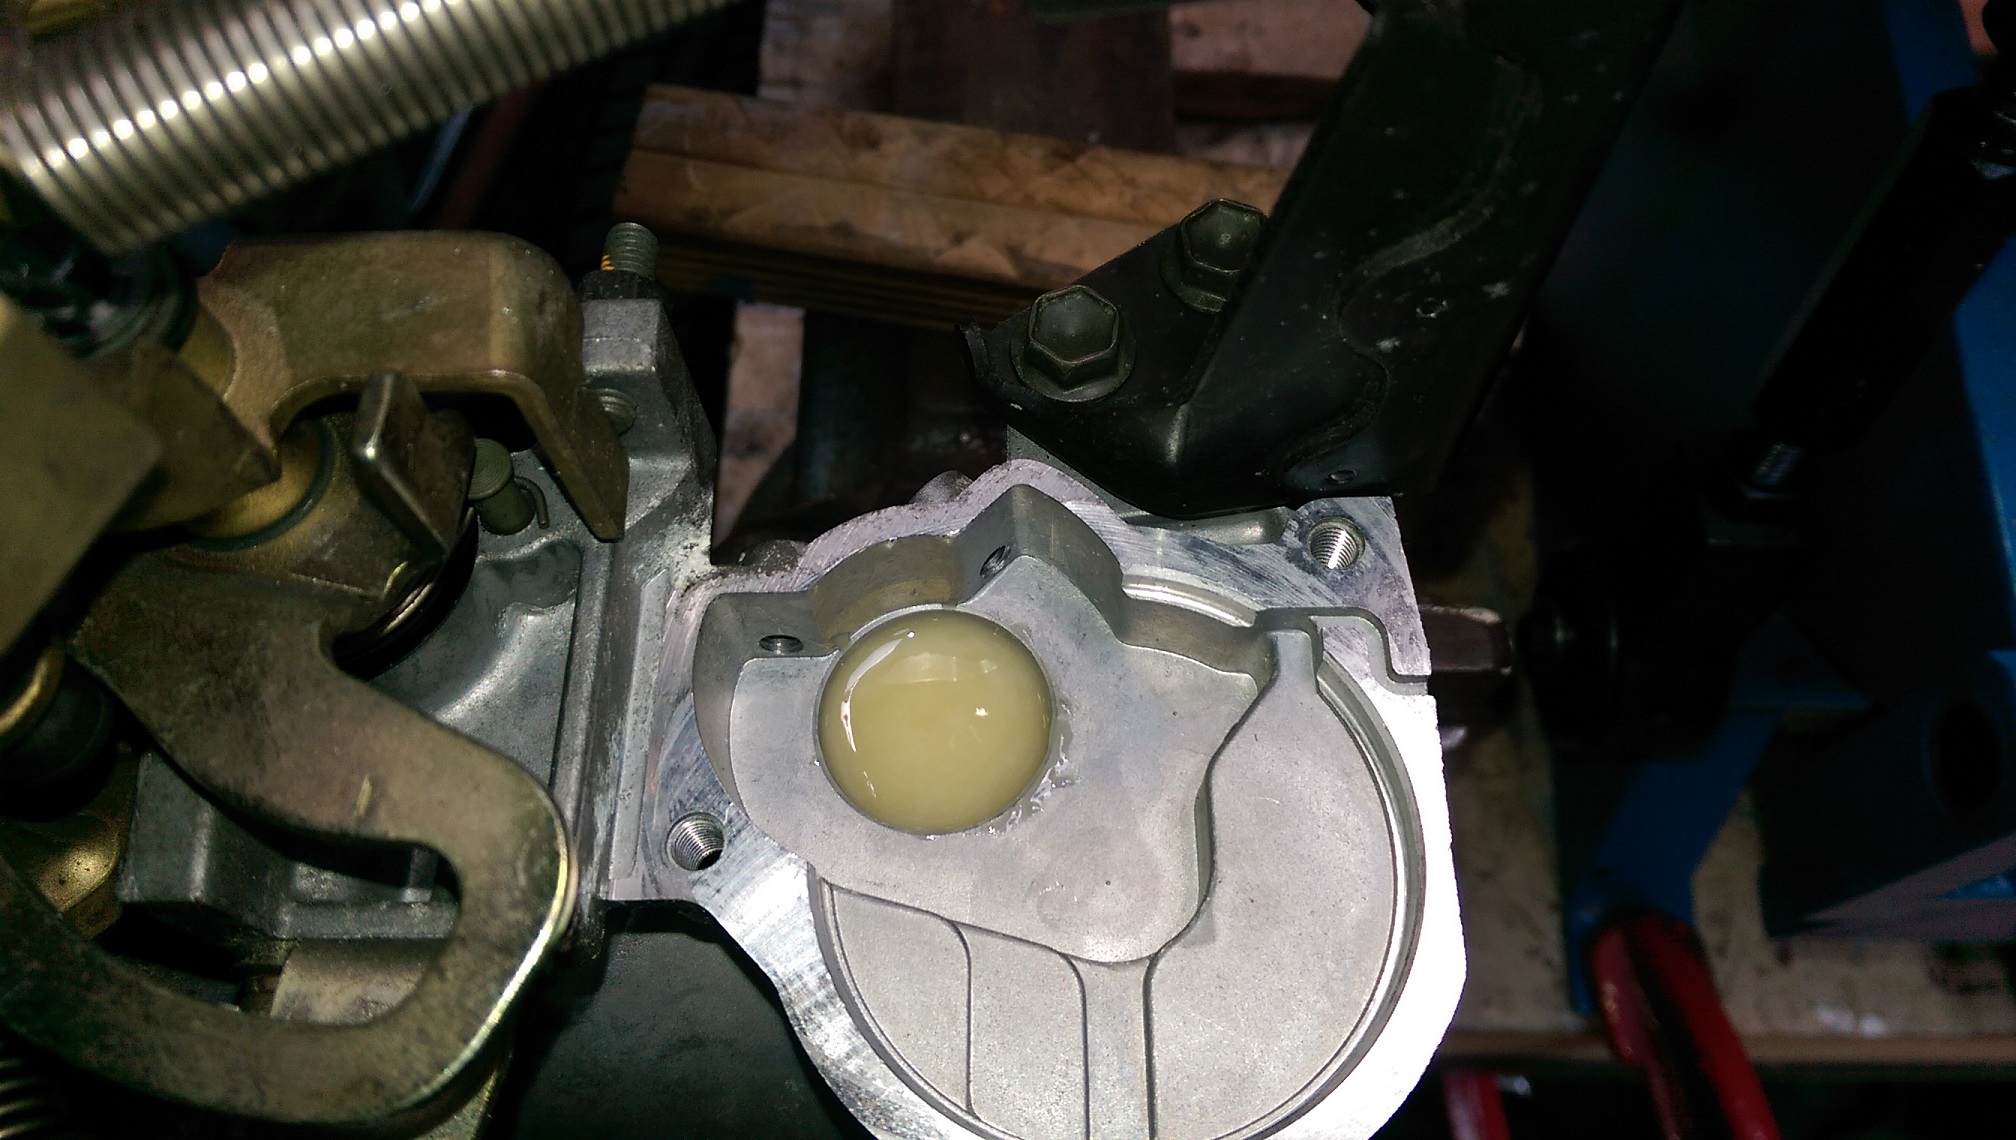
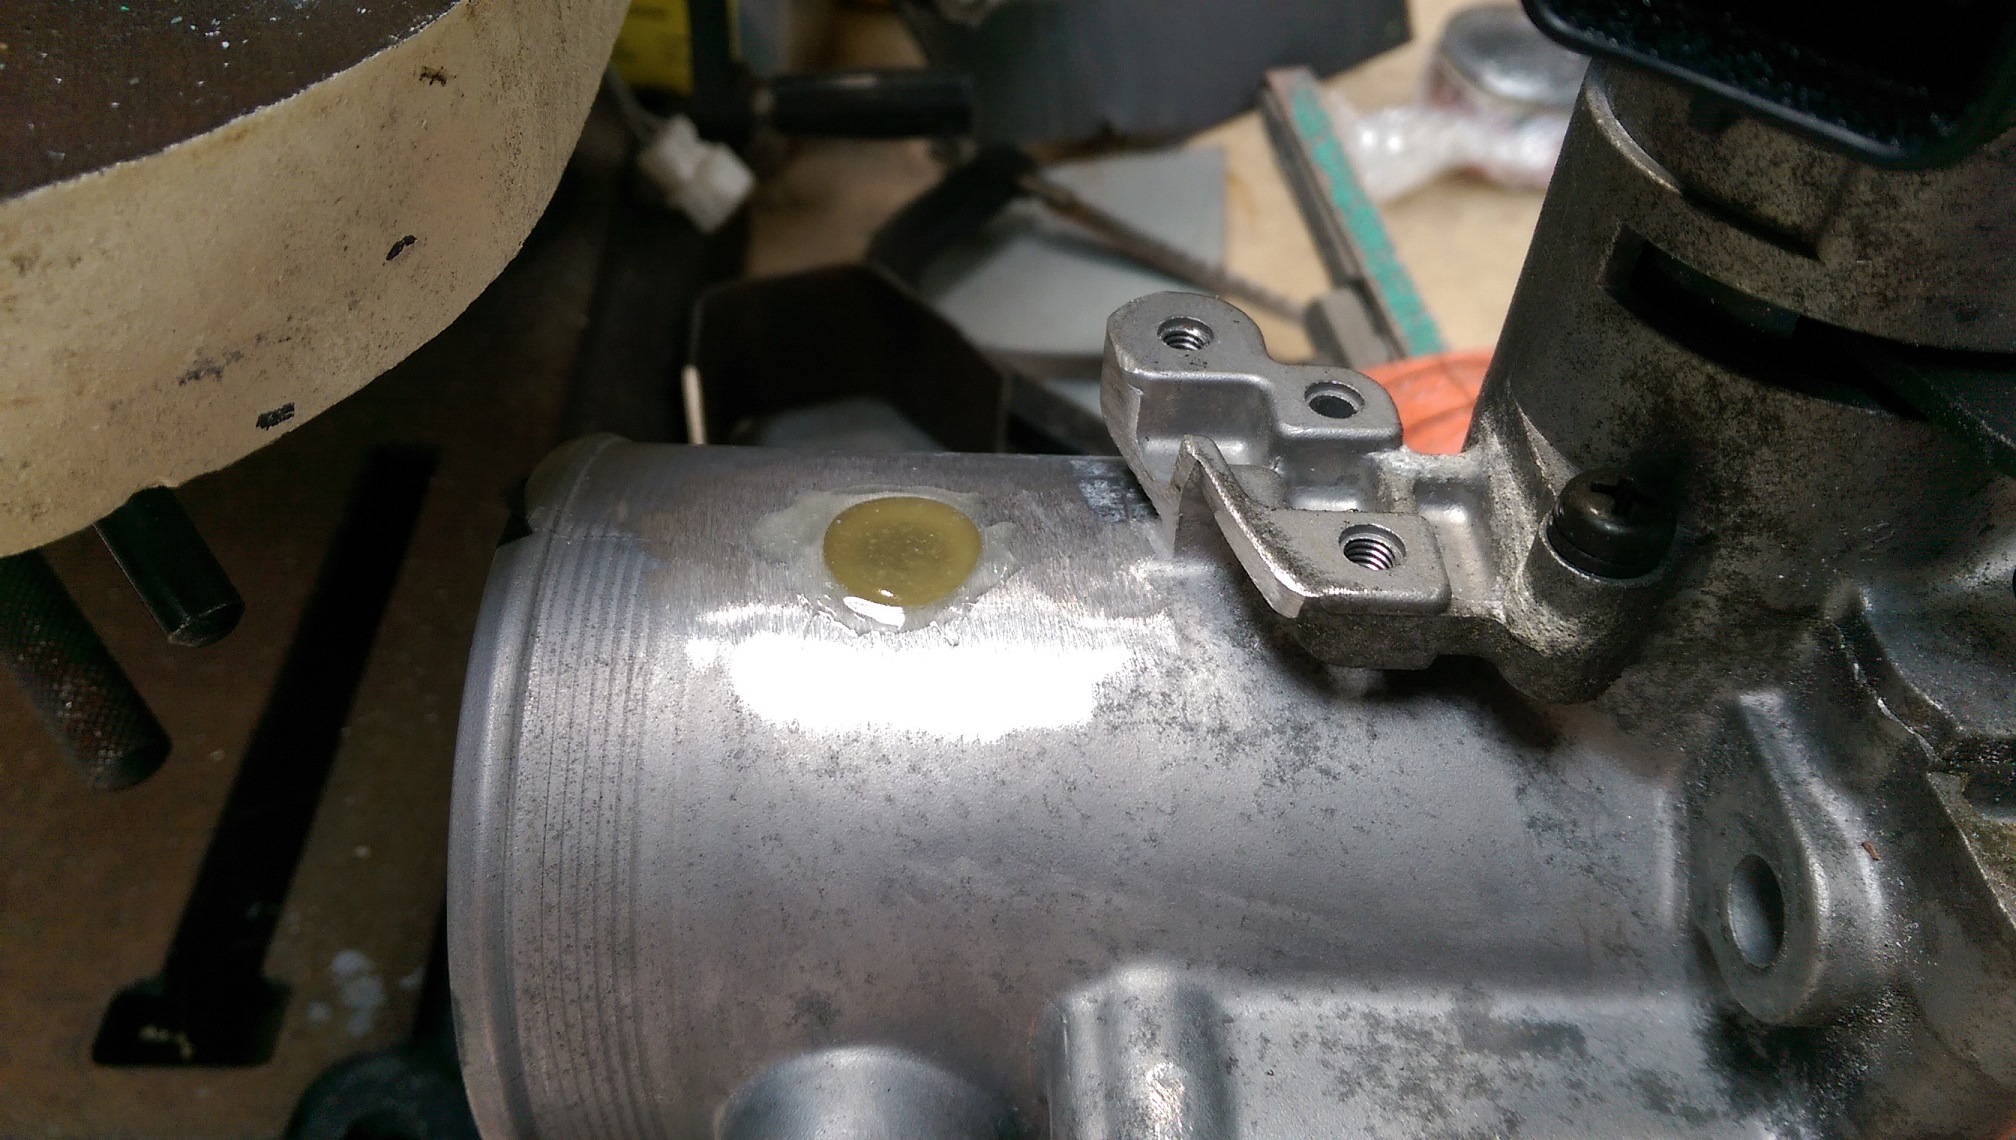
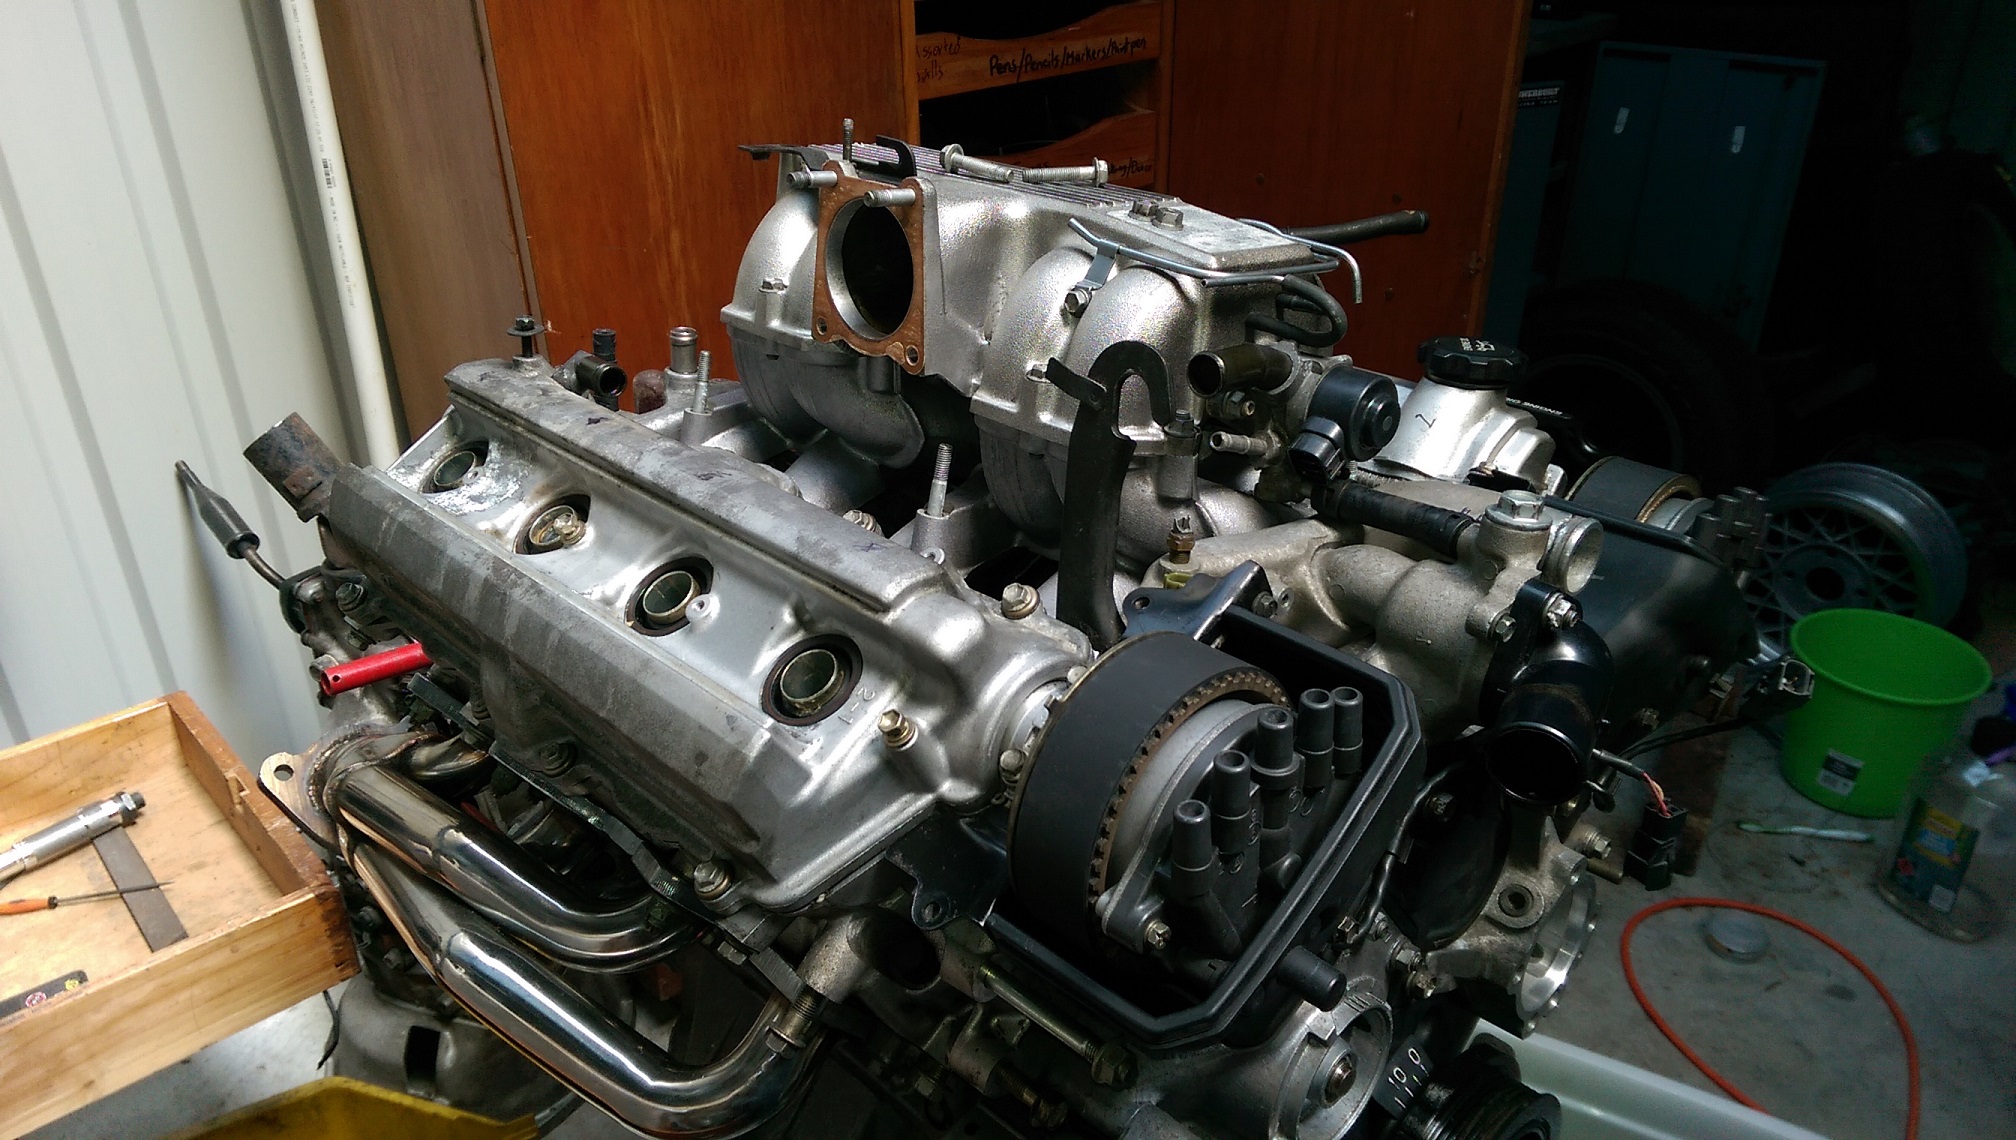
Modifying the throttle body to remove the traction control butterfly bits. I cut off the TRC-TPS mount and power filed it smooth. The other side I didn't cut anything cause it has the throttle cable mount and return spring. I was originally going to get the holes tig welded, but then I thought of just using araldite/epoxy. I keyed(scratched the shit out of it with a small file) the holes so the epoxy has something to bond to then cleaned it with wax and grease remover. Then put a bit of tape over the inside end of the hole and just gooped the stuff in there. It self levels a bit, so ends up with a smooth finish. One side is set enough to remove the tape and flip over. The other side I just poured. It's the super strong stuff so takes hours/days to completely set. And I put the inlet manifold on the other day. I've ordered some new platinum NGK plugs and cams cover gaskets and injector seals(mine have gone hard) from Rock Auto because it's ridiculously cheaper than buying them here.
-
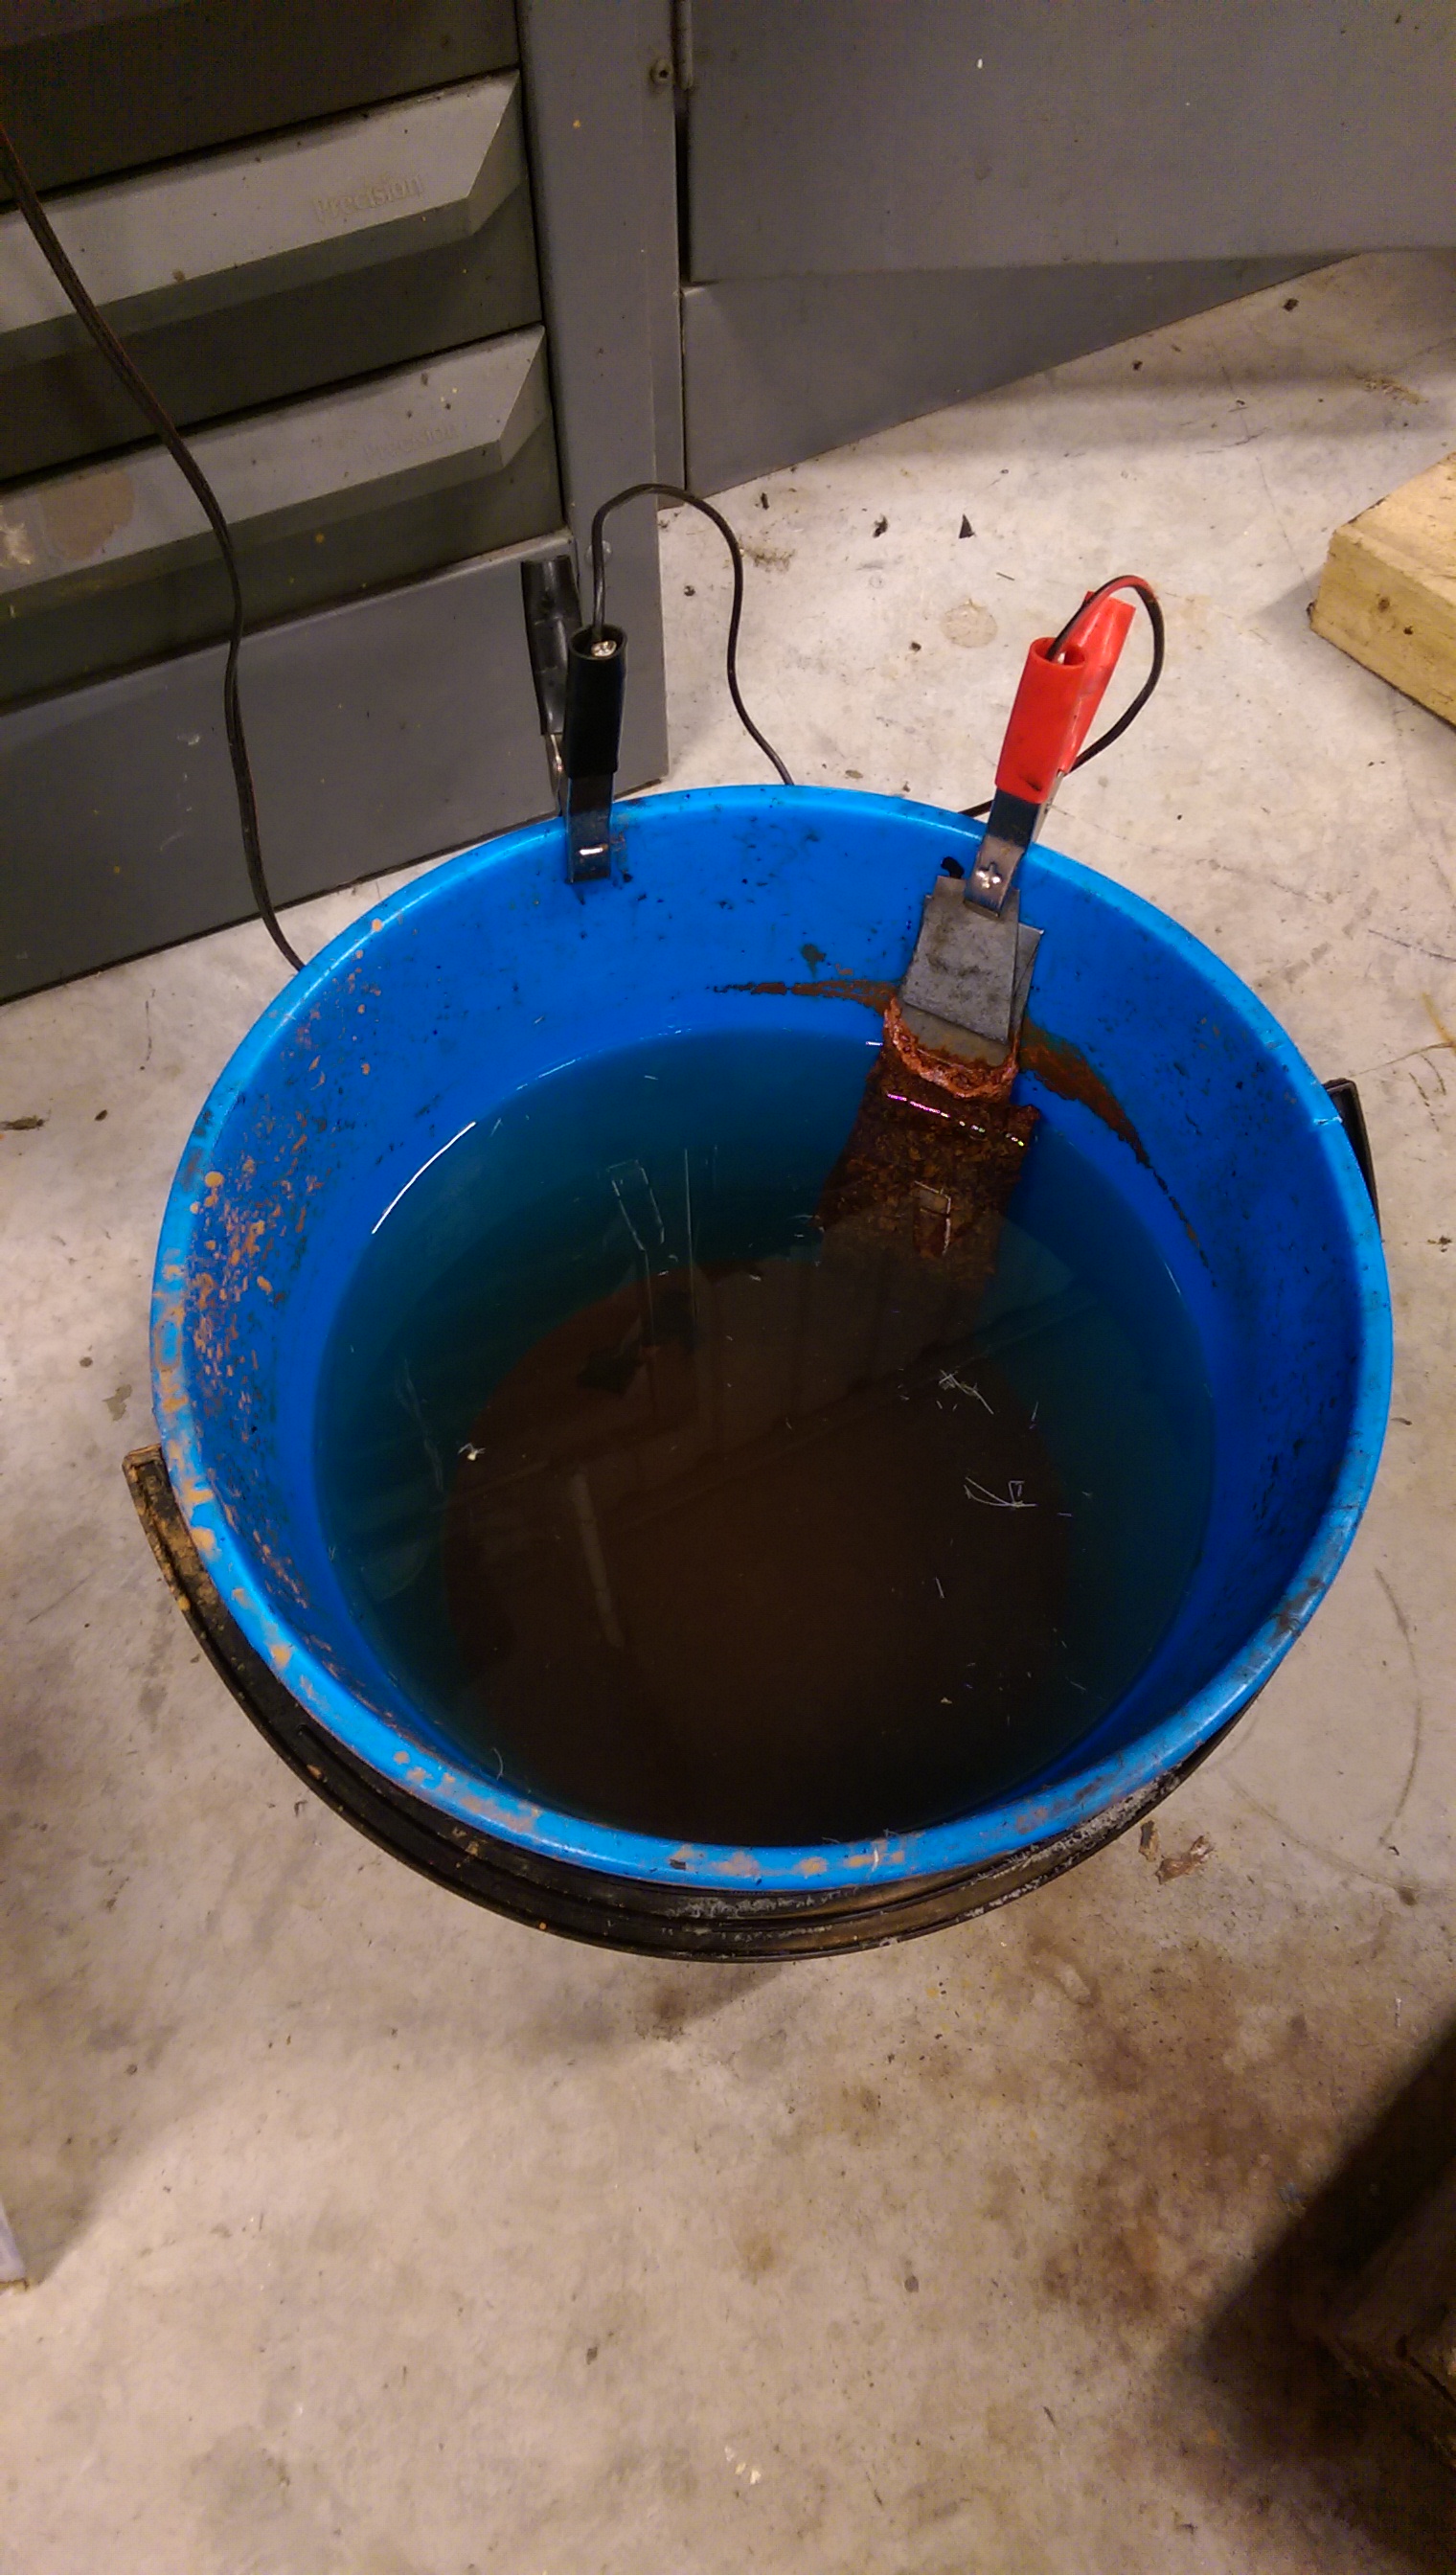
This be my electrolysis bath. Not currently in operation. I use a bit of steel tie wire to wrap the rusty thing then attach the negative clip to the wire, outside of the bath. In the past I have used just normal electrical wire but I found that it would quickly dissolve the copper in the wire if it was in the solution. It didn't seem to make a difference if my sacrificial anode was wrapped right around inside the bucket(using a strip of steel) or just on one side, it still worked.
-
I put two coats on. The finish is not the best, but it's not rusty and it's all one colour. You can only see the brush marks from close up anyway. I also picked up the water bridge gaskets from Toyota today. So now the water bridge and thermostat housing are installed. Yes, I dropped it and broke the water temp gauge sender plug. It probably won't work with whatever gauge I use anyway.
-
Timing belt change instructions for 1UZ say to torque the front pulley bolt up to 181ft/lb. My torque wrench only goes up to 154ft/lb. It's probably not very accurate anyway. Reckon I can get away with setting my wrench to the highest setting then tightening it a bit more, after the click?
-
For the powerfile I found that the cheap belts from bunnings broke very easily which I found super annoying. Mitre10 bosch belts were better, but they only seem to stock the 80 grit ones which take ages to grind down a weld. I bought some of these. https://www.trademe.co.nz/building-renovation/tools/power-tools/sanders/auction-1505037600.htm The joint is glued and taped so lasted ages. They wore out rather than broke.
-
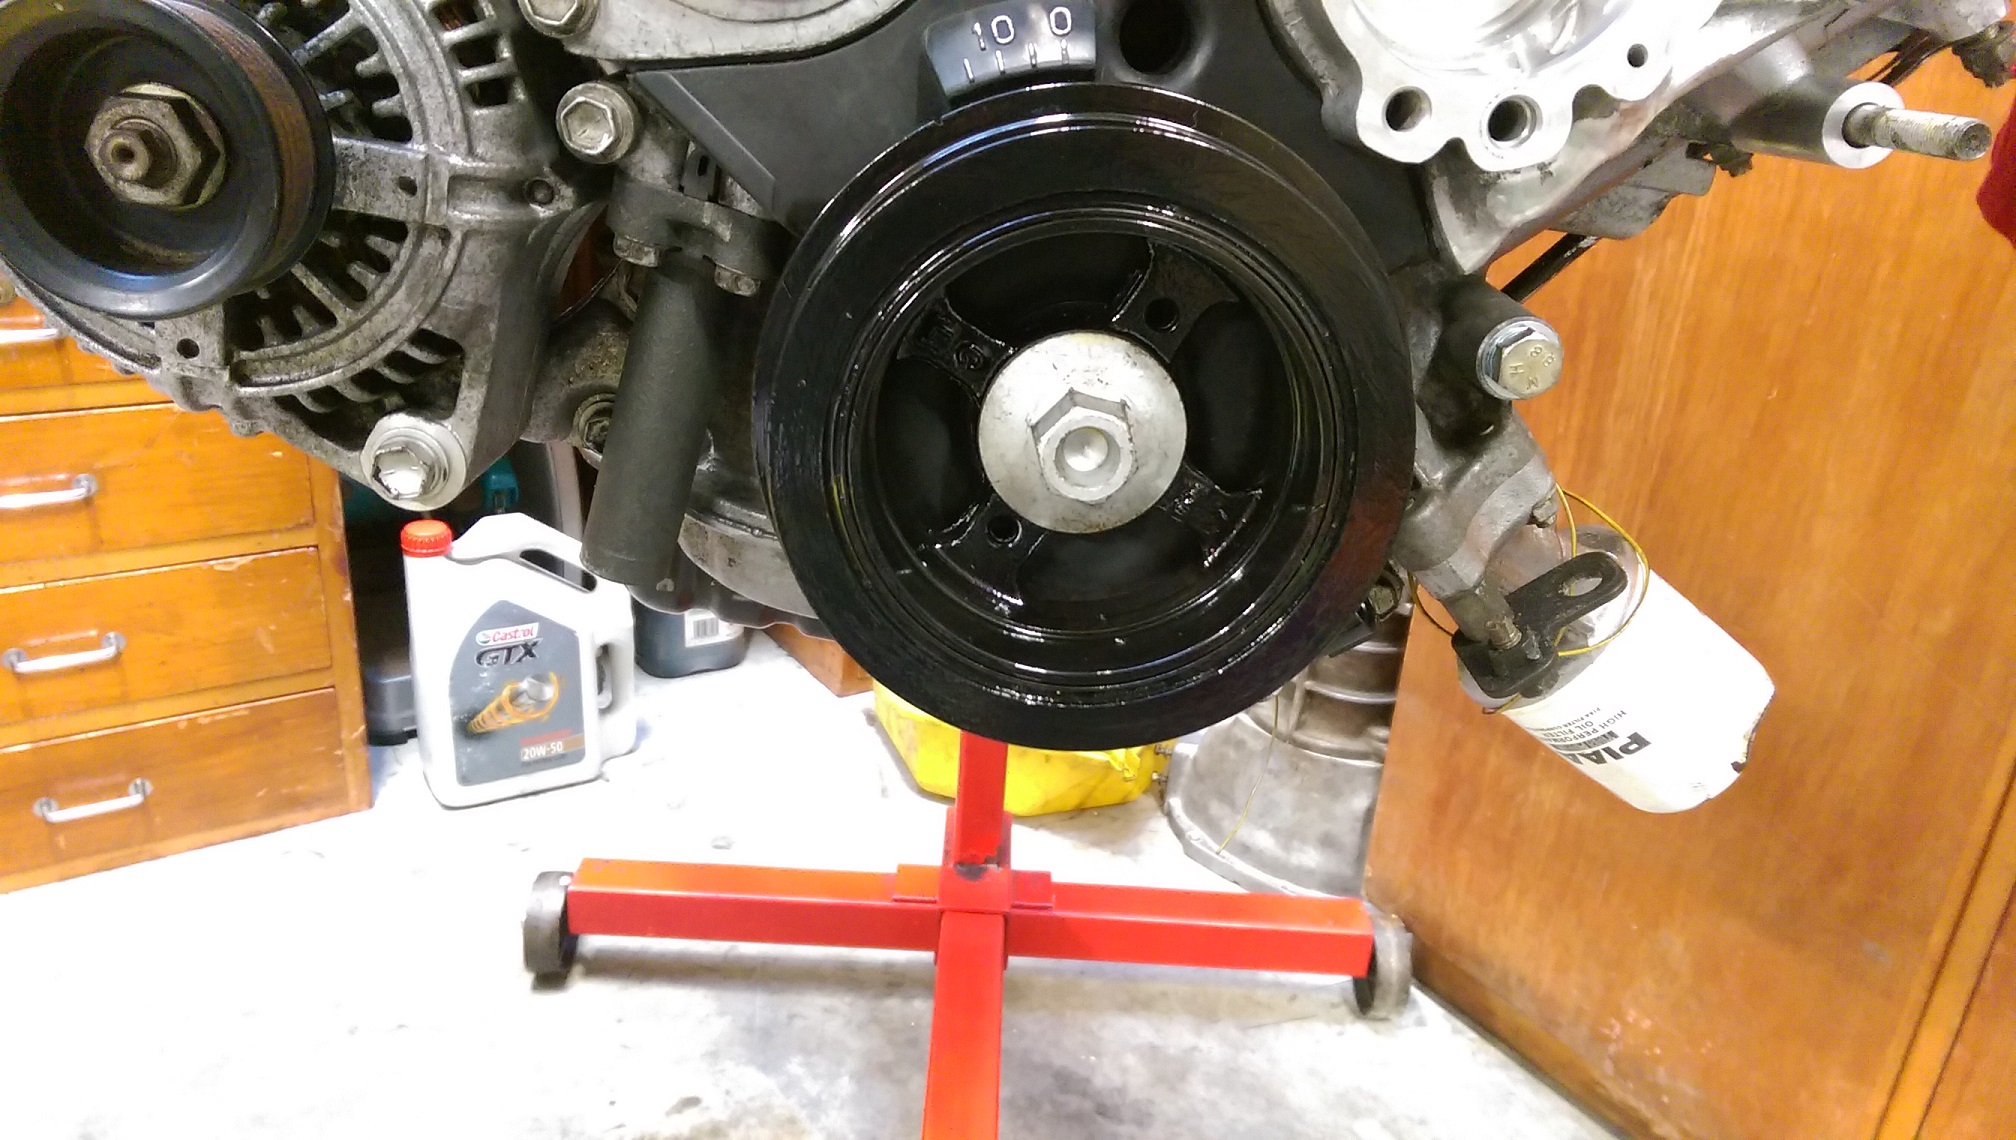
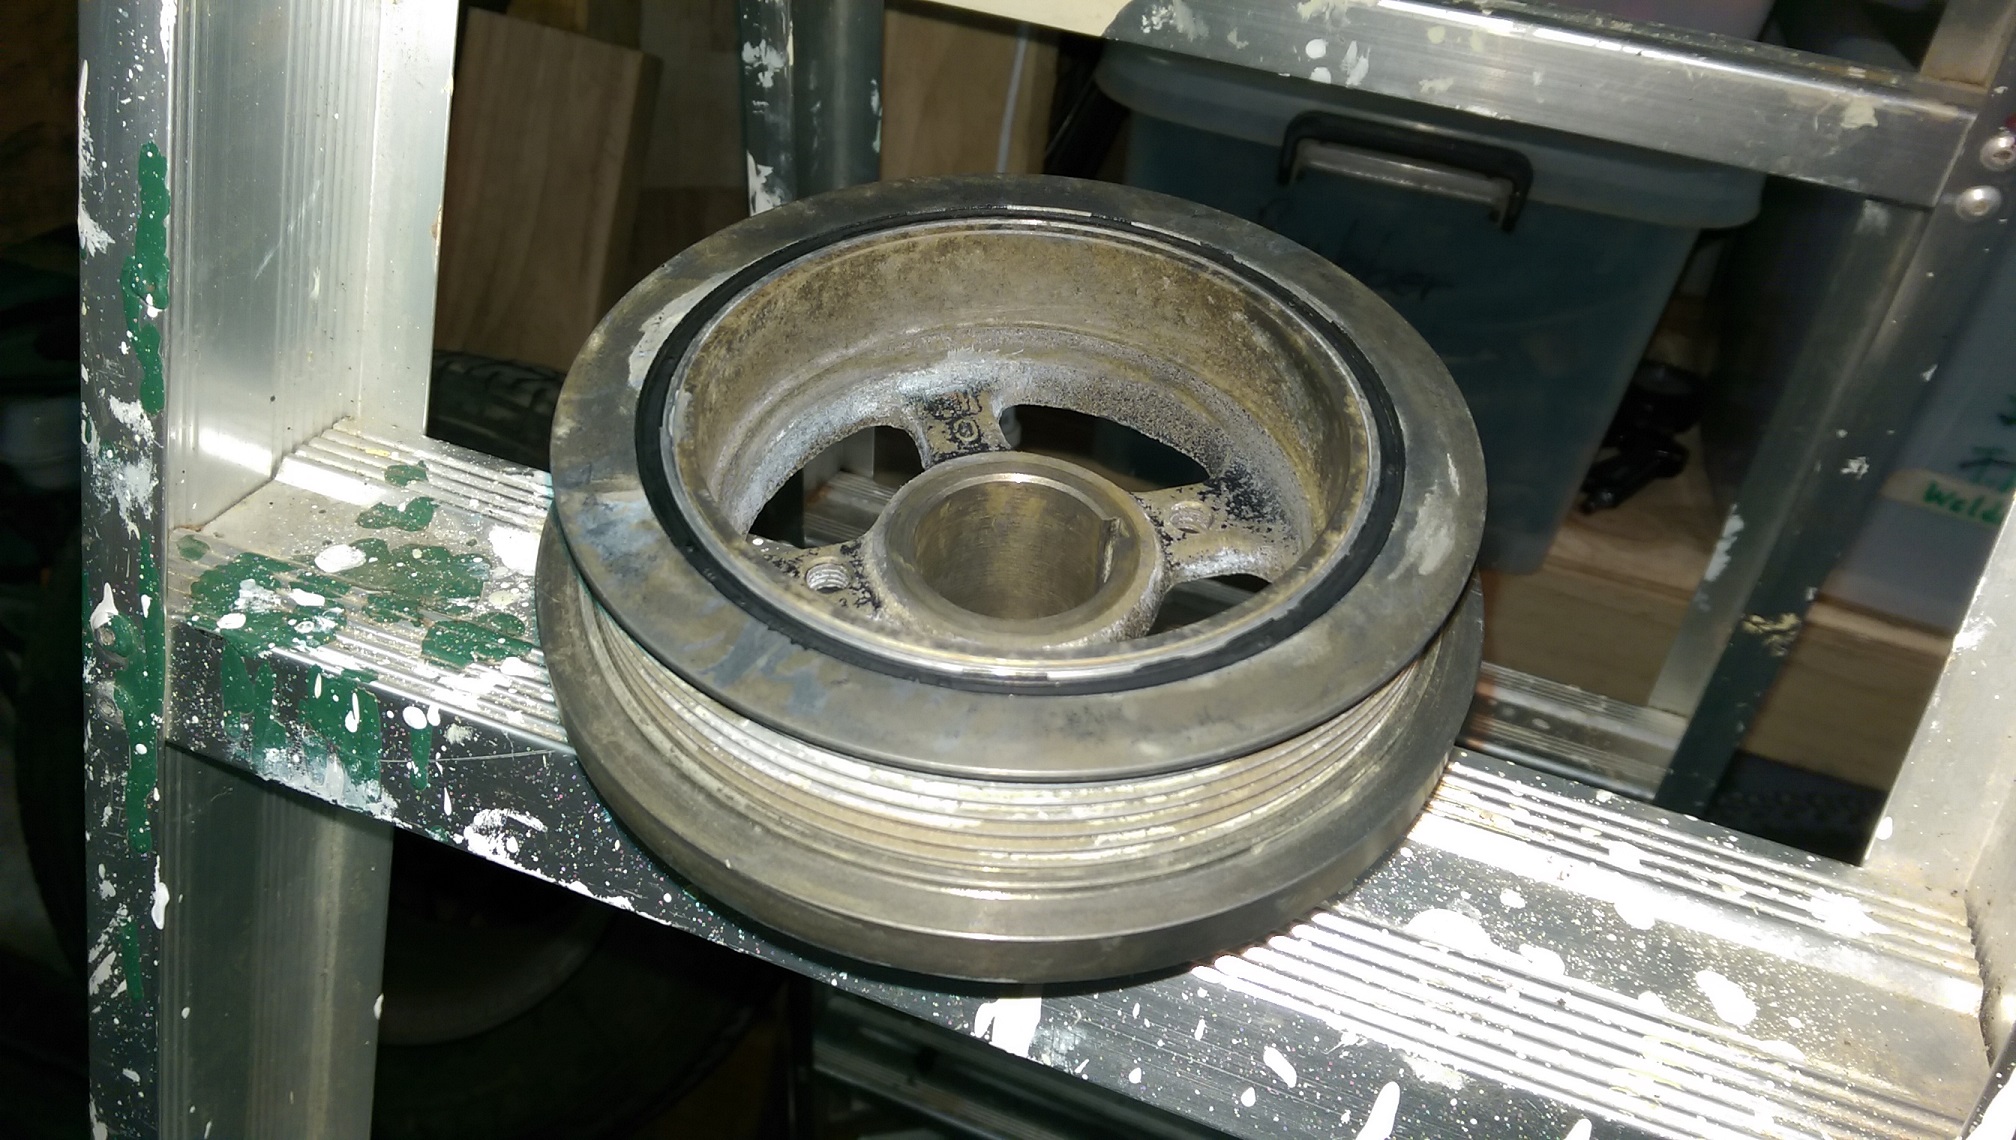
The front pulley for the 1UZ had a bit of surface rust and the powdercoating was chipping off in places. I thought of wire brushing it, but I already had a bucket set up for electrolysis that I had been playing with. I put some wire through the center of the pulley and hung it in the bucket. I let it go for half an hour or so and it was looking good, but it didn't seem to be doing much to the pulley grooves. Eventually I realised it was because the inner and outer part of the pulley are bonded with rubber. DUH! So I just wrapped a bit more wire on. I left it for an hour or so and it was looking much better. I then left it going when I went to bed.... then went to work. ~20 hours later I checked it again. No rust and it had also lifted off most of the powdercoating too! I scrubbed it with a plastic brush and clean water and it came up clean as. It got some flash rusting so I put some phosphoric acid on it for a few minutes before washing with water and drying it. Now it looks like this. I chucked some hammerite smooth black on it cause I had some. It looks better than it did.
-
I ordered the water bridge gaskets from Toyota. $18.50 each. Here tomorrow.
-
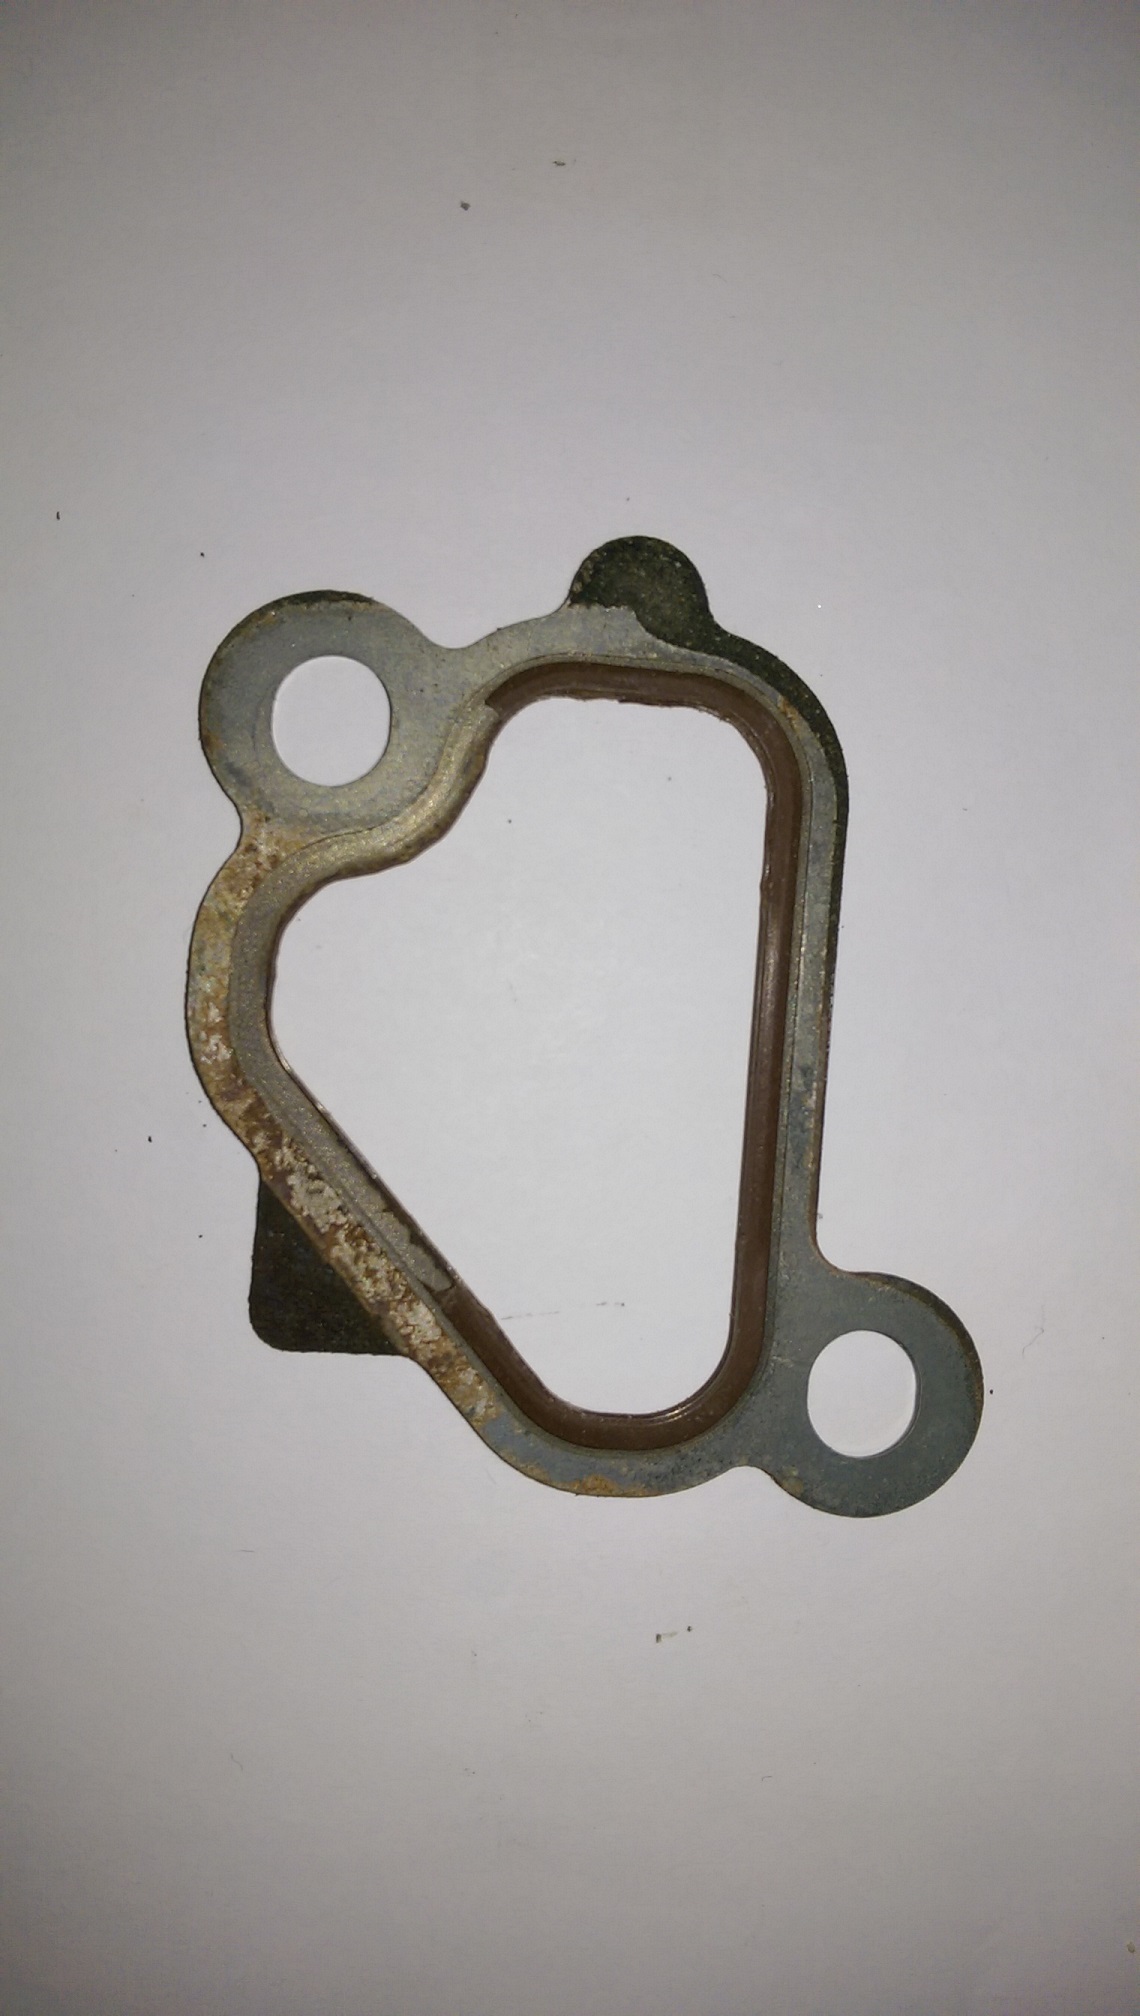
It's a 3 wafer metal gasket with a thin 'rubber' seal on the top and bottom of the inside edge. The seal part has pulled off and the metal is a bit crusty. If I cannot get new ones, I will try clean them up and put a little gasket goo on them.
-
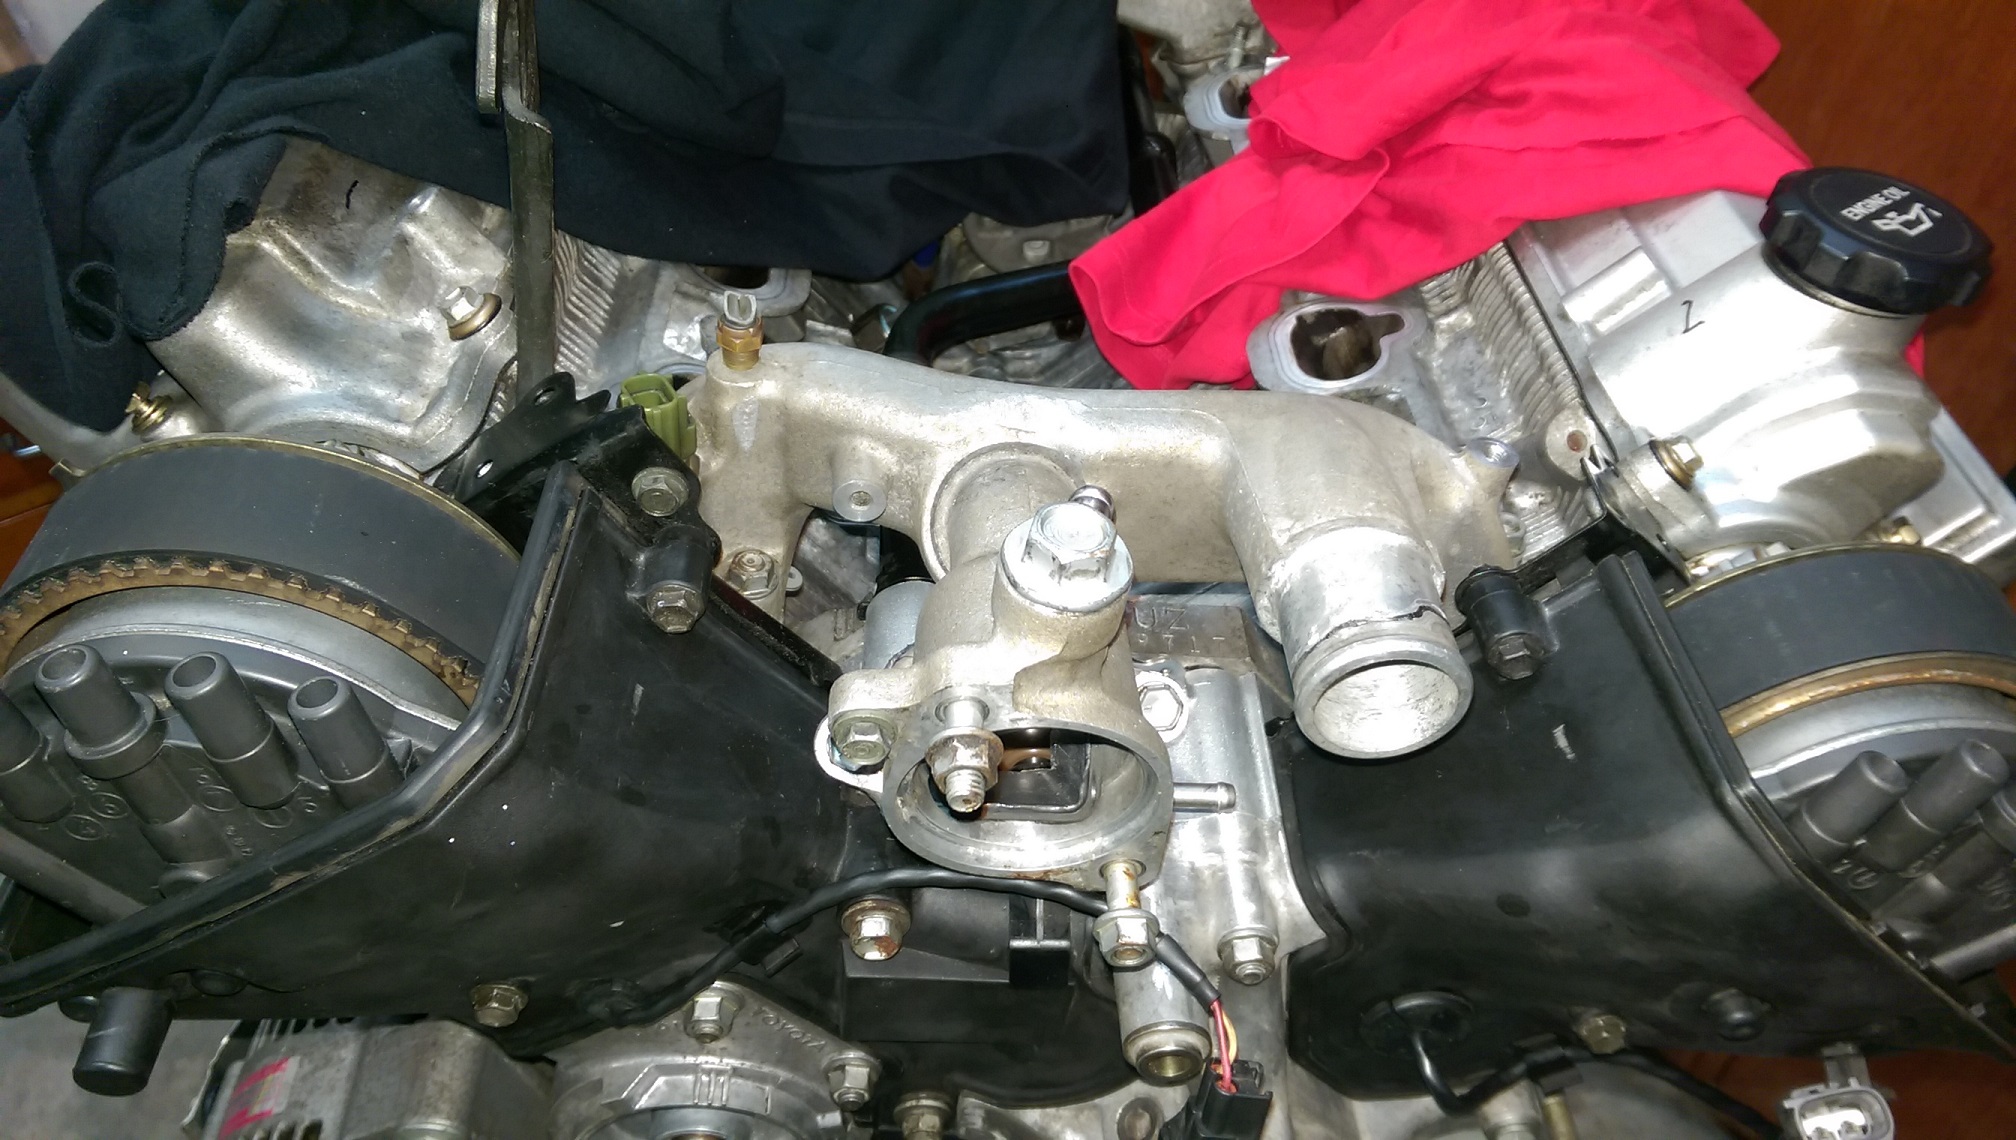
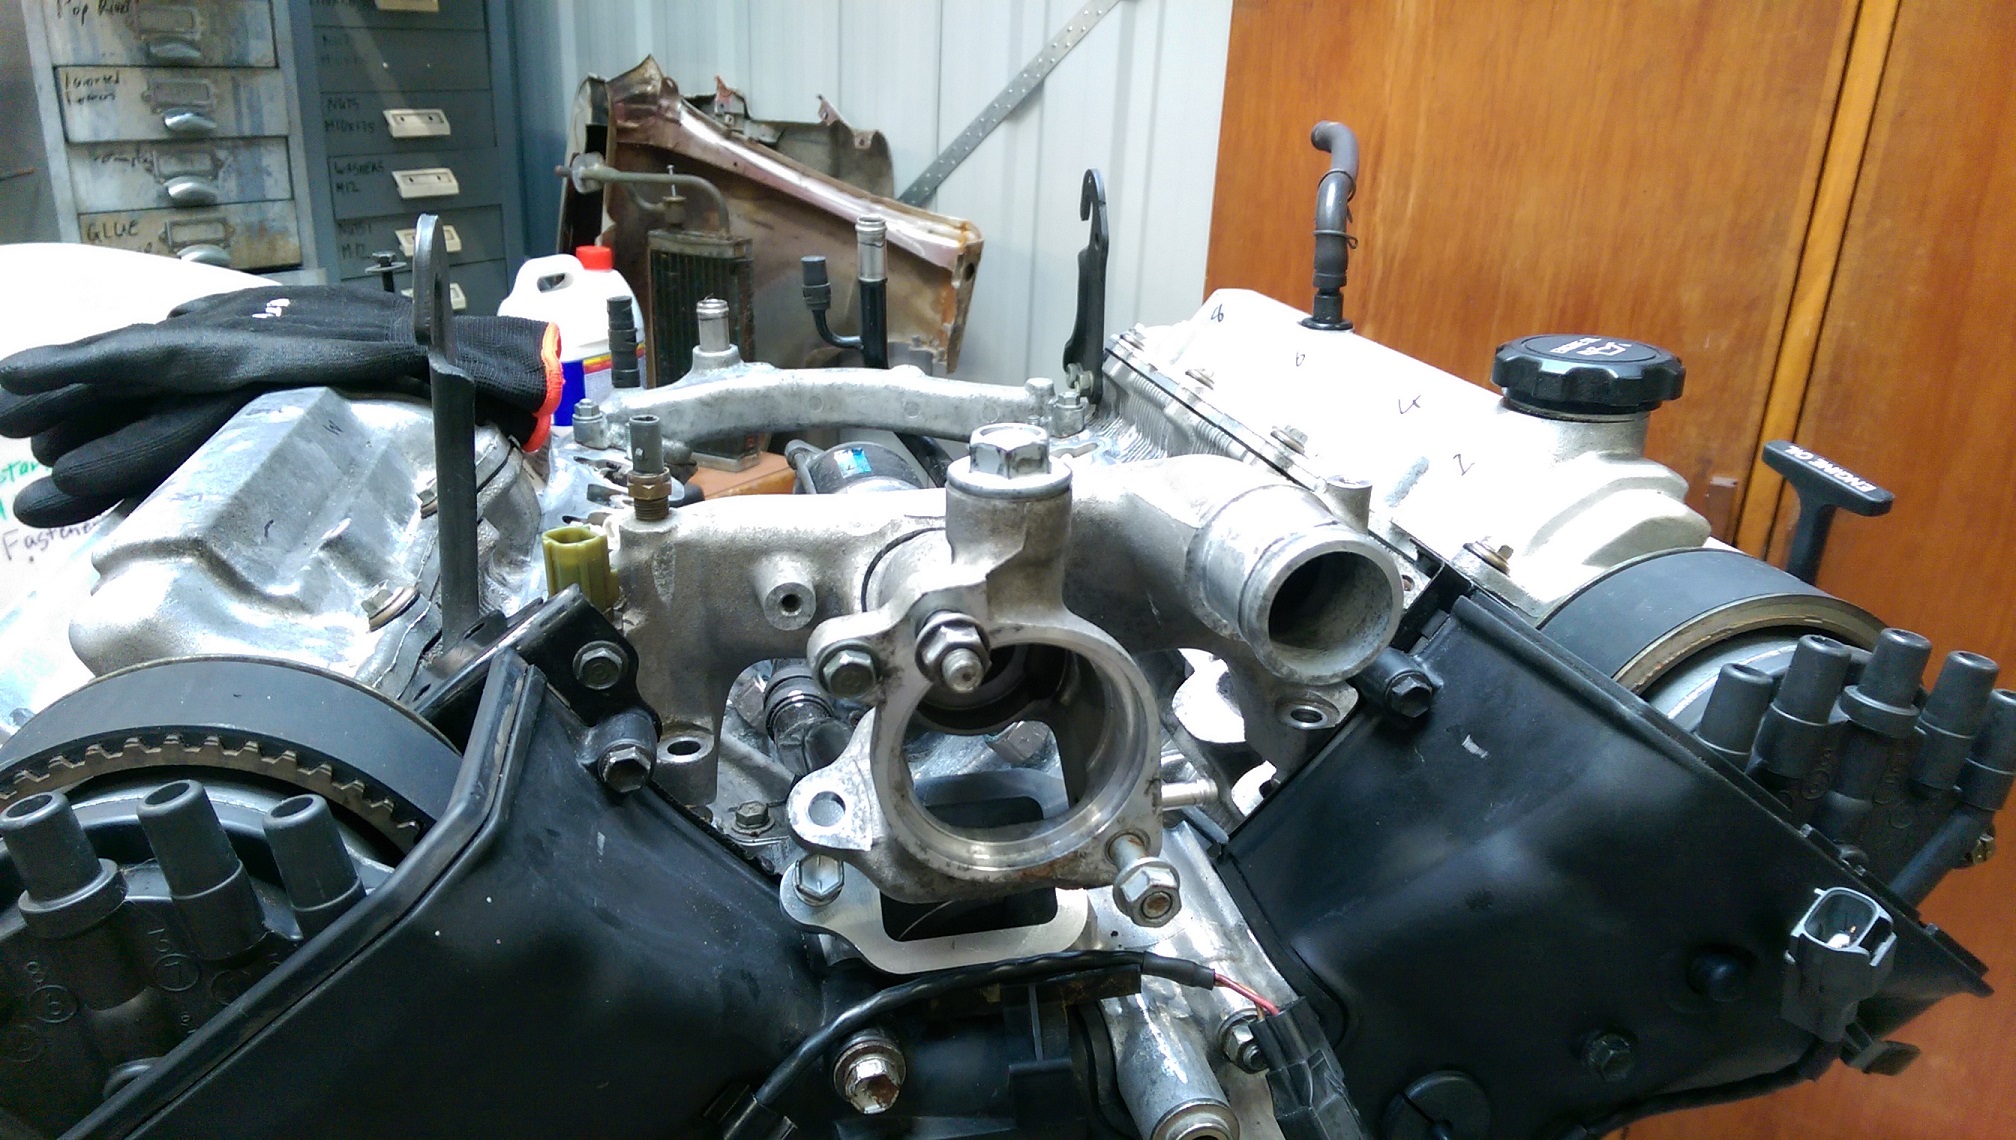
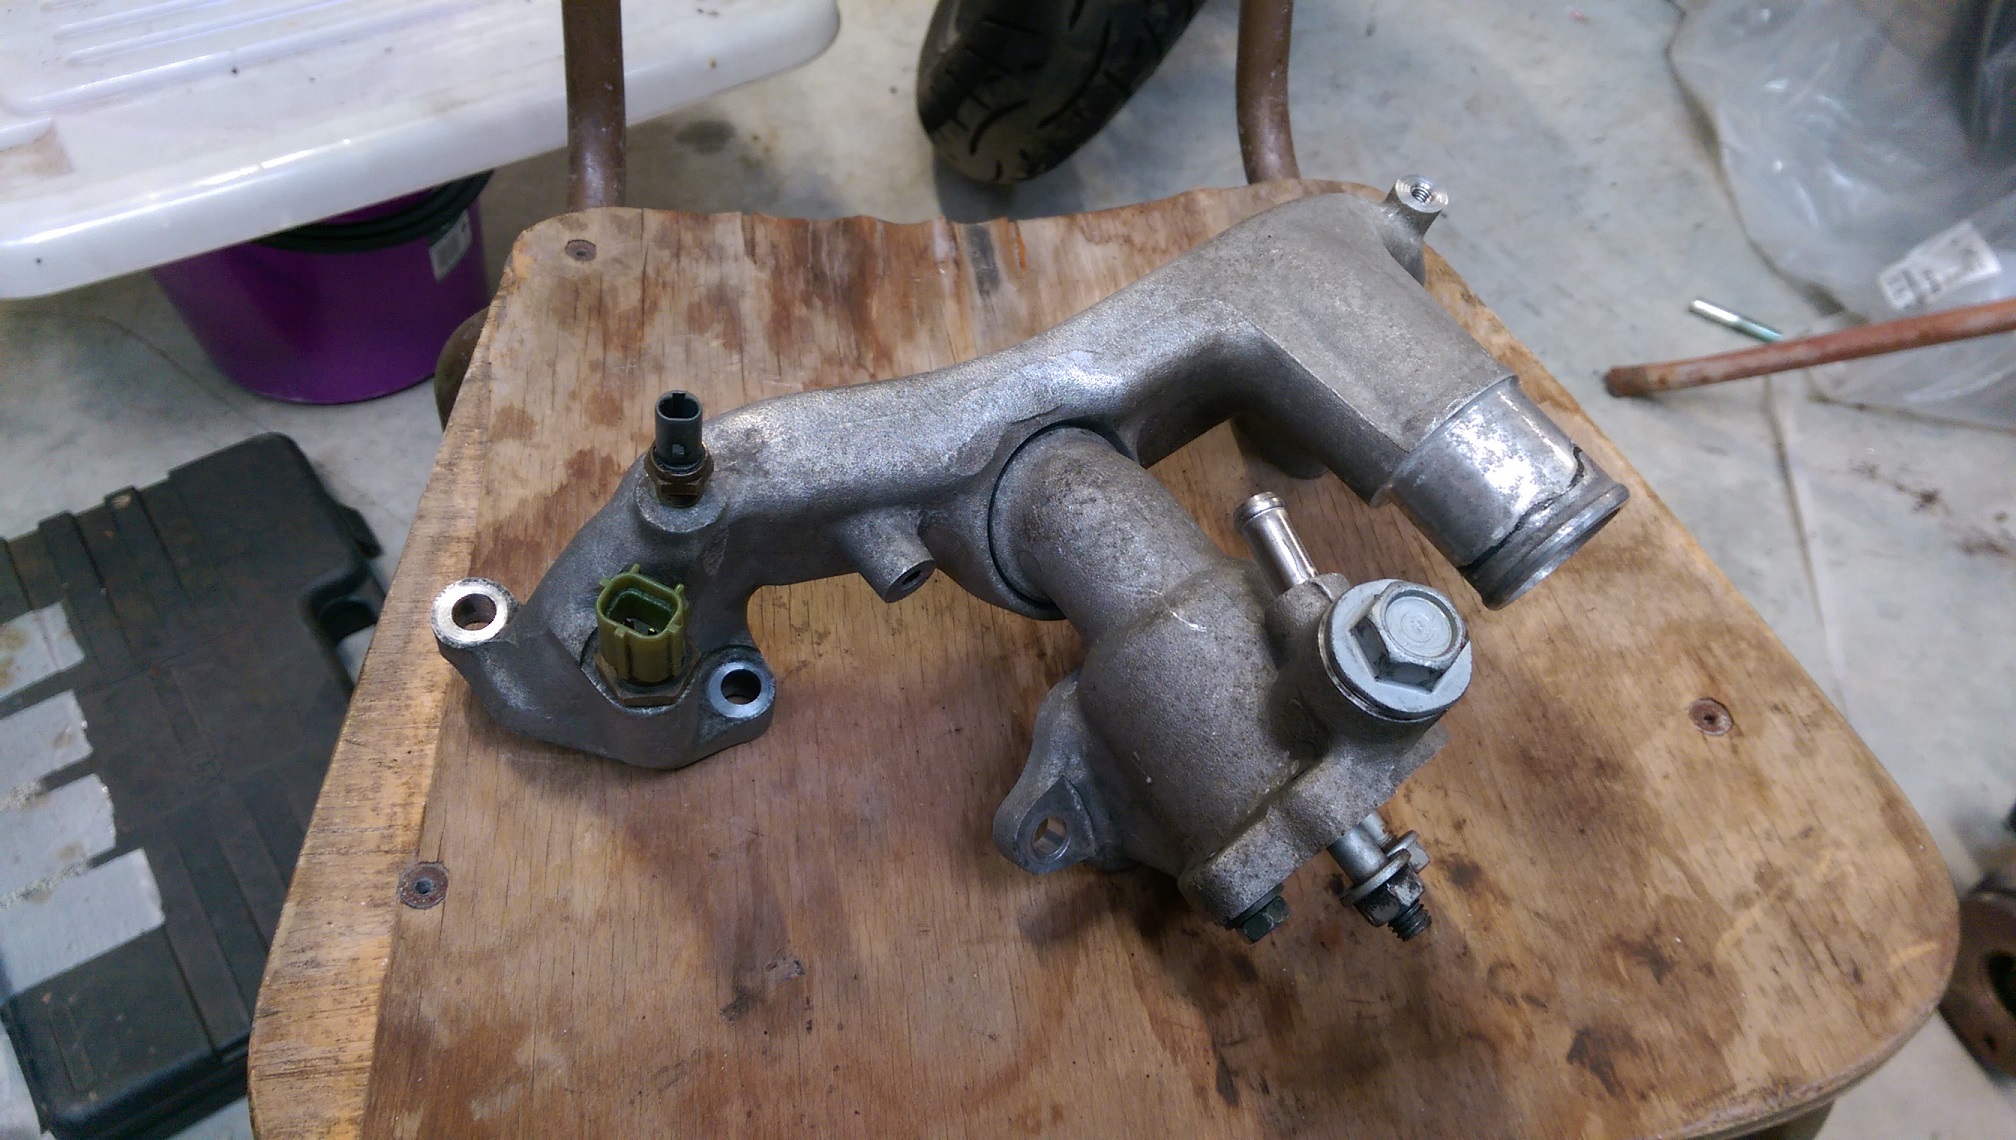
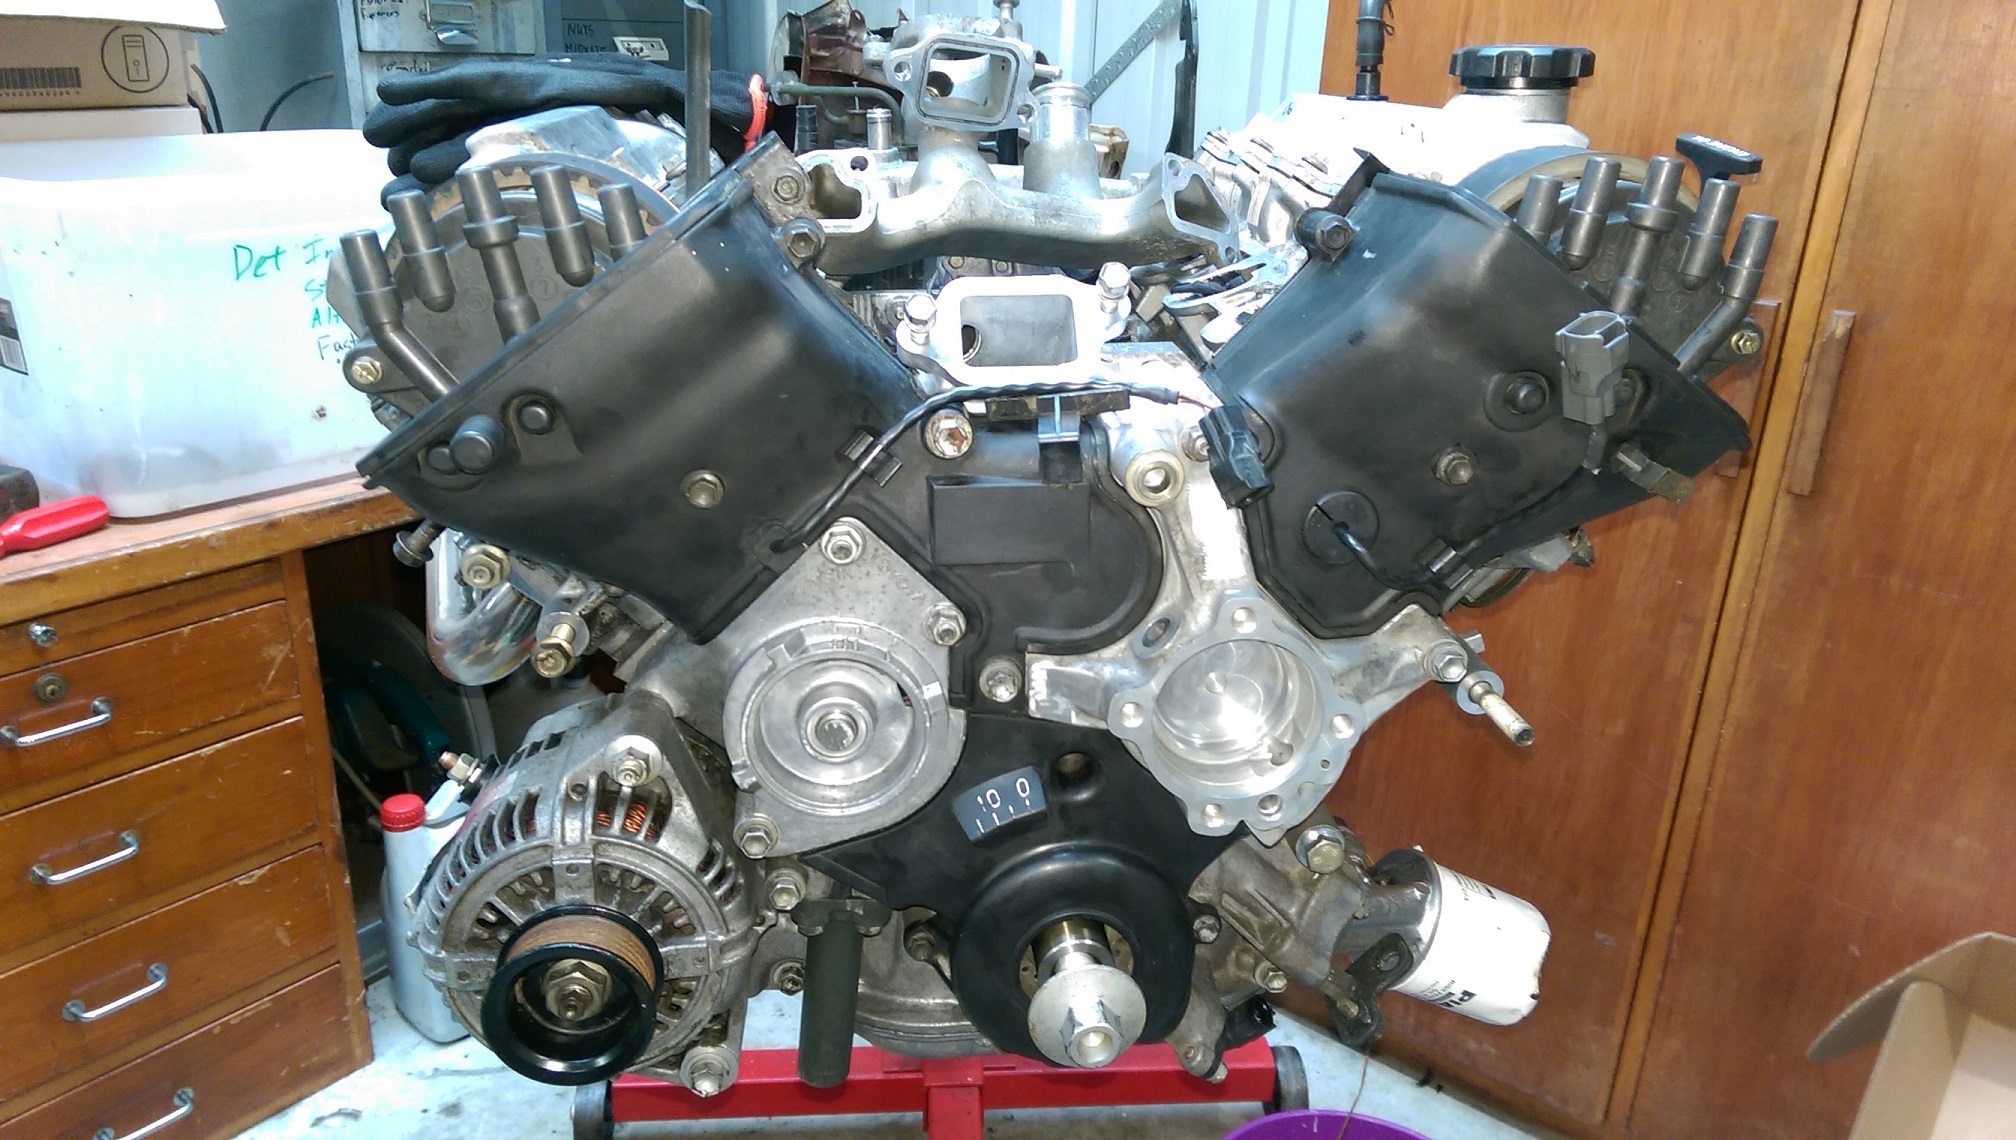
Timing belt and water pump installed. New not-cracked distributor rotors installed. Cleaned covers and stuff installed, everything was covered in waxy oily stuff. I've hacked up the tensioner and hydraulic fan pump cause I only need the alternator. But to remove the water pump, you need to remove the thermostat housing from the 'water bridge'. It's only held in with two bolts and a big o-ring. Easy, right? WRONG! Mine was held in with two bolts, an o-ring..... and a bunch of aluminium oxide, so I was unable to remove it. I had to remove the water bridge too. It goes here. So now I need the gaskets for the water bridge. Rockauto don't list them. Amazon have them, but don't ship to NZ. Hopefully Toyota can supply them separately, not in a kit. I did eventually get the thermostat housing off the water bridge. I had to put it in the vice and use a bit of wood as a lever/hammer so I didn't damage the aluminium. It took lots of small wiggling and oil and WD40 and levering and banging and twisting.
-
The RockAuto timing belt/water pump for the 1UZ finally arrived after a month or so. via Belgium?! 1/3 - 1/2 the price of buying it locally, including the freight! And it's all brand name stuff. I started changing that tonight. The engine has been in bits waiting for the timing belt for some time. So I just had to turn the crank to the right place and pull the belt off. Well, good thing I did change the water pump, cause the old one had seized.
-
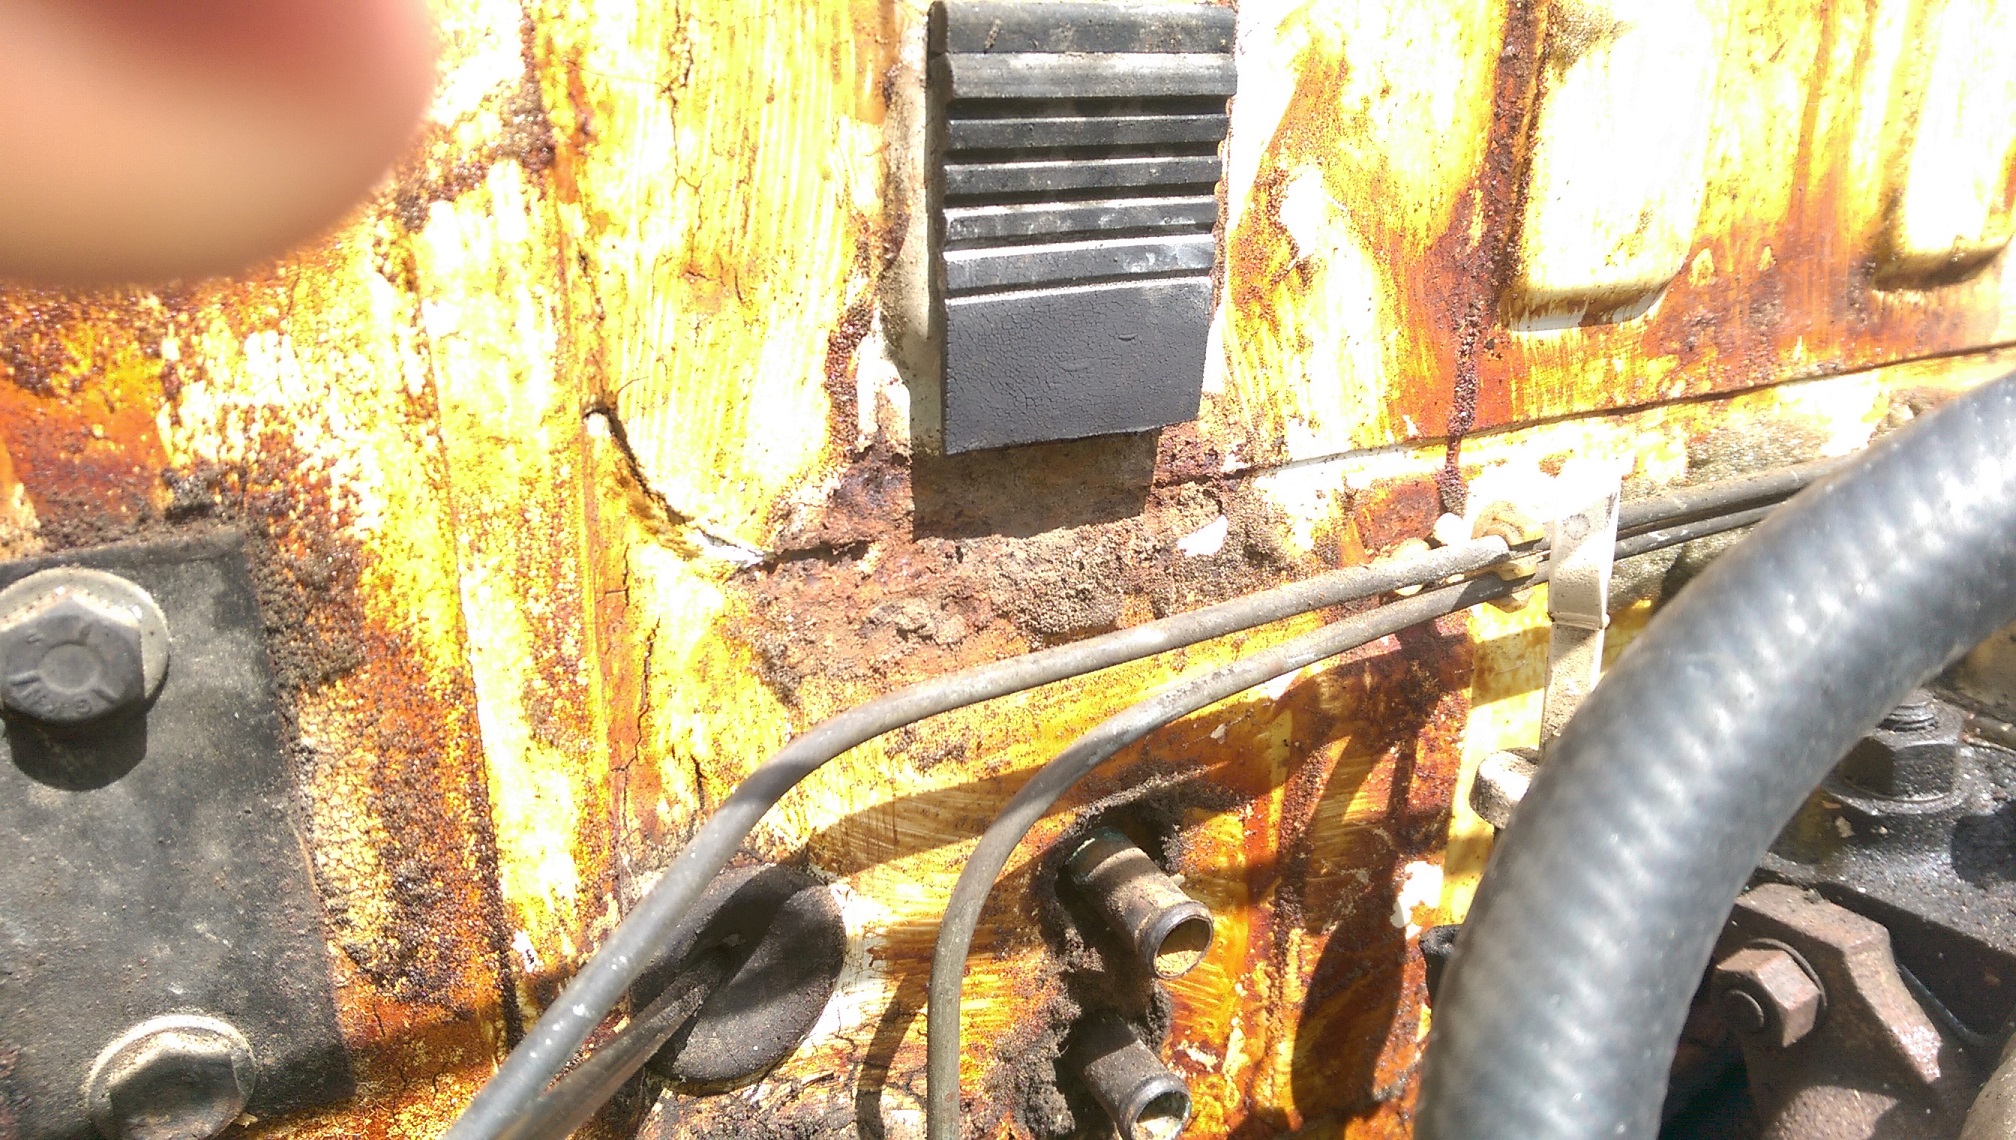
So after losing a little blood and bending a fingernail back on itself, I managed to cut, hack and tear the rubber foam pad off the firewall without removing the engine. This is the only bit of rust! Some of it is probably just the mud that caused it. All the orange shit is glue. I also used my AliExpress bore scope and had a look in the sills. I didn't see anything bad in there. I will still cut out a bit of the inner wheel arch that will open up the end of the sills where they usually rust. If it's okay, I can just weld it back in. This way I don't need to cut the guard, just to have a look. I also used the bore scope to have a look inside the rear guards and down the bottom of the c-pillars . And all okay!
-
Thanks to @Threeonthetree and @Nick Ritchie for OS Freight Services. I have a heater with a motor that isn't broken by me. And some patch panels for the rear wheel arches, B-pillar and a corner above the rear windscreen. I also got a 1972 Triumph 2000 Auto last week which is probably going to take over being the 1UZFE conversion project from the yellow one.
-
Click here for Project Thread Discuss here.
-
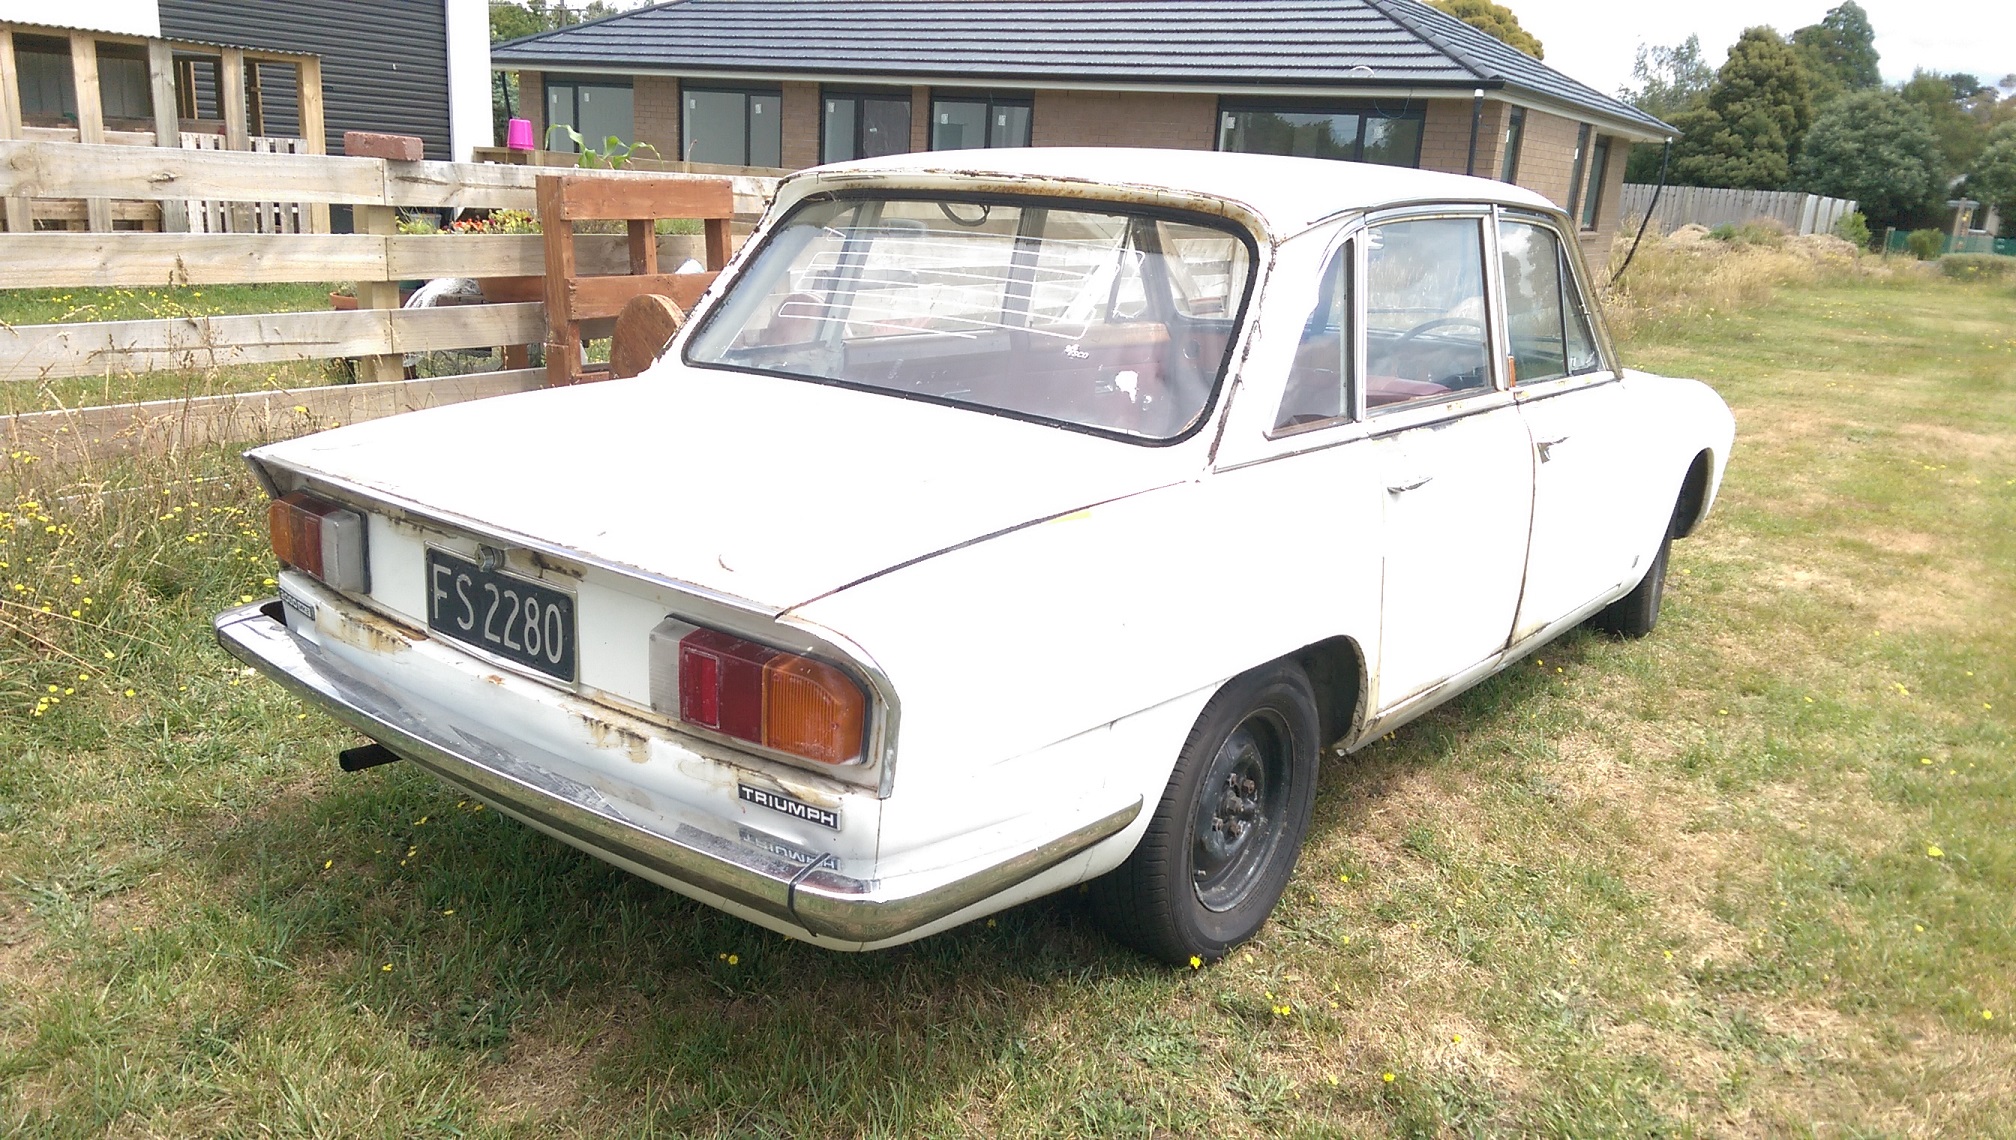
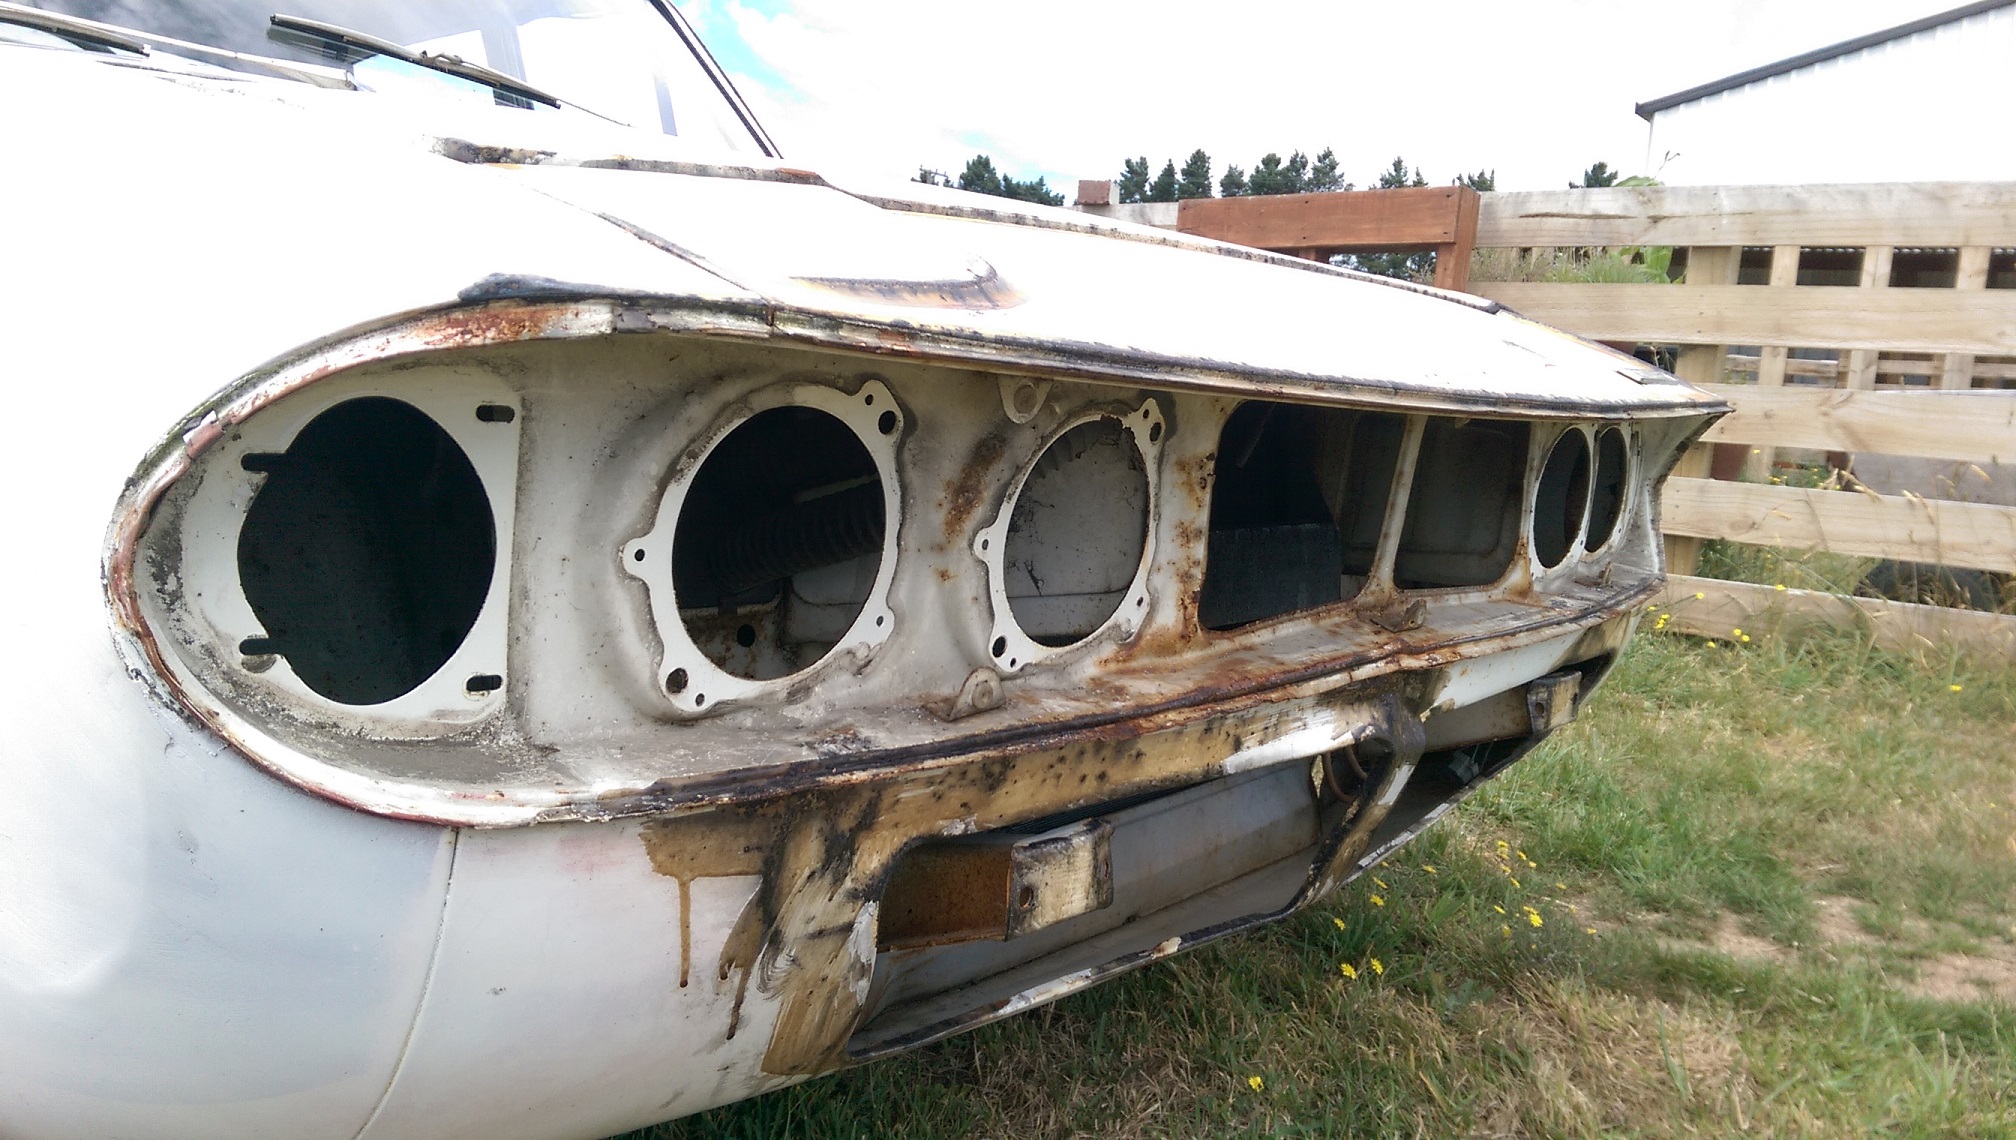
Click here for the Discussion Thread So I initially bought this for the front guard, for my other project. Adoom's 1976 Triumph 2500 TC. But despite looking like shit on the surface, it's waaaaaaaaaay less rusty than my 2500. So I think I will move my V8 plans over to this one. I still reserve judgement until I remove the windows and get the engine out and I can see the firewall. It's the original paint, which is thin and failing. The doors have a little bit of surface rust, but they are all solid, even along the bottom! No rust in the heater intake box, thing. No rust under any of the wheel arches. No rust under the petrol flap. No rust in the gutters. Sills look solid, I still need to have a look inside them with my china 'endoscope'. I've pulled the carpets out and no rust in the front corners of the footwells. No rust where the bottom of the front panel meets the guards. I've pulled back as much of the rubber/foam sponge from the firewall as I can and there looks like there might be a little bit of rust there. The bad. The front panels are a bit mangled. I'm hoping I can get them back into the right shape. I've got the 2500 to use as a template. The OMG. Wof failure sheet said "check fuel tank for leak". I found the leak! The big hose for the filler neck has a crack at the bottom, so when you turn right with a full tank or just put fuel in it, it leaks petrol INSIDE THE CAR! You can see in the boot and under the rear passenger side seat area has no underseal and the other side does, because the petrol has just washed it away. I have started stripping the car, but I need to keep it drivable/movable and mostly watertight until I can fit it in the garage. That won't be until the house is finished, which apparently might be around the end of Jan, and I can move all my house shit out of the garage.
-
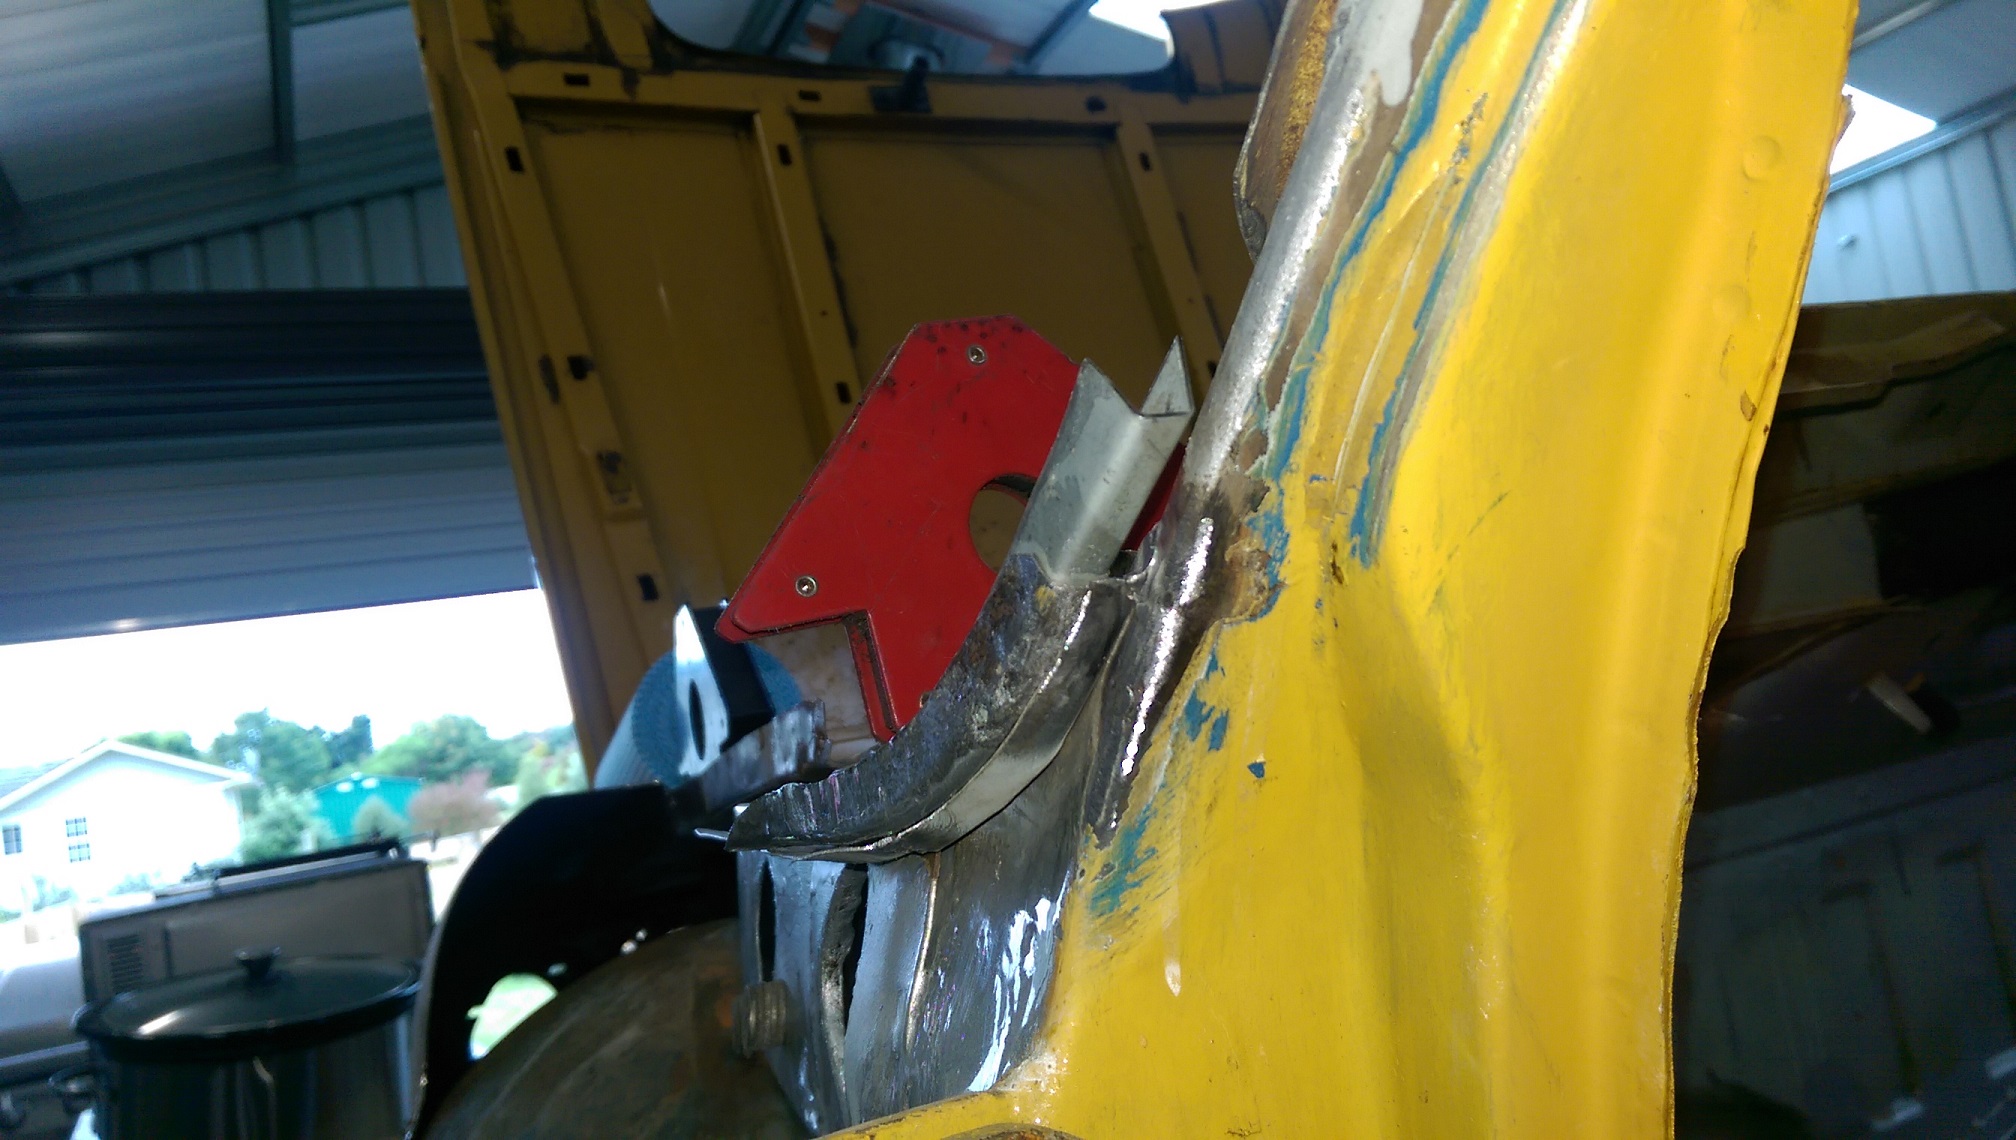
This bit required much adjustment to make it the right shape. It is a better fit than the rusty one it replaces though. The top part isn't attached, it's just there to test fitment. It also needs work before I can attach it.
-
Just saw this fulla guy North of Carterton at lunch time. Beeped at him with the effeminate horn on my shitty white corolla. /LING POST
-
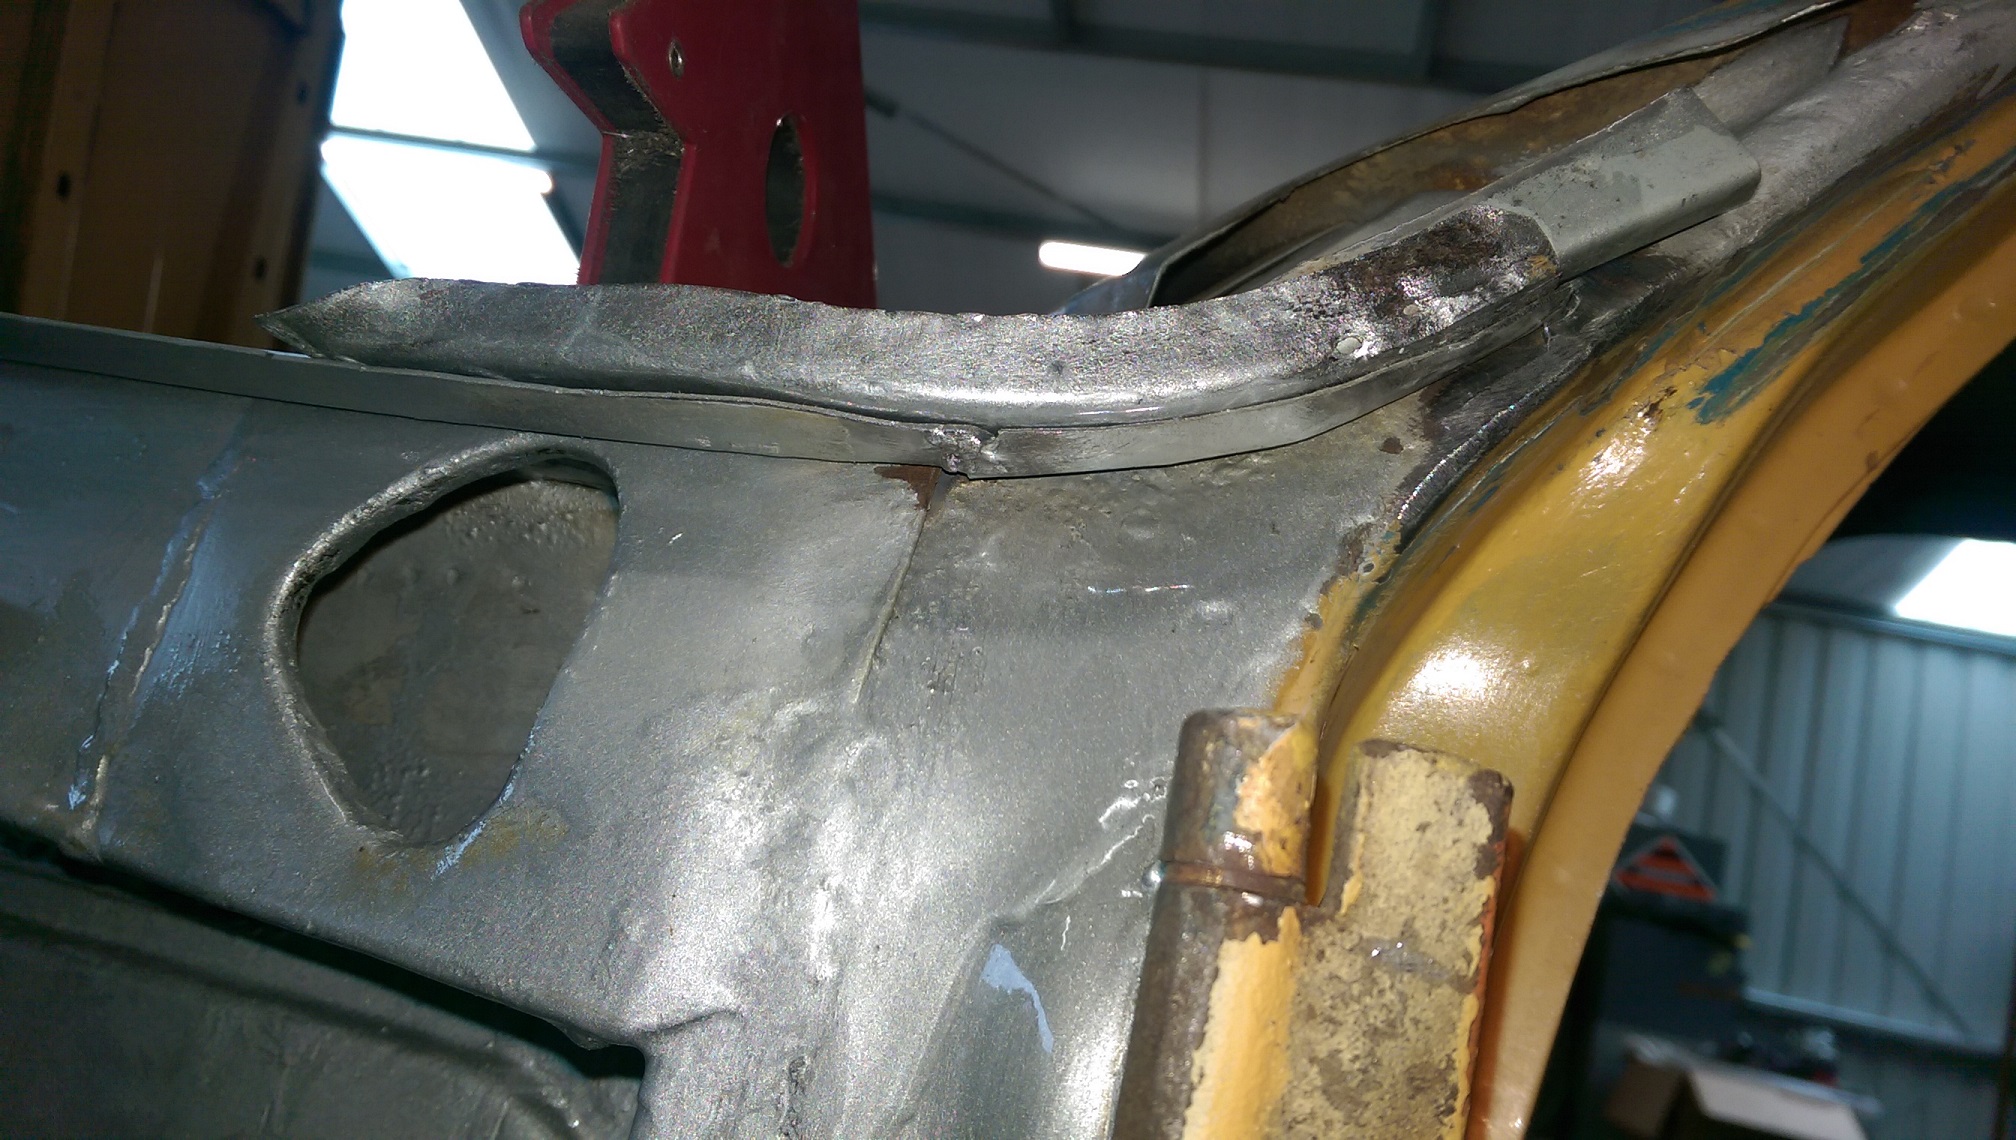
And a bit more.
-
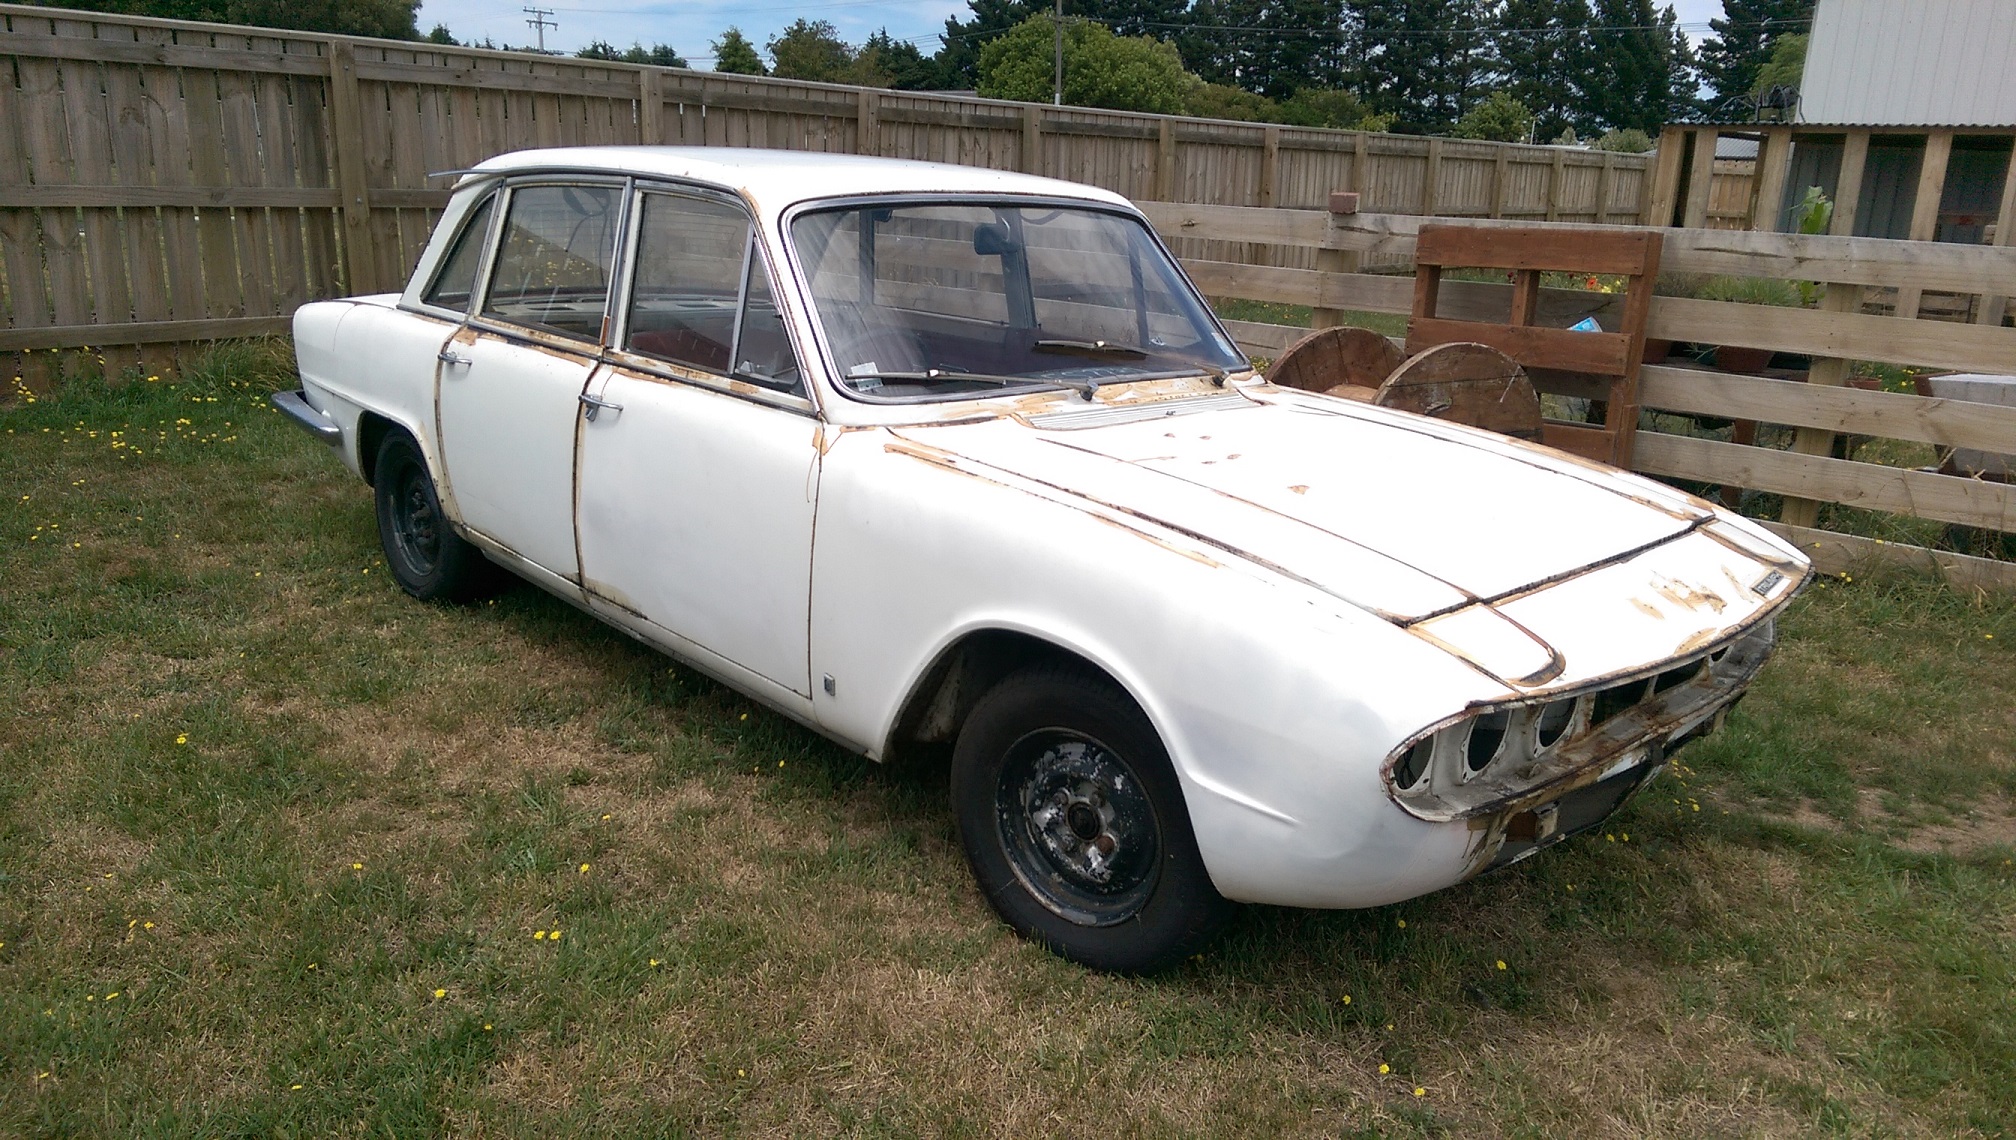
So... uuuuh, I bought another one. For SFA. It's a 1972 2000TC auto. White, with red interior. I had originally intended to get it just for the front guard and maybe some spares. But from initial inspection, without removing any parts, it seems to be substantially less rusty than mine. The paint condition is really bad. The guy I bought it off said he had sanded it back because some surface rust was coming through, then some rattle can paint chucked on, but the surface rust came back up so it got a WHOLE BUNCH of rust converter all over it. I suspect it is the original paint. I don't have it home yet cause of tow vehicle problems, but my brother it looking after it for me. Hopefully I get it home after xmas. I want to strip it completely to see what the rust situation is then decide if I transfer my plans over to that one and put the yellow one to the side. It's kinda a shame, I've done a bunch of work to the yellow one and there is still a bunch of work left to go. Buut, I will have to wait till my house is finished, APPARENTLY by end of Jan, cause there is no way I can get another Triumph in the garage while I'm living in here and my house stuff is taking up 1/3rd of the space..