Lord Gruntfuttock
-
Posts
16,152 -
Joined
-
Last visited
-
Days Won
52
Everything posted by Lord Gruntfuttock
-
 Can get a roll of marble/tile effect adhesive vinyl from Ali/Temu for not much moneys. I'd stick that on...
 -
XY Fairmont - rivalrx - Discussion
Lord Gruntfuttock replied to rivalrx's topic in Project Discussion
Nice to see a top loader being used. My bro had a beast genuine XA GT that had a very tricky one (unsure if close ratio or not). He sold it before it got sorted. Was pretty hard to use round town, engine only came on song around 3000rpm which didn't help... Still remember him crunching it into top gear at 120mph... -
So had to do the dining table similarly. Can see the patch where the resin had been spilled that set this off... She was a big job, Temu sanding discs are legit though... Just one coat of stain-varnish, but took a bit more care applying it to minimise patchiness, you can add a little more on light colour areas. Did this in spare lounge with heat pump on overnight to help things cure... And a couple of clear satin coats on top and a gentle rub down with fine steel wood, came out pretty good... Far better, also cleaned the glass and replaced the silicon buffers it sits on. Got a usable table now... Found the varnish really easy to apply, smoothed out well, no bubbles or drips, turps based with a decent new brush, and a little went a long way, only used a portion of the 1 litre cans I bought (stain varnish and clear satin varnish). Would trade again...
-
Got some furniture that's suffered from use and looks grotty, worst part was some resin the kids had spilled on the dining table. It was cheapish, Malaysian softwood stuff but it's not veneer so thought I'd see what it was like underneath the paint. Started with the coffee table as a test.. Discovered early on it was finger jointed scrap timber so very nearly just clear coated it like this for a distressed look, but I'd taken too much off the top. Debated painting it black, but decided to carry on sanding... Looked ok'ish in bare wood, debated stain, wood dye or stain-varnish but went for the latter as the wood is soft in places and I suspected any stains would soak in unevenly... Chose Rimu colour to match the bookshelves, and it looked pretty good with one coat, but a bit patchy so thought another light coat may even things out... But I think it really looked better before, came out a bit reddish and still patchy... Added a satin clear varnish over this and it came out ok after a rub down with steel wool... Not perfect but far better, not overly fussy as I have a mix of oak, rimu, mahogony and dark woods in the room..
-
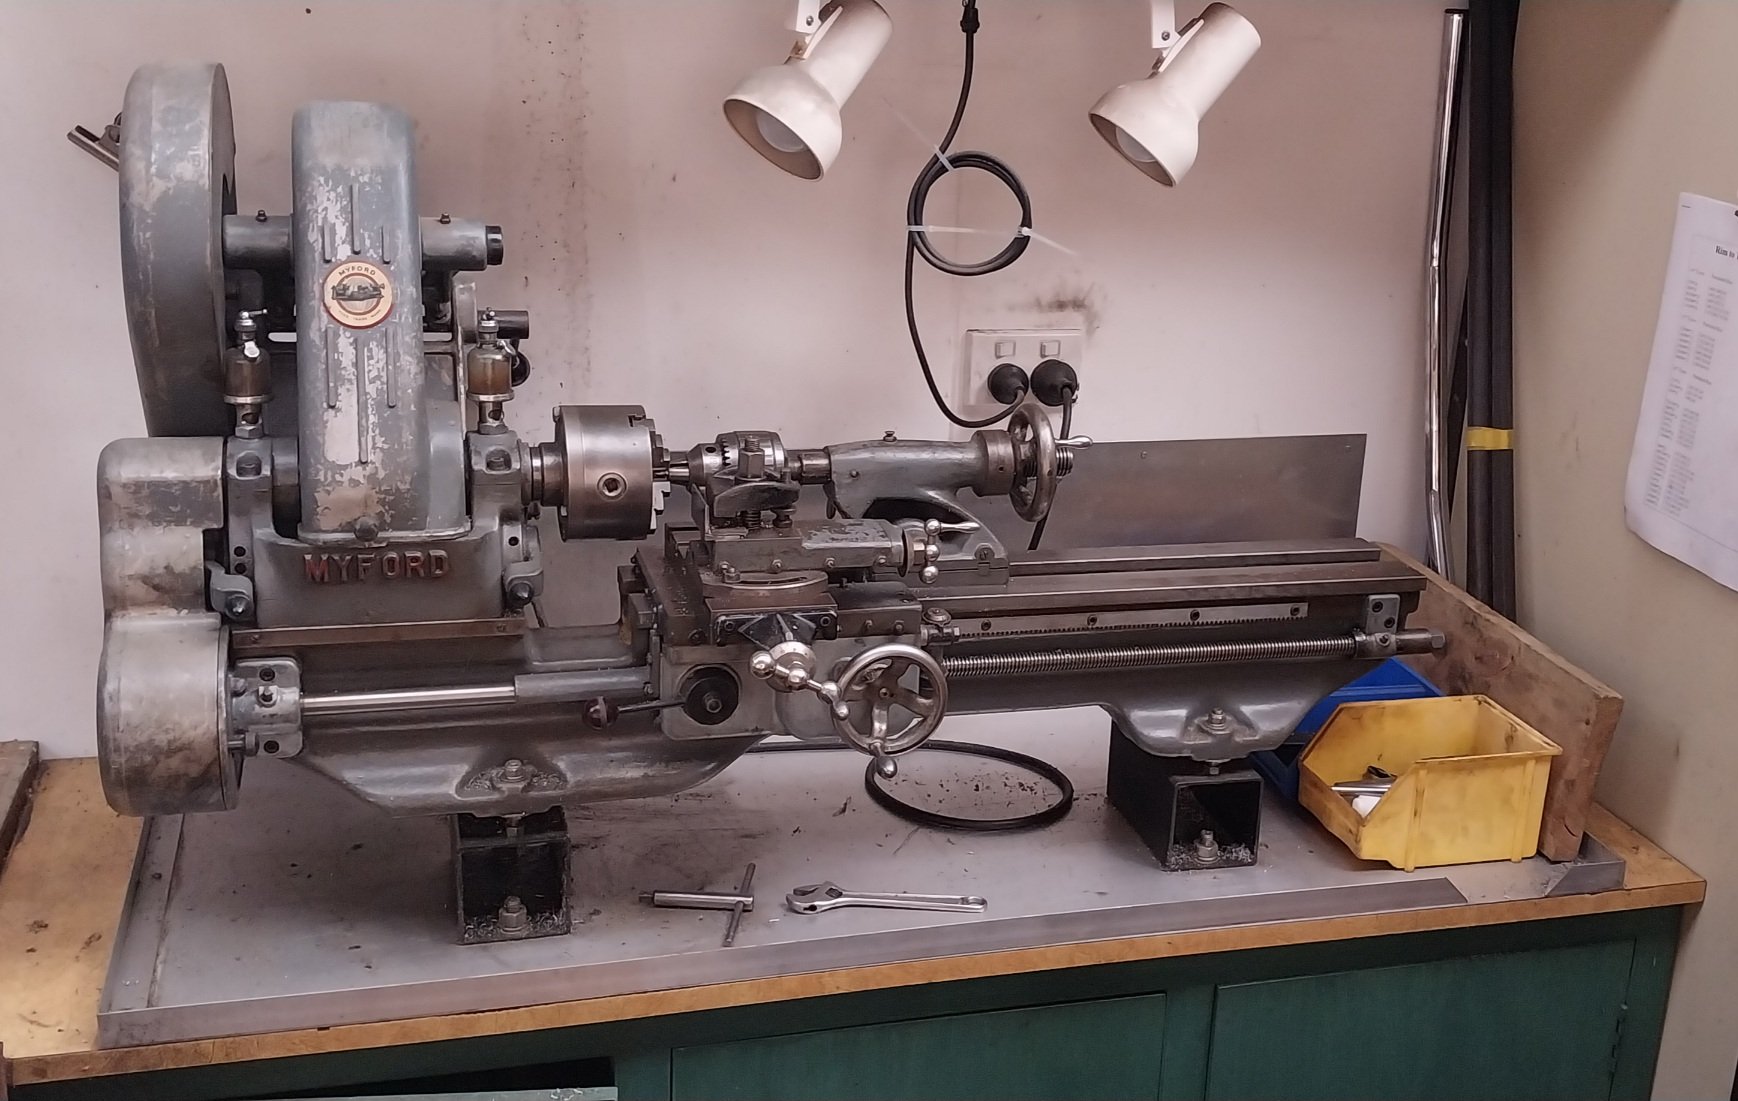
Can see swarf cutout on front...

-
Nice work. I just made a perimeter for my old Myford out of alloy angle, but left a small section out on the front right for sweeping swarf out into a dustpan. it's useful..
-
That is super cool... ^ On the other end of the scale, I'm a leather Barry now. The ~ 15 yr old leather lounge suite was a bit fucked, stitching coming apart, heat, dirt, neglect, colour wearing off, holes. Didn't really take before pics but apart from damaged sections it pretty much looked like this... It's a good set though, reclining chairs you can sleep in and couch has pop up footrests so I wanted to save it. Started by buying a curved leather needle and upholstery thread, watching youtube on how to re-stitch things, and it came out ok... Then gave whole suite a good clean (bought a Pelle leather care kit). Sprayed it with liquid cleaner, brushed in small circles (I used a new soft shoe brush) and wiped with clean rags, so much grime came off. Then before applying the reconditioner cream I looked at addressing the colour and holes. Bought some bits from Temu, leather dye, filler and glue... Glued a small patch underneath the hole and filled with a flexible filler that takes colour apparently, seemed to go ok... and before and after... Then applied colour dye, just rubbed in with clean rags where needed, the dark brown was a good match, and let it dry overnight. This was first coat, I reapplied where necessary... Applied it in sections... Then rubbed in reconditioning cream liberally, it's dark & shiny here cos just applied but will soak in... Bloody pleased overall, pretty satisfying work, looks like a new one, and has passed furry thing approval...
-
Discuss here about Yoeddynz's little Imp project...
Lord Gruntfuttock replied to yoeddynz's topic in Project Discussion
Should have posted a pic of your fire truck... -
Discuss here about Yoeddynz's little Imp project...
Lord Gruntfuttock replied to yoeddynz's topic in Project Discussion
Yeah the sheer concept and awesome engineering are cool and all, but I think the best part of this build is the reactions from internet experts. I genuinely wonder why some people are so keen to show the world their stupidity... And Alex's replies are fucking hilarious... -
KPies 1974 Holden Belmont Discussion
Lord Gruntfuttock replied to cletus's topic in Project Discussion
^ can create projectiles though. I've used a grease gun in the past ok, just screwed a grease nipple into bleed port from memory... -
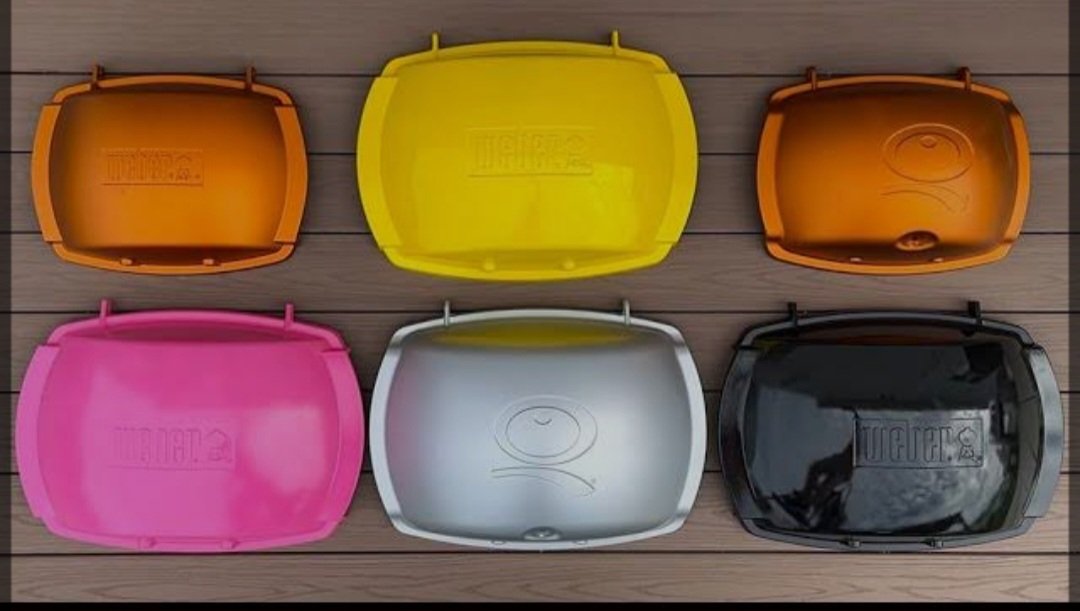
There's loads of Mericans painting these. Quite a few do them in sports teams colours for tailgate brews & beers...
-
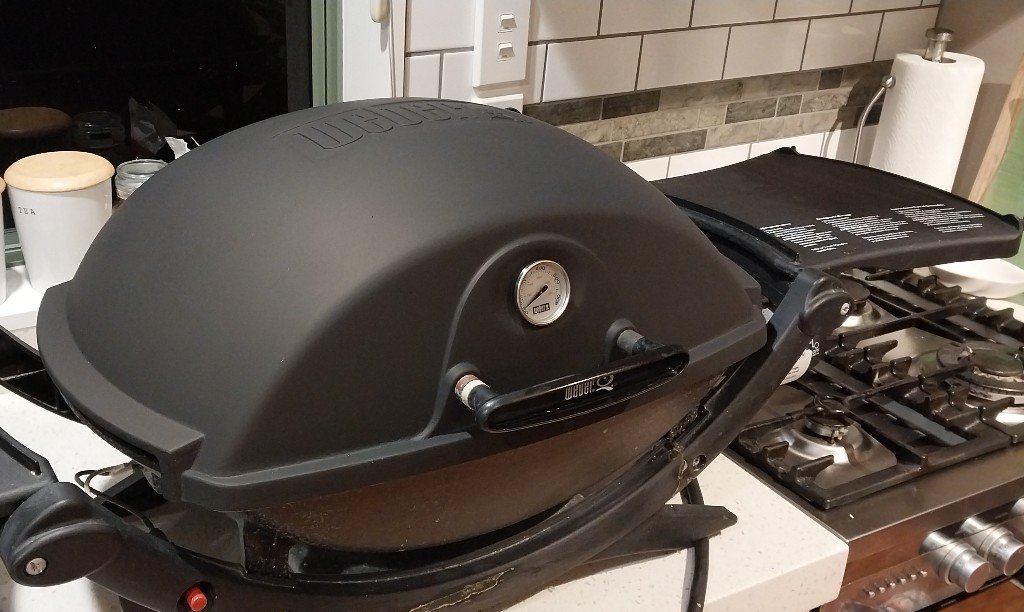
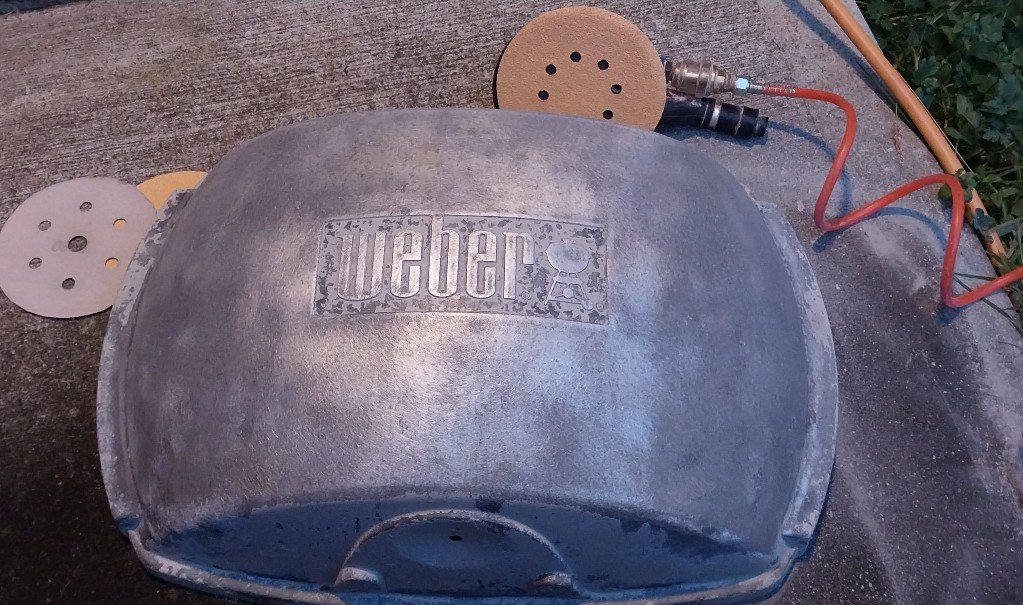
And after cleaning everything else gave it an hr with the lid on outside at around 200 Dec C to cure paint, and reassembled. Looks pretty good... Would look mint in red caliper paint or with coat of hi-temp clear gloss, but that would mean spending money...
-
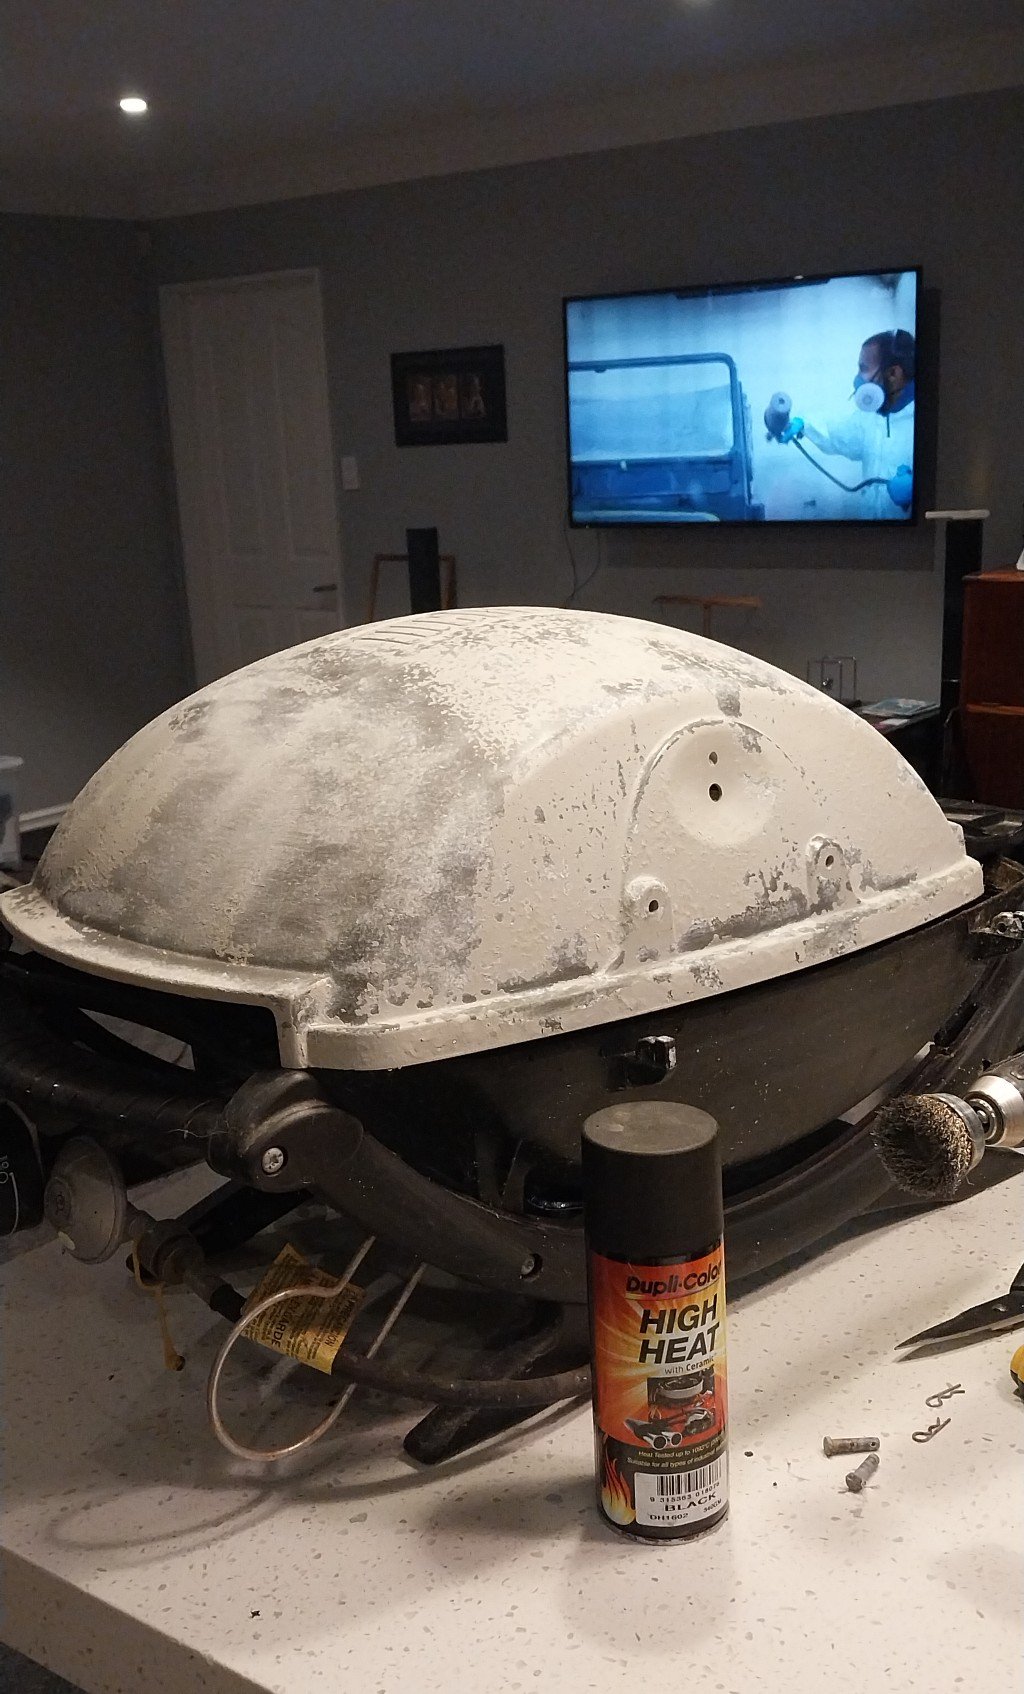
Wombling Barry BBQ restoration. Weber Q a bit fucked from being run over at a campsite plus being left outside by the sea. Had spare exhaust paint and need a BBQ this weekend so gave it a go...
-
Mate lost his garage and contents thru such a setup.
-
I'll see if I can find pics of one I saw at a car show. It was very neatly done...
-
KPies 1974 Holden Belmont Discussion
Lord Gruntfuttock replied to cletus's topic in Project Discussion
My old ute sat decomposing in the back yard, and the dodgy neighbour asked if he could work on it to pass the time. He was just out of jail and not working. I said sure, then a month later he was back in jail and ute was missing. Never reported it cos was worth fuck all then (late 90s). Wonder if it's too late to ask the coppers if it's still alive... -
KPies 1974 Holden Belmont Discussion
Lord Gruntfuttock replied to cletus's topic in Project Discussion
H series Holdens, X series coons and V series Vals FTW... -
KPies 1974 Holden Belmont Discussion
Lord Gruntfuttock replied to cletus's topic in Project Discussion
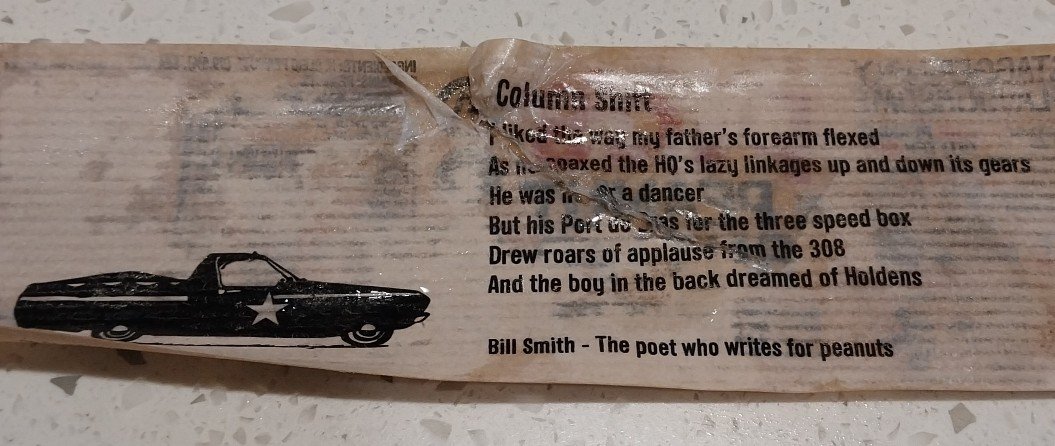
Fibre timing gears is a weak point. Can replace them with alloy ones that give a slight blower-type whine. Found this on back of Pics peanut butter jar label this morning. Not sure there was a 3 speed column change 308 option? Lazy linkages is on point tho...
-
KPies 1974 Holden Belmont Discussion
Lord Gruntfuttock replied to cletus's topic in Project Discussion
Sweet. I had an HQ ute, 202 traumatic, bull bars. Miss it... Mate had a beige Belmont, think it was 173? Super budget, Kingswood was the flash model, the Belmont didn't have interior arm rests and the ciggy lighter was a circle of match lighting paper glued to the dash... -
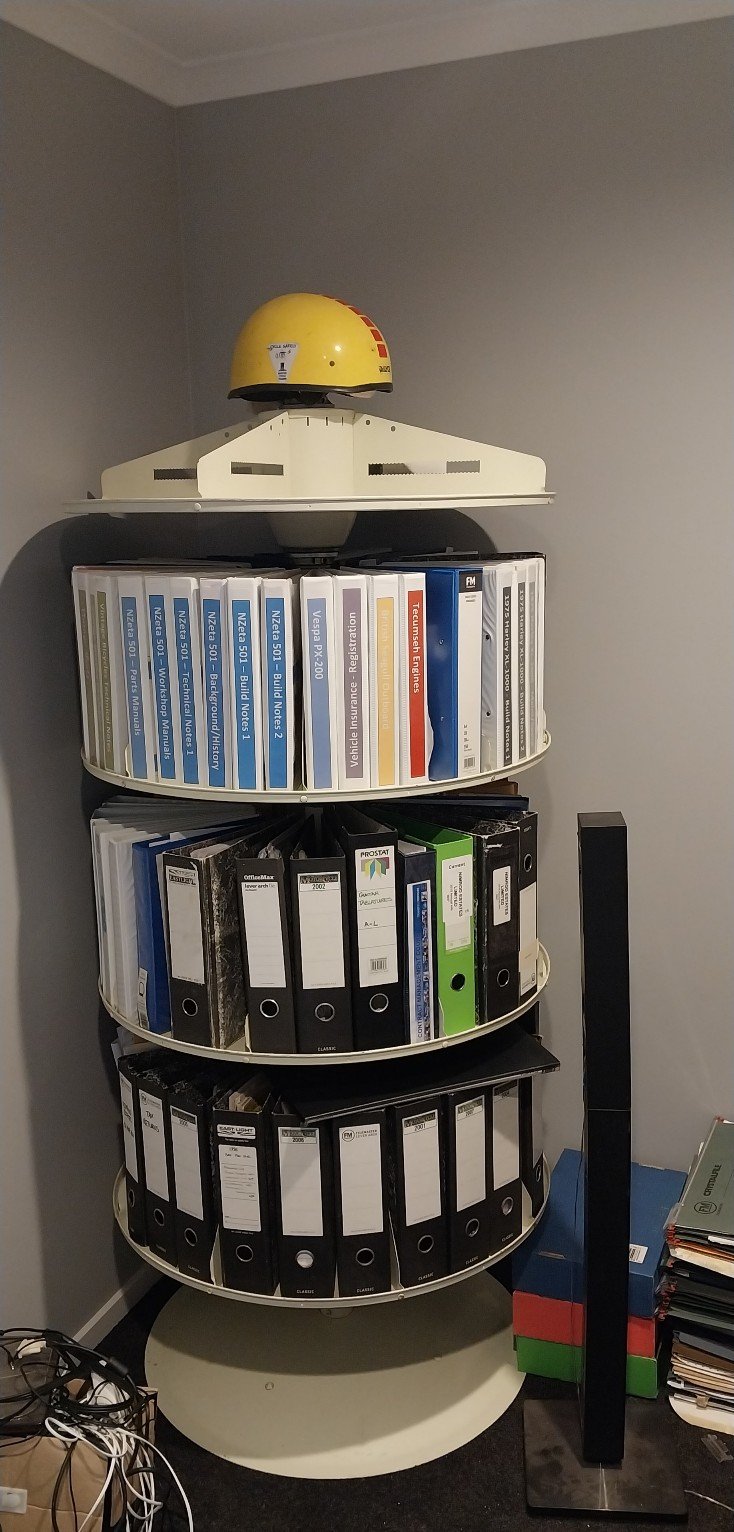
Legit thought that was bacon & egg pie... Sorting the garage/office, found an old rotating file thing at the tip shop for $20, pulled it apart, gave it a clean, greased bearings and assembled it inside. Shit it's heavy...
-
Just wanna say it's good to see the ongoing updates on your project thread. Good to see the issues, minor tweaks and improvements (and foibles) involved in owning an old car. Nice to see it being used too...
-
Thank you for wearing pants whilst taking the pics...
-
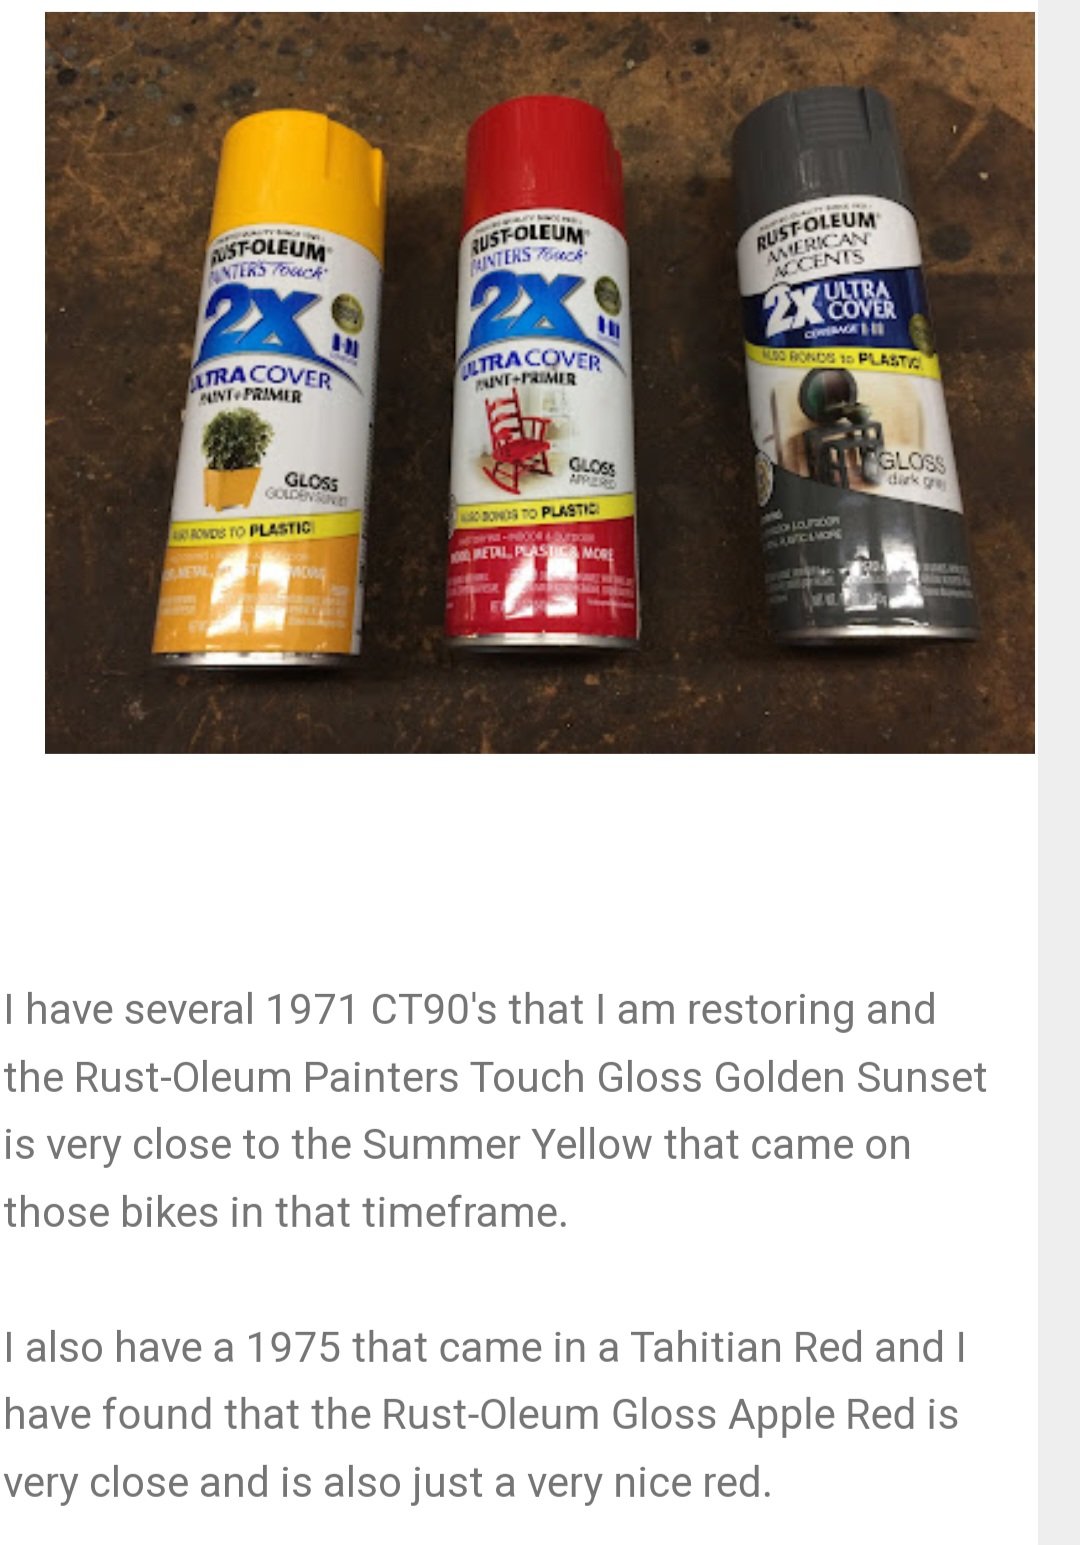
$16 at M10. Can't vouch for the red but the orange is near perfect for 73-74 models...
-
So for a standard bore GN (57mm) and CT90 stroke of 45.6mm that's around 116cc of hybrid power...