HumberSS
-
Posts
481 -
Joined
-
Last visited
-
Days Won
1
Content Type
Forums
Downloads
Events
Gallery
Everything posted by HumberSS
-

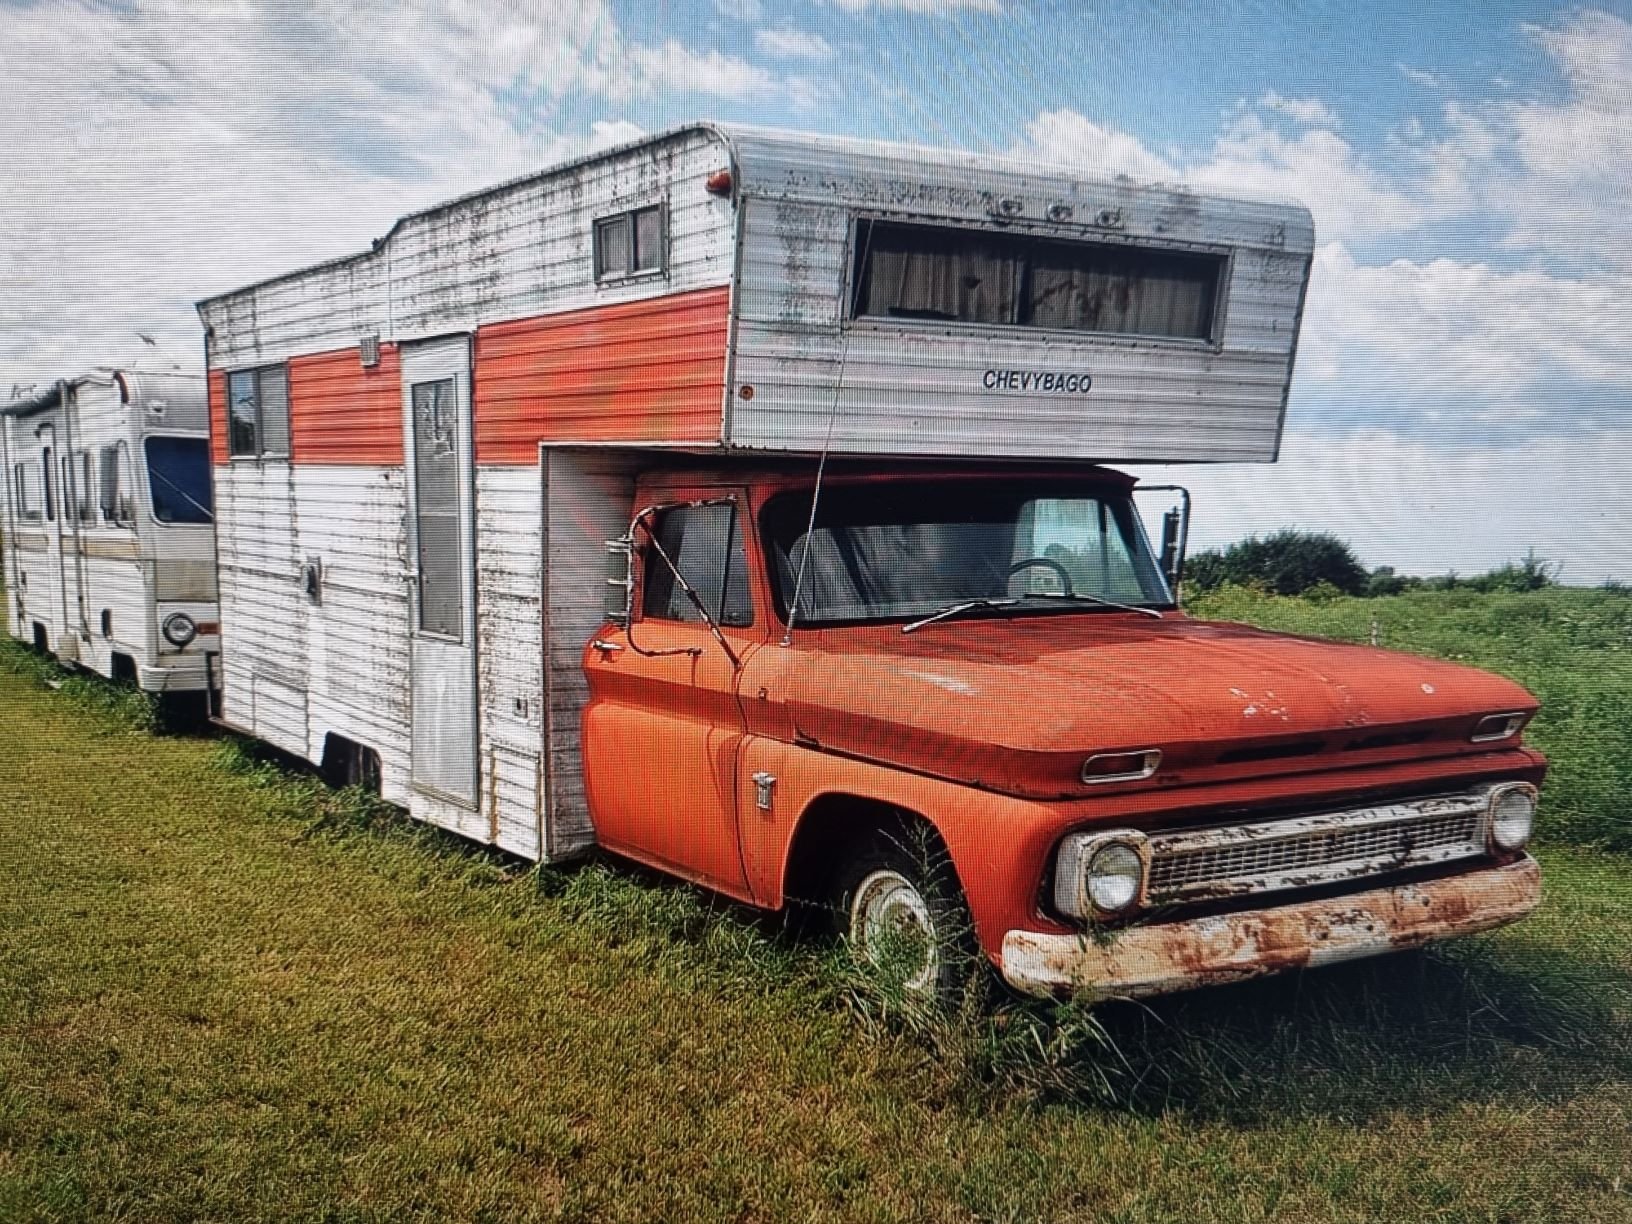
Humber SS's 4V Century V8 powered Dyna Camper
HumberSS replied to HumberSS's topic in Projects and Build Ups
need to order a few rod-ends from China to finish this off but I think it should work.
- 61 replies
-
- 12
-

-
Humber SS's 4V Century V8 powered Dyna Camper
HumberSS replied to HumberSS's topic in Projects and Build Ups
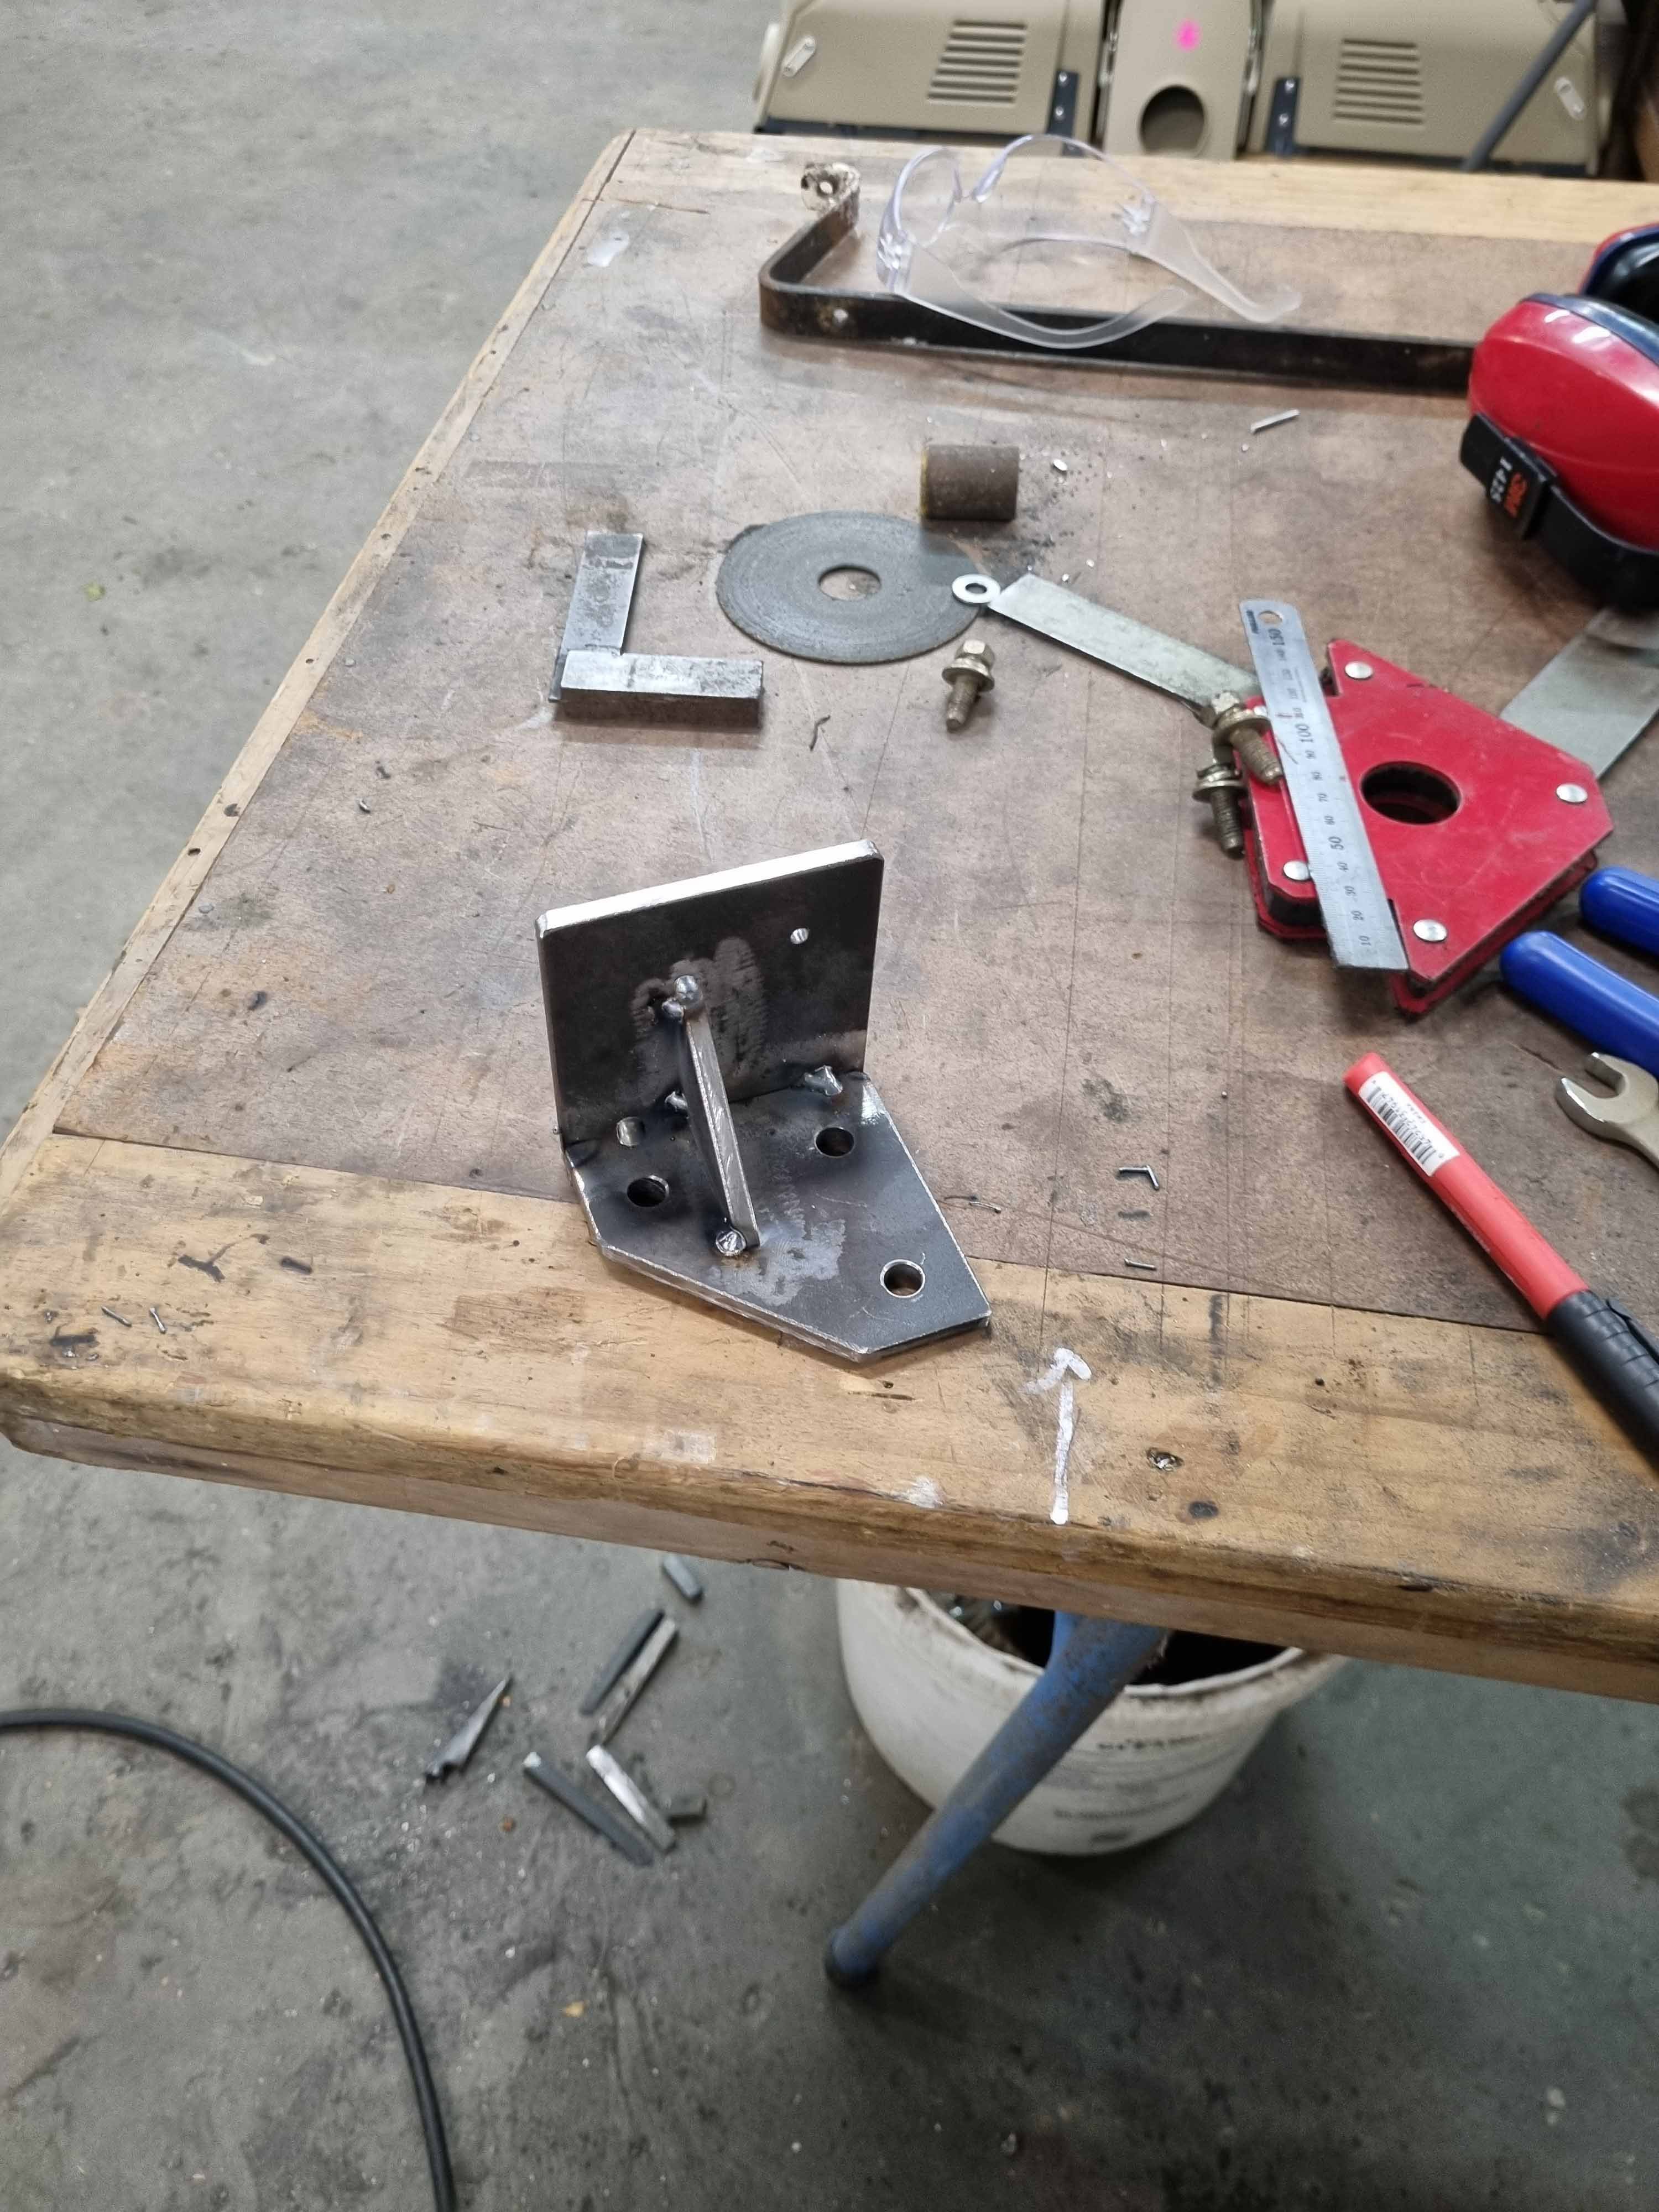
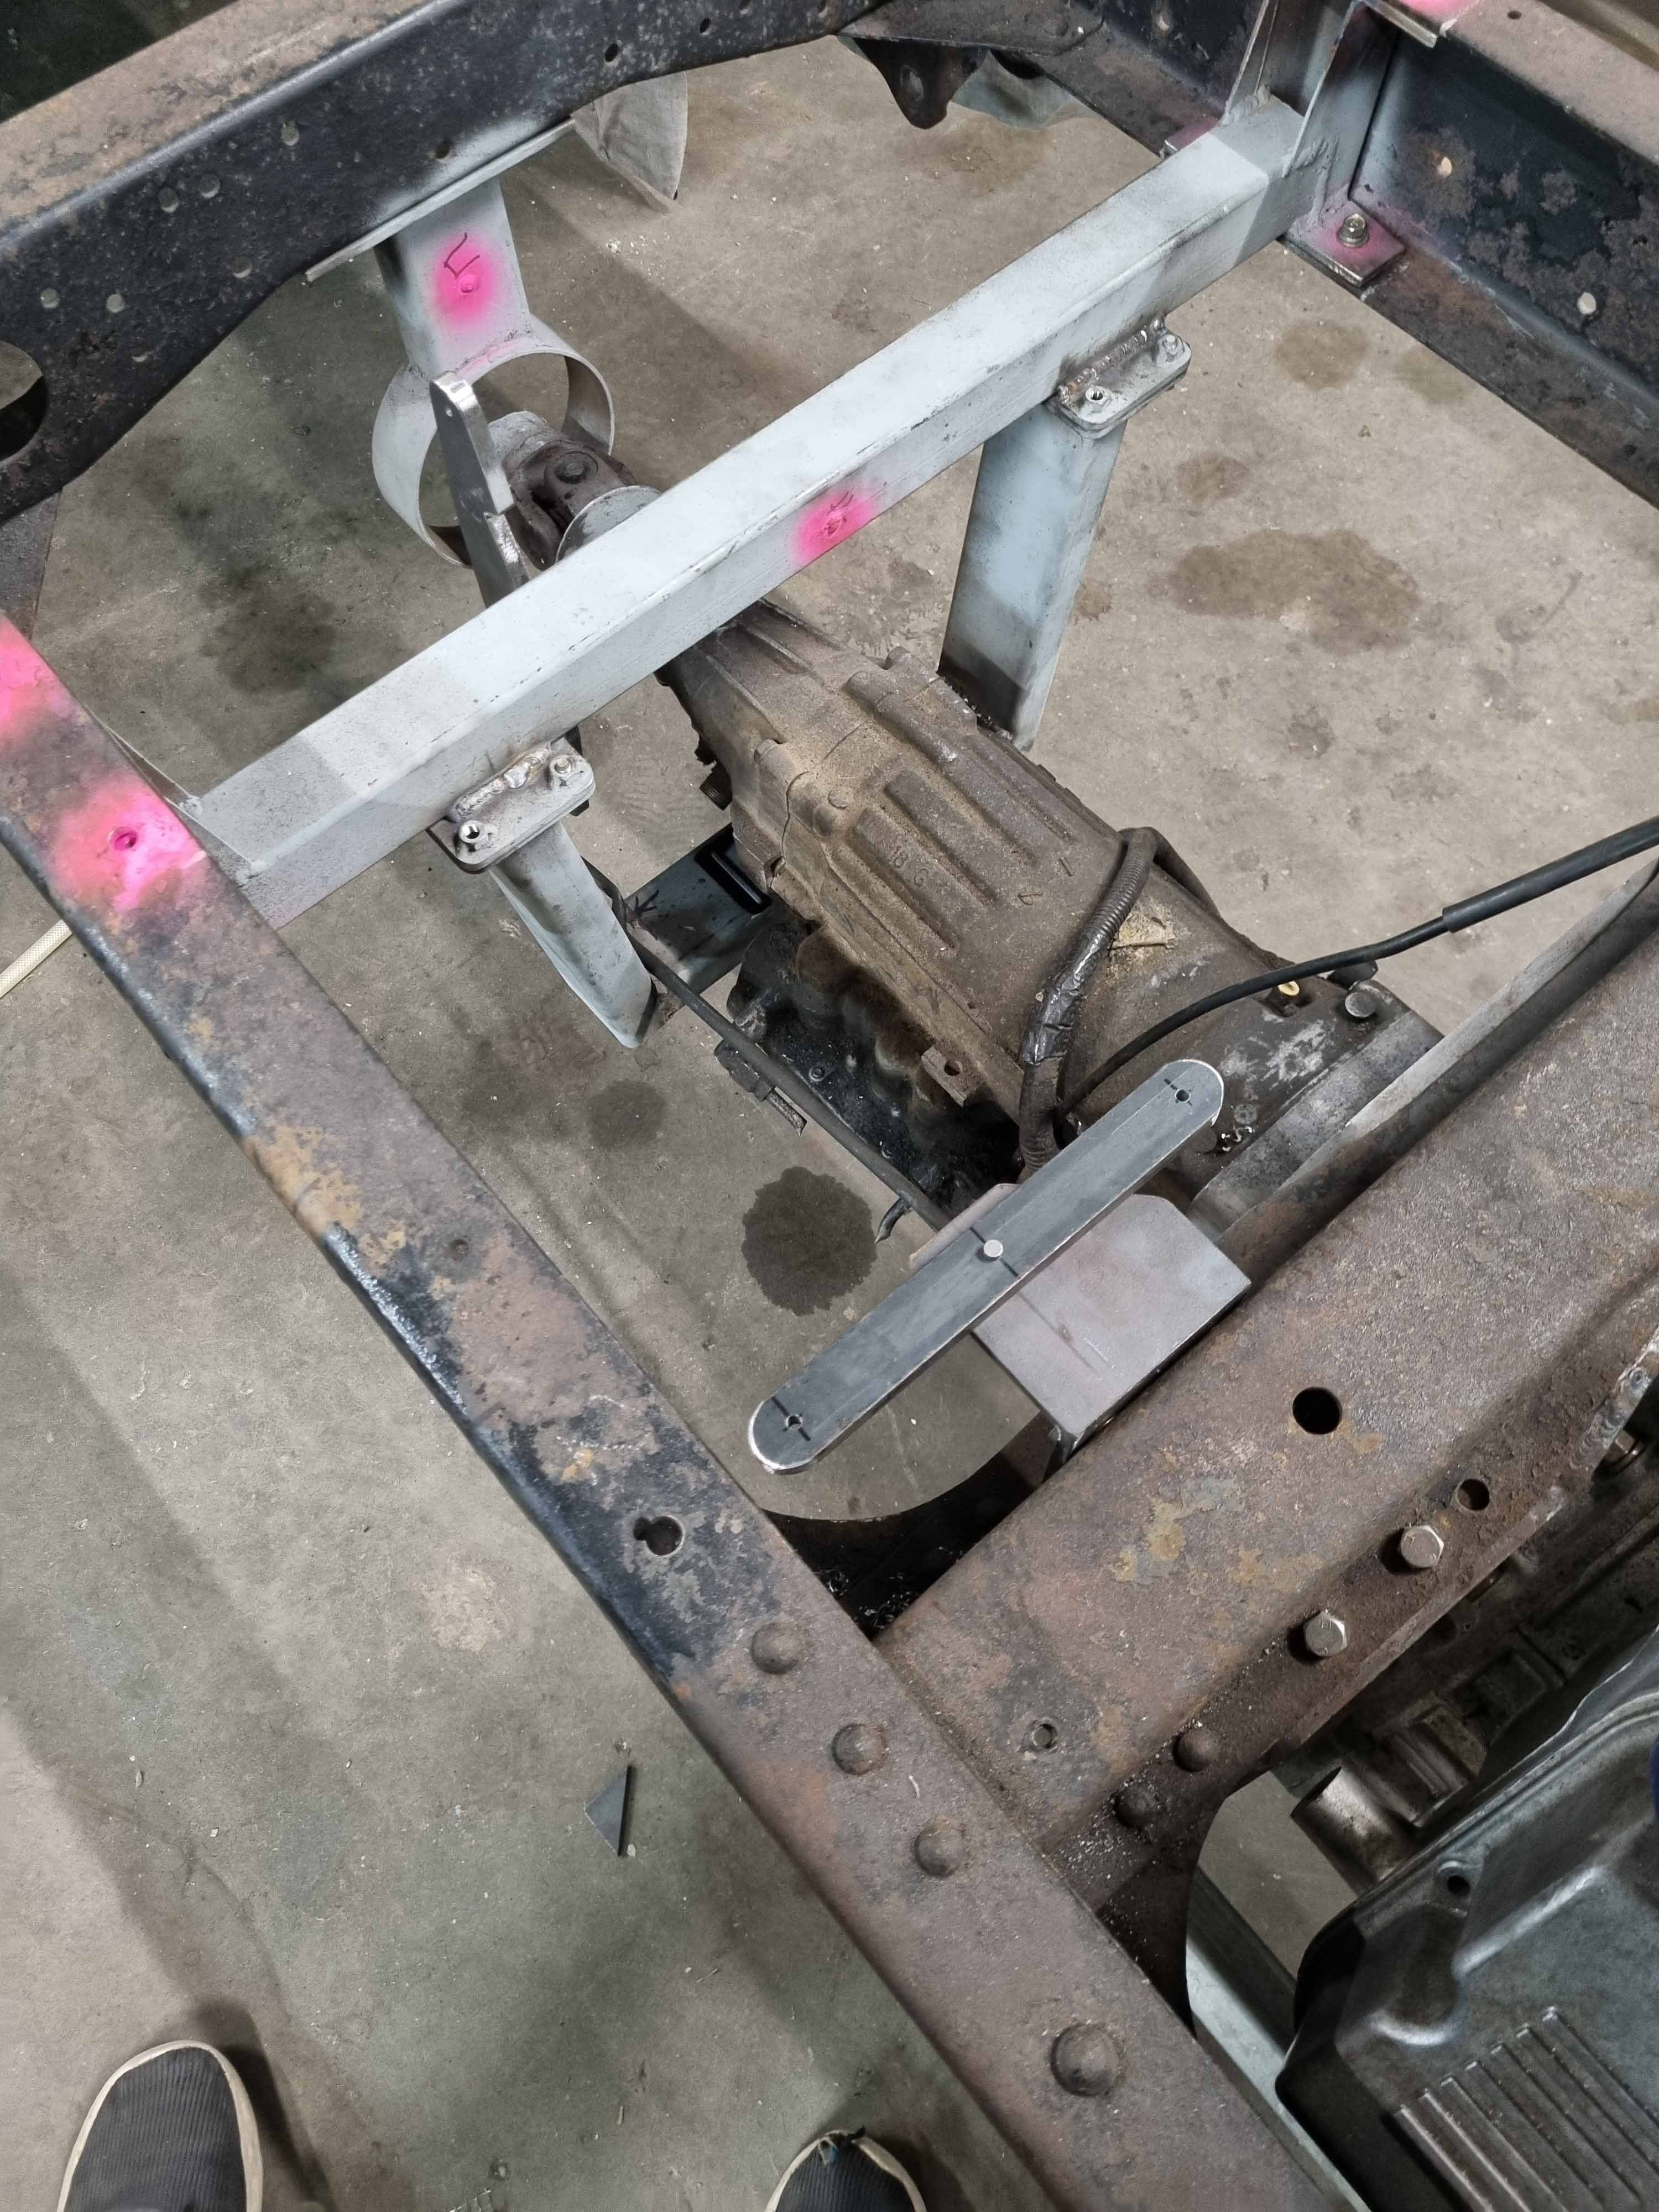
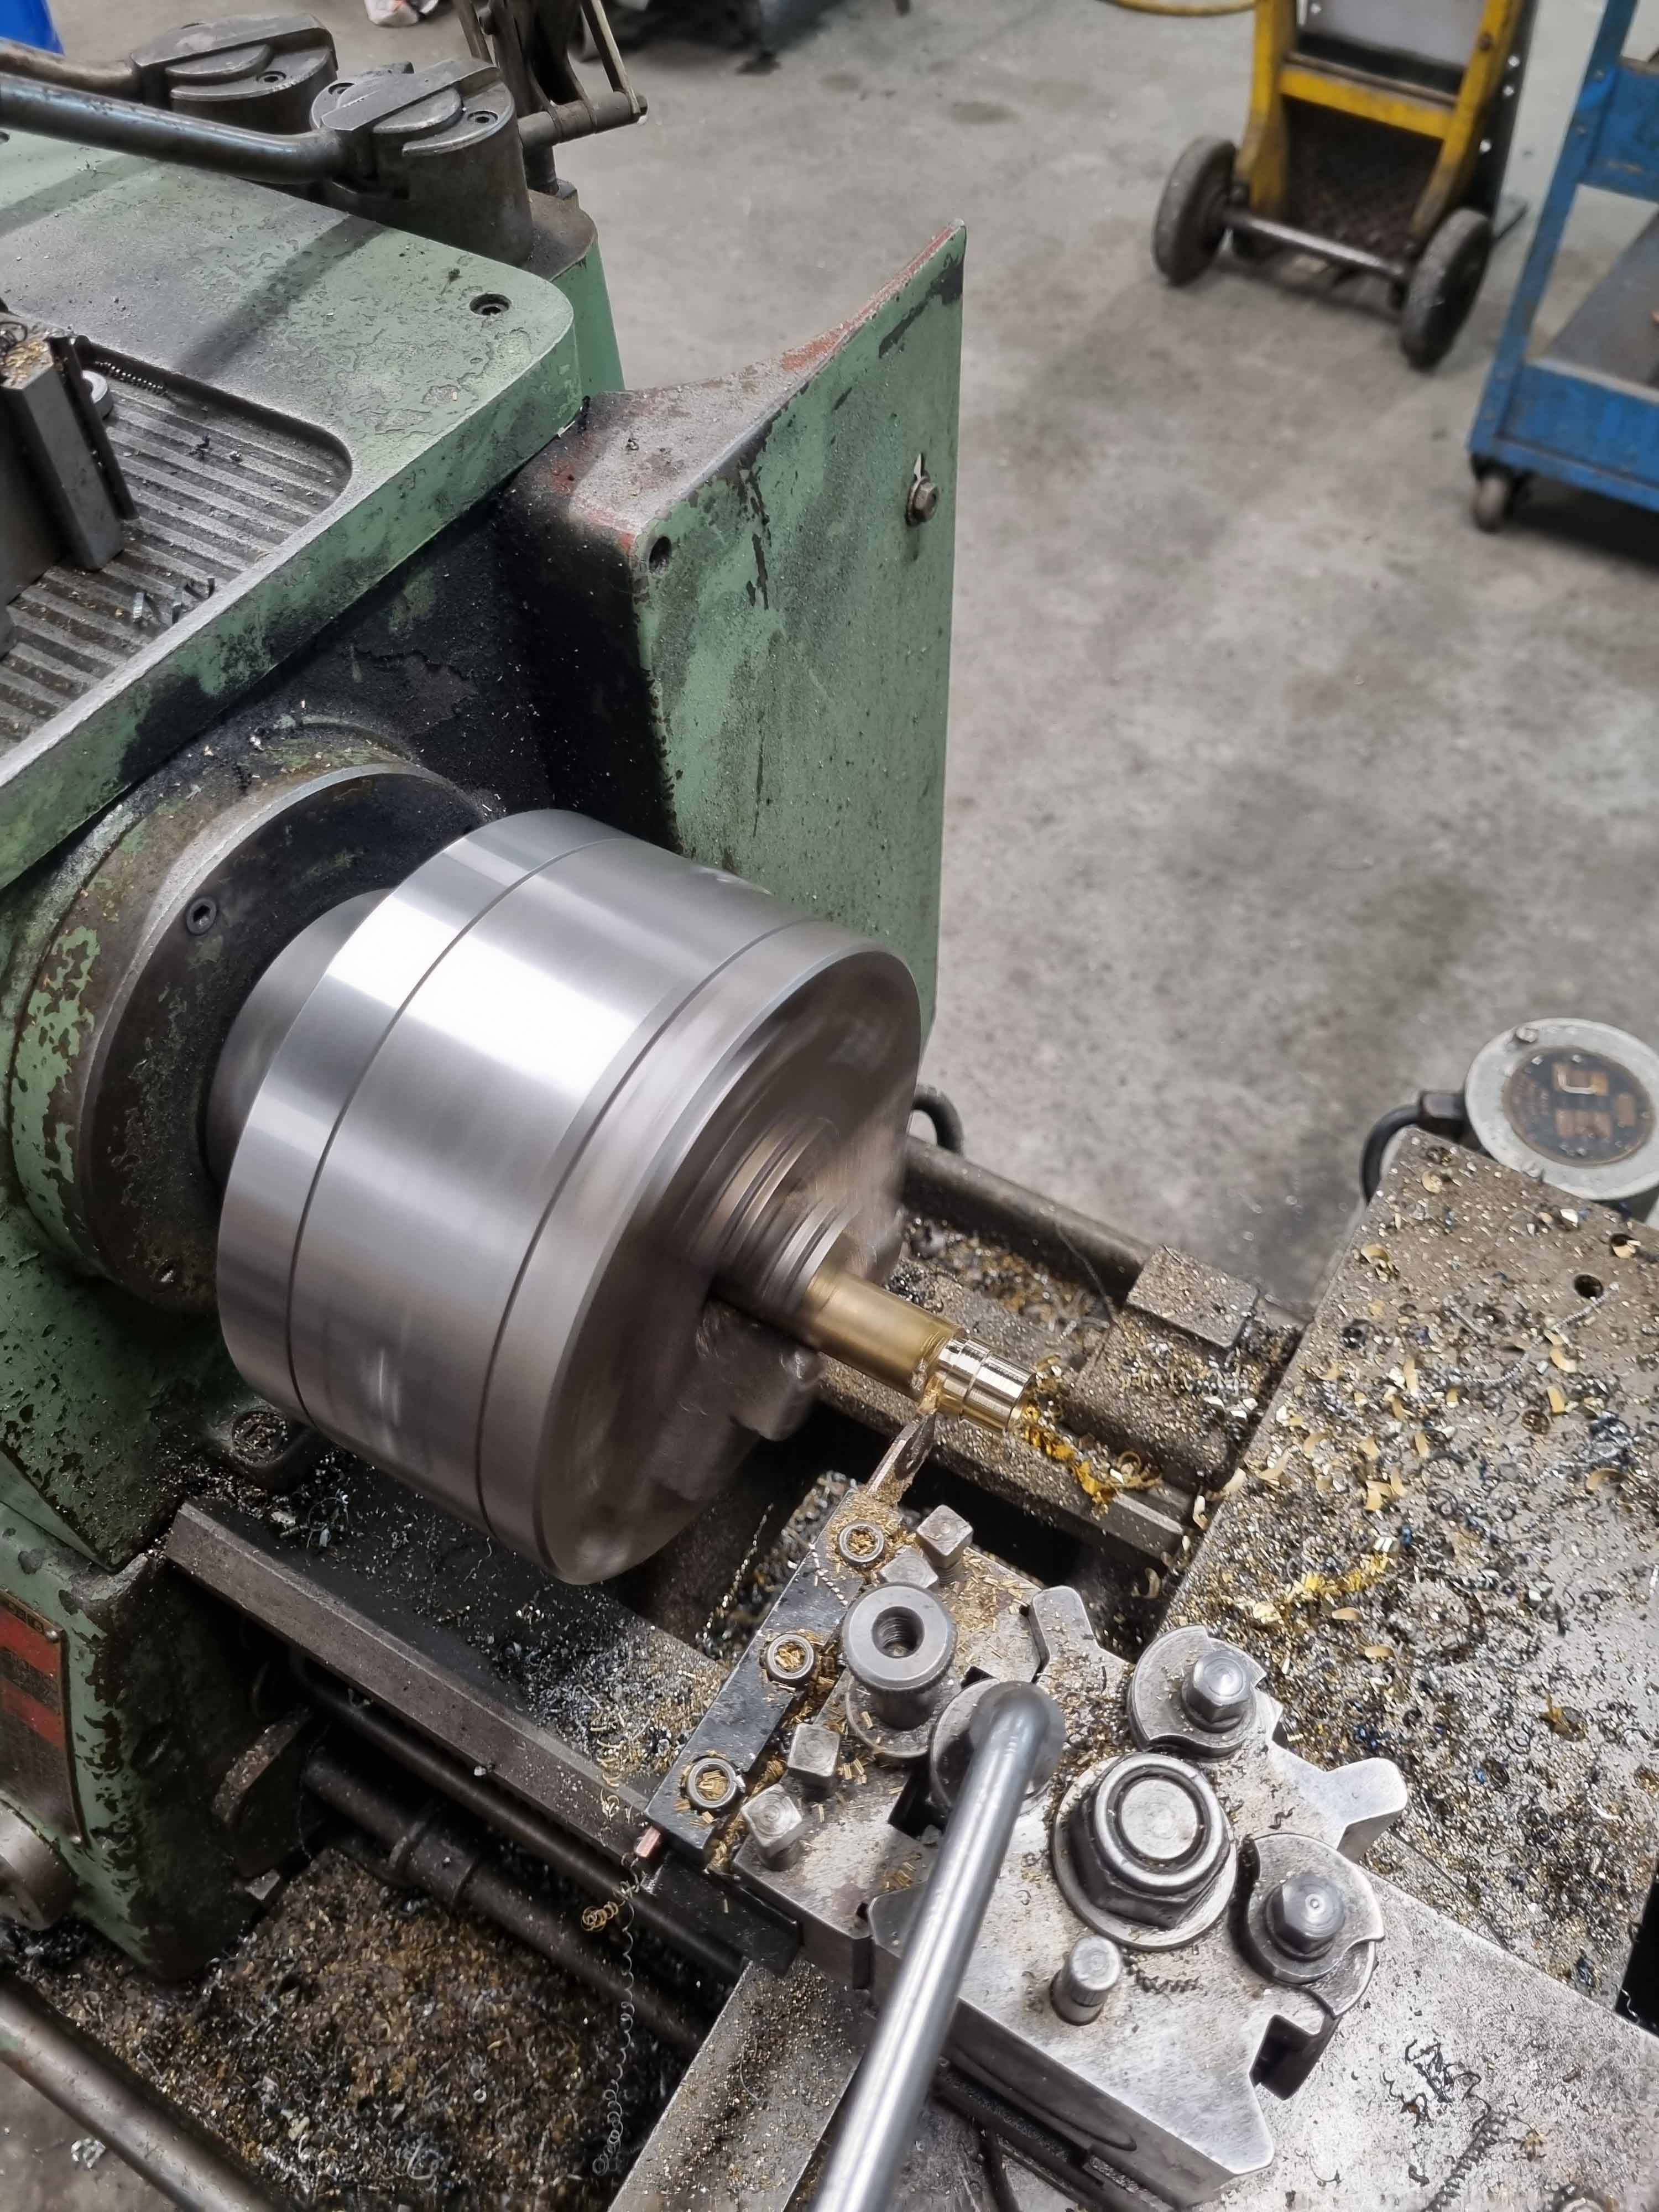
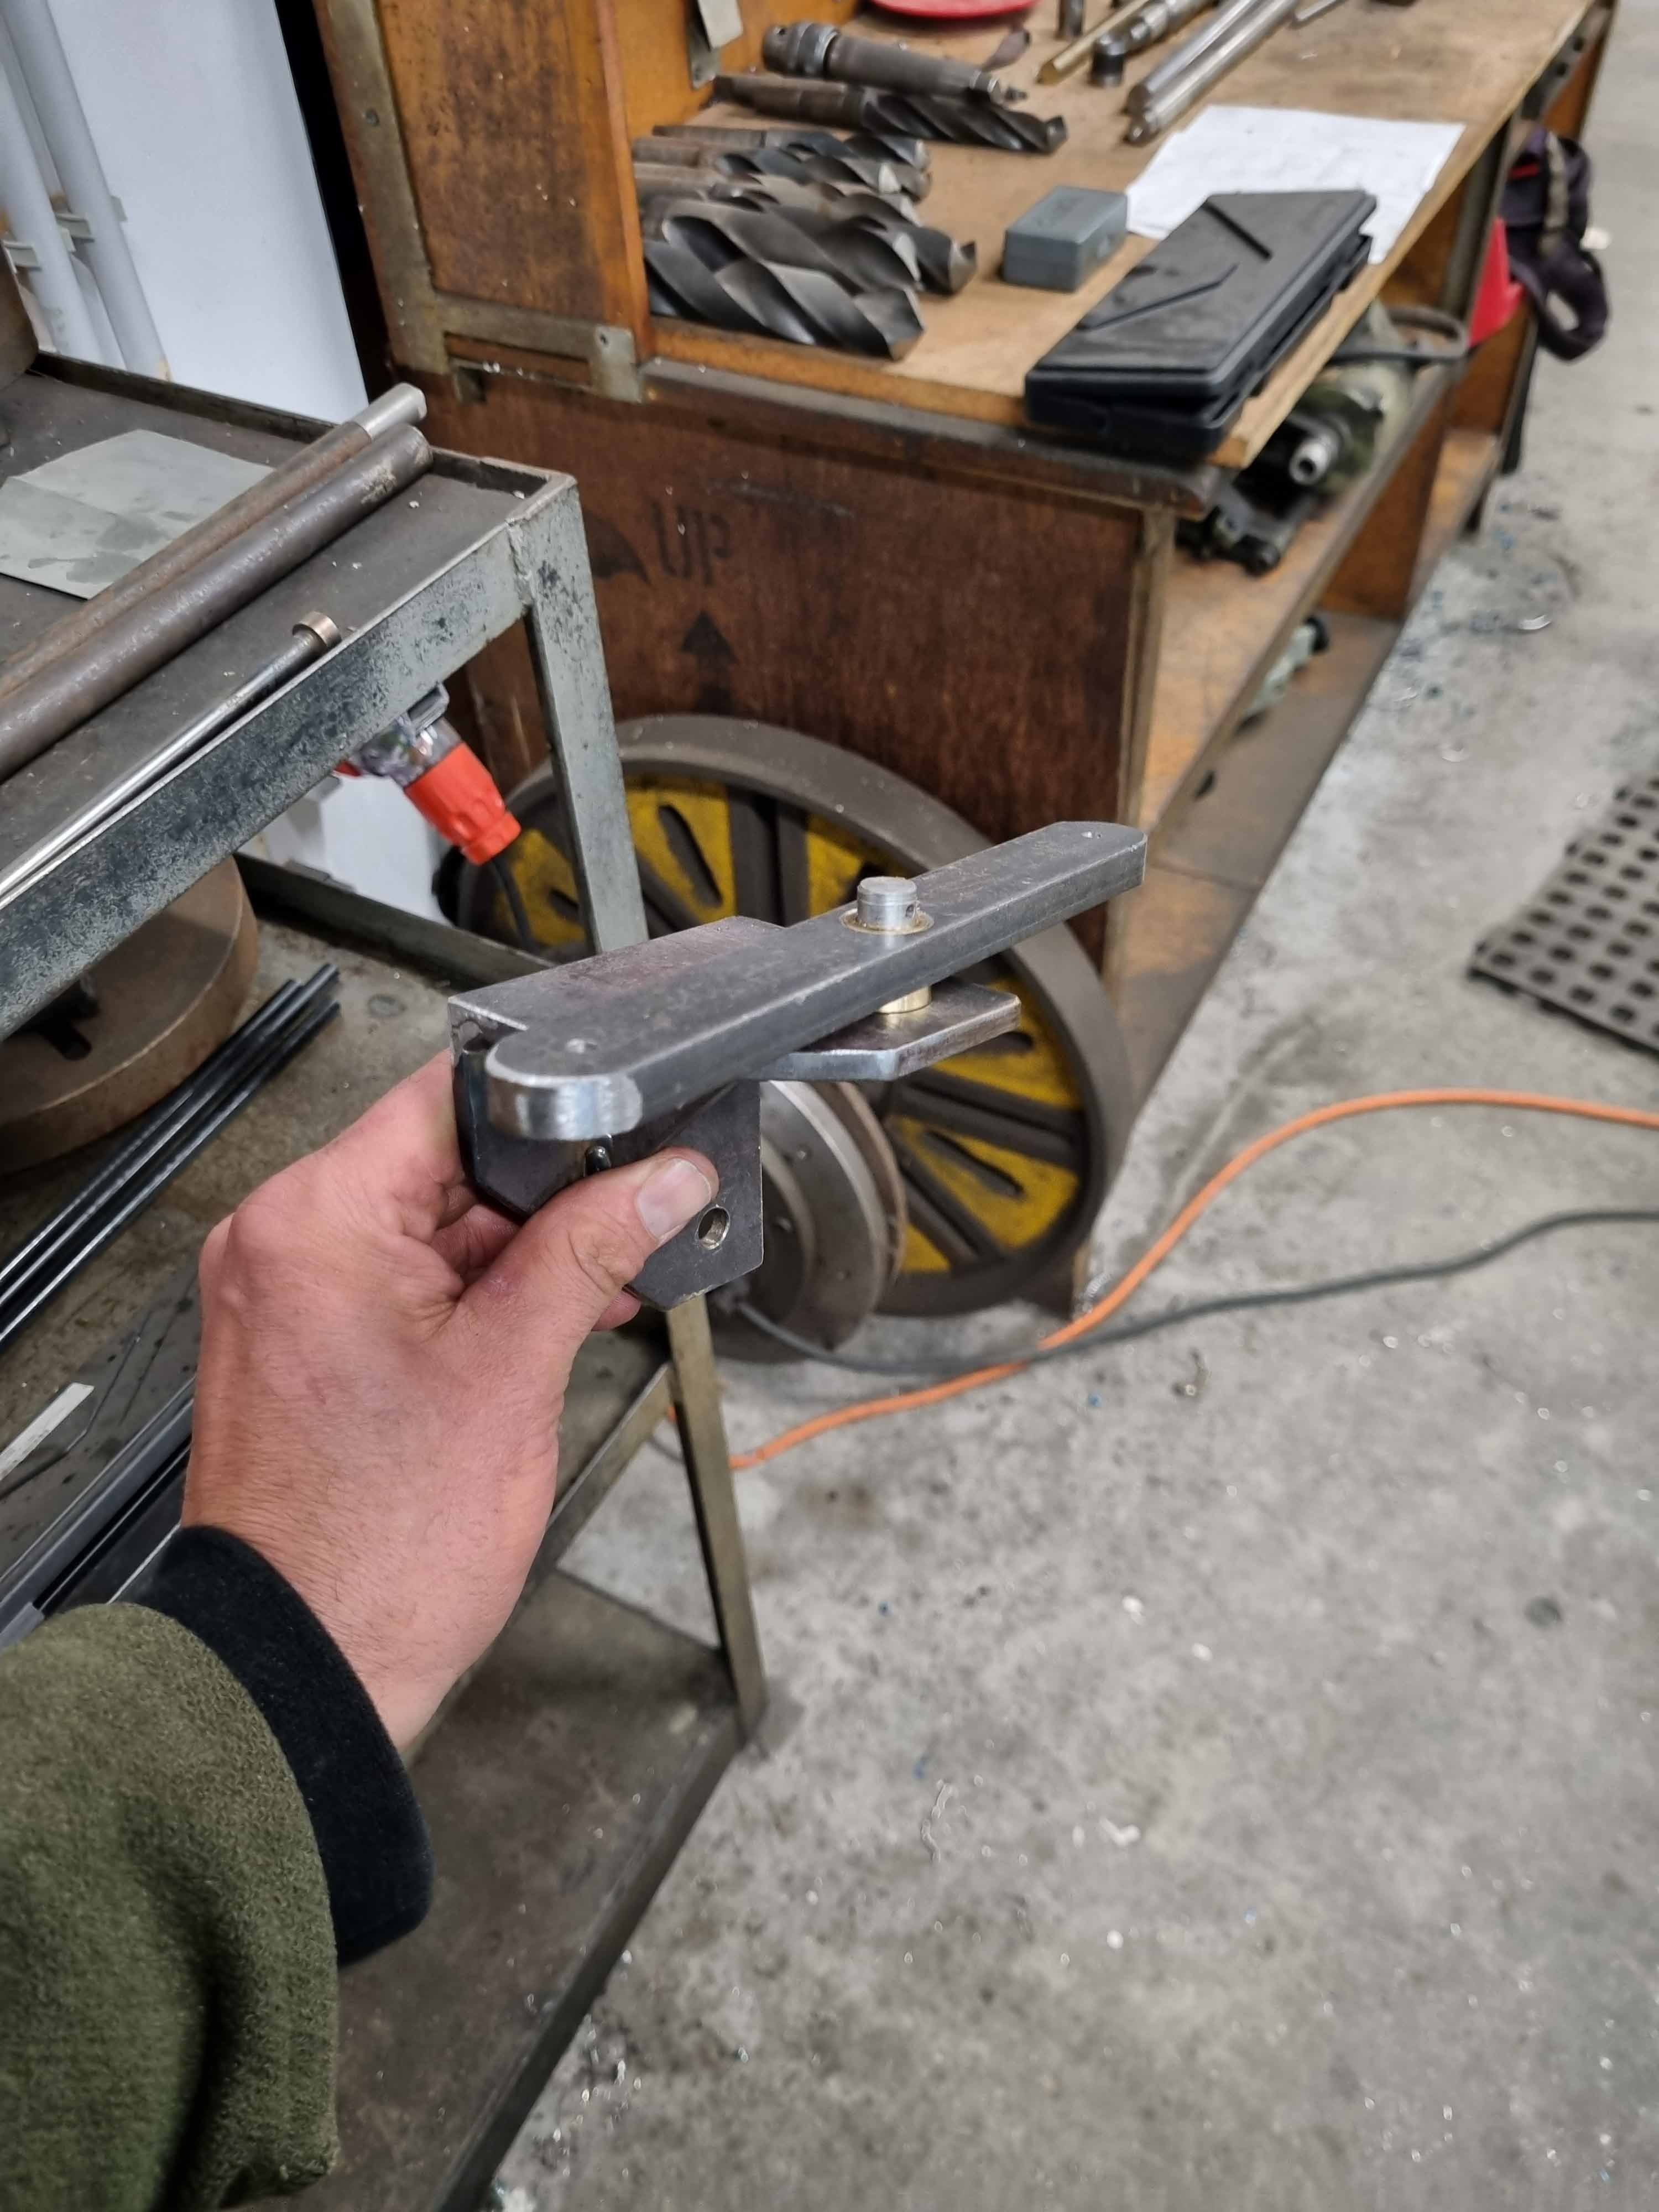
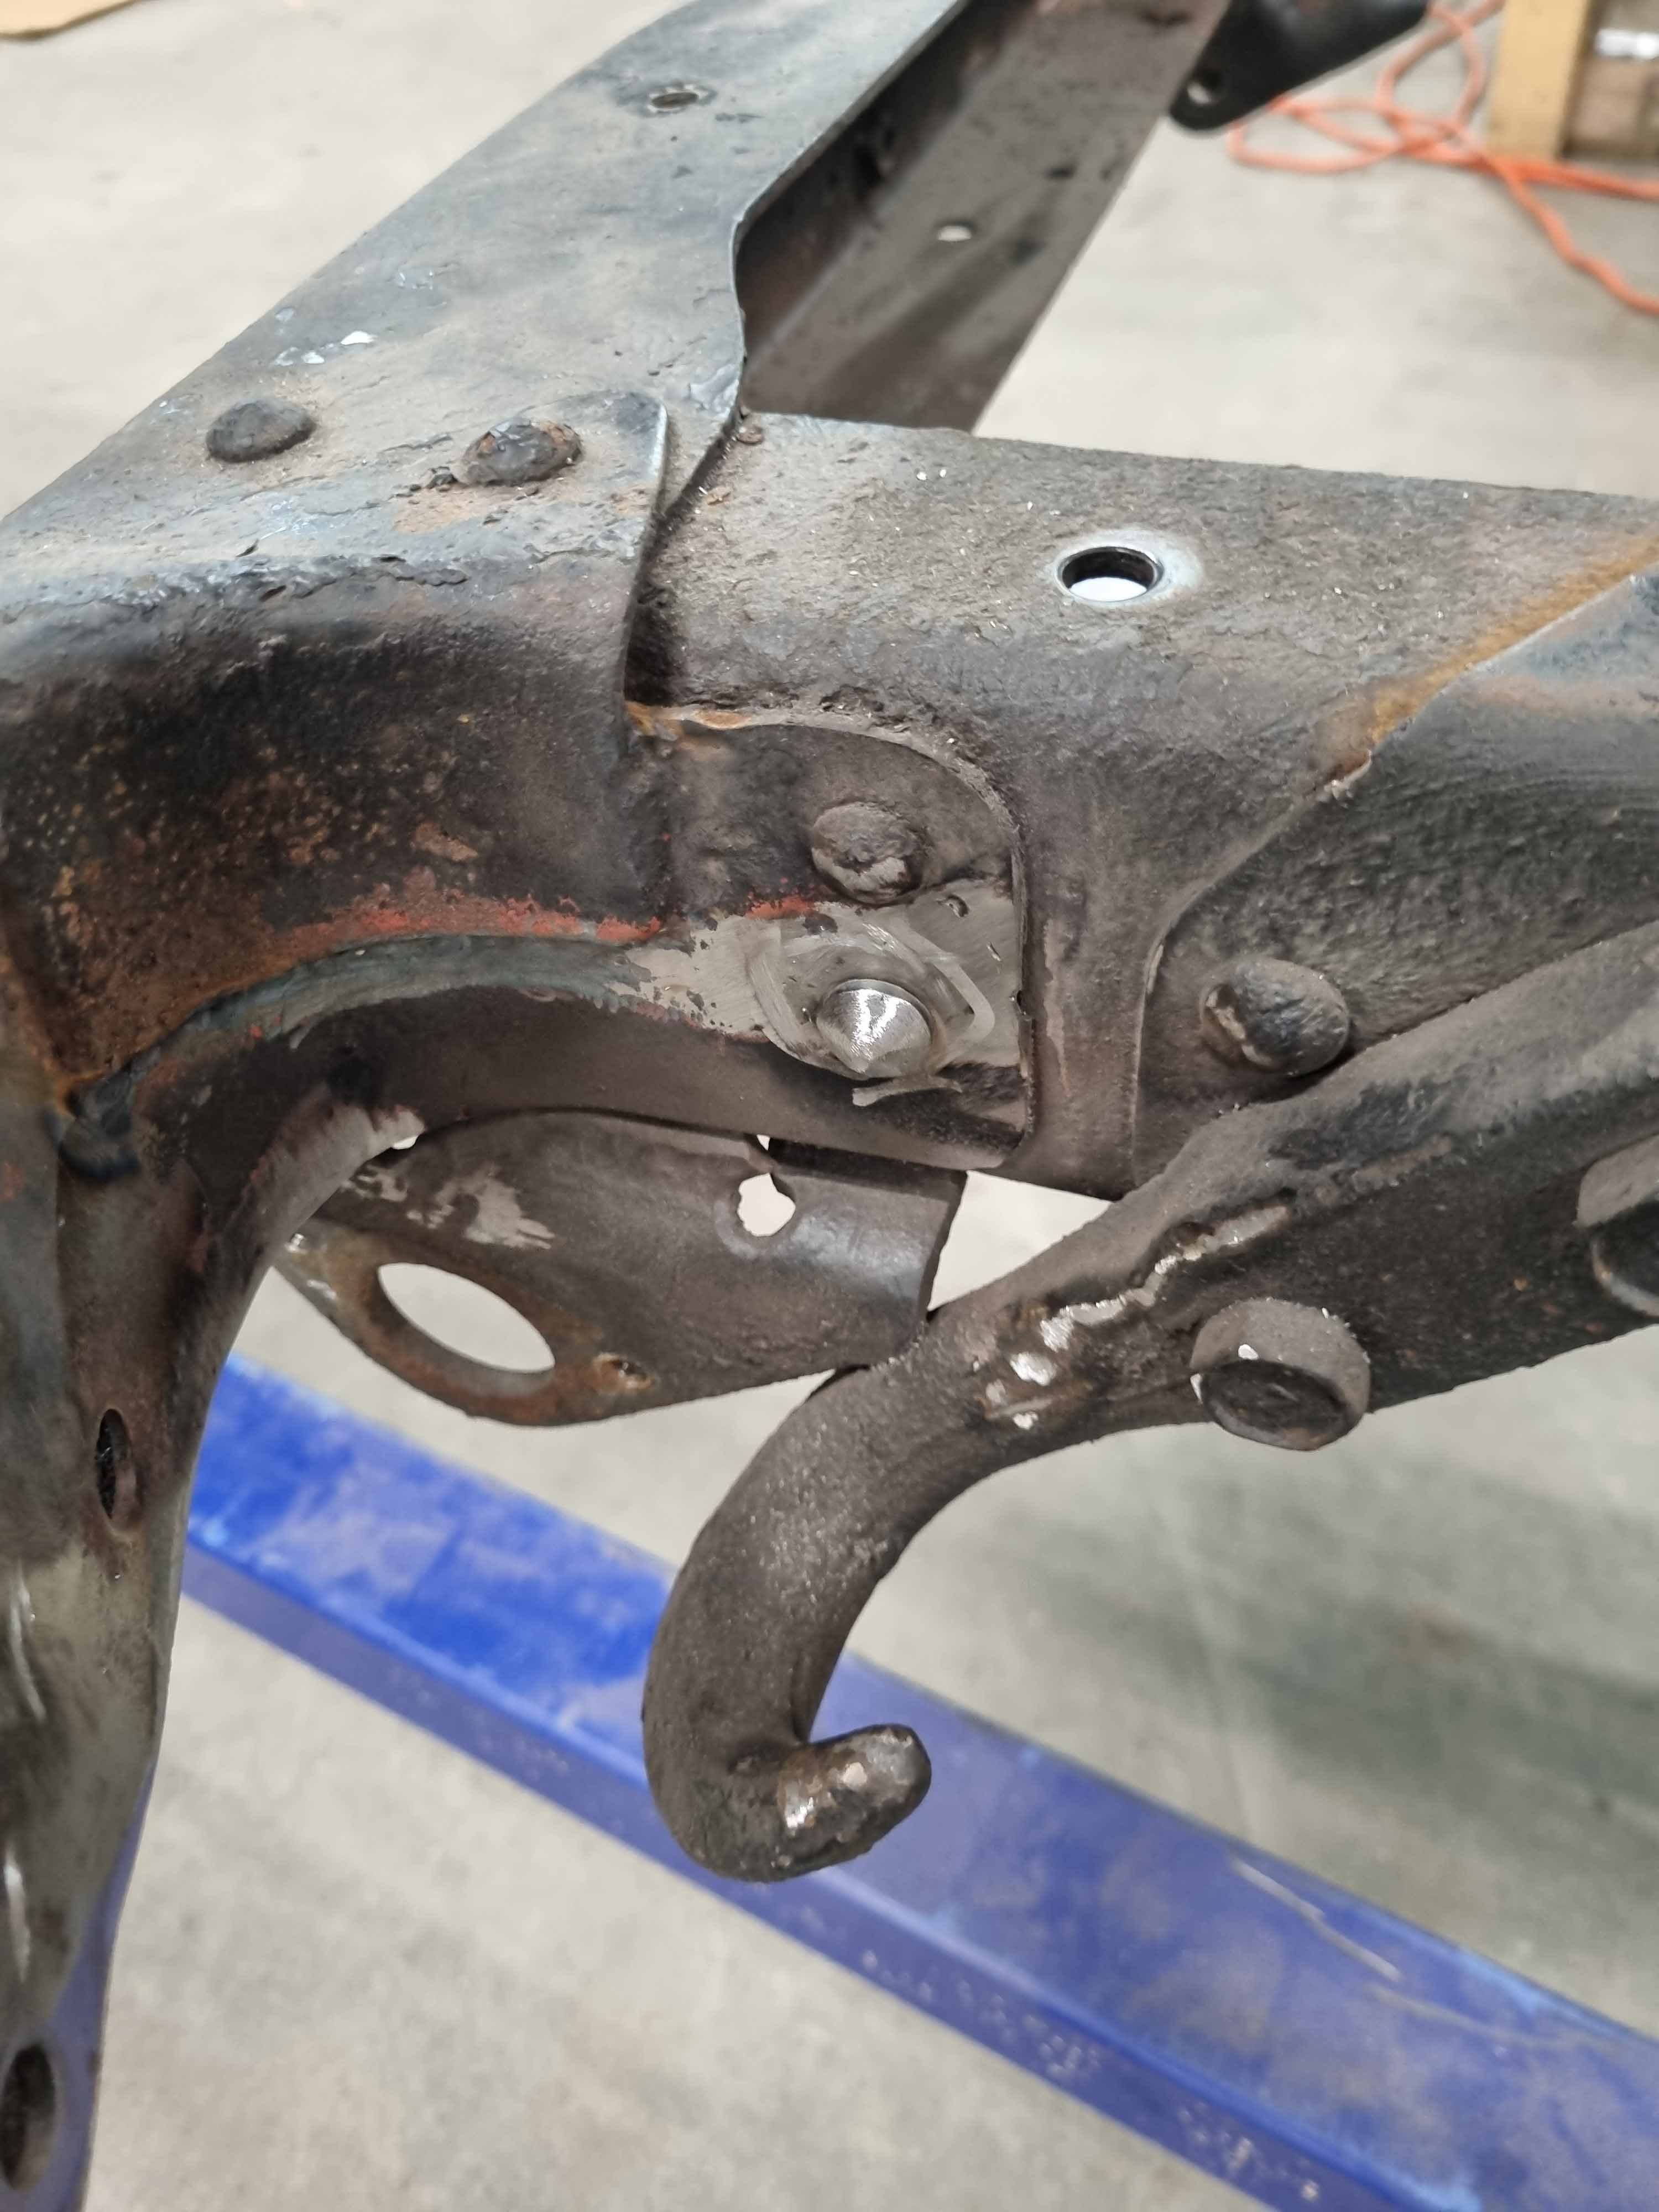
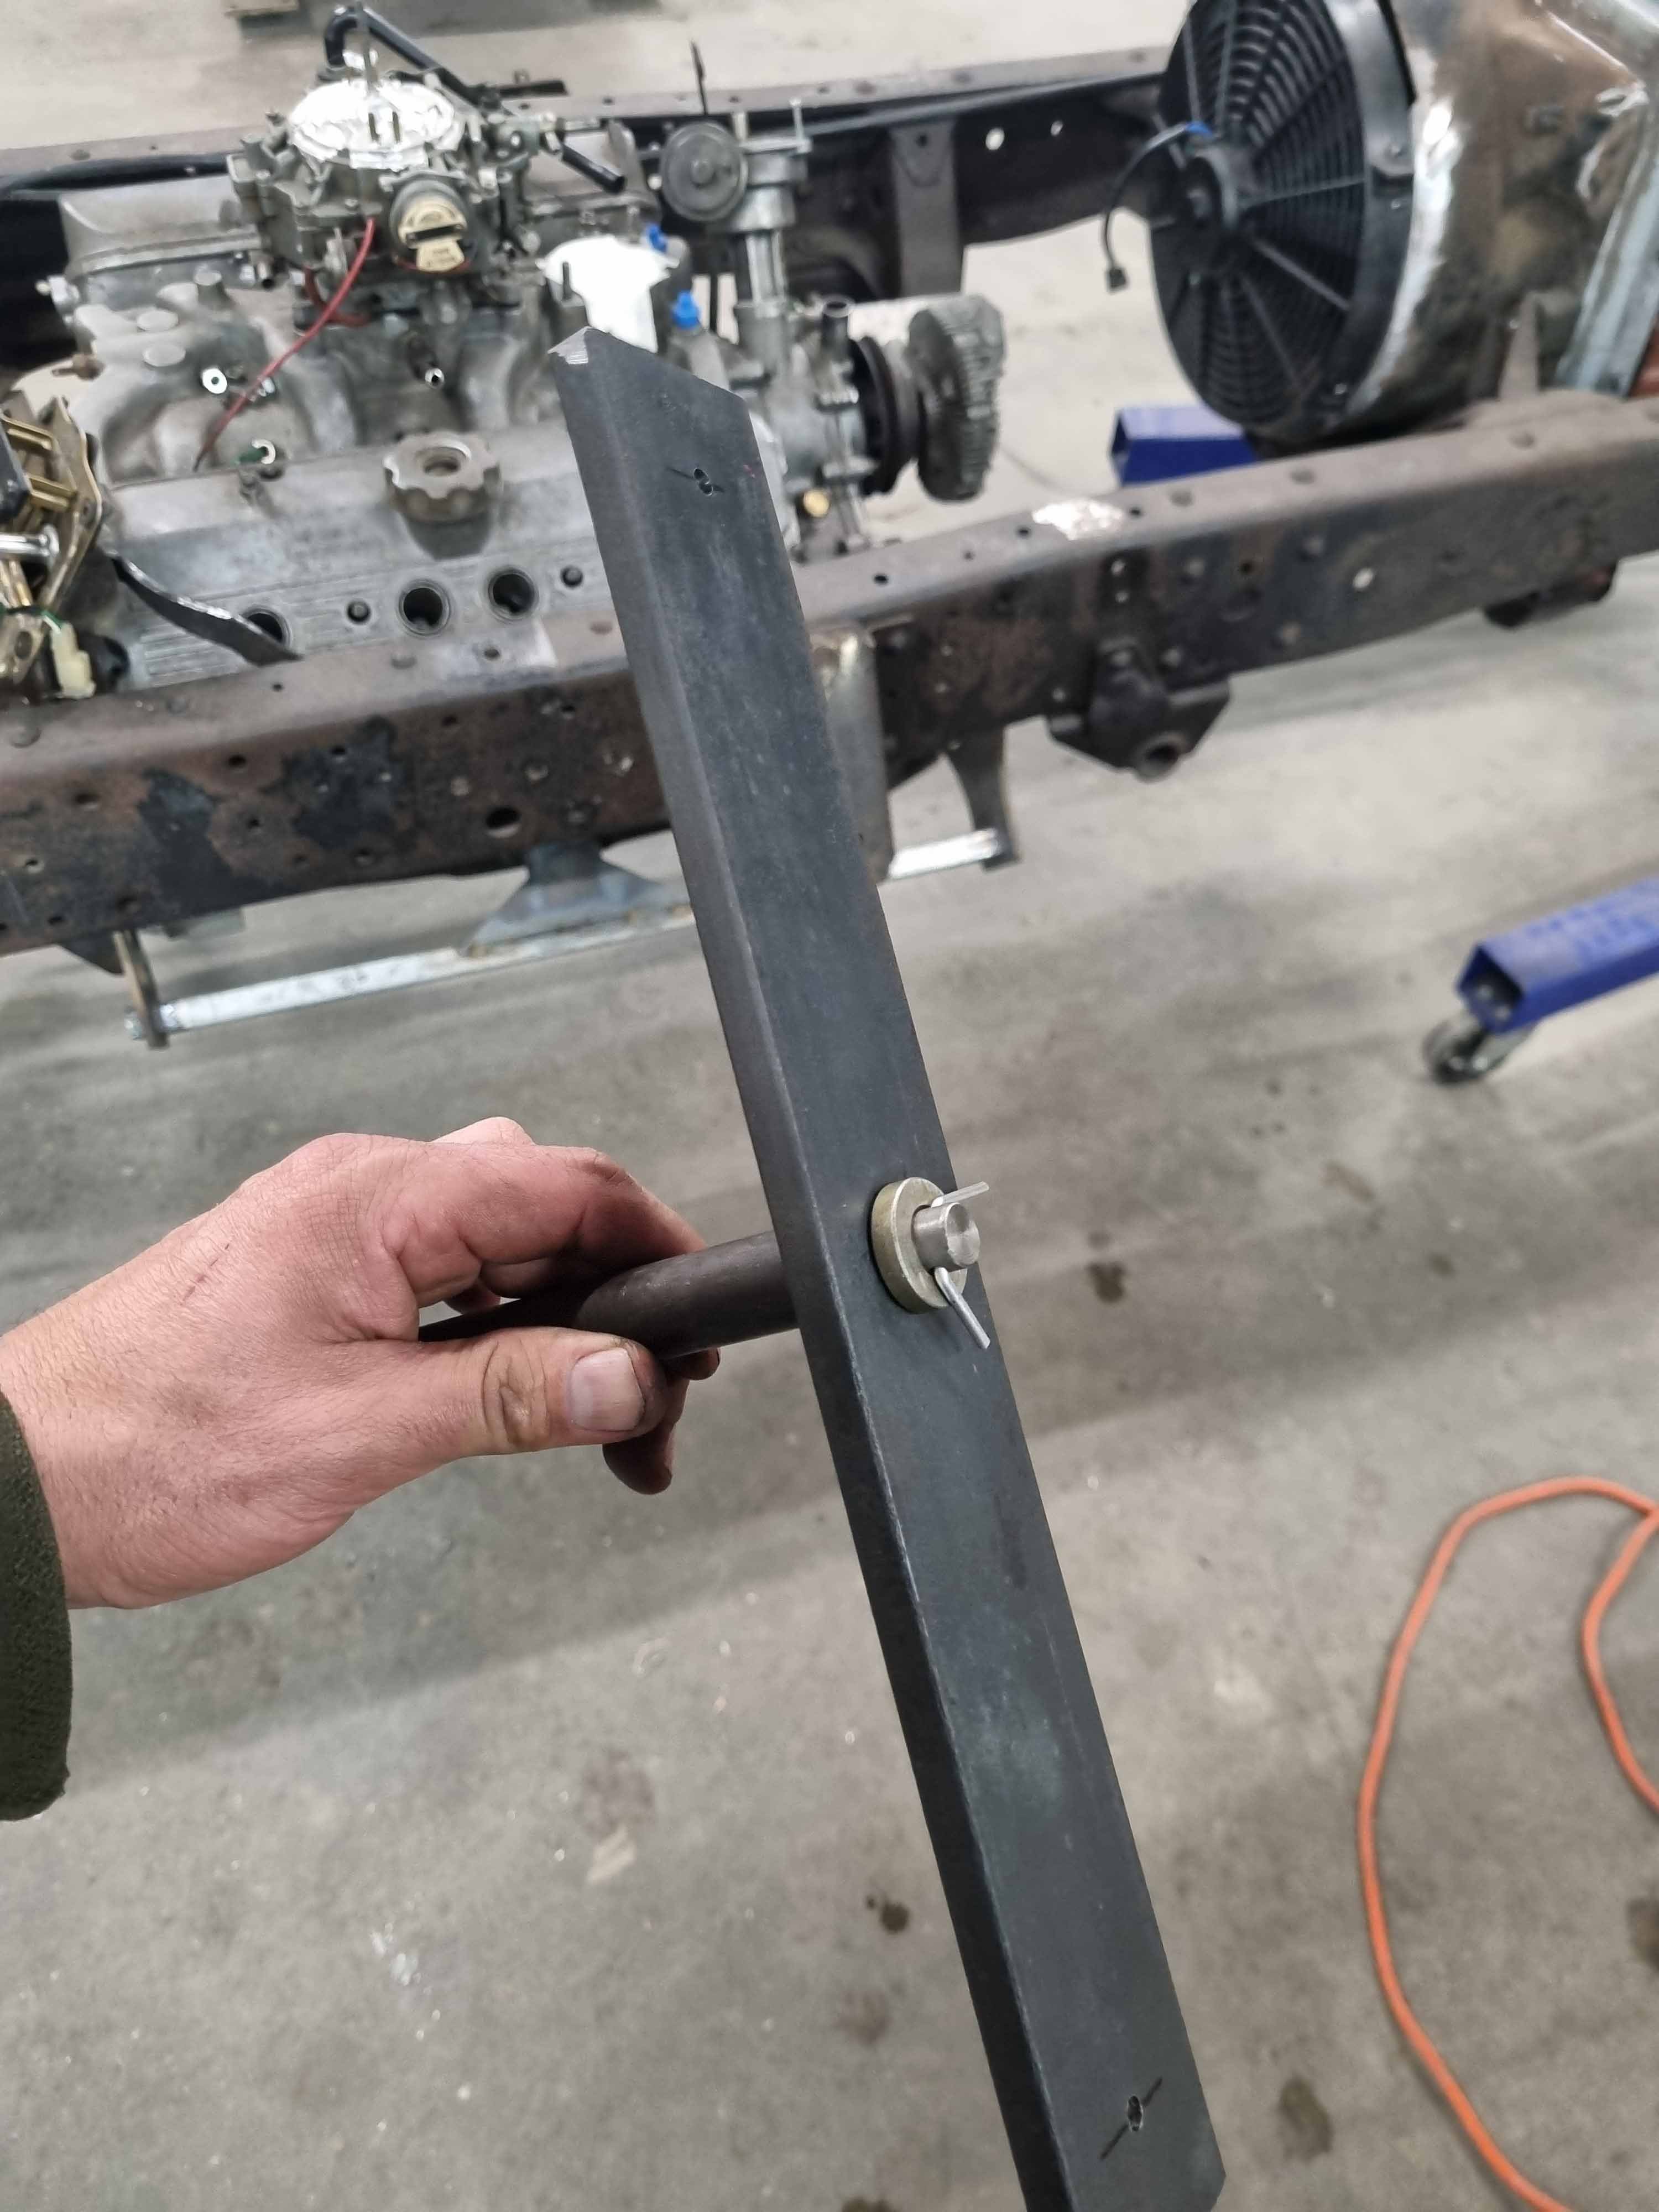
Next was onto making a trim for the front of the hole. This still isnt finished but consider this a note to future self to stop being a useless cunt. Next up replacing a bolt that was identifying as a rivet in the chassis. I did not make not an actual rivet but with some heat and persuasion and the welder it is achieving said goal, and looking legitimate in the process. Onwards to things gear shifting things. I had to make basically two levers to act as a 'double negative' in order to translate the movement to where I needed and it still shifting in the normal pattern. 1:1 levers and I will be using a factory supra shifter so ratios should all be legit. A lot of little machined bushes and bracketry to achieve the desired result. A few rivnuts in le chassis to holed one of the brackets and the other welded to the gbox xmember. Also made a tricky little bush for the linkage adjustment at the gearbox as per Sheepers intel as to how they work. You will have to imagine that piece though, because I havent taken a photo.
- 61 replies
-
- 10
-
-
Humber SS's 4V Century V8 powered Dyna Camper
HumberSS replied to HumberSS's topic in Projects and Build Ups
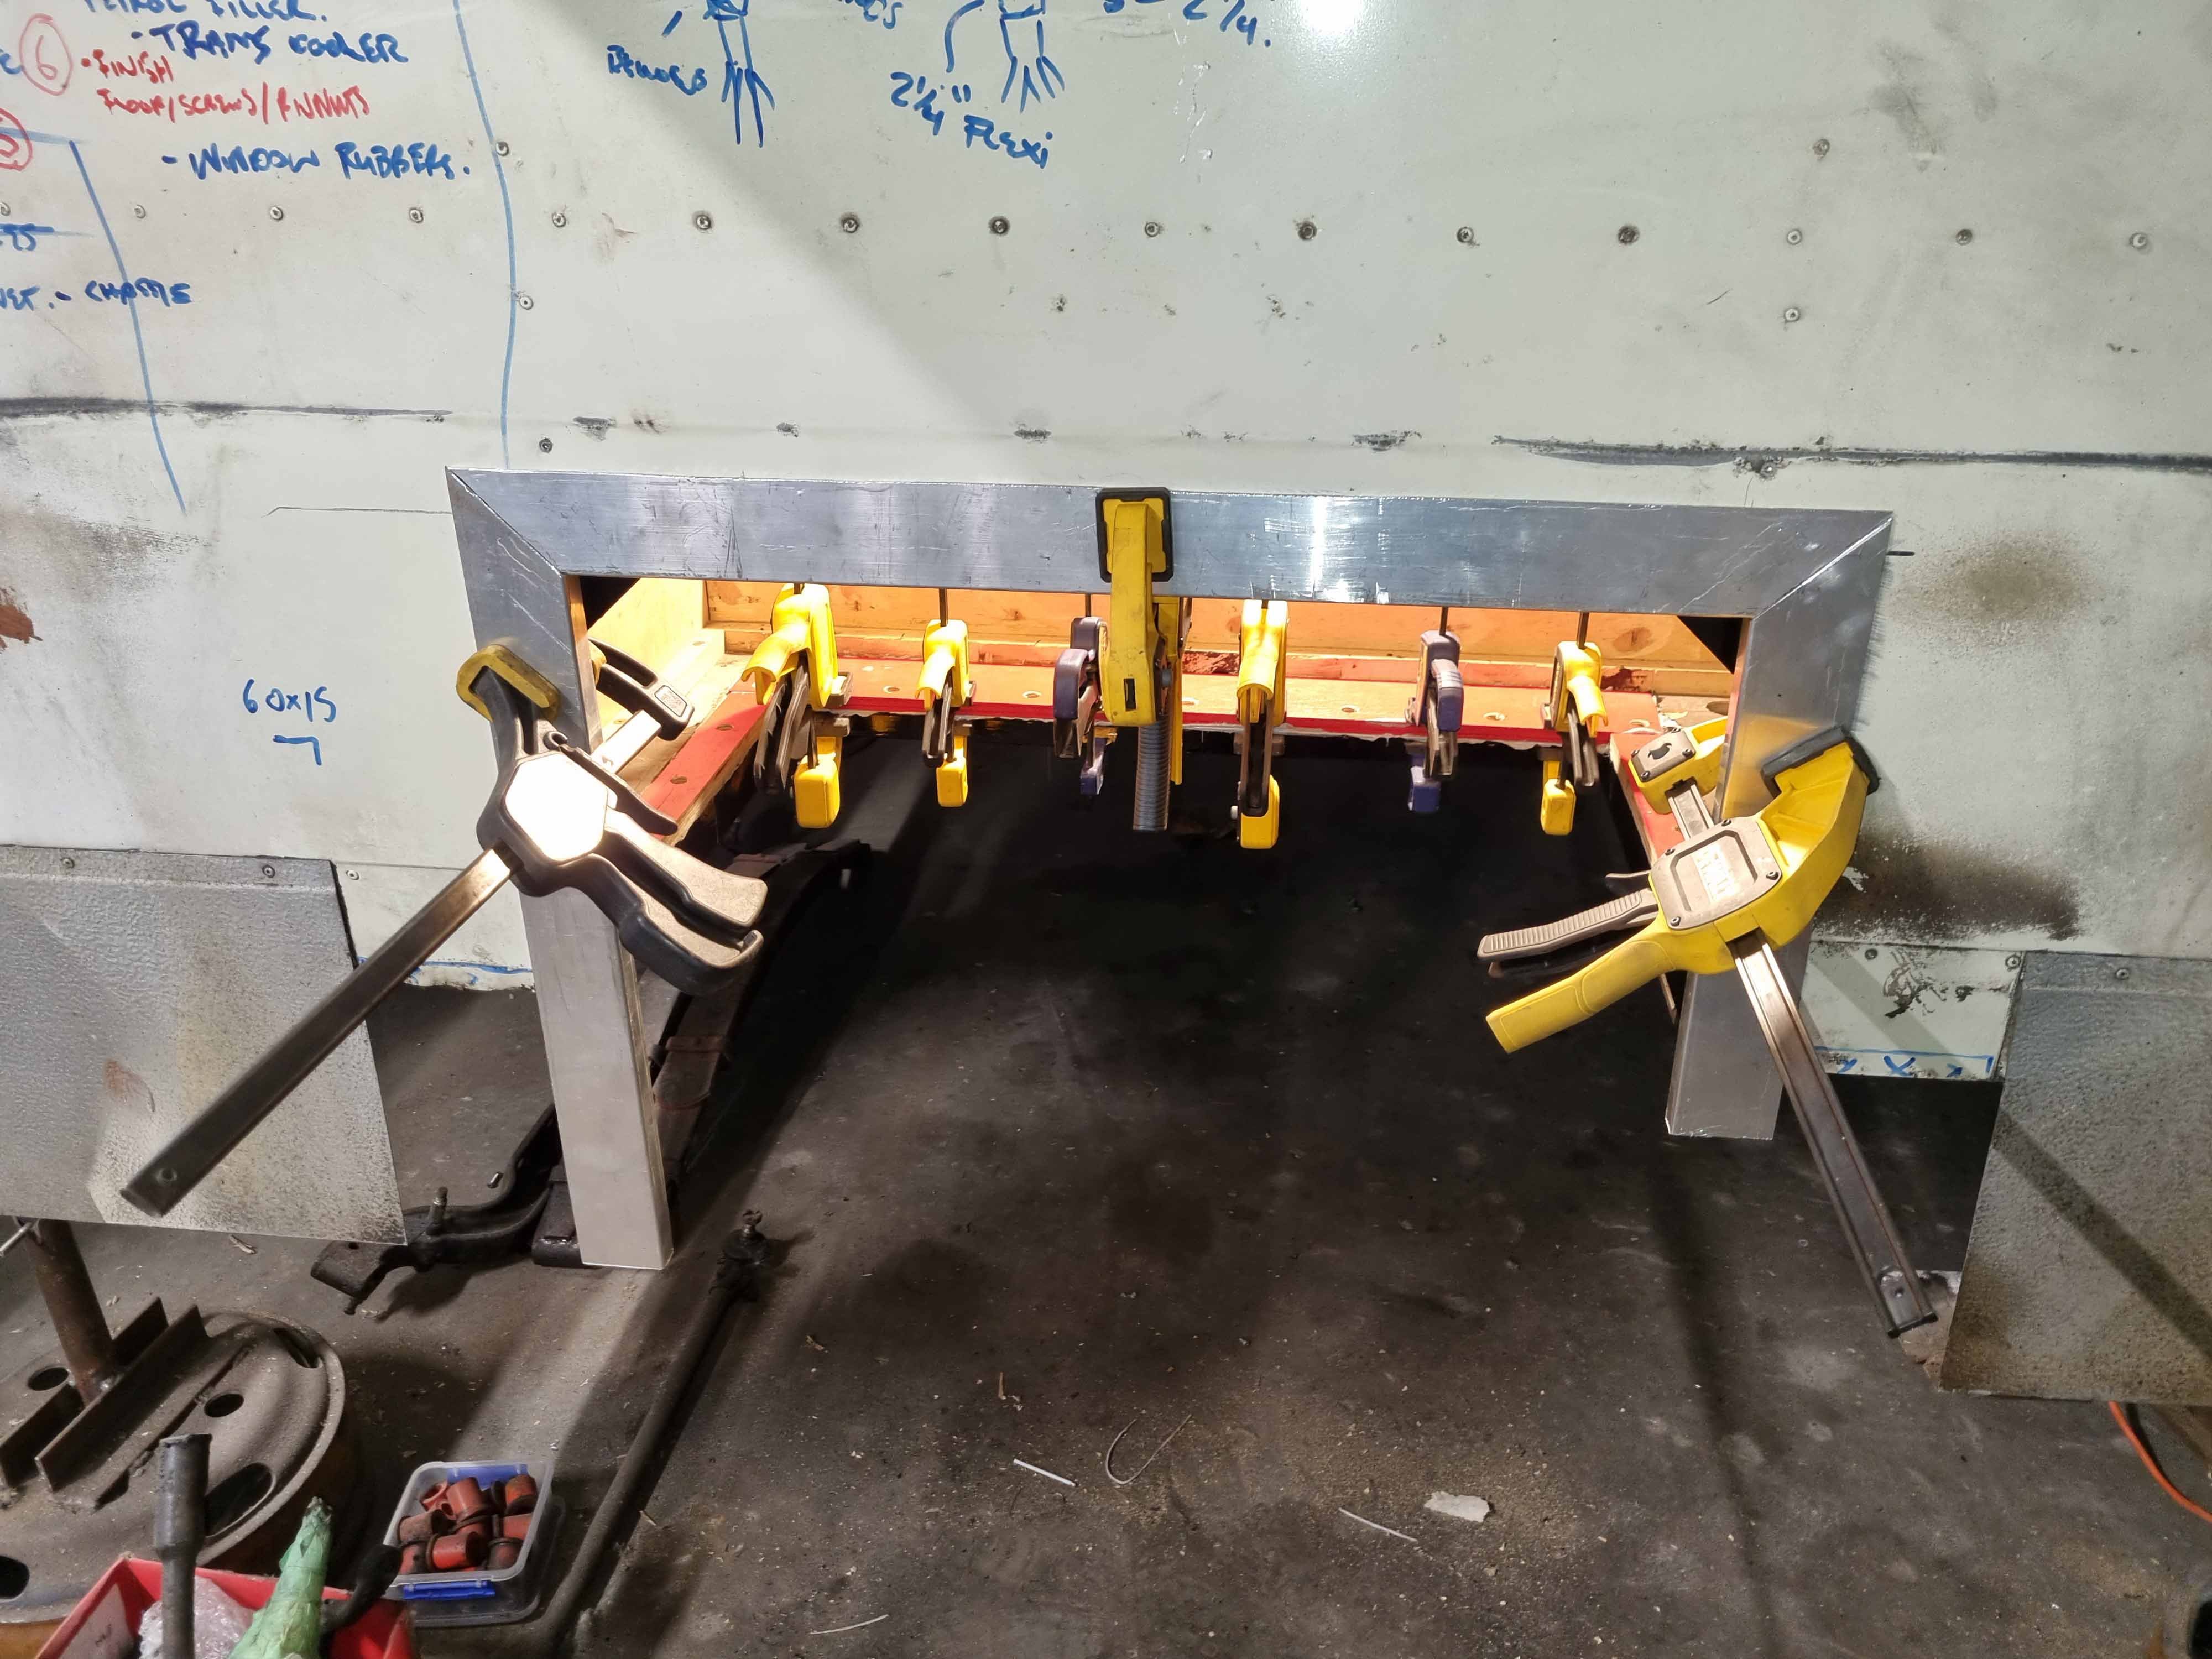
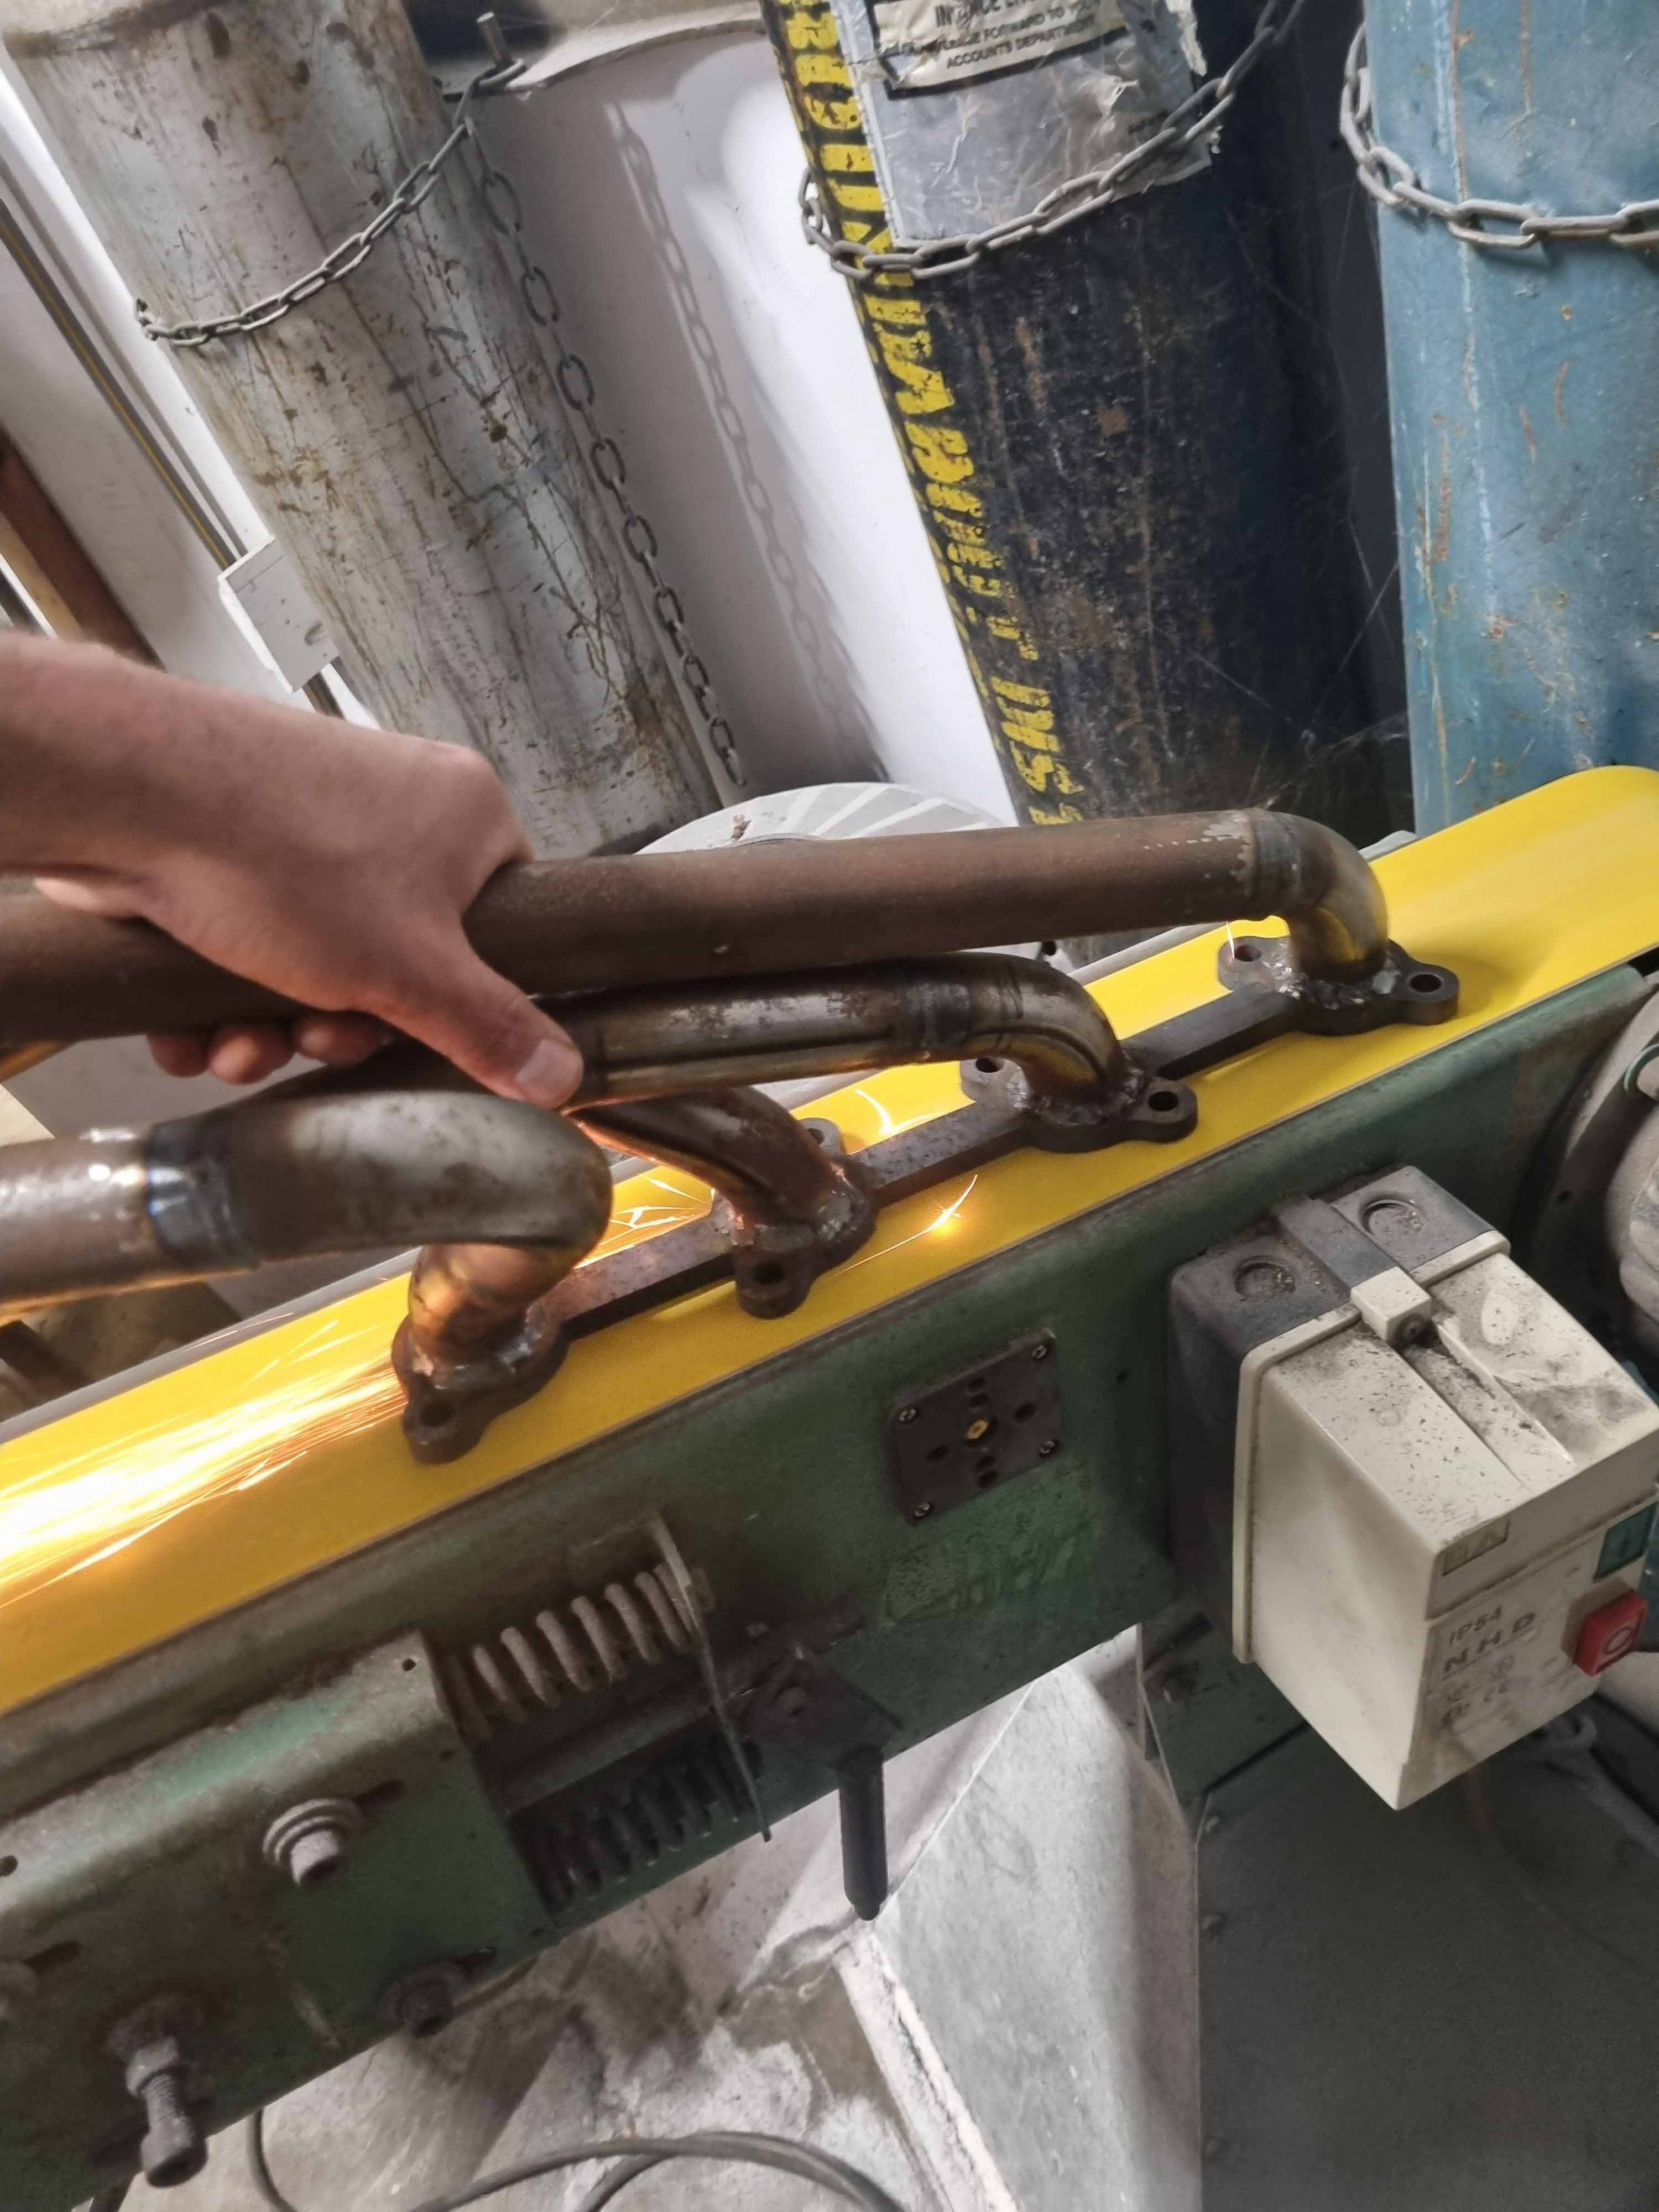
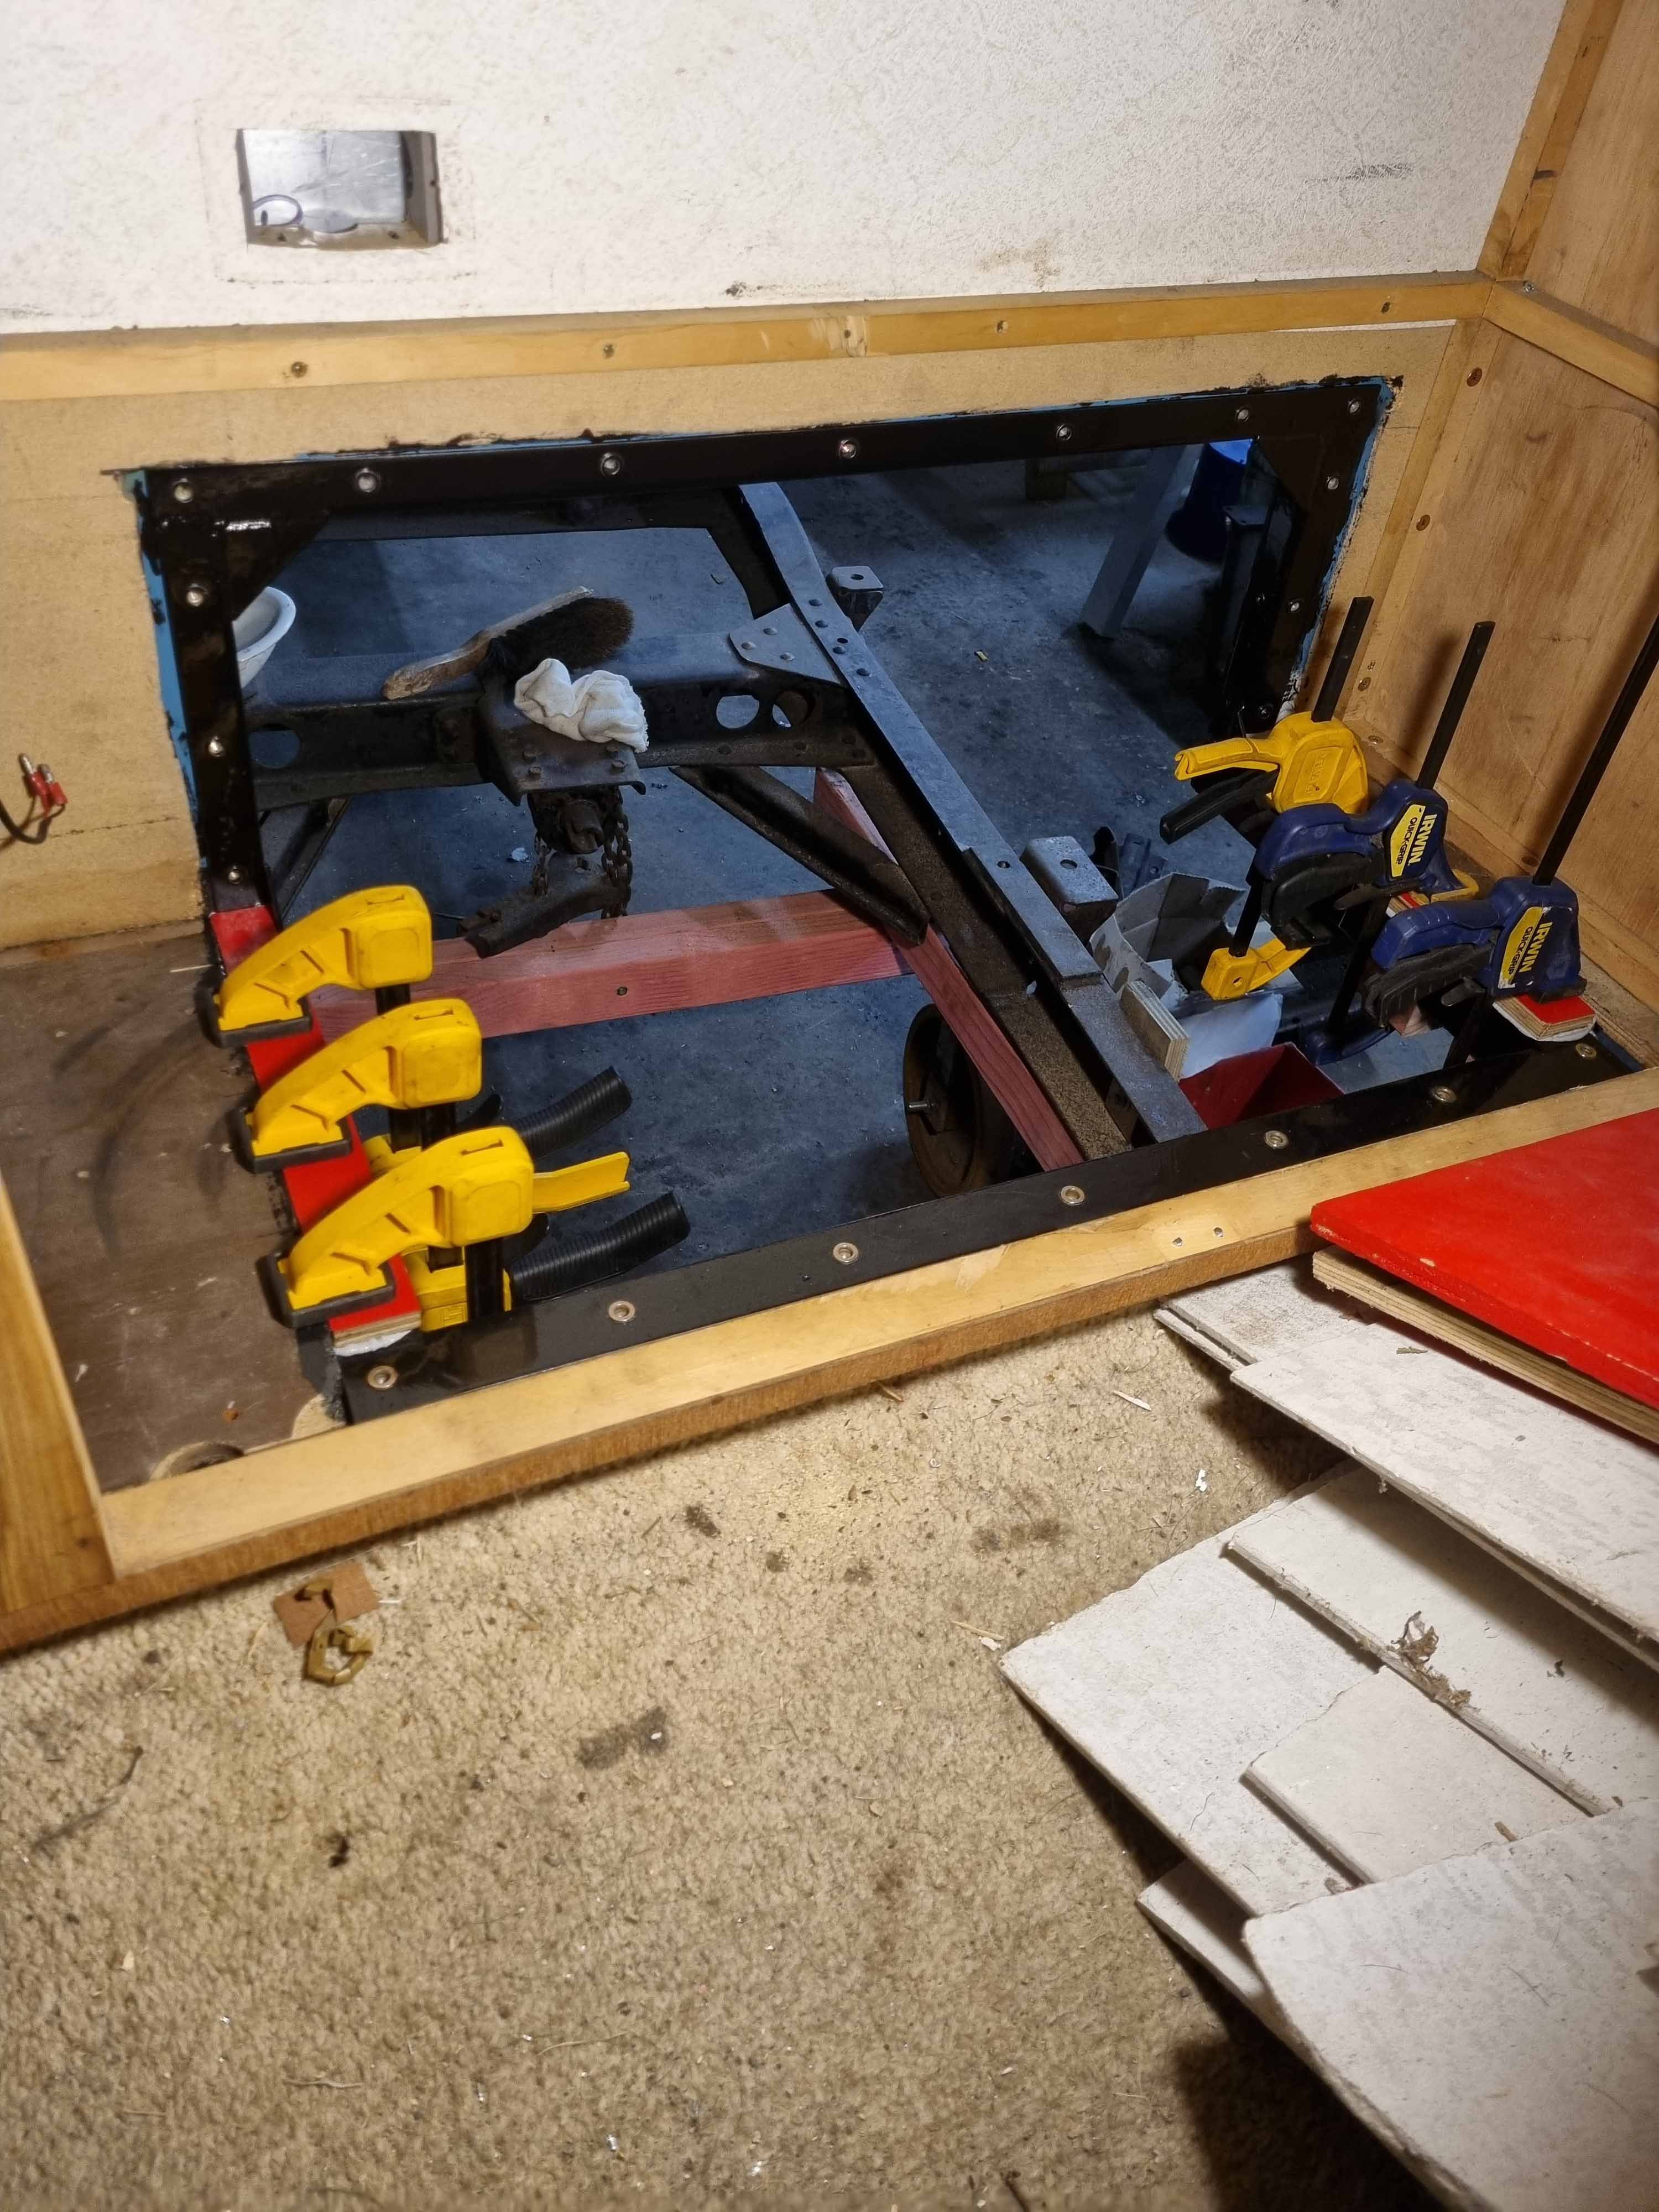
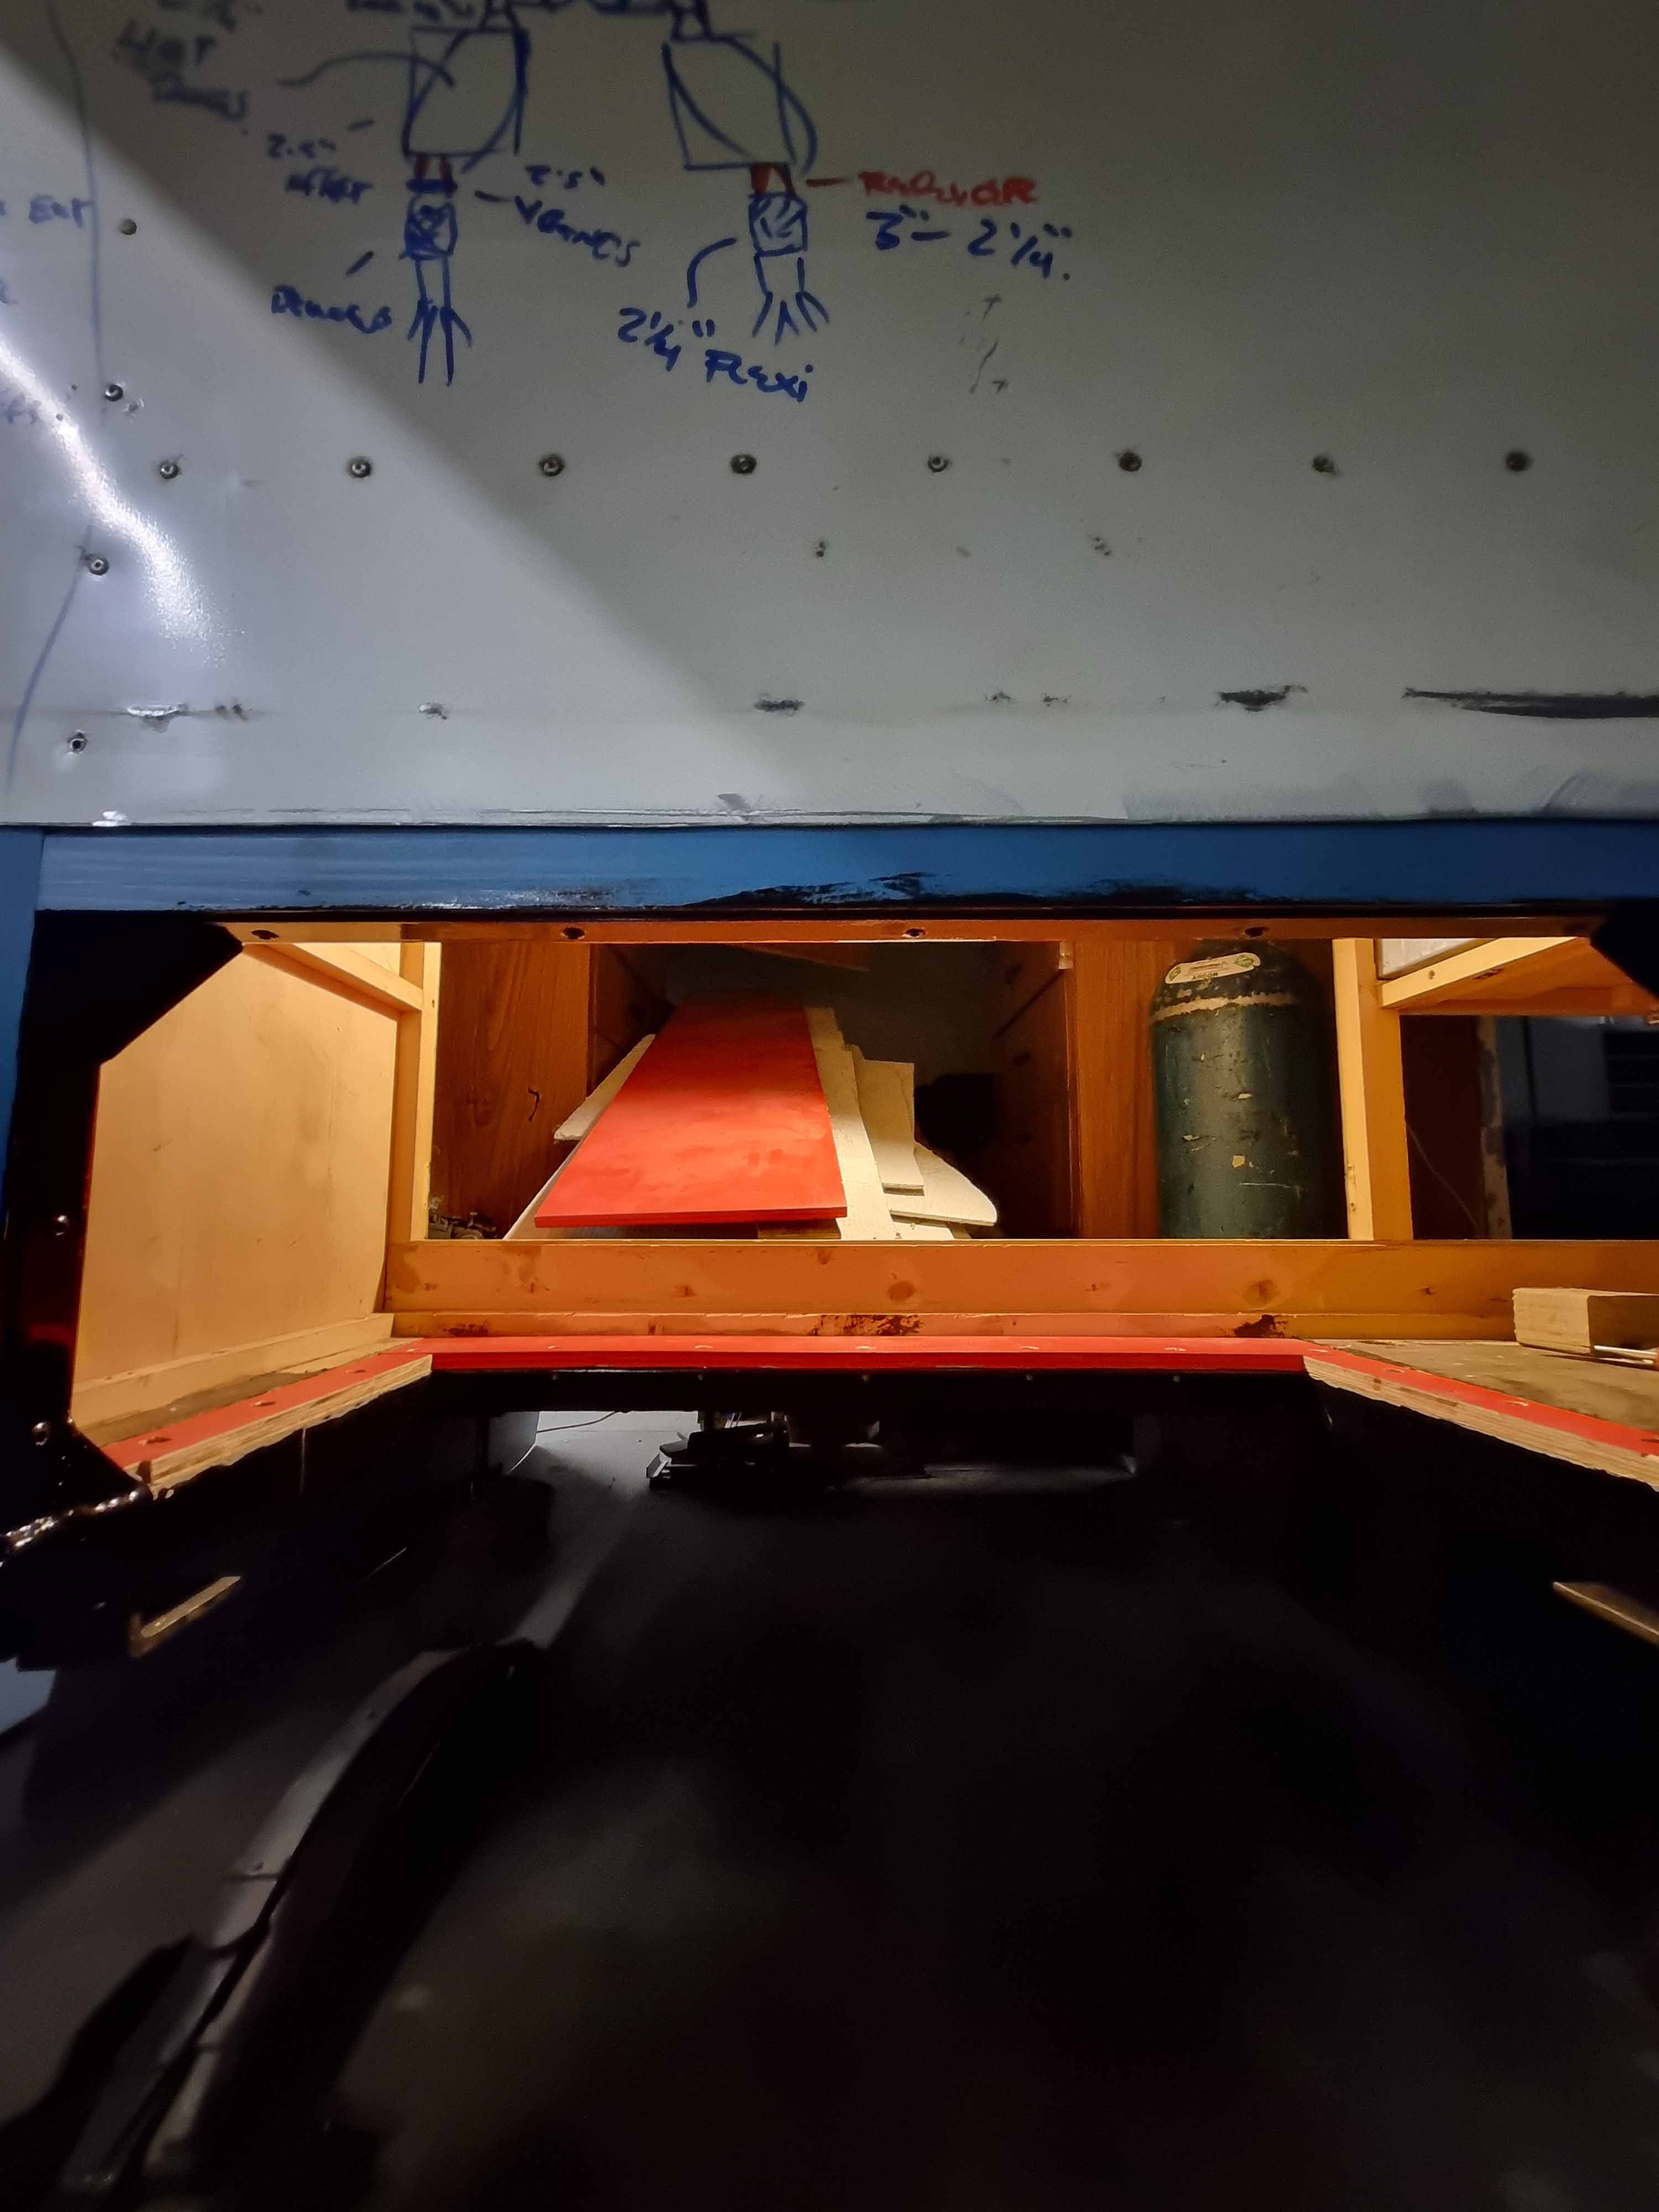
Been a while between drinks. Looking through my photos on my phone I have been busier than I realised over the last few months. Building a lot of machines for work, all manner of kids stuff, new lady on the scene, fixing other cunce shit, gardens, cetera. Poor old Dynasaur has been languishing in the naughty corner. I thought however, what little progress I have made should be regurgitated in the interests of perceived progress, and to give me the much needed enthusiasm from the dopamine hits I get from all your likes. BTW, none of this shit is actually finished. Ive done lots of half jobs. I reckon a day or 2 and Ive have a lot of things actual completed. First mish was to sort out my slightly warped headers on the linisher. New P40 belt. It went well. I then moved on to matters of body hole. Made some plywood pieces to reinstate the areas where I had to oversize the hole to make all the framing for the engine cover to mount to. Am now trying to figure if Ill lay another thin sheet of ply over all of this to tidy it up, or maybe a piece of lino. Not sure yet. Probably whatever I can scavenge..
- 61 replies
-
- 11
-
-
Discuss here about Yoeddynz's little Imp project...
HumberSS replied to yoeddynz's topic in Project Discussion
Might be a little low brow compared to the current high standards, but could you tap a fitting into the horizontal section of your filler tube and another into the vertical section, with elbow, and run a short length of clear tube between, kinda like a classic smoko room Zip? -
1992 Bongo Brawny Turbo Diesel Camper - Discussion thread
HumberSS replied to R3spct's topic in Project Discussion
Just reading your thread, which I'm loving btw as a fellow campervan builder. Is dropping boost off without fuel a smart way with the diesel? Would you not want to also pull fuel out, maybe by way of a bleed valve off the fuel pump? My diesel tuning knowledge is patchy at best, but wondering if your approach is a bit blunt? Or maybe better to intercool it, or water inject? and not have to faf about trying to drop your temps? -
http://www.oldscoolautos.co.nz/vehicles/
-
Does it take paint off?
-
Do you know of any MK2/3 Capris around for parts? Thinking old skool autos might have a few cuts? Failing that the fab for the rad mounts doesn't overly difficult, start by making some cardboard templates of what you are aiming for then go get them folded up at your local metal fab shop. Failing that see if someone here can do the job for you or go to a panelbeater. Be less than a days work I'd say...
-
Discuss here about Yoeddynz's little Imp project...
HumberSS replied to yoeddynz's topic in Project Discussion
This project is so epic. Keep up the good work man, excited for you. -
Had a good run out of my Hugong from Duroweld in np
-
Do these k100 throttles on this build solve your height problems?
-
4V Century V8 powered Dyna Camper Discussion
HumberSS replied to HumberSS's topic in Project Discussion
Shot, thanks dude! Guess I need to find that special bolt. Actually will just make something. -
4V Century V8 powered Dyna Camper Discussion
HumberSS replied to HumberSS's topic in Project Discussion
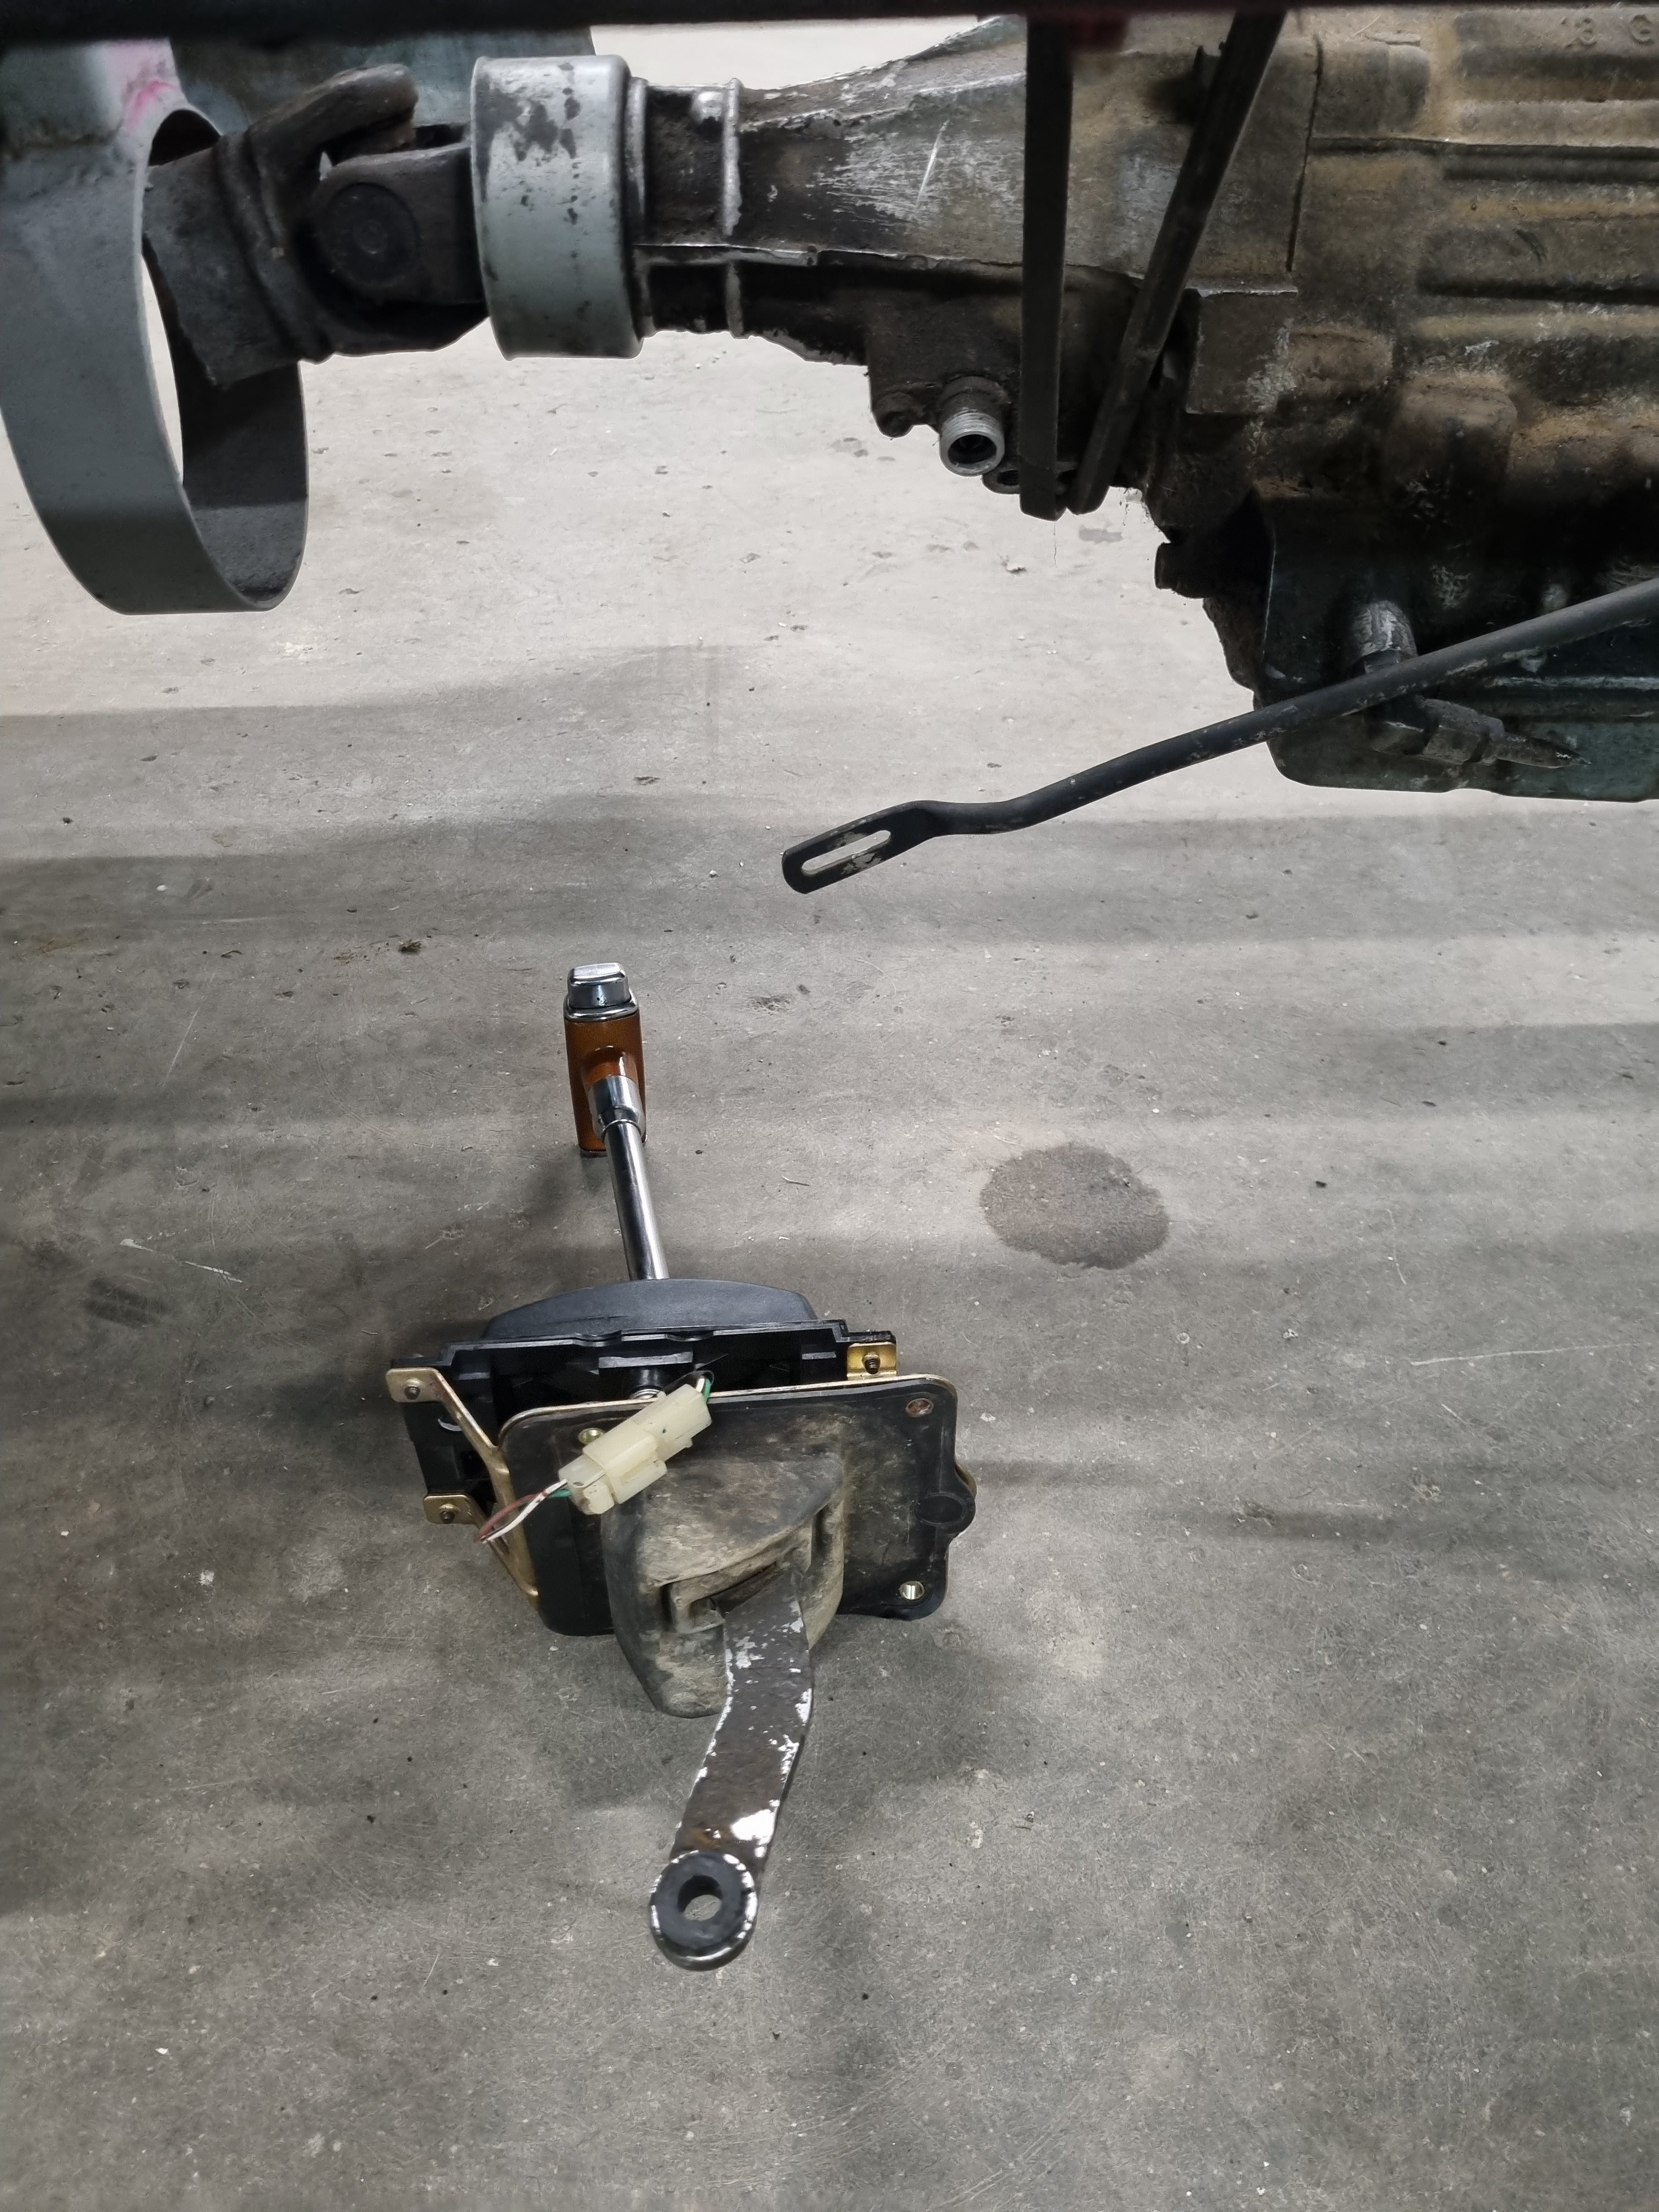
Can someone tell me what the slot is for on the shifter linkage on a42dl trans? That's the original shifter too. I'm going to make a complicated series of linkages to translate it to the cab. @sheepers??
-
Not an Imp, but some Impy flavour here... https://www.core77.com/posts/124971/Audi-Design-and-Factory-Apprentices-Create-Snappy-Electric-RestoMod
-
I feel like you need the word 'Jah' above Dyna
-
For the collector I would just start, don't think too hard about it. Just chop 3 bits of pipe to roughly the merge you are aiming for. You can weld some from outside and some from inside. You will fuck the first one up, but it will give you a fair idea where to go from there... I pretty much did that, albeit slightly easier being 4 pipes, then panelbeated the end round over an anvil and trimmed back to get to secondary diameter. Give it a Hoon I say
-
I have lots of very strong torsion springs destined for the scrappy...
-
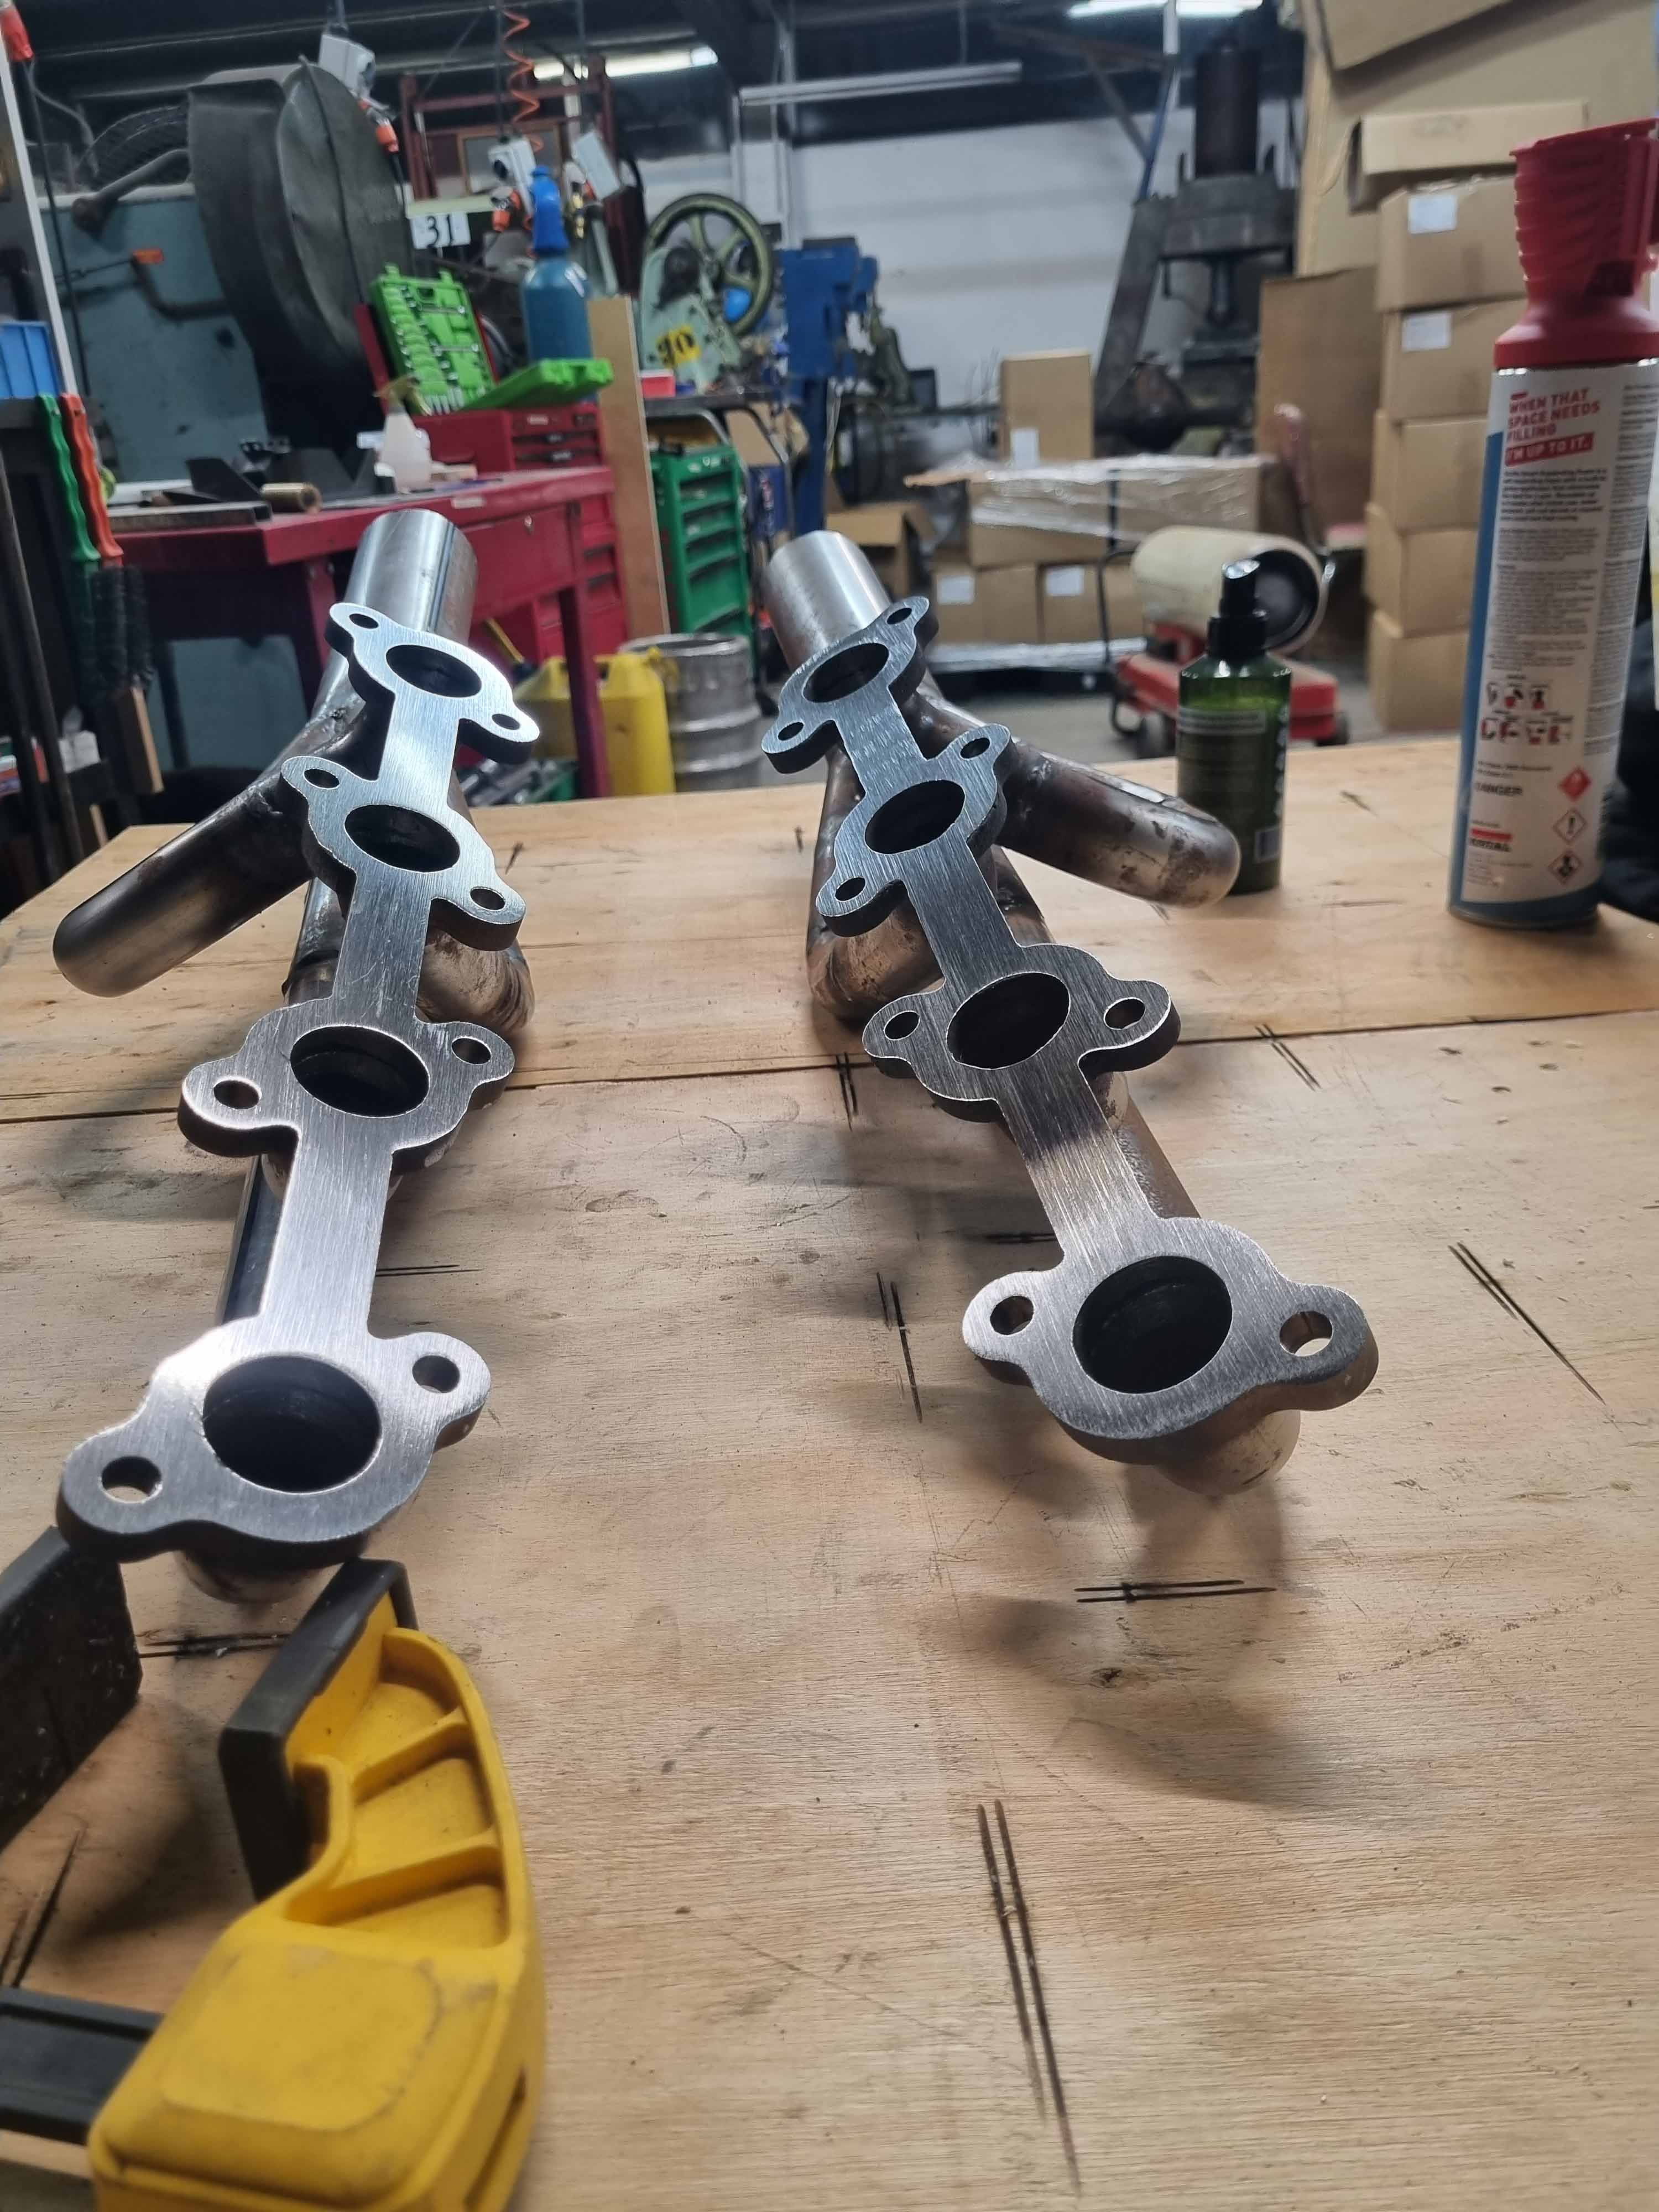
Are they sintered metal or plastic parts? Are you comfortable having no radius where the runner meets the mounting flange?
-
may be able to assist getting engines from Taranaki to @ThePog in Nelson..
-
What trans are you using? I need to know wiring pinouts on my A42DL for my Dyna build. Chur
-
Humber SS's 4V Century V8 powered Dyna Camper
HumberSS replied to HumberSS's topic in Projects and Build Ups
Prob easier to share my Pinterest board to show some further veins.. https://pin.it/7AcXv8I Things like this..
-
4V Century V8 powered Dyna Camper Discussion
HumberSS replied to HumberSS's topic in Project Discussion
I like the thinking. This is definitely on the vibe. -
Humber SS's 4V Century V8 powered Dyna Camper
HumberSS replied to HumberSS's topic in Projects and Build Ups
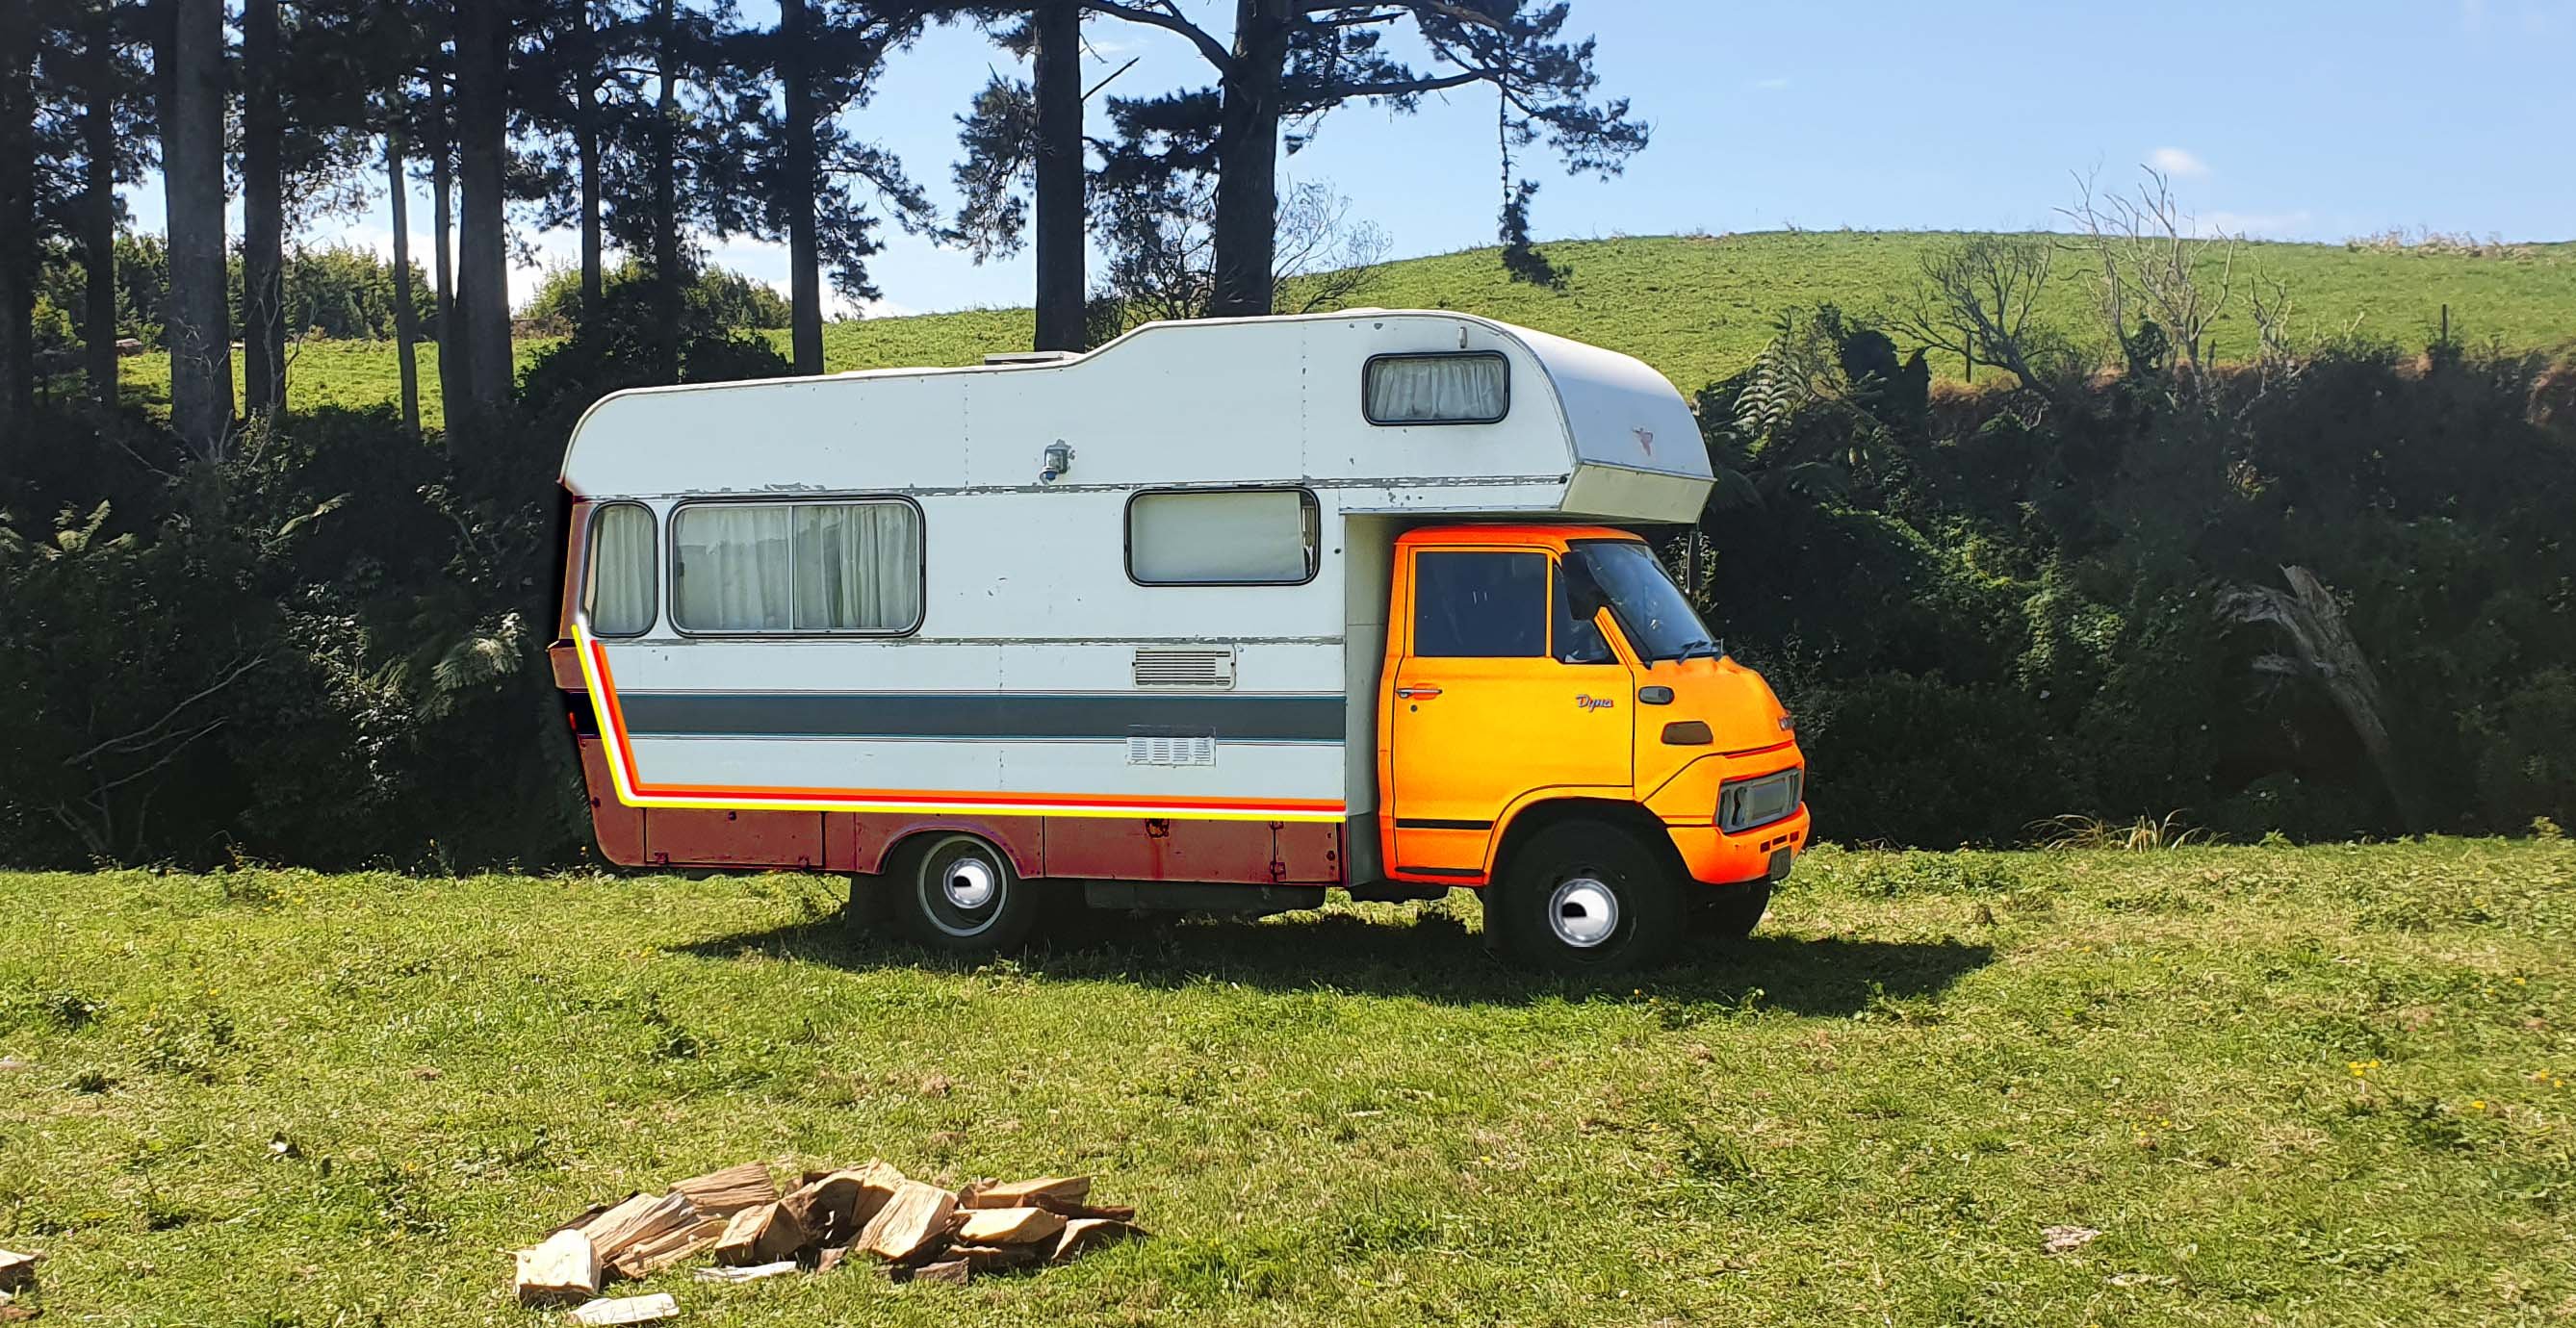
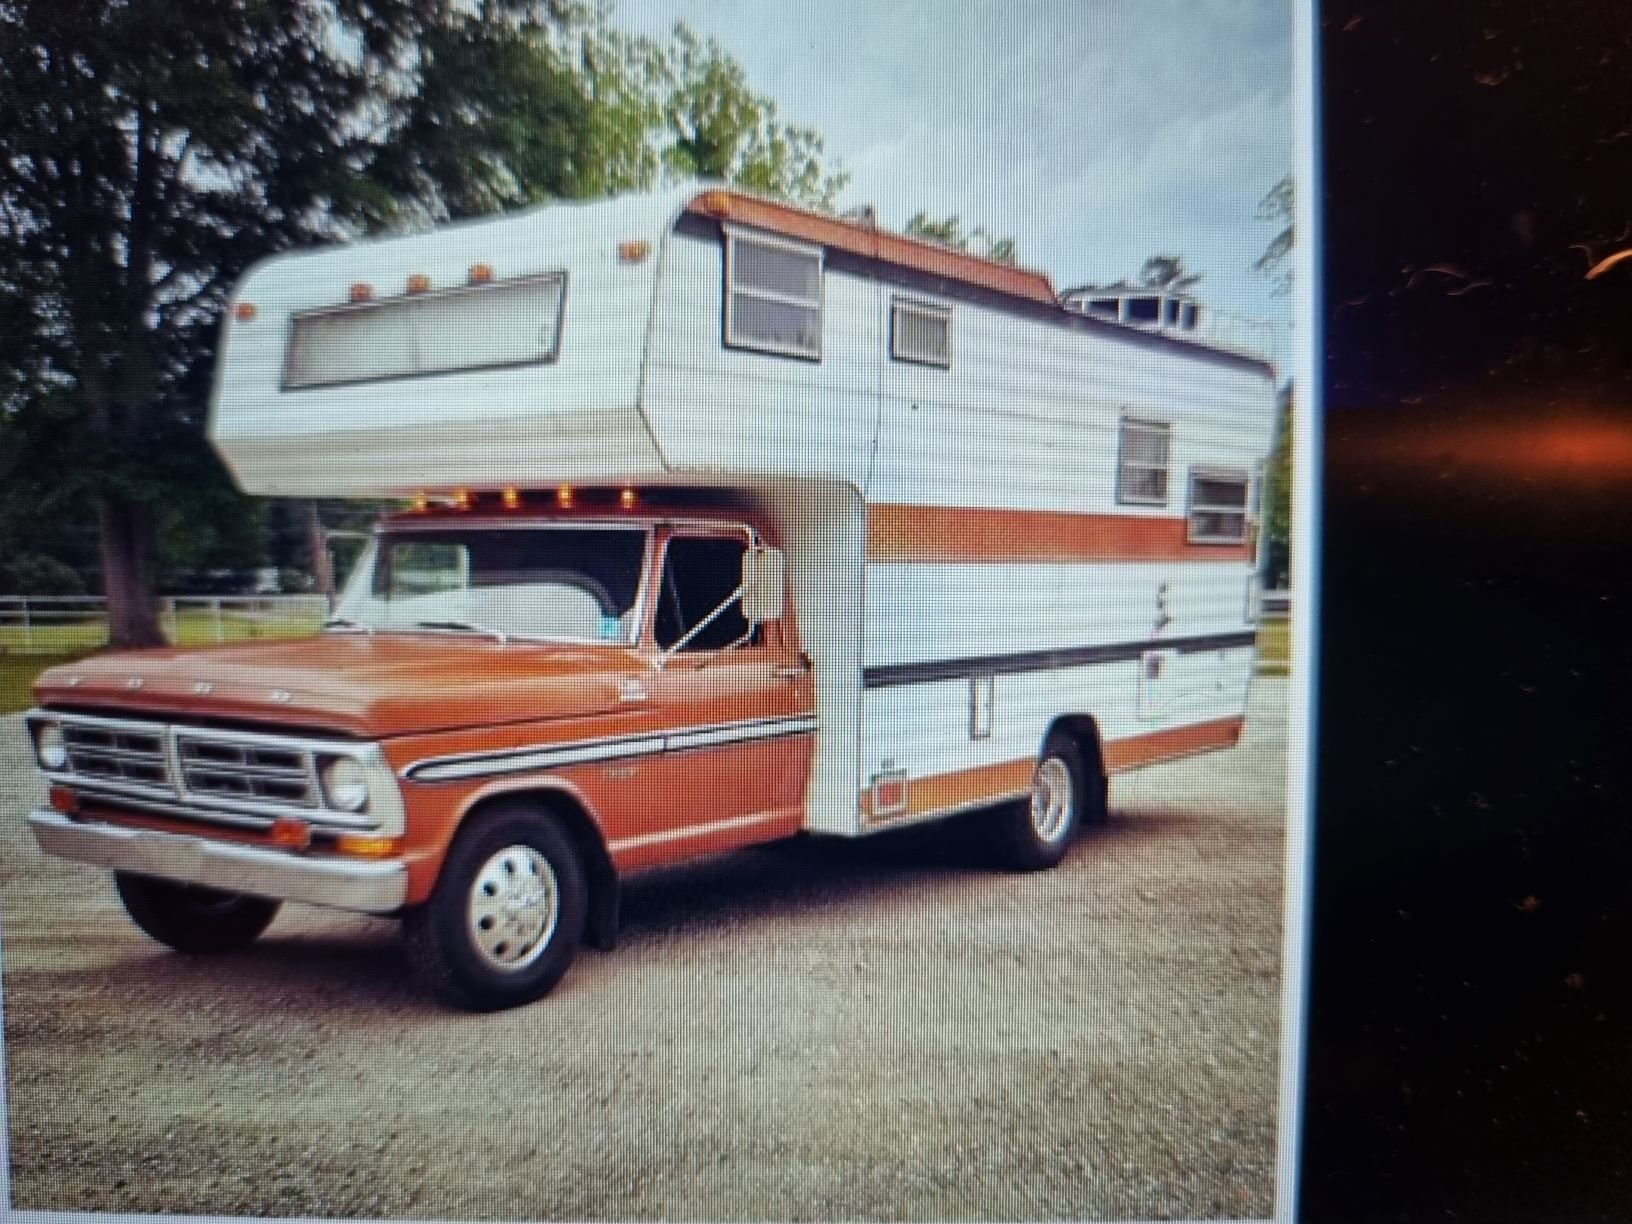
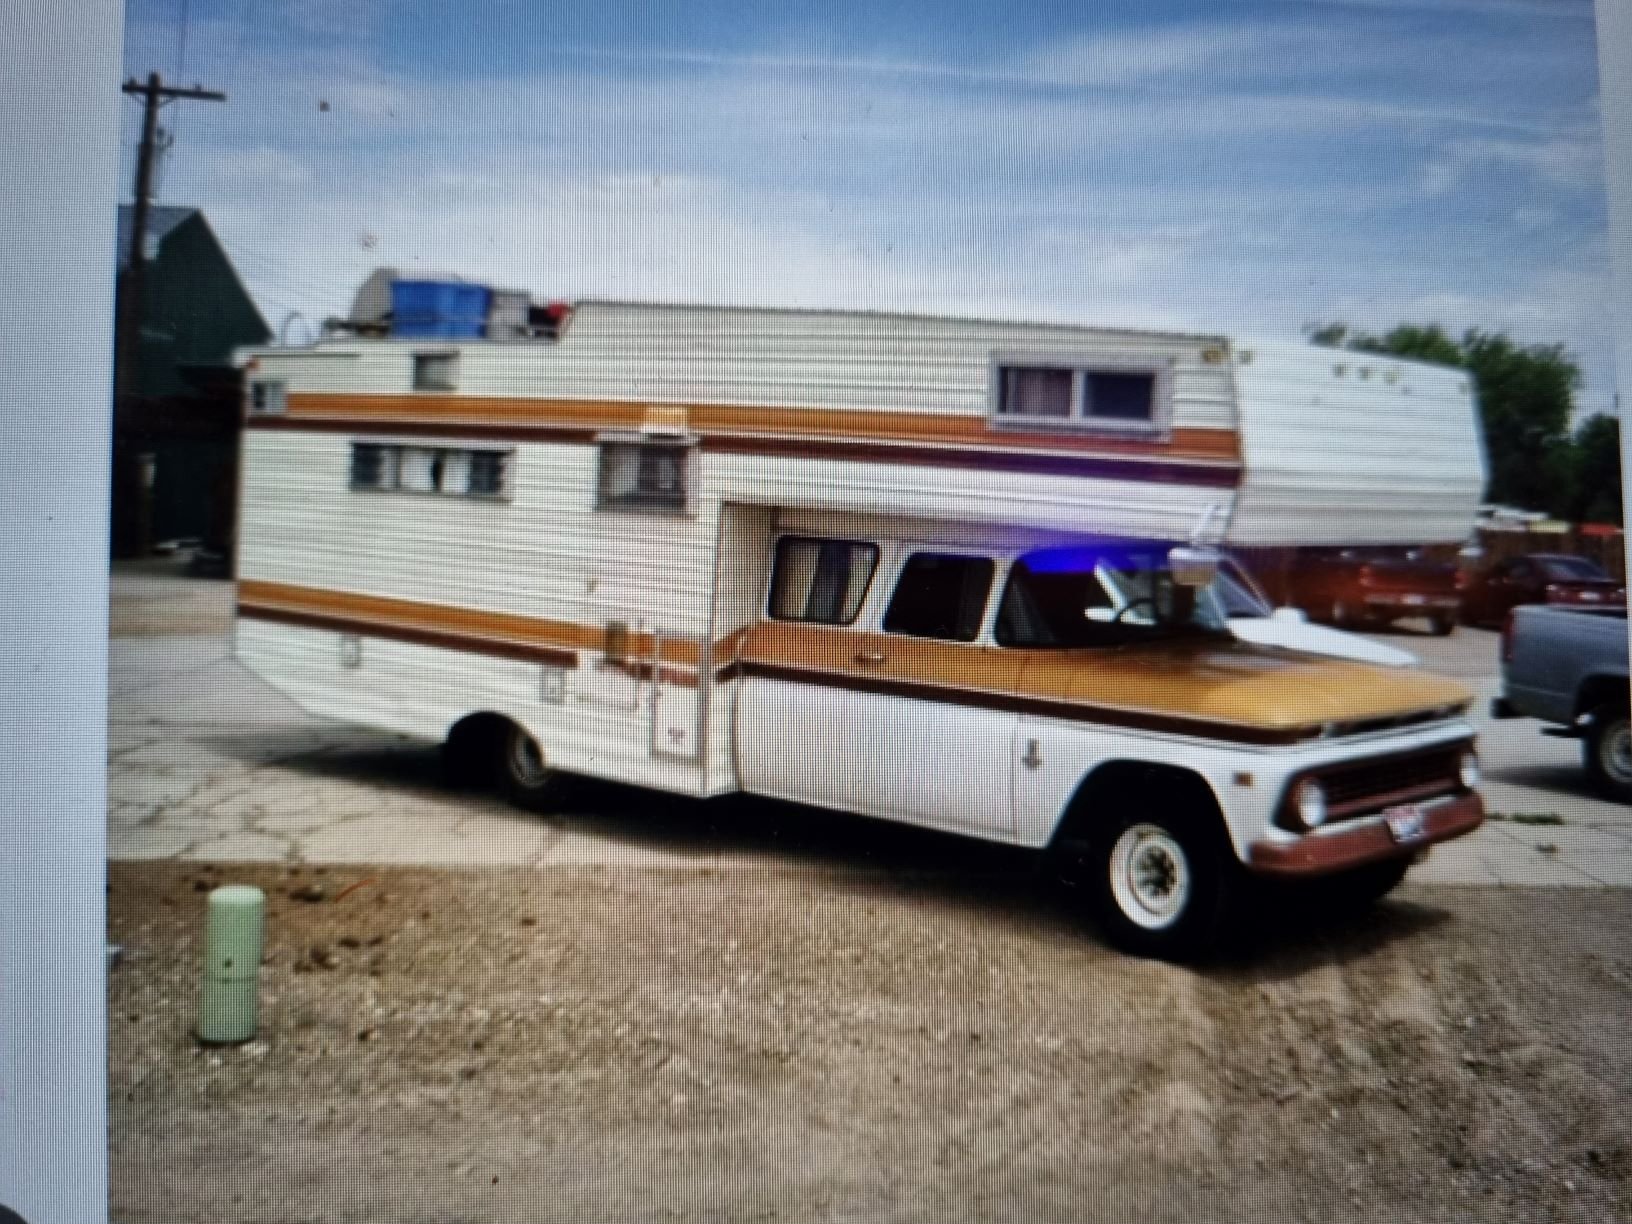
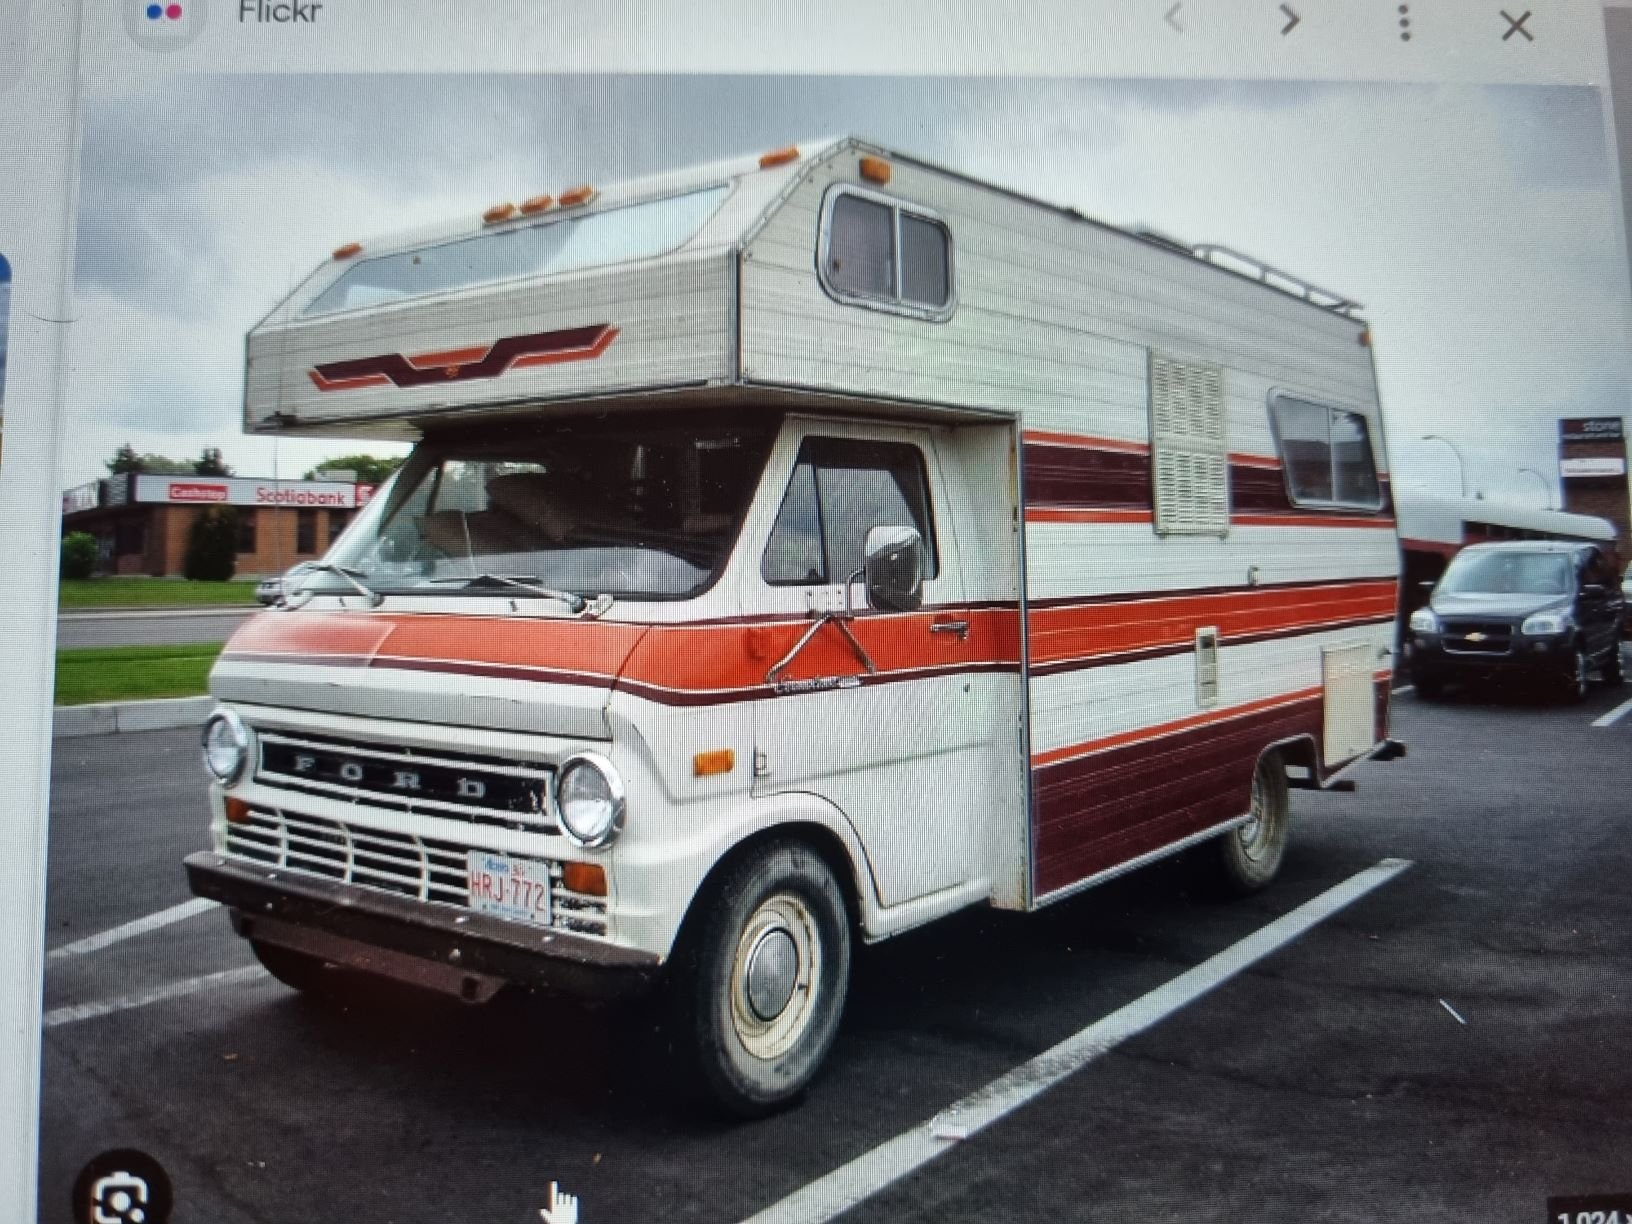
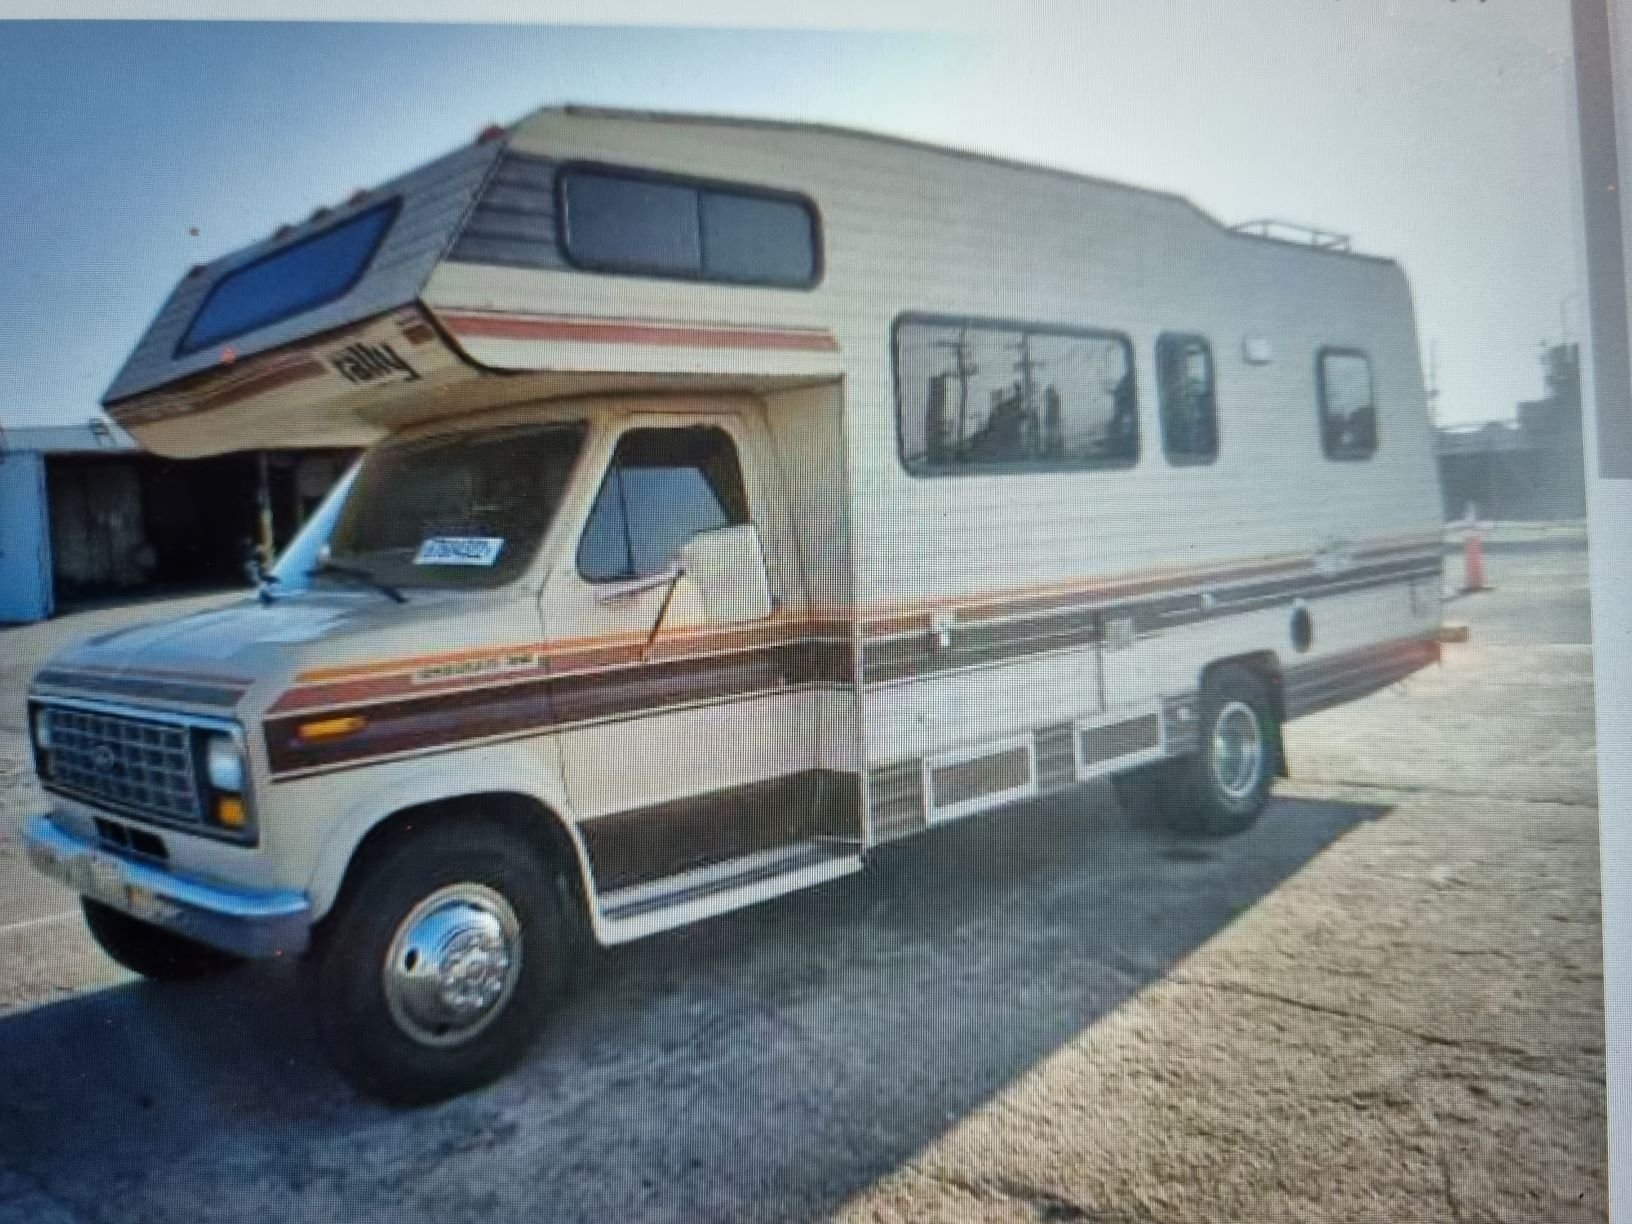
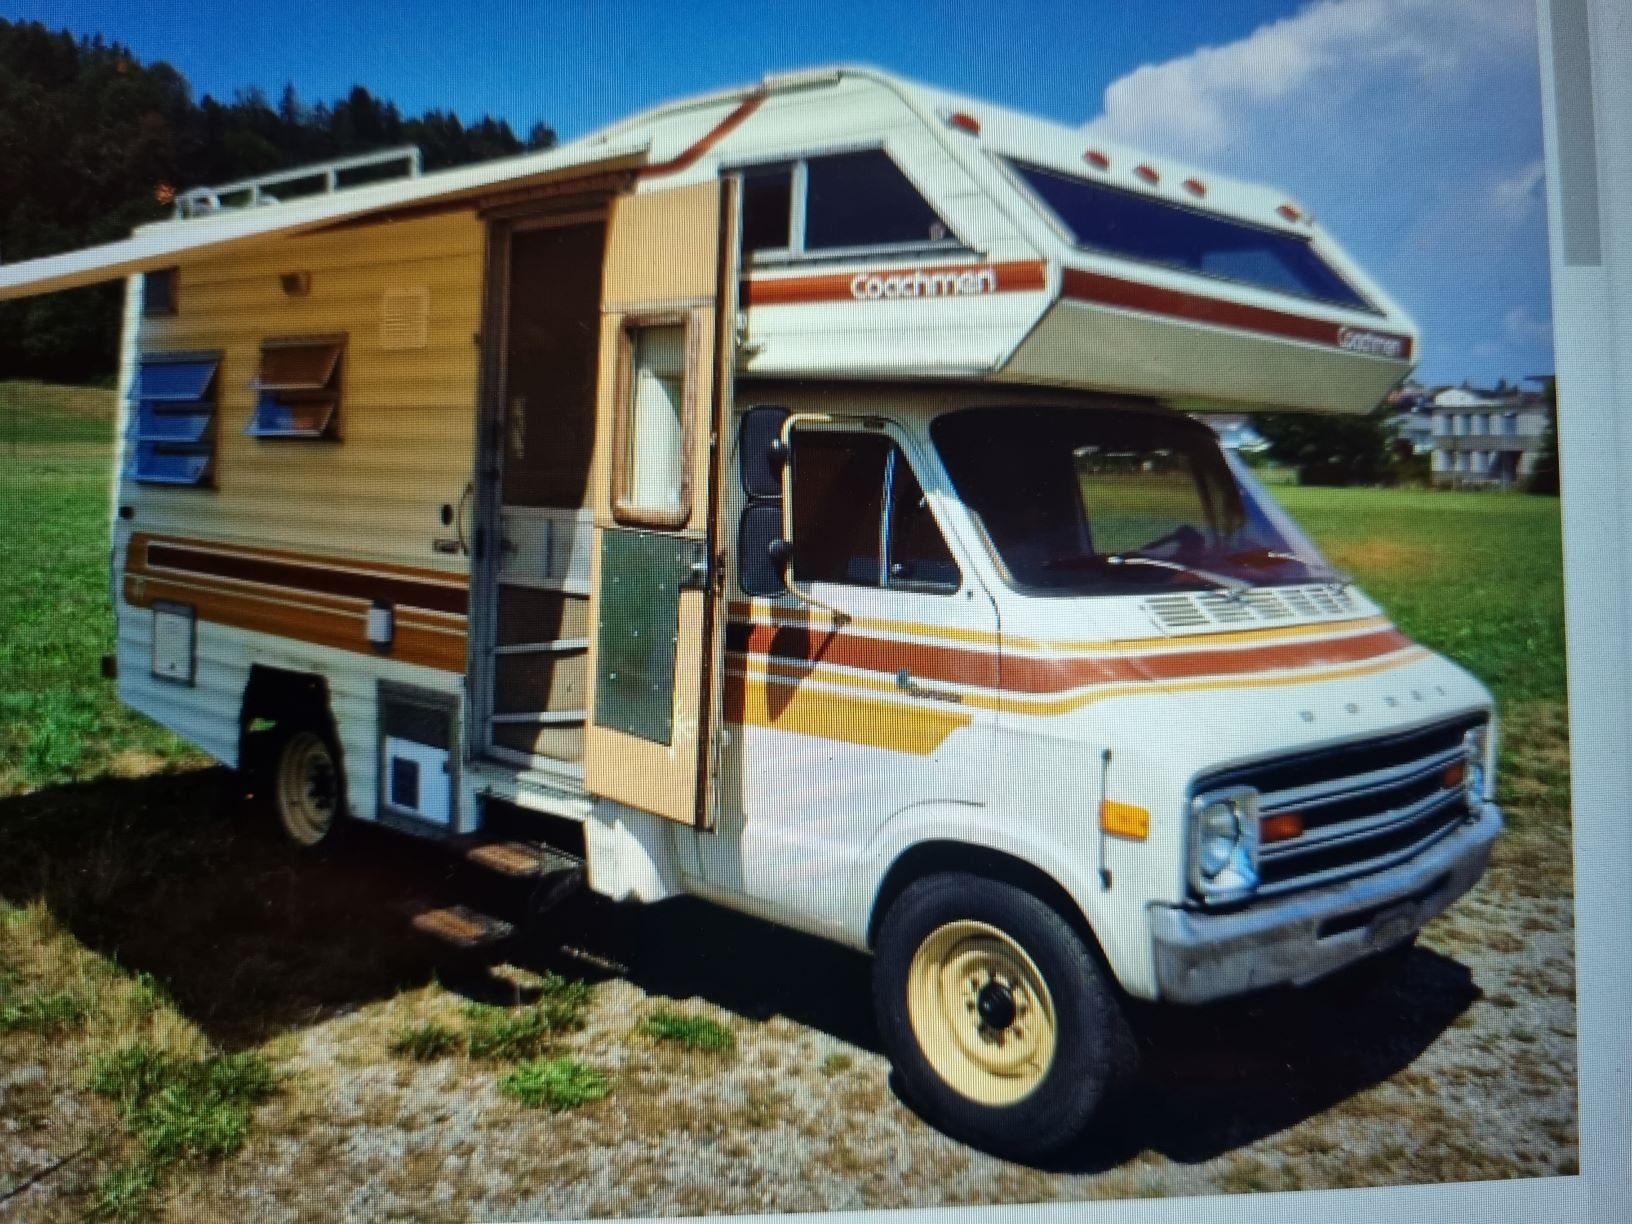
With body related thinking comes the thought of actually laying a coat of jam on this cunt sometime circa 2030. Anyway, I like dreaming and have a bit of a line of thought Id like to pursue. I think the vibe will be very Toyota, think red/yellow/orange stripe over a white body. Im stuck on the idea of the cab going either bright orange (KP60 type orange) or some sort of Cressida metallic brown. I havent exactly figured how I will tie the body to the cab with the stripe. I did a 5 minute bullshit photoshop job, which isnt it, but is worth throwing up here for the lols. I really dont want a white slug like all other campers, and the cab shape lends itself to something cool. Mood board below. comments welcome. Oh and also shoutout to @dmulally for his very generous contribution to the cause - a lovely wing awning. Legend, and I fully owe you mate it wont be forgotten. Also great to meet another OSer in the real, absolute GC.
- 61 replies
-
- 19
-
-

-
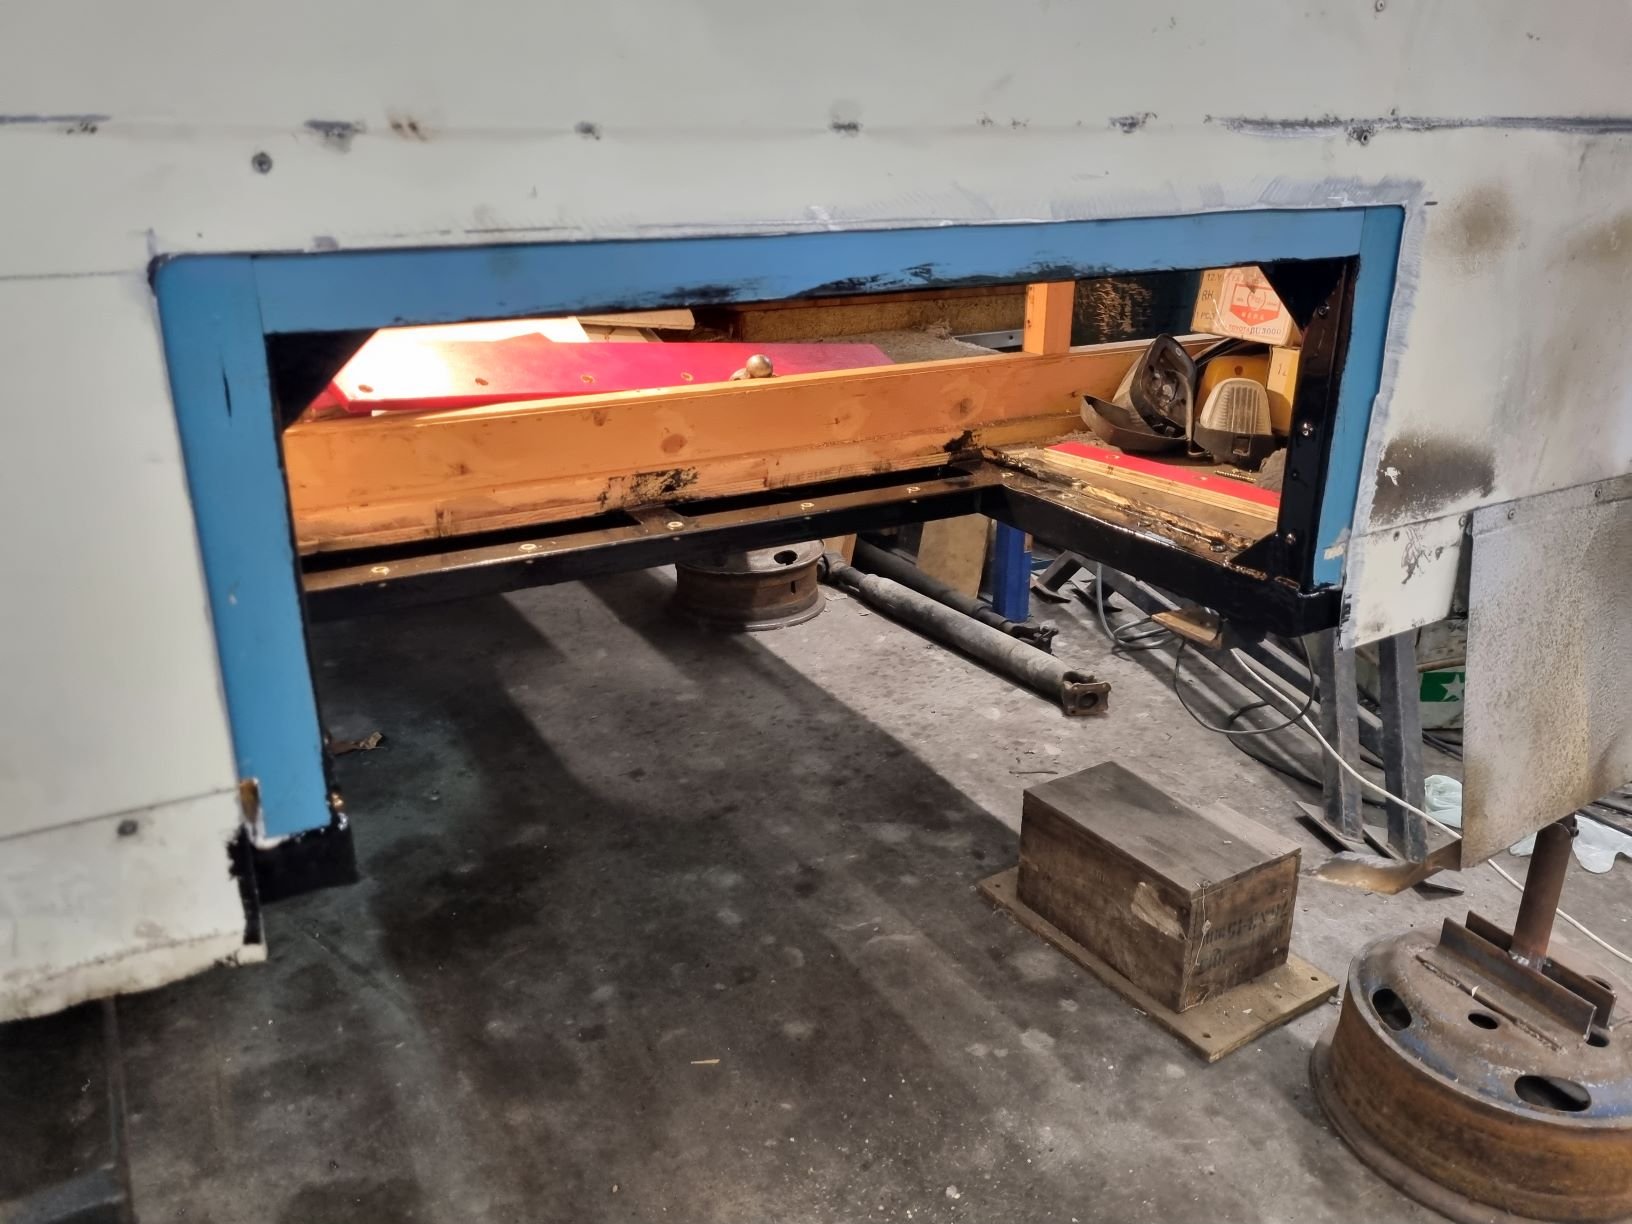
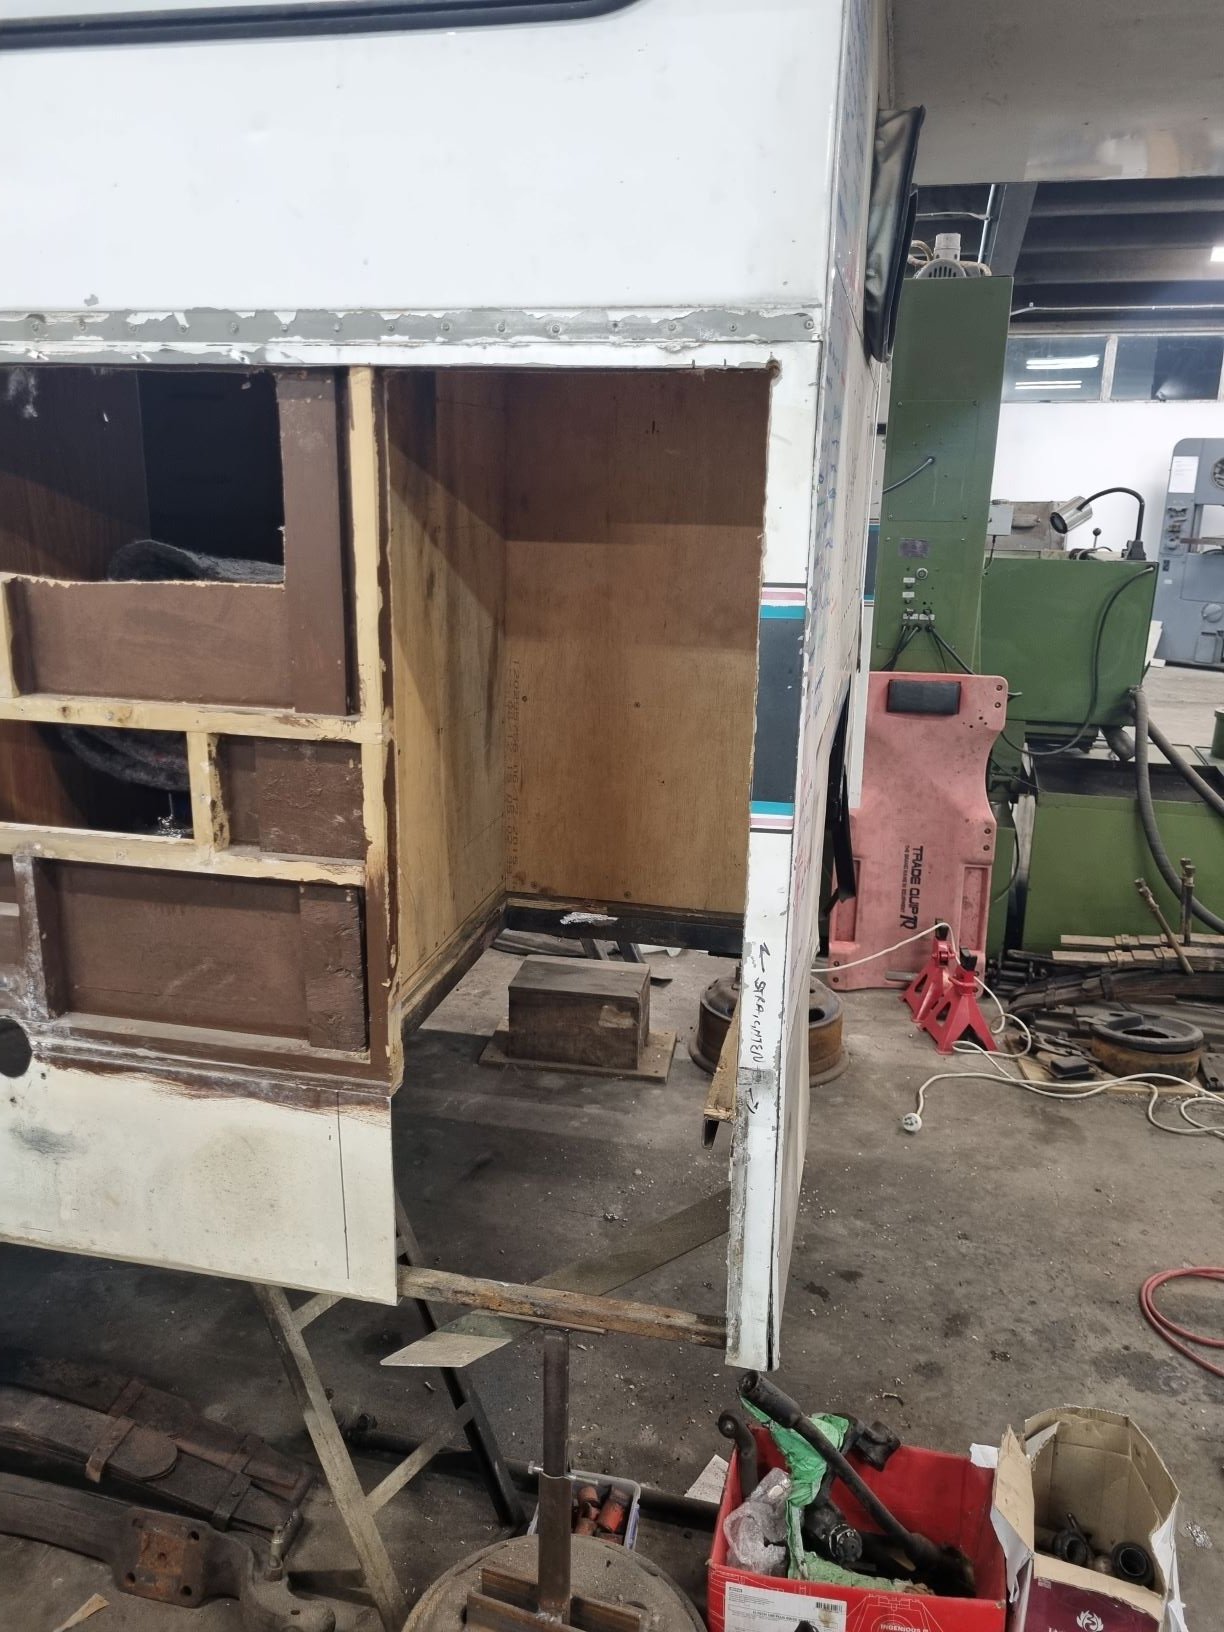
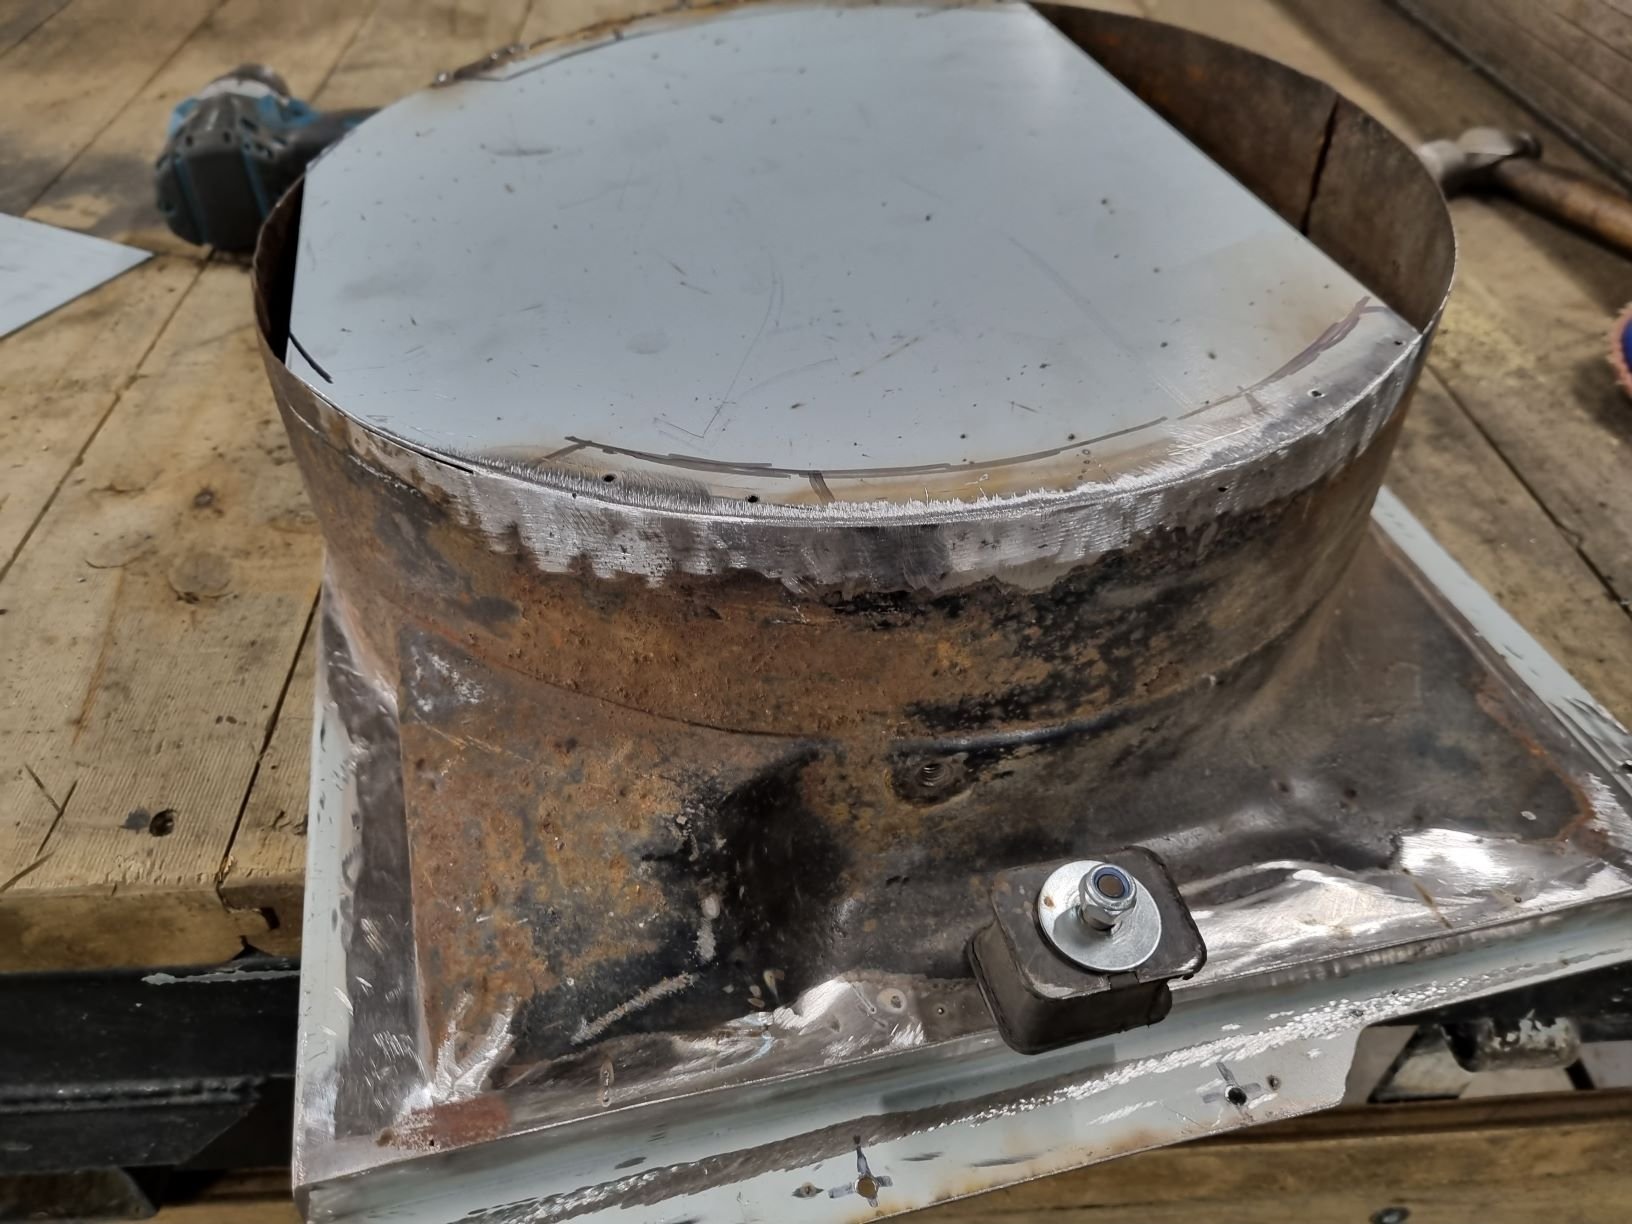
Humber SS's 4V Century V8 powered Dyna Camper
HumberSS replied to HumberSS's topic in Projects and Build Ups
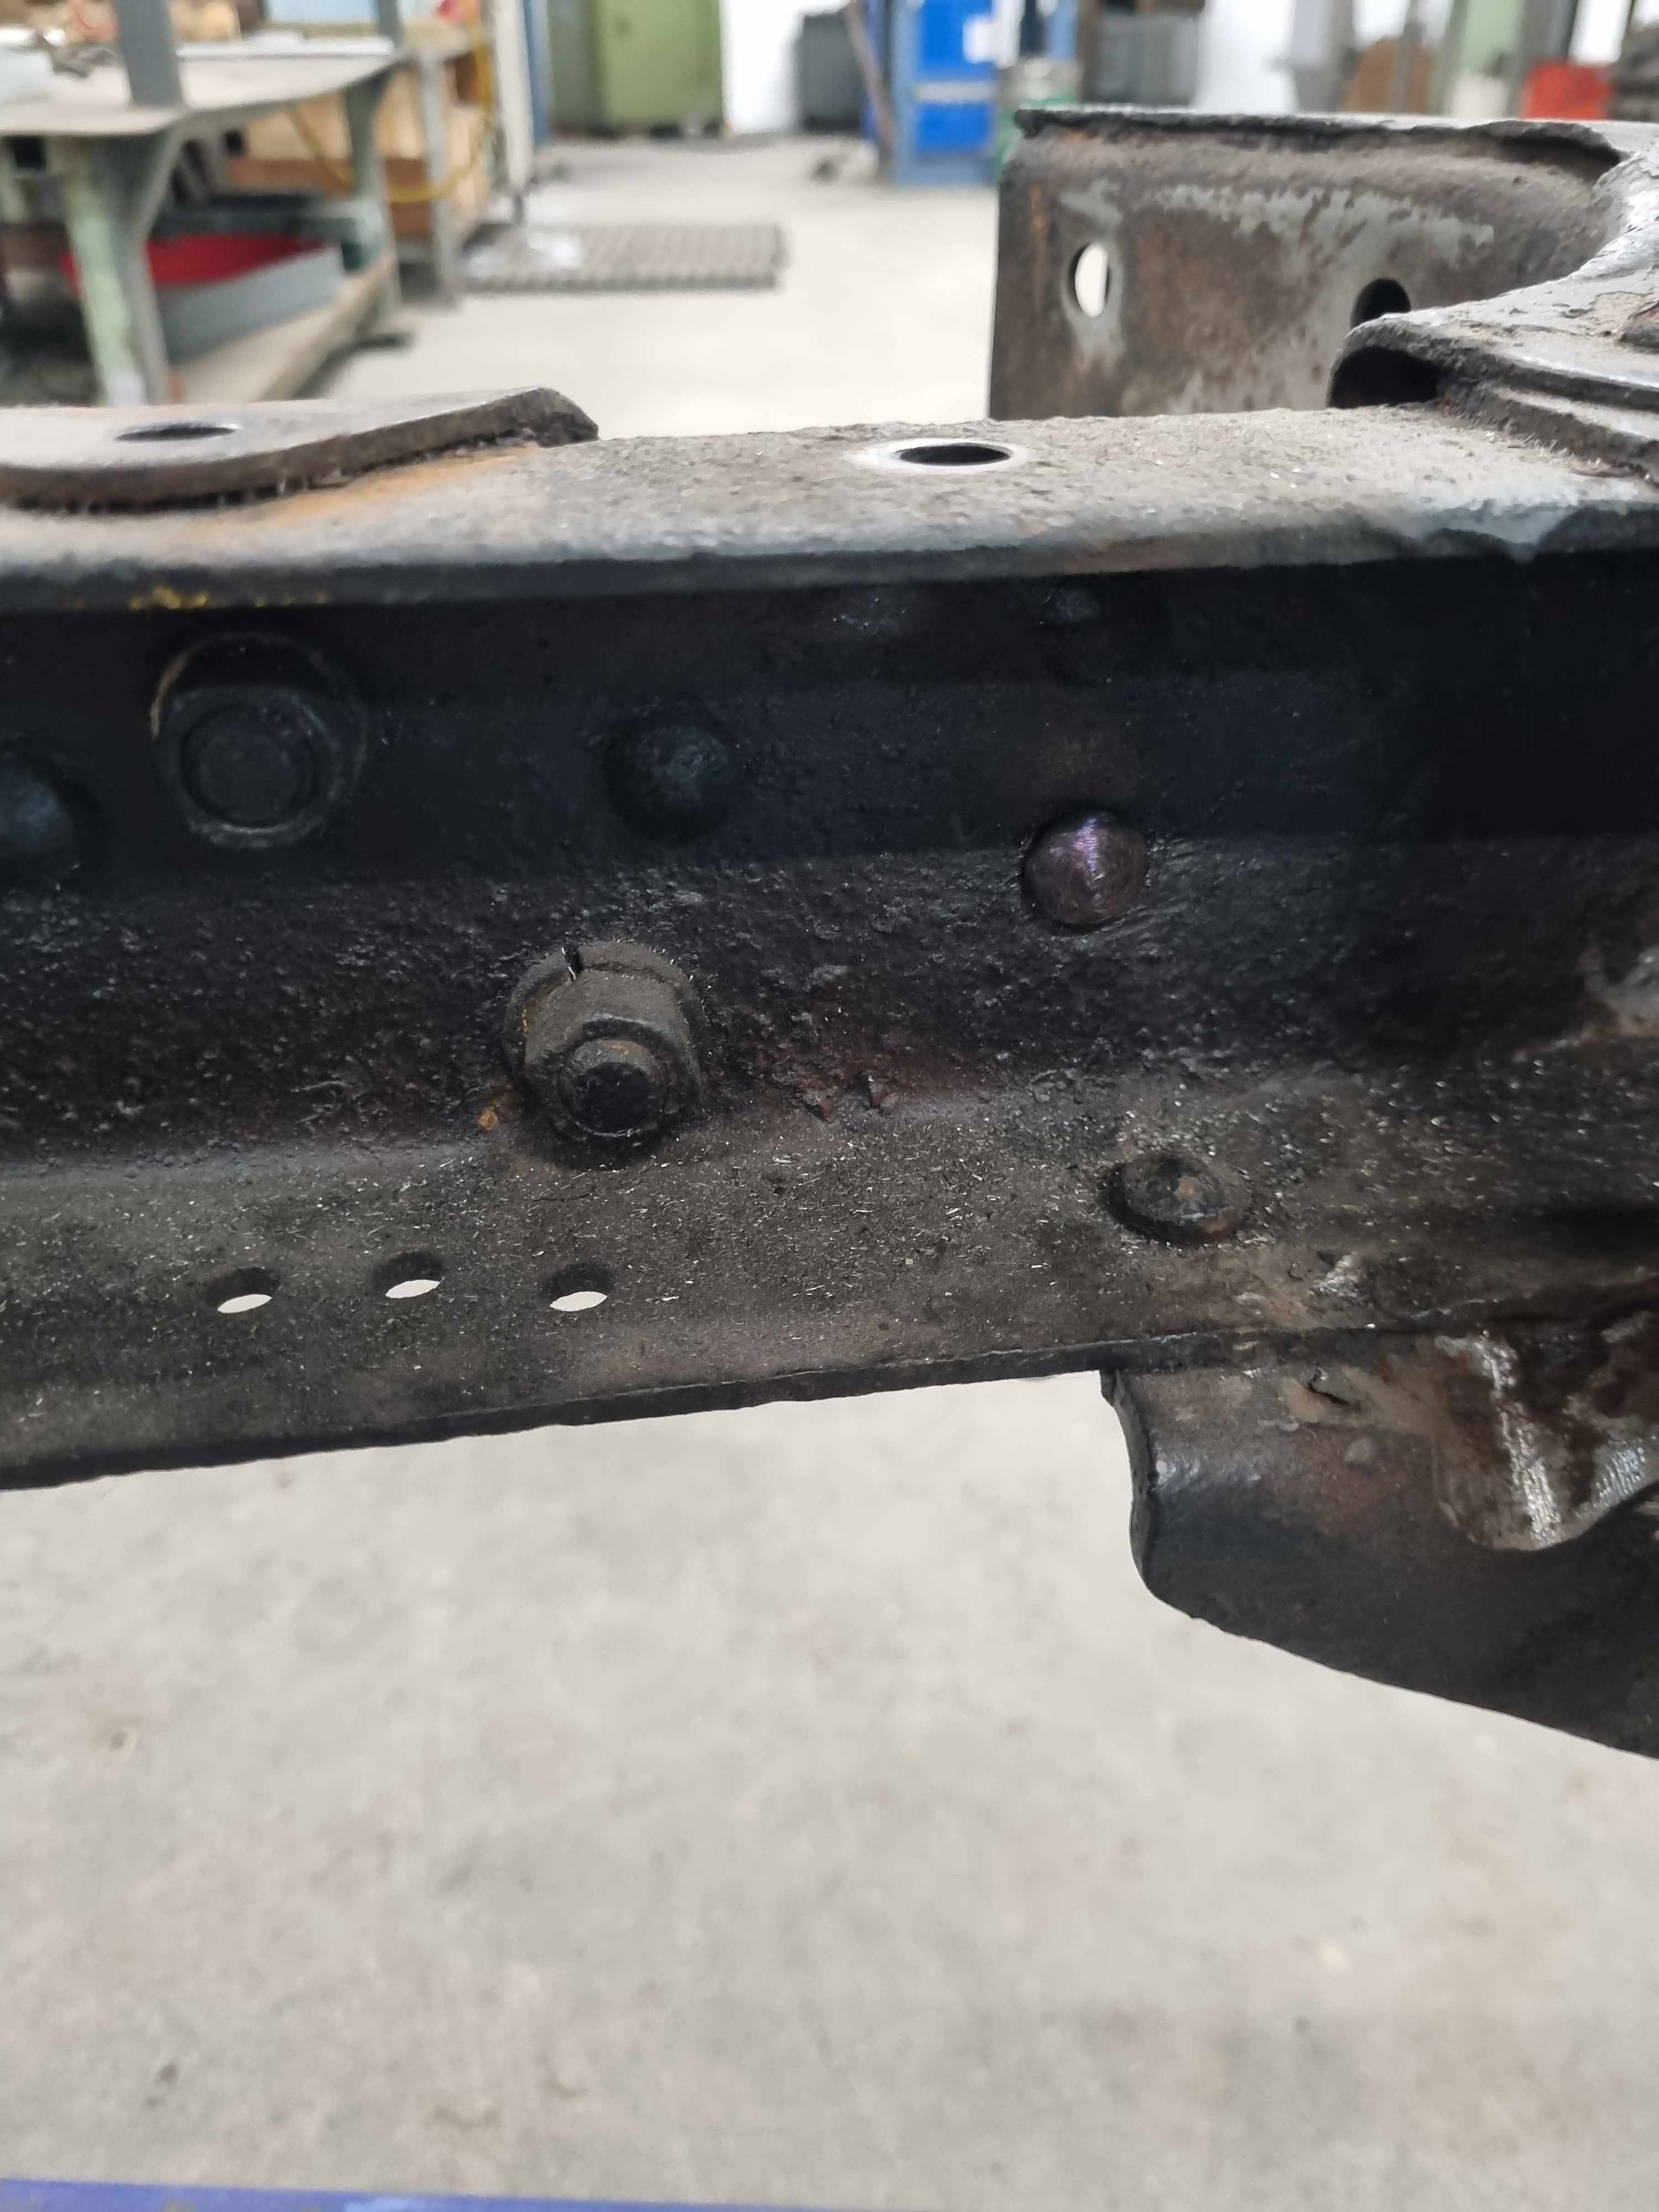
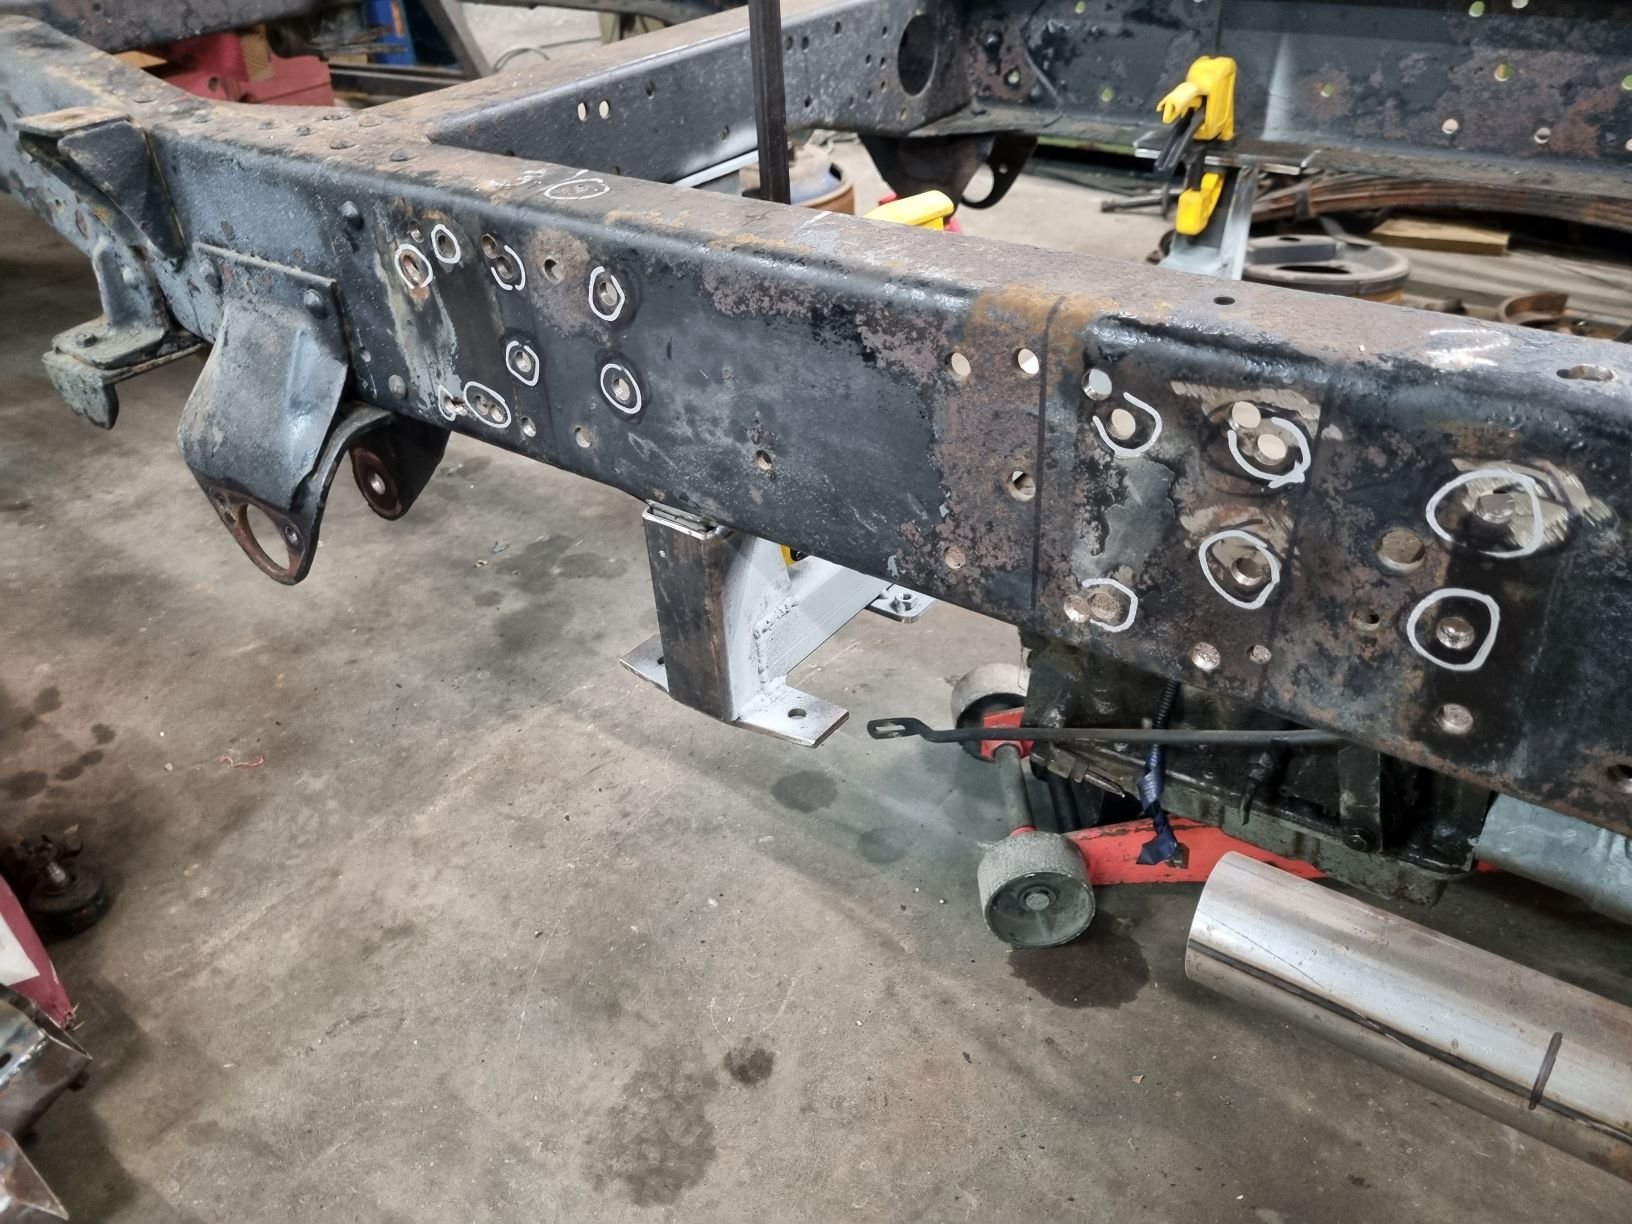
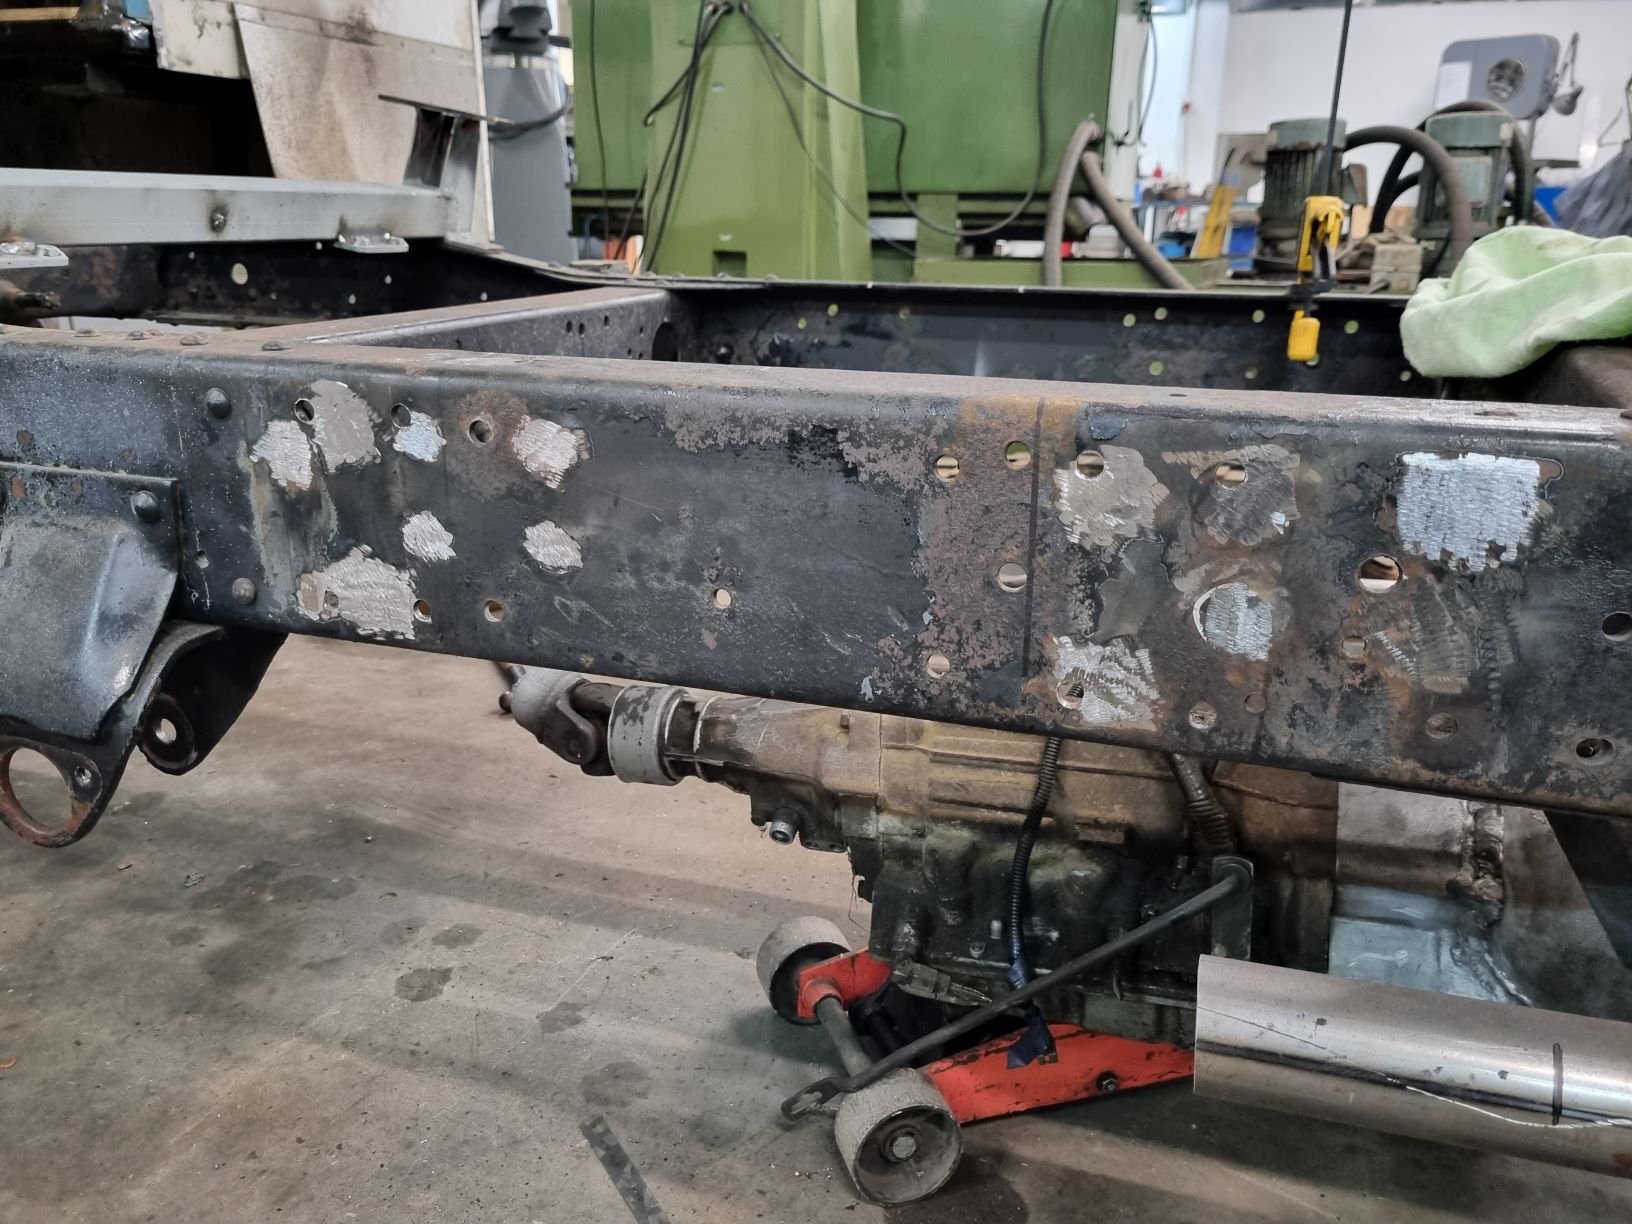
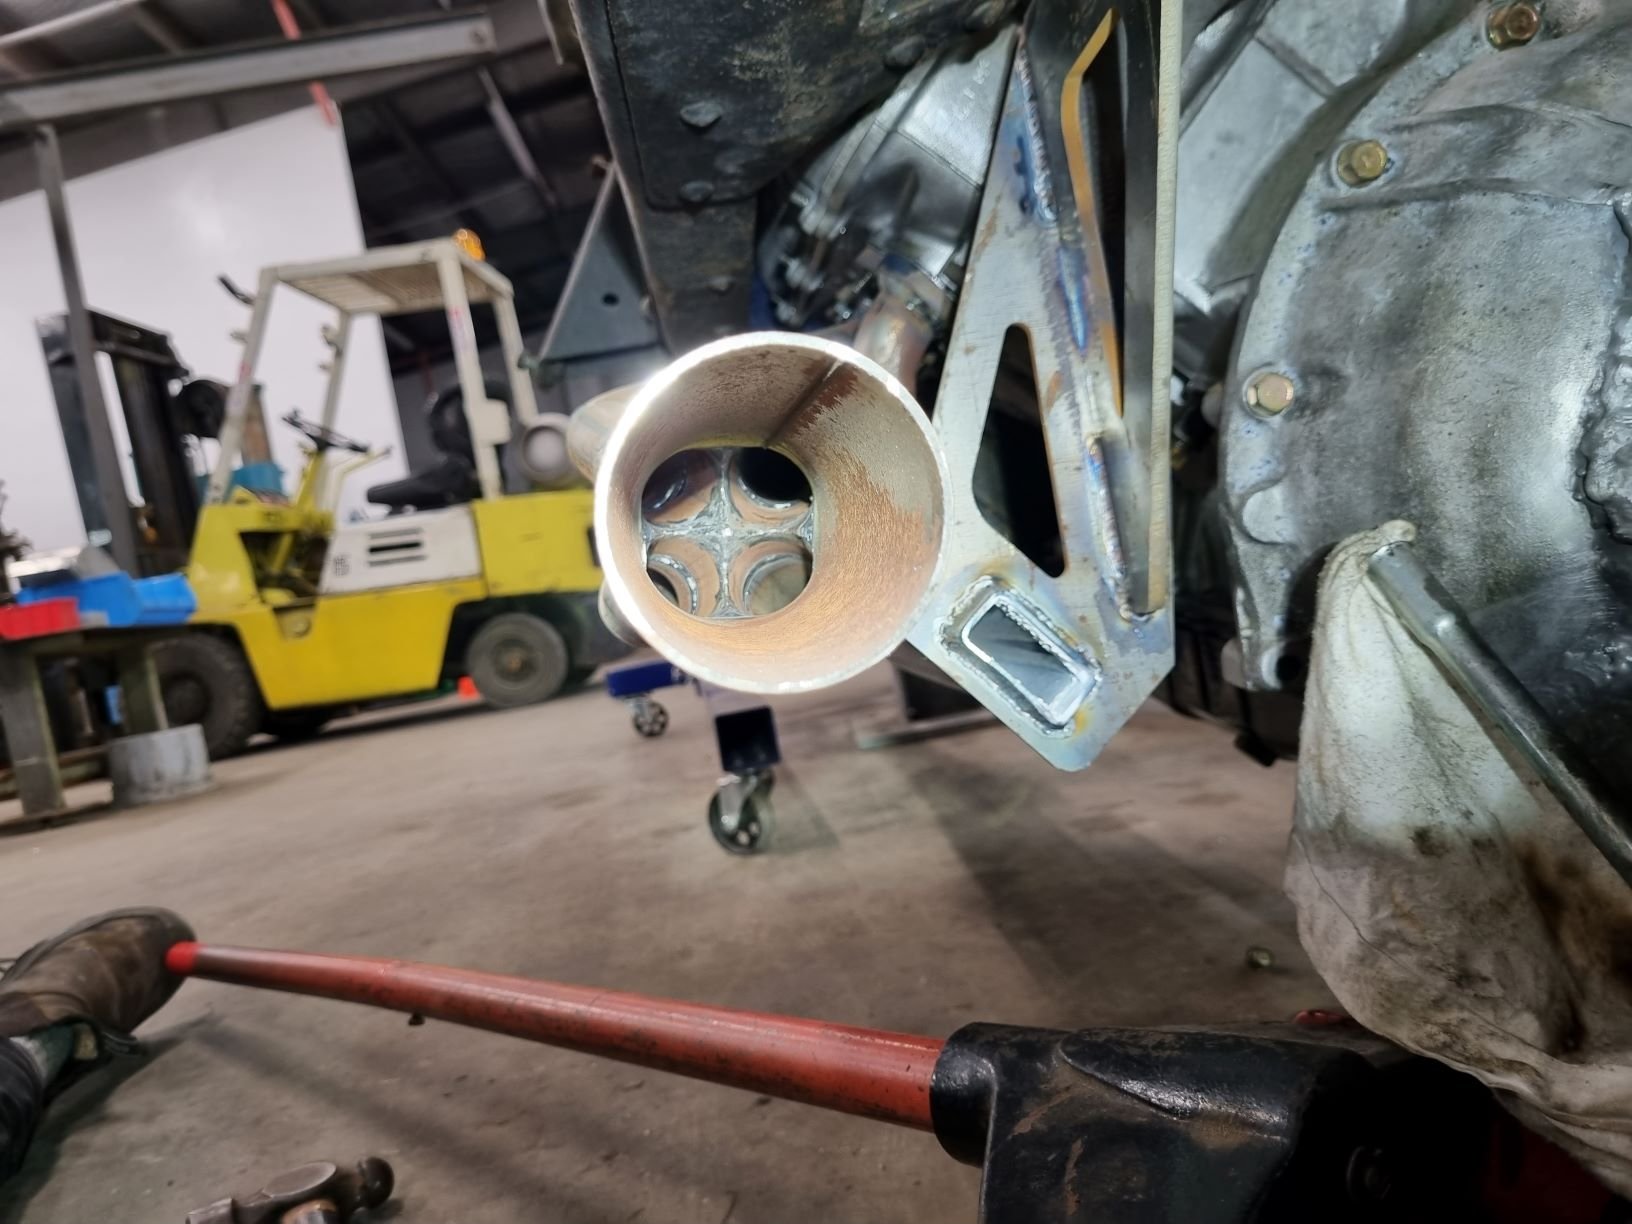
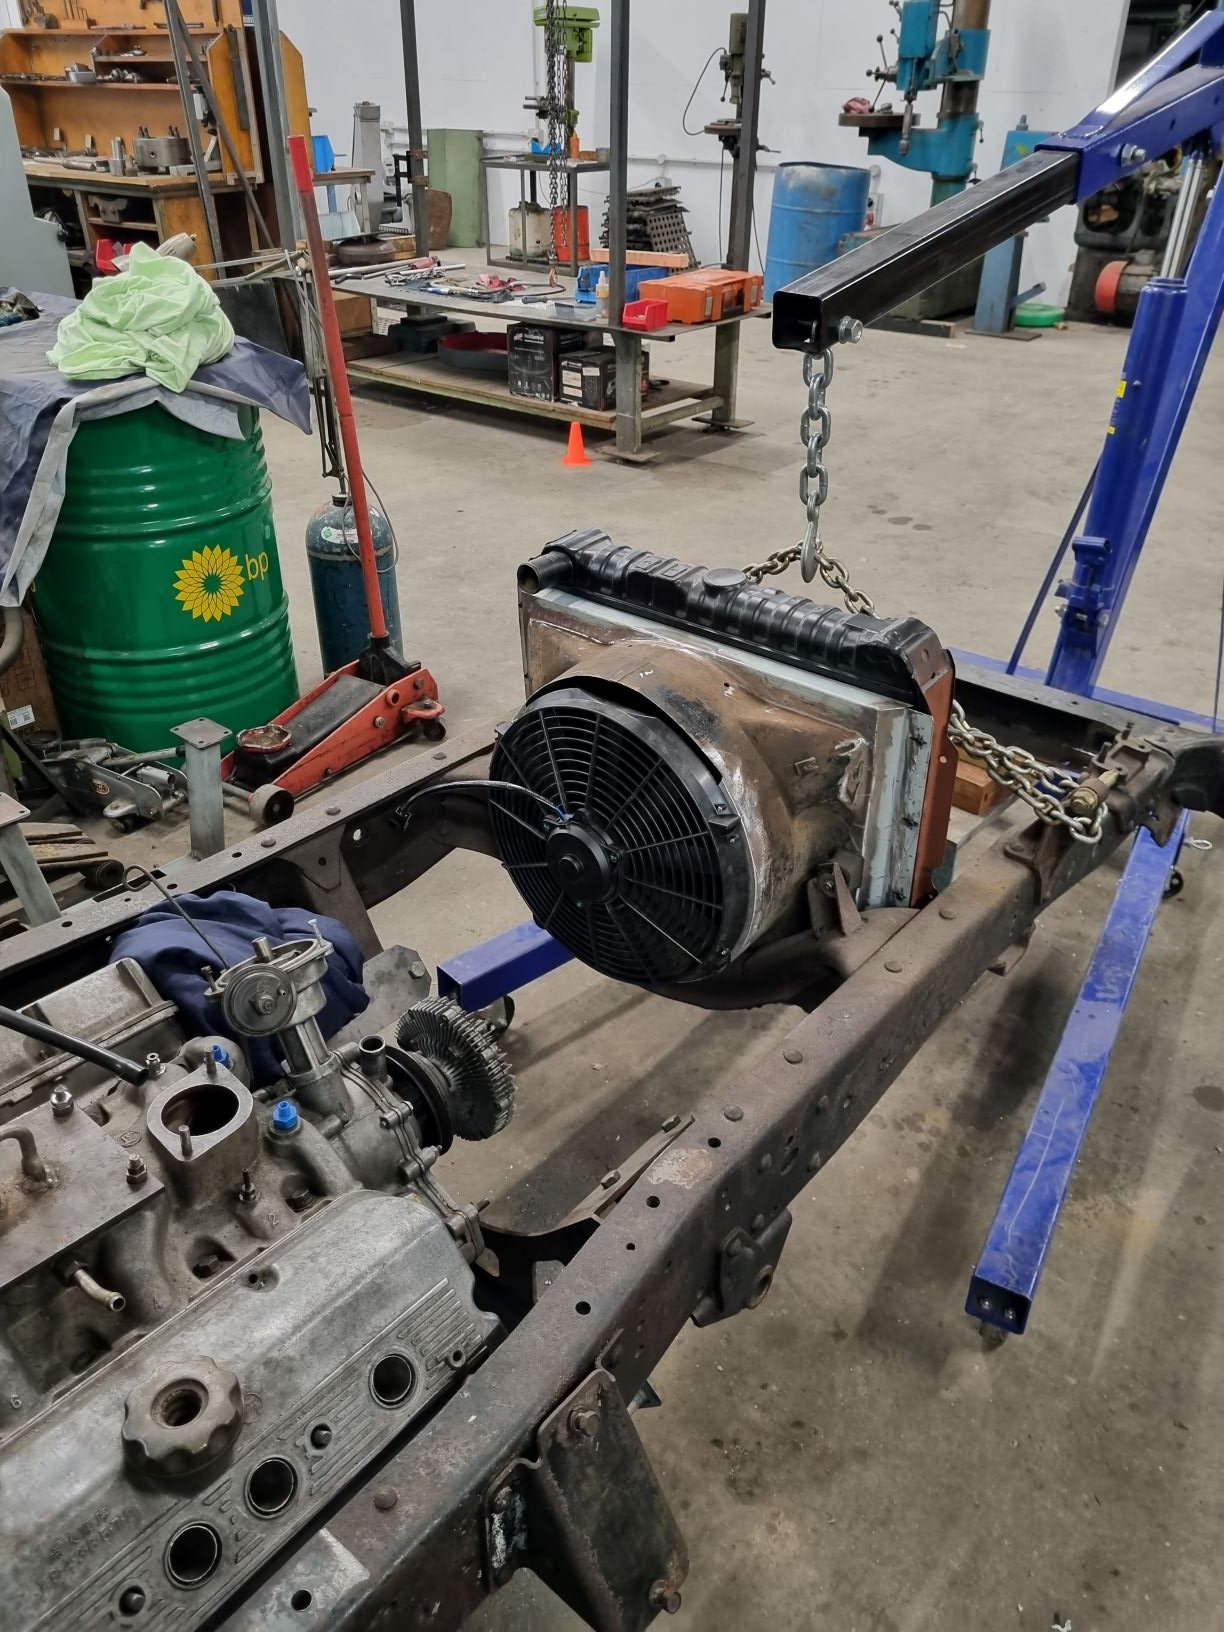
Next mish was to fill some swiss cheese in the chassis rail on the fuel tank side. I moved the mounting holes, but also there were a lot of holes there already and it was looking a mess. I also got a shot up the end of the collector, just cause... I finished the driveshaft hoop also. Again butty, but functional. Ive really only got the diff handbrake to complete, and a few bits turned up this week for that, so I will be turning my attention there in the coming weeks. I moved back to tidying up some of the body interface. Painted steel, put rivnuts in holes etc for mounting engine cover. Got stuck back into Califont and battery locker, cut out some more unnecessary shite and the old battery tray, so this is kindof ready for a bit more lining and framing up for batteries etc. Will need to at least decide on a battery format before I go further here. Would like to start reinstating the skin and framing up a door for here soon too. Ive also started looking at other body related stuff, with the impending end of major driveline fab thats where my next bit of attention will turn. I also remounted the fan on the outside of the fan shroud instead of using the shitty radiator zip ties I had previously, as suggested by someone. Hindsight is a beautiful thing, as is perhaps laying off the doobs and beers when fabbing shit. I think I should have cut the shroud back a few inches to make purdy, but its done now and space is not a constraint here so Ill live with it.
- 61 replies
-
- 15
-
-
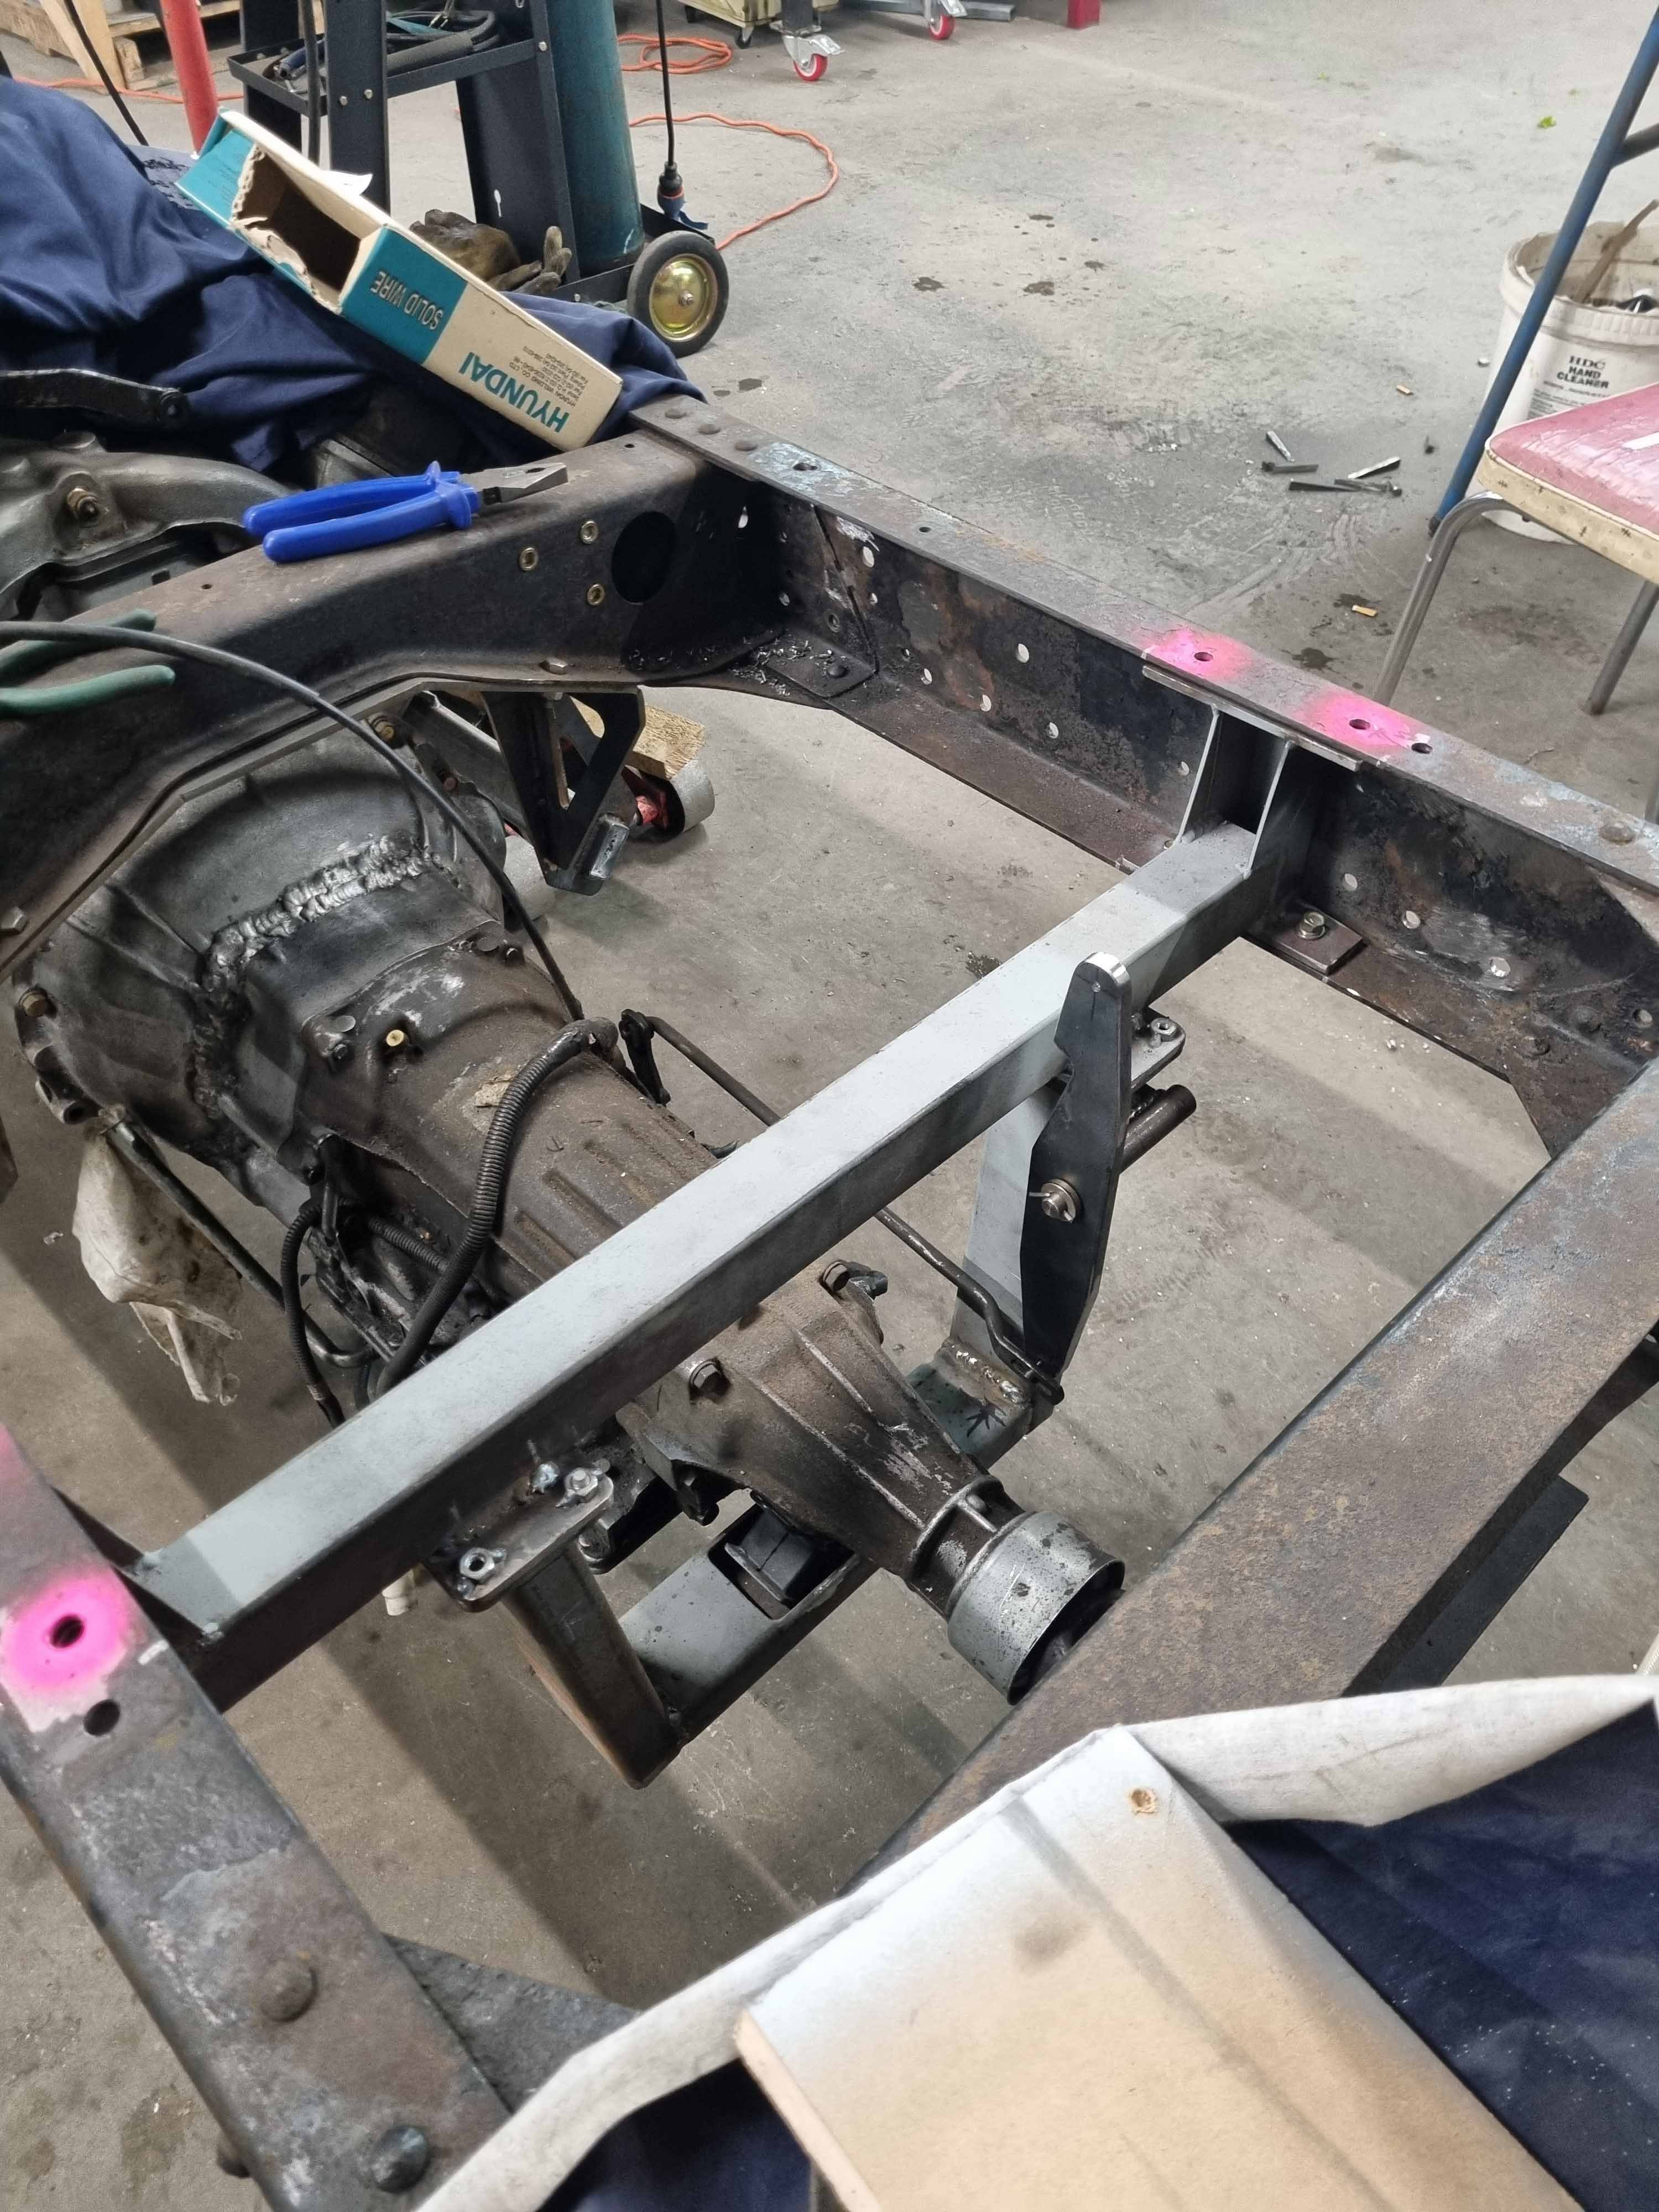
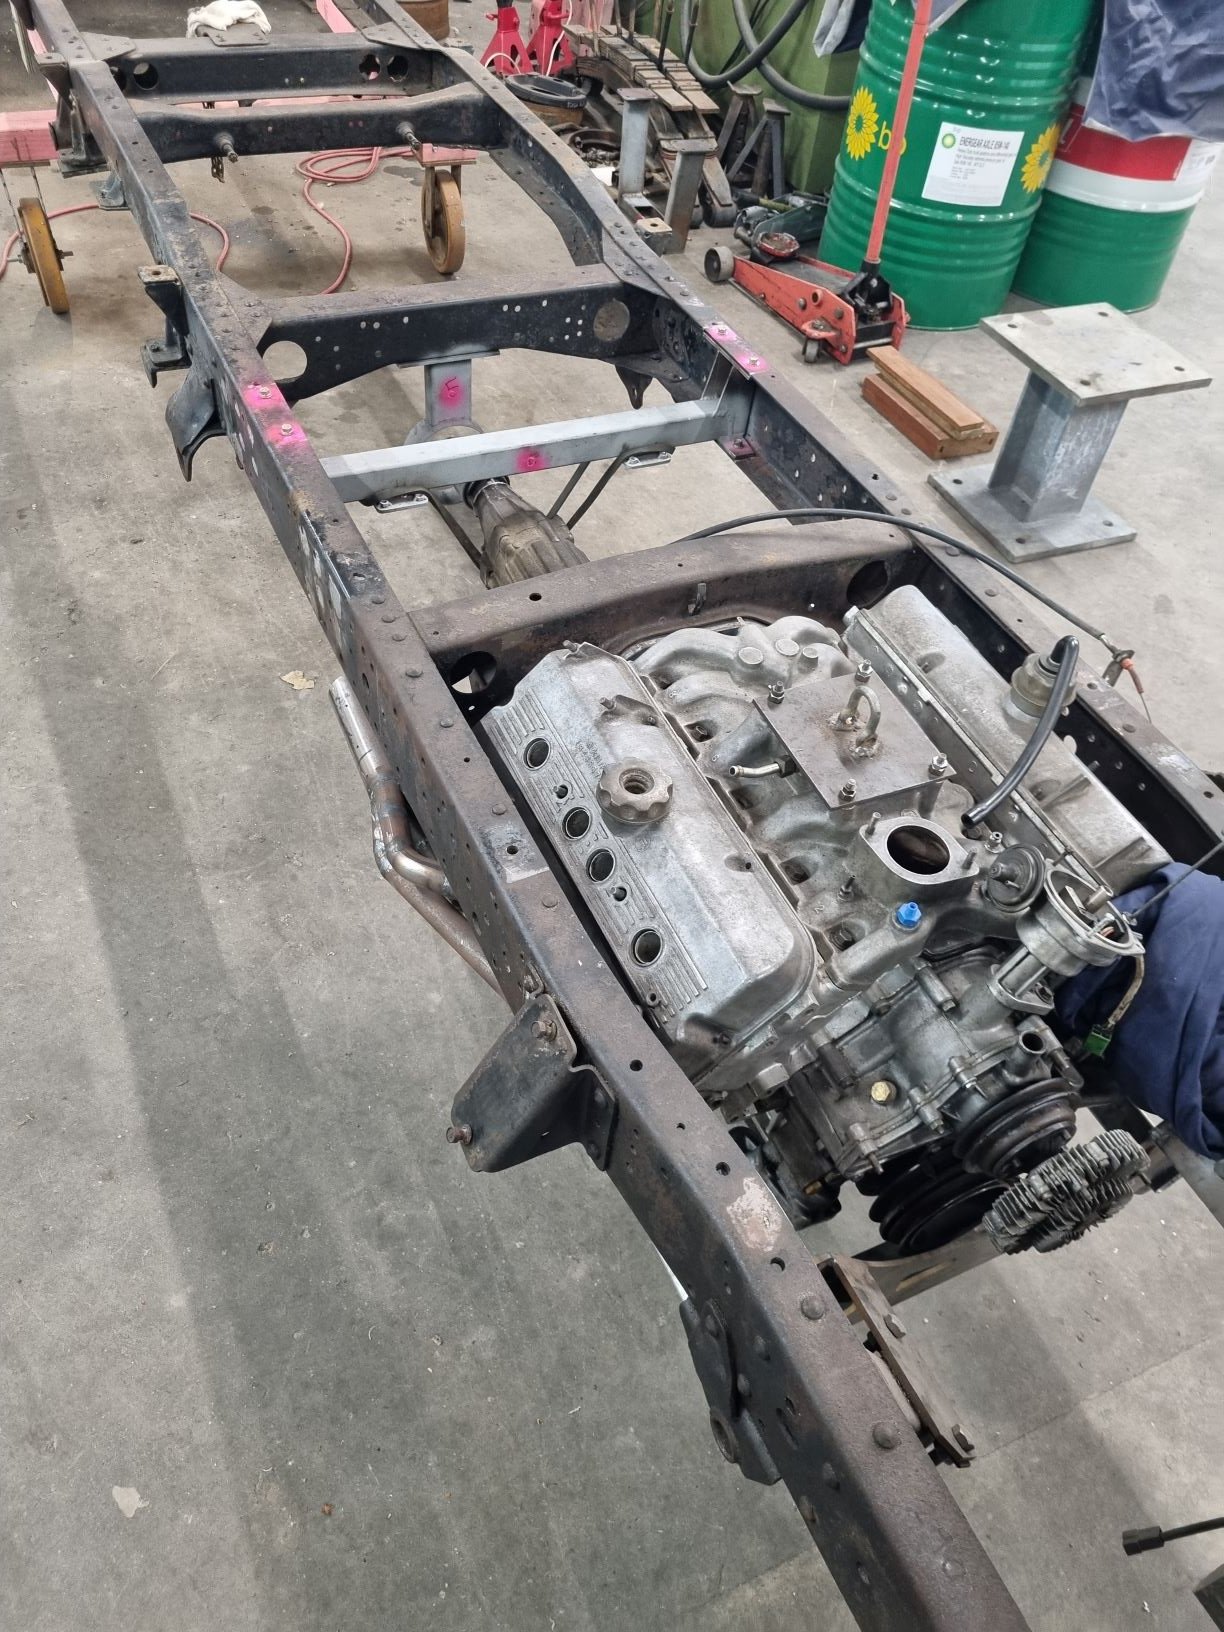
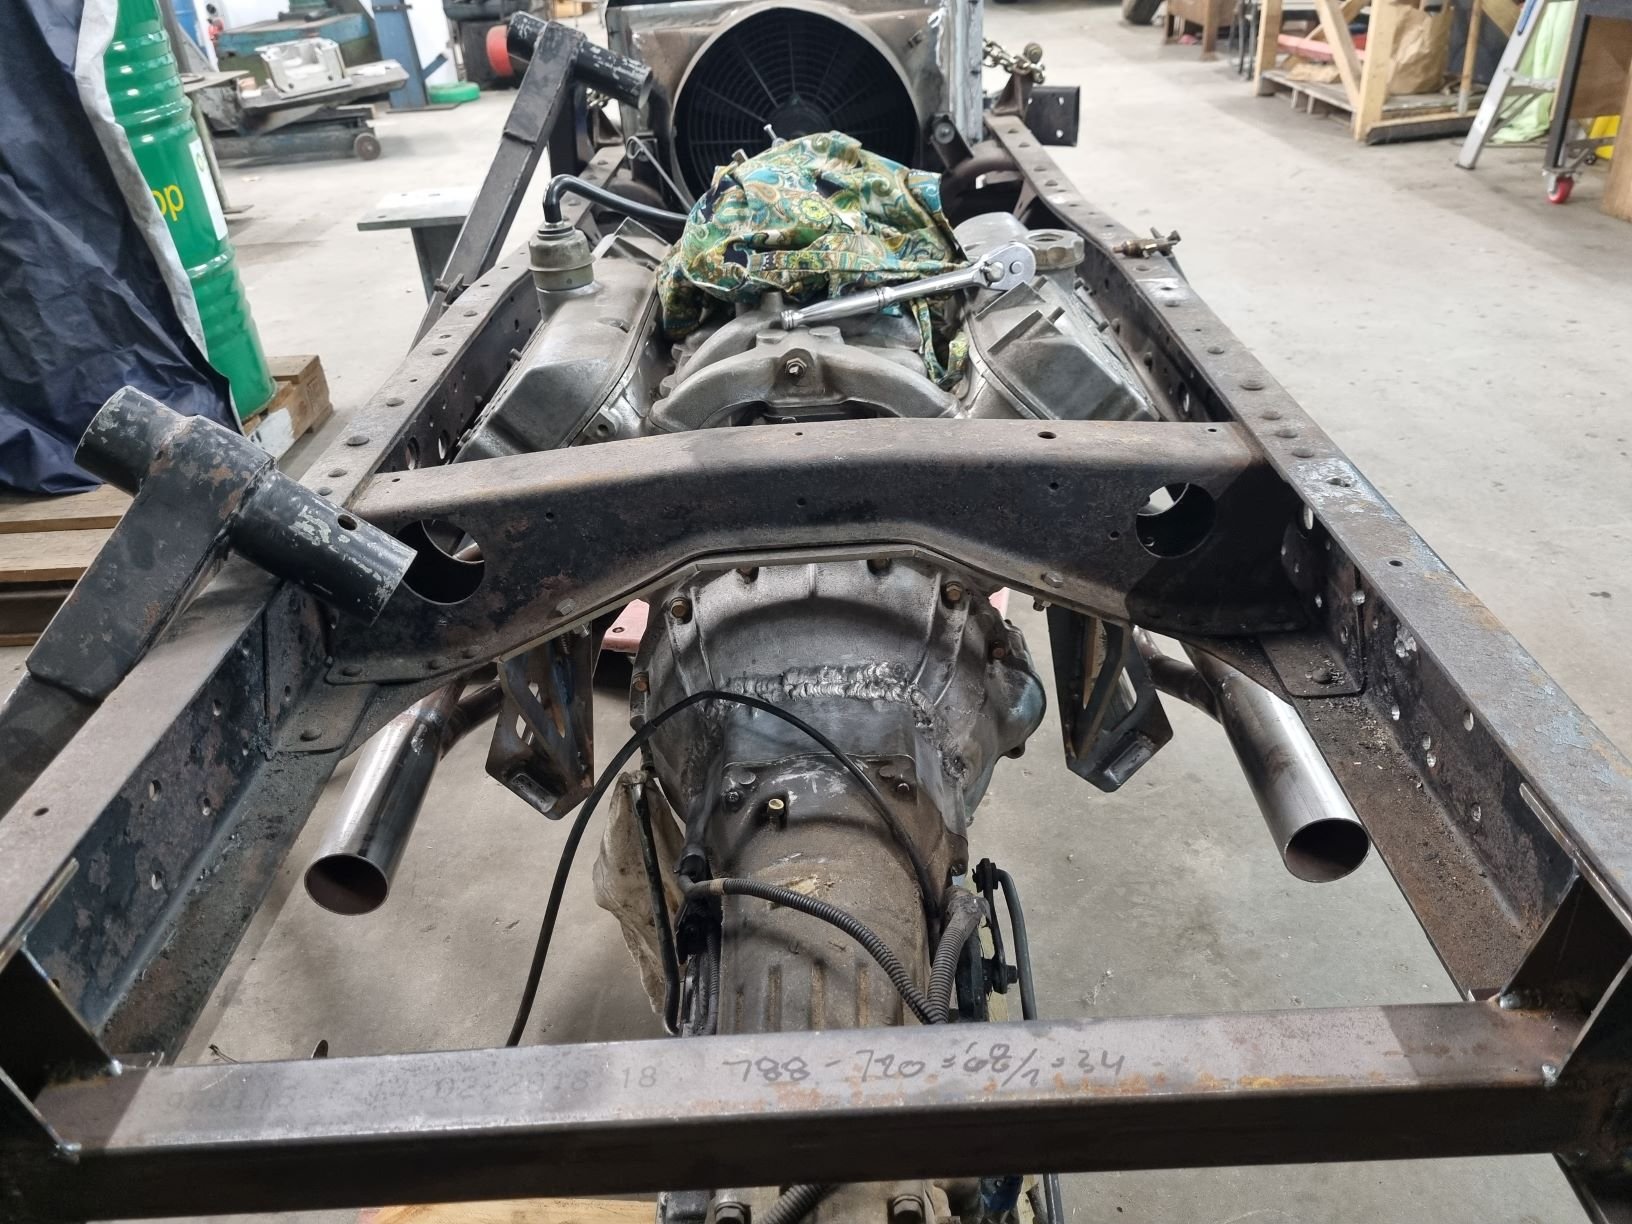
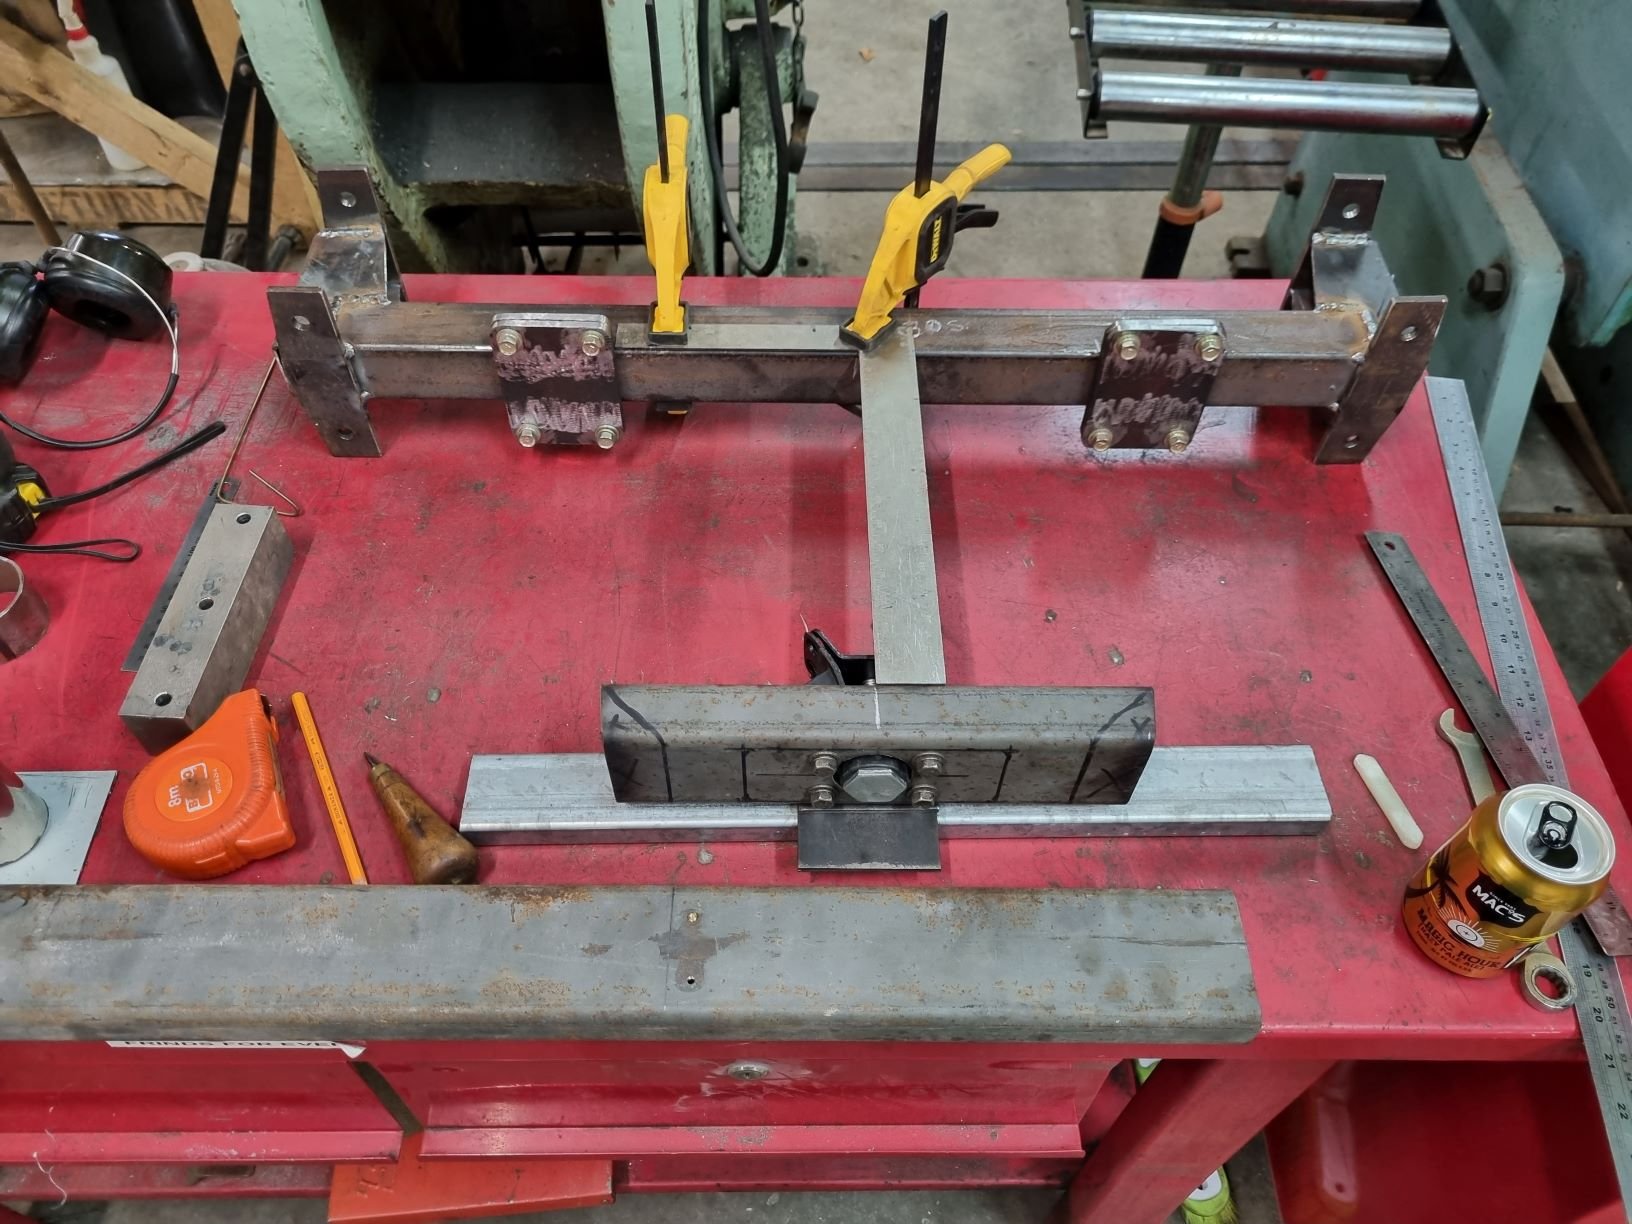
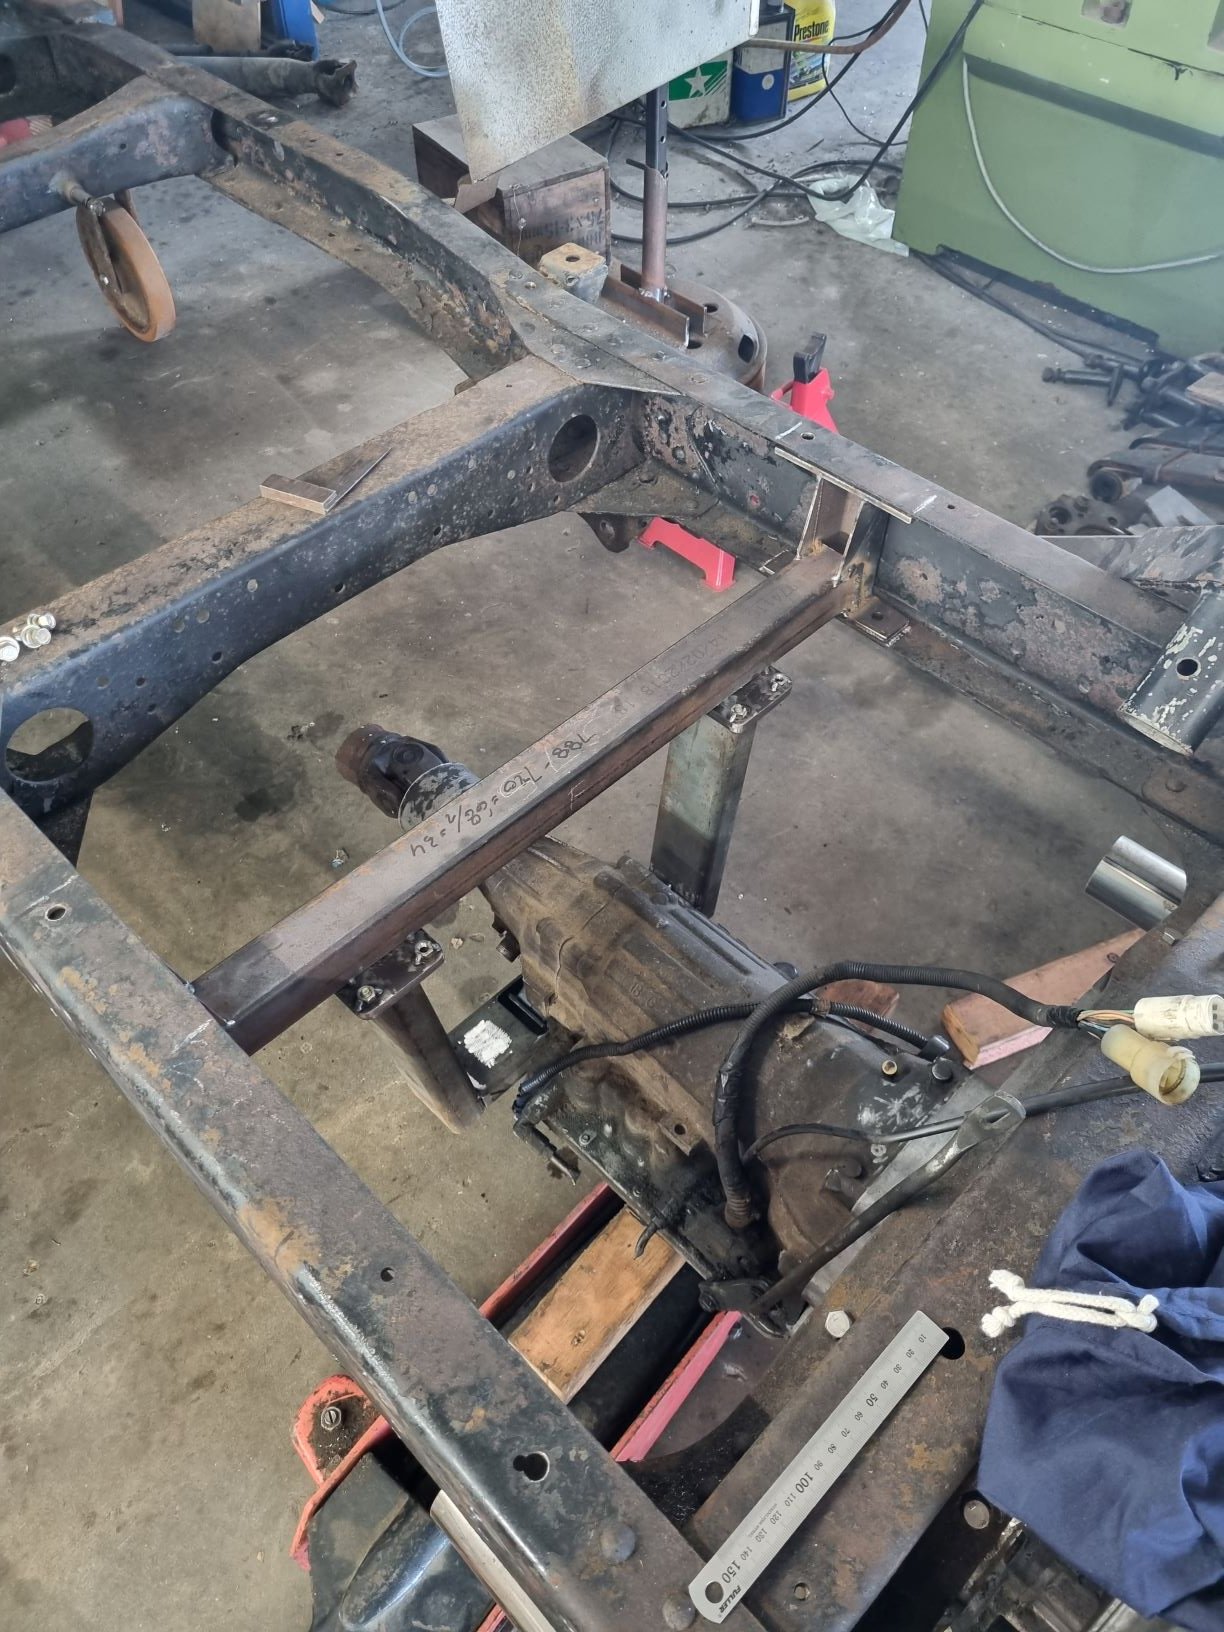
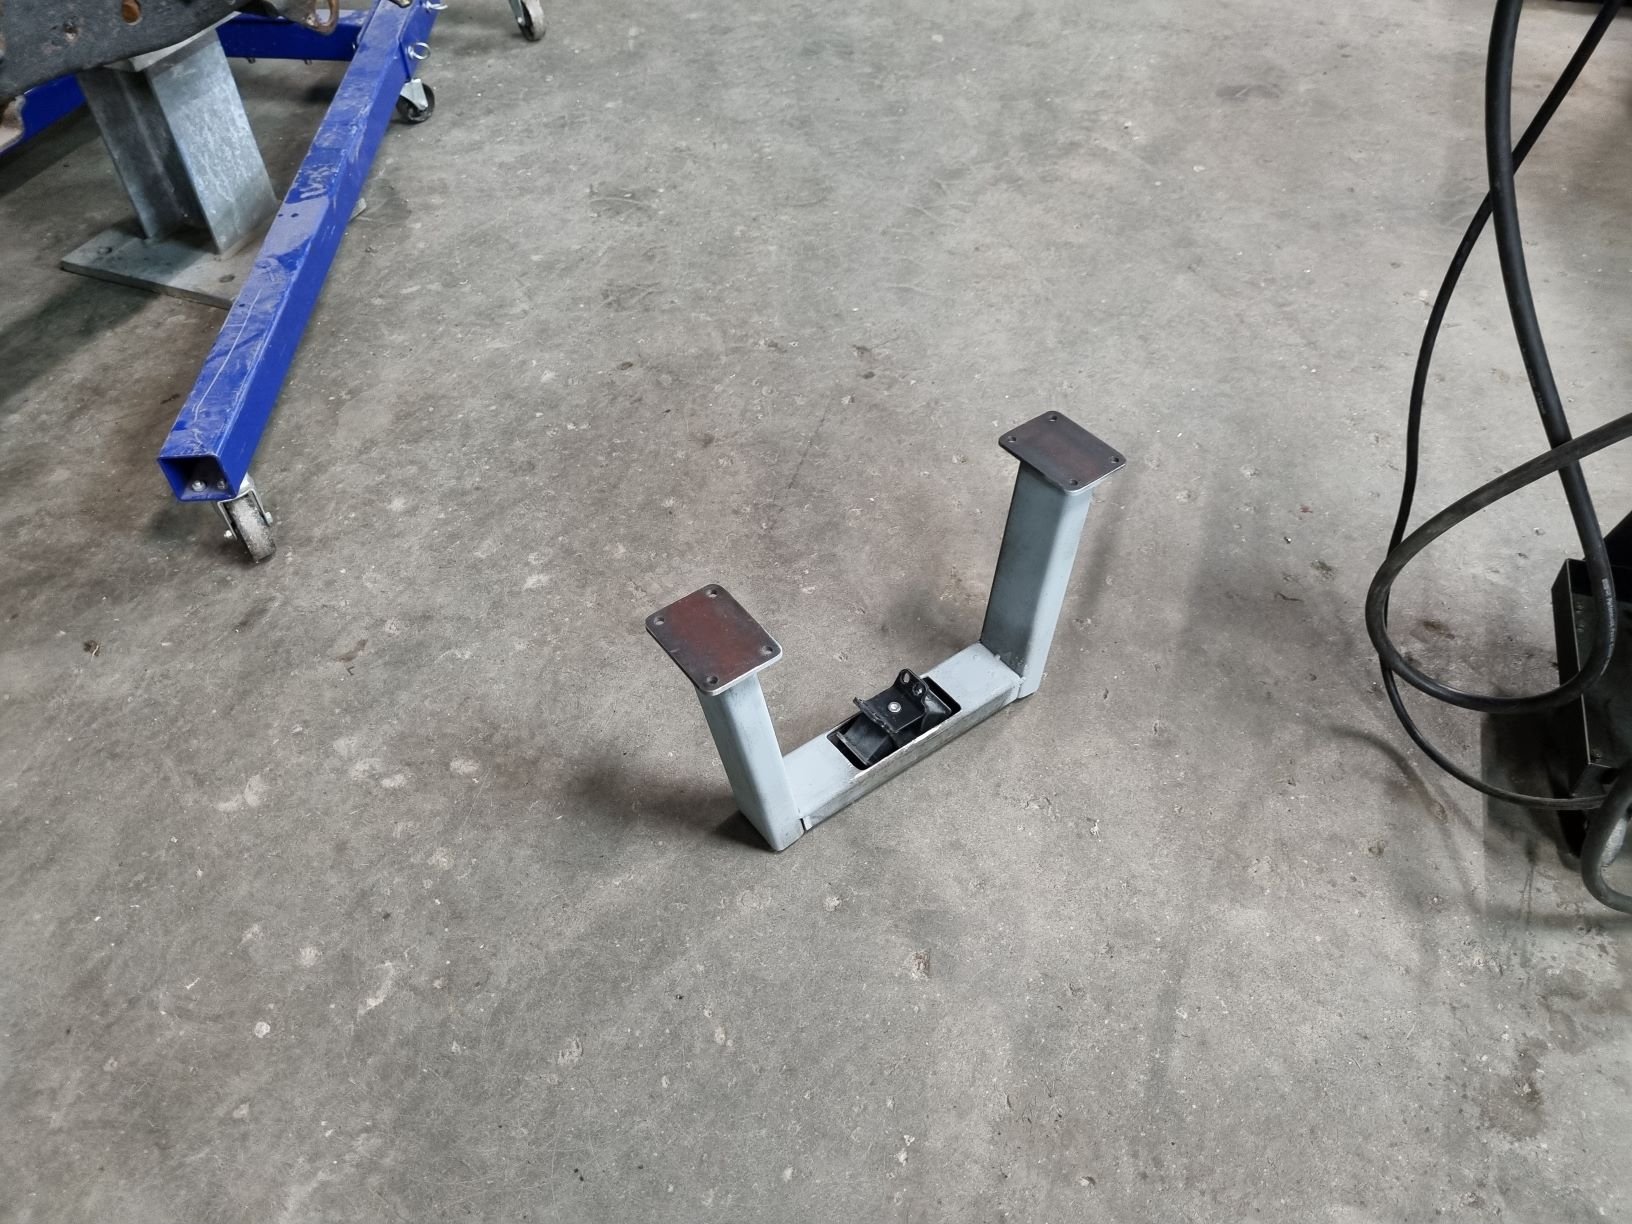
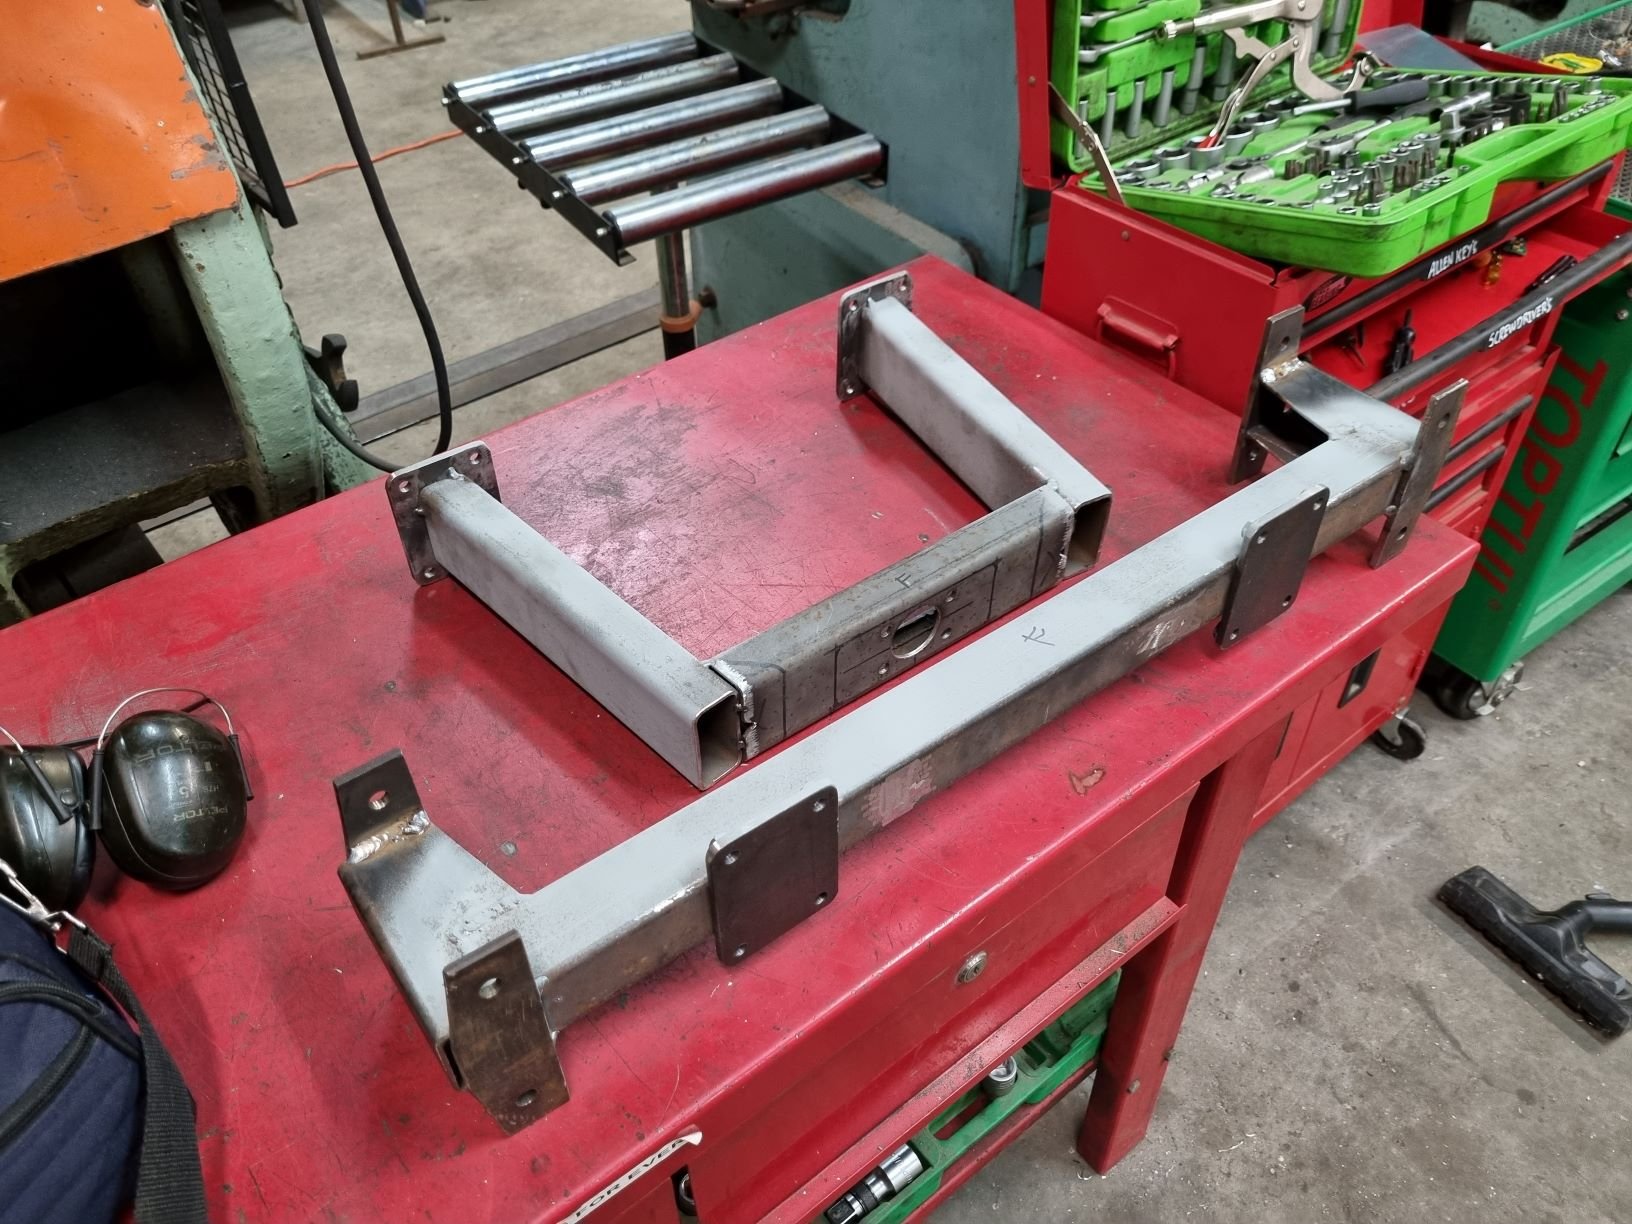
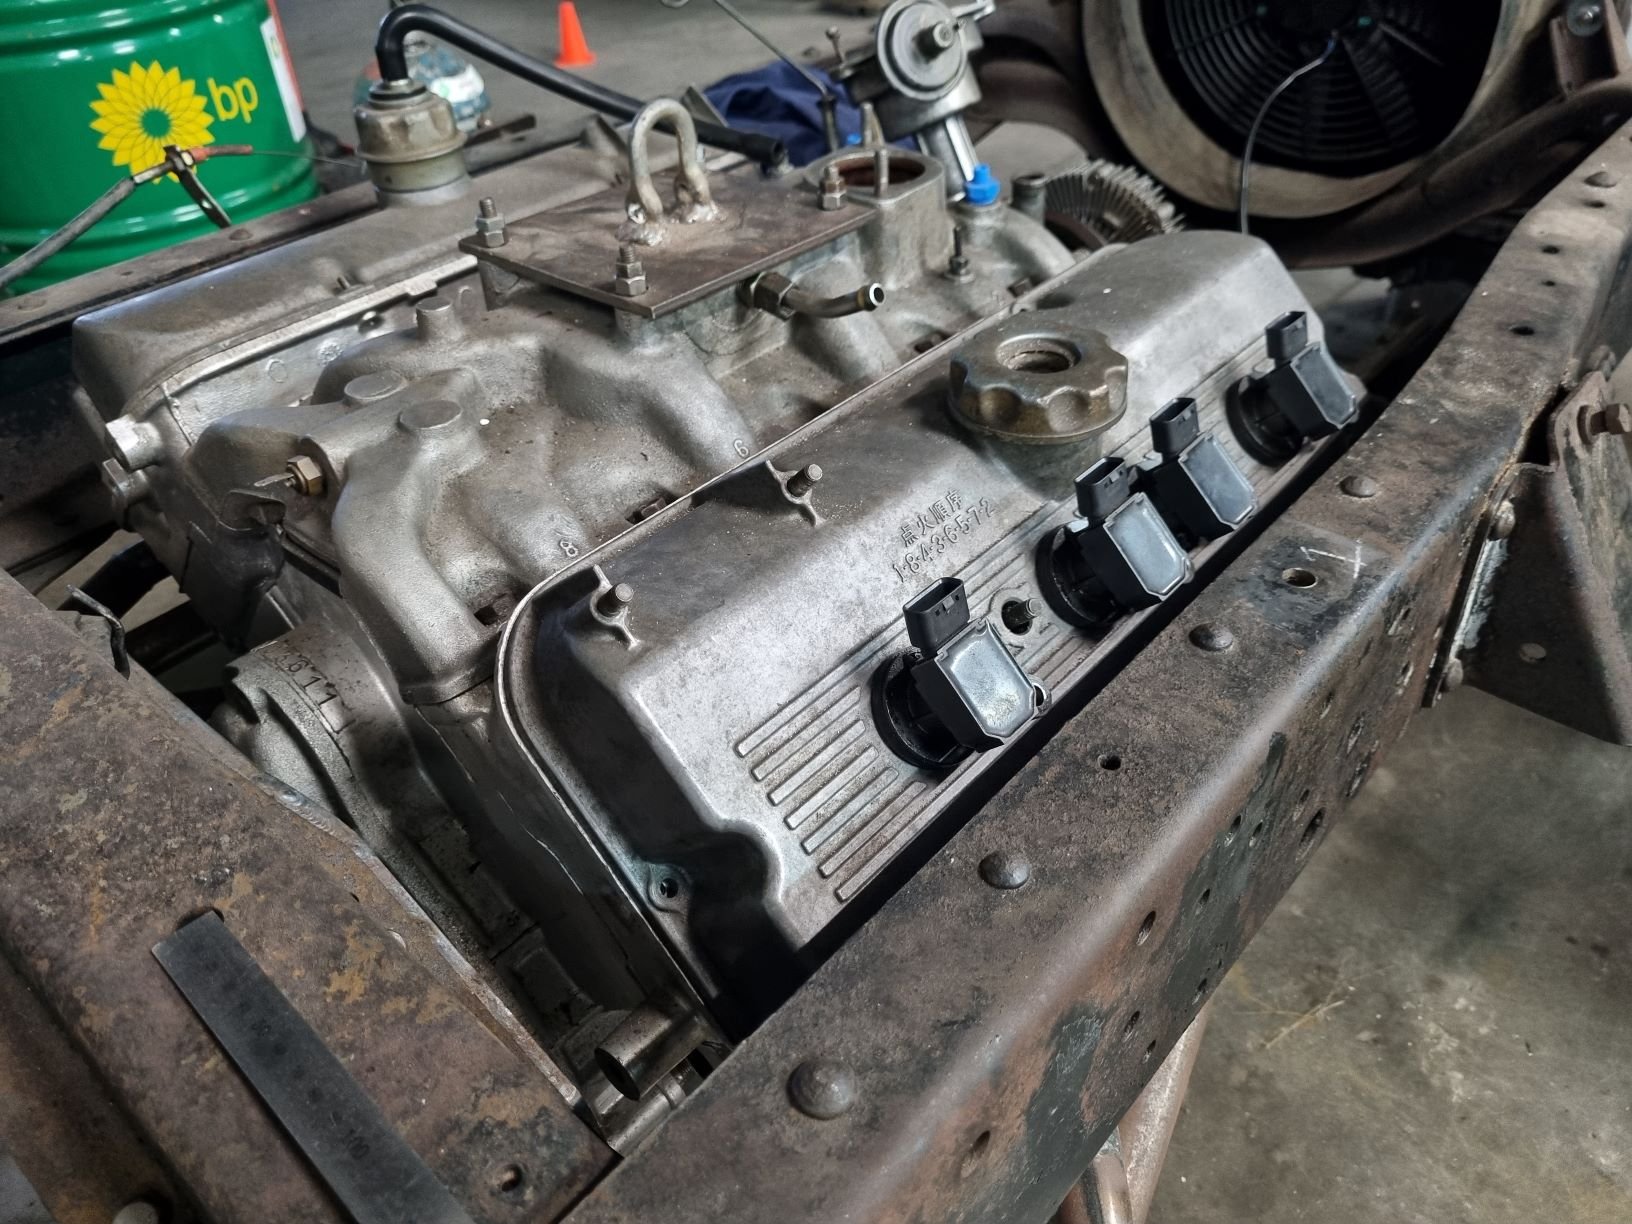
Humber SS's 4V Century V8 powered Dyna Camper
HumberSS replied to HumberSS's topic in Projects and Build Ups
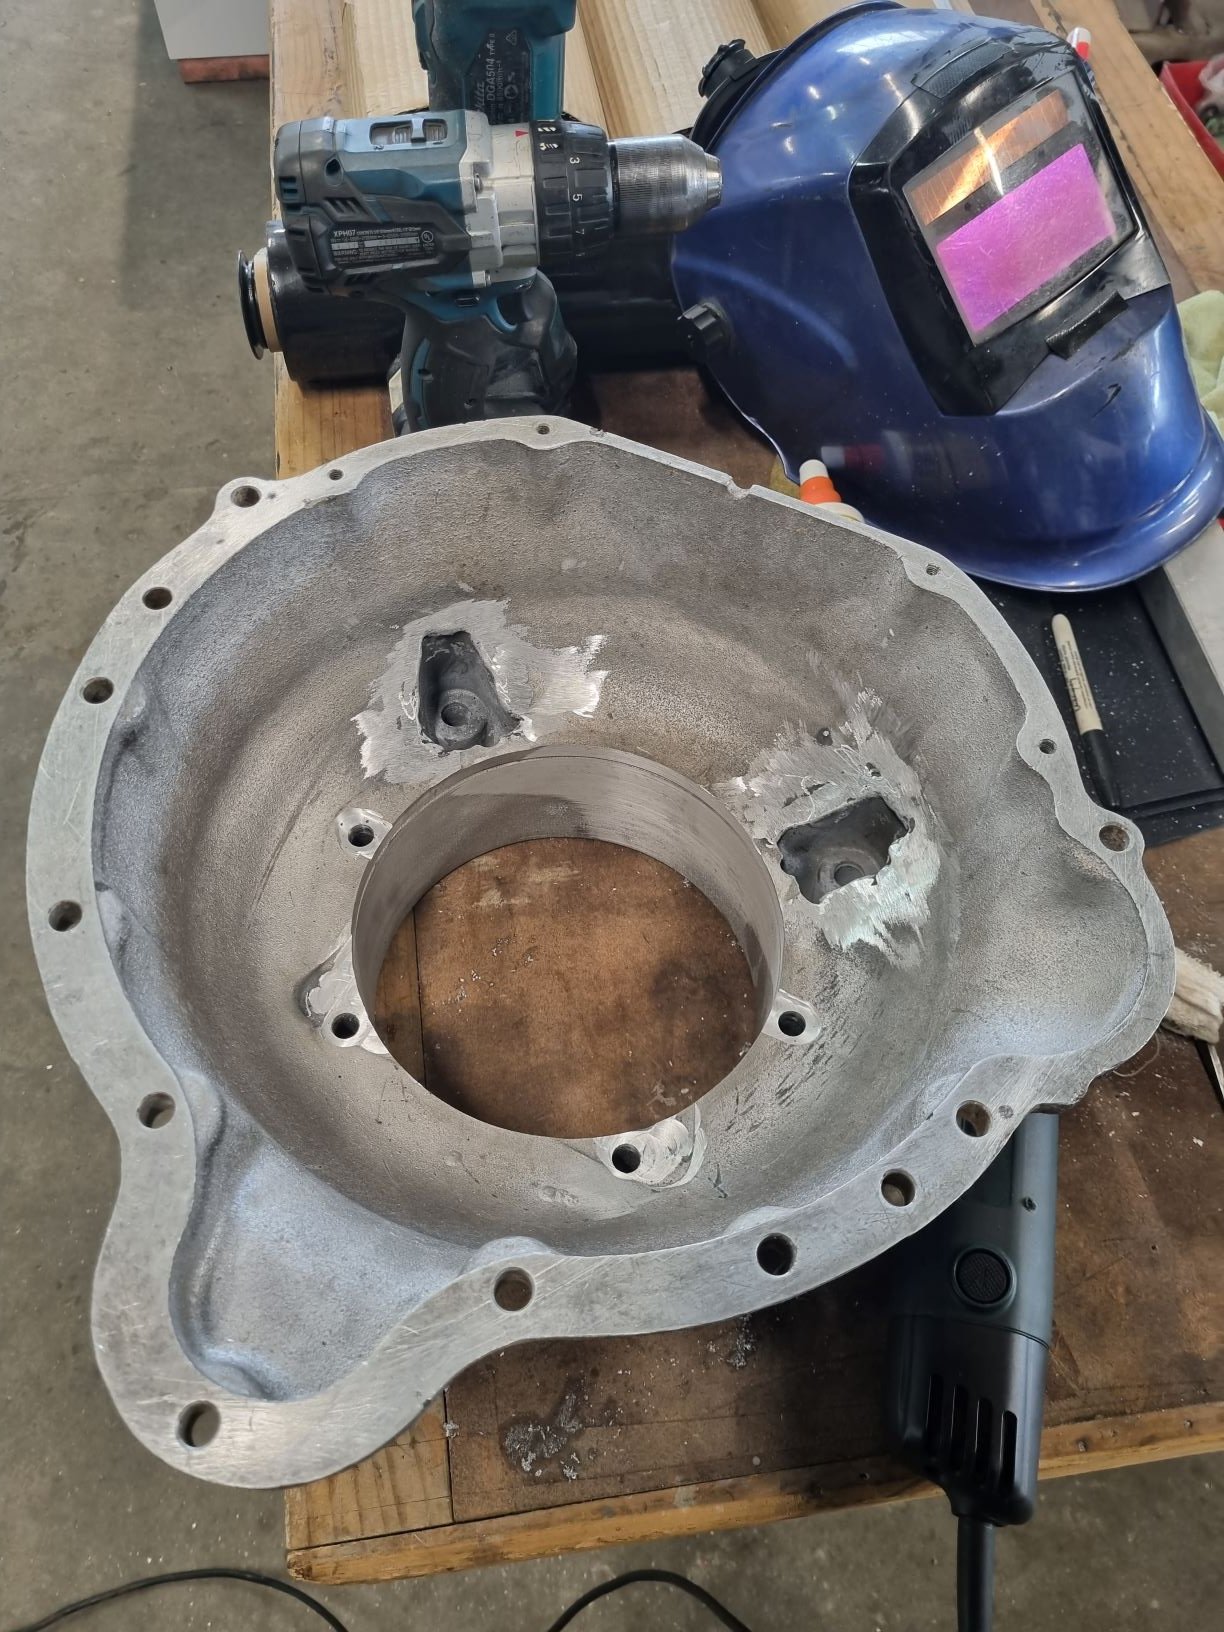
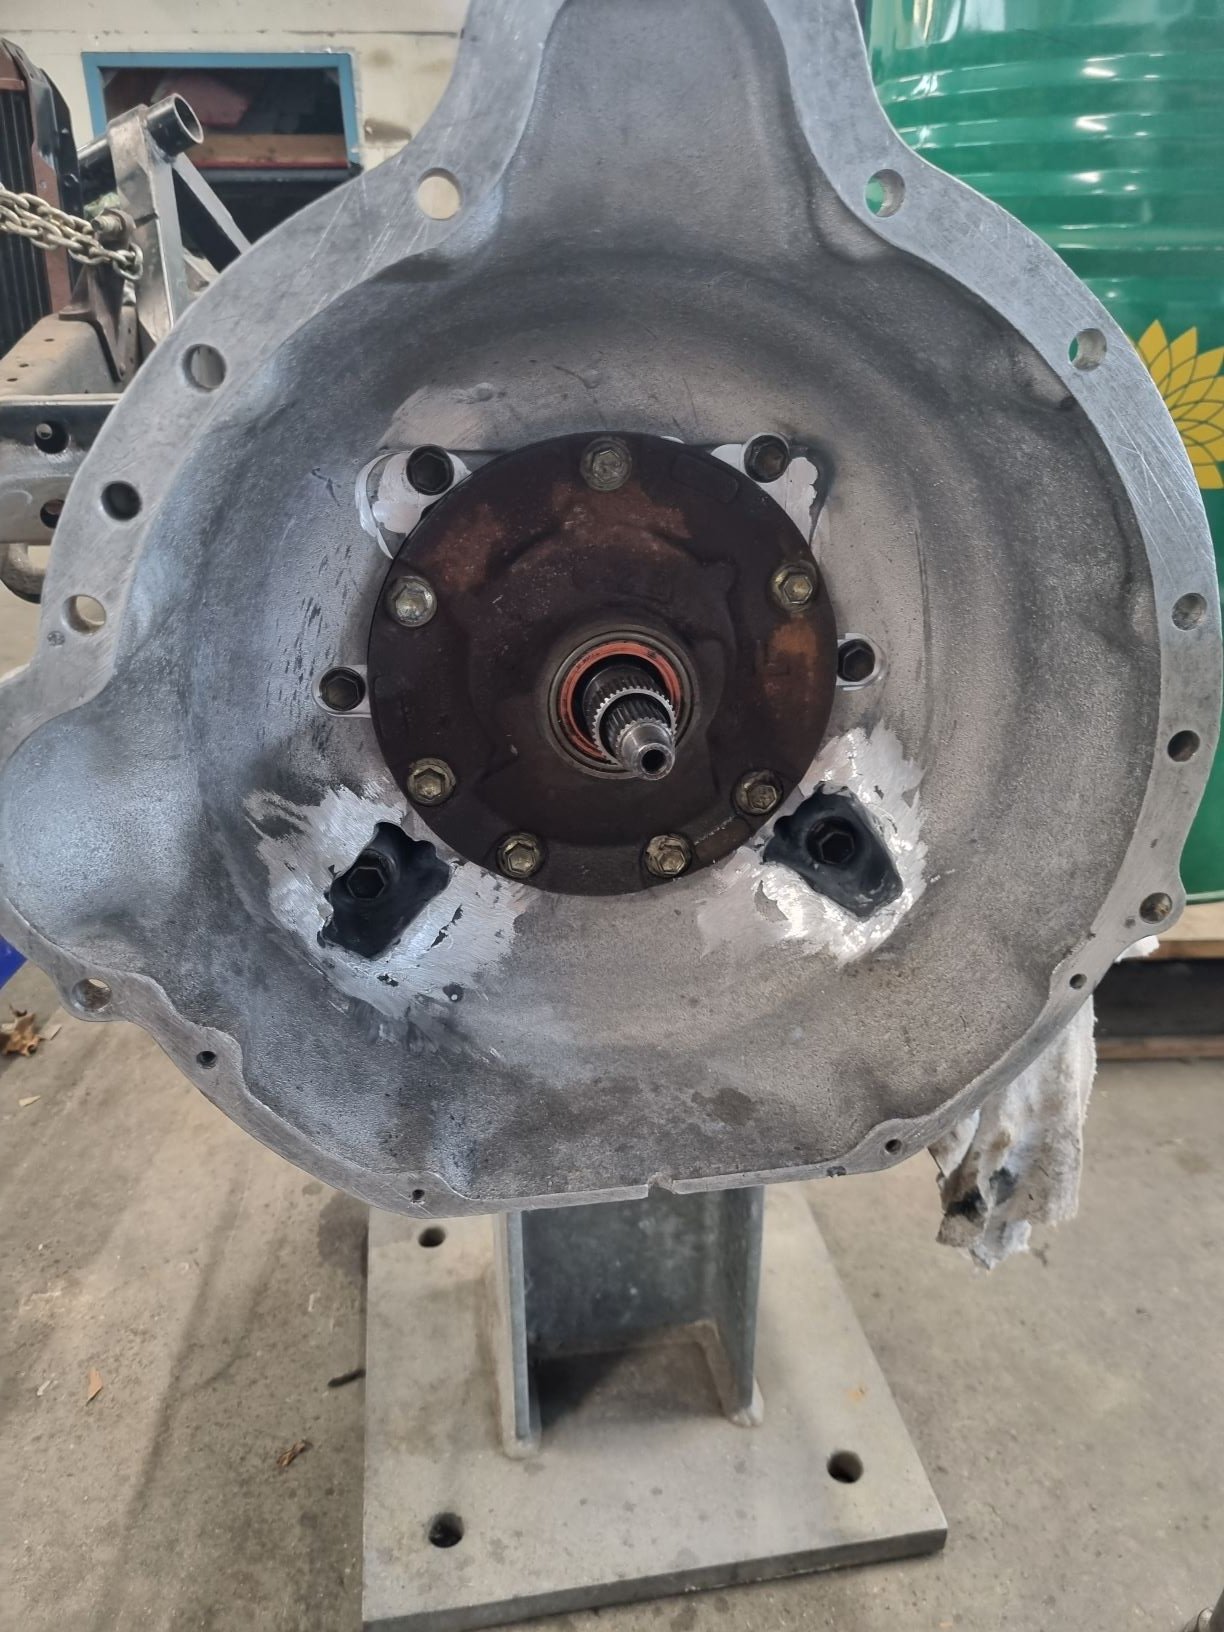
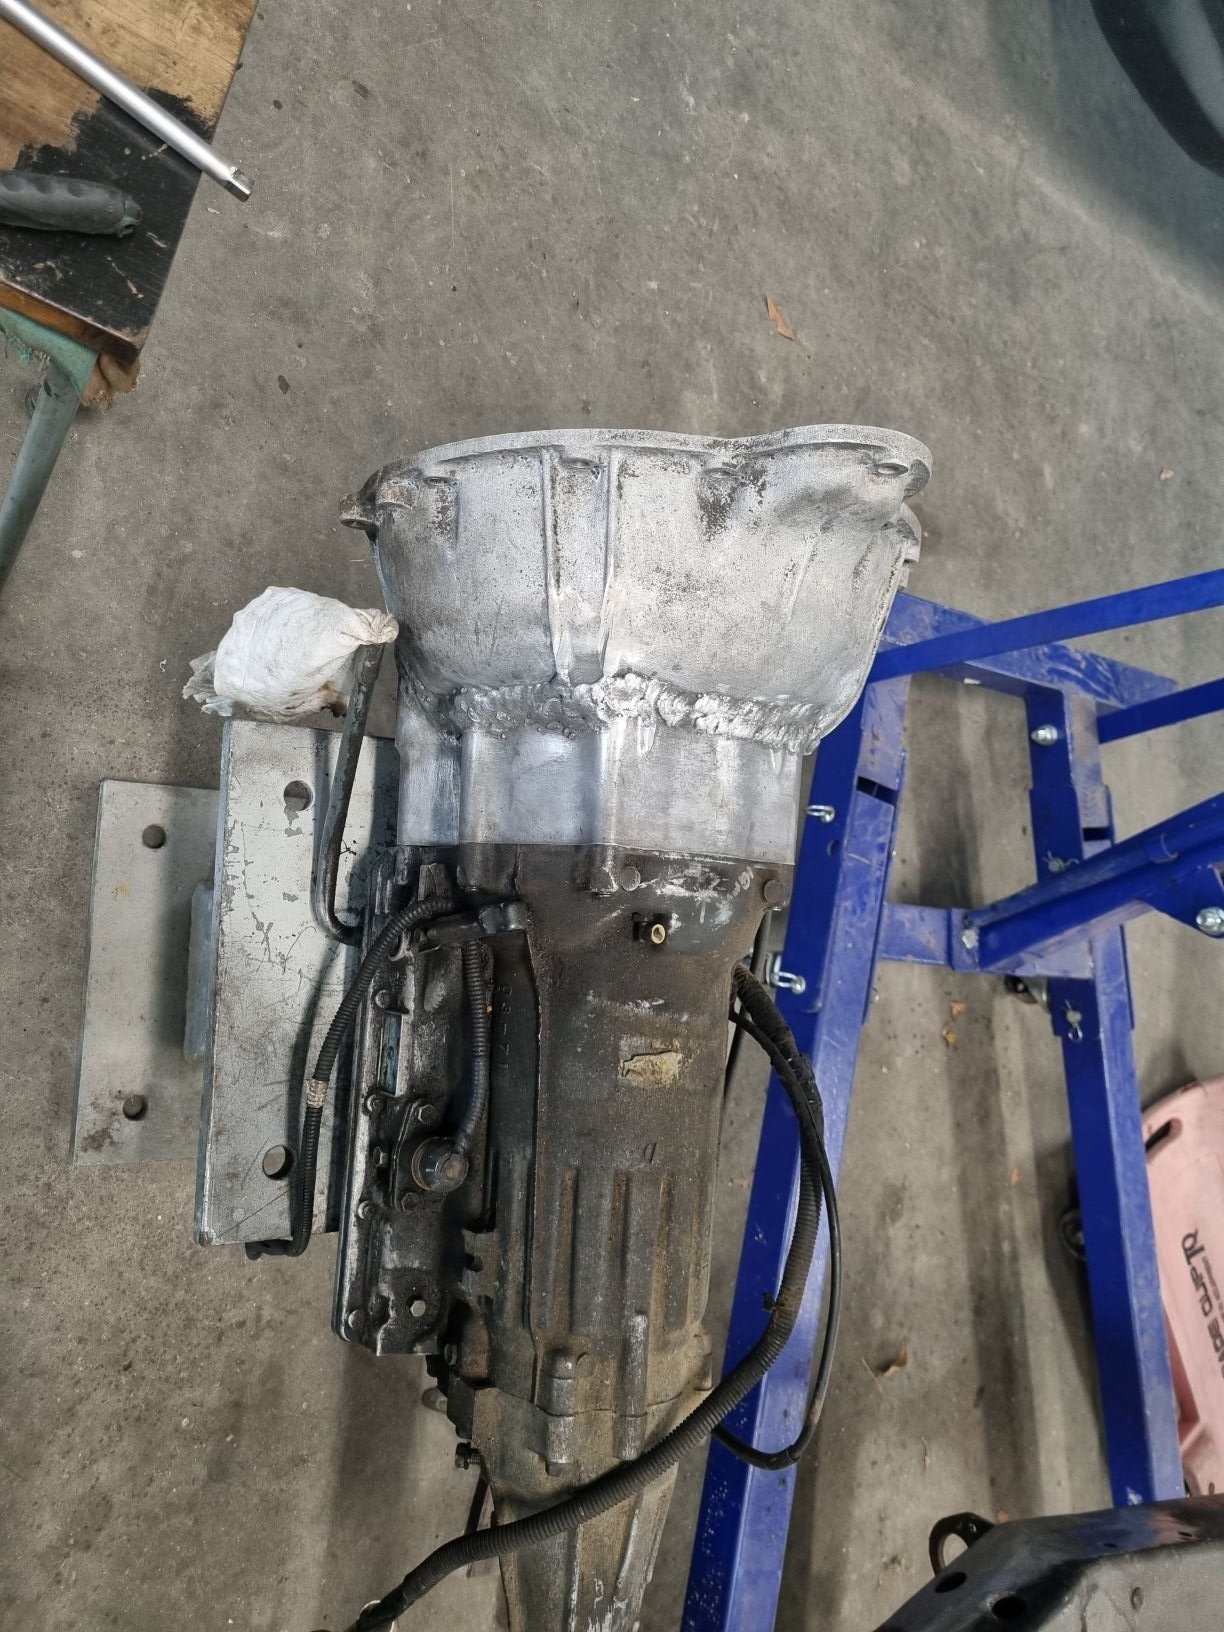
So the last month has been basically busy with actual work, including being @ThePogs bitch - I was desperate, and he was clearly moreso... - The fucking project doesnt advance without the necessary lubrication to do so. Working for that cunt requires generous lashings of lube. I finally finished most trans related things, still have the torque converter spigot to crank mod to finish, but otherwise all else is about there. I tidied up the welds and spot faced the mounting holes to the trans and got it all bolted up. Its not super pretty, but its fully functional. Then proceeded to sling it on to the back of the great girthiness, and continue with the next logical pursuit, finishing the crossmember. Its pretty butty, but in keeping with general heft of all things truck-like. I am also basically using up all the scrap steel in my workshop to do a lot of fab, so basically if the shoe fits.. Whilst diagnosing issues with my corolla, which has now since been moved on in favour of vehicles that dont consume oil at a rate most consume petrol, I had the coils out. With a very, very satisfying 'pop/' I decided to jam them in the plug holes of the 4V. Its like Toyota engineers are lazy, shit designed 40 years later fits like a glove... I am seriously considering running COP with the carb using a speeduino and having mappable ignition with the carby - perhaps with the thought to future EFI options. It looks badass, and givne the price of new coils and a speeduino, its not a big step away from getting nice plug leads. Anyway, opine away.
- 61 replies
-
- 16
-