Sunbeam
-
Posts
968 -
Joined
-
Last visited
-
Days Won
1
Everything posted by Sunbeam
-
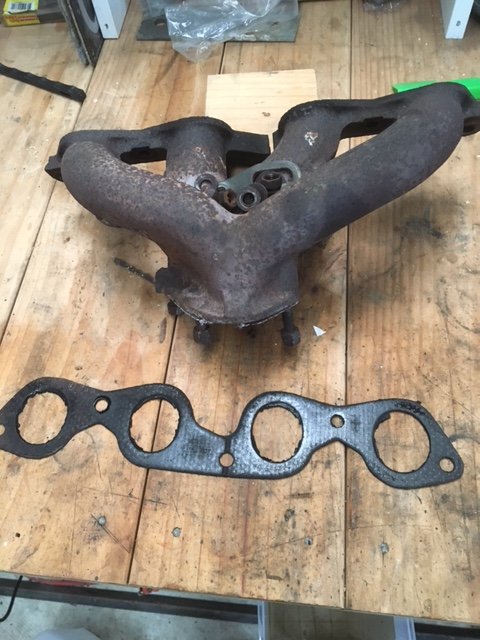
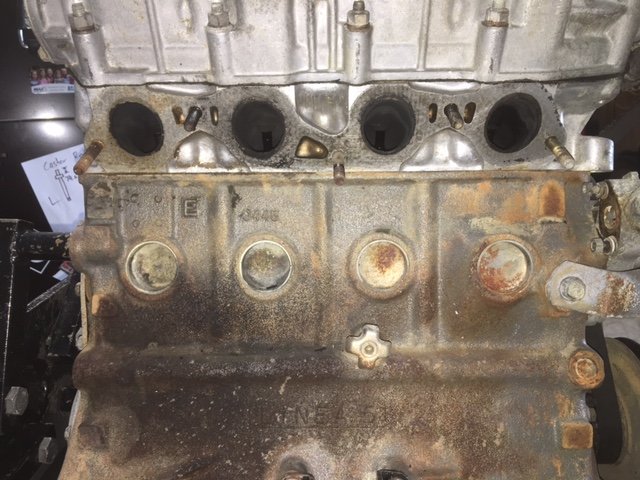
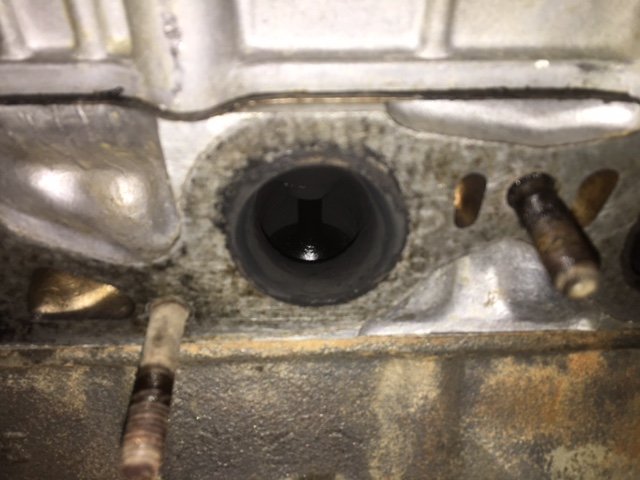
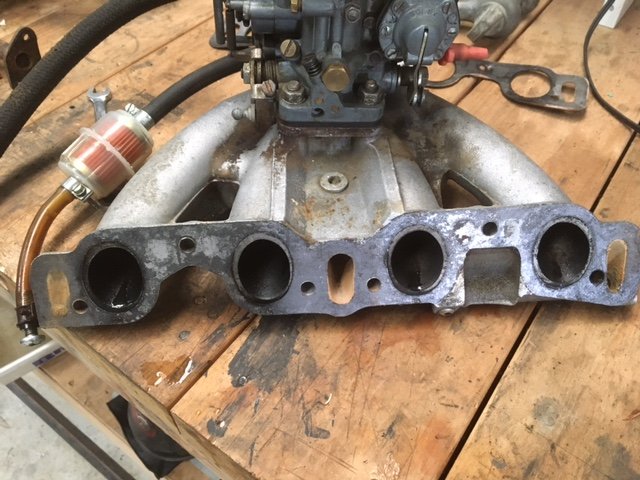
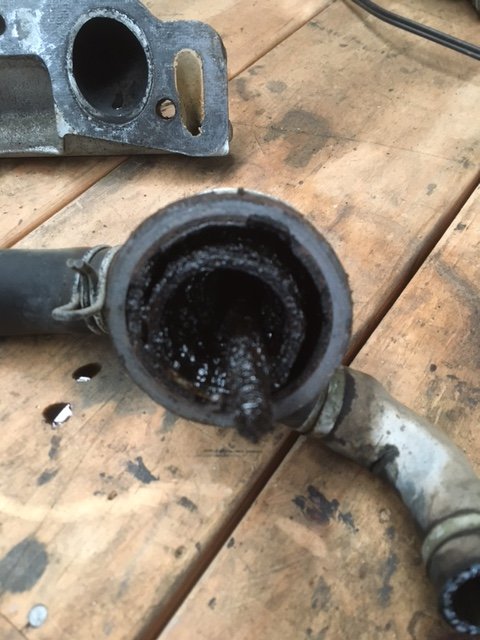
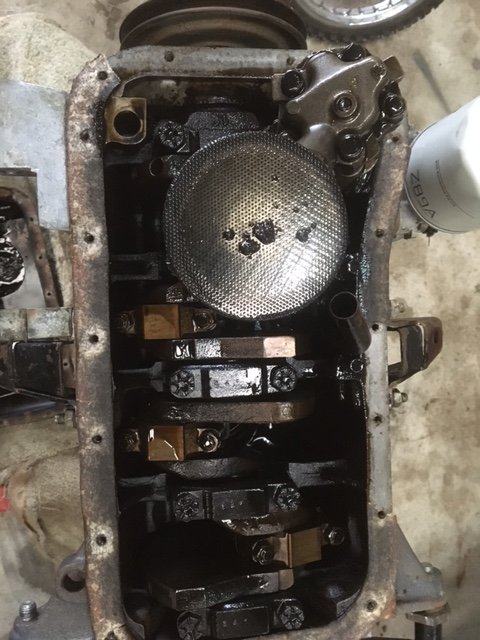
In preparation for seal and gasket replacement I started pulling stuff off. Exhaust manifold nuts undid very easily. Maybe too easily. Is that some exhaust stain on the side of the block? Exhaust valves well carbonated Intake manifold nuts were way tighter, but still easily cracked and came undone. The backs of the valves are also quite dirty. Evidence I suppose of decades of non-use and short runs. Then I pulled off the crank breather box. It’s gross. And just out of idle curiosity, let’s pop the sump off. Bolts were not tight at all, gasket was! There’s sludge in the bottom of the sump, and some carbon crap on the oil pickup. I suspected the last oil change before I bought the car was a long, long time ago and this kinda confirms it. I don’t think I should pull the head… Should I? Maybe just a rattle can rebuild. And then a jolly good long run when it’s back on the road.

- 127 replies
-
- 11
-

-
I’ve been there. Thin MDF nailed over beautifully crafted Canadian Oregon panelled doors painted high gloss brown. Pinex nailed over pressed plaster panel ceilings, fake particle board wood grain shit panelling etc. The decision to go back to timber is not to be taken lightly as it’s a ton of work, but extremely satisfying when finished.
-
-
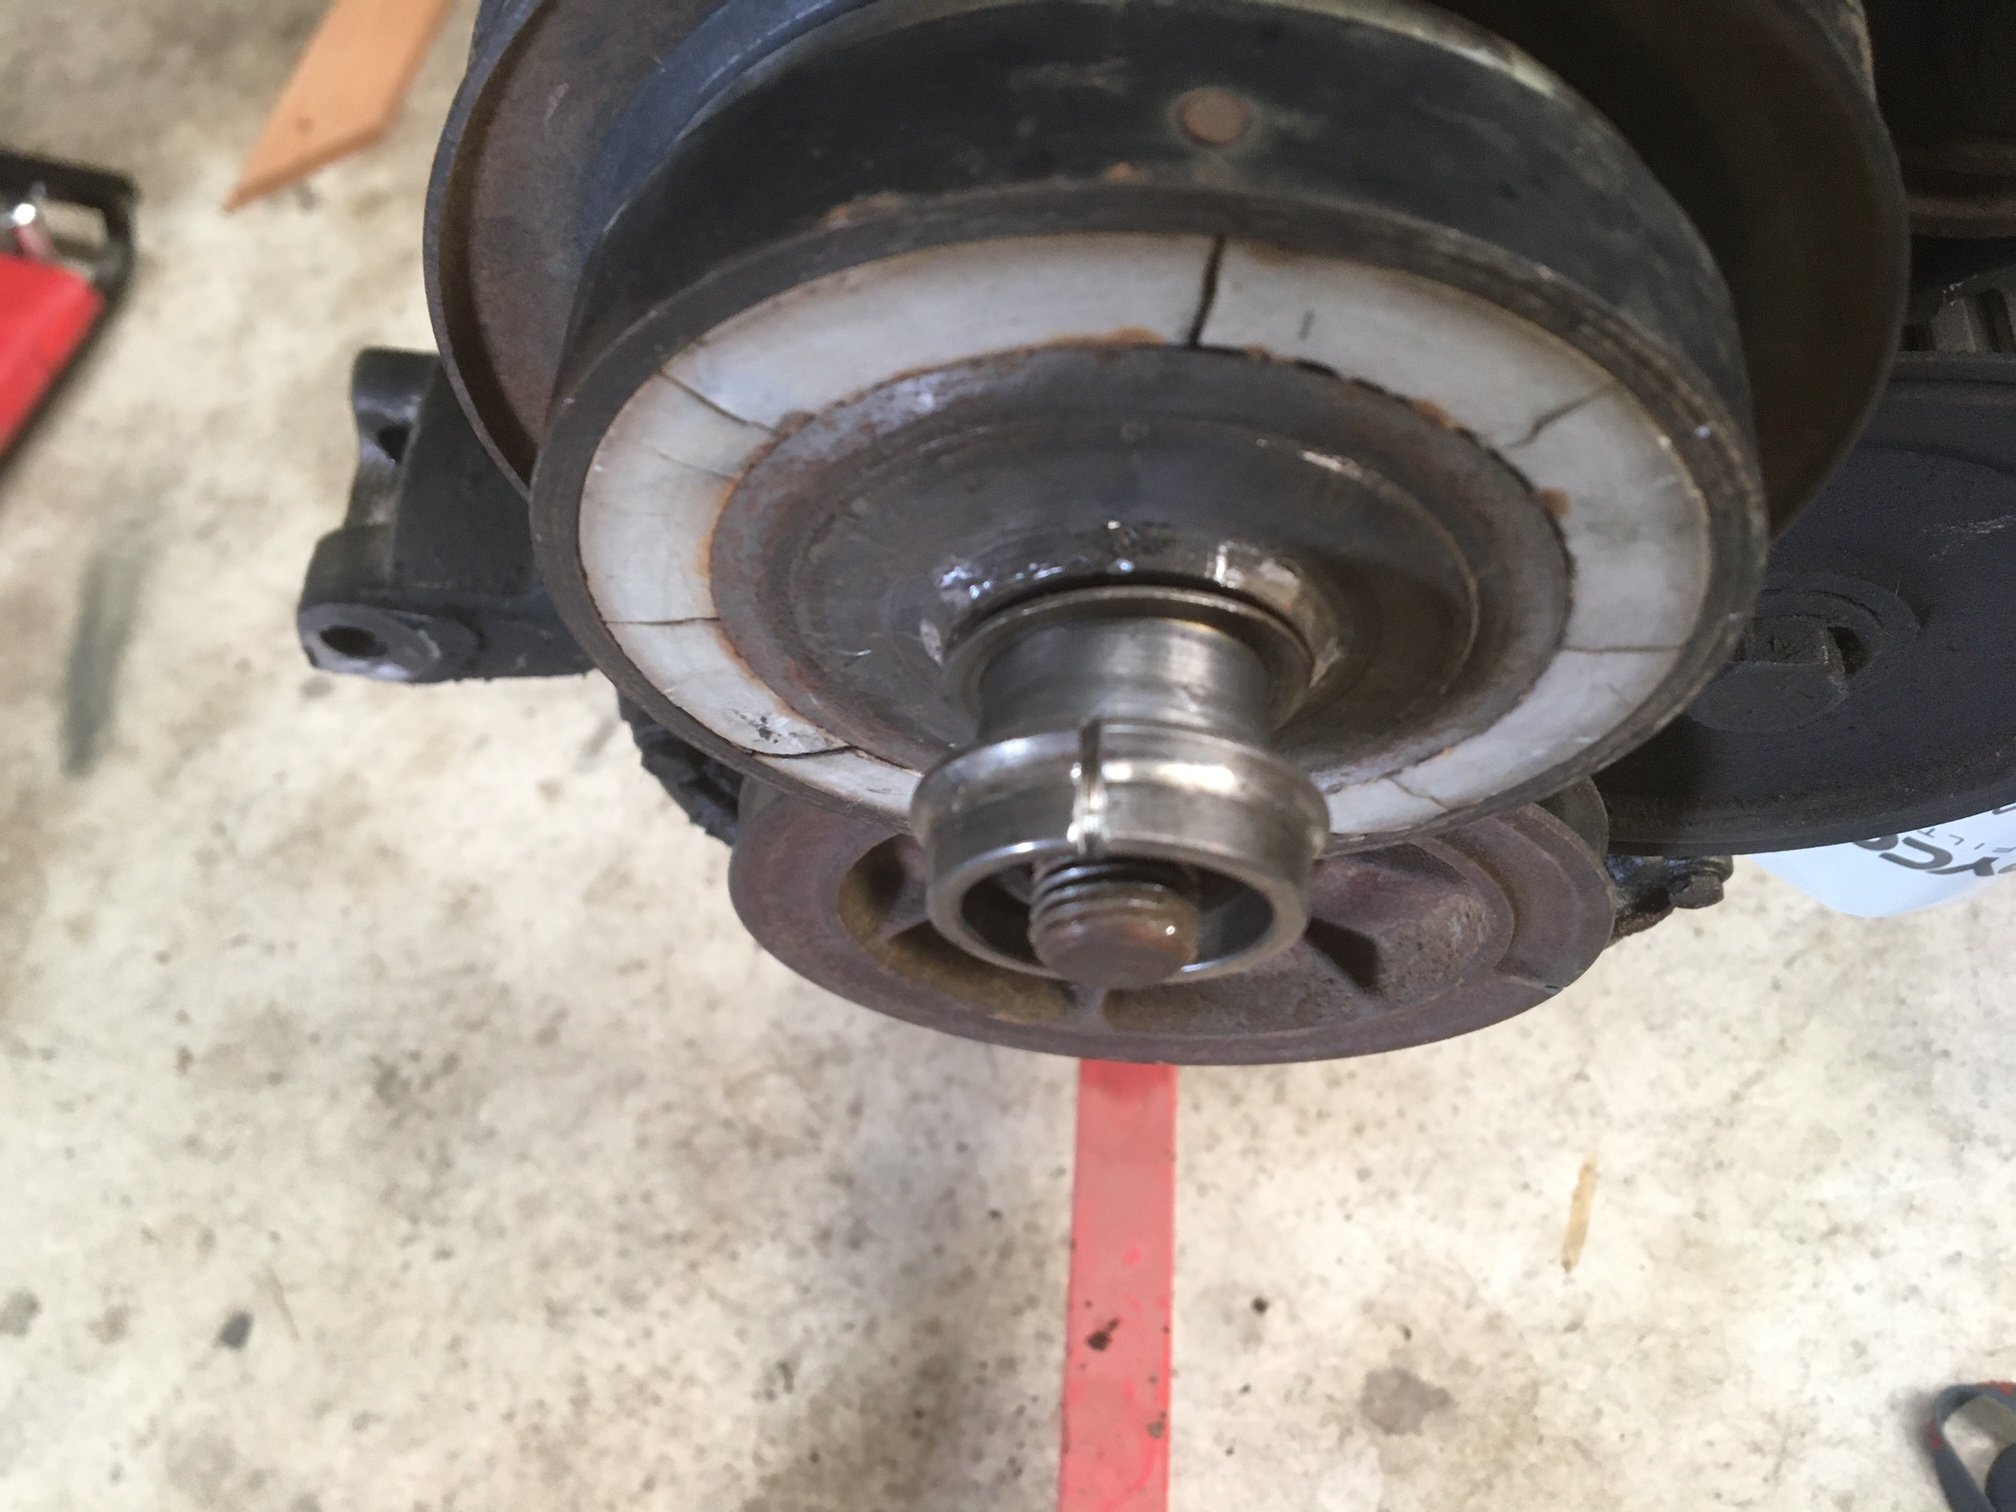
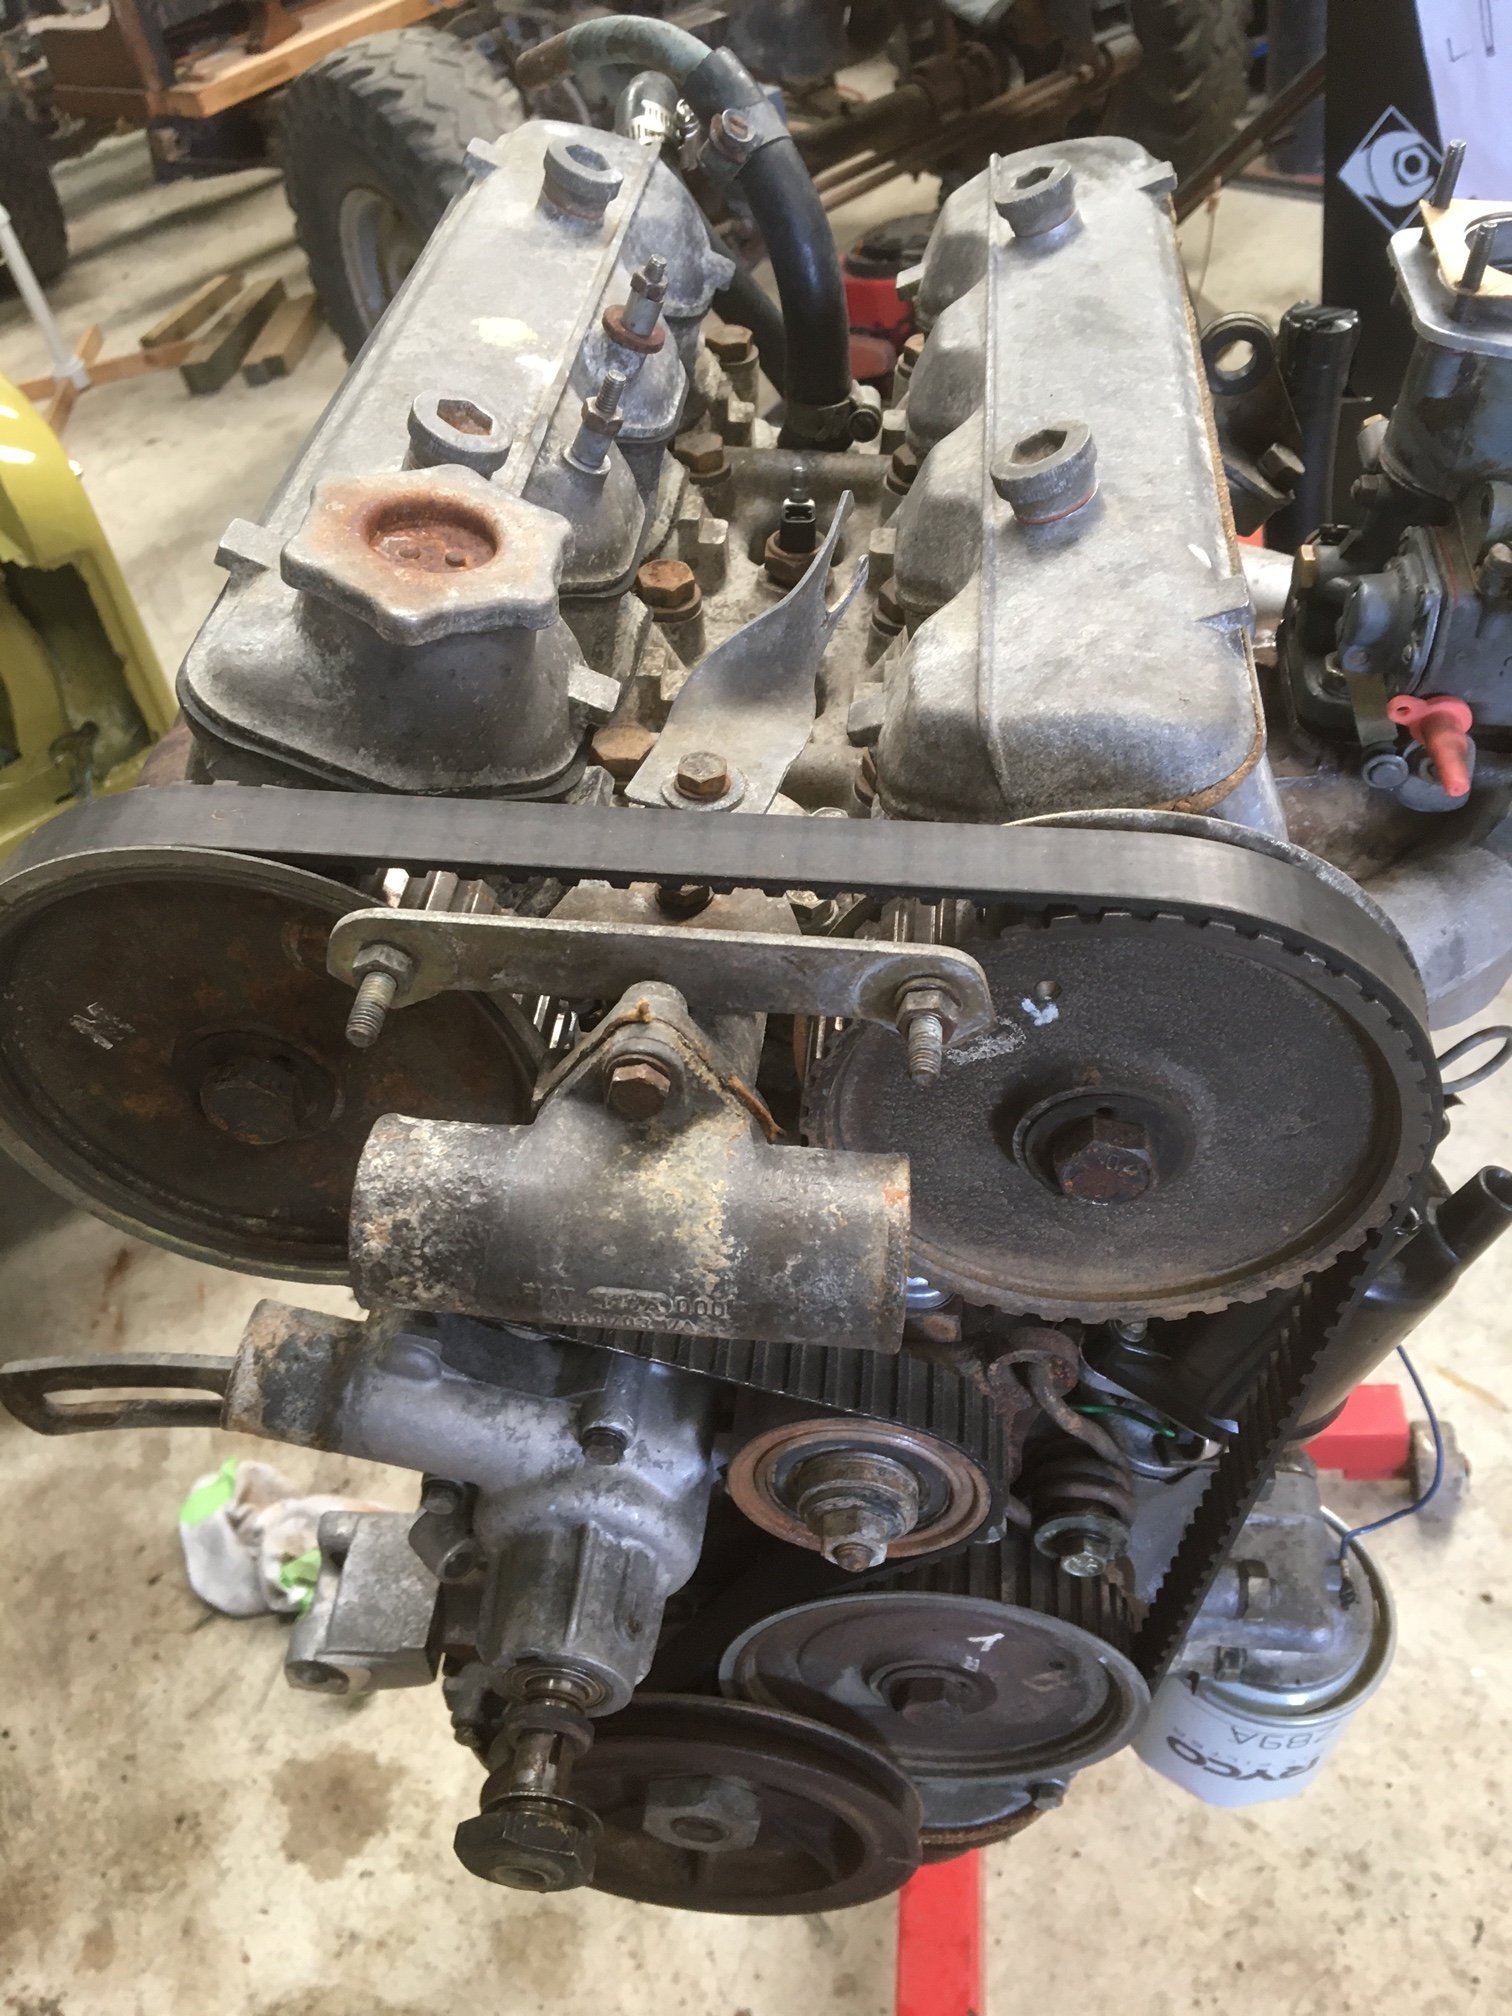
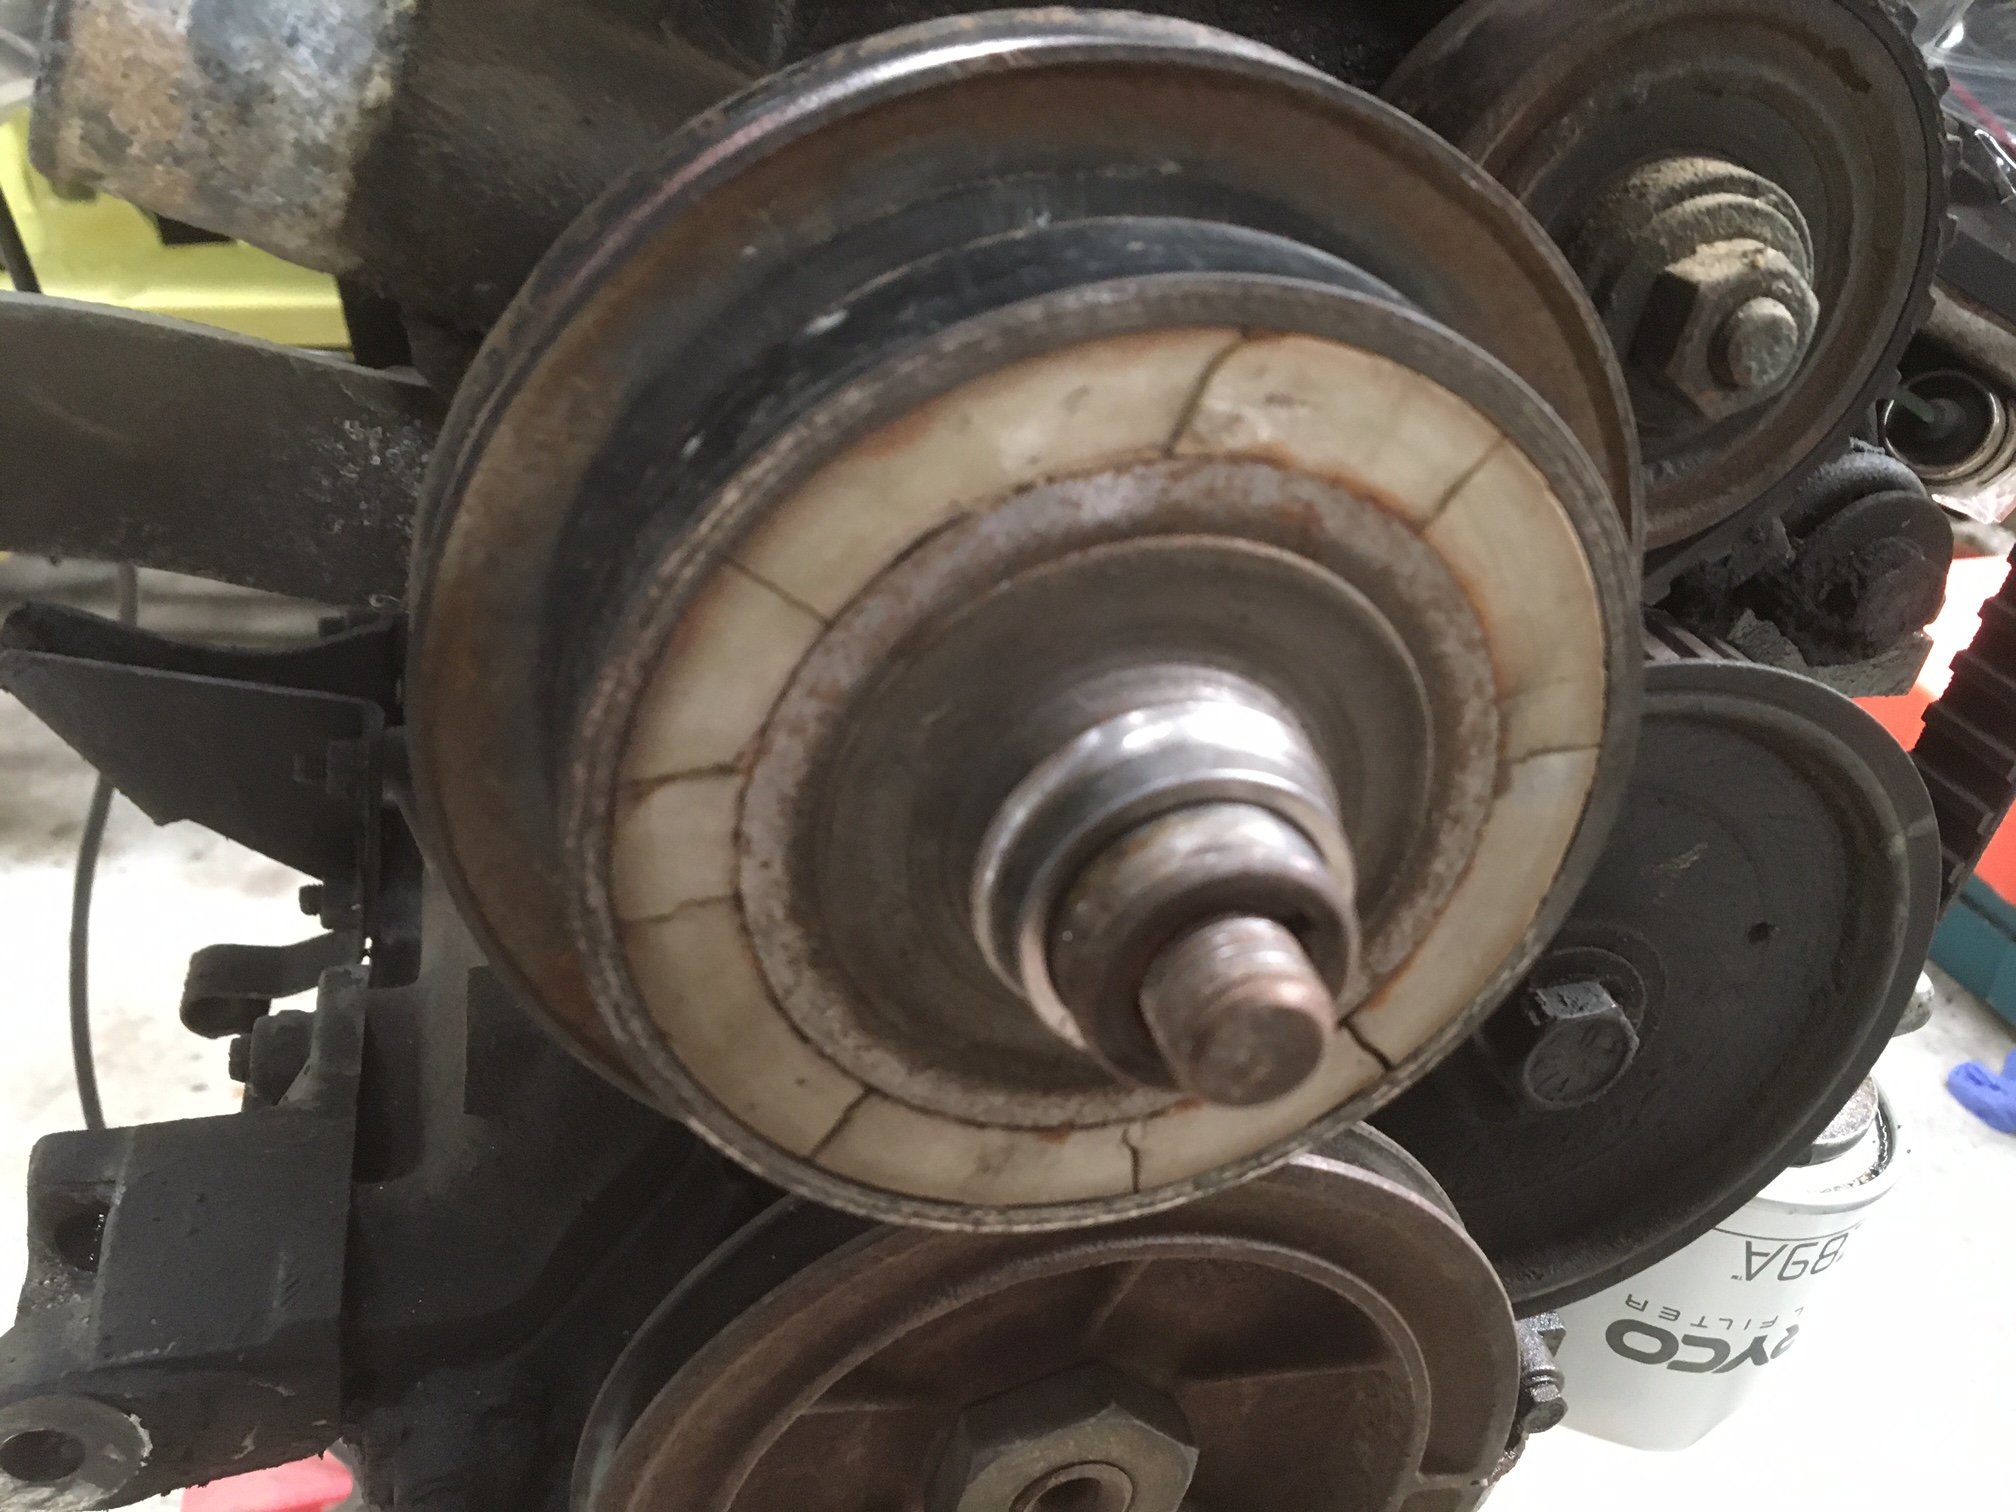
I had to cut the bearing race that was stuck to the water pump shaft. It was still hard work getting the pulley off the shaft and when it finally popped it’s obvious why. Rust! There was also something funky going on with the key. I popped the key out, cleaned the shaft and the bore of the pulley and slid it back on and what do you know…perfect alignment. The water pump feels ok, in fact it looks like a replacement, reinforced by the traces of silicone type sealer residue around the mounting face. It looks like what happened is a ham-fisted amateur, after replacing the water pump (with silicone gasket maker?!) got the key jammed on an angle which prevented the pulley from sliding all the way home and then just did the nut up gudntight anyway. This does not help the fact that the pulley itself is warped and has some crazy runout. Since the fan clutch is junk, and the pulley is riveted to the clutch I wonder if I need to get a water pump and pulley from a twin cam that doesn’t use a fan clutch like the 125. Anyway I thought it was time to clean the motor. I am planning on replacing all the seals and gaskets (not the head gasket because it’s not broken) and I hate working on filthy stuff. I can confirm being able to waterblast the engine upside down on the engine stand is great! I was shocked at how quickly the block flash rusted and also the alloy went powdery really quickly (within minutes) Clean motor:
- 127 replies
-
- 13
-
-
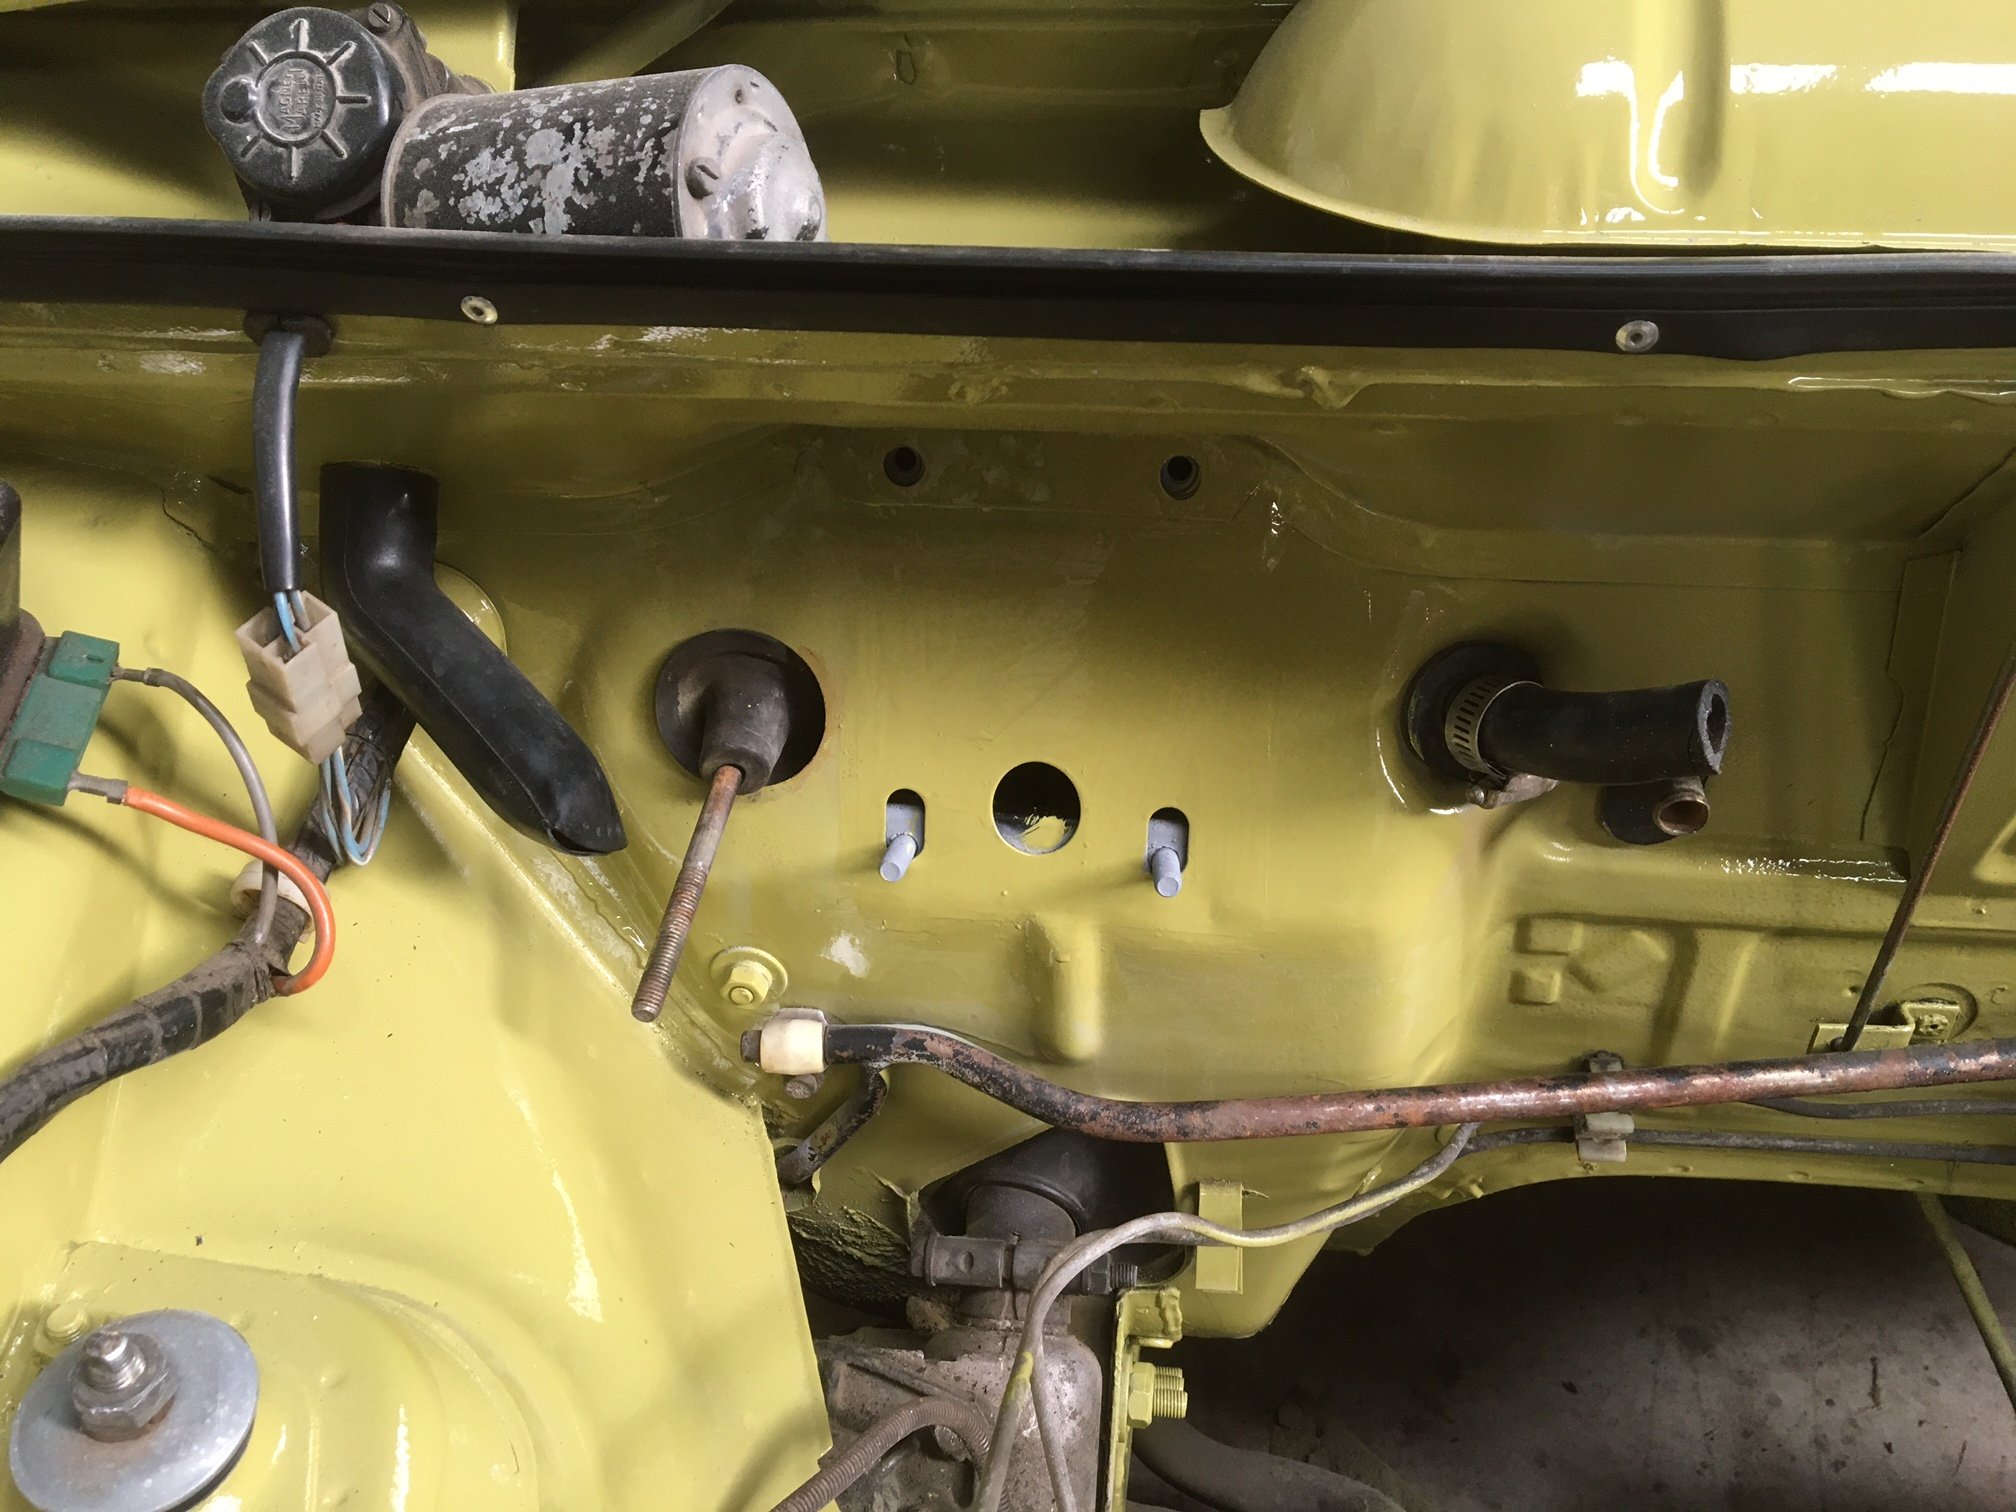
So what I actually did because I’m impatient, is mixed up some paint and brushed it on. It’s covered by the brake booster/mc bracket and it actually didn’t come out that gross. My attention now turns to the engine. I pulled the alternator off and then I wanted to pull the fan clutch off. Unfortunately, only half of it let go. Side A: Side B: I have another moderately annoying problem. The water pump pulley is bent AND it’s half a pulley width out of alignment with the crank and alternator pulleys. More will be revealed when I get the rest of that fan clutch off, I suppose. Anyway, the brake booster et al is ready to go back on the firewall when the time comes.
- 127 replies
-
- 11
-
-
Scenario: Ham-fisted amateur wants a paint gun to do touch ups and occasionally paint a panel. Said amateur is a tight git. What to buy? (Asking for a friend…)
-
Not an expert sorry, but I harbour secret thoughts of electrifying my Land Rover one day… I’m not into electric conversions for their own sake, but let’s face it, some cars aren’t about the engine so electricity can make them better. (Don’t hurt me please)
-
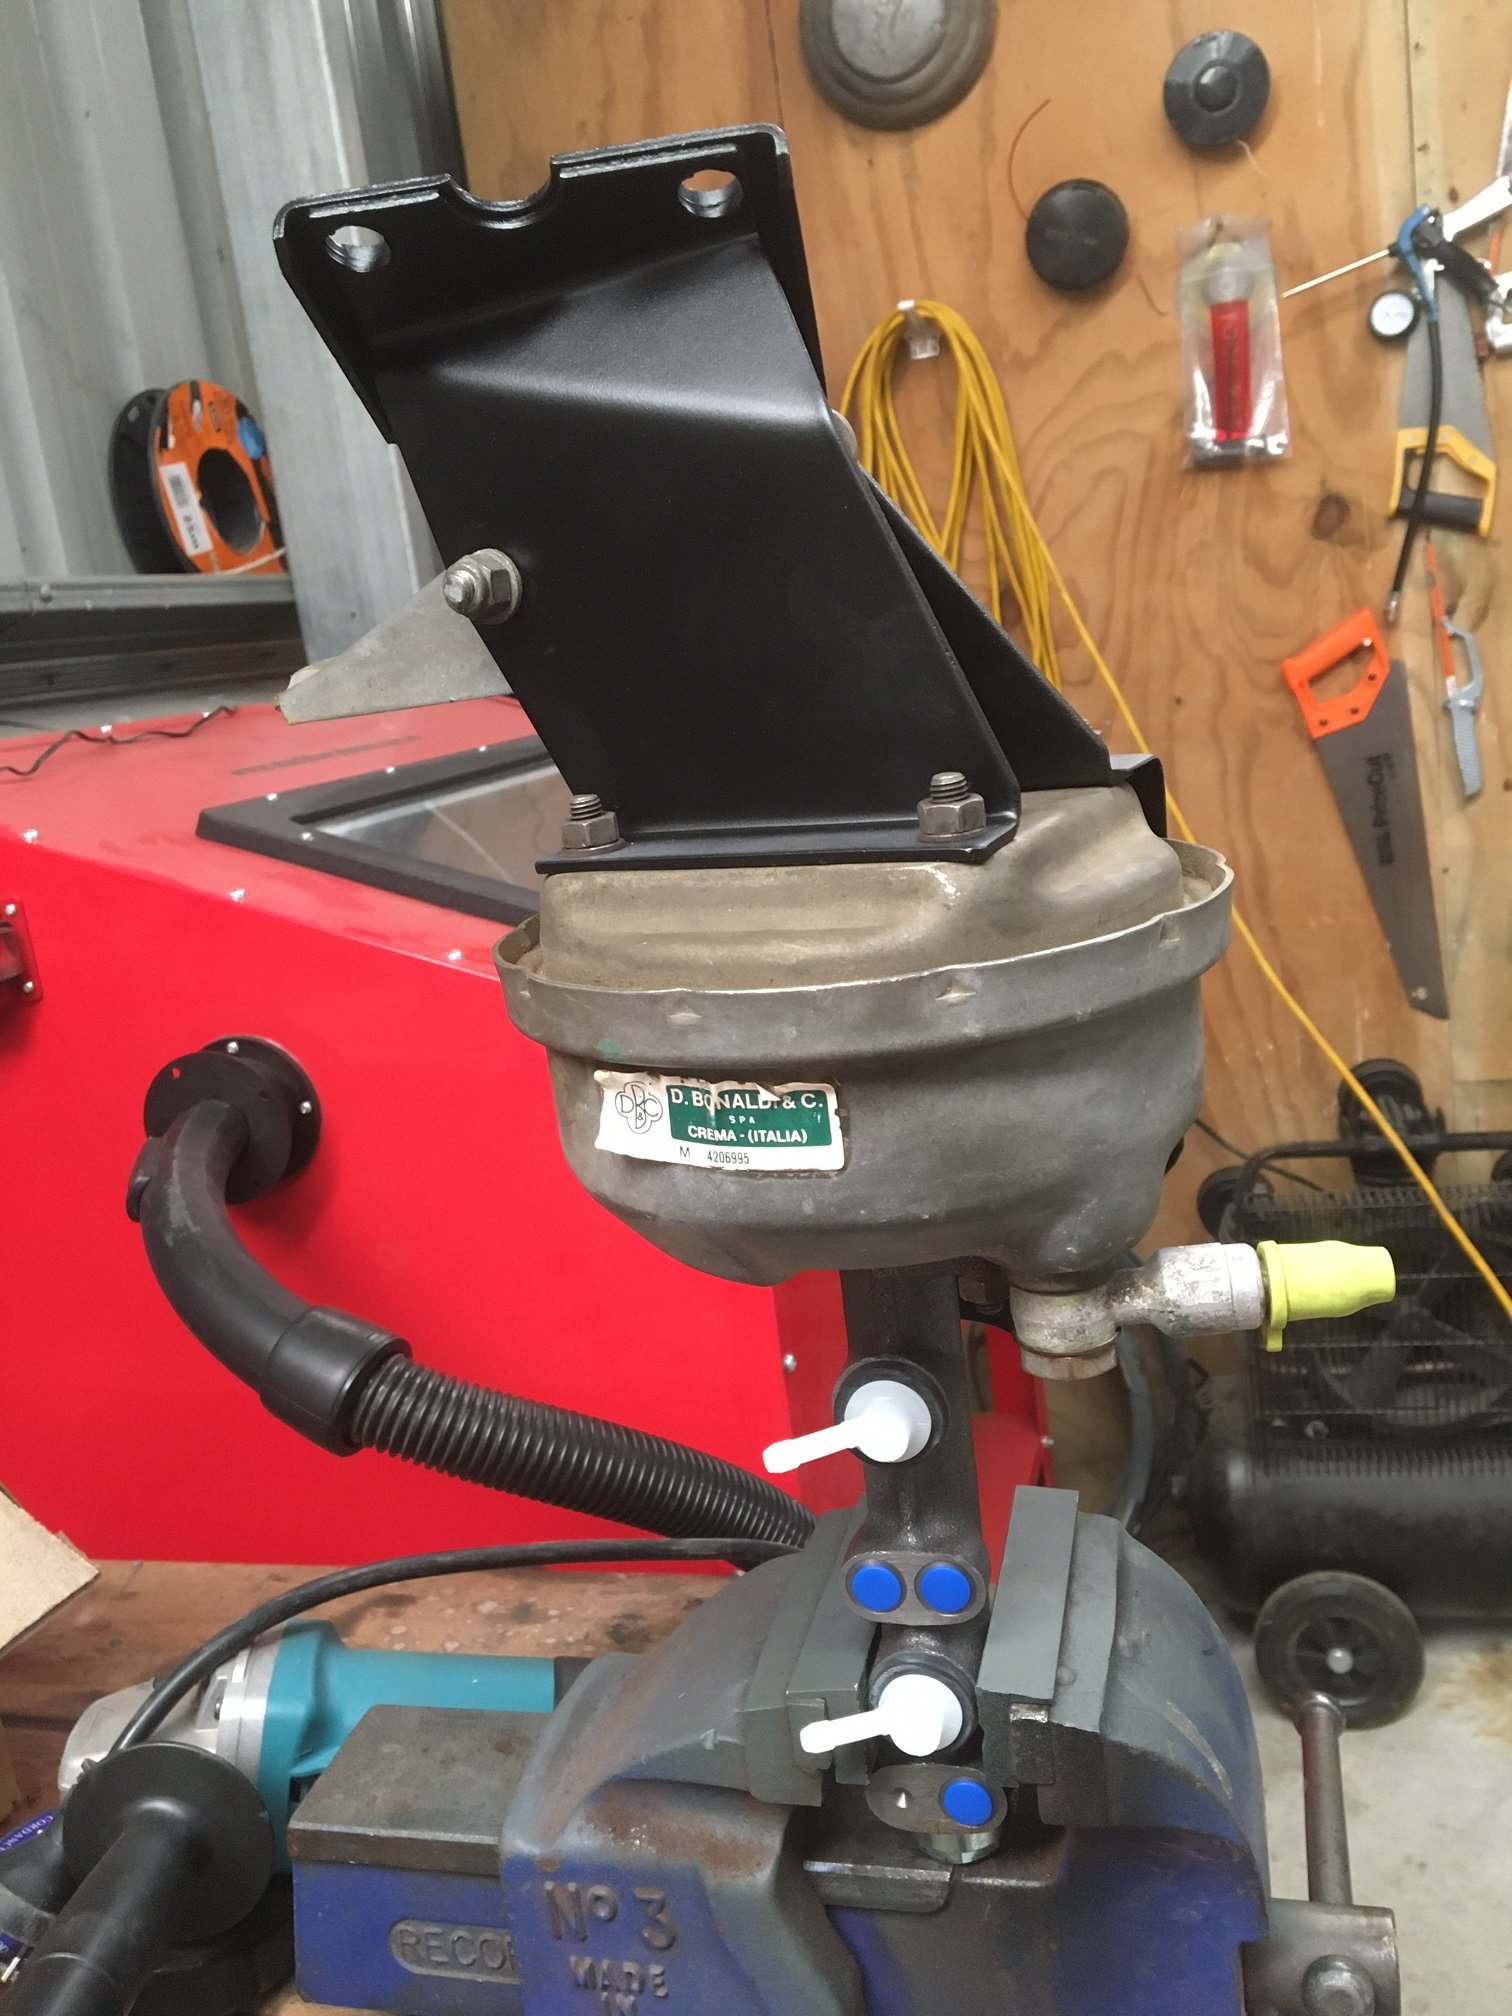
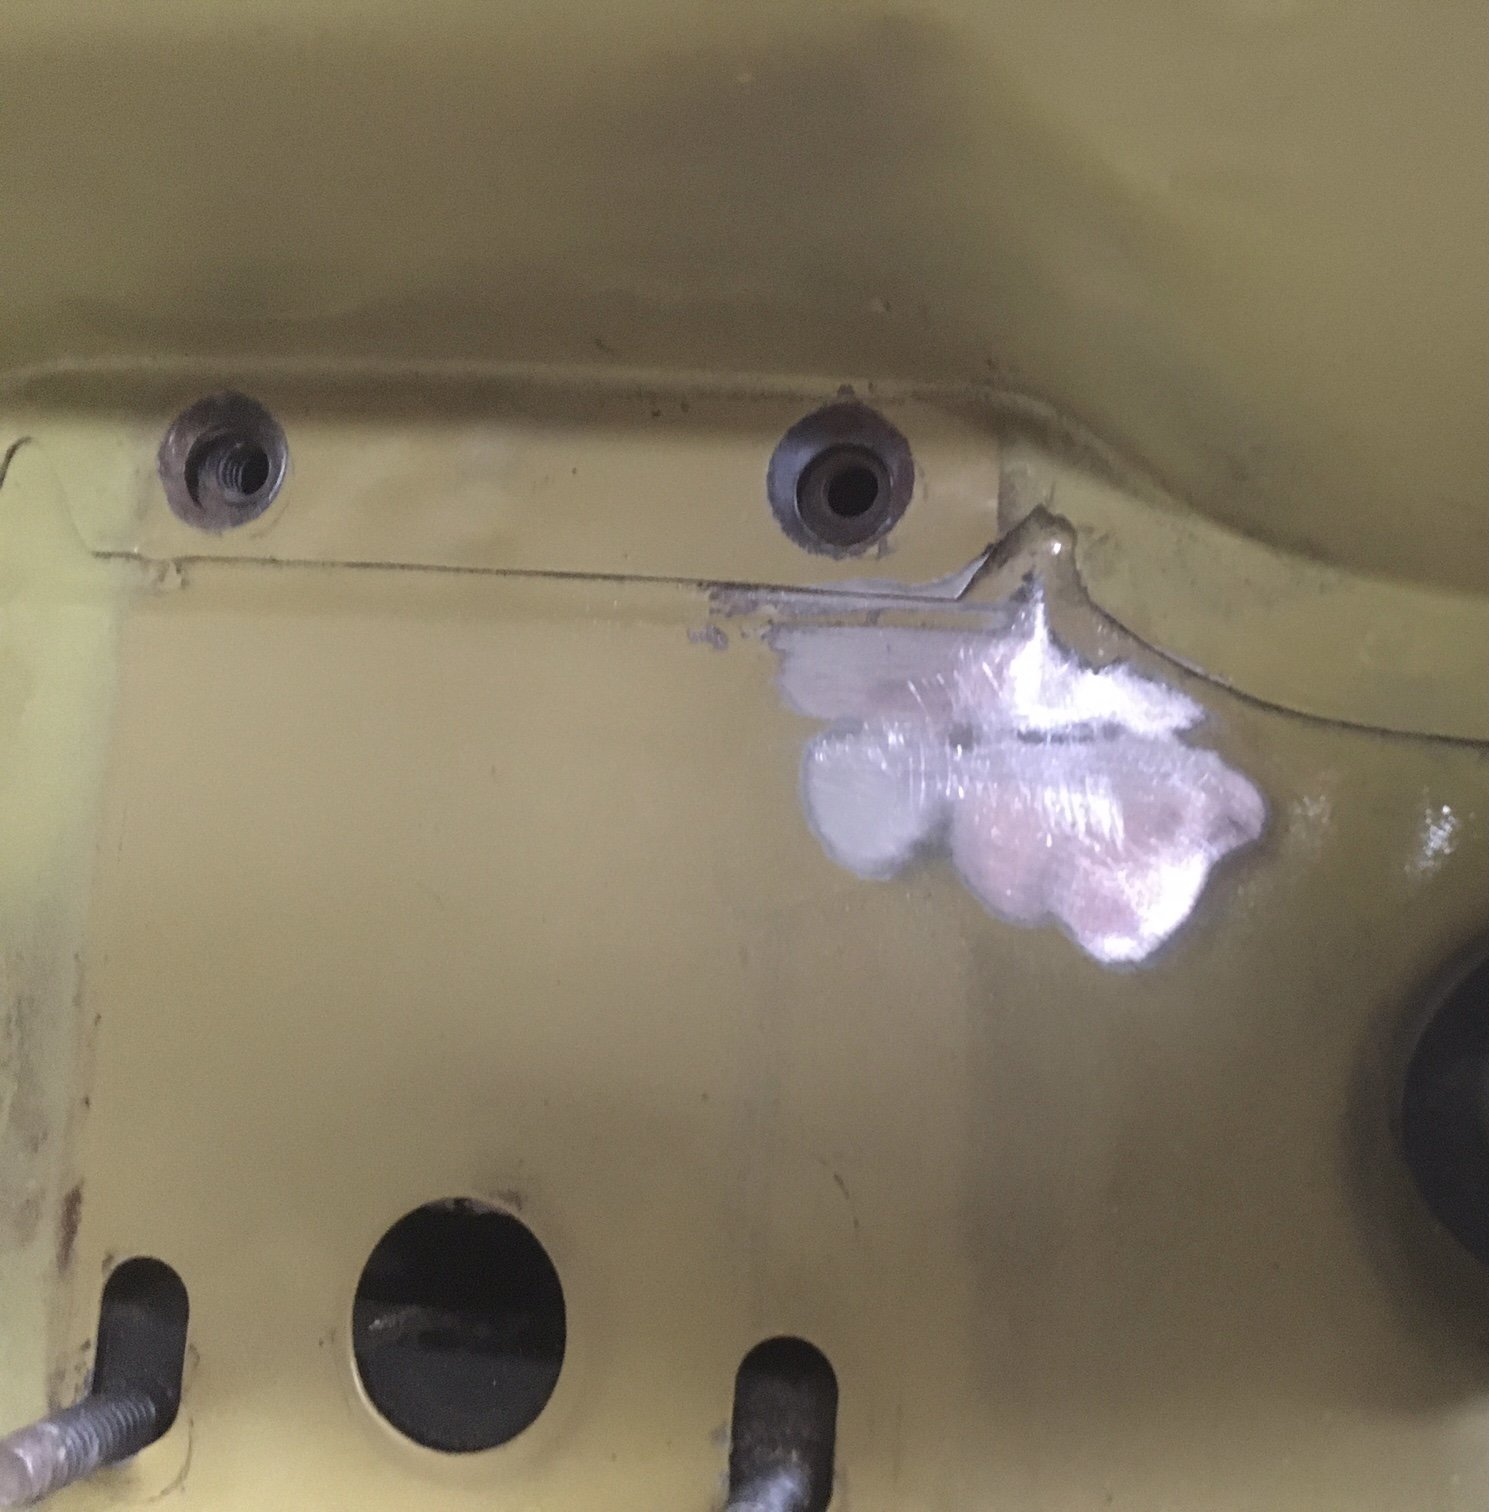
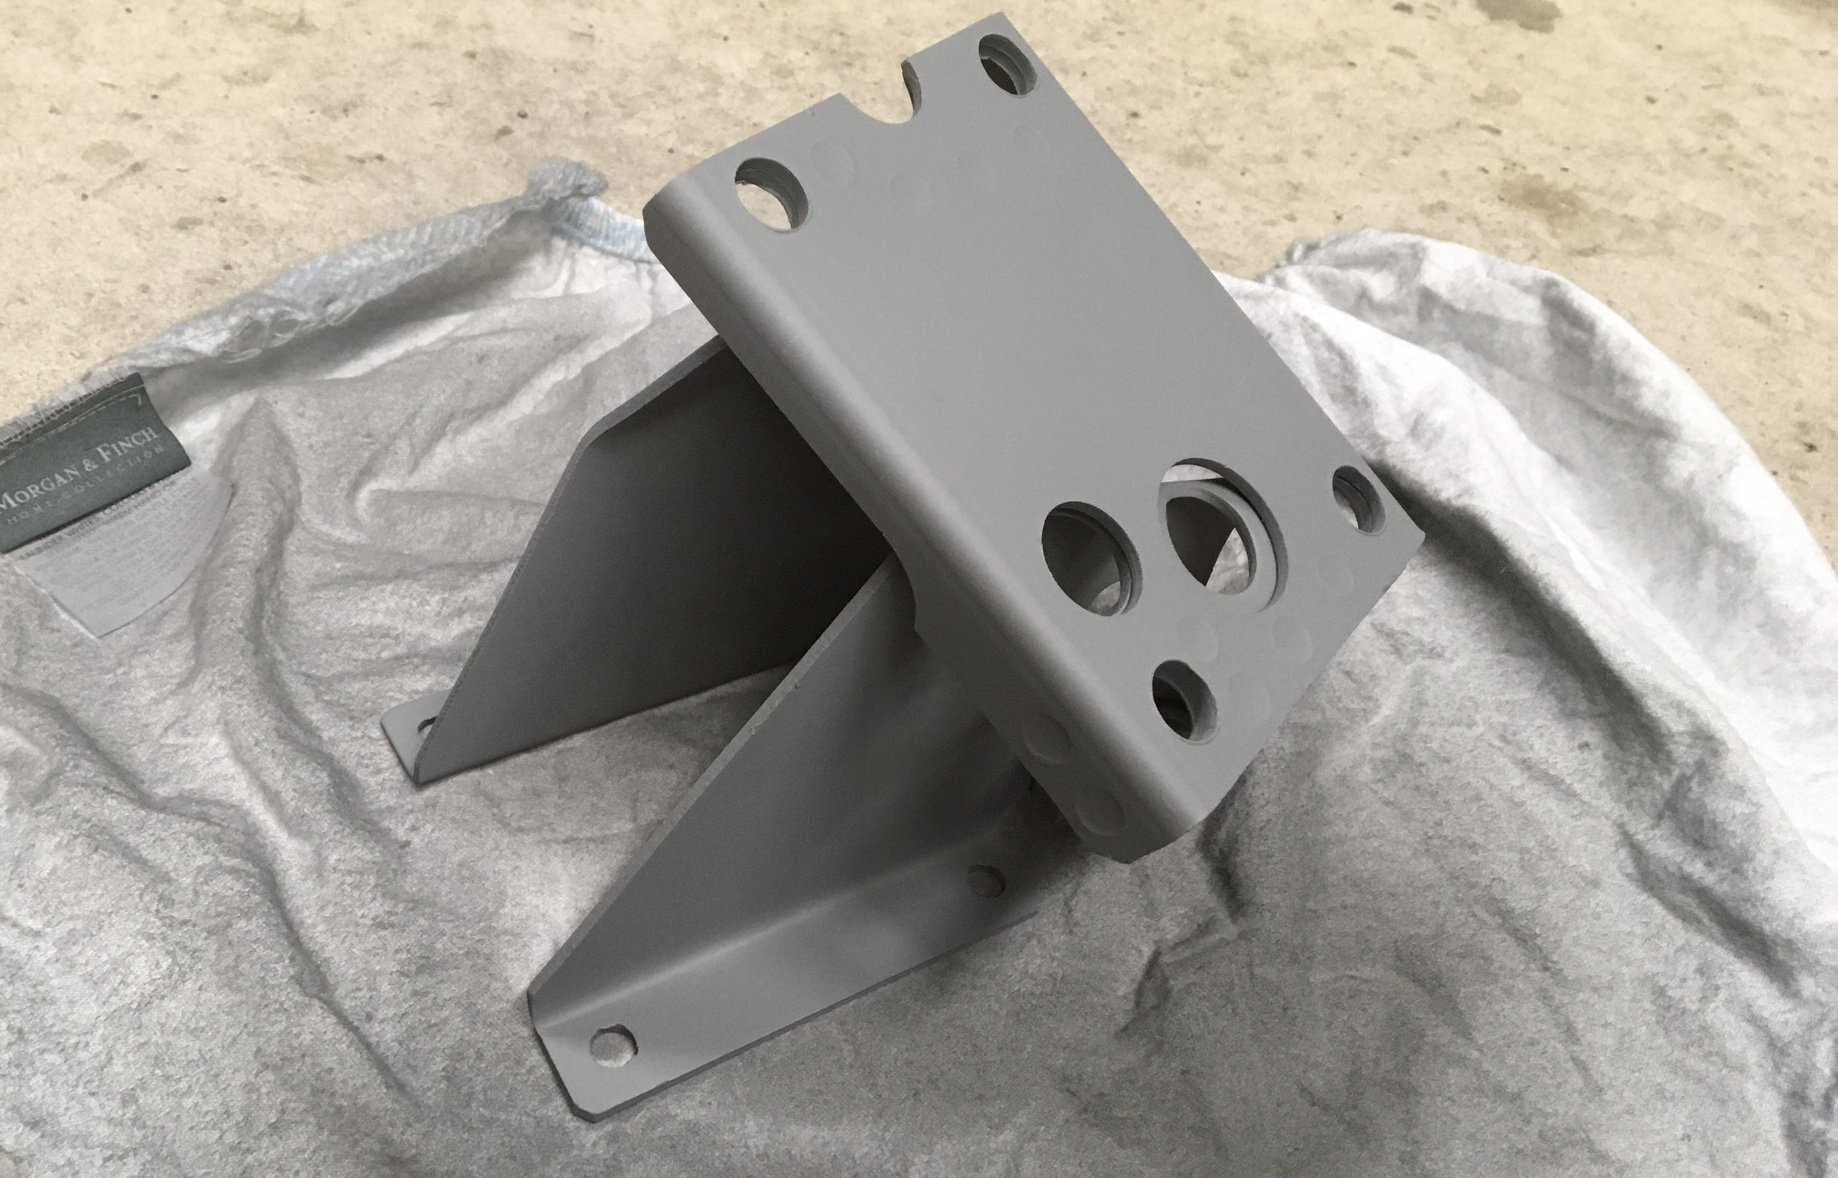
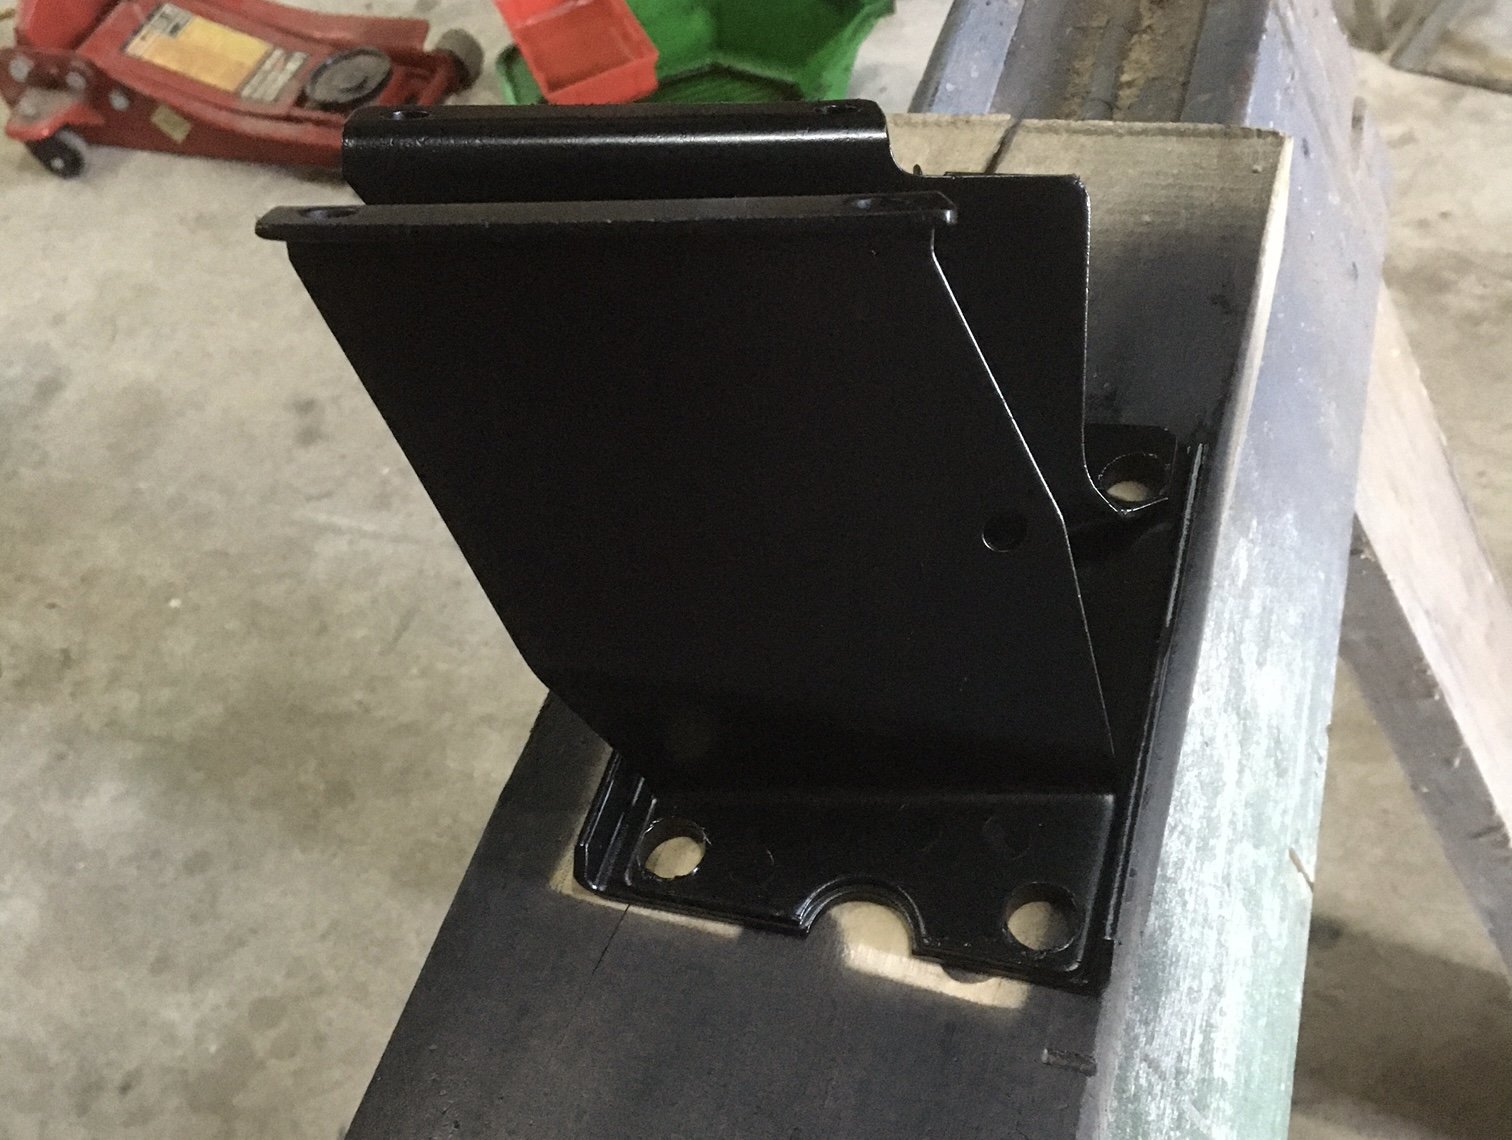
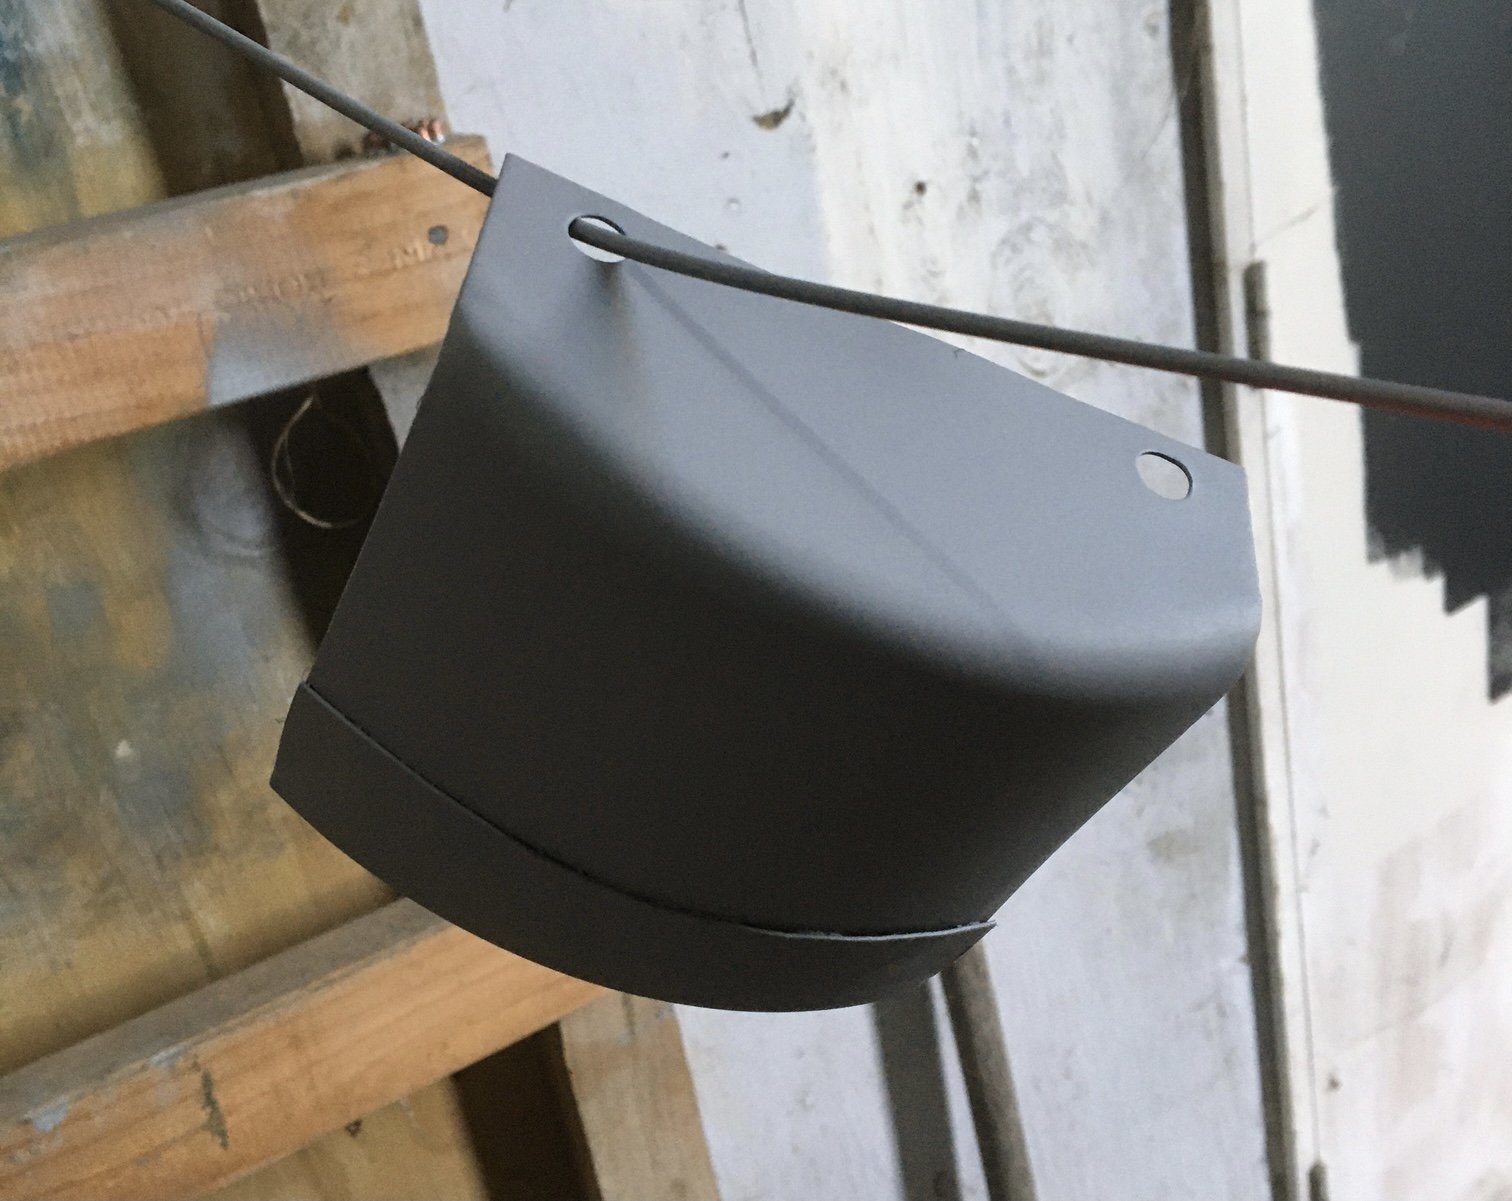
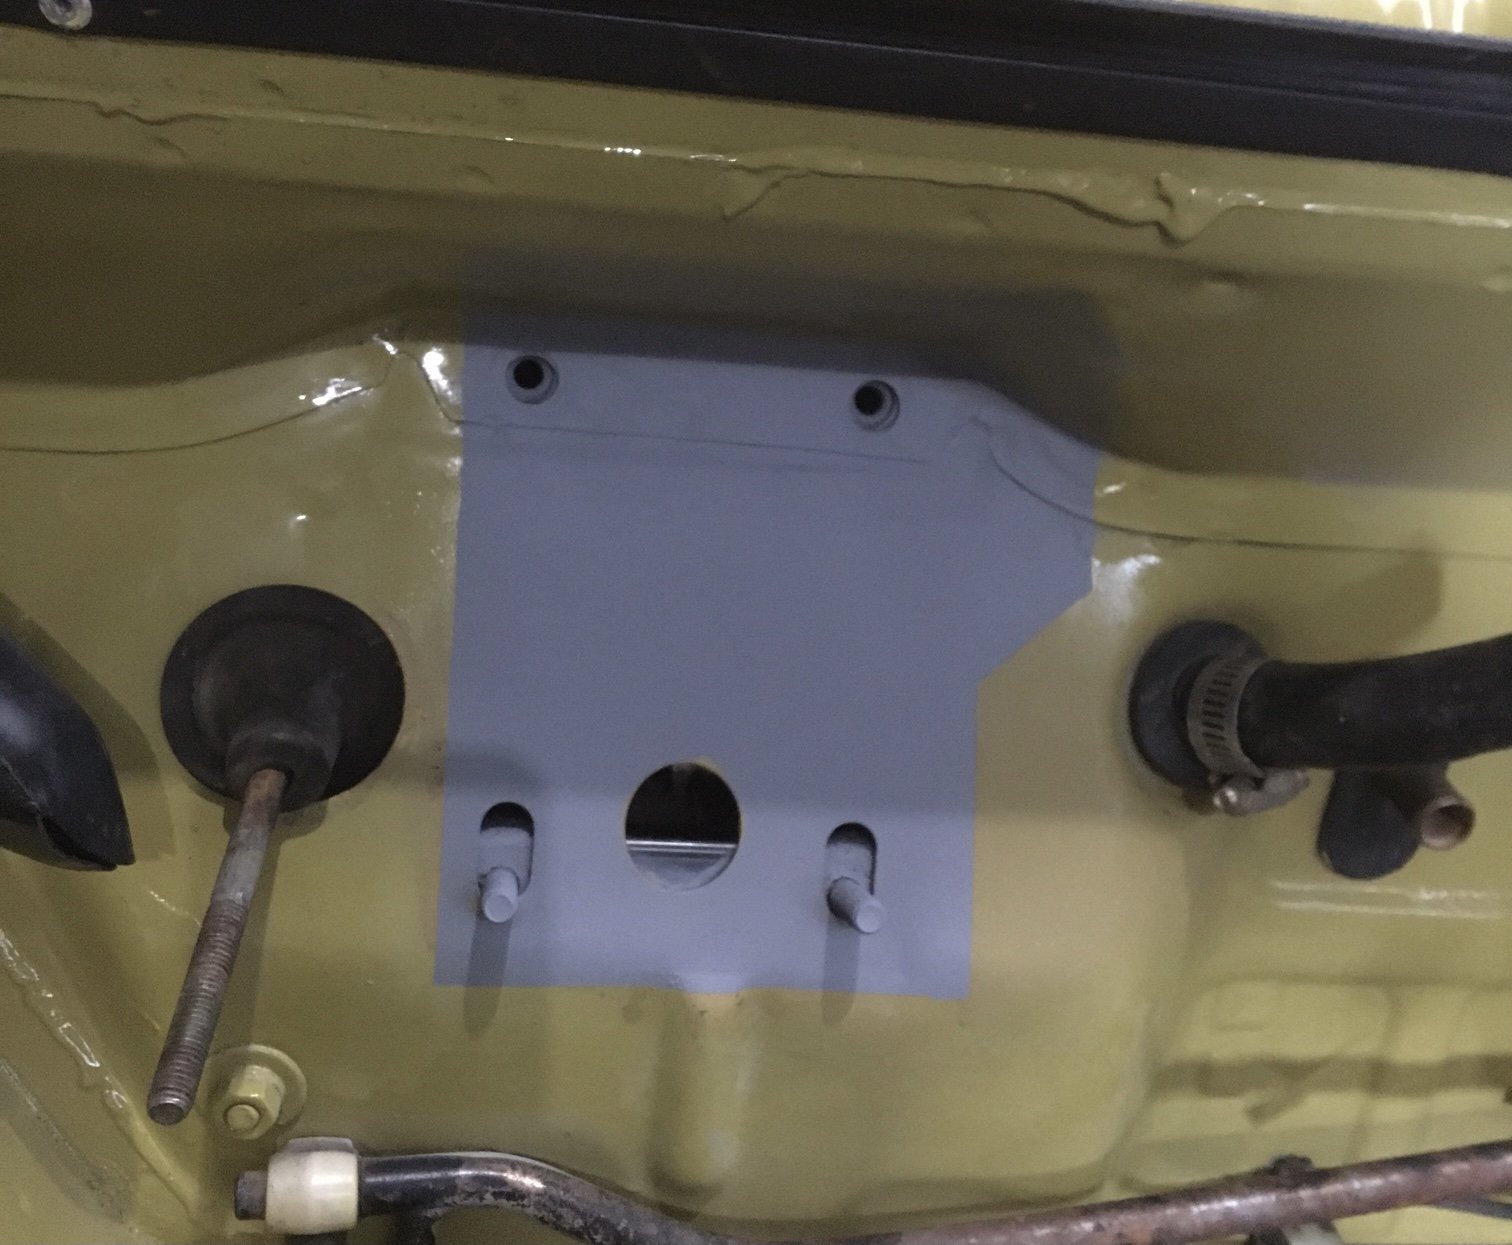
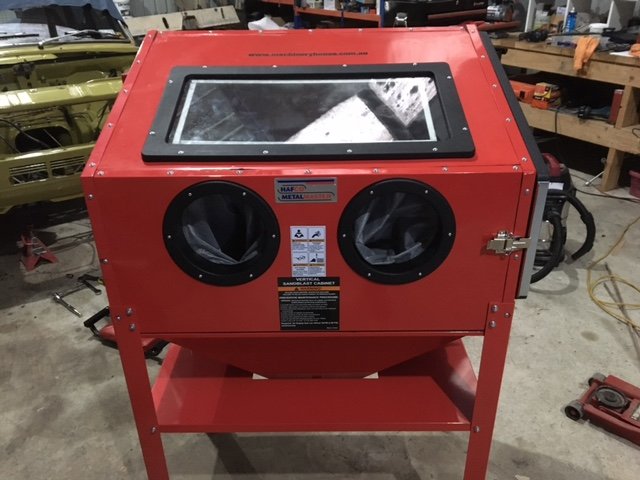
The thrust rods and swaybar are now refitted to the vehicle. The swaybar saddle bracket things are very annoying but we got there in the end. Today it was blowing a gale so I retreated to the shed, which was very loudly groaning and popping in the wind. I popped the clutch cable out. The pedal end is almost inaccessible for my sausage fingers, but I got it unhooked by pushing hard on the firewall side. I decided then that the brake booster bracket looked too crusty so I unbolted that and chucked it in the blast cabinet. Primed painted The removal of said bracket revealed a little rust bubble on the firewall. Luckily it wasn’t deep. I gave the area a scotch brite, and prepsol. then hit it with some primer Then I pulled the shield off the booster and gave that a blast and a prime. Then I gave the booster a good scrub and bolted the new master cylinder on. I have some colour matched 2k paint the panel beater gave me, but no way of spraying it, so I may have to splash out on a touch up gun.
- 127 replies
-
- 11
-
-
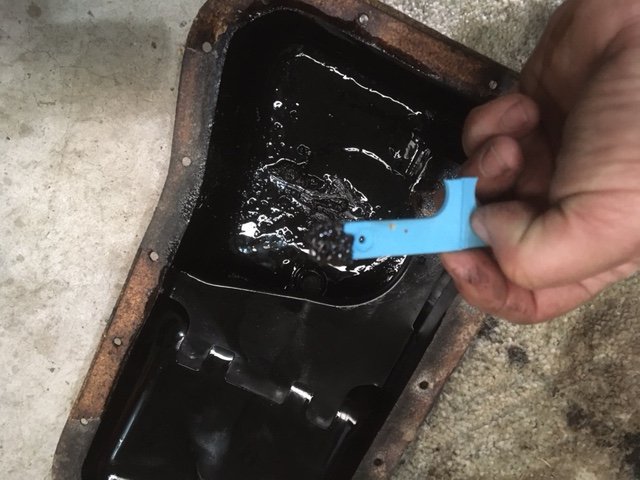
Yep. One of these have filled with 10/50. Still baffled by the treacle that came out. It’s almost tacky like chain oil.
-
Both 220 turbo coupes. He hasn’t decided the fate of the other one yet, but it looks far too tidy to wreck
-
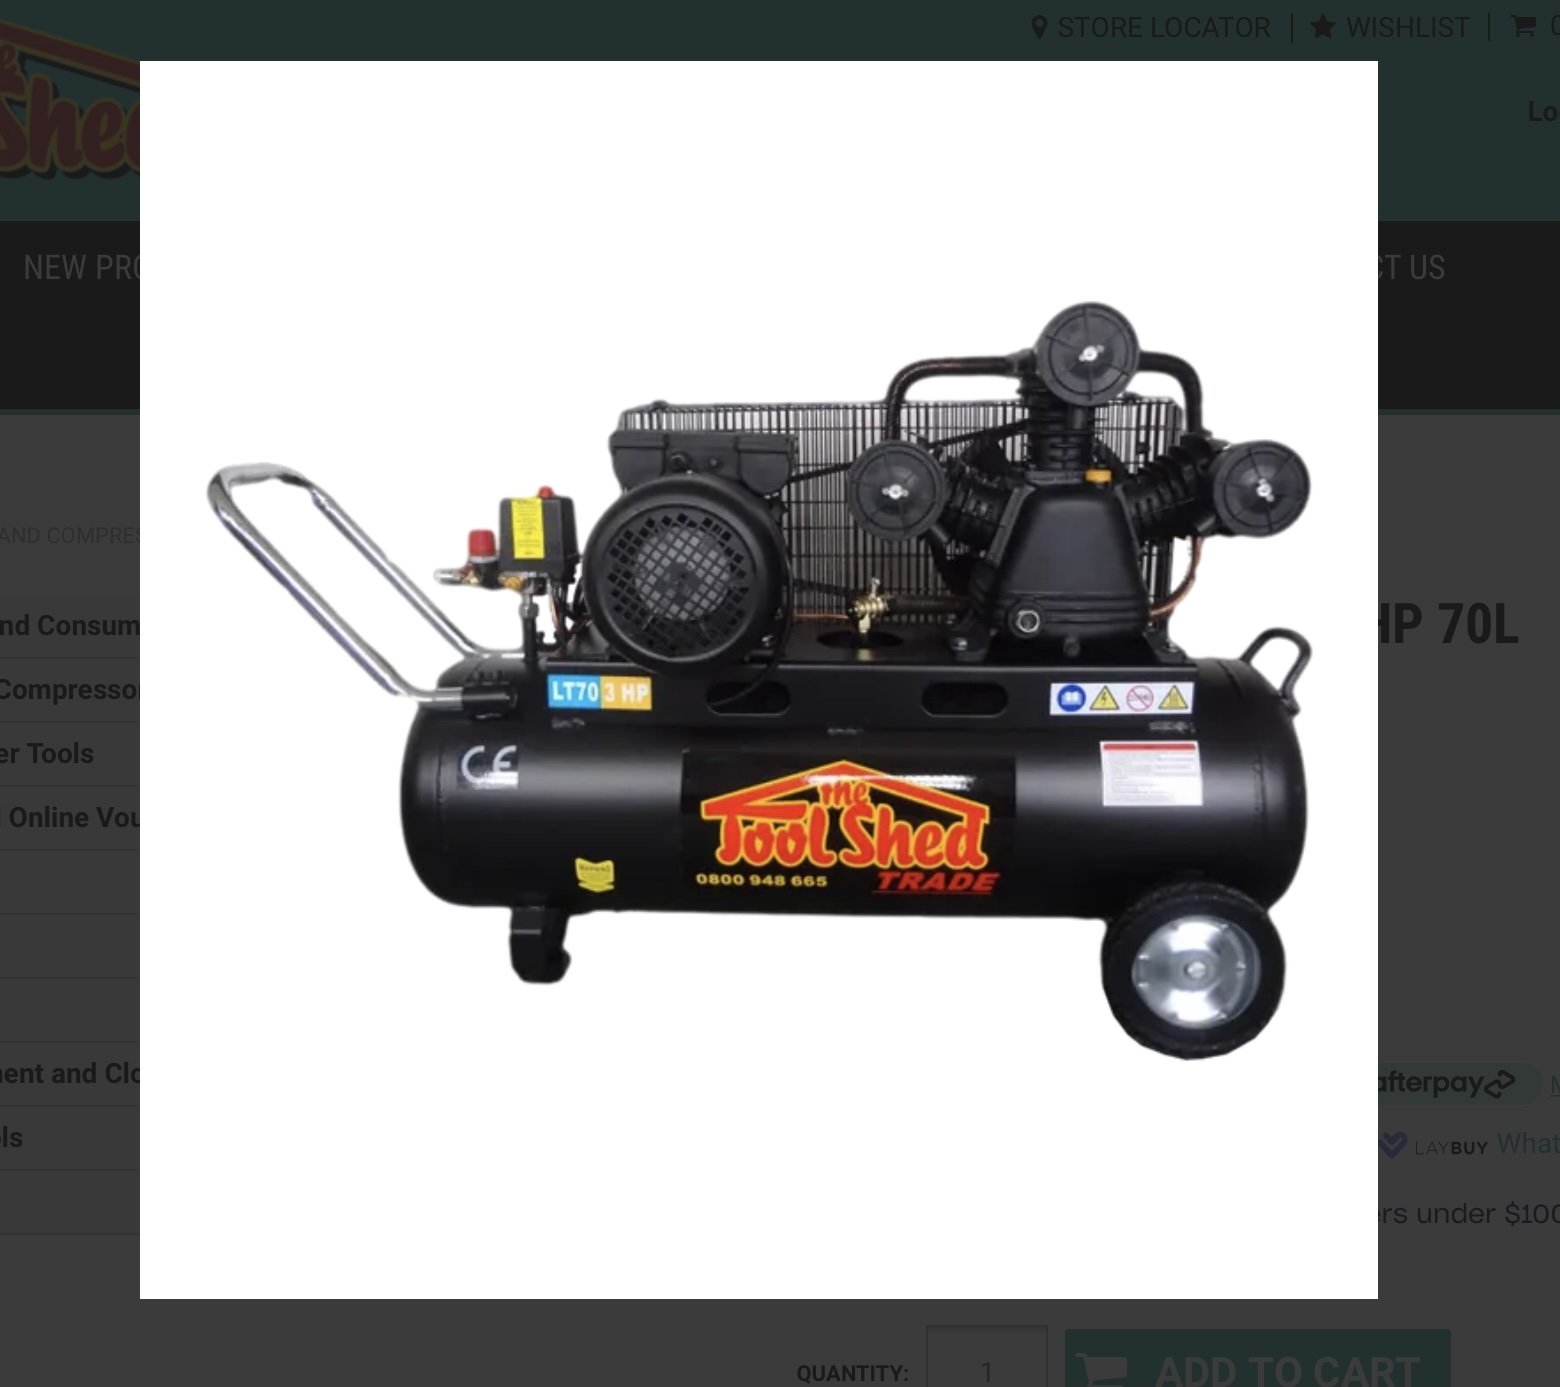
Changing the oil in my compressor today. I got the manual out and it says use 5w50 synthetic engine oil. The factory oil I drained was the colour and consistency of cold golden syrup. I haven’t seen any compressor oil that looks like that, but not an expert etc… No 5w50 in stock but I have 10w50. Good enough. Wot you reckon?
-
Mean. Old mate in north Taranaki bought two of these in the last couple of months. One is destined at this stage to be a Nazcar/lemons racer.
-
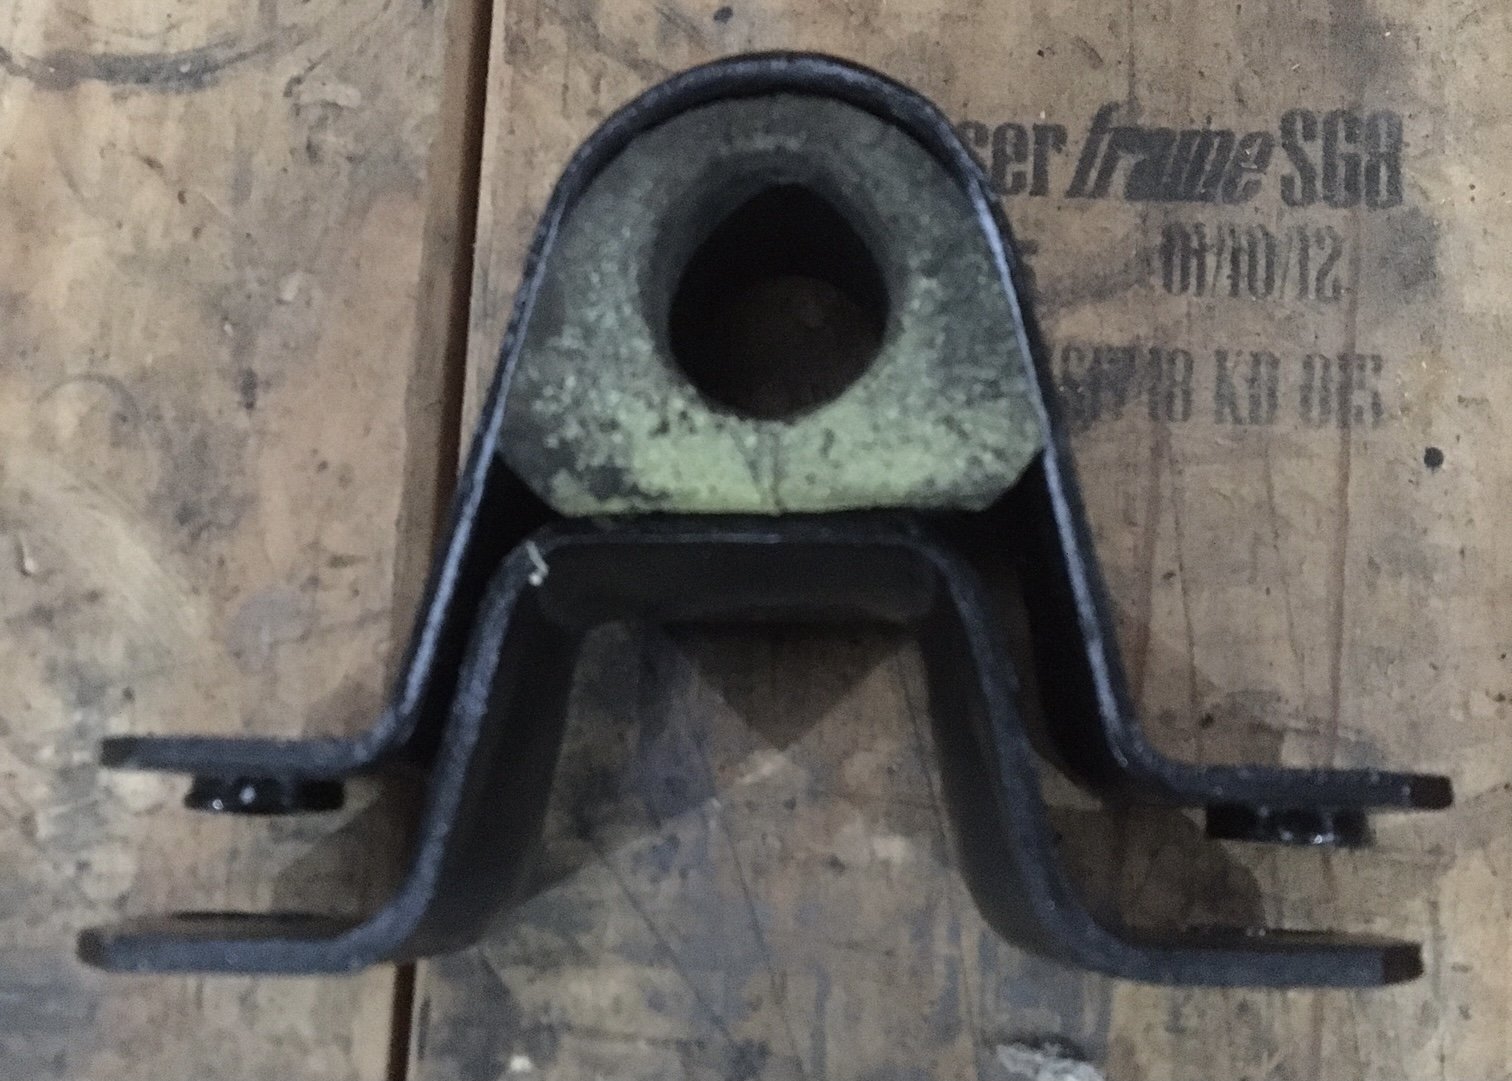
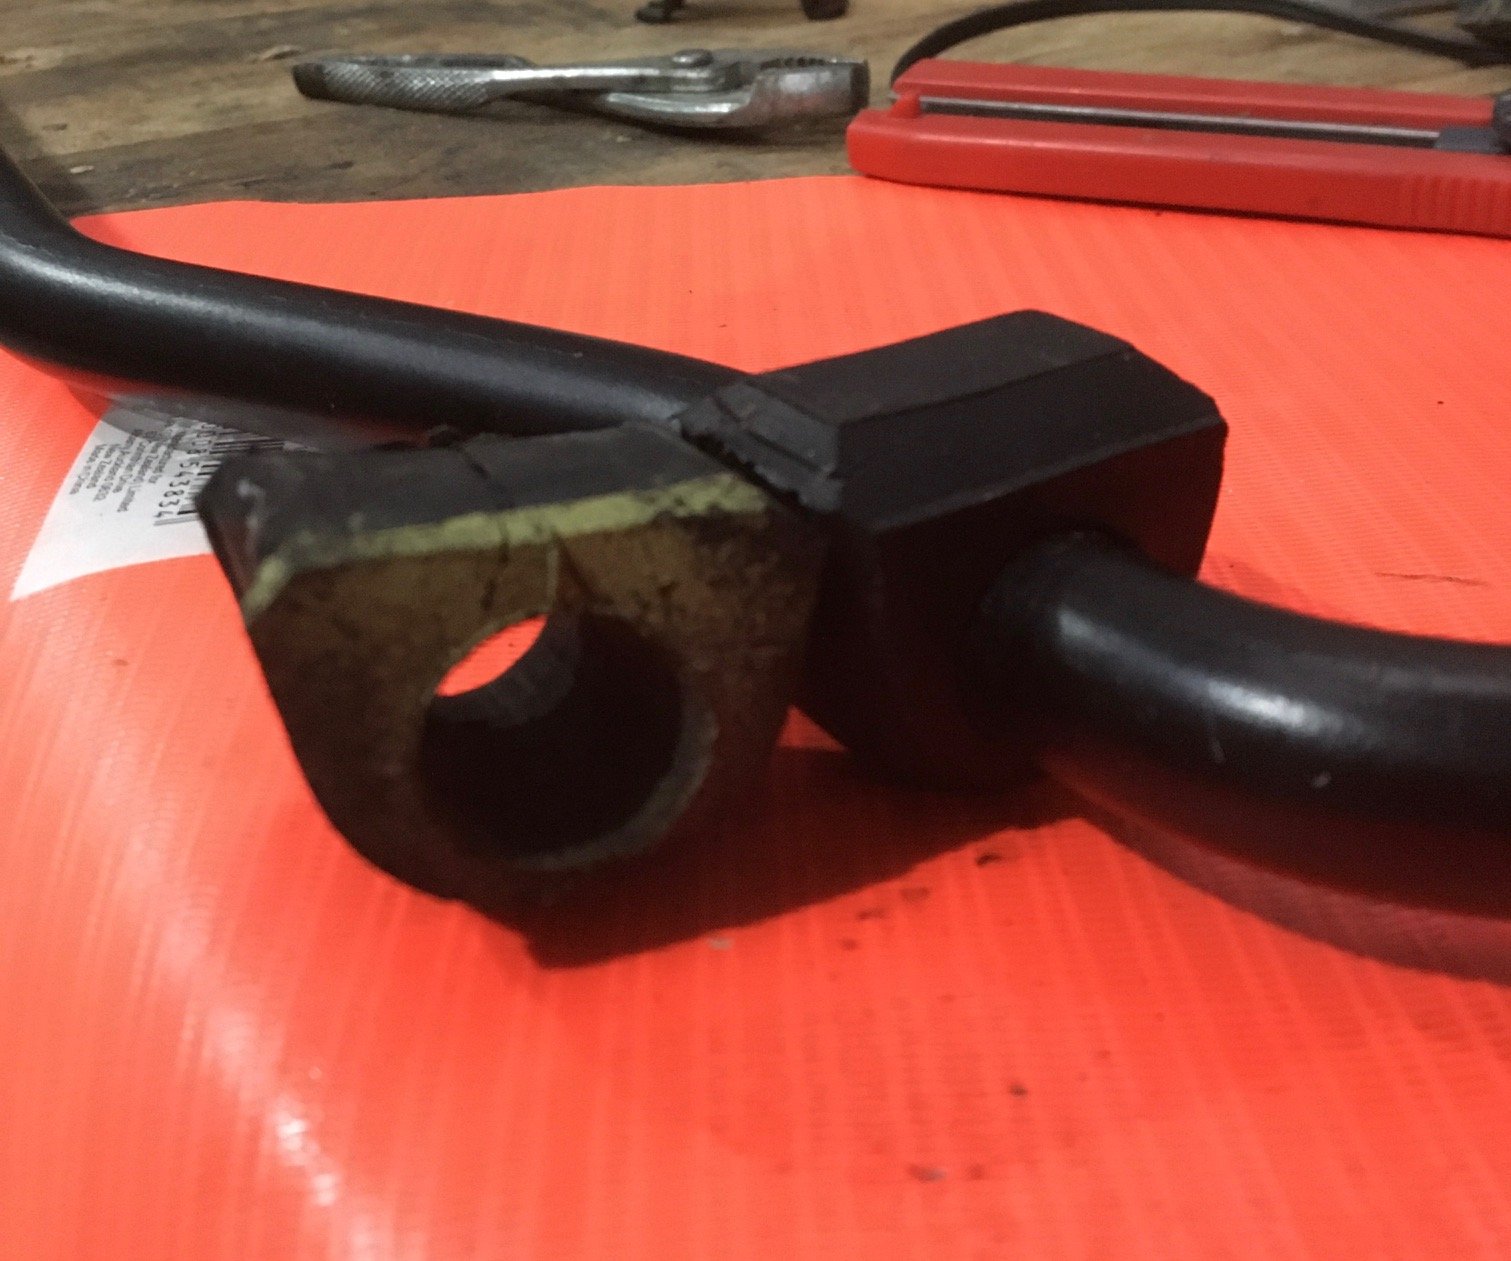
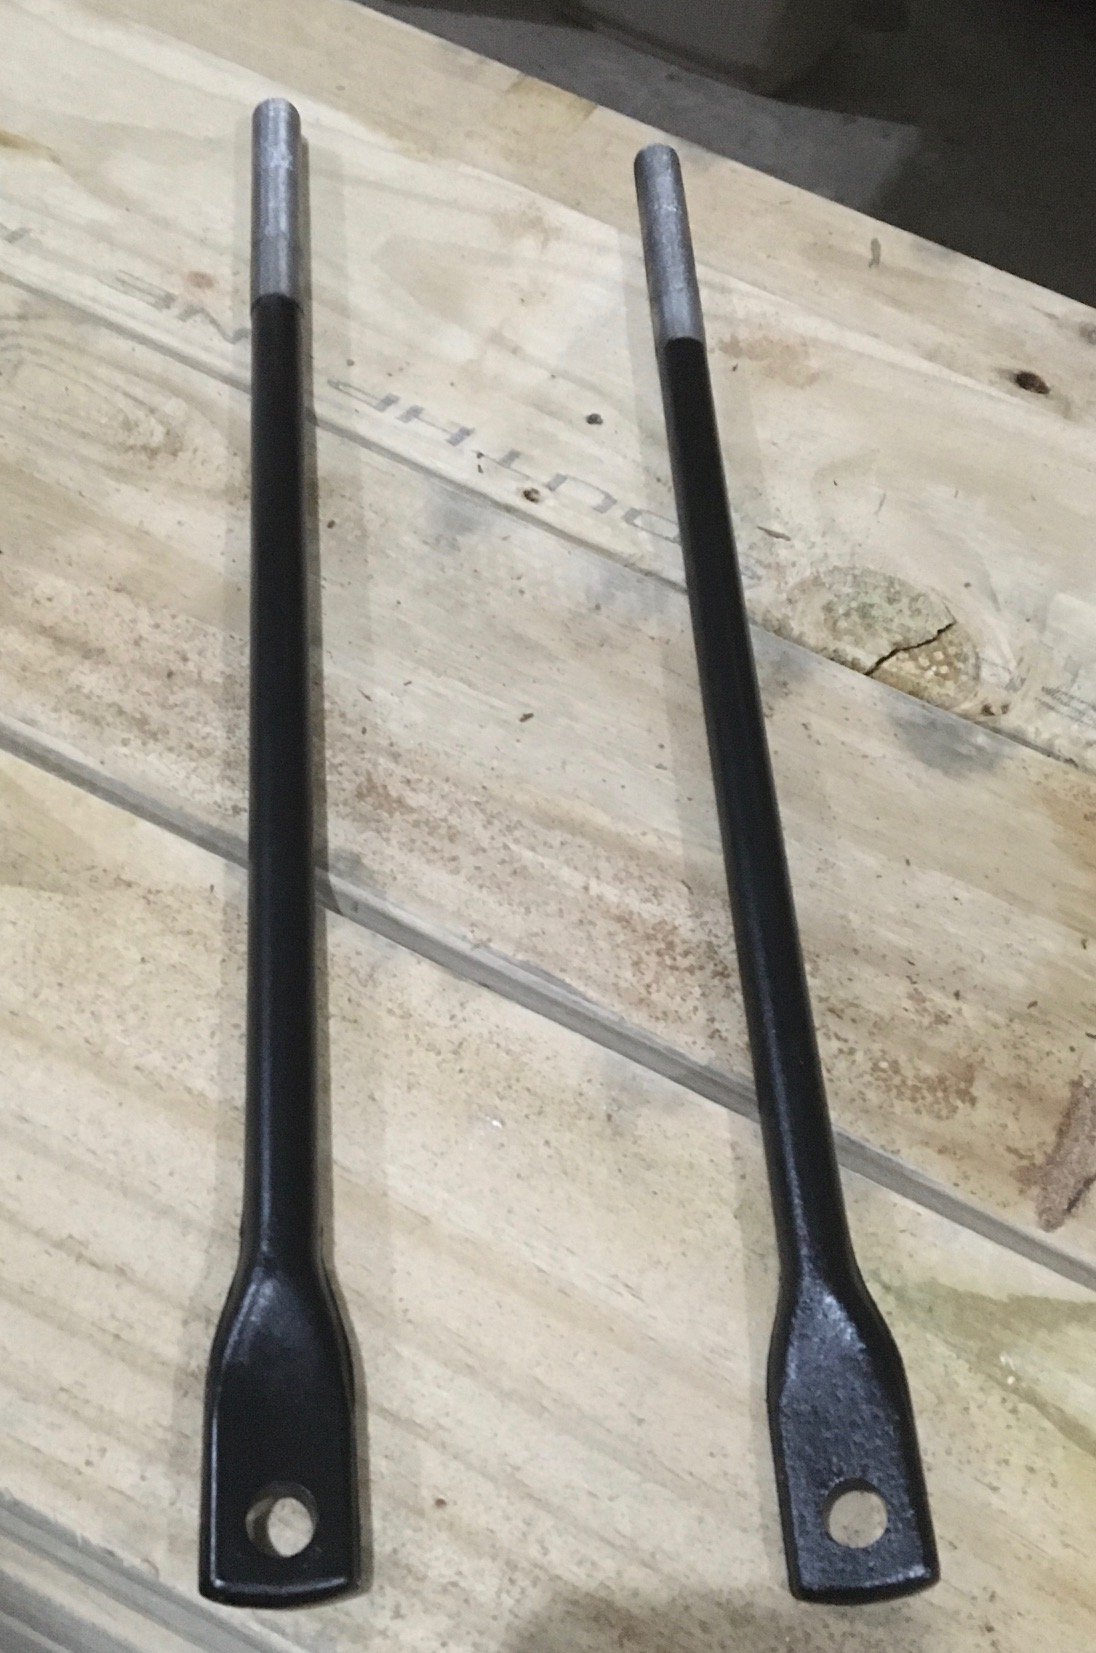
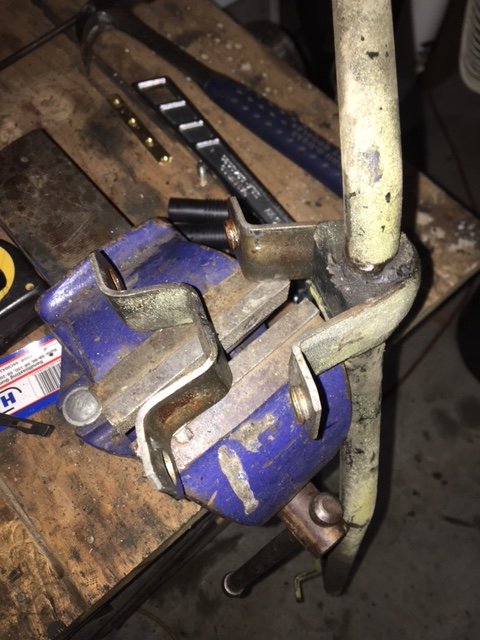
I took a break from the landscaping chores (lockdown =no decking timber) and the wood splitting (drizzle and cold = no thanks) and set to continuing with some front suspension (in)action. All round good citizen @azzurro dropped by recently on his way home from Auckland to give me some rusted junk treasure from his hoard. A couple of (chuckle) thrust rods - as the book calls them. One was straight with a nick in the thread, the other had decent thread but was a bit bent. I chose the latter. One fat bloke and sturdy vice later it’s more or less straight and then into the blast cabinet, prime and paint. Bet you can’t tell which is the good original and which was the bent rusty one. I’m annoyed at my new swaybar bushes now. The new ones are taller than the old ones and no amount of crushing and cursing will make them fit in the brackets. They assemble like so: When installed, the metal brackets are sandwiched tight. Look at the difference between old and new, allowing for oldness and squashedness: I think I might have to cut most of the chamfered raised portion off. Anyway, I’m grumpy now and I’m going to light the fire and have a Sunbeam’s famous turbocharged hot chocolate. Good evening.
- 127 replies
-
- 10
-
-
Chur
-
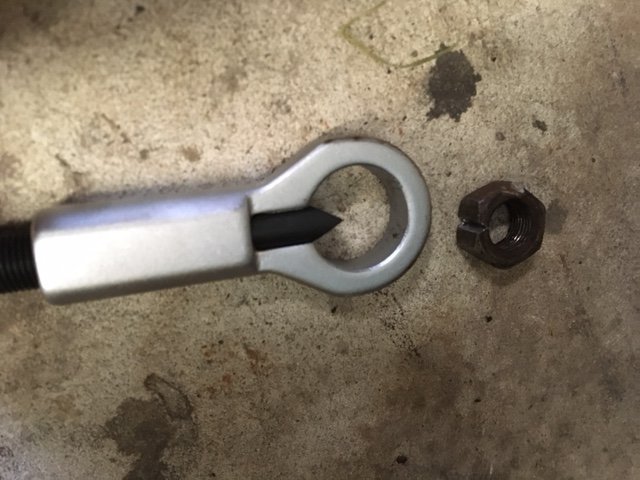
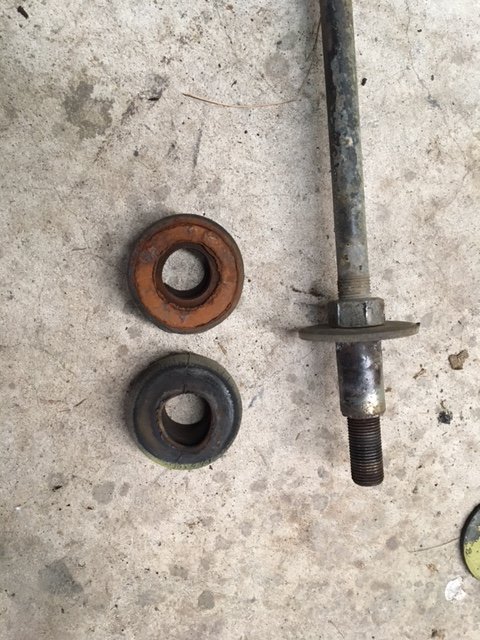
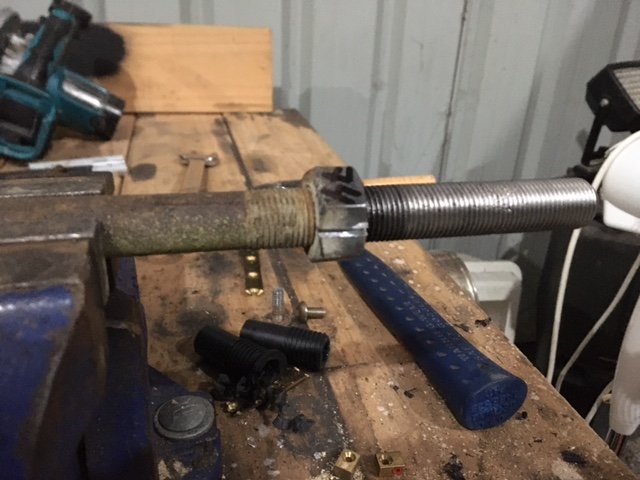
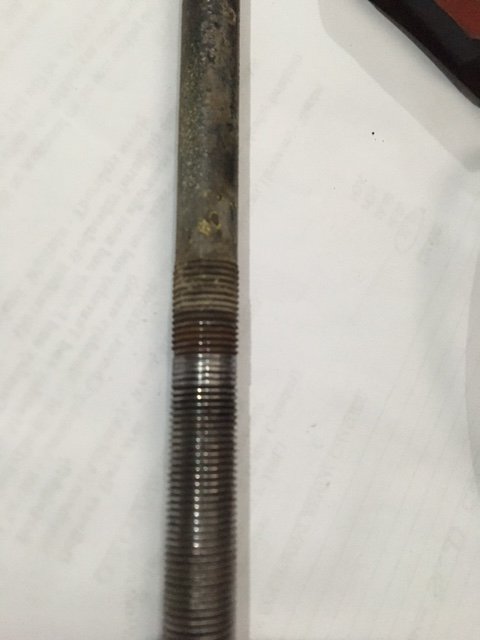
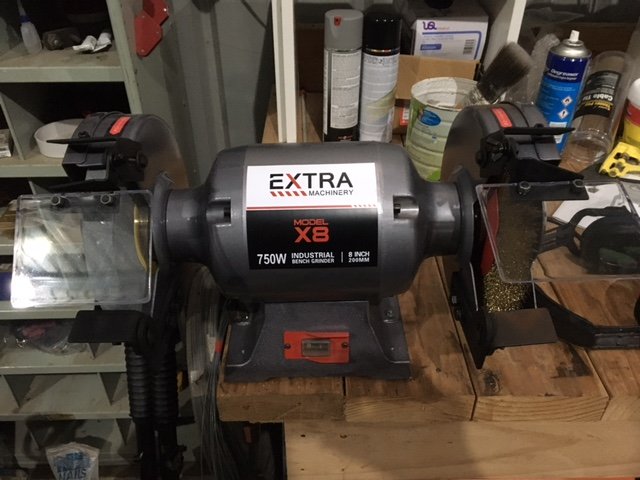
On with more serious work. Today I removed the castor rods (“thrust rods” in the manual). The nuts were no match for my new toy. The bushes are well past their prime: Then it was off to the vice to strip them. The spacer tubes came off far more easily than their crusty appearance suggested they would. Then it was time to remove the inner nut. Before attempting to wind them off, I employed my newest power tool to clean the threads. Say hello to my new friend. 8 inch bench grinder. My first mod was to buy a wire wheel for it. It’s great, but it makes it shake like MAD. I have stuff walking all over the bench whenever it’s running. Anyway, clean threads or not, the nuts wouldn’t budge. So, I cut a starter slit in the side of the nut And then finish the job with the nut splitter. My heart sank when I wound the nut off the right hand rod. The thread is absolutely stuffed. @azzurro, from all the 125s you harvested bits from, did you happen to keep any of these? Moving on, the swaybar is very easy to remove from the vehicle. I found the clamps on the inner (chassis) bushes very hard to split, but I got there in the end. It needed a beating with a sacrificial narrow flat bladed screwdriver. Now I’m looking forward to using my other new friend to clean up all the brackets and bits
- 127 replies
-
- 20
-
-
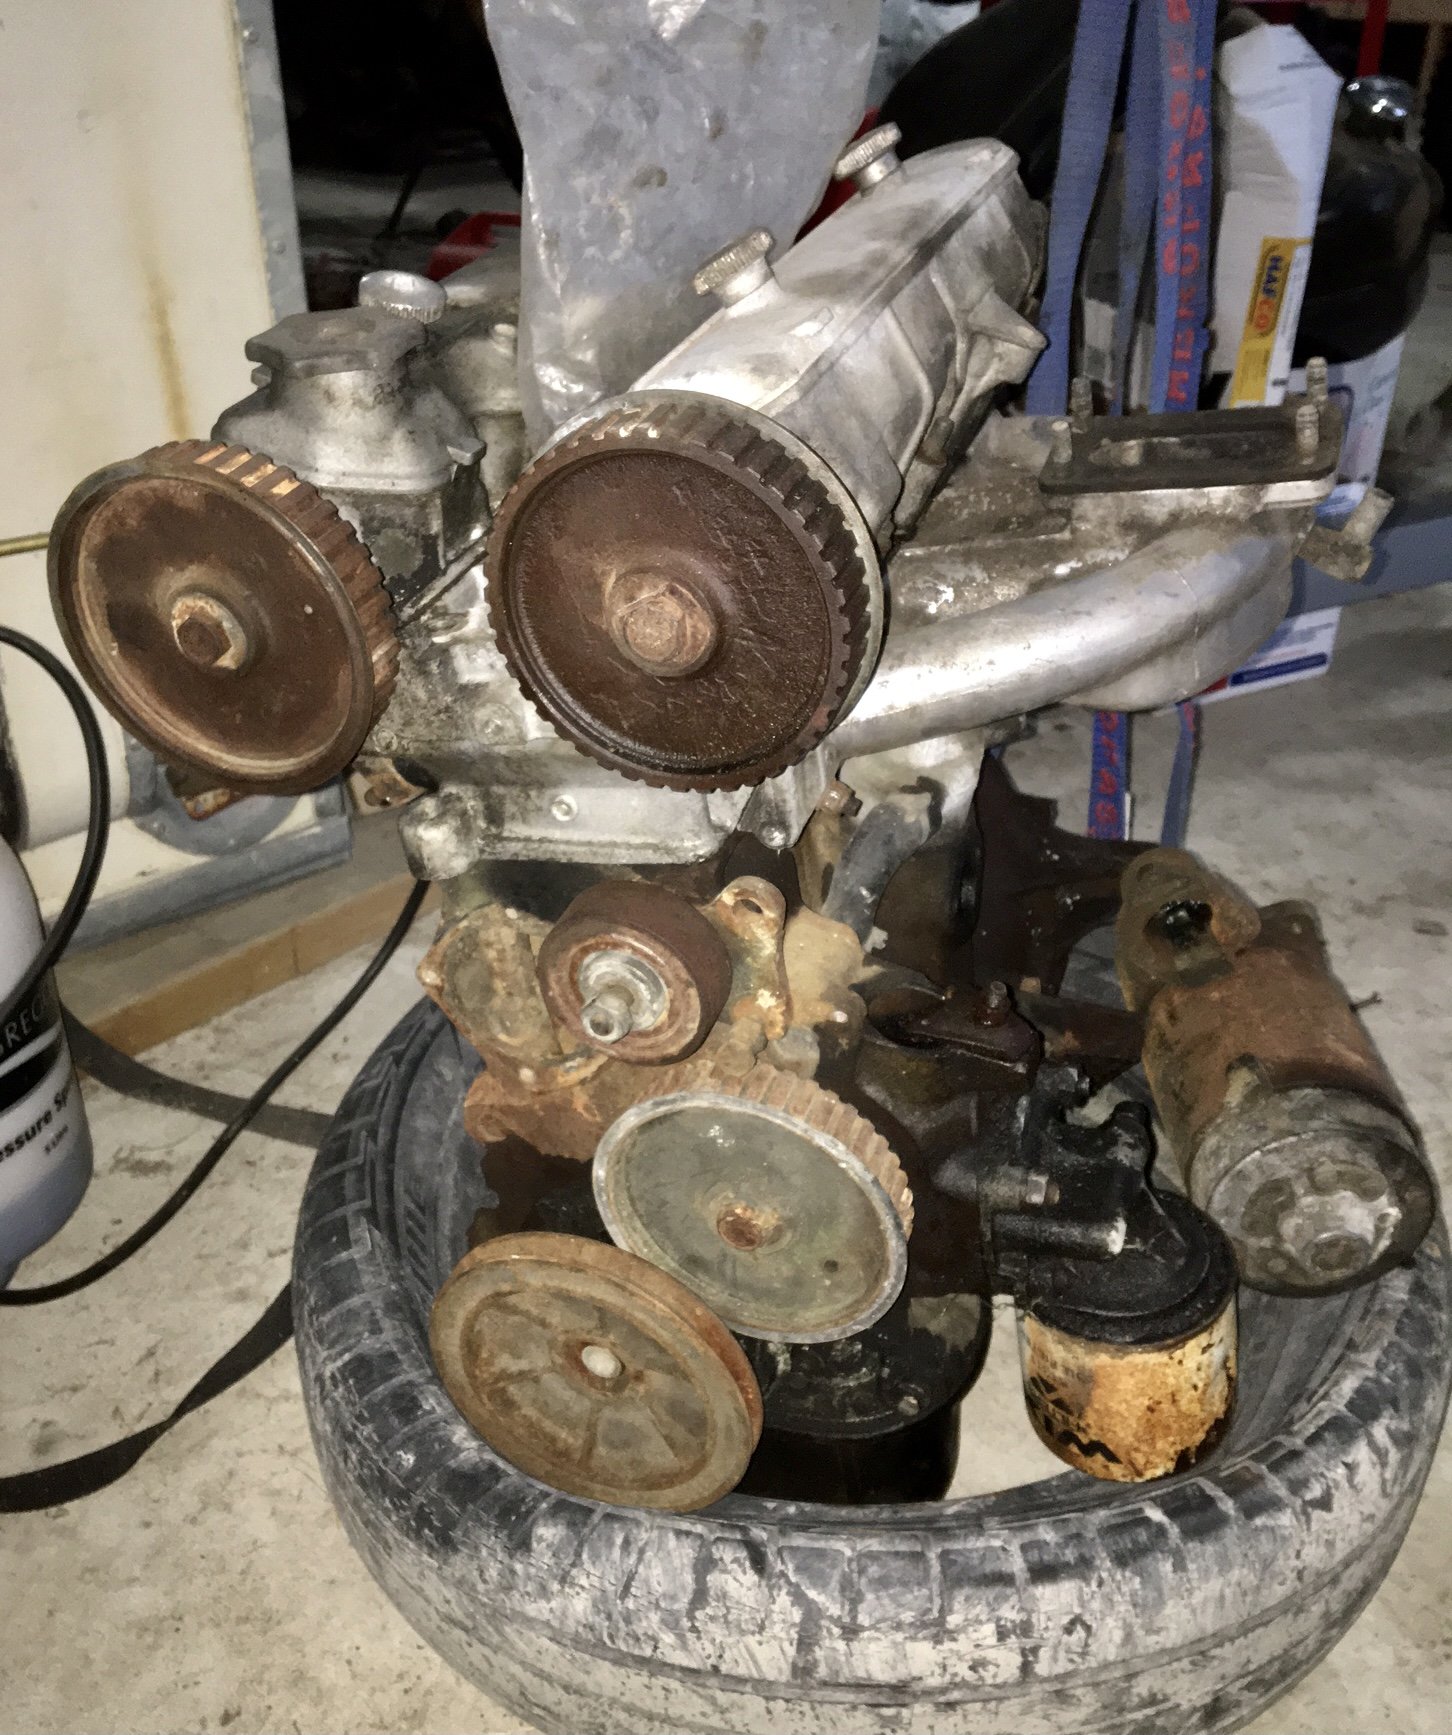
Snapped up this garage ornament. It’s a 1608cc 125 engine. Cams have rust on the lobes, so it’s definitely been sitting a while. Came with a carb (another Solex...) part of a starter motor, and a flywheel (which upon closer inspection has “Holden” cast into it) I’ll tuck it away and give it a good inspection in the future. The vendor alleges it “has good bores”. We shall see.
-
I like the ratty bumper. Also dents suit these imo. Not to take away from your un denting skills though.
-
2c +GST so we’re clear.
-
That bill is taking the piss. My 2c
-
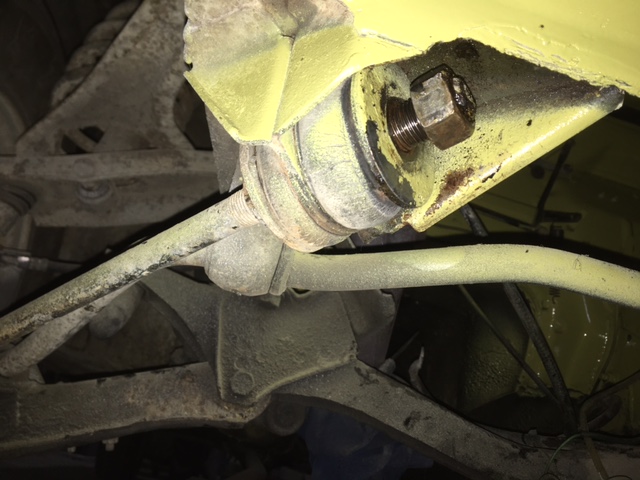
Cracked into the suspension bushings today, starting with the track rod bushes. The left one loosened off well. So I had a go at cracking the right. This one is putting up a real fight-one that I am losing. I’m stuck here now and it won’t move in any direction anymore. I think I need to borrow Dad’s die grinder and cut it and split it off before I do any more damage to myself or the car.
-
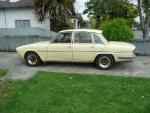
That’s a nice, straight looking car. Think it should have its own thread. Nudge. Personally I prefer the look of the 13 inch CD66, but certainly you have given me an alternative to consider if I can’t make em fit. +1 on those rotas too. Lovely.
-
Thanks for chipping in @epoxy124! I have seen the 15 inch versions are available in different offset. Can we see some more pics of the car please. I’d like to see a shot of the whole car, you don’t see many fiats with 15 inch rims. I think a fat 13 suits the car, but I’d like to see yours! ps. Are you running with or without the factory “spacers”
-
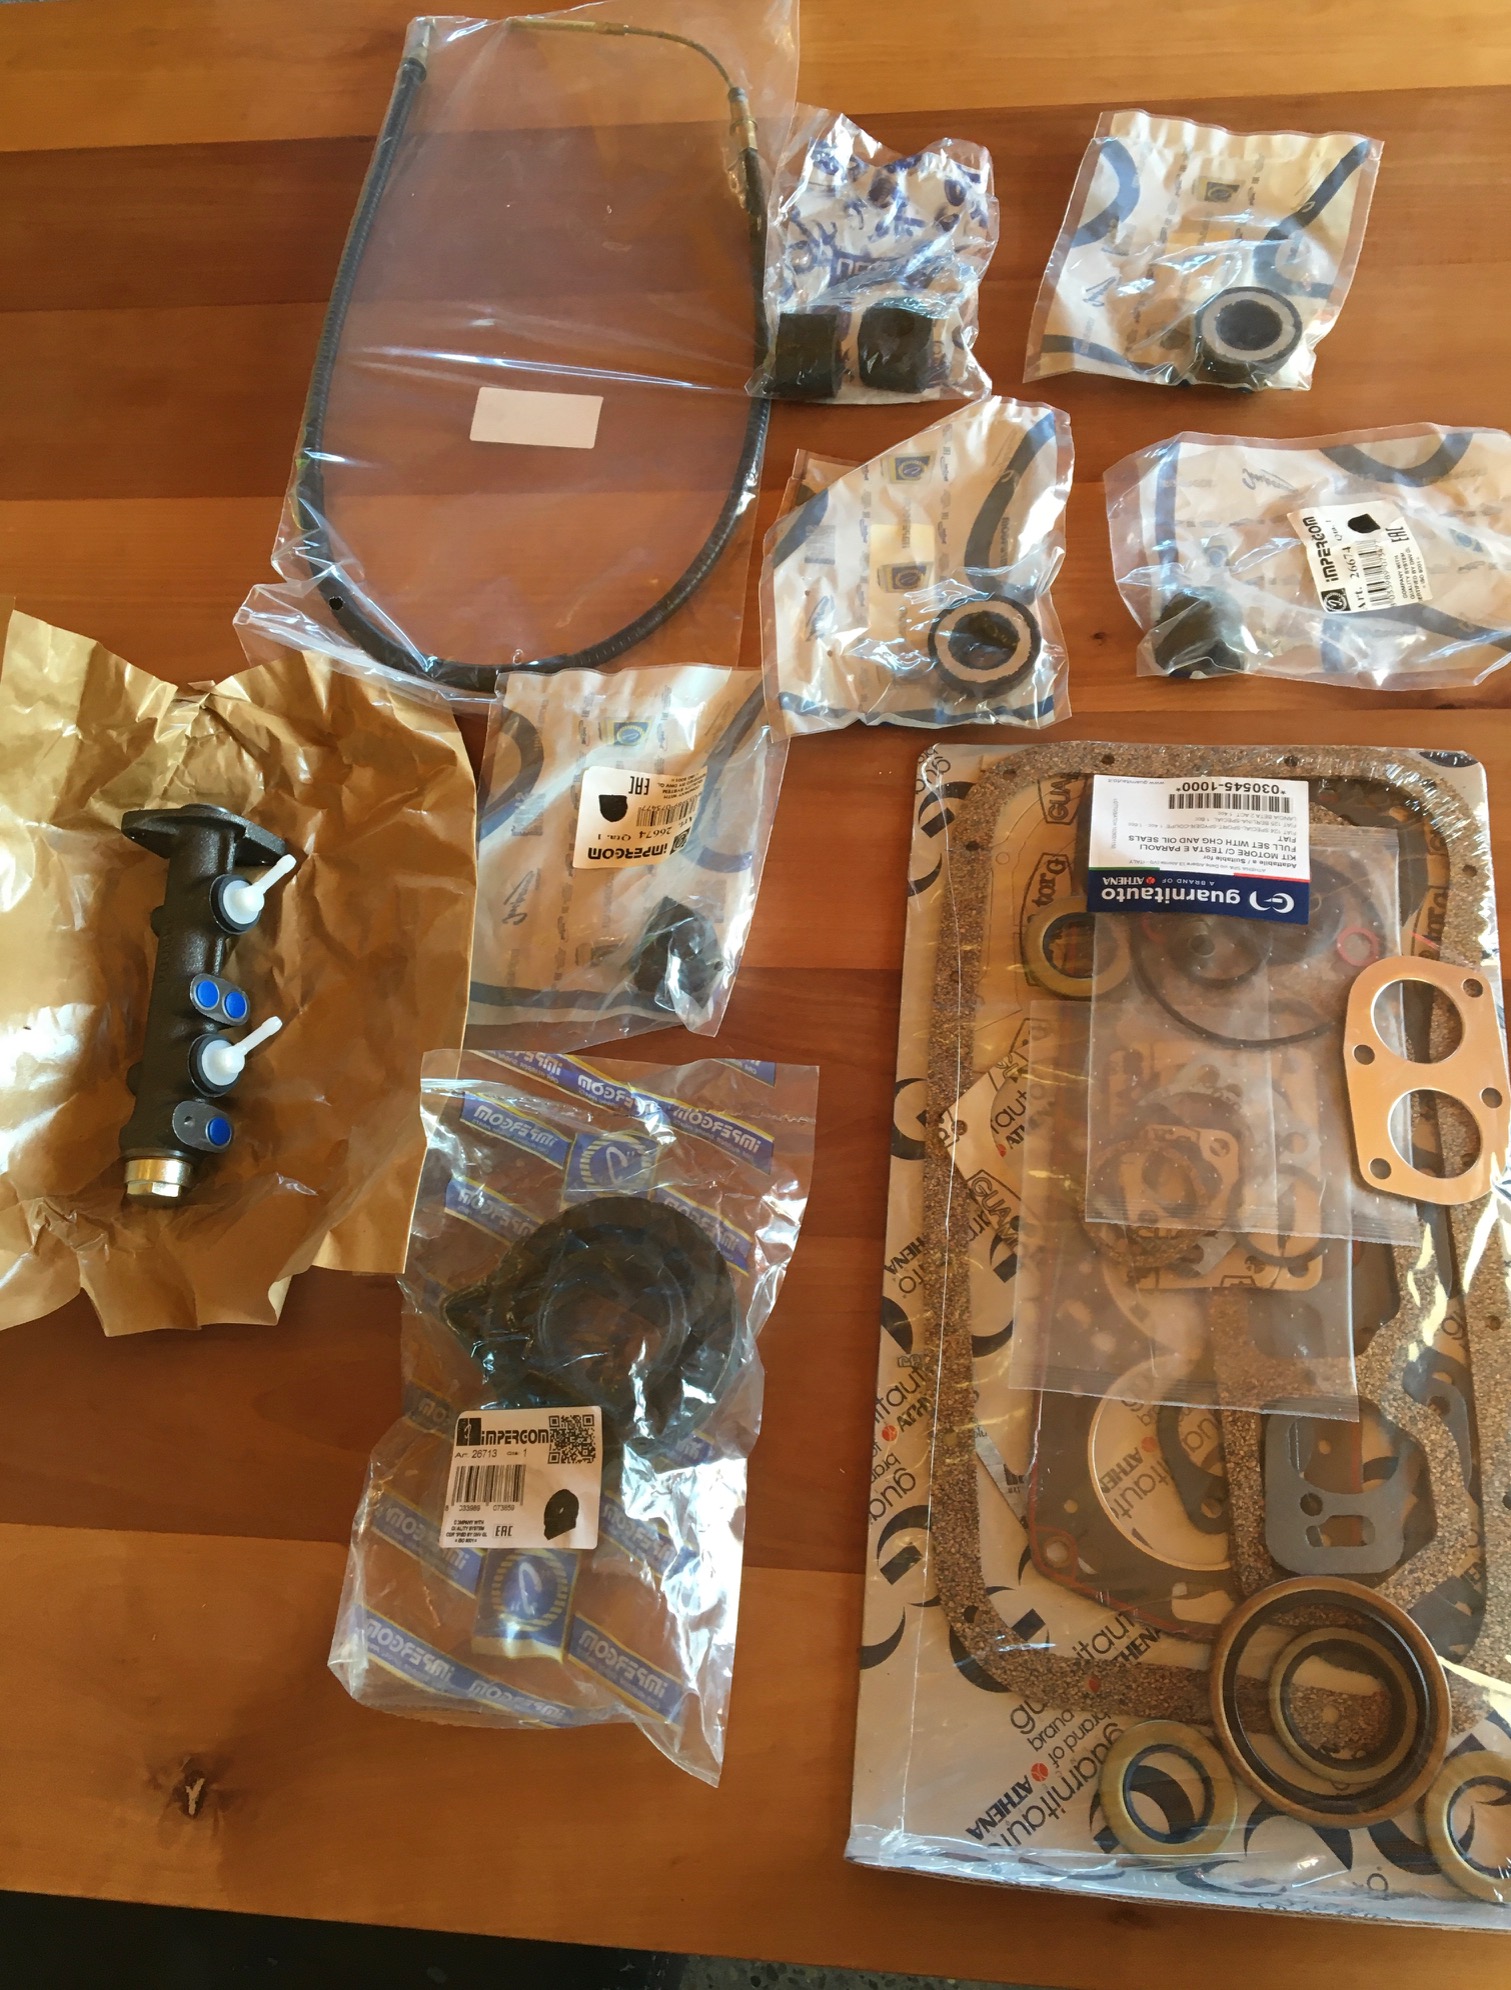
This has to be one of my favourite things-a shipment of new parts arriving!
- 127 replies
-
- 14
-
-

Mr Sierra and his mighty rs500 replica build
Sunbeam replied to yoeddynz's topic in Project Discussion
I’m liking the wheels. Really suit the car!