a.craw4d
-
Posts
4,094 -
Joined
-
Last visited
Everything posted by a.craw4d
-
-
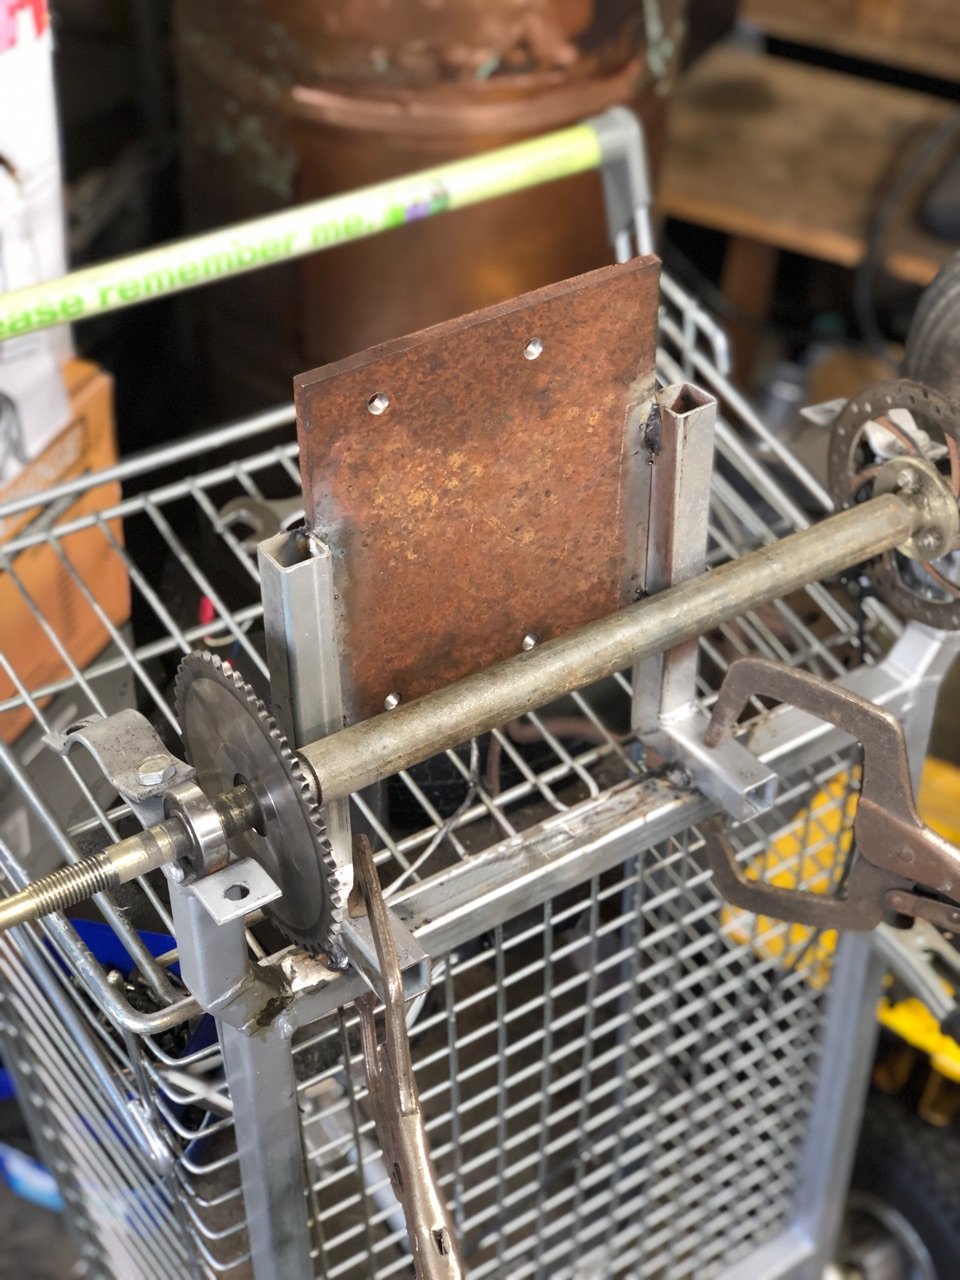
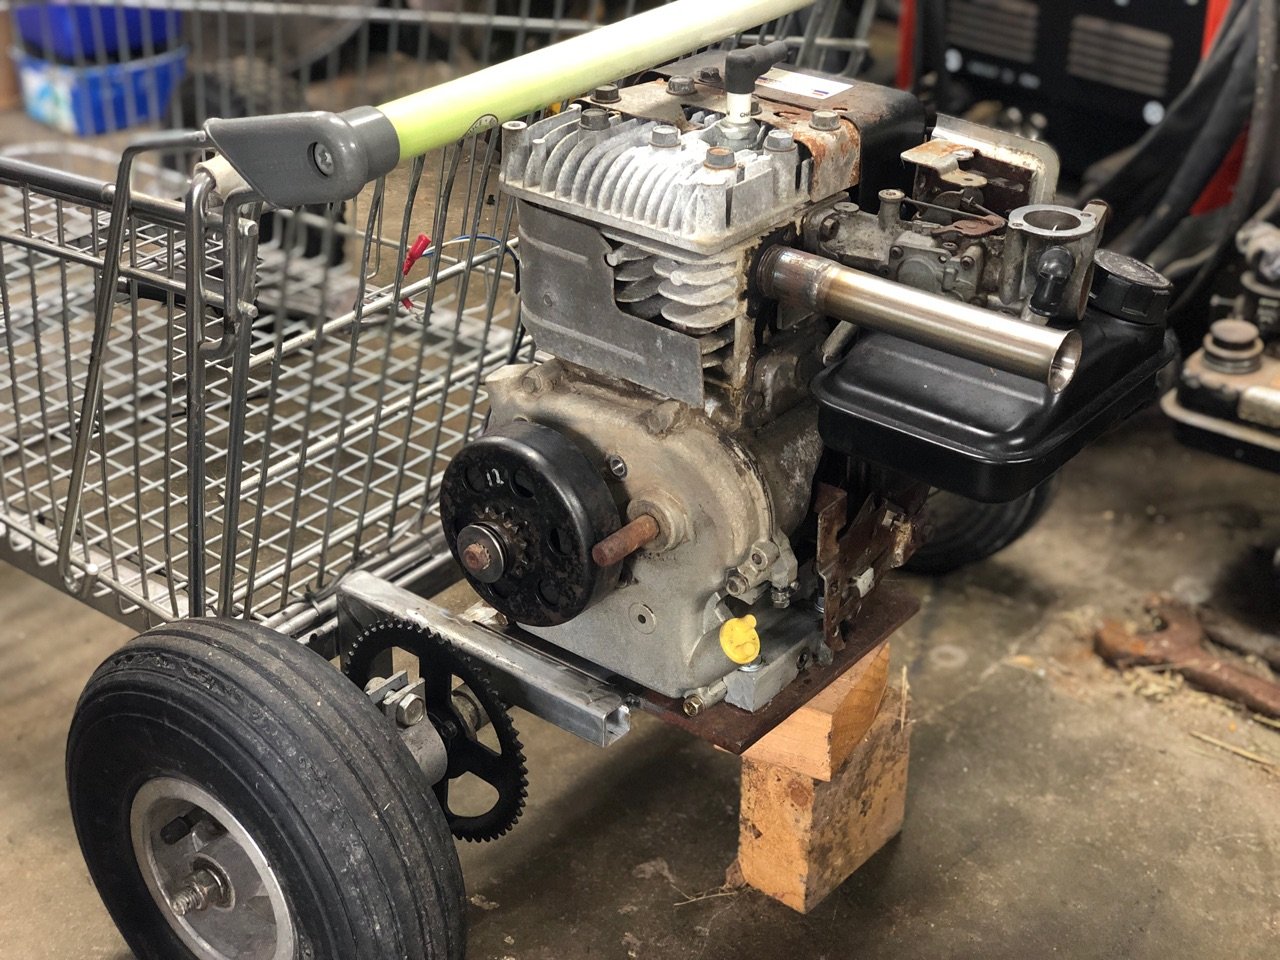
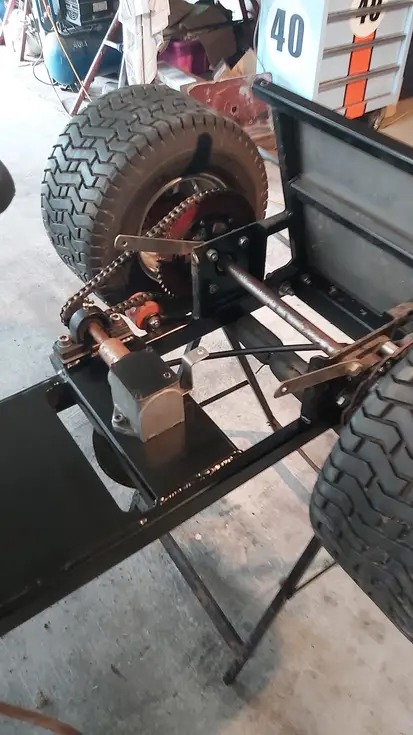
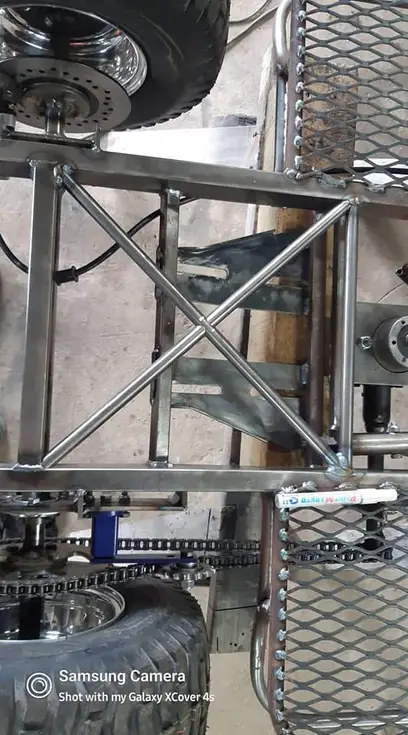
On child care duties so left them unattended and got some workshop time. Measured sprocket alignment and set up motor mounting plate. Welded and motor bolted in place. Will brace the mounting plate to back up under the handle bar. I have a video of the motor running. It’s stupidly loud. I may or may not do anything about that. Just need to drill and mount the sprocket and sort a longer throttle cable.

-
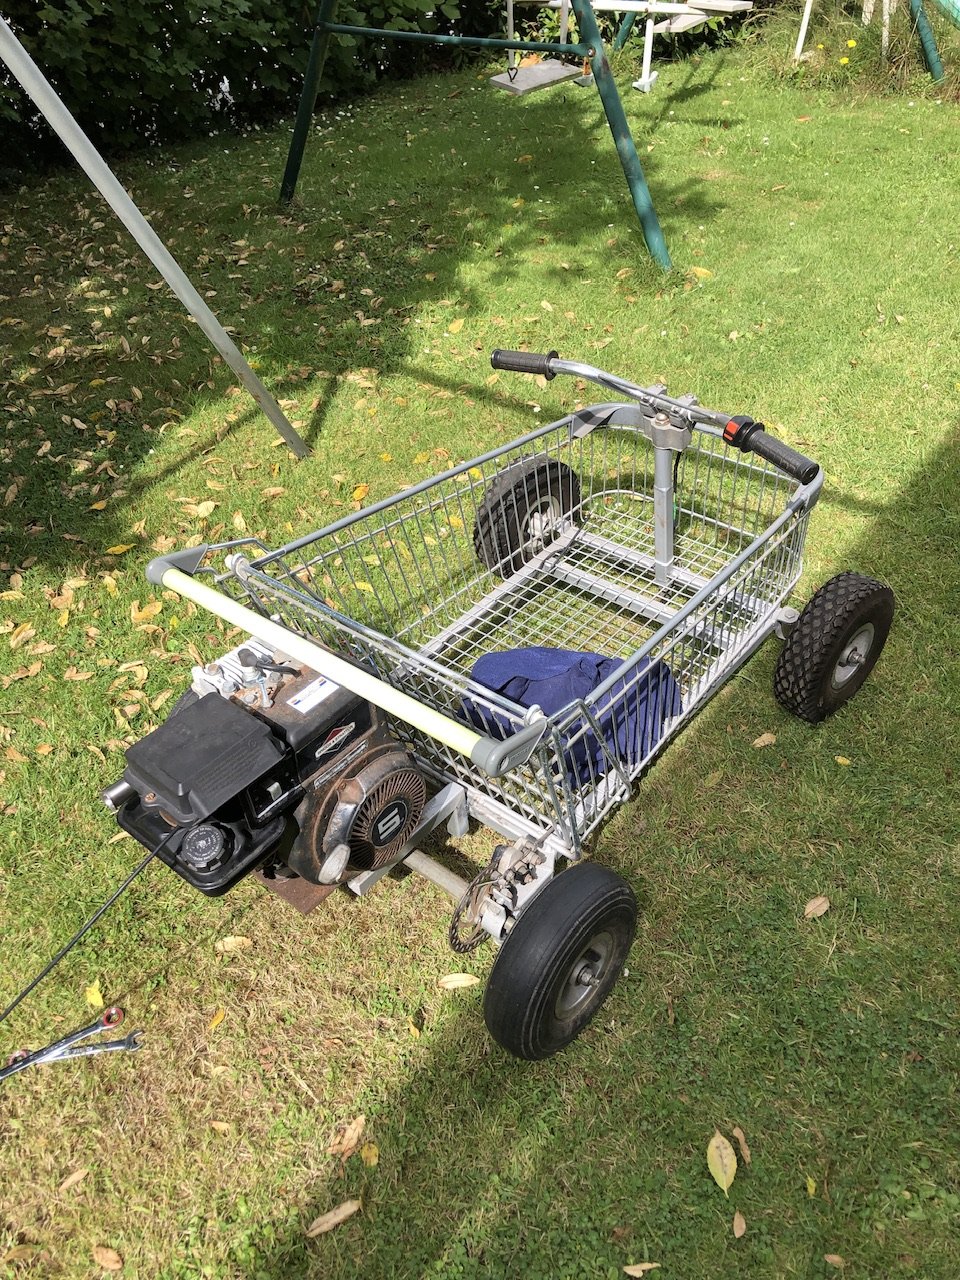
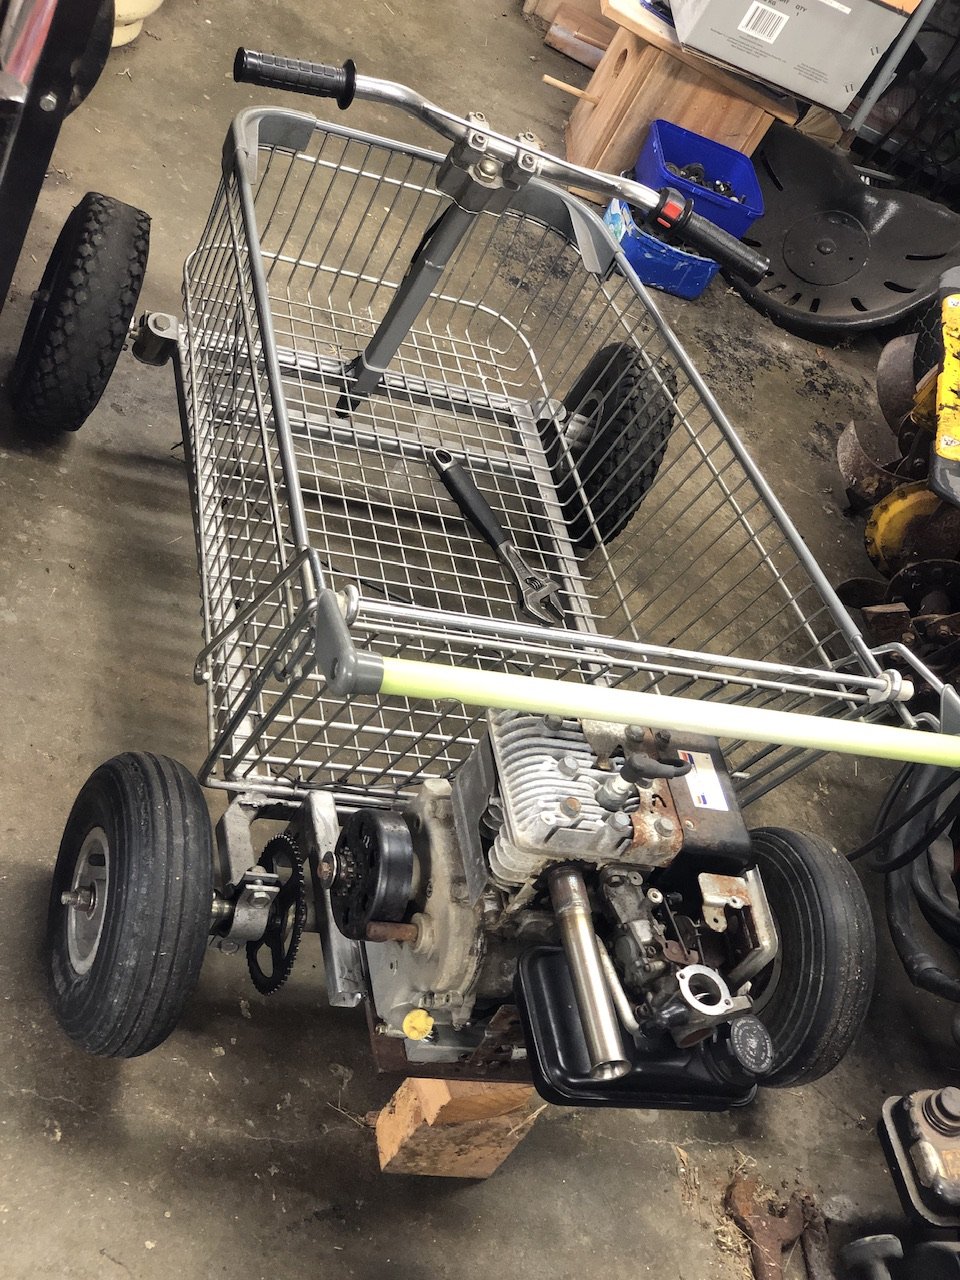
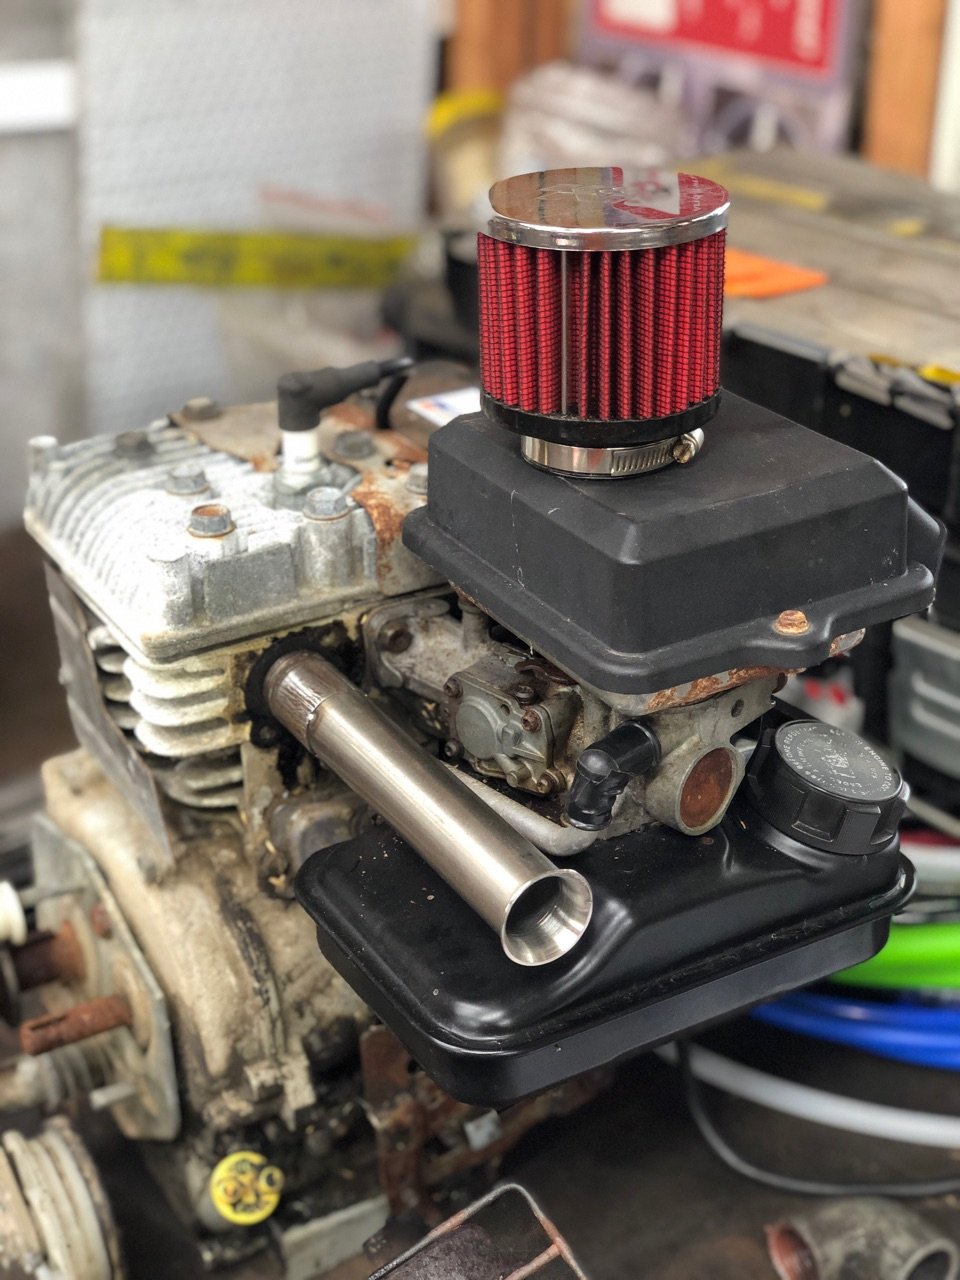
Ok I’m out of that rabbit hole. I joined a bookface group of Americans dedicated to the B+S engines. Raptor is the 1 you speak of. I’ll skip all their nonsense and just keep it super simple. Flushed the engine and chucked in some fresh oil. Made a separate choke leaver and tightened up the governor spring a bit. Will run the short straight pipe as it fits in the back of my work van that way. Also cut off all the unneeded bits on the trolley including foot pedals. Will run hand controls purely for more cabin space. Engine just sitting in place. Clears axil and handle bar, it was ment to be. Have a new sprocket to machine and fit soon.
-
Toyota altezza 3sge engine. Are they a full interference engine? Suspected cam belt broke when trying to start it. Will hopefully get time to check it tonight, just wanting to know if I should start crying now.
-
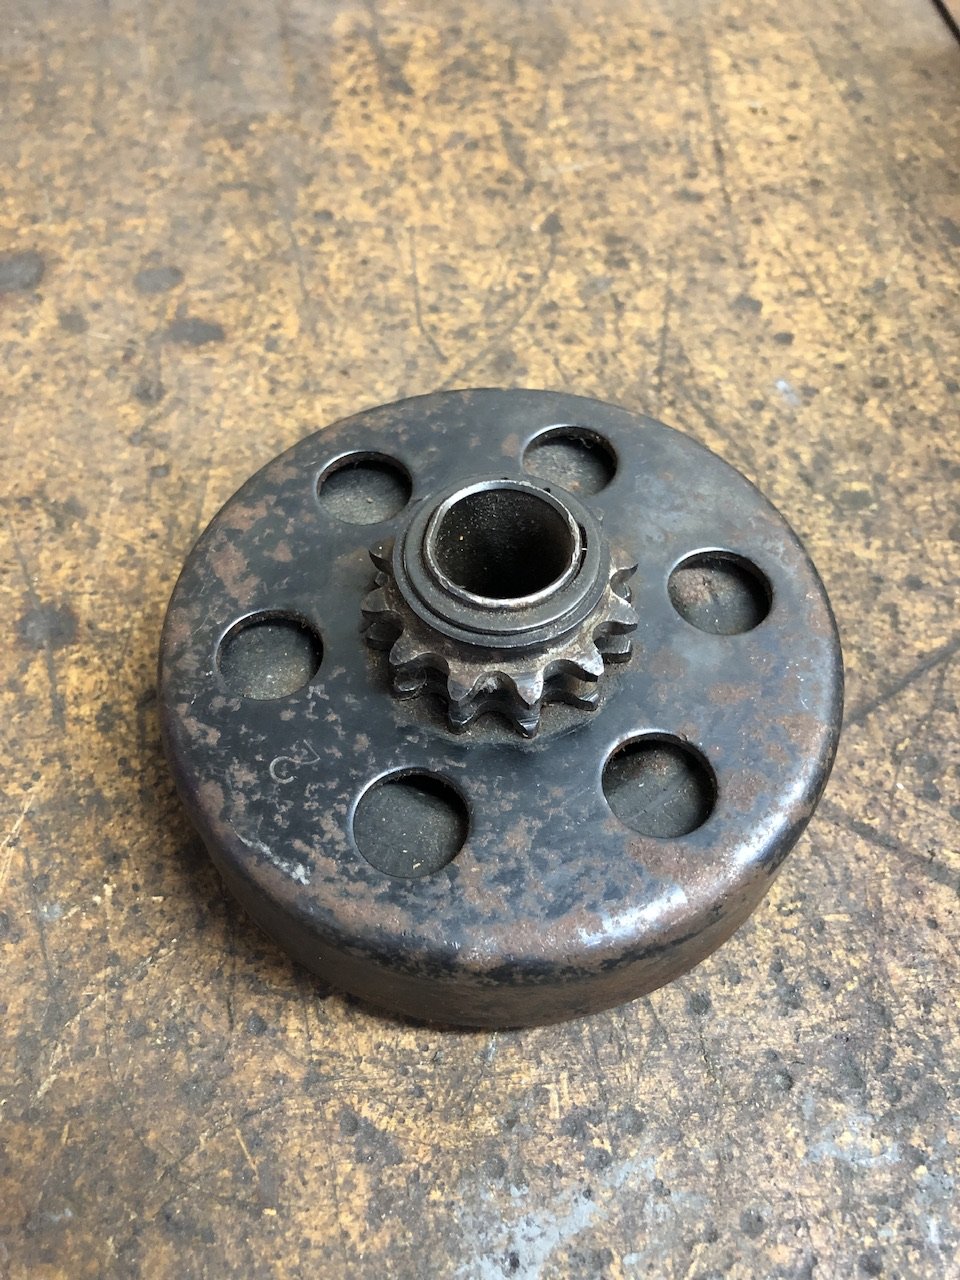
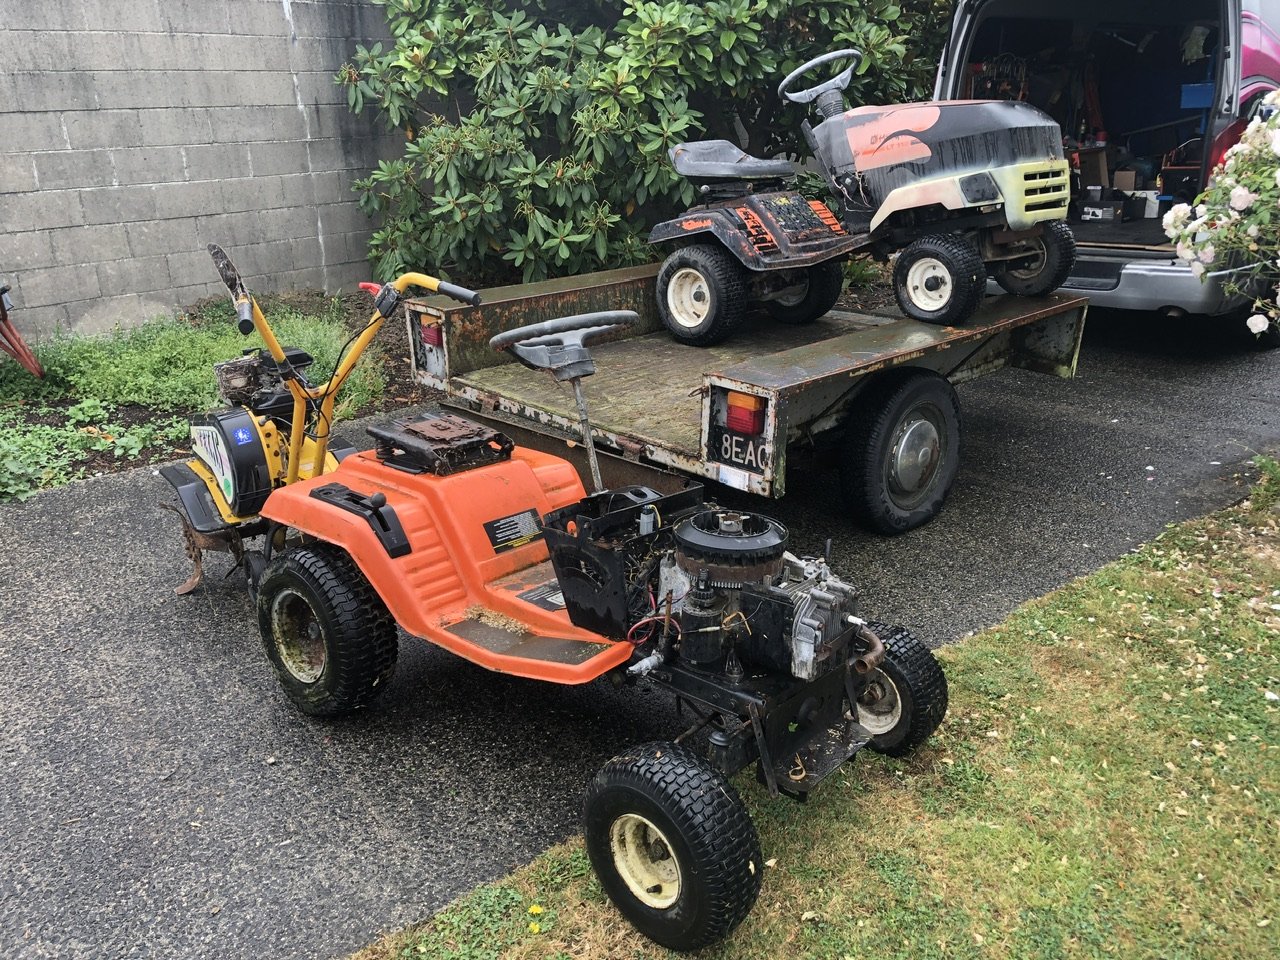
On the topic of free stuff I also got a clutch and found a sprocket that will gear it to about 50kph. So now we’re up to date it’s currently sitting at work awaiting a bit of spare time to chuck it all together. (having toys at work is great fun, highly recommended)
-
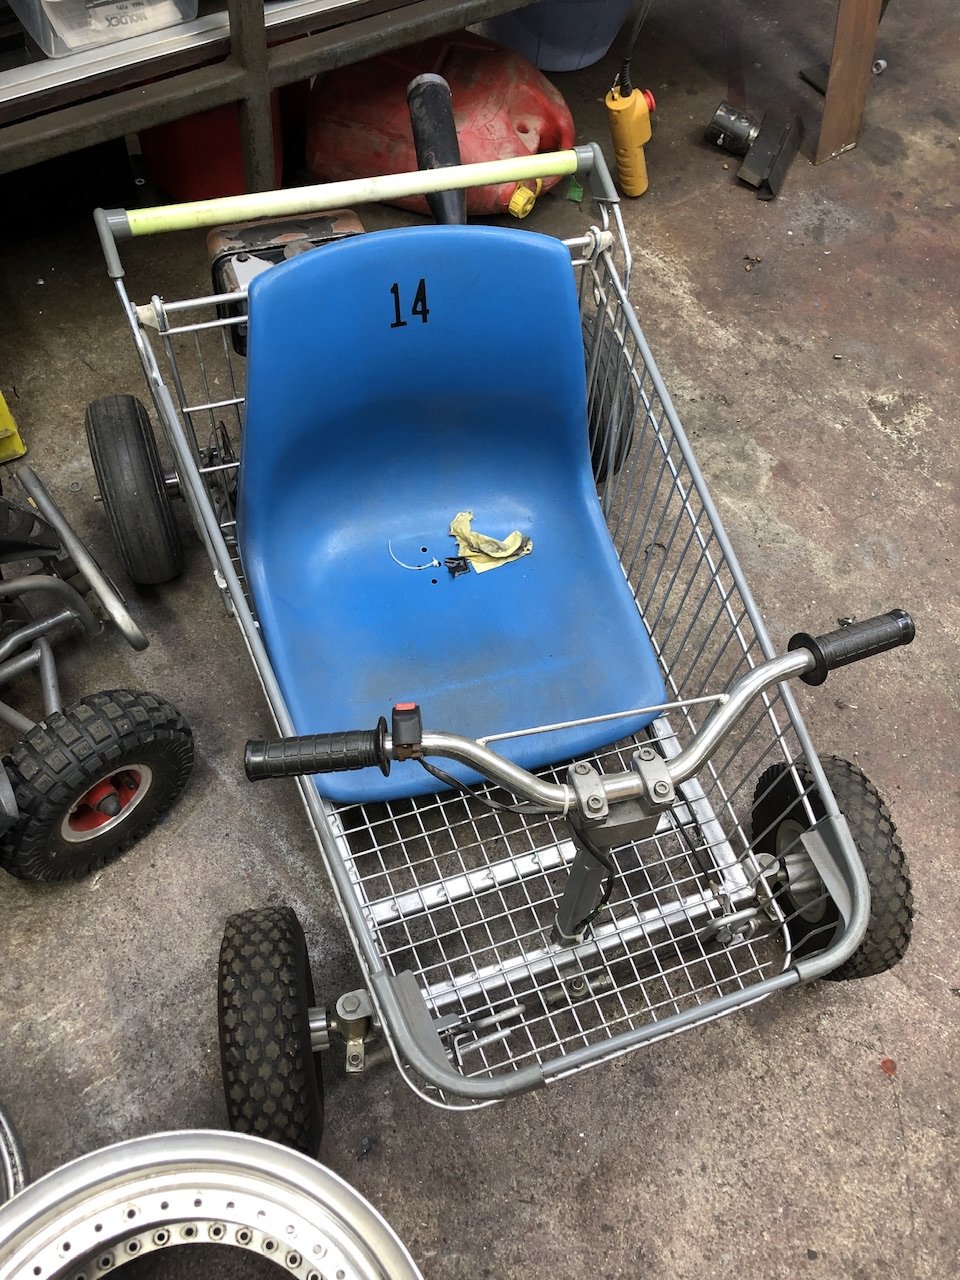
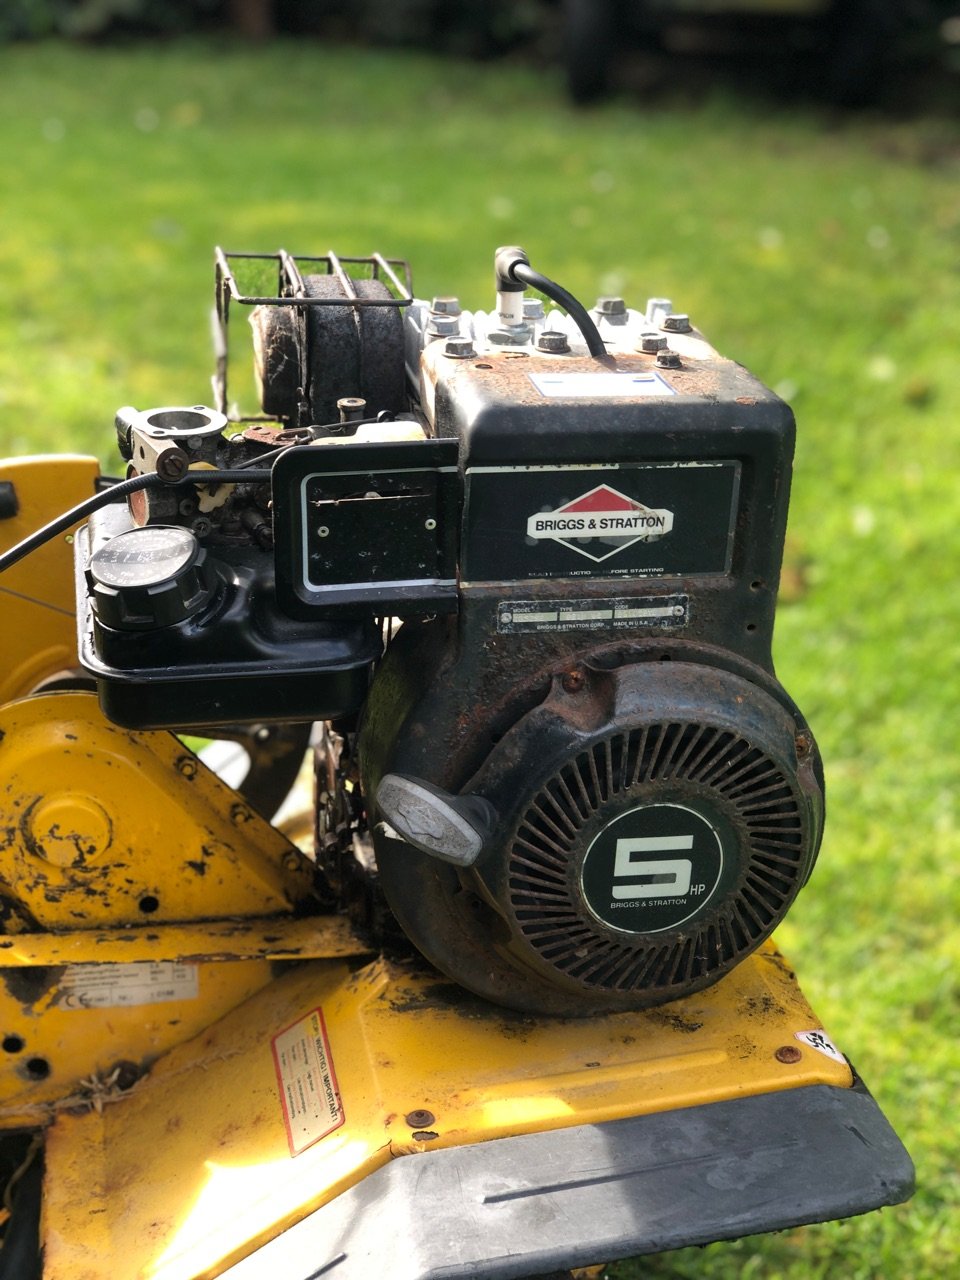
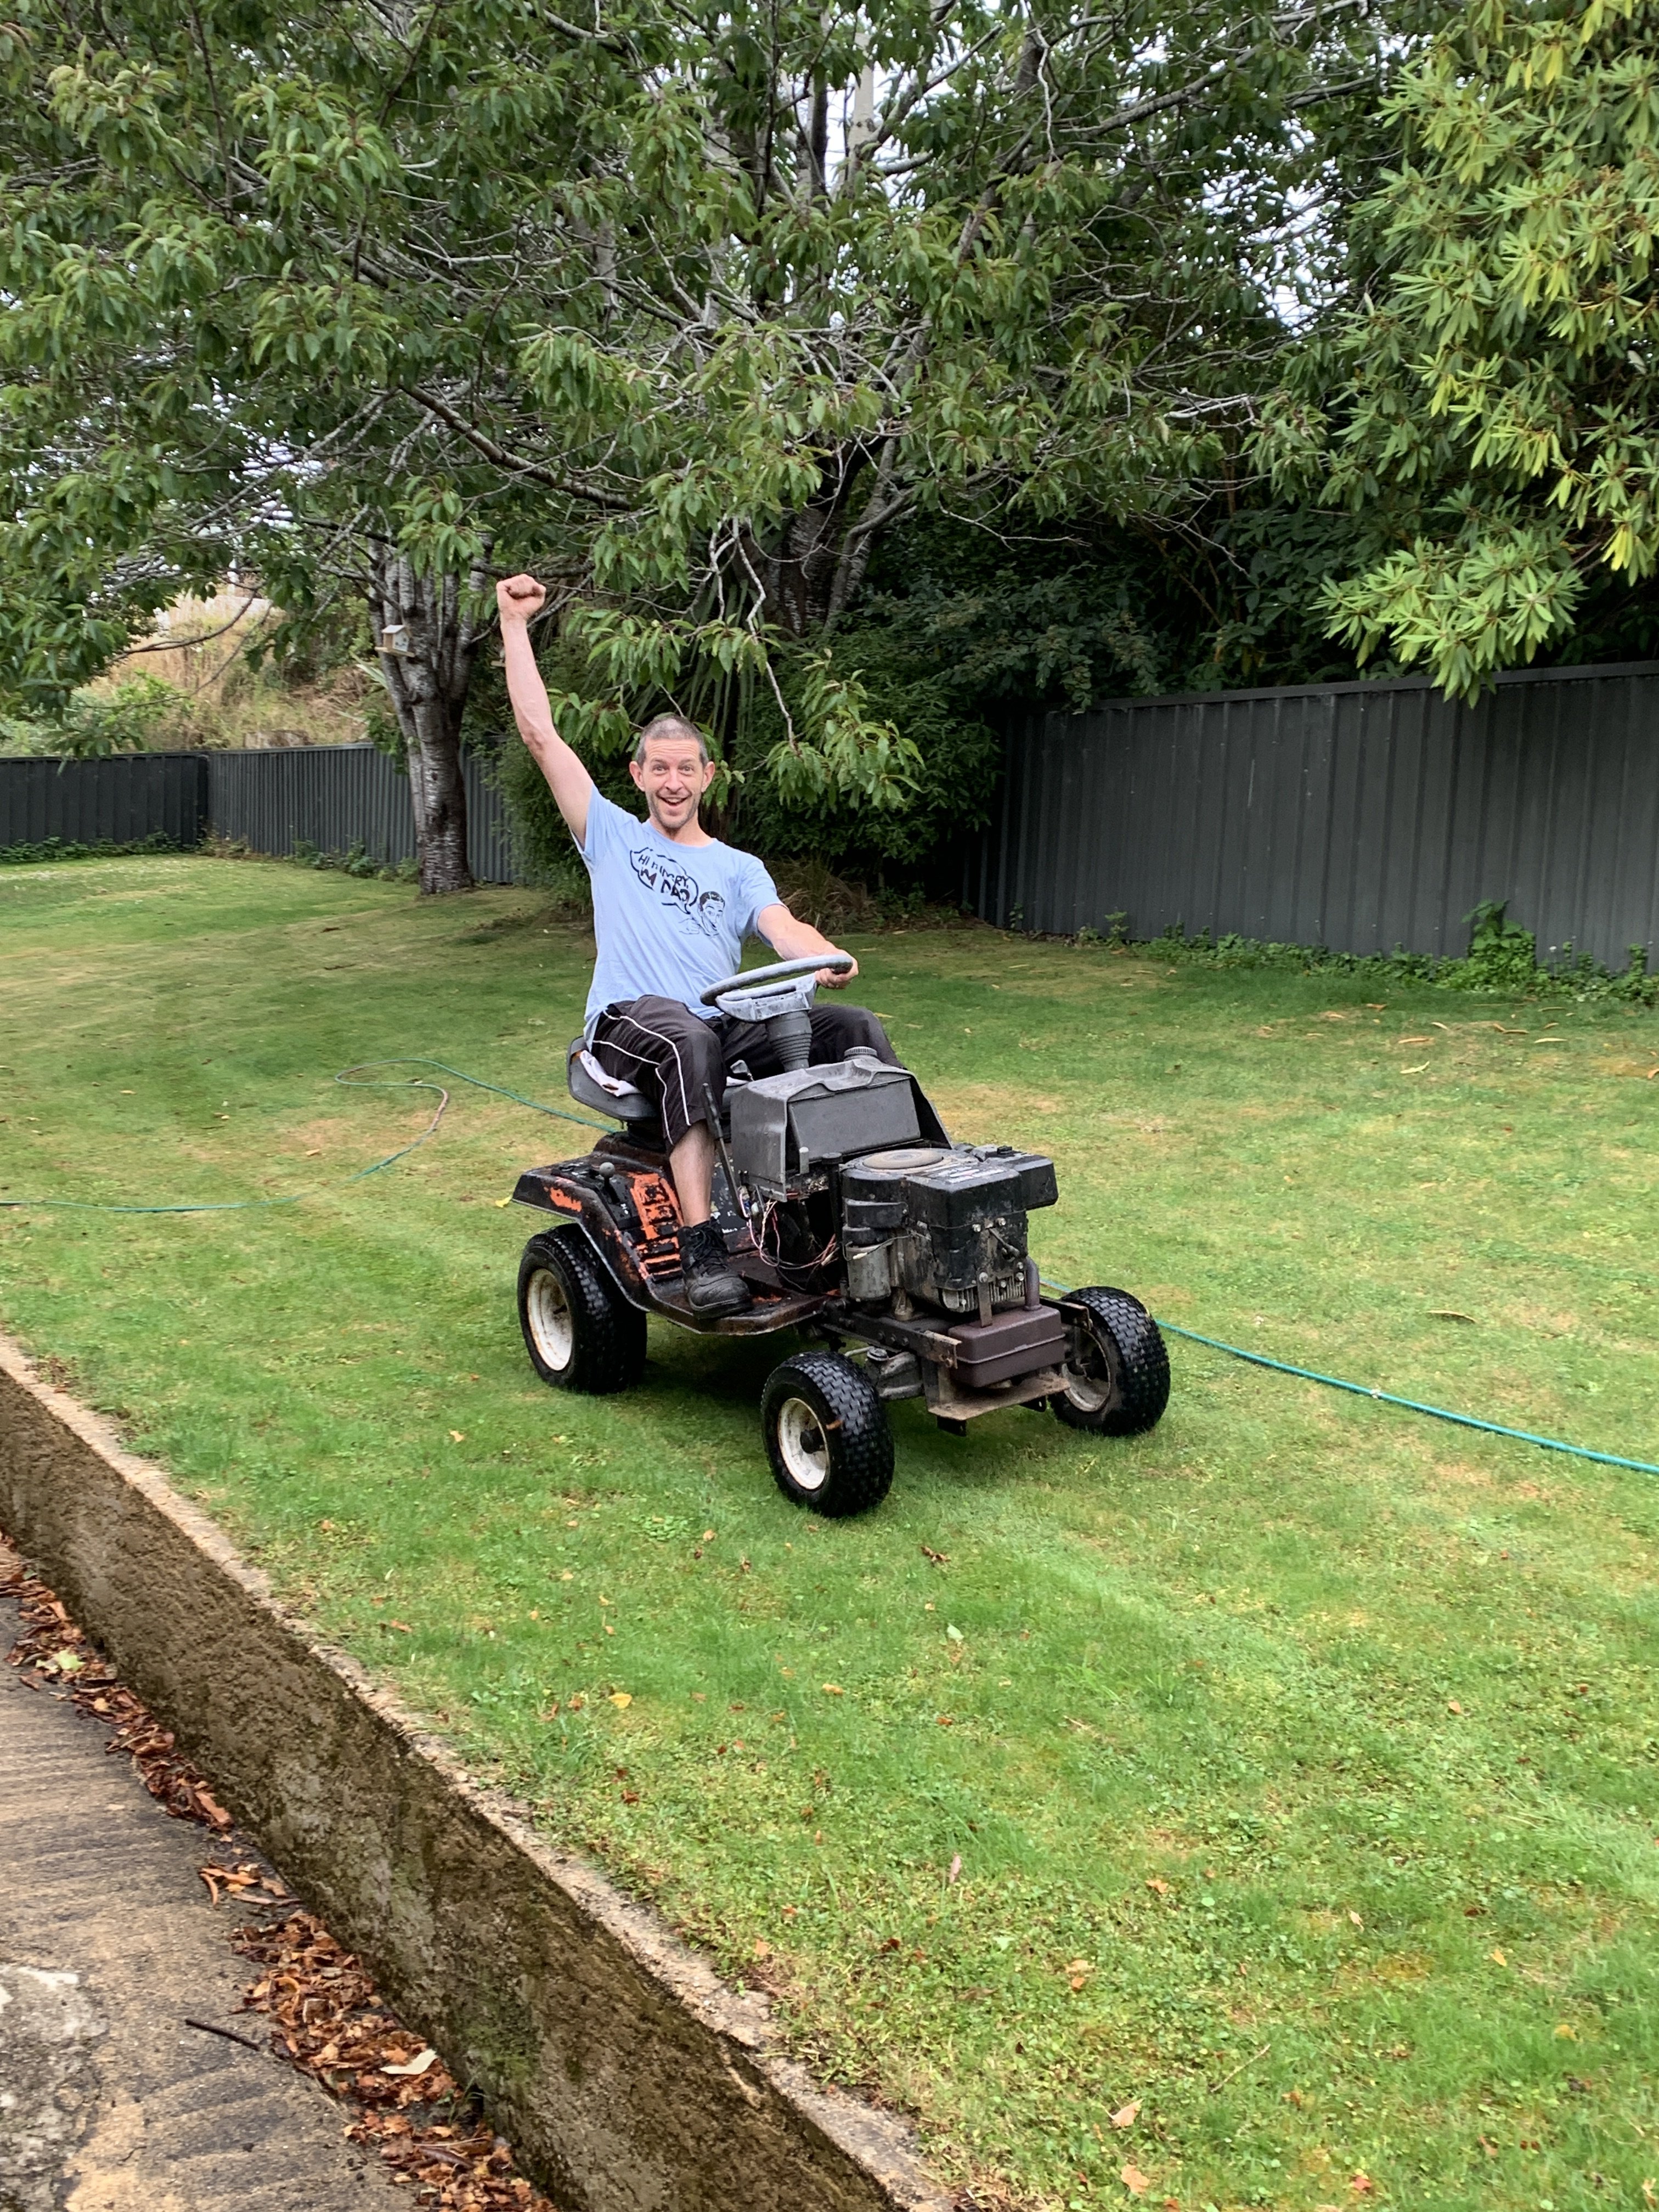
Turns out the previous owner had hard wired the kill wire to earth so it was never going to run. Disconnect wire, squirt of CRC, couple of pulls and it burst into life. 5hp should make the shopping trolley boogie. plus bonus noise making bits.
- 69 replies
-
- 10
-

-

-
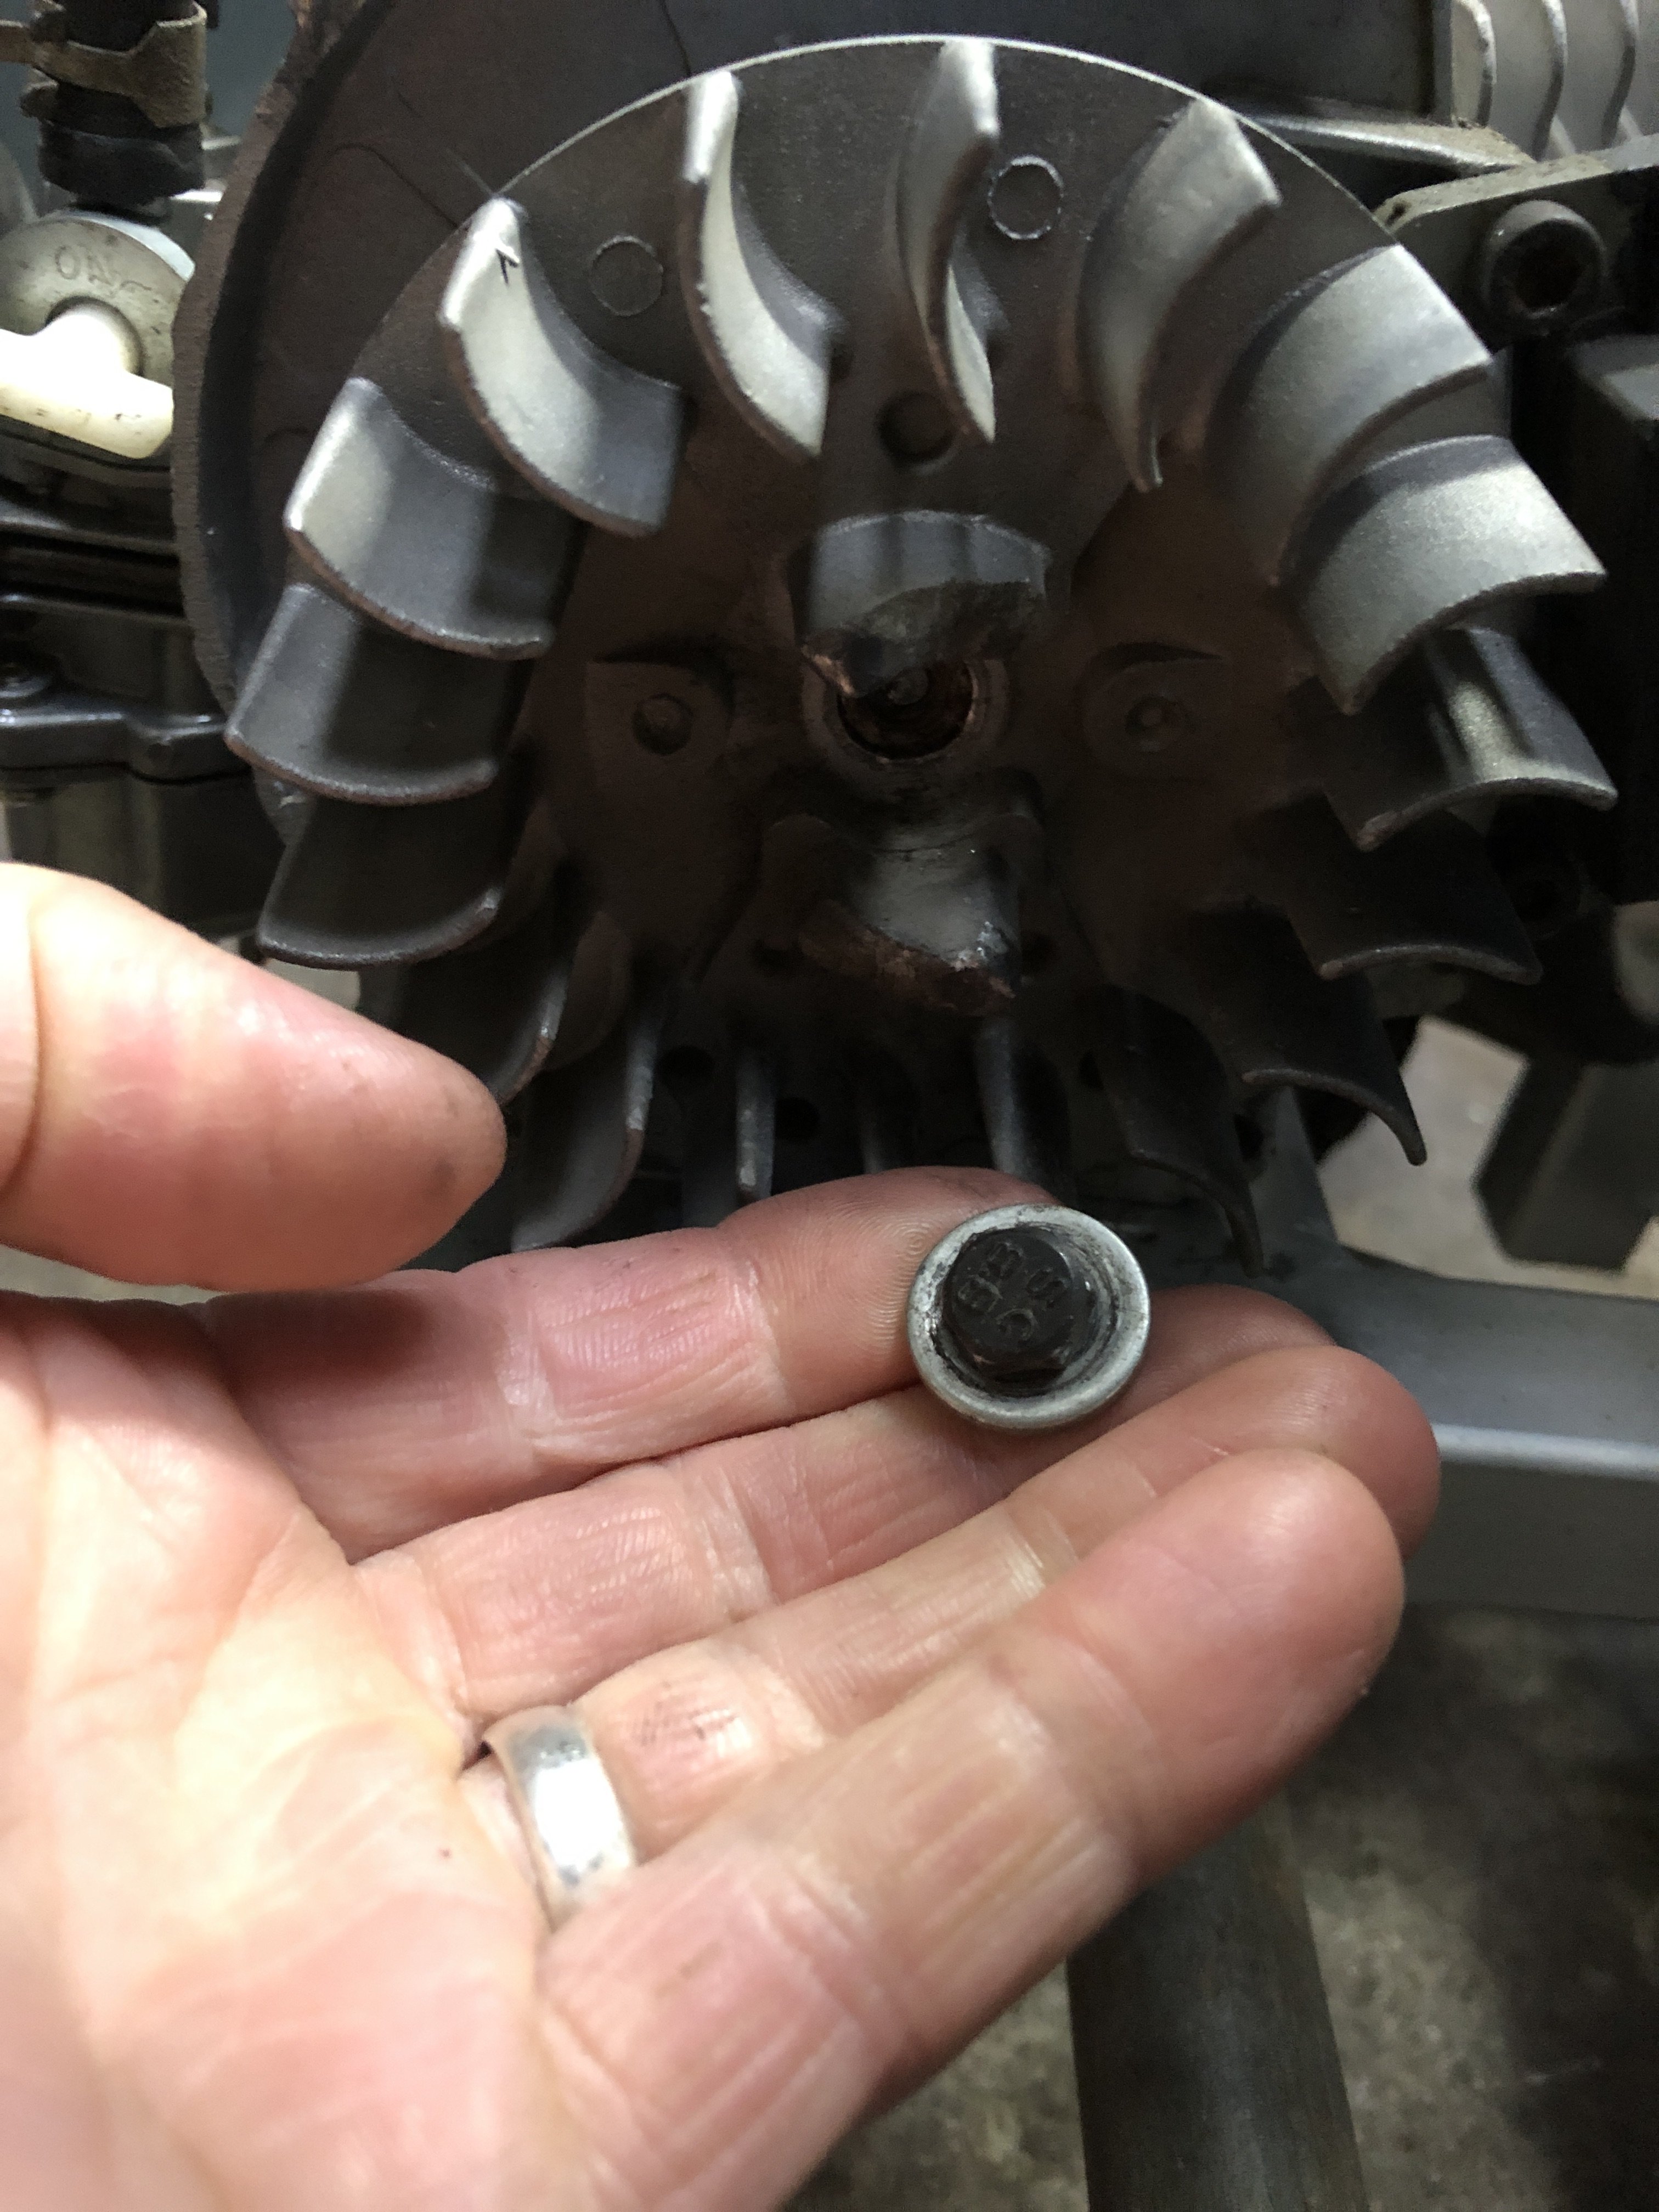
This was my thought exactly as I’ve done it in the past. This engine was always a pain to get going after sitting for awhile. However this time was the last straw and I snapped of the flywheel bolt. Bugger. Meanwhile some other unrelated events were falling into line. Picked up a load of free stuff. Note the rotary hoe. I had no need but thought I’d have a look then flick it on.
-
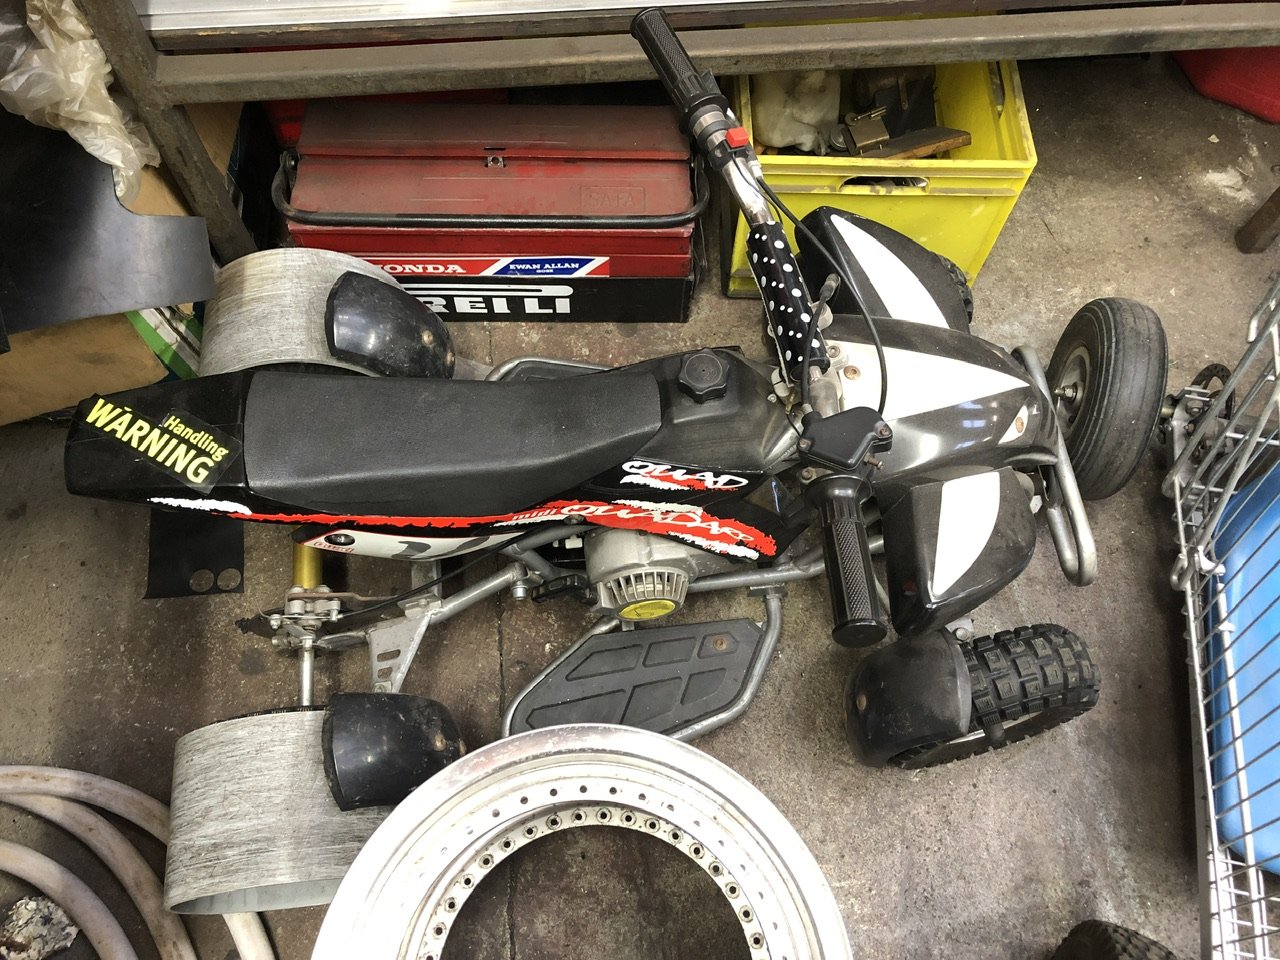
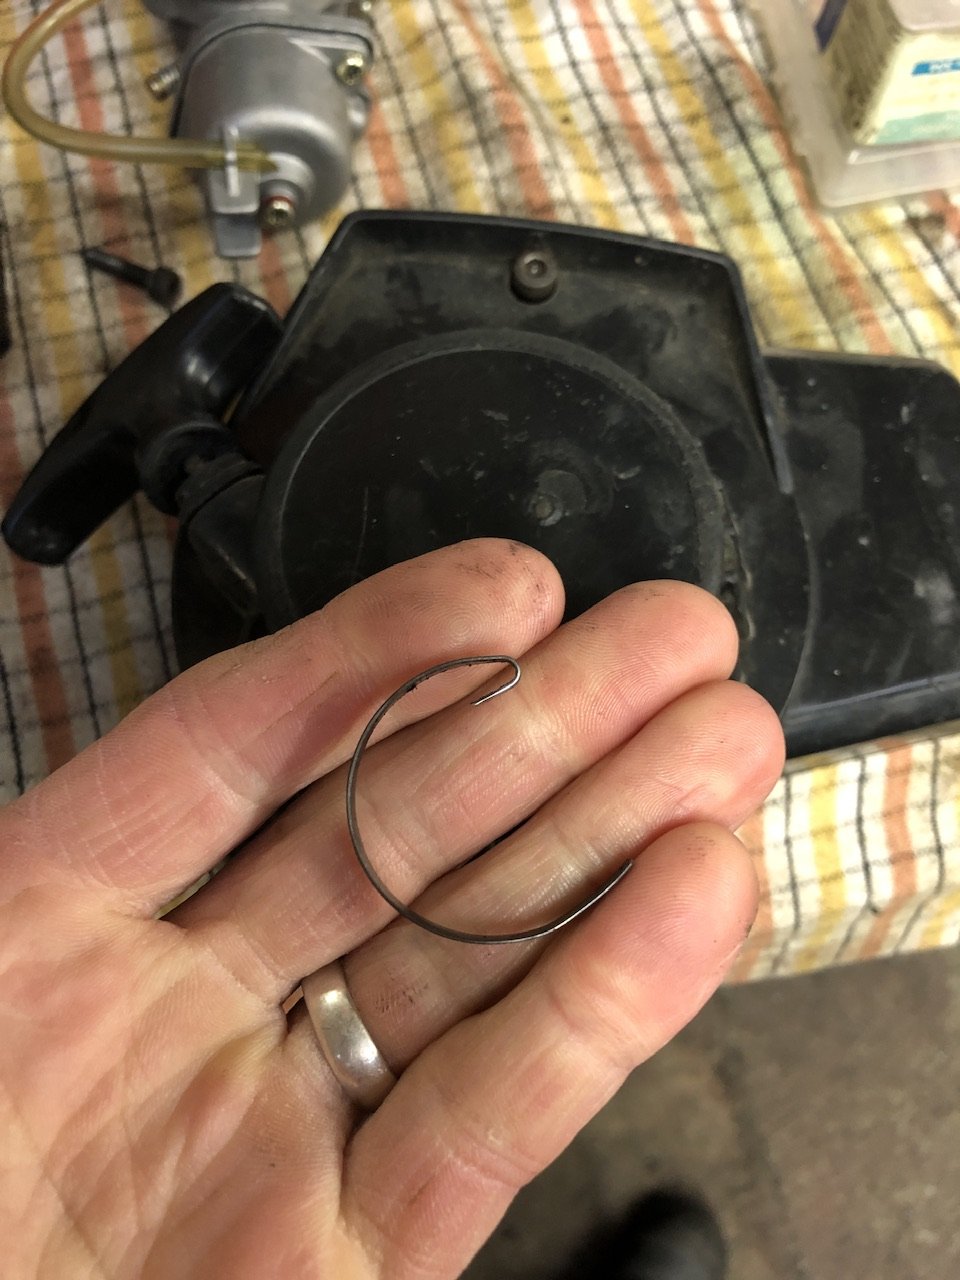
So fast forward 6 years and this is tucked away out of sight out of mind. Meanwhile have had the mini quad bike in at work with plastic sleeves fitted to the rear wheels and we’ve all (including the boss) been having workshop drift sessions at lunch times. I mention the shopping trolley and it’s met with enthusiasm for dual workshop drift battles. I dig this out and bring into work for a quick freshen up. Clean out the carb, new fuel, let’s go. Won’t start and eventually this happens. broken spring on the pull start. more to come
-
Thread dredge. Hooned this a handful of times. Was fun but didn’t have much power. Only have this terrible video of me in the back yard. https://vimeo.com/manage/videos/868606918 Having trouble getting the video to embed, hope it works.
-
This baton has been passed onto a fellow oldschooler. All the best and hopefully see some updates in the near future.
-
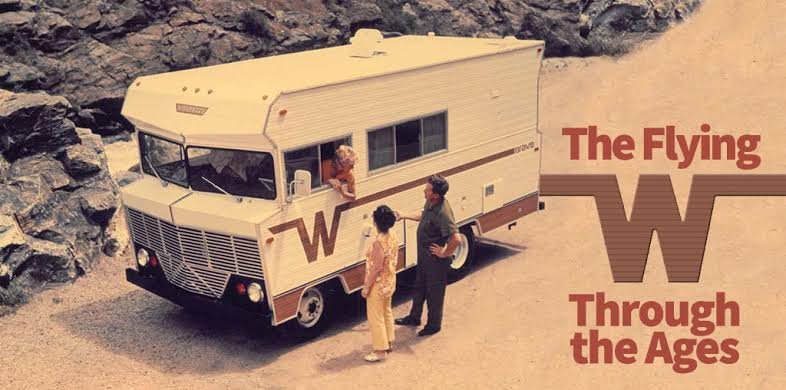
Winnebago?
-
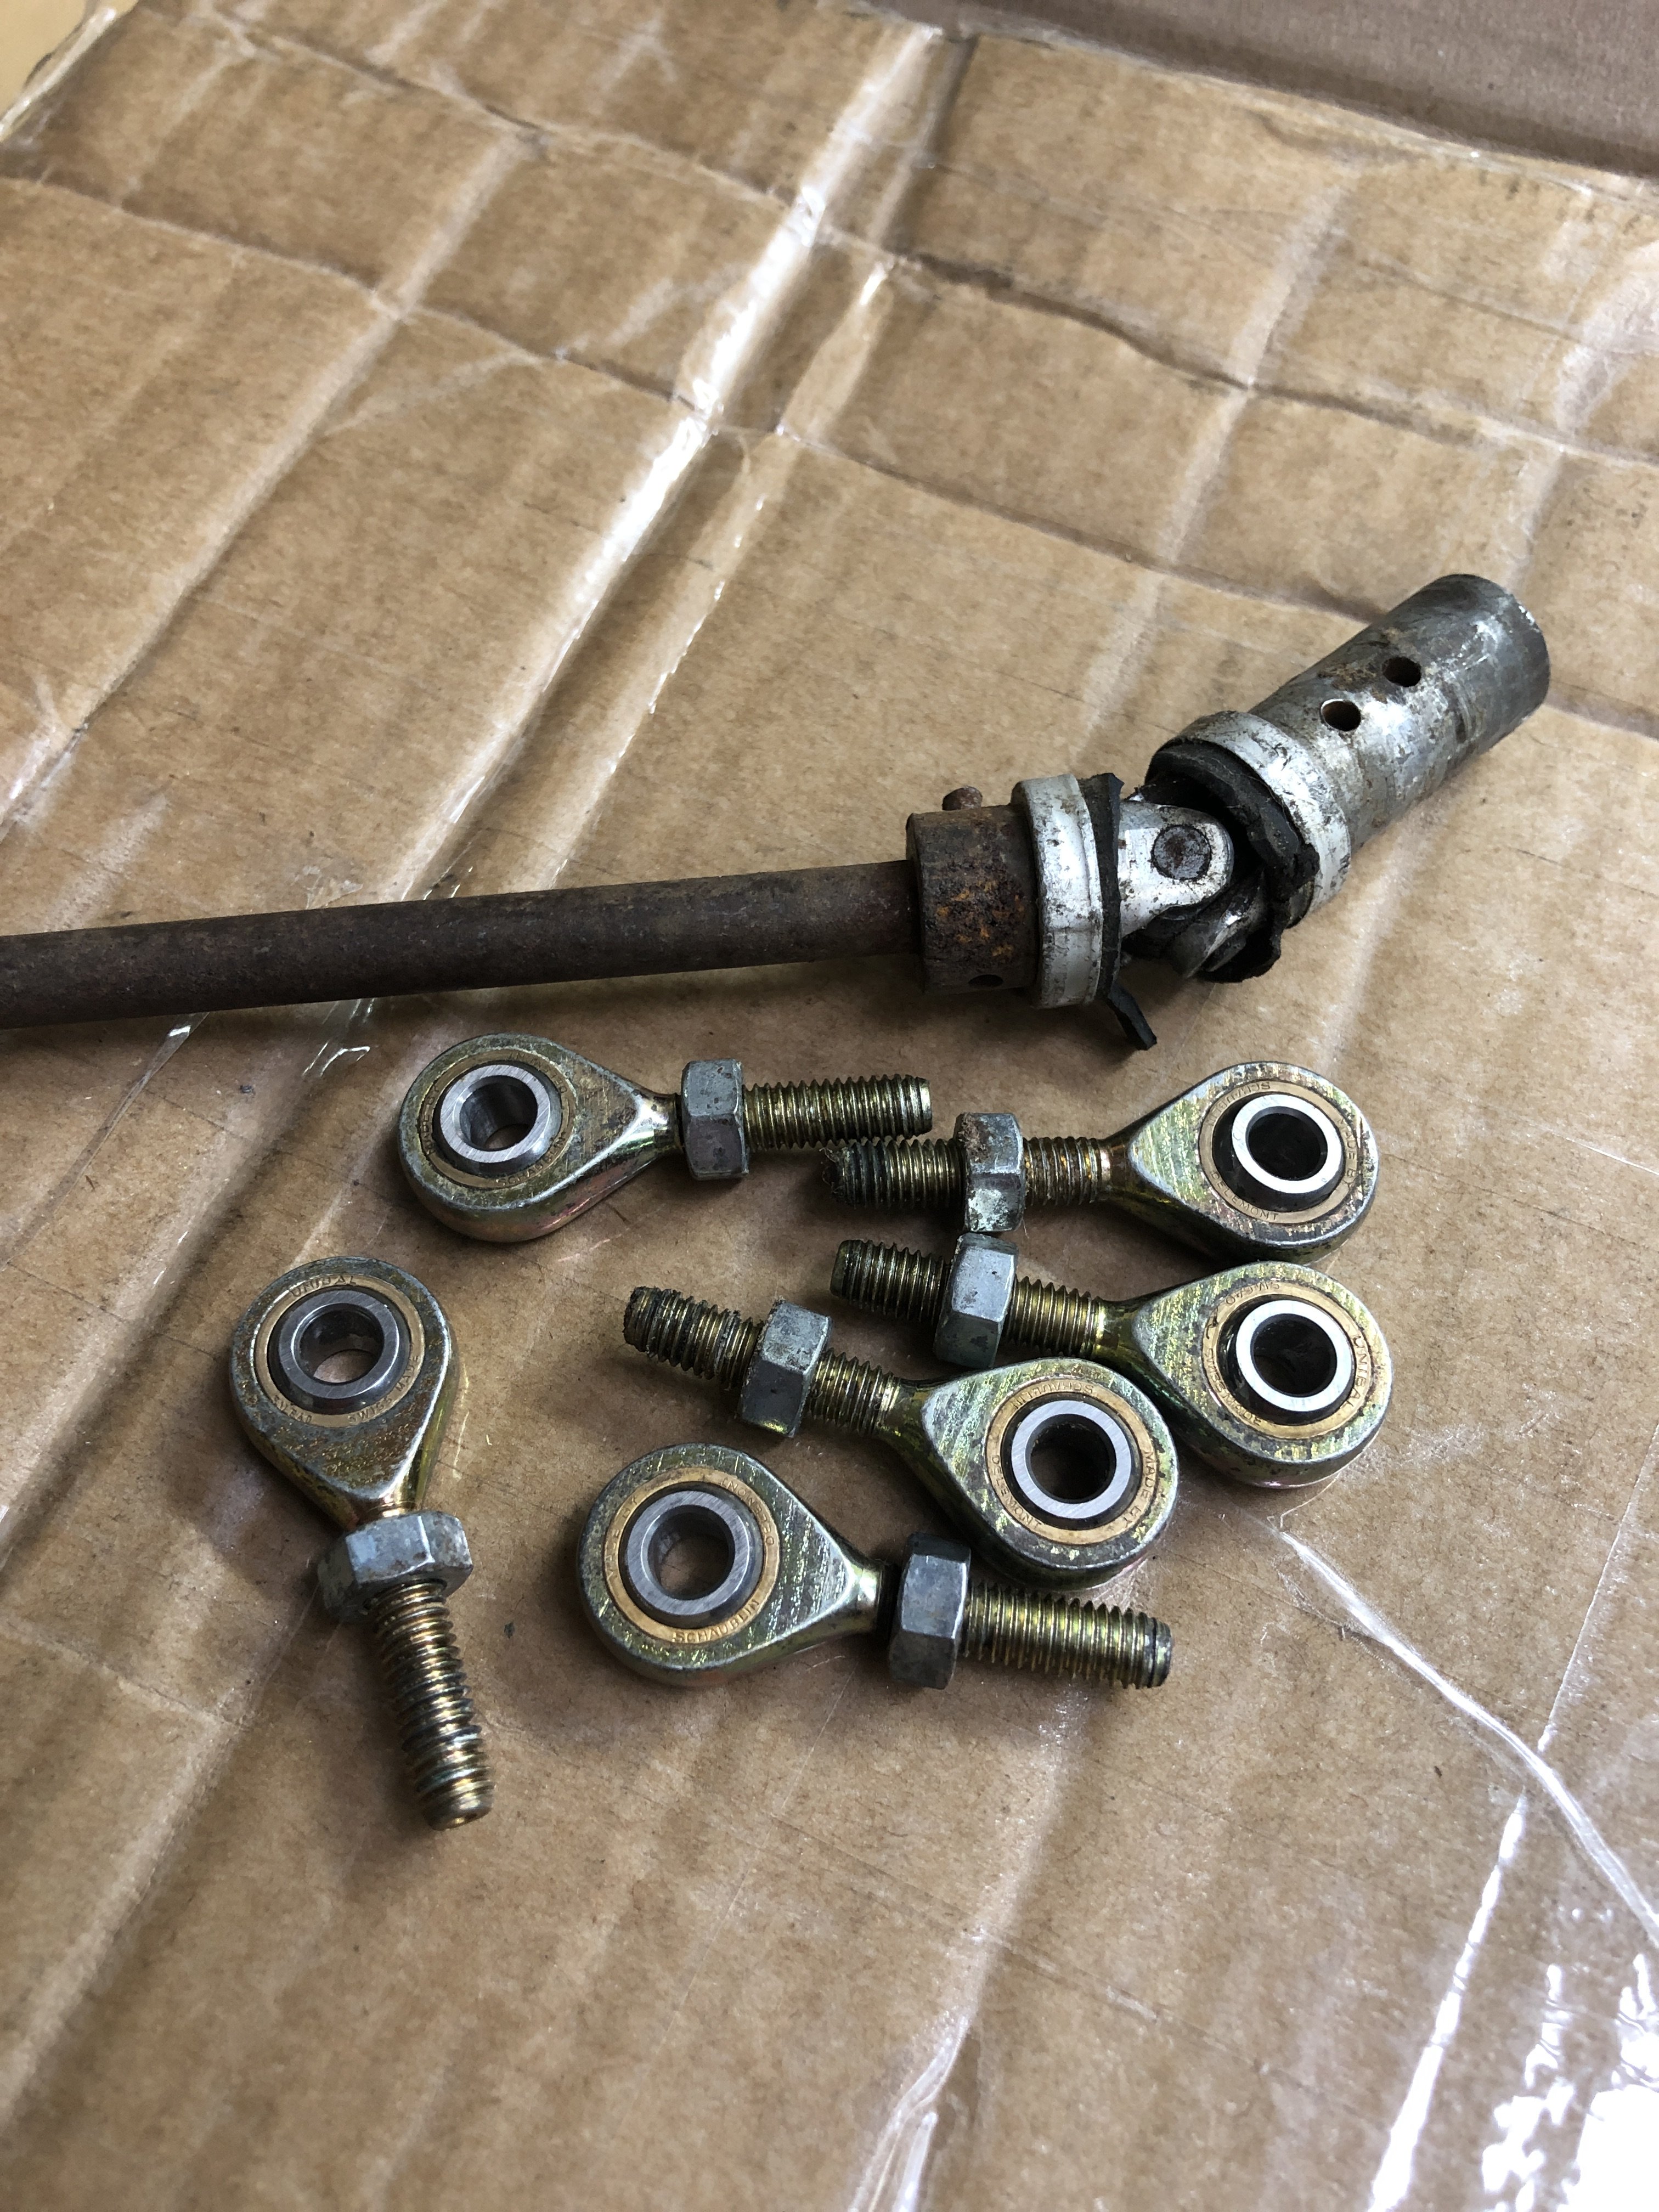
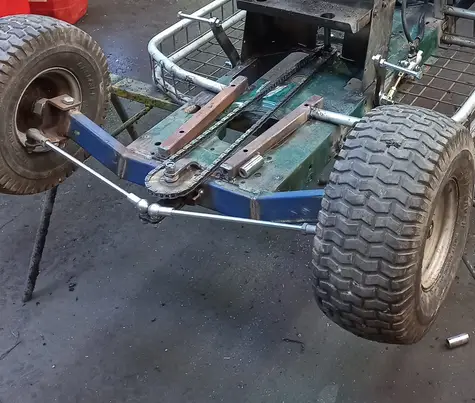
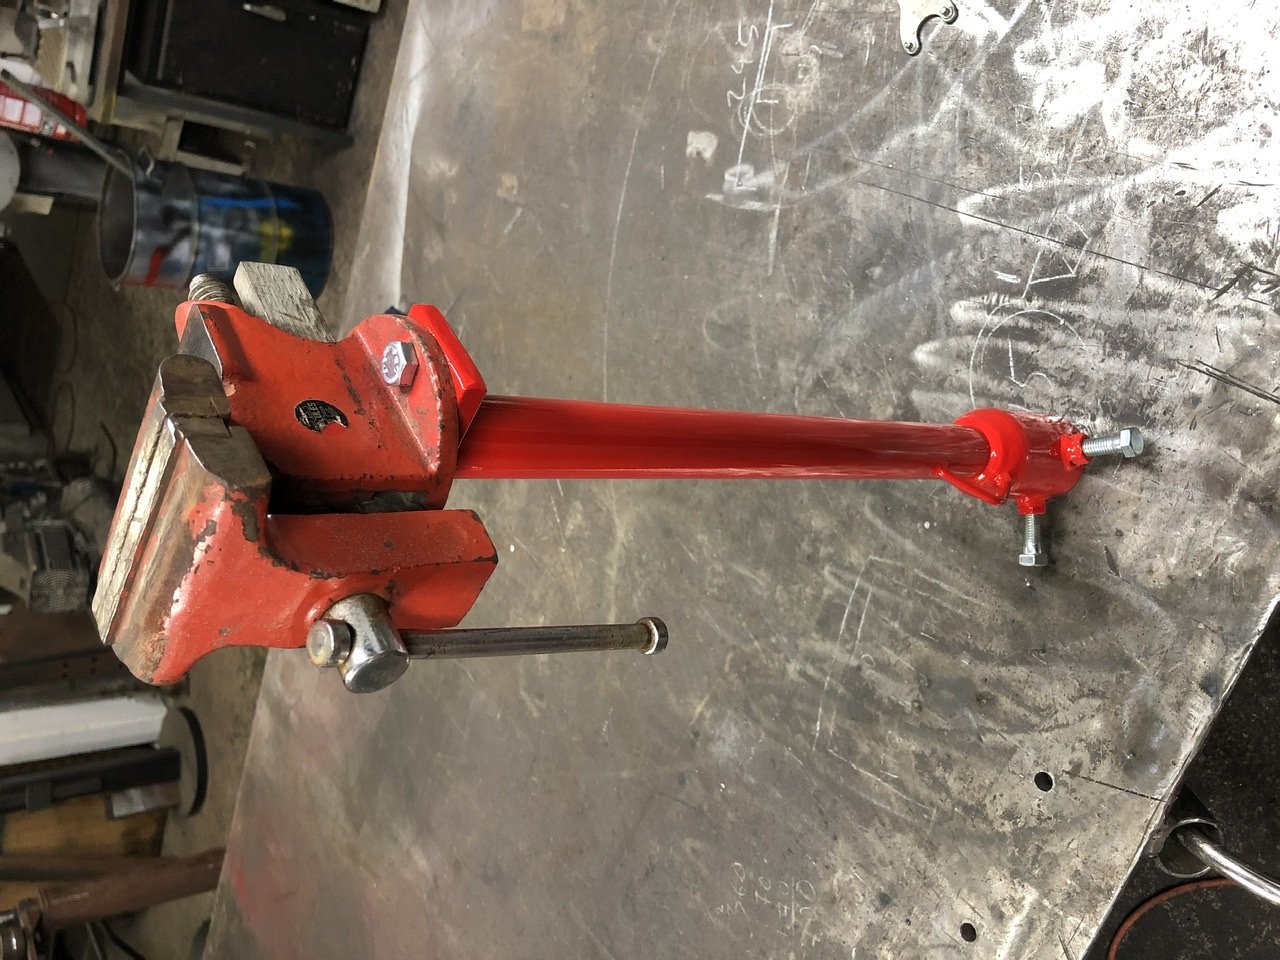
So I keep looking at this and wondering where to start, how things will work, where will the top of the wheels end up, how will the rear guards fit etc etc. Decided fuck it, just start building and make shit fit when I get there. Will fairly much copy the steering set up from my shopping trolley go kart. It’s simple and works. Picked up these rod ends and a sweet little universal joint I’ll use on the steering shaft. Have been looking for a right angle gearbox. Seen a couple of mower racing guys selling used units for $150 and saying they’re hard to get, thought that must be the going rate. By chance I was driving past a Norwood’s branch and popped in to ask if they knew where to get them. I roughly explain what I’m after without actually knowing what I’m after. Turns out a new off the shelf 18hp right angle box is only $185+gst. And they have tons of them. Will go grab one when I need it. Hopefully over Easter I’ll strip the spare mower and make a start on the front end.
-
Question. With the governor removed and giving the full jandle. What will be the limiting factor that stops it revving to the moon? Is it the valves that won't keep up? If I shim or double spring them then what's next? I hear the conrod's a weak point but might be able to make a steel one easily enough. Just trying to suss out what I can or should do but keeping the risk of explosion on the low side.
-
Any pictures @Vintage Grumble? Re removing governor, part of it's internal. Did you pull all that out or just disconnect the external linkages and hook the throttle cable directly onto the butterfly?
-
There's a sealed cart track and club in Mosgiel but that's probably no way related to what I'm doing. Might be a grass cart club though. Will look into.
-
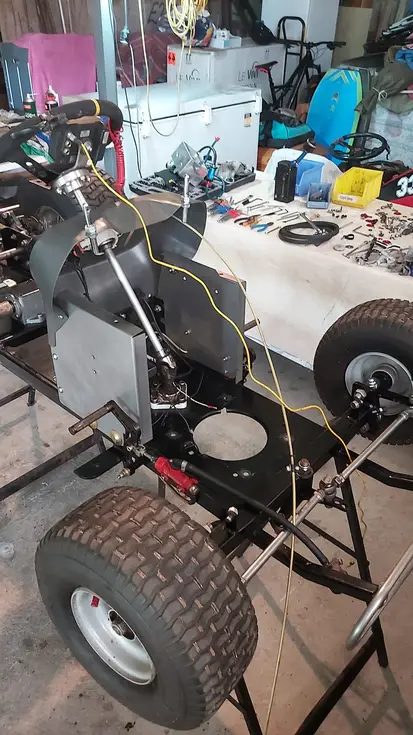
Yeah my plan at this stage is centrifugal clutch on motor, belt or chain drive to right angle gearbox, then chain drive to rear axil. A big gearbox in the rear would mean a higher seating position plus I imagine trying to change gear while feeding it the jandle could get tricky.
-
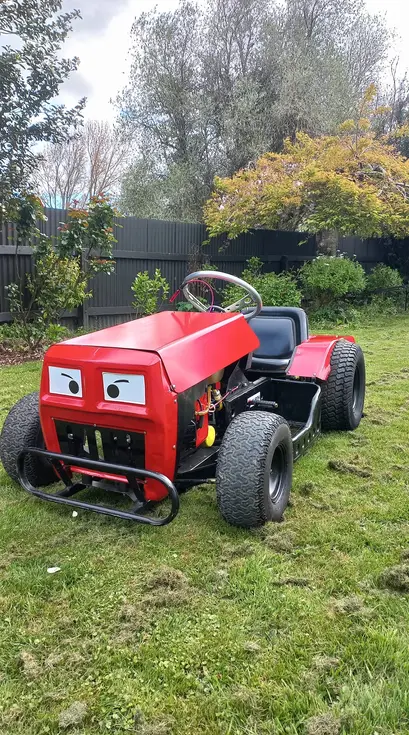
Motivational pics. Need to find a right angle gearbox and a suitable clutch.
-
The old ‘ran when parked’ deal. Had been sitting for 12 months. Got it home and chucked in some old 2 stroke mix I had laying around and jump started it. Once the starter decided to move it burst into life. The throttle cable is broken so drove it around the house with the bonnet off while sticking my fingers into the throttle mechanism. Good times. I plan to keep the 12hp Briggs unit and work from there. Maybe even keep but modify the governor as a rev limiter that still gives wide open throttle on acceleration. This will be a slow project and I’ll probably use this thread as a picture dump for useful info and ideas for when I start stripping and modifying the spare frame. If anyone has built similar or wants too please feel free to jump in with your 10c worth.
-
Because mowing lawns is overrated. Picked up this husqvarna LT112 plus a parts mower last weekend. Plan is to build it to NZ lawn mower racing specs (yes that’s a thing) even though there’s no club in the South Island, and just send it around the neighbourhood on the weekends and snow days.
-

Random slightly cool stuff you built but not worth its own thread, thread
a.craw4d replied to h4nd's topic in Other Projects
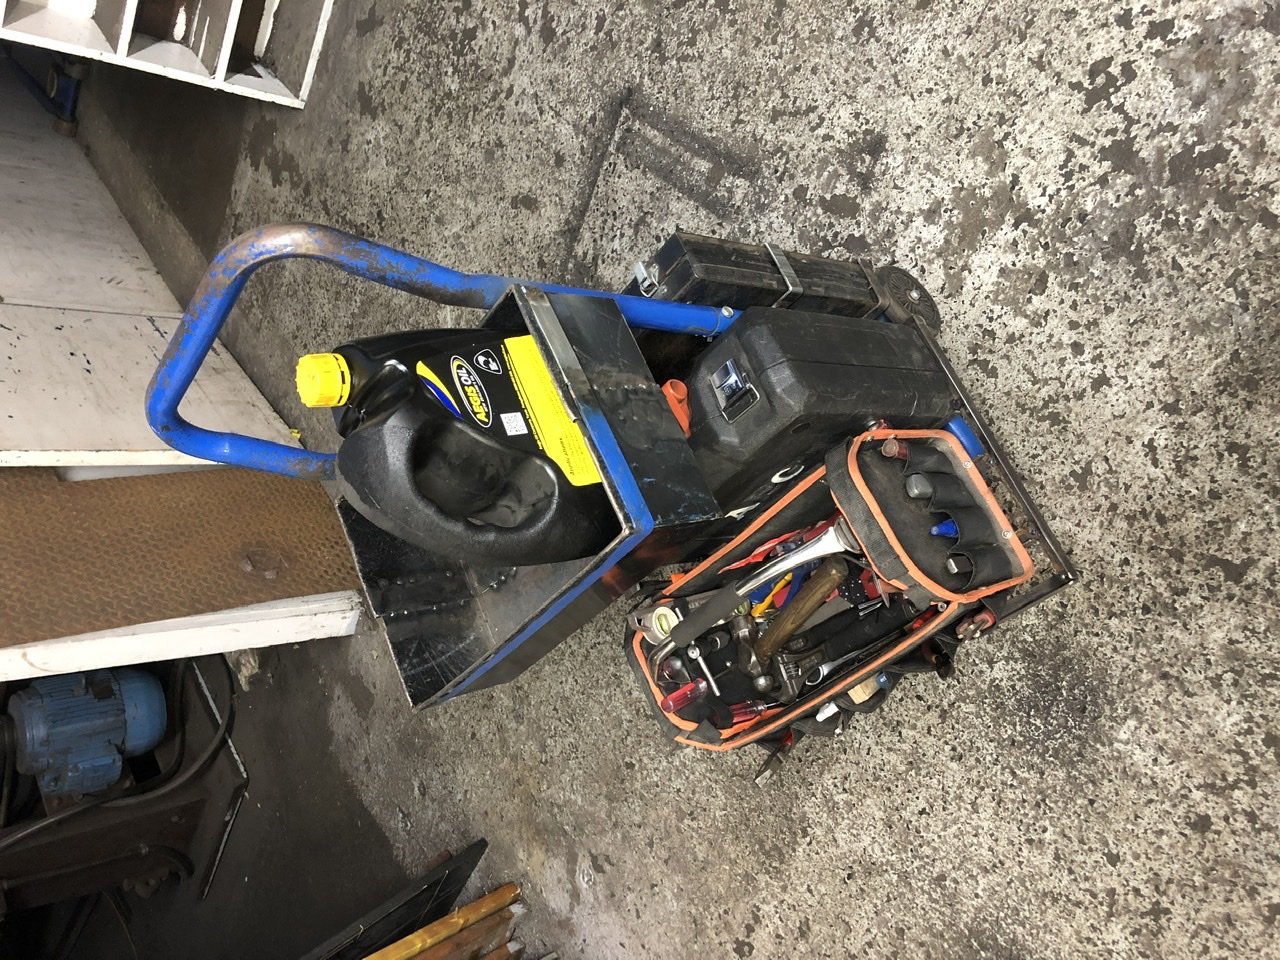
Wife and kids went to the chilly peppers so I popped into work and made some things. A tool trolley for site work and a towball mounted vice.
-
Panel & Paint shop recommendations - Dunedin
a.craw4d replied to Indiana_Jones's topic in South Island Region
PM’d you. A mate of mine works at boulzaids? (Sorry, can’t spell) but does perk jobs from home. He usually quite busy but does amazing work. -
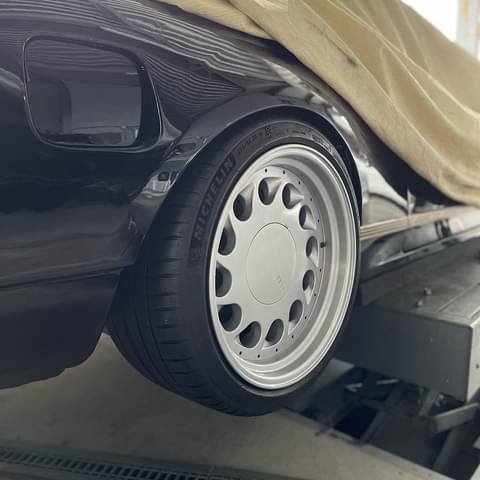
Yeah the way I explained is quite pricey. You're basically building custom 3 piece wheels, buying the inner and outer barrels separately at the width you want. The last ones I seen were 15 inch and cost around $600 per wheel. That didn't include the bolts to fix together (also pricey) and was using existing 3 piece wheel centers. The wheel pics I posted would at a guess cost around 1k a piece to make. The steel barrel option, last I looked you could only buy up to a 15 inch plain barrel. https://www.cardwells.co.nz/product/steel-wheel-barrel-raw/
-
Or someone on here a few years back used a plain steel barrel with a mounting ring welded in. Then bolted the alloy center in.
-
Any pics of the wheels you plan to widen? Can machine the outer off so you're left with just the centers, then bolt to a set of inner and outer barrels.
-
I can weld that no problems. Done heaps of shitty oil filled cast alloy stuff and it's fairly easy too. Probably be couple hours max in it. Good surface clean. Grind a big vee weld prep, go nuts here. You need a bit of room to get the tig torch to the bottom of the vee. Leave only 1-2 mm wall thickness at the bottom of the vee with the original break so it lines up perfectly. File the ground surfaces so it's clean, a grinder tends to rub and fold alloy over itself trapping crap in there. Good preheat to draw the shit out and final clean. With the tig tack it together. Here's where you need to take your time. Set the tig to a bit more cleaning than penetration. Strike the arc and puddle the torch around a big area. (Don't add filler yet. Castings are full of air bubbles and you don't want to try add filler wire on top of a bubble). Keep moving the torch around until the bubbles come to the top and the surface becomes smooth and shiny. Now you can add filler. Once all tacked in place, clean up any more oil that's come out. Then use the above technique to clean and weld the rest of the join. If crap keeps getting drawn through when trying to get a clean smooth surface then dial in a bit more cleaning on the balance control. Don't be tempted to chuck filler in there to cover it up, it goes pear shaped.
- 13 replies
-
- 11
-