yetchh
-
Posts
5,356 -
Joined
-
Last visited
-
Days Won
1
Content Type
Forums
Downloads
Events
Gallery
Everything posted by yetchh
-
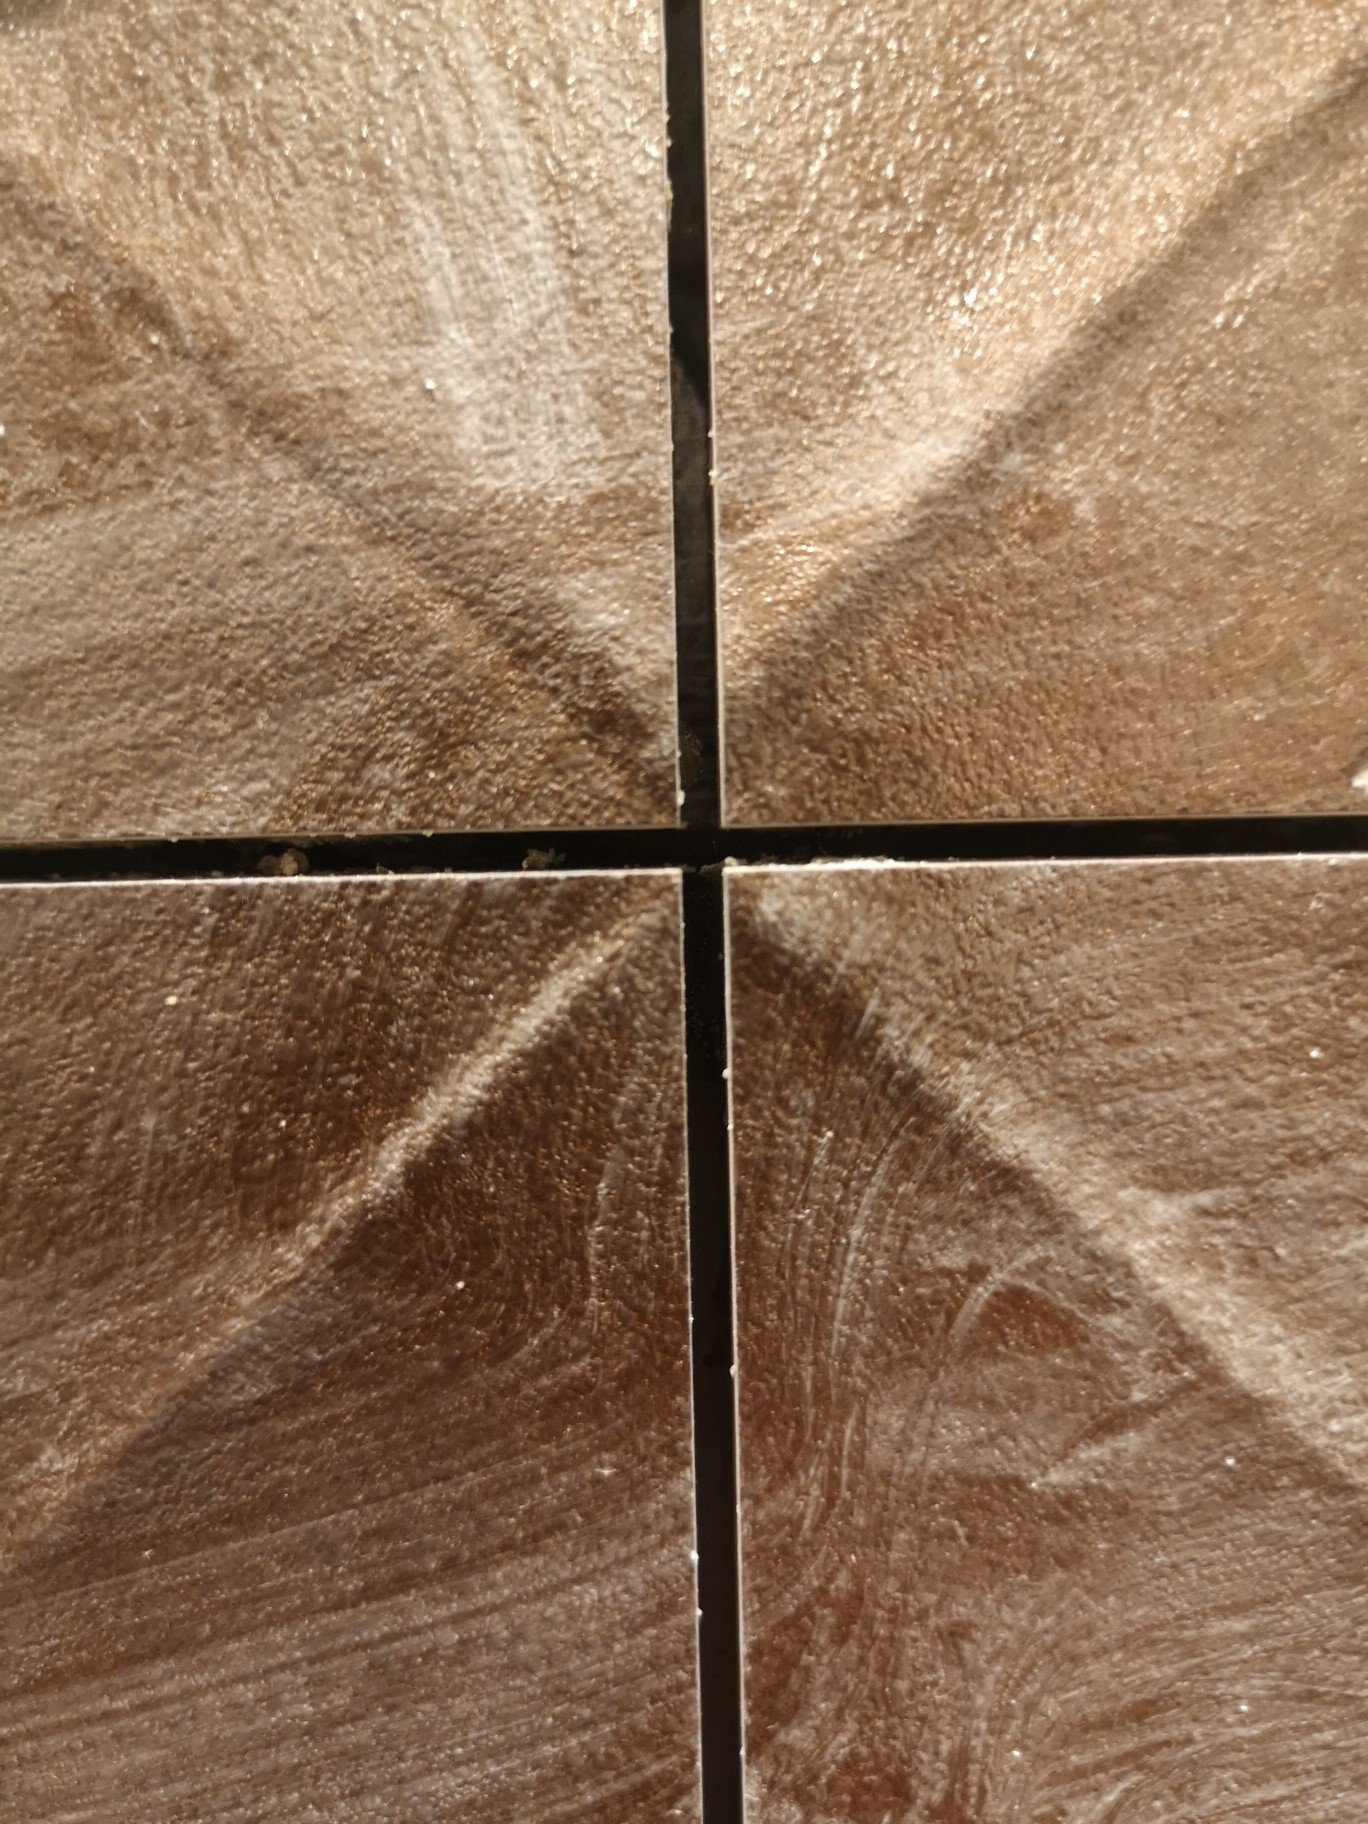
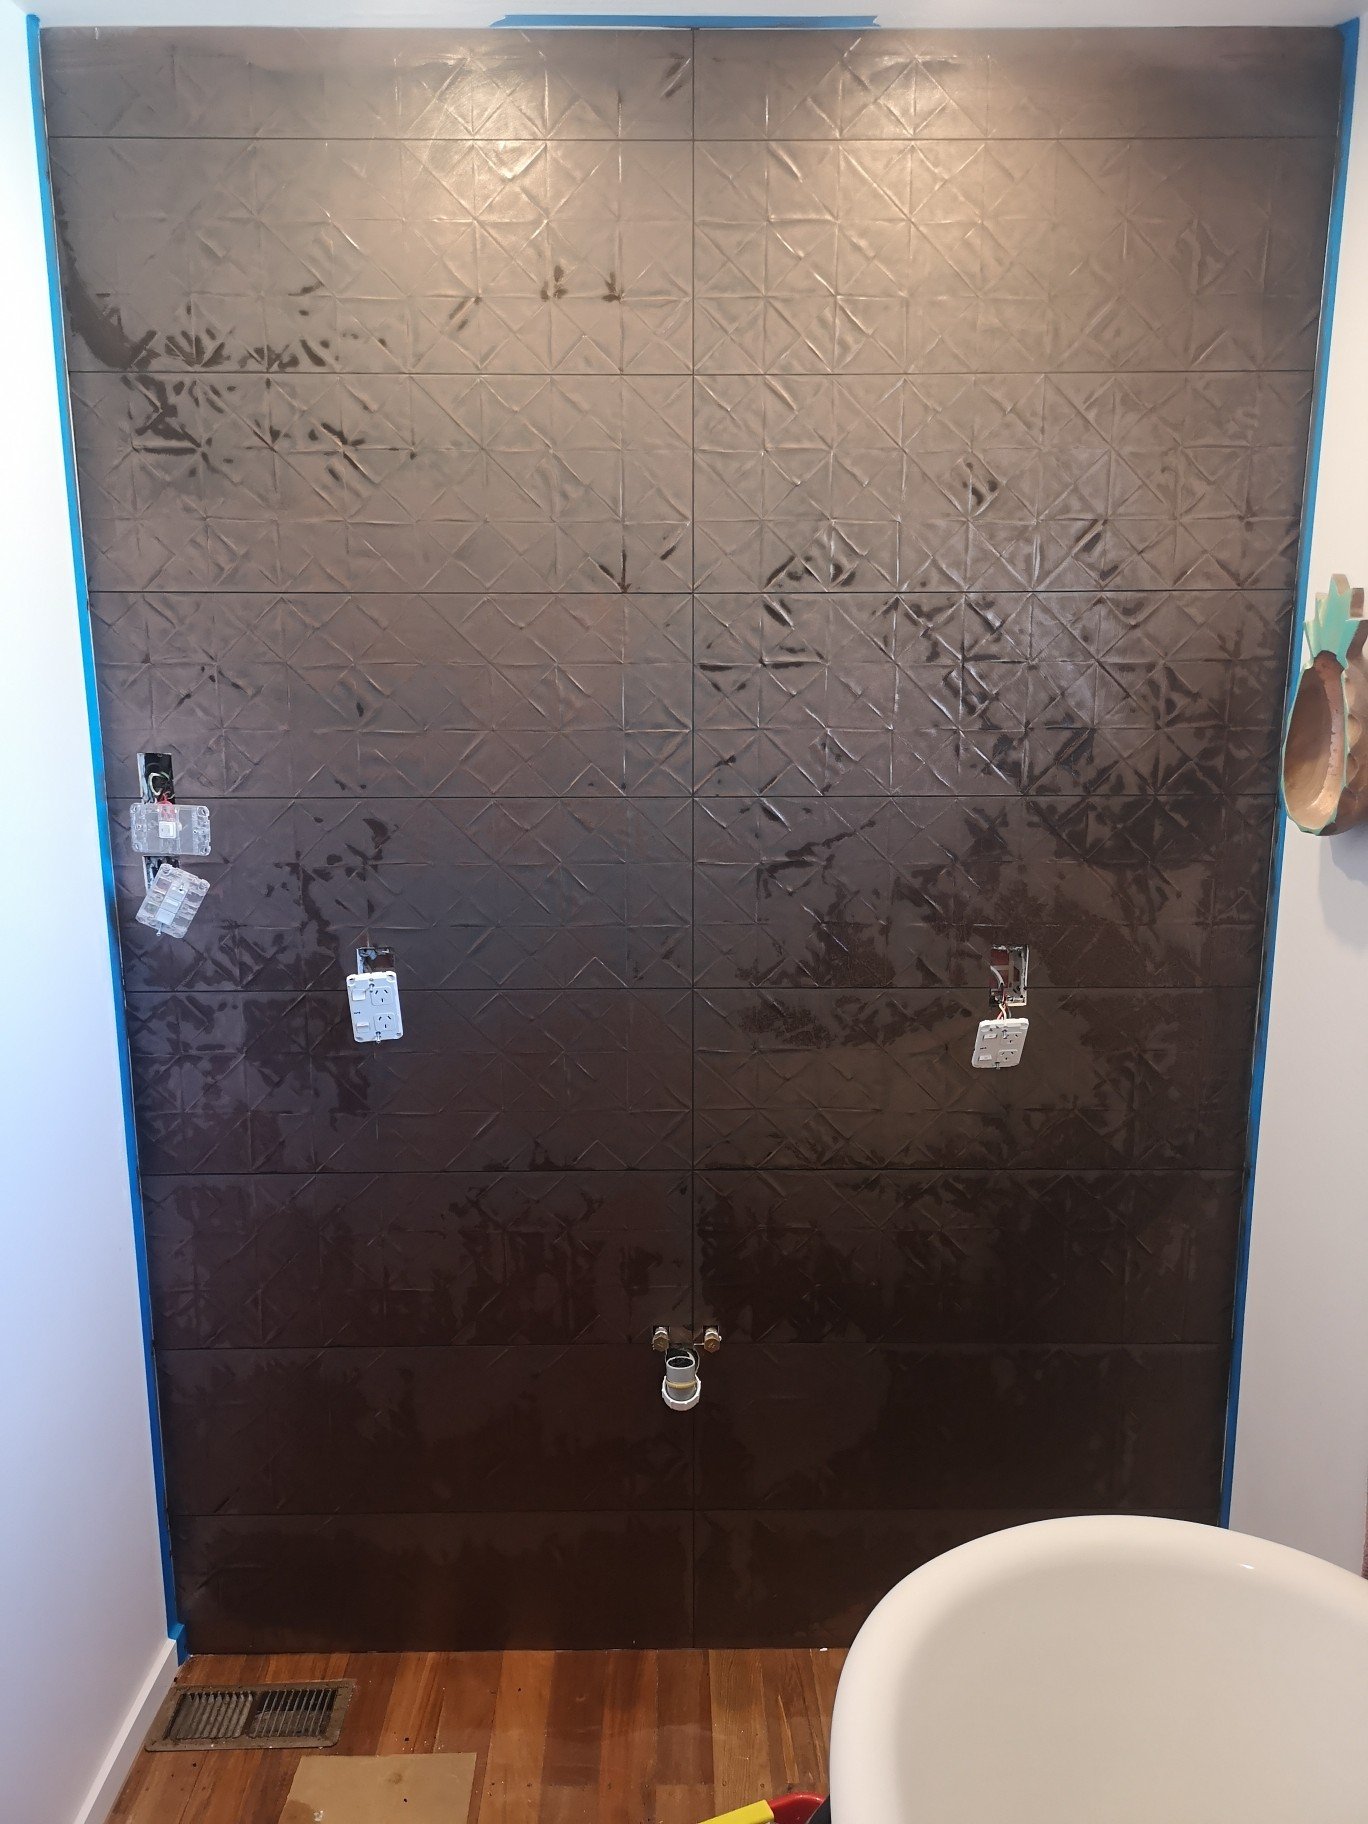
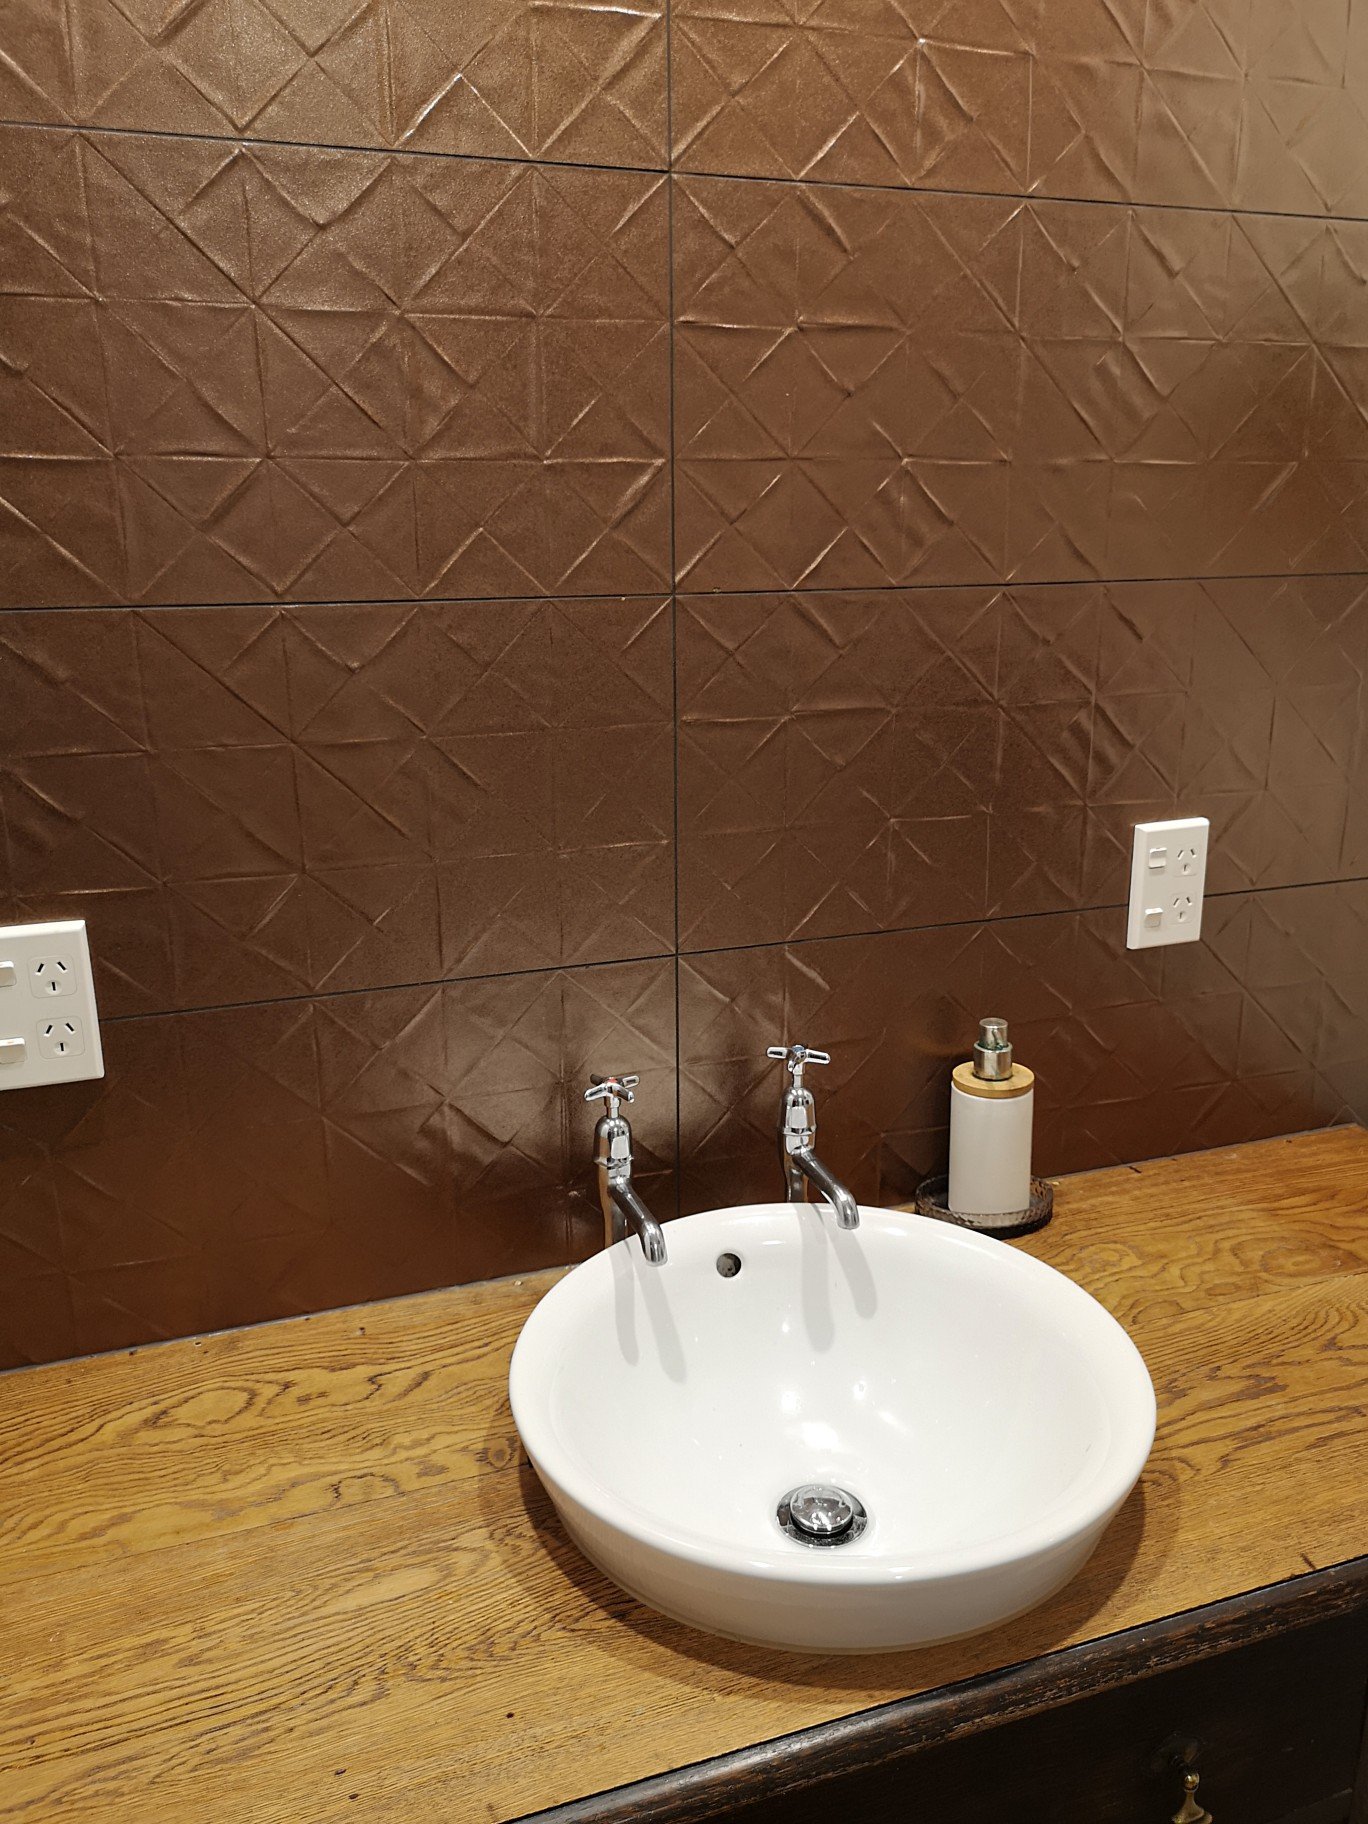
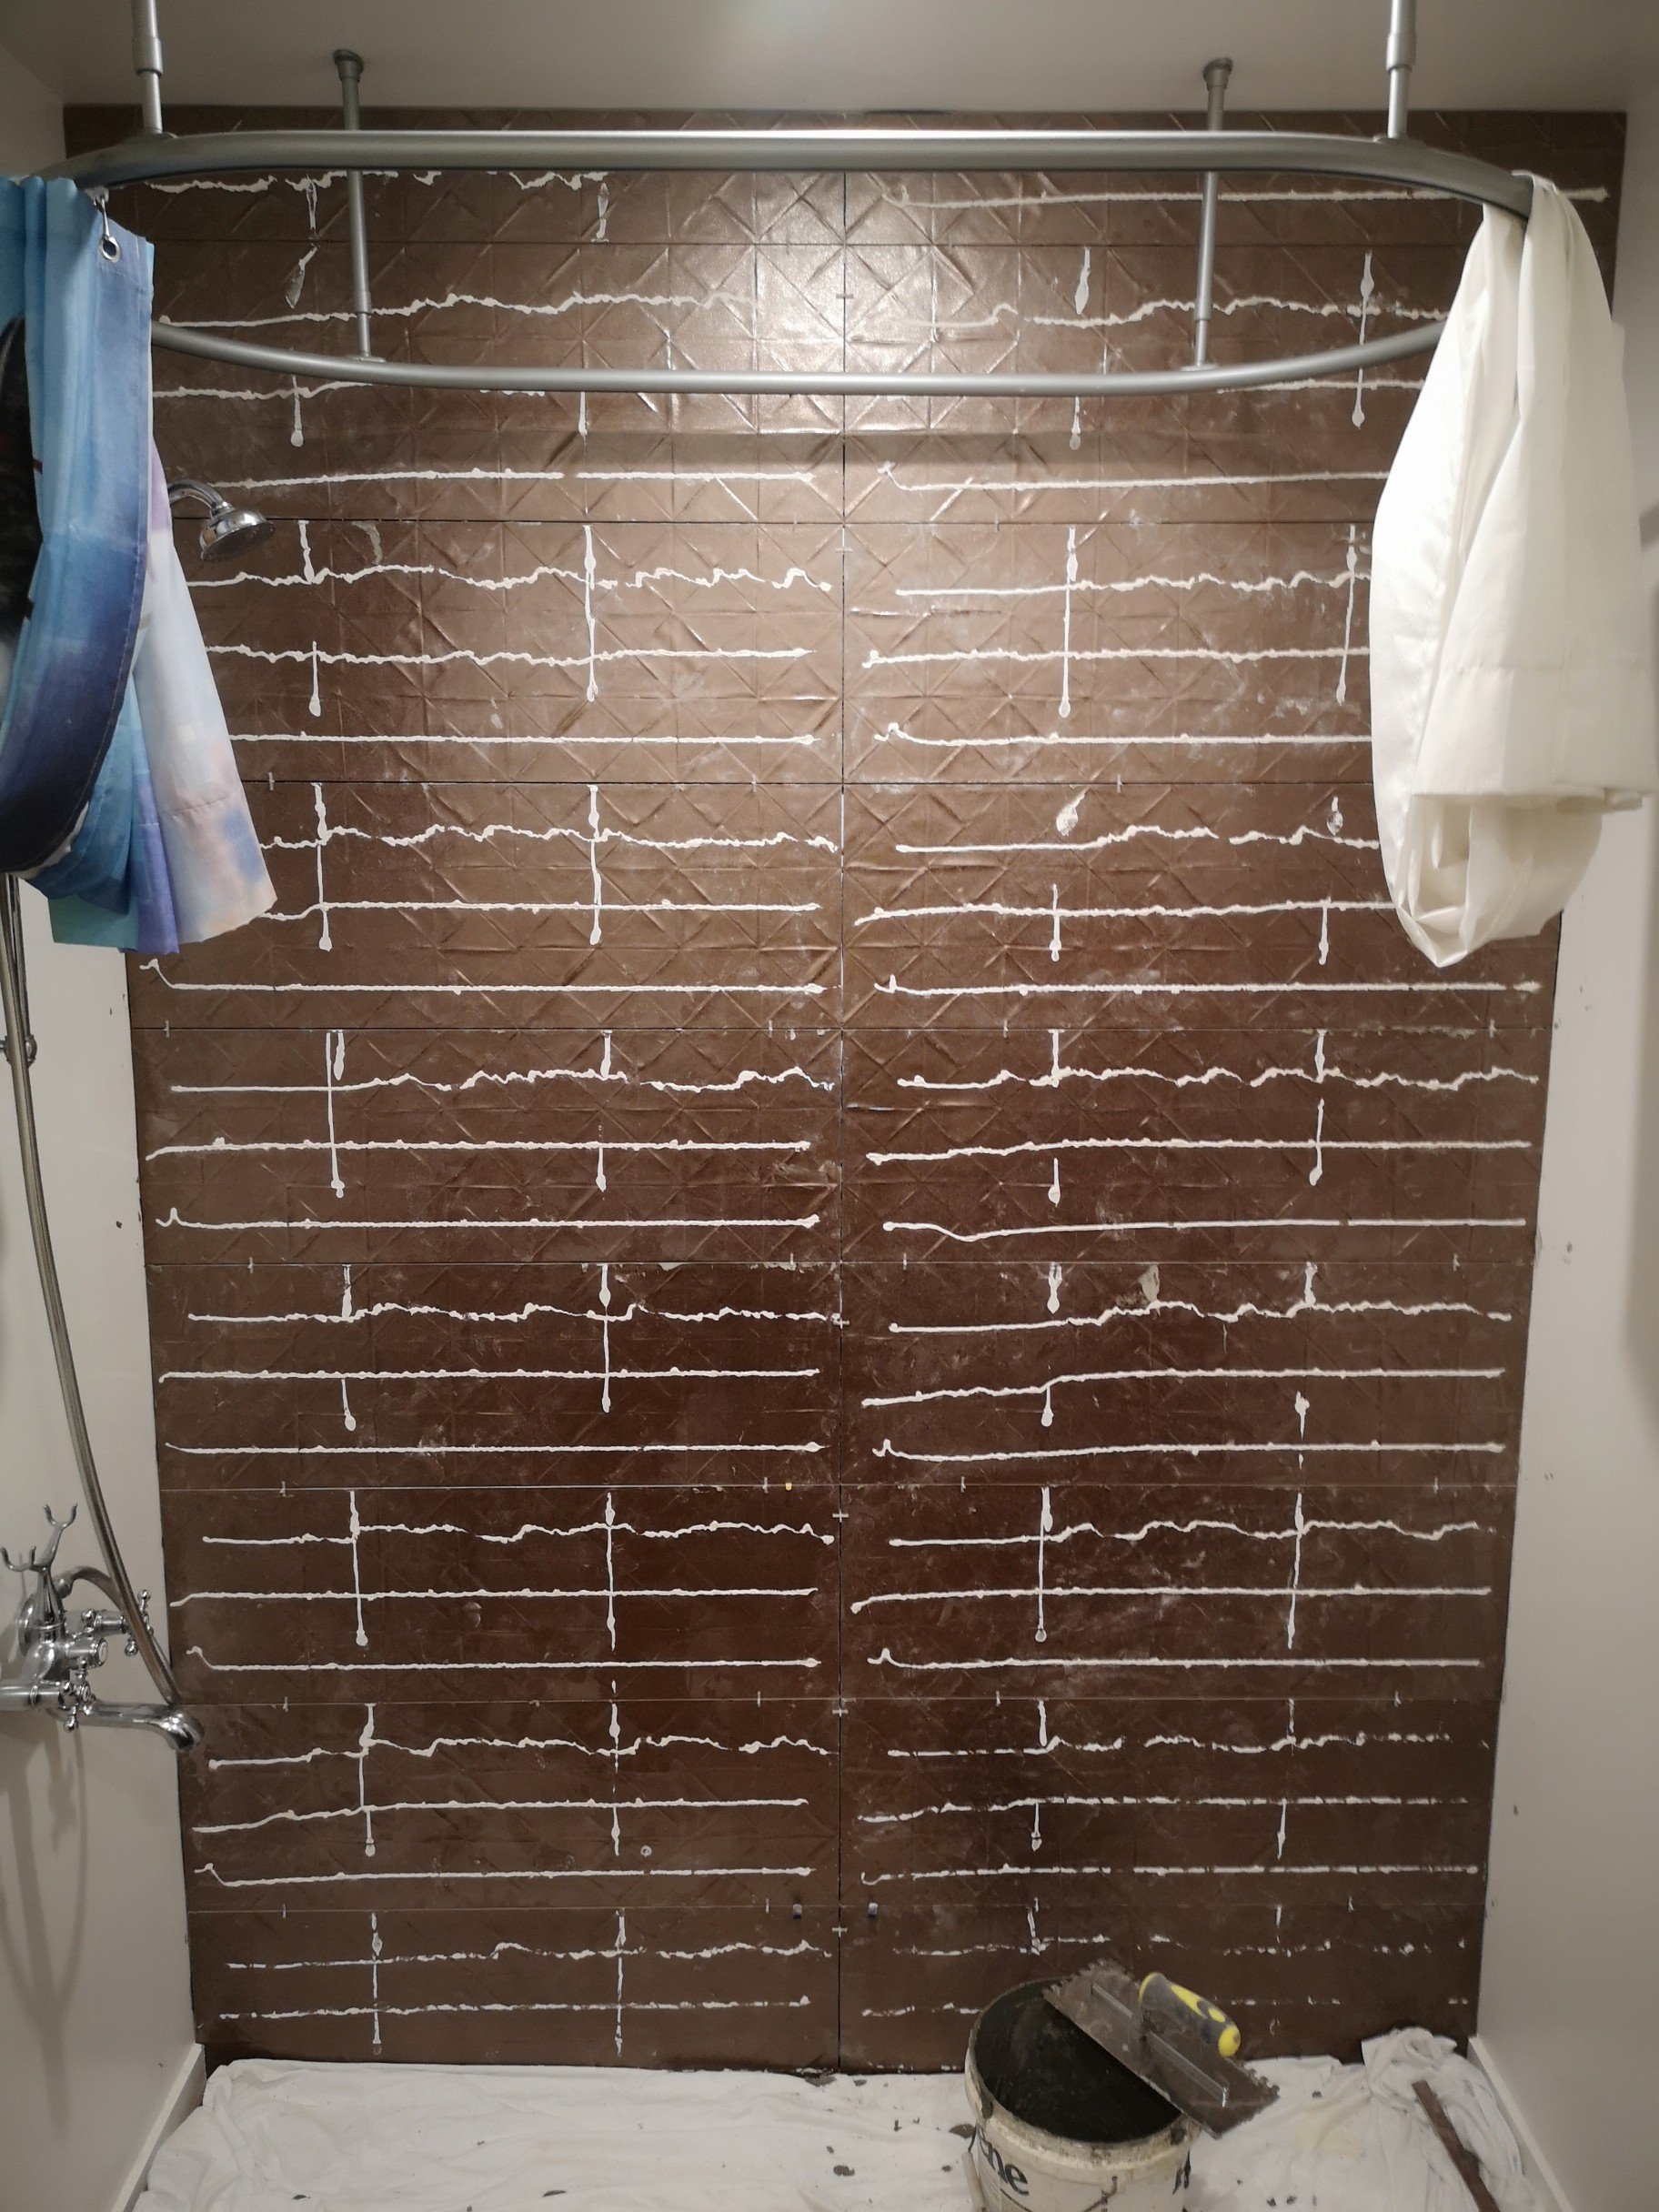
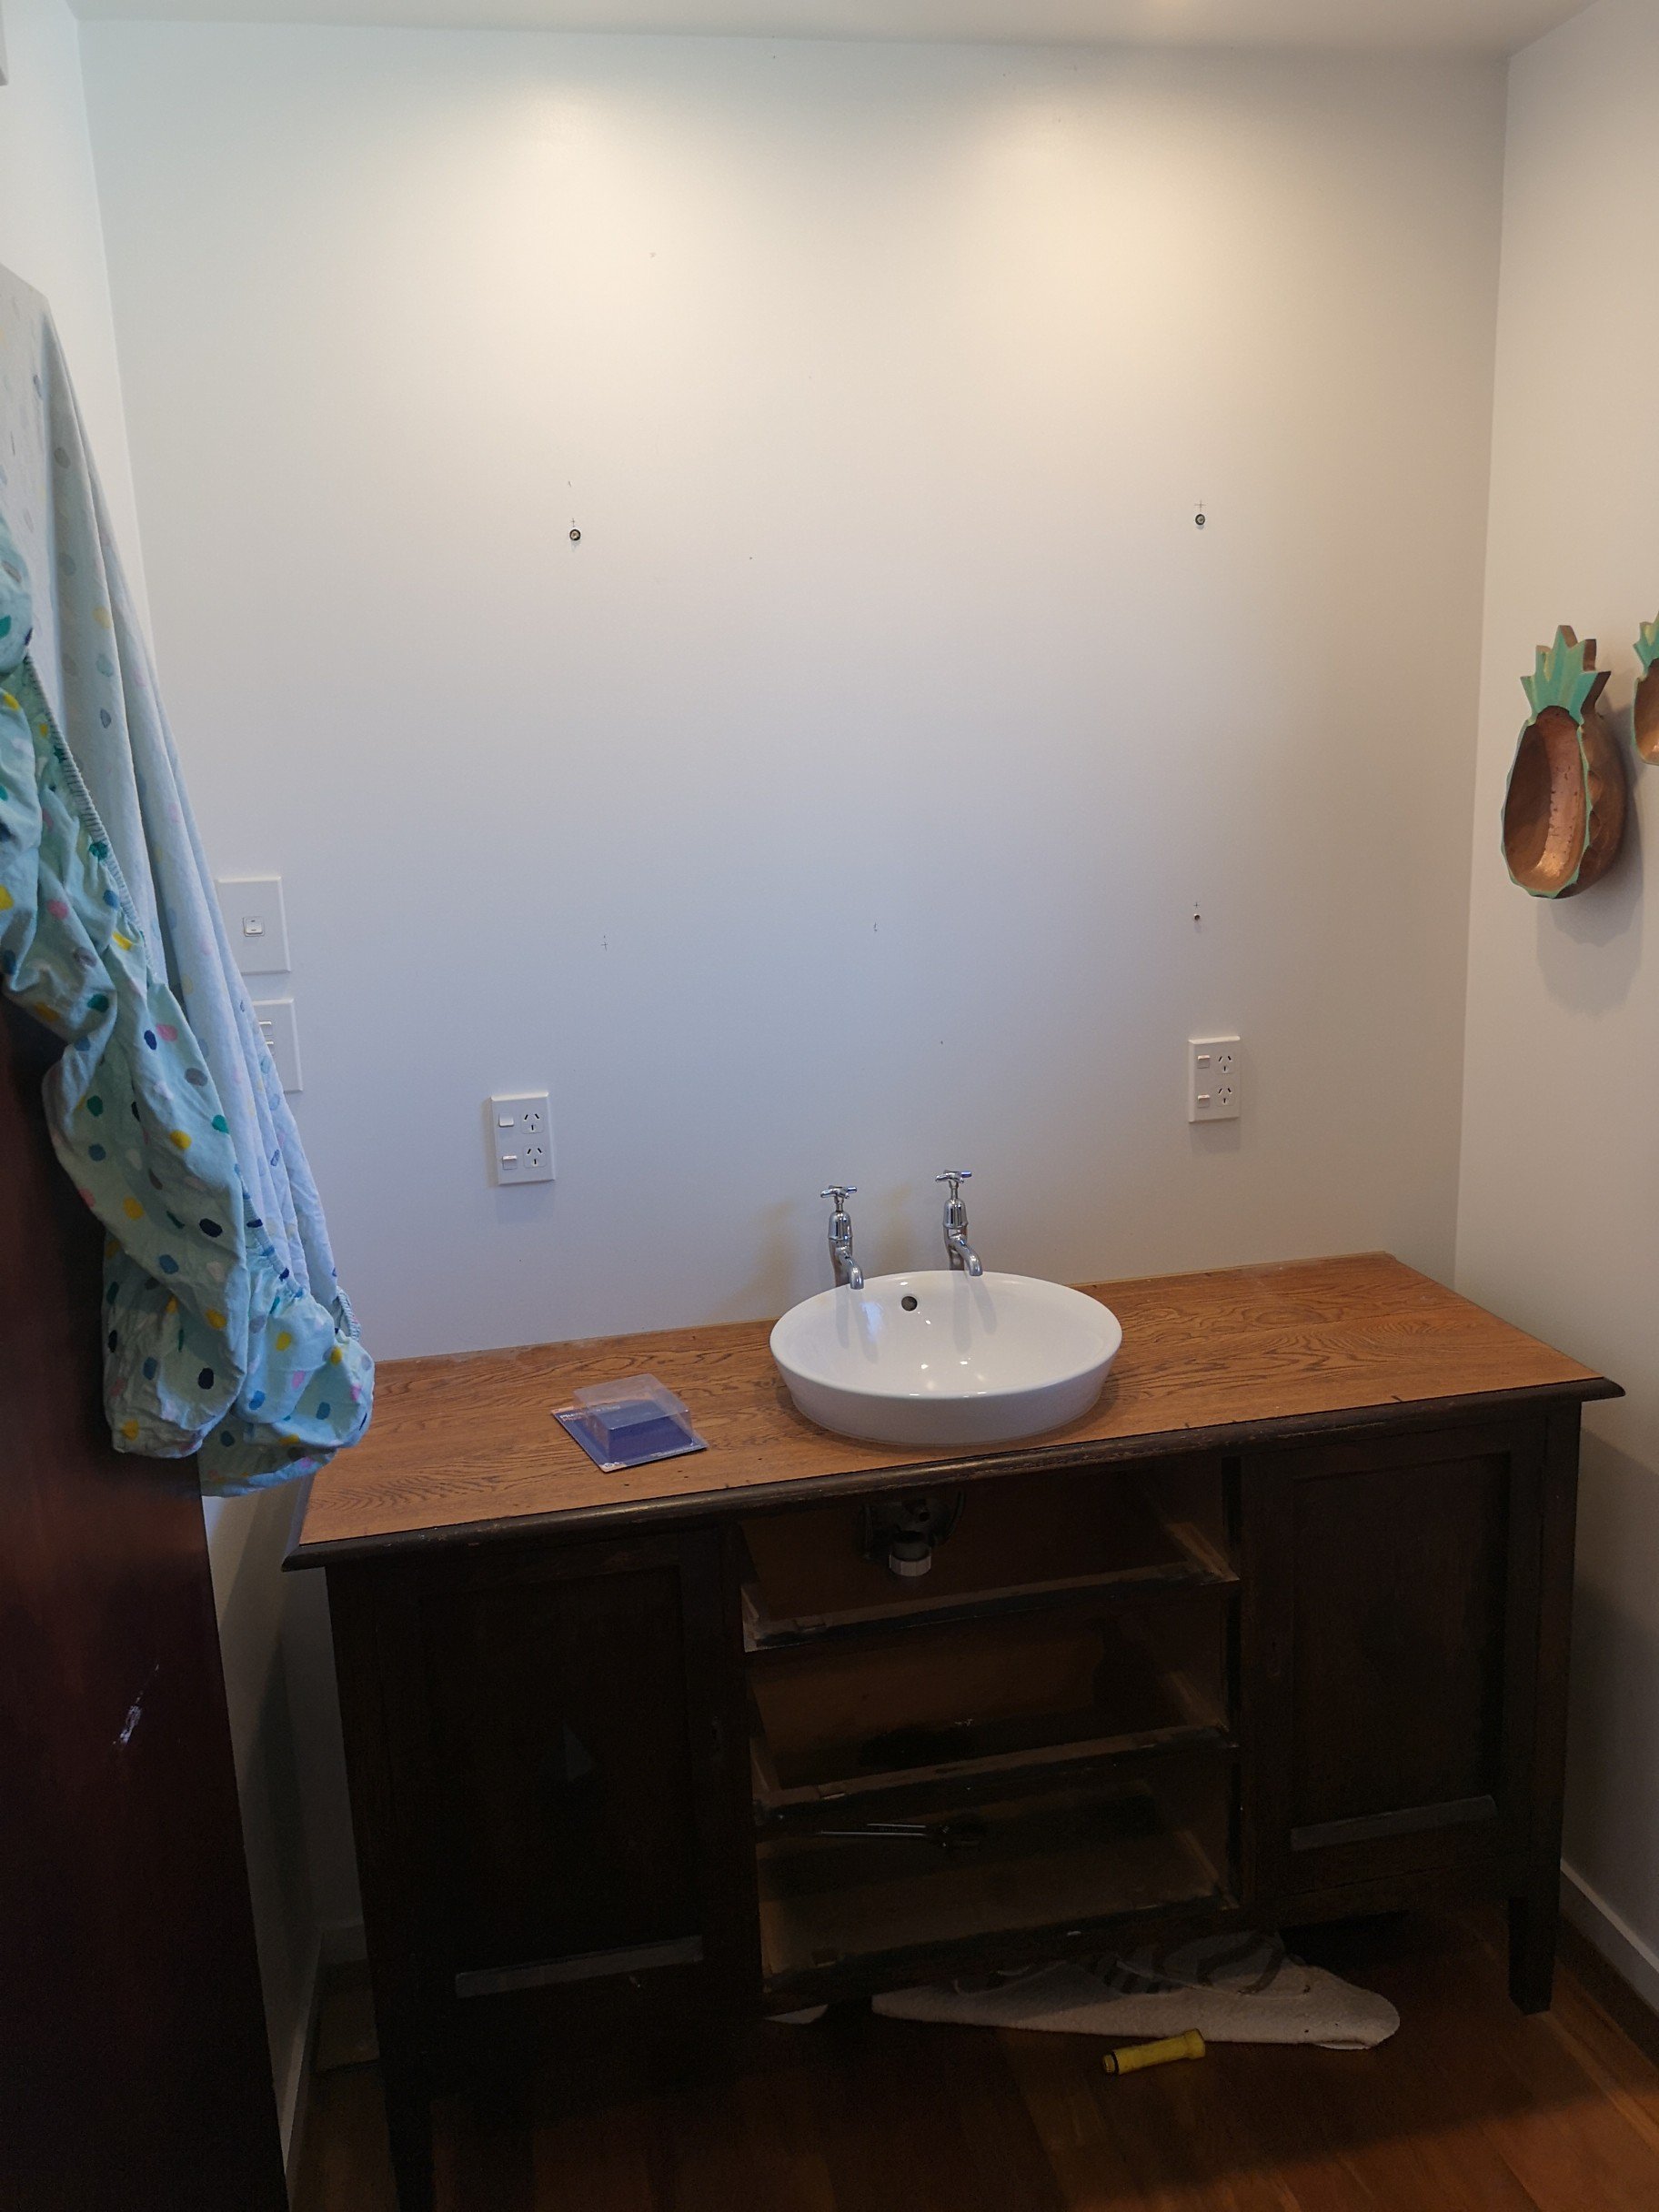
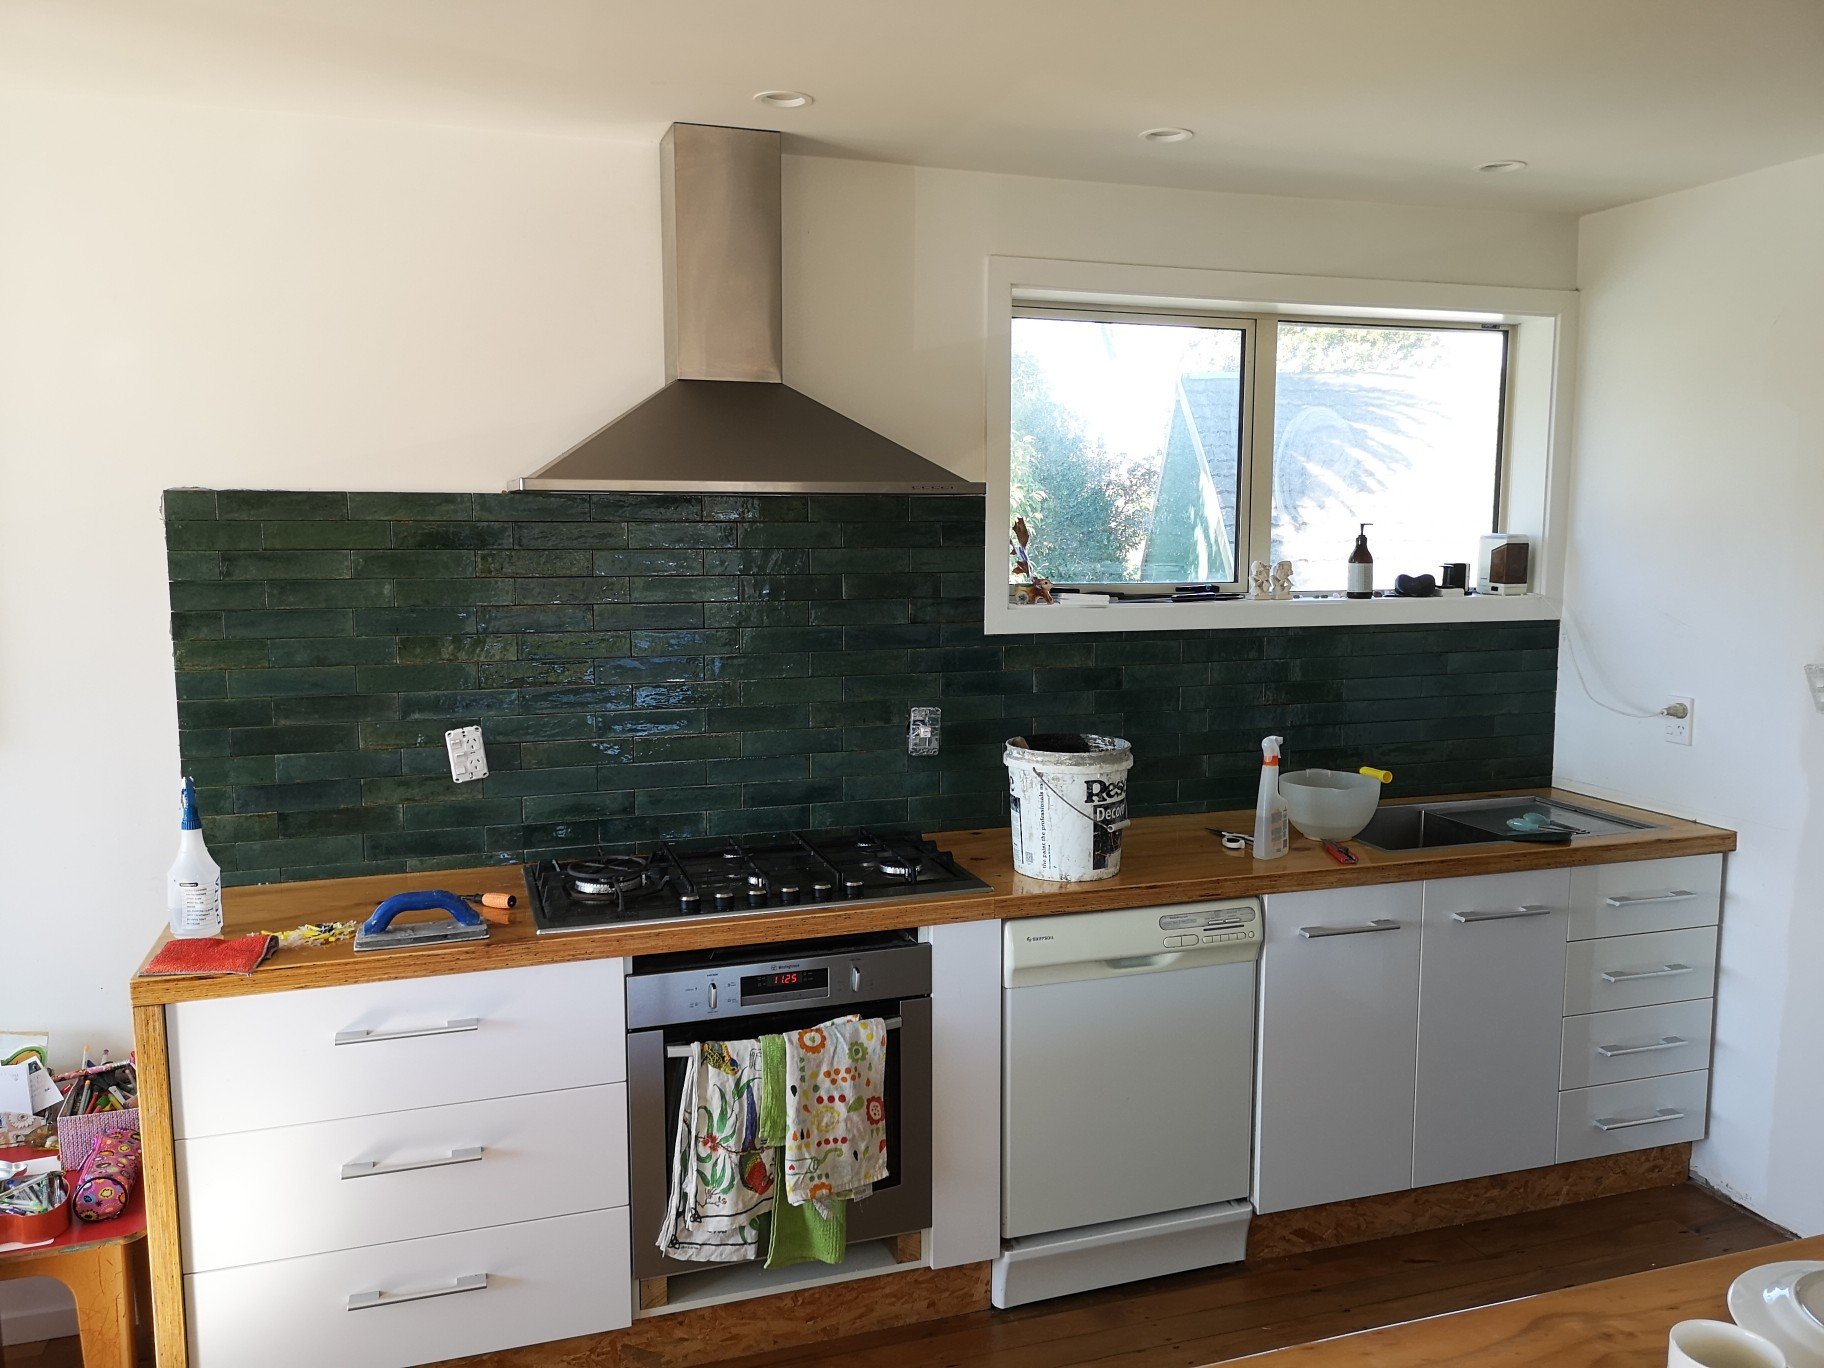
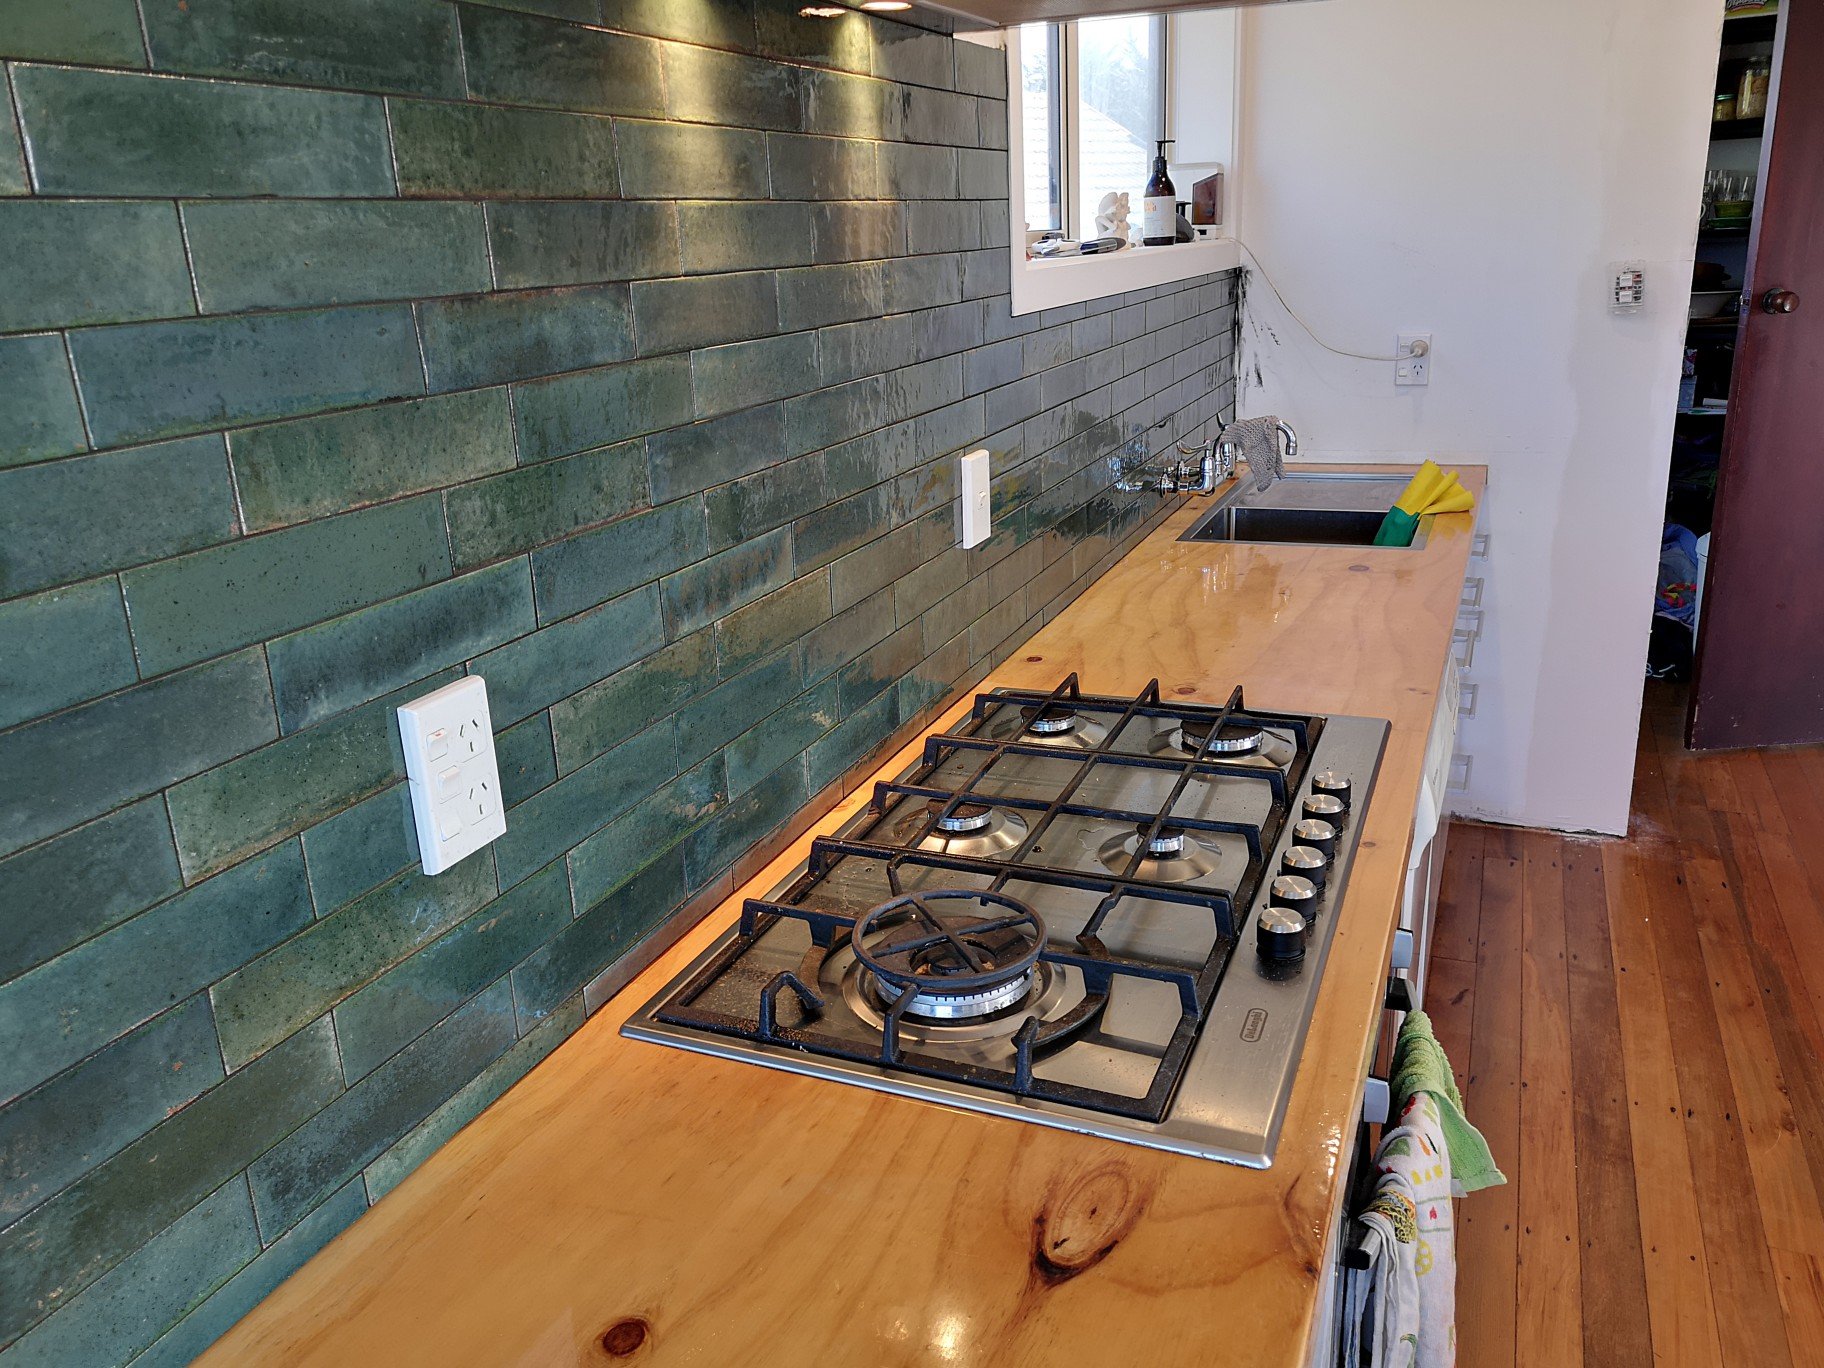
Finished the tiling a couple of days after the above.. Got the joints pretty spot on. Discovered these tiles are quite soft, had to wedge a couple up to keep the line level and they chipped the edge of the tile when I pulled them out. Shit plastic wedges, behind the mirror anyway. If you need to wedge non ceramic tiles use wet timber wedges as they don't chip the tiles and have the added bonus of shrinking when they dry. 1st grout pass Sponge pass Didn't take any pics of the vanity install but it's literally a 10mm bead of silicone along the back edge and jammed into the tiles then tooled off. Plumbing was a total cunt which involved 3 trips to miter10's shit plumbing selection on a Sunday. Had one of those dux adjustable u-bends but with the additional tile thickness was too short length ways to meet the sink drain. Ended up getting removable bowl trap and 90 bend compression fitting. Then had to go back to get a 40mm extention. This all started as I couldn't be fucked cutting and glueing fittings.. Did that anyway in the end. Will get different colour socket plates to match the tiles. Grouting kitchen tiles,

-
How many km's on the 2l?
-
That's the word...
-
You can roll it on with a nook and cranny roller using the fine felt or sponge cartridges. Got a mate who's in the industry and they do it that way sometimes (when someone else's in the both) comes out pretty good apparently..
-
Can tell Trev's middle name is Barry by his use of an adverb in front of remember.. Either that or he's a boomer, prob both.
-
I can shame them all by starting a toyota ute on half a turn of a flat battery.....
-
Unfortunately for you you've already been invaded by mitsubishi.. Electronically speaking..
-
So... Is that a suggestion or a straight up declaration?...
-
Looks like swap meet is cancelled this year too..
-

Molesworth Moped Melee, 5th, 6th. 7th march 2021
yetchh replied to RUNAMUCK's topic in South Island Region
It's a pretty epic route.. -
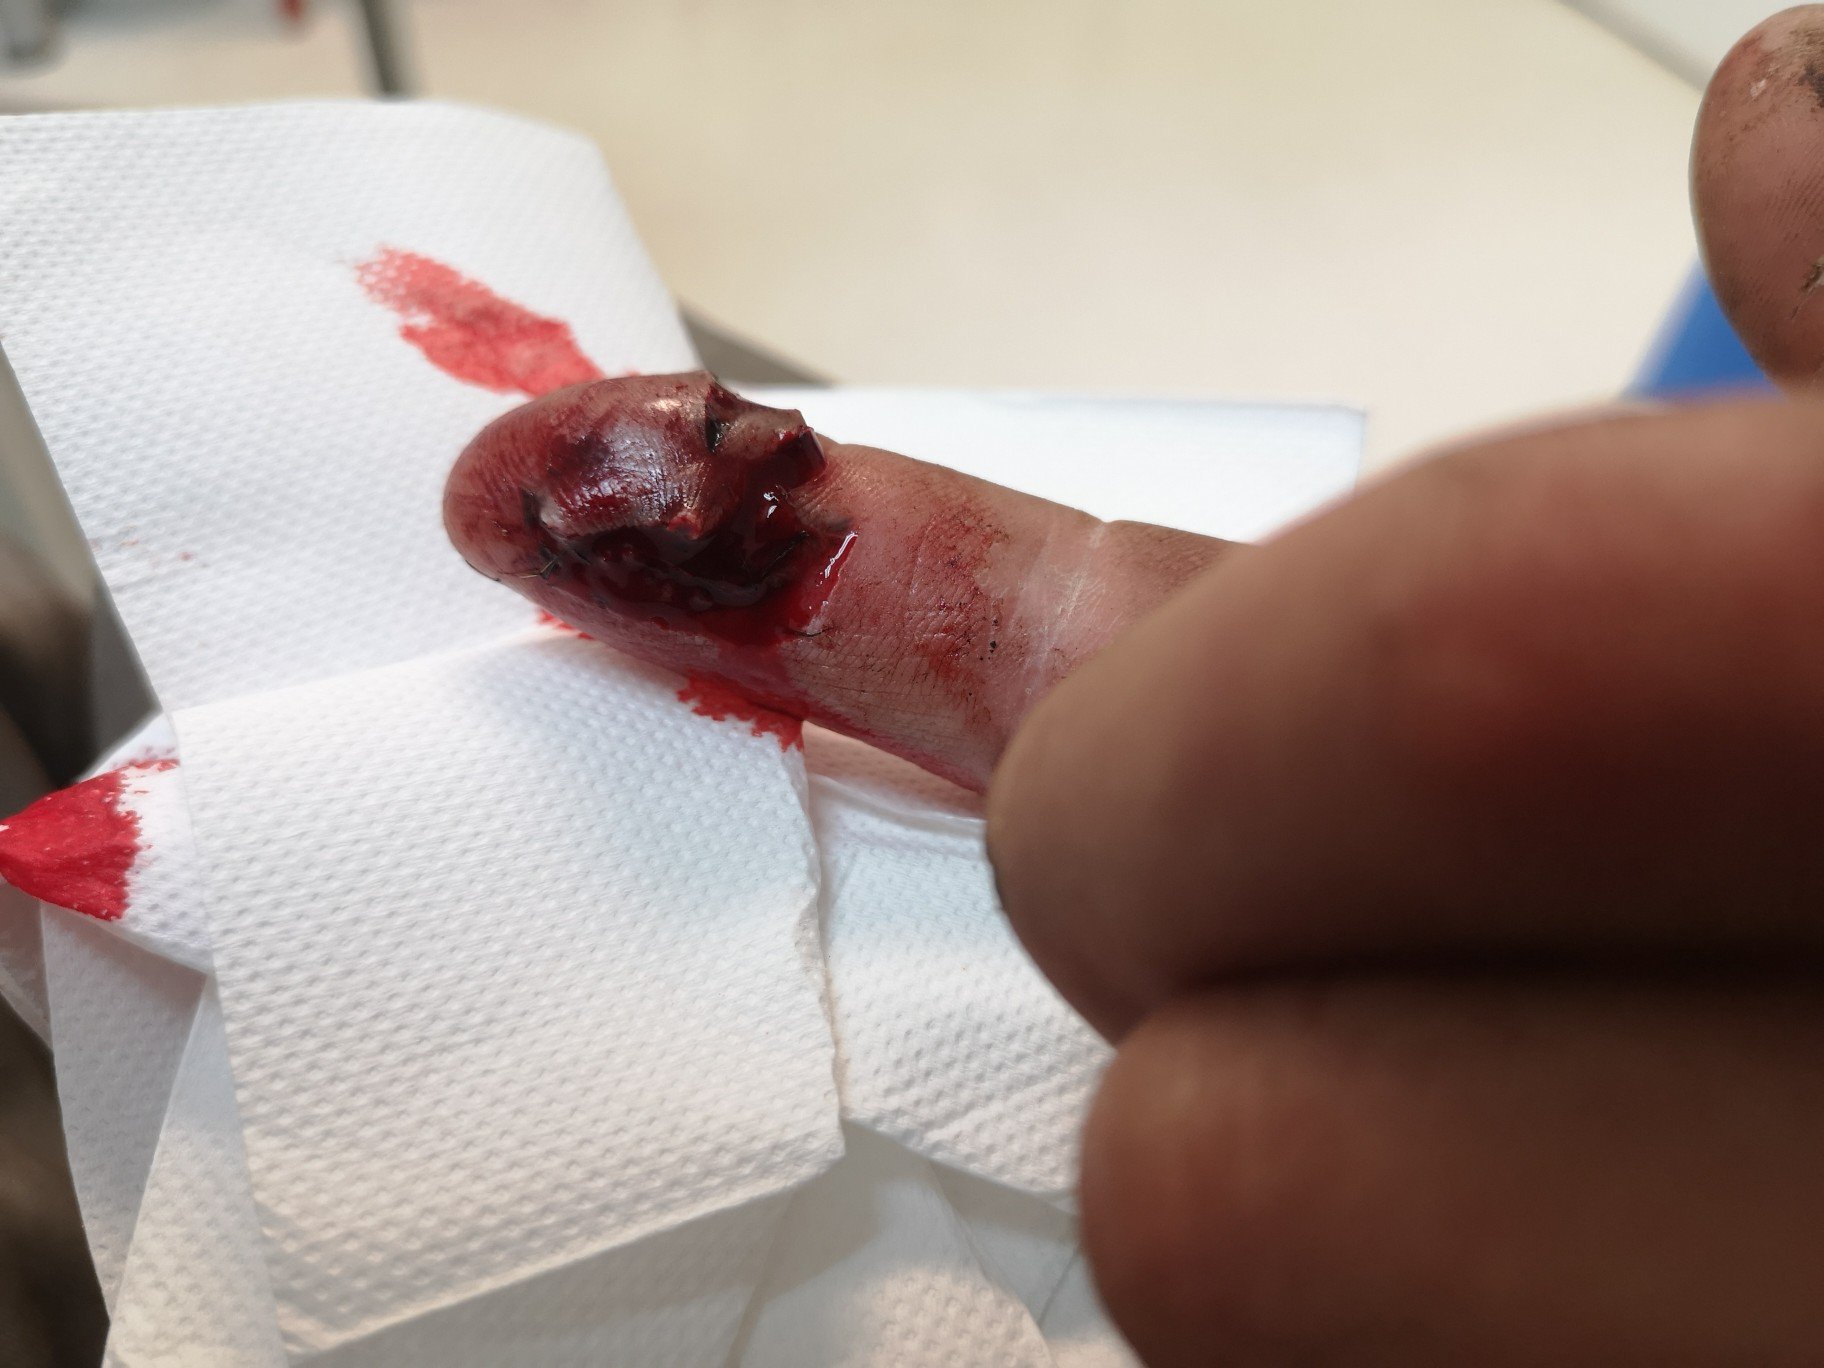
Ironically, the most painful part was the needle for the local.
-
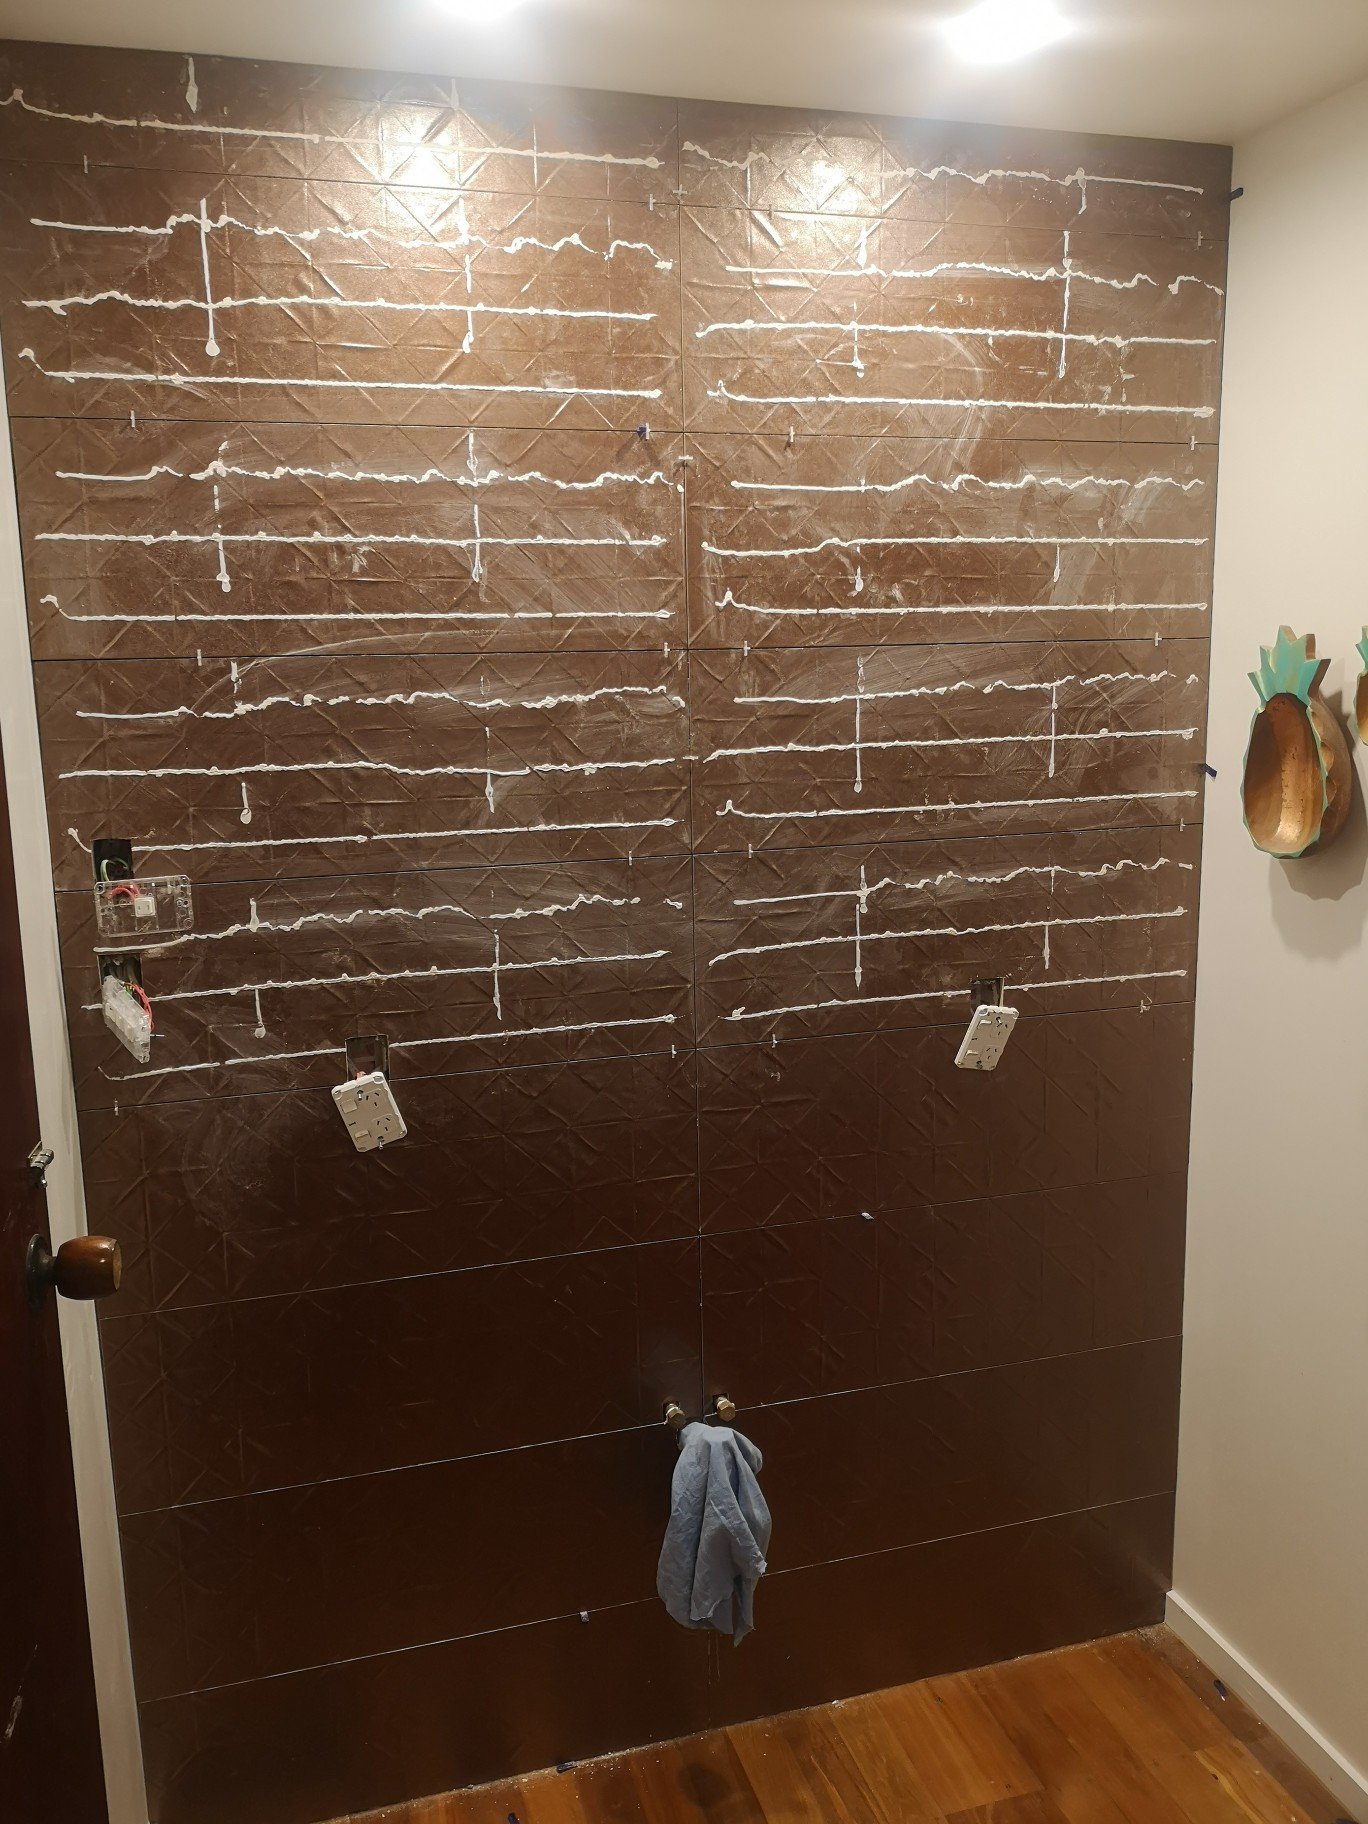
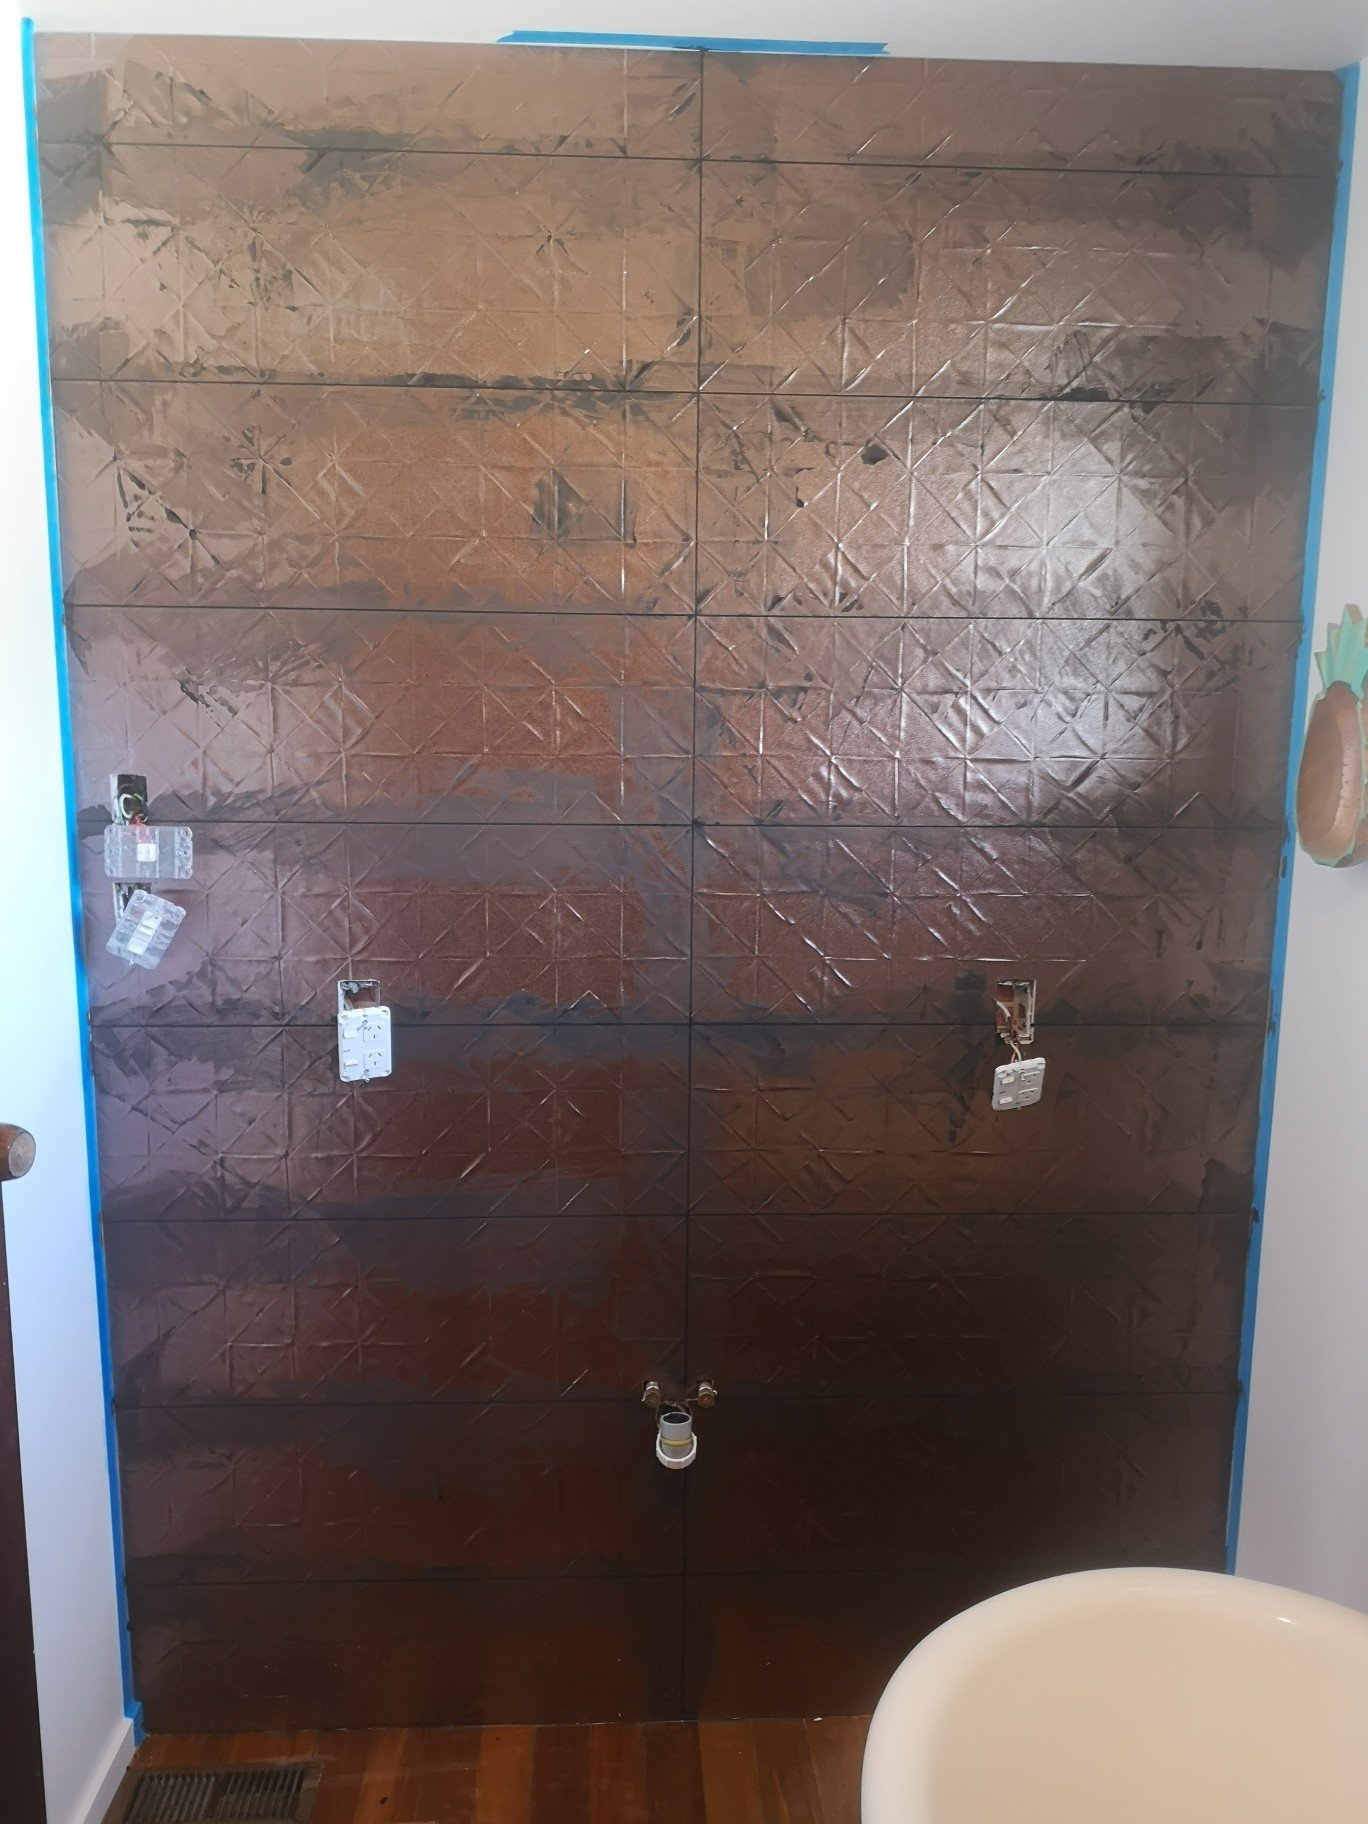
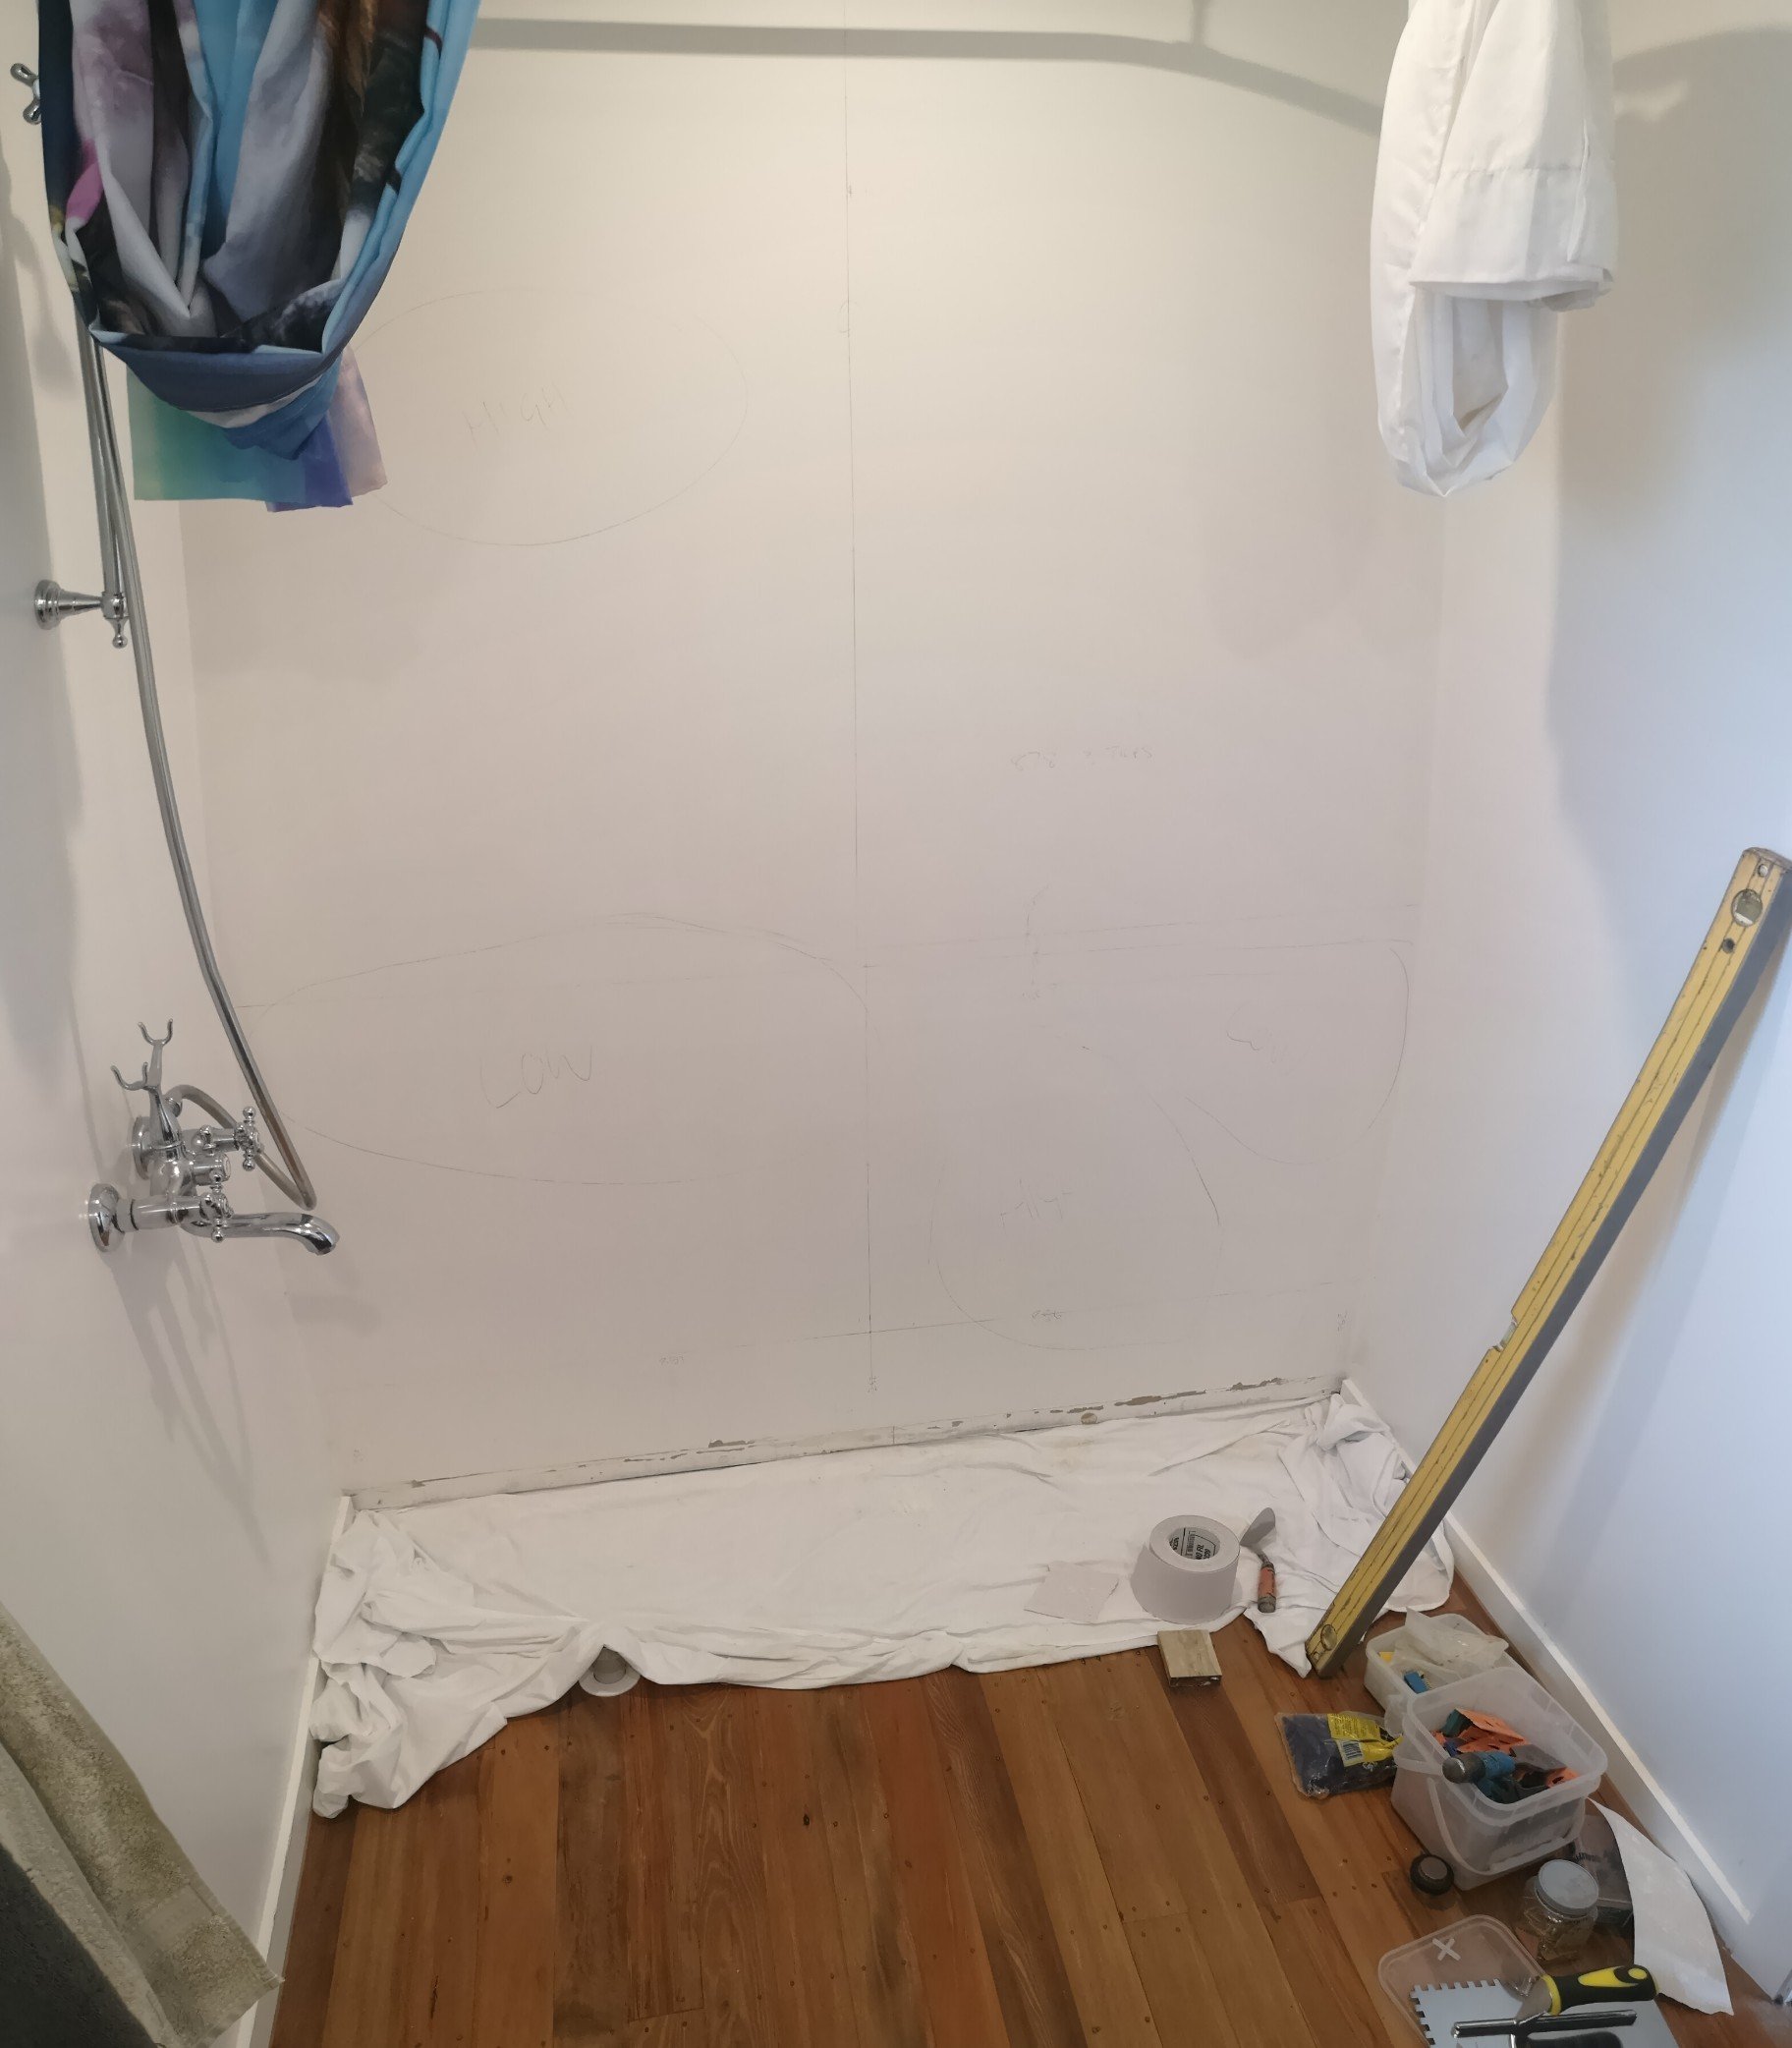
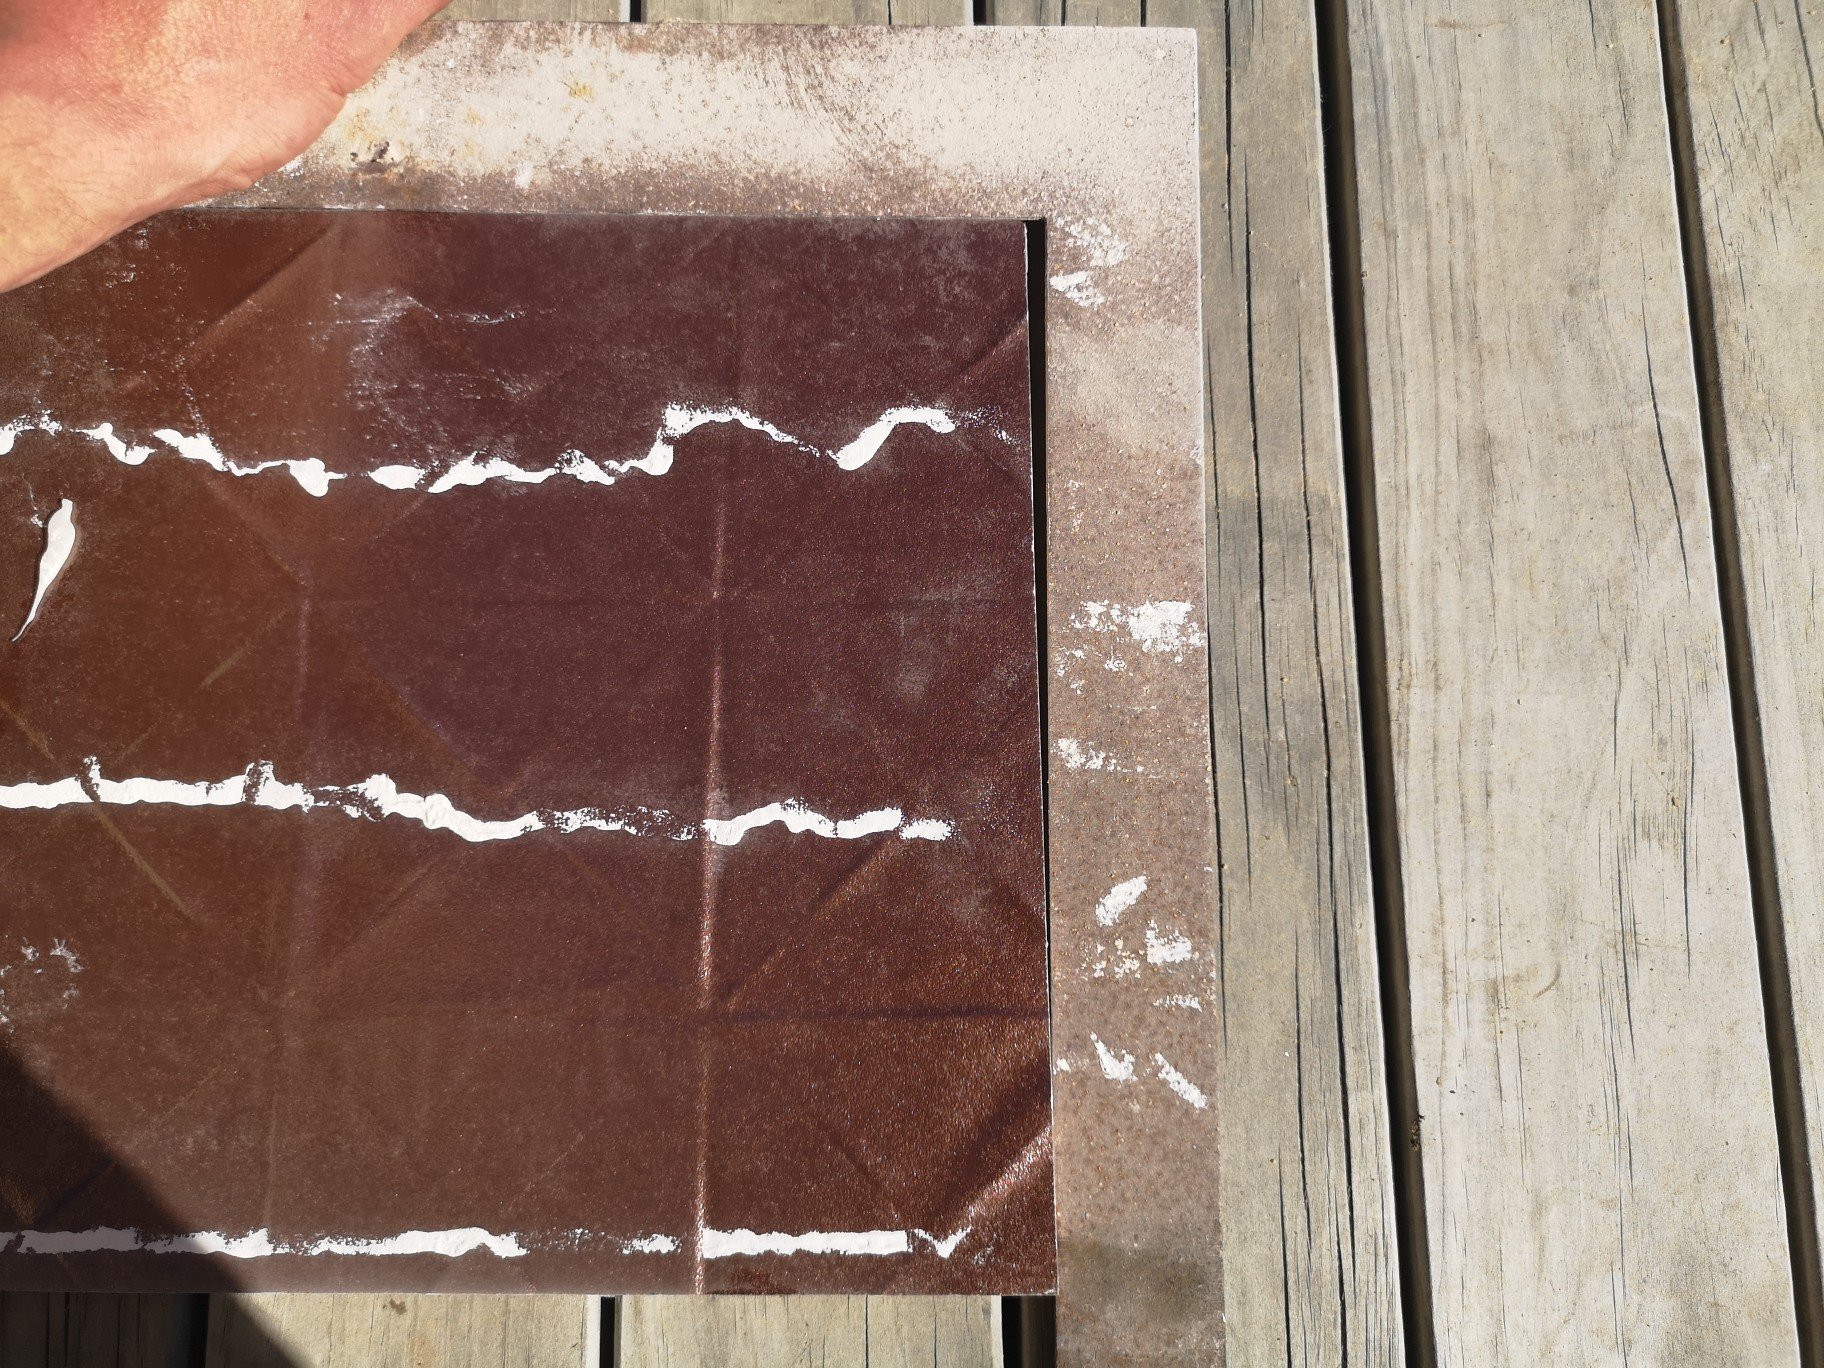
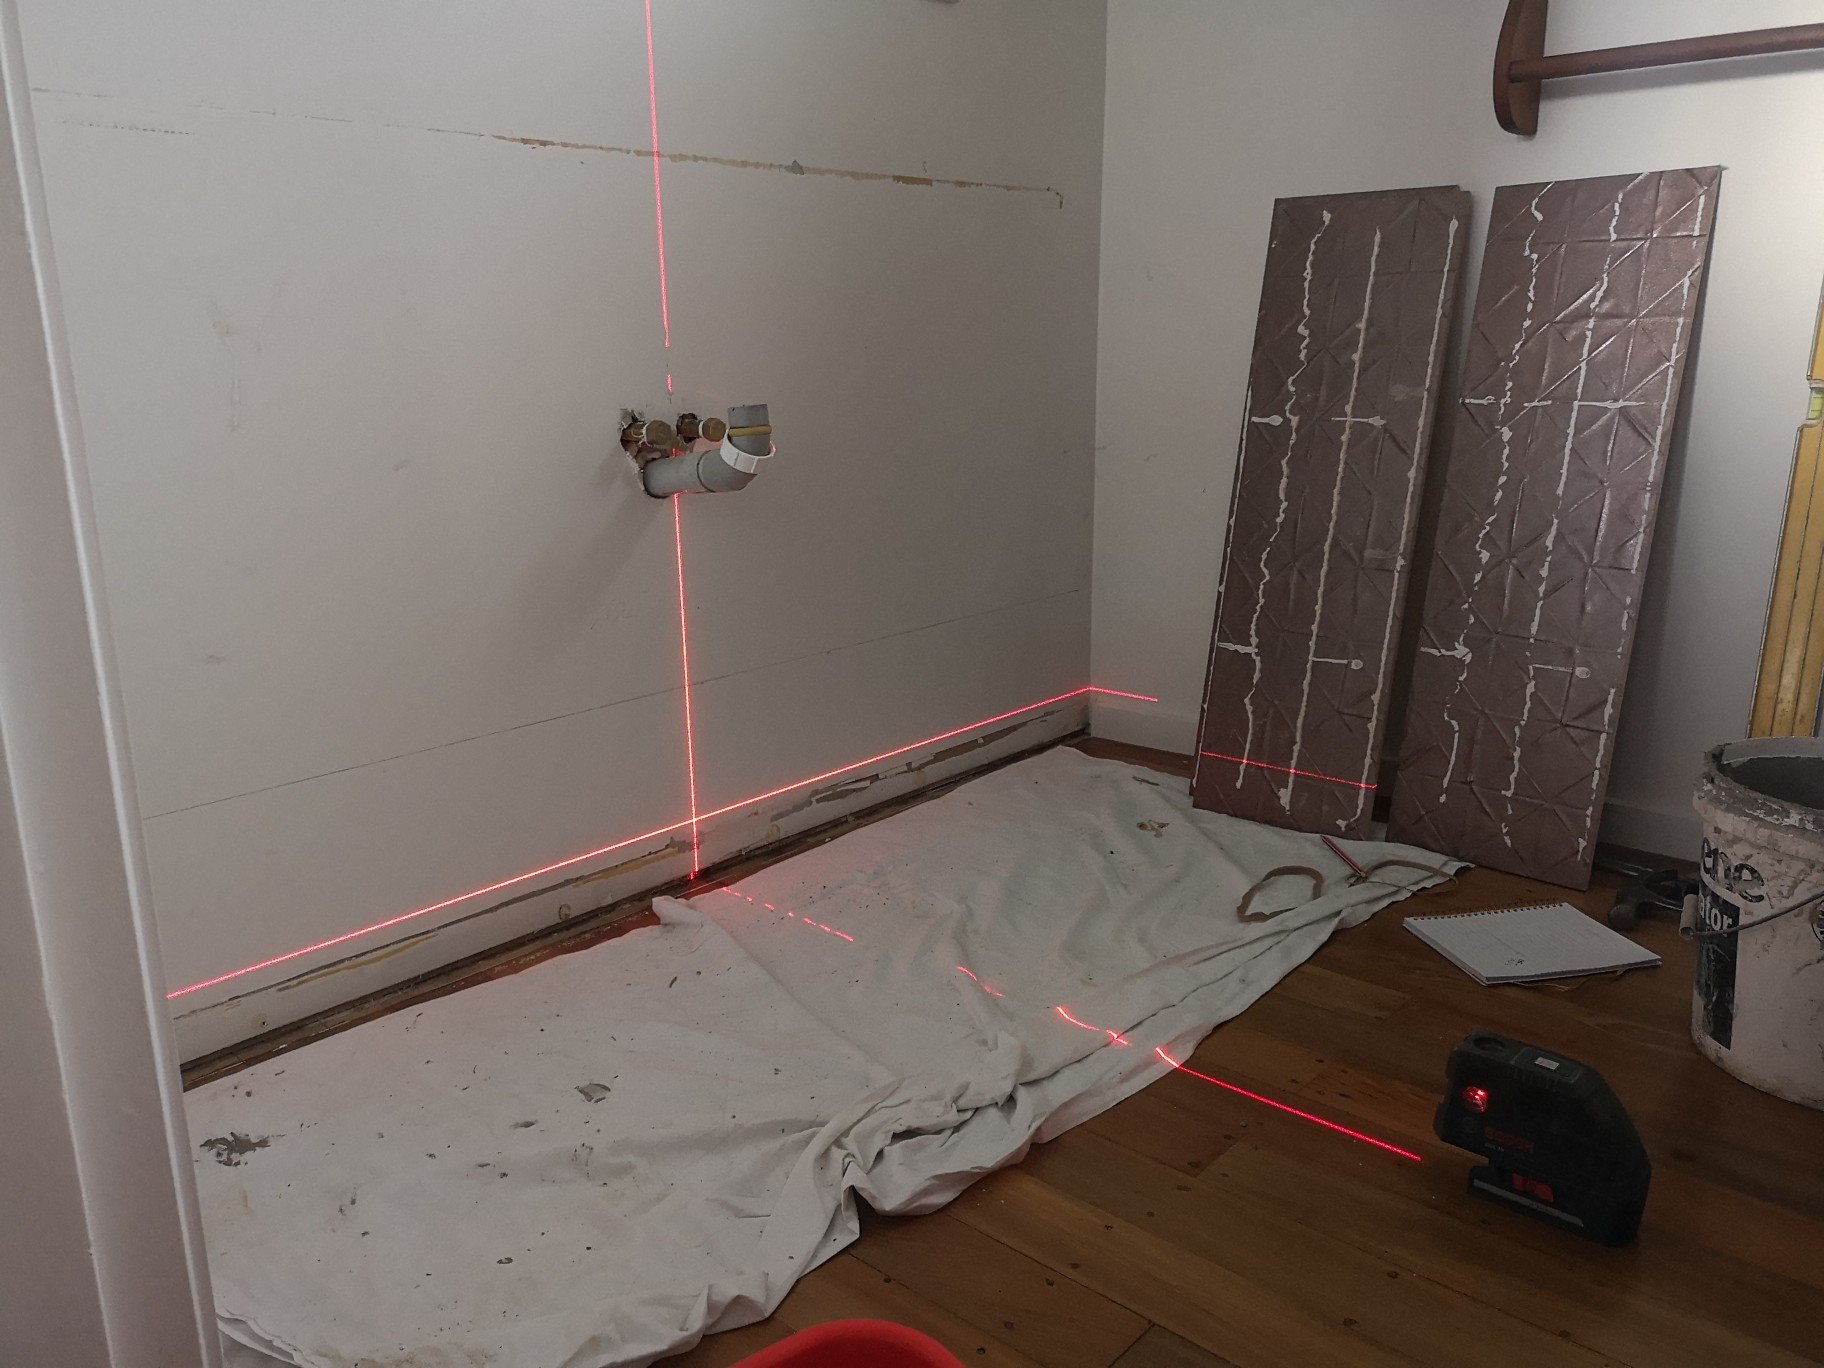
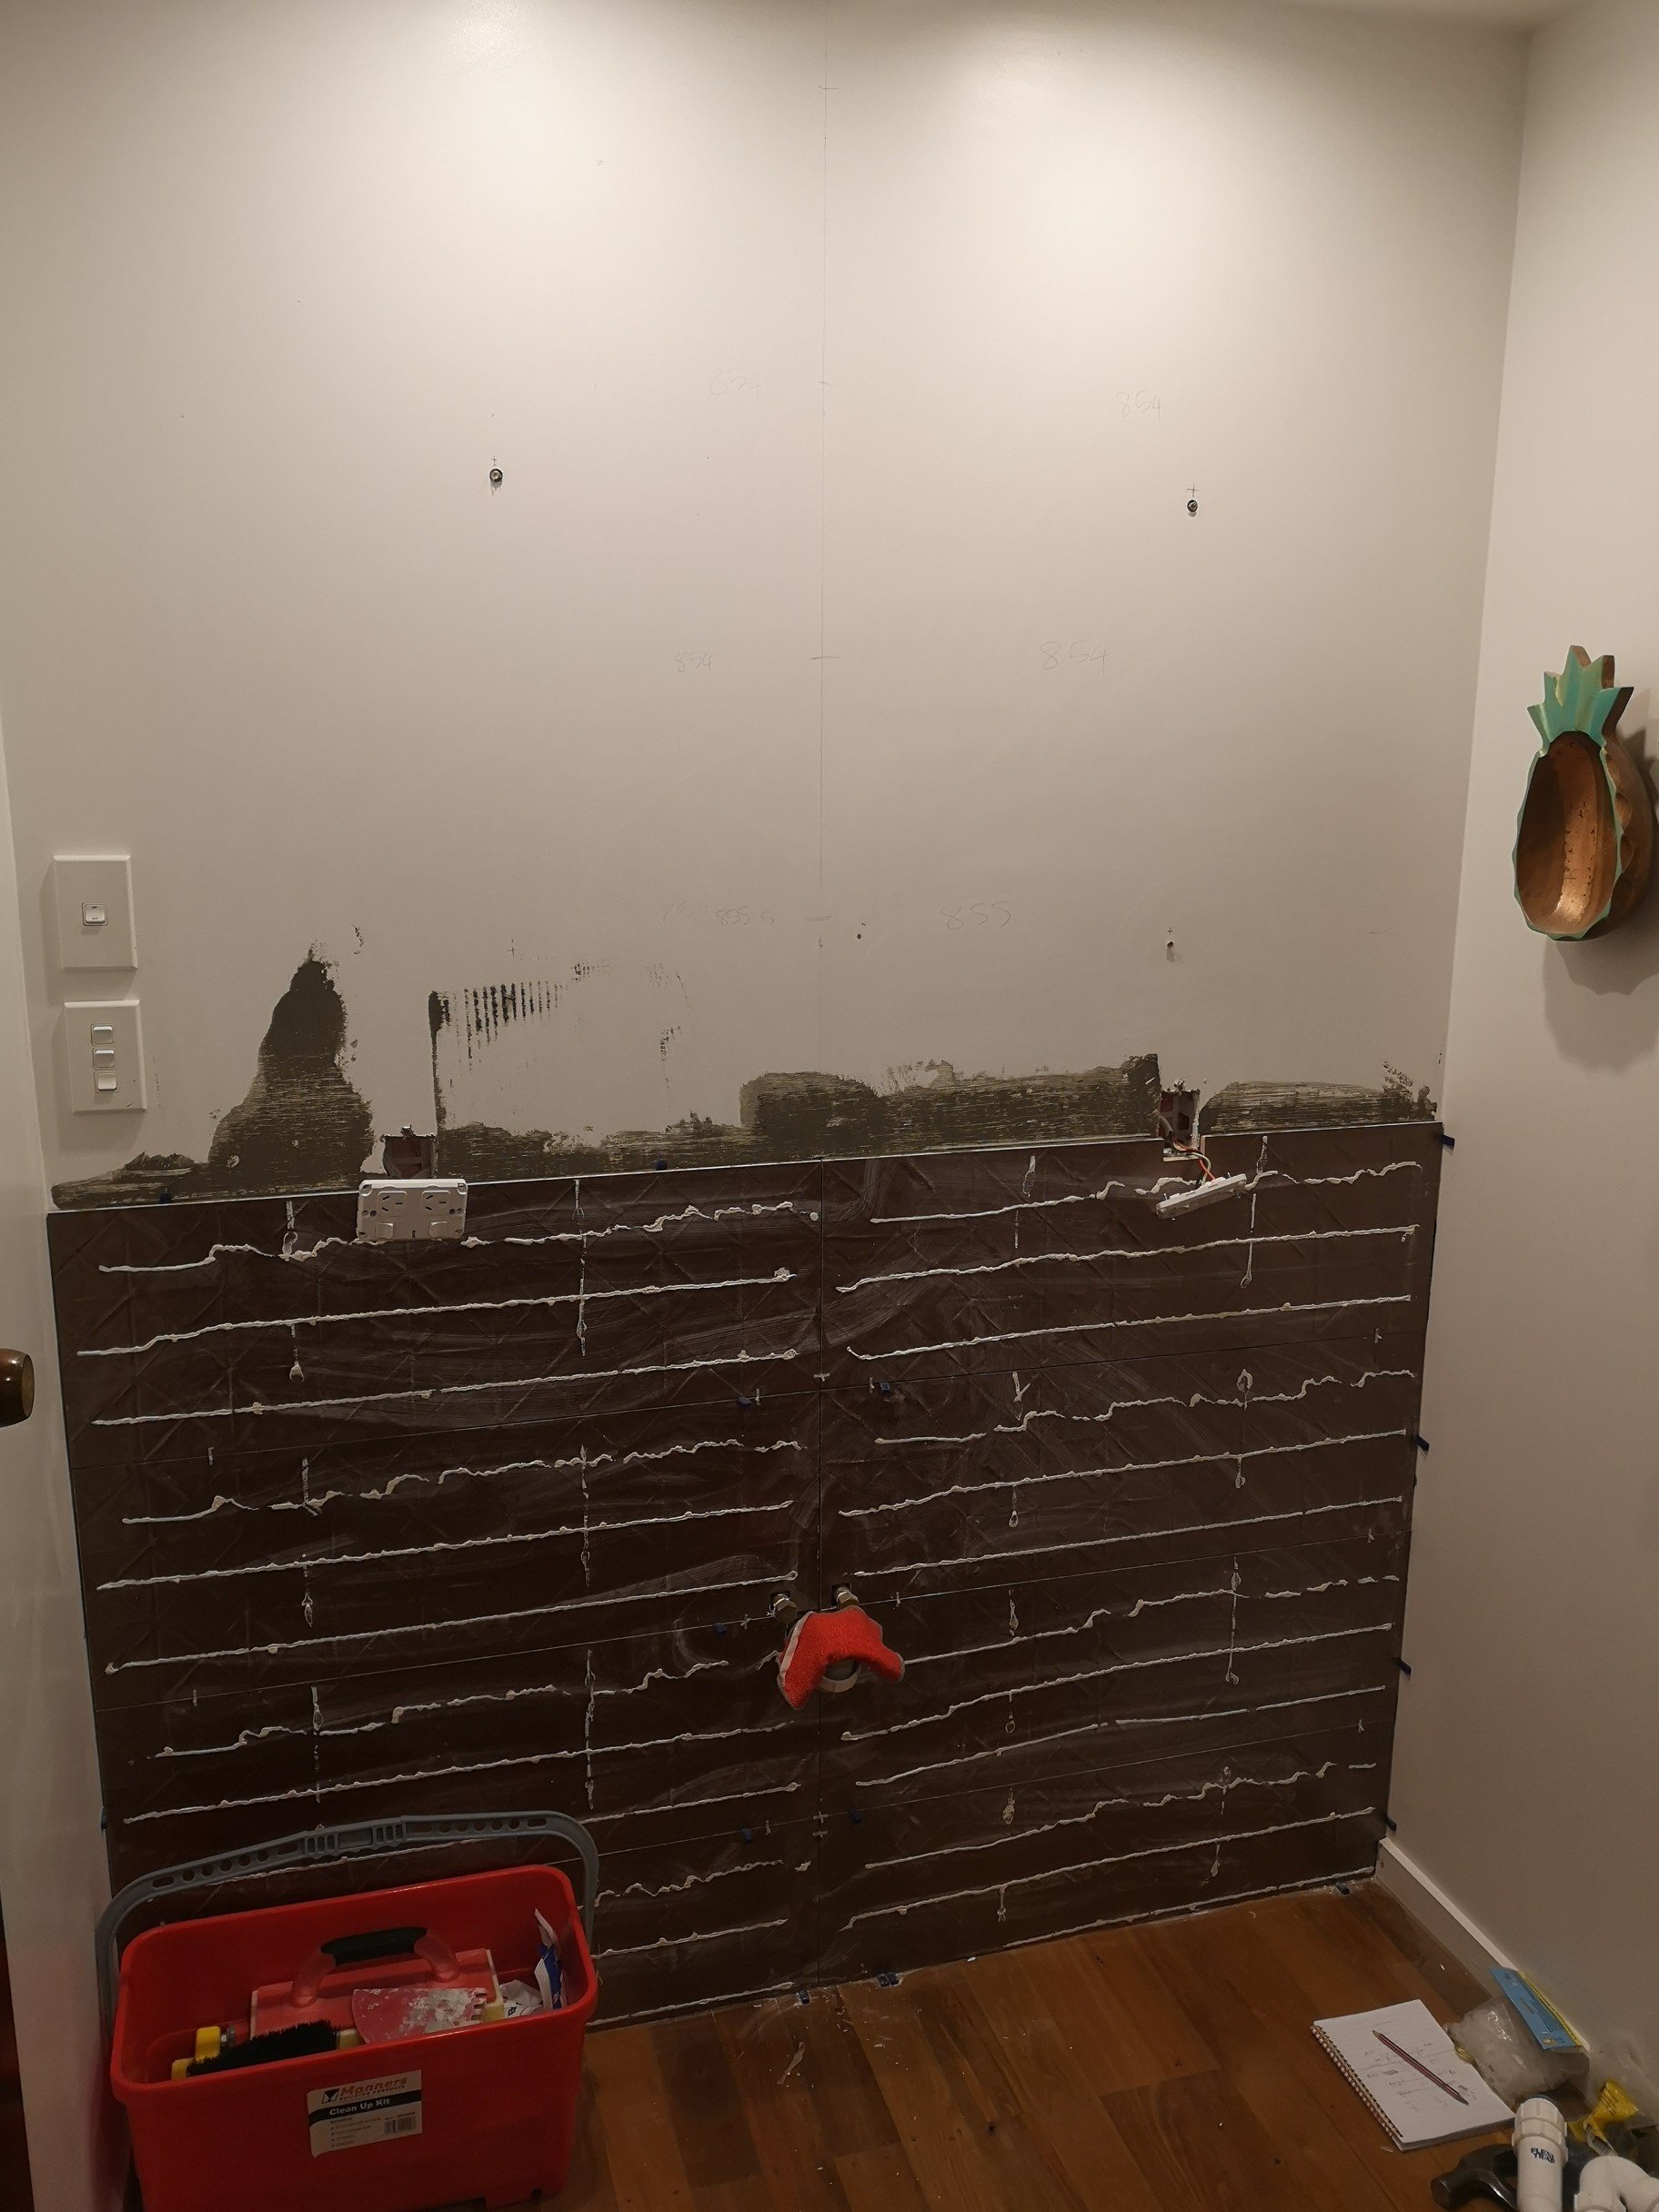
Next, started on the bathroom. Picked a 300x900mm tile to go there with the join in the middle of the wall. So as not to complicate things around the back of the sink/tap area I decided to start on a full tile from that point which meant a cut top and bottom. Doesn't matter there tho as you have nothing to register it off and it's also not where you look. As per usual these walls were wobbly too, easier to manage with big tiles tho. Doing the two opposite ends of the bathroom so it still stays reasonably light. The squiggles are just lime protection to separate tiles in the carton. My first cut, classic. Started the other end, Lasering the center and horizontals, makes life a lot easier when setting out vs a level. Then, after 9 years of throwing stones around I finally managed to leave my finger between two, Has thrown a bit of a spanner in the works but is actually a blessing in disguise as I should actually be able to finish all this by the weekend. Then it's time to finally close in the bottom of the house.. Excitement....
-
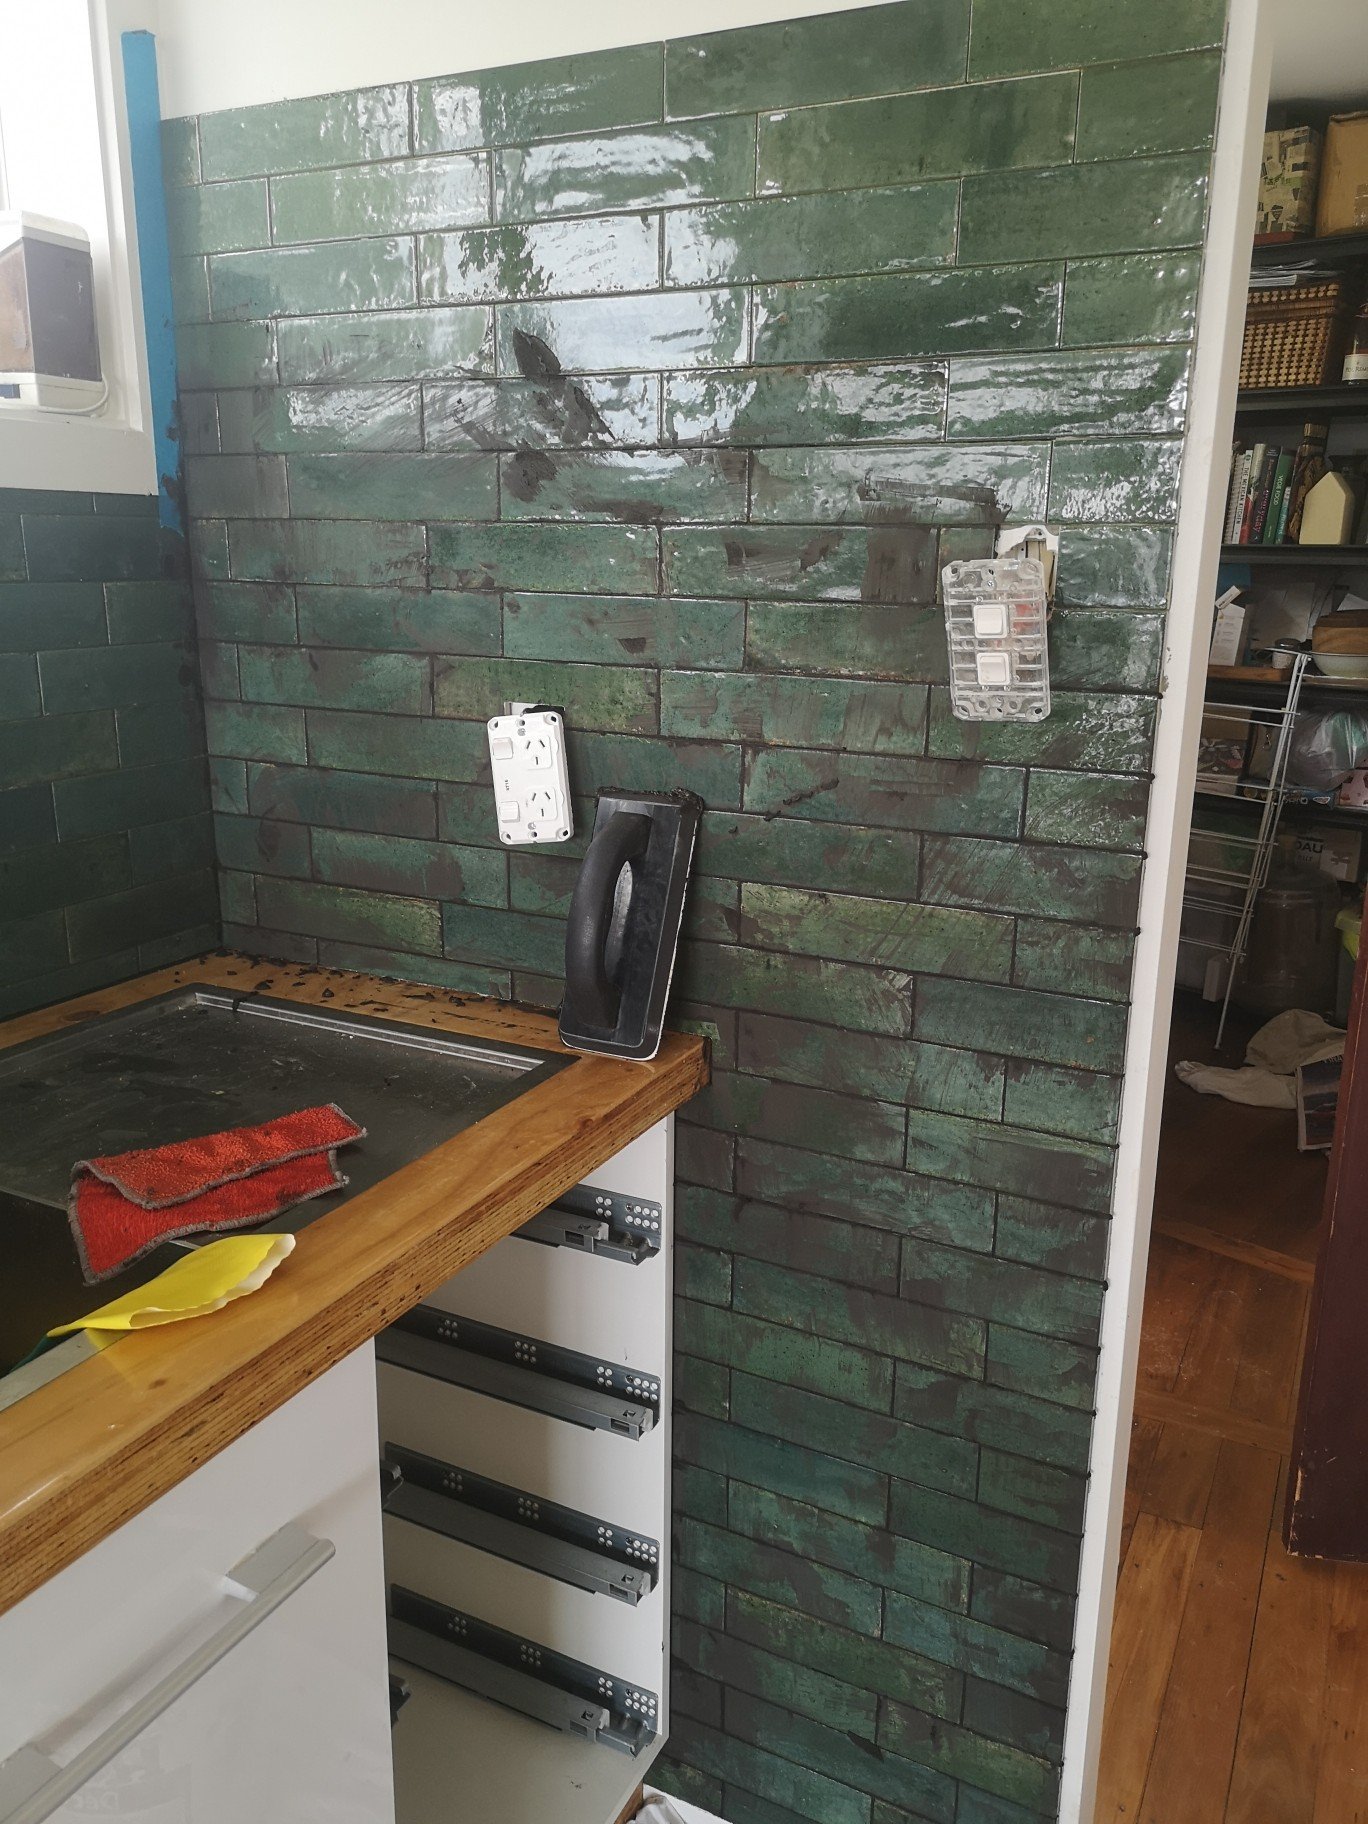
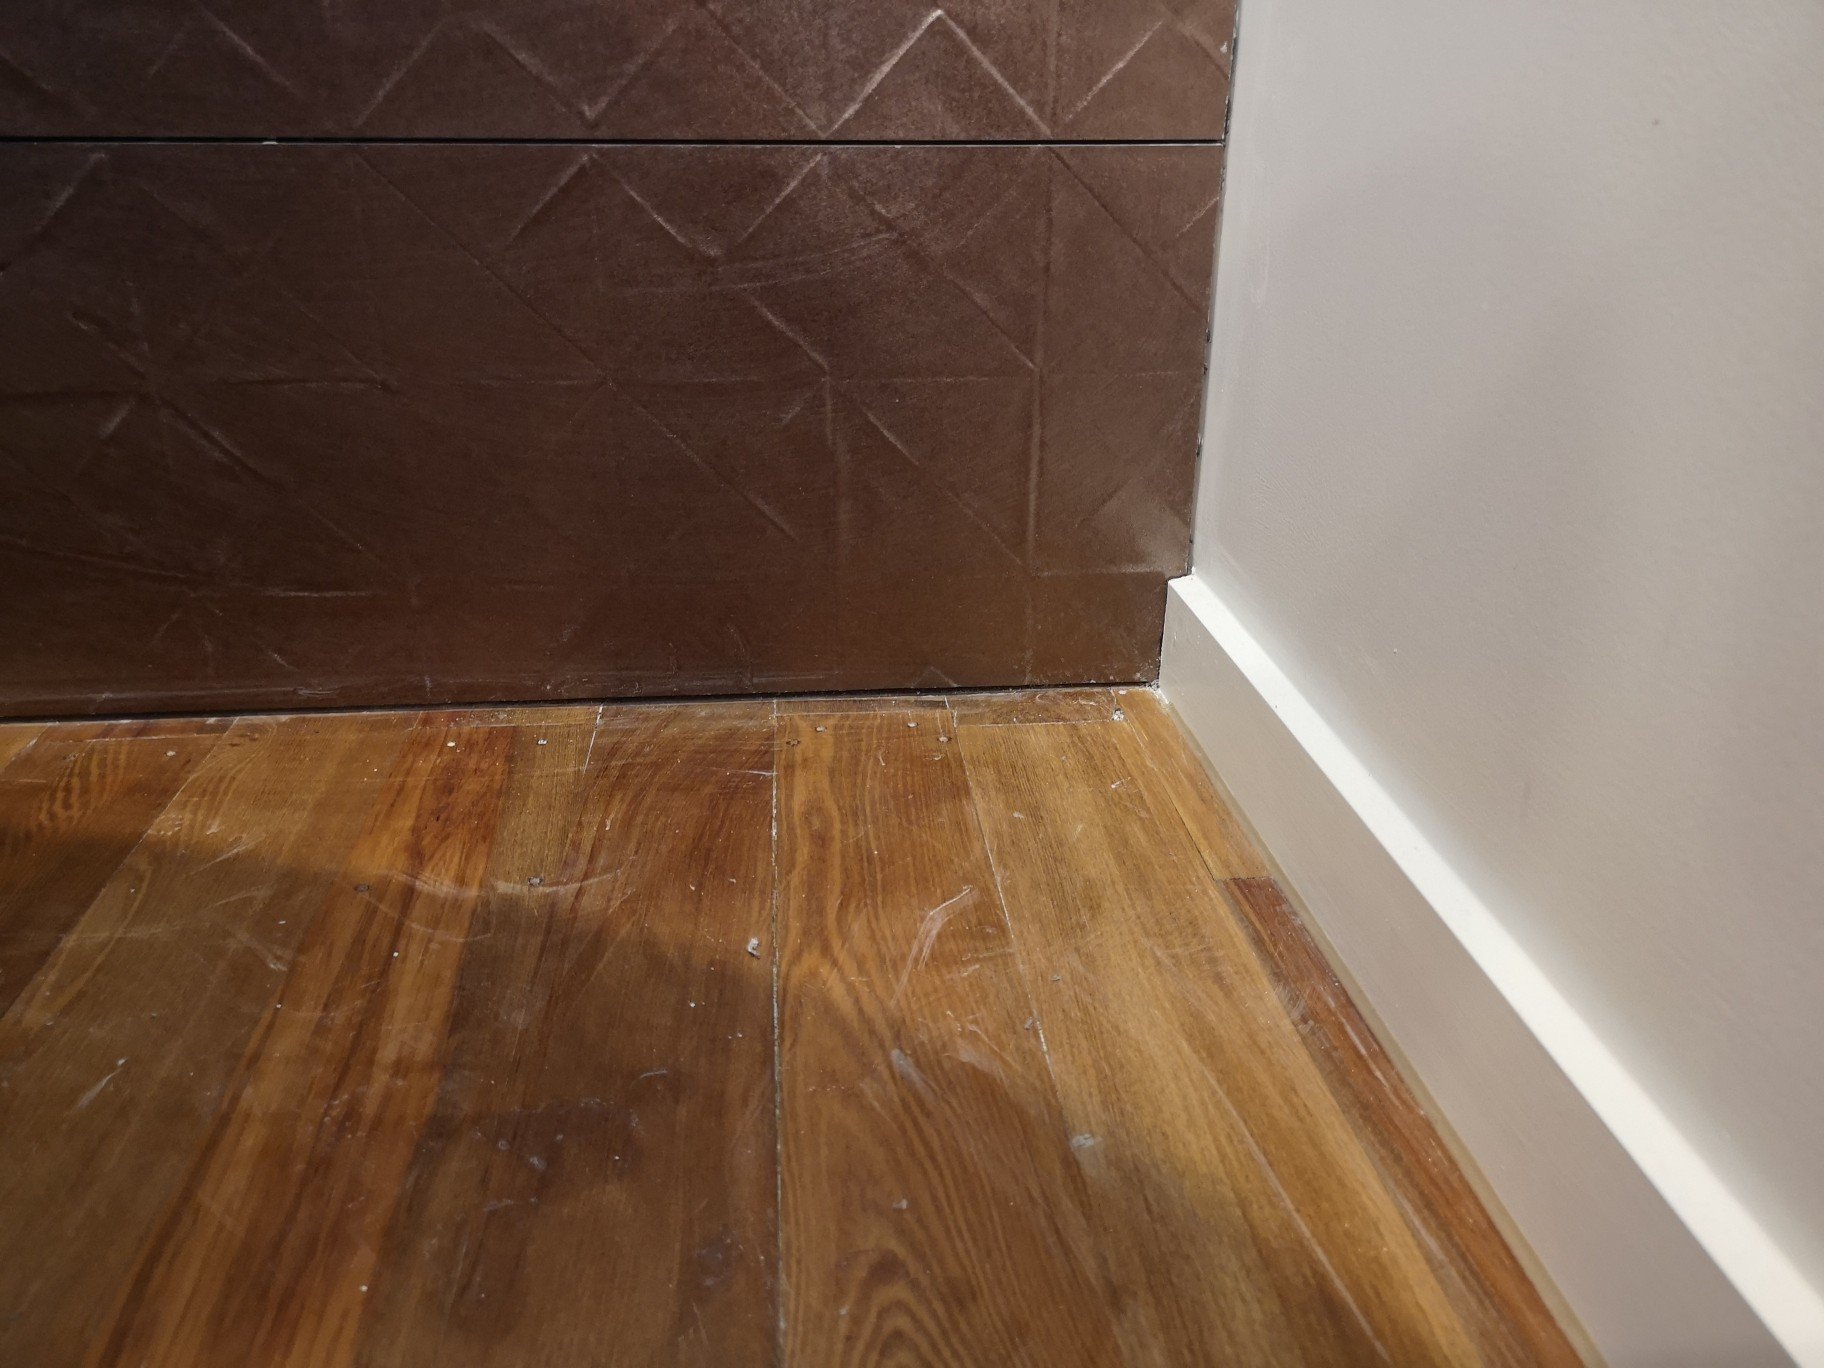
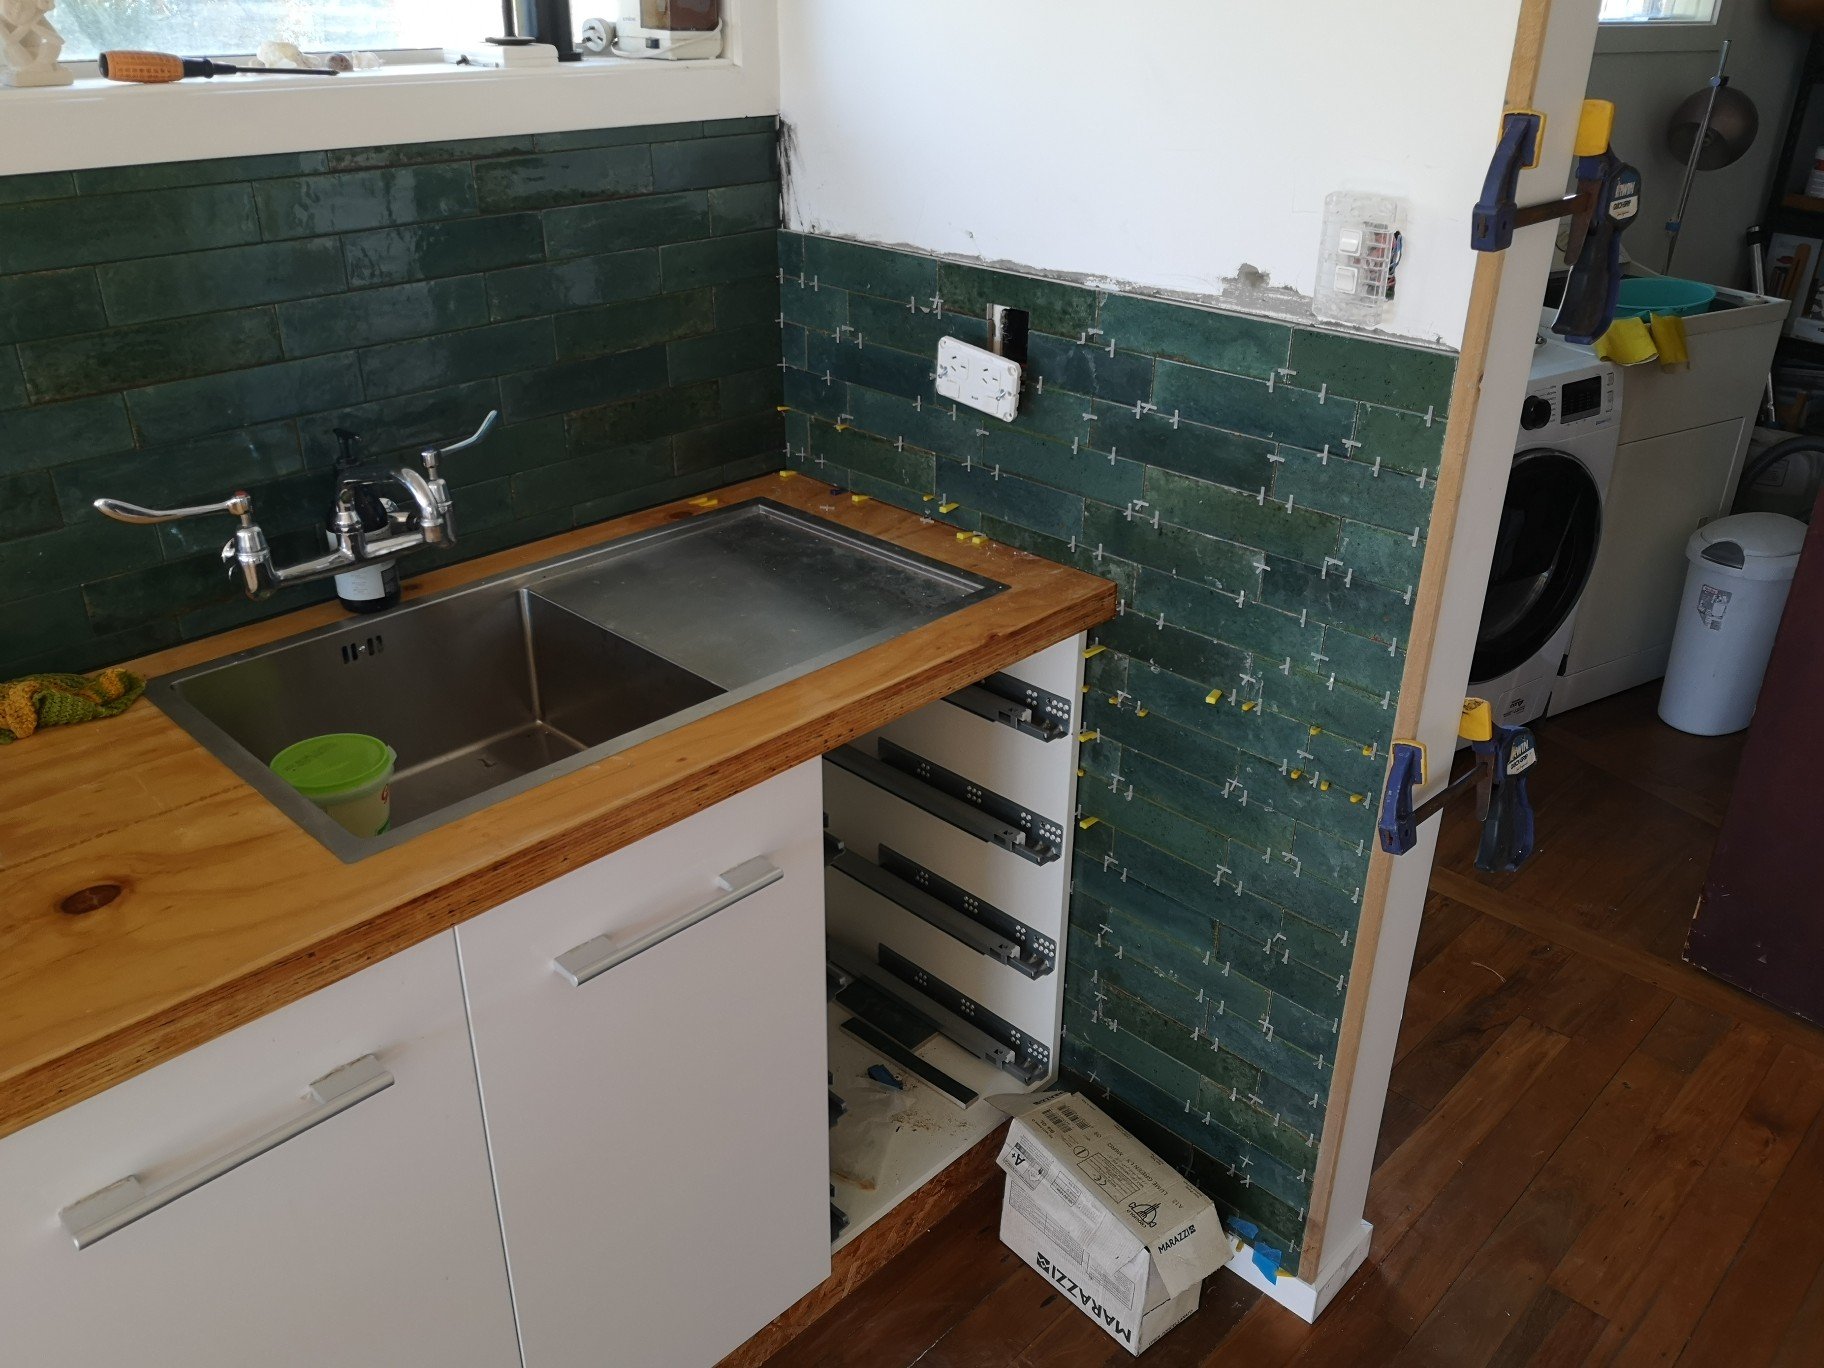
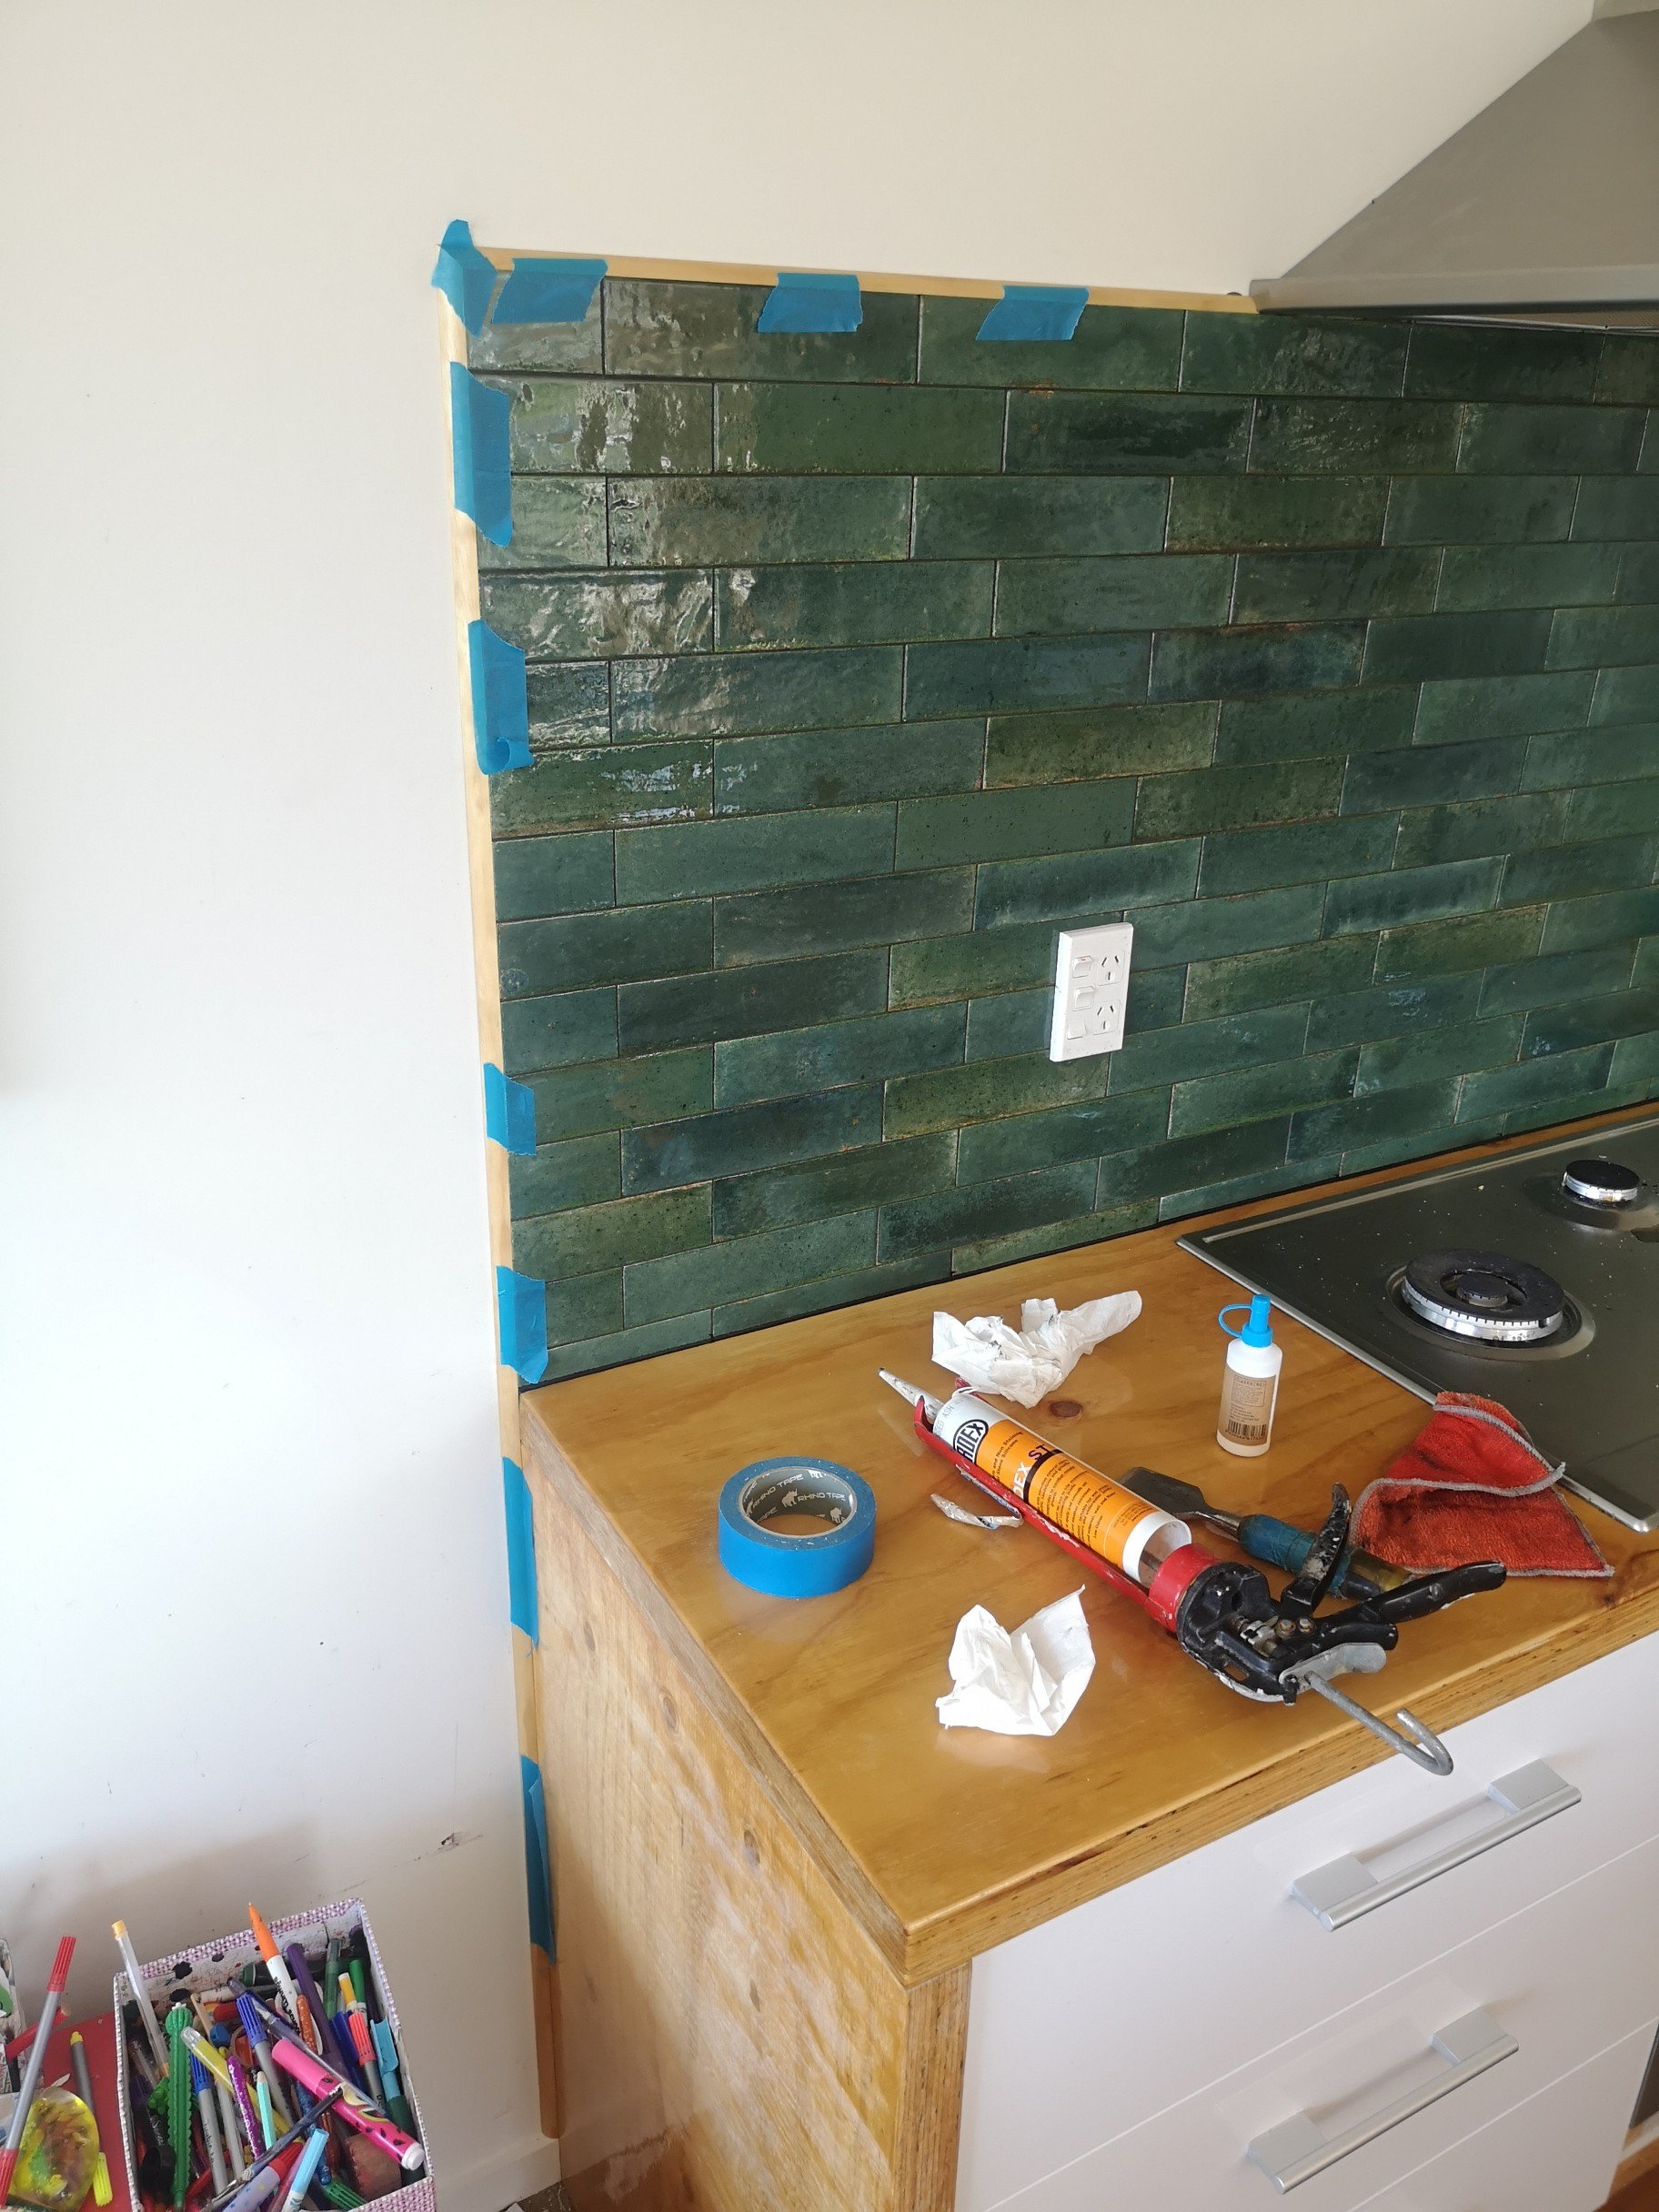
The other problem with a half tile under the window was that when I returned back to the laundry doorway I couldn't just finish at the height of the window architrave as that would mean a half tile to finish on which isn't ideal but putting a full tile there means a step in the line of the architrave, again, also not ideal. I was 2 tiles short of being able to finish on the line of the range hood but luckily the tile warehouse supplied us three tiles for nothing.. Win. Put the new skirtings on, Worked out where I needed to start to meet the course of the initial tiles, meant starting on another cut (roll eyes) got it right tho and didn't have to do any last minute adjustments to the course. I'm also not a huge fan of generic tile edges so I decided to use a 12mm quad instead. Oiled with the same stuff as the floor. Still have to grout and install the edging on the return tiles.. Came up pretty good tho.
- 322 replies
-
- 13
-

-

-
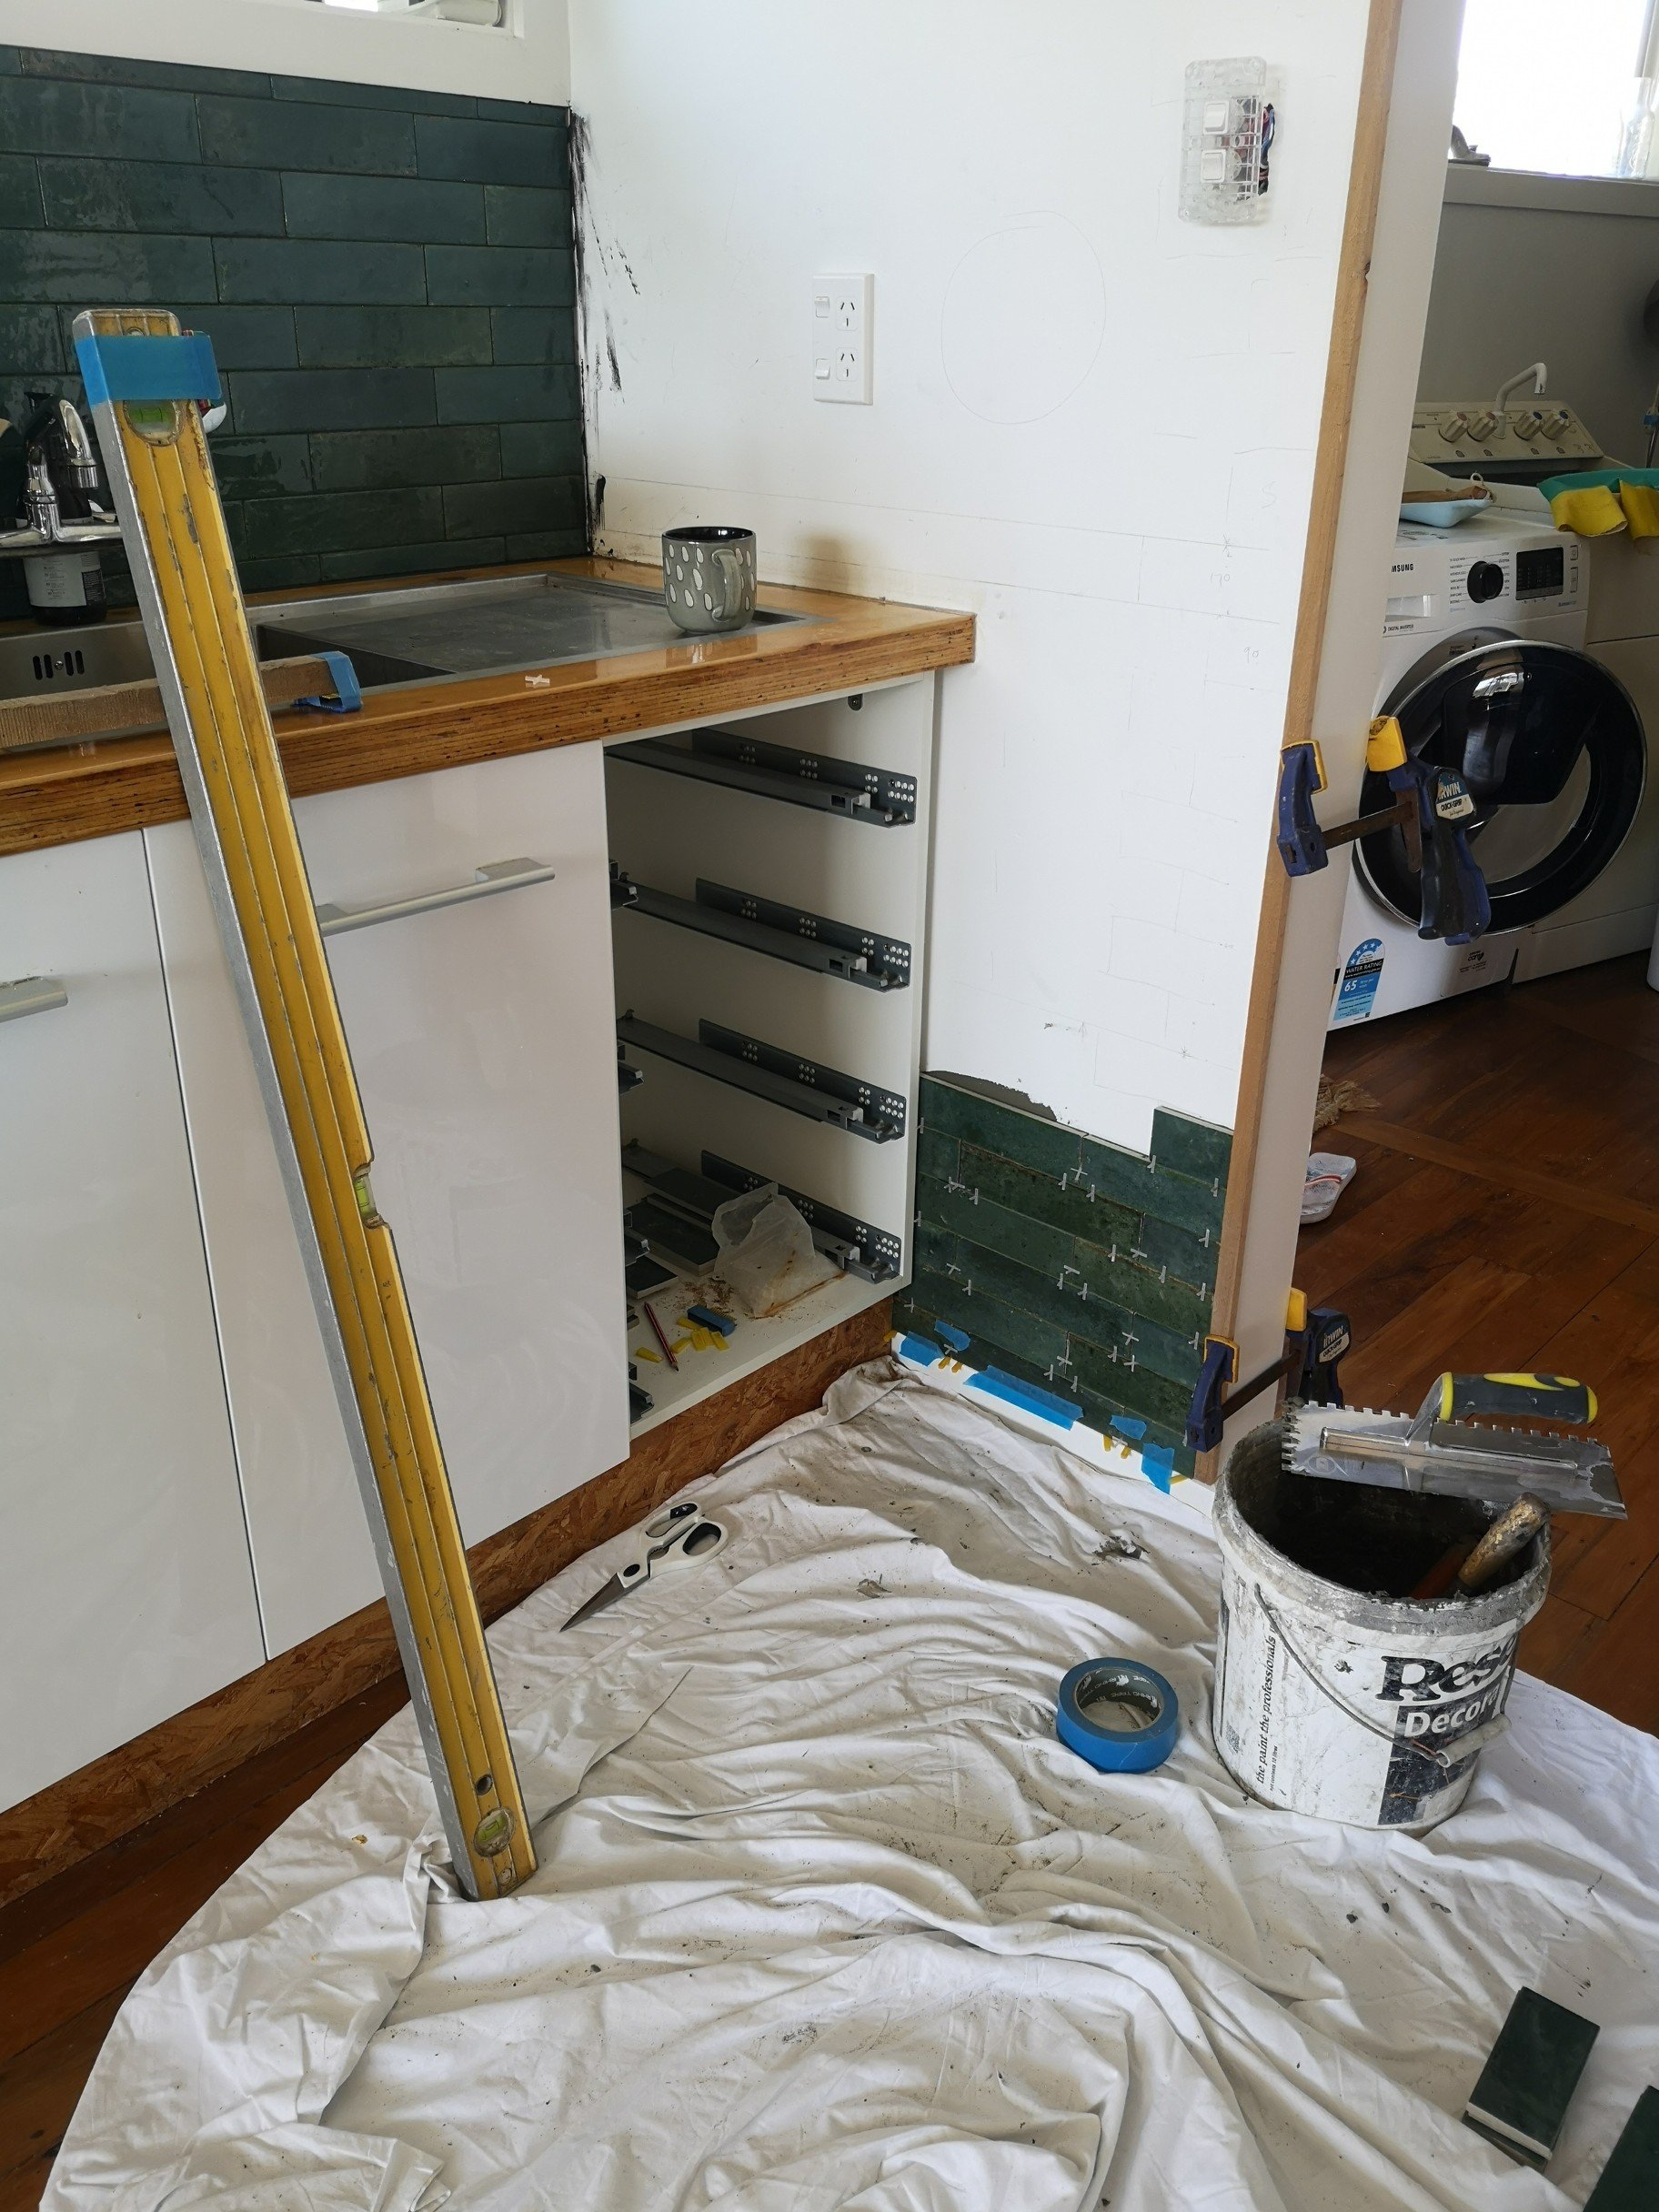
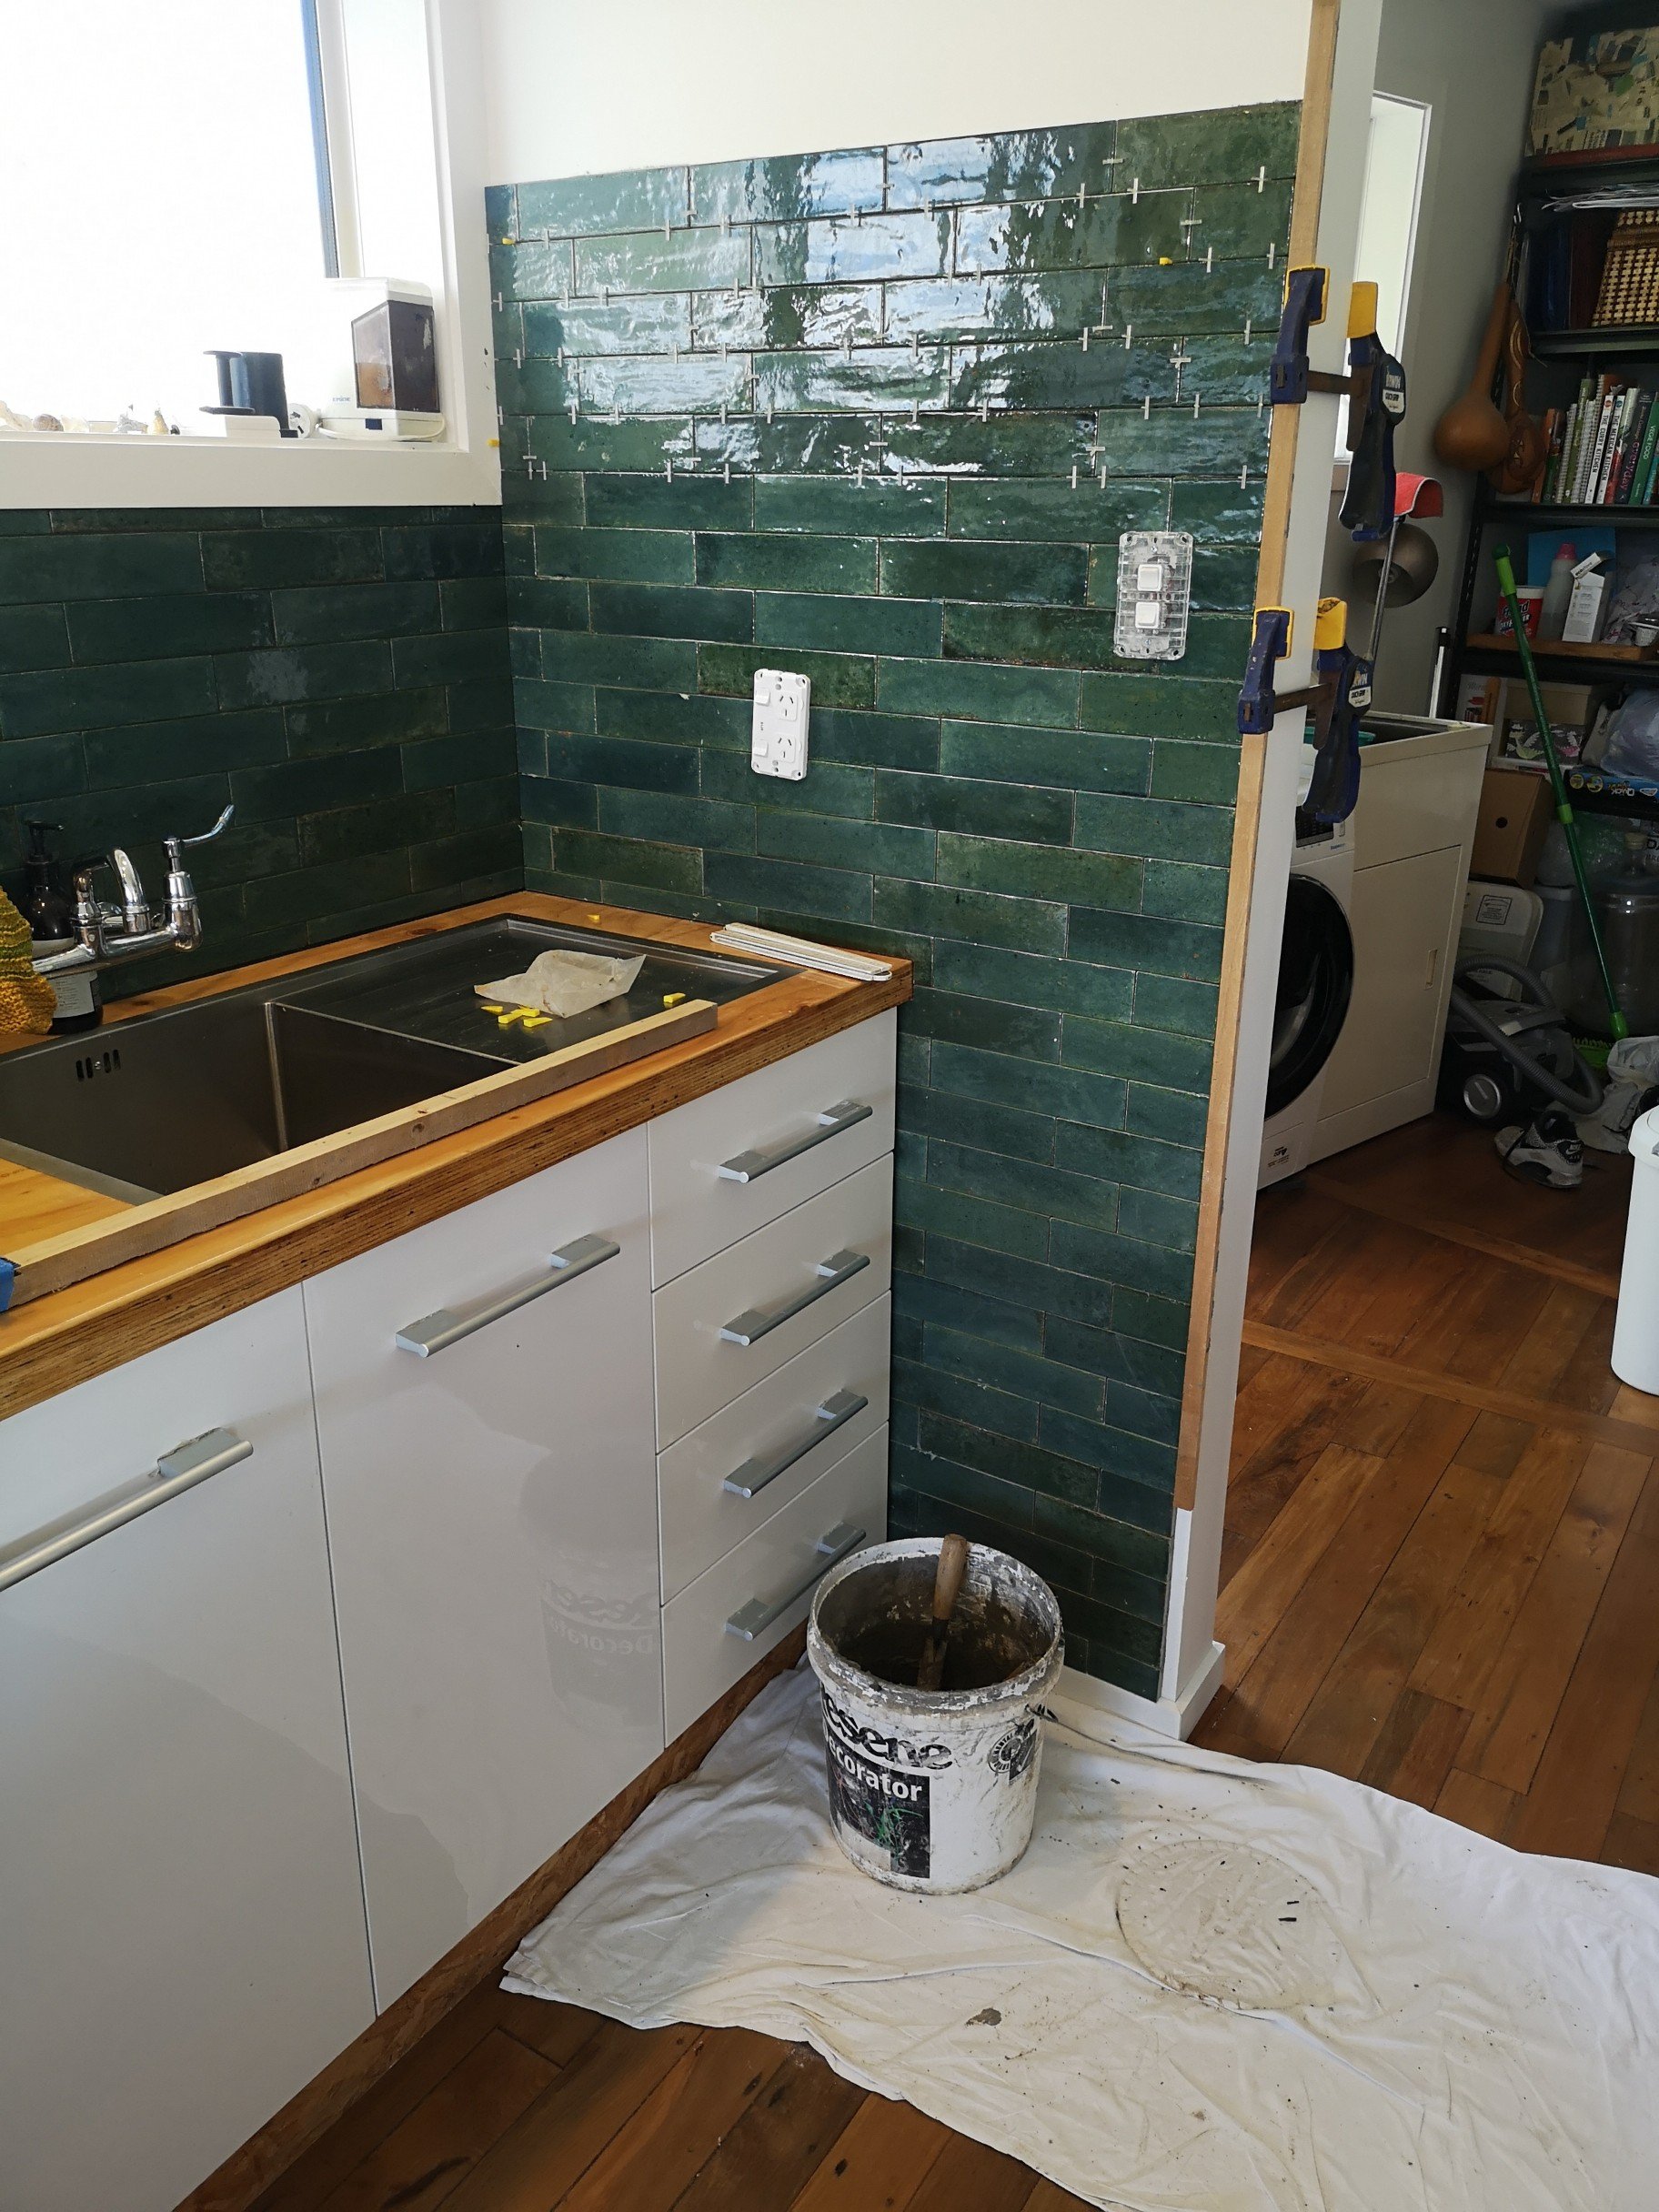
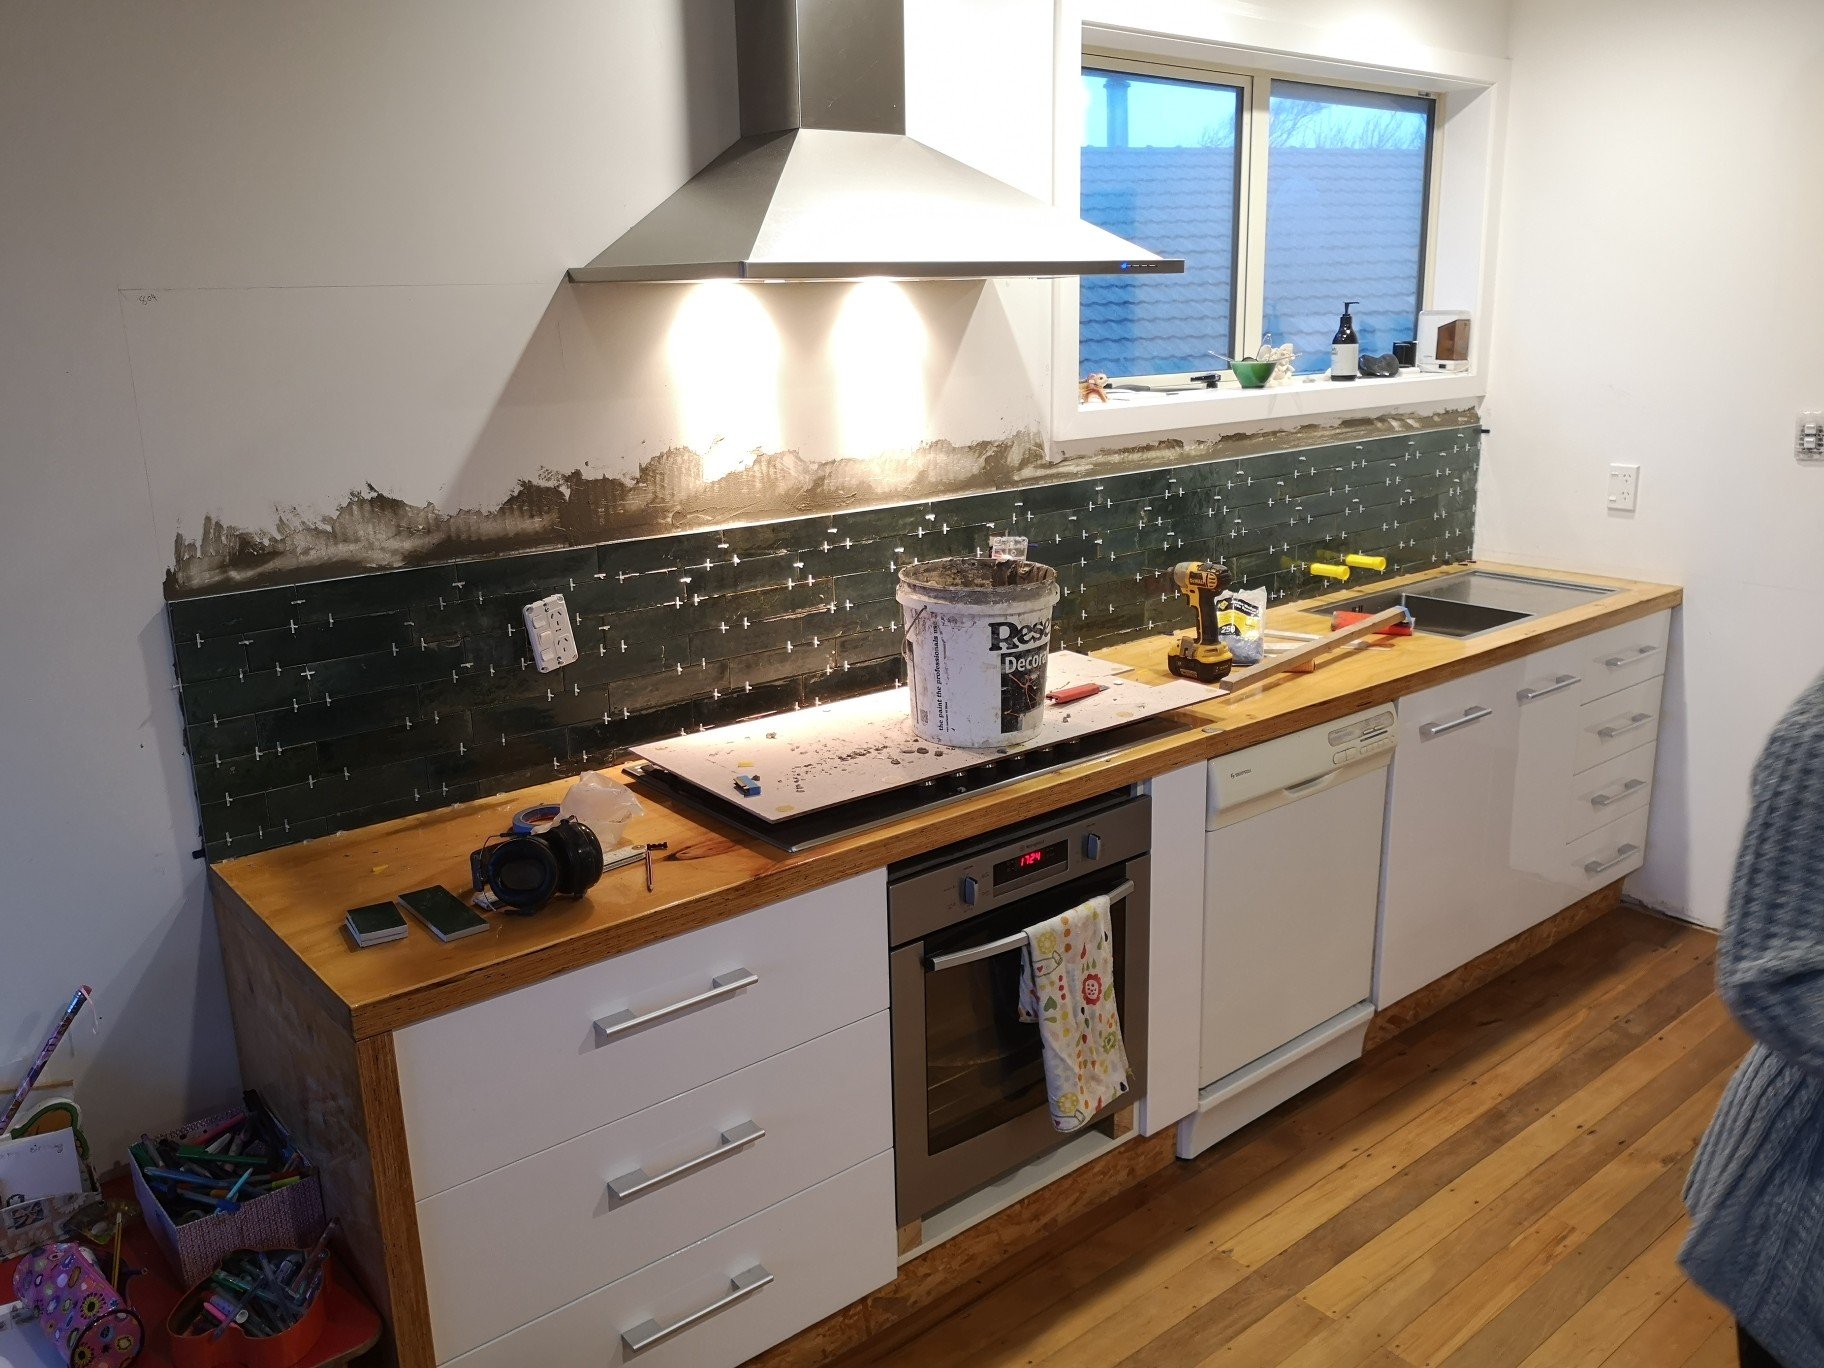
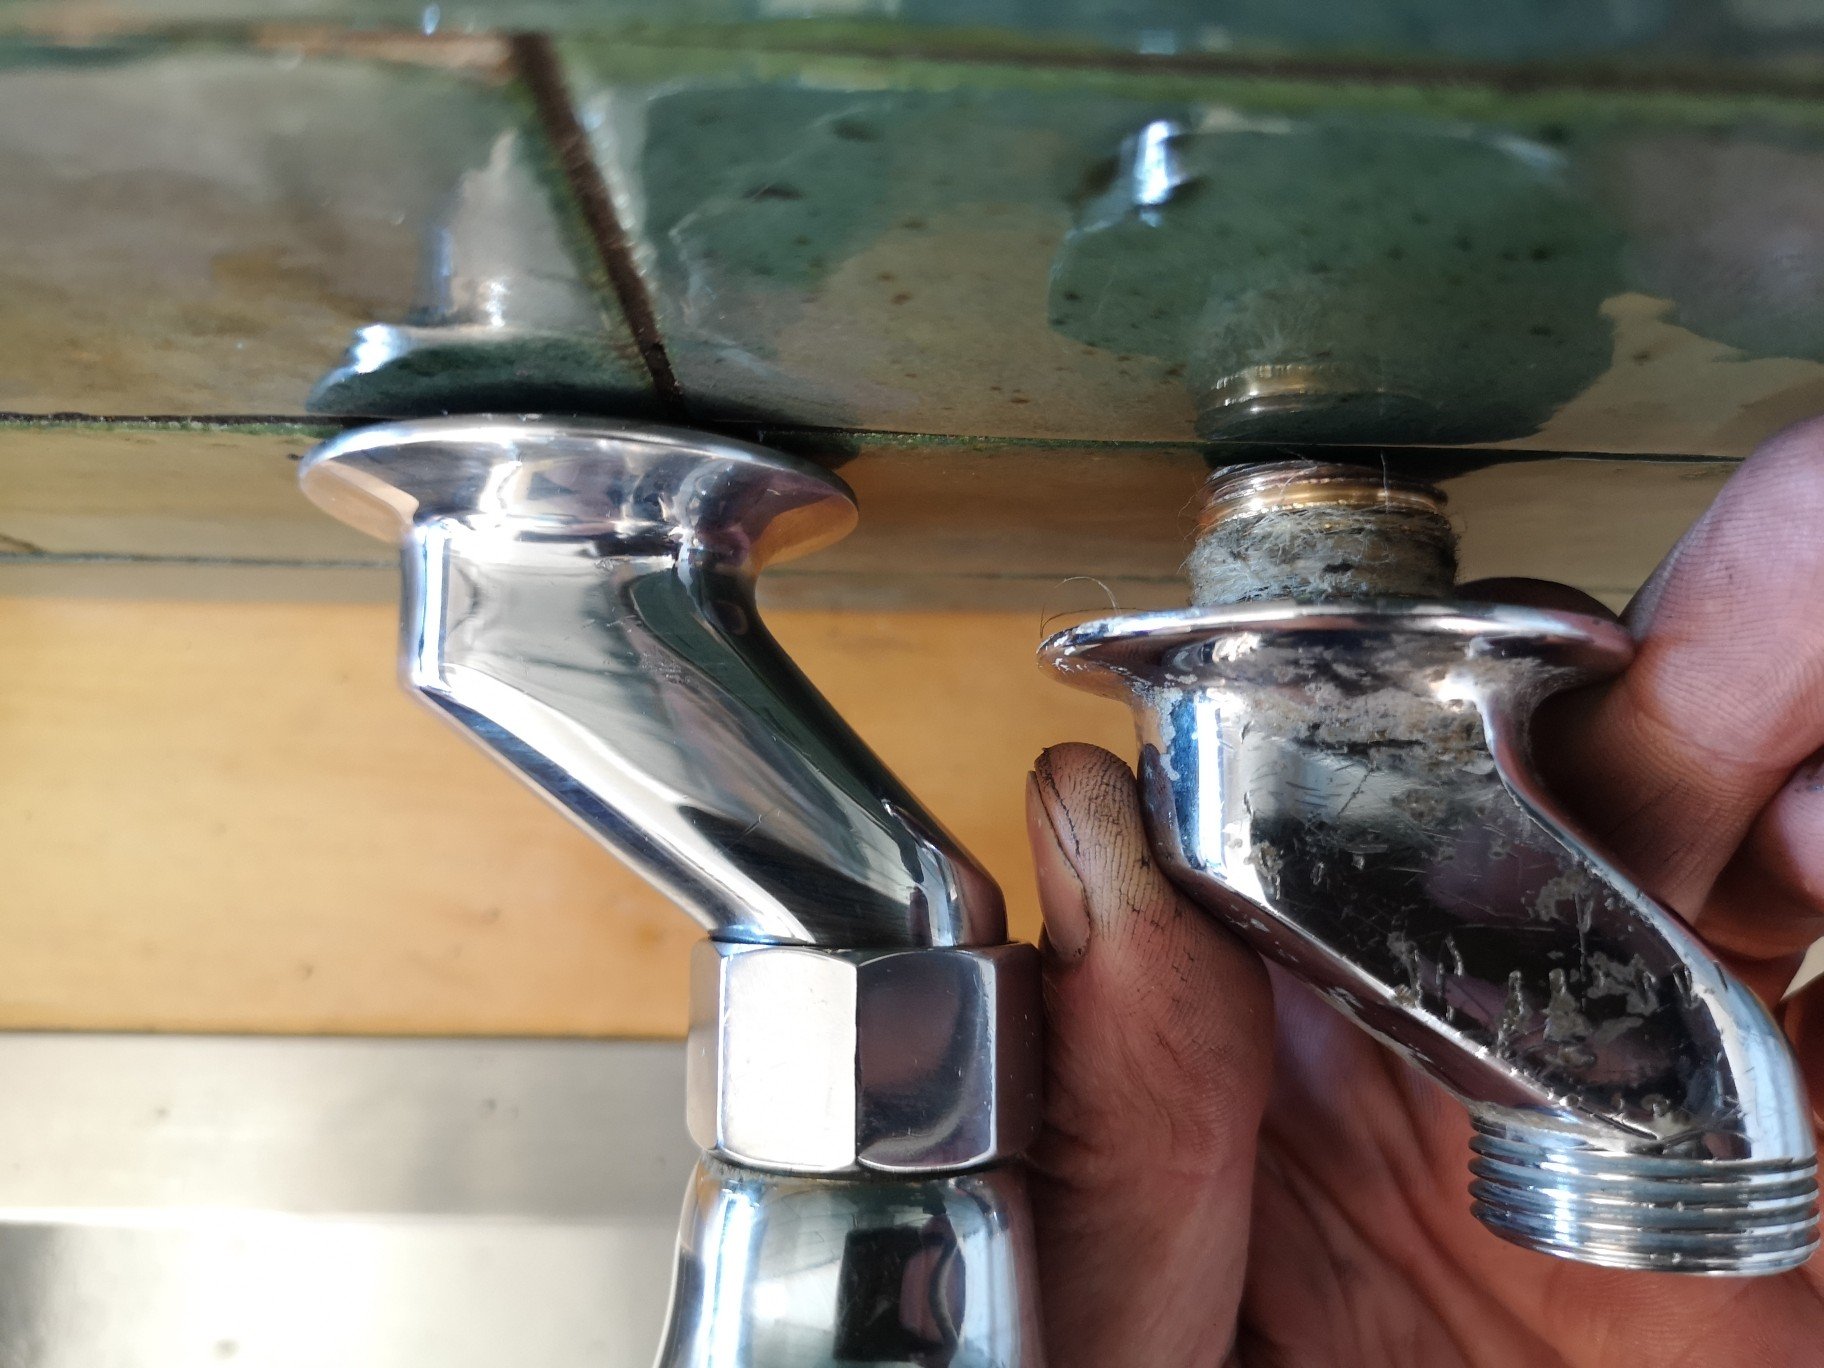
Finally finishing plastering was spurred on by the fact I had some tiling to do.. Decided on a handmade Italian subway style green tile.. Not a huge fan of tiling either, mainly due to tiling over an abundance wobbly floors and walls. That sort makes tiling extremely painful, my house was no fucken different.. After doing some measurements I found that I was going to have to start with a half tile cut at the bottom to meet the extractor with a full tile at the top. I could've moved the range hood to make it work but I really couldn't be fucked and the tiles are dark enough that you wouldn't really notice a half tile under the window either.. As you can see my original mixer adaptors were pretty munted looking, went to miter10 to see what they had on the shelves and what do you know.. Free. Look a better now.
- 322 replies
-
- 18
-
-
-
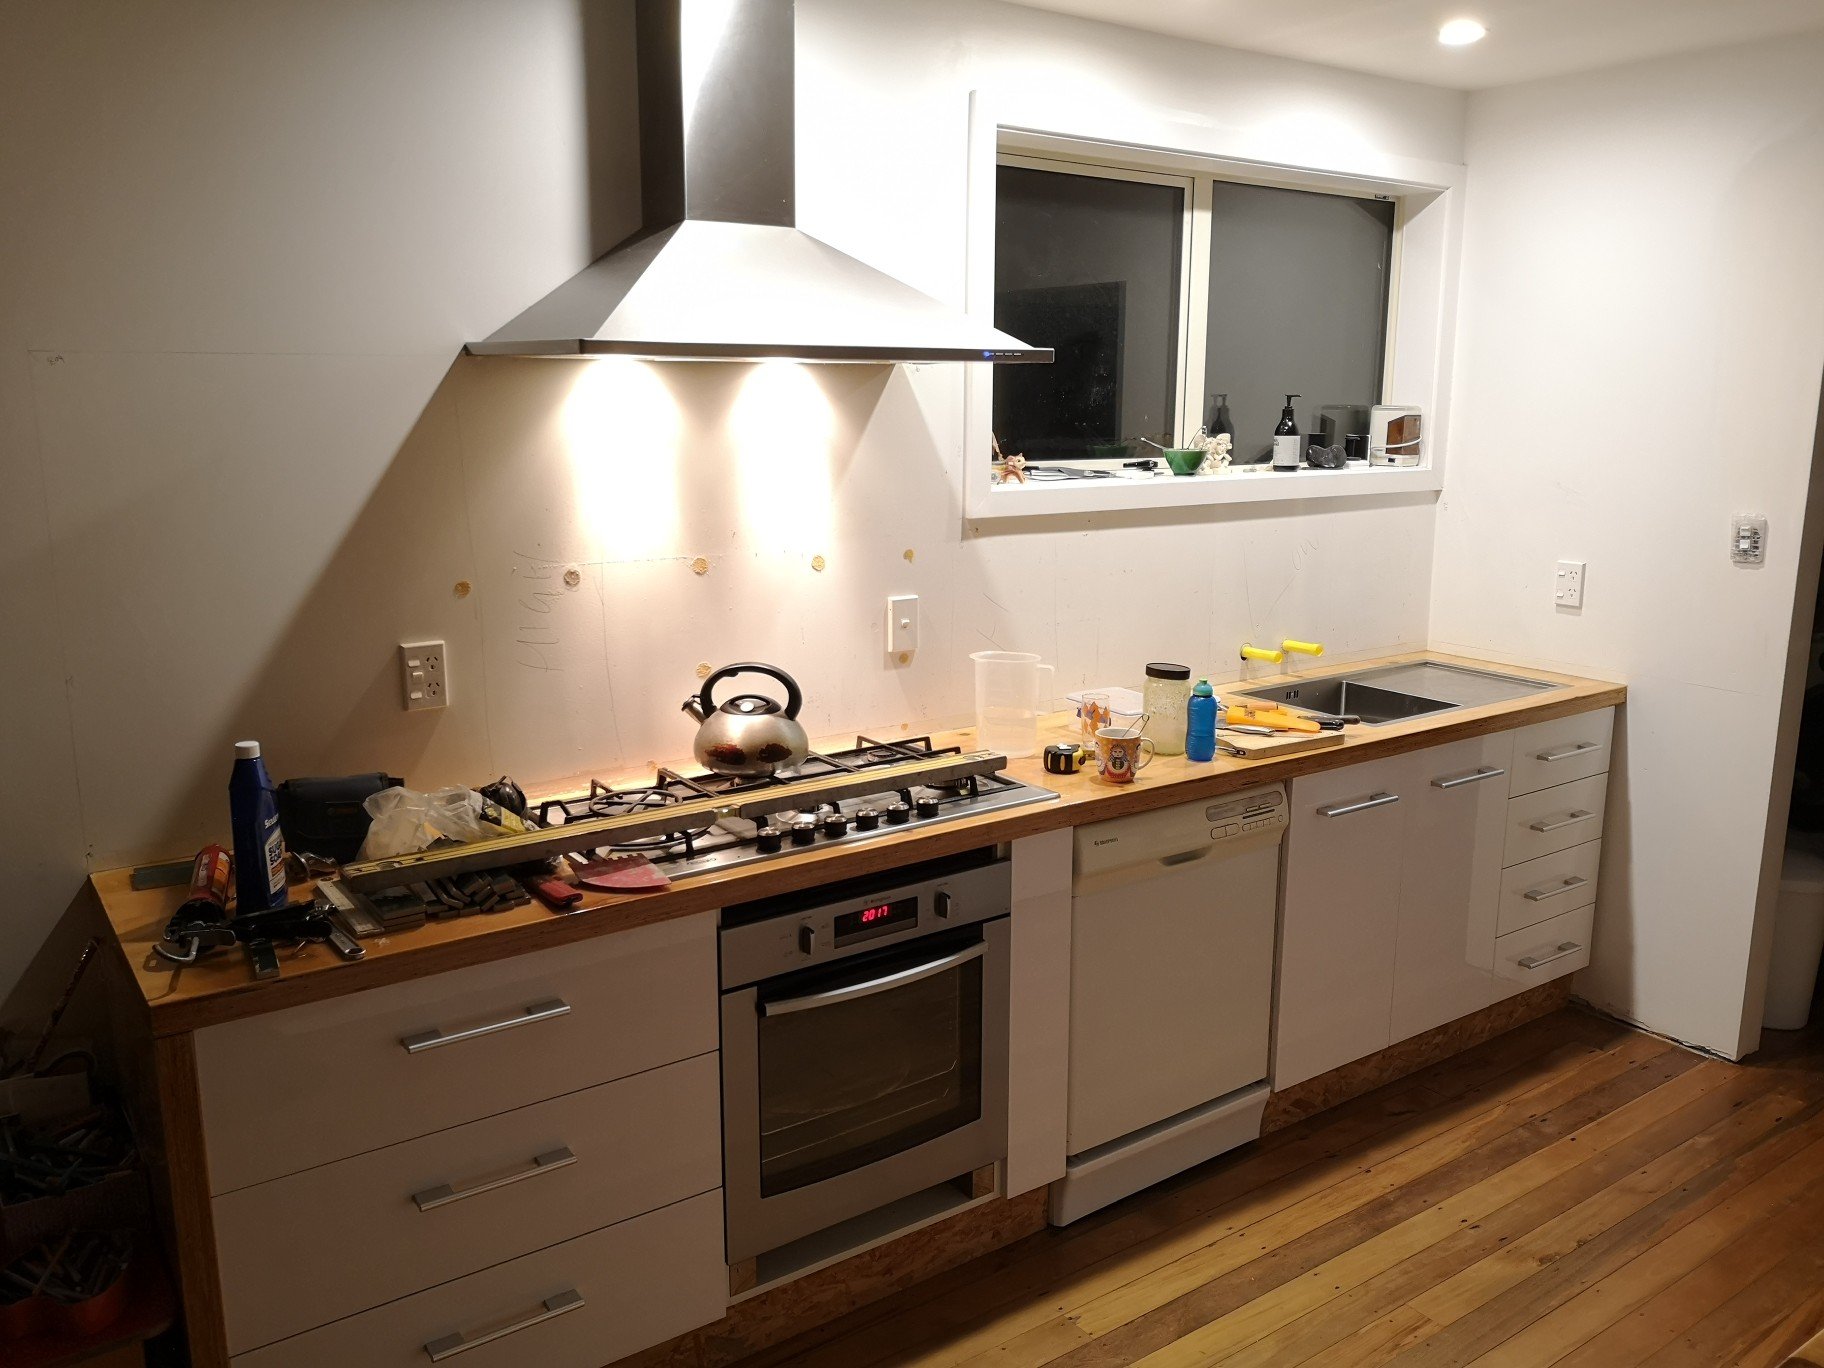
Did I say I hate plastering? It stayed unsanded like that till the beginning of August such is my complete lack of enthusiasm for all things drywall. That and I assumed plaster could be used anytime. Found out it had a shelf life of about 18 months, Tradeset 90 goes off in about 15min once its 4 years old(eye rollingly annoying) then I found no-one stocked lite blue in 5kg bags. When I say I don't like drywall, I also don't like driving round getting supplies for said drywall.
-
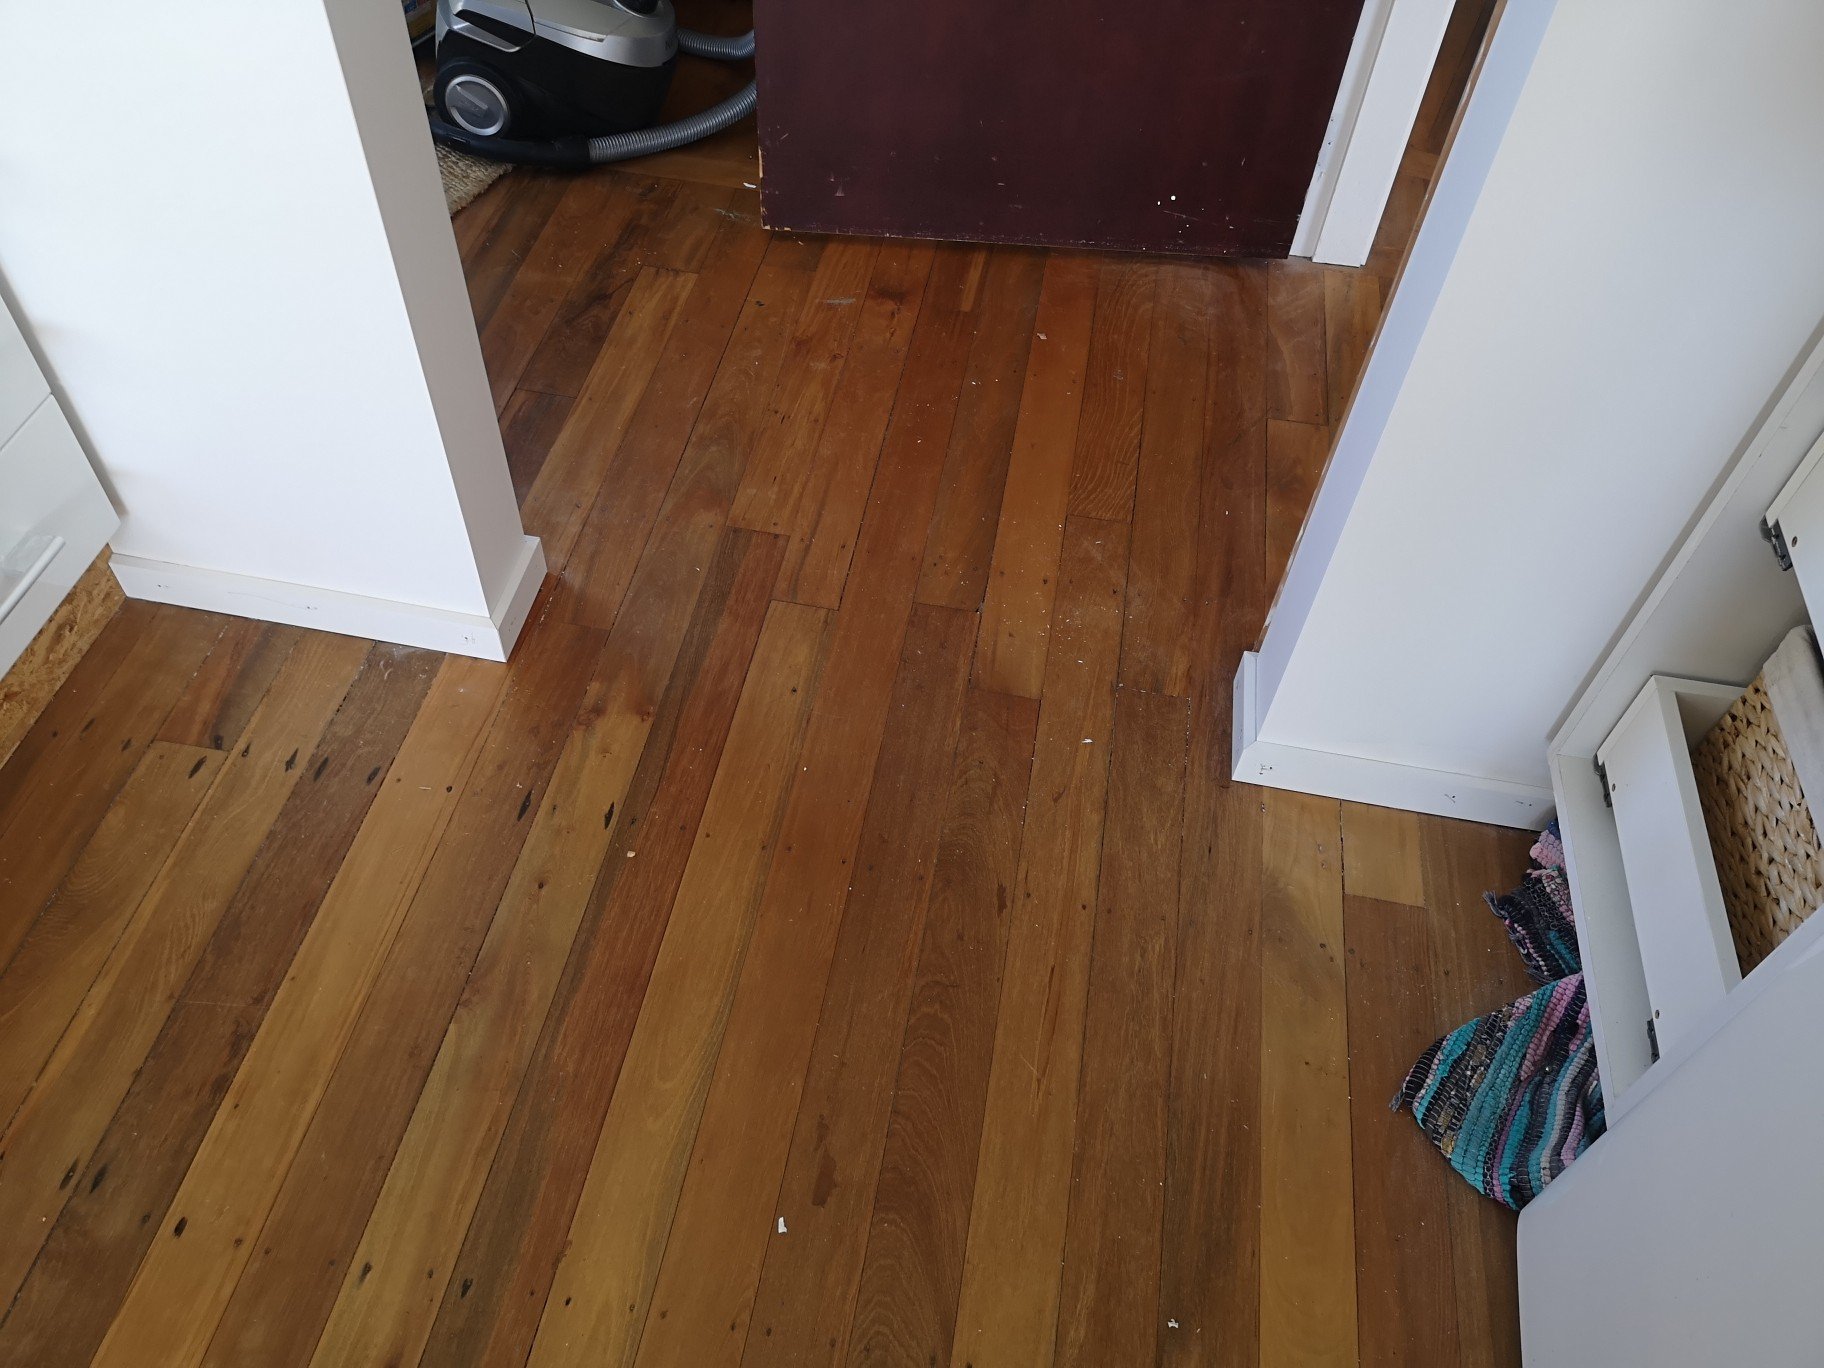
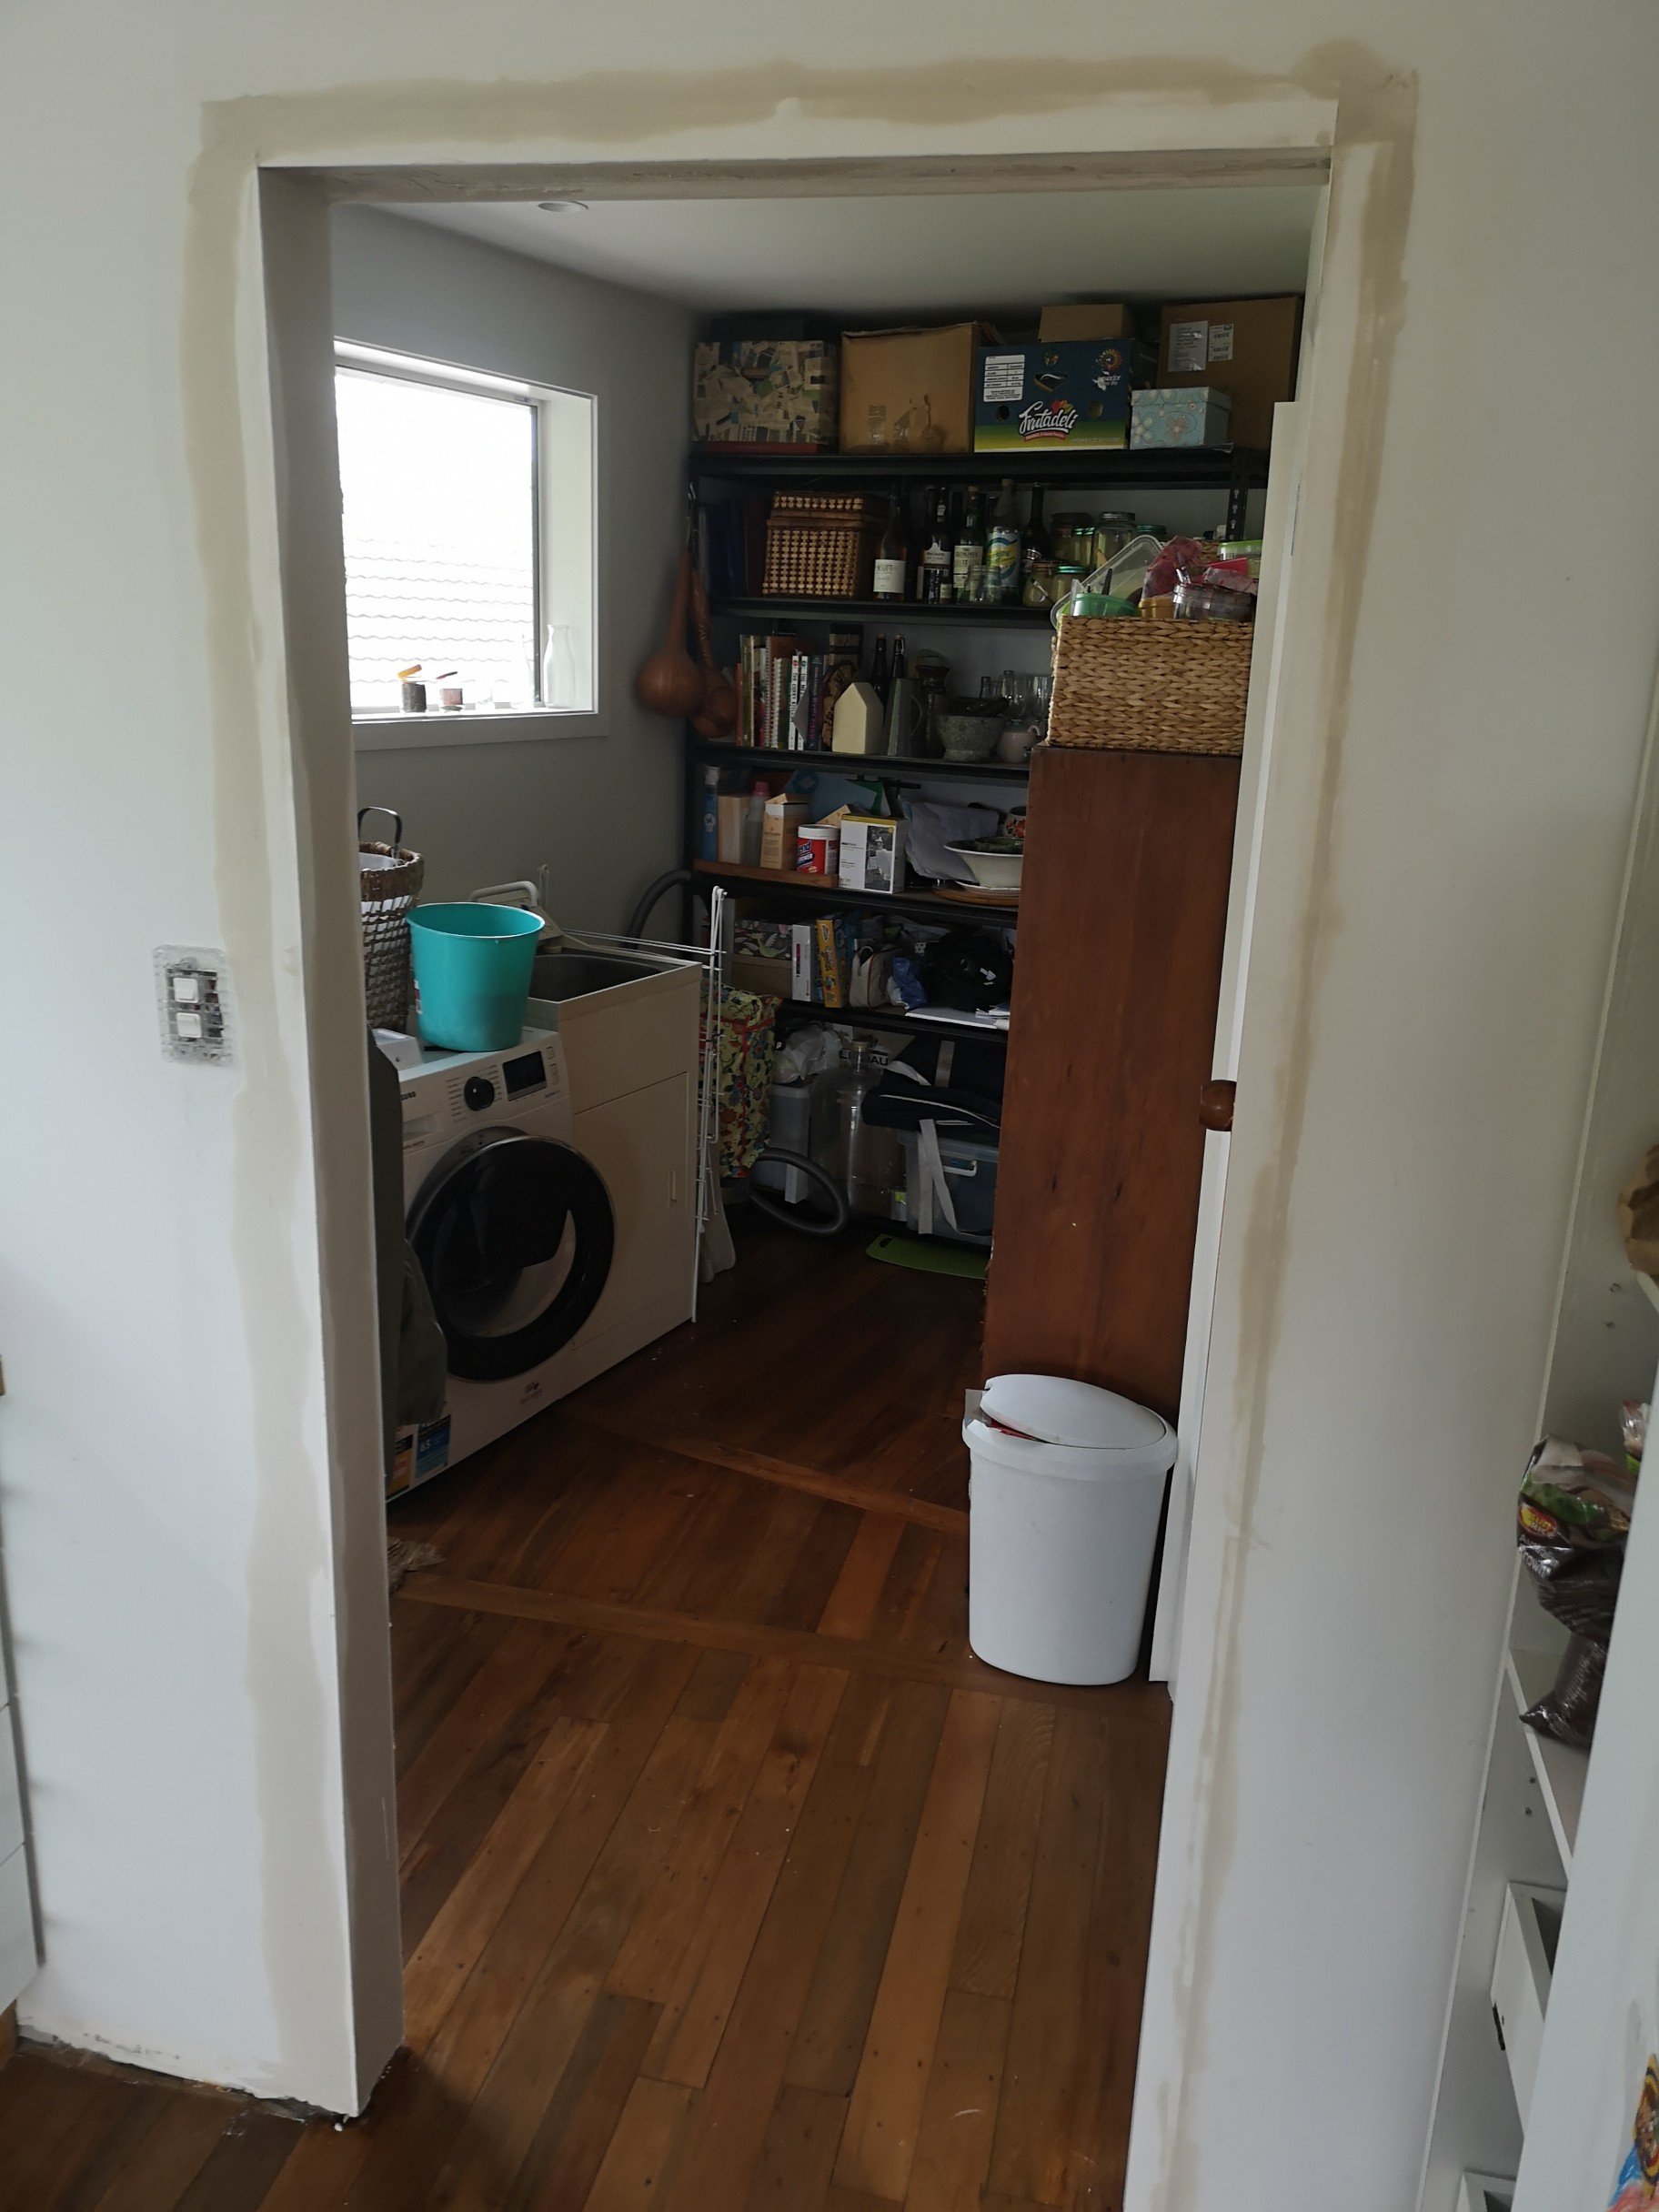
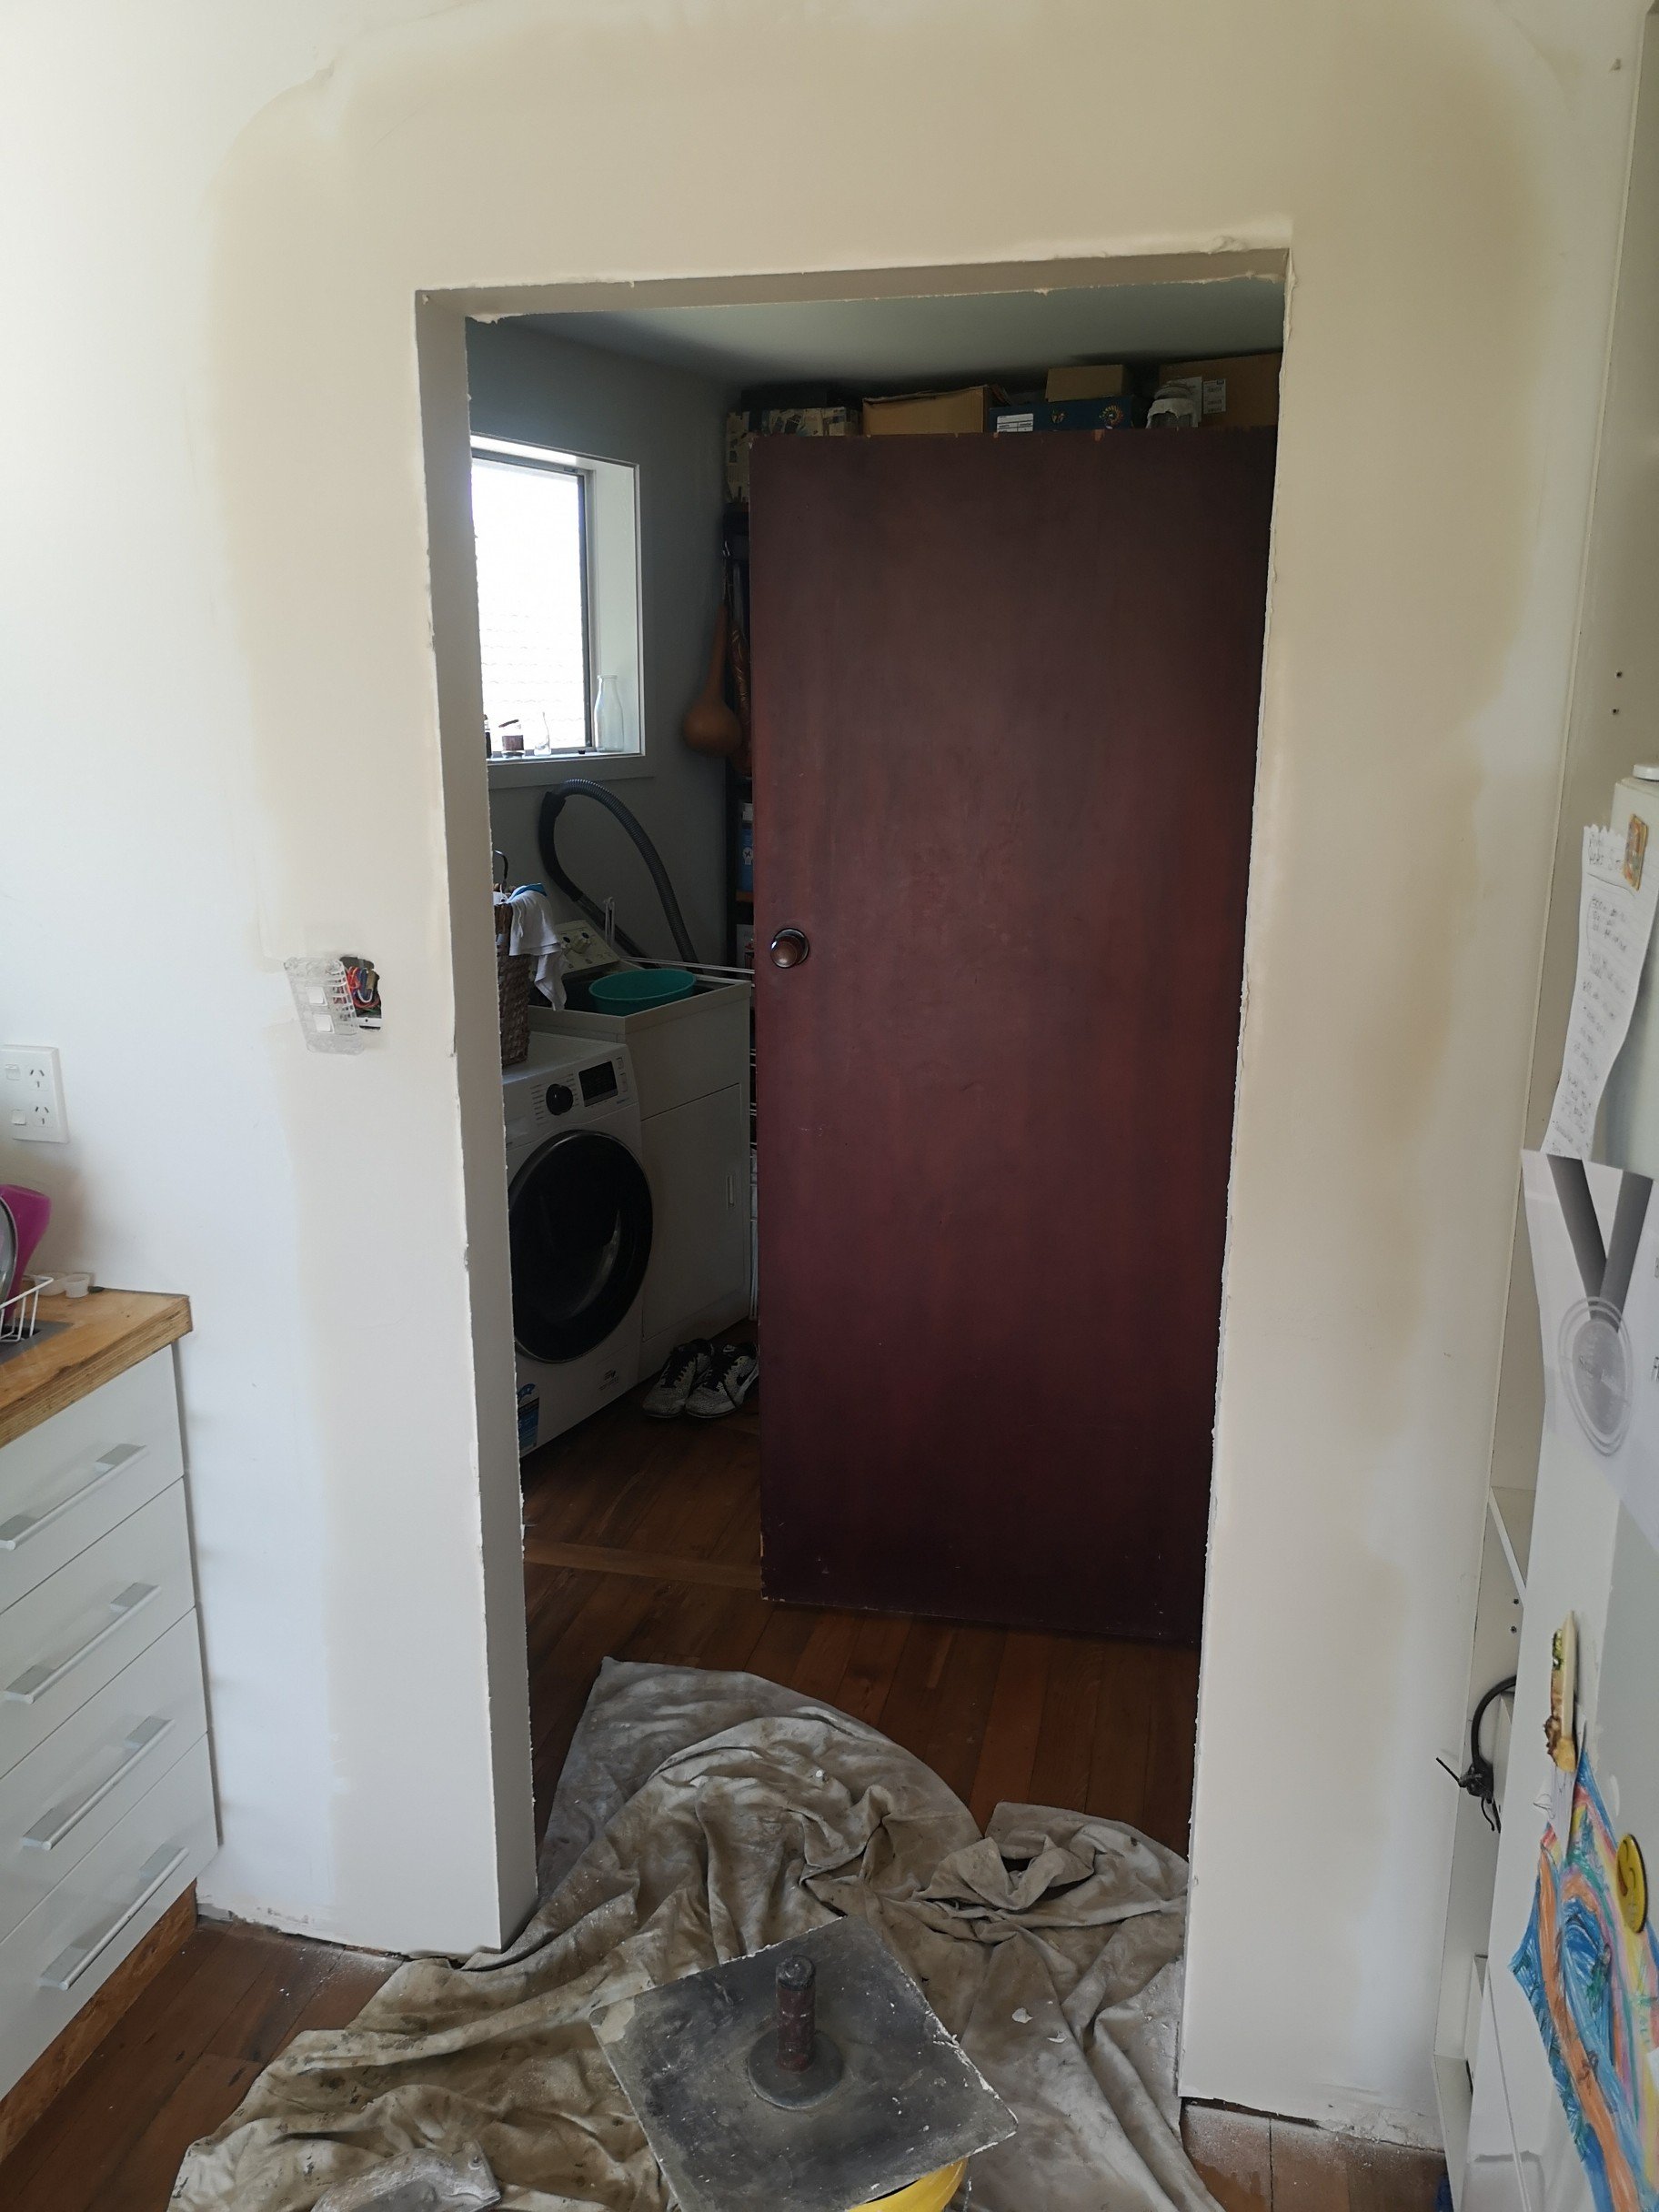
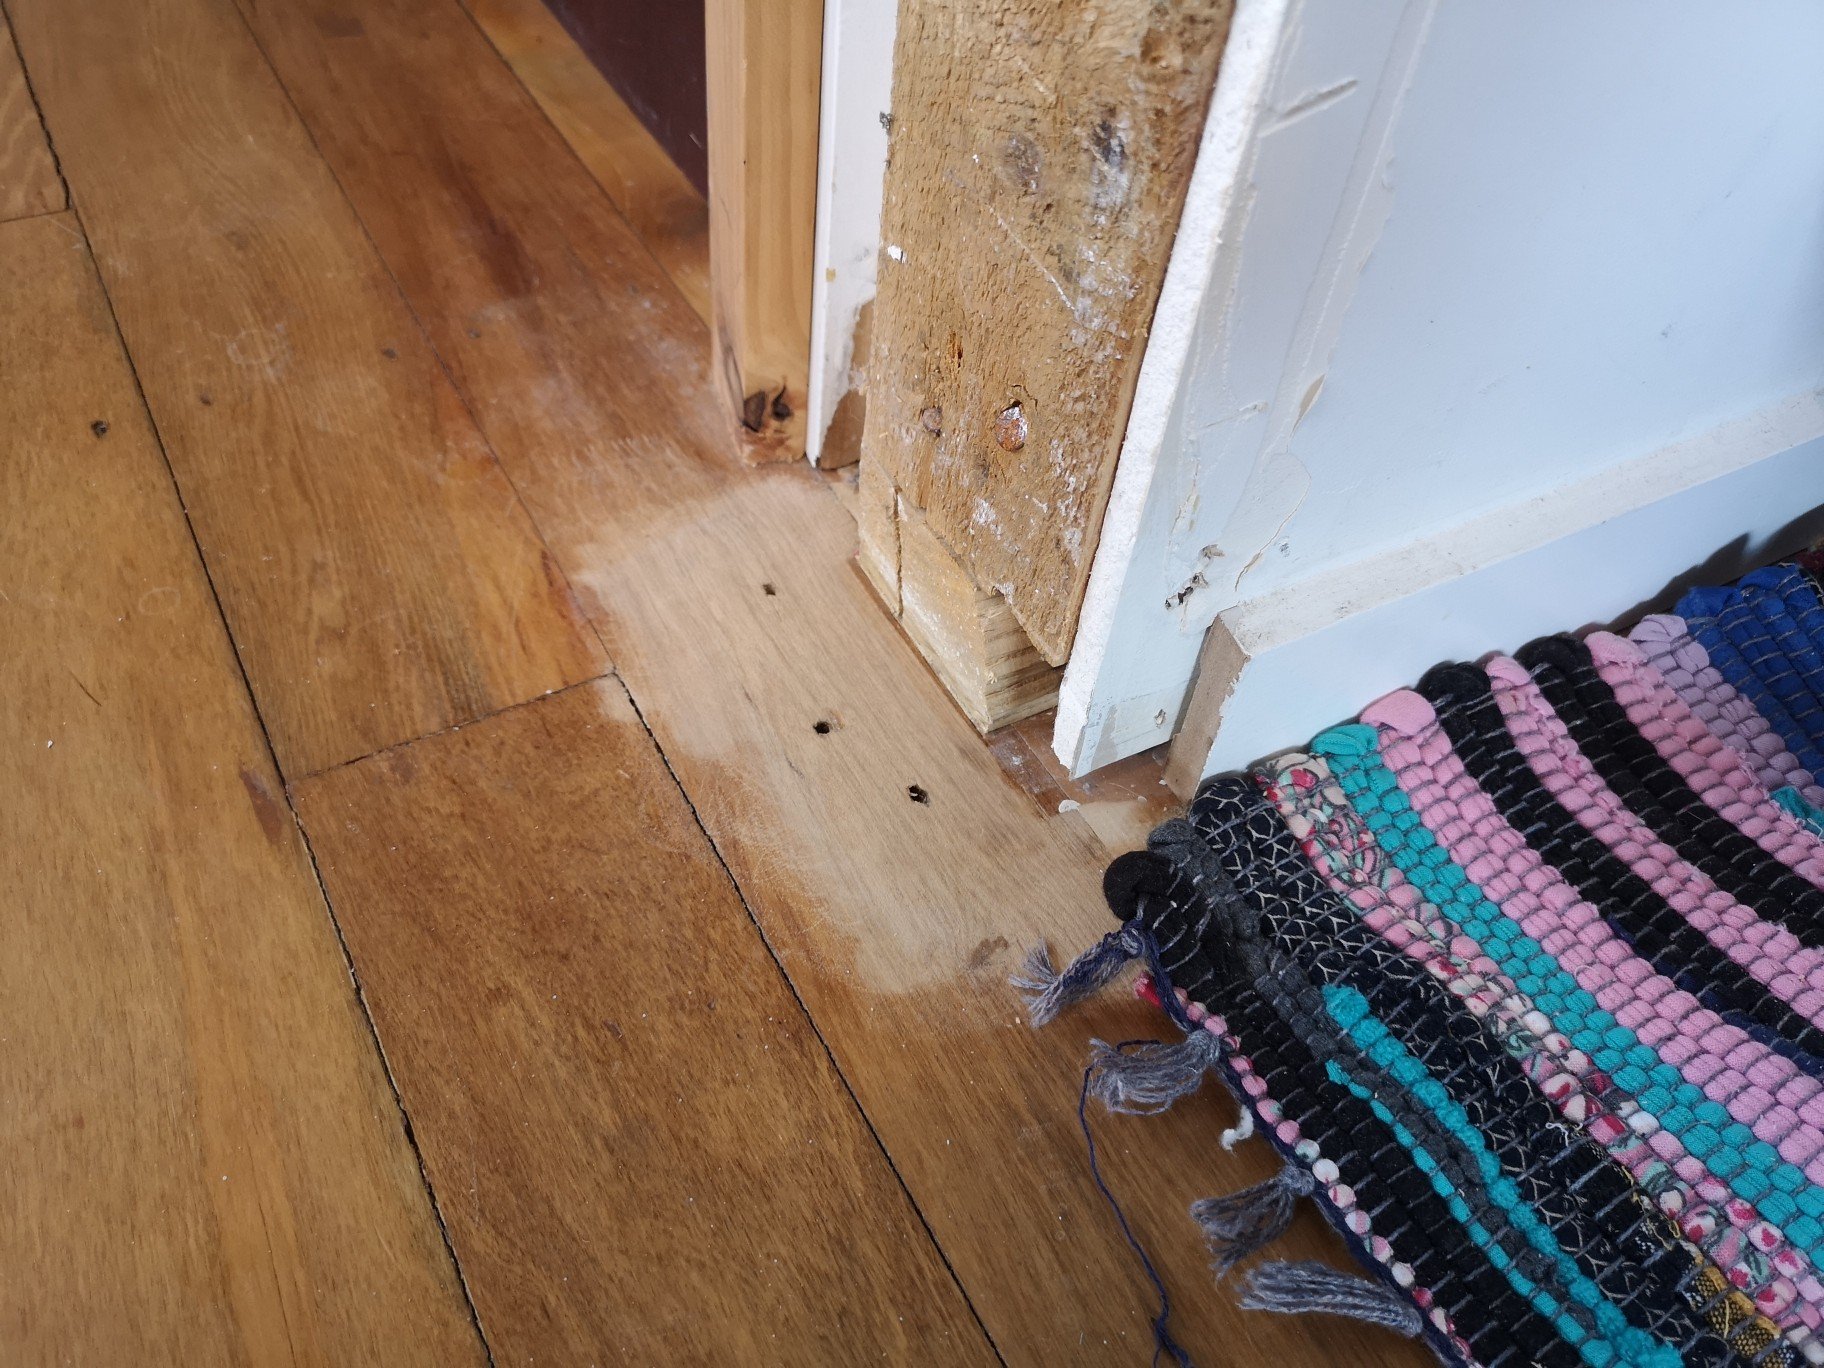
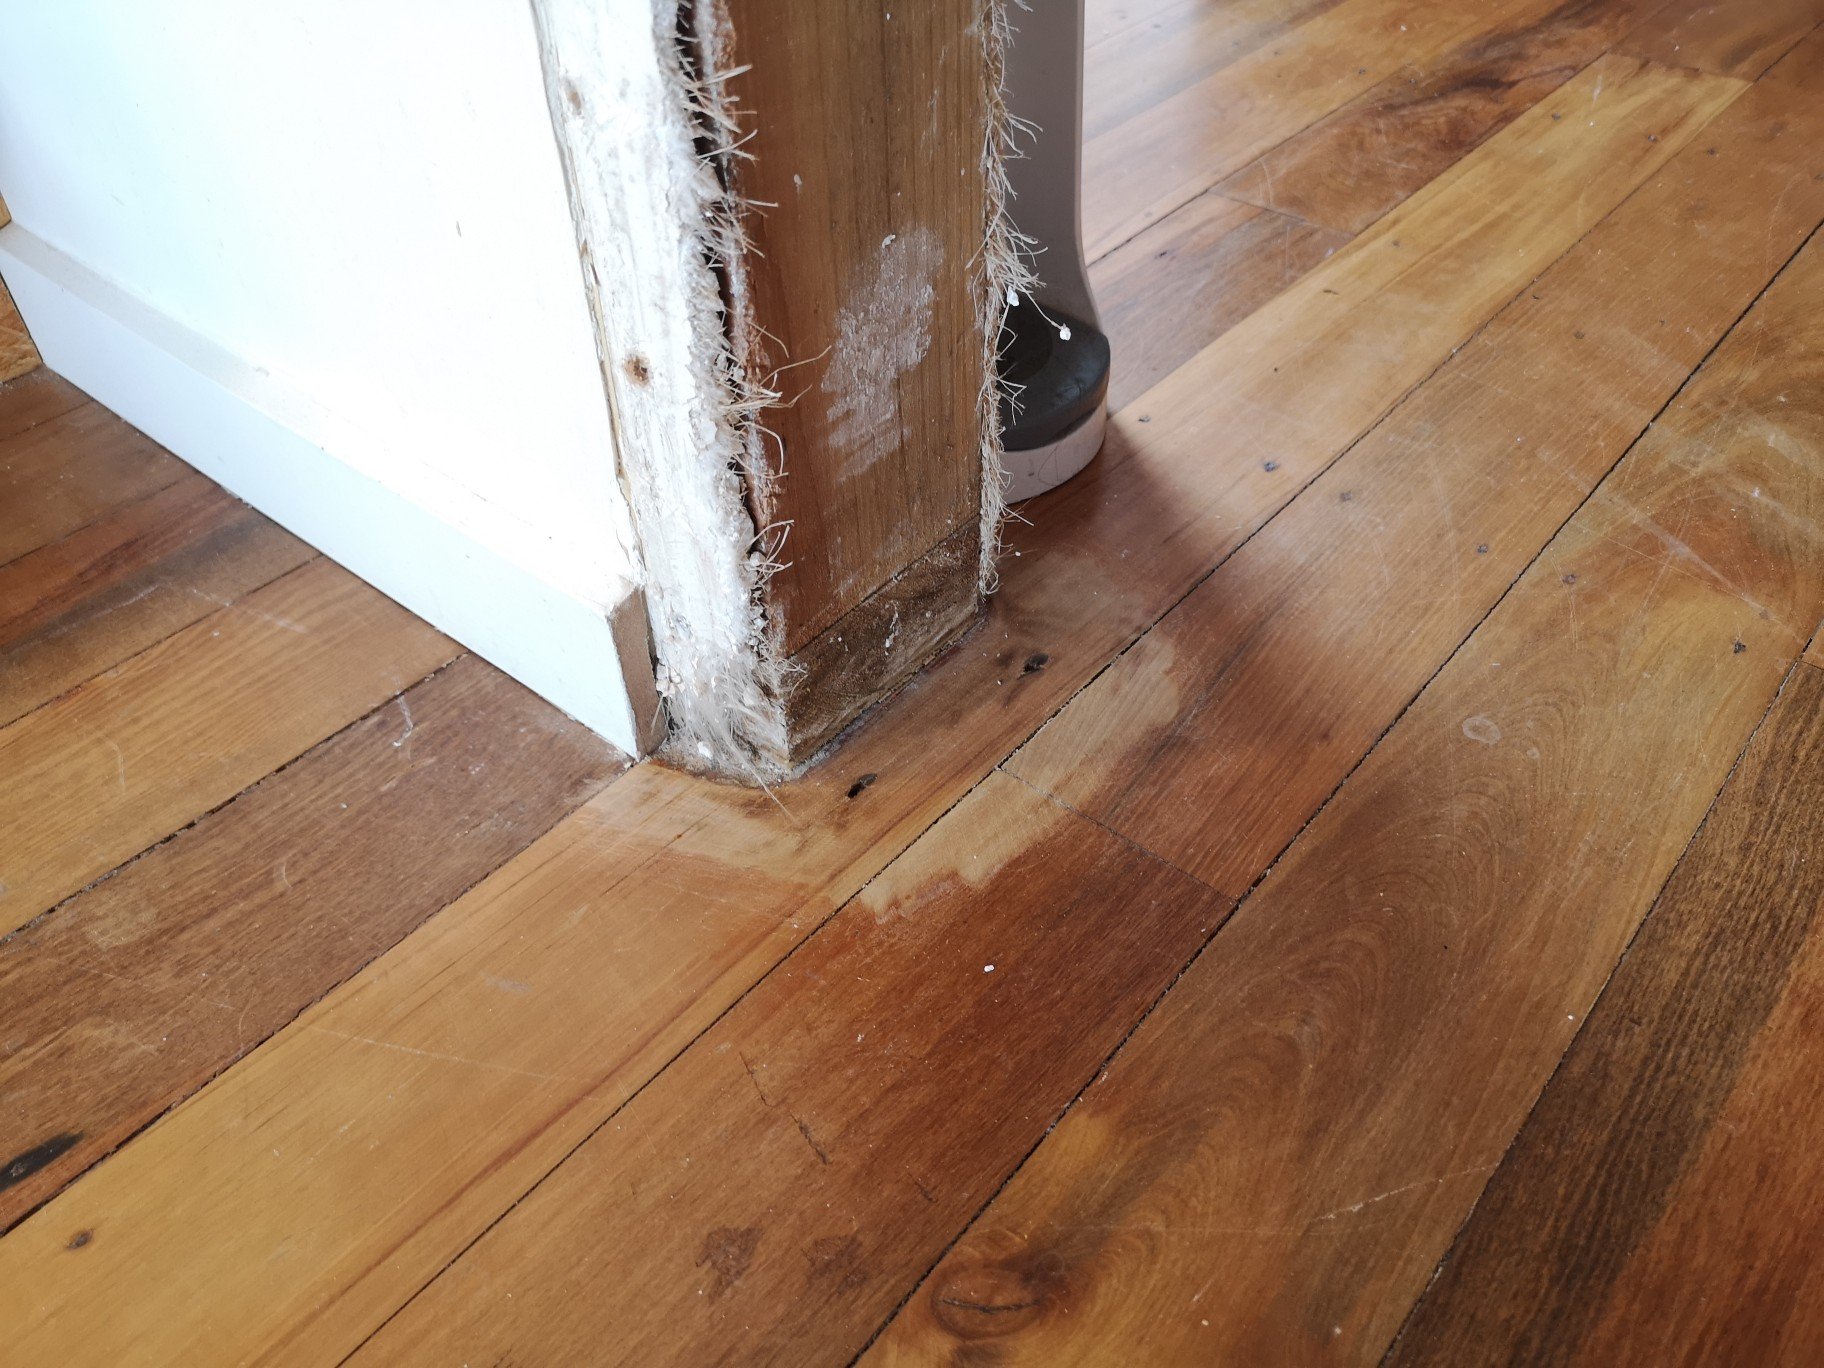
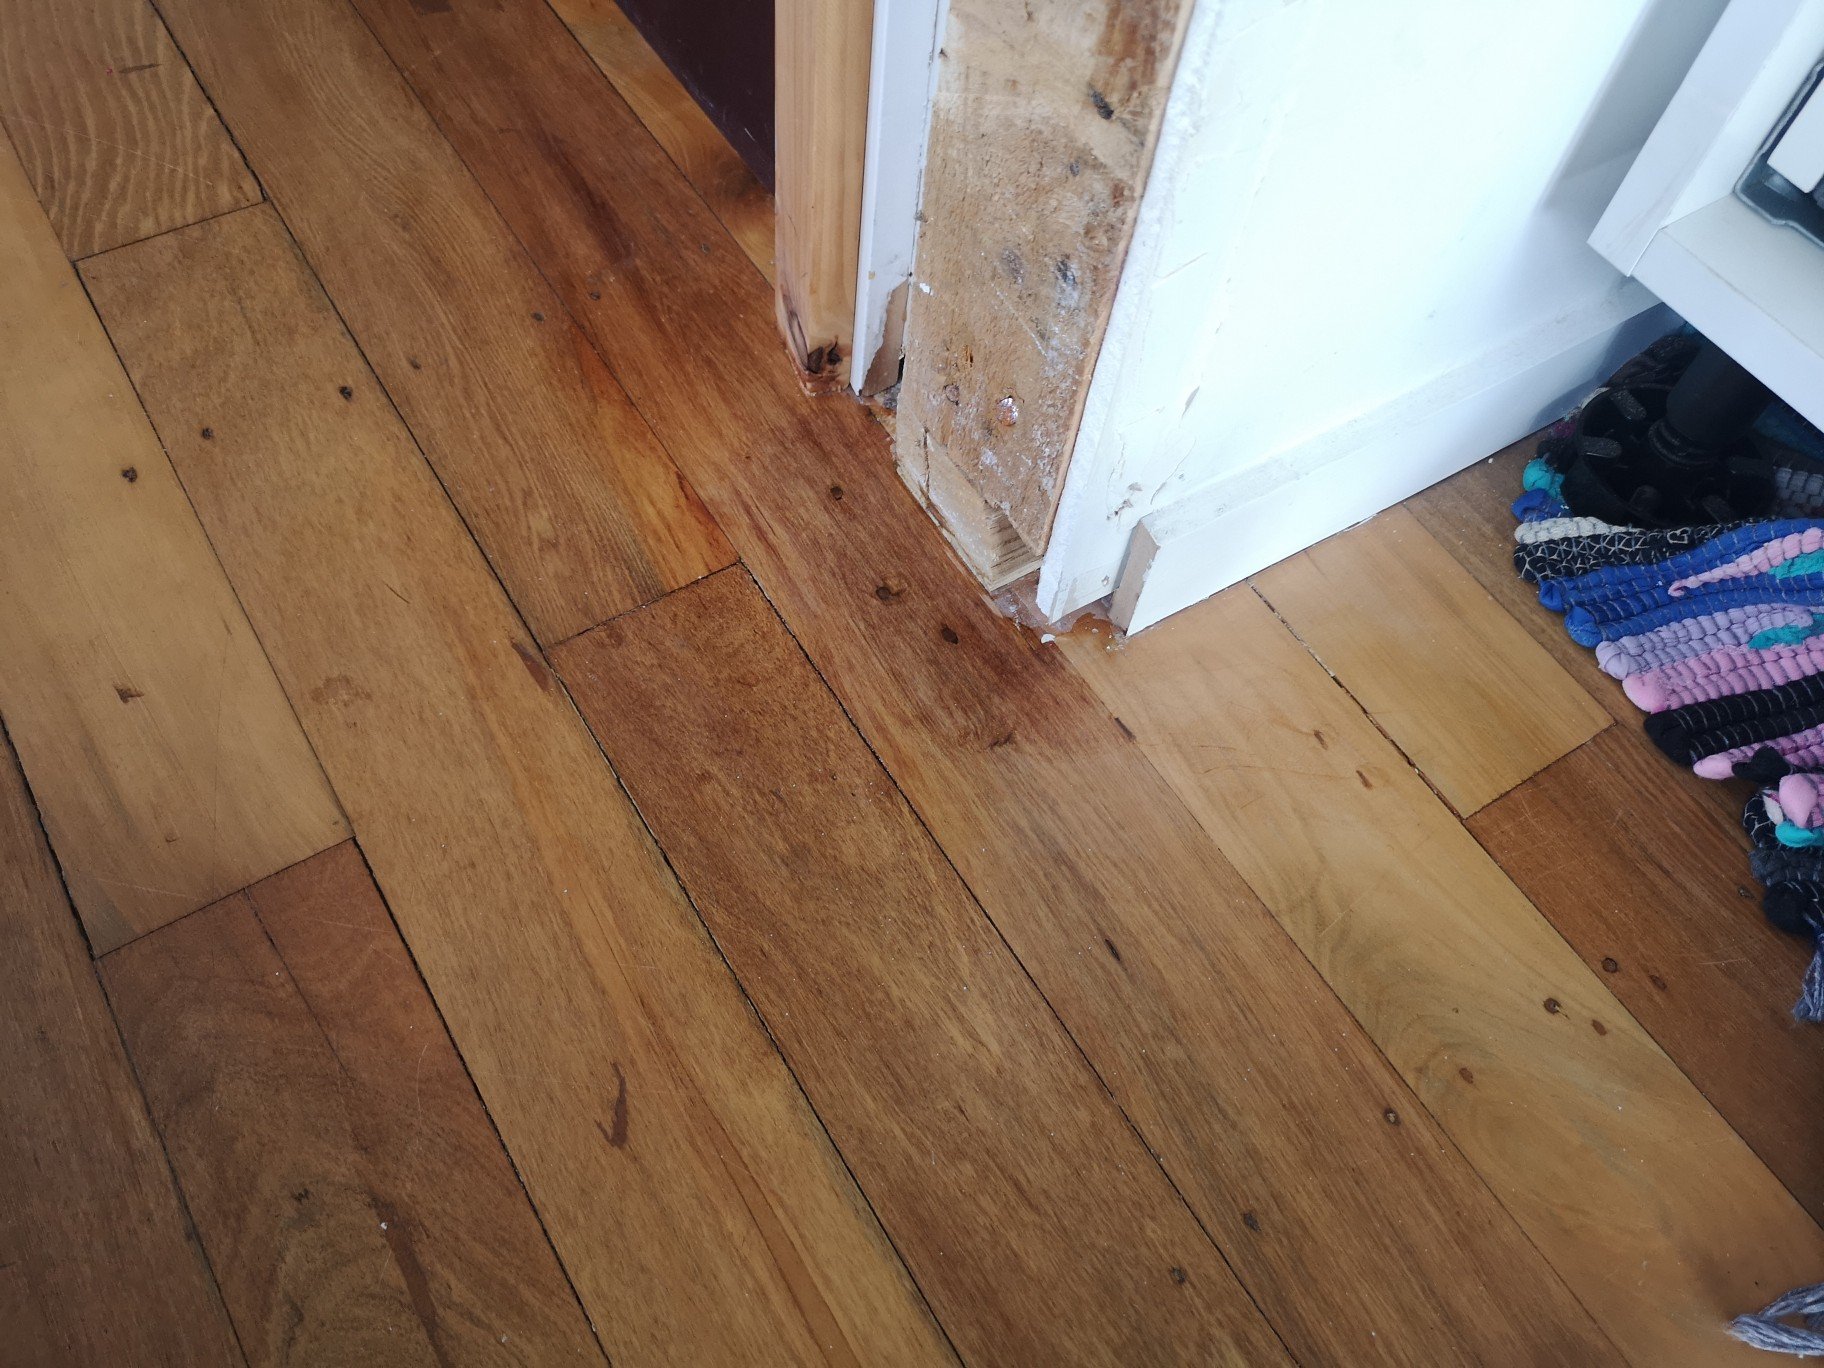
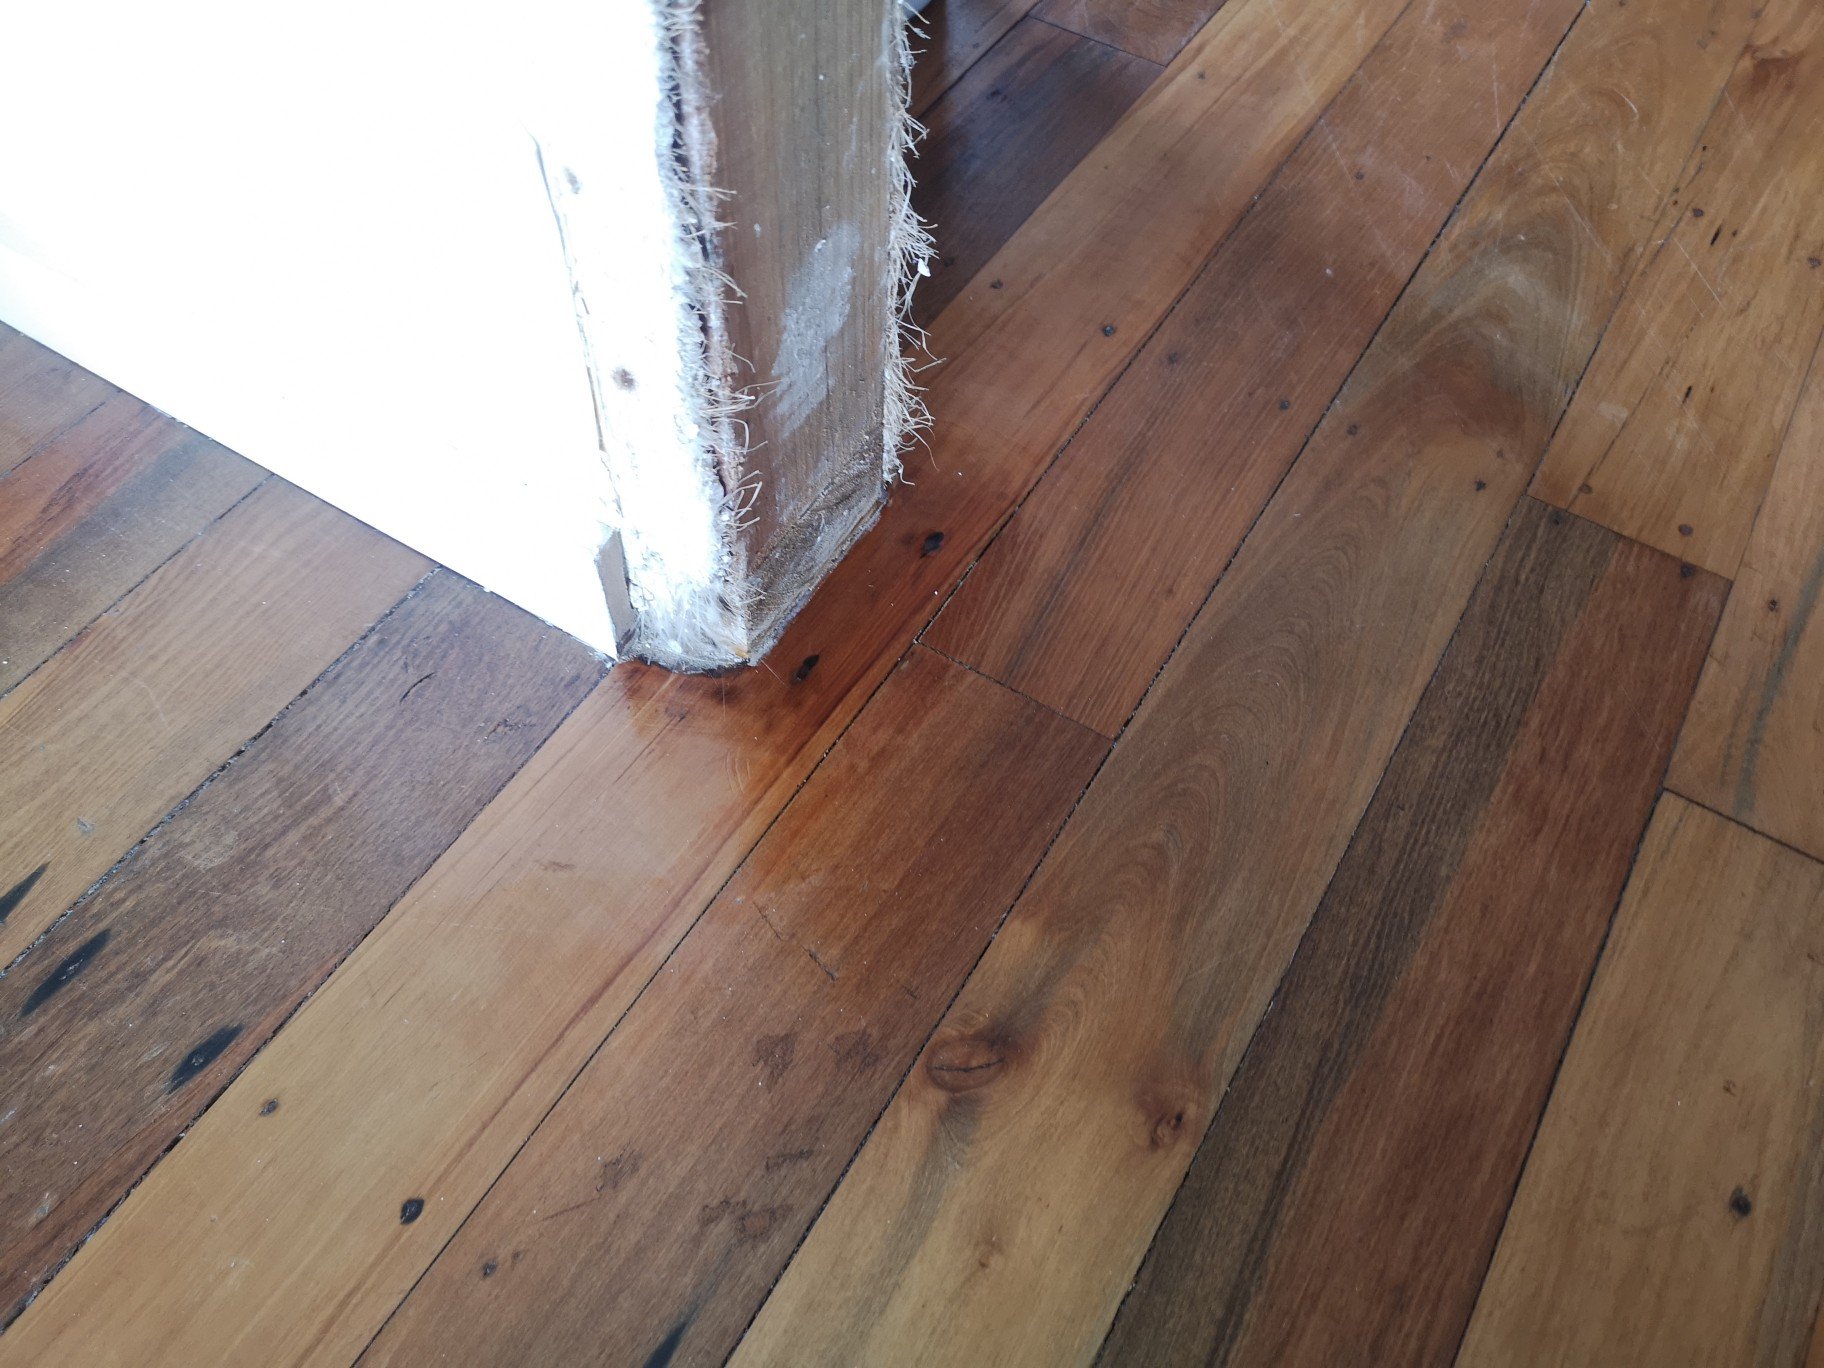
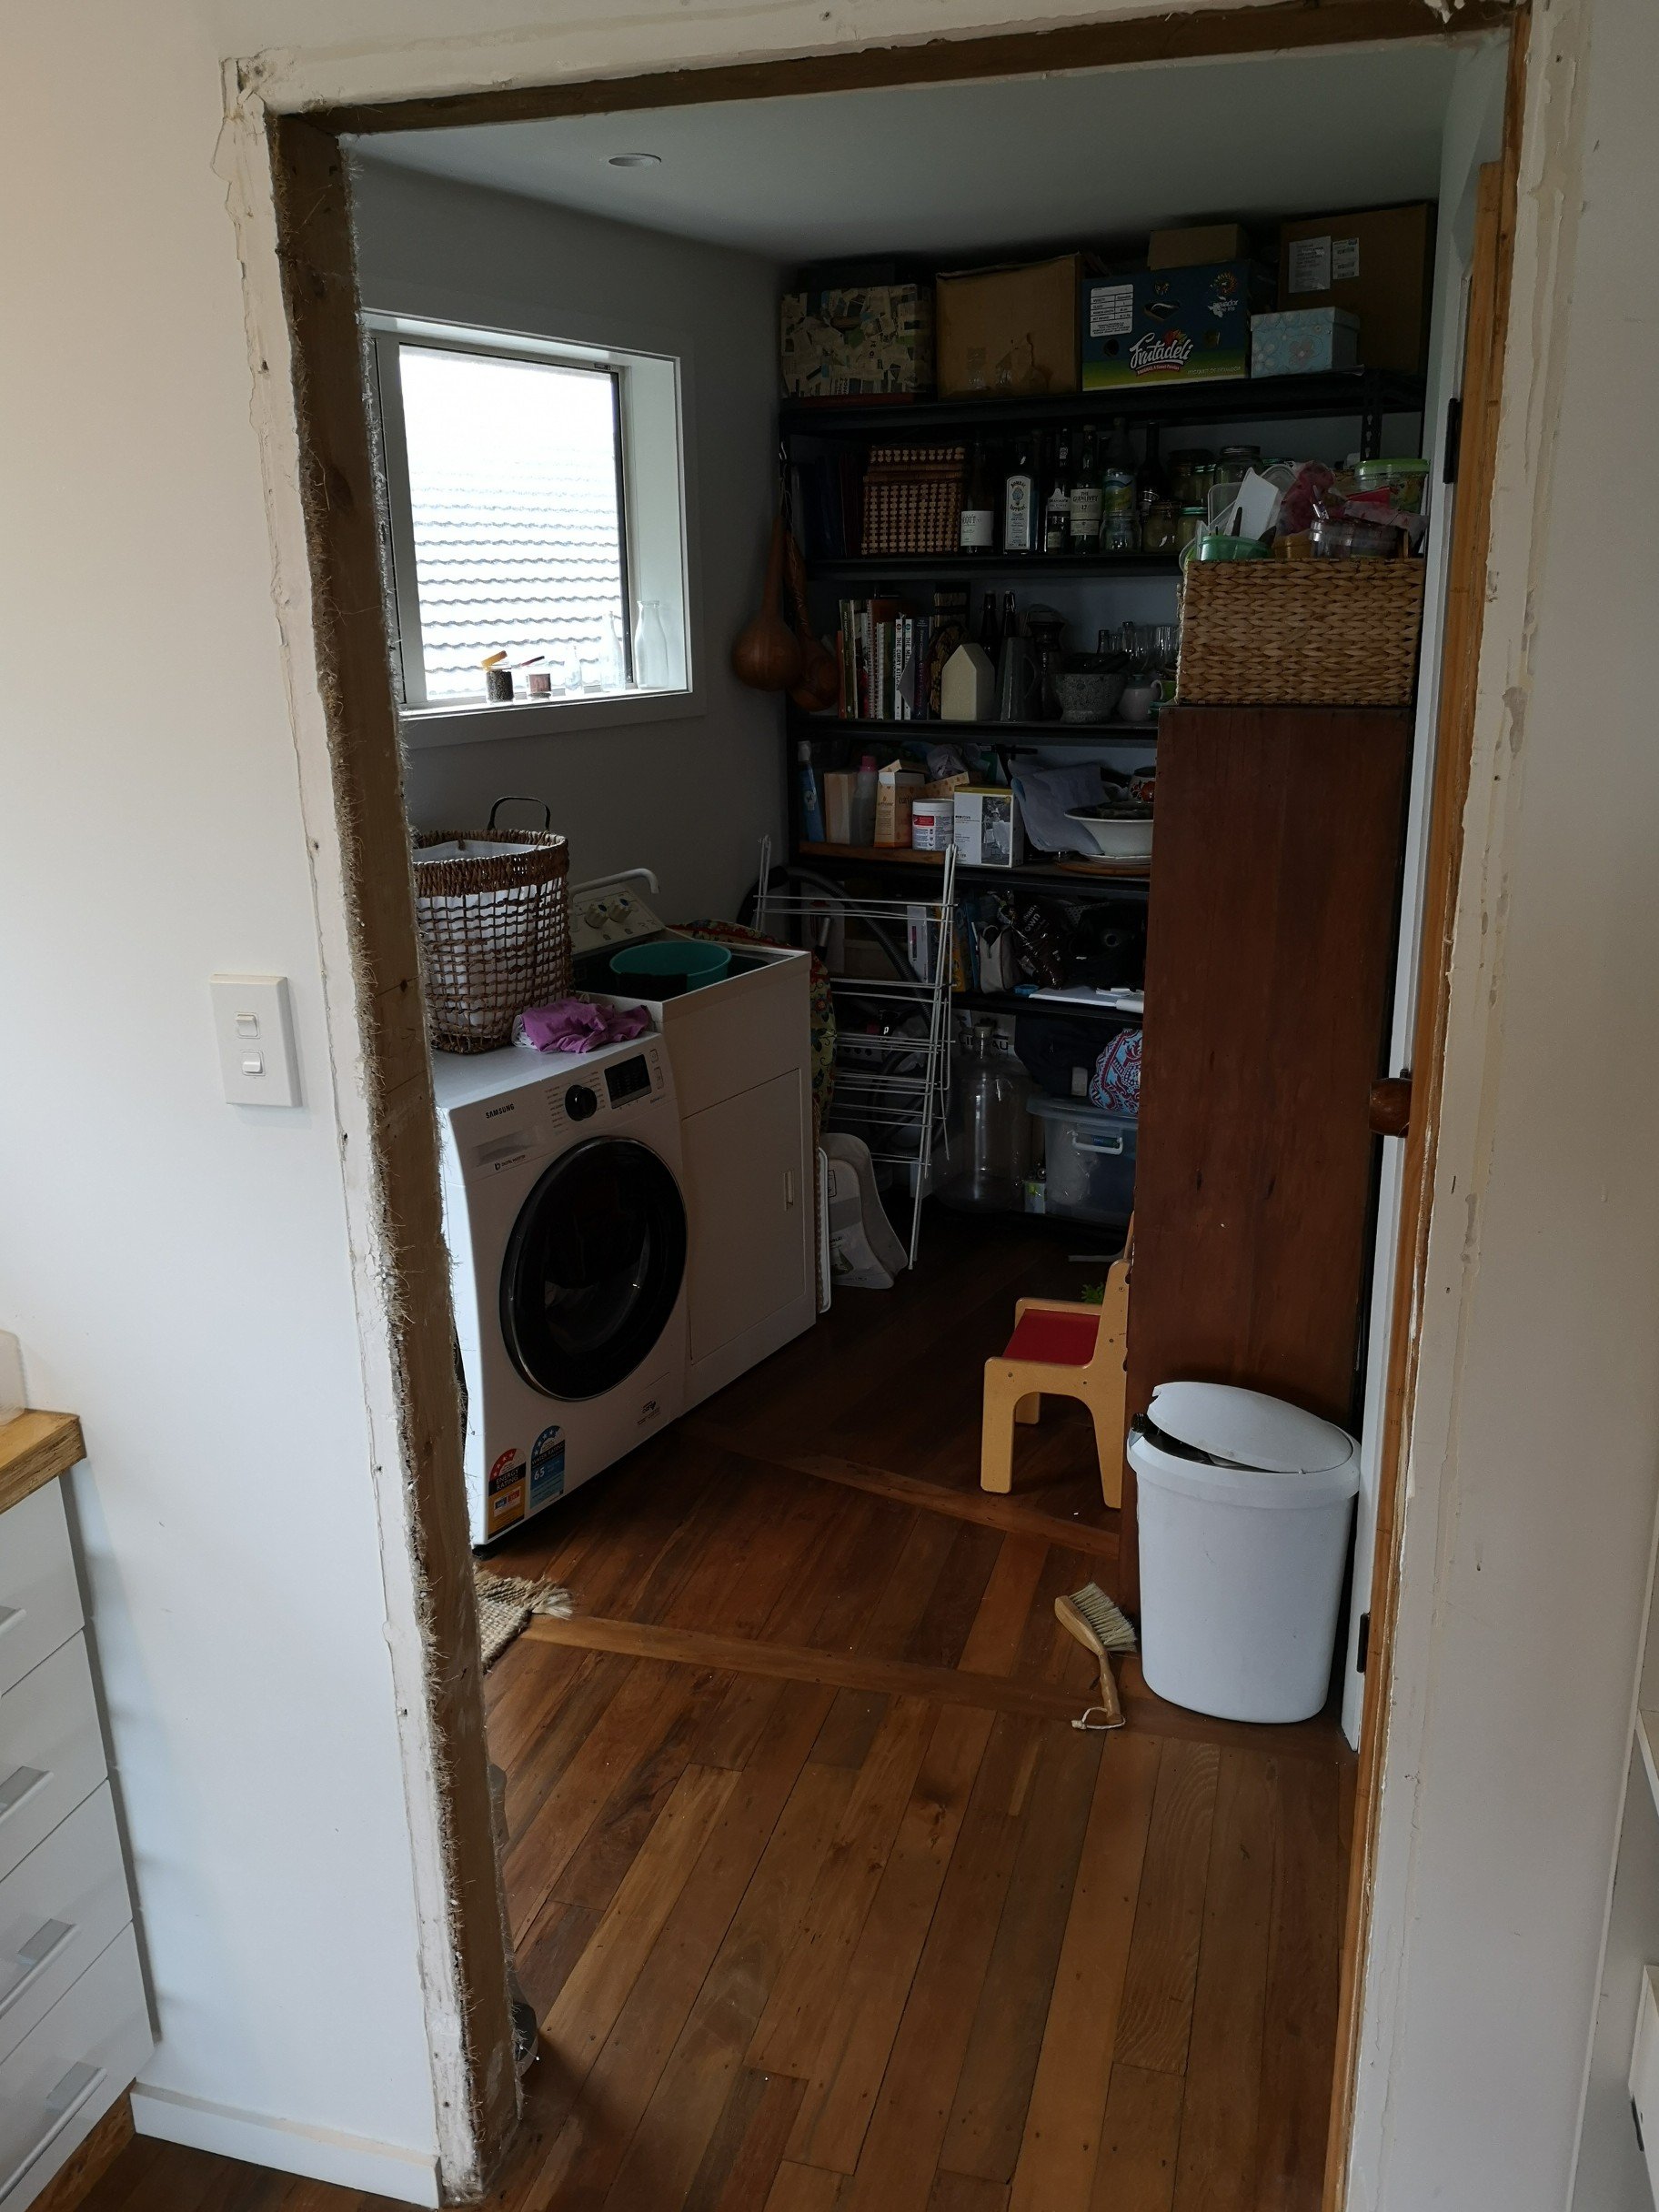
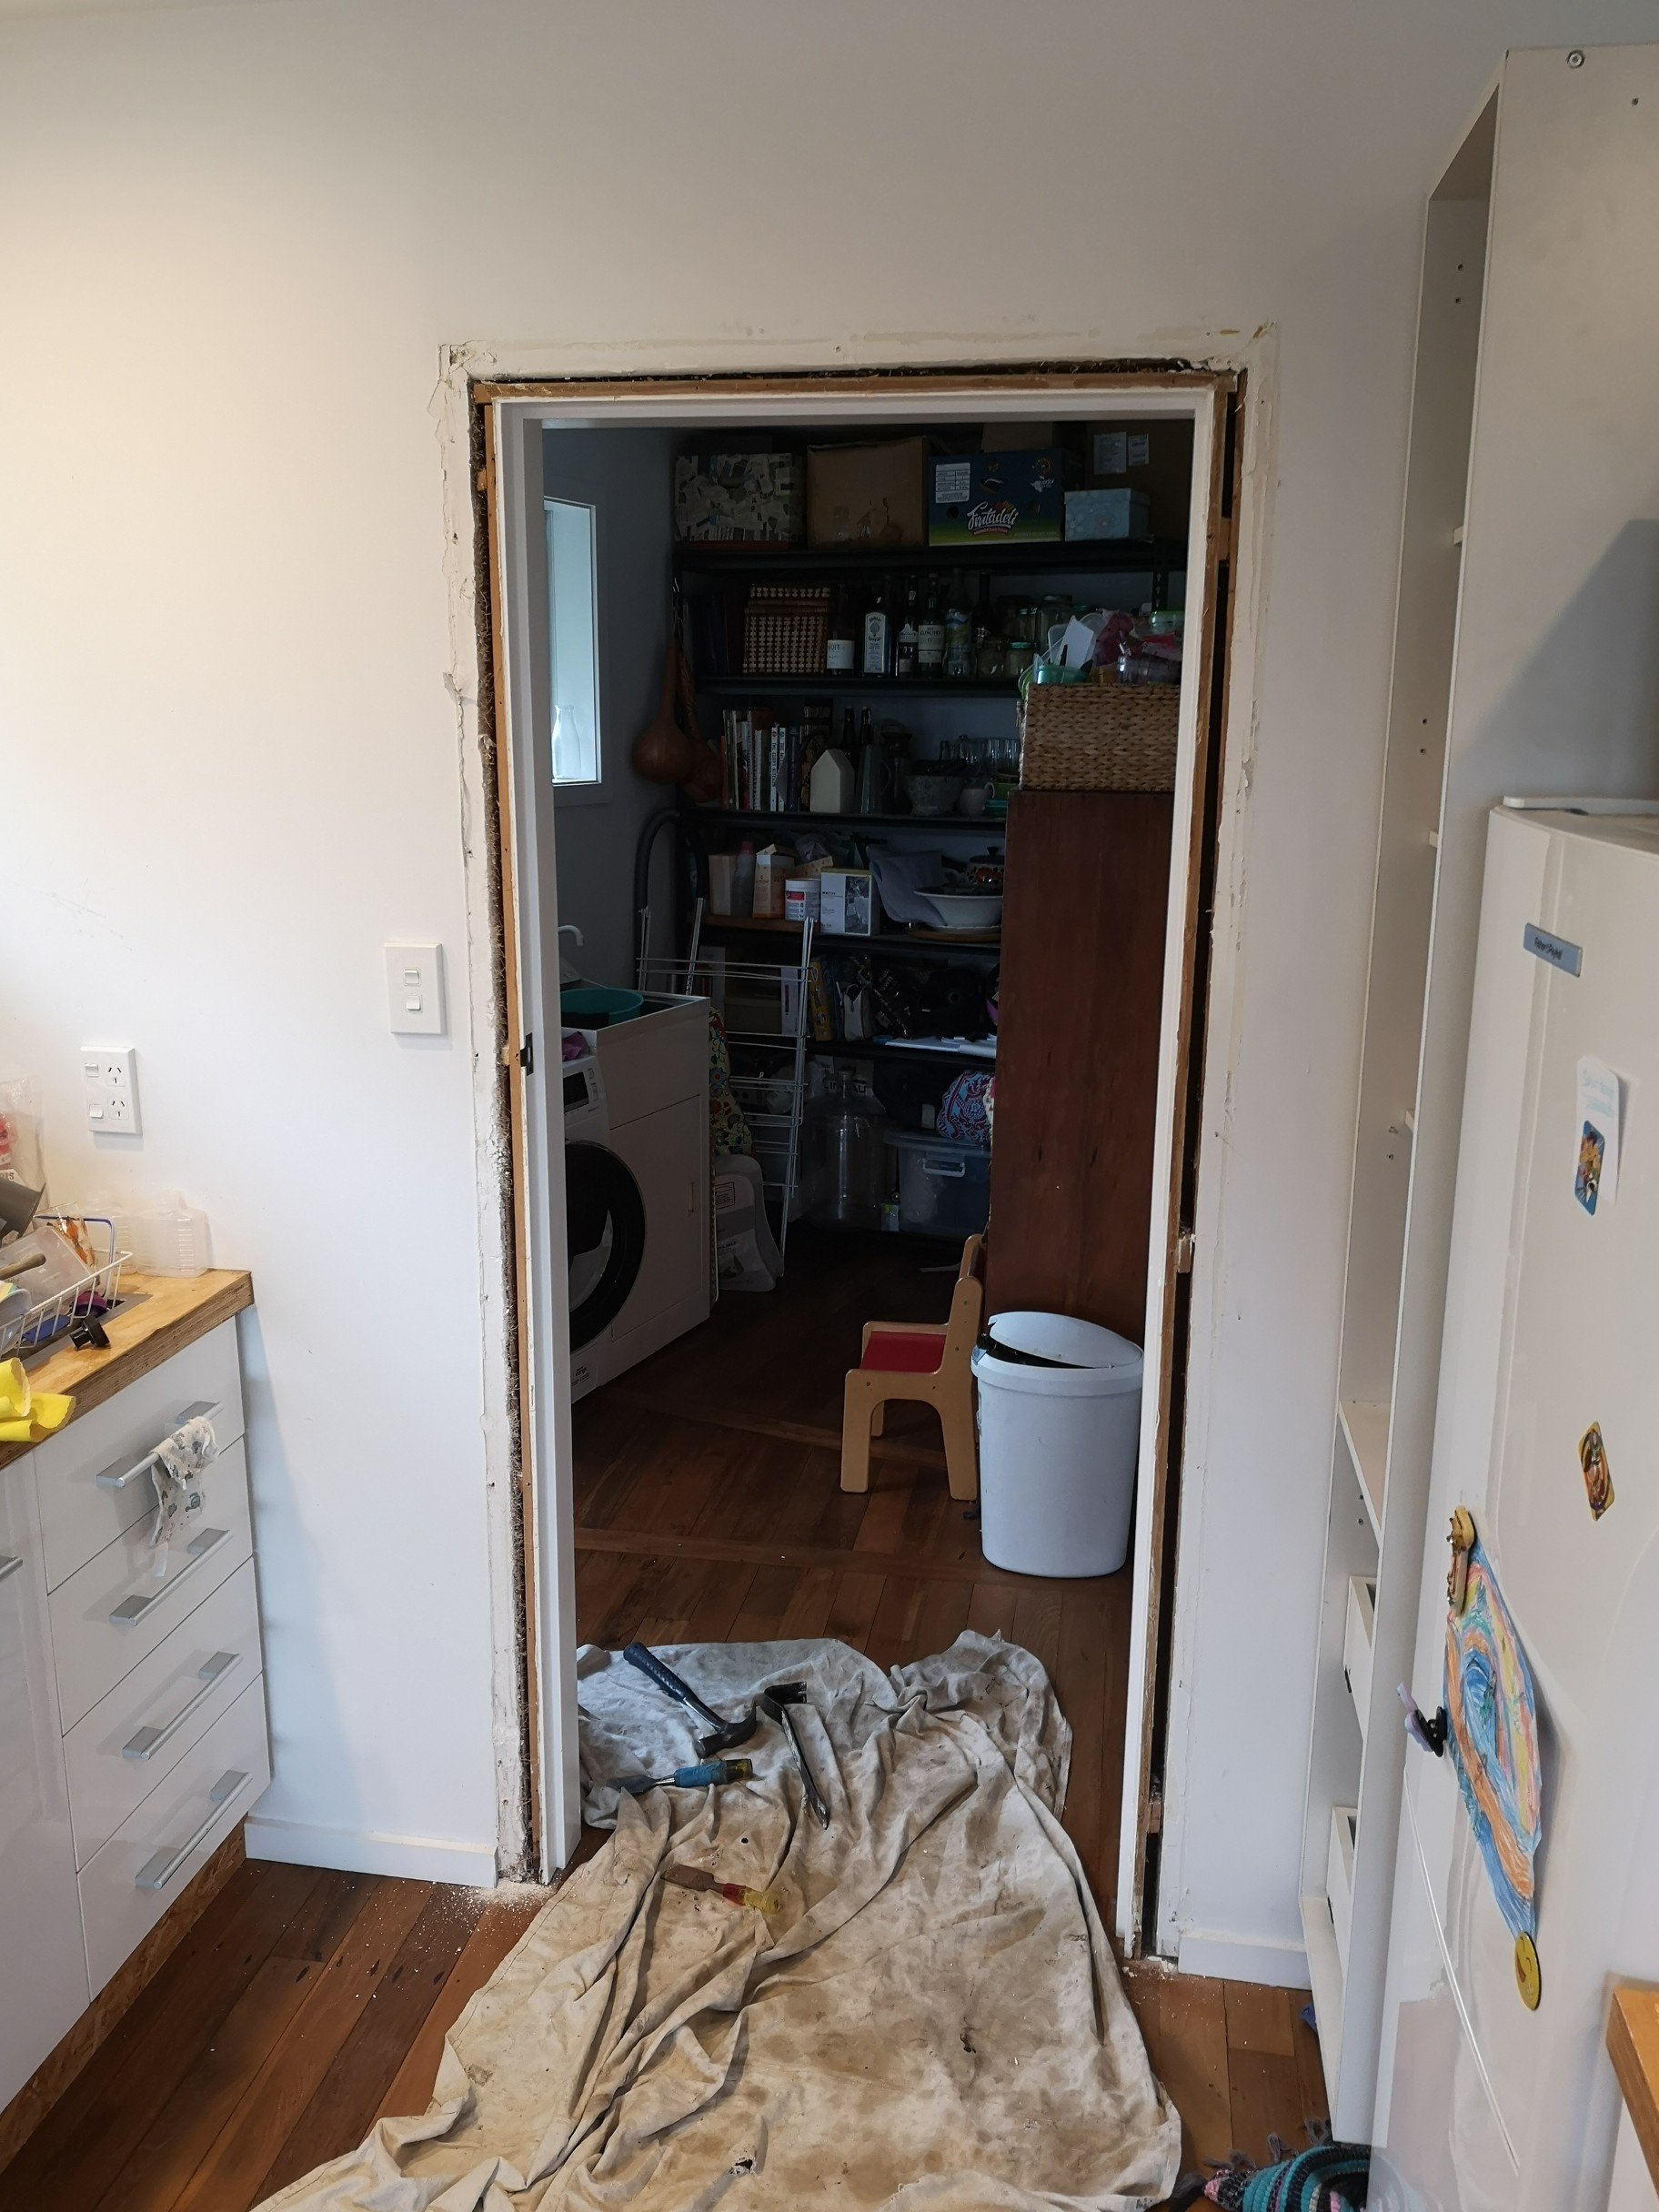
One of the jobs to do during lockdown was remove the door jamb and architrave from between the kitchen and laundry as we weren't putting a door back there. In hindsight we should have put a cavity slider in there when we had the chance but meh.. I really don't like plastering, specially small jobs. Coat of oil on the revealed flooring. Time for plaster.
-
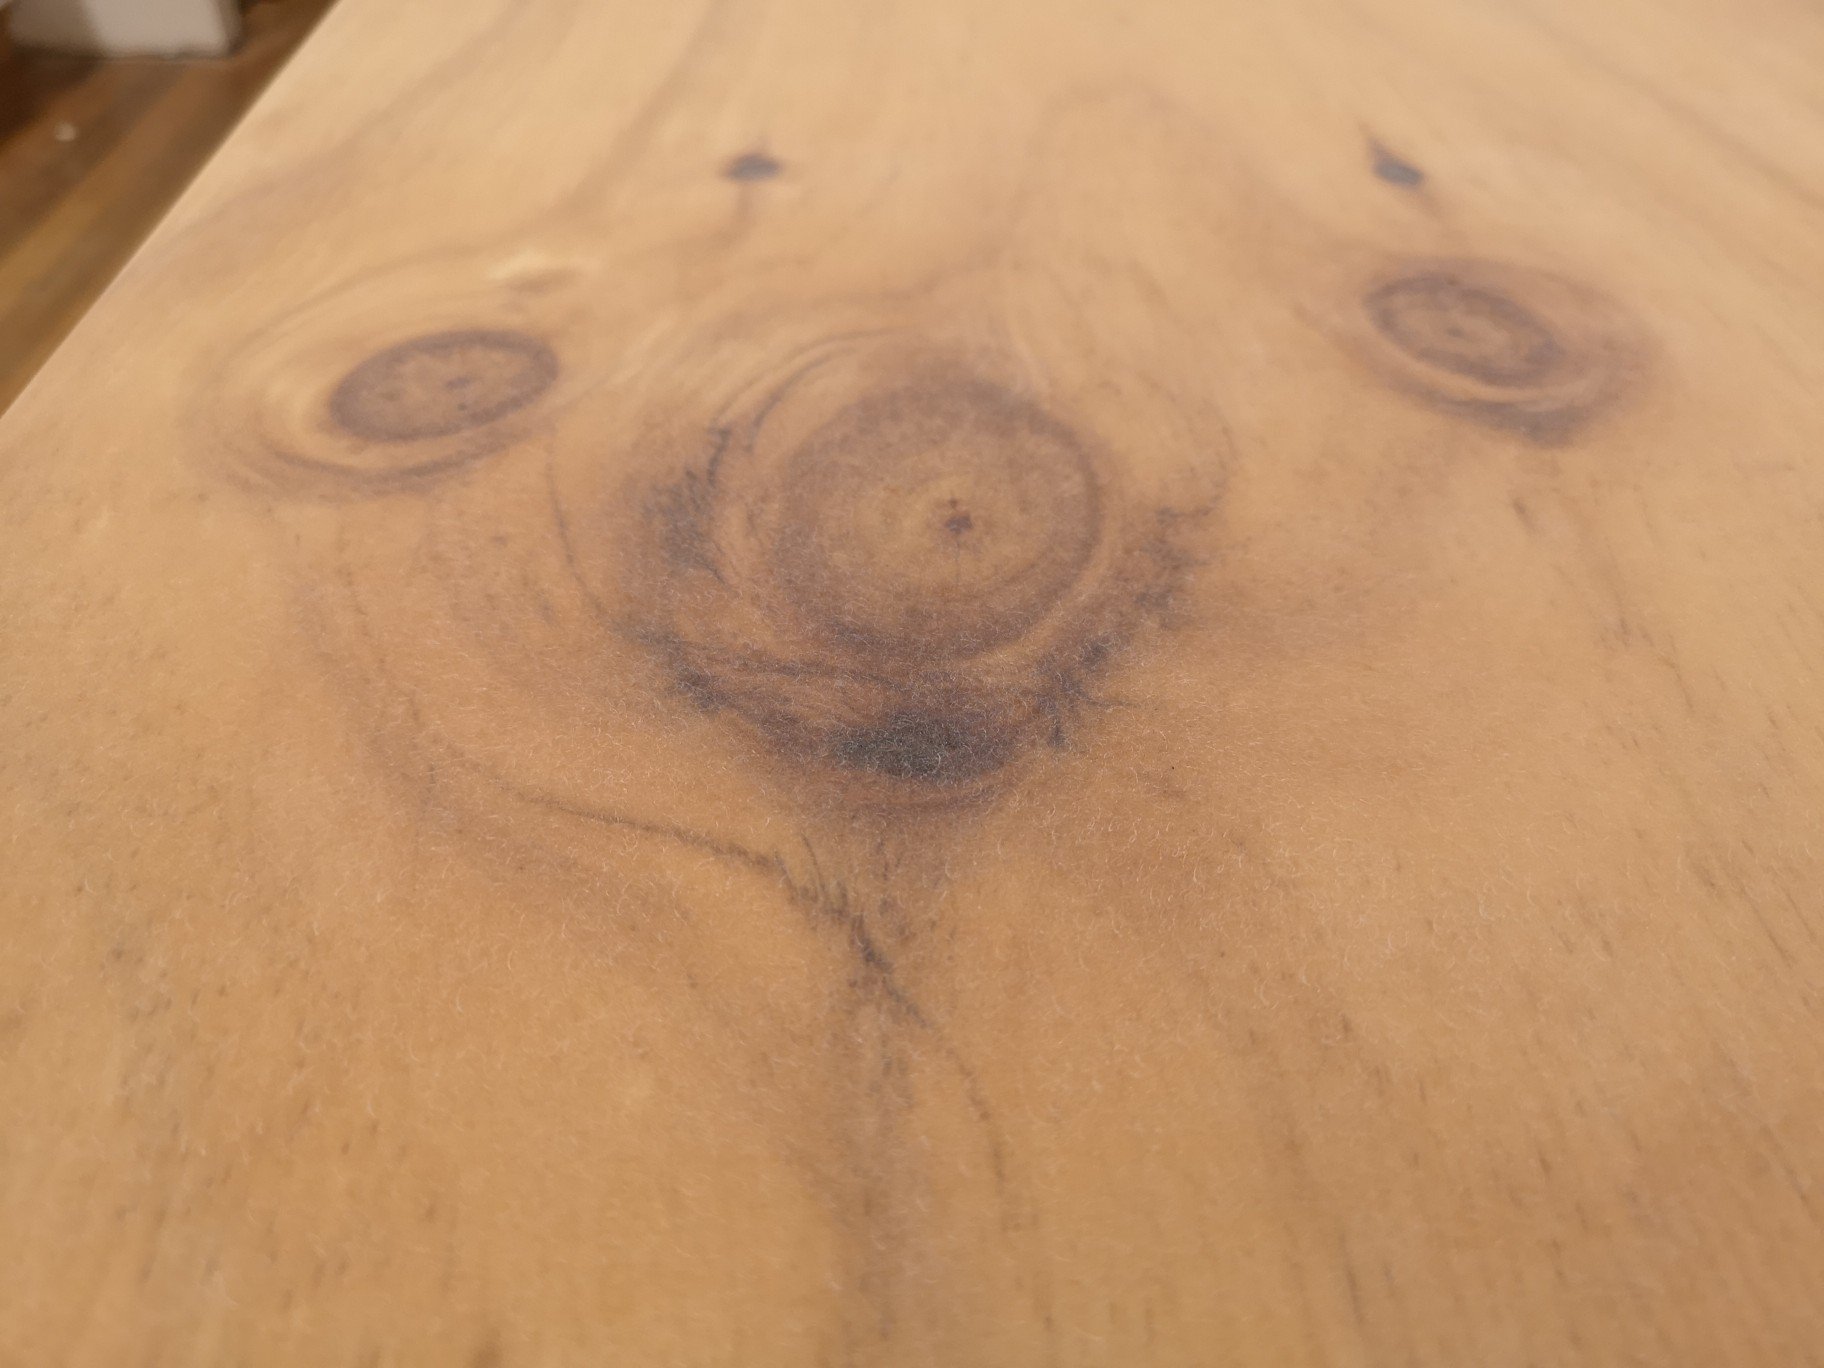
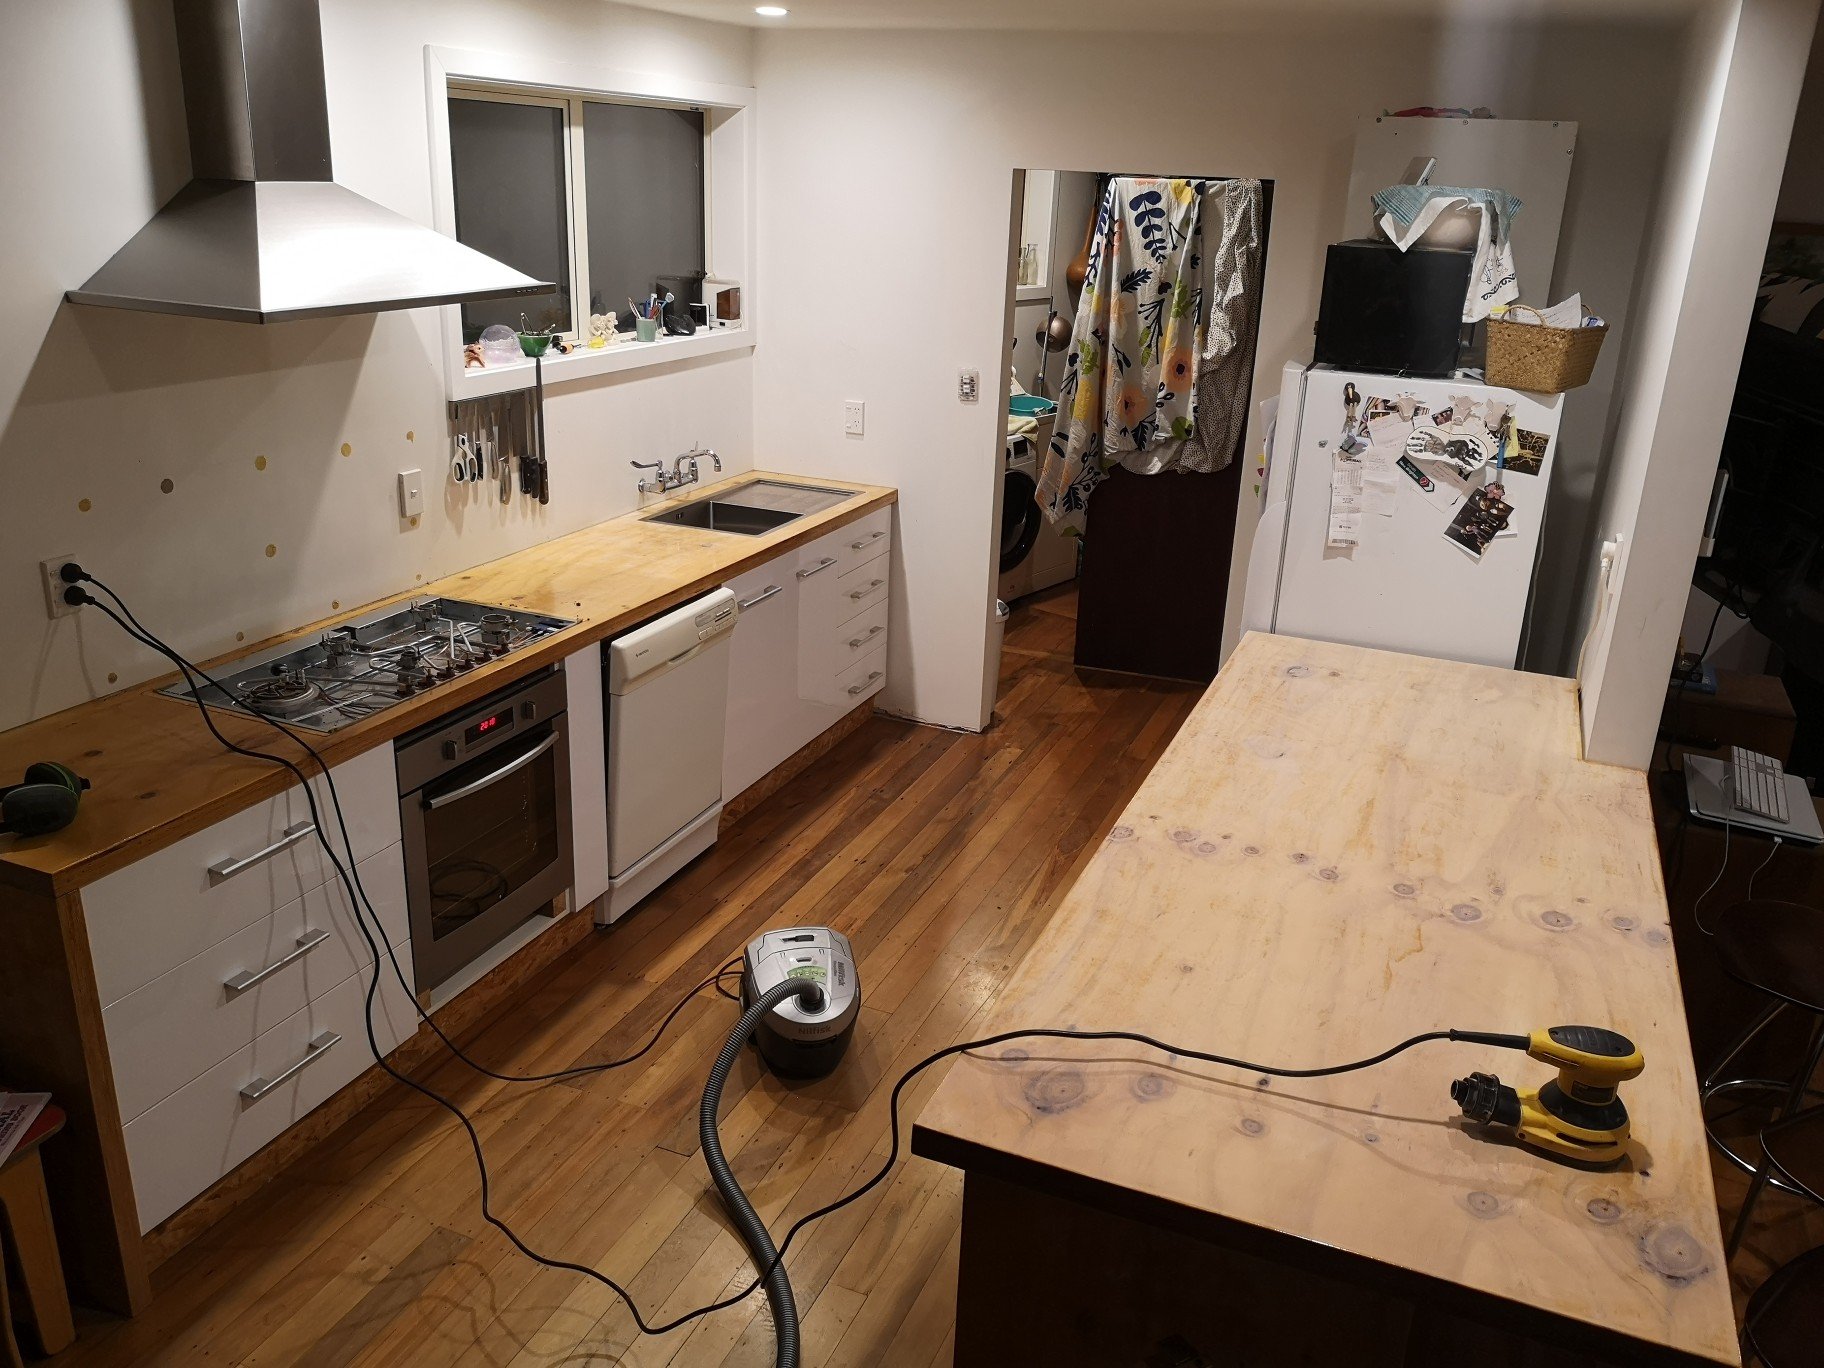
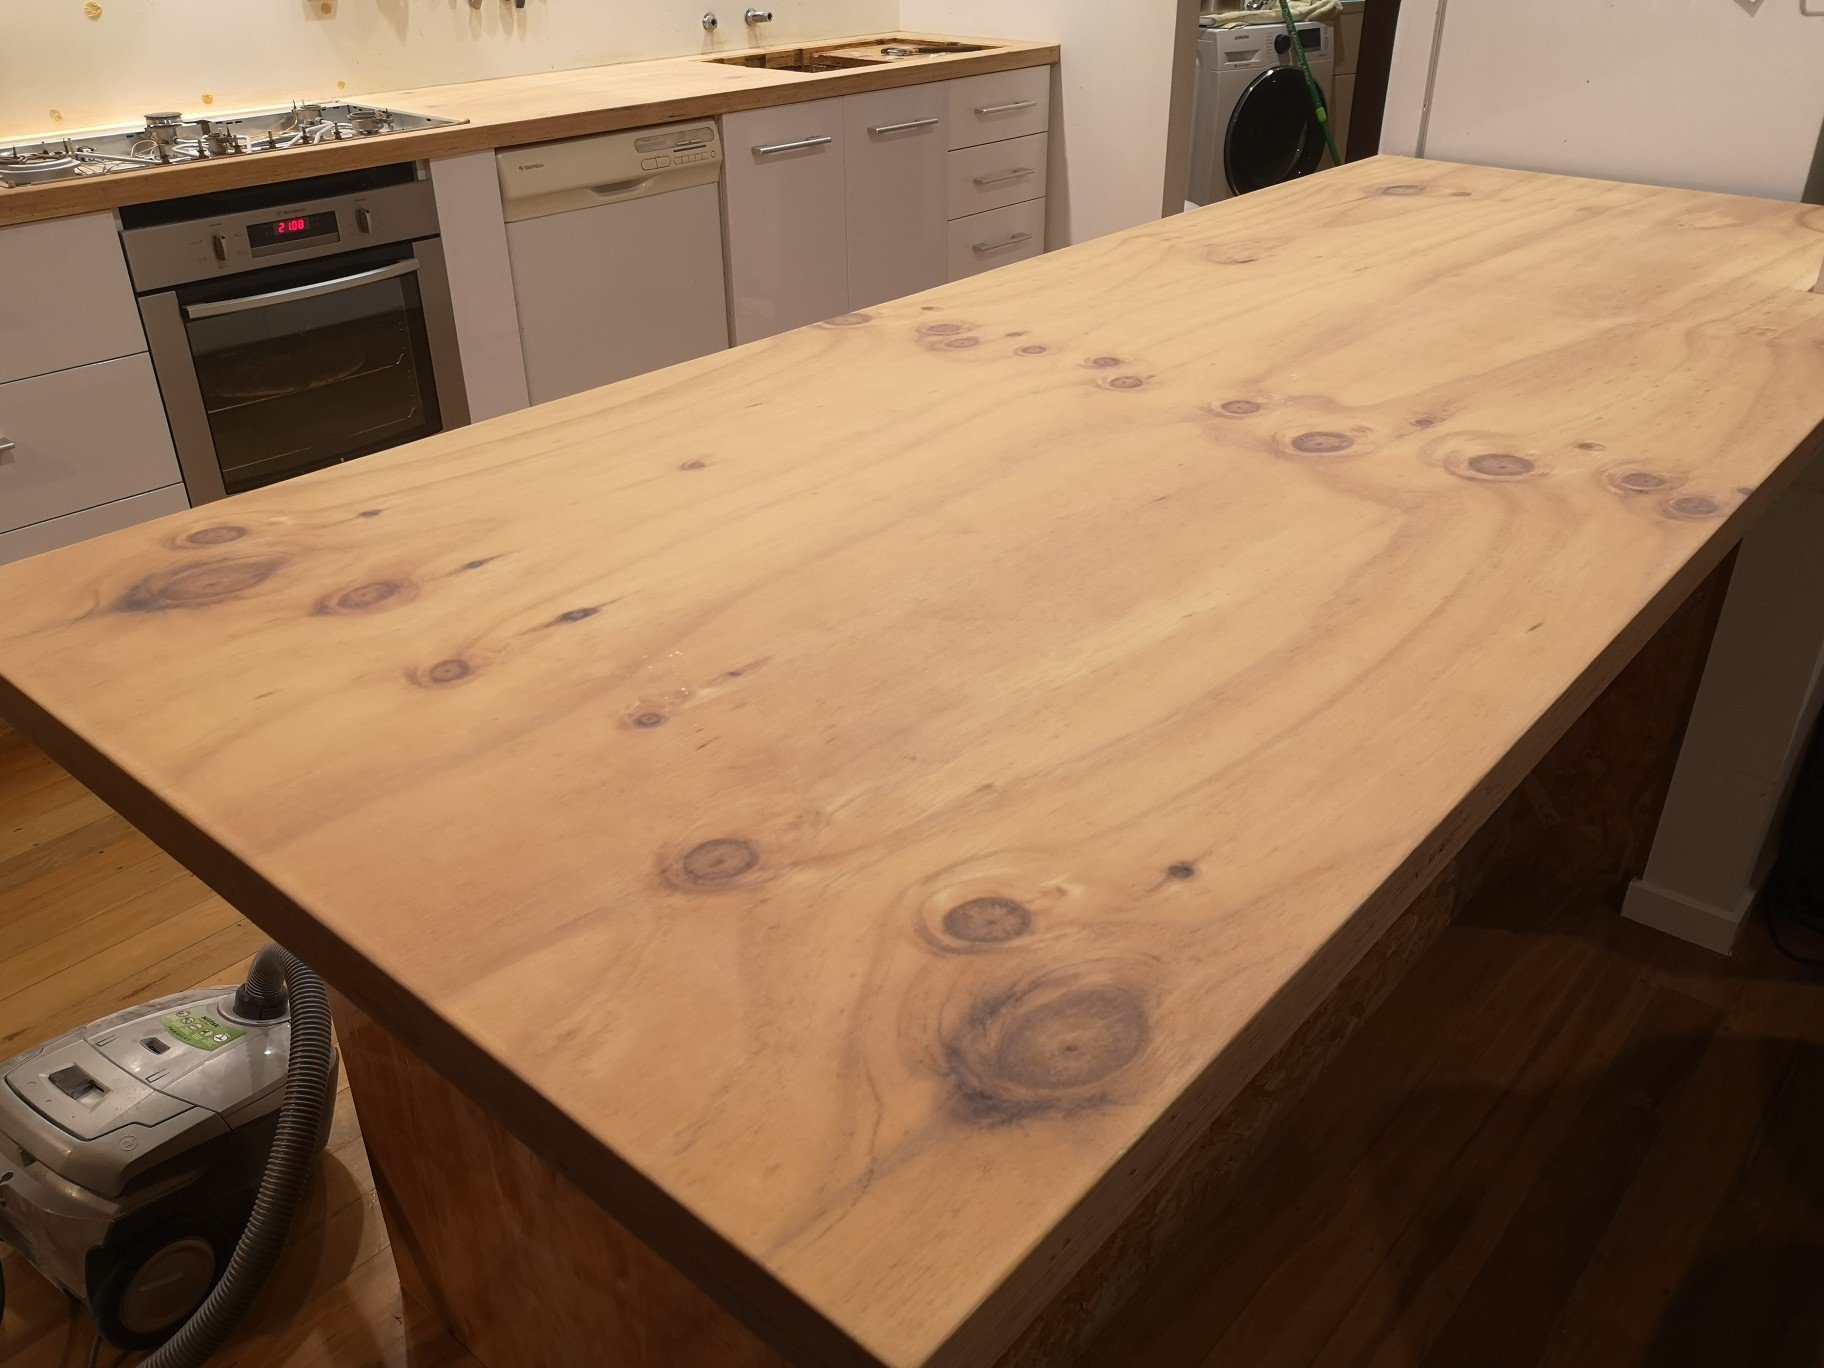
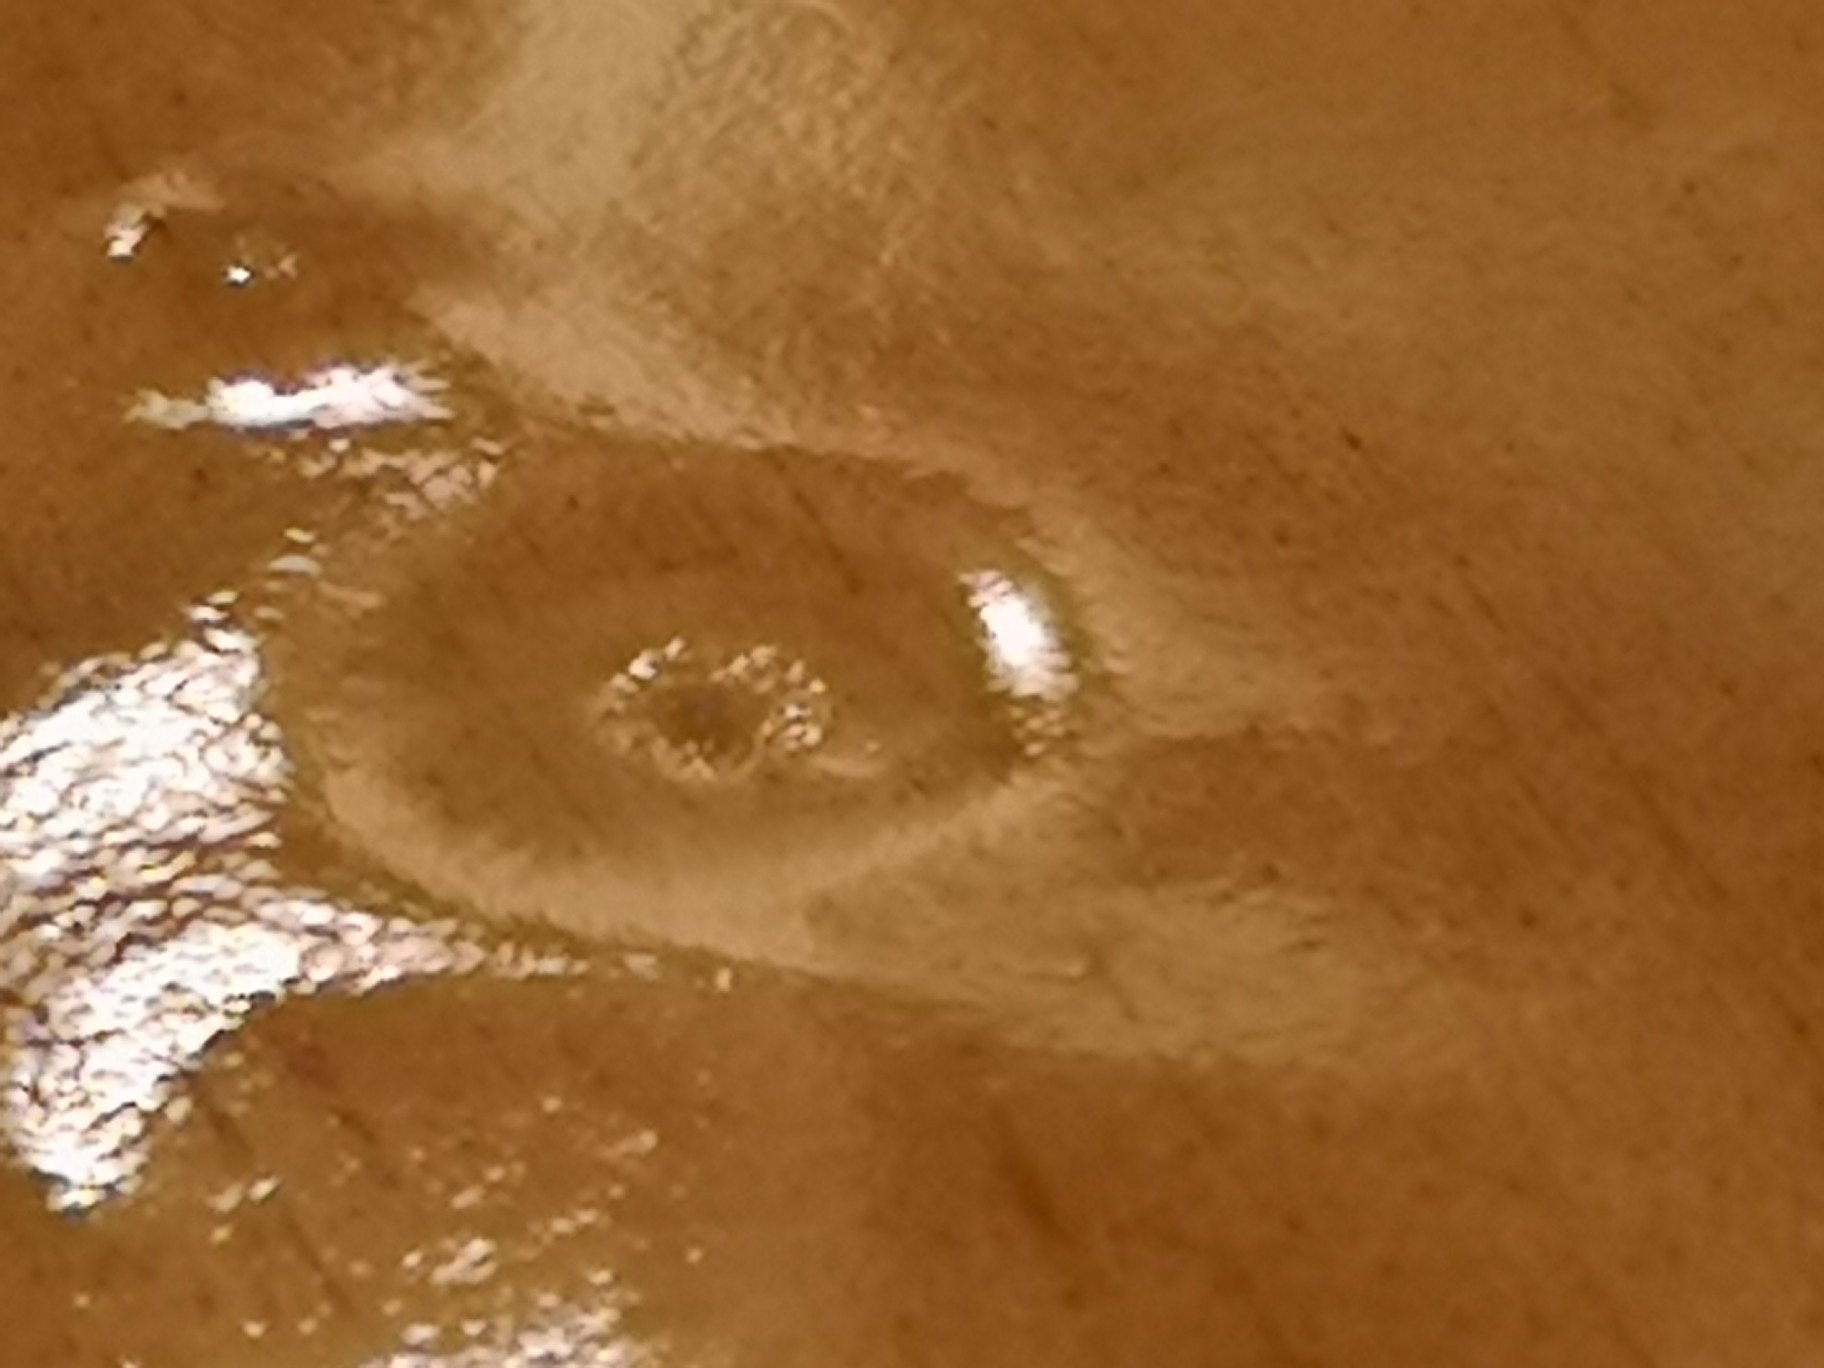
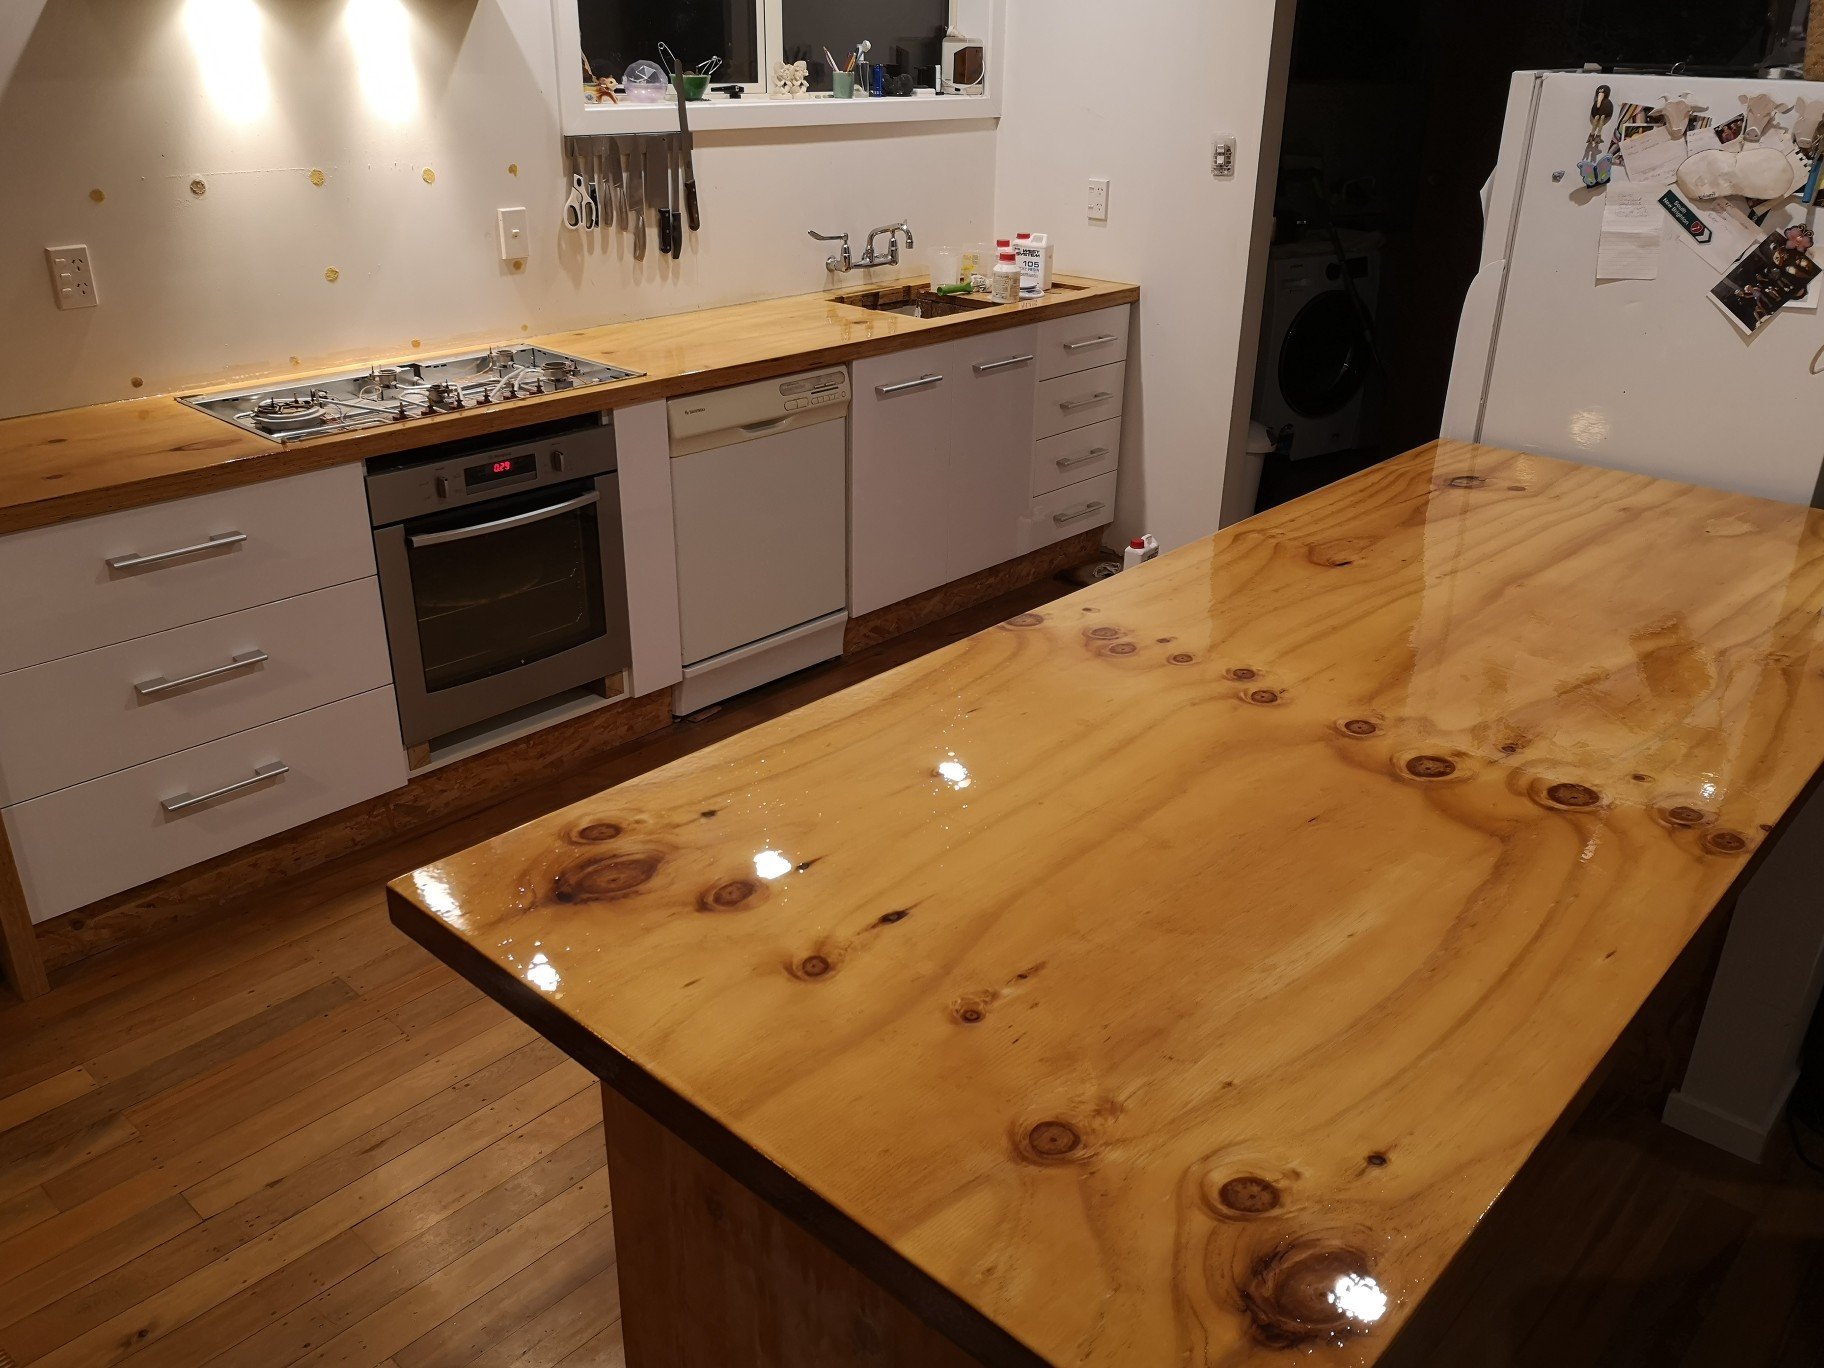
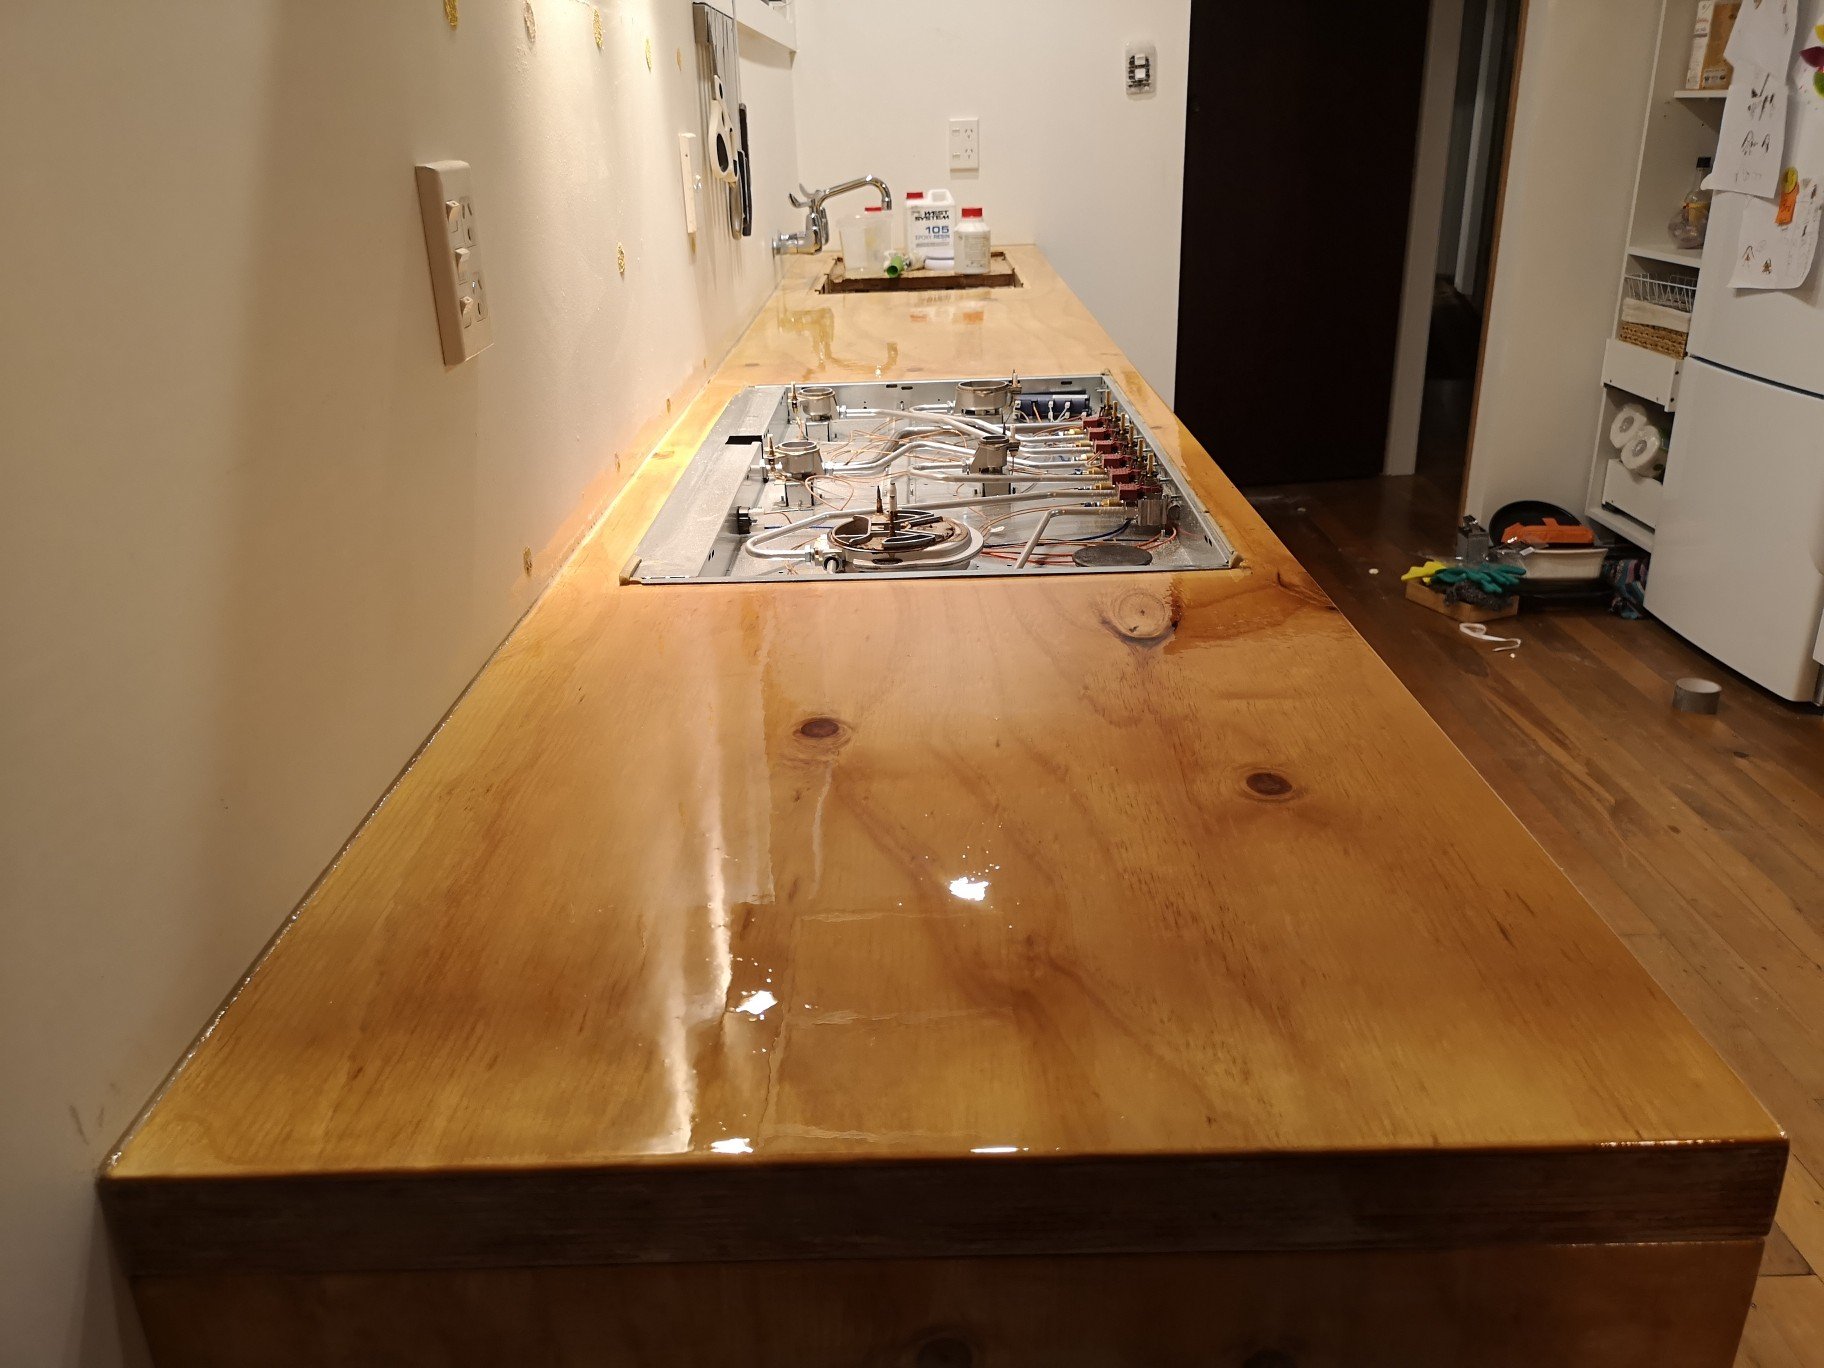
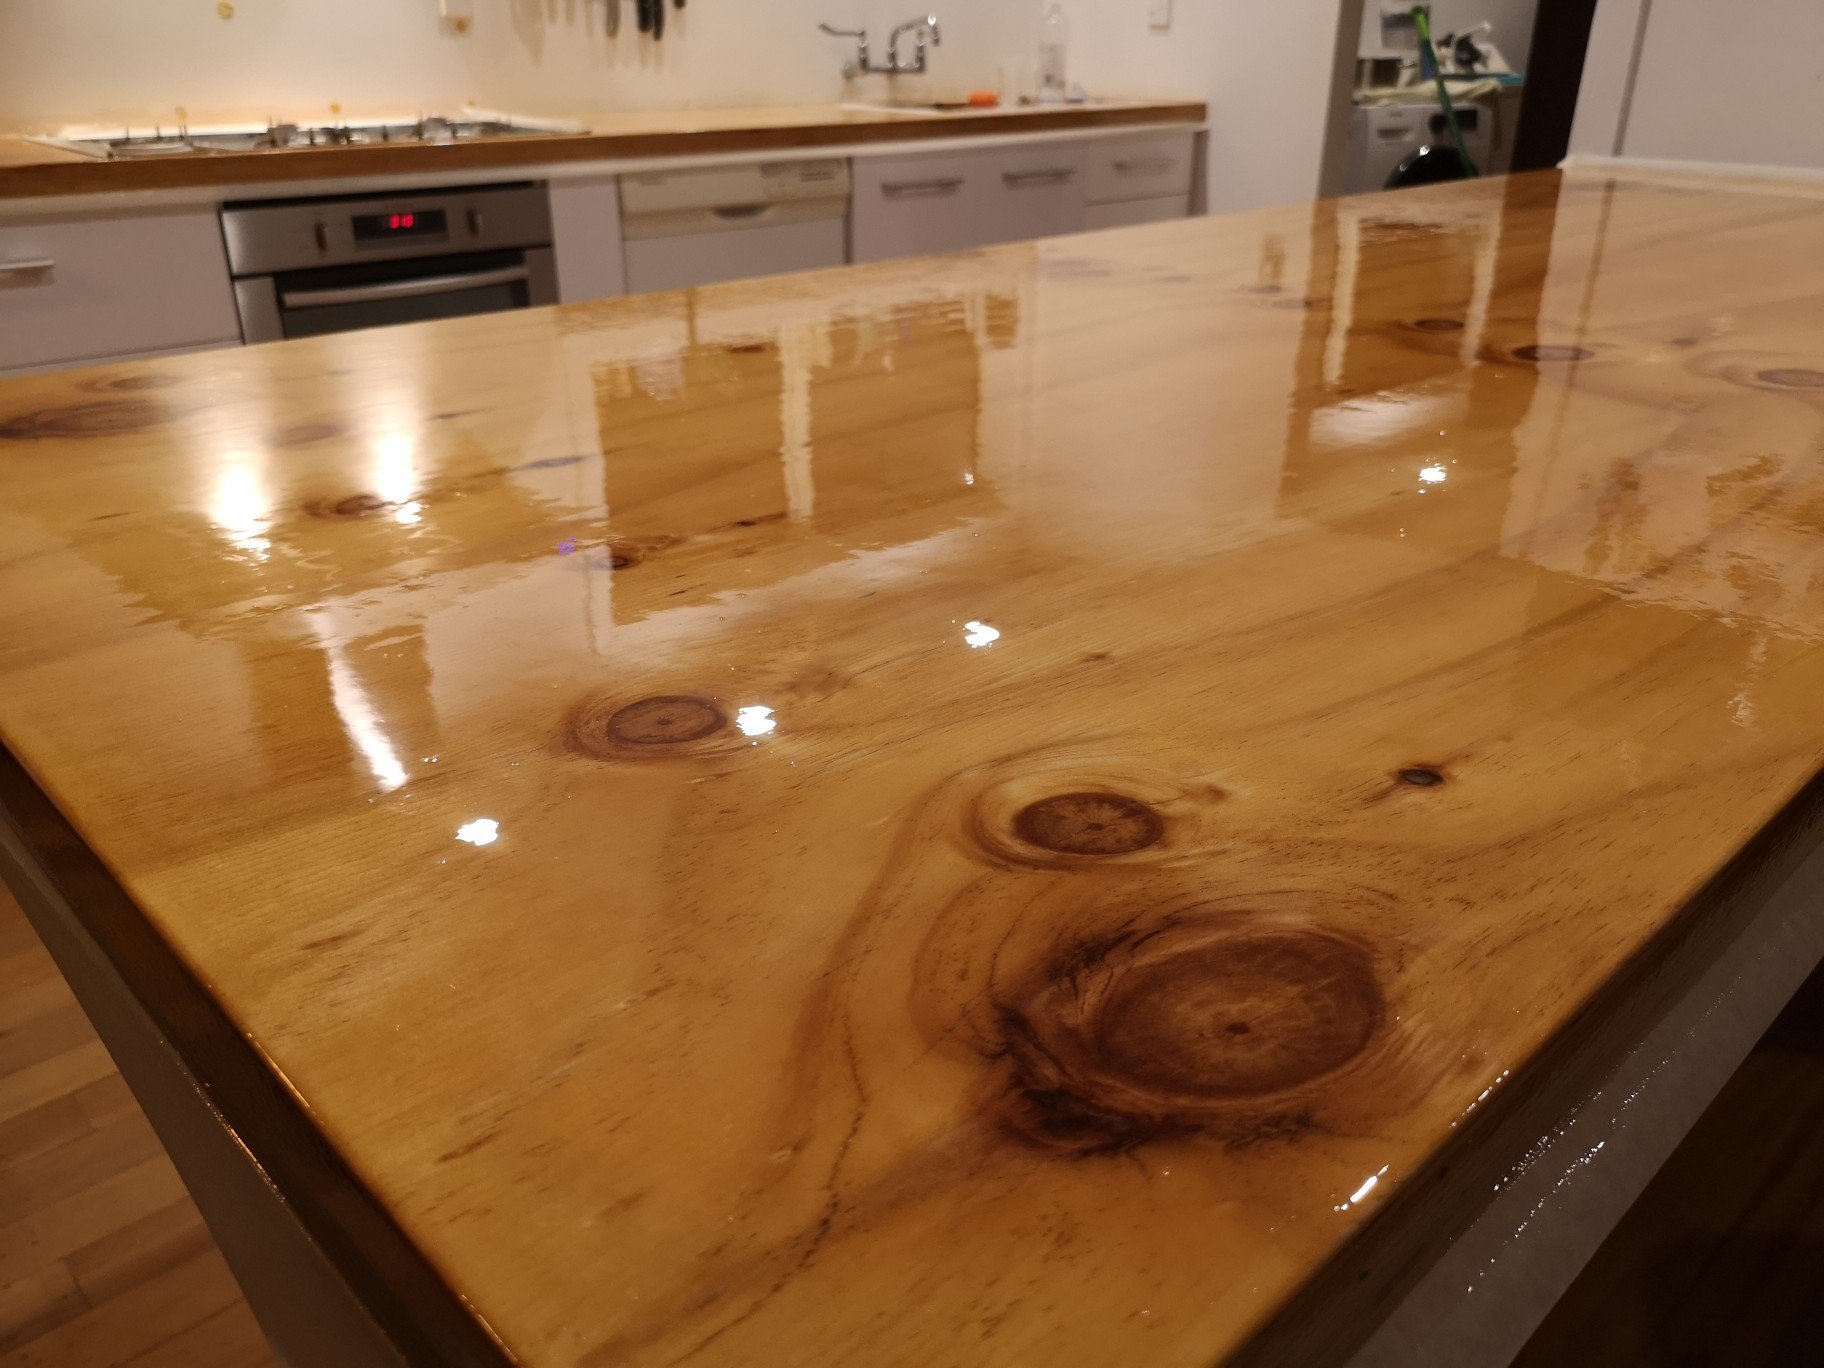
Before I set it in for good I recoated both benches in epoxy , the island bench was still ok but the wall bench was my first go and only had one coat on it that was full of air bubbles and was quite rough. It was also easily damaged. Before I started I had to repair the joint between the two sheets of ply that made up the wall bench, epoxy plus fuck off batten screw works.. Next I sanded it all back with 60 grit for keying purposes, looks quite nice just like that. Awesomely, the sander I bought last time I did the bench packed up half way through sanding the island bench, cunt, had to buy a new one. Went over it with liberal amounts of prepsol and gave it two coats of epoxy. This time I did it with a microfiber nook and cranny roller as it was too hard to do it with a window squeegee in place. Worked good until I went too hard with the roller and it broke leaving little bits of foam in the epoxy (FUUUCK!!!)... Plus once it cured there were a bunch of little fish eys in the finish Cue round two of sanding, Worth it tho, results speak for themselves. Much better finish, only problem I have is that next time I do this I'll be sure to strain the epoxy first as when I finished the older epoxy a big solid lump came out of the pottle after I had already made and applied half a coat.. consequently, what I thought was bits of roller in the first coat actually turned out to be bits of coagulated epoxy in both coats. I picked as much as I could out of the final coat but still missed a couple. Can always give it a light sand and polish further down the track... *probably won't....
- 322 replies
-
- 14
-
-
-
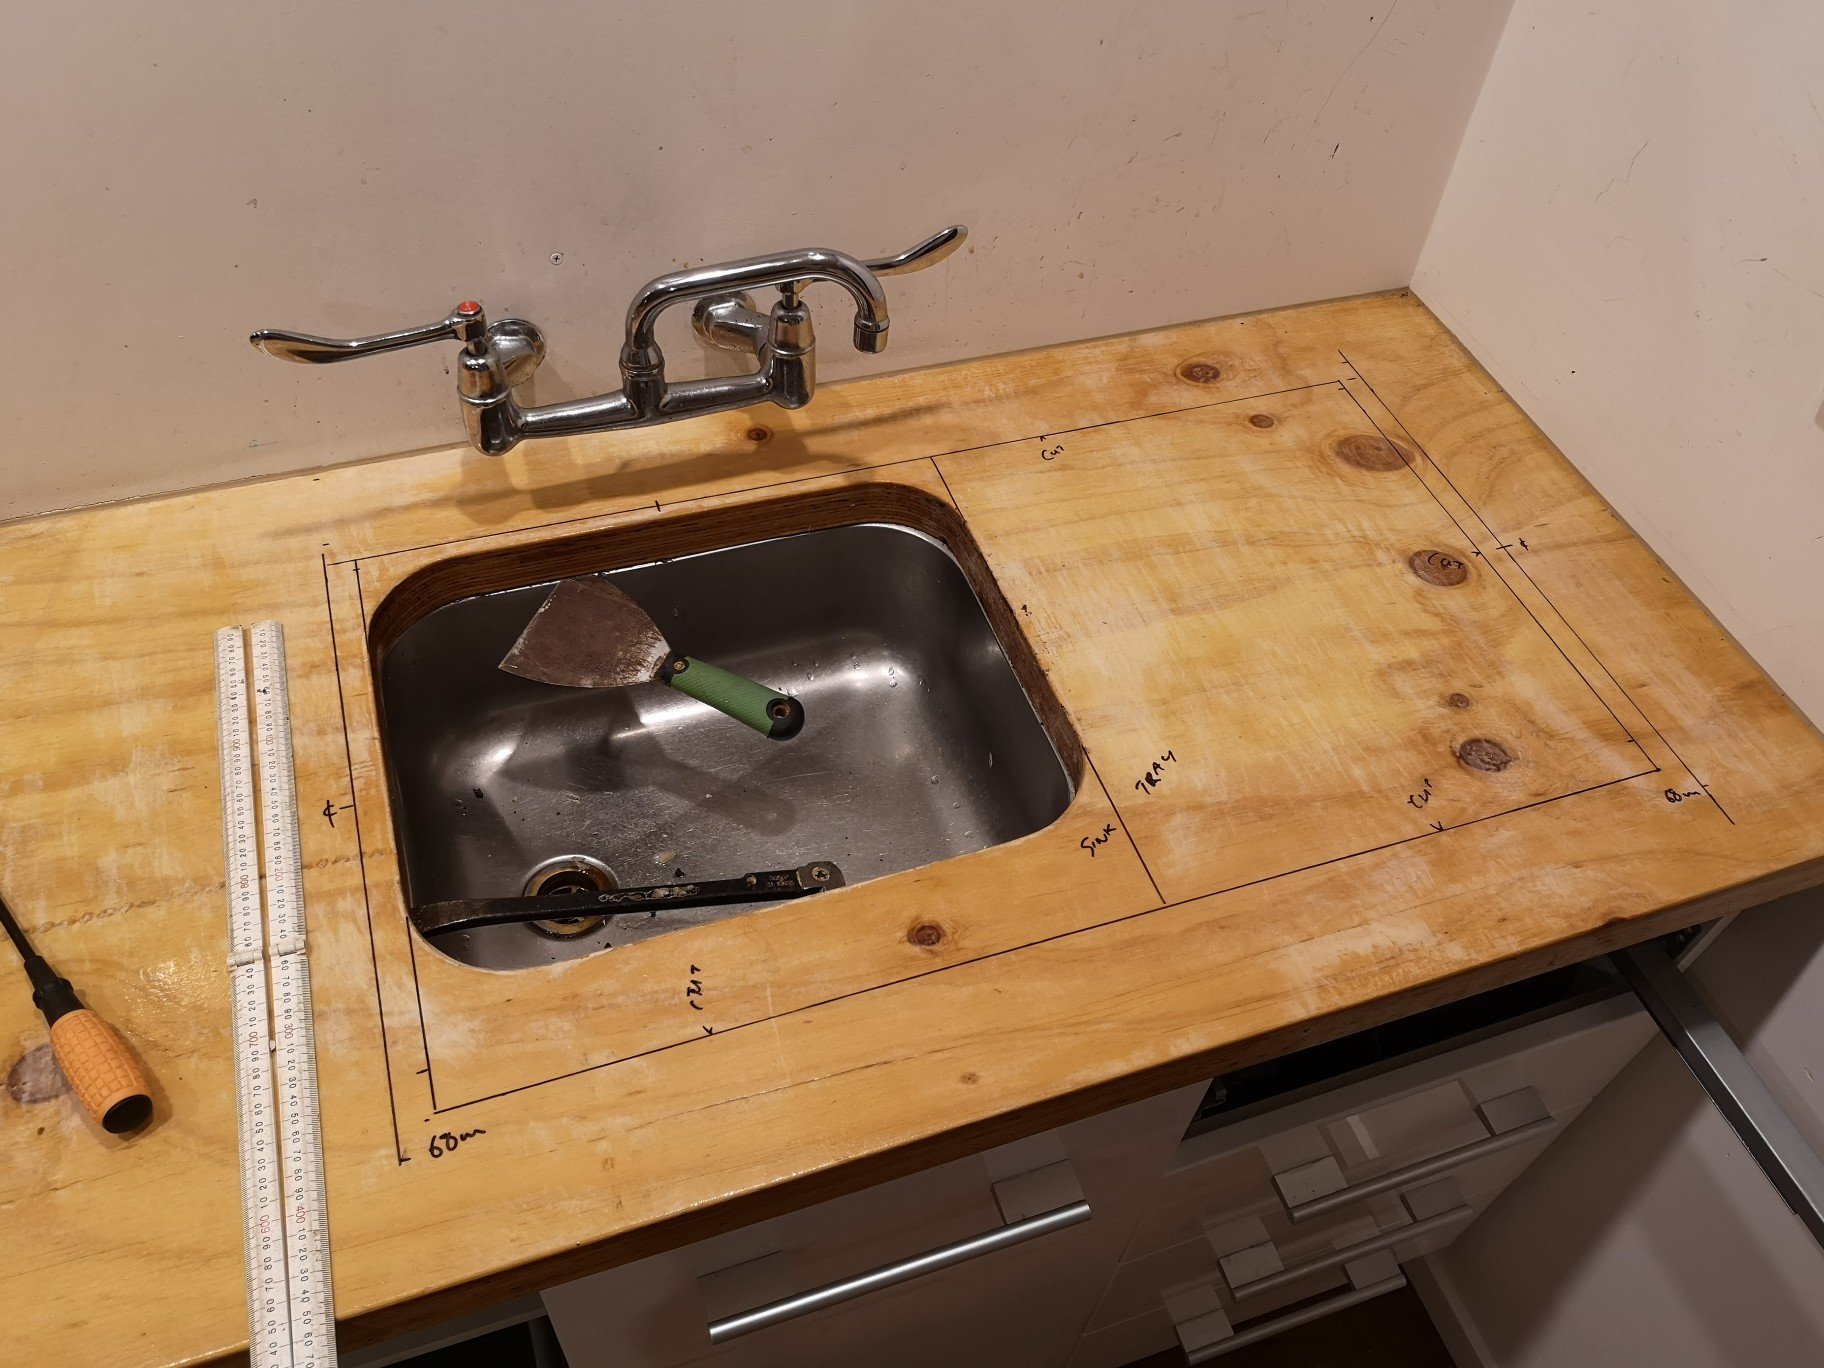
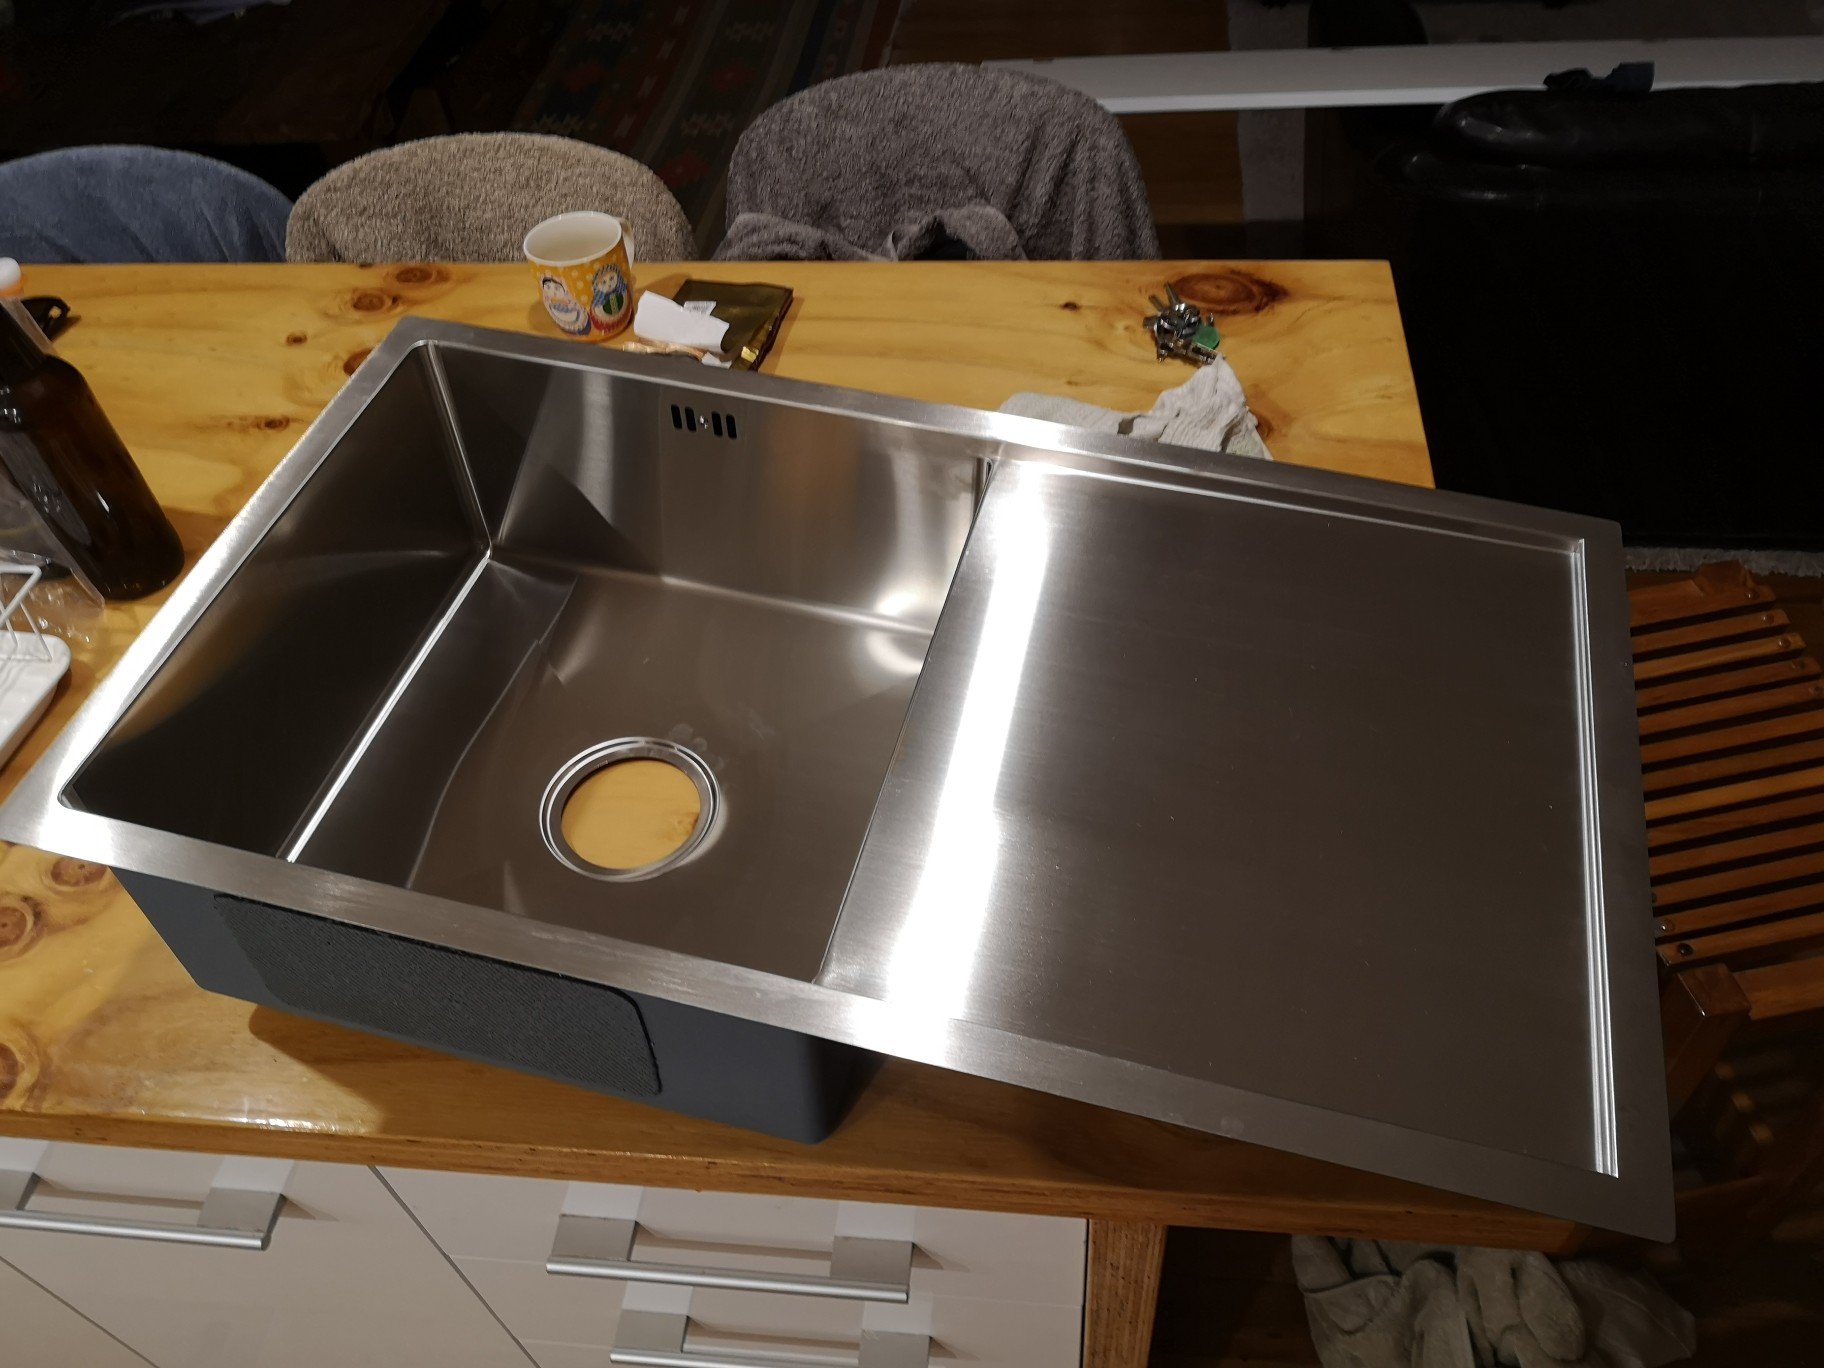
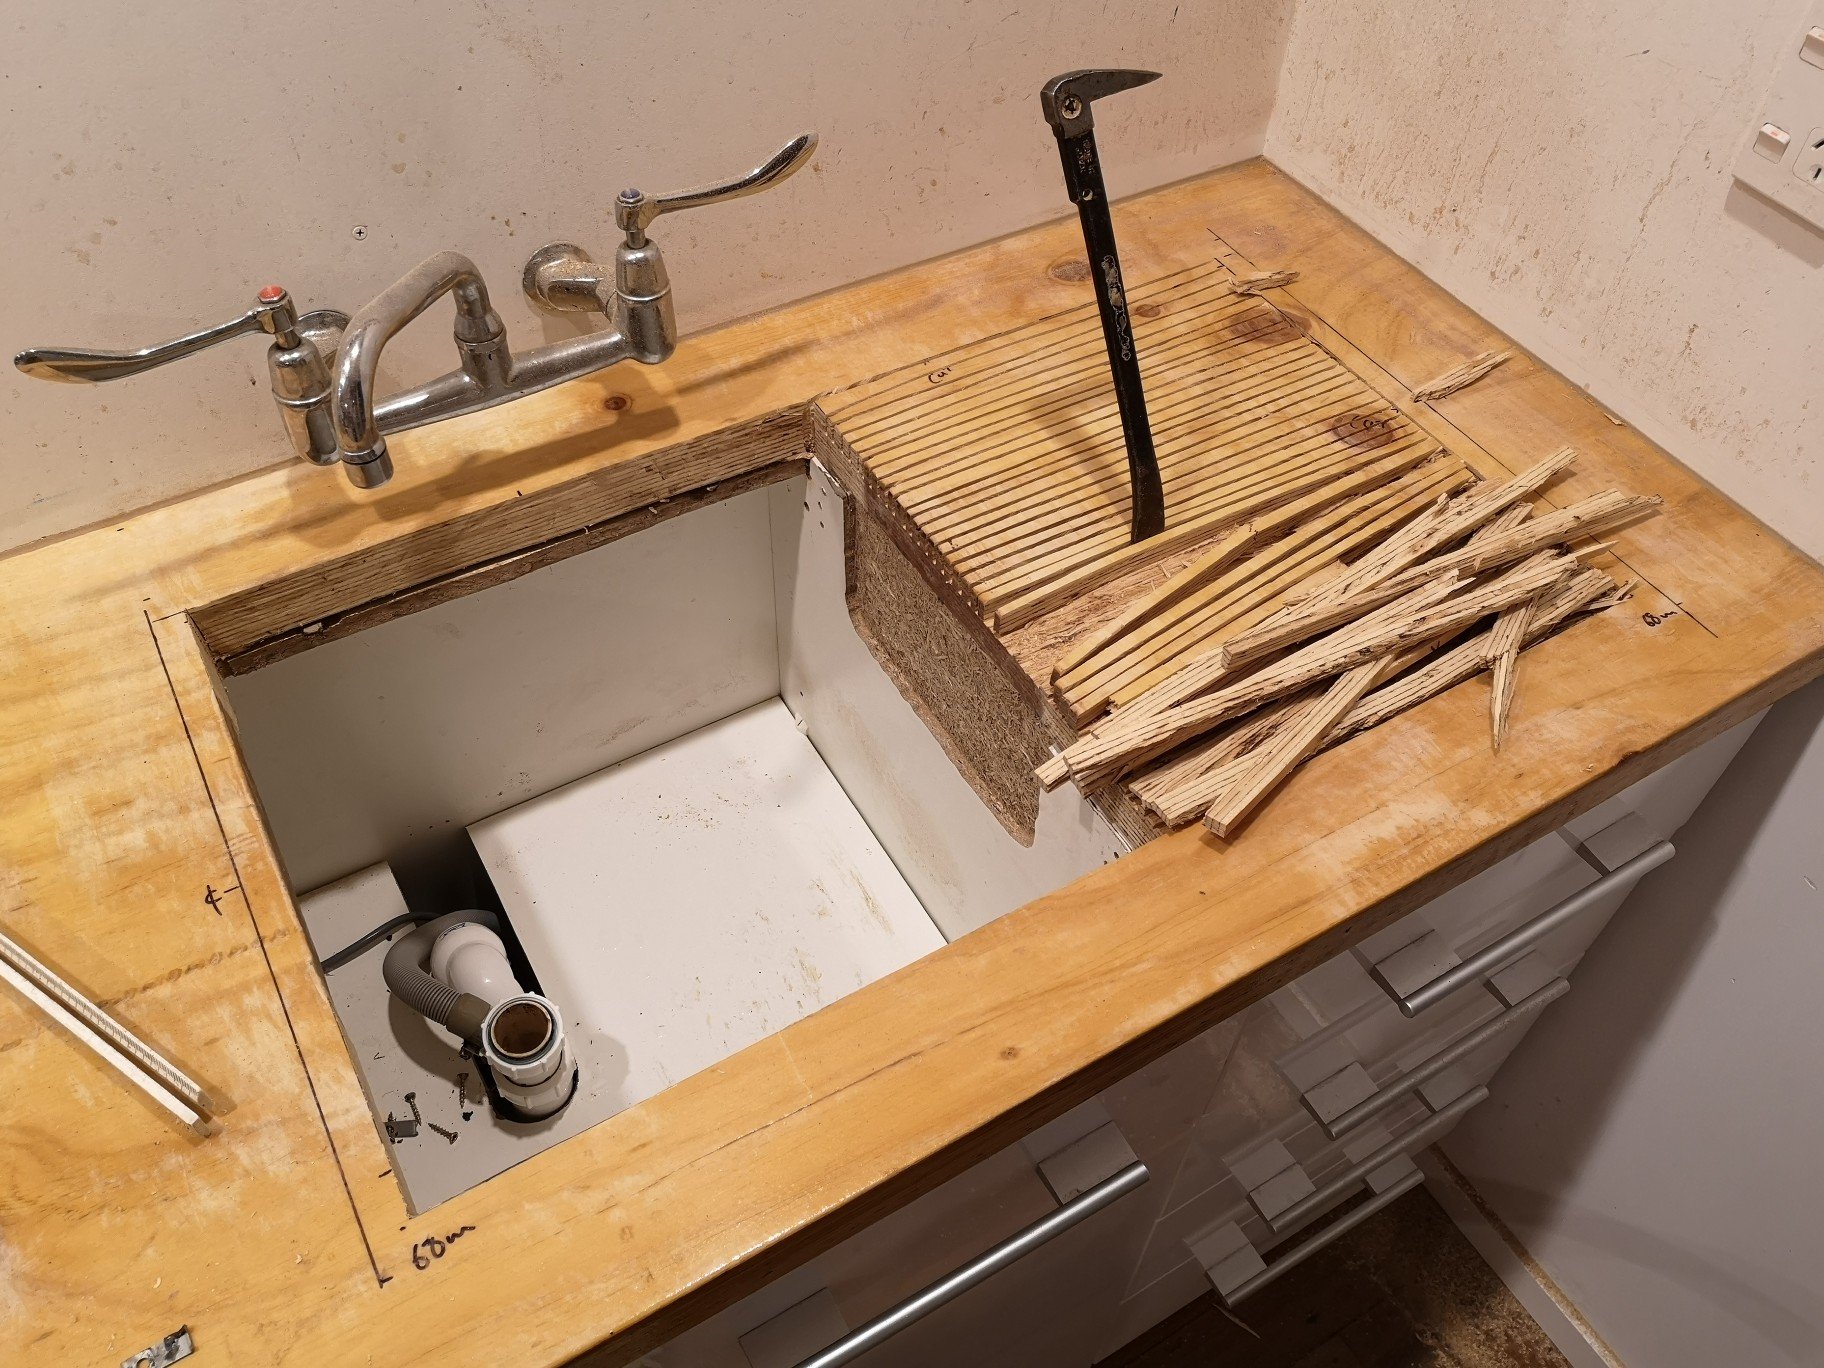
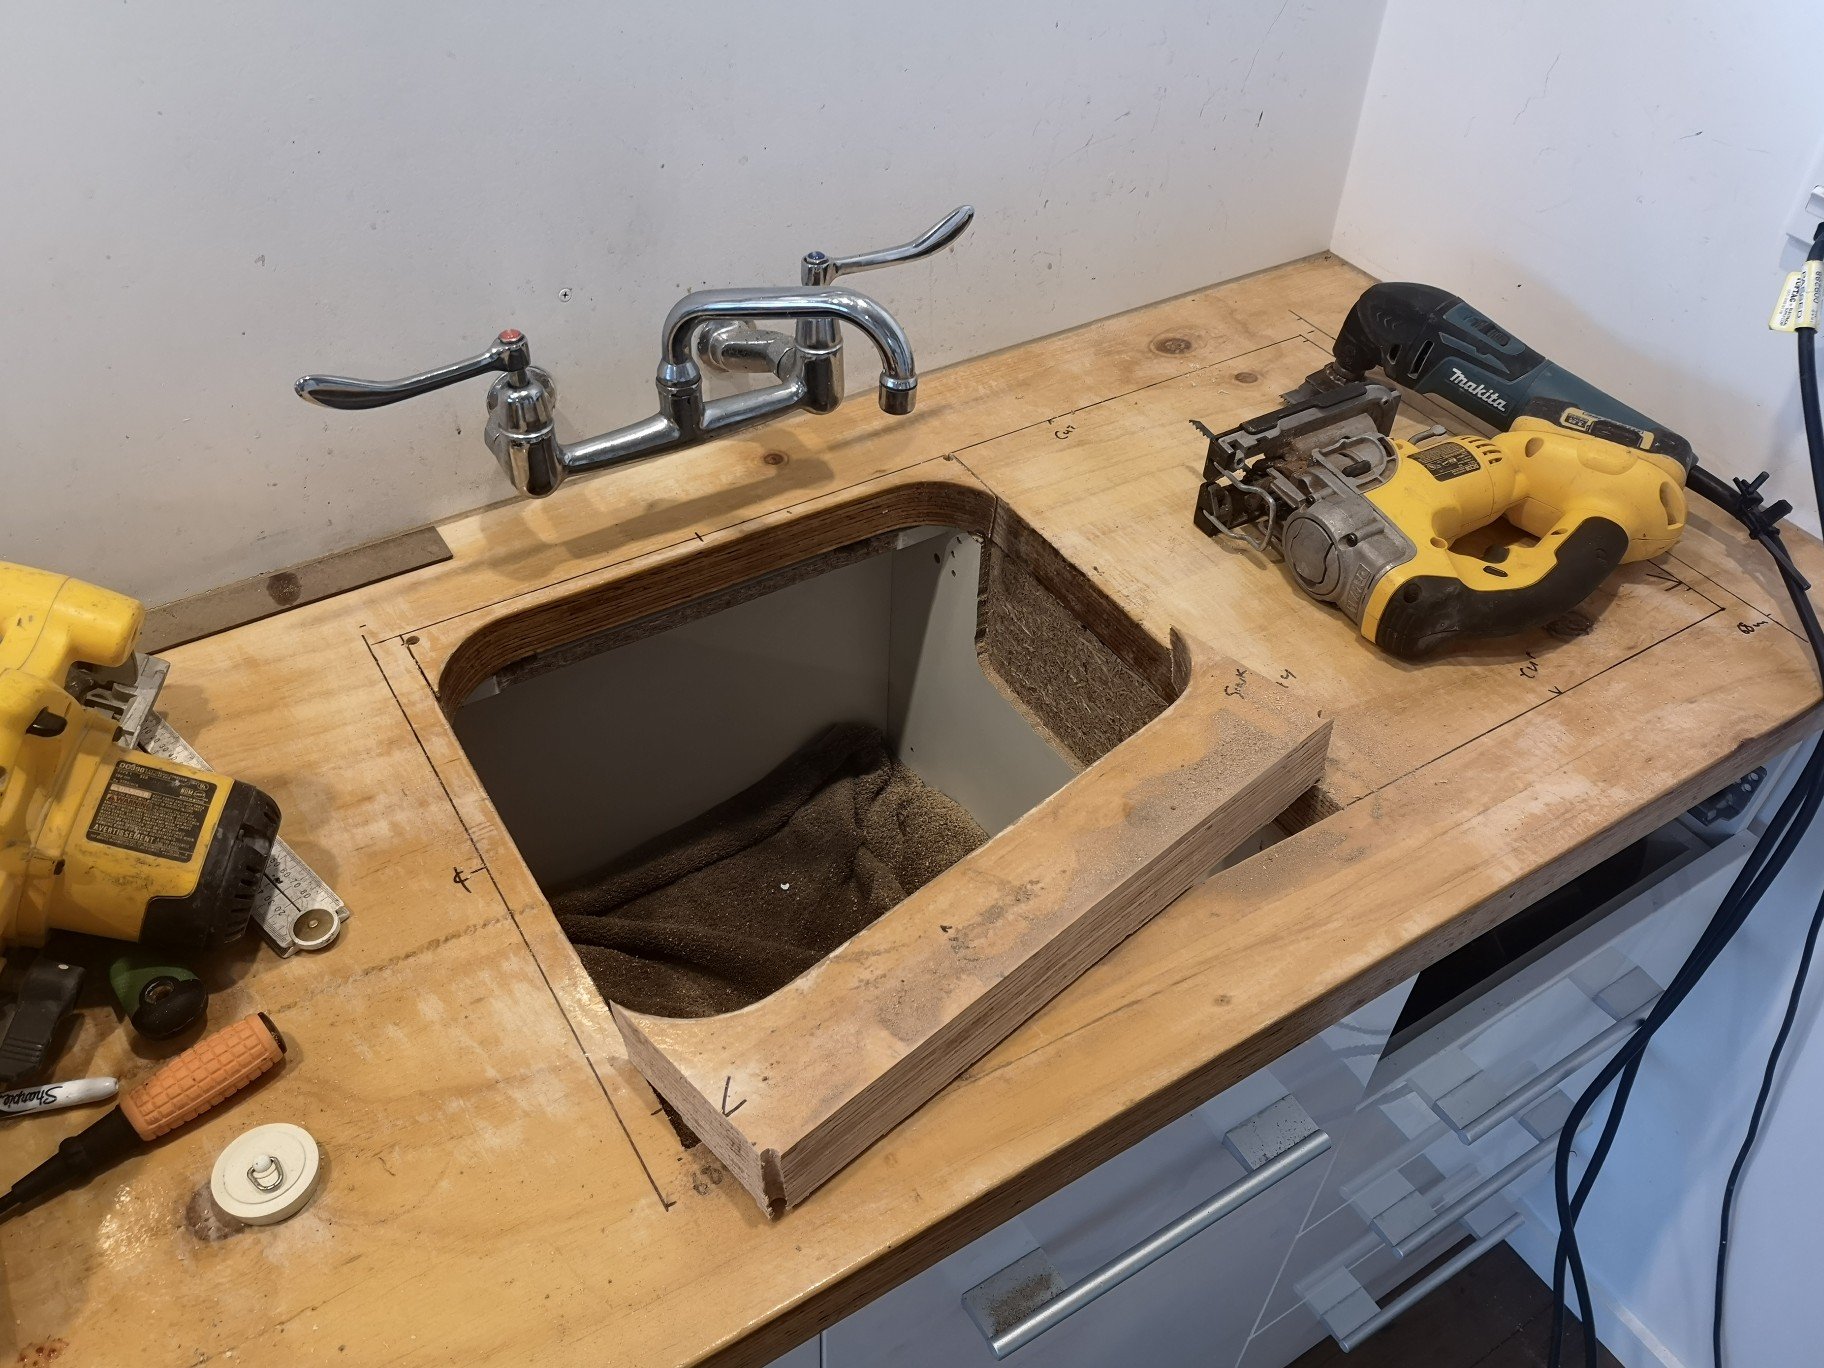
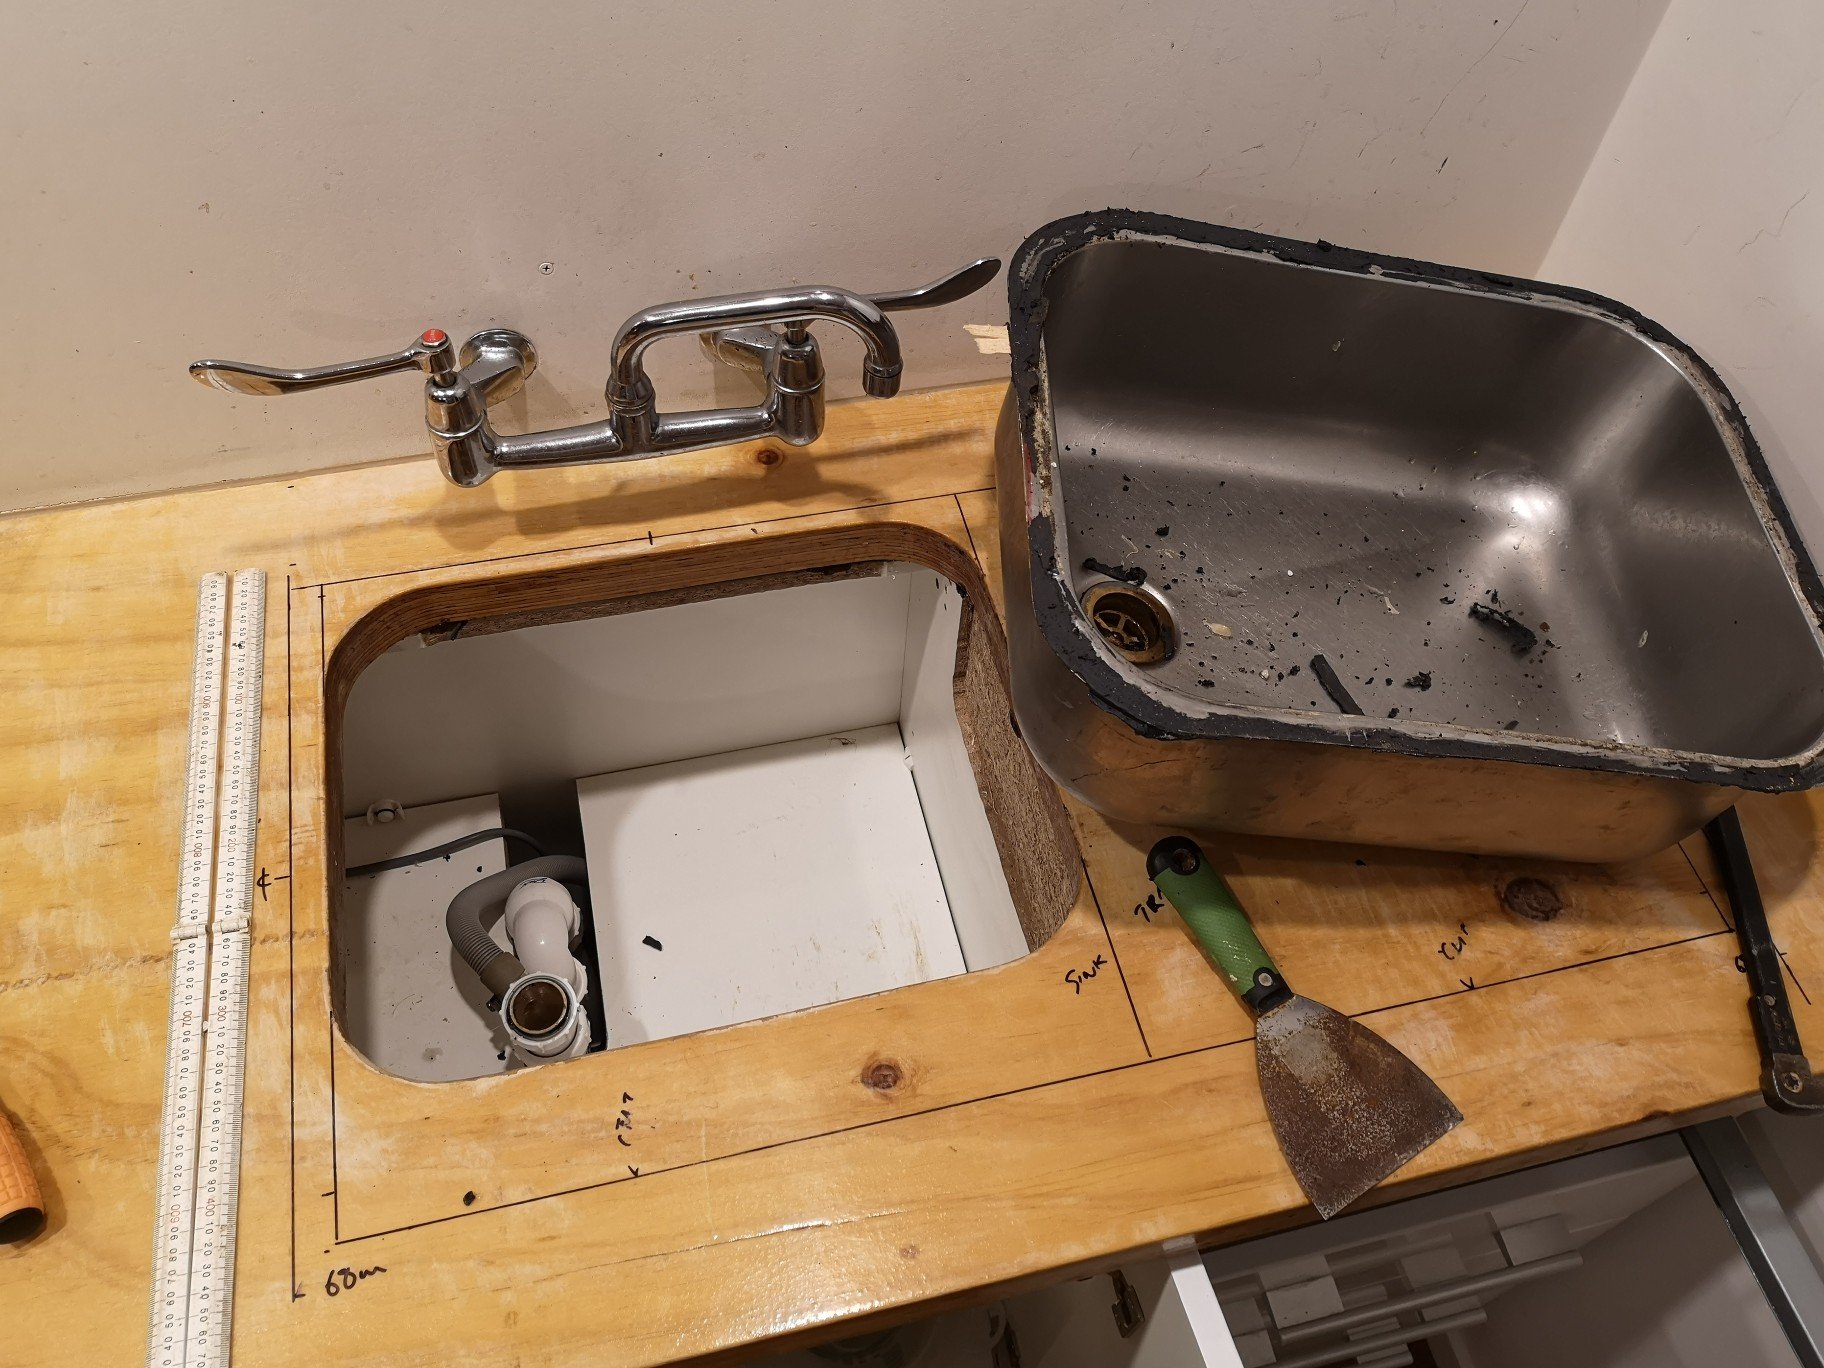
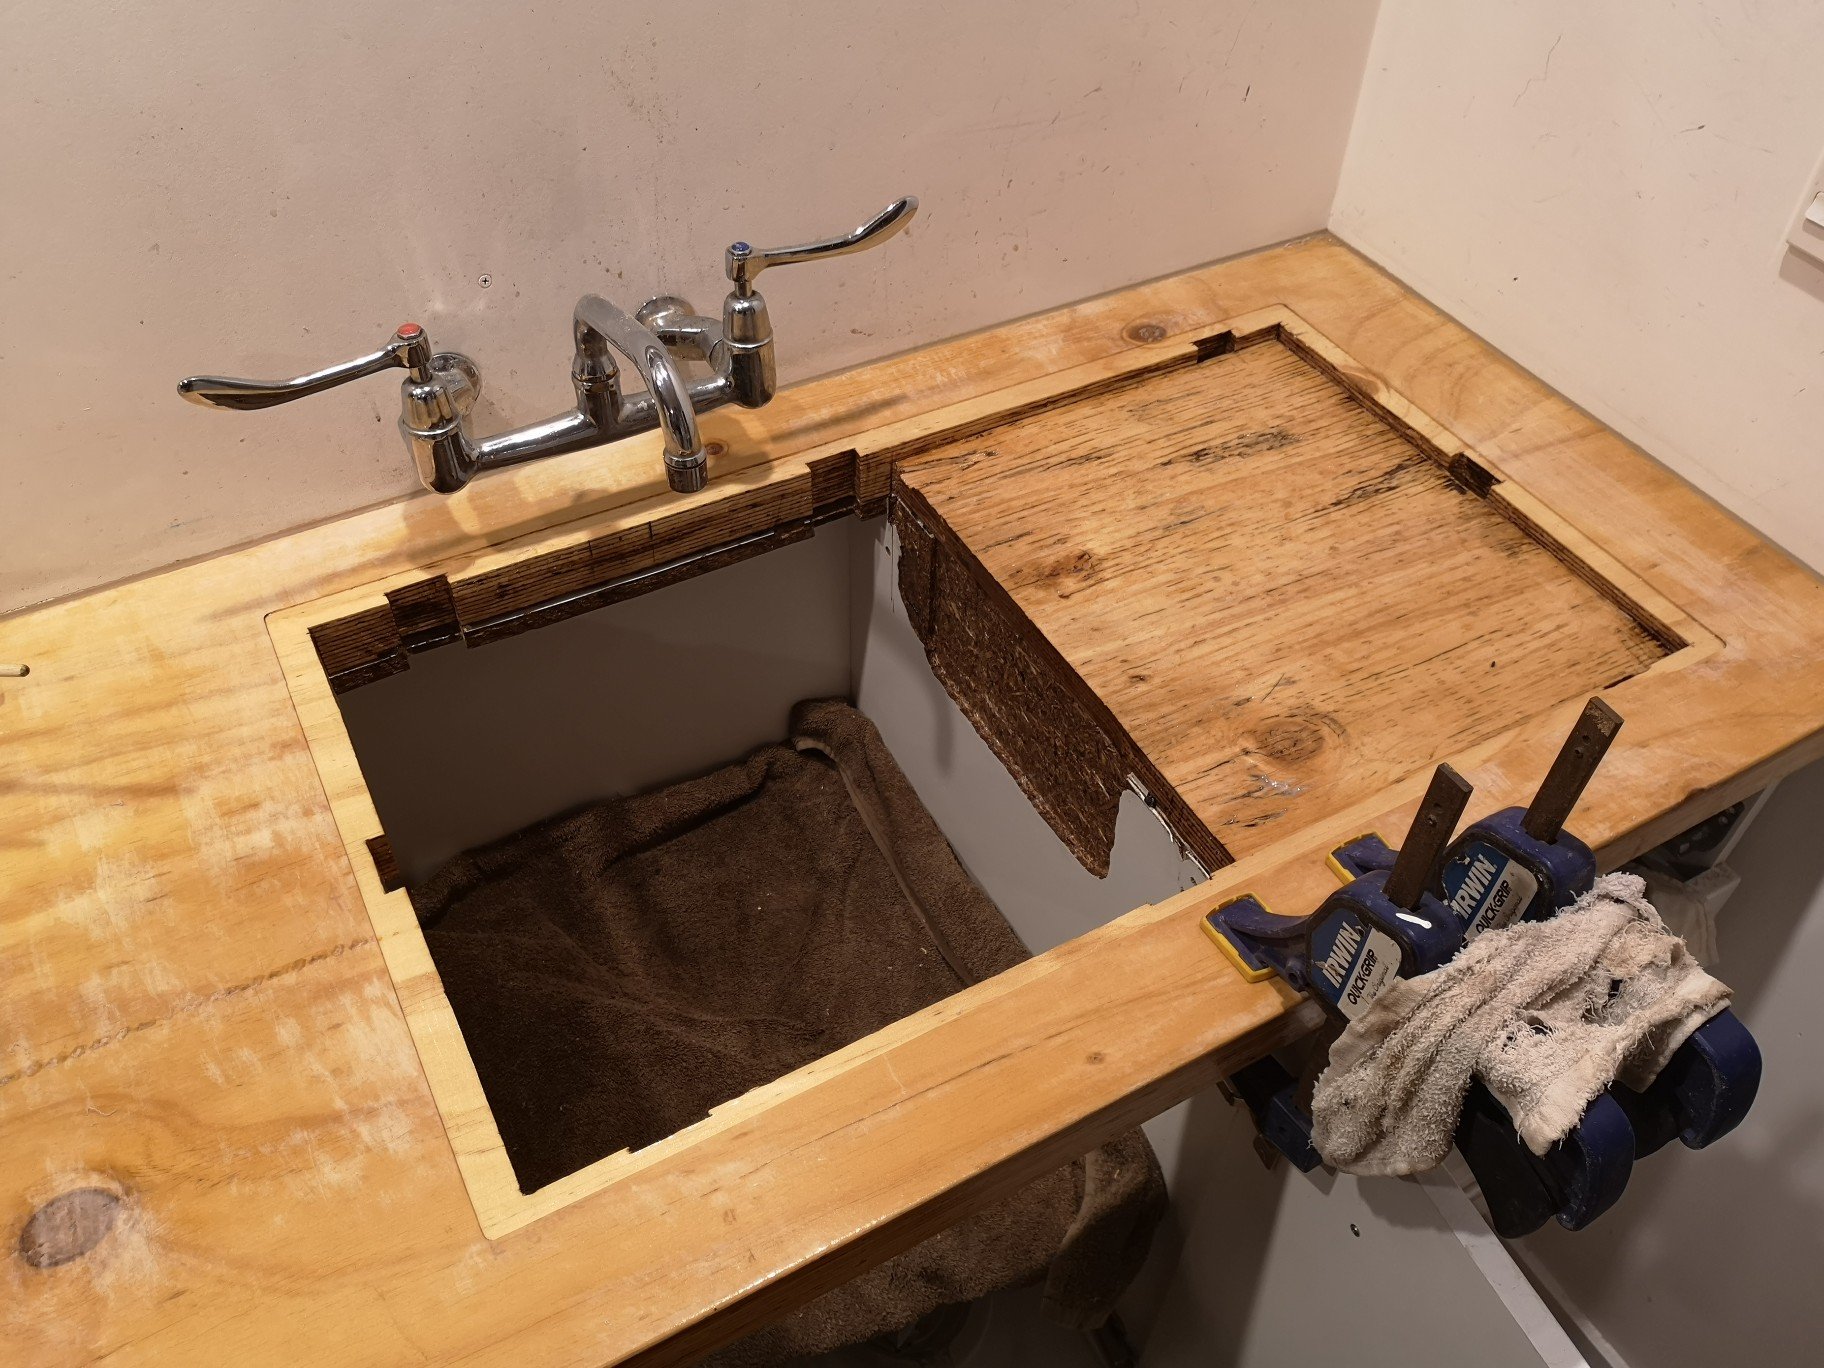
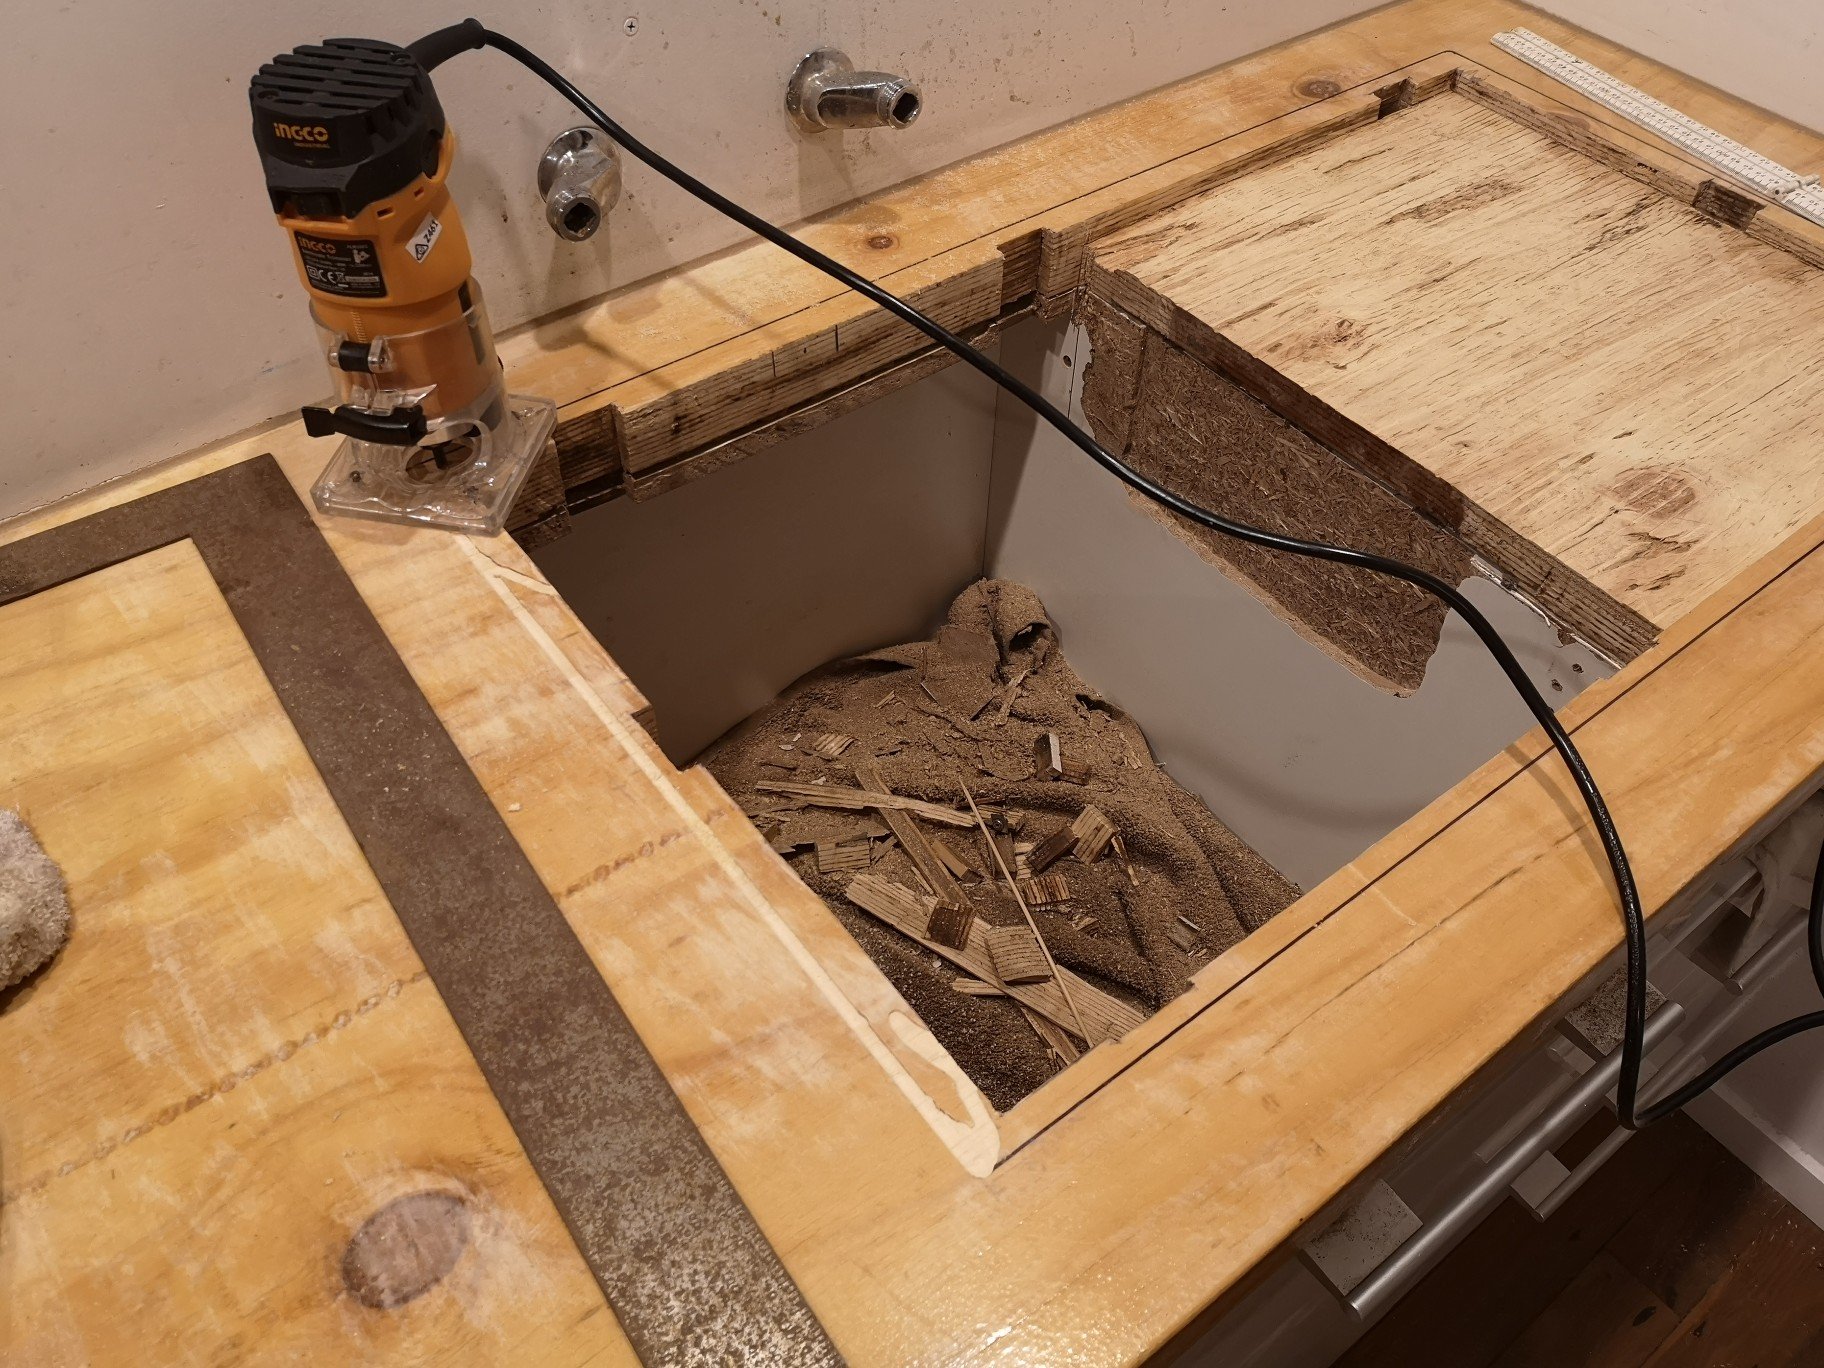
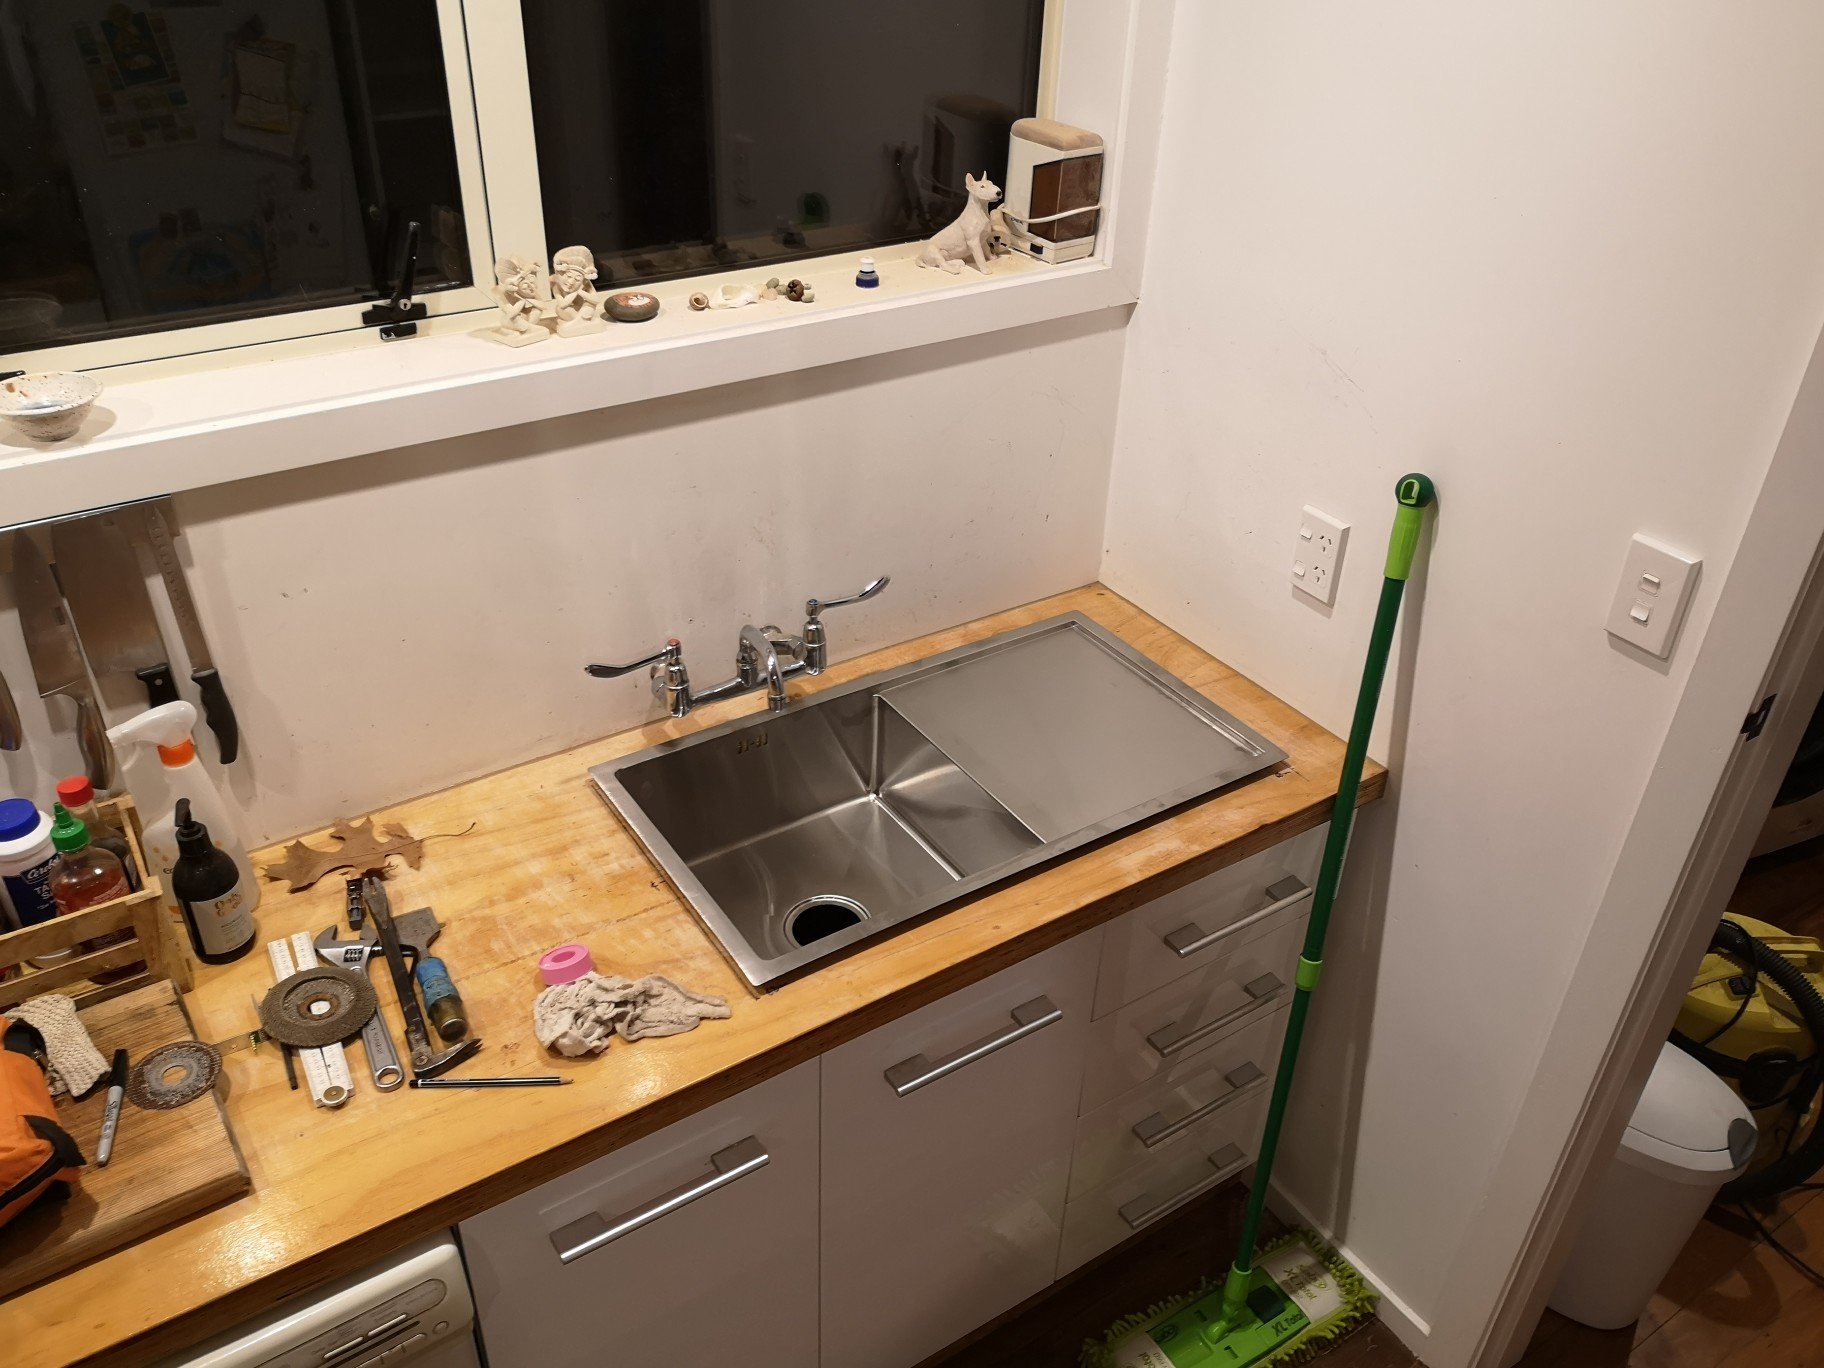
In other news.. Started the interior finishing touches just after lockdown 1.0... Just after nys I bought the rest of the cabinetry to go in the laundry/skullery which included a new sink for the kitchen. I was sick of the old one as it was way too small and asymmetrical. Mmmm, shiney Bit of a measure up, was gonna try and bring it evenly spaced between the front of the bench and the wall but the door hinges had the final say. Out with the old, And time to make a massive mess, luckily the fam was away. Trial fit and edge confirmation. Semi free hand routing, consists of me holding the square with one hand and routing with the other. Has a couple of layers of epoxy on all the rebates just incase of water.
- 322 replies
-
- 12
-
-
-
Carjam says its the same owner.. He's dodgy as fuck anyway, the whole situation felt weird so I canned it.
-
Hi friends.. What's the go with trailers? Went and had a look at a car transporter tonight, guy selling was a full flat peaking neck tattooing dodgy cunt with a bunch of boganed early 2000 cars on the street. Trailer had reg but no wof and had the plates swapped not long ago and hasn't been reported stolen on carjam. How do I know if its legit or not as it seemed like a lot of trailer for not much money (3k) and he seemed very keen for me to take it tonight.. Felt dodgy af..
-
I literally had a dream about those pavers last night, was trying to cut in around the edge by the side gate with all the broken off cuts, was a total cunt.. Thanks sheepers.
-
Most concrete products are like glass/shit..
-
Fall has just been drummed into my head over the last 10 years. Its just easier to put fall in when your loading out anyway than not. That way, if it somehow it does manage to get water in there at least you had fall. Ap can be quite water resistant so once you fill the pavers with dirt which can also pool you might find it takes a while for any water to drain through. As you say, its mostly covered, but sometimes it's just better to do that to your ass as well.
-
Discuss here about Yoeddynz's little Imp project...
yetchh replied to yoeddynz's topic in Project Discussion
That gemini set up is the same as the 70's mazda setup (ma etc) mazda's run a chain dive oil pump with no tensioner or guide. Never seen one break, only stretch.. How long does it need to be?