Taistorm
-
Posts
2,100 -
Joined
-
Last visited
-
Days Won
2
Everything posted by Taistorm
-
Cheapest recore I could find was $680. I can find the alloy rads at sub $200. Factory fan is switched from the sensor/switch mounted in the radiator. The vehicle is carb so no ecu. I appreciate that Chris but trying to sort this across the weekend/within the week. Looks like I have everything lined up for this so should be sorted shortly. Cheers.
-
I can possibly make this in the new, old mirage. Depending on what time I finish work that is..
-
That link actually shows the inline hose sensor adaptor as an option haha. This is a great idea, had never thought about that. I've just been having a look at the old radiator. I reckon I can bend up some mounts to fit the new radiator to the factory mounts and have our engineer at work weld them on and also weld on a boss. Then I can chop off the original fan mounts and weld on some new ones to suit the new rad and run all the original bits. I'll just need to adapt some hoses to suit. I reckon I can sort all of this for sub $300 haha. Here's hoping. Cheers for the help. Will see how I get on haha.
-
Hey guys, looking for some advice. I'm now looking to retro fit an aftermarket Civic radiator into my mirage as I'm struggling to find a second hand unit and recore looks to be a hefty cost now (no way near as cheap as it used to be). I'm a bit of a tight ass at times and only want to spend half of what a recore will cost if I can so I'm working out a plan. The idea is to get a cheap aftermarket alloy Civic radiator 'half rad', make some mounts to fit and make up some new hoses. The main issue I'm running into is how to go about setting up a thermo fan. The Civic radiator doesn't include a thermo switch mount so I was thinking to use one of the hose inline switch/sensor mounts but I'm struggling to find one locally. Another thing is would I need to run a new circuit/relay for the fan or would I be sweet to just tap into the existing circuit and get away with it? If need be I can follow the wires and see the relay setup that they run through from factory. If anyone has any suggestions on the best and easiest way to do this then please let me know. Cheers, Tai
-
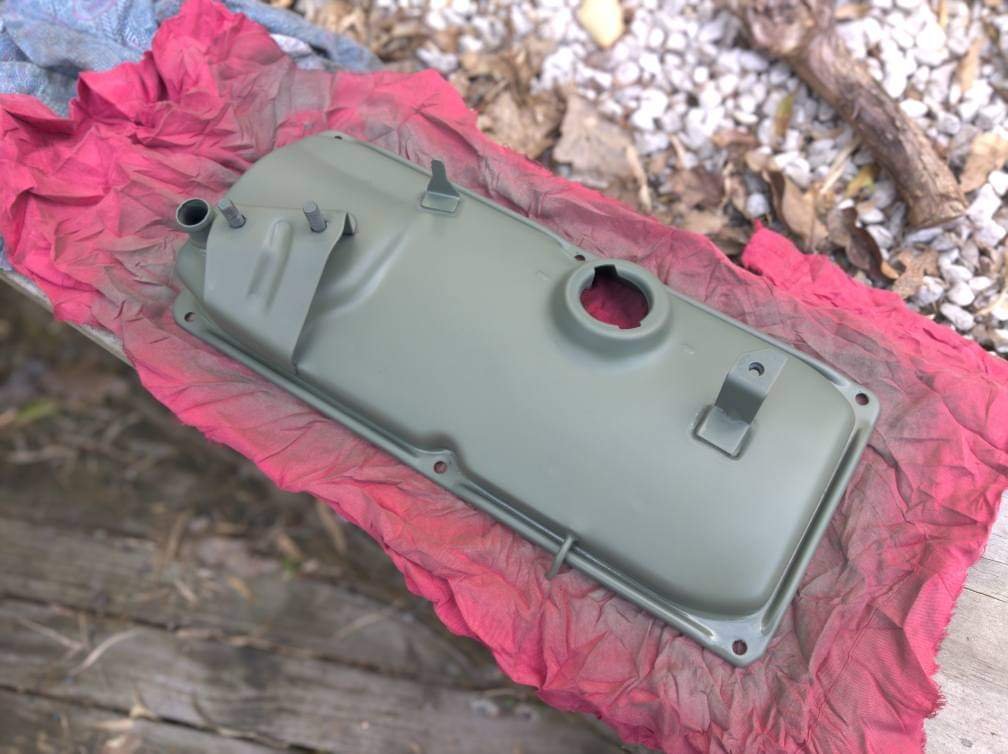
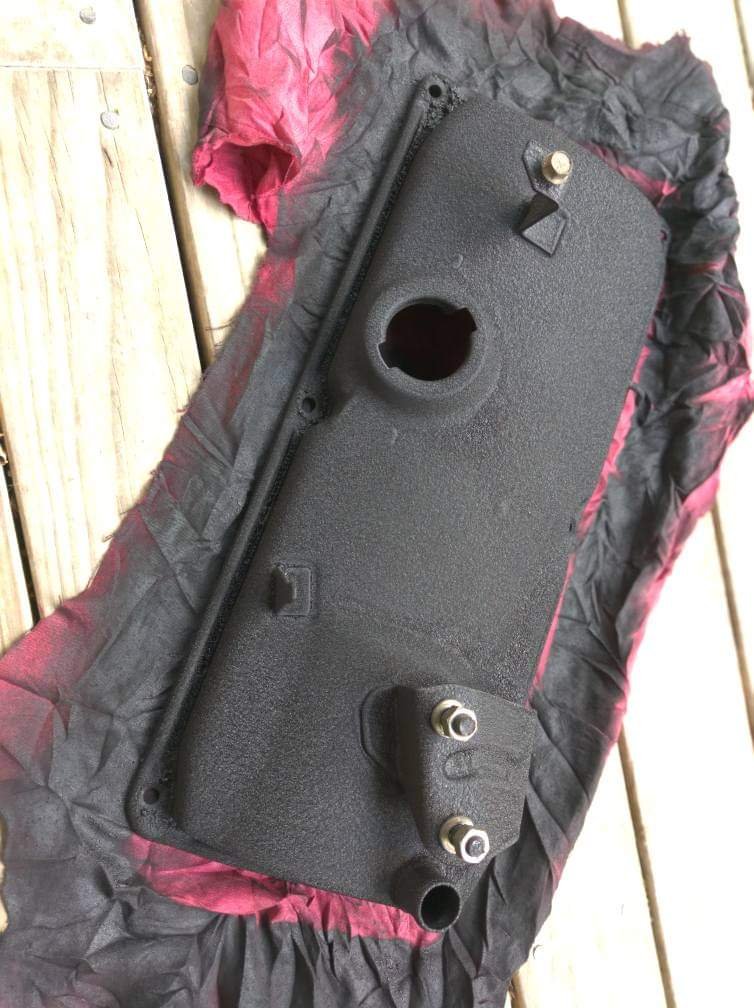
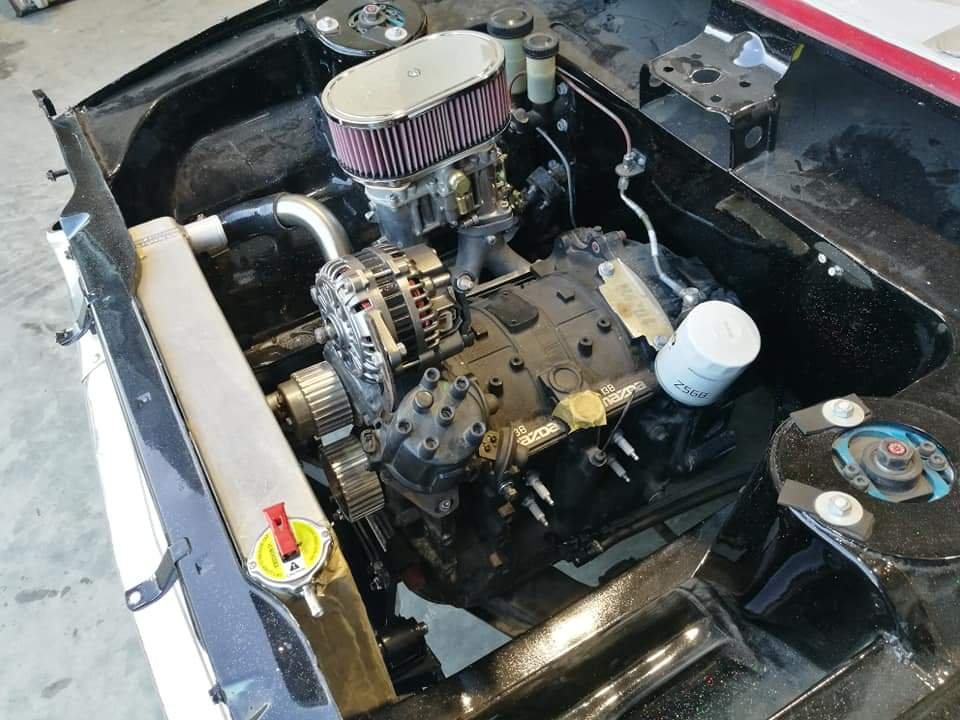
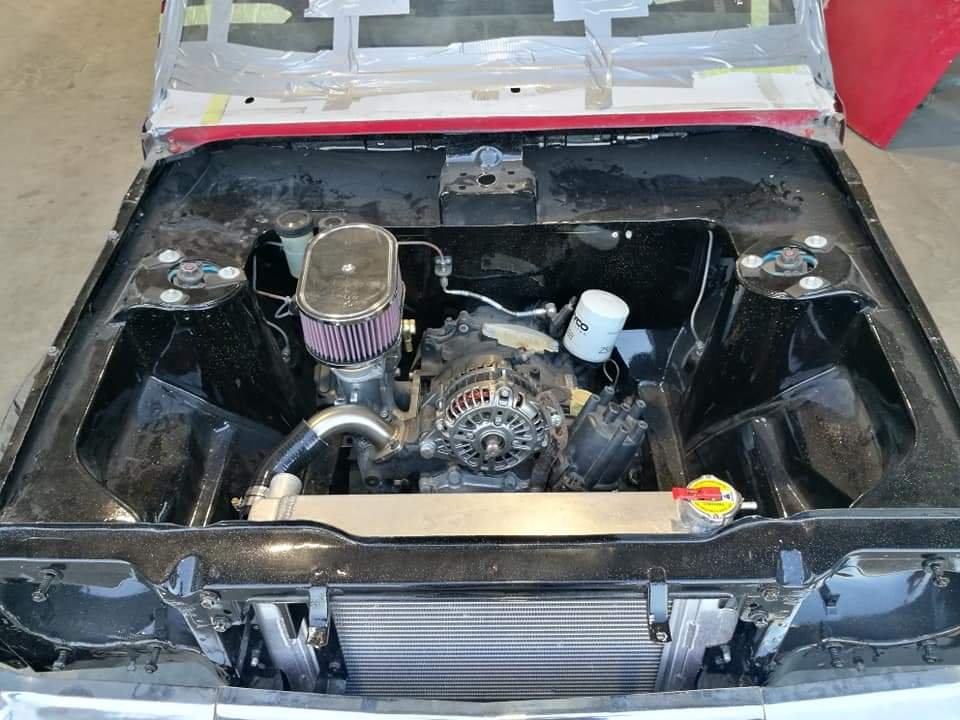
Picked up most of the parts today. Cleaned up the block to fit the waterpump, the one supplied is wrong, the inlet pipe sits out about 20mm further out than it should (maybe it's 4g12 pump). The thermostat is different (mines offset) and the dizzy rotor was different as well, so have the correct(hopefully) parts on order. No biggie though. Also the second hand radiator I was getting sent turns out to have a good portion of the fins munted so I'm getting a recore on my current one priced up through my mate at Albany radiators. Figured as I had the rocker cover off I'd give it a strip back and paint. This was a very rushed job, even ran the heat gun over it to try and get the wrinkle finish a bit more prominent (have found it normal sits really flat if you can't bake it). Accidentally went hunnits on the corners which made it start bubbling so I'm guessing they'll flake off pretty quick haha. Oh well. Tai.

-
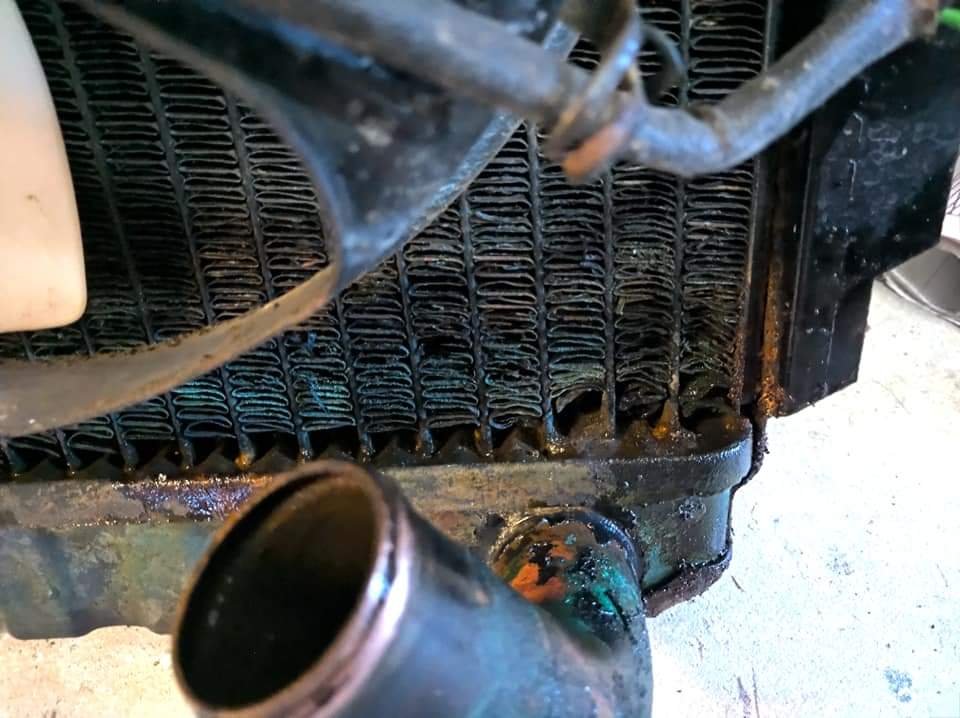
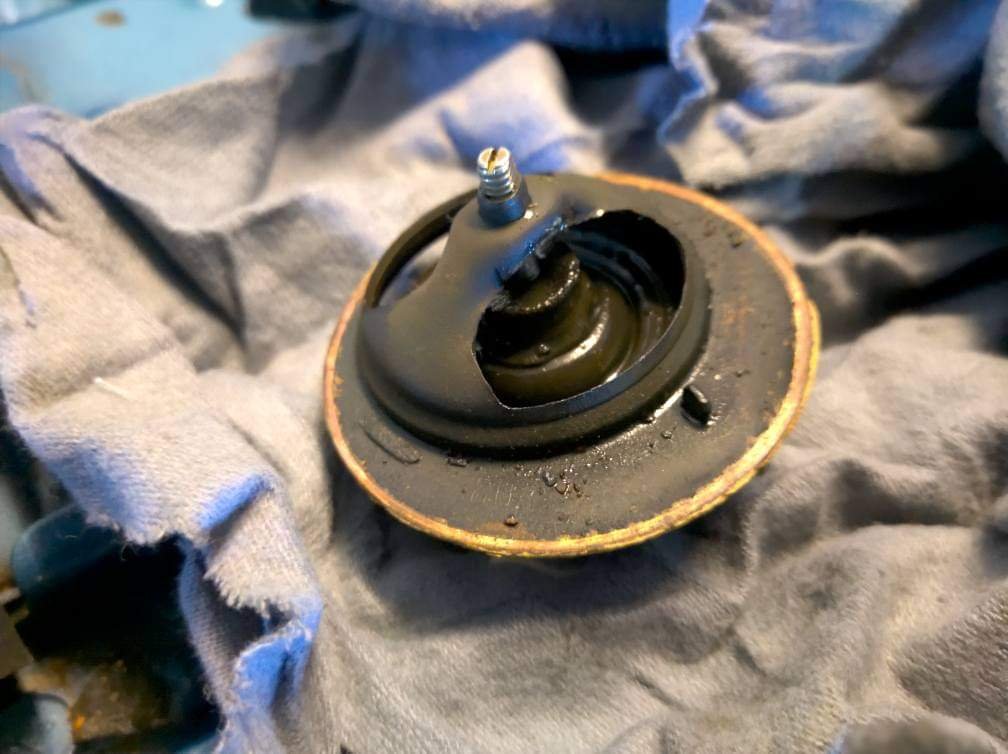
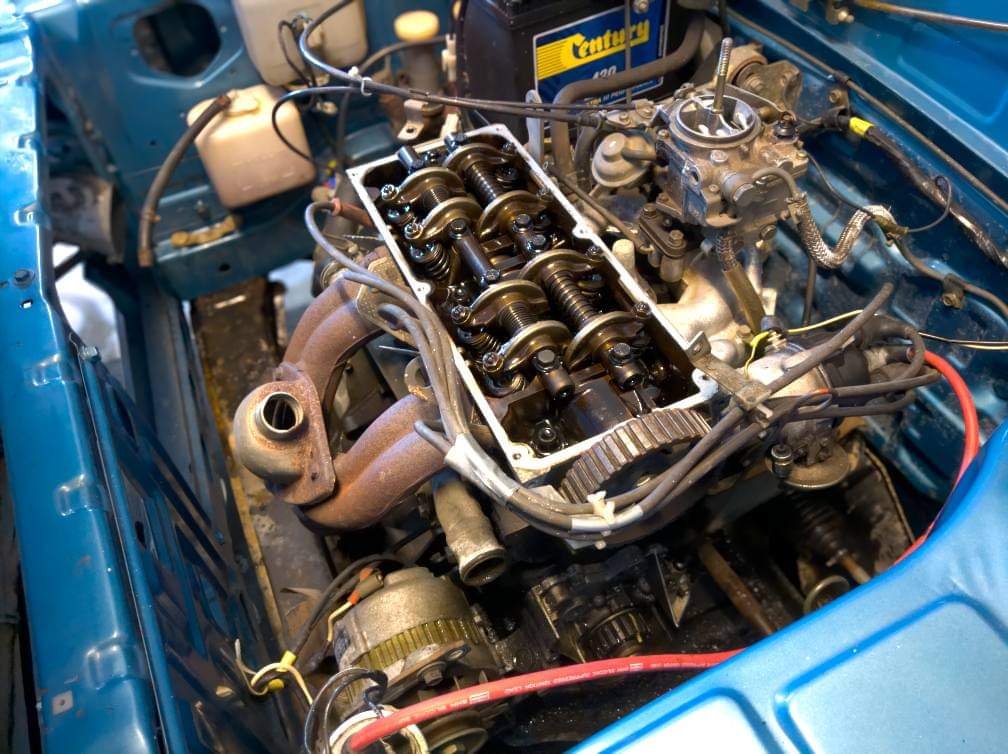
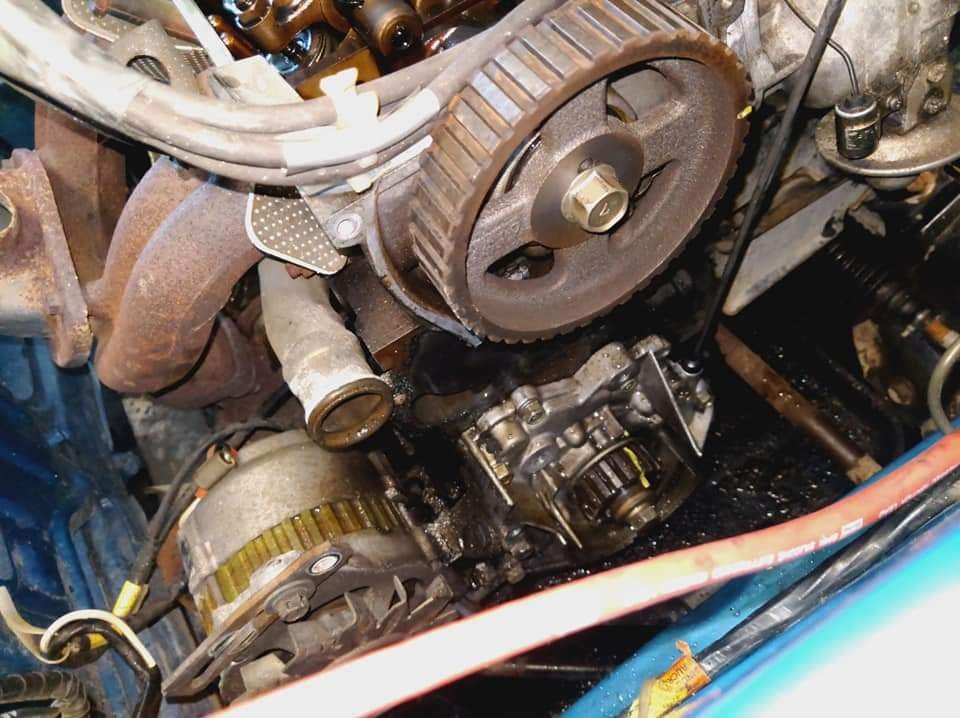
Managed to knock off slightly early today so I decide to rip into this. Grille off and radiator out. Here you can see the damage/wear in the corner As suspected, thermostat is stuck open. Rocker cover off. Not too bad, very slight carbon build up but pretty clean really. Water pump and timing kit off. The water pump bearing feels firmer than it should be and the belt doesn't look too bad, wear starting around the edges. Would rather crash it all out for peace of mind as I'd imagine it's all the original bits. Hopefully have the parts arrive shortly so I can piece it all together and clean her up. Cheers, Tai.
-
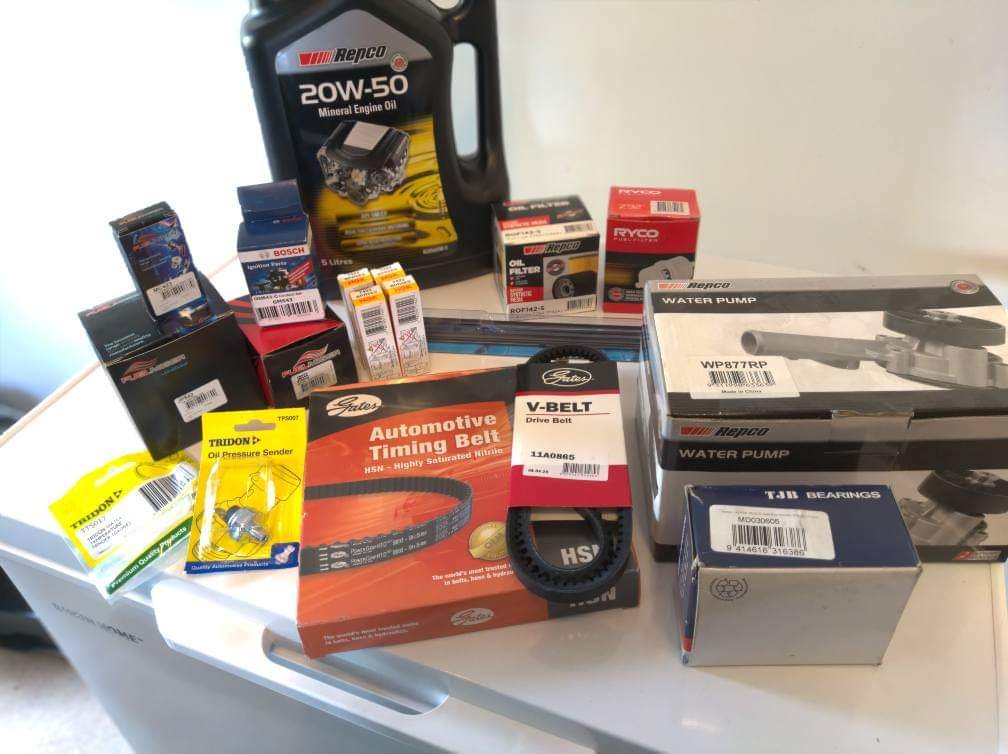
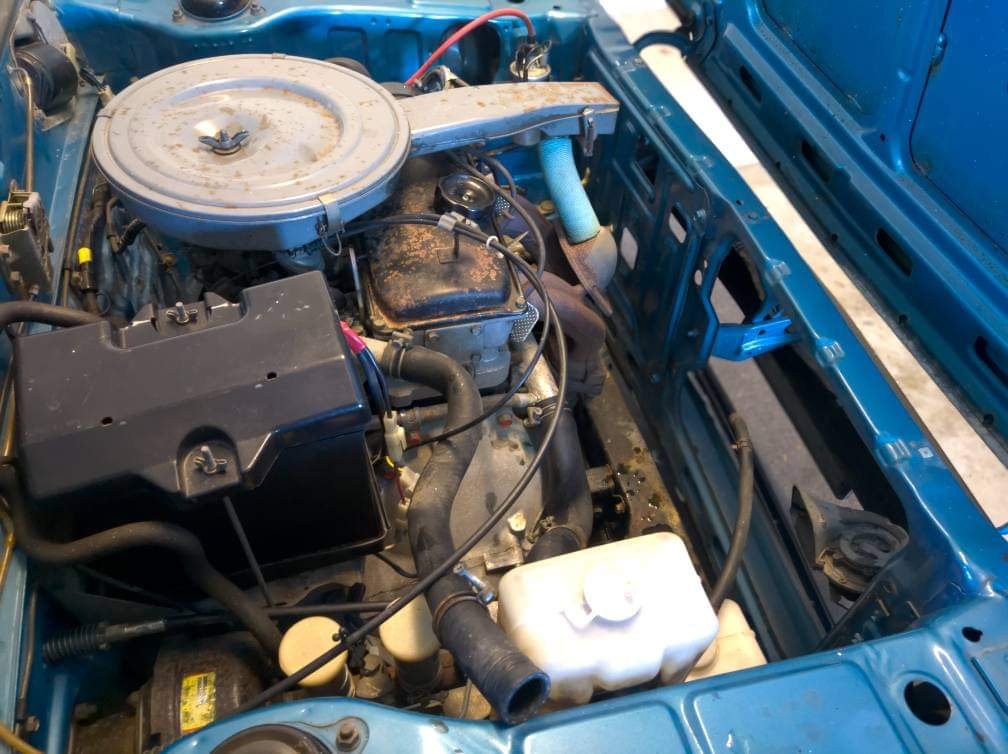
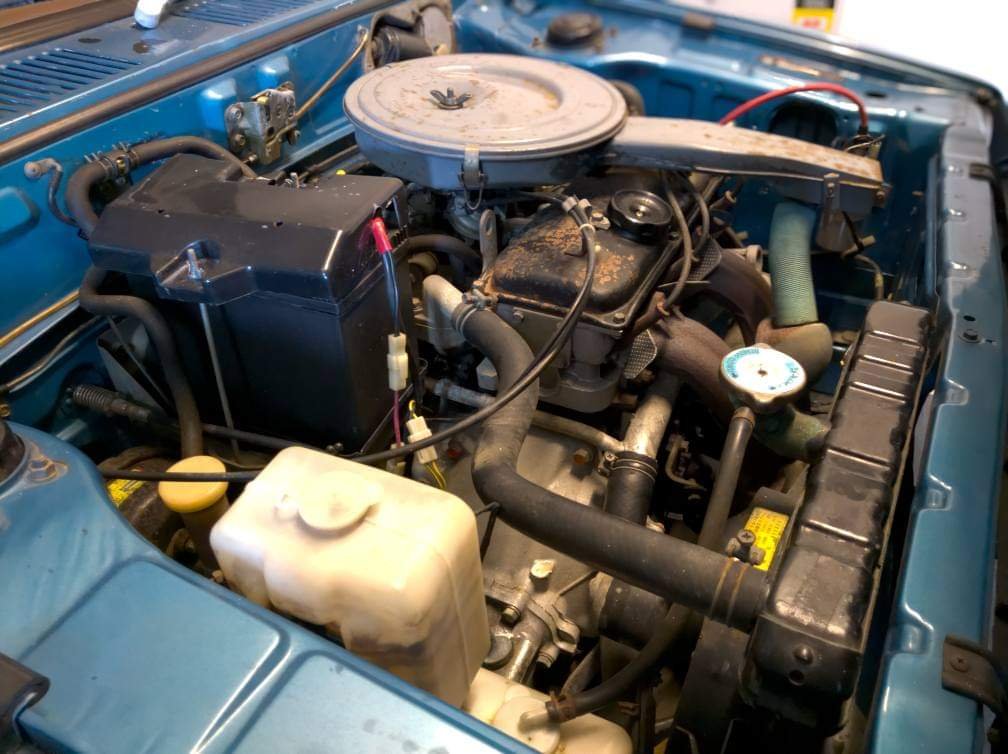
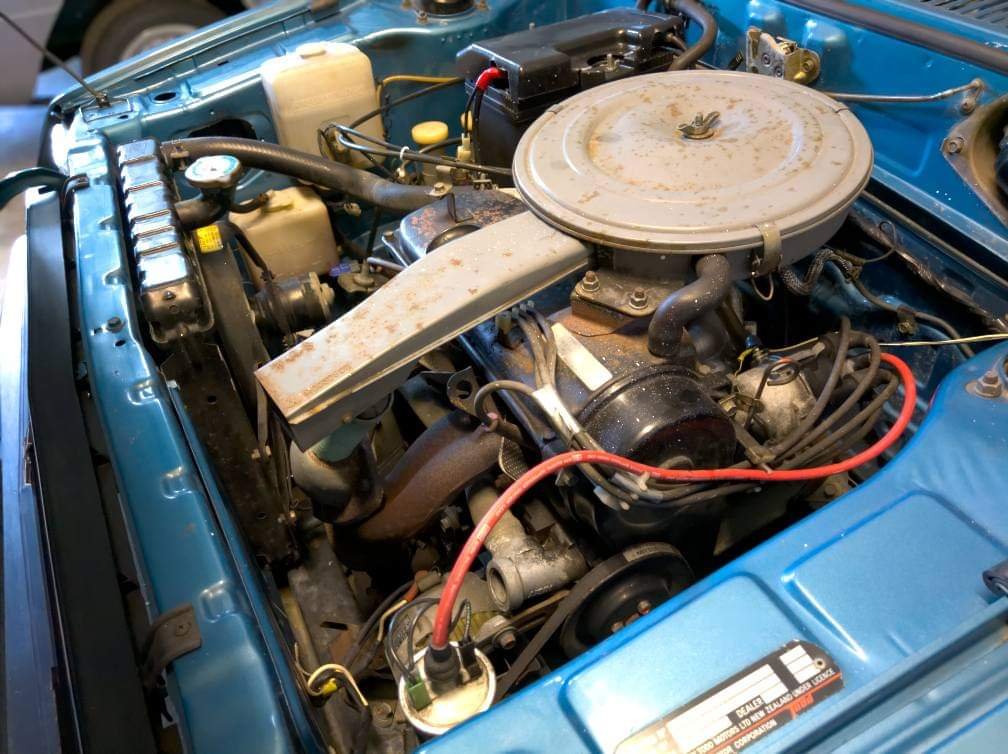
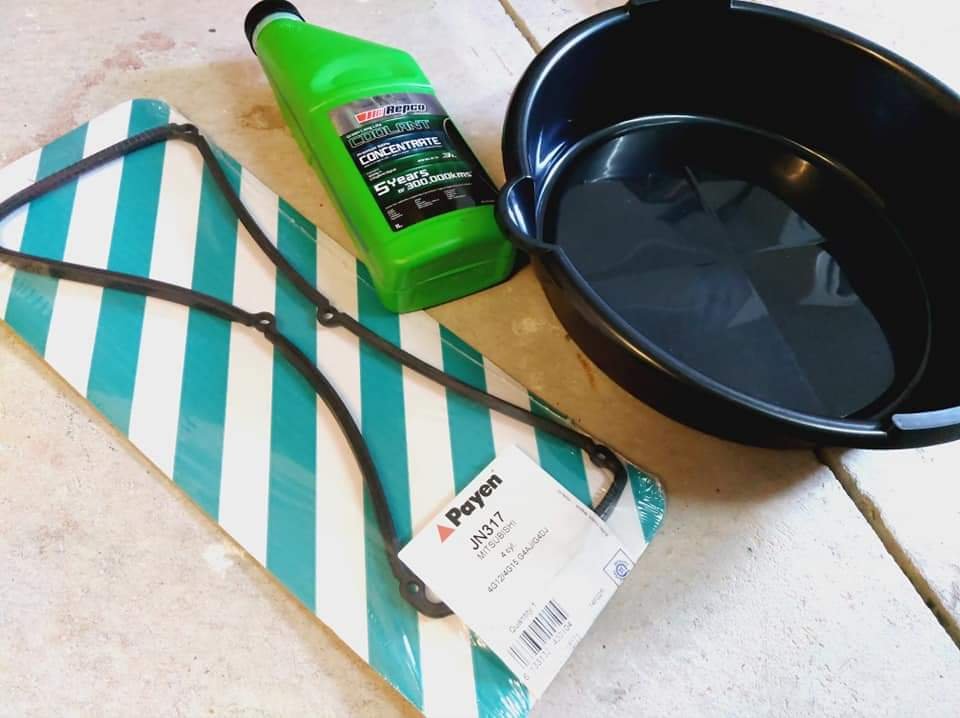
Here's some pics of the powerhouse. Oh and some parts I picked up today. Not gonna lie it's blood great at how cheap and easy these are to work on. Everything I've ordered has cost me significantly less than the O2 sensor I brought for the subie haha, in saying that though I have access to great discounts so that also helps. It probably won't be too much of a project, but a light build for a summer cruiser. We'll see where it goes anyway.. Cheers, Tai
-
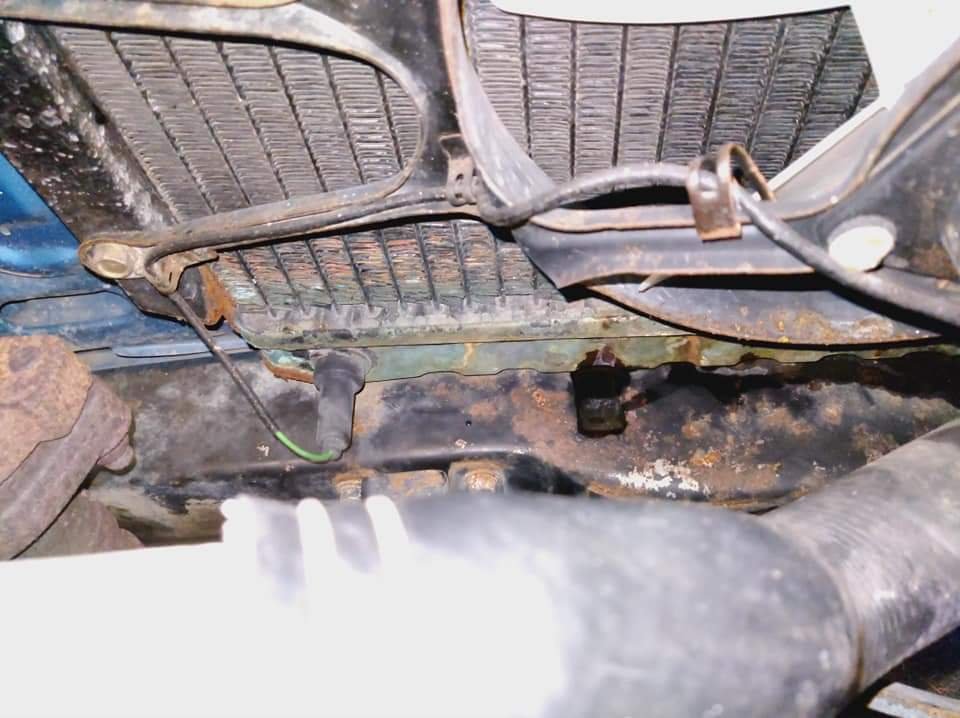
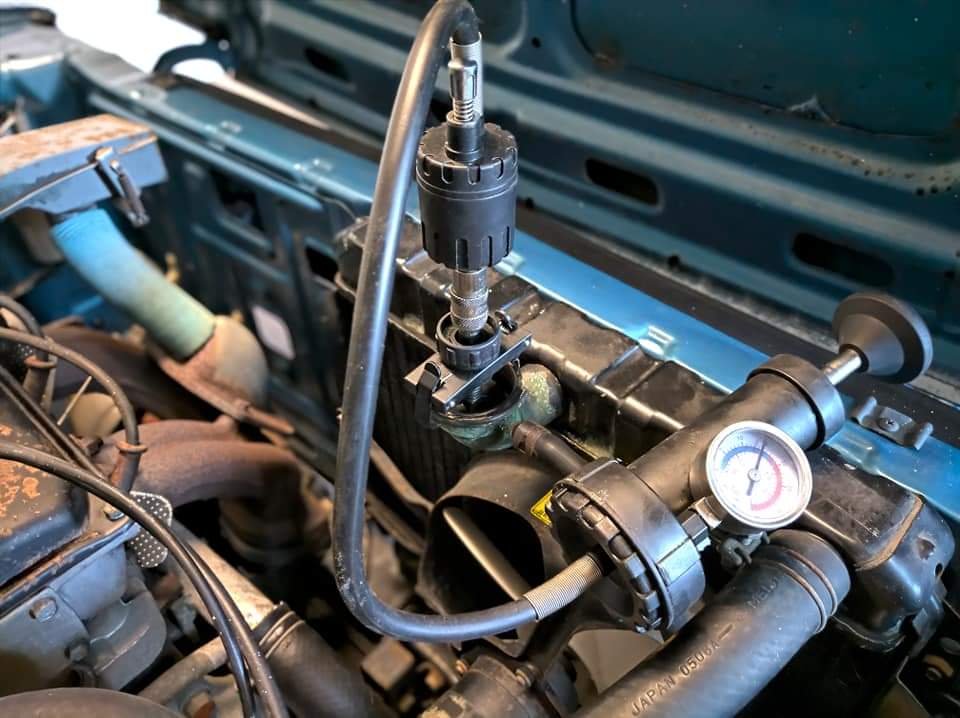
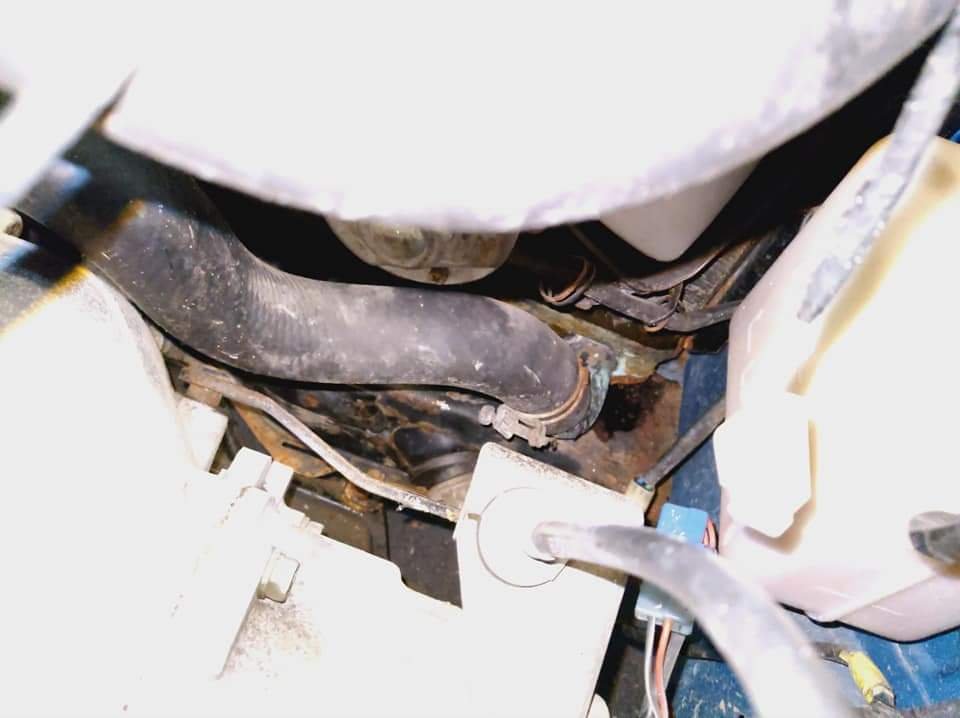
I figured id better pressure test the cooling system just to make sure the radiators playing up, so borrowed the one from work. In the last picture you can kind of see the leak from the core in the bottom right corner. I've got another one on the way from a Mirage enthusiasts bloke from Kerikeri for a great price.
-
The plans are to get it mechanically sound and carry out as much preventative maintenance I can, add some low with period wheels, get some decent fender mirrors then daily the shit out of it until I get bored (I'll be selling my bugeye wrx soon once I'm happy to daily this if anyone is interested). So with the inspection, the only issues I found were a leaky radiator, possibly stuck thermostat, rocker cover gasket leak and oil pressure sensor leak. The clutch feels like it's probably a bit worn out as well but it should be fine for now. After hitting up the parts shop I've now got on order all service filters, timing kit, water pump, sparkplugs, all dizzy bits, thermostat, oil pressure sensor, water temp sender all of which should be here in the next few days. I've also picked up a rocker cover gasket.
-
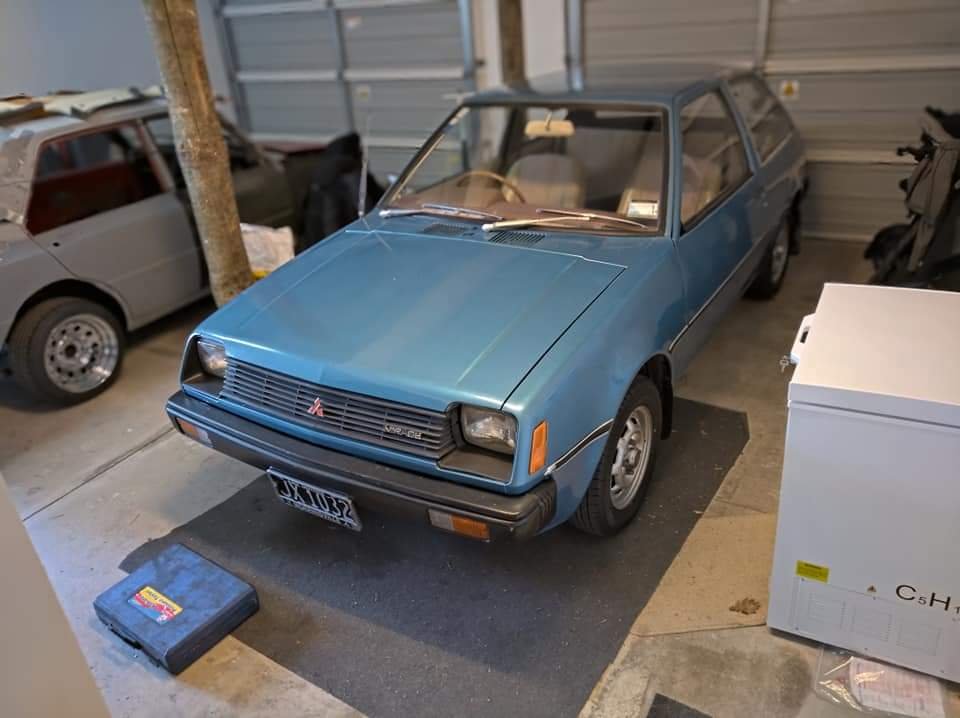
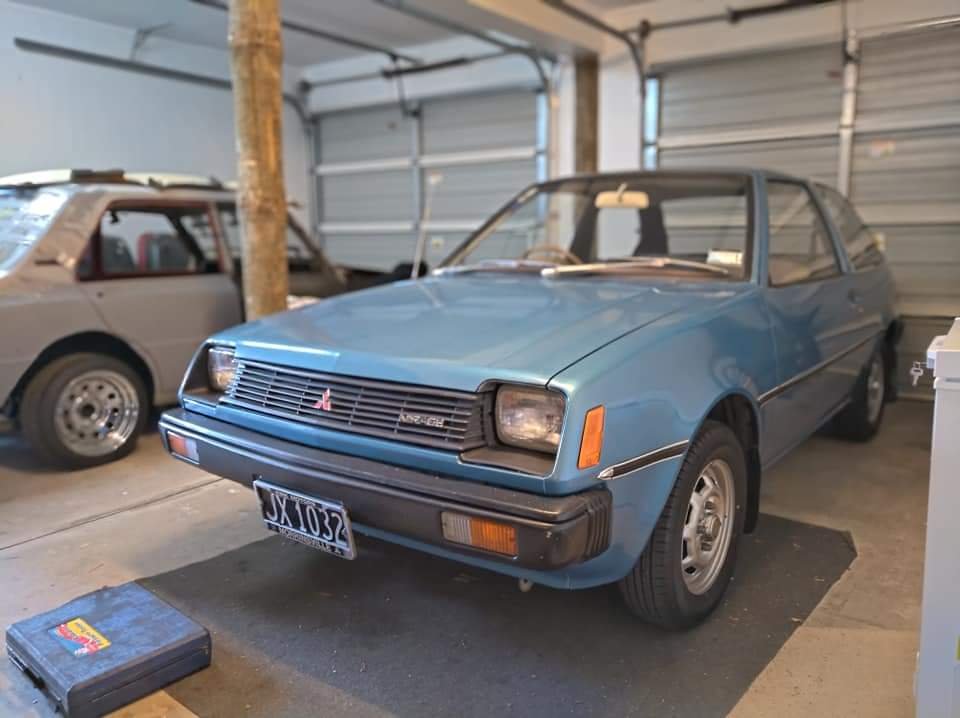
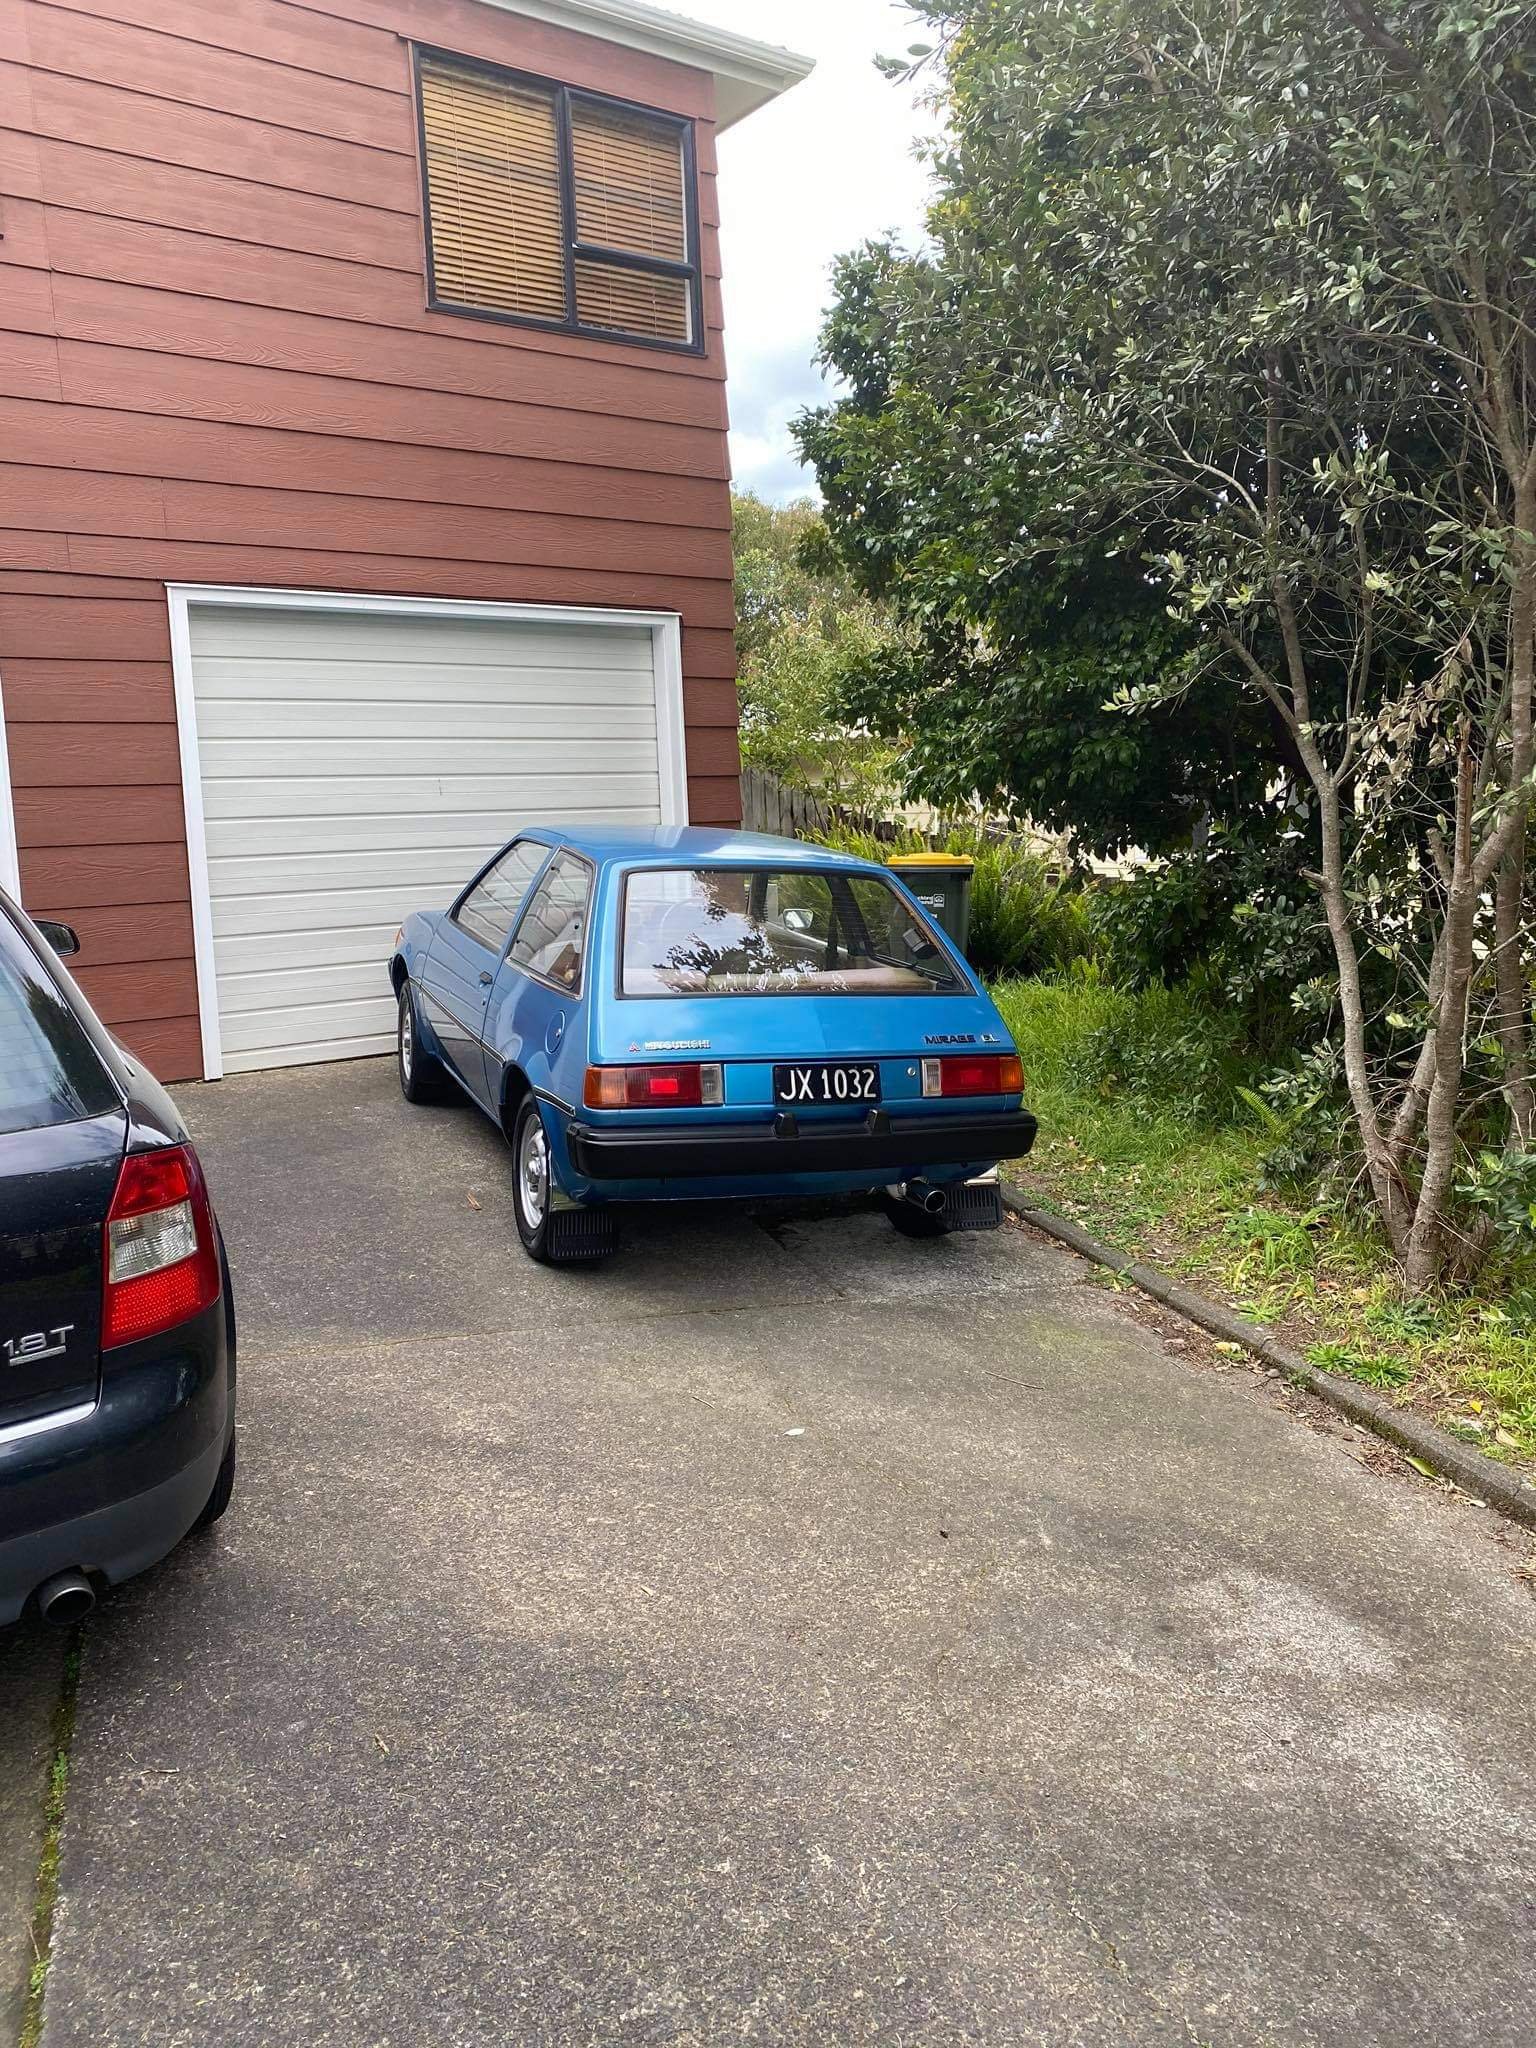
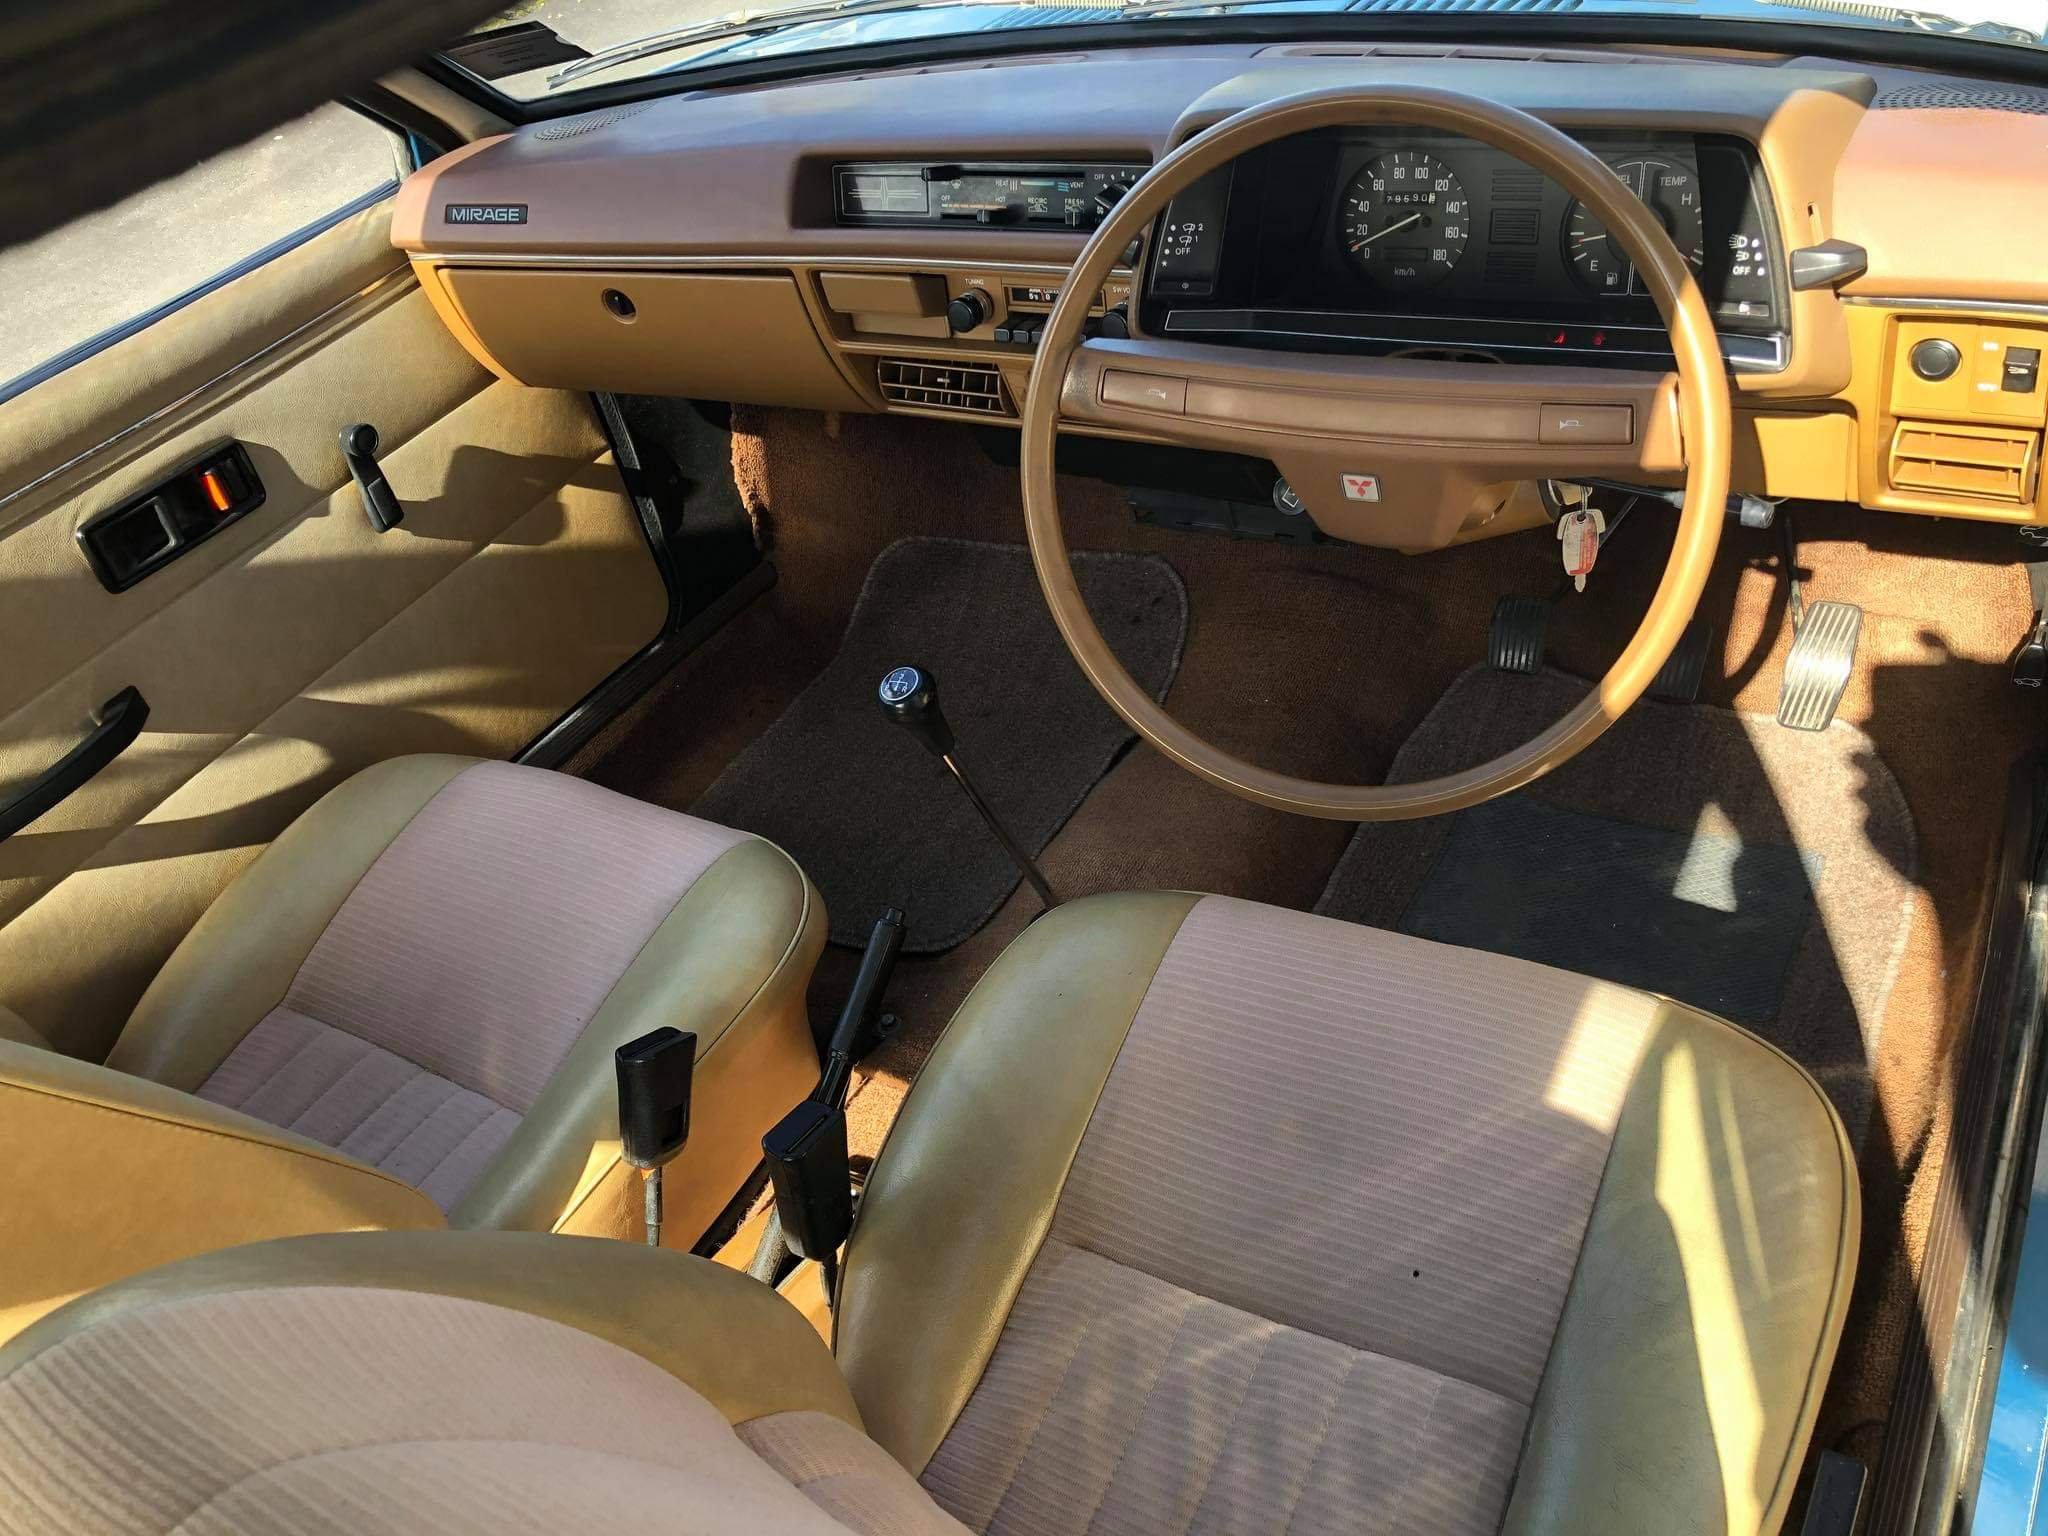
Well it seems that I've somehow managed to get another old Mitsi, in fact another old Mirage. It has been about 8 or 9 years since I got away from that disease but it seems it's come back to haunt me. Funnily enough this same vehicle popped up for sale in June at Matamata and I happened to be heading down to Hamilton that same week for a course so thought I'd swing past and have skeeze. At the time it was no wof, reg on hold. Failed on exhaust leaks, tyres and a few front end bushes. Unfortunately I was beaten to it by a day so I never had the chance to convince myself to not buy it... Fast forward right up to 2 weeks ago and I received a pm on fb from the new owner asking if I was interested in buying it (had seen my posts on the Mirage enthusiasts fb page). He was in a tight situation due to covid 19 and had someone else lined up to buy it but they hadn't completed the deal. He mentioned it now has wof and reg and had quite a few hours spent at the detailers to tickle up the faded paint. I wasn't really too keen but he was desperate and even insisted to trailer it up to Auckland for me to have a look at it, so I figured I may as well. We met up in Wiri, I had a quick look at it and took it for a burn then somehow managed to negotiate a pretty good price so later that day he dropped it off at my house. It's in bloody good condition, not mint but tidy enough. The mighty 4g11 1244cc big block and 4 speed transmission with only 79,000kms since new. Unfortunately it's a GL so the lowest spec model and misses out on the iconic supershifter and chrome bumper caps, but itstill has decent character. 99% rust free, has a few small signs of surface rust but that's fine as these are usually riddled. It turns out this had 1 owner for 39 years and spent the last 7 years in a garage with rego on hold. Old mate across the road brought it with intentions to tidy up but that didn't happen, then he sold it to the bloke before me whom had brought it initially to tidy up for his son's first car.
- 12 replies
-
- 10
-

-
If you're in Auckland you're welcome to come and have a look sometime.
-
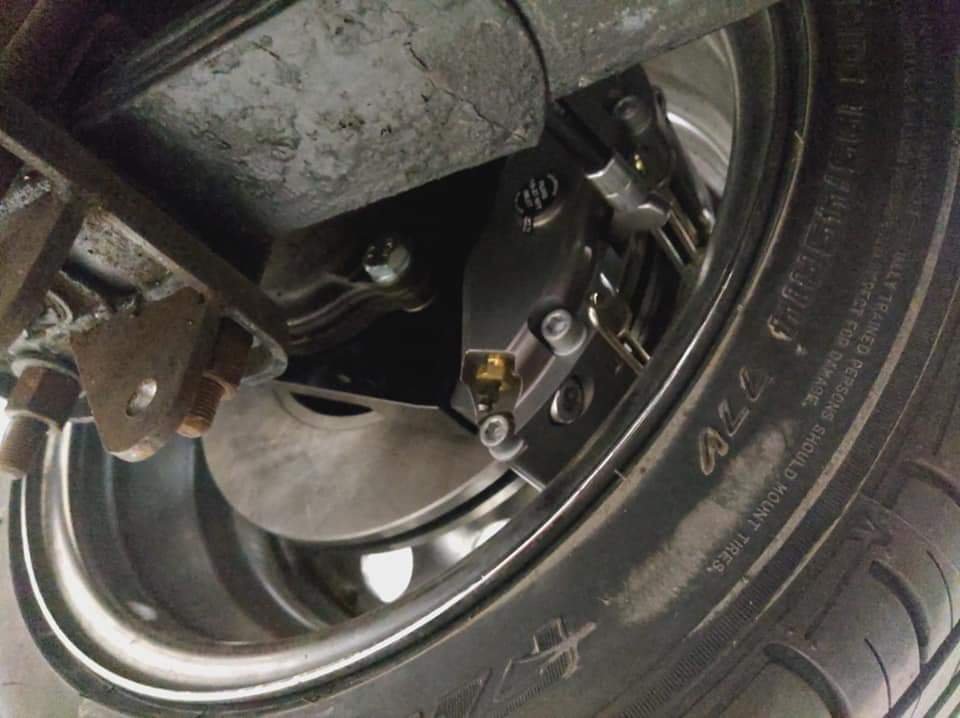
No worries man. Yeah im pretty sure chopper got it from cardwells. The bracket is machined from steel and the rotors I believe are off a u13 bluebird (I can find a part number if you need), have set it up as 4x114. The spacer is between the disc and rim, the hub did have to get machined as well to help with fitment. The handbrake setup is quite simple, we had to source a kit designed through a company in the UK which make them specifically for the powerlites. Have adapted this (clamp style ends on the lever side) to suit a Silvia s14 lever.
-
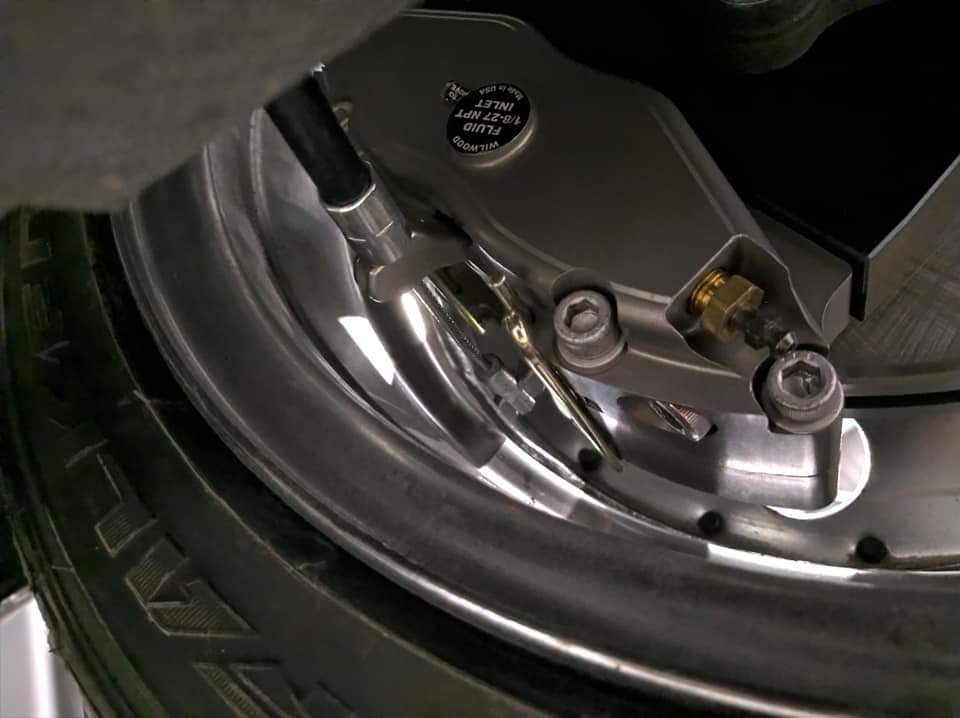
Hey man, recently had this carried out on my 1300 through choppers auto body shop. Used the wilwood powerlites with the integrated handbrake cable setup. We had an engineer draw up and make a mount for it and they tuck under some 14" modgies.
-
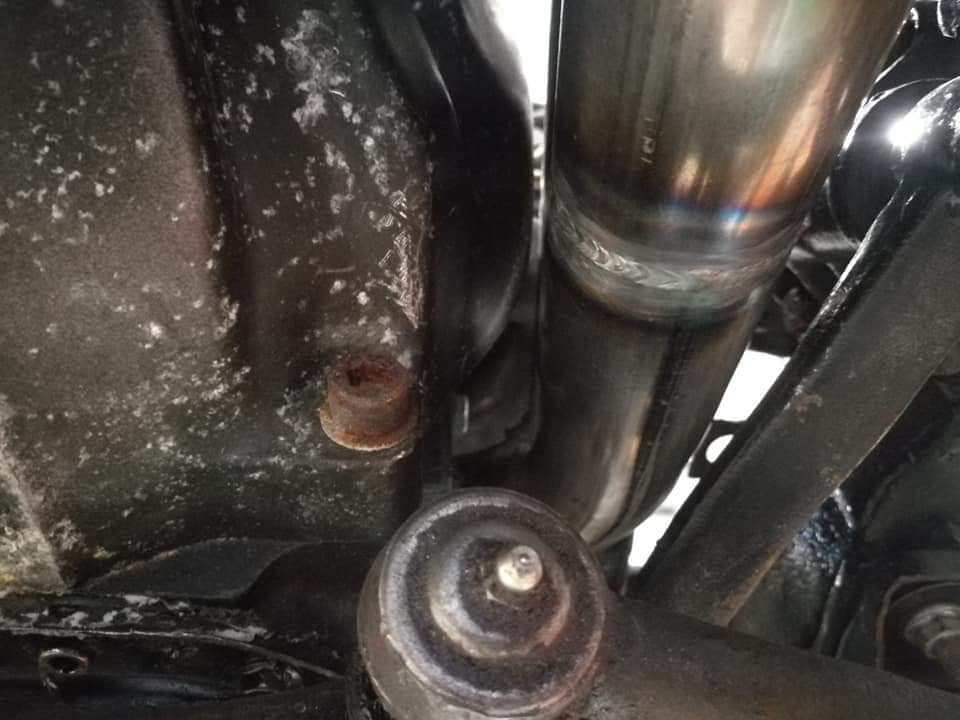
New rear brakes all sorted now, just need to make up some hard lines once I get it back to mine. Hand brake cable setup. Once again Chopper has done a great job. It ended up turning into a bit more of a mission but we got there. The axles had to be ripped out and spun down due to clearance issues and I've also got to run small slip on spacers to fit the modgies (will need to make up some hubcentric once when I put it through cert). The mounts he also had already didn't quite suit so we had to have the engineer draw up some new ones. At the caliper handbrake lever there's maybe 3-4mm clearance from the wheels. They're a neat, simple piece of kit these wilwood powerlites, pretty stoked to have wilwoods front and rear now. All that's left now is to have a steering box guard made up to deflect some heat from the exhaust and then it's coming home (should be this weekend). Once it's back here I'll have to go over my budget and work out where and how much money I can put into it next. Cheers
- 139 replies
-
- 13
-
-
Oh man I haven't been to an OS auckland meet for about 8 years and missed the window with my Lancer. Nothing mobile that's OS at the moment sorry guys
-
Hah yeah they would have looked good, but would have hated to go the effort and not be 100% on it. One day it will be widebody though!
-
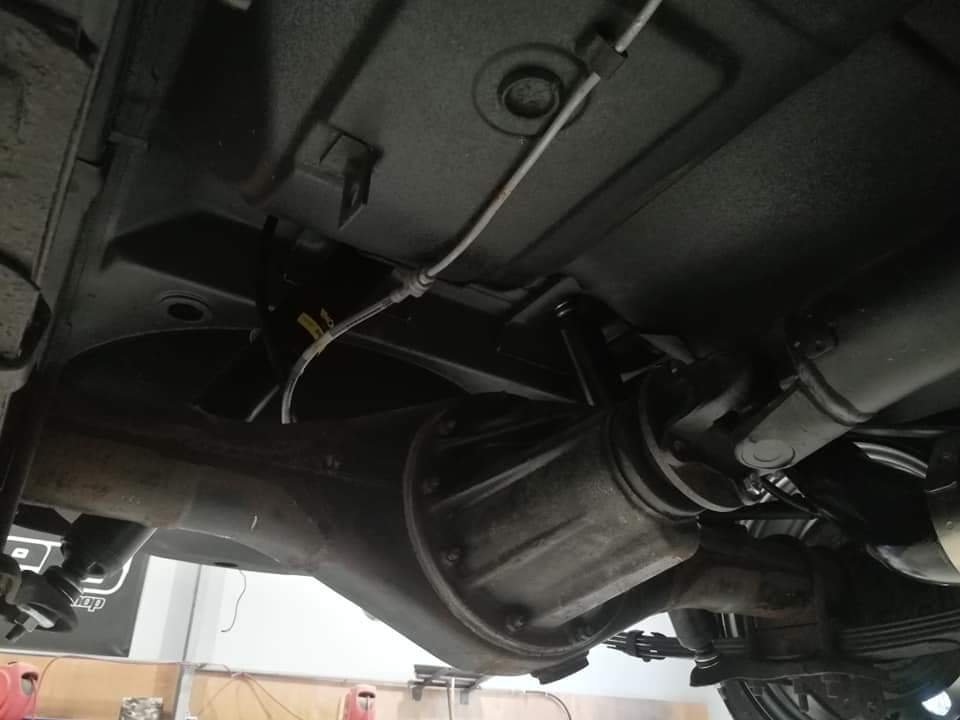
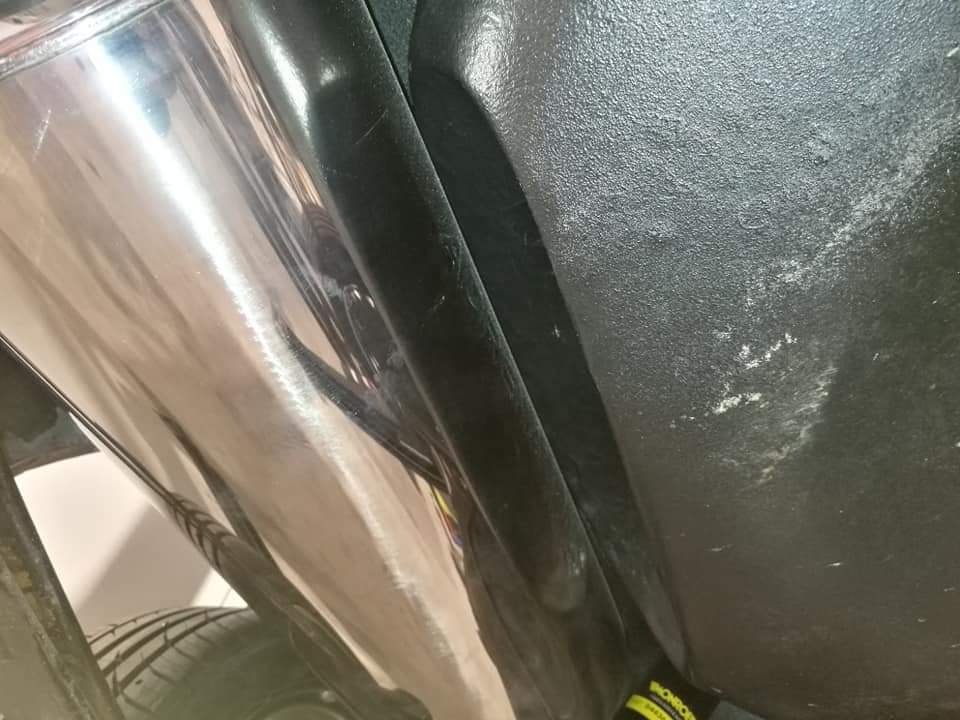
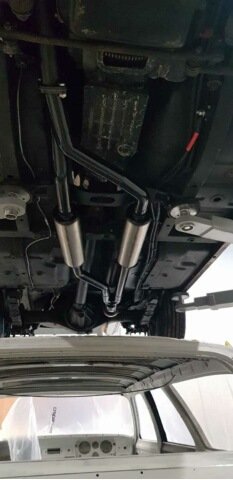
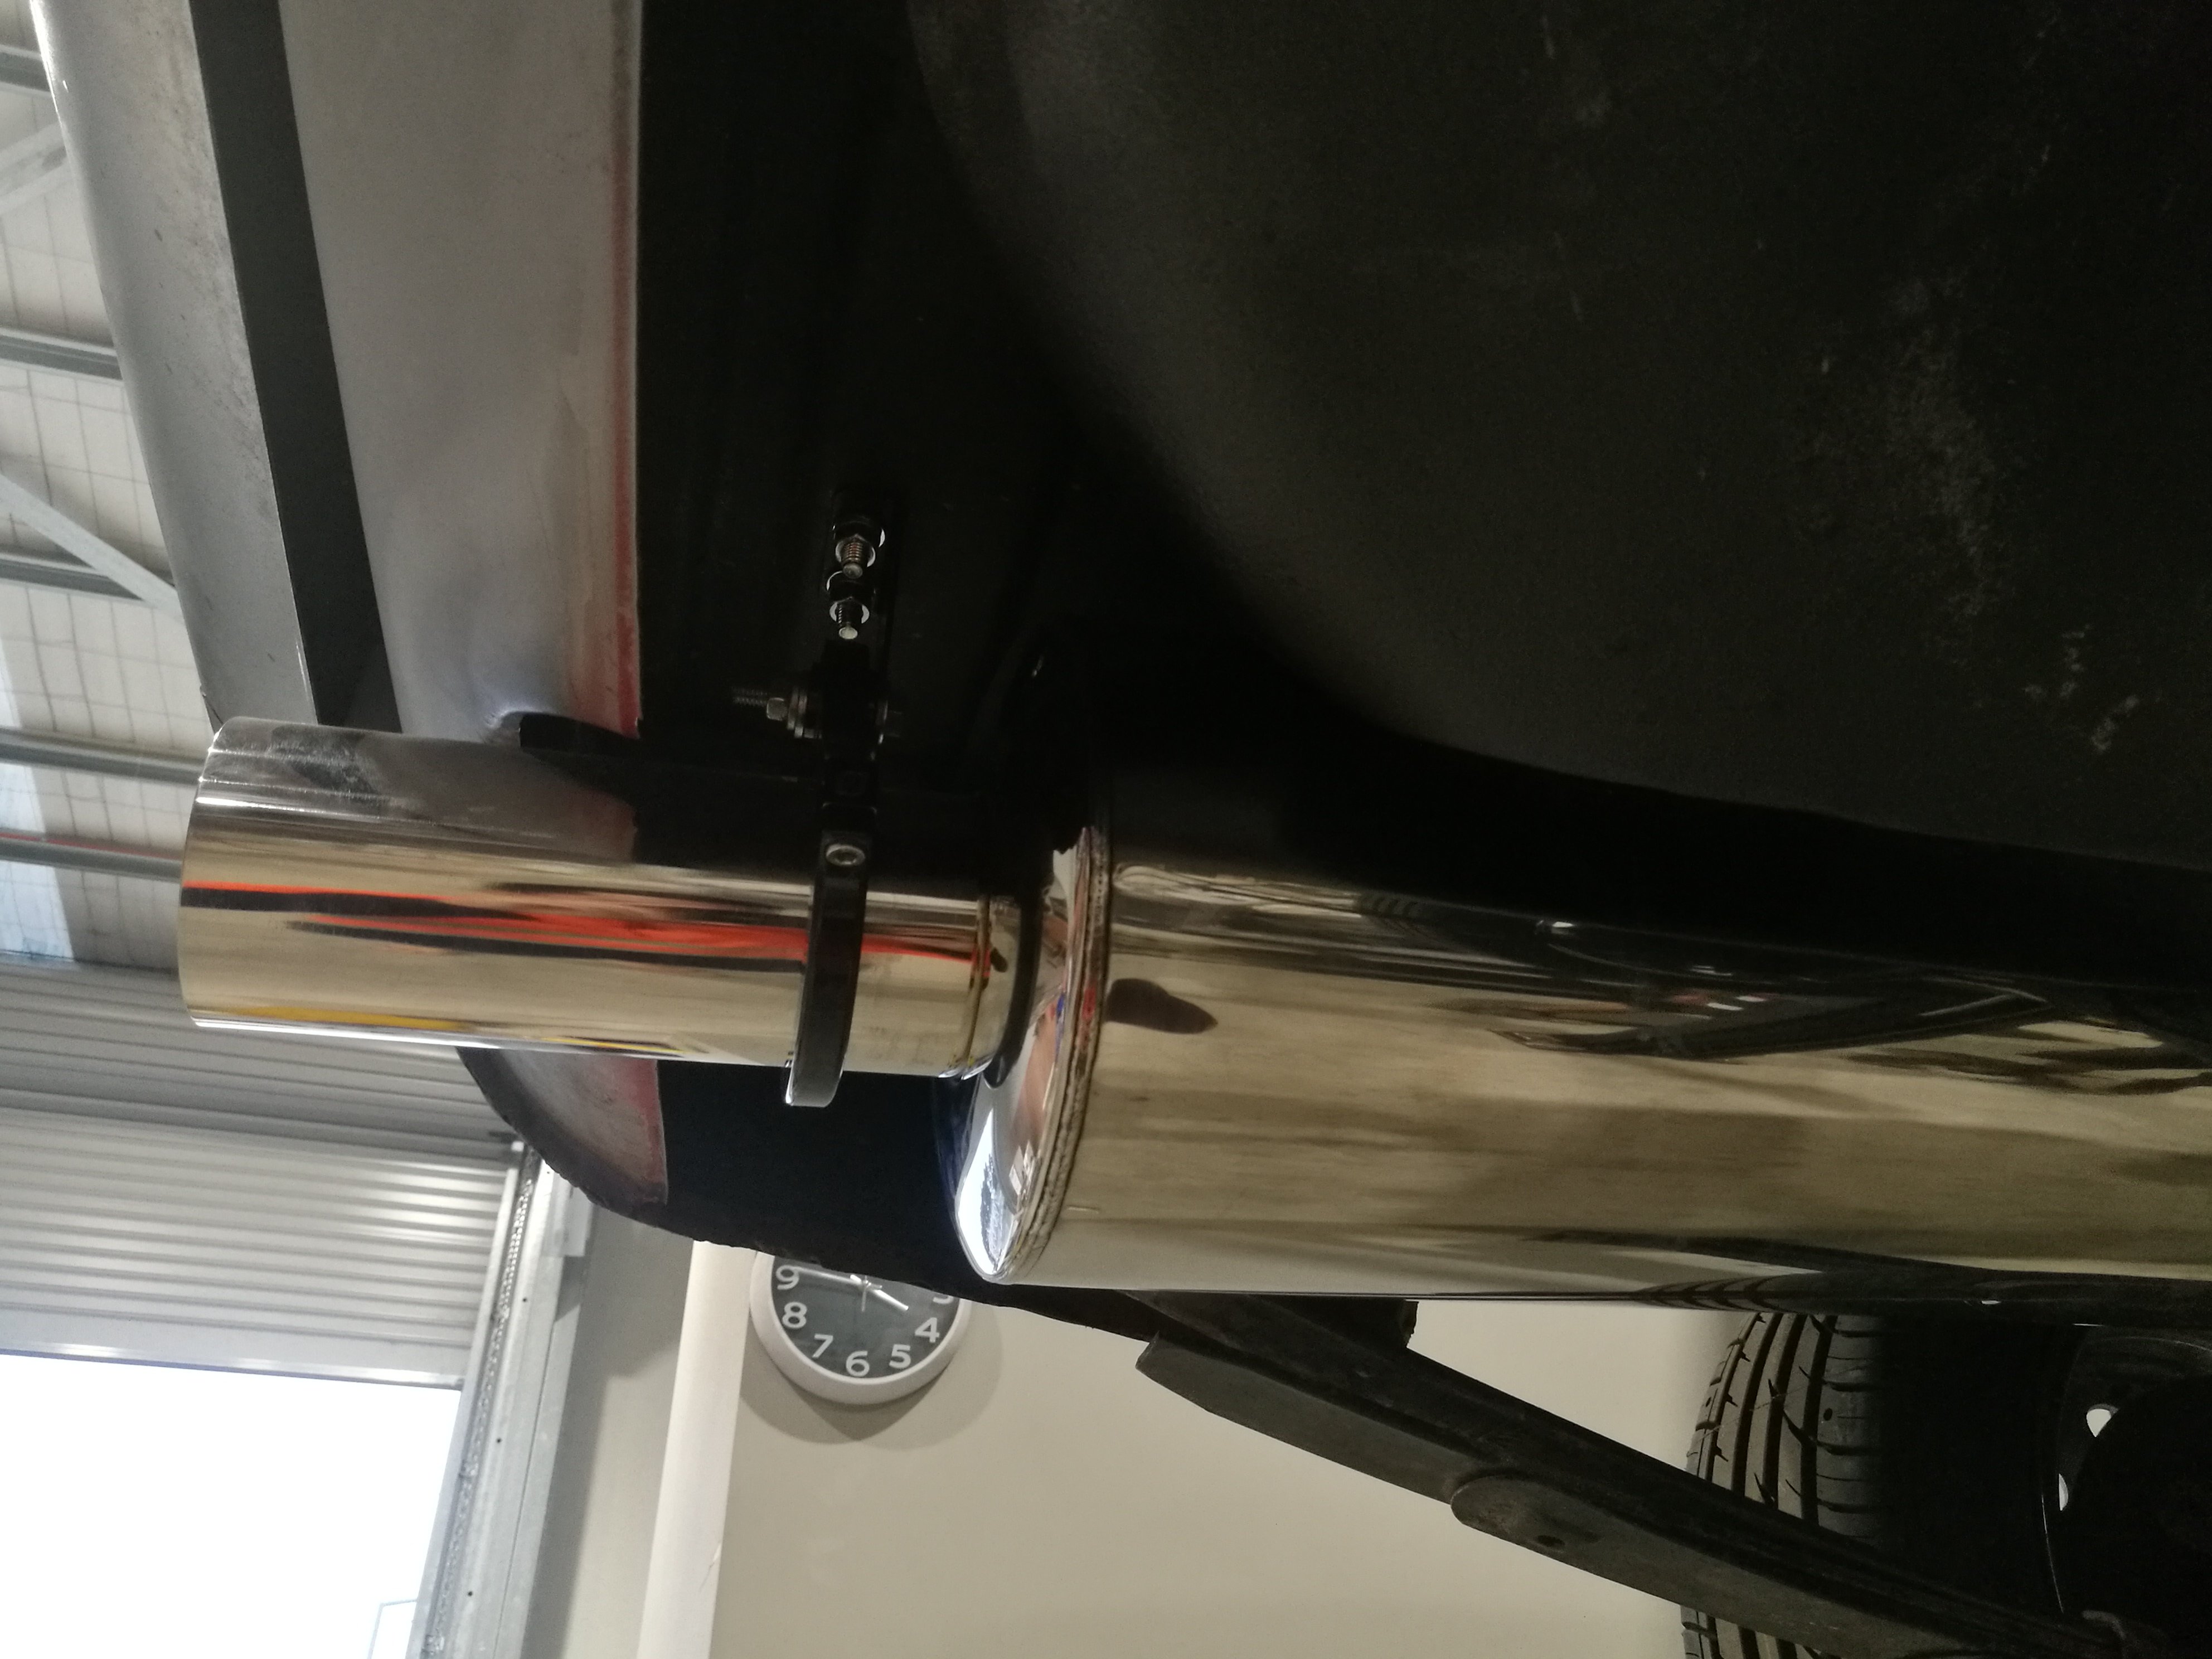
And lastly, the rear end suspension setup is all together (until I get beefier traction rods made up). 1 leaf shackle had to be replaced as it was missing, some monroe shocks for now, and new pac shackle bushes. Another thing that was supposed to have been carried out back in Aus... Also just to give you an idea on clearance issues here are some pics.. The spare wheel well had to be notched for the muffler. And about 4mm clearance between the shocks and diff. The next stage is sorting the rear brakes for good. We are sorting out Wilwood Powerlite calipers that include a simple handbrake design, running new cables, changing the discs and have some certifiable mounts made. Hopefully have it done next week, then will be taking the beast back home. Cheers, Tai
-
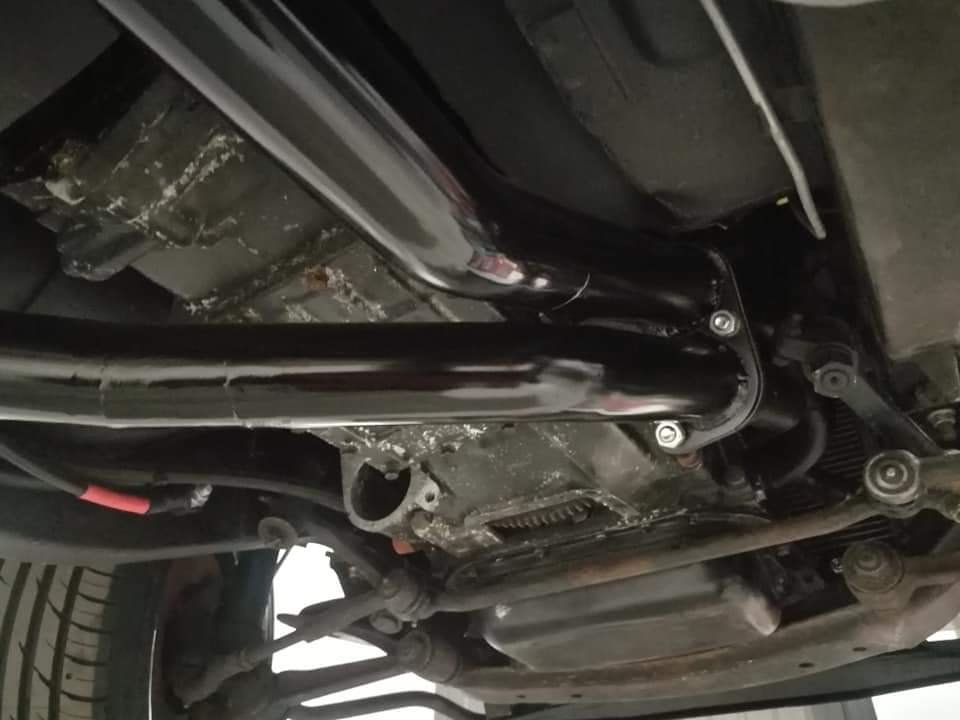
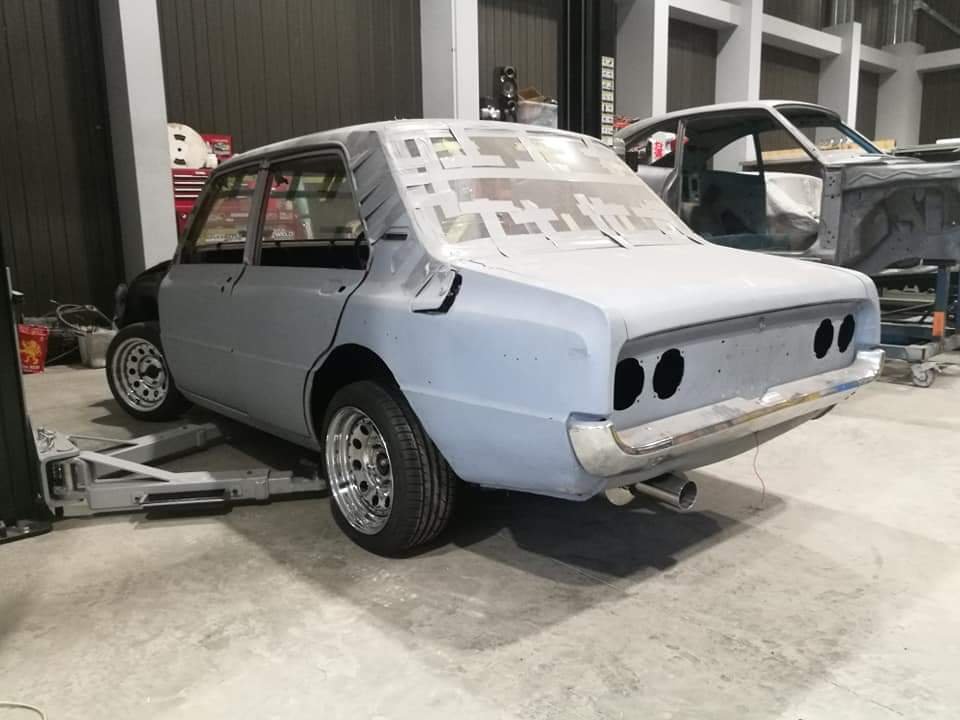
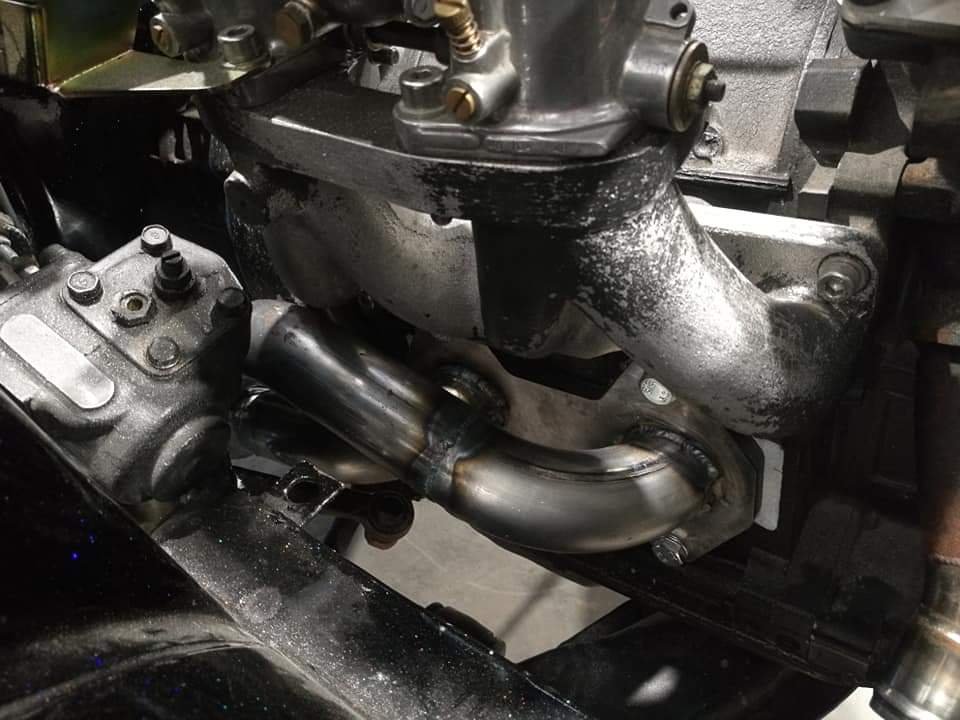
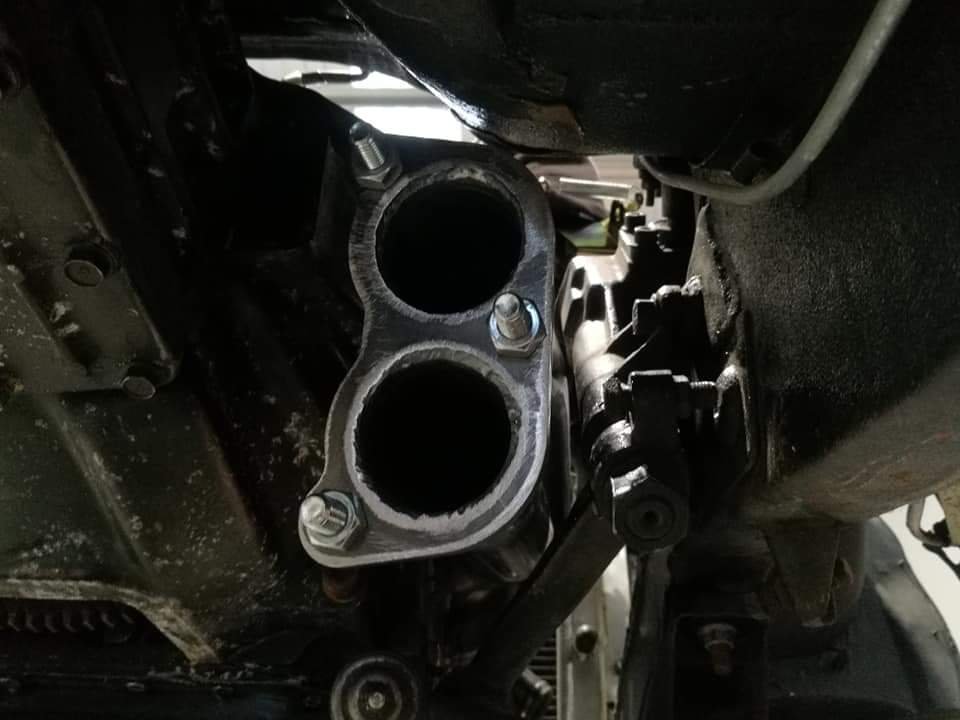
Exhaust is finished, bar getting the headers coated. Absolutely stoked. Once again the boys have done an awesome job on it, tucks in super right. There is literally no room for give on these 1300s for anything. Ended up running mild steel twin 2" system with stainless adrenalinR resonators and and muffler. Some swish mounts have been made for the muffler as well.
-
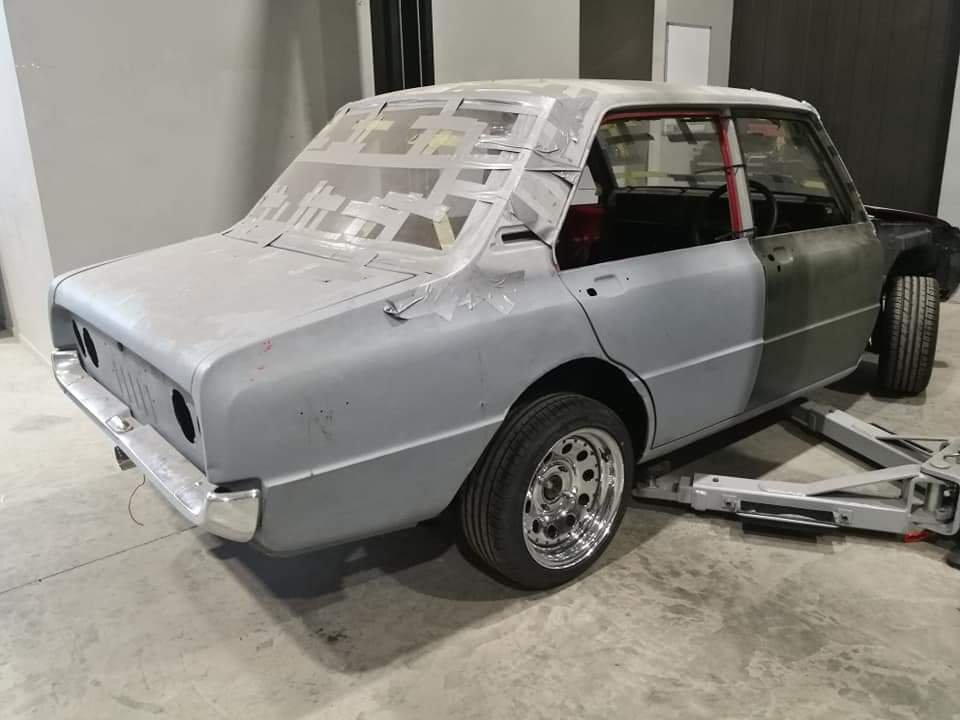
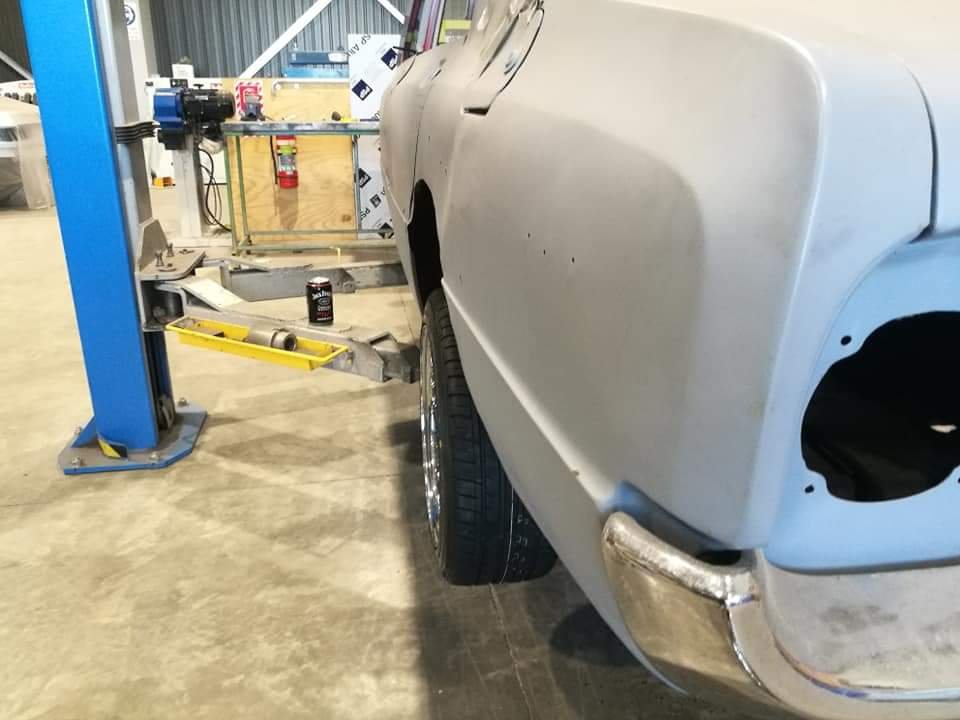
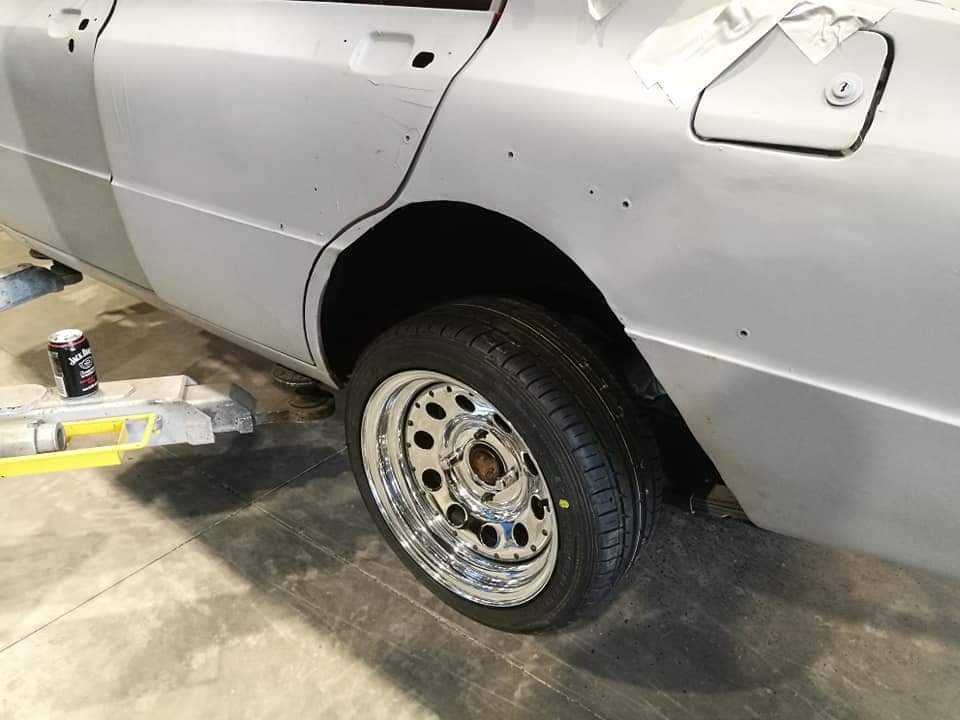
On all 4s again. Not gonna lie, but I think the modgies are awesome. They're still not baller status like the old wheels that were on it but they will do just nicely for now. And what's that lurking under the rear end you say??
-
Wedding car feelers - Auckland and beyond
Taistorm replied to Taistorm's topic in Upper North Island Region
Ok guys, so now the covid crap is starting to pass and things are freeing up, my mates wedding is back on track for this September. Just seeing what else is out there and who would be keen for this. Once again ideally after old Aussie muscle, preferably an old Kingswood or such. More of an update in terms of requirement. Would be pick up from about 11-12am at mount roskill then drop off at the venue in Clevedon. Maybe hang around for about an hour for a few pics or what have you. Cheers -
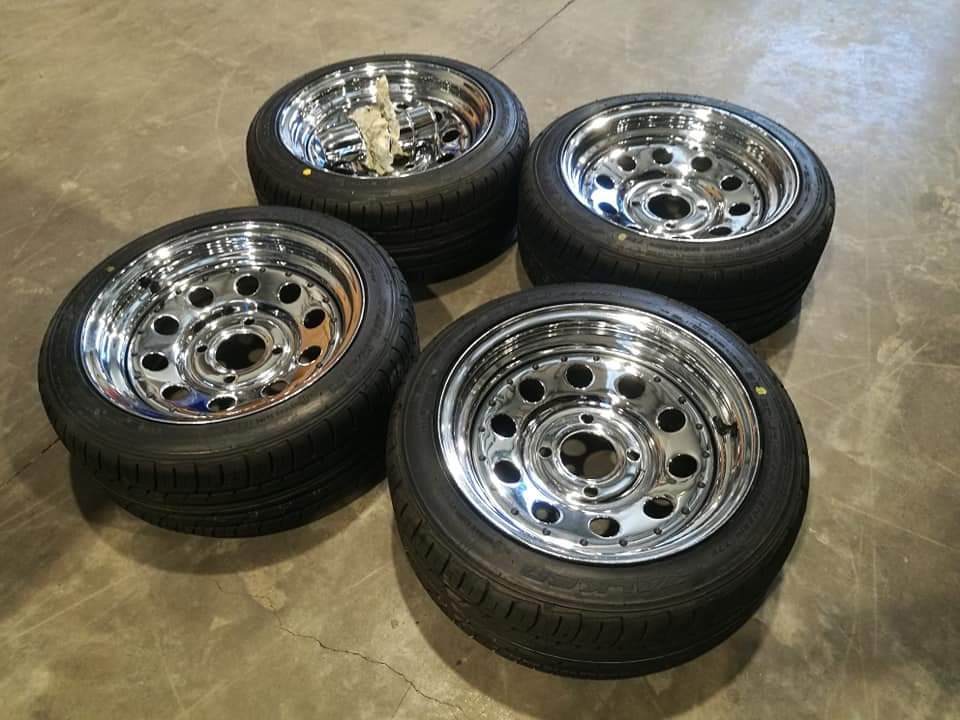
Also a major call has been made. It's very sad to say that I have sold my wheels (going to another OS member) . I've decided that at this stage it is too costly to get the guards to a stage that I'll be happy with, without spending and exorbitant amount of money (to widebody, that is). I really wanted to imitate the katayama r100 style guards and go steel but this will have to happen down the track if I want to drive this thing anytime soon. The escort flares I feel just won't quite cut the mustard... So now I am going to revert the rear guards back to factory and roll the repro guards that I have for the front. This obviously means new wheels so pictures always speak 1000 words. Kiwidm rotary spec now. Not quite mangels but $1500 for a brand new set with tyres sounds like a good deal for now. Plus they tuck in guards pretty well (fyi the rear suspension, shocks etc aren't fitted up yet hence the ginormous gap).
- 139 replies
-
- 11
-

-
-

-
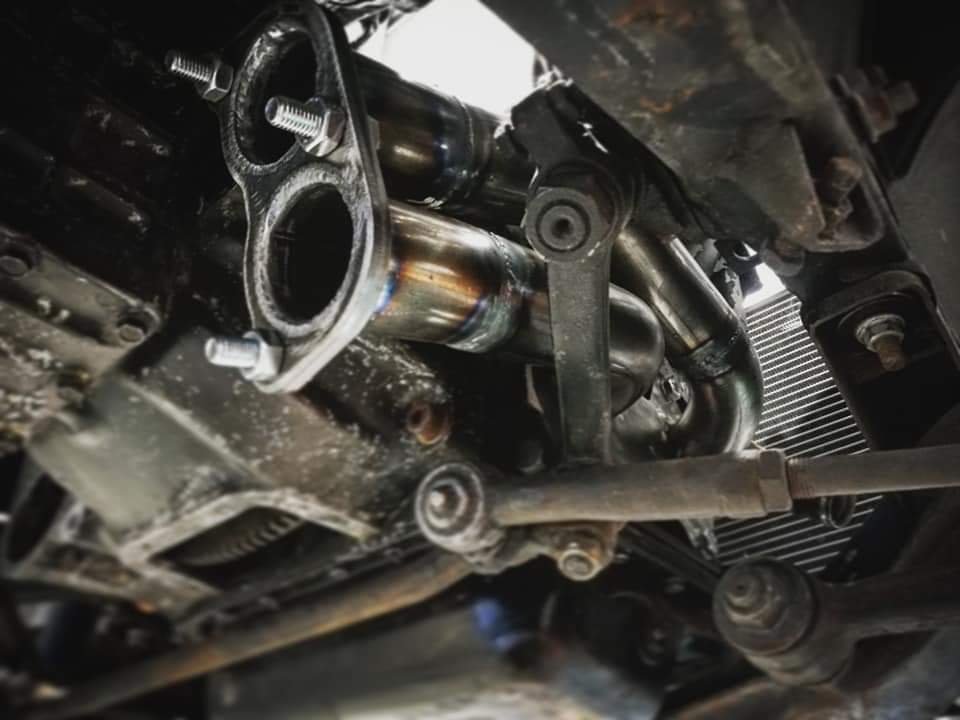
Headers are made. Pretty stoked to be honest, they've come out awesome. Chopper and his team have done a great job. Unfortunately we ended up having to go tube instead of steam pipe as there just wasn't enough space (about 3mm clearance on either side) the steam pipe was fouling against both the bellhousing and the steering box. Will get these to either hpc or procoat to get a layer of ceramic on them hopefully in the next week.
-
Another thing to try is bleeding it across all the fittings in between the master and the brakes. Might be an airlock somewhere else that isn't bleeding right through.
-
This is awesome!
-
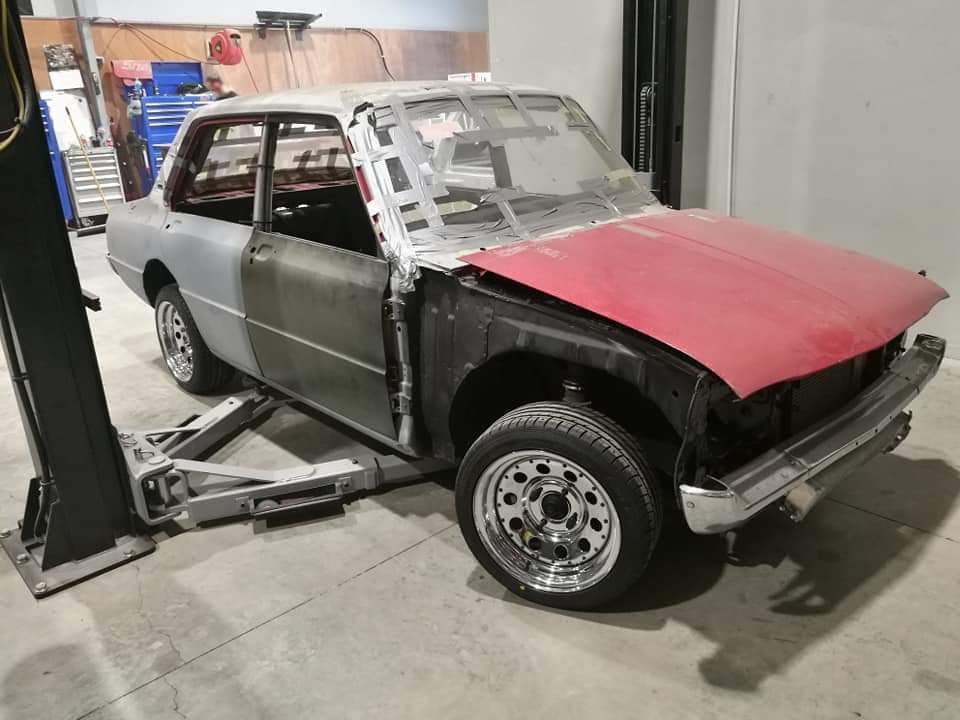
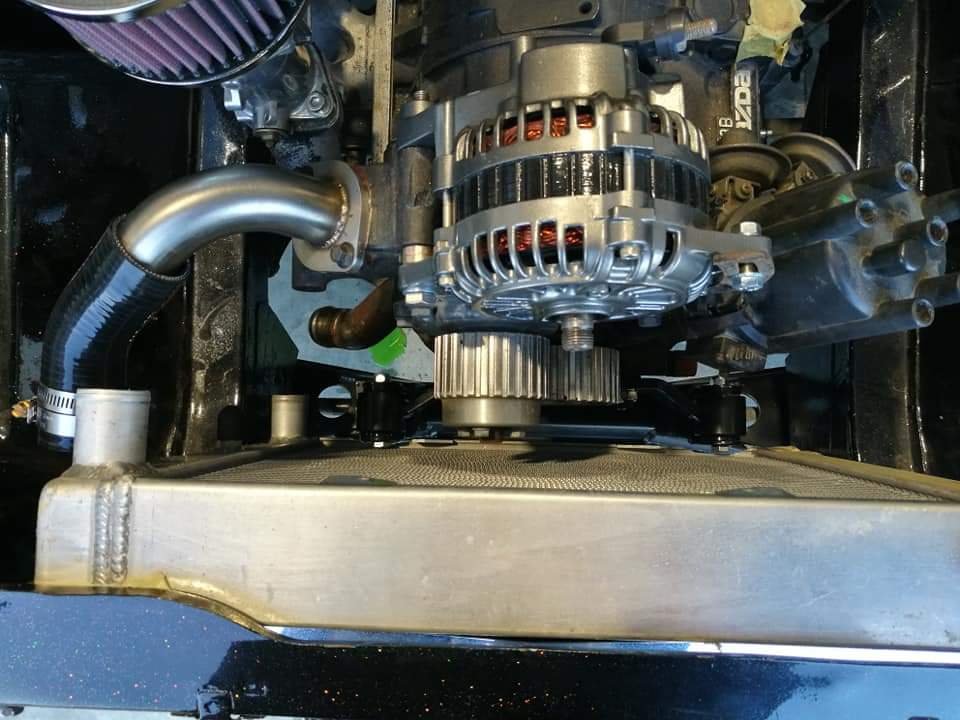
Was able to have a look at this thing since lockdown has been reduced and ruling changed. Was able to have a good look over the work and got some better pics. Pretty stoked to be honest, everything looks so much better now that it's straight, Chopper has done an awesome job. Only thing is the right side engine cross member mount bolt is about 3mm away from the radiator, it may have potentially had a slight nudge on the front at some stage but maybe not. This isn't a problem however. Heaps of clearance at the slave cylinder a bonnet now as well which is bonus. This is going up on the hoist next week so we will get started on the rear end. Re check the diff seals, work out shock mounts and sort some new shocks, look and see if the blocks I have are suitable and give it a general tidy up. Maybe look over the brakes as well. Cheers