Escortn
-
Posts
138 -
Joined
-
Last visited
Content Type
Forums
Downloads
Events
Gallery
Everything posted by Escortn
-
Ahhhhhhh yes this makes sense now. Legend
-
Pretty much that pic but instead of using 5mm wall thickness linepipe I'd roll some 3mm to the same diameter and weld the ends together, would that count as "tubular section"
-
Hey guys, I'm after a bit of clarification on the driveshaft loop thickness requirements. Been trolling this for a while but can't really find anything to confirm. The lvvta states "Material Specifications: A drive-shaft safety-loop should be made from either flat-section material at least 50 mm x 5 mm, or tubular- section material of at least 22 mm x 3 mm." Now what I want too know is can I cut, roll and weld some 3mm sheet to the required diameter and this is fine? Also can the mounting brackets be 3mm material as long as they have the required contact area or do they have to be 5mm?
-
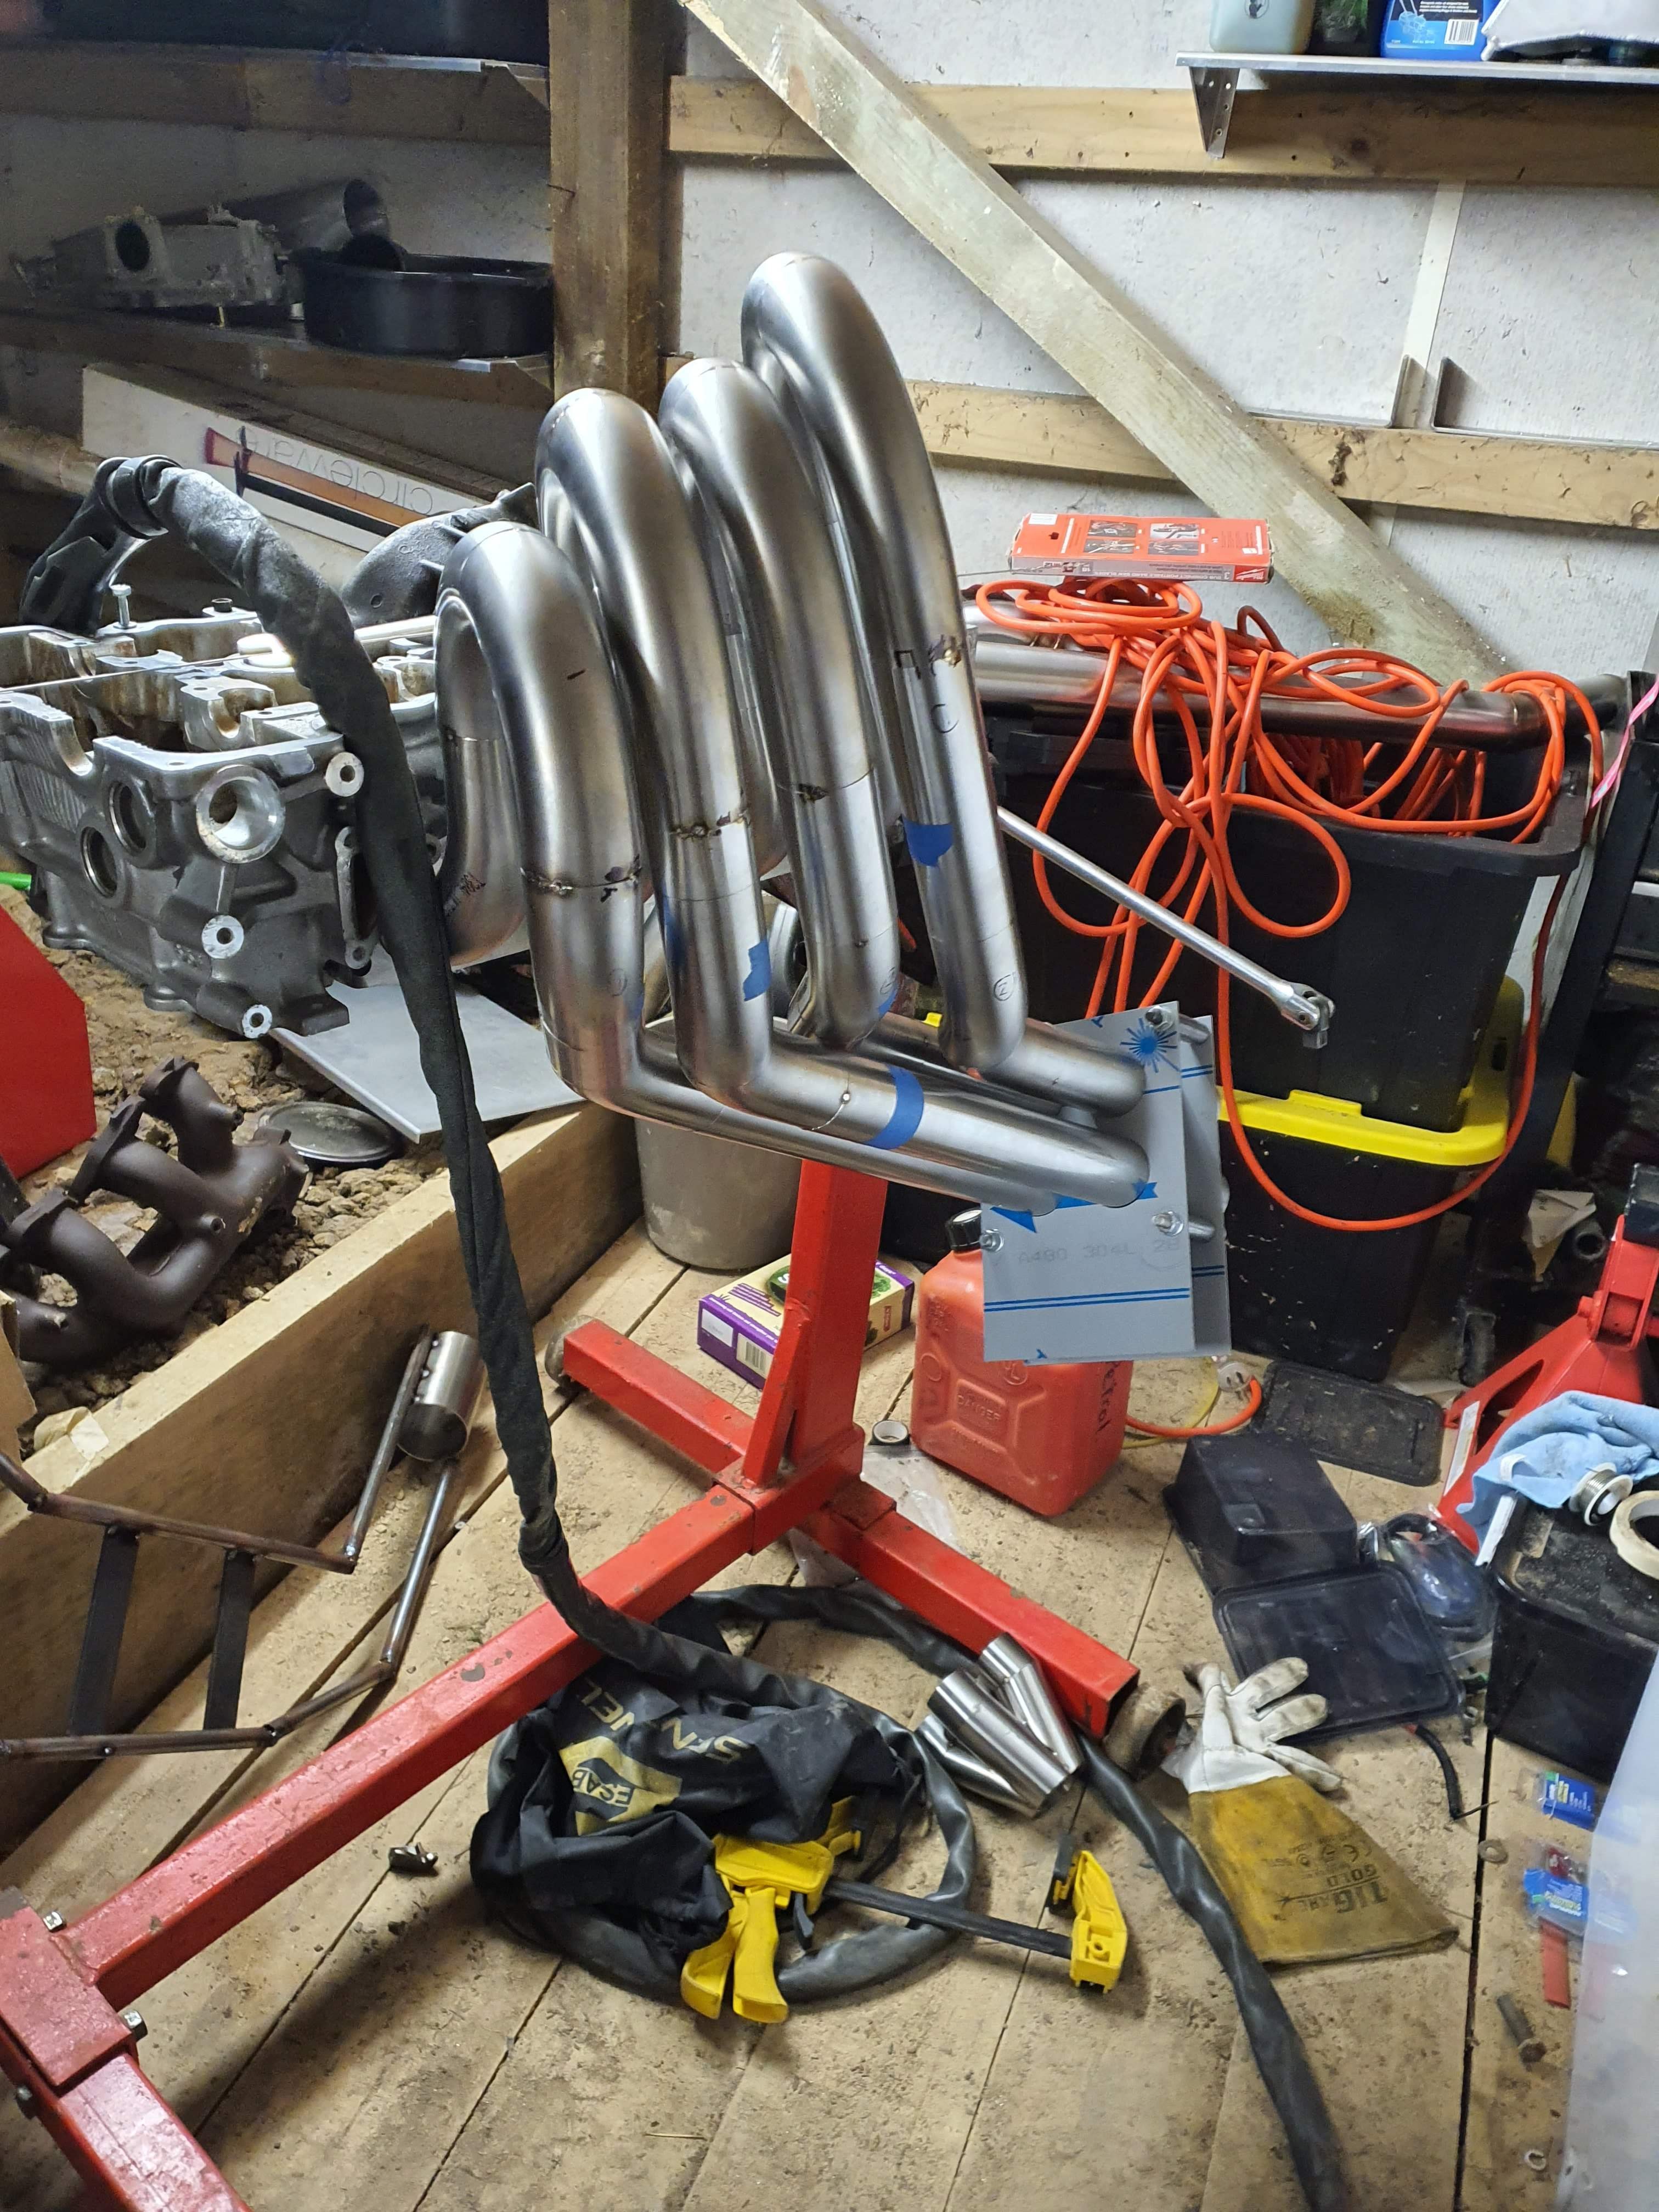
Escortns Hi rise headers and various other fab projects (maybe)
Escortn replied to Escortn's topic in Other Projects
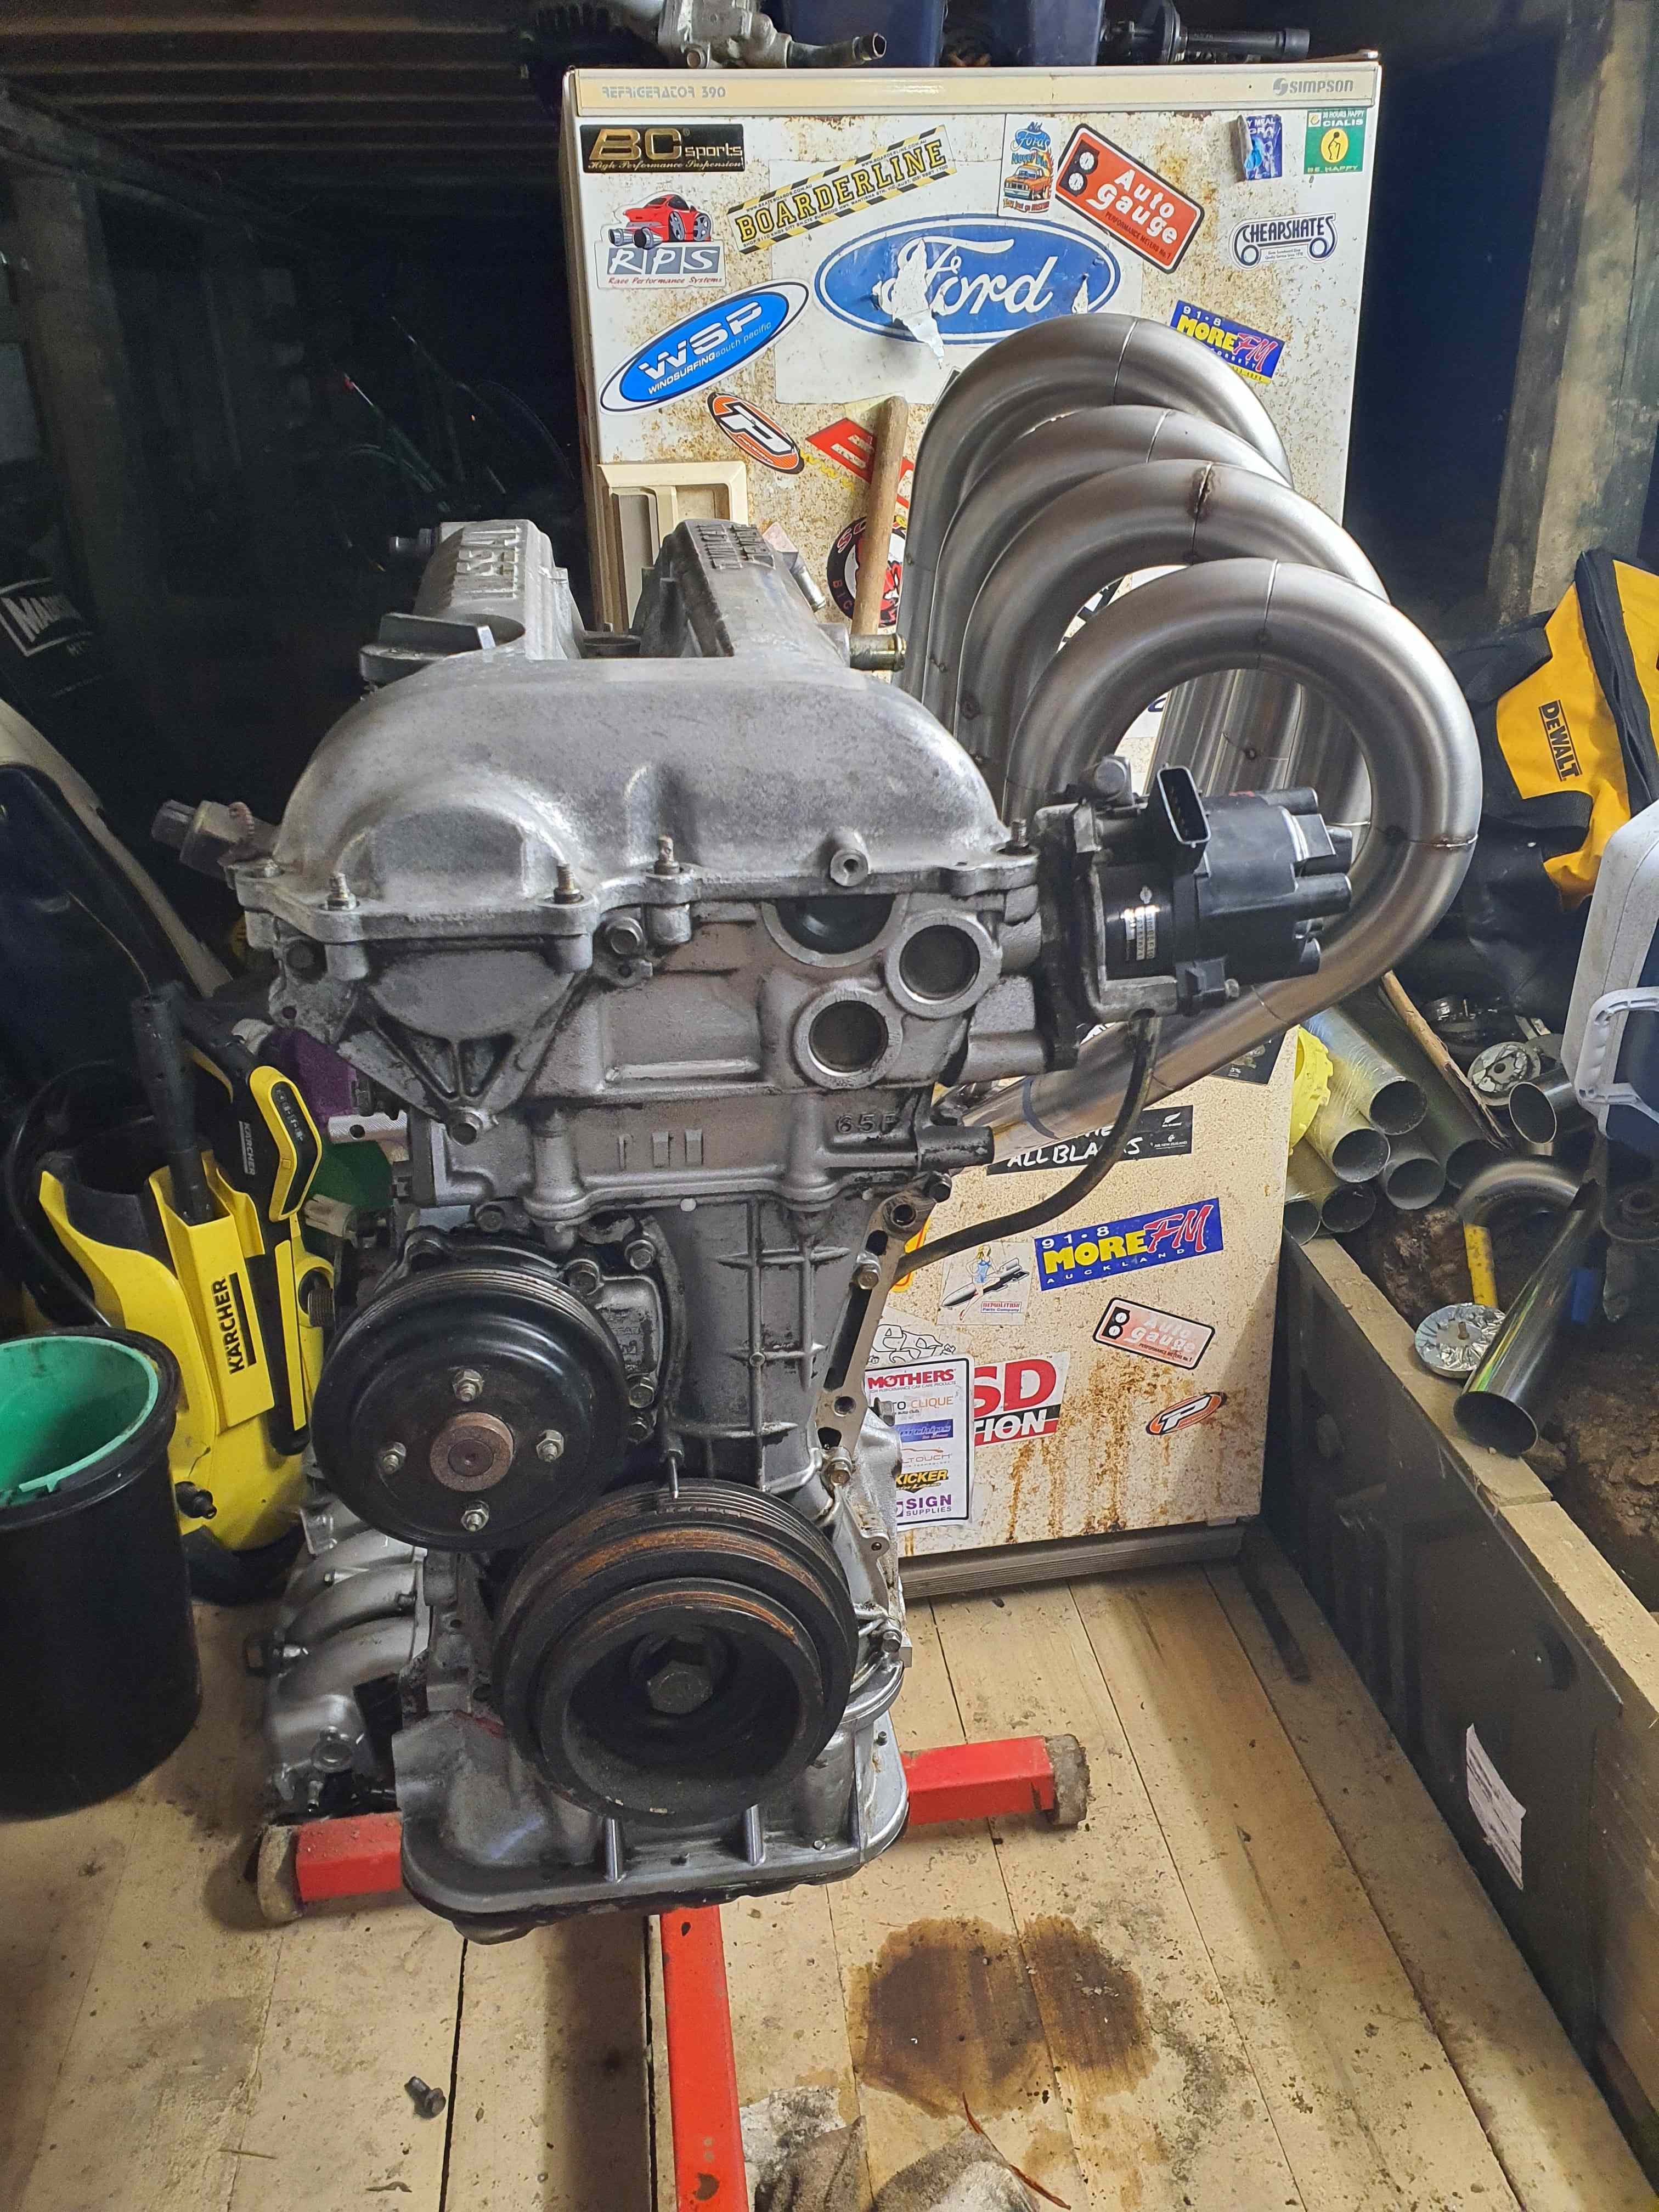
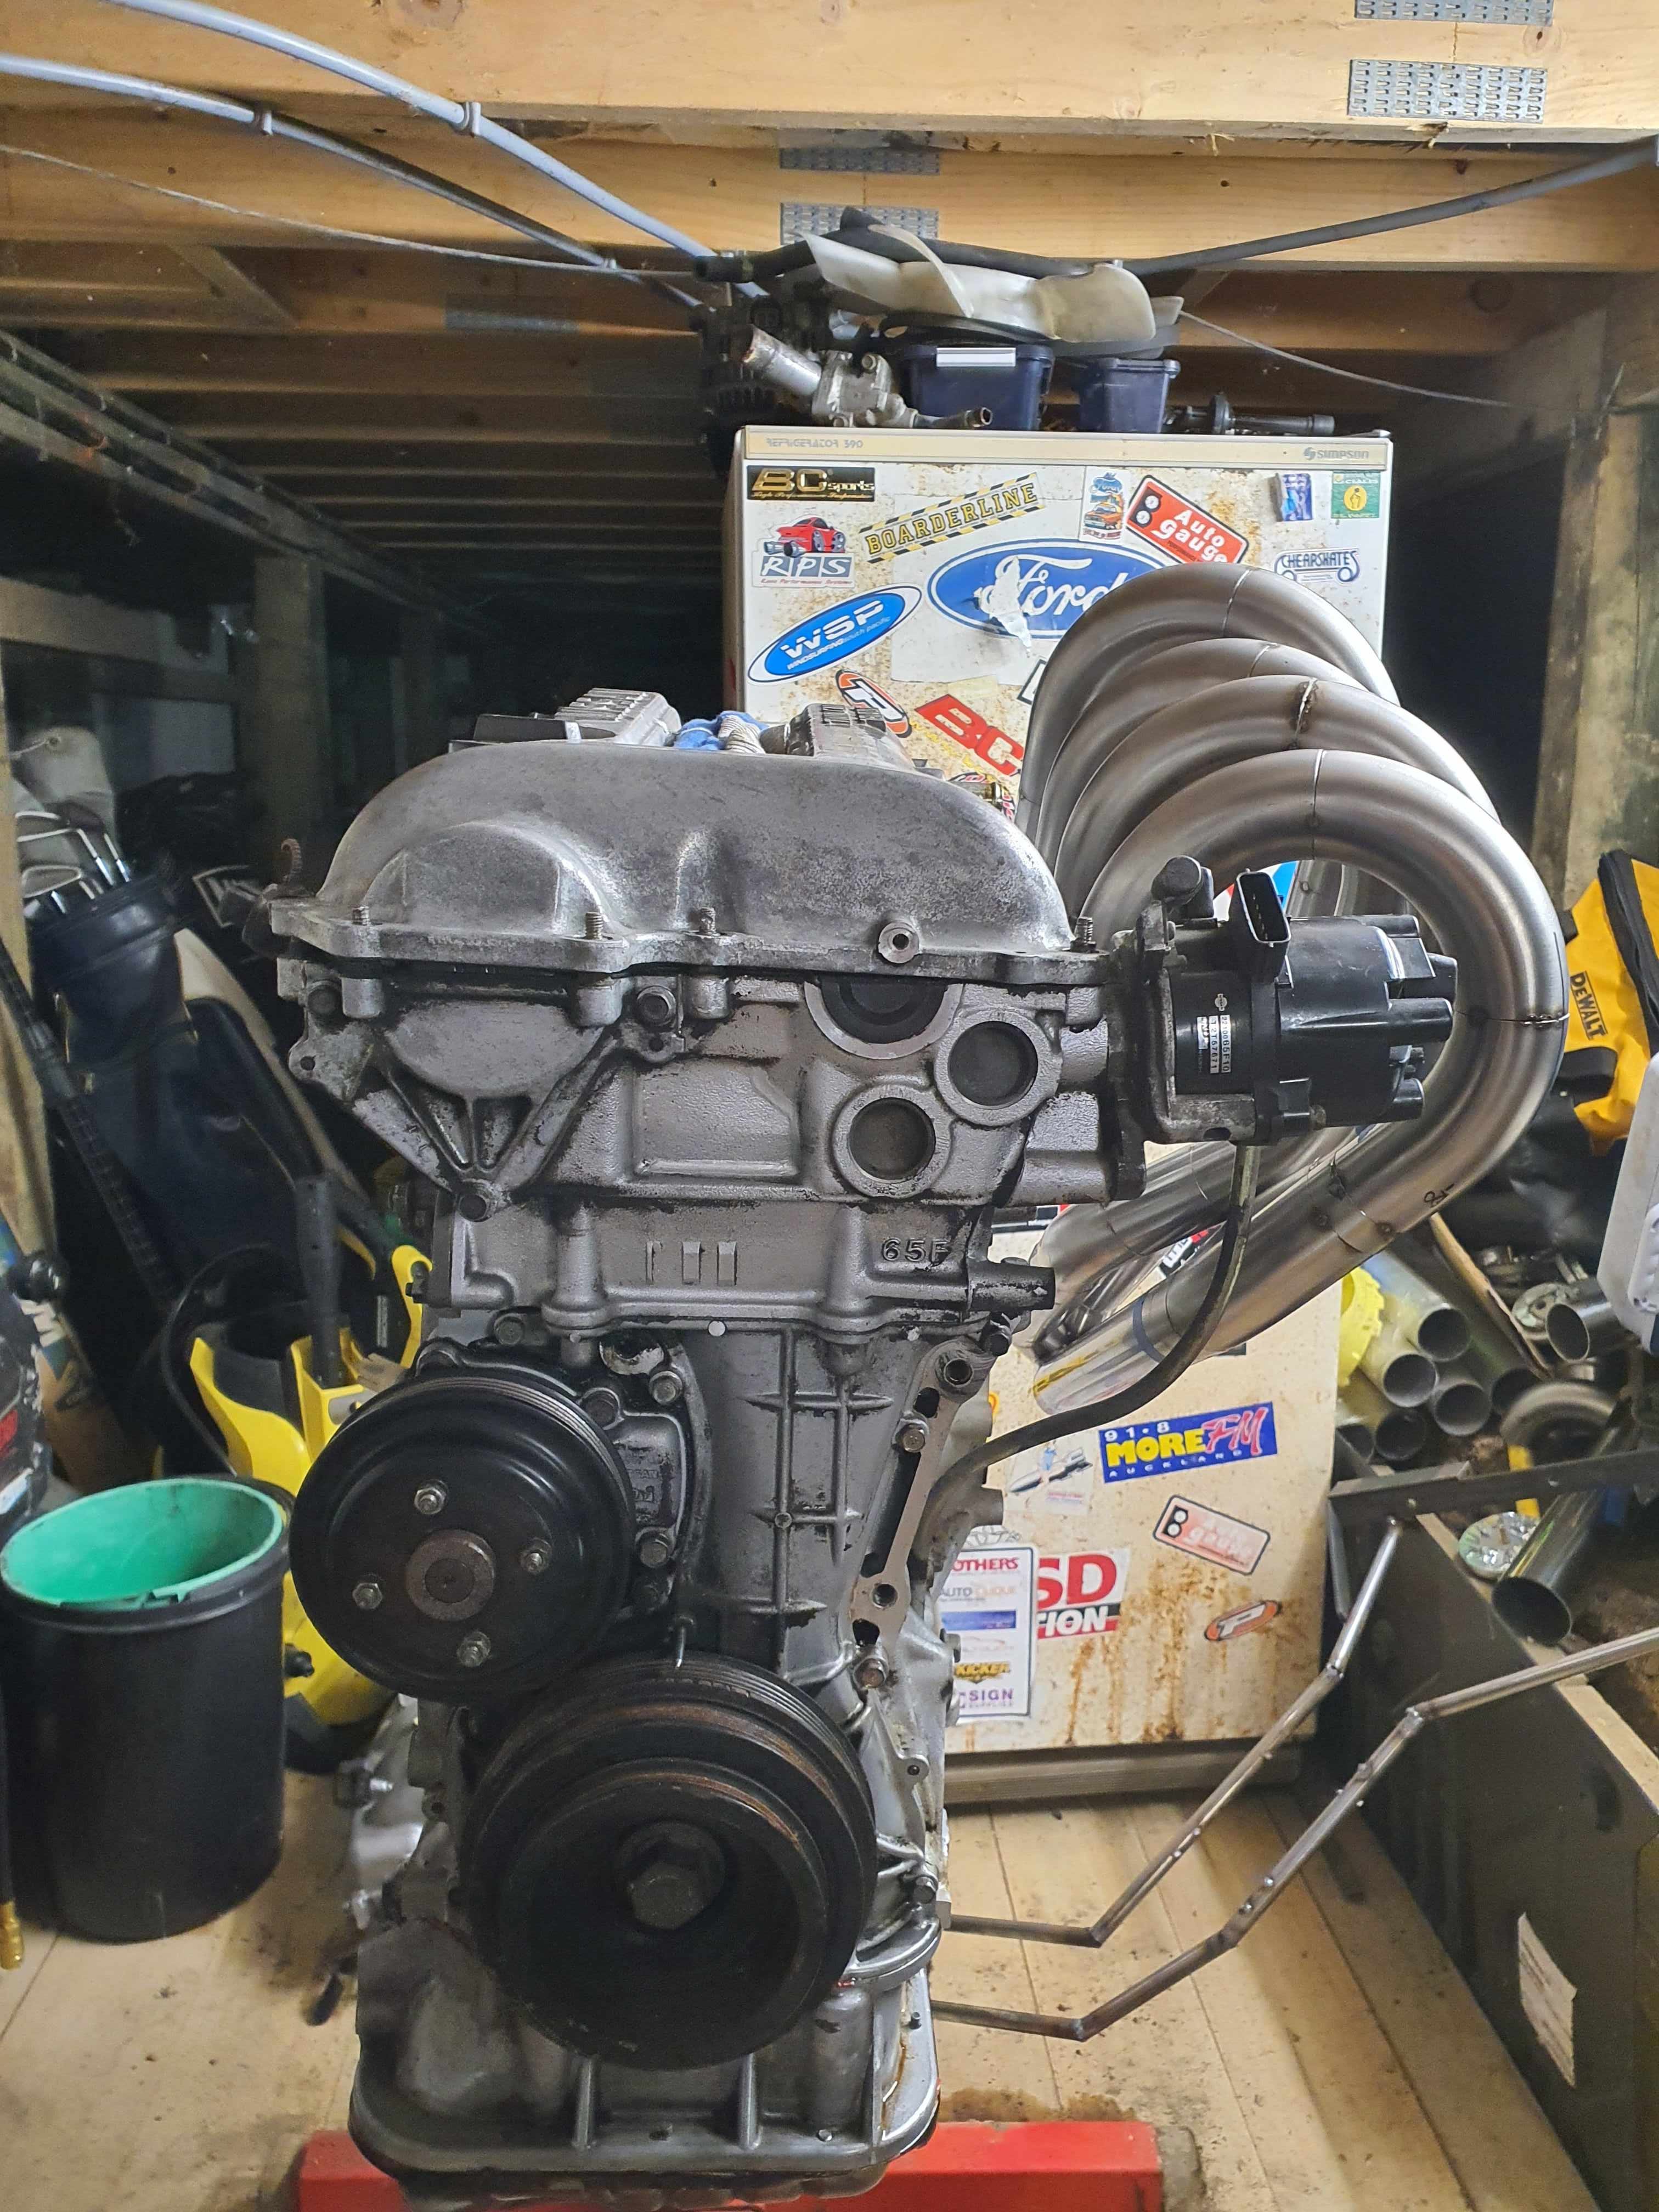
Have gone down the keep it equal route. Managed to get everything tacked and the collector on. Fitted it to the motor I have and thought they sat way to high. After this I decided to take as much as I could out of the tops. Since Runner 1 is the shortest when it comes to height it determines how low I could go. Managed to get 26mm lower out of all of the runners and visually it looks like it will be sweet Will be test fitting to an S15 in the next few weeks just for safety sake, then I can finally get stuck into fully welding.
-
Escortns Hi rise headers and various other fab projects (maybe)
Escortn replied to Escortn's topic in Other Projects
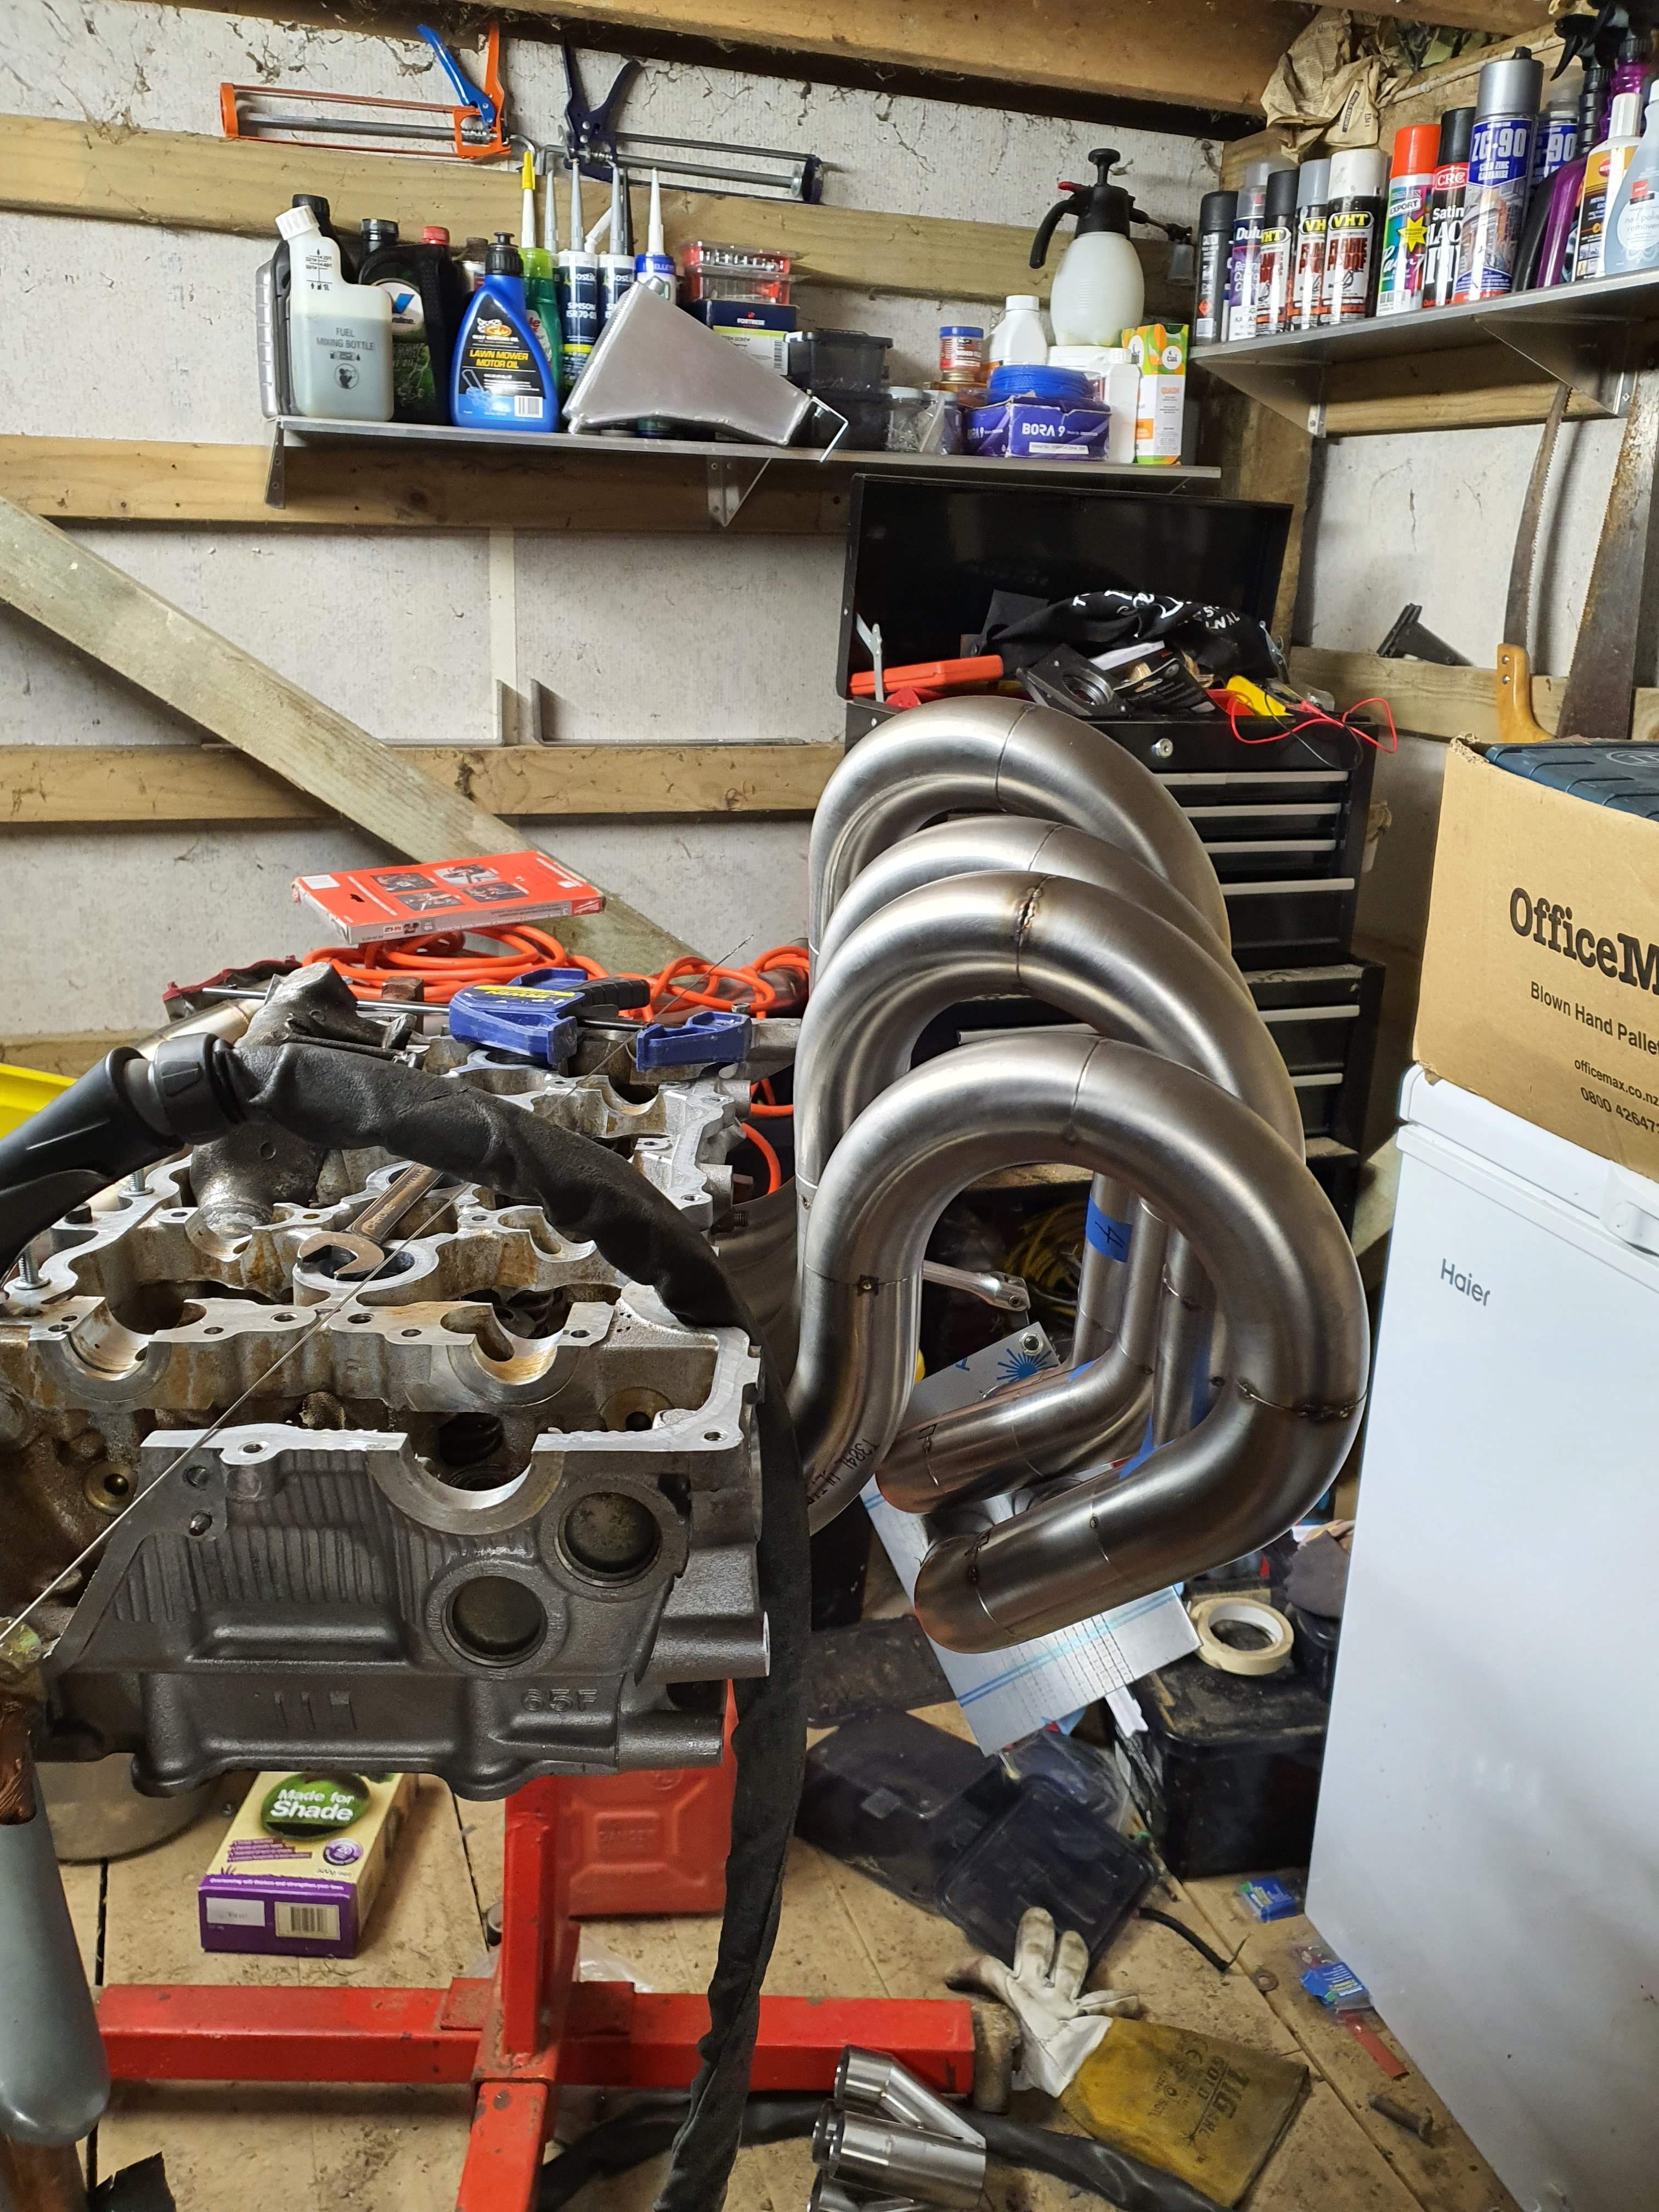
Ah yes, I see what you mean. I have managed to use the same amount of bends on each runner, main intention of this was so that I didn't have to muck around trying to cut up a heap of different degrees. Every runner has a total of 4 90 degree bends and on each runner one of the bends has been cut in half to get 2 45s. Based off of that I think I've unintentionally gained equal volume as well? I think I've decided to go with equal length (the majority is that way also) but ill see if I can still get a decent slope on the runners. -
Escortns Hi rise headers and various other fab projects (maybe)
Escortn replied to Escortn's topic in Other Projects
.
-
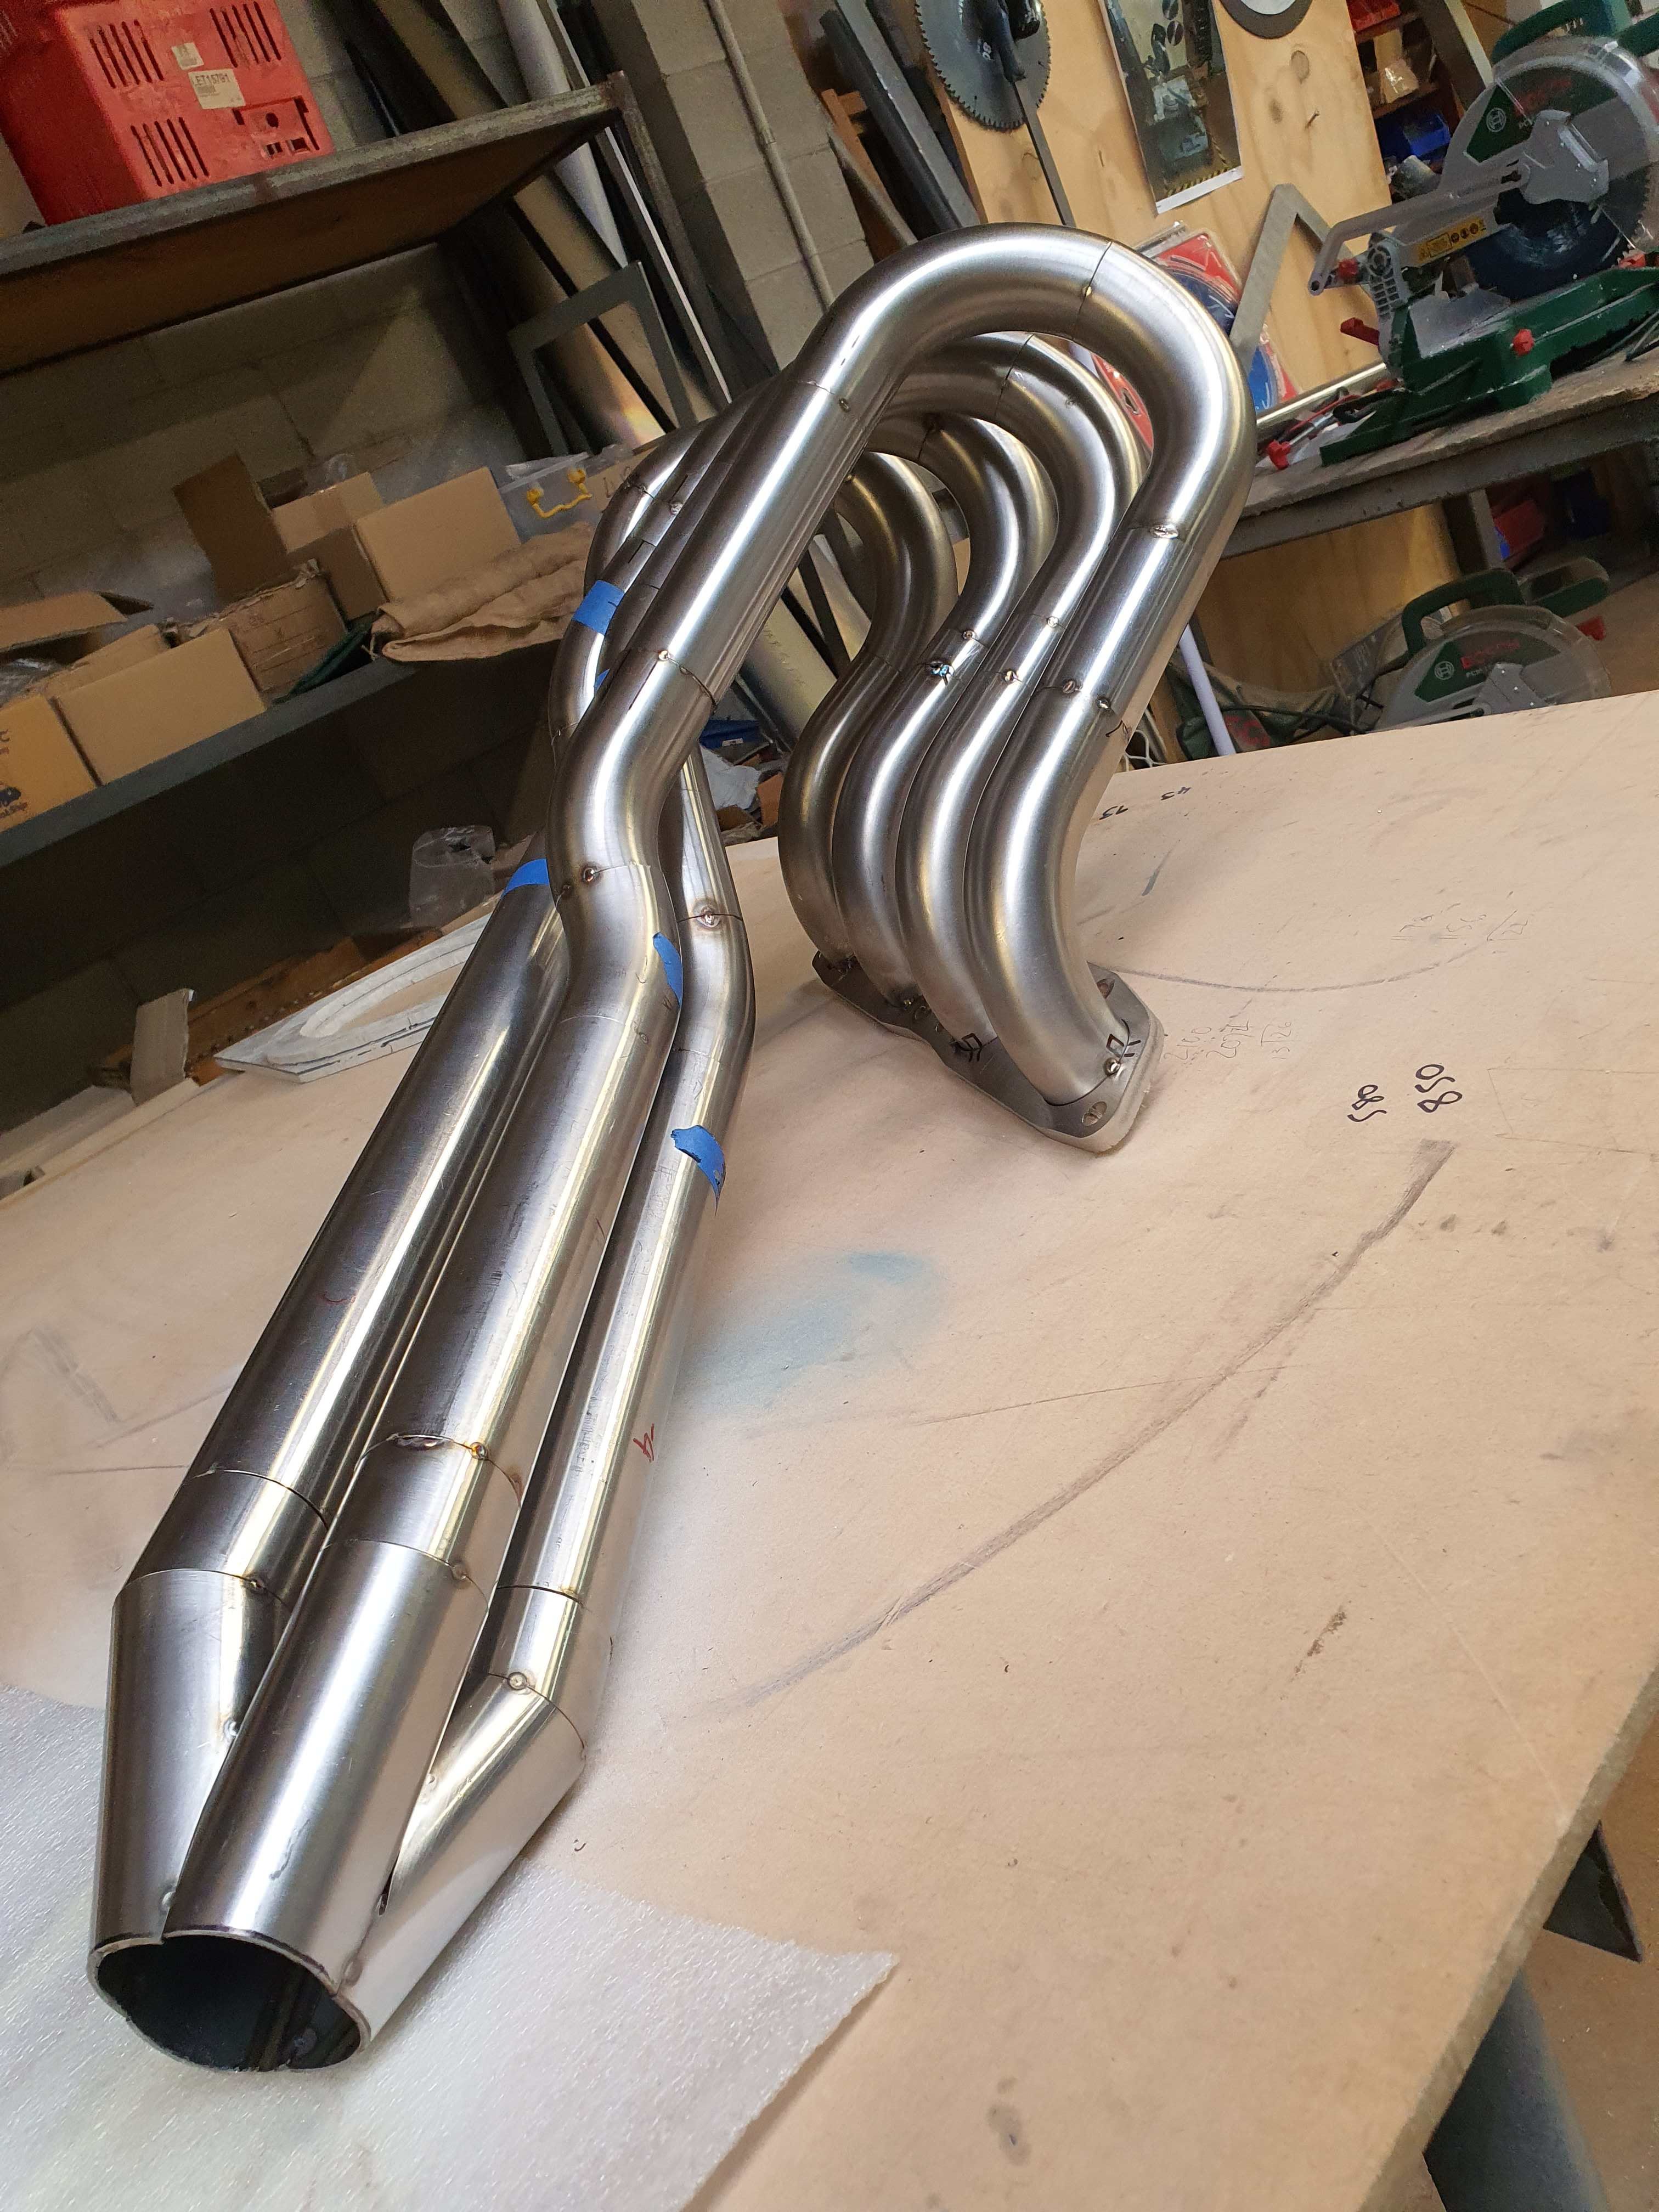
Lads and ladettes. It's been a while since I've posted here. I've missed you all dearly. Straight into it then aye. I recently acquired a buggered head from an SR20DET to mock up some hi rise headers I've been wanting to make up. I don't have a project or anything to put them on it's just something I've always wanted to fab up. Anyway, after modelling in Inventor to get my rough shape I've mocked everything up but now I've run into my dilemma and I'm after opinions on which router to take. Yes I'm asking for the internet's opinion on something. As they stand now I have the hi rise sections on a nice even slope, 4th being the highest and 1st being the lowest. This looks good but they are not equal length. If we treat Runner 1 as 0mm then Runner 2 is +13mm, Runner 3 is -13mm and Runner 4 is +11mm. I can achieve equal length by raising the rise on 3 and lowering 2 and 4 but I will lose the nice straight slope. So my question is should I chase looks for clout or the bragging rights of equal length? Photos because that's what we're here for. Just note that this is before I lowered 2 and 4 15mm to get the even slope. Ta.
-
Cheers mate, I'm still not positive I want to sell it haha and after all the interest on trademe I'm not sure if I want someone else to have it. Awesome, you should throw some pics up of your one. Don't see many 2 doors around and it's always good to have a perv on other people's mk3s
-
I'll have another one at some point haha. Any one of those motors would be so sweet to see
-
Yea, life decisions and lack of space means I gotta pass it on unfortunately
-
Saweet score man! Looks tidy
-
I just found out about this today. Thought it would of popped up on here earlier (I'm probably looking in the wrong places) It's at smales farm on the shore. I'm hoping to take my Cortina, would be good to see a few other old Ford's from here in person www.fordday.com
-
Been getting a bit slack on the updates with this. Have been getting things done however. Pulled the steering column out to replace with one out a mk4 cortina that has no play at all, so much nicer to drive with this one. While the column was out i also put in a rev guage i got from here a while ago. I put it where the gas and water temp gauges usually are because the GT centre console i put in has all those guages. Centre console isnt fixed in at the moment, need to tidy up all my shit thats in the car before i do that. The mk4 steering column is a bit longer also but its actually nicer to drive with where it is now, not the prettiest mind you. This thing brakes now aswell. I ended up clearing all the fluid out, putting in the braided brake lines and then bled the whole thing starting with the master (which i didnt do last time so thats probably where the issues were) Lastly i Bought some more widened steelies, 13x8 for the front and 13x9 for the rear This is the 8 Seller only had one 13x9 rim but threw in a standard rim with the same centre so i can get that one widened to match. Fronts have tires on at the moment and look great. I really need to take this somewhere else to take photos of it other than my driveway. Been looking into different alternatives on the guard flares, want something that matches the guards alot better and looks more flush. Turns out its alot harder to find something to suit than i thought
-
Haha same here. I bought the shell off this guy and got it going //oldschool.co.nz/index.php?/topic/21075-mpostas-1979-mk2-escort/?fromsearch=1
-
Yeaaa im not gona disagree
-
Not really on par with the awesome manifolds above but i rigged up a rear strut brace for my previous c35 Laurel, had a front one aswell but didnt take pics. seemed to do the job, trying to figure out a new one for my daily c35 now
-
http://www.epicinter.net/build-thread-insane-man-fits-koenigsegg-ccx-twin-turbo-motor-to-a-tissue-box-ford-granada/ Ruthless Grenada for ya
-
I've done this before, the front housing will just twist when you slack off the bolts, it's clamped onto the core. I don't know if it's the best way without knowing torque settings etc, but worked fine for me
-
Saw this at cannonball today, looking good man. I was driving the Laurel that had TUFF4D as the number
-
Cheers man, Haha I nearly put them on the wrong sides actually, luckily I'd bled them before and remembered how it all went. That's a good point, I'll give it a go this weekend, cheers. I've just been pulling my steering column out to investigate all the play in it so I'll get some interior shots along with that mess
-
So my front brakes packed up a few weeks ago. Front right siezed so i decided to strip, clean and rebuild both fronts. They were both in pretty bad nick when i pulled them apart, looks as tho they hadnt been bled in years! One of the pistons was siezed in so i boiled it for a bit then popped it out with a compresser. (Dont do this if your better half is going to come home within an hour, it makes your place reek!) Chucked in a new seal kit and gave em a lick of paint. After i bled them the pedal was still going down way to far. Had a look at the master and found some fluid leaking down from where it bolts onto the vaccuum doofer, so chucked a seal kit through that aswell (no pics coz it was giving me the shits). Bled again and it was alot better but it still feels like it goes a bit to far. Ive bought some braided lines aswell but their yet to go on. Looking into getting the master resleeved then putting them in. Theeen i can concentrate on getting my gauges and centre console in.
-
There's a tray that sits inside that you can take out which collects the majority but on the bottom of the spit itself there's a 25mm hole so when it gets cleaned you just lift up at the handle and it drains out. I'm keen to see it in action aswell haha
-
Welded a length of tubing ontop of the motor mount so that the motor doesnt twist heaps with weight on it You can also see the wheels we used, they have a piece of rubber with a nut each side so all you do is push it in and tighten the bottom nut and that expands the rubber and holds it in. Then it was just a matter of cleaning the welds and making sure it lights. If i was to do another one (which i should do, because i want one now) id put more tabs on the gas elements. As they got hotter they started to get a little bow in them, nothing to extreme however but always good to improve i spose.
-
With the delivery of the gas i welded a nut on the top of the end of the elements, then bent a piece of angle that fits onto the gas fitting and bolts to the weled nut. So, obviously cant have the lid going all the way back. By using more of that rod i cut some small 8-10mm pieces to use as spacers and a longer piece and welded them on the side. Then cut a piece of scrap long enough so that when you put the lid back the weight of it holds itself up, this also had 10mm each side folded on itself as a safety edge.
-
Alrighty then, this thing is all finished. Finished it last week work week of the year but havnt had a chance to upload anything. Mounted the lid by using a 10mm rod and a pipe for it to slide through. Cut the pipe into 3 pieces and welded like so Also cut some little pieces of the rod to make spacers for the lid, gives it a bit more air flow. Using the same rod i bent up some handles, one to lift up the lid and one on the end of it so you can pull it along. Heated it up with the torch and bent em round.