yoeddynz
-
Posts
17451 -
Joined
-
Last visited
-
Days Won
134
Everything posted by yoeddynz
-

Discuss here about Yoeddynz's little Imp project...
yoeddynz replied to yoeddynz's topic in Project Discussion
yep- if I mount the subaru starter in its stock position I'll be turning the motor the wrong way. Didn't even think about that. Whoops. However I have a couple of options. Either use a Honda starter from a counter clockwise civic/accord etc. These rotate opposite to most starters. But I need to check the pinion tooth pitch. From what I can see via rock auto pics they are the same tooth count , 9, and look about the same diameter. I am guessing that most Japanese cars share the same pitch teeth on ring gears? Or I can mount one of my subaru starters from the front, over the engine. I have just checked and there's loads of room and will be easy to mount. It would also look more symetrical and the subaru starter was going to be pretty close to the parcel shelf if mounted above the box as originally planned. However if I do this I'll need to turn the ring gear around. Probably add some welds to stop it potentially getting nudged off because the flywheel retaining lip I had machined will now be on the wrong side. Nothing too drastic or unsurmountable in the grand scheme of this project and I'm lucky someone spotted it at this point! -
Discuss here about Yoeddynz's little Imp project...
yoeddynz replied to yoeddynz's topic in Project Discussion
So a fella on another forum has pointed out an issue I had not thought about and has put me in a mild pickle. I have a couple of solutions, one of which could improve other things at the same time. Lets see if anyone can guess my error. I'll give you all a clue. Starter motor. -
@NickJ I thought EFI conversion was fine so long as you don't increase the power by 20% or thereabouts?
-
MICRA ALERT! MICRA ALERT! 1.30min in (its a sub model k11) EDIT. I was wrong. I was too hasty. Its not a micra A faux micra.
-
Great to see an update- you're still doing a bloody nice job of this too!!!
-
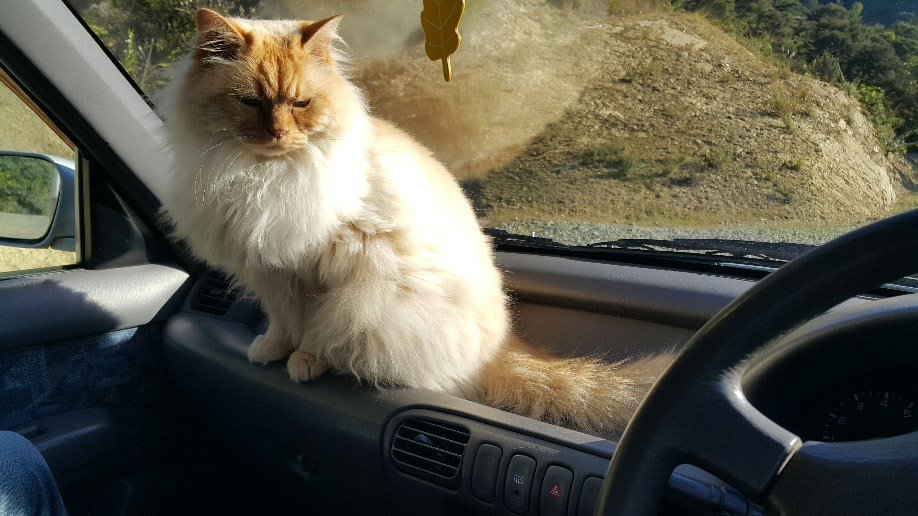
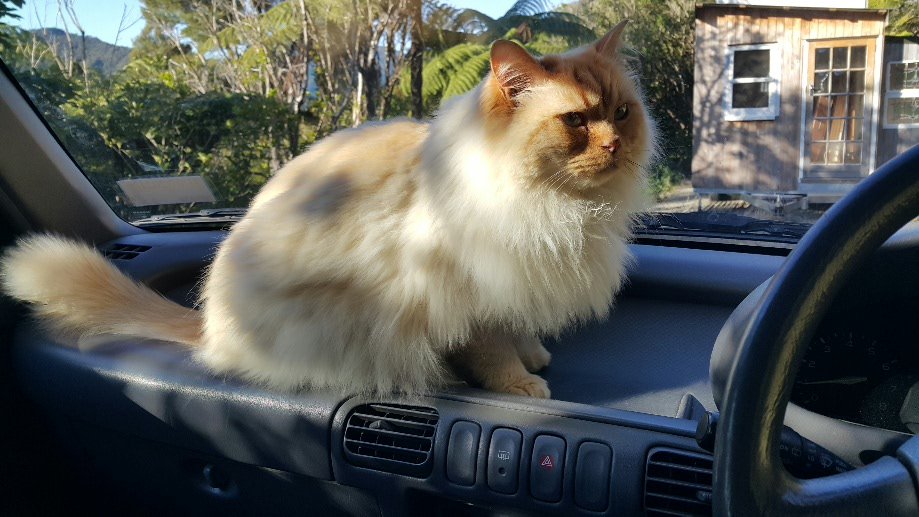
Brilliant! But what about Kev? Don't forget that he is a cat with superb triumph wagon fixing skillz and delicate but such useful paws. He knows all about Trumpy wagons and will most likely get to help when steve @Gozza wagon one day returns (we will hide in the trees and let Kevin do the work..) *please note that there is yet another of @Slacker_Sam. failed dream cars in the background of this pic that was in for work... although its just an inferior Toymotor Sillycar.

-
Nissan Micra k11 - Mandy goes to a new happy home.
yoeddynz replied to yoeddynz's topic in Other Projects
Update coming soon. However it appears that kevin has decided he likes pre-facelift cars the most. We've also now worked out that pfl actually stands for 'perfect feline ledge'. Luckily for kevin we will be converting minky to a full pfl interior.
- 205 replies
-
- 15
-

-

-
Far out! November last year was the last time I had tinkered away on this project. Time flies!!! Well both Hannah and I have been pretty busy with various things like having to get the housetruck finished off and road legal for sale and with that gone we had to build a place to live. The mezzanine build took a fair whack of time. That's all pretty much done, well at least to a point that we can happily live up there. I started losing a feel for time over summer with all that going on. Then a Micra/March turned up. A simple, cheap run about while the Imp is off the road eh. Then another Micra... and another. Oh - so now these are projects are they? FFS. Oh hey...what's that? Is that a Bedford TK truck in the yard. But hang on.. you've already got 4 other vehicles to play with, not to mention the old 4wd Hiace van that's getting bit rusty around the edges. Well screw all them. I just needed to get my 'flat six fix' so I dug out all the bits that had been hibernating under the bench and had some fun piecing them together in a sort of organised fashion on the table... Now where does this bit go?.... After having some fun taking photos I stashed some of the parts like the heads, cam gear, pistons etc that I wont need for a while back under the bench until needed. I had to confront a mini stumbling block I had with the oil pump drive sprockets. There is one small sprocket that slides onto the hub of a larger one and needed to be fixed in place. My initial thoughts were to weld it but I was worried that it would warp and cup. I sized it up for possibly bolting it in place using small cap screws but there just wasn't enough room between the chain and the hub, even for small 4mm screws. Welding it was going to have to be. I would get some advice though beforehand. But first I wanted to add a very slight taper to the teeth so there would be no sharp square edges that could potentially catch and rub against the inside of the chain plates. 3 of the sprockets were easy enough to pop in the lathe and give them a tickle with a flap disc. But the smallest I had to whip up a little hub to clamp it on... Trying to take a photo with one hand while holding an angle grinder in the other... Then sitting in front of the fire and cleaning off any sharp edges... Now I had sprockets I was happy with I had to confront my welding issue. I popped over the hill and chatted to another engineer I know who has a lot more experience with welding of such things than me. He pretty much told me what I had already guessed and I decided to just go for it. But just to be sure I thought it prudent to machine up a fake sprocket and hub to see how they faired when welded. There was no cupping evident so I went ahead with the sprocket. First thing though was to heat both parts up gently. Not too hot. Just hot enough that I could touch them but not get burnt... This way the welding could be quick and light without a mass of steel sucking the heat. But not so hot that shrinkage could be an issue either. I used the little tig welding table I had built ages ago for more comfort when doing such jobs... I'm certainly not a super neat tig welder like some artists out there (and never will be with only having decent sight out of one eye so judging the distance can be an issue) so I was very happy with the result and super happy that nothing pulled.. With this part finished I could concentrate on the chain tensioner design. I had a few ideas and had amassed a few bits to tinker with.... Being that the chains are under constant load and only turning a pump the tensioners are really only needed to stop excessive slap. Nothing to do with timing changes like a cam chain. I had two Datsun A12 tensioners to try out but no matter how I arranged them they conflicted with each other and there was no room for mounting bolts where I needed them.. So I tried out some Mazda/ford 2.0 duratec tensioners and they show great promise... I will make mounting blocks to suit and knock this part of the build on the head! Then onto finishing the bellhousing Hopefully some more updates soon although we have also started pulling one of the Micras down for the big swapsie game but that is mainly Hannah's project so I can keep working on this as I can.
- 98 replies
-
- 52
-
-

-
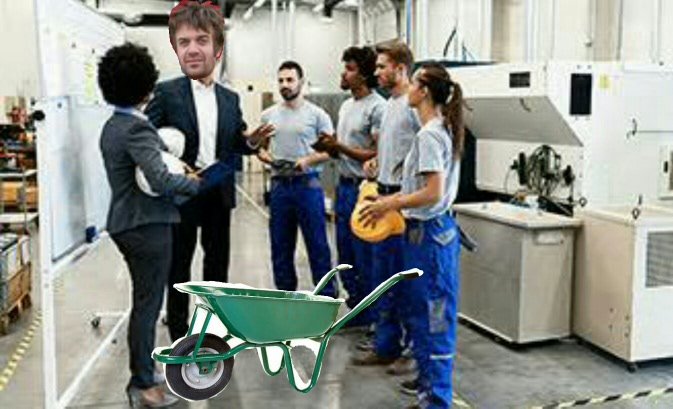
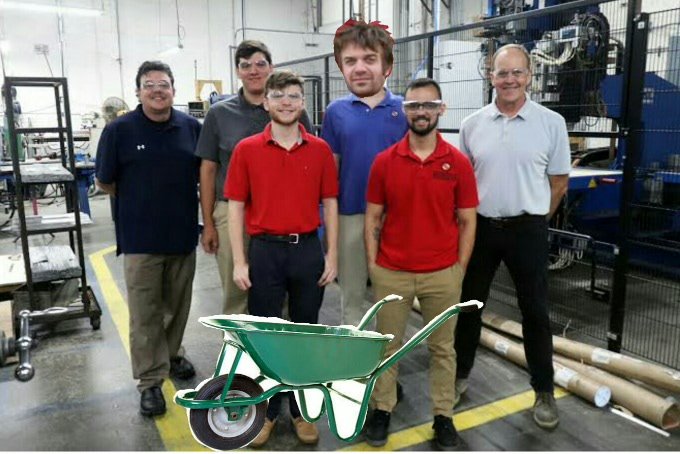
I can see! I just had a look on Google at your work. Very impressive. You have a very talanted and keen looking bunch of team mates. You look so proud!...
- 8985 replies
-
- 13
-
-
-
Wow ! - that seems all very complex for your work that builds wheel barrows!!!!
-
Good slow-mo images of a transparent carb working. Go straight to 19.40min in...
-
I think Speeduino has proven to be pretty fucking robust now! Like any self build ecu though its fully down to how well its assembled and then actually wired into the car. I reckon megasquirt is a bit over priced now for what you get compared to Speeduino for most applications.
-
Is it the same engine as in the BB (I could look.... but meh) because @Slacker_Sam. fitted a supercharger kit to one of his BBs. It goes well and makes all the right sounds.
-
So cool hearing a new engine start up. I laughed when I read "had dissy 180 degrees out" as I too have done that a few times and never learn
-
Yep- me thinks so too.
-
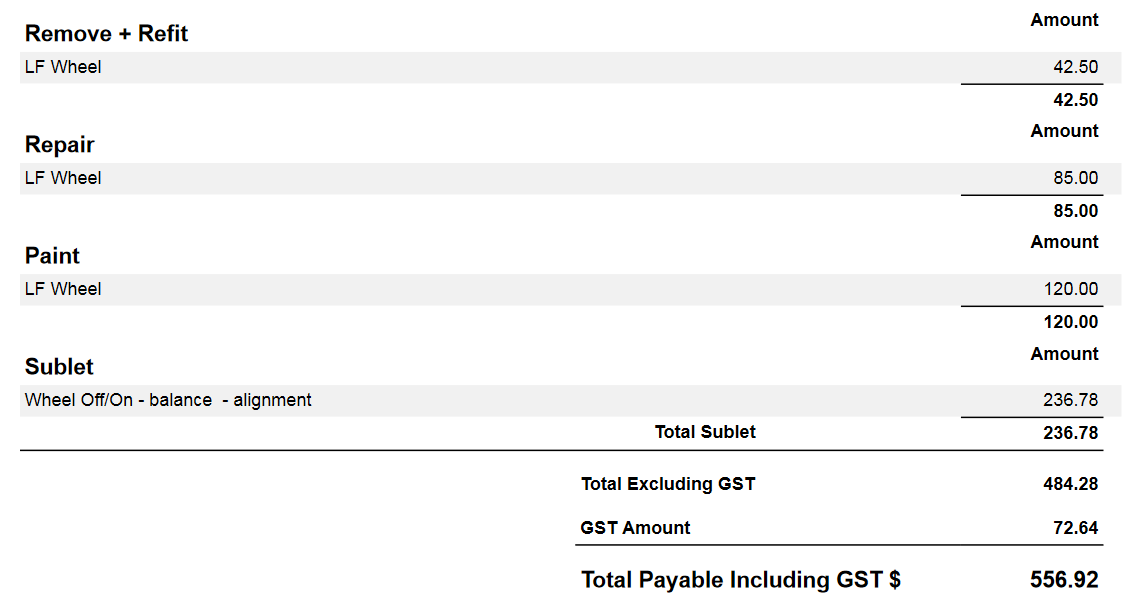
wheel/tyre shop is owned by the same firm. Sublet out to another 'department' for more chance to charge extra youth facebook posting costs....
-
Yeah that would explain that $42 cost a lot better. I feel like the invoice could have a bit more detail. I should add that my brother had originally gone in with the car to show them the scuffed wheel and they quoted him roughly $250 to repair the wheel and another $75 or $80 for an alignment. But he never got this in writing (Who does? You would just usually trust what said eh)
-
@datlow I have redone the screen shot of the bill which shows it all better (last screenshot had cut off the bottom so I see your confusion)
-
236 was just the alignment!
-
My brother will be taking the invoice around town and asking at some other shops to get an idea. Most places in Nelson just charge a one off fee- they win some and lose some and it all evens out - like you say some cars are quick and easy to set up and others take more time/seized tie rods etc.
-
How much would most folk expect to pay for a wheel alignment? We just had one recently (like about a month ago) on the van- cost a fairly usual $75 and I was happy with that. However- I think my mum just got ripped off by a local garage for a wheel alignment. My brother is trying to sort it out but mum doesn't want to 'rock the boat' because they have "always had great service from this garage"... I feel pissed off because to me it reeks of a big company taking advantage of old folk etc etc. But before I get too pissed off I thought I'd pop the invoice up here because maybe I am out of touch with pricing. I wont mention the garage name but I have always felt they are a bit fucking steep anyway. edit- I have noticed they have charged to take a wheel on and off too! (wheel had a parking scuff so needed paint) Also should add that this company had sold mum this car (30k secondhand) and they have bought several cars from them in the past. I'd expect better service.
-
Similar fault to the 1kz ecus then?
-
DAD's 1984 Hino fire appliance house truck pikey project
yoeddynz replied to DAD's topic in Project Discussion
oh btw- buy lots of teabags and cake. Its a fucking good read that blog and you'll get sucked in. Report back in a weeks time -
DAD's 1984 Hino fire appliance house truck pikey project
yoeddynz replied to DAD's topic in Project Discussion
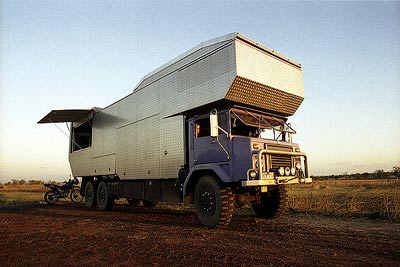
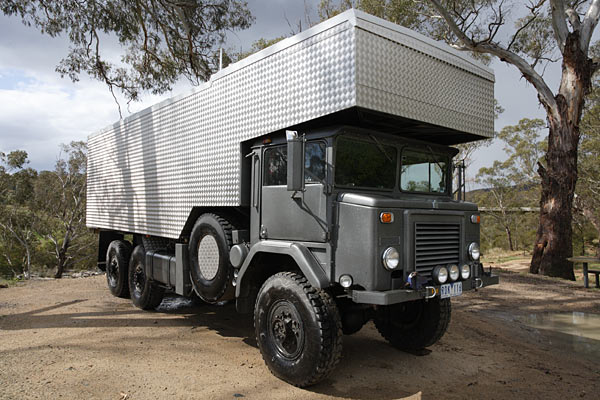
Hannah and I are just starting on a coffee cart build for some customers. We'll be using alloy composite cladding for some of it. I think 4.8 kg a sheet I was told. Looking forward to seeing how it turns out as I am normally more of a woodsy cladding type fella. A really good read is this one. Its quite old now but Rob built a very choice 'housetruck (more like a battle truck...) indeed, then another one. He stuck alloy check plate on, first with a industrial grade (but more god like) 3m adhesive tape. But then moved on to a sikaflex adhesive. Its a good read!... http://www.robgray.com/ontheroad/wothahellizat/
-
There was a 2 door manual 4wd in red on TM when I showed Dave this car. I think it was like about 5k. Looking back a fucking bargain for a cool little car like that.
.jpg.4ae5843f4fdcf3fe150ff9034119d760.jpg)