Truenotch
-
Posts
10,922 -
Joined
-
Last visited
-
Days Won
6
Content Type
Forums
Downloads
Events
Gallery
Everything posted by Truenotch
-

Te Urewera Undertaking, 2019 Nov 29th, 30th, Dec 1st.
Truenotch replied to johnnyfive's topic in Upper North Island Region
that reminds me. When I was following @Dolan on Saturday afternoon a couple of cans came shooting out after a big bump. They hit the deck and started shotgunning themselves all over the environment. I was gonna try to rescue them, but it was too late. -
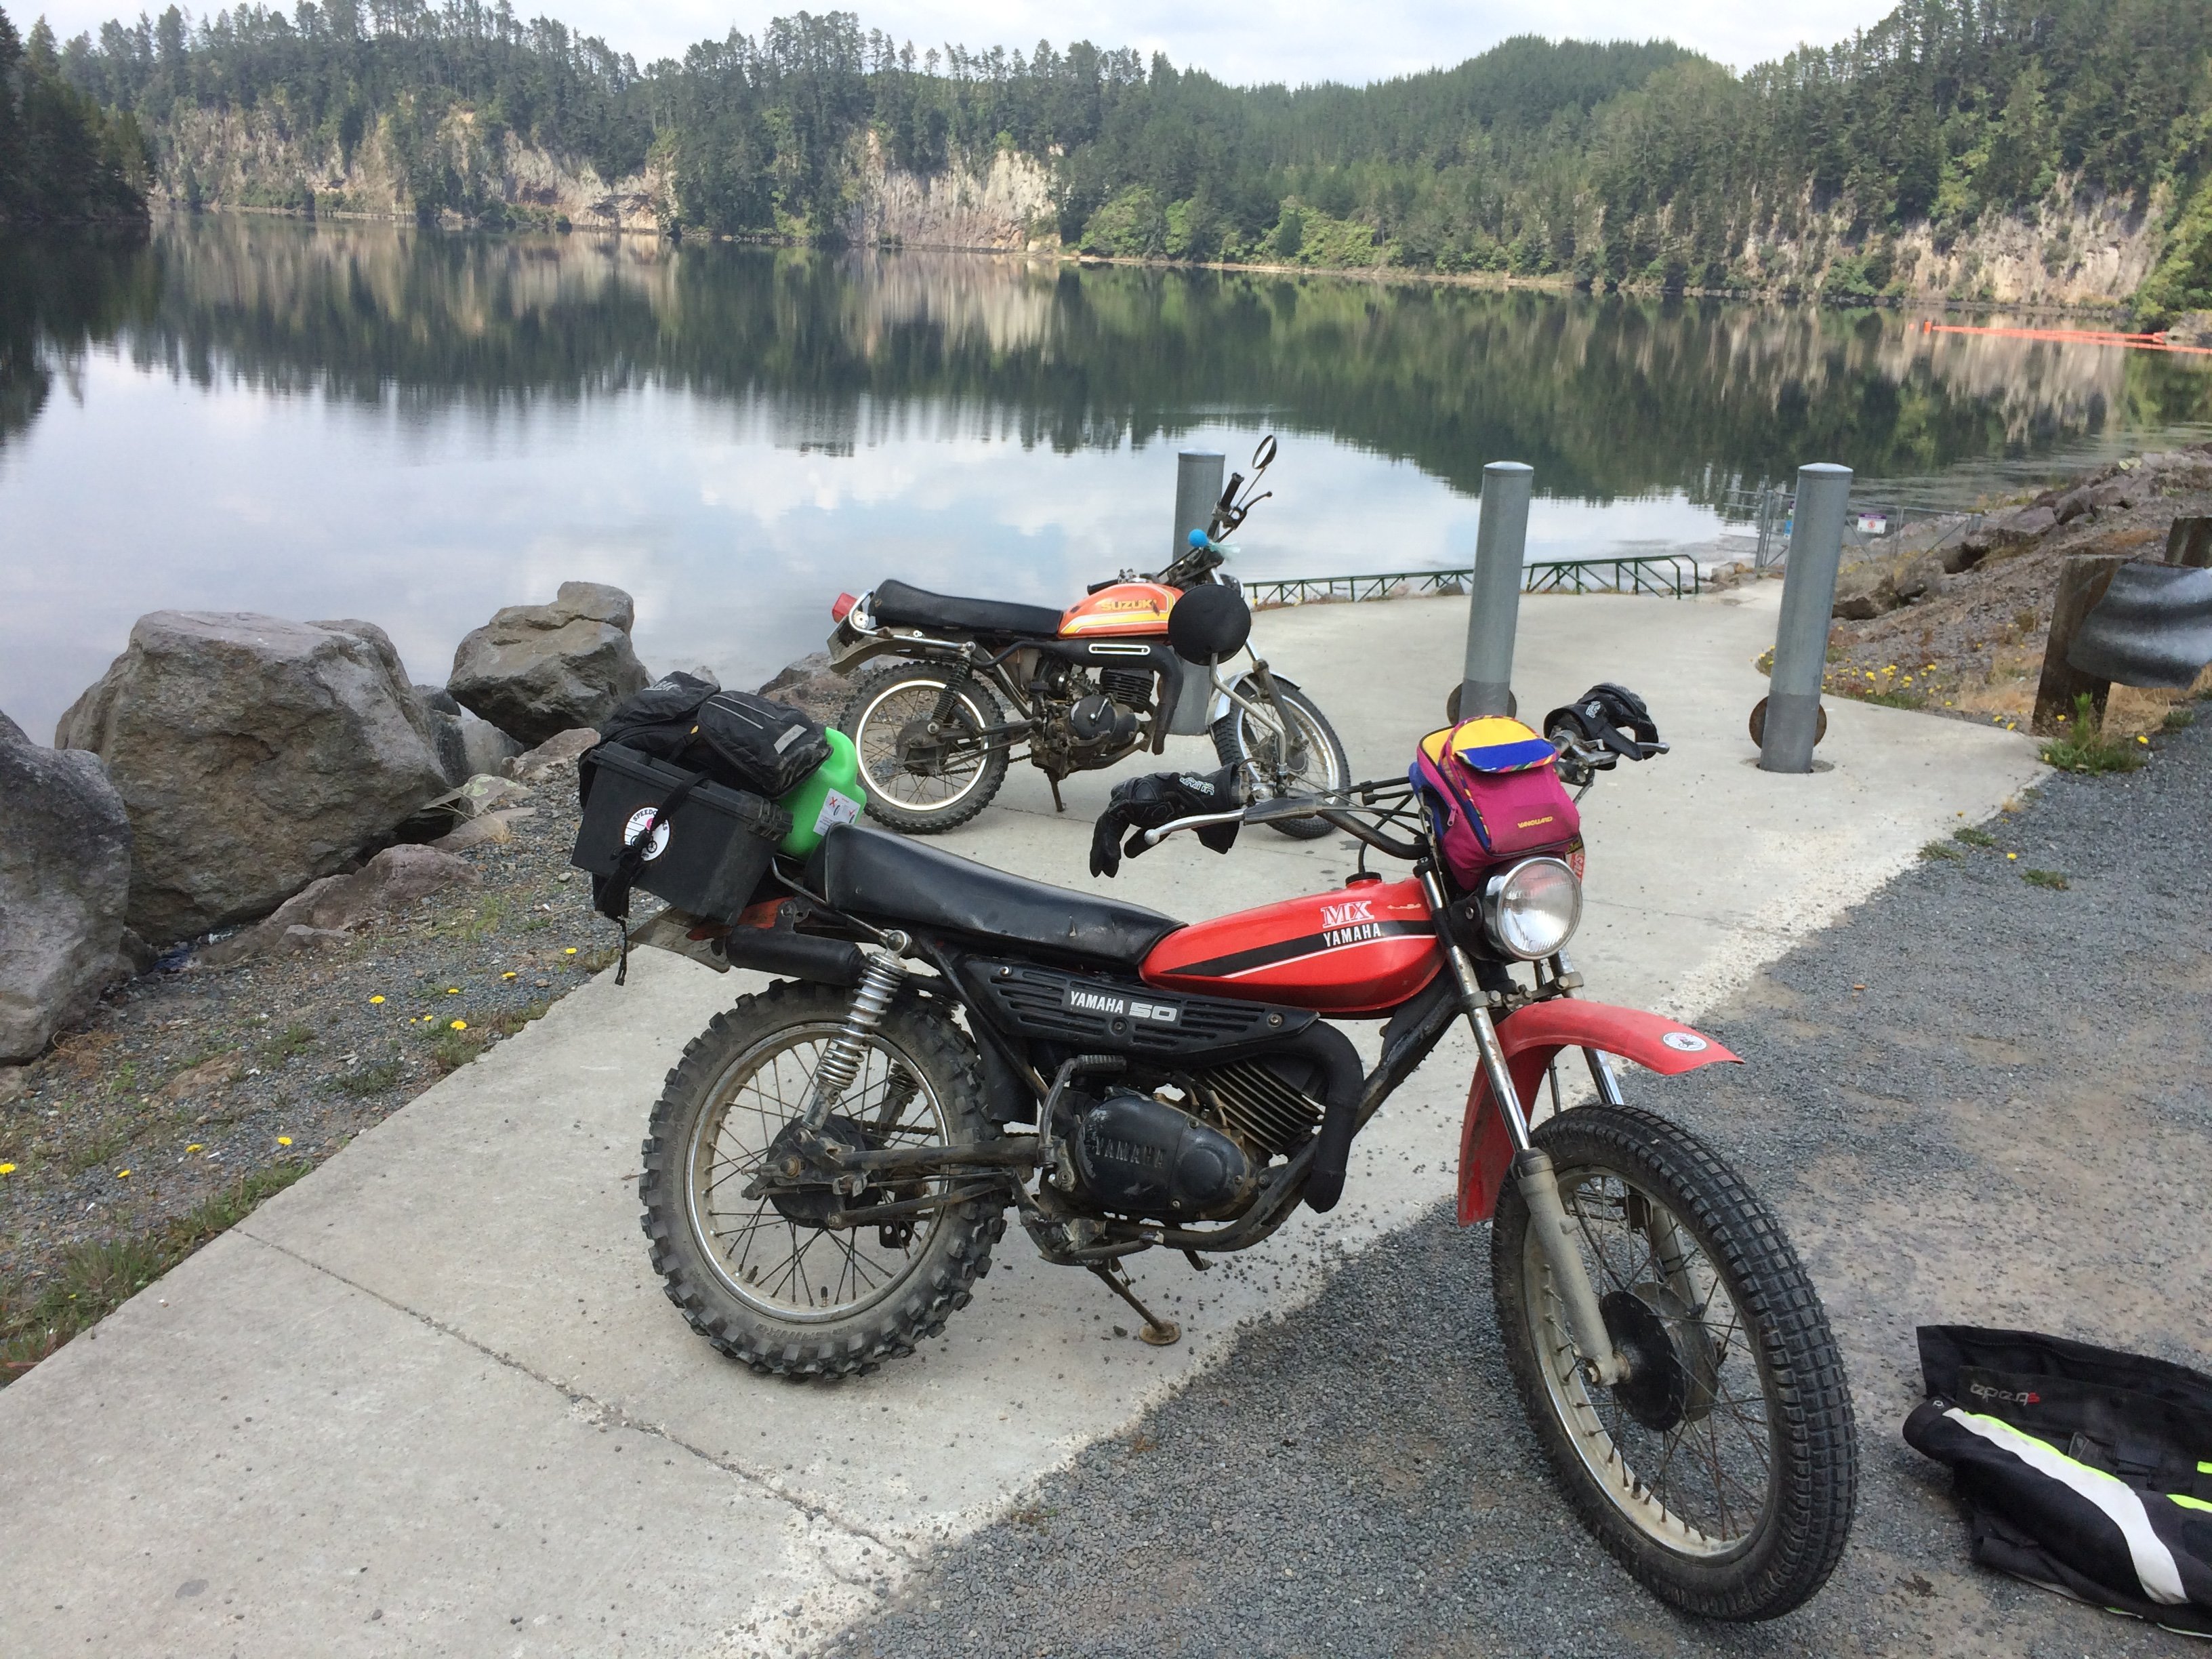
It was wicked fun hooning with you over Te Urewera. This little beast is impressively quick and seems to handle the gravel with ease. Can't wait to smash more gravel with you dudes in the future.
-
It would have been exactly the same process as what went on here, but without the snark (i.e. I would have posted in here or PM'd @- i5oogt - to ask). The report system is for spam bots and abuse, not requests for further info about discussion threads.
-
Te Urewera Undertaking, 2019 Nov 29th, 30th, Dec 1st.
Truenotch replied to johnnyfive's topic in Upper North Island Region
Not so much. -
Te Urewera Undertaking, 2019 Nov 29th, 30th, Dec 1st.
Truenotch replied to johnnyfive's topic in Upper North Island Region
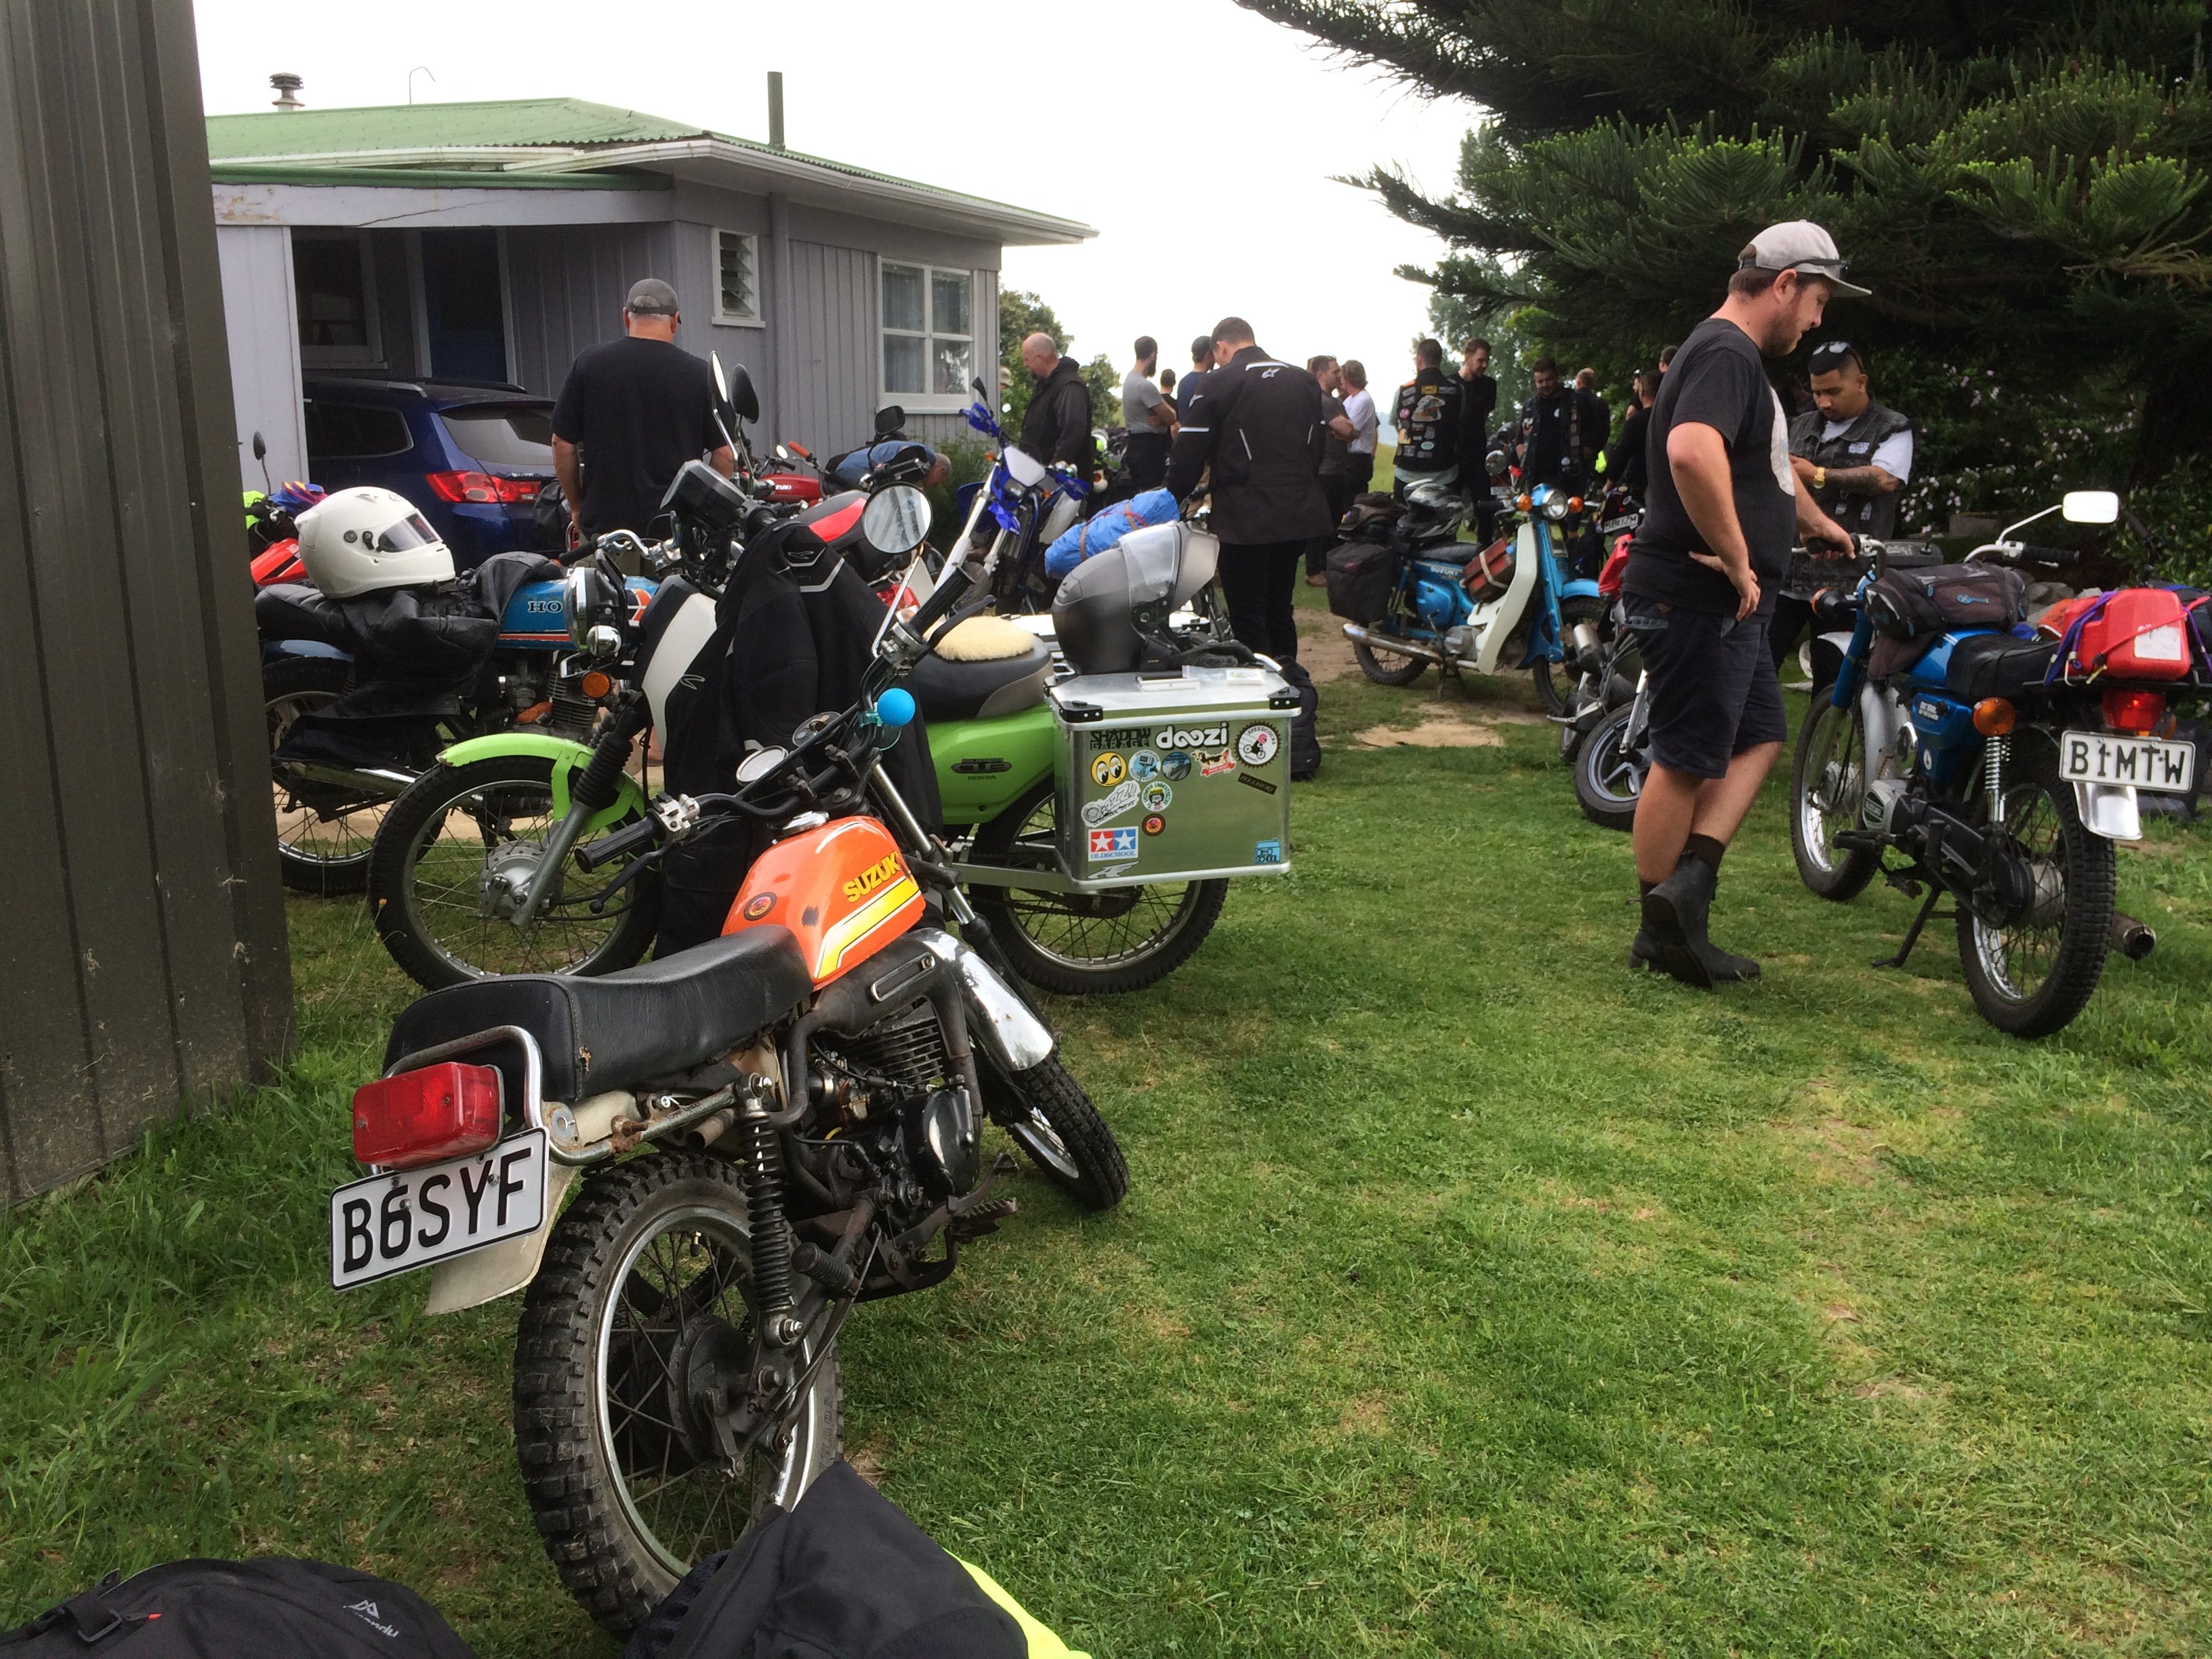
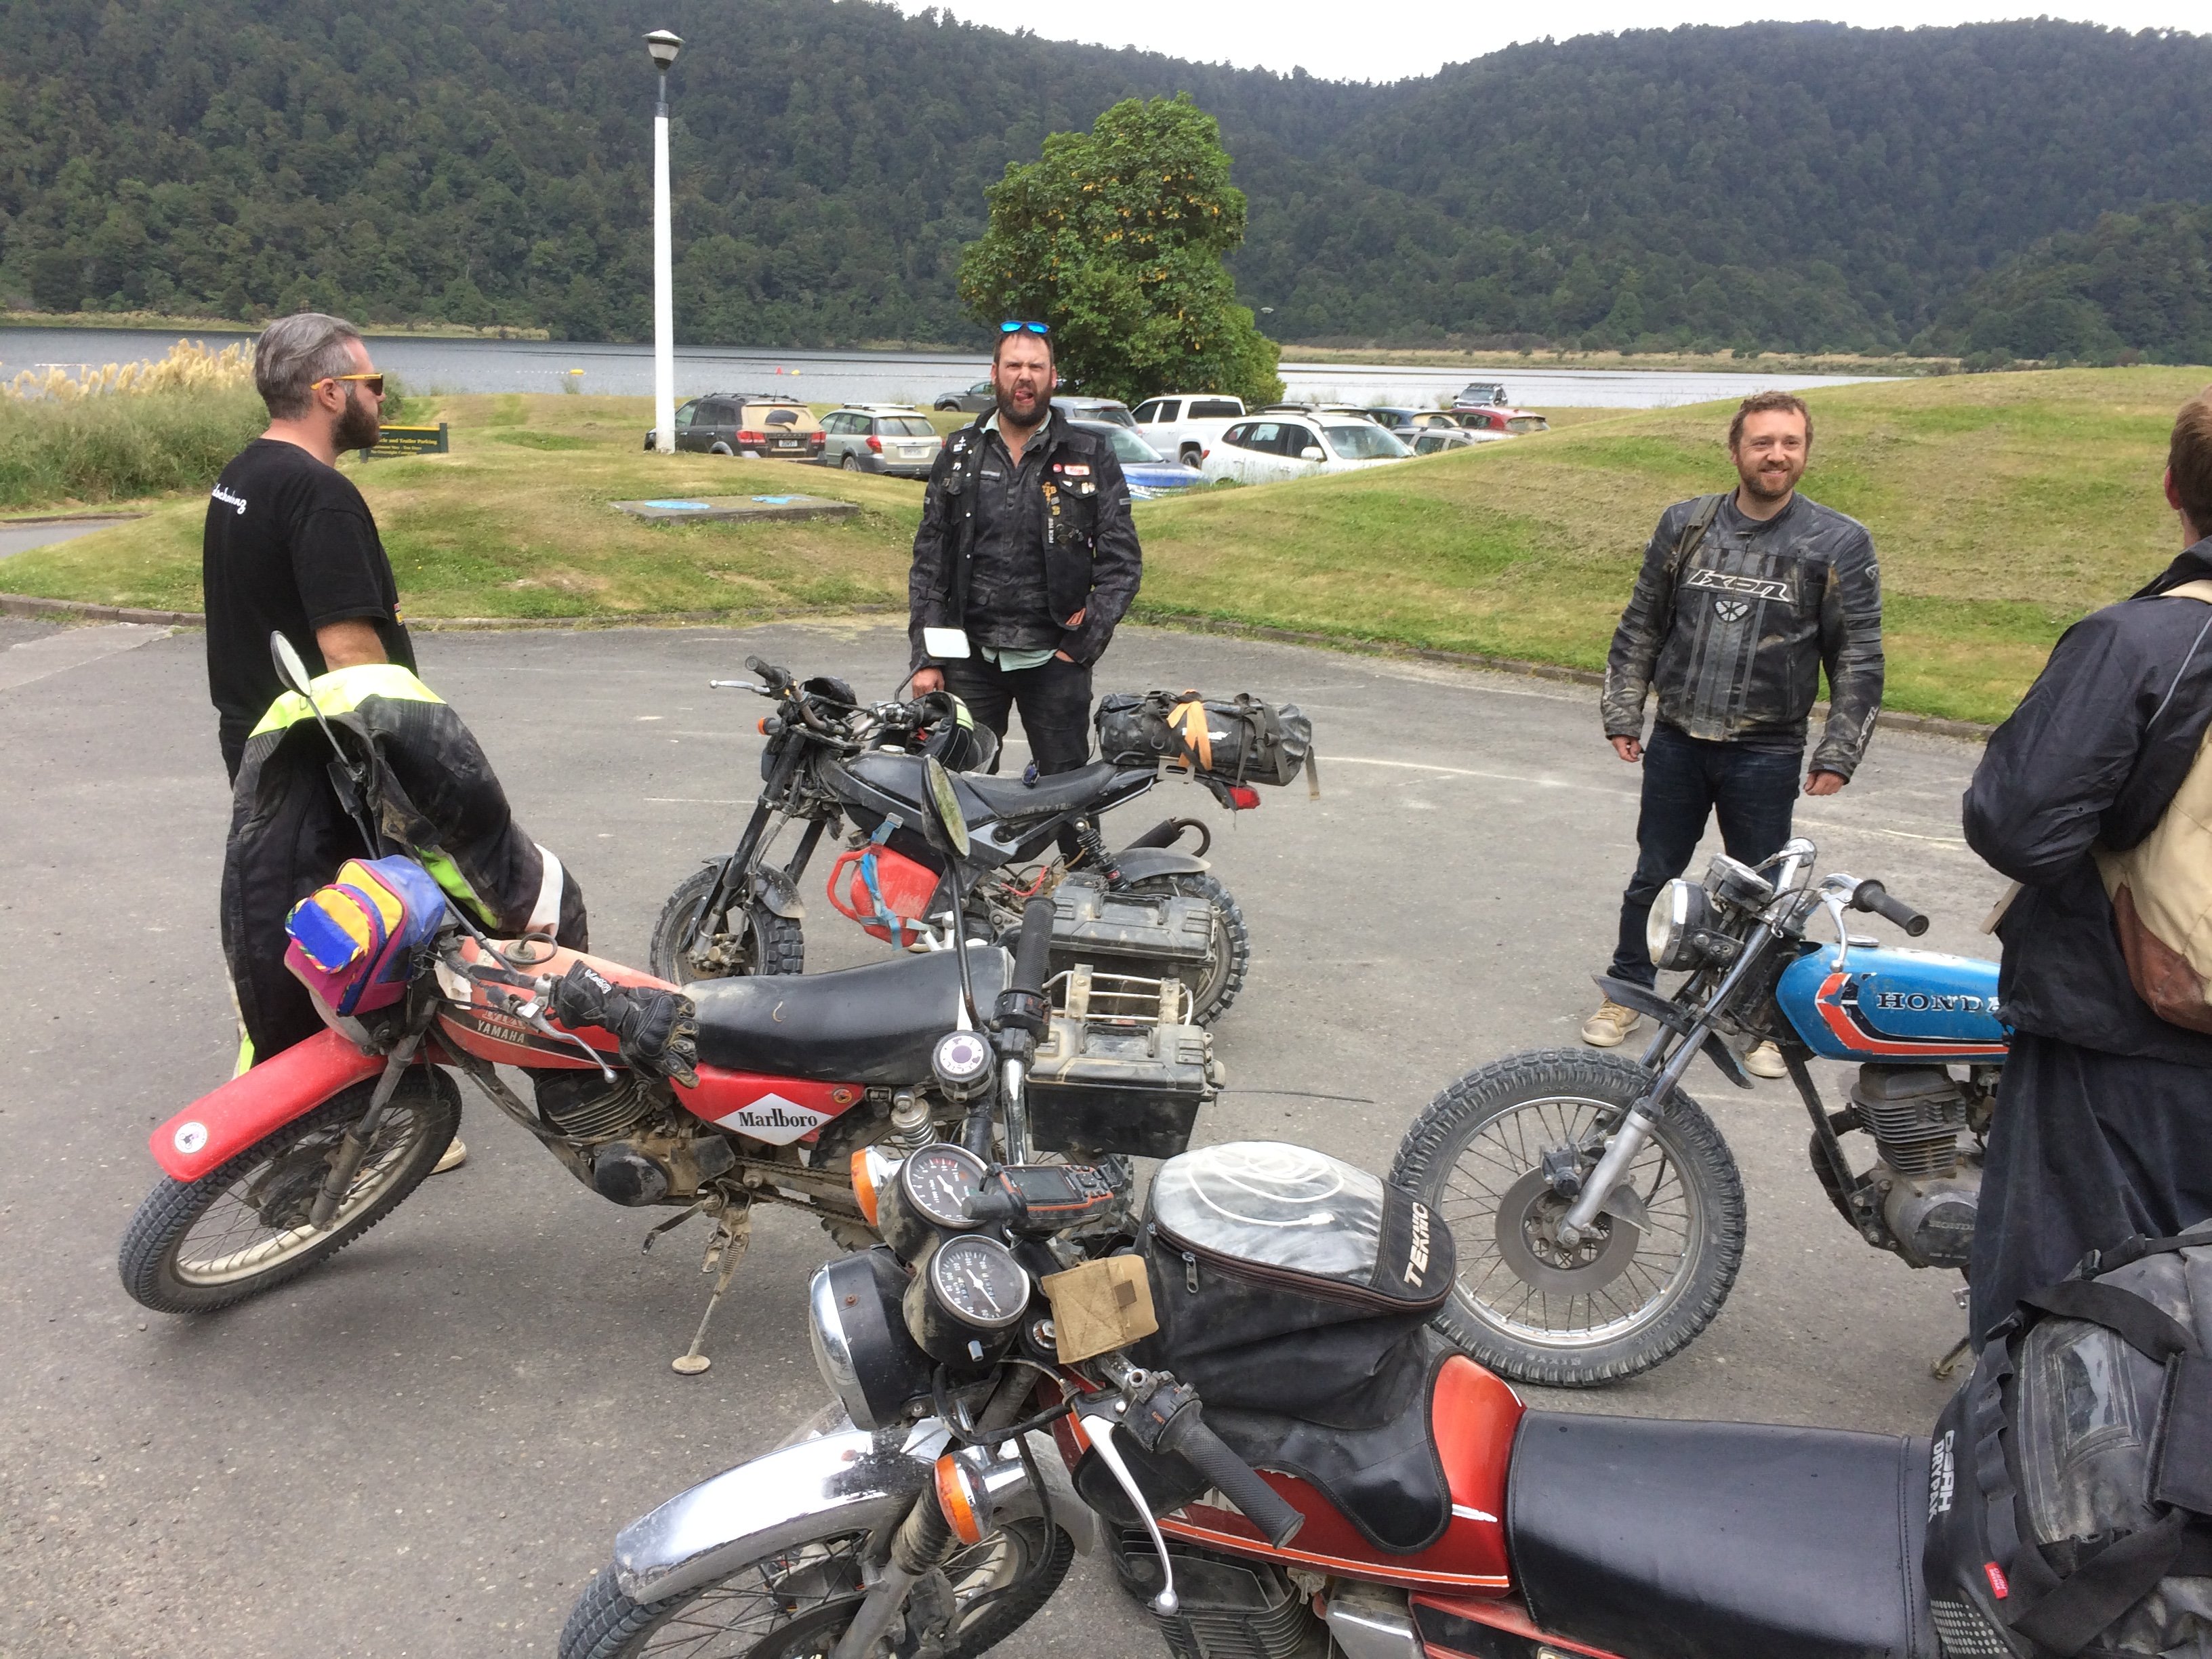
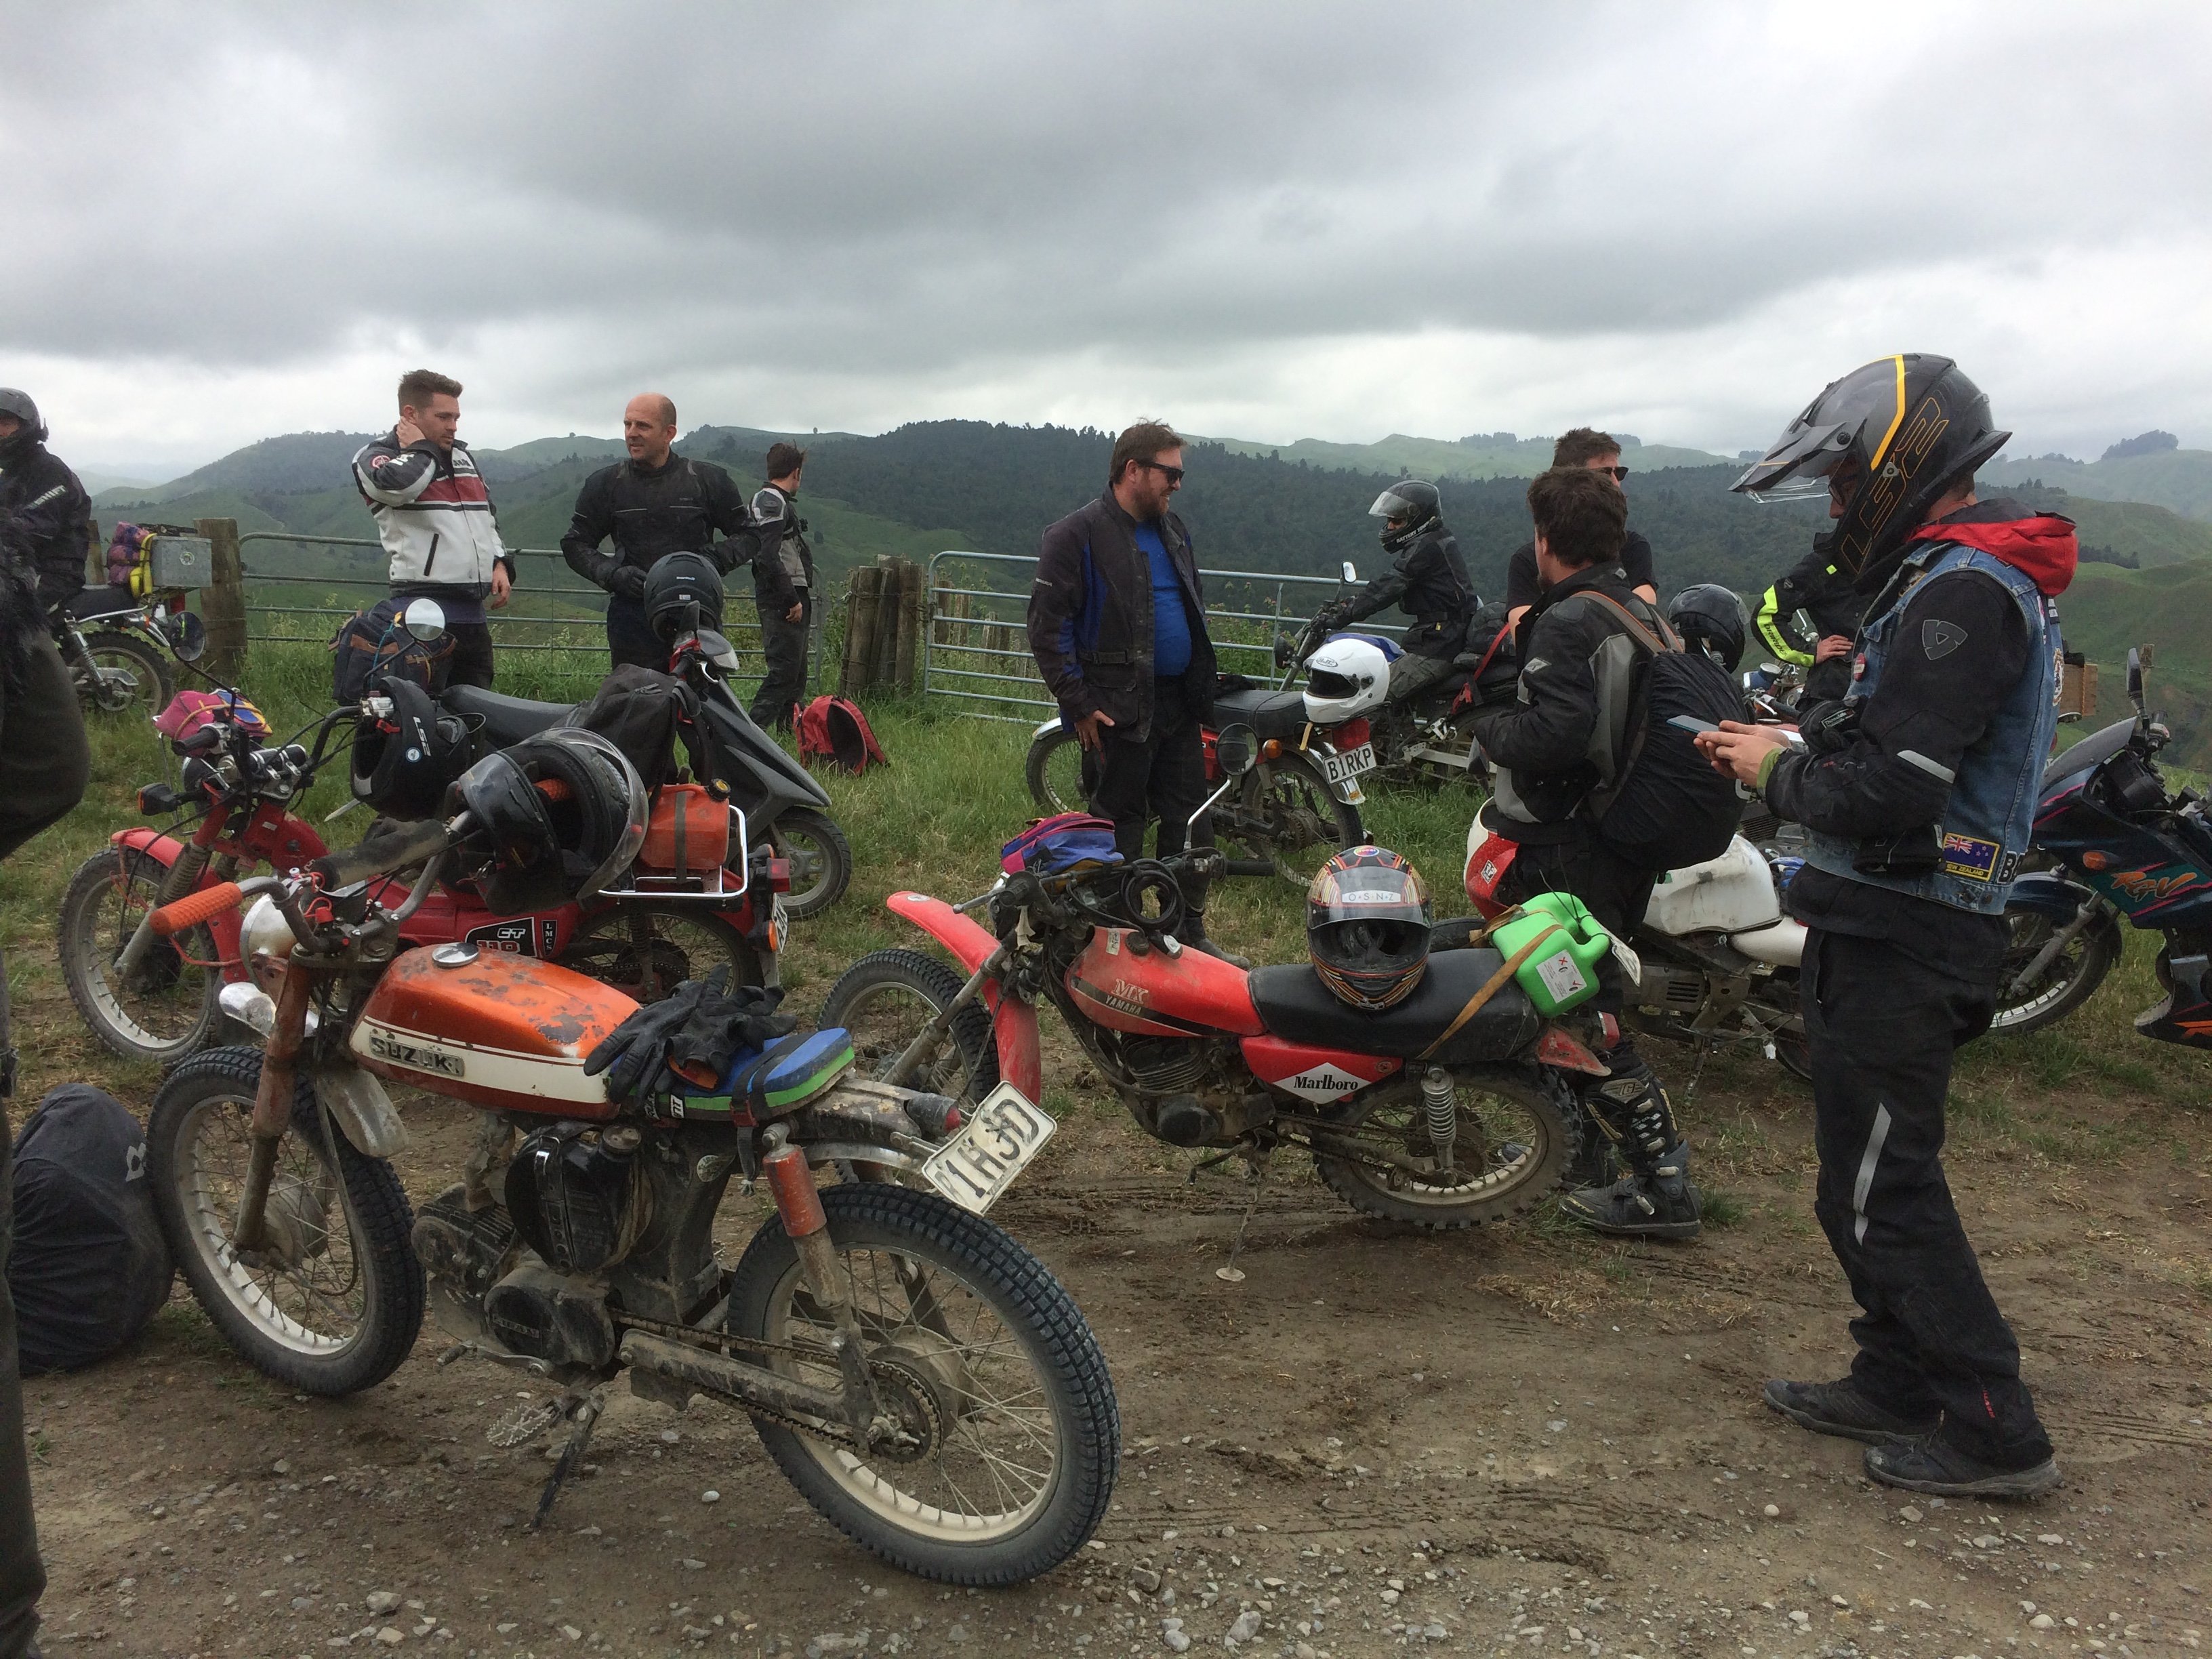
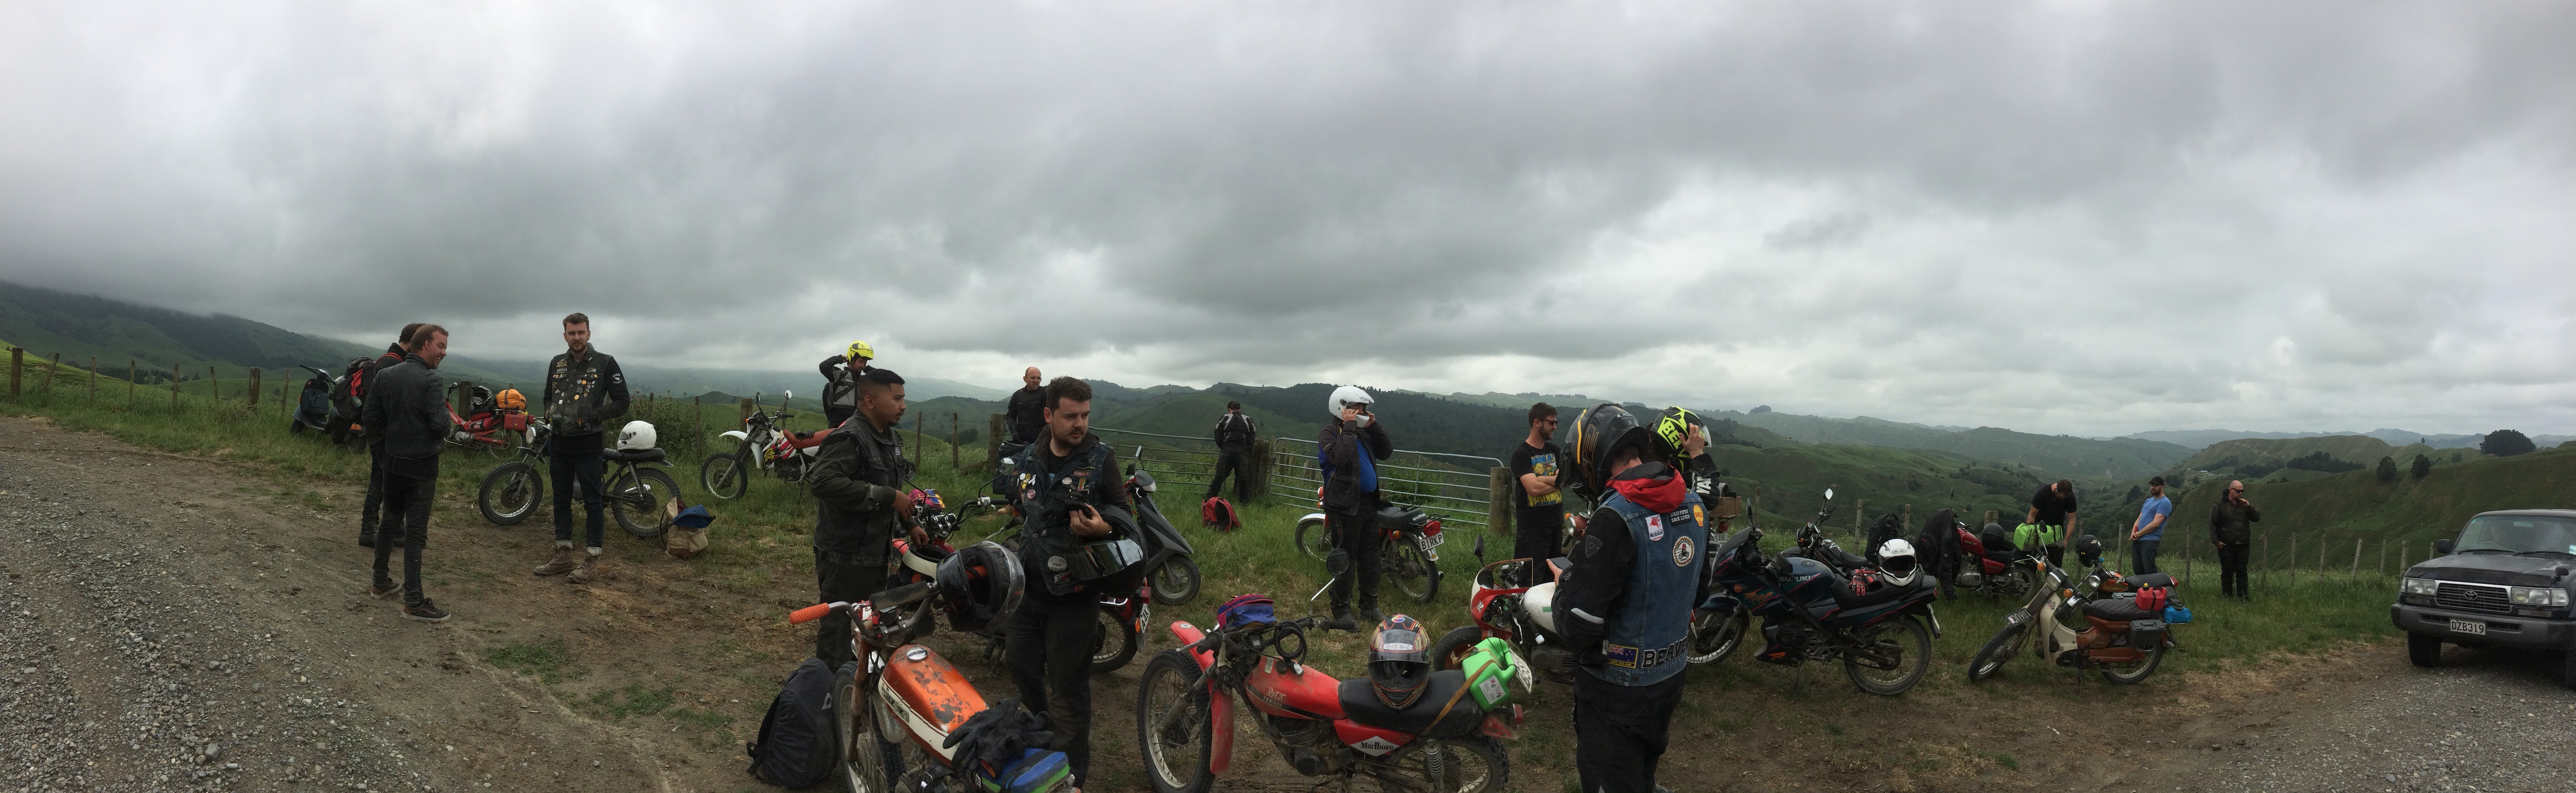
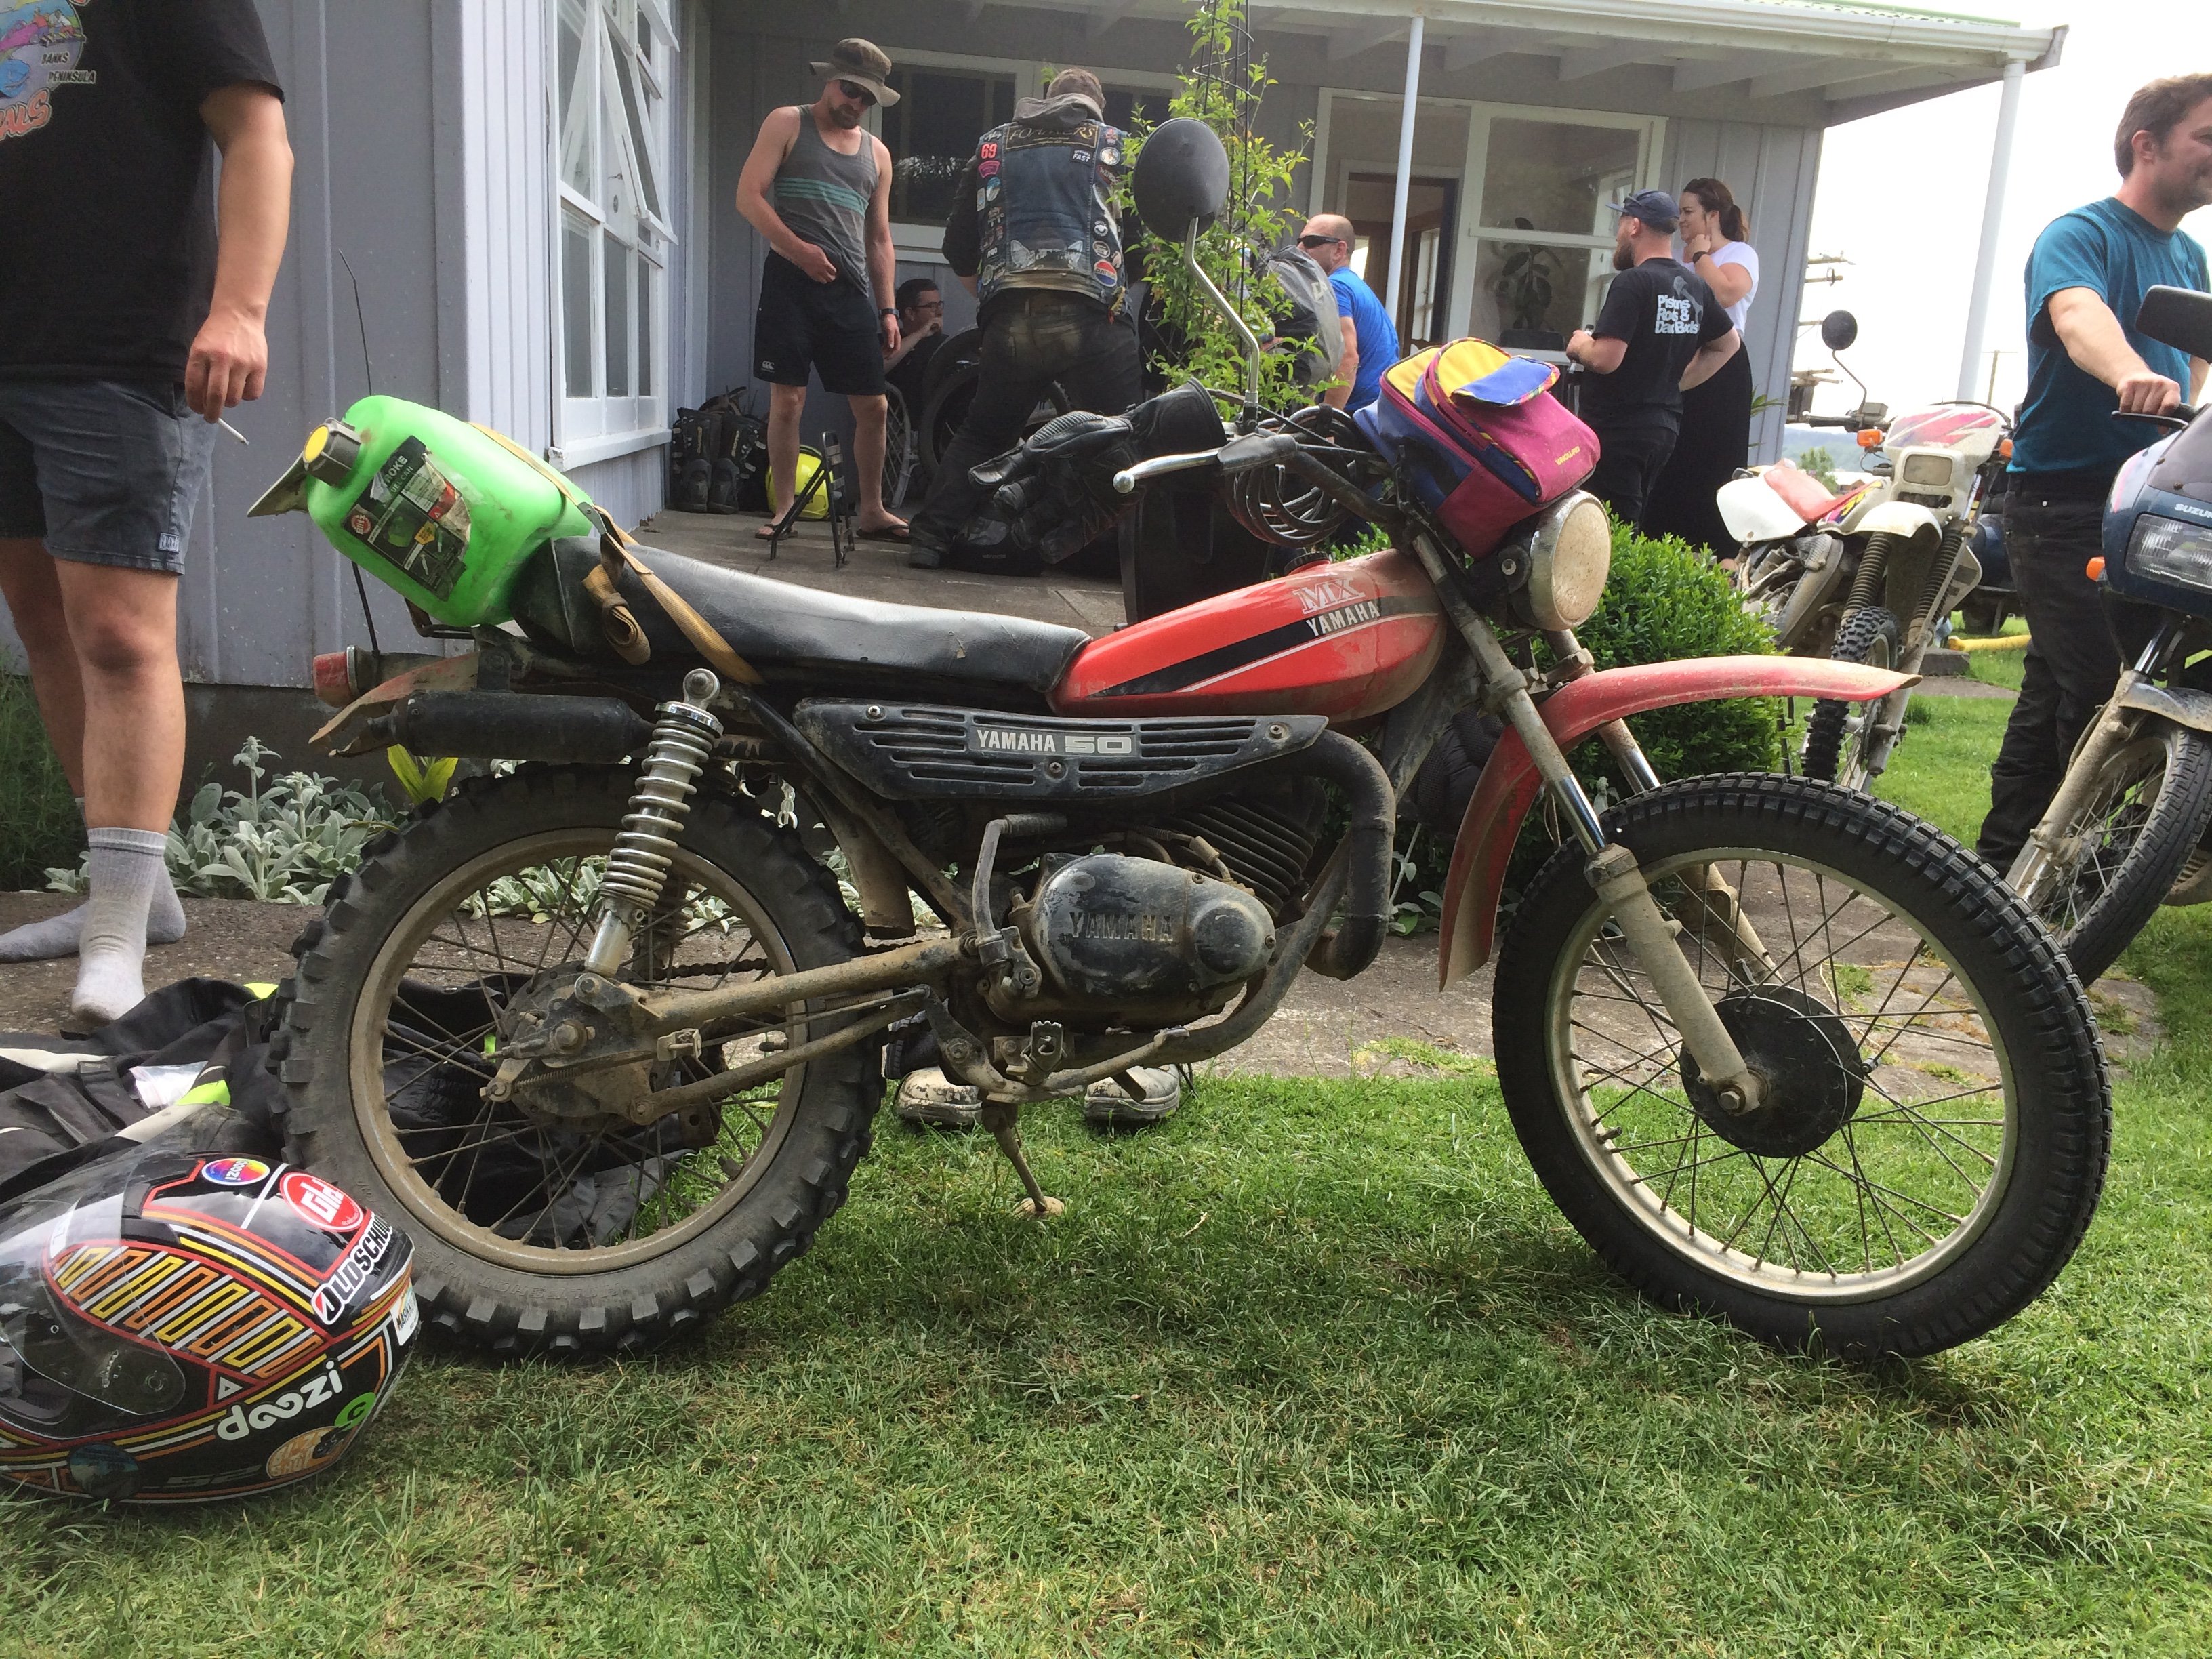
Holy moly what a huge weekend that was! Thanks to J5 for the hospitality and putting it all together. Can we do it again now?! Surprisingly, my wee MX survived really well!
- 895 replies
-
- 17
-

-
Te Urewera Undertaking, 2019 Nov 29th, 30th, Dec 1st.
Truenotch replied to johnnyfive's topic in Upper North Island Region
- 895 replies
-
- 26
-

-
-

-
Te Urewera Undertaking, 2019 Nov 29th, 30th, Dec 1st.
Truenotch replied to johnnyfive's topic in Upper North Island Region
If you point at Wainui Rd it'll be really close. Maybe PM @johnnyfive for the actual address incase he doesn't want to publish it here. -
Te Urewera Undertaking, 2019 Nov 29th, 30th, Dec 1st.
Truenotch replied to johnnyfive's topic in Upper North Island Region
I also have a couple of spares. Size L I think. -
Te Urewera Undertaking, 2019 Nov 29th, 30th, Dec 1st.
Truenotch replied to johnnyfive's topic in Upper North Island Region
That was a good hoon! I drained my tank when I got home and there was 200ml left. Including the drive home from @Geophy's place would have been about 90km all up from the 4.5L tank. Whaka yeah, plenty of range with my extra 5L on the back . -
Te Urewera Undertaking, 2019 Nov 29th, 30th, Dec 1st.
Truenotch replied to johnnyfive's topic in Upper North Island Region
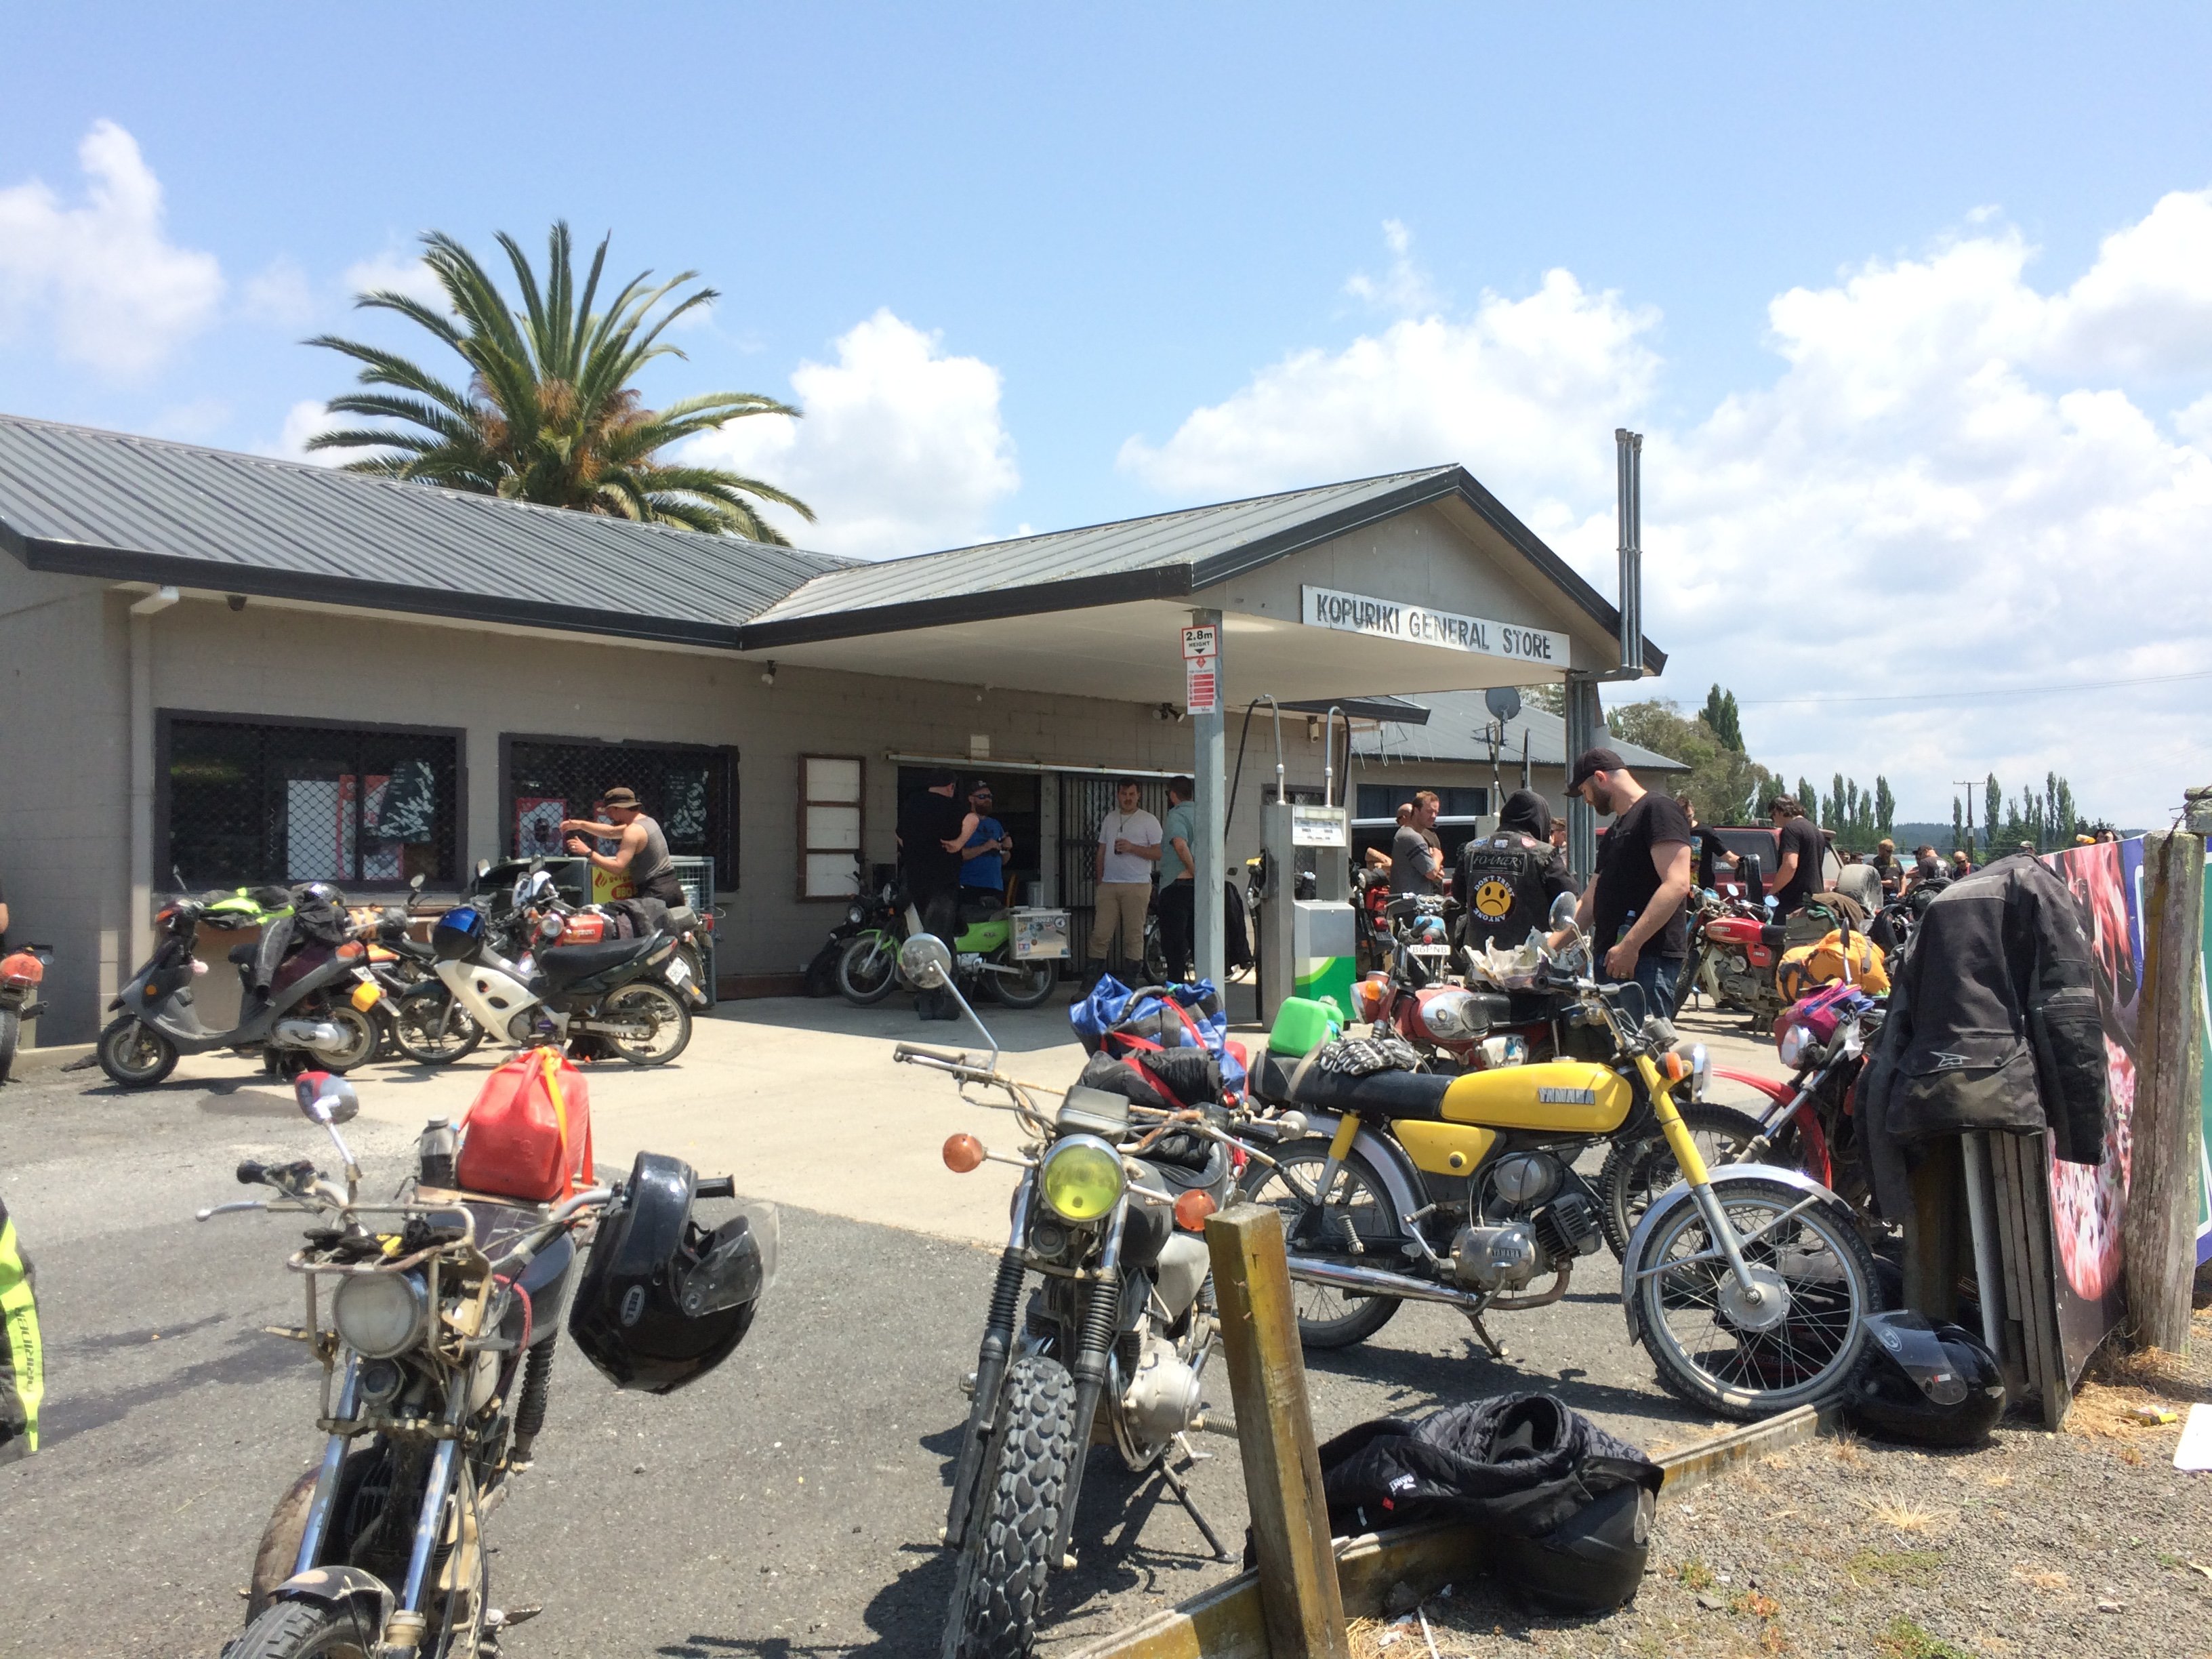
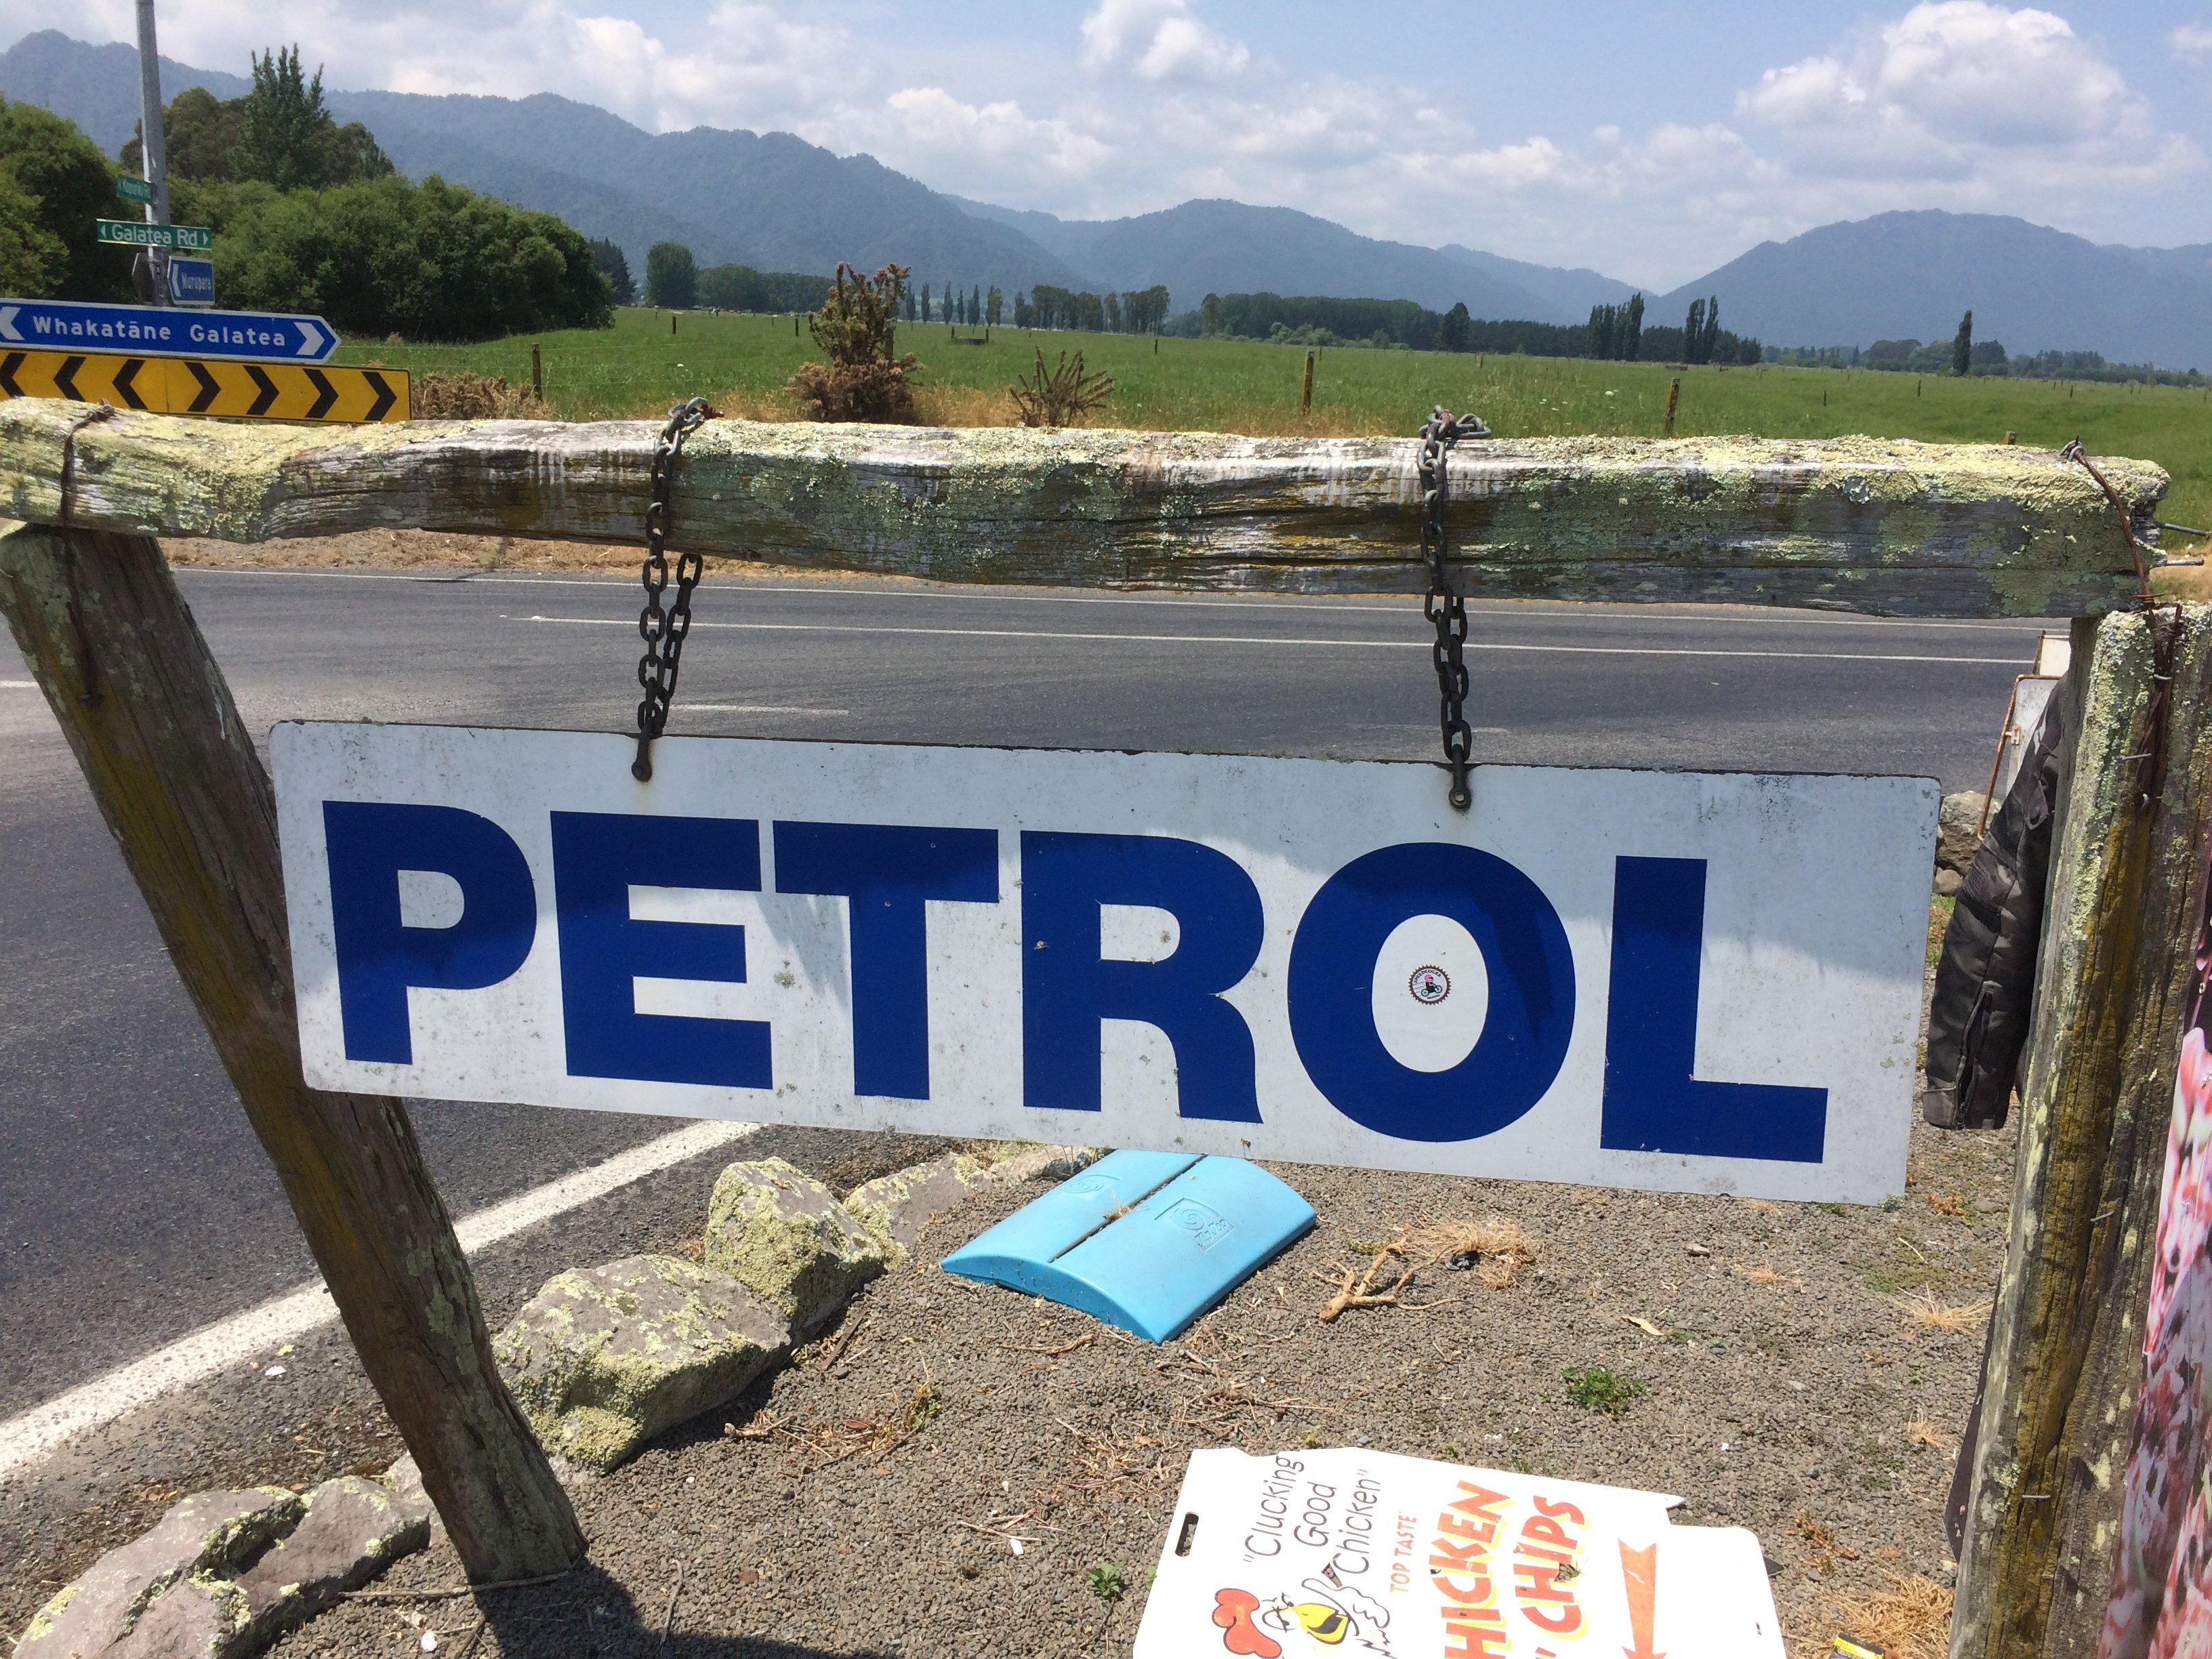
Updated. Day 1 is looking super safe for fuel stops . Day 1: 22km - Taneatua 14km - Z Awakeri 49km Kopuriki 17km - Murupara (slight detour) 66km from Kopuriki OR 49km from Murupara - Ruatahuna 48km - Waikaremoana Holiday Park (their website says they have fuel, google doesn't list it. Can this be confirmed? Day 2: 155km - Gisborne (I can't find anything along the route) Day 3: 38km - Te Karaka 40km - Matawai (detour) 119km from Te Karaka OR 70km from Matawai - Tirohanga 7km - Opotiki 36km - Finish -
Te Urewera Undertaking, 2019 Nov 29th, 30th, Dec 1st.
Truenotch replied to johnnyfive's topic in Upper North Island Region
I've also got one extra bed booked at Waikaremoana ($35) and another space available in the cabin (not booked yet). If anyone needs a bed, let me know. -
Te Urewera Undertaking, 2019 Nov 29th, 30th, Dec 1st.
Truenotch replied to johnnyfive's topic in Upper North Island Region
I've just mapped out all the fuel stations along the route. I've bolded and underlined the big stretches. I'd say 2 will be a problem for many of us - 155km is a big stretch! Also @johnnyfive - can you confirm that there's fuel at Waikaremoana holiday park? Their website says yes, but google doesn't list any fuel stations around there. Day 1: 22km - Taneatua 14km - Z Awakeri 49km Kopuriki 17km - Murupara (slight detour) 66km from Kopuriki OR 49km from Murupara - Ruatahuna 48km - Waikaremoana Holiday Park (their website says they have fuel, google doesn't list it. Can this be confirmed? Day 2: 155km - Gisborne (I can't find anything along the route) Alternative: 55km - Frasertown - 55km detour (about the same length as the current route) rejoin with main route at Te Reinga Falls. 95km - Gisborne Day 3: 38km - Te Karaka 40km - Matawai (detour) 119km from Te Karaka OR 70km from Matawai - Tirohanga 7km - Opotiki 36km - Finish -
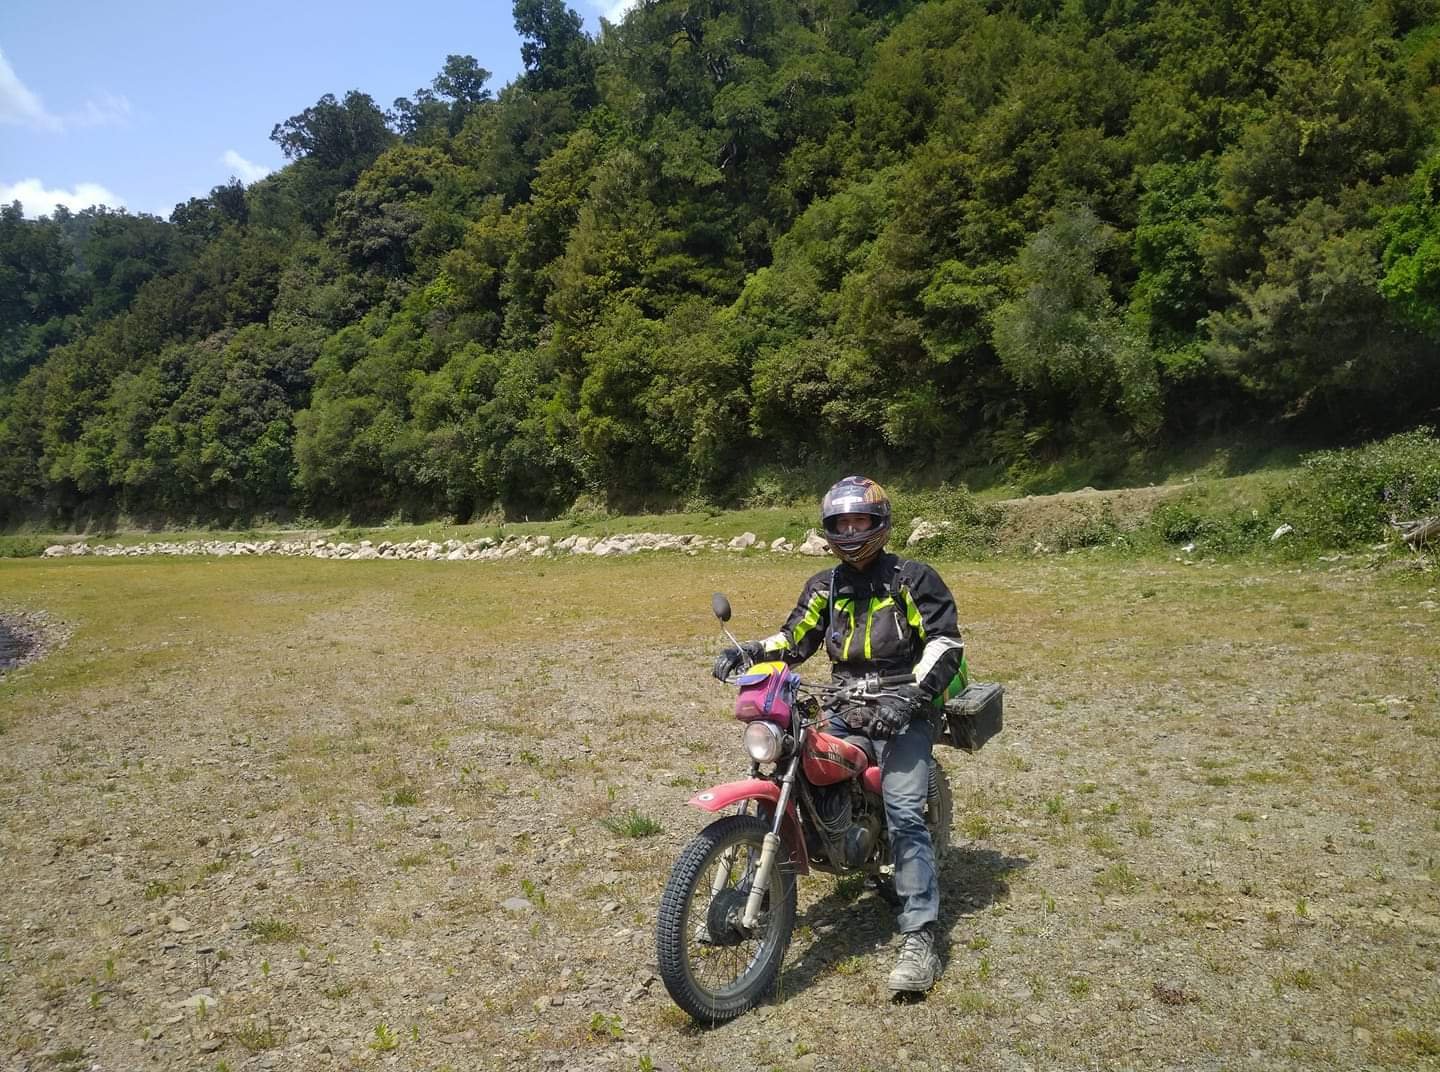
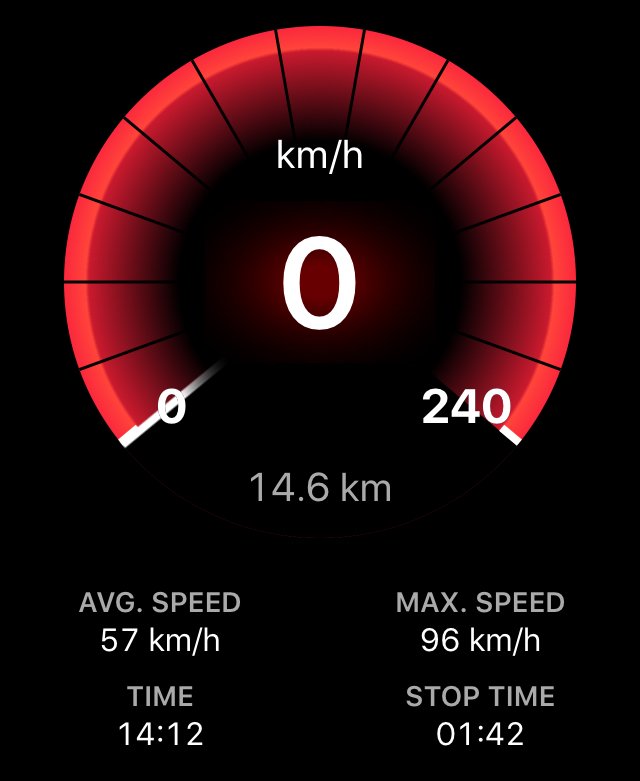
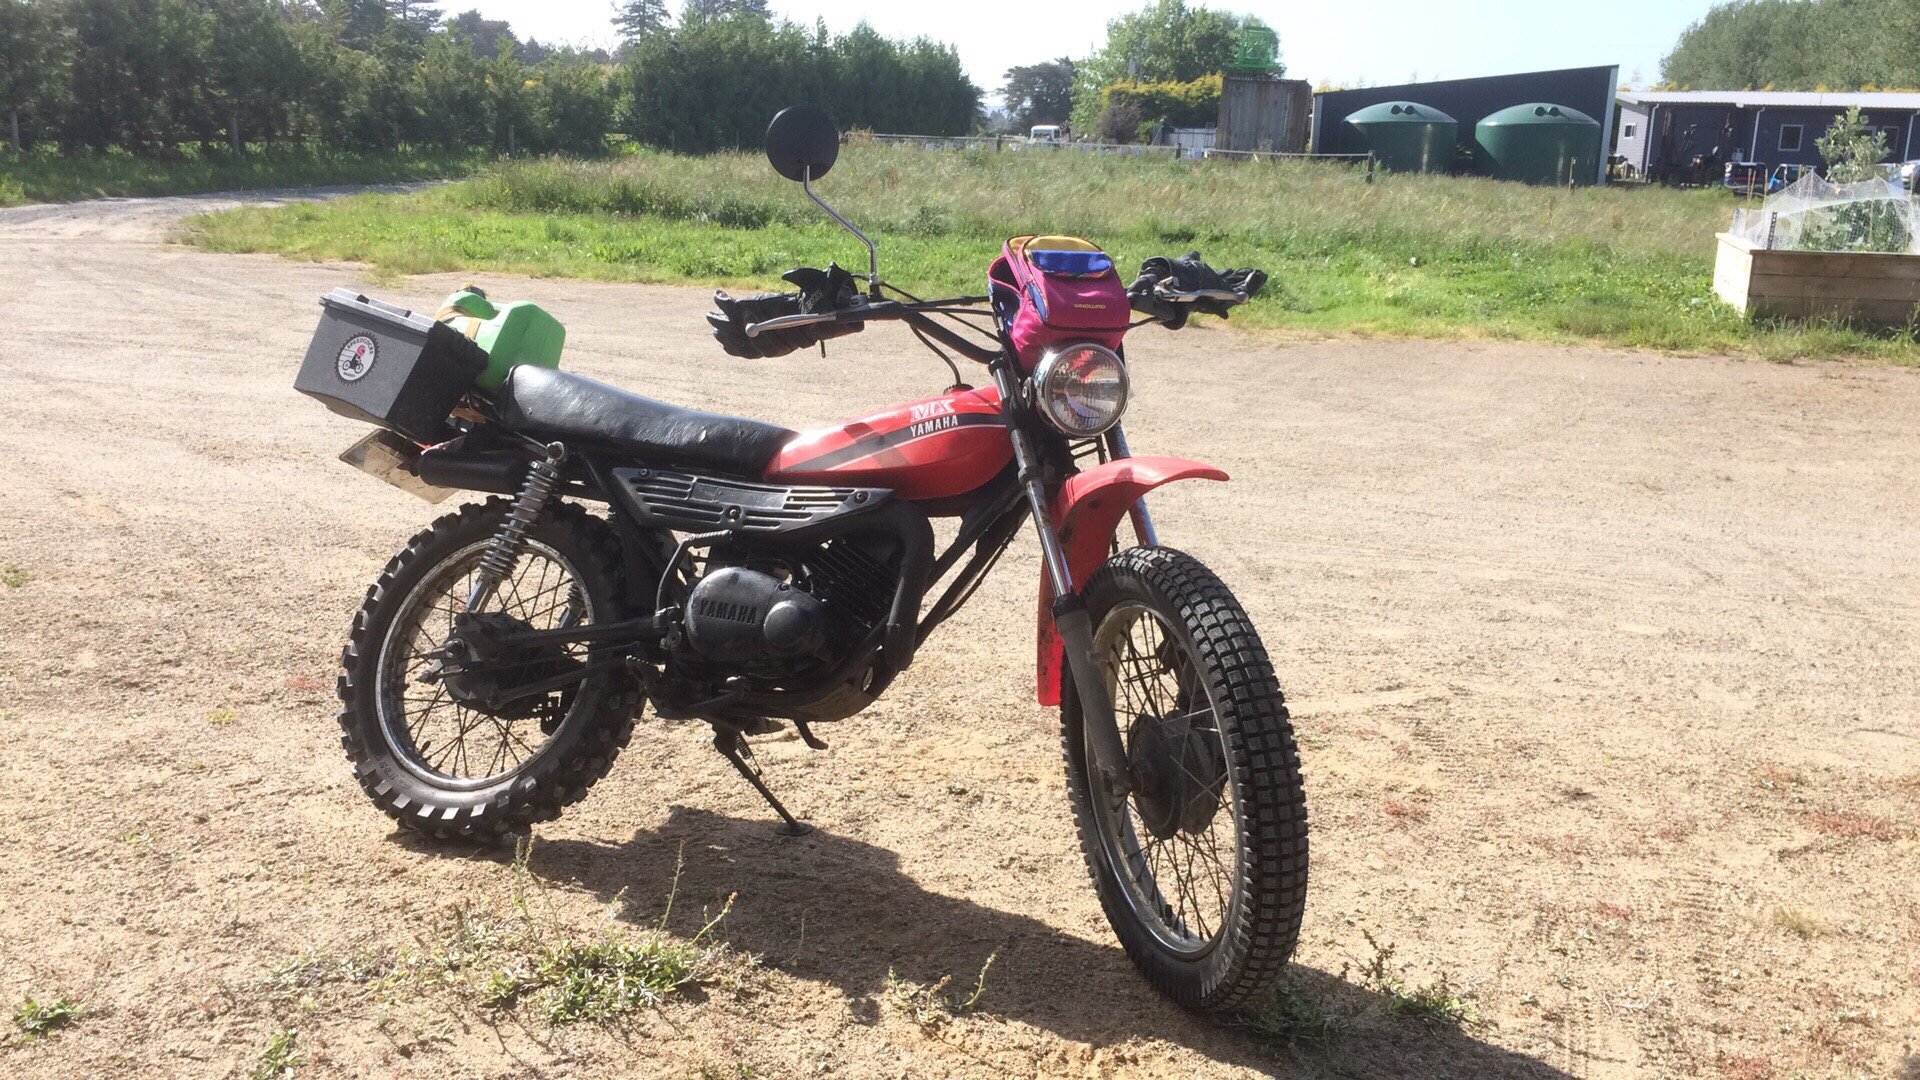
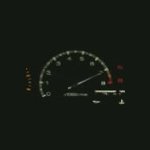
New sprockets are fitted and I’ve had some successful testing . Glad I didn’t gear it up any further because it’s only just able to pull 5th gear at the moment. You’ve got to hang on to 4th for quite a while and then bang into 5th at 80k or so. It’ll cruise on the flat at 85-90 and I’ve seen 96kph on the gps with a bit of a downhill run. Popped the “good” cylinder back on and took it for a hoon out to @Archetype‘s place for a few laps of his paddock. It’s fun on the gravel and grass! It died on the way home and I was shitting myself thinking it had seized. Turns out it had run out of fuel, so I flicked to reserve and powered on. Unfortunately I didn’t reset my odo after fueling up, but I think I got around 60km from the 4.5l tank. Hopefully a spare 5L will give me enough range for Te Urewera.
-
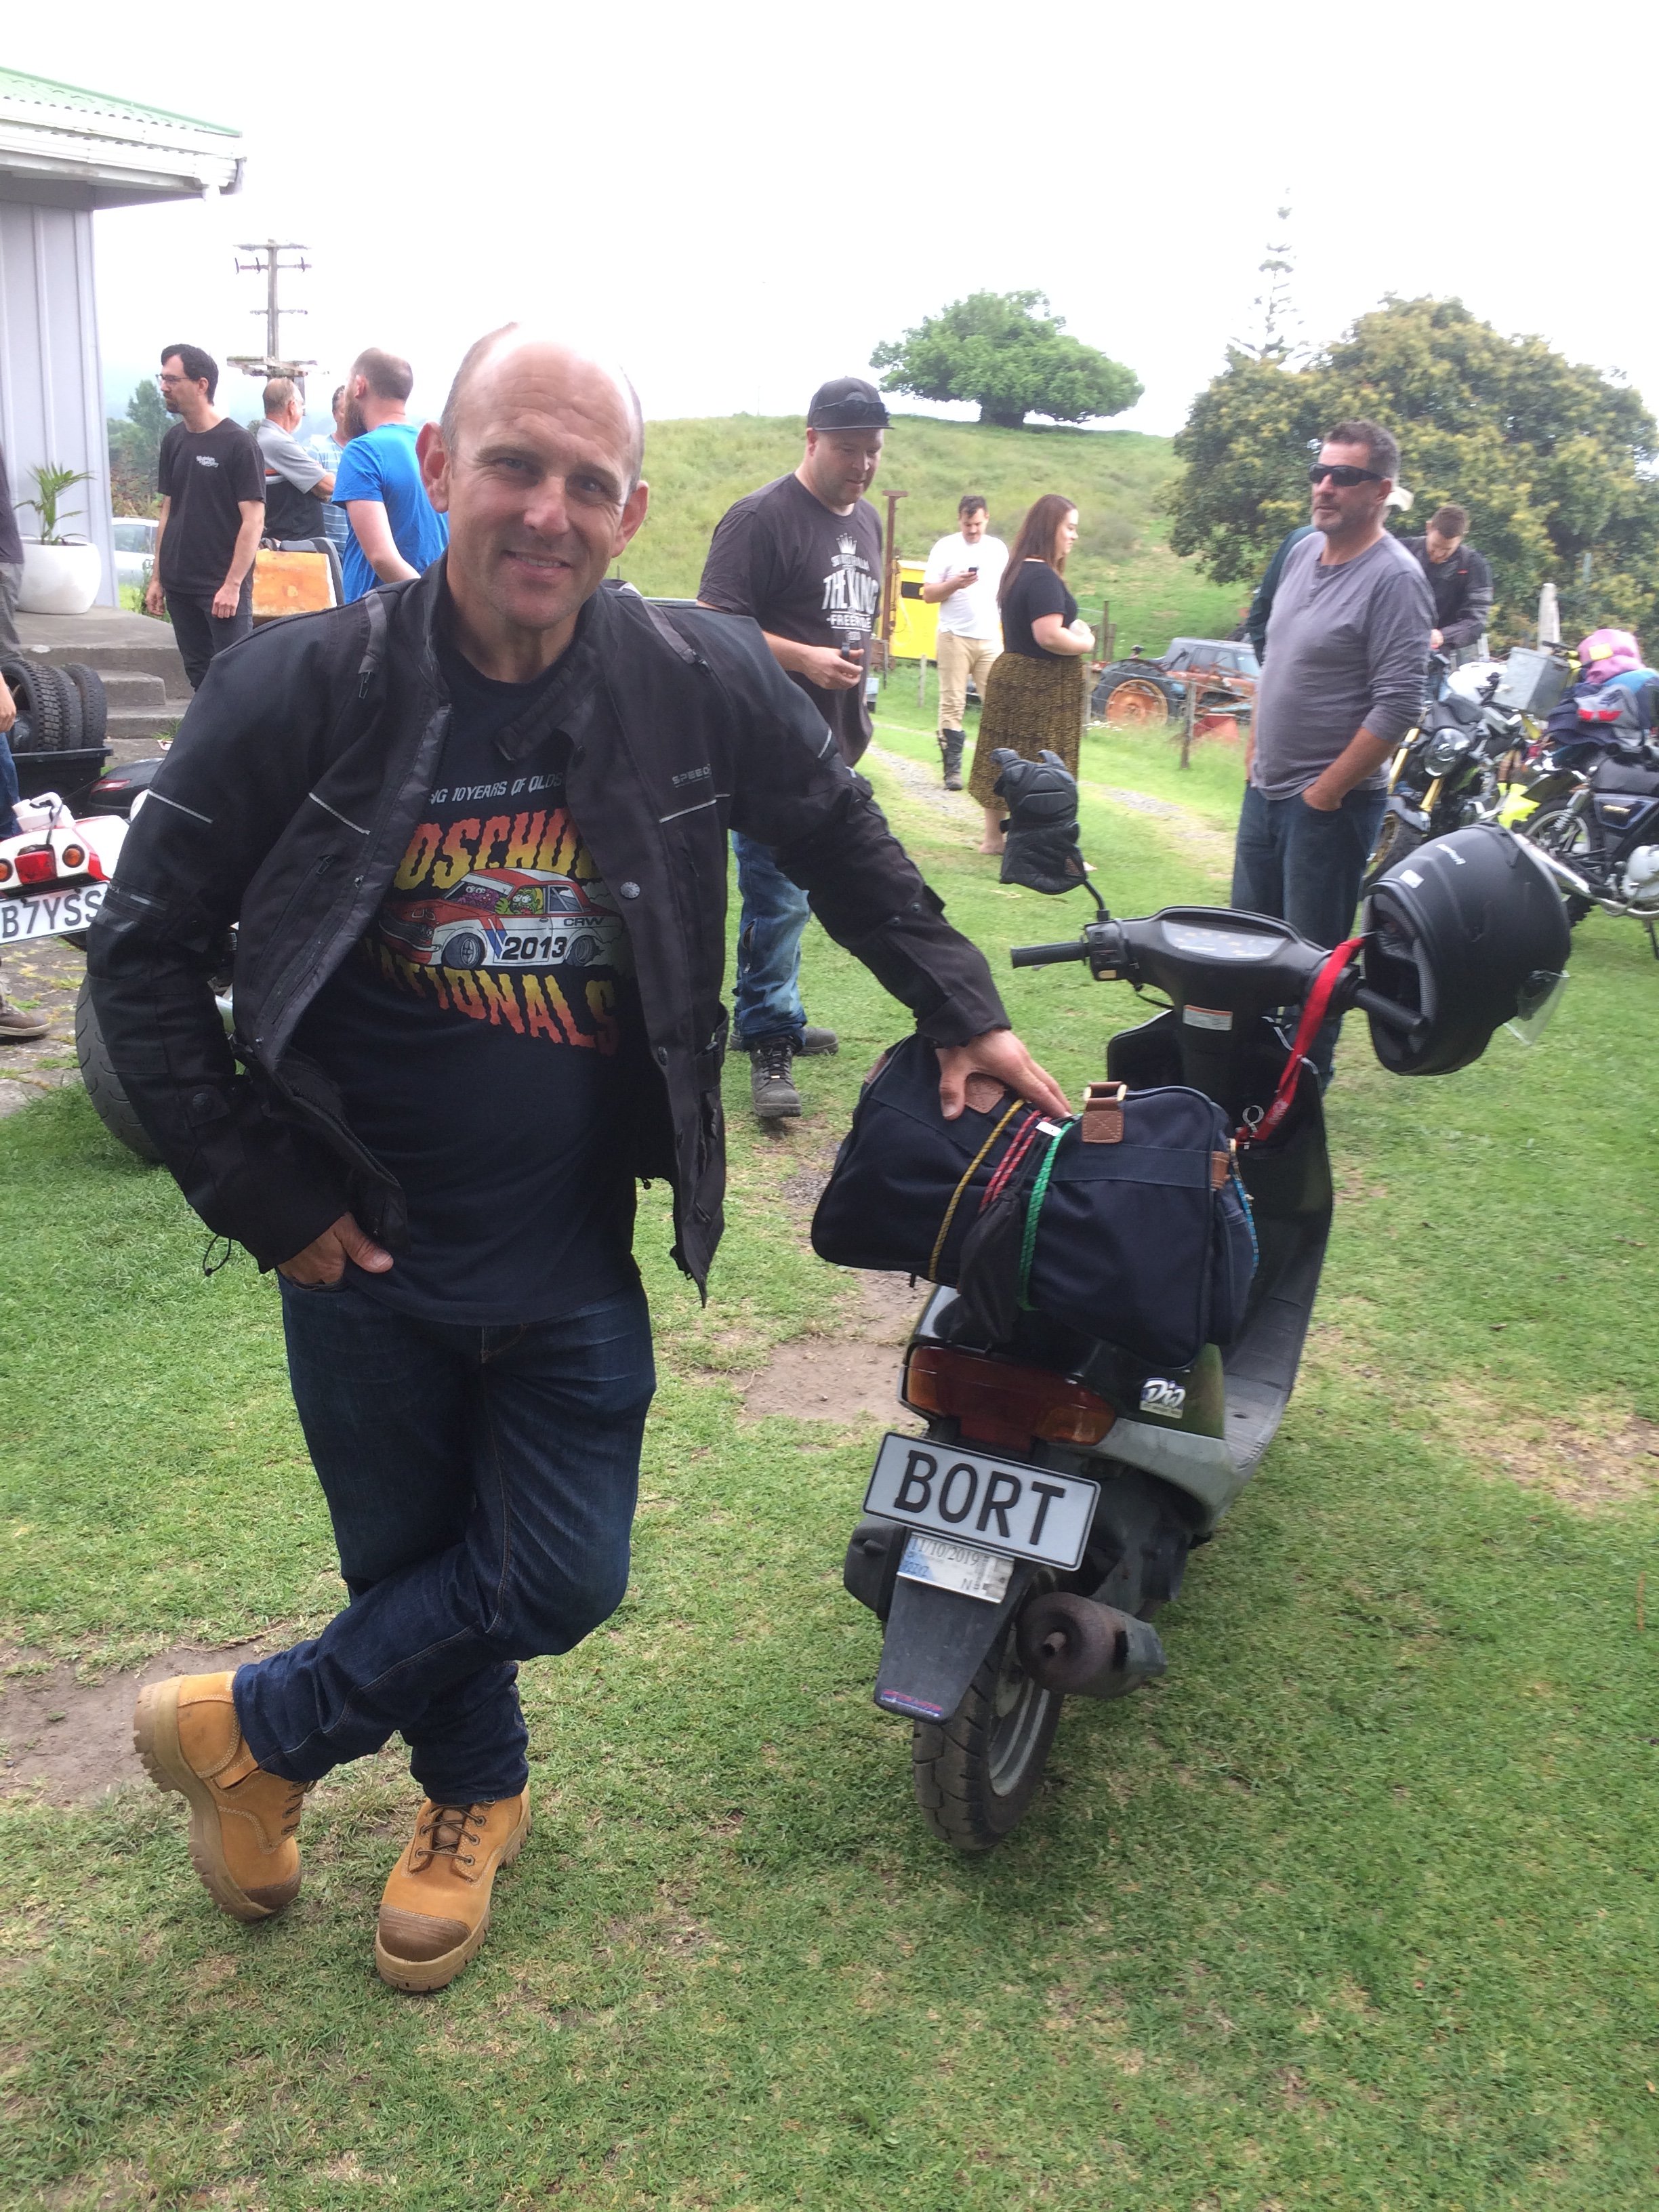
B7 Yuss! But damn, it could have been a YSR plate . Sounds like a perilous machine. Can’t wait to see it in action.
-
So... did you get a sweet plate number?
-
Hamilton Monthly Meet - 29th July 7pm Cock and Bull
Truenotch replied to Truenotch's topic in Upper North Island Region
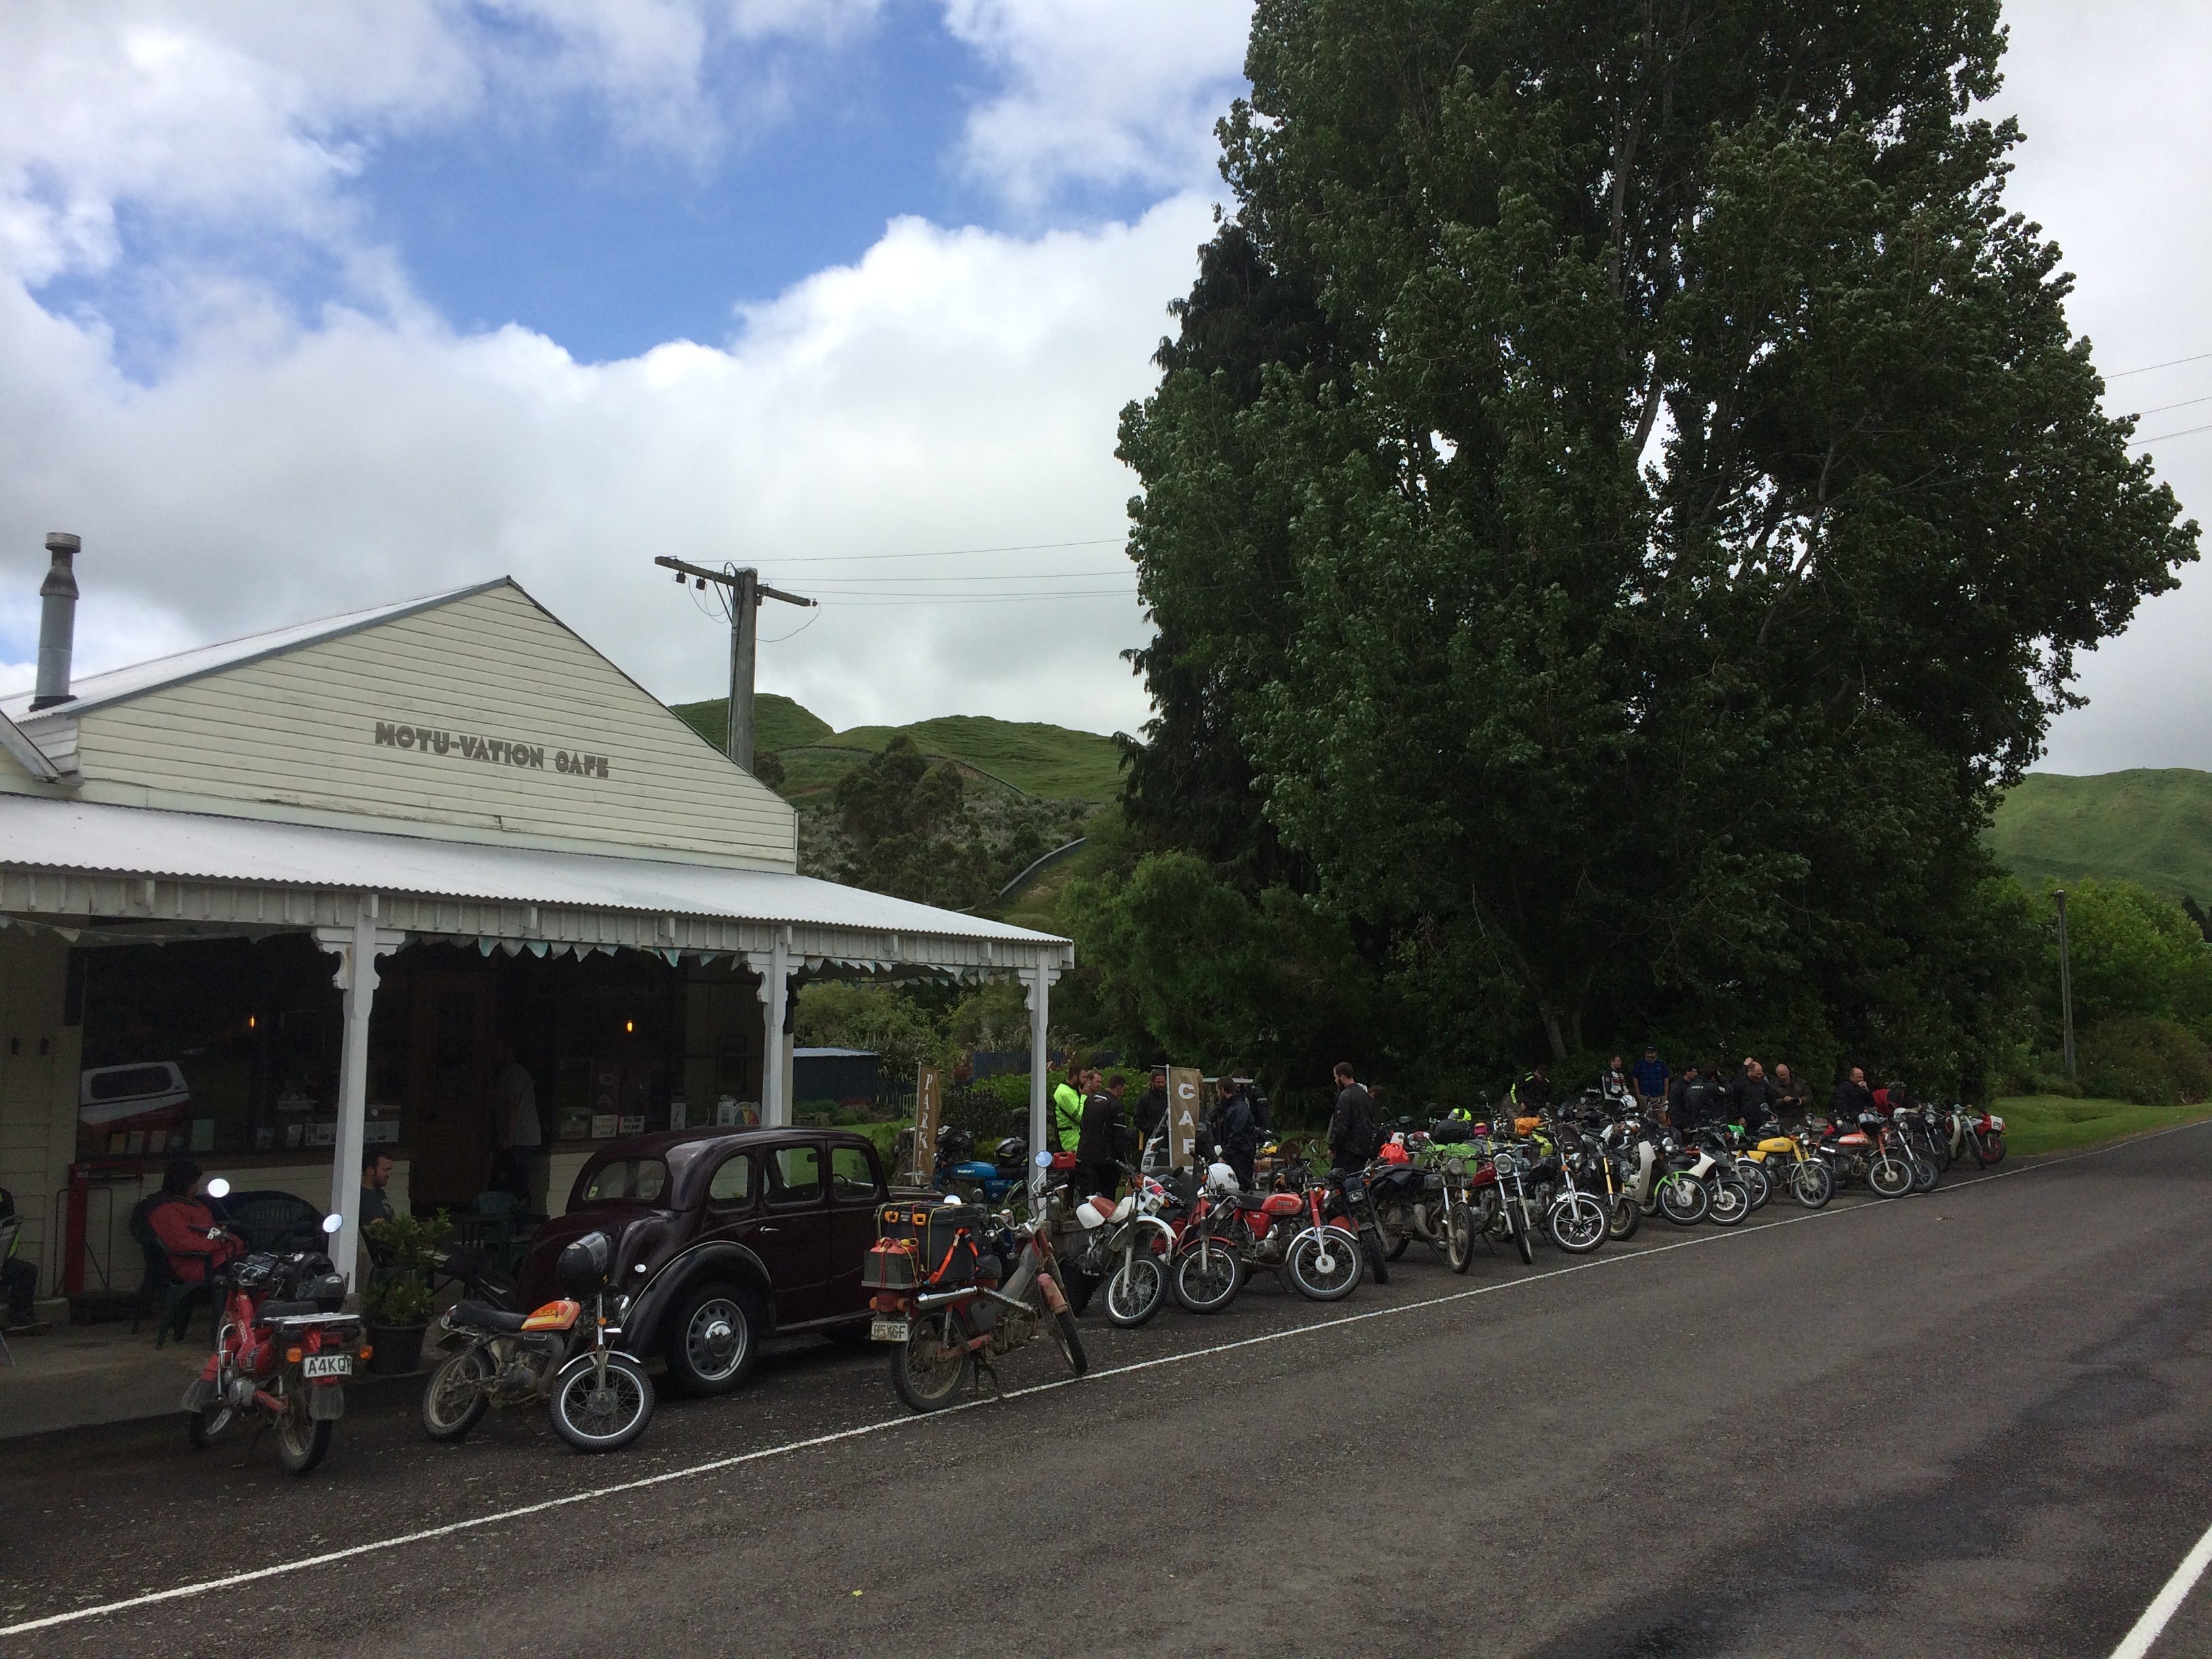
Thread updated. THIS MONTH WE'RE CRUISING TO RAGLAN This month we're cuising TO RAGLAN for fish and chips on the wharf. Get your old cars, utes, bikes etc out of the shed! December 12, 2109 - Meet at 6PM and be ready to roll out by 6:30pmNEW MEETING SPOT - meet at Westside Classics Waikato clubrooms located behind the Backyard Bar and Eatery 1333 Horotiu Road, Whatawhata. Park in the big gravel carpark behind the cafe. NEW RAGLAN LOCATION - This year we will be cruising to the Papahua / Kopua Domain in Raglan. Search the location of Jo's Takeaways on google if you get lost . -
Hamilton Monthly Meet - 29th July 7pm Cock and Bull
Truenotch replied to Truenotch's topic in Upper North Island Region
@Beaver @mark105 @Geophy @Archetype @Yowzer @Zeubin @macabre @bobby1930 @vk327 We're pushing this back a couple of weeks. We'll do a Raglan run on December 12th. -
Te Urewera Undertaking, 2019 Nov 29th, 30th, Dec 1st.
Truenotch replied to johnnyfive's topic in Upper North Island Region
- 895 replies
-
- 14
-
-

-
-
Woohoo! Welcome to the cave of small bikes. You might never escape.
-
Te Urewera Undertaking, 2019 Nov 29th, 30th, Dec 1st.
Truenotch replied to johnnyfive's topic in Upper North Island Region
I reckon 3 support vehicles will be good. F150 sounds like it would make a sweet ambulance too. -
Gave the carb a good clean with @Geophy's ultrasonic cleaner today. Blew out all the jets and passages and re-assembled it with the standard 17.5 pilot jet. Whacked it all back together and the hang + pipe bangs were exactly the same. Then I wound the idle screw out as far as I could so it wouldn't idle and it sounds good: Maybe the pipe bangs are a normal characteristic for these motors when the idle is cranked up a bit? Took it for a hoon and adjusted the mixture screw a bit. It goes really well! I might have been chasing a red herring by looking for a lean issue with the carb, but at least now I know it has a very clean carb, new crank seals, correct oiling (premix). Next job is to gear it up .
-
Hamilton Monthly Meet - 29th July 7pm Cock and Bull
Truenotch replied to Truenotch's topic in Upper North Island Region
@Beaver @mark105 @Geophy @Archetype @Yowzer @Zeubin @macabre @bobby1930 @vk327 You guys keen for caffeine and gasoline, or shall we do the Raglan run again? -
@peteretep - it’s a little pump that runs off the primary reduction gear / main clutch gear and it’s operated by the throttle via a split cable. As you wind the throttle on it opens the pump more and you can set the min/max position of the pump. The pumps can wear our and get weak, which I suspect has happened here. I’ll probably rebuild it later on for ease of use. I tested mine by pulling the hose off and idling the bike with the pump turned to max and it gave a dribble so I figured it was good. The proper way is to set the RPM and measure how much comes out (which I didn’t do because no tacho).
-
I’ve got a 17.5 from my spare carb if you want to have a play?
-
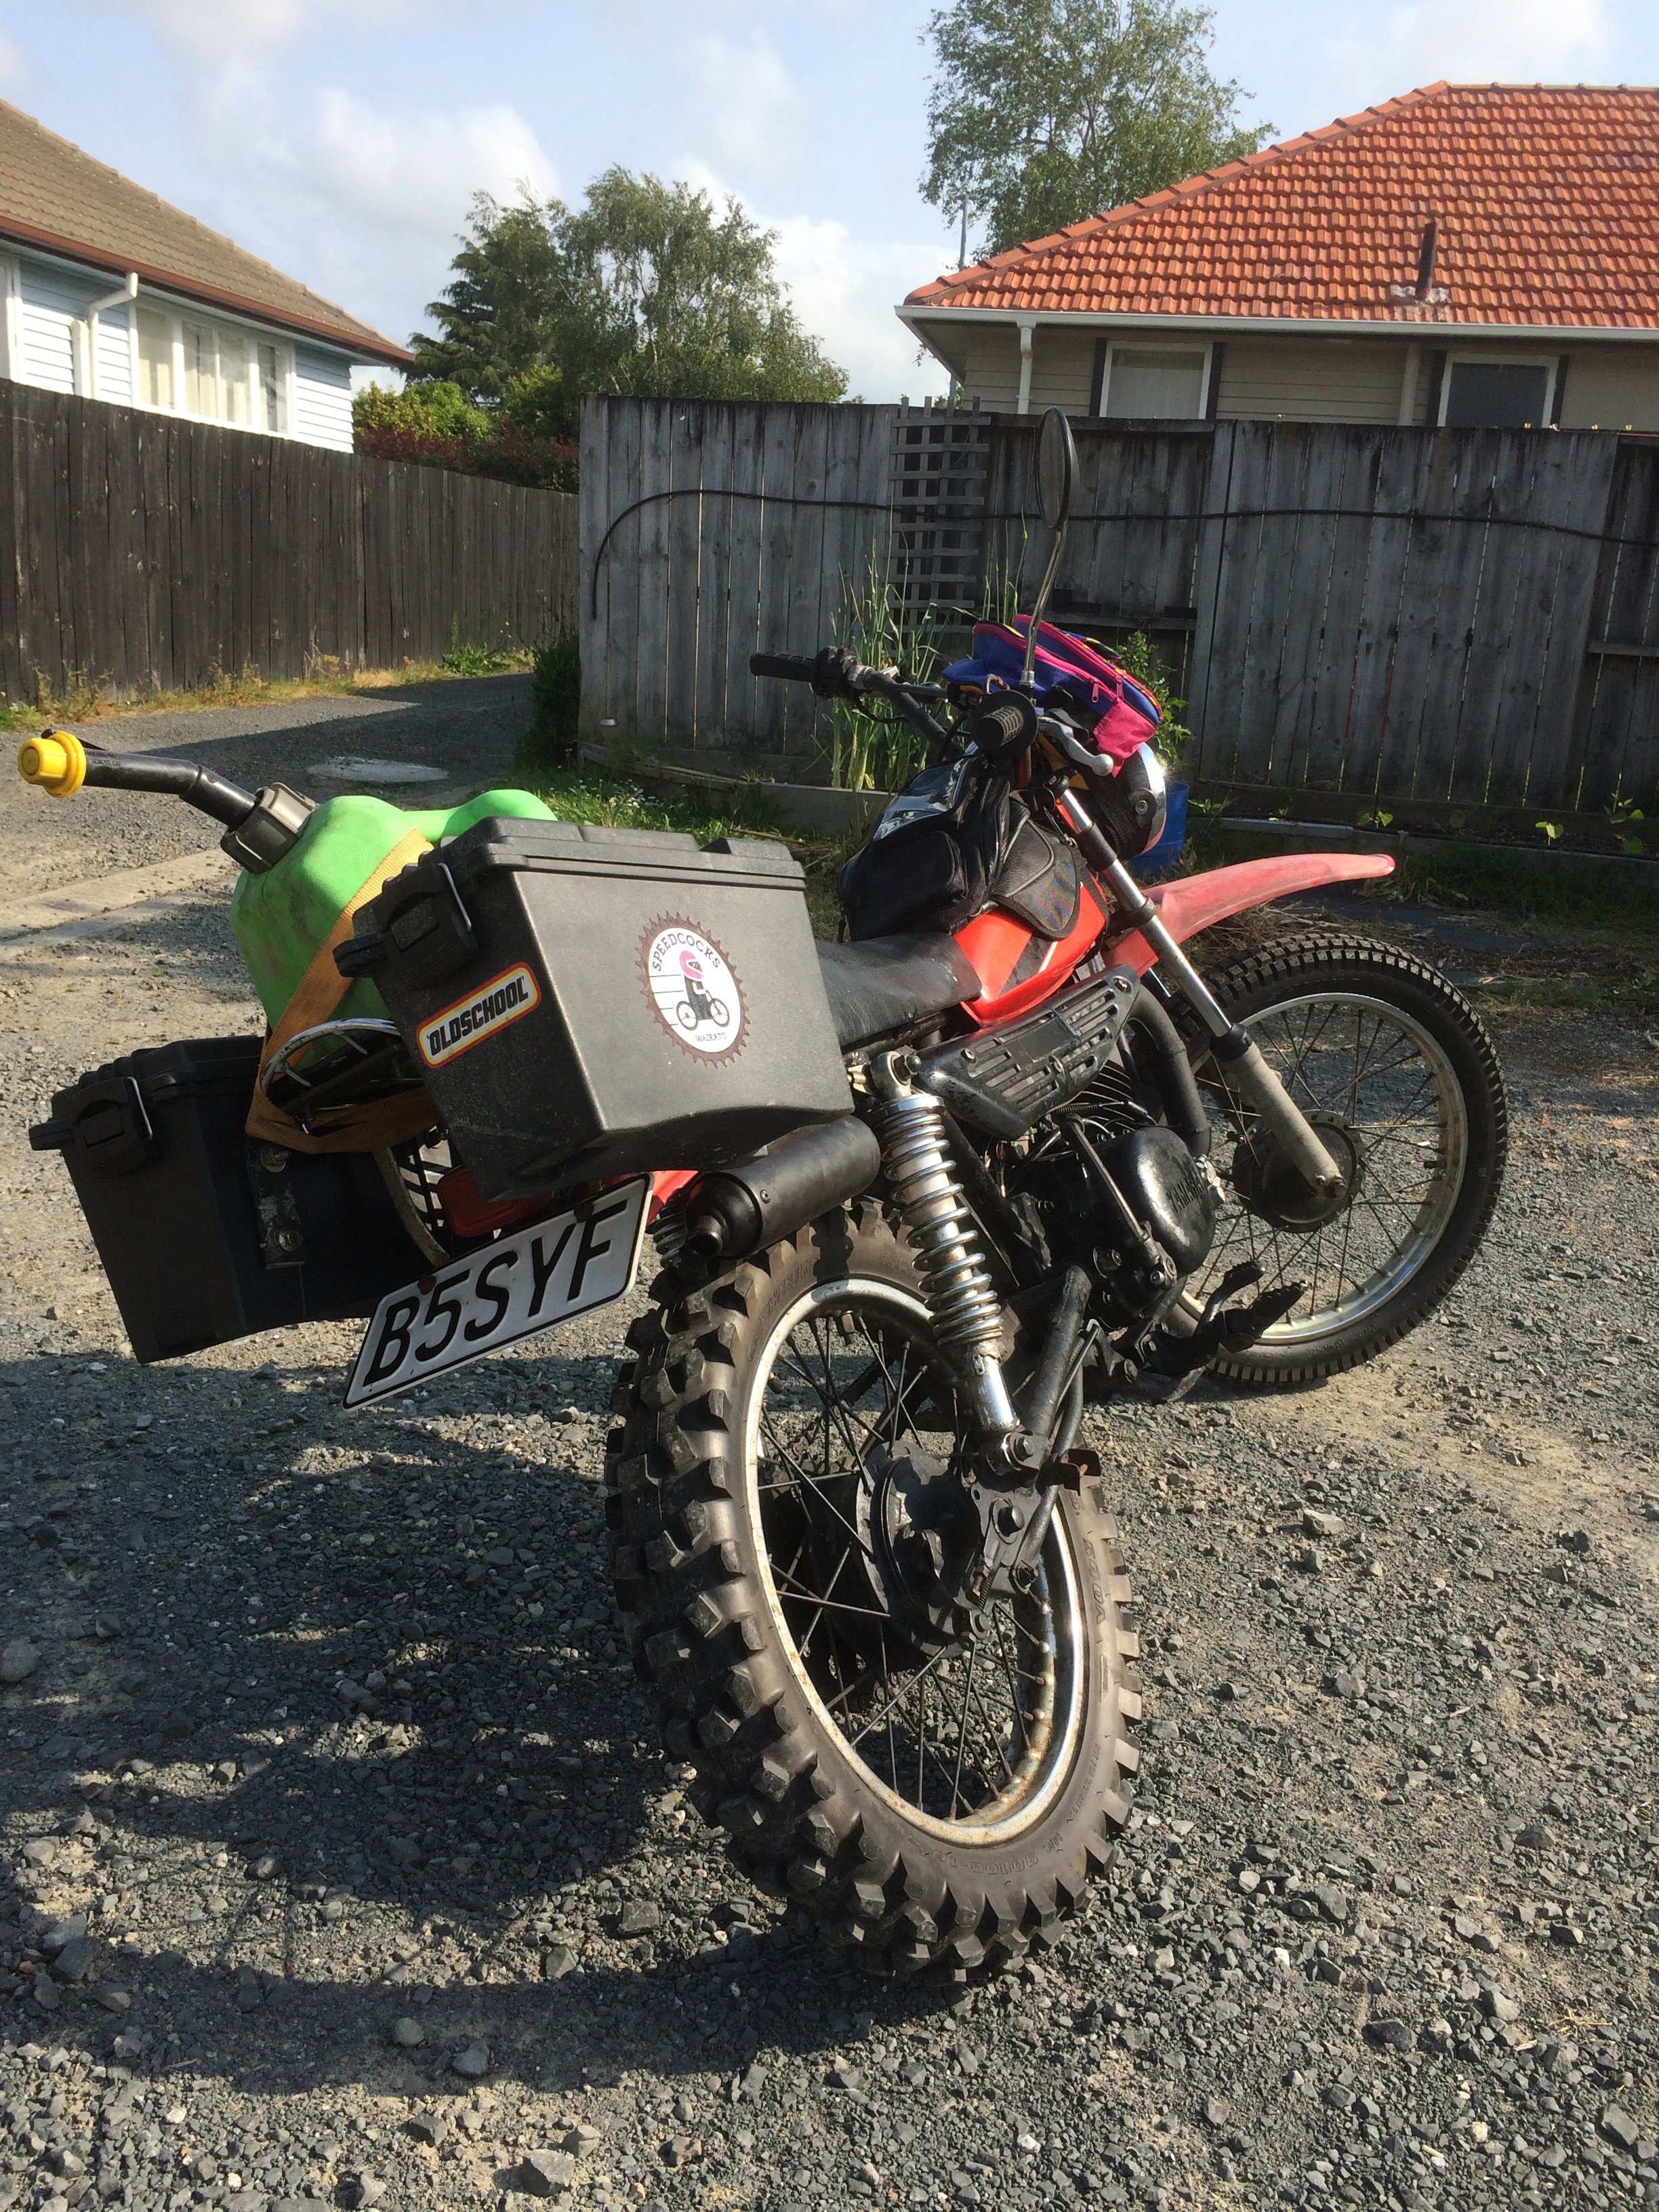
Fuel can, panini storage, tank bag and hypercolour handlebar bag fitted. The rack is from the FS1: I’ll need a backpack for undies and Brian Lowns too.
- 38 replies
-
- 10
-