
GARDRB
-
Posts
917 -
Joined
-
Last visited
-
Days Won
1
Everything posted by GARDRB
-
Parted out, now he's just the 1NZ influencer and spends all his time replying to fans on his OnlyFans... I mean Instagram
-
@Dudley this would be a good place for me to put my 2zr, or the 4age from your shed
-
Hahaha yeah, I've been thinking the same thing
-
Ok, Jaycar ultrasonic cleaner review. Showed up this morning. It has a maximum run time of 480 seconds which is a bit shit. So far I've cleaned my watch strap and phone case and a comb I found in the bathroom. I'm assuming with the short run time I'm gonna be disappointed, but it's definitely a gateway cleaner. Just after one use, I want a gruntier one.
-
Why not just use an old bath?
-
Yeah I equate 2L to an ice cream container, I was thinking nuts and bolts and things, but scope may creep in the future
-
Is this as good a deal as it looks?? https://www.jaycar.co.nz/1800ml-80w-ultrasonic-cleaner/p/YH5416
-
There’s 200cc worth of carbon on top of the pistons
-
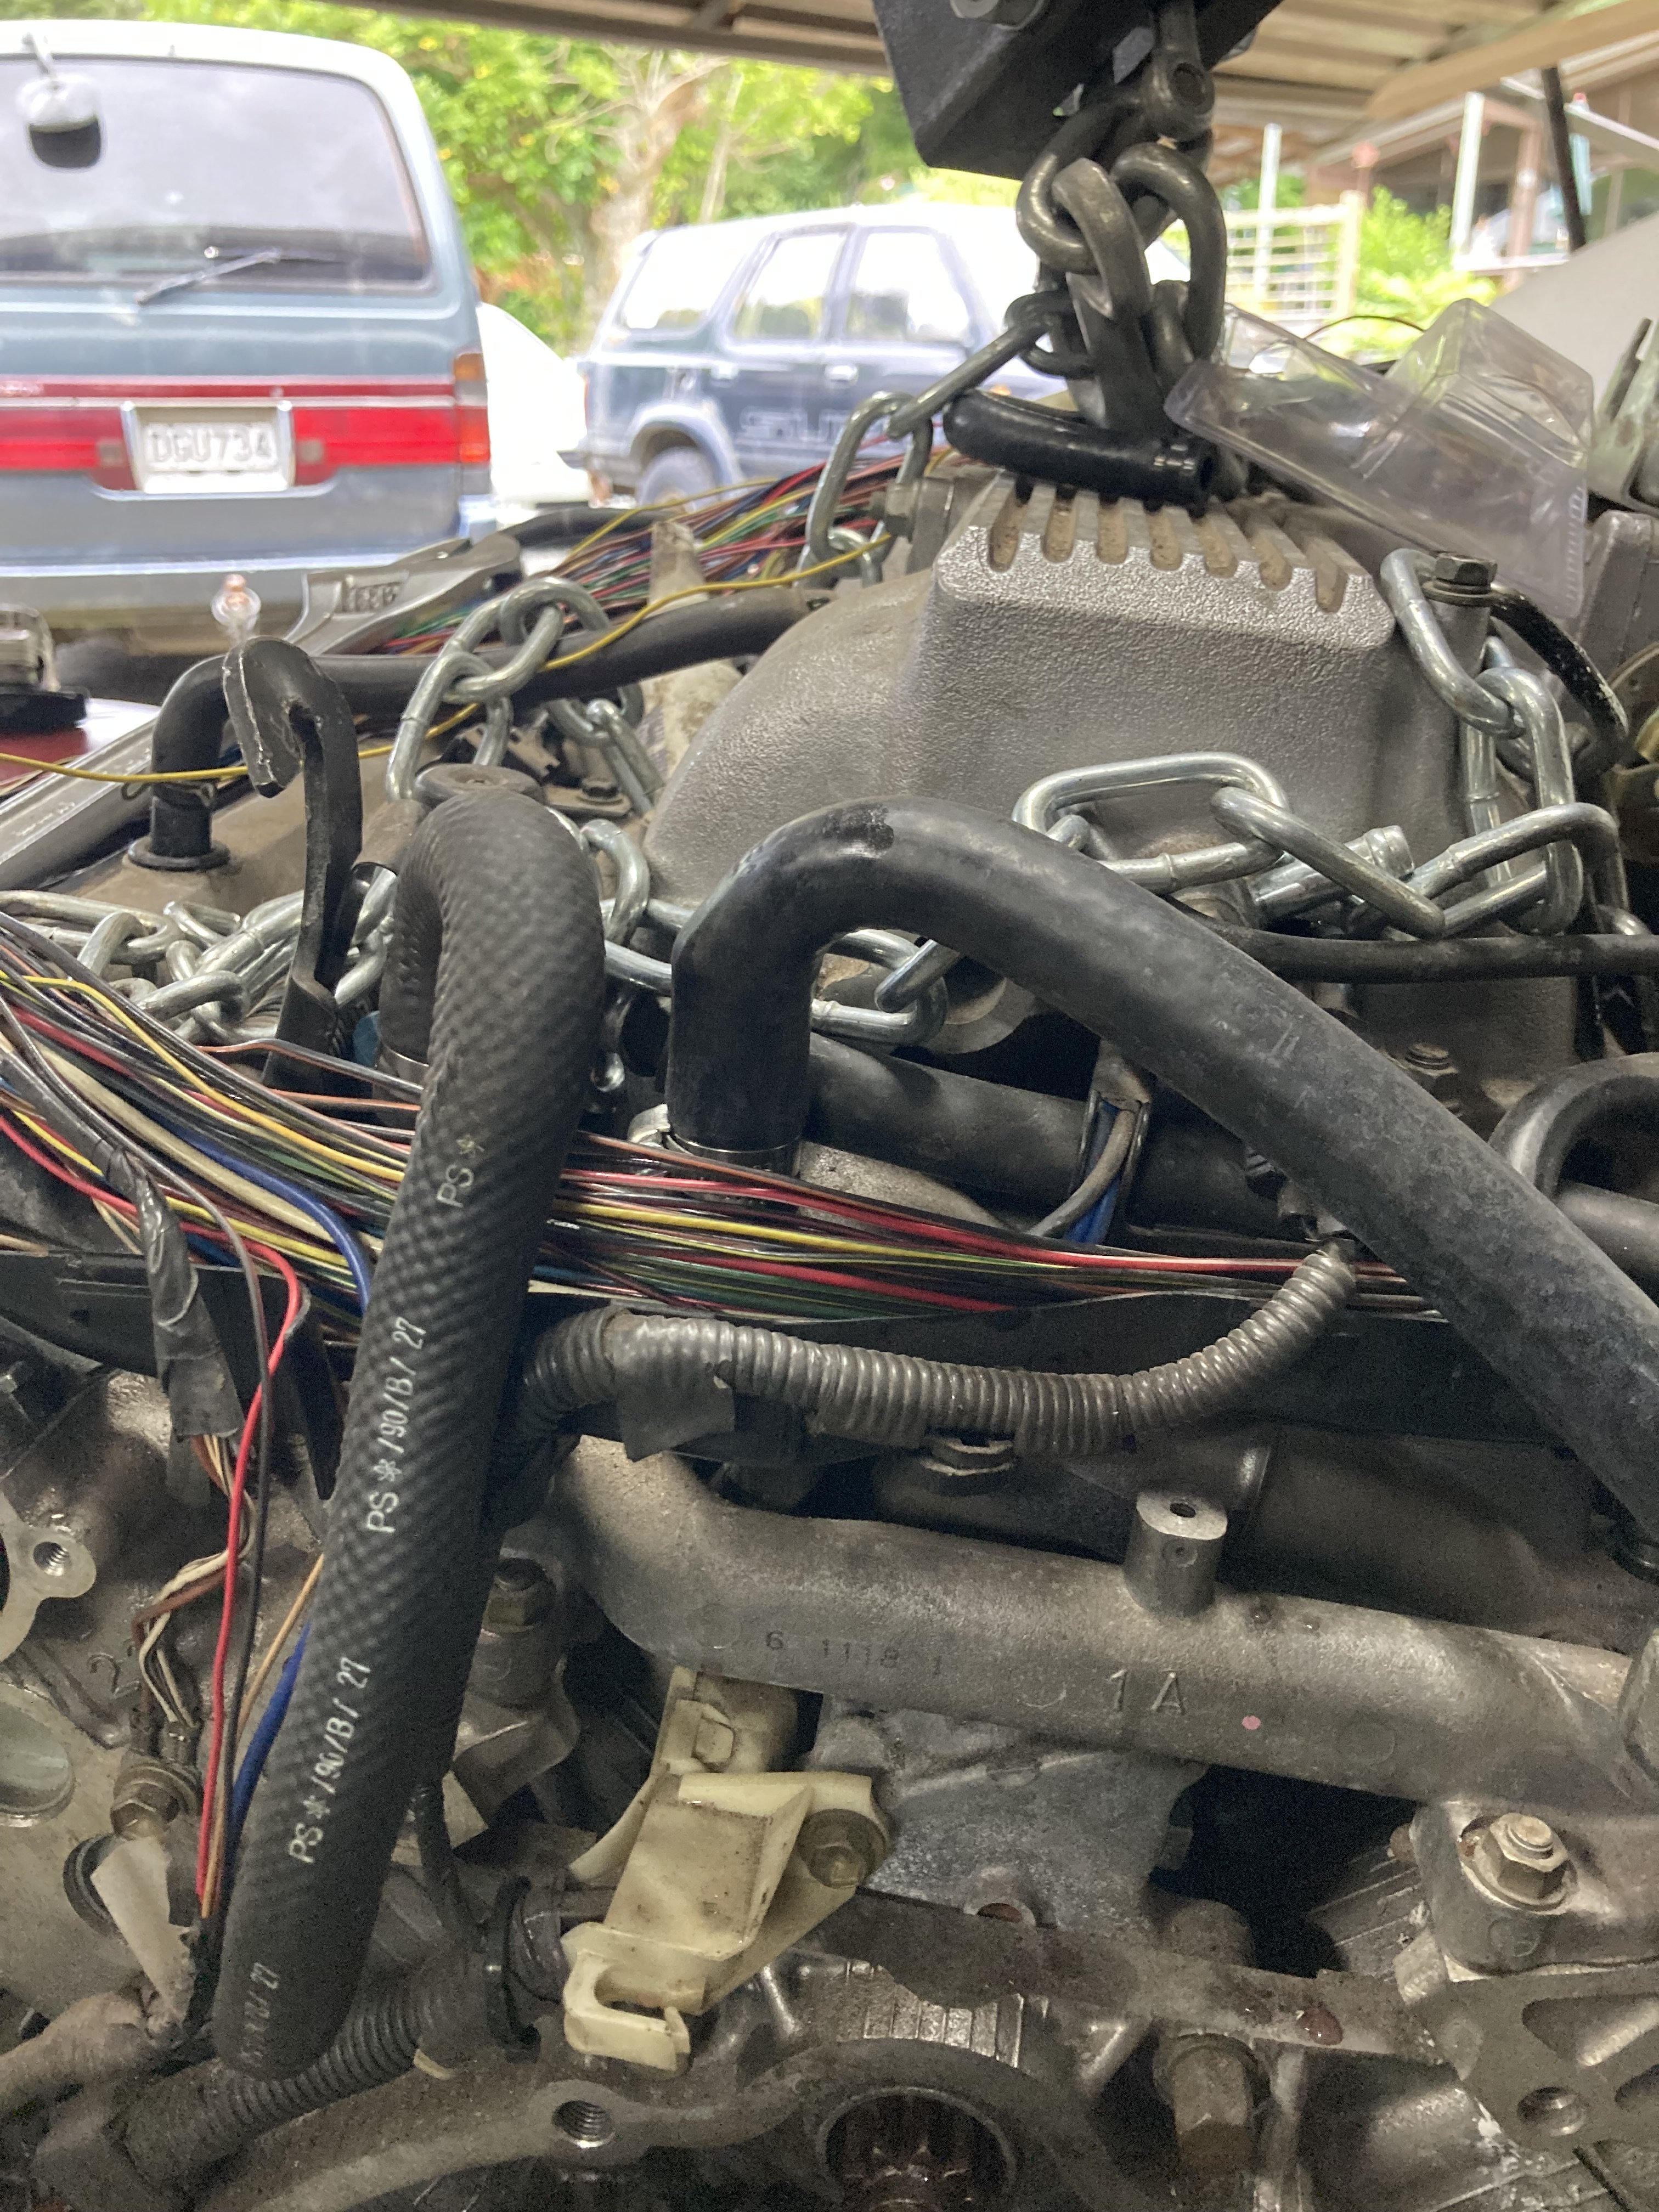
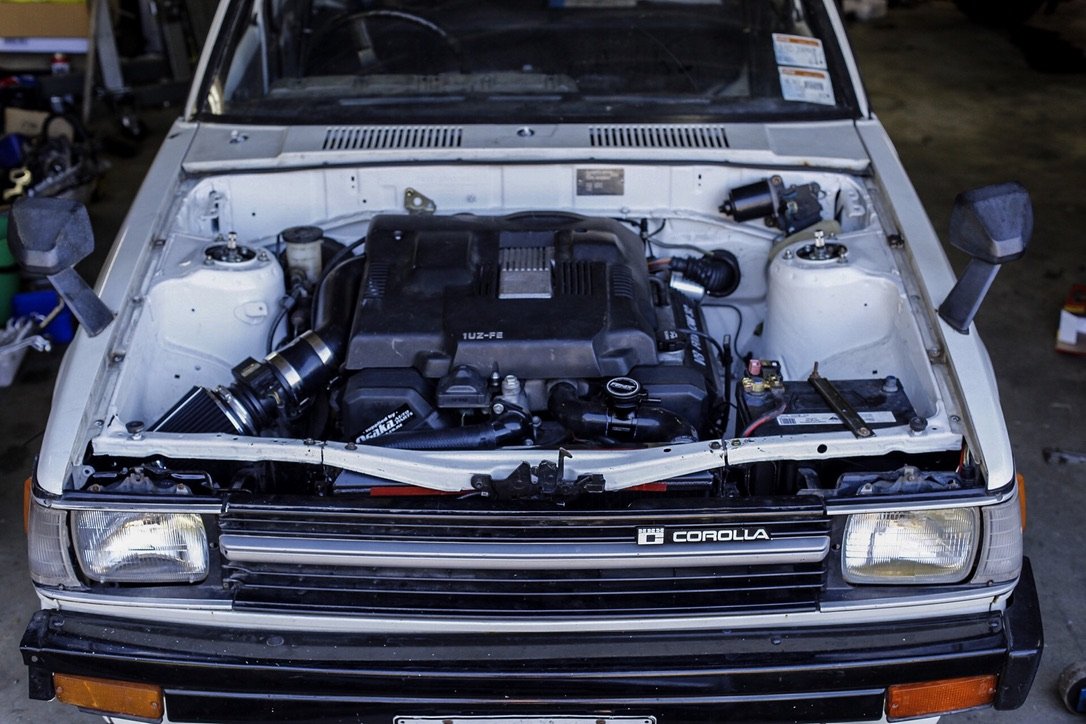
While I was procrastinating with the sump I got the heater hoses all ready to go. Hopefully I should get able to trim and connect them up in the car and if I'm really lucky find the firewall grommet for the heater hose. Luckily coz of the size of the engine the majority of the sins and ugly hoses hide behind the engine. Eventually I'll pull the engine back out (hopefully out the bottom) and repaint the engine bay and heat shield a bunch of stuff.

- 31 replies
-
- 13
-

-
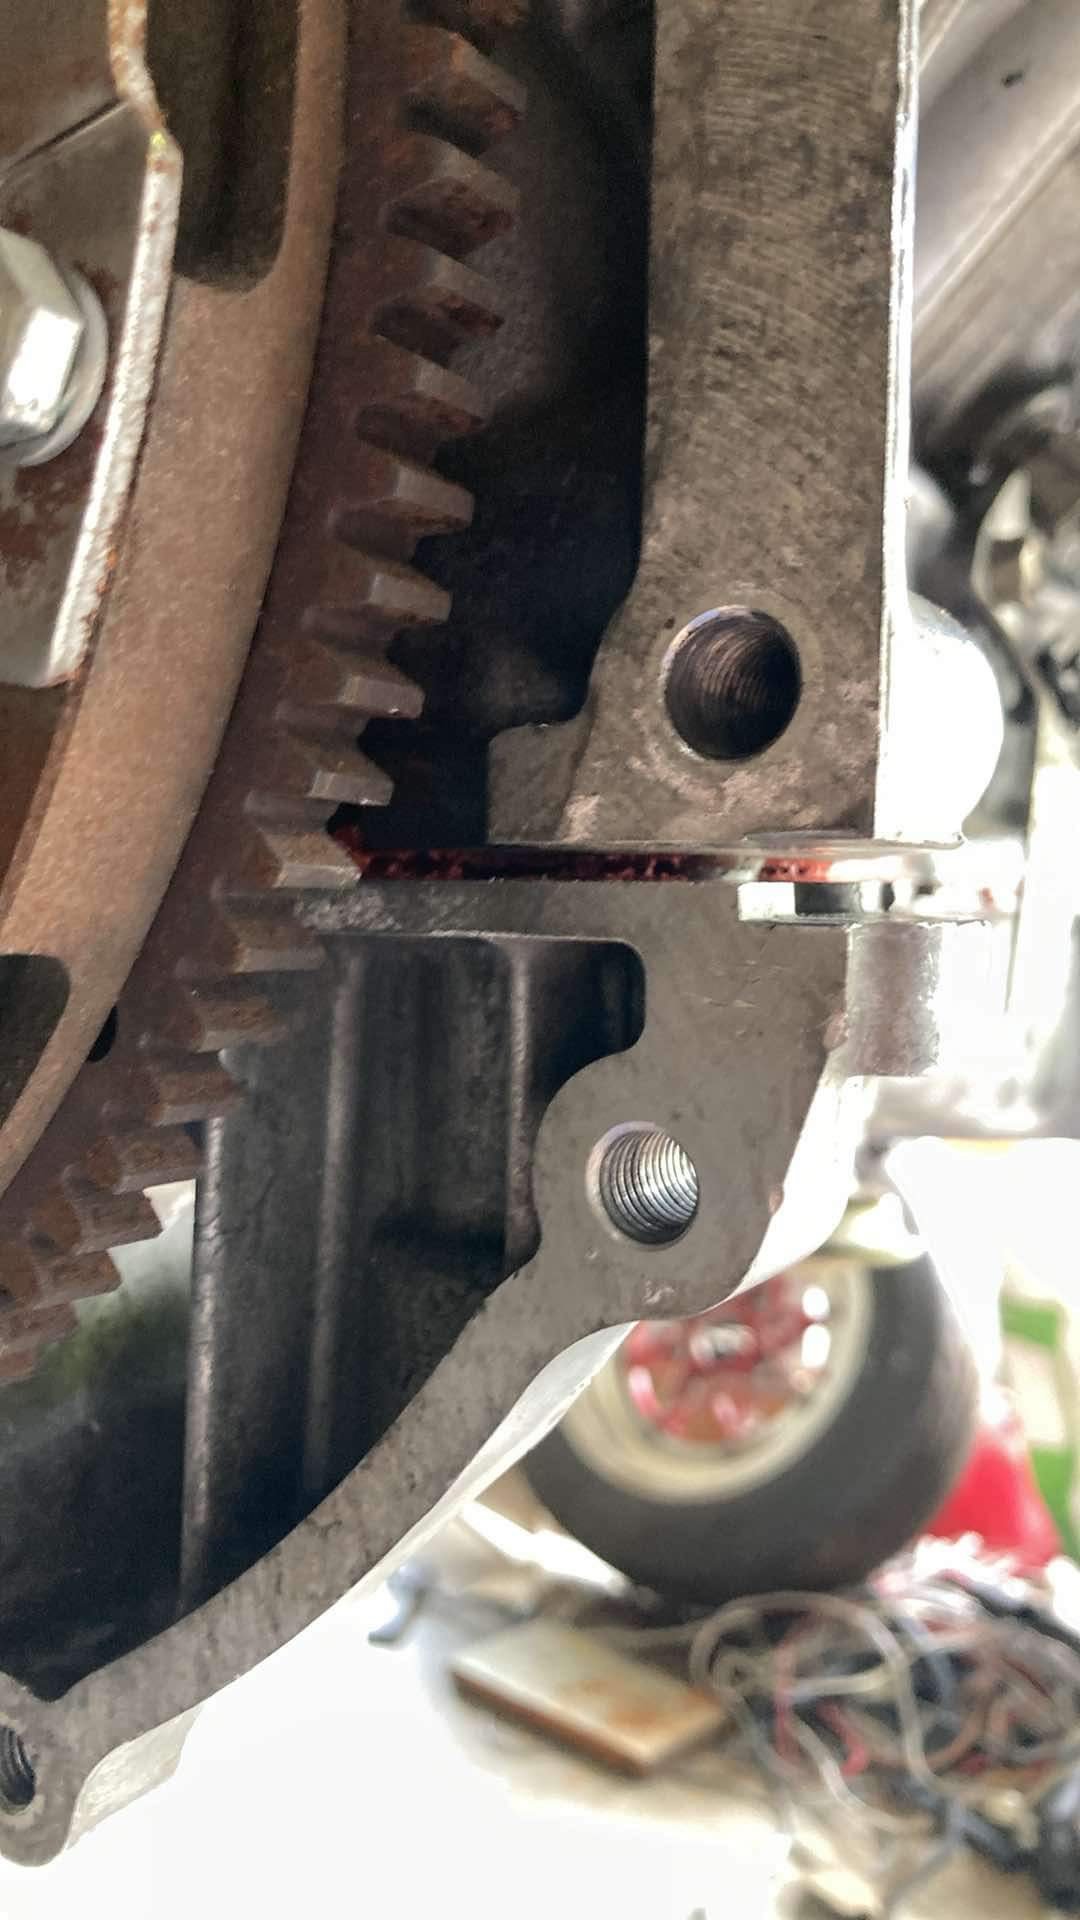
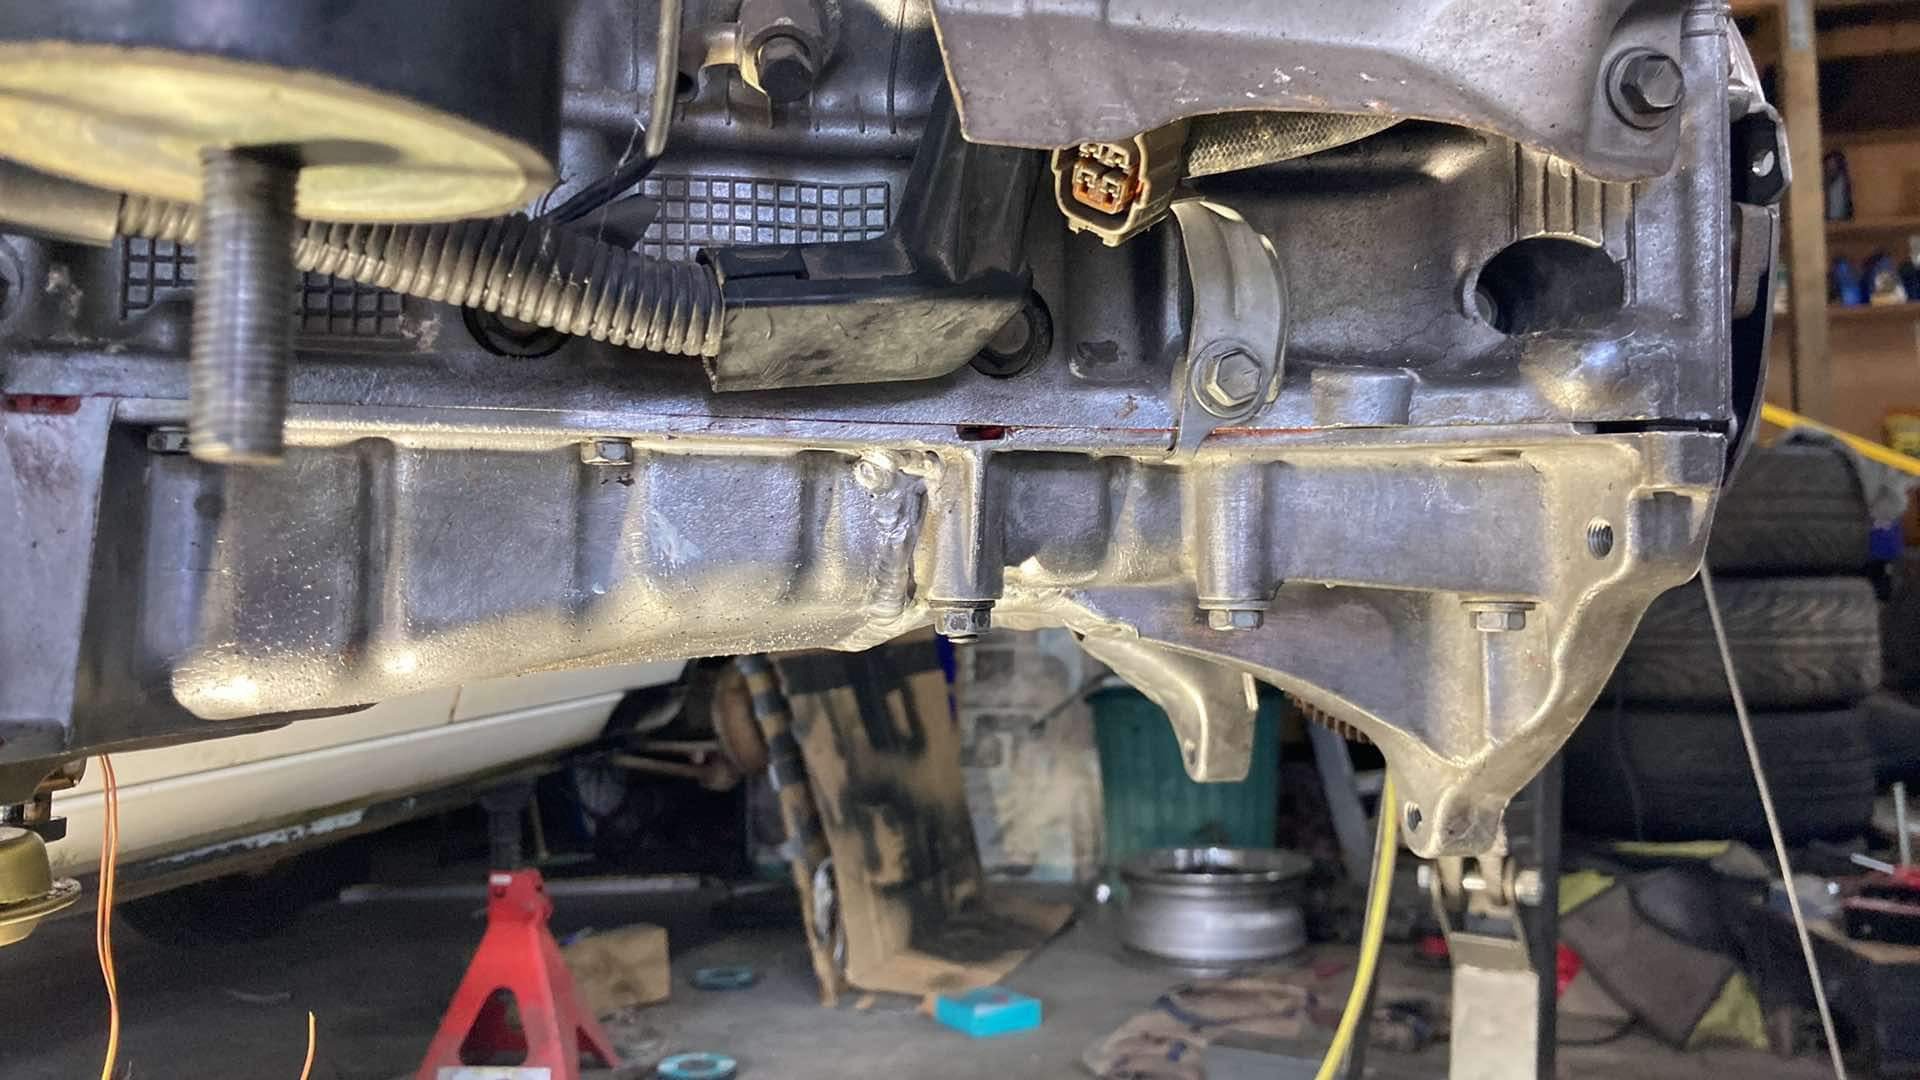
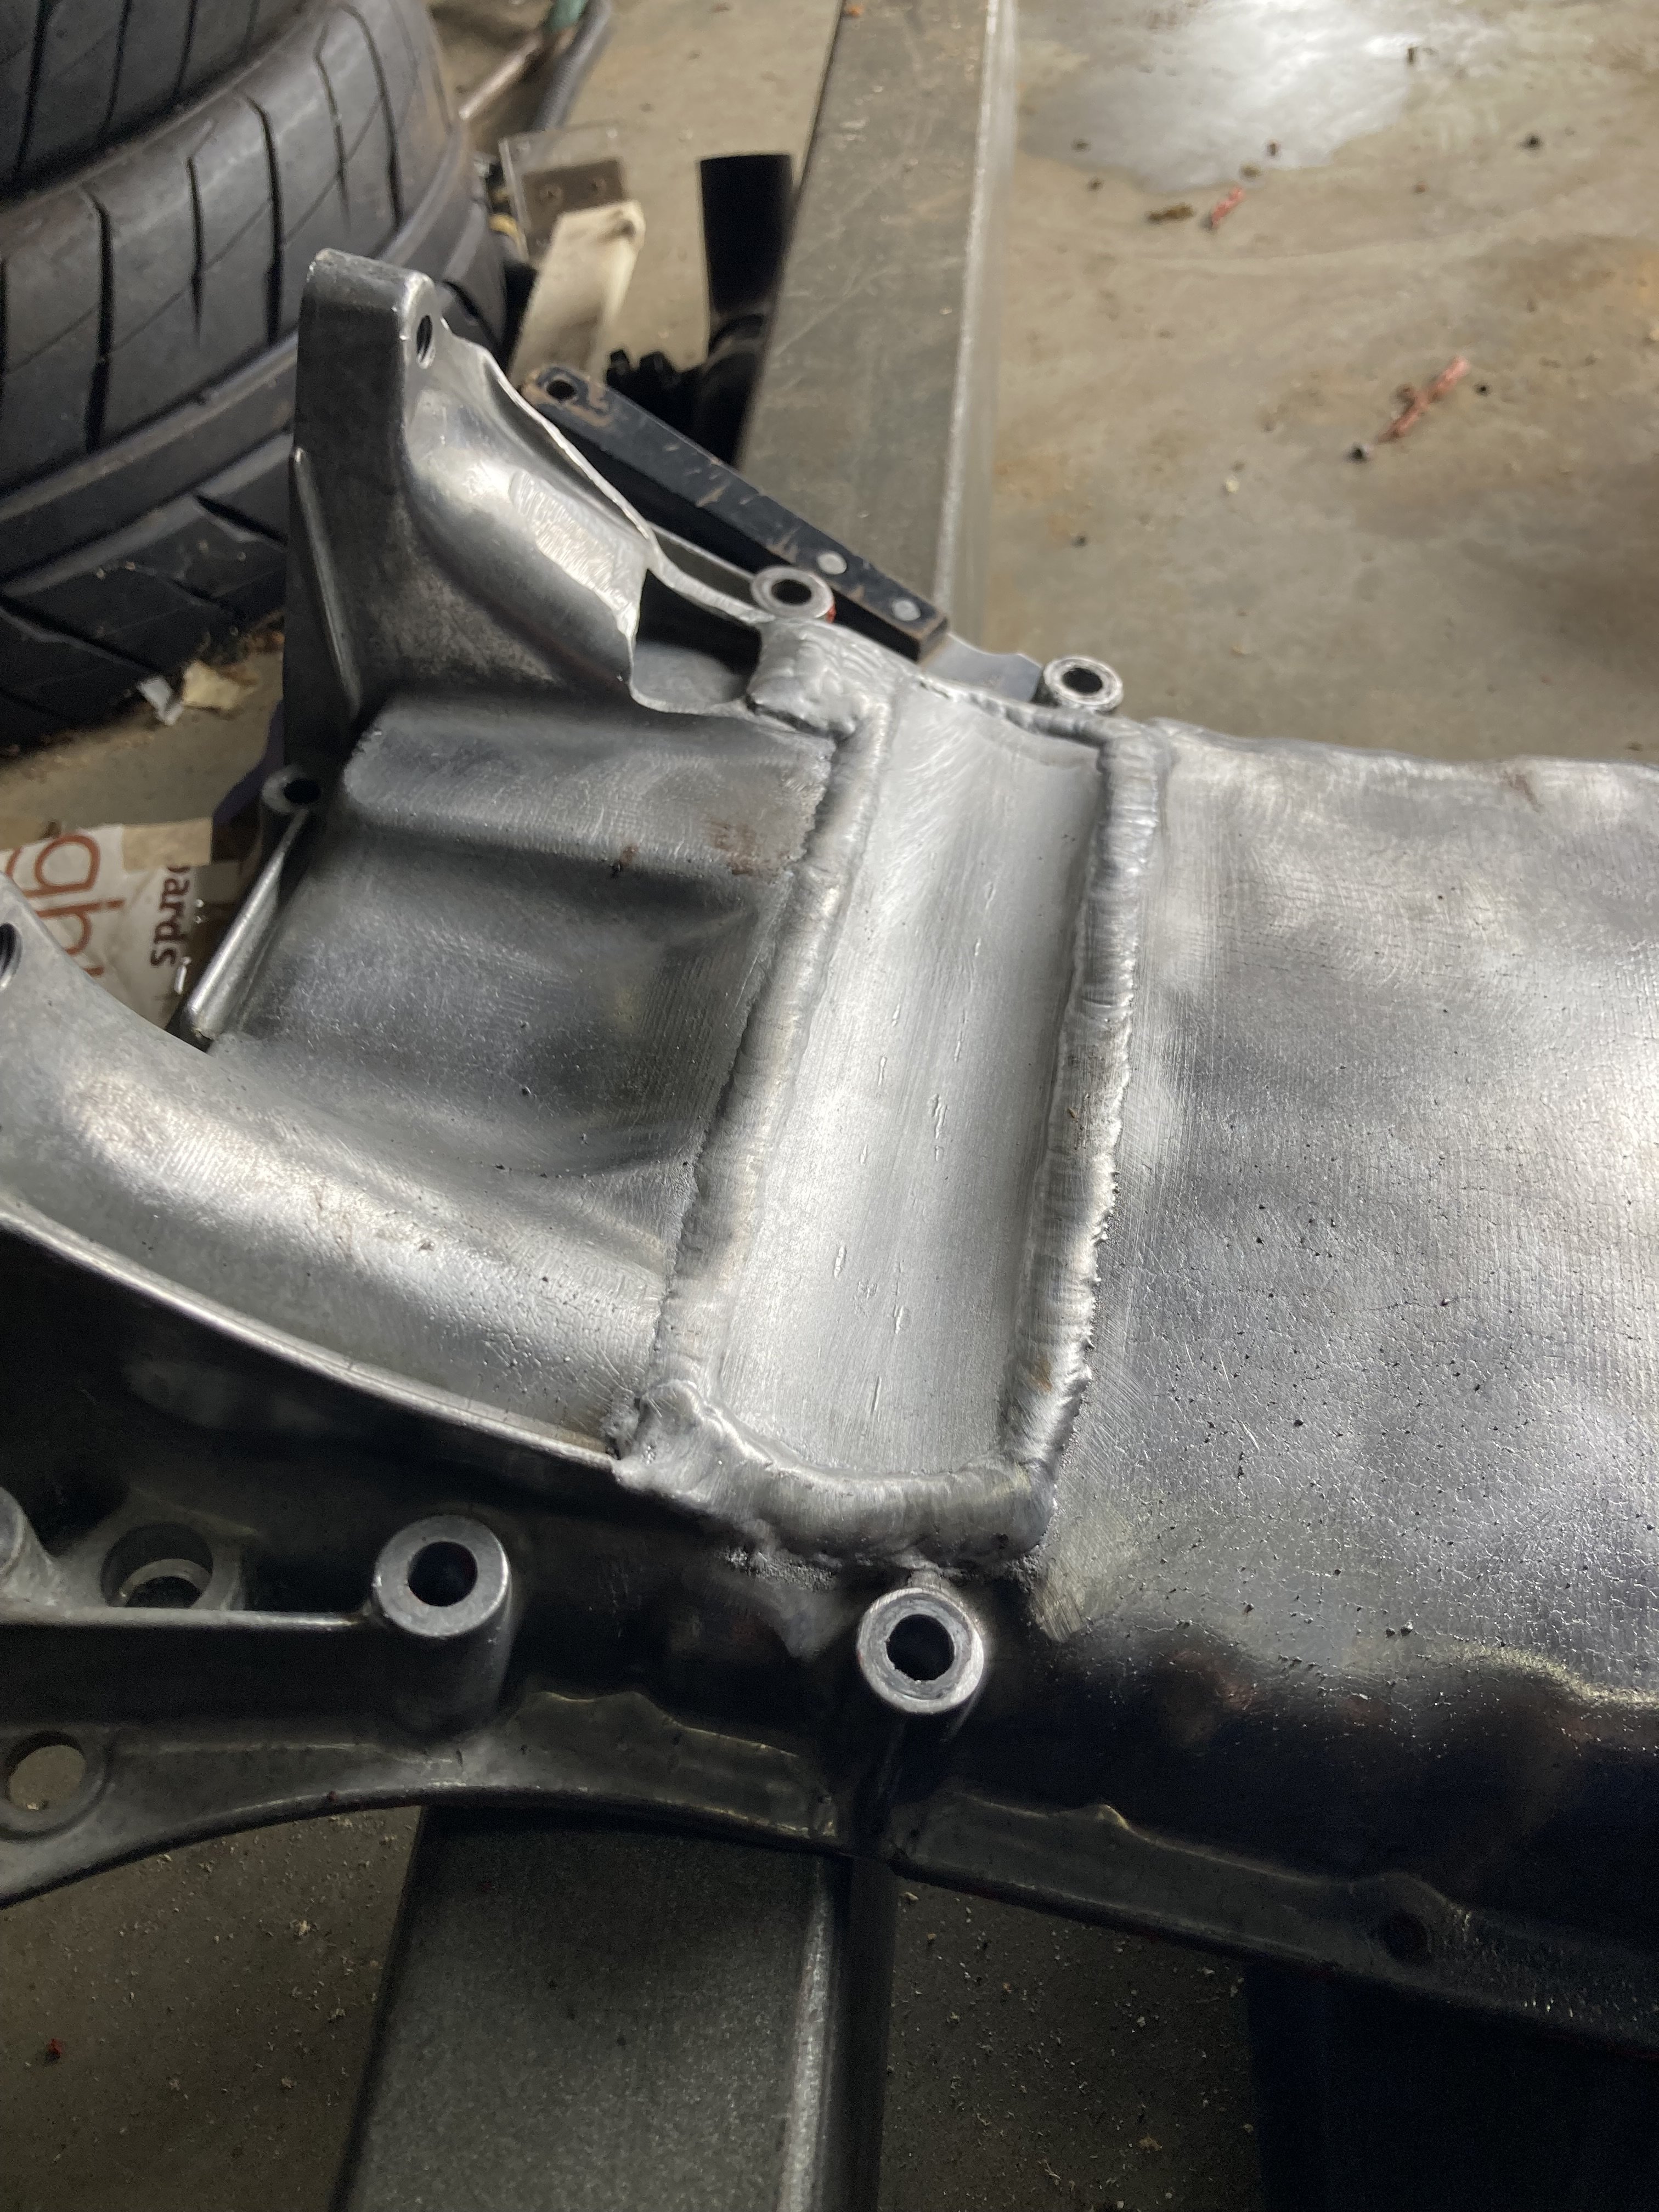
So my sump has always been really friendly with my steering rack. I've done a chunk of research into this conversion over the years, and it always involved spacing the crossmember down, cutting the tunnel or running no front sway bar or a combination of the above. I started with a 20mm crossmember spacer, and have never been a big fan of the idea of lowering my suspension pickup points as I wanted to retain some sort of decent geometry. The engine has been in and out a huge number of times as I've procrastinated on finishing the car. When I first put the engine in I'd read that I needed to clearance the piece where the sump drops down to the gearbox, this was obviously from someone who was running without a front swaybar as through all the finessing of engine positioning I was able to get the engine behind the sway bar and the bell housing clearing the tunnel. When I initially clearanced the sump I managed to flapper wheel my way through the alloy so had to get it welded up. Then when I decided to that I wanted to try no crossmember spacers I managed to crack the repair. So this time since I was getting it repaired anyway I figured I may as well get a bit of a notch put into it for the rack. You can see how far back the engine sits from the difference between the initial clearance and the notch that we put over the rack. I was all excited to get the sump back on and I'd claimed that I was going to get the car running and drive it under its own power for the first time. It must have heard me and gone, "nah fuck you" coz when I bolted the sump up there was a huge gap between the sump and block. I agonised over it for ages and sent @Dudley and some other friends some pics and was ready to throw the thing off a cliff. I found another sump in Auckland, but the guy was a pain to deal with, so I started having a fiddle with some other bits and pieces with the intention of just ignoring it. A friend of a friend is a fabricator with a bunch of experience, but kinda hard to pin down. My mate Jesse (who is like an excitable puppy) wanted to see things sorted and organised for Dan to fix the warp. So I chucked the engine on the crossmember, chucked it in the back of Dad's van, then found out Dan doesn't have an engine crane, so we managed to squeeze my crane in the van too. We finally got to Dan's at 10pm and pulled it out of the van and sat it down on a tyre on his floor and rolled the engine over to get to the sump. It was decided we were gonna run a slit through the sump and bolt it down to the block before welding it back up. Dan got all ADHD on it and out came the fabricator perfectionism and we veed it all out and cleaned it up pretty good then slipped a couple of steel rules under it so that once it was welded up and cooled down it would have somewhere to pull back from. Dan moaned the whole way through the job like all fabricators, complained about how dirty it was and how badly it was welding and forbid me from telling anyone that he did it, or showing his work, but it looks like it's gonna seal well and I'm totally stoked with it. I'm pretty glad Jesse pushed me to get it done as I would have ignored it for as long as possible and the sump is now sealed up and the motor is 99% ready to go back in the hole. Before After
-
Yeah it’s pulled when it shrunk after welding. We cut the weld on one side, bolted it to the engine with some steel rules between the welded area and the block and re-welded and it’s noice and straight
-
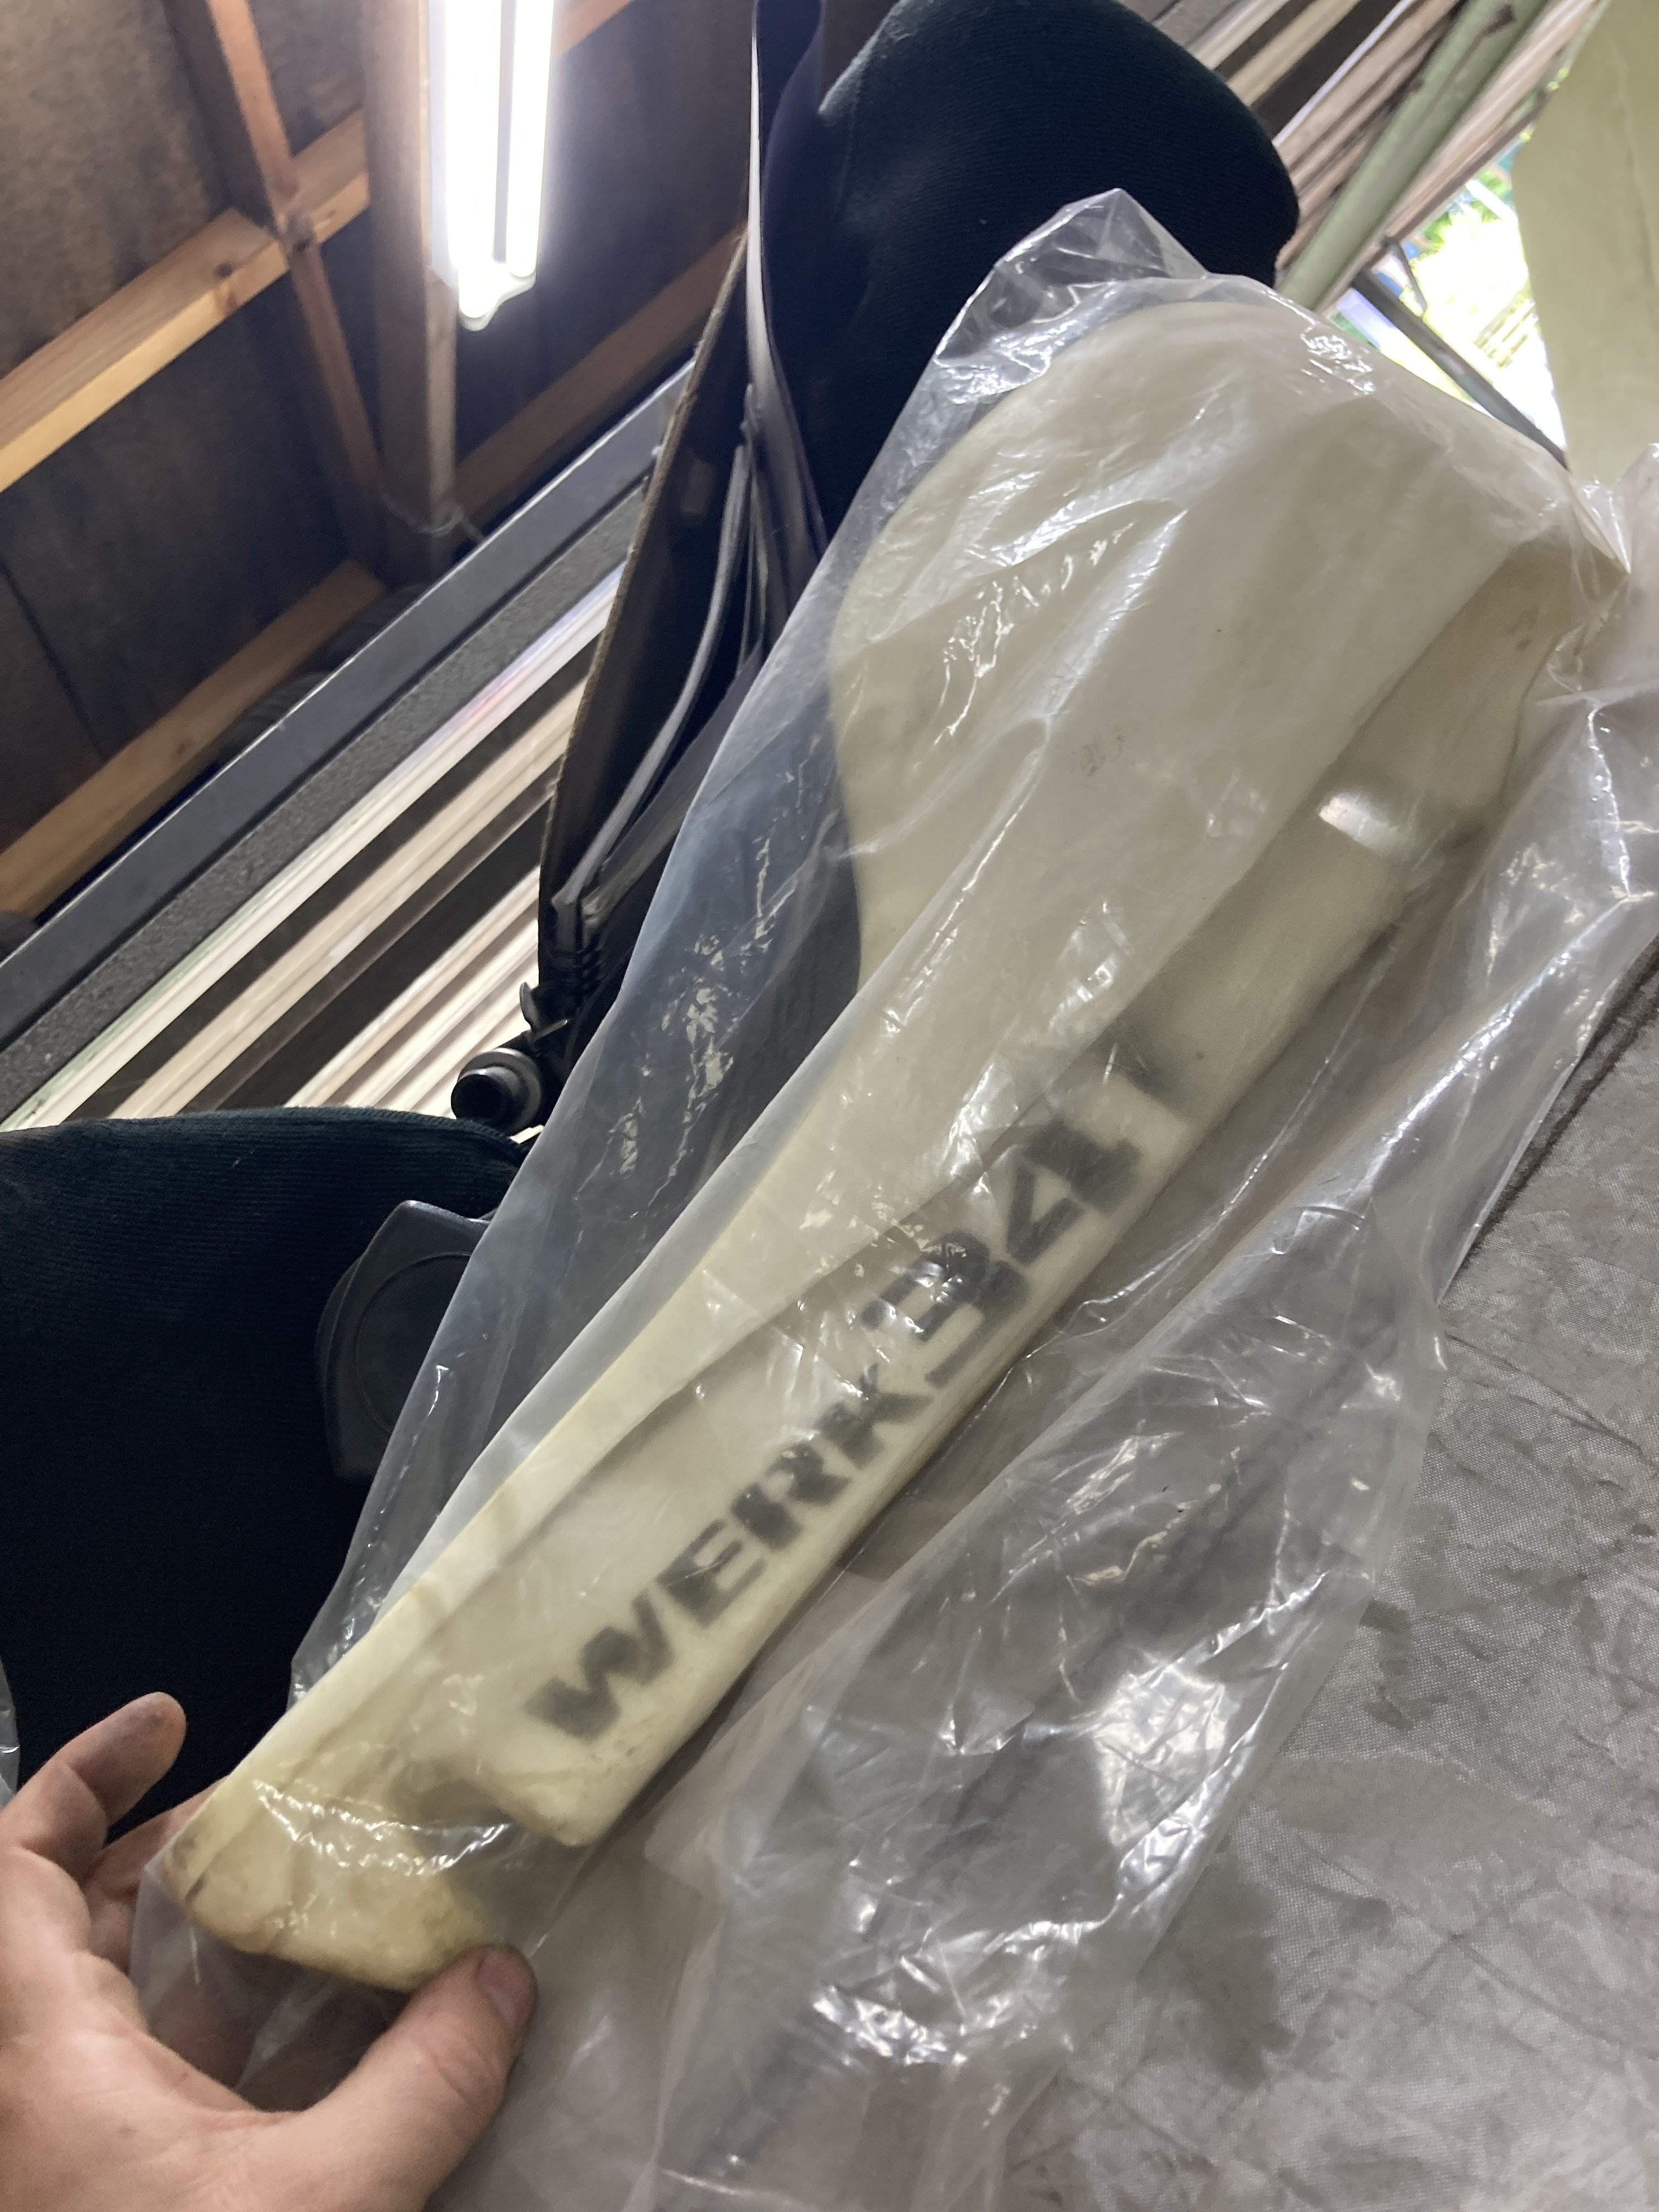
How fucked am I? Bin it or straighten it?
-
They come off so you can replace them with a separate squab from a different seat, you can also buy bolsters
-
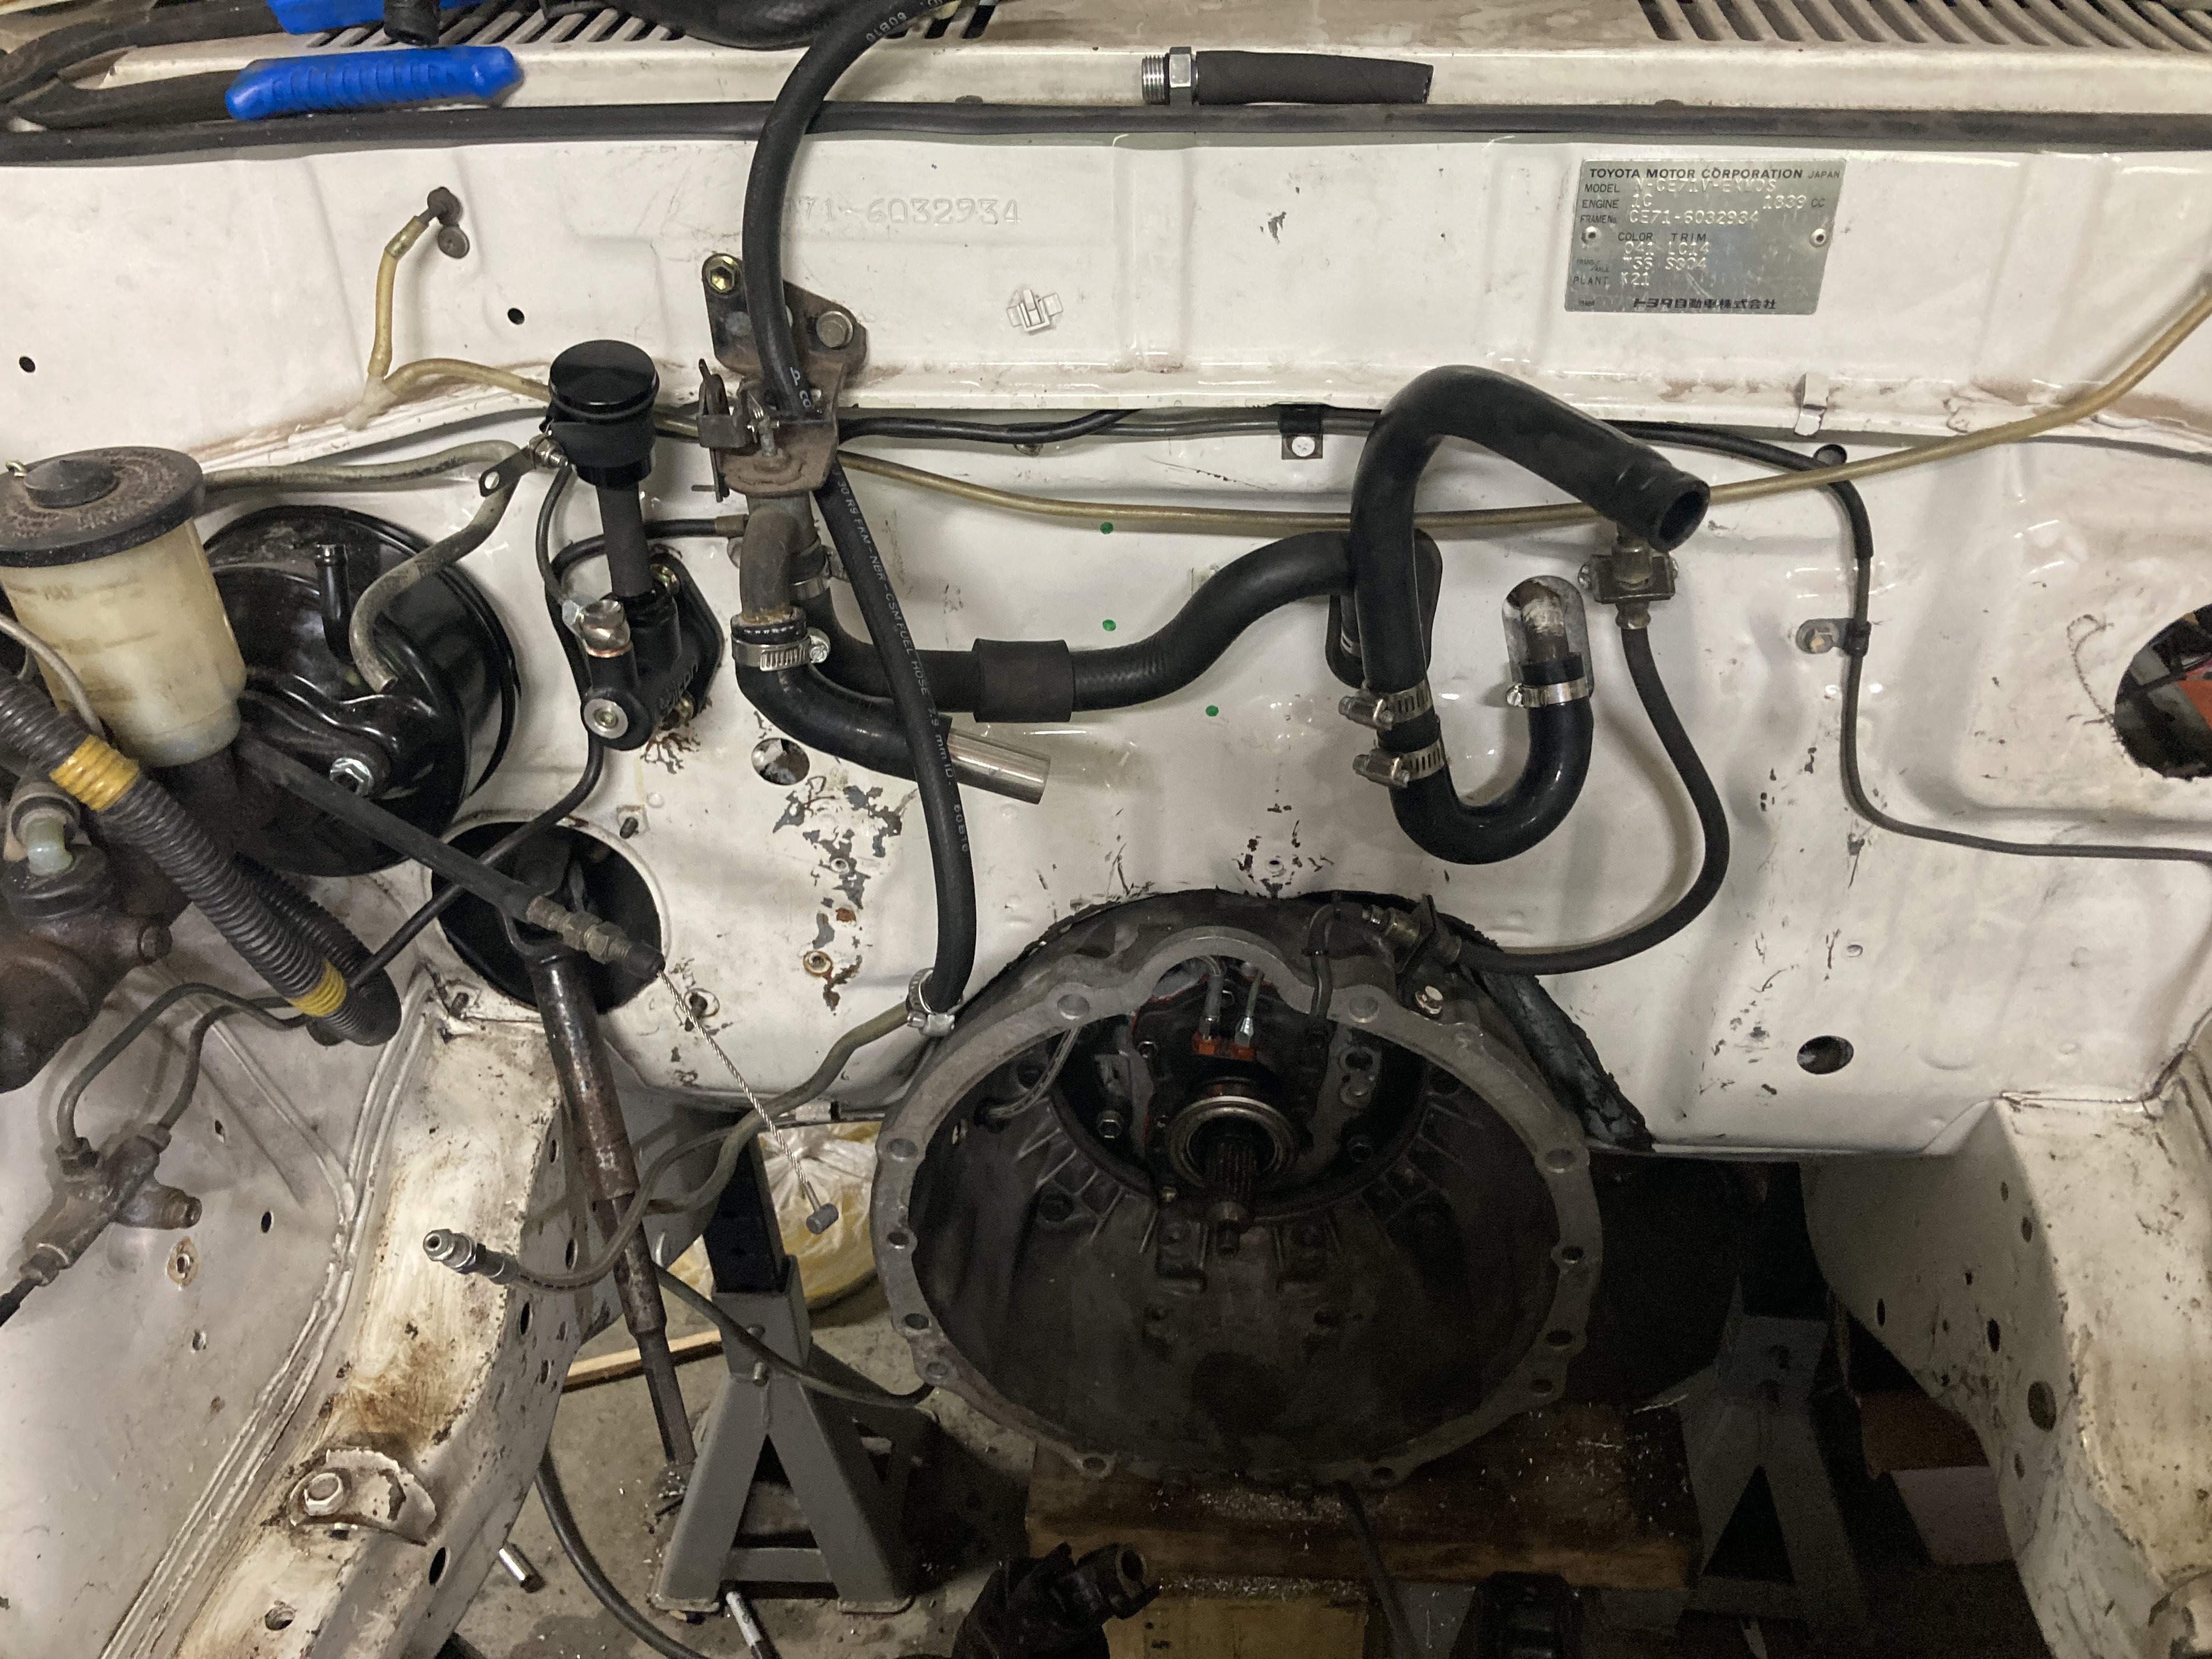
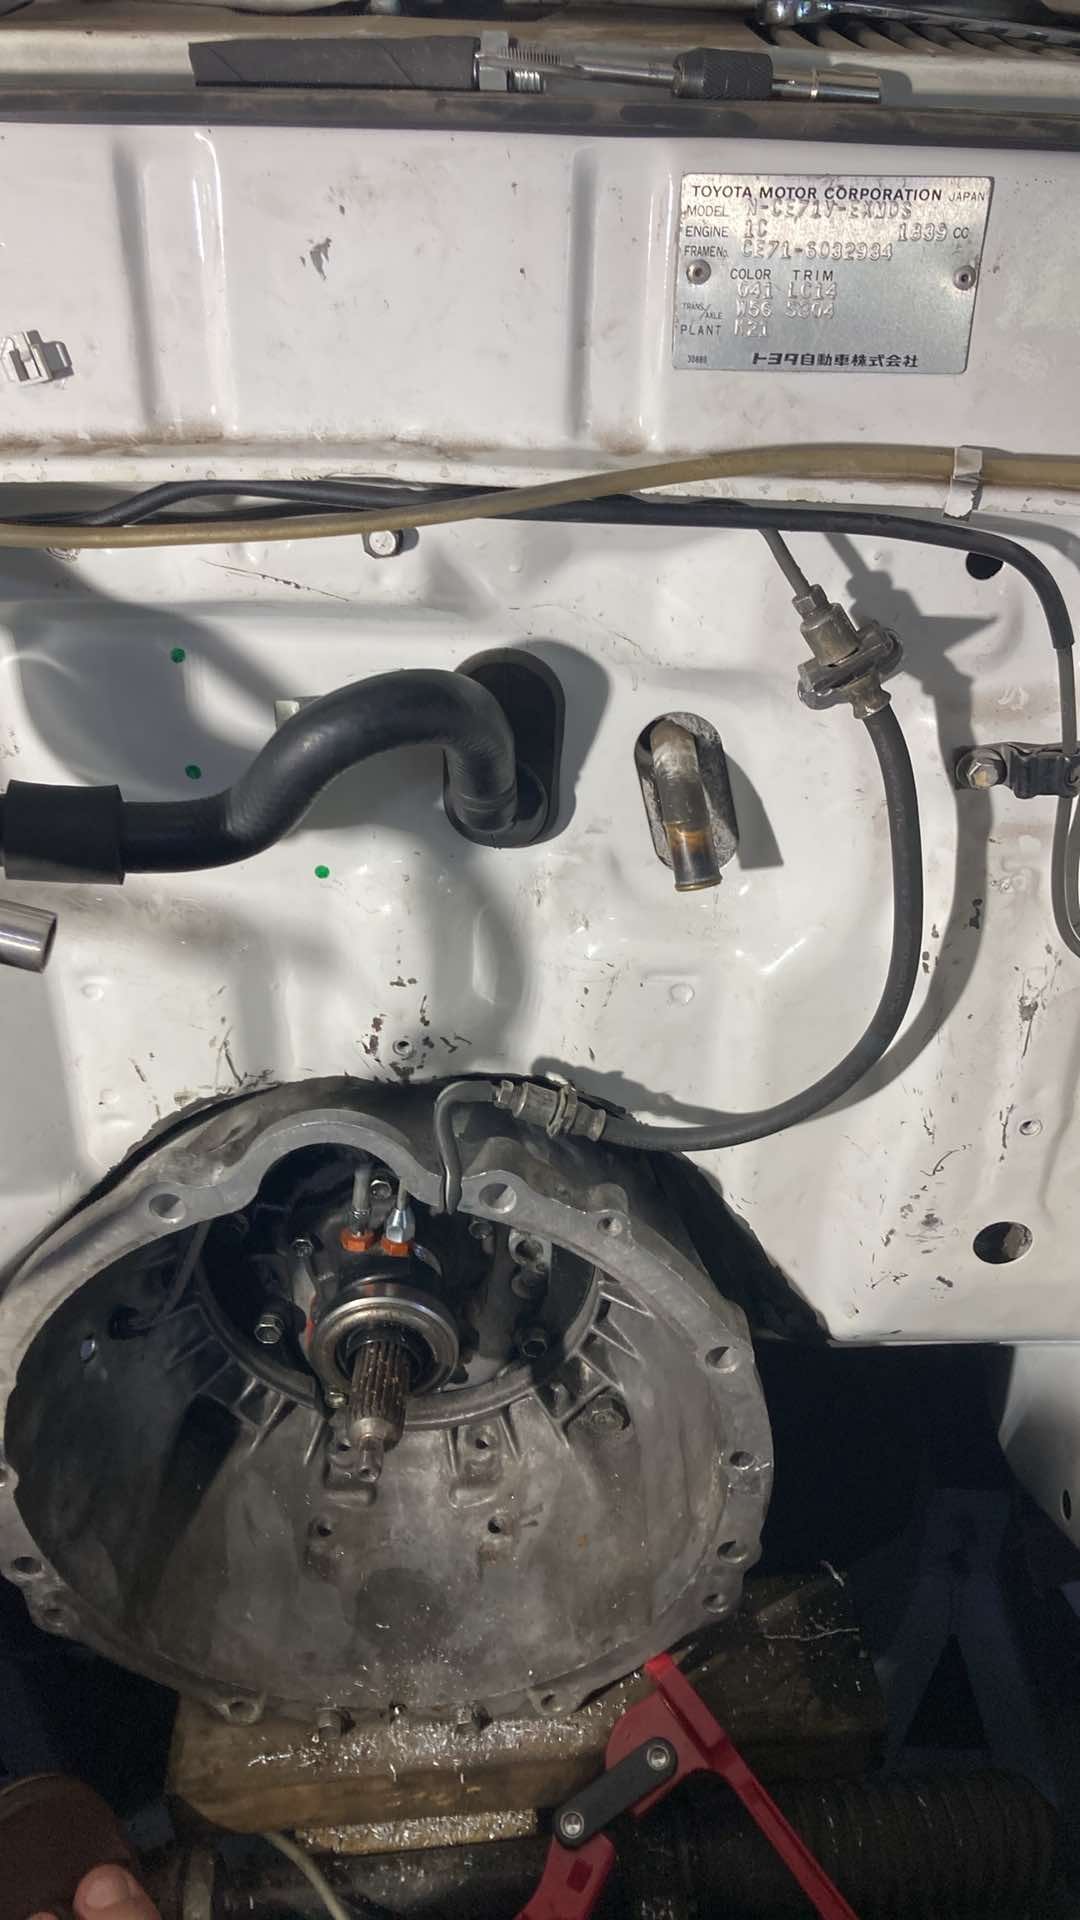
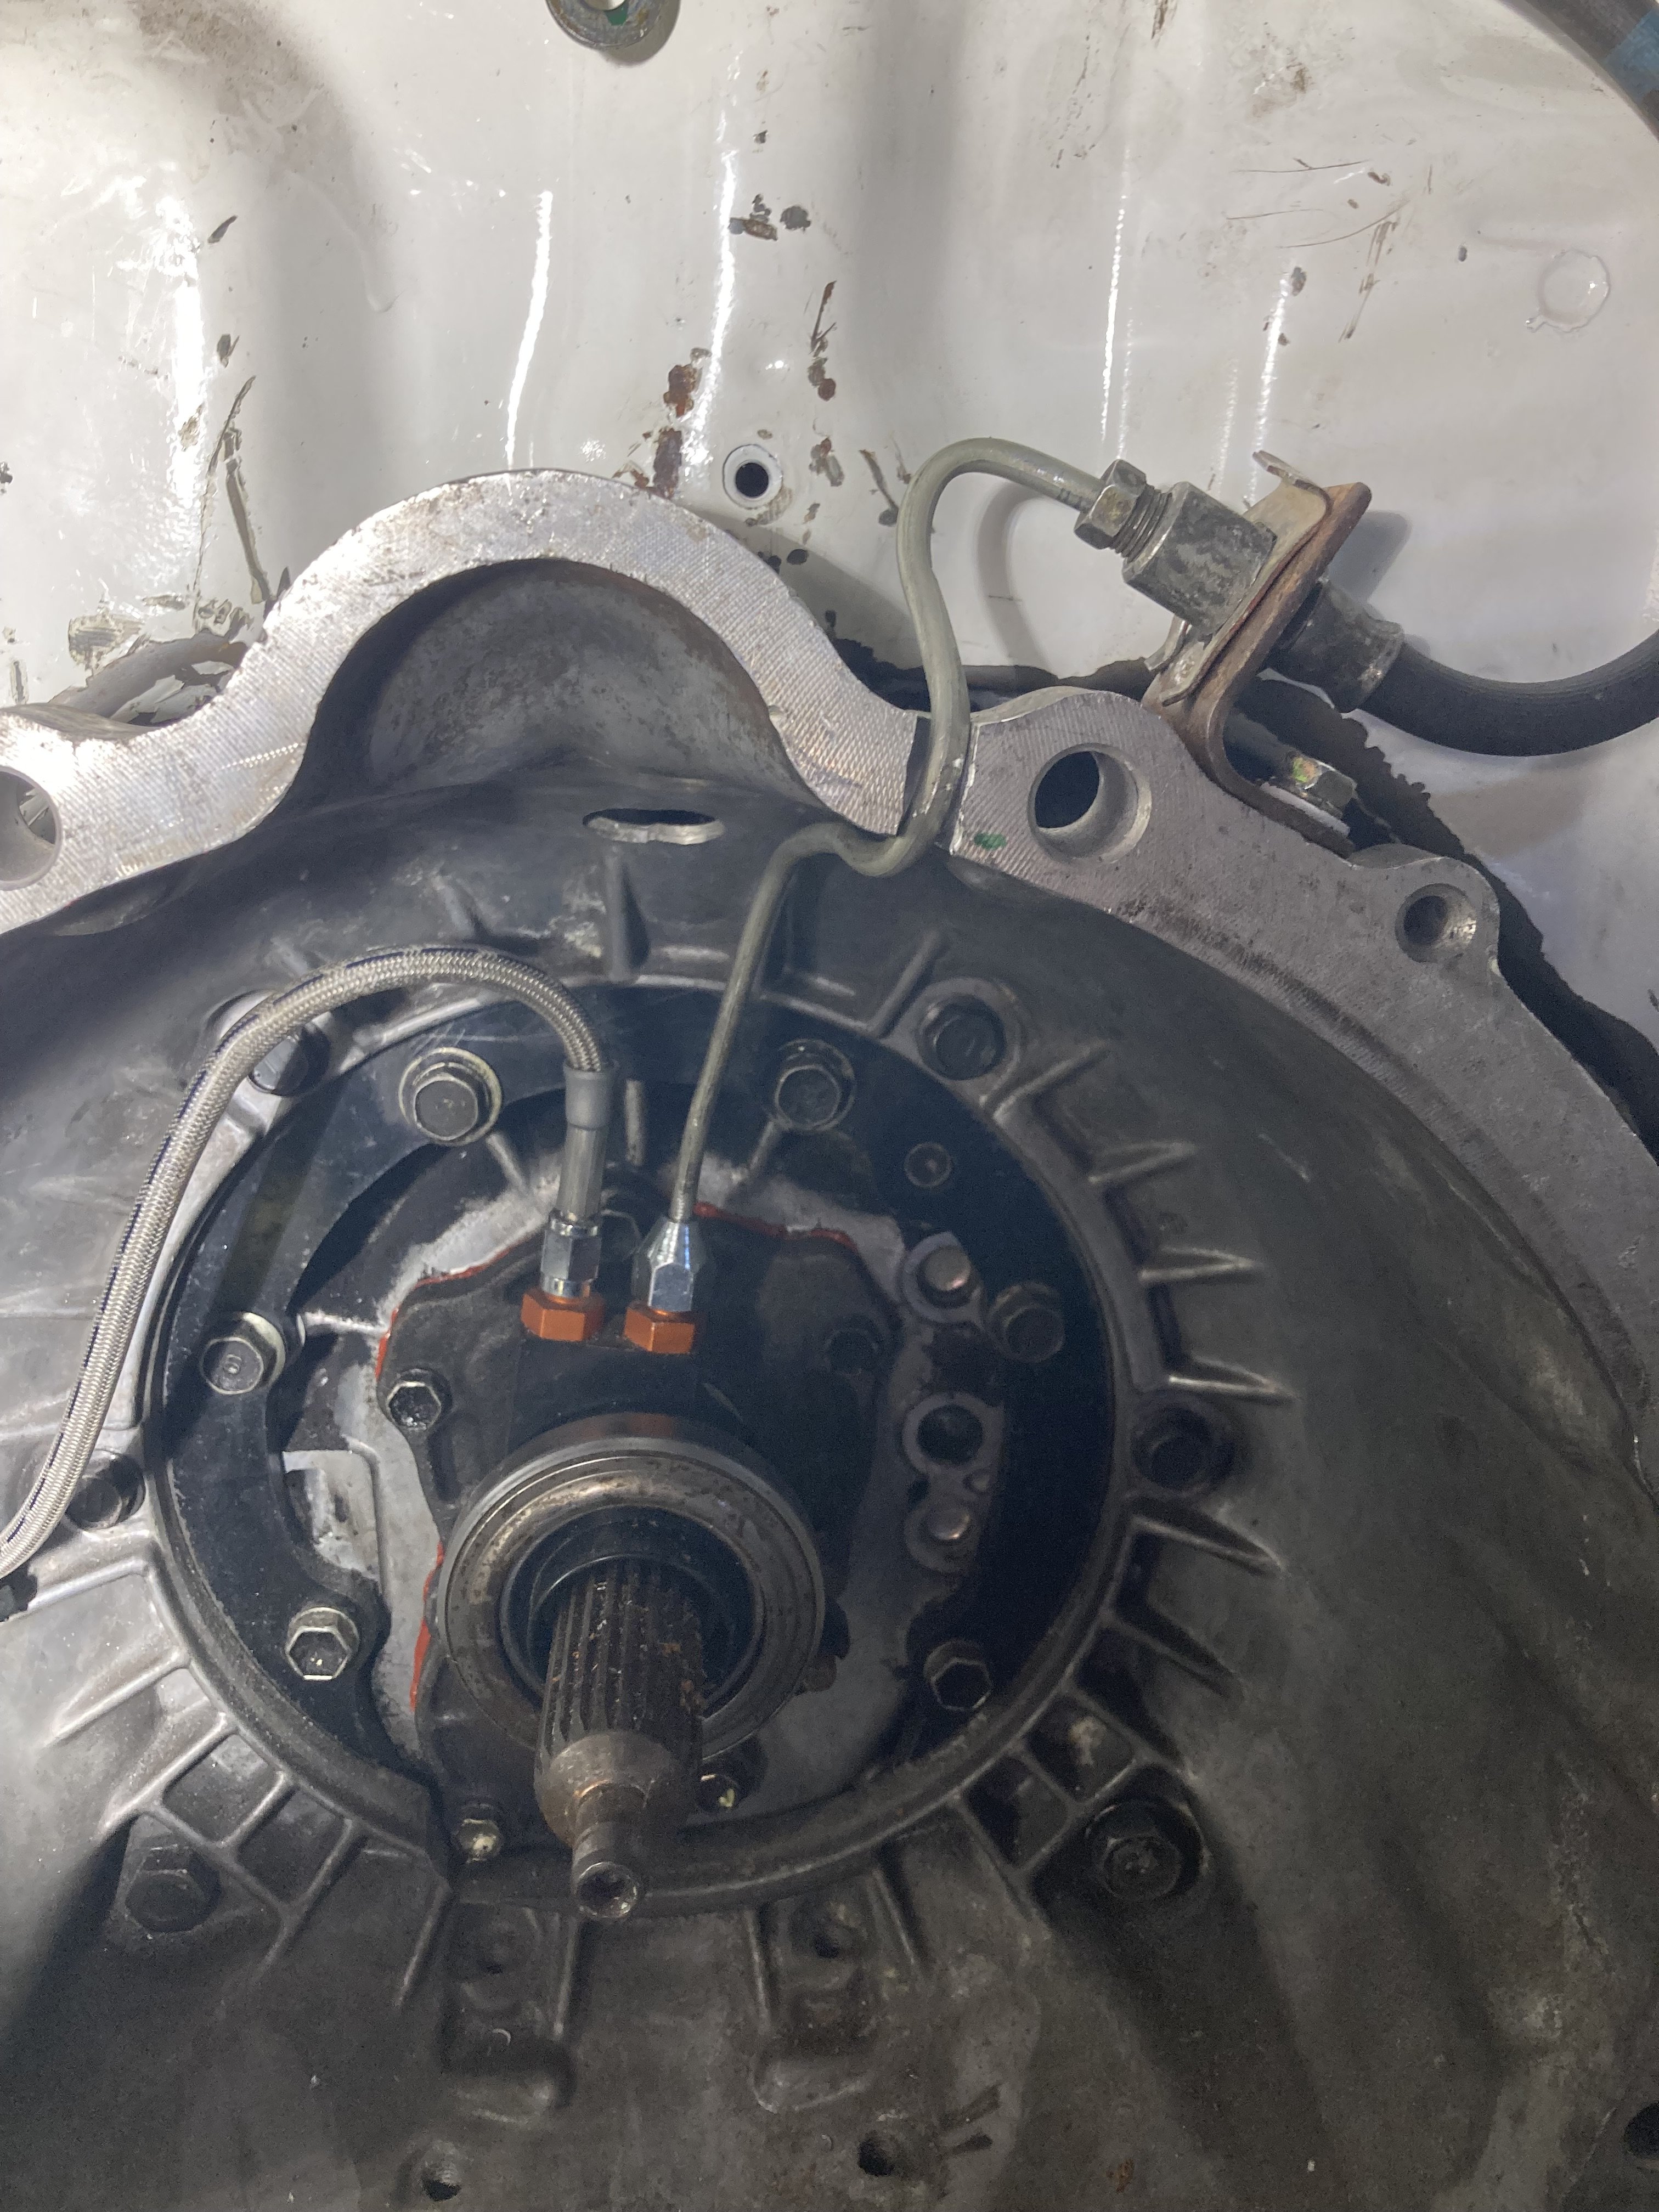
I chucked the gearbox in to see where the clutch line wanted to run and realised it was essentially going to be hanging out with the driver's side header, so converted the feed line to hardline inside the bell housing so I could snake it out the top, still clear the clutch and ring gear and clear the tunnel. You can see the hole that the lines originally ran through in the top of the bell housing, but that was interfering with the tunnel. I hopefully got the soft line to a place where I can disconnect it with the engine in place too. I'm gonna try to get the engine in tomorrow and make up a fuel return. Then all going well fill the thing with fluids and drive it out of the shed under its own power for the first time ever at some stage this weekend.
- 31 replies
-
- 13
-
-

-
Nah I just want the face that mates to the engine. I'm gonna play with a sandwich plate that either bolts to the bell or welds to it. @Roman reckons 4k bell is similar to 1nz too, so will do some research with @Dudley, I think I can probably get my hands on a 1nz
-
Does anyone have a J160 > 3SGE Bellhousing drawing? A couple of people have talked about RWD 1NZ's and I can get my hands on a 1nz and c56 to get that side of the drawing, but J160 is a little harder. If I could draw an adapter I can prototype it out of ply/mdf with my laser cutter and I'm super keen to see how doable it is.
-
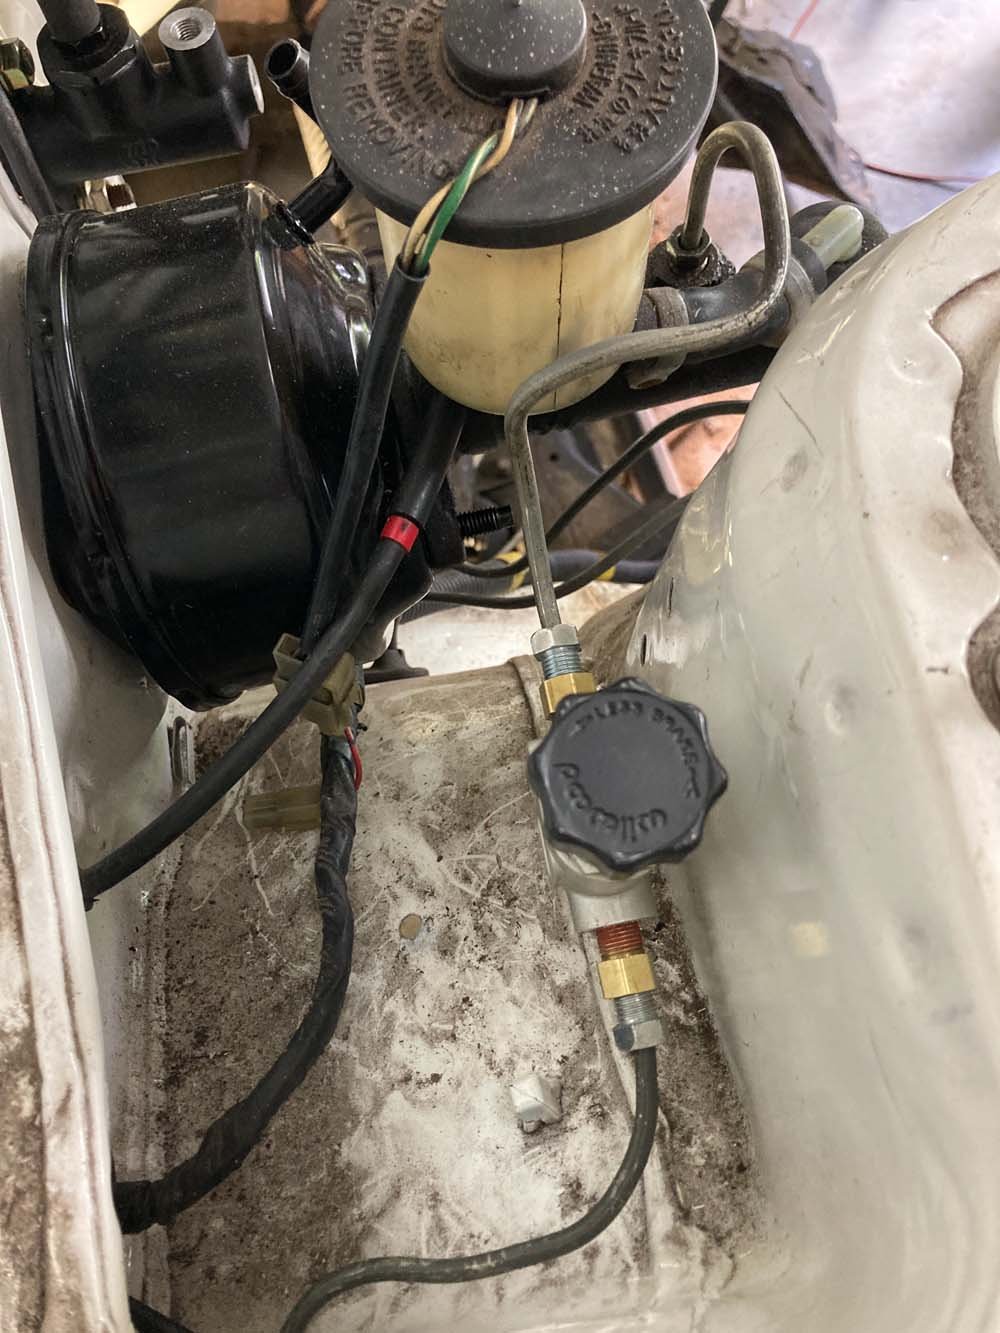
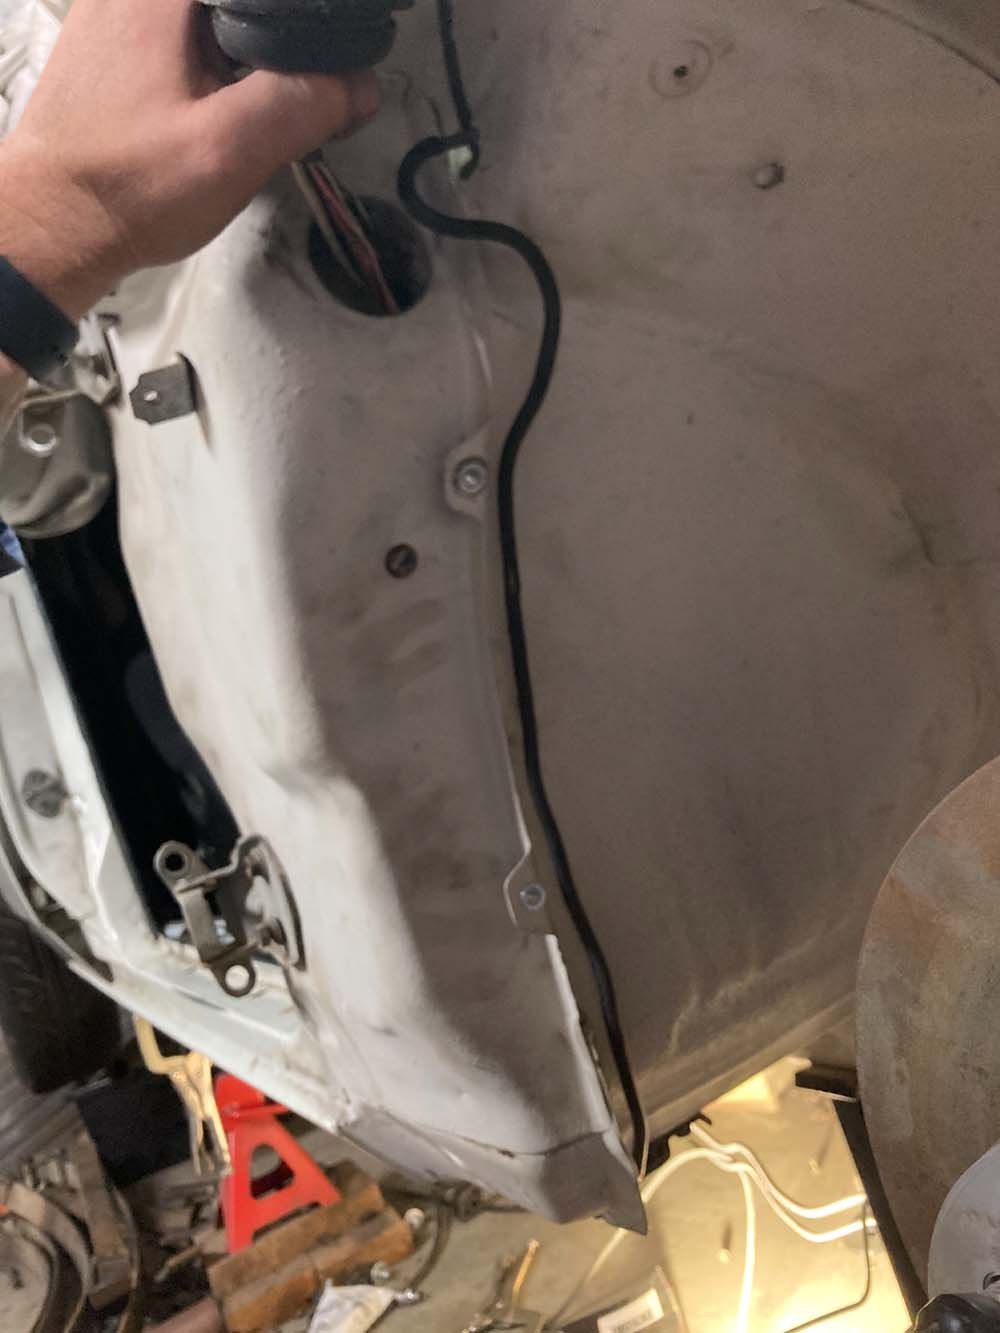
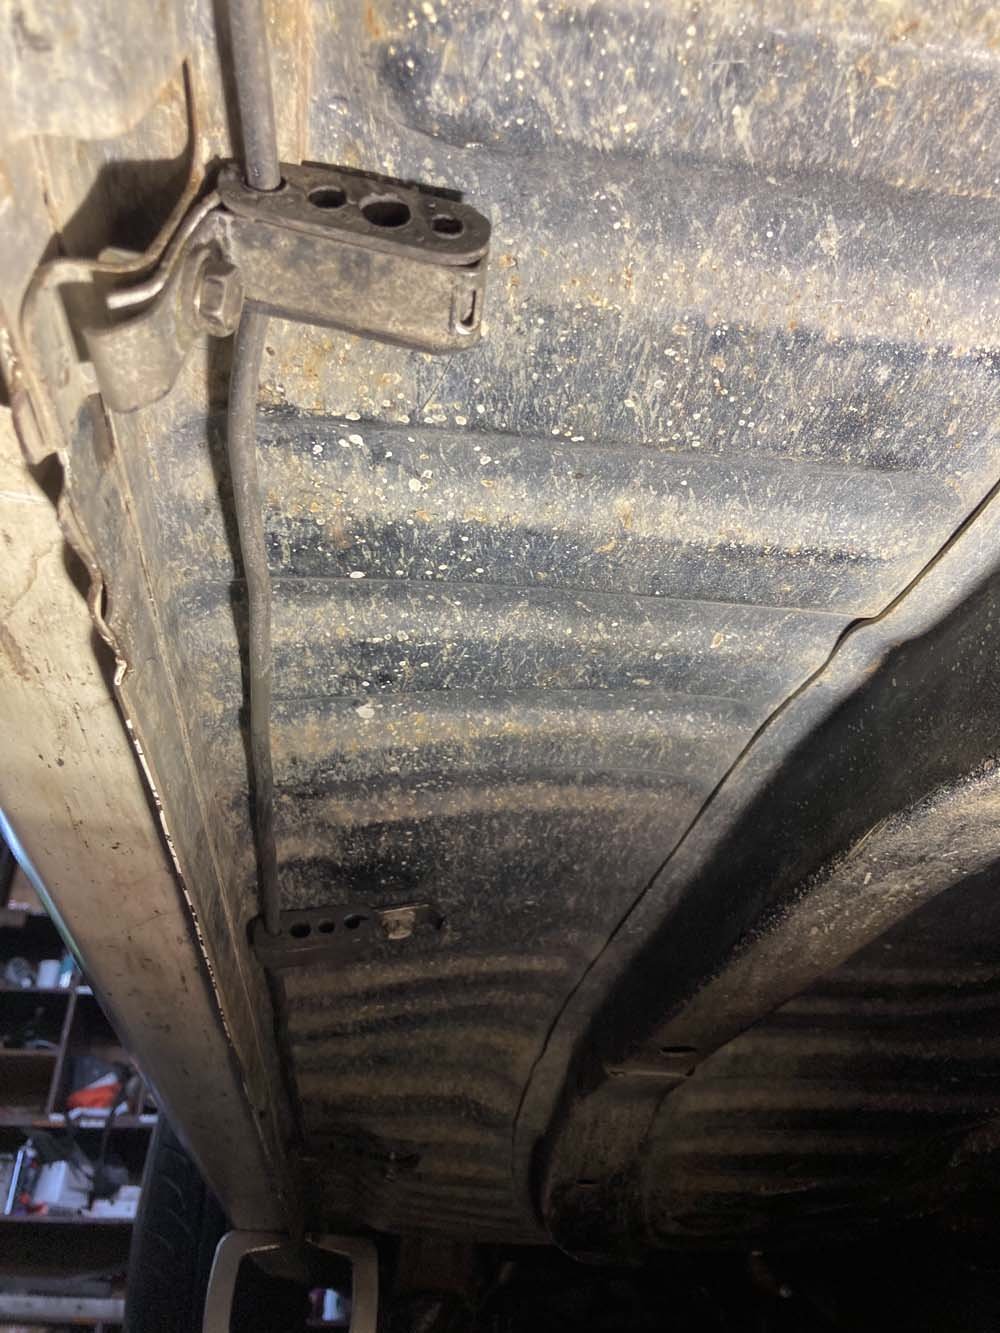
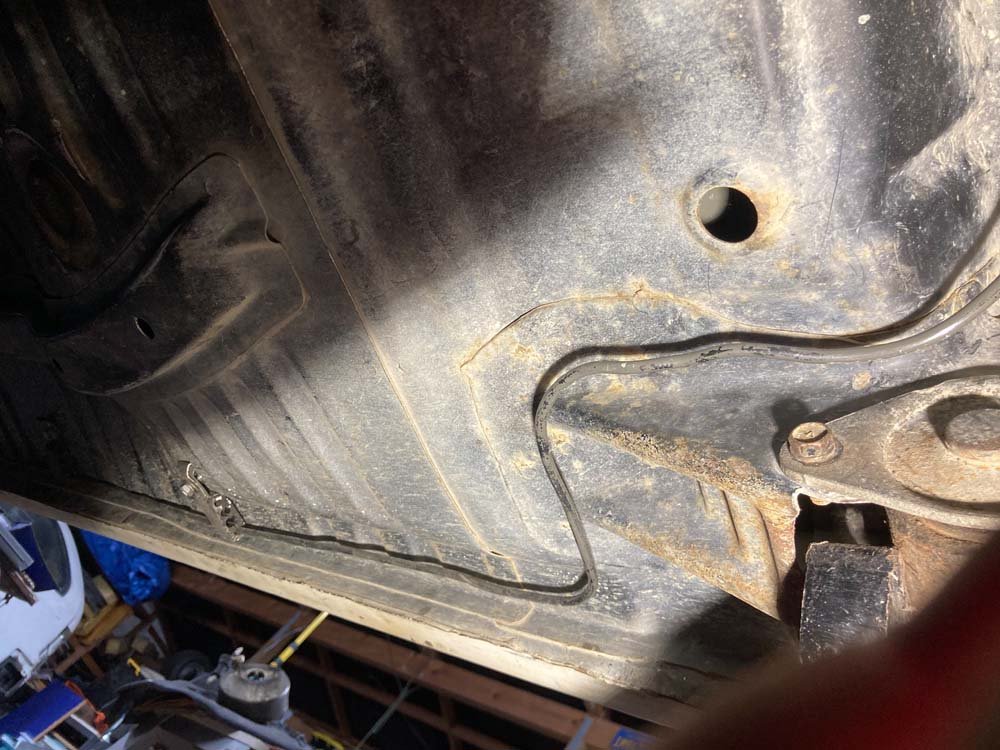
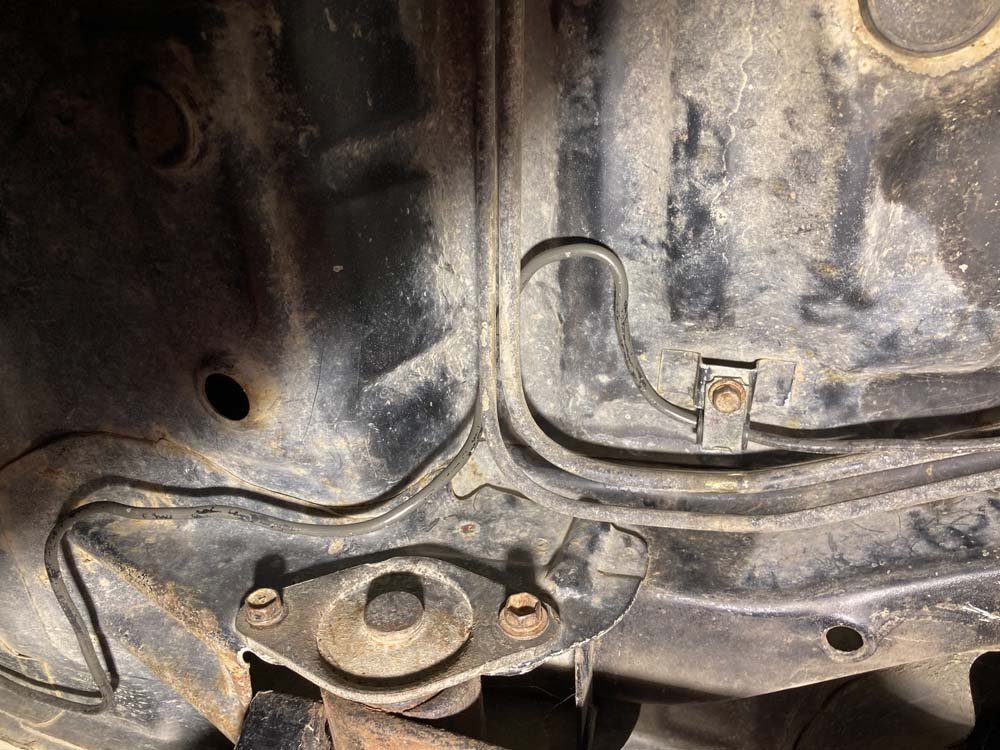
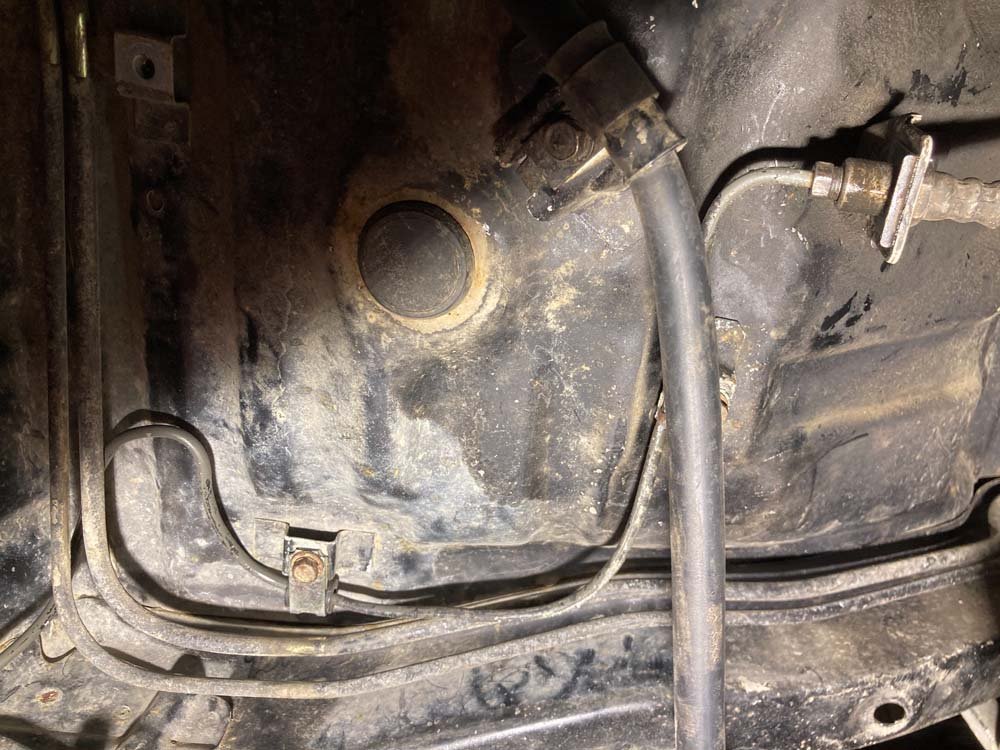
So @Dudley hooked me up with a Wilwood prop valve that he may have stolen off his dad... I've pulled the factory rear line out and rebent it to go out the side of the engine bay and run down beside the seam in the inner wheel well. I've replaced the plastic screw clips on the guard liner tabs with rivnuts and am planning to make a panel that works as a guard liner and protective cover for the brake and fuel lines. Maybe from some sort of plastic and I'll probably mount it inboard of the seam as well just to hold it off the lines. I've repurposed the factory fuel and brake line mounts and attached them with as few holes in the floor as possible as I didn't want rivnuts sticking up under my carpet. I'm gonna have to get some more brackets from somewhere, so might check out Zebra at some stage as I don't really trust 3d printed ones and I assume I'm going to need to mount the lines at 300mm spacings even if I'm mounting in a factory manner? I'm thinking about making some sort of cover that protects the line where it crosses in front of the leaf mount and I'm gonna tidy up some of the bends (and straights) eventually. This little kink in front of that last bracket is essentially coz I didn't want to cut and flare the line just to take that much out. The line is basically the factory length with the front flare cut off to suit the Wilwood nut and then run down the side of the car rather than the tunnel. I've still got the fuel feed and return to add down there. The feed will be the factory 8mm line and the return I'm upgrading to 8mm from the 6mm factory return with an ae86 factory feed I round in the rafters. I'm thinking I might add some sort of protection down that rail just to make sure nothing gets smoked into the ground. It's pretty satisfying how the line runs into the factory rear flexy hose for the diff. With the two fuel lines, I'll keep them running down the outside of the spring and then run the soft line into the tank through under the bump stop platform.
-
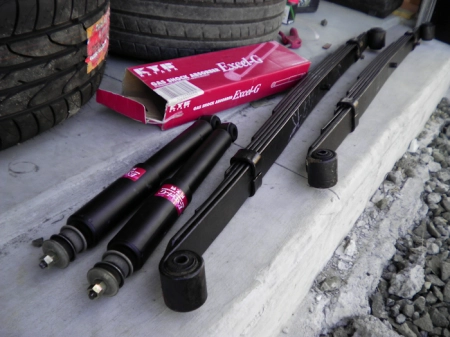
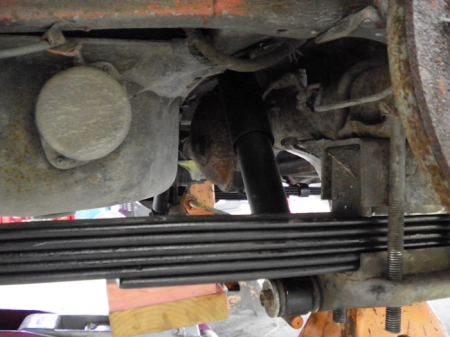
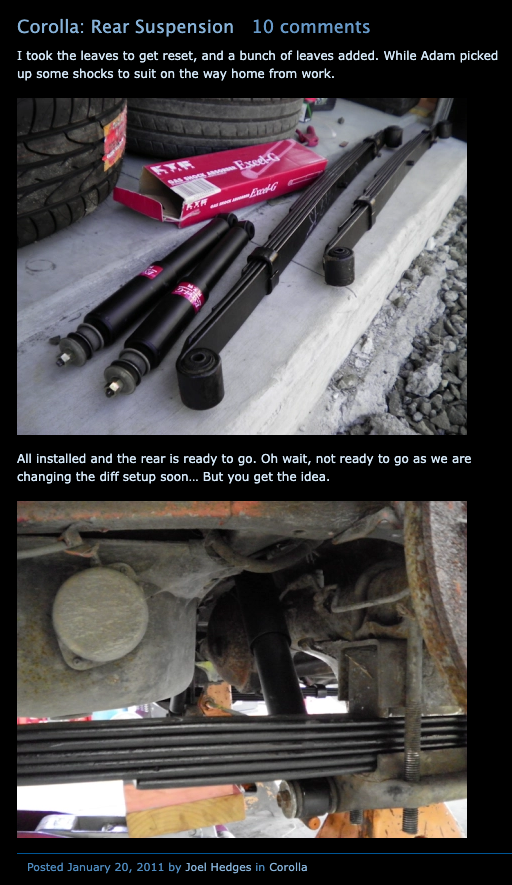
Just storing these so they don't get lost. This is the rear suspension setup I have although looking at the pics my shocks are grey rather than black so they must have changed them at some stage before I got the setup
-
When is @kpr cooking up 5k VVTI?
-
Paging @kpr can we have a VVTi big port 4ag next to verify @Roman’s claims that port size doesn’t matter anymore once you introduce vvti
-

Random slightly cool stuff you built but not worth its own thread, thread
GARDRB replied to h4nd's topic in Other Projects
Nah, I cracked one of the compression nuts on the big compressor chasing air leaks today so had to grab the baby compressor -
Random slightly cool stuff you built but not worth its own thread, thread
GARDRB replied to h4nd's topic in Other Projects
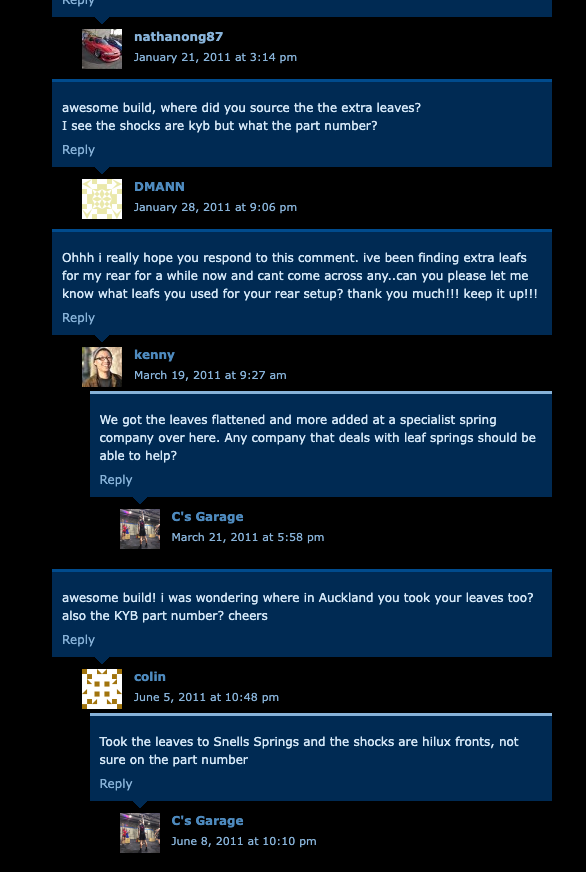
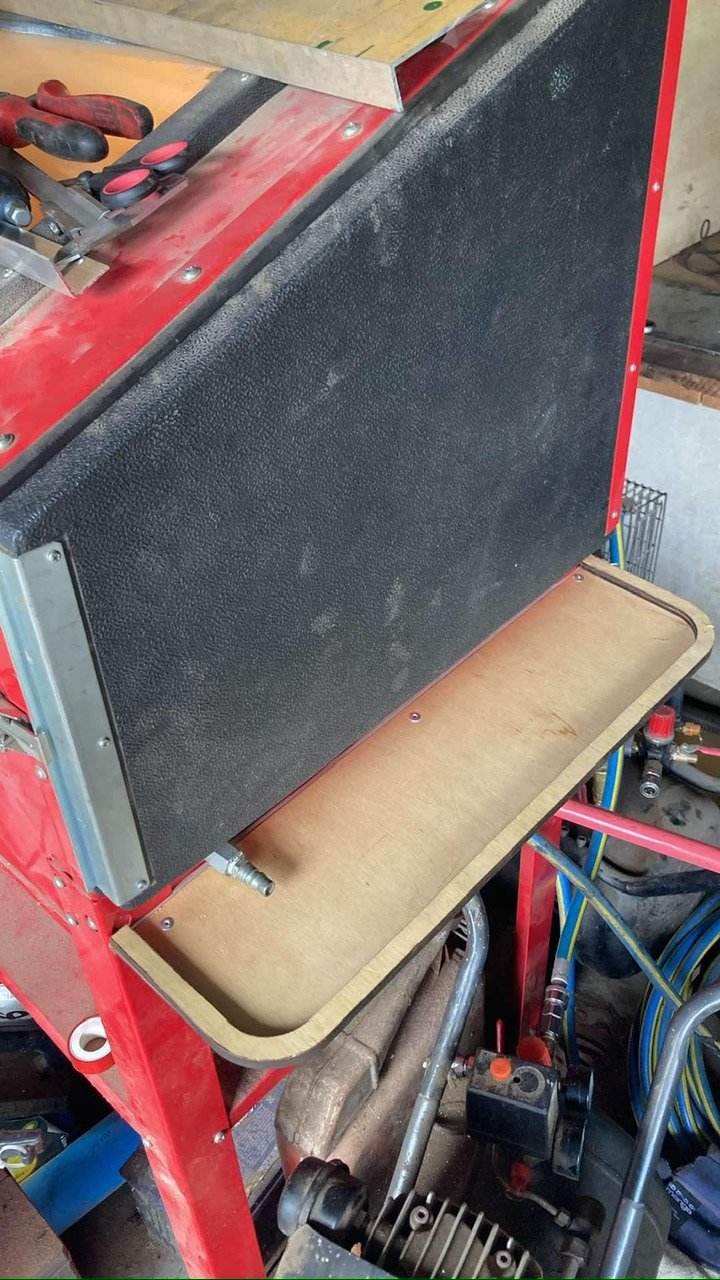
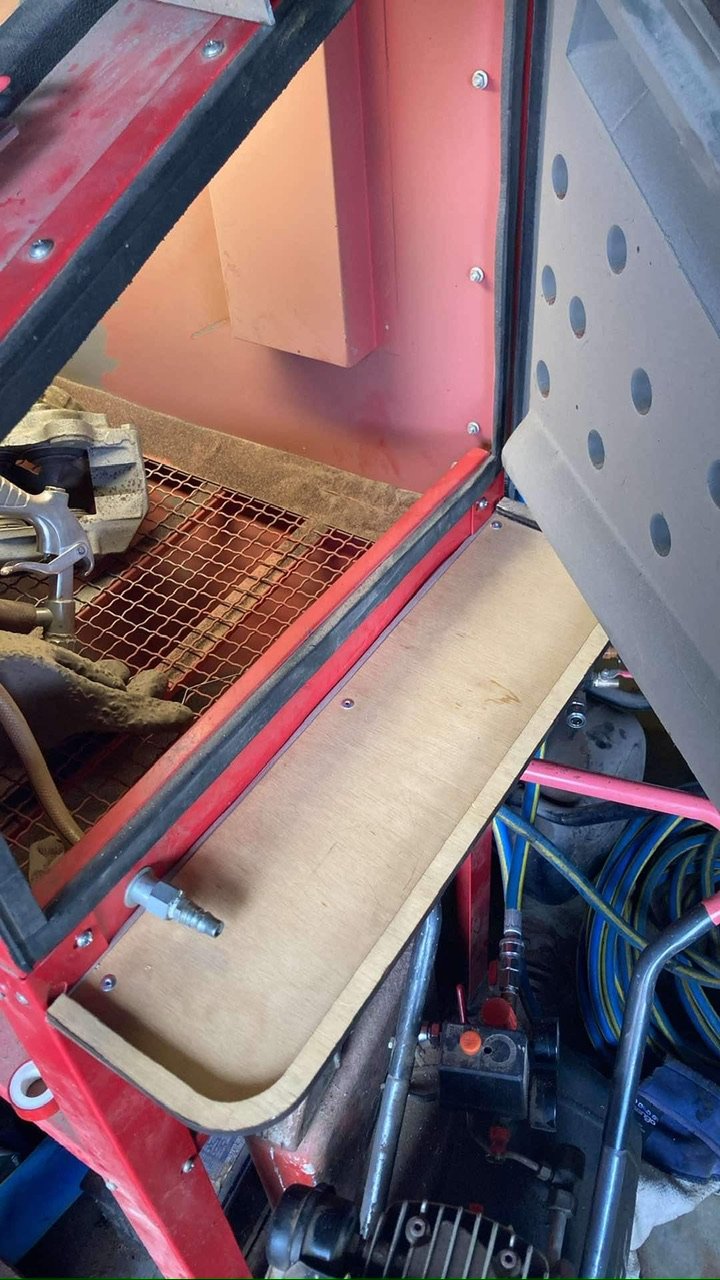
@Dudley is working on my car so I don’t have to, but it means I’m in the shed doing jobs I’ve been putting off. I hung the air hose reel that I bought about a year ago so I don’t have to coil and uncoil the hose all the time. Thread taped all the air fittings everywhere, and coz the sand blaster drops sand everywhere every time you open the door I made this little shelf for the sand to land on
-
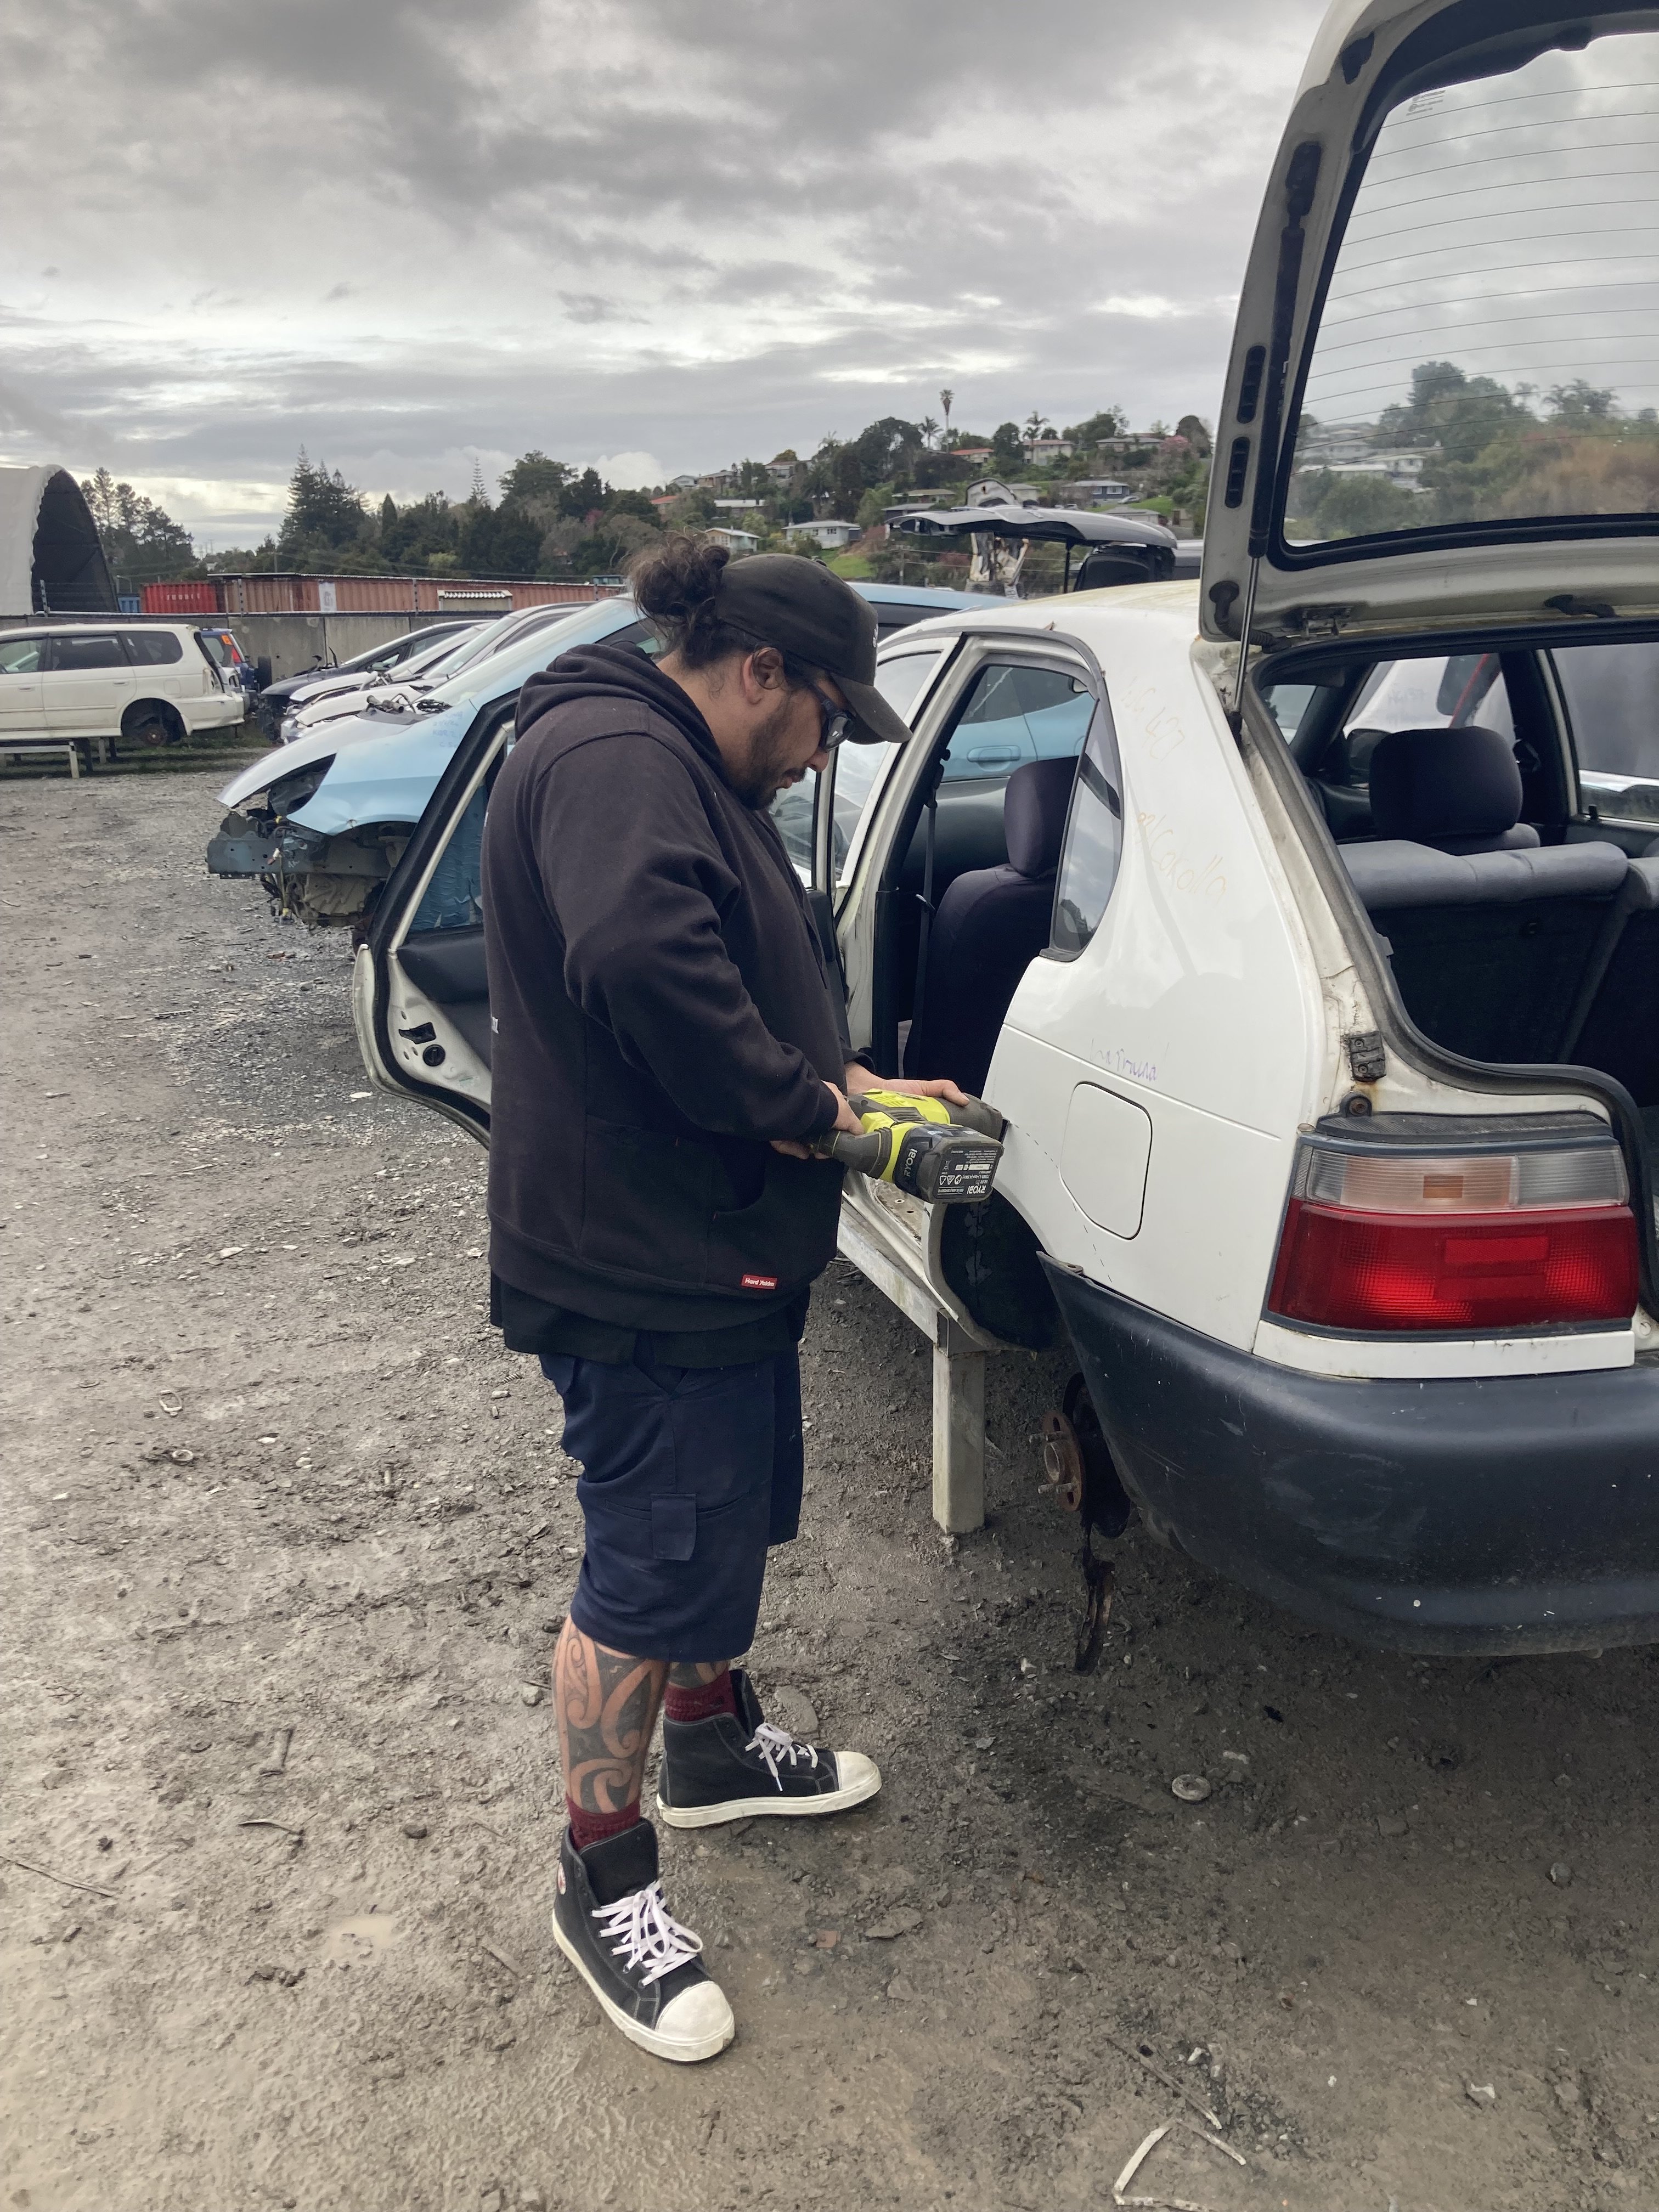
This is the only tool you need for rust work. The @Dudley 1000. He's a little hard on the gear though
-
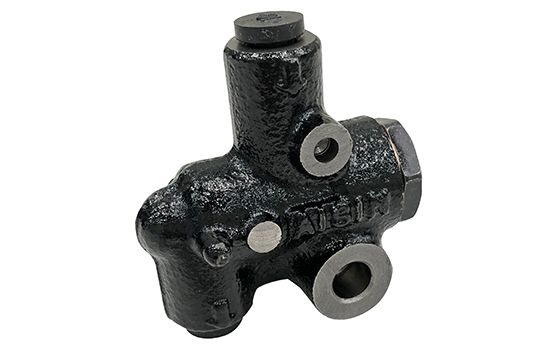
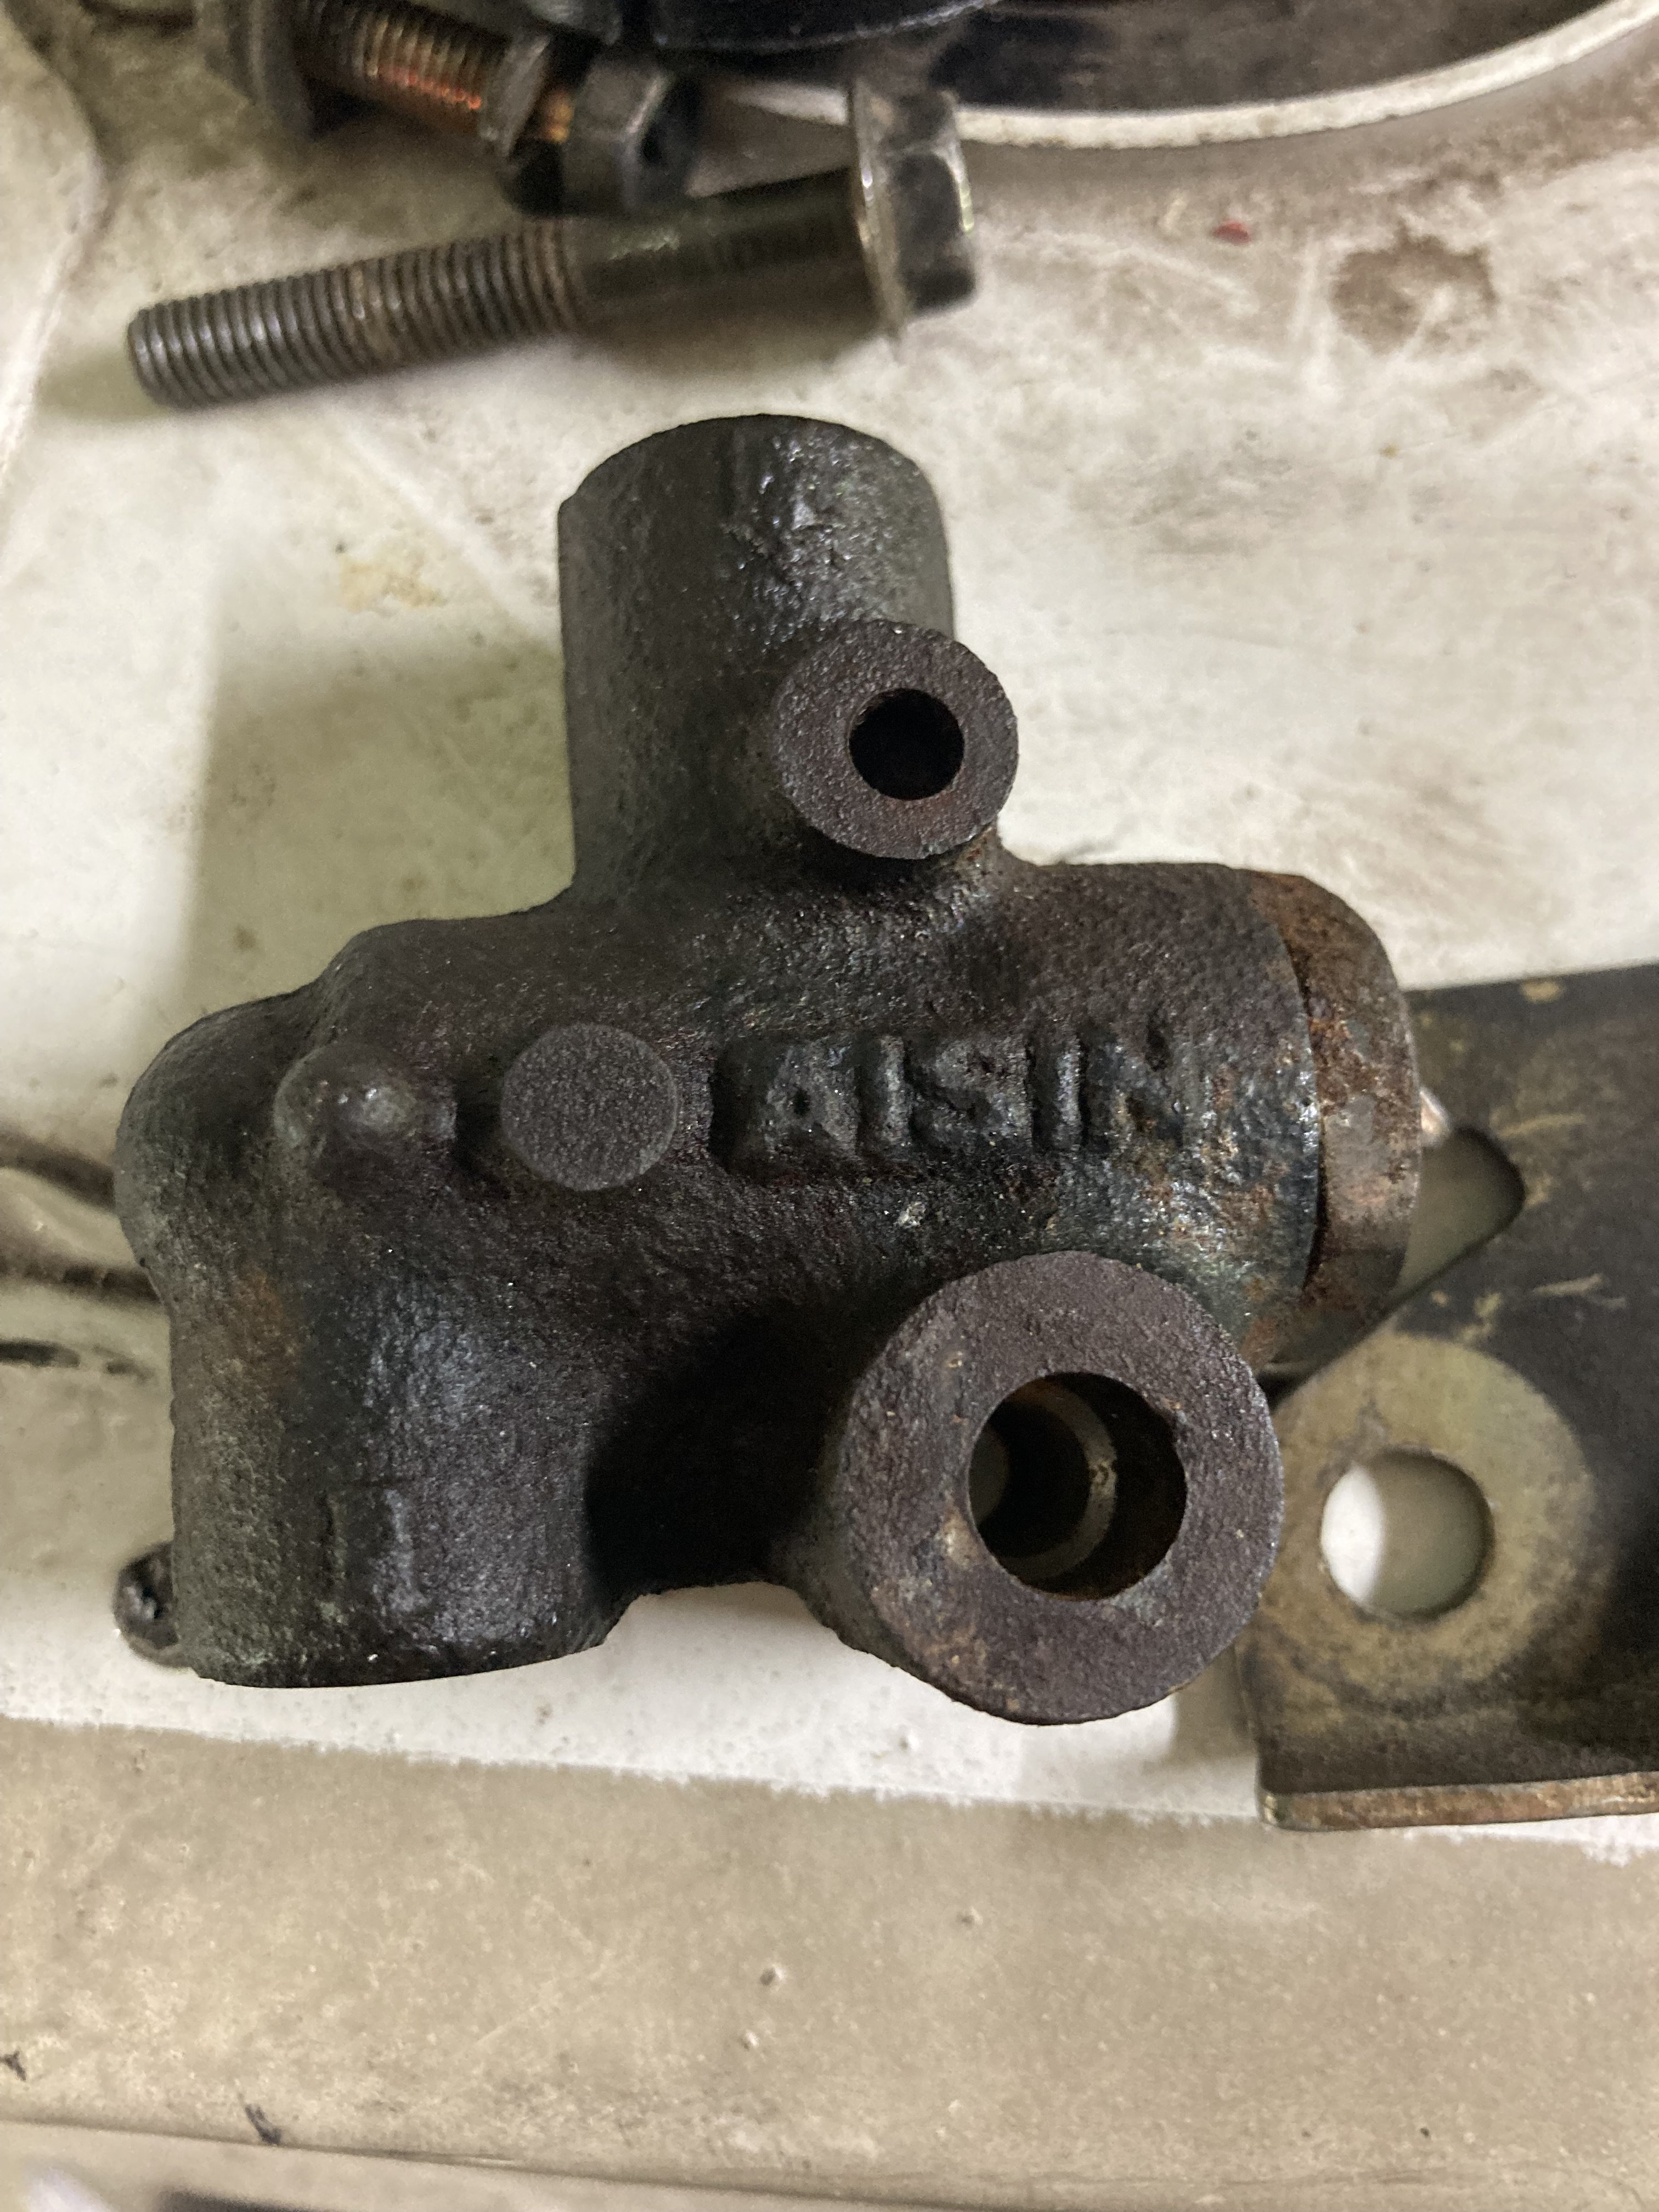
Ok dumb computer guy question for the day. I'm in the process of re-routing my brake line for the rear in my ke70 and found the brake proportioning value in the weekend. I've switched from factory drums in the rear to AE92 FXGT calipers and I have MRP Wilwoods in the front. I'm running the factory master as this is what Barry at MRP has matched the WIlwoods to. I've got a single in single out proportioning valve which looks a lot like an AE86 proportioning valve. I've seen some people suggest gutting the factory proportioning valve. Does anyone know if Toyota used the same housing with a different spring pressure in the valve across different models? I'm almost tempted to go to an adjustable valve, but would rather not buy more things for the system if I don't need to. Any suggestions about what to do RE prop valve I'm all ears. @Dudley might even be convinced to give me his Wilwood one for free
-
The SZ engines are more of a Daihatsu thing, the 2SZ is a K3-DE, which means you could probably technically turbo Townace with a K3-VET, but that doesn't help with the 1nz RWD bellhousing. The way to do the 1NZ would be a milled and adapted J160