nzstato
-
Posts
2008 -
Joined
-
Last visited
-
Days Won
1
Everything posted by nzstato
-
Also, I may have a 1ton gearshift somewhere in the shed. Will let you know if I find it?
-
Yes M20s are now moonbeams.... A cheap trick is to get a 6cyl box and swap out the 1st gear/pinion for a v8 one (you can buy them new). The gearing isnt quite the same but it can be a cheaper route.
-
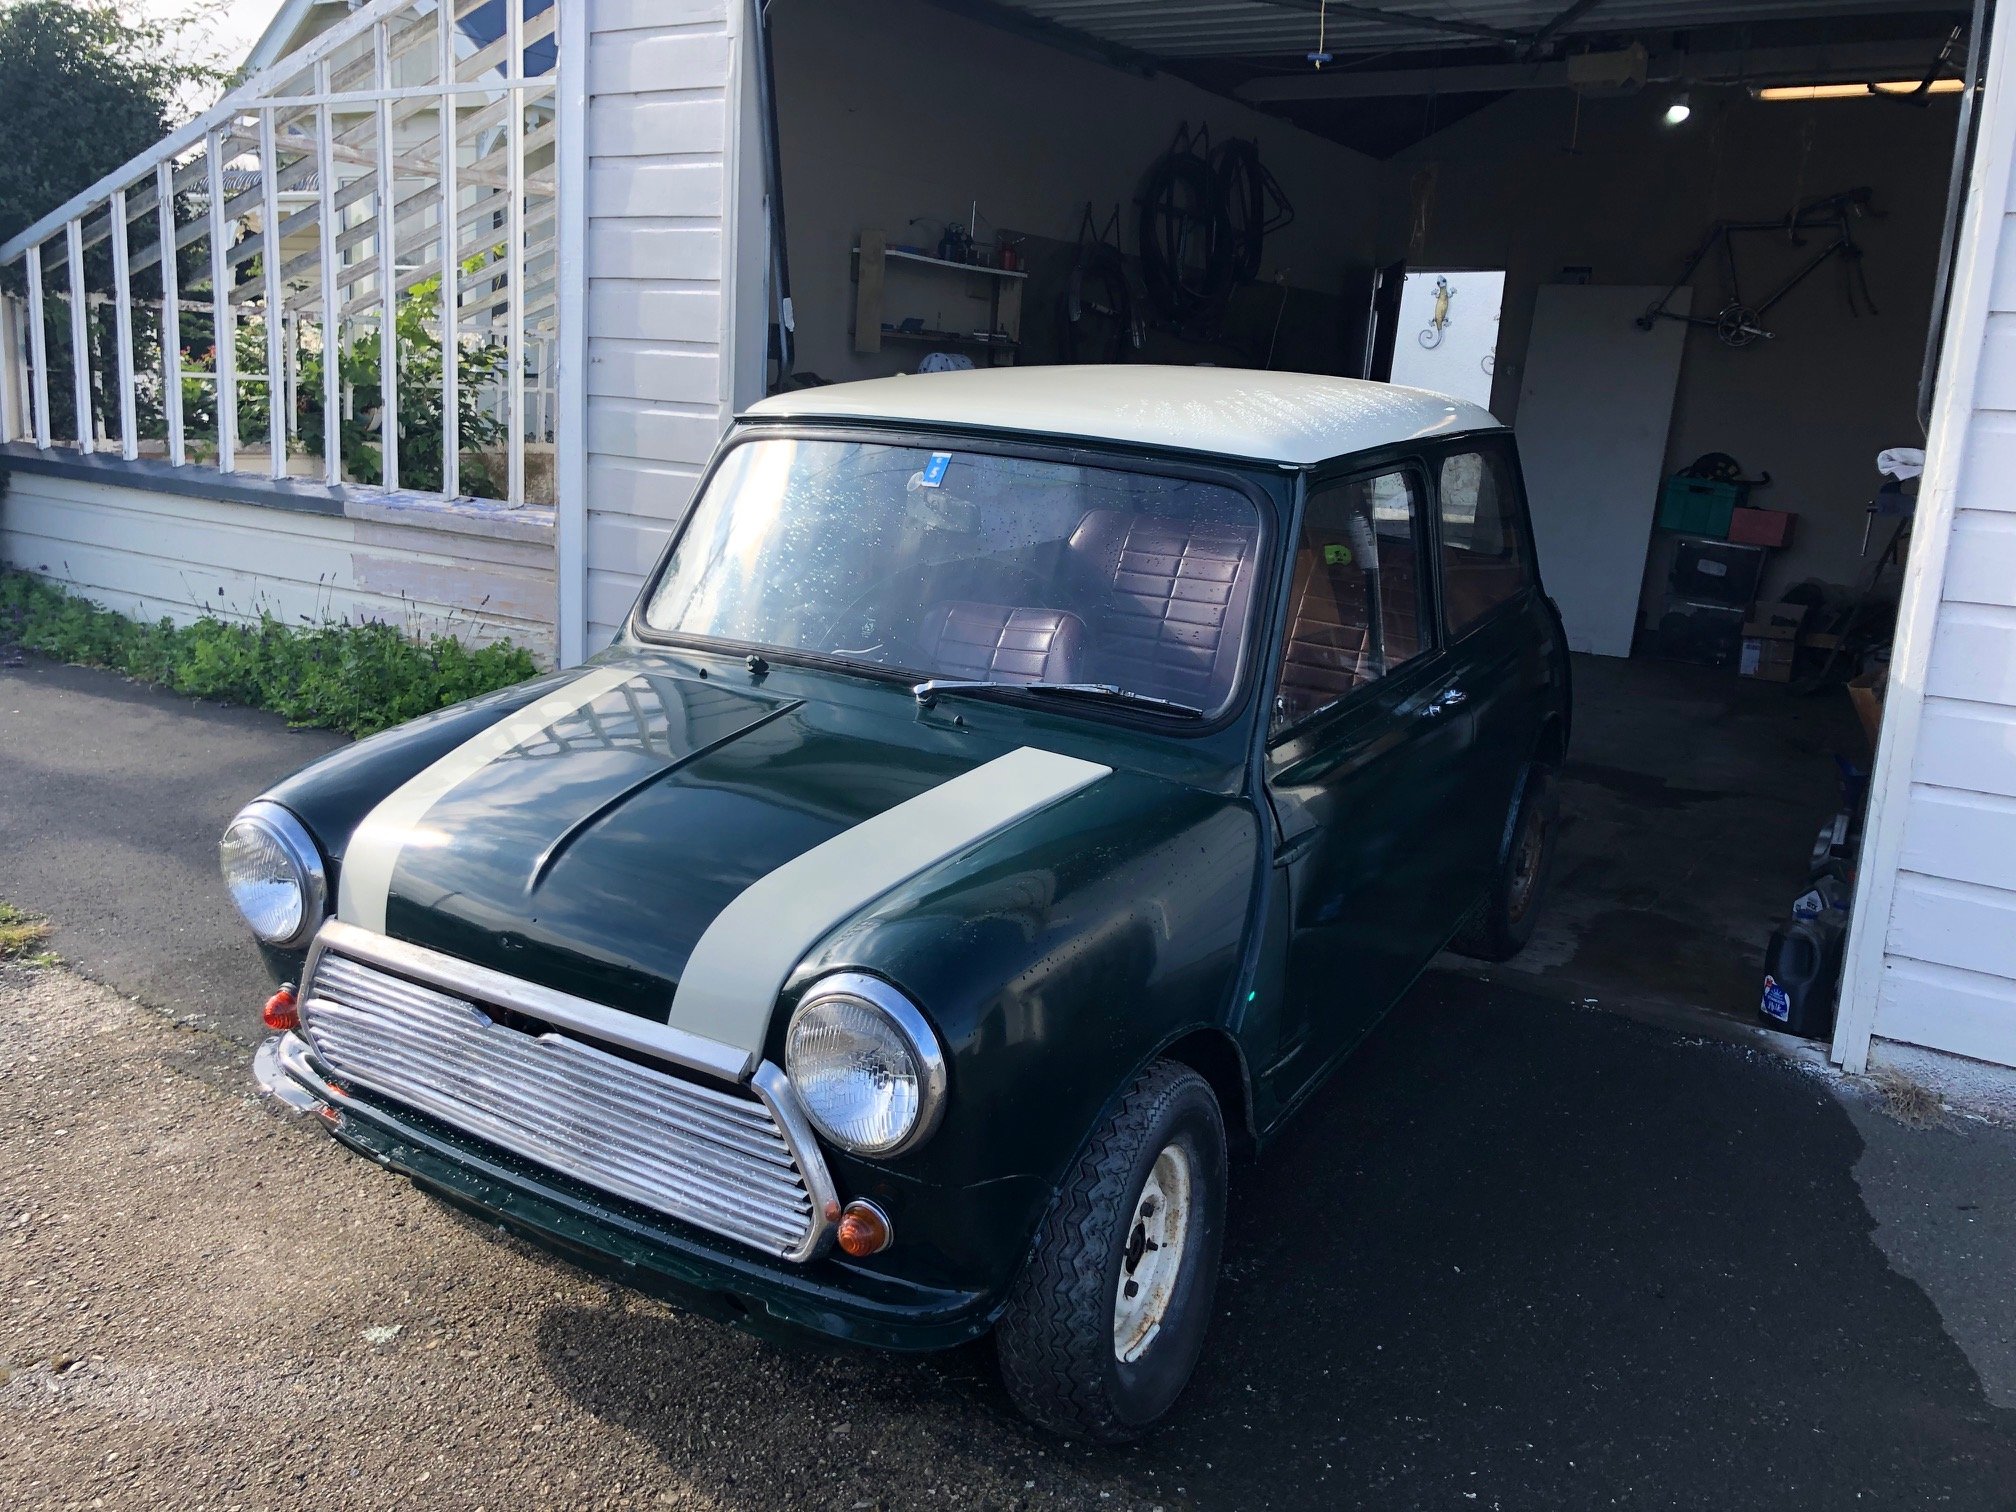
If I haven't shown it previously this is what I'm aiming for (sing out if anyone knows of a roofrack hiding anywhere...). Just talking through paint options to spray the alluminium. I have left over 'old english white' from the mini to do the roof and the wheels.
- 70 replies
-
- 17
-

-
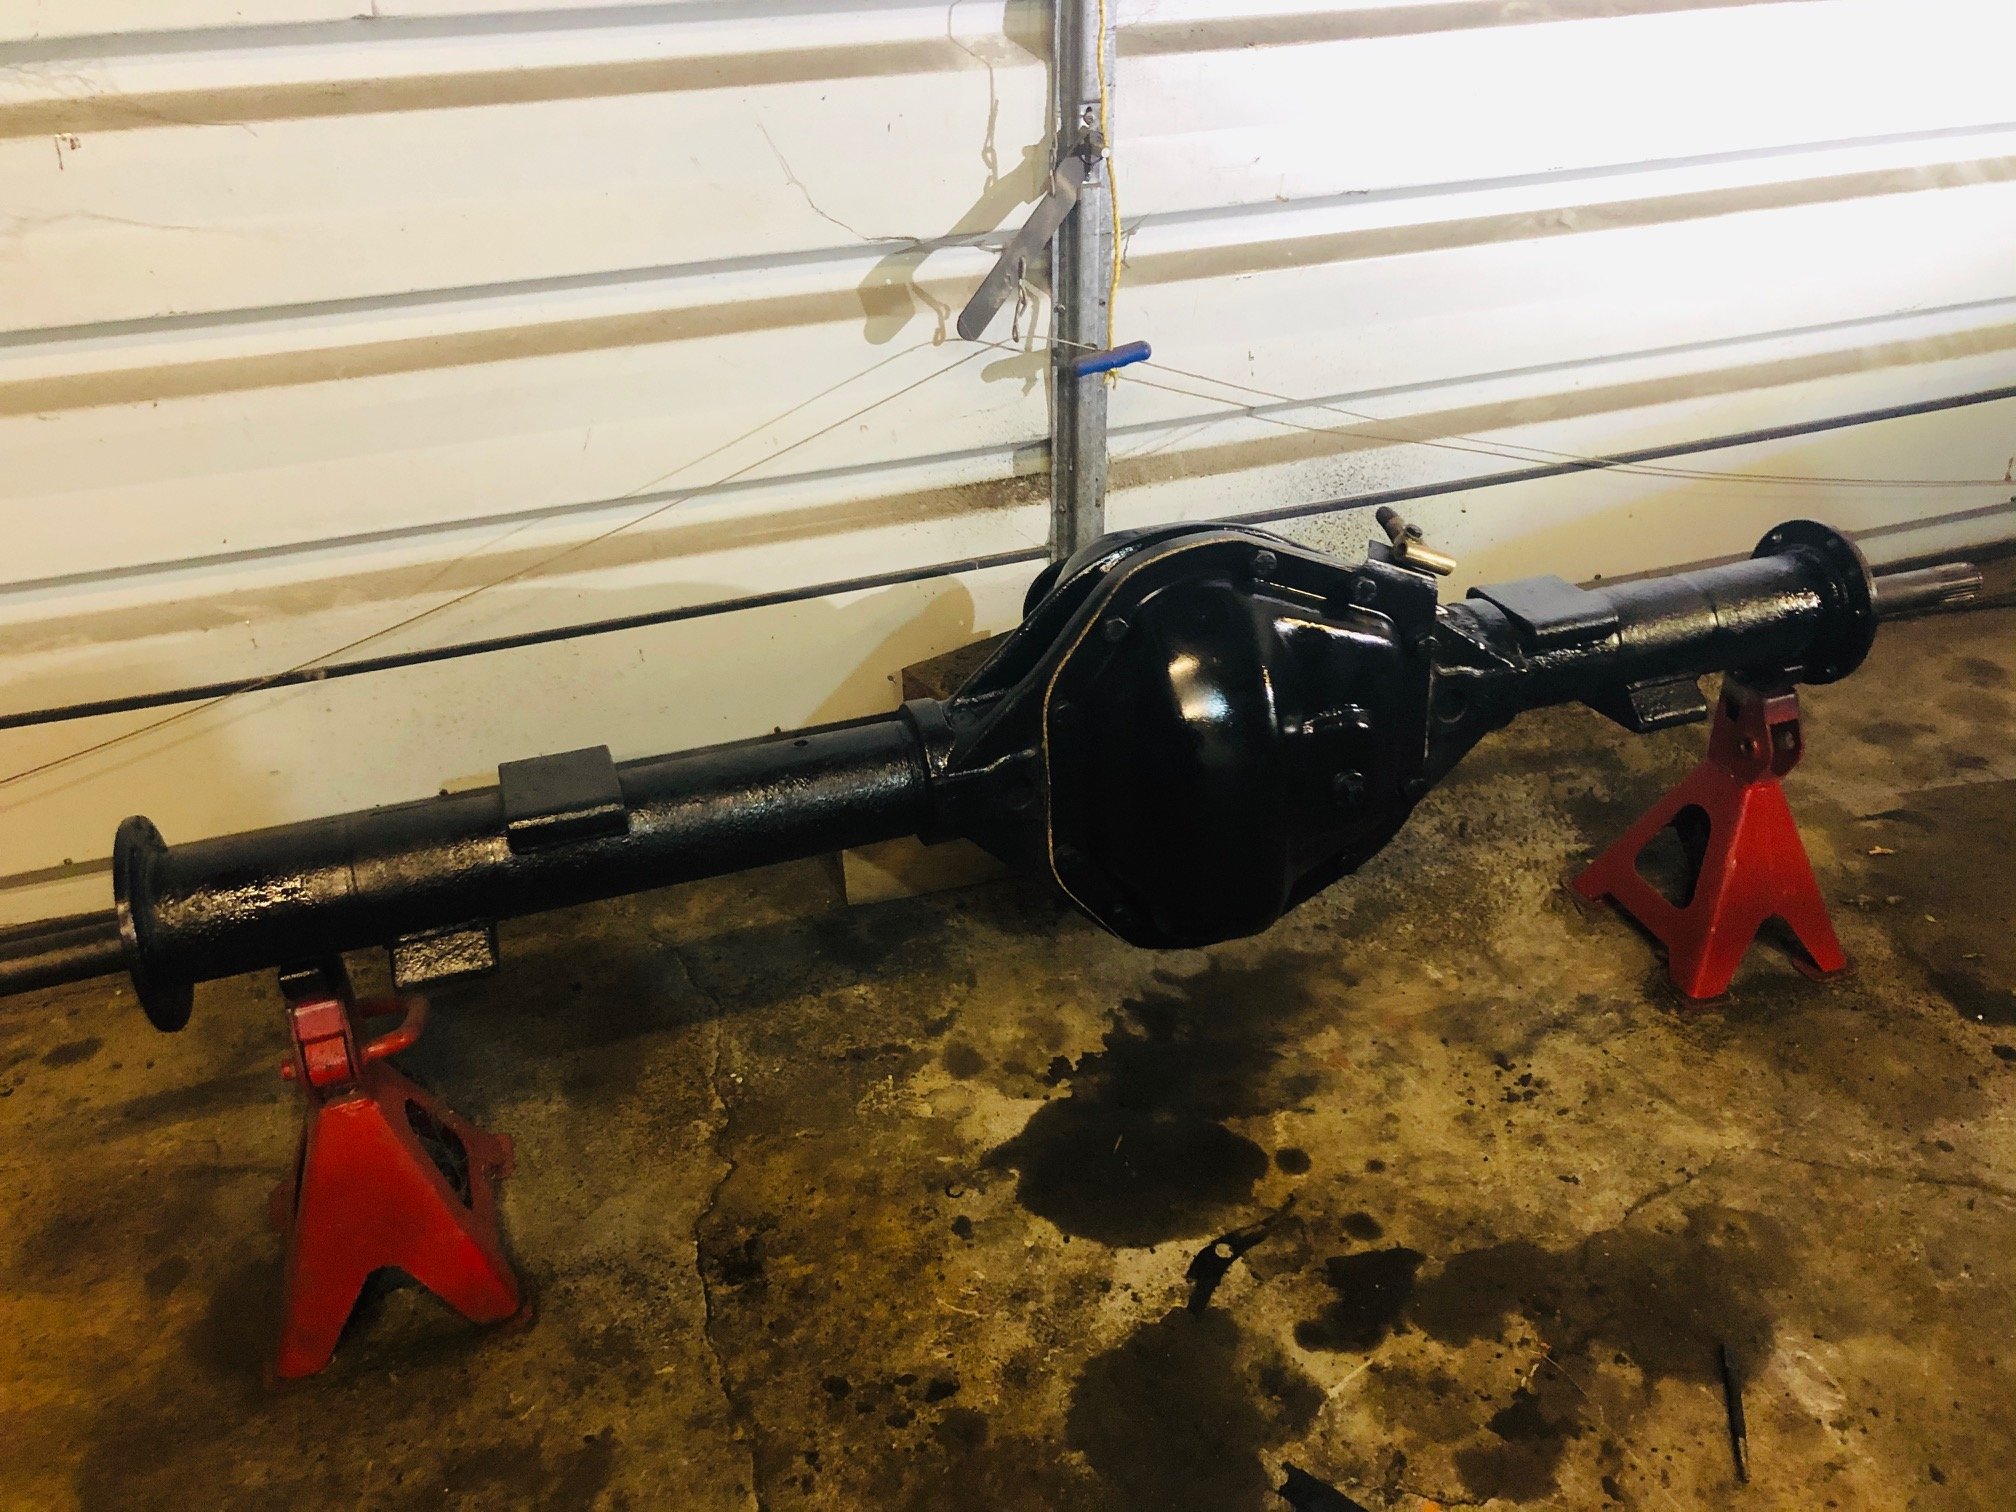
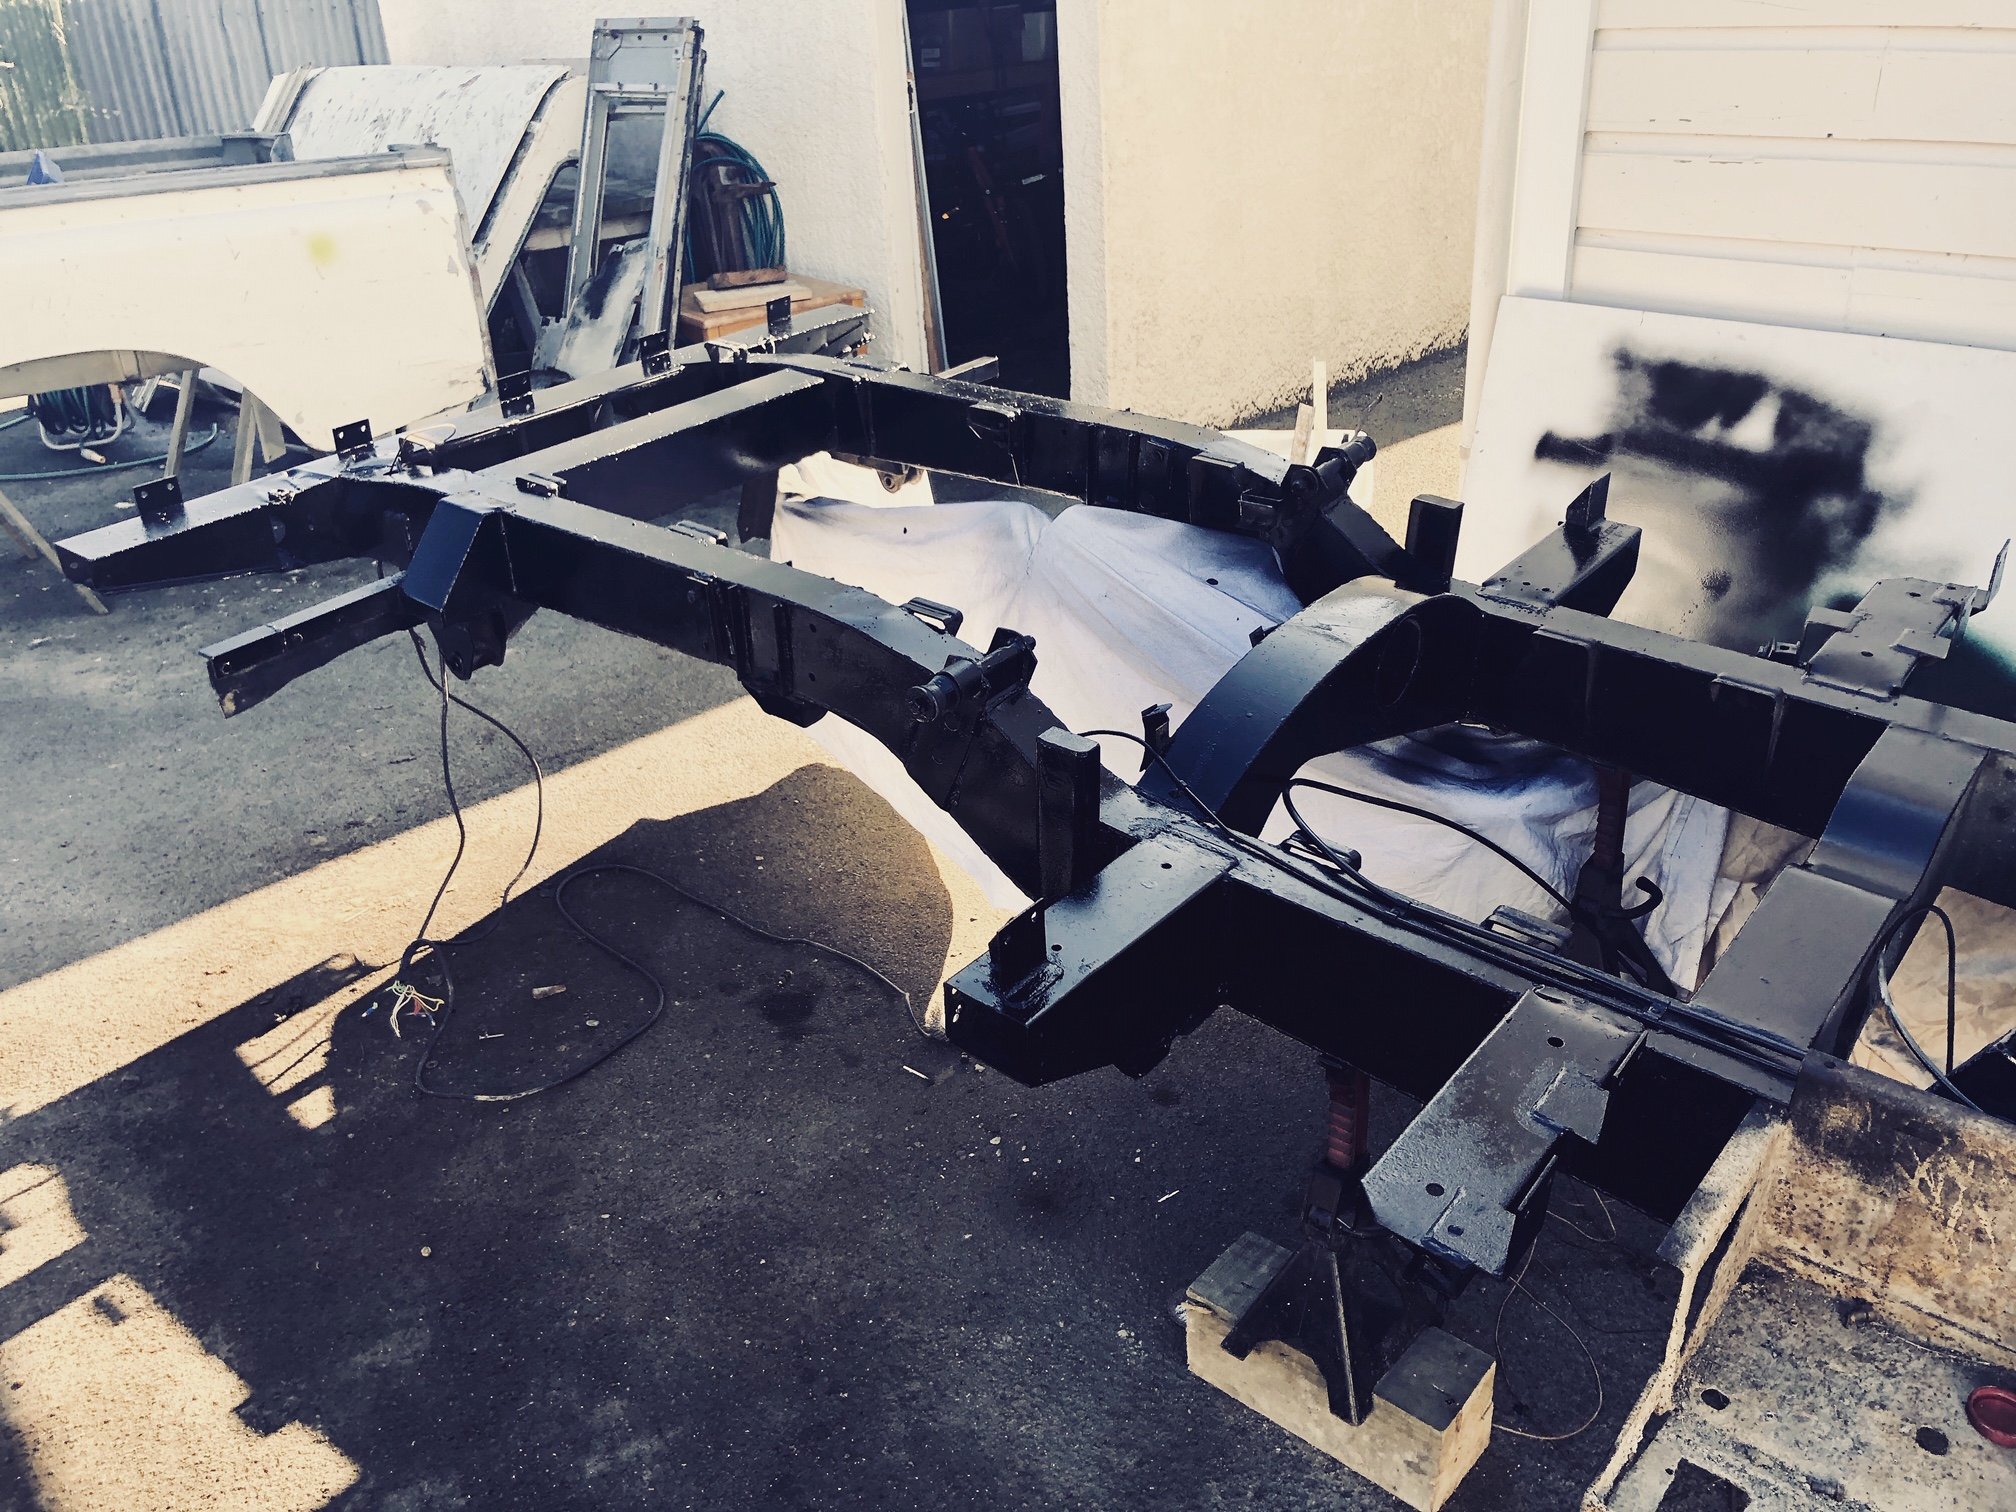
This is quite cool, that bearing carrier has 'Made in New Zealand' cast into it. It's actually two pieces which are tigged together. More cleaning/painting etc. Also had a load of parts arrive from the UK so that allowed to put the diff cover/pinion back together. Hope to refurb the springs and get it all back into the chassis over the weekend. Anyone who knows LR spring bushes understand that I'm dreading that job...

- 70 replies
-
- 11
-
-
https://www.facebook.com/LandiBits Land Rover Barry
-
Cheers, if none of these contacts come through, will definately hit you up on that.
-
Im tending to agree Already tracked down some spare boxes and/or parts from local Barrys. Have a gasket set on order but will replace bearings will good quality units (Timkin/SKF)
-
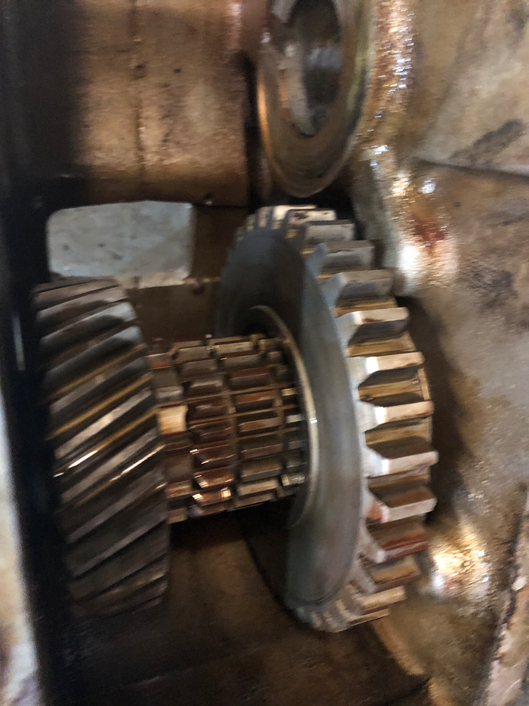
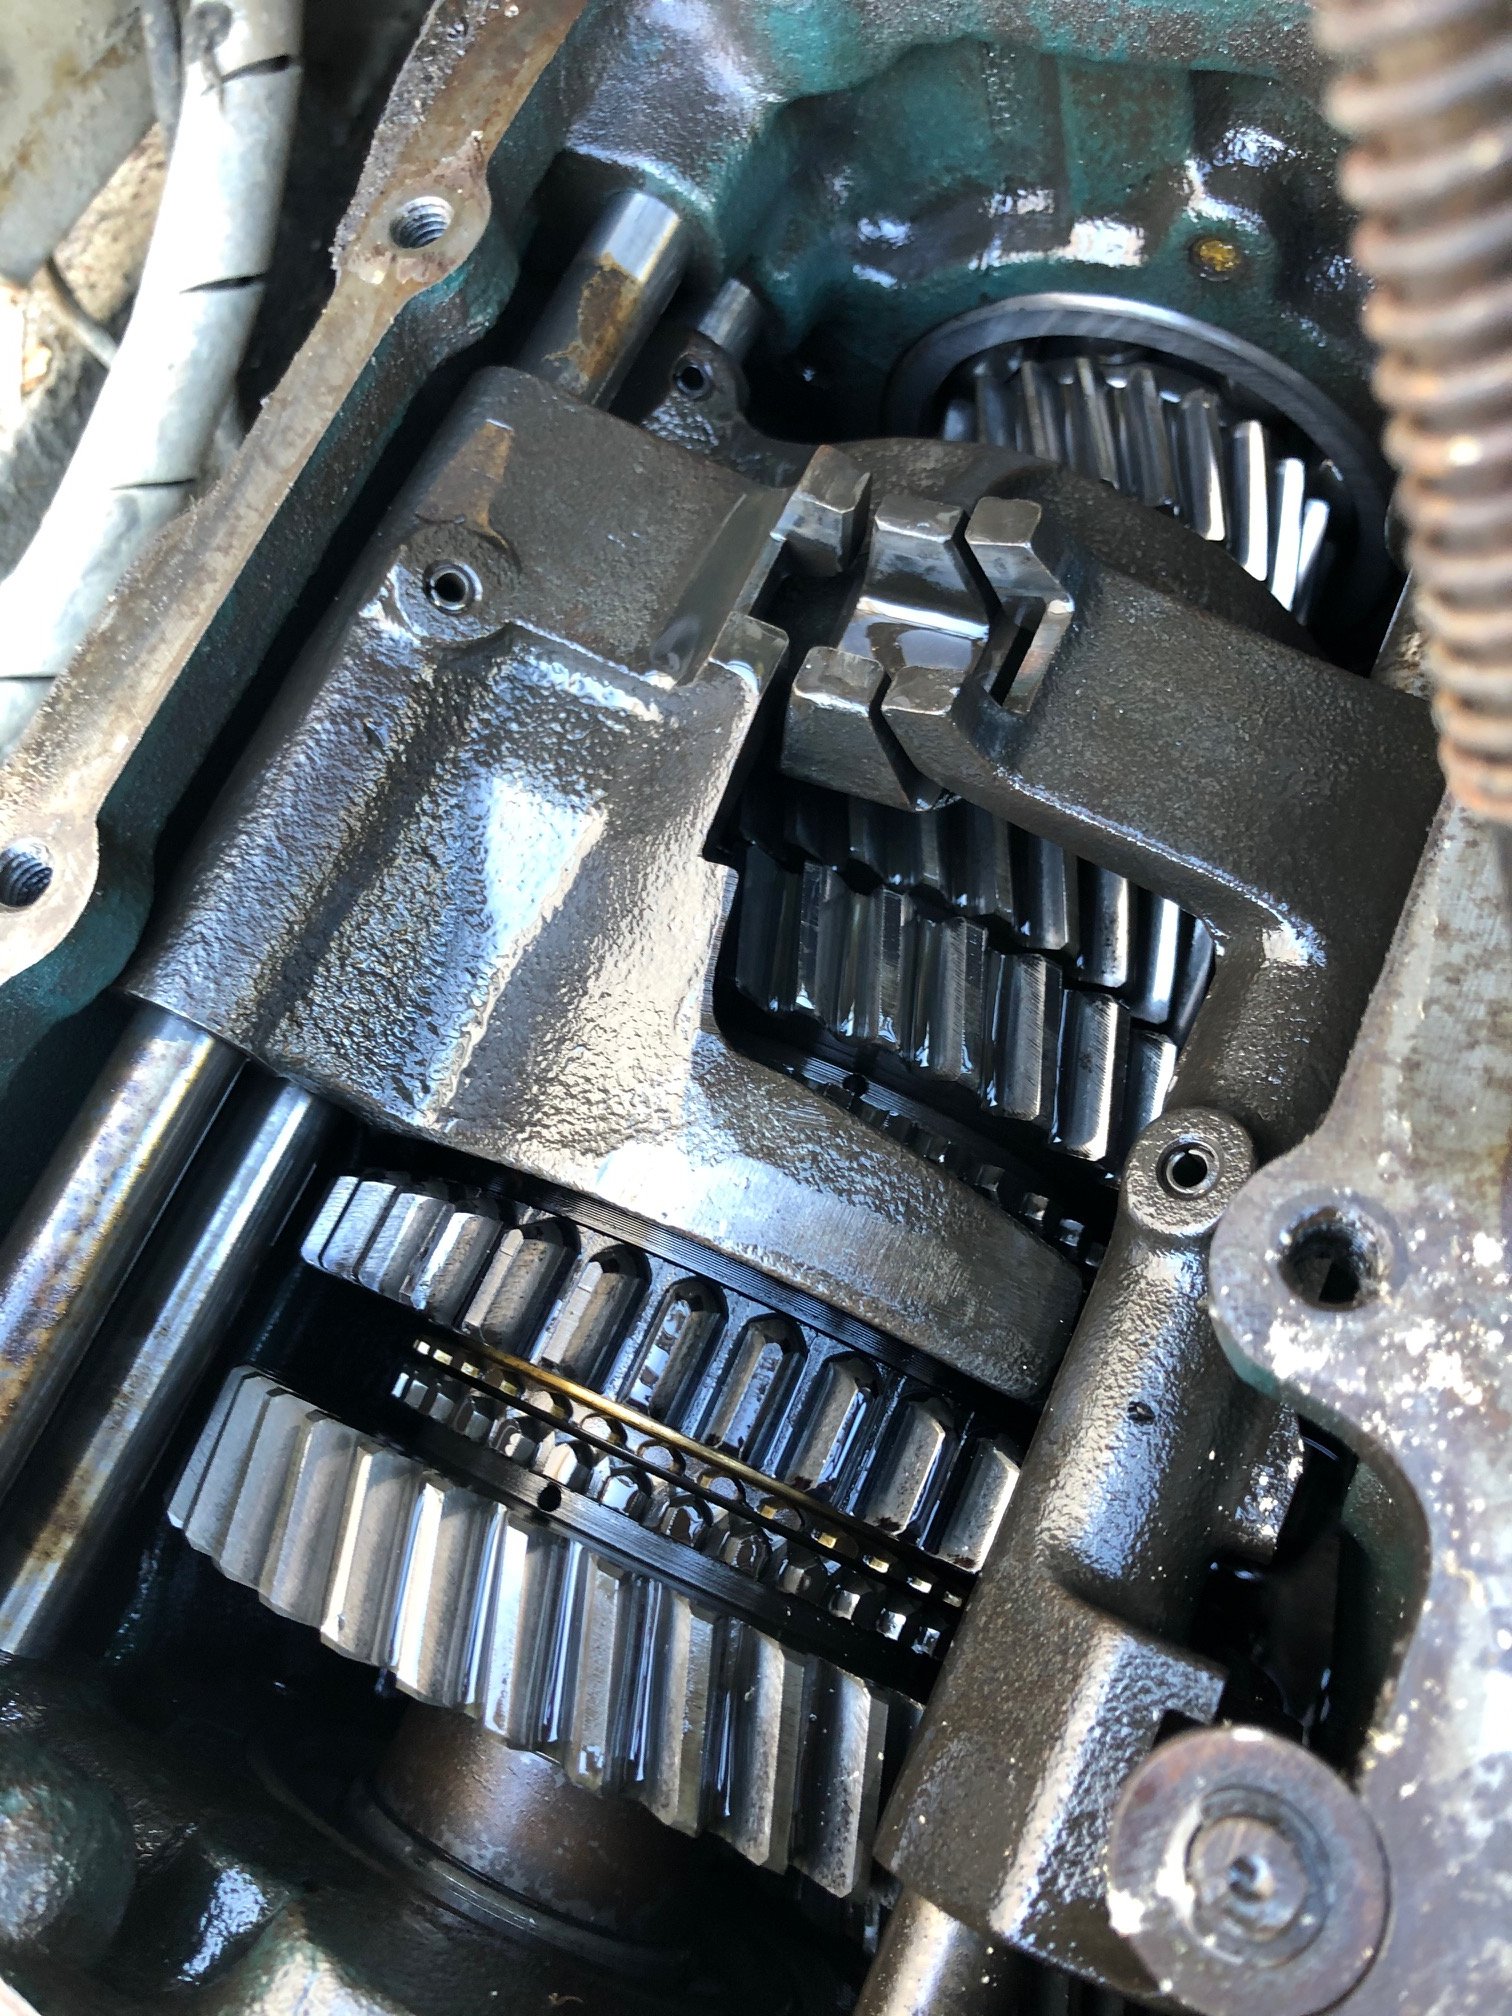
And here's where it all starts to go wrong.... The rear output bearing has gone rusty and fed oxide dust onto the shaft which acts like grinding paste... Its worn the internal splines on the low speed gear (the large one to the right) and is very sloppy on the shaft. Also feels like there is play on the high speed gear and some of the splines on the shaft are worn.... Currently pondering whether I shell out for the replacement gears or just find another box....
-
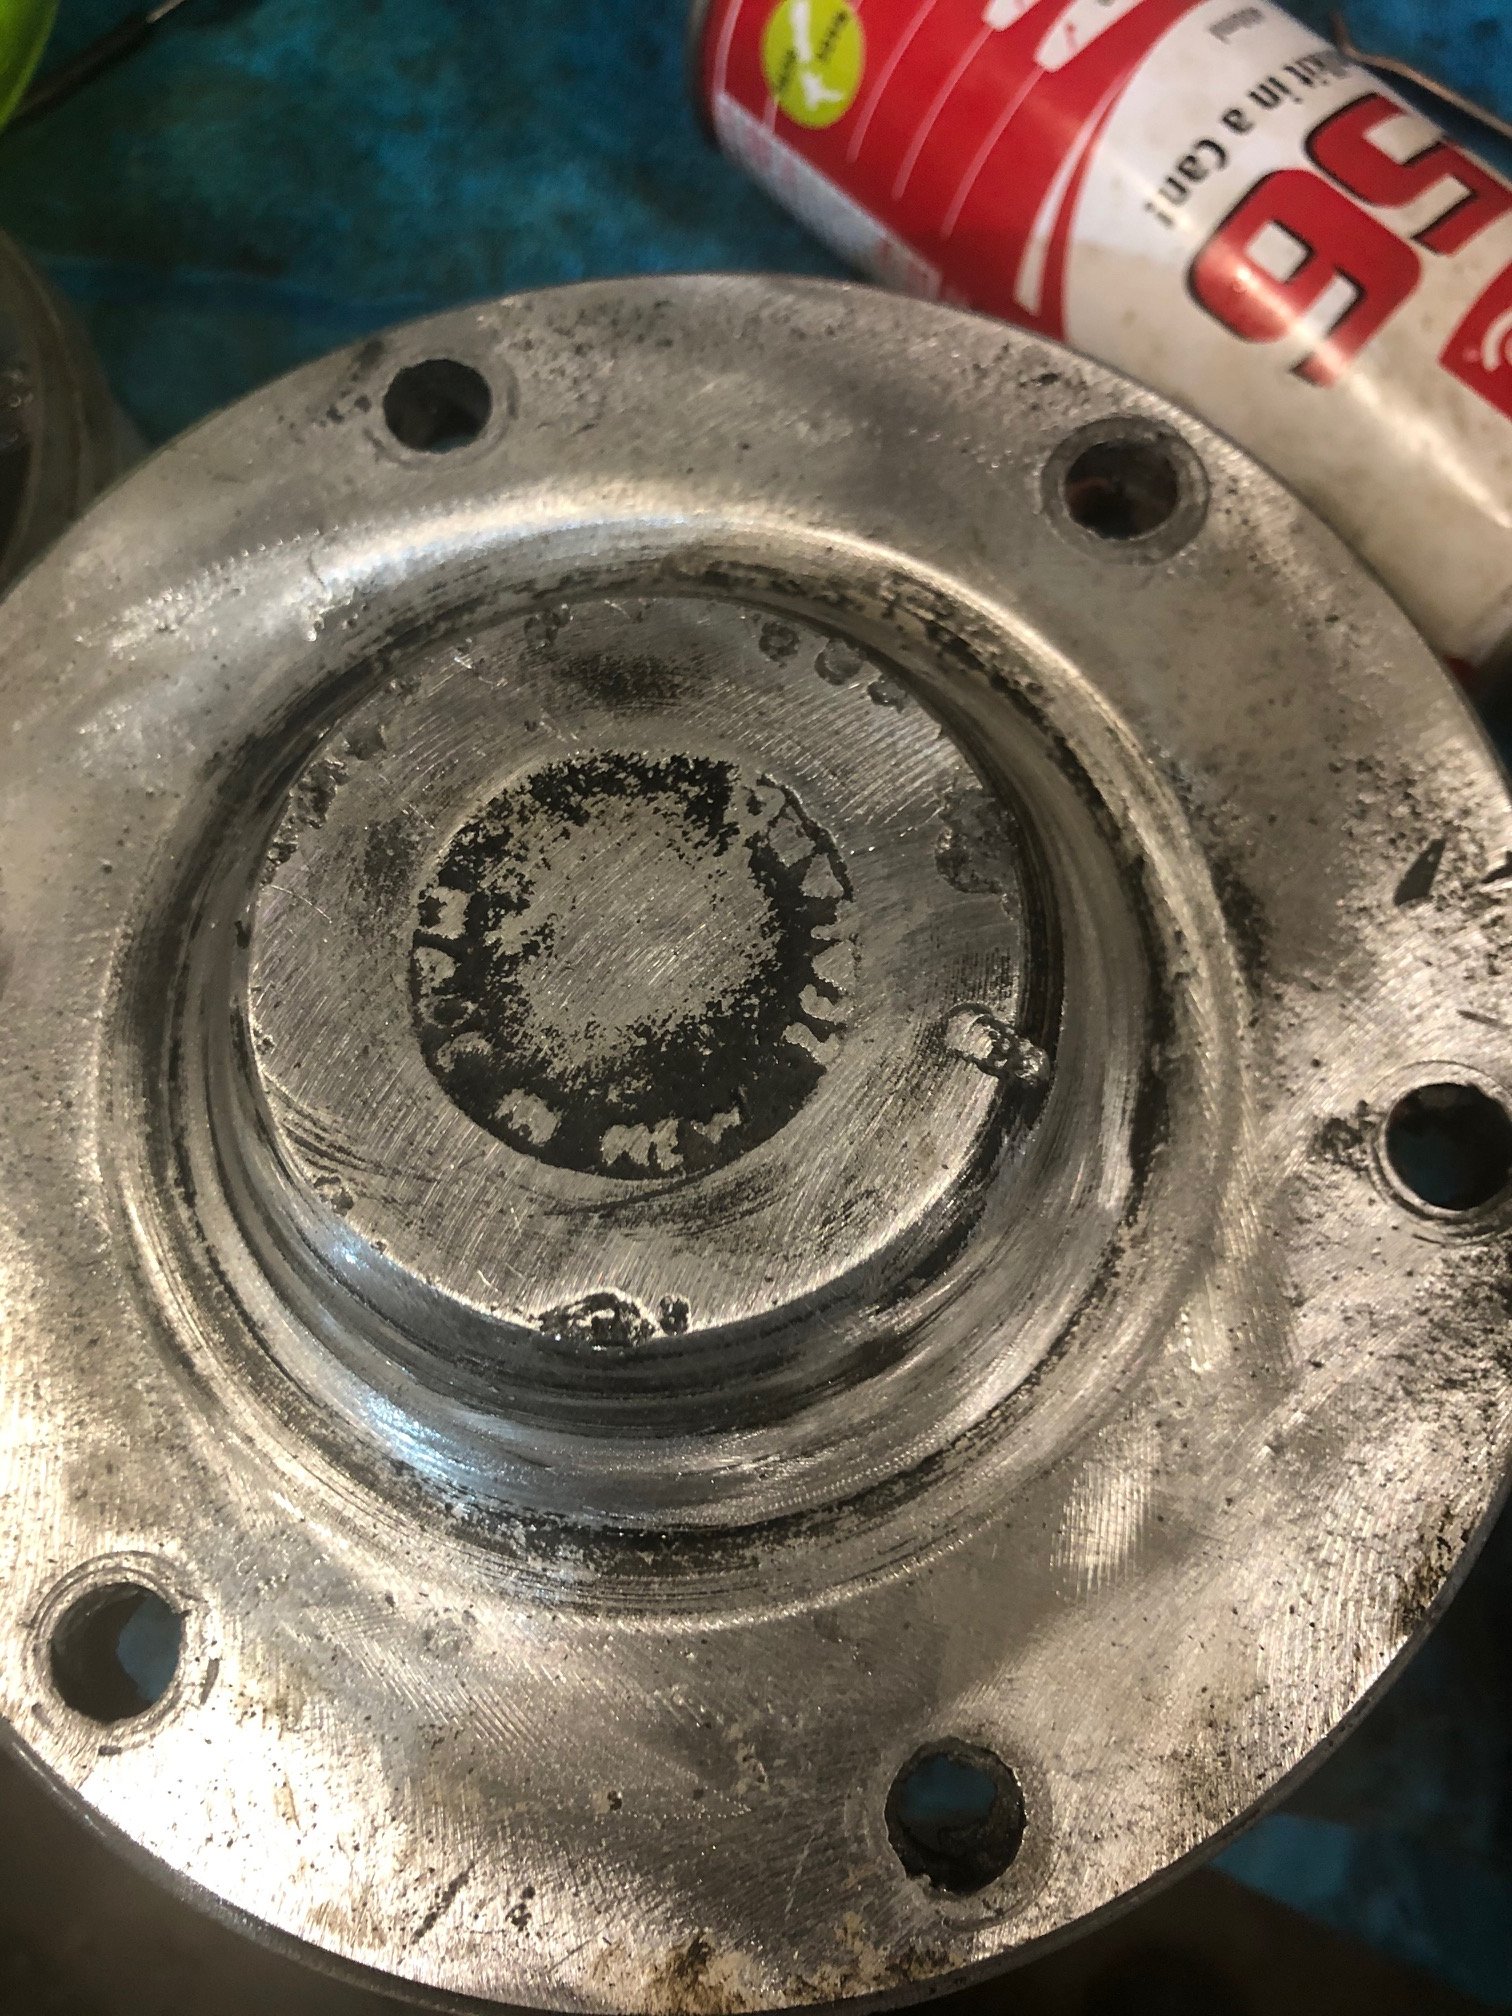
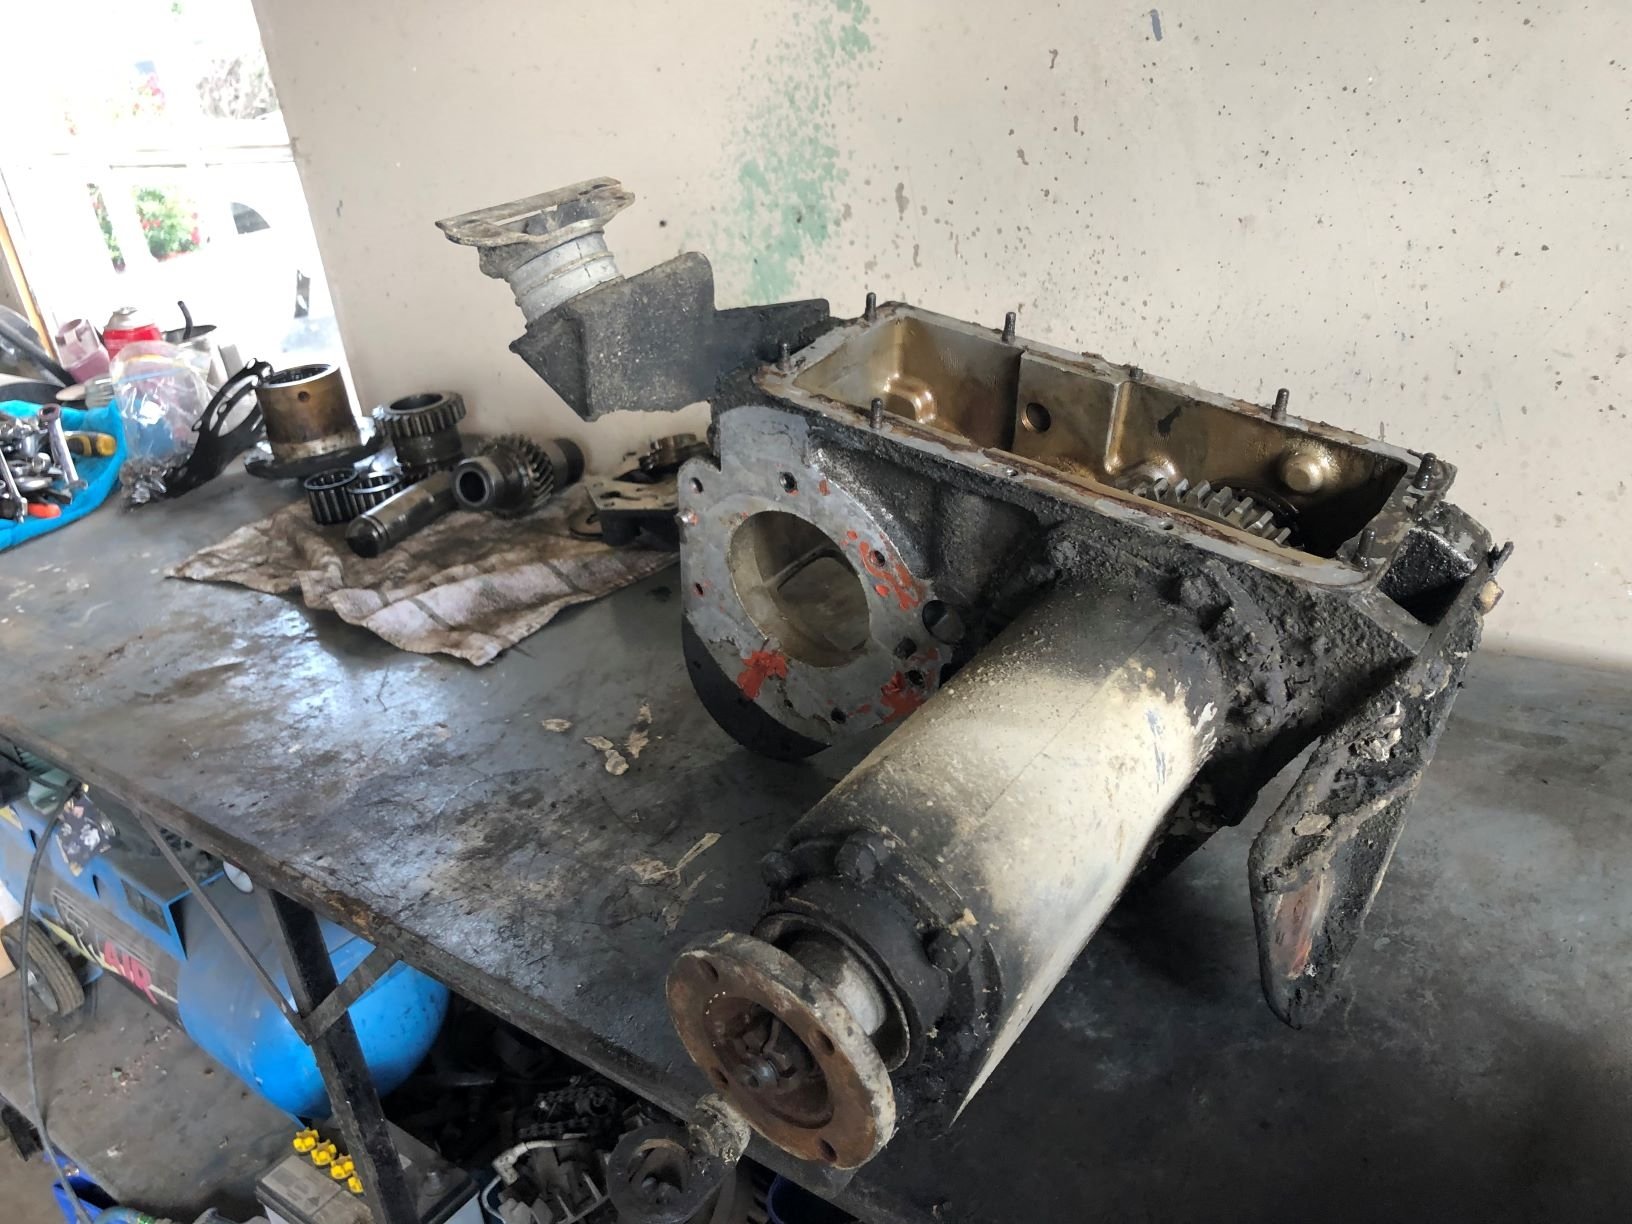
Doing a bunch of cleaning/derusting/painting on the rear end.... At the moment I'm a fan of using oxalic acid for derusting, it leaves a green iron oxalate residue which can be easliy taken off with a wire brush. Items which were galv/zinced come up really well. Doing some research I think I may have figured out a DIY recipe for Evaporust, going to try that out and post to tech section in future. Today I pulled the transfer box off the nissan adapter case. Was a bit of faffing arround, needed to partly dissasemble the box to get the bolts out which hold the cases together. There is a bit of engineering in this conversion. The PTO cover has been replaced with this unit which contains a large roller bearing to support the tail of out the output shaft. The original output shaft sleeve has been cut and a landrover output gear welded to it. Unfortunately that internal race is spinning on the shaft so I'm going to have to fix a repair... On the bench, pretty grubby
-
I remember learning from Monaro threads of his 10yrs ago (when he was based in Oz). Big fan of gas welding with a Henrob torch
-
^ What he said See my old HQ thread for how I did this sort of inner door repair with basic hand tools. Replace the whole lower skin in one go, if there are holes there are thin spots which will be holes in a few years.... https://oldschool.co.nz/index.php?/topic/32633-nzstatos-nz-built-statesman/
-
I do like a build thread with some hardcore metal work in it.... Watching.
-
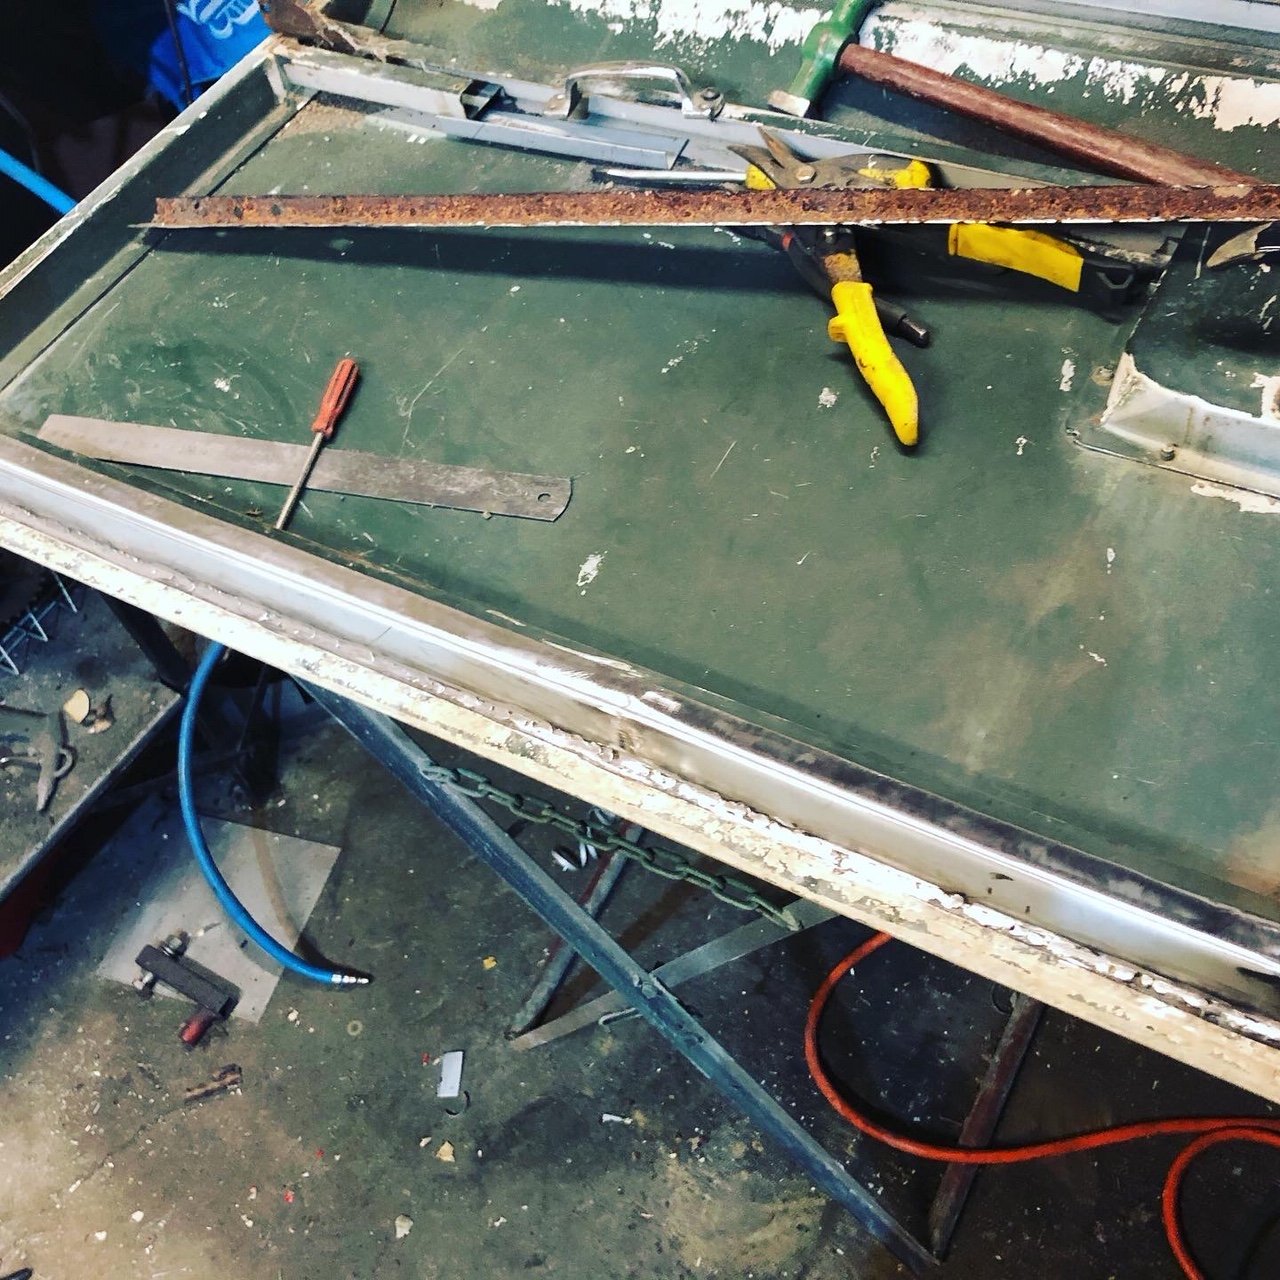
Just a quick run over with a wire wheel. Not going hard out with the paint on this, just functional and presentable.
-
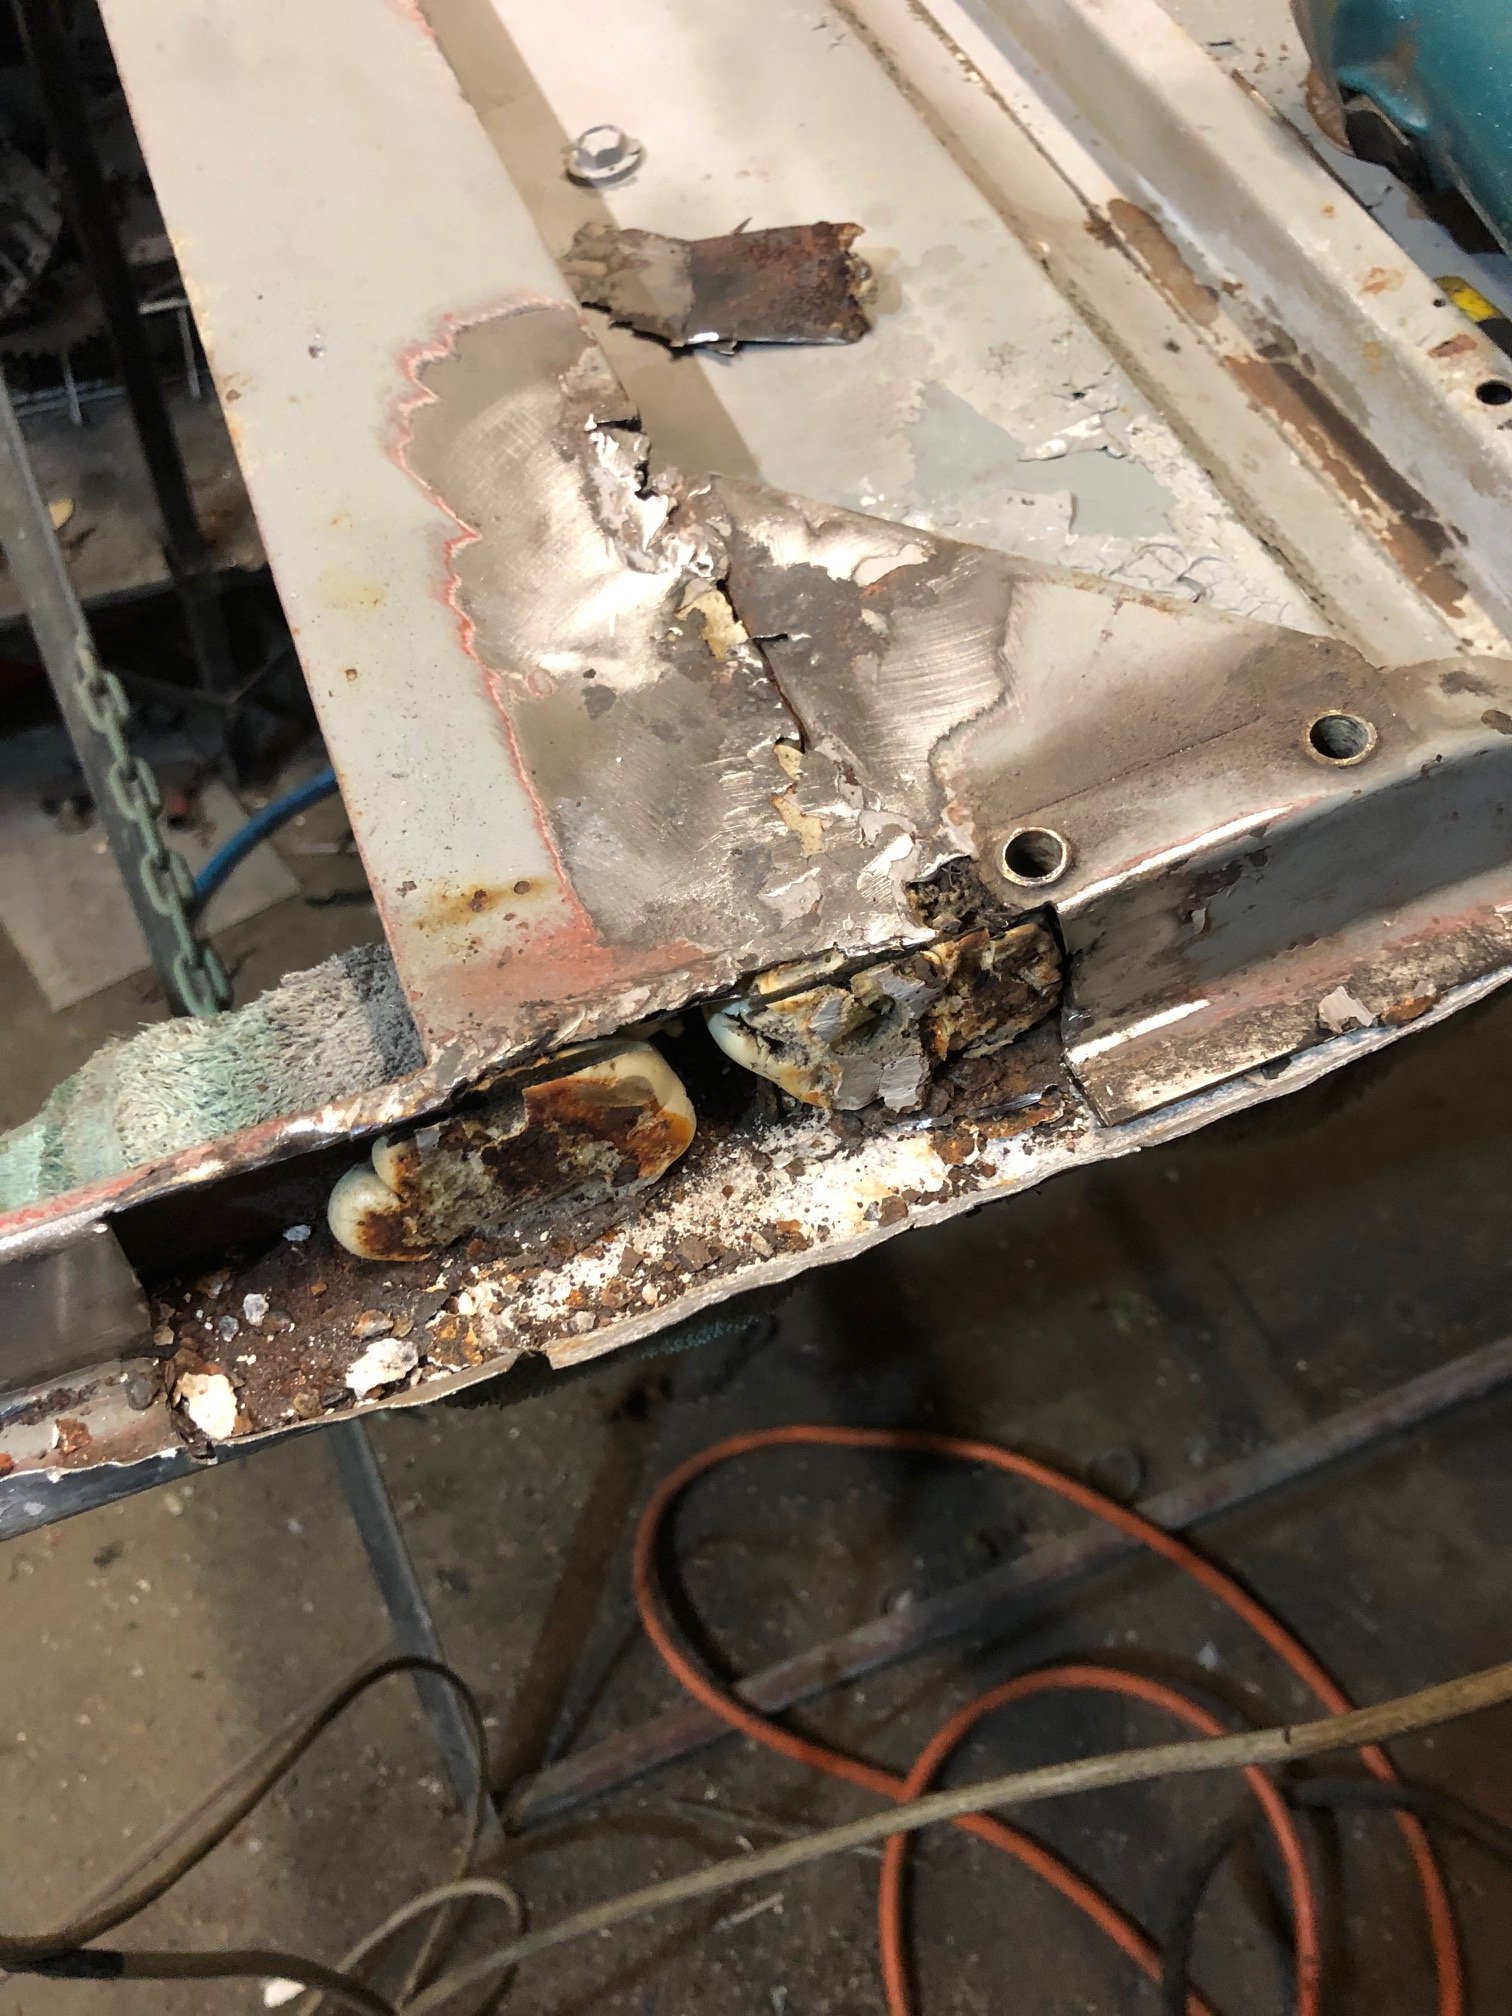
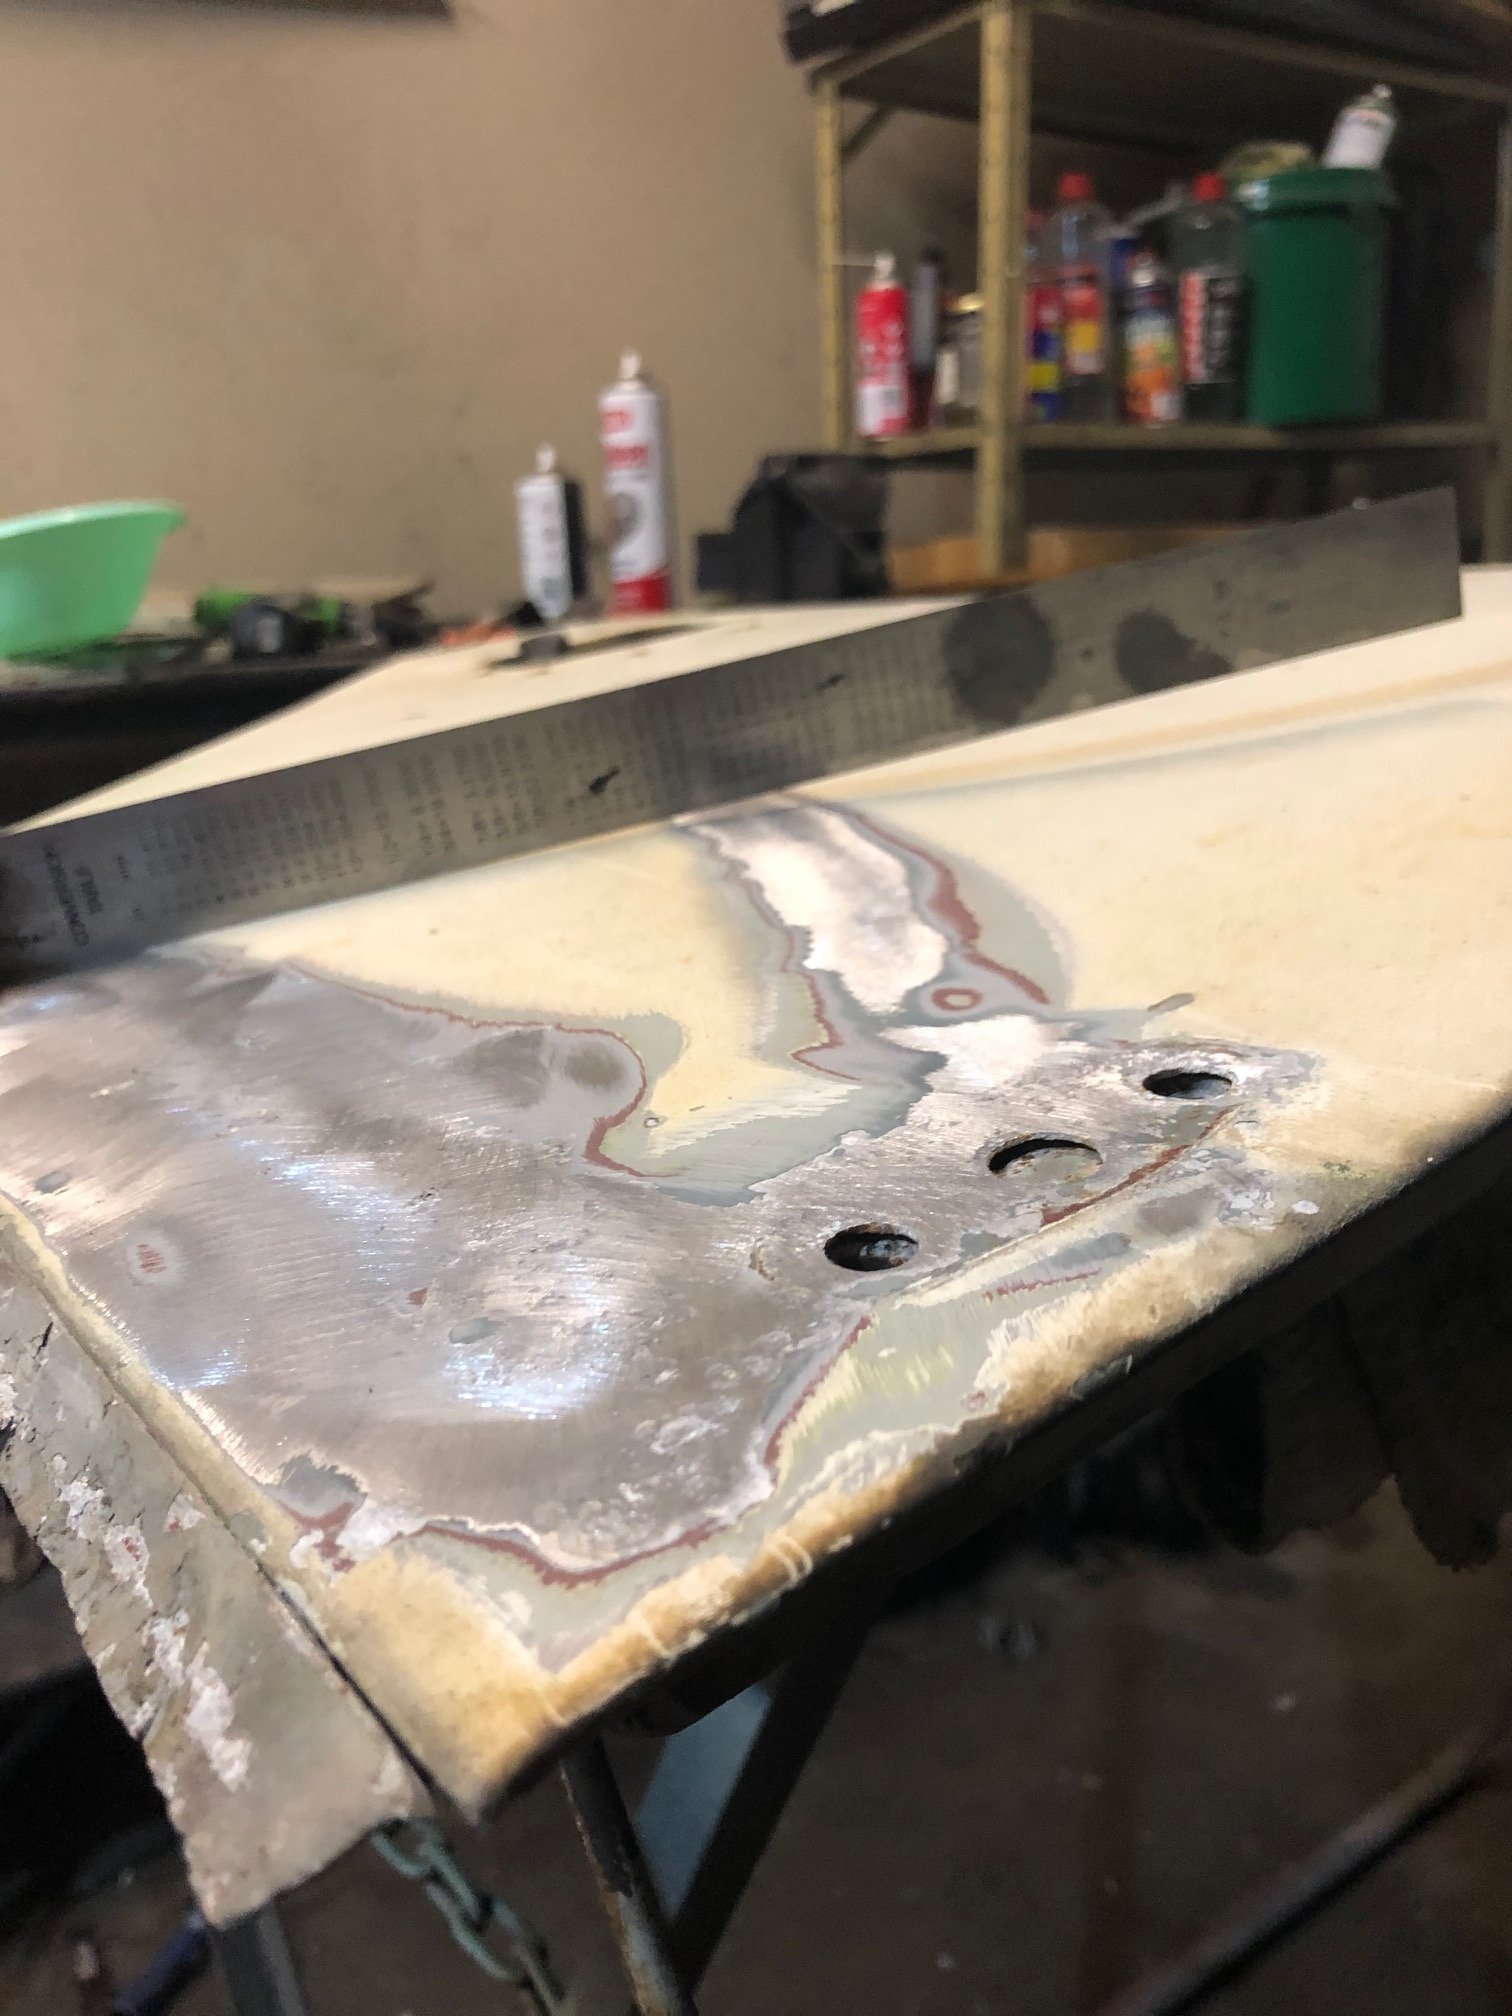
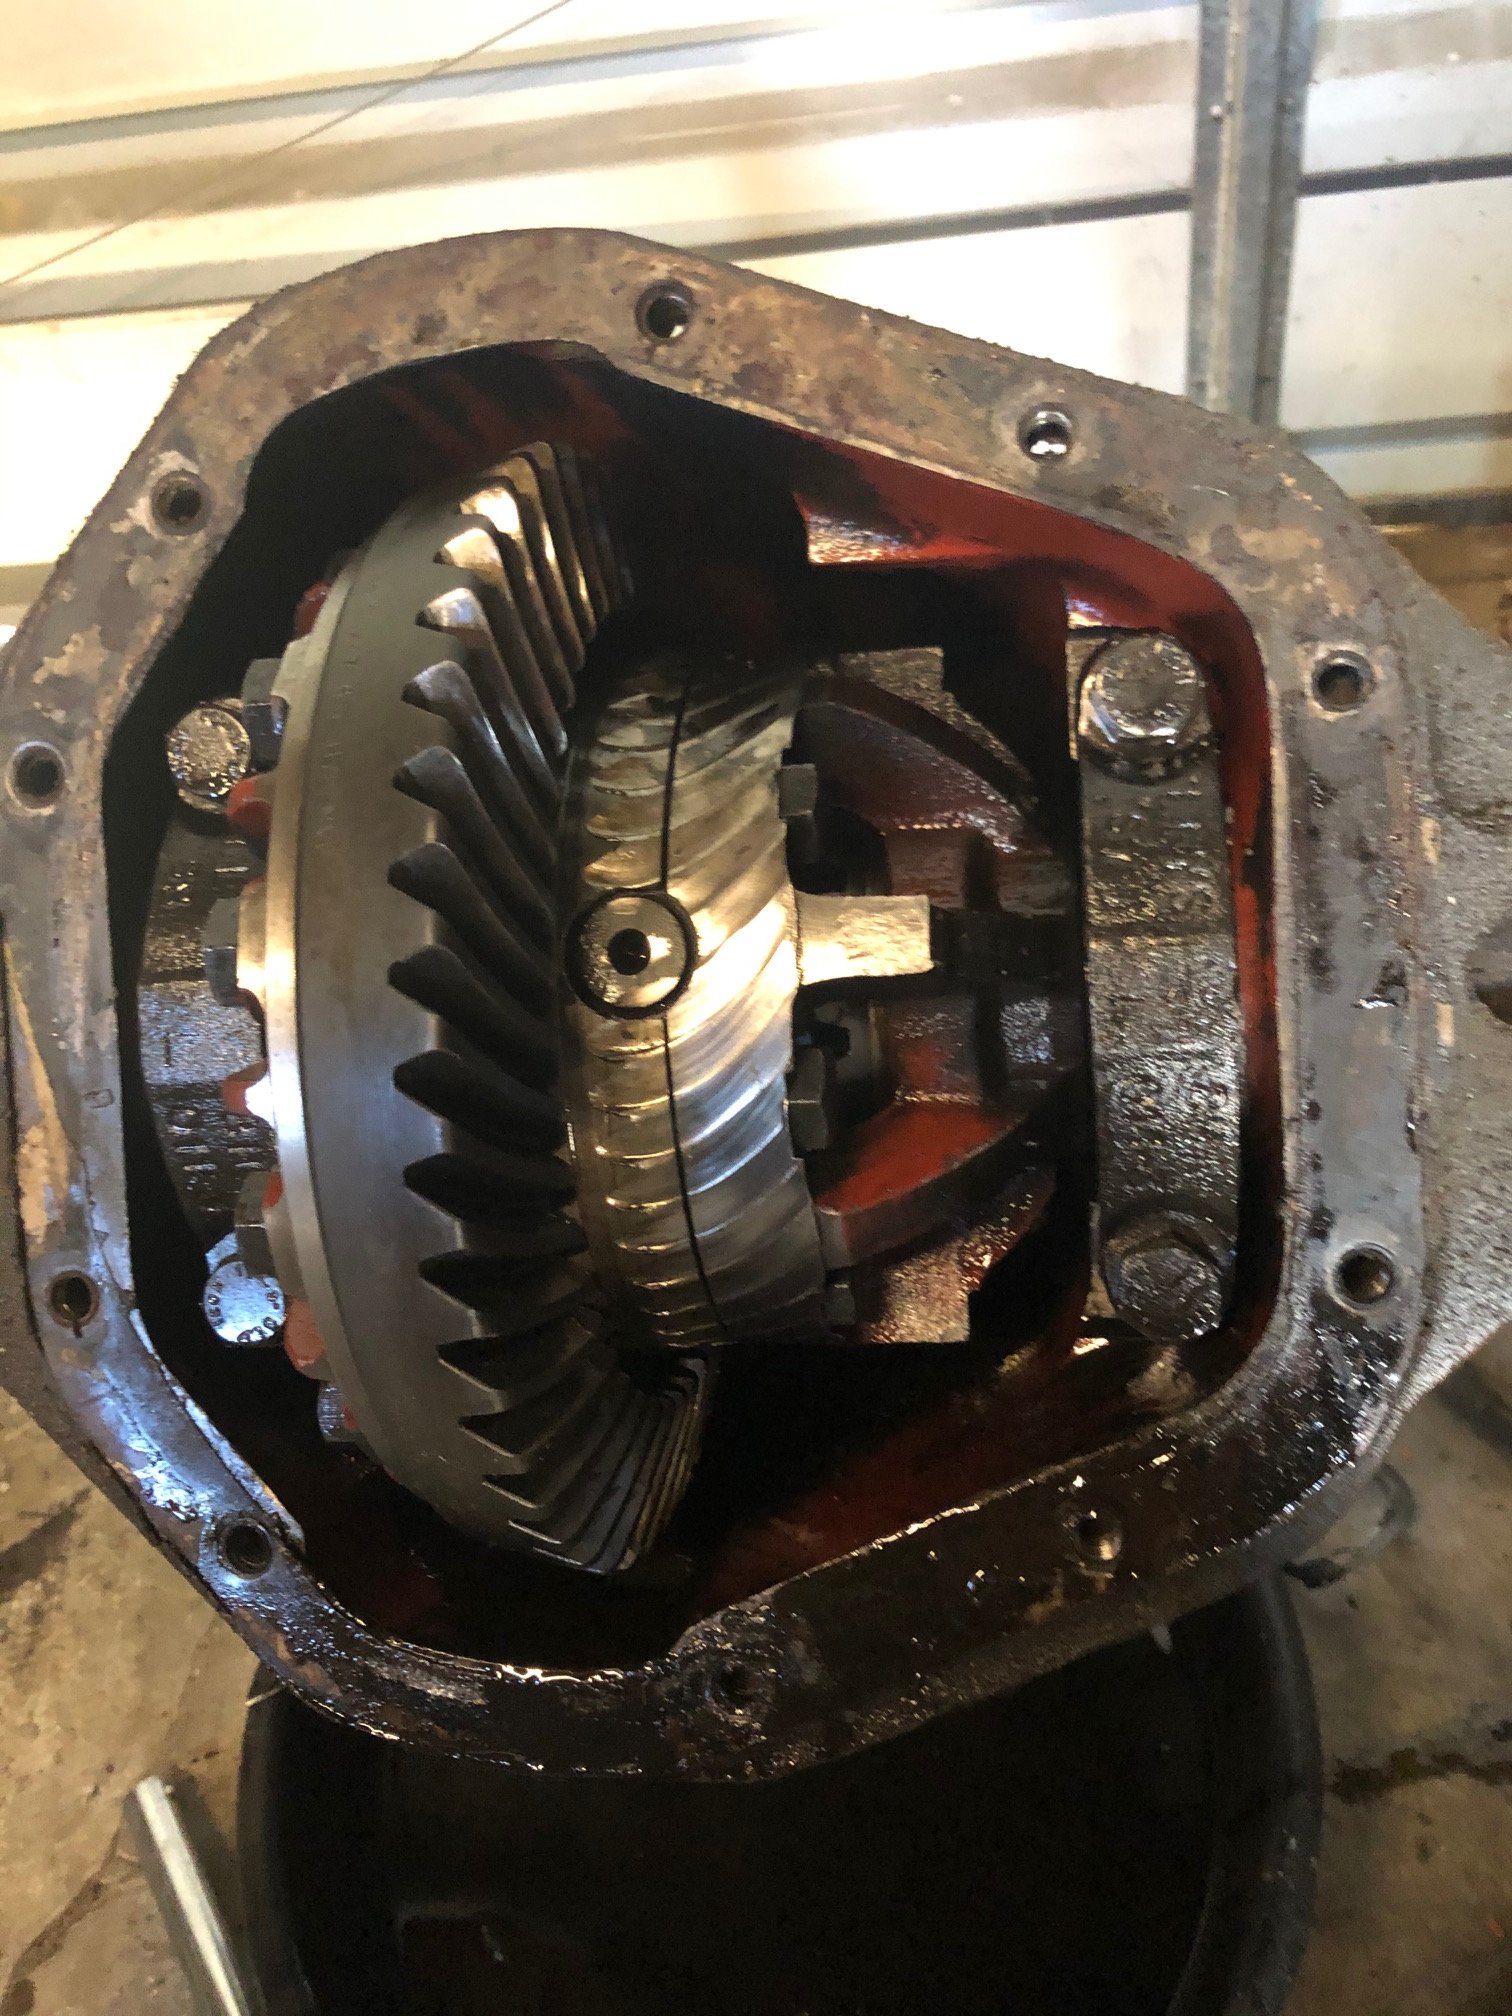
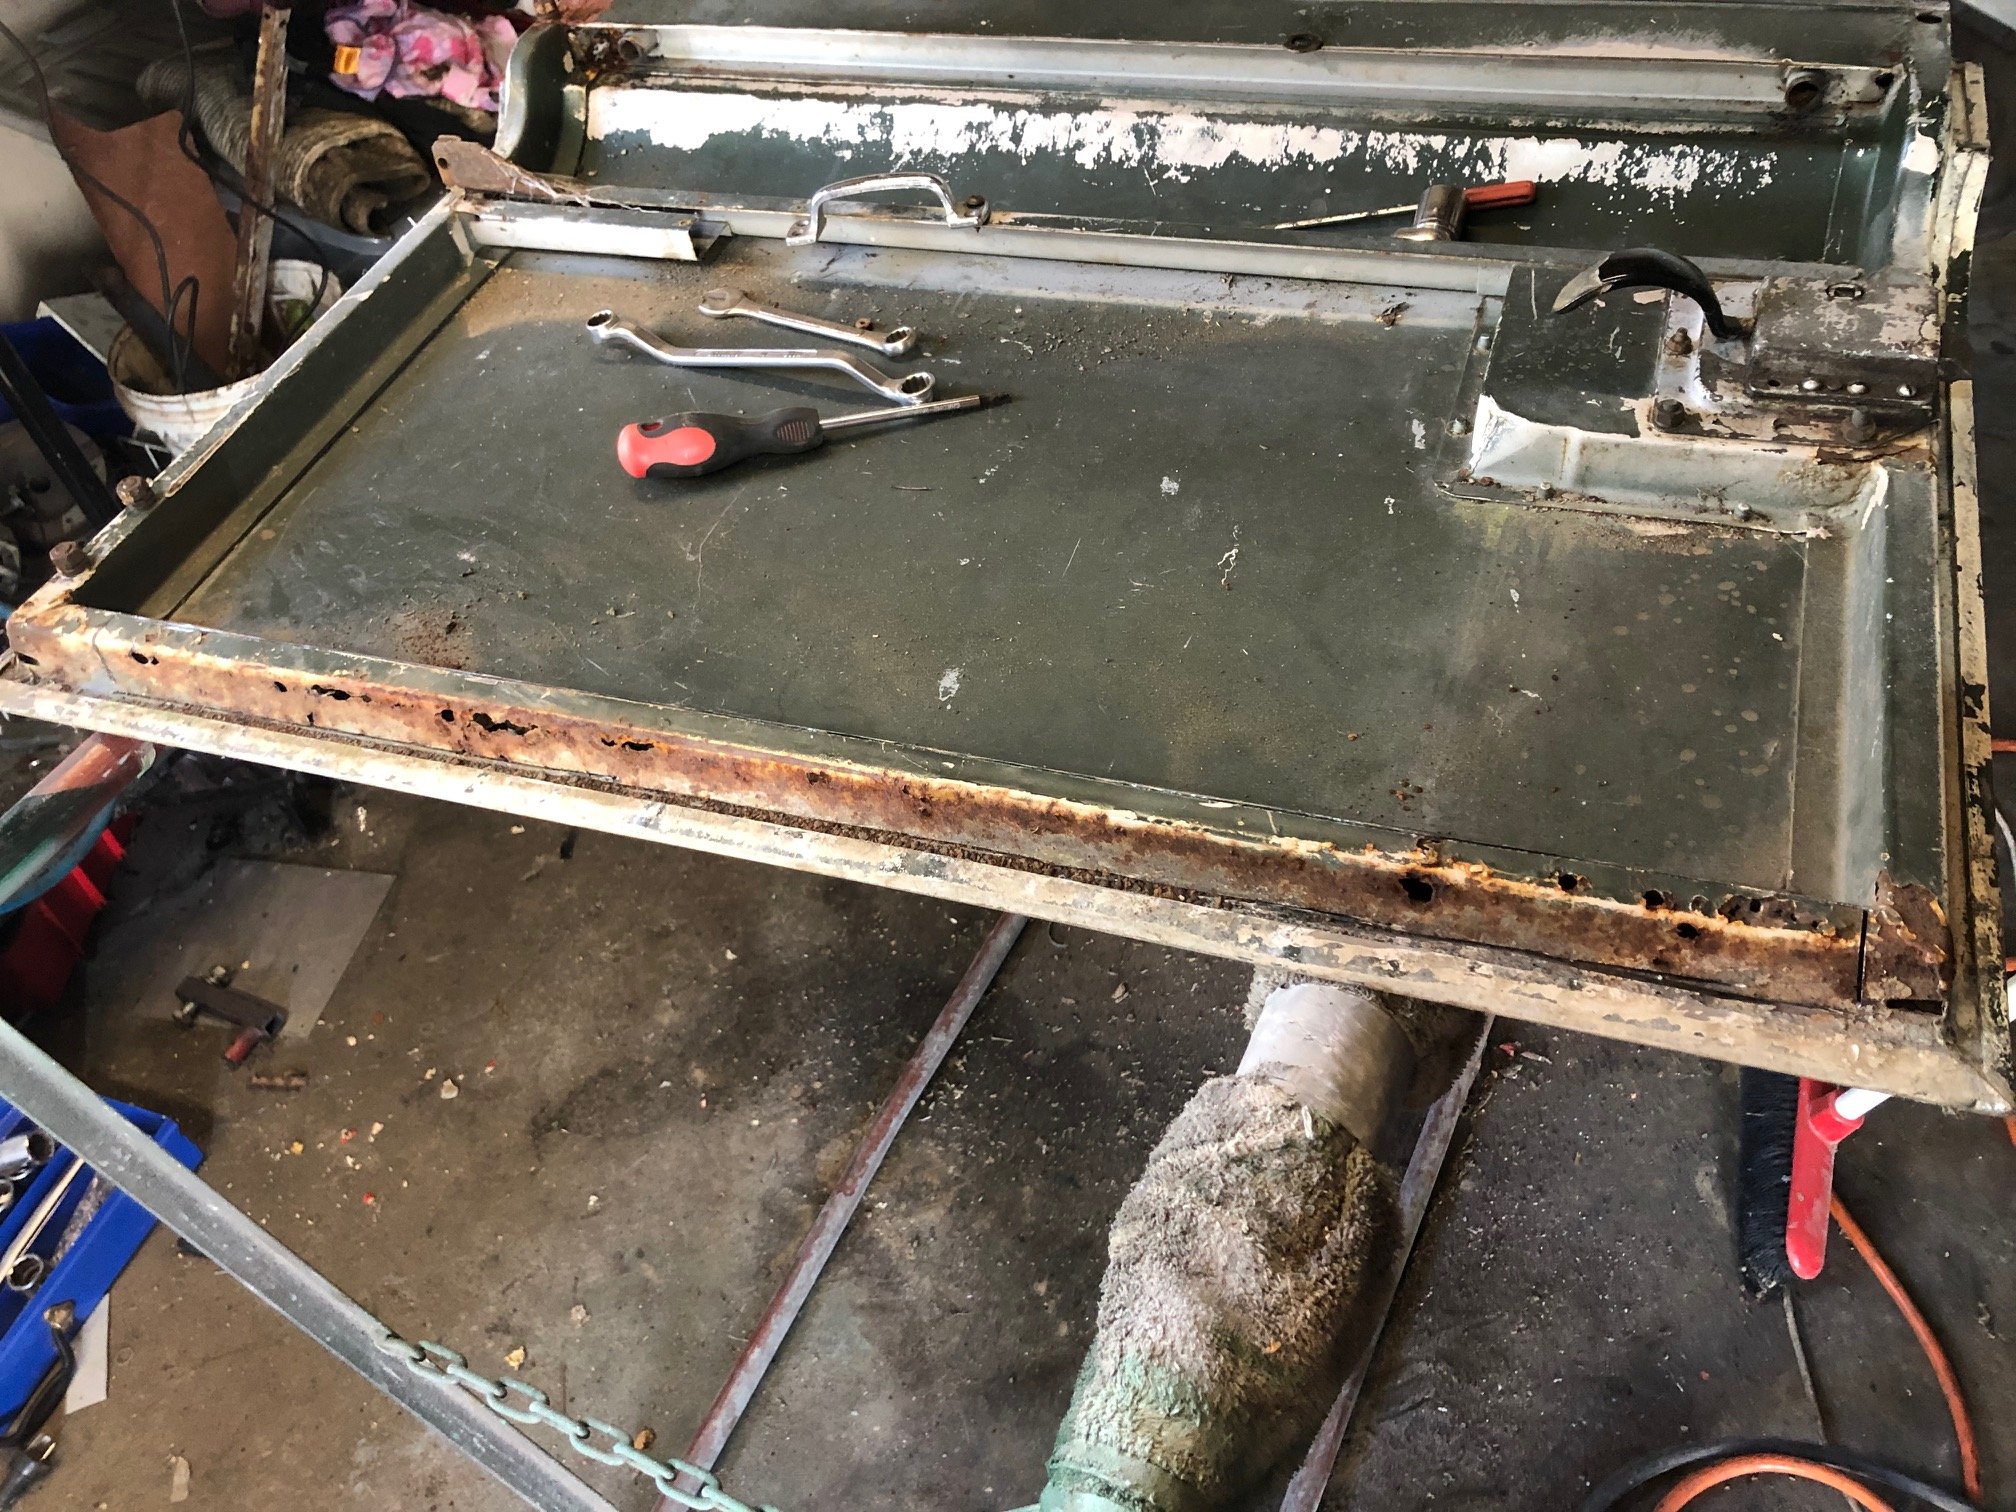
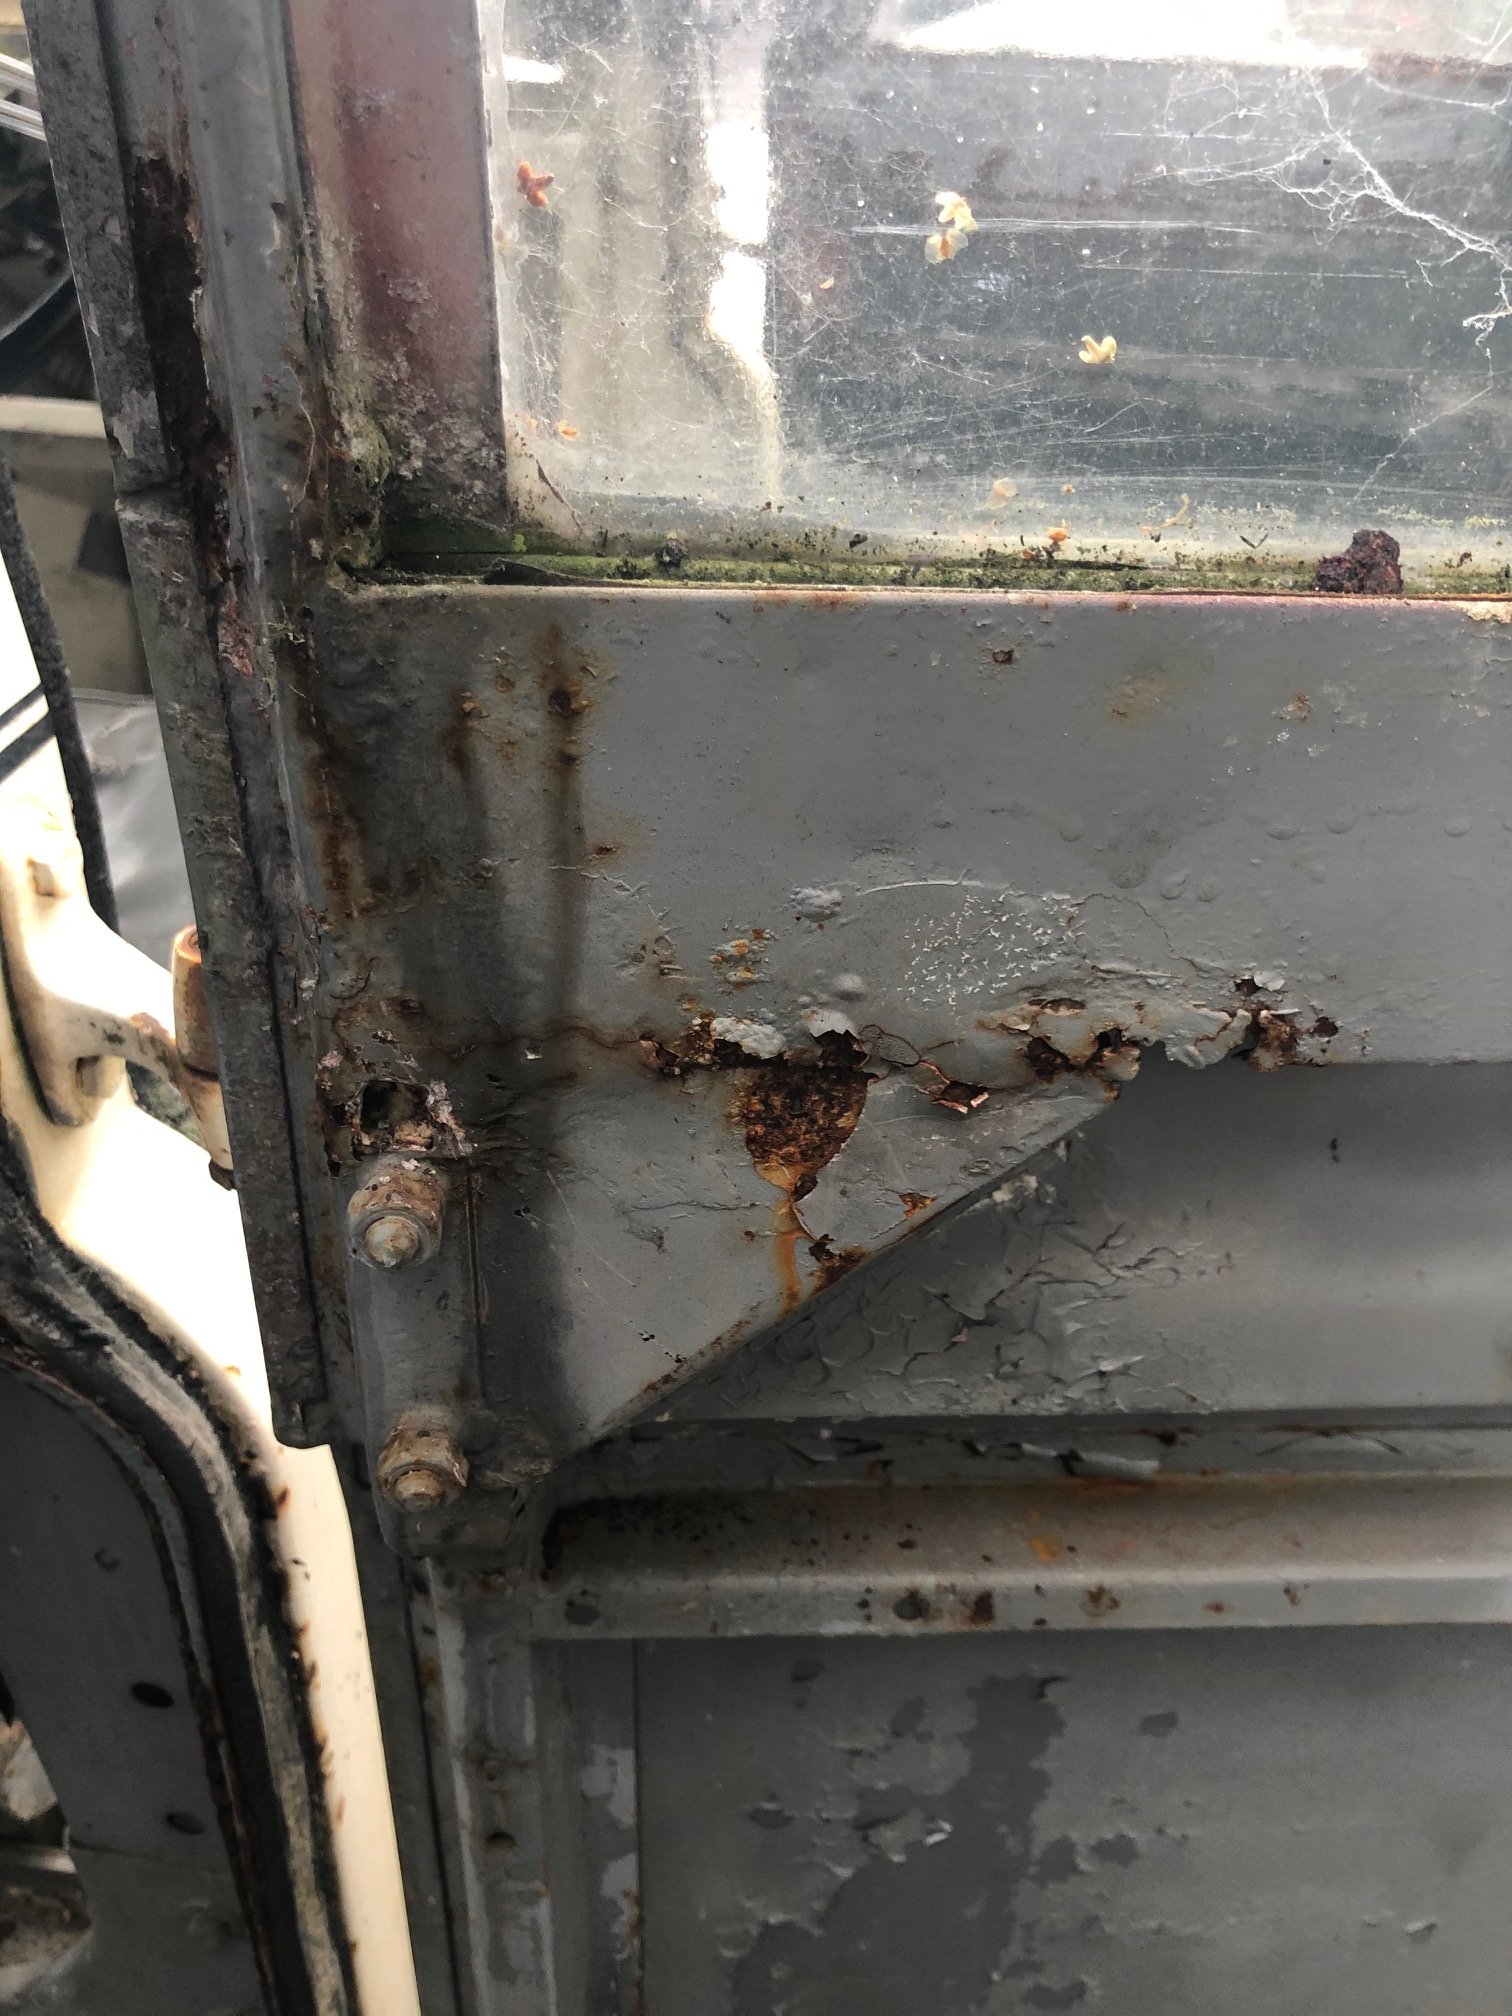
Still doing more rust work... (heres that section finished) The rear doors need a fair bit of work.... The problem with them is that there are small channels for the water to run out from the window tracks, these get clogged up, rot out, and now you have water running into the internal frame. Someone has been in with the expanding foam... Also I'm probably going to reskin them, they've both had some deep hits in the lower section which has stretched the metal, also the fold overs at the bottom are corroded pretty bad. Having some cracker Dunner Stunner weather, who knows how long it would last so I fixed up all of the damage in the frame (there are more older repairs in this than I initially realised) and took the opportunity to spray with some 2k black. Need to also work on refurbishing the rear end (springs included). Decided to have a look see in the diff.... Someone has seriously lunched this at some point - yes that's where the pinon has been eating the carrier... But I see it has been rebuild with a new CW+P, the bearings all look good (thats what you get when you use Timkin bearings) but I think it happened a while ago as the pinion seal (leaking) was the old steel/leather style. NB: The Salisbury diff (basically a Dana60) is not original to this truck, they weren't standard until the S3 109s (and used in defenders).
- 70 replies
-
- 17
-
-

-
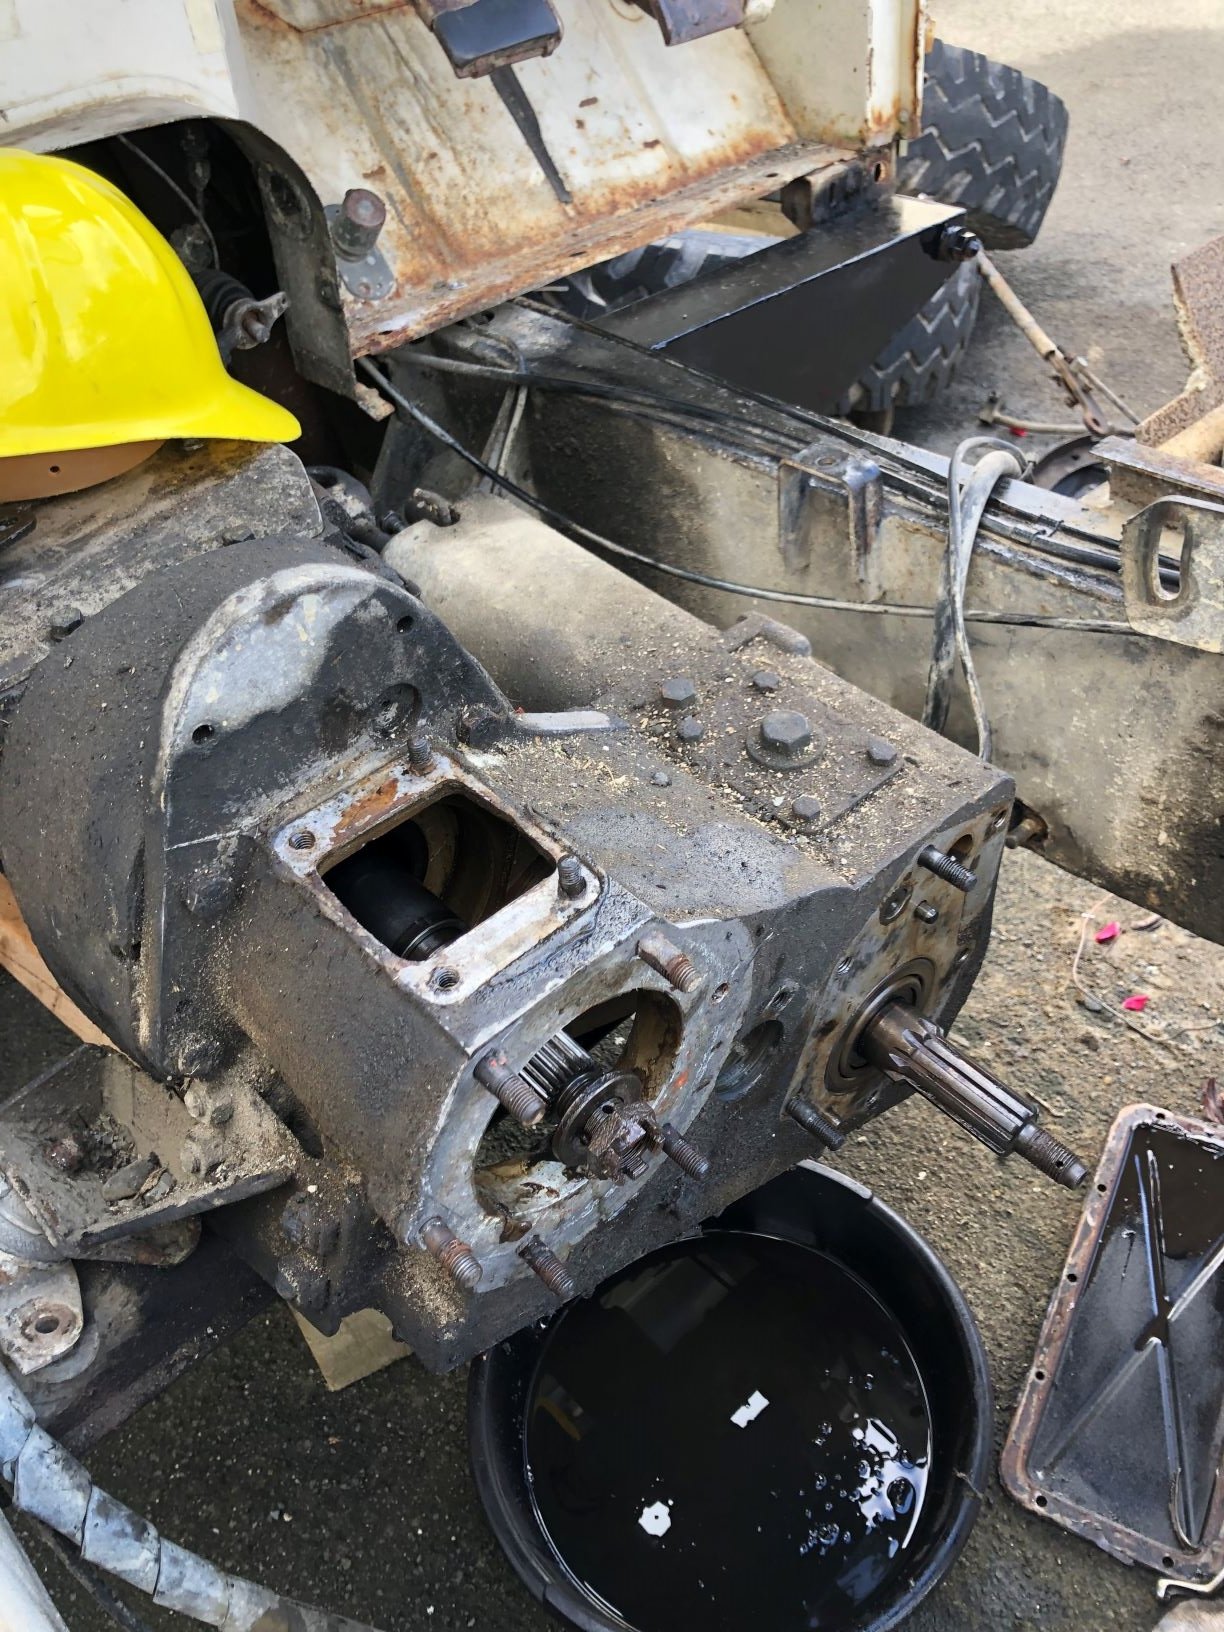
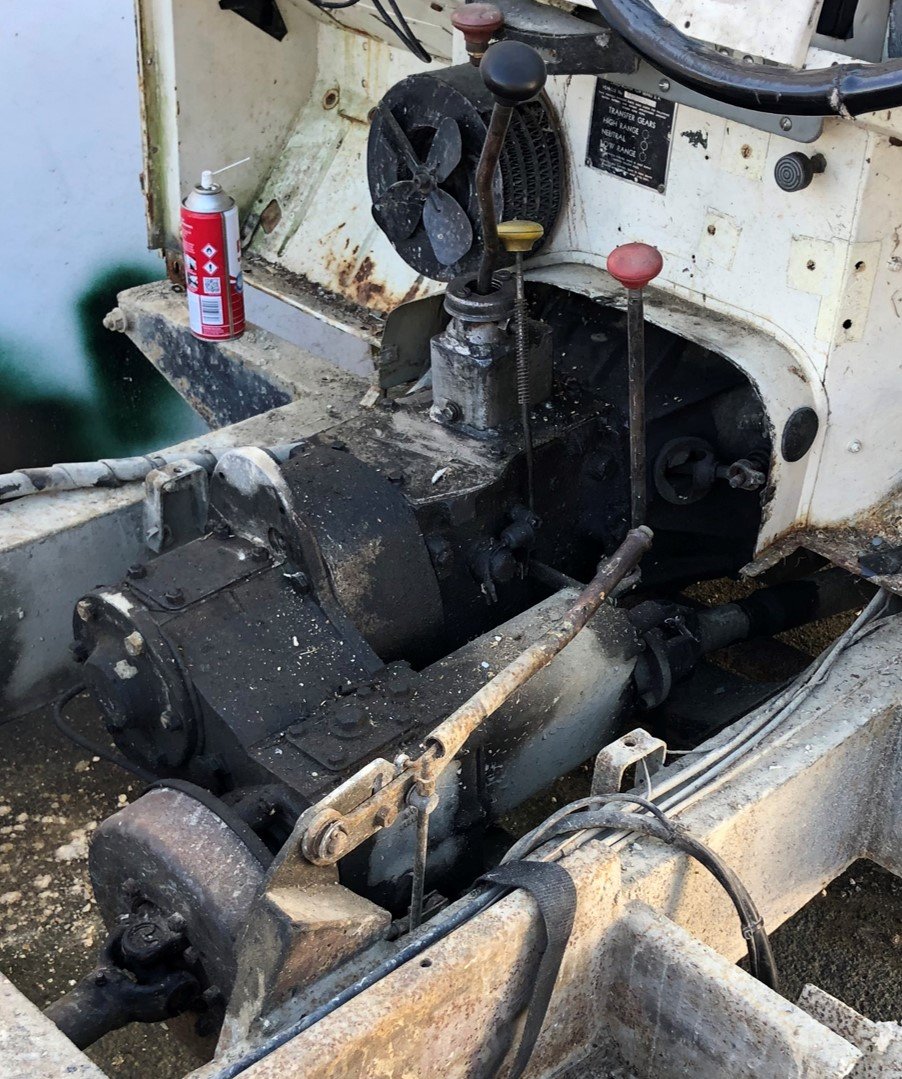
Does anyone know much about Nissan gearboxes? (Is there a typical section the serial # is stamped on?) This is the whole assembly, its quite interesting to note a few things.... The top cover and shifter base are a custom job, someone has machined/welded up some parts to make the whole thing work. The adapter is different to anything else I've seen, its like a whole final drive assembly in itself. The transfer box is probably original as the oil filling bolt/top cover is only found on the 'suffix A' versions but still sits in the factory mounts. Would like to know the model of the box as will get a new clutch fork boot....
-
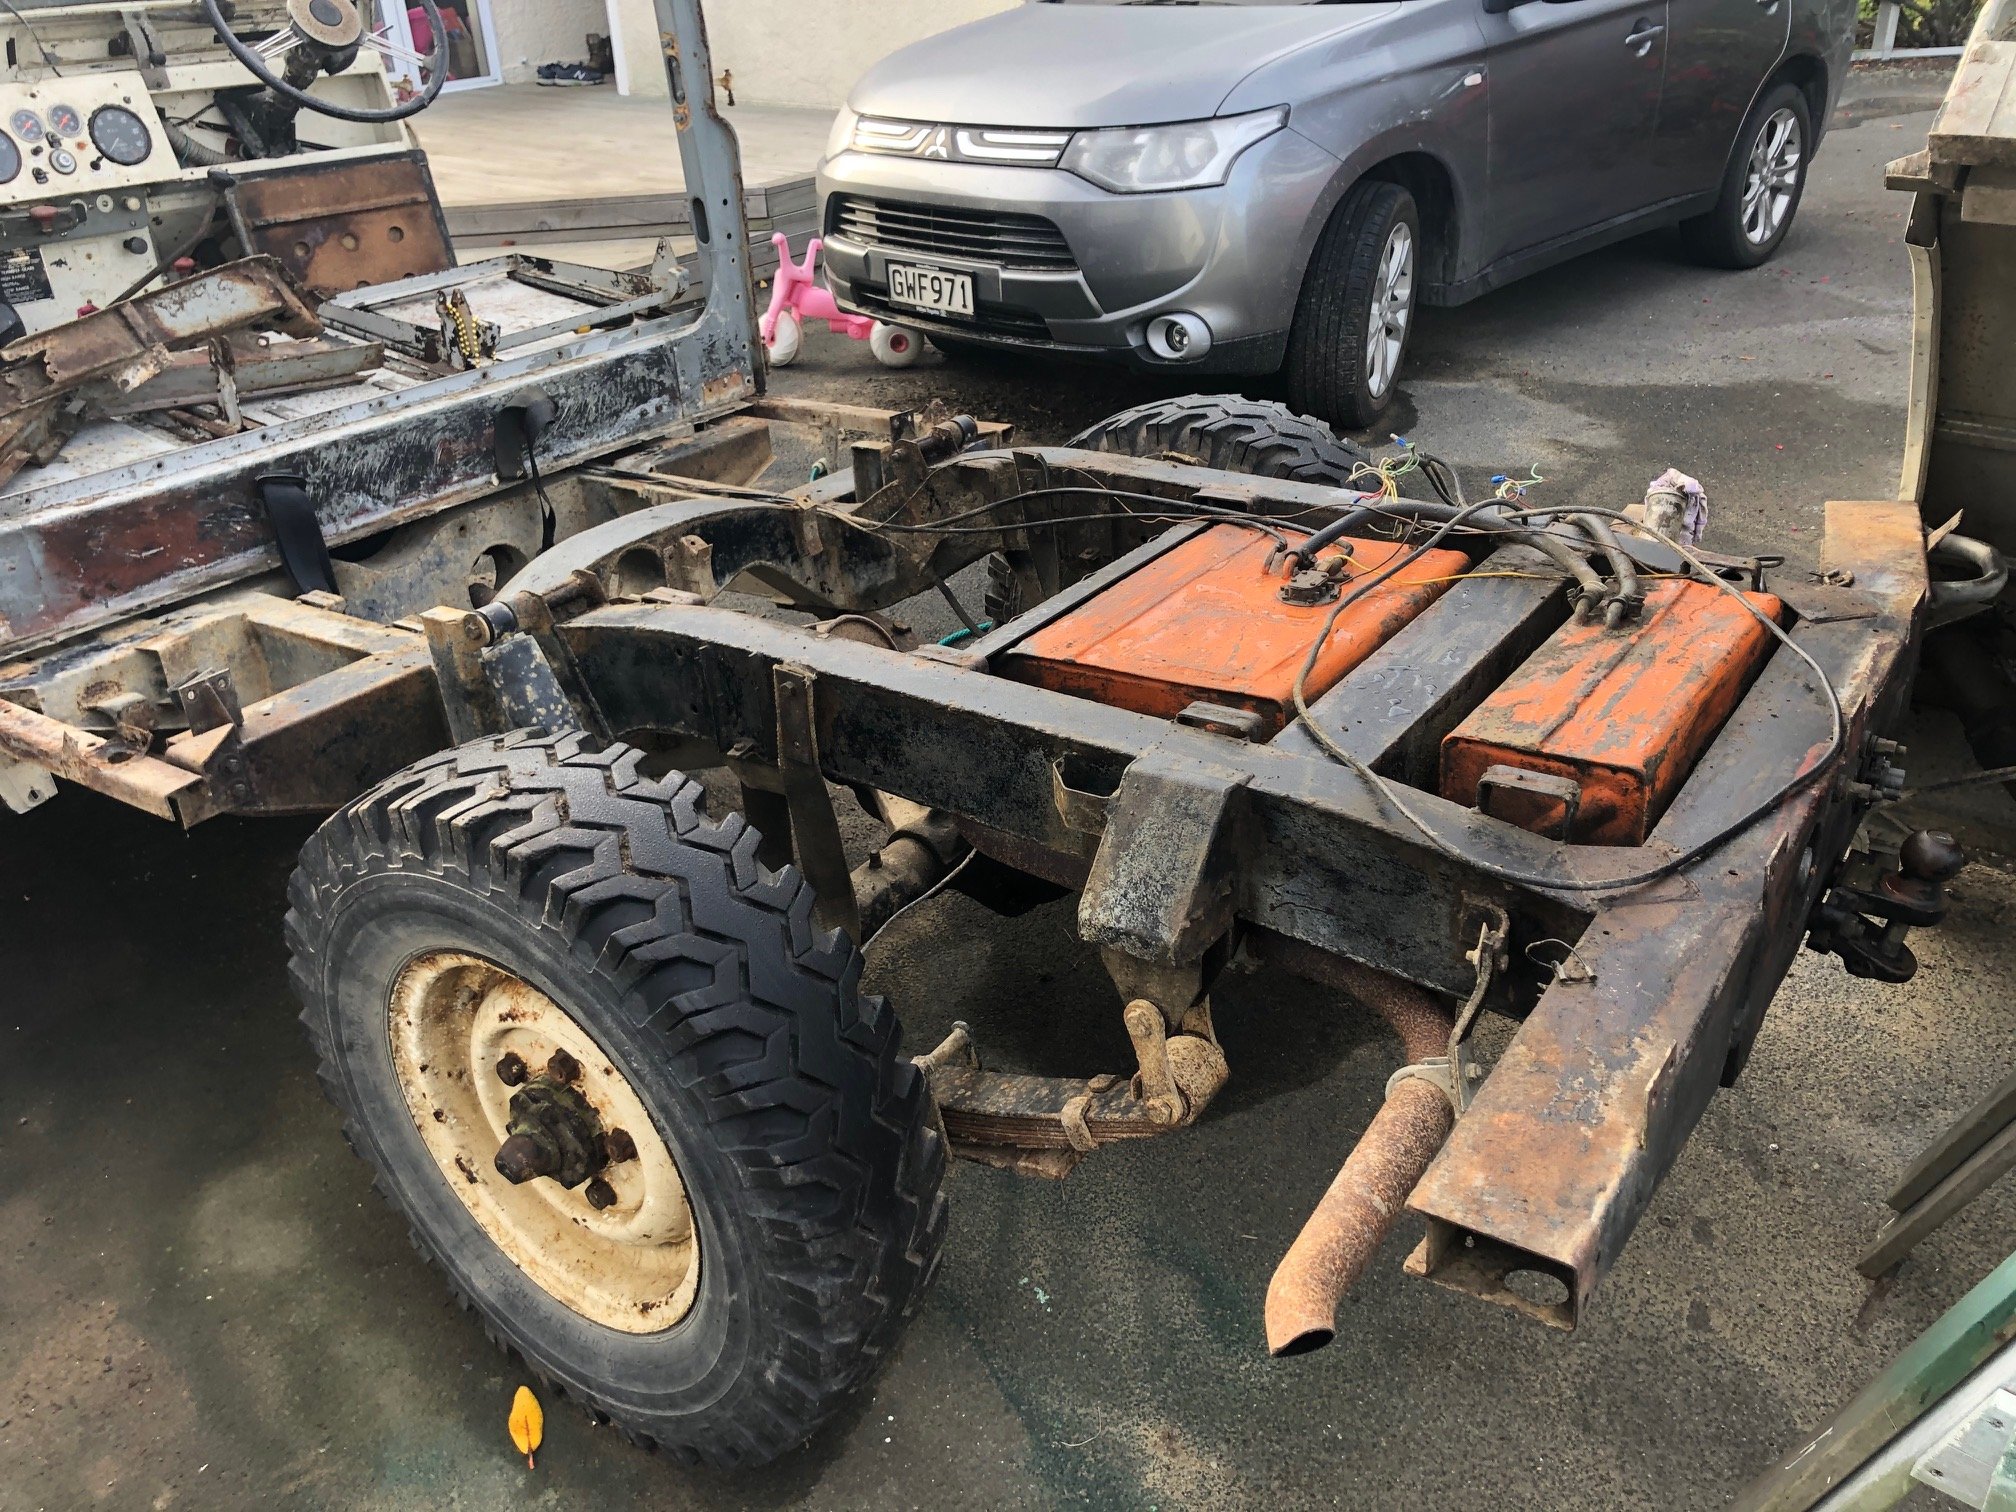
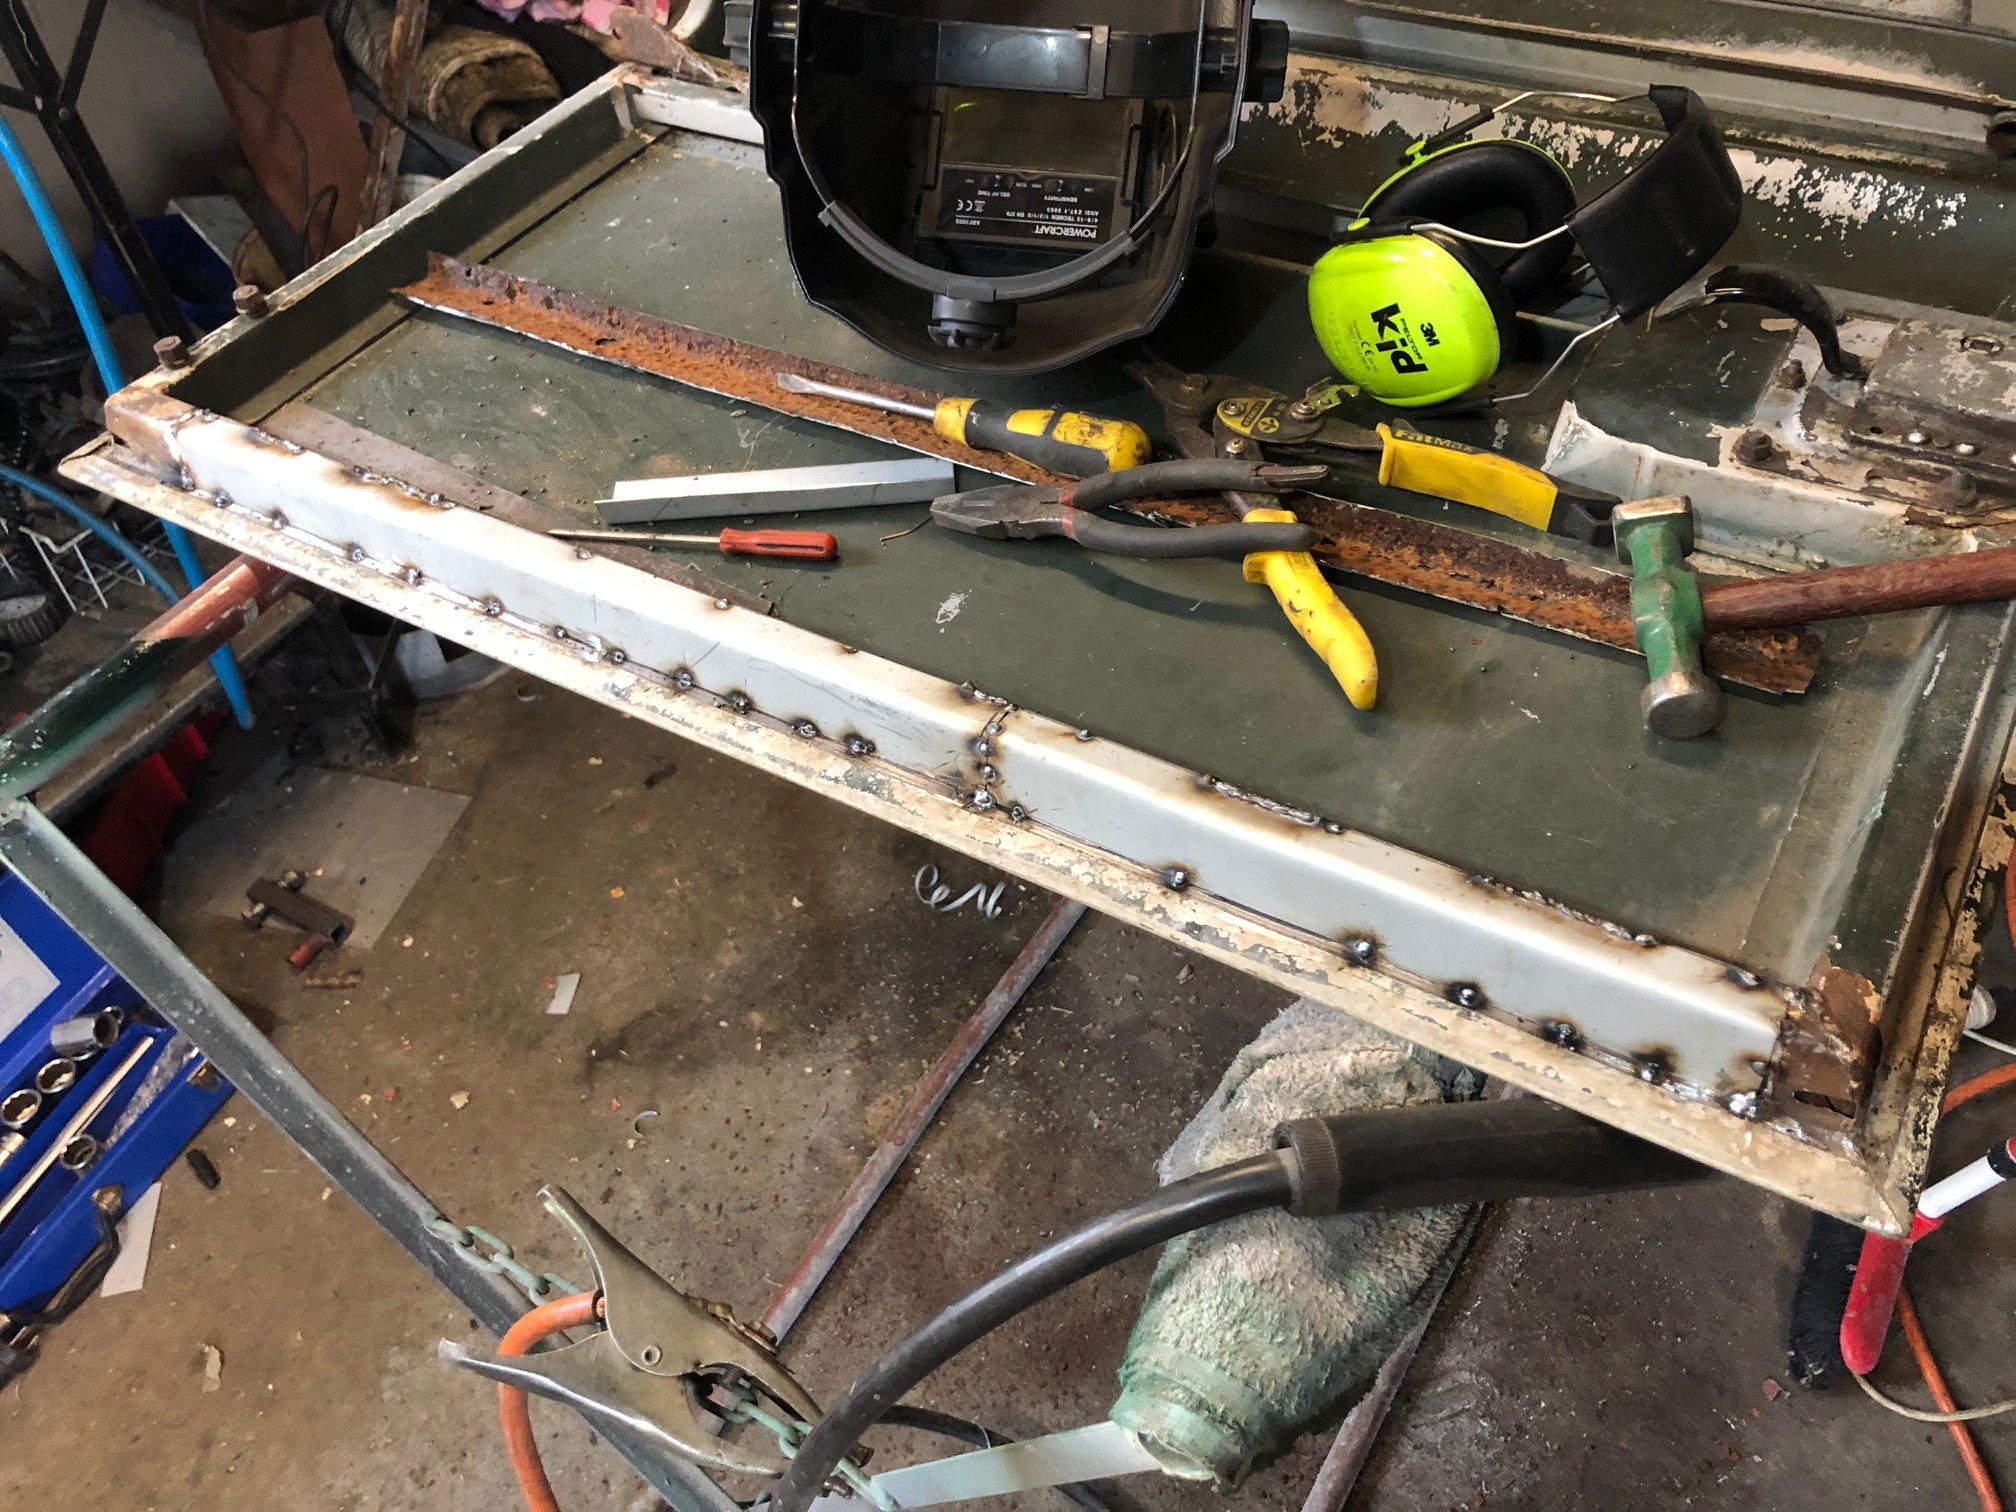
Did a a bit more... Hosed most of the crud off. Pulled the diff/spring assembly off and lowered the tank out. Noticed that it has a hole in the corner that someone has tried to goo up so that will have to get fixed... Also pulled the top cover of the gearbox (I still have no idea what model it is) and was quite pleased, considering the work this thing has probably done its in good nick. The shifter assembly is a custom job so I have some ideas to make the whole thing work alot better. LR transfer box has all of the seals leaking (no surprises) so will end up pulling it for a basic refurb. Onto some more of the fun stuff... Steel frames in all of the doors need work. I'd make this in one section if my folder was wide enough. Thinking about not going through the hassle to filler/prime the body and just metal finish as good as I can and go epoxy/colour...
- 70 replies
-
- 16
-
-
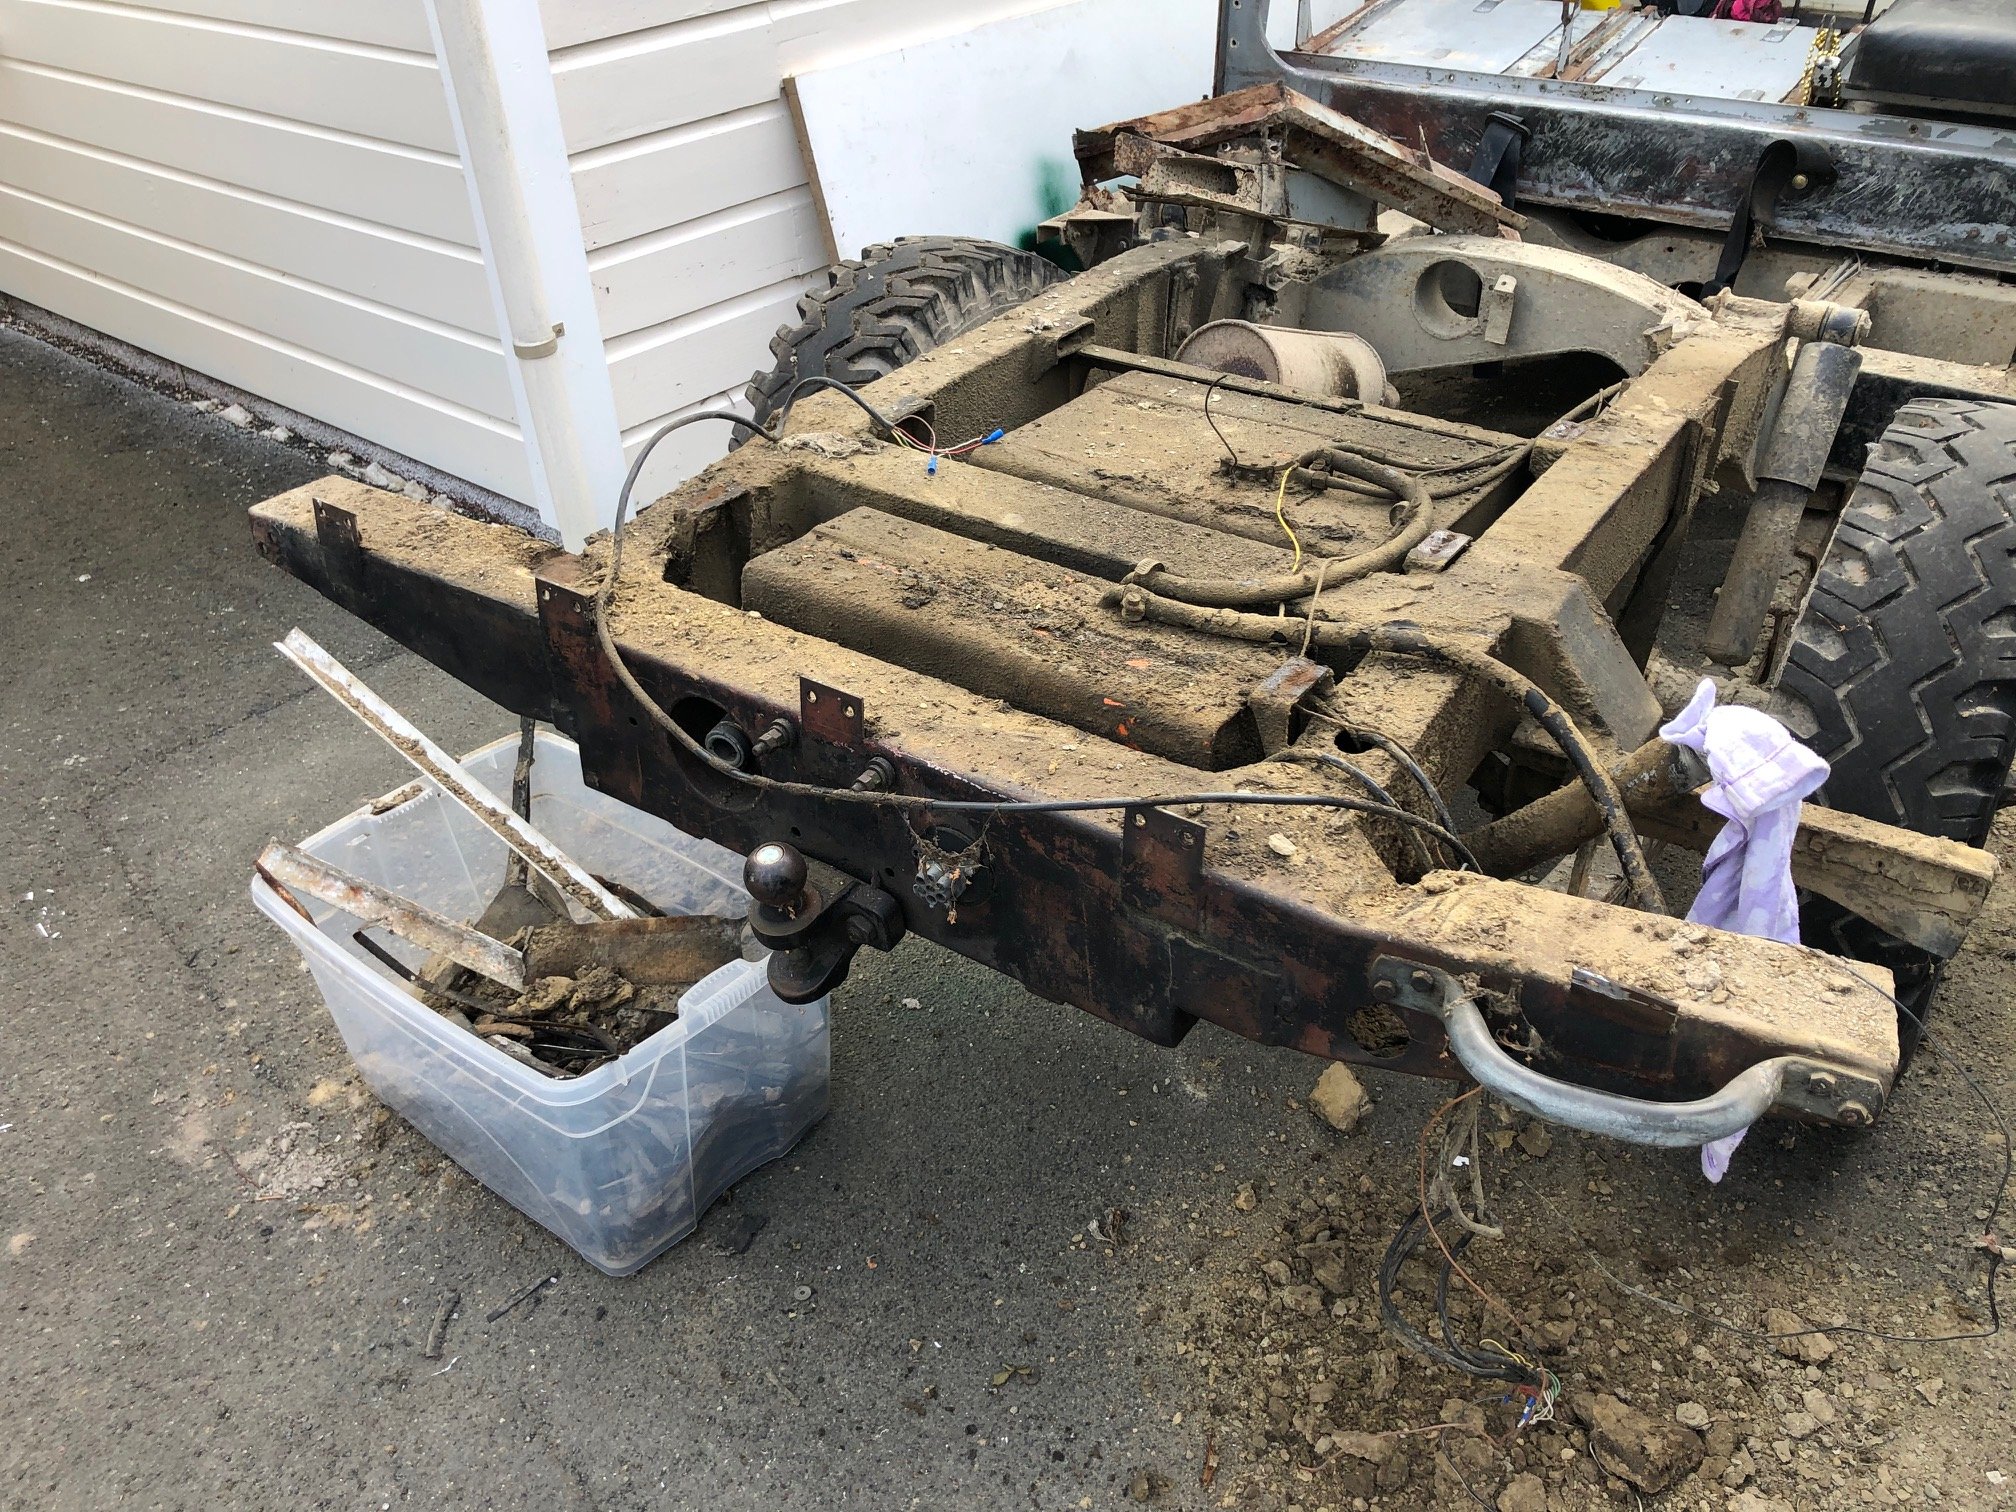
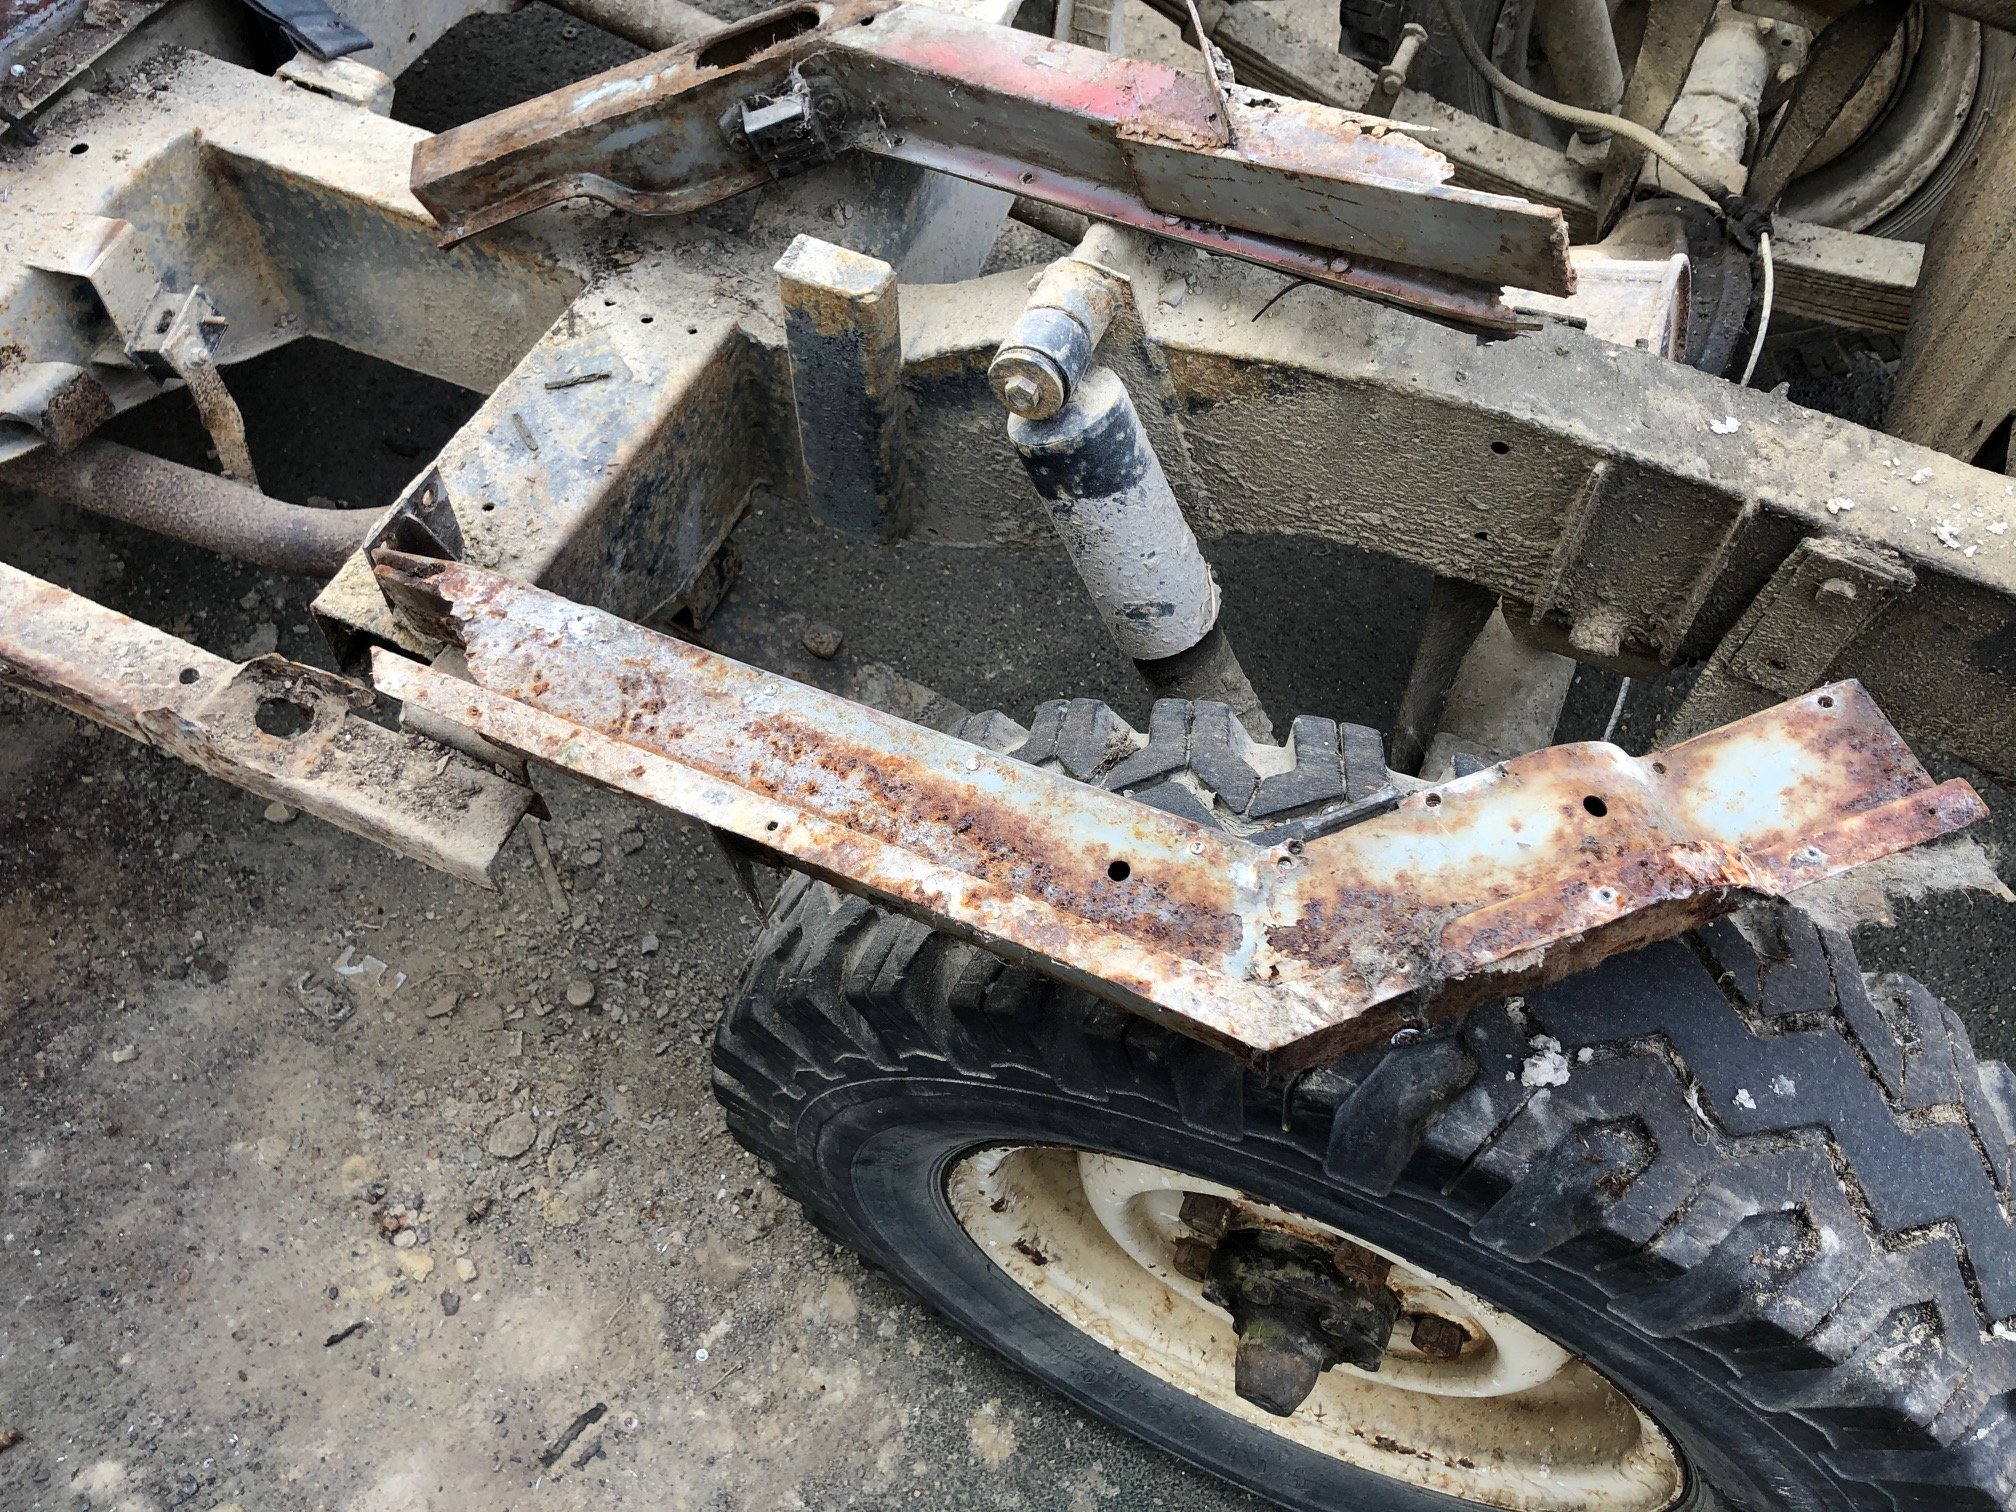
Pulled the tub off. There is decades of dirt here, scraping it off is almost like going through tree rings Rear crossmember has had a shunt at some point. Since I don't have access to gas during the lockdown I will likely cut to straighten back up again. Only bit of of rot I've found is this small portion on one of the outriggers, few older bits on the rear section I will also tidy up. Also top tip, this section is not suppose to be removable... rotted straight through (can see some older repairs...) The door sills, b pillar and this section are all one piece, but have rotted into 3.... but all fixable.
- 70 replies
-
- 14
-
-
Pillar Am thinking I want to ditch the sliding glass in the back and go fixed. Anyone know of aftermarket kits or if its the same dimensions from a 109 2door?
- 70 replies
-
- 13
-

-
-
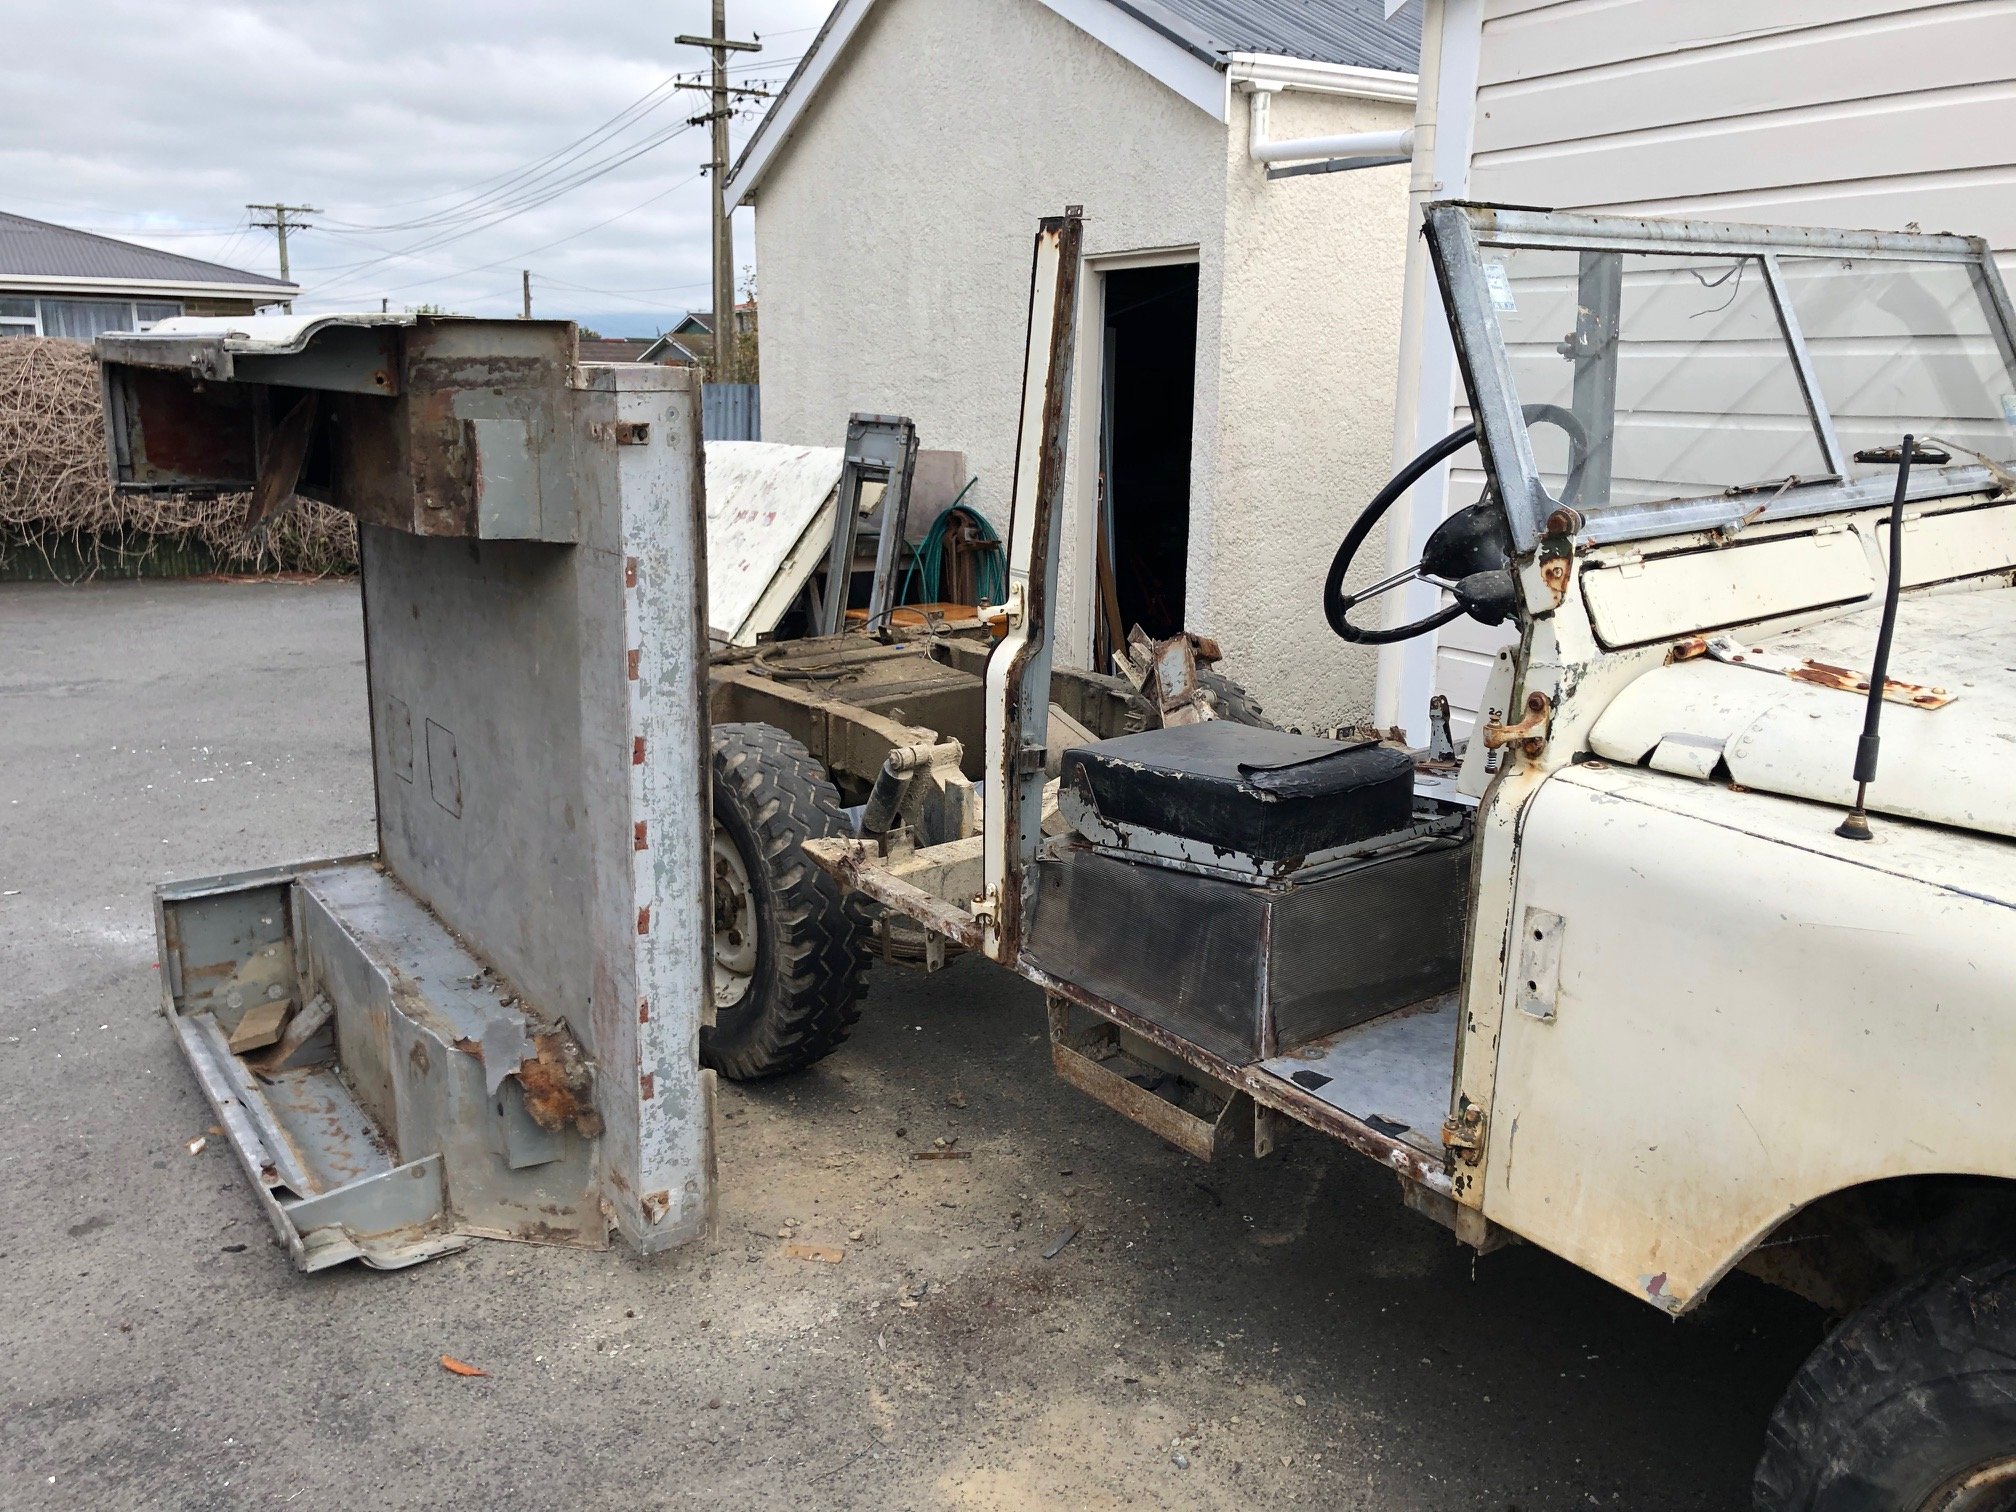
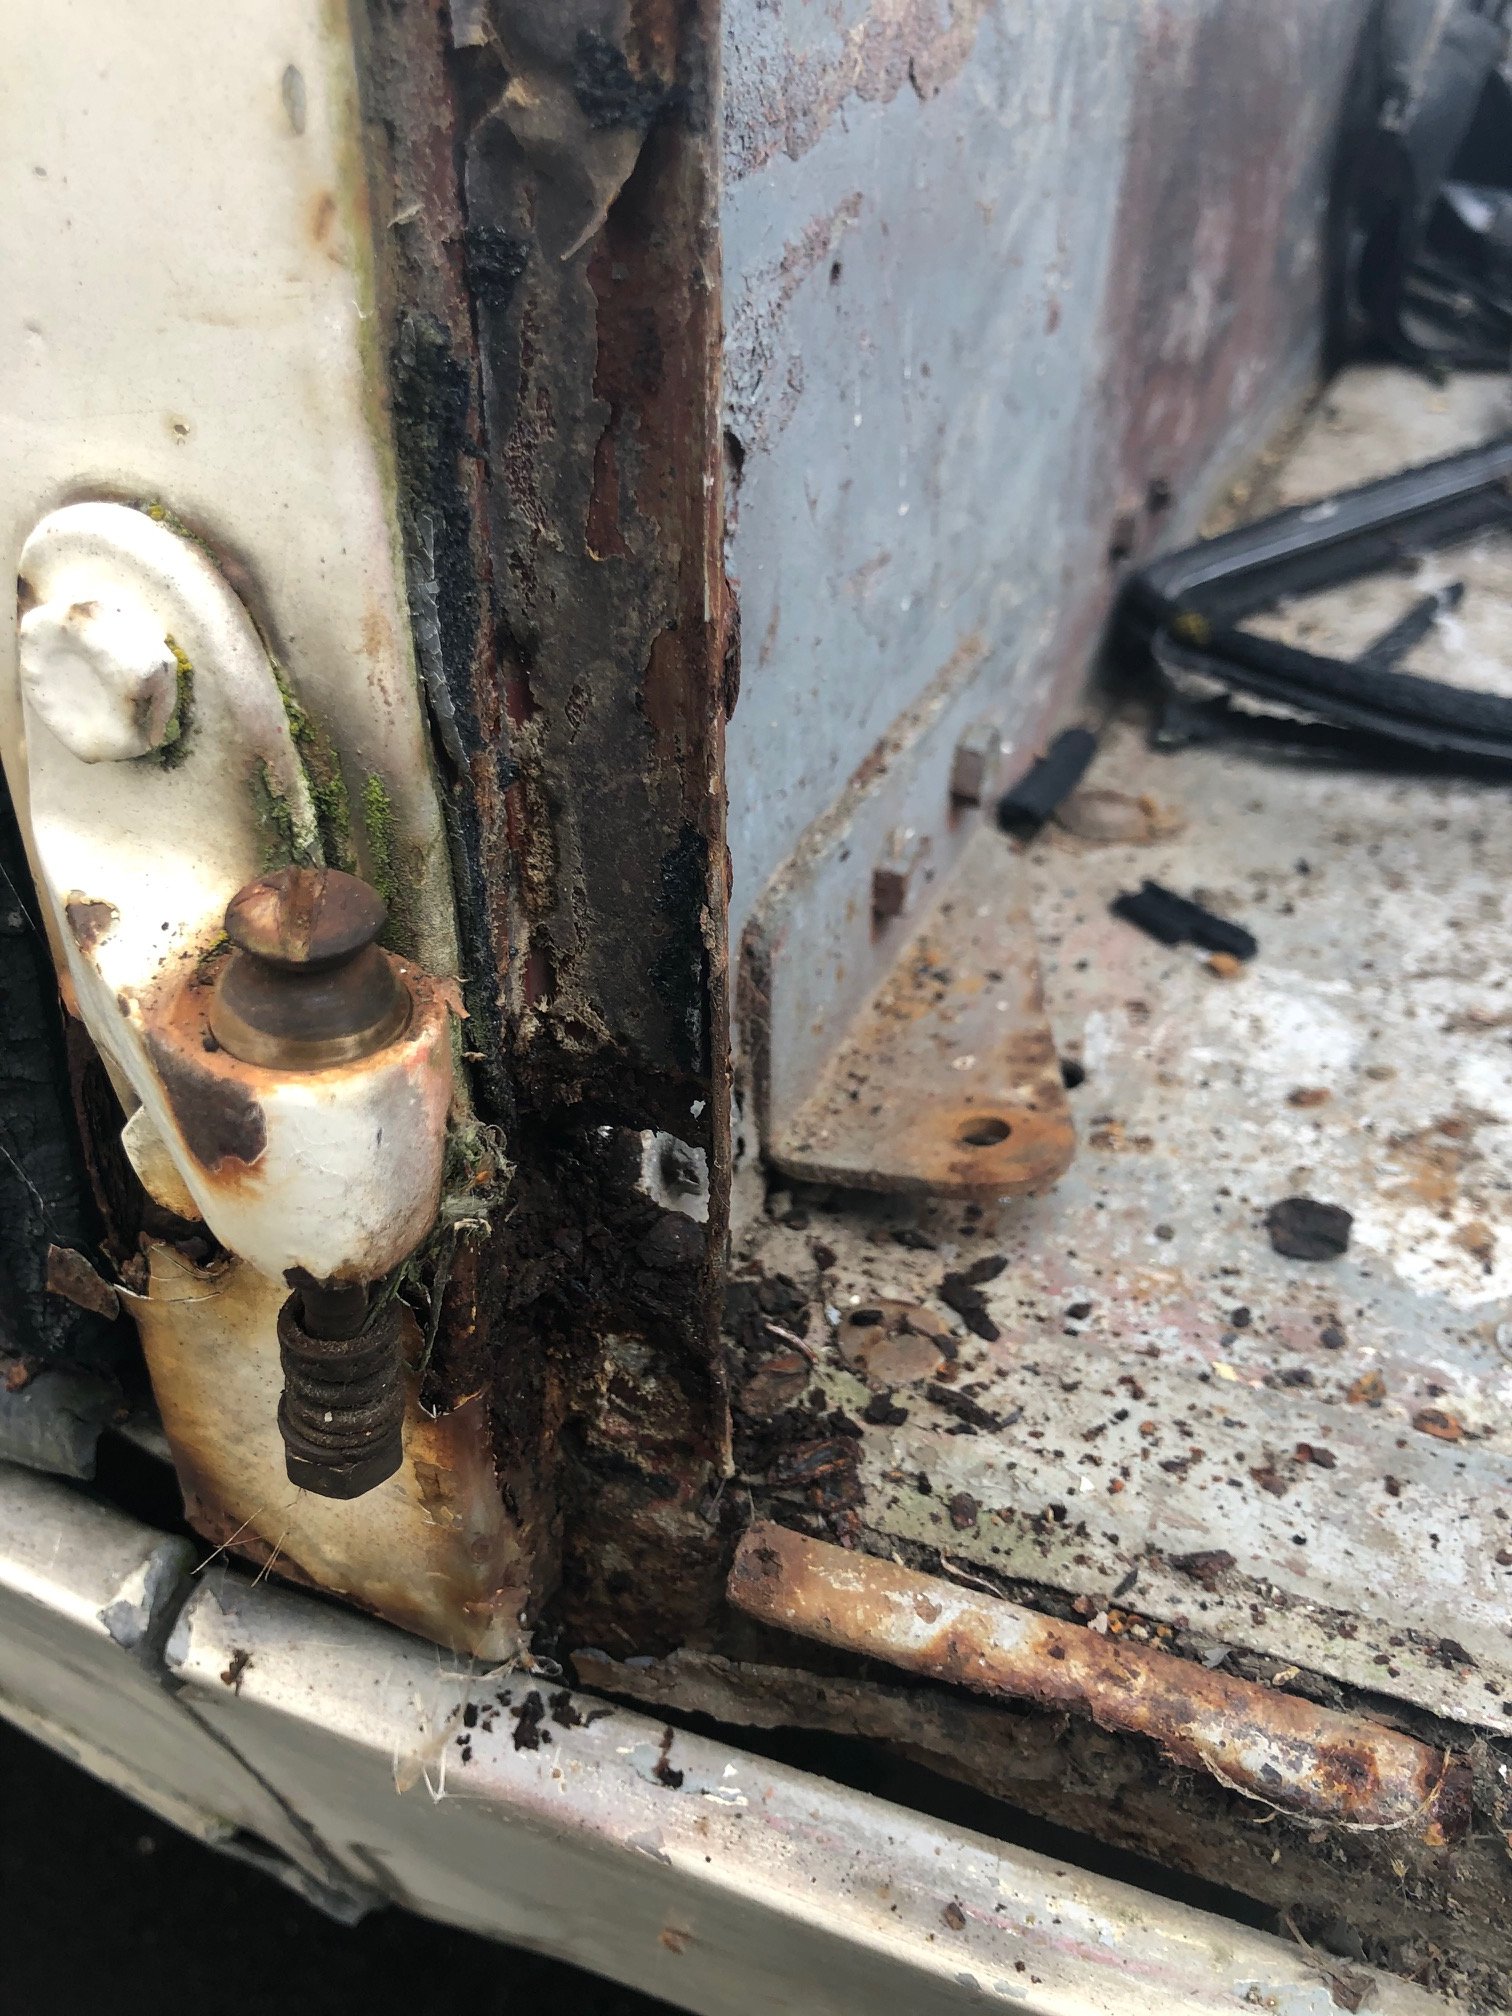
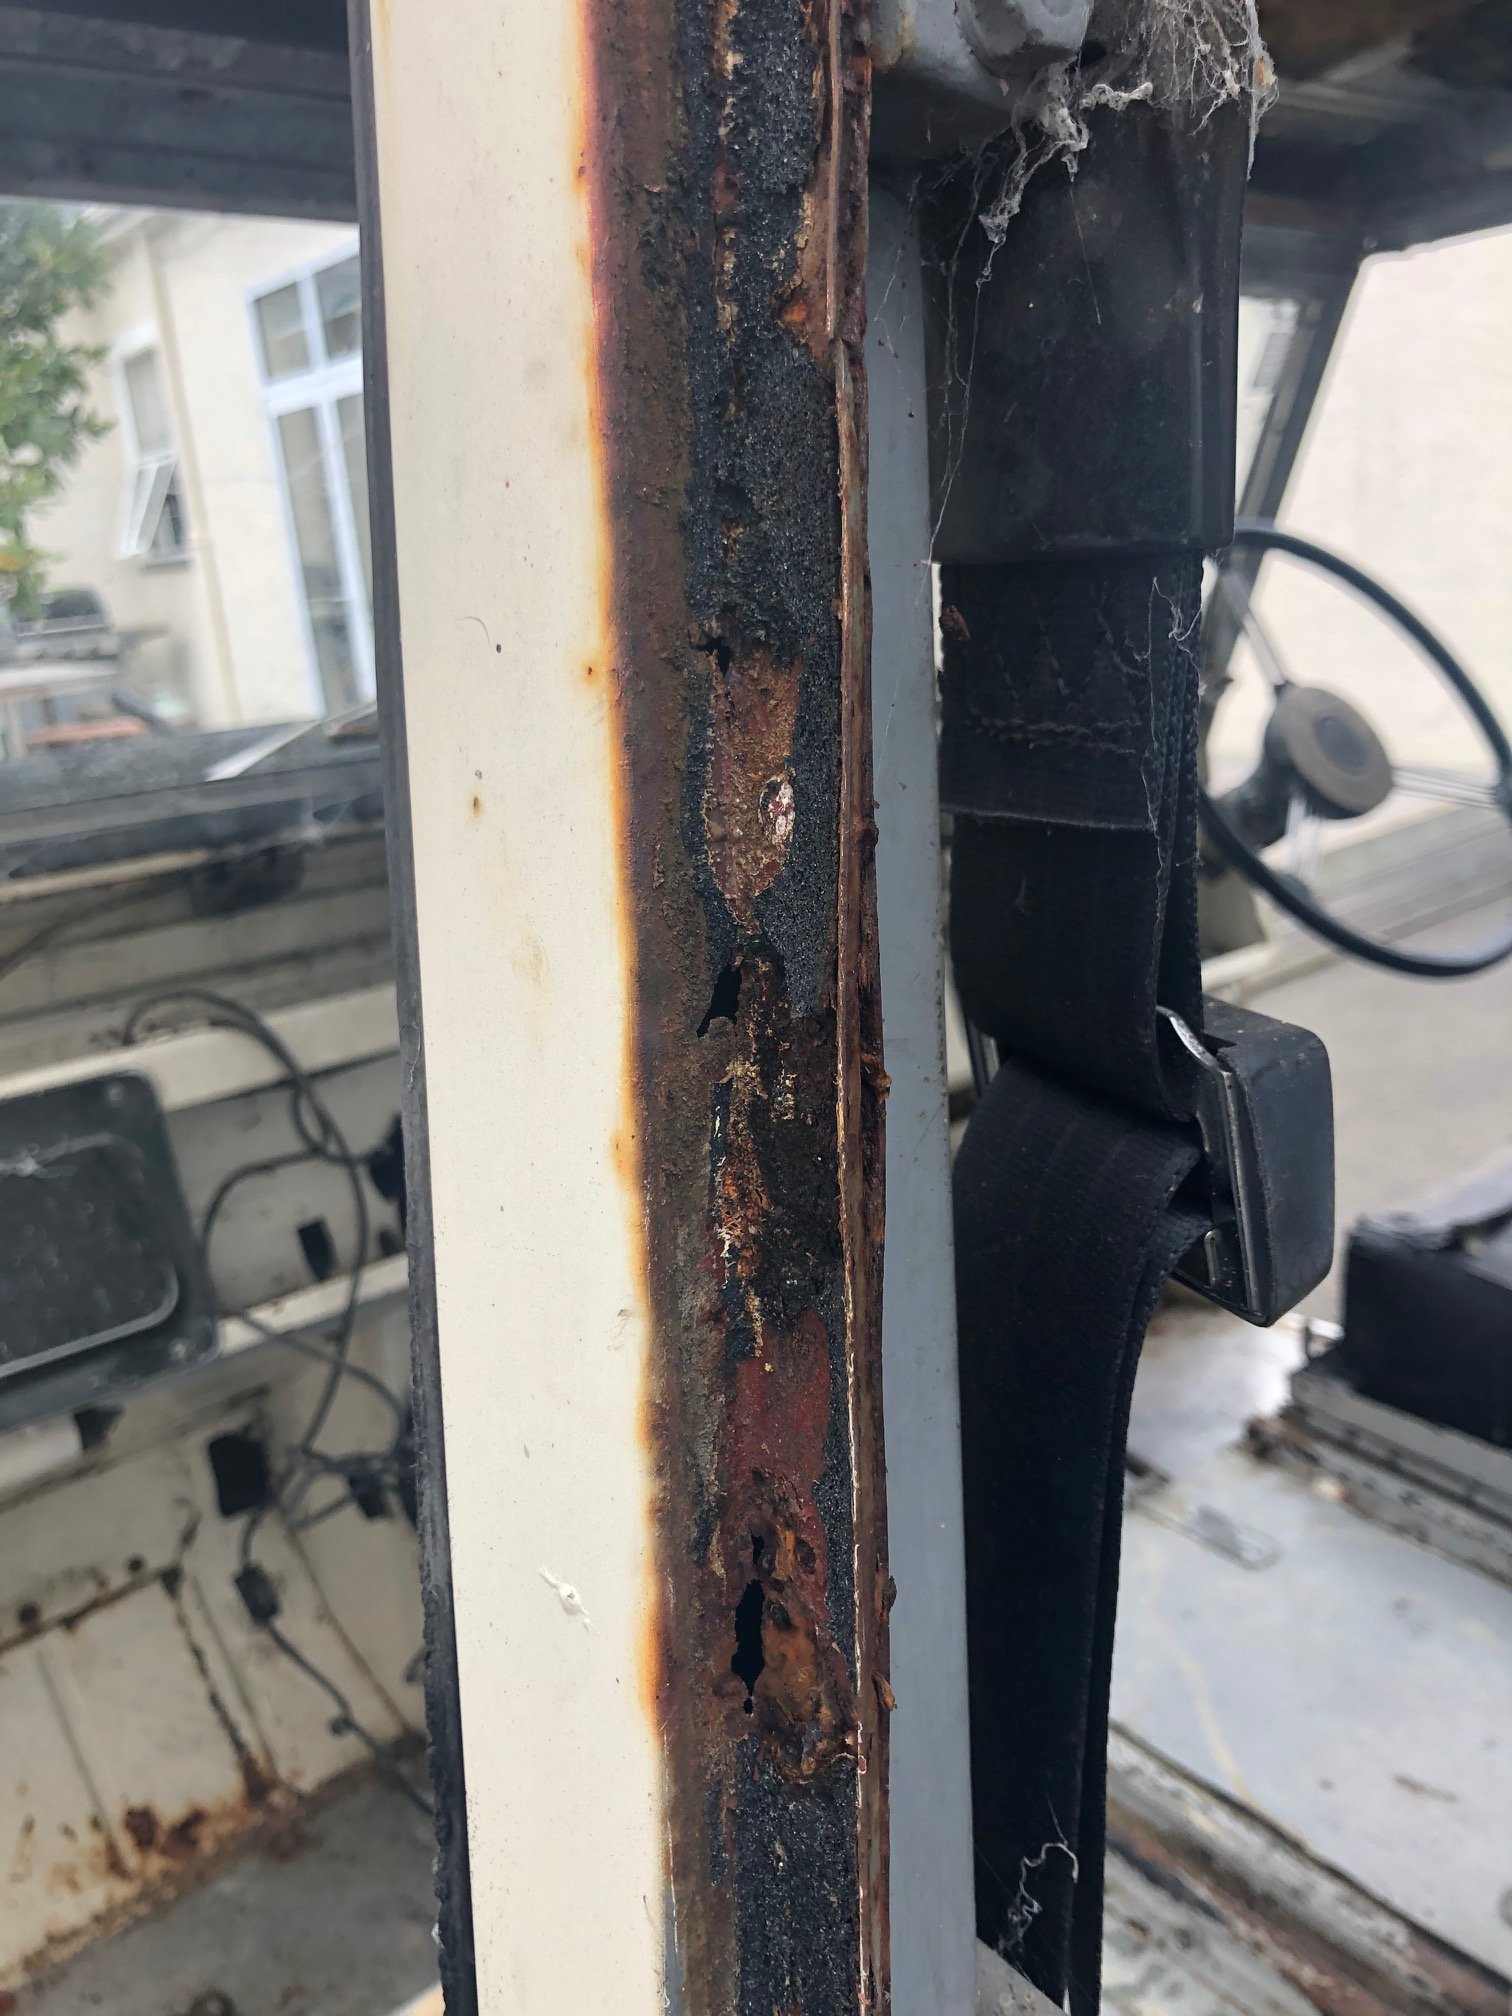
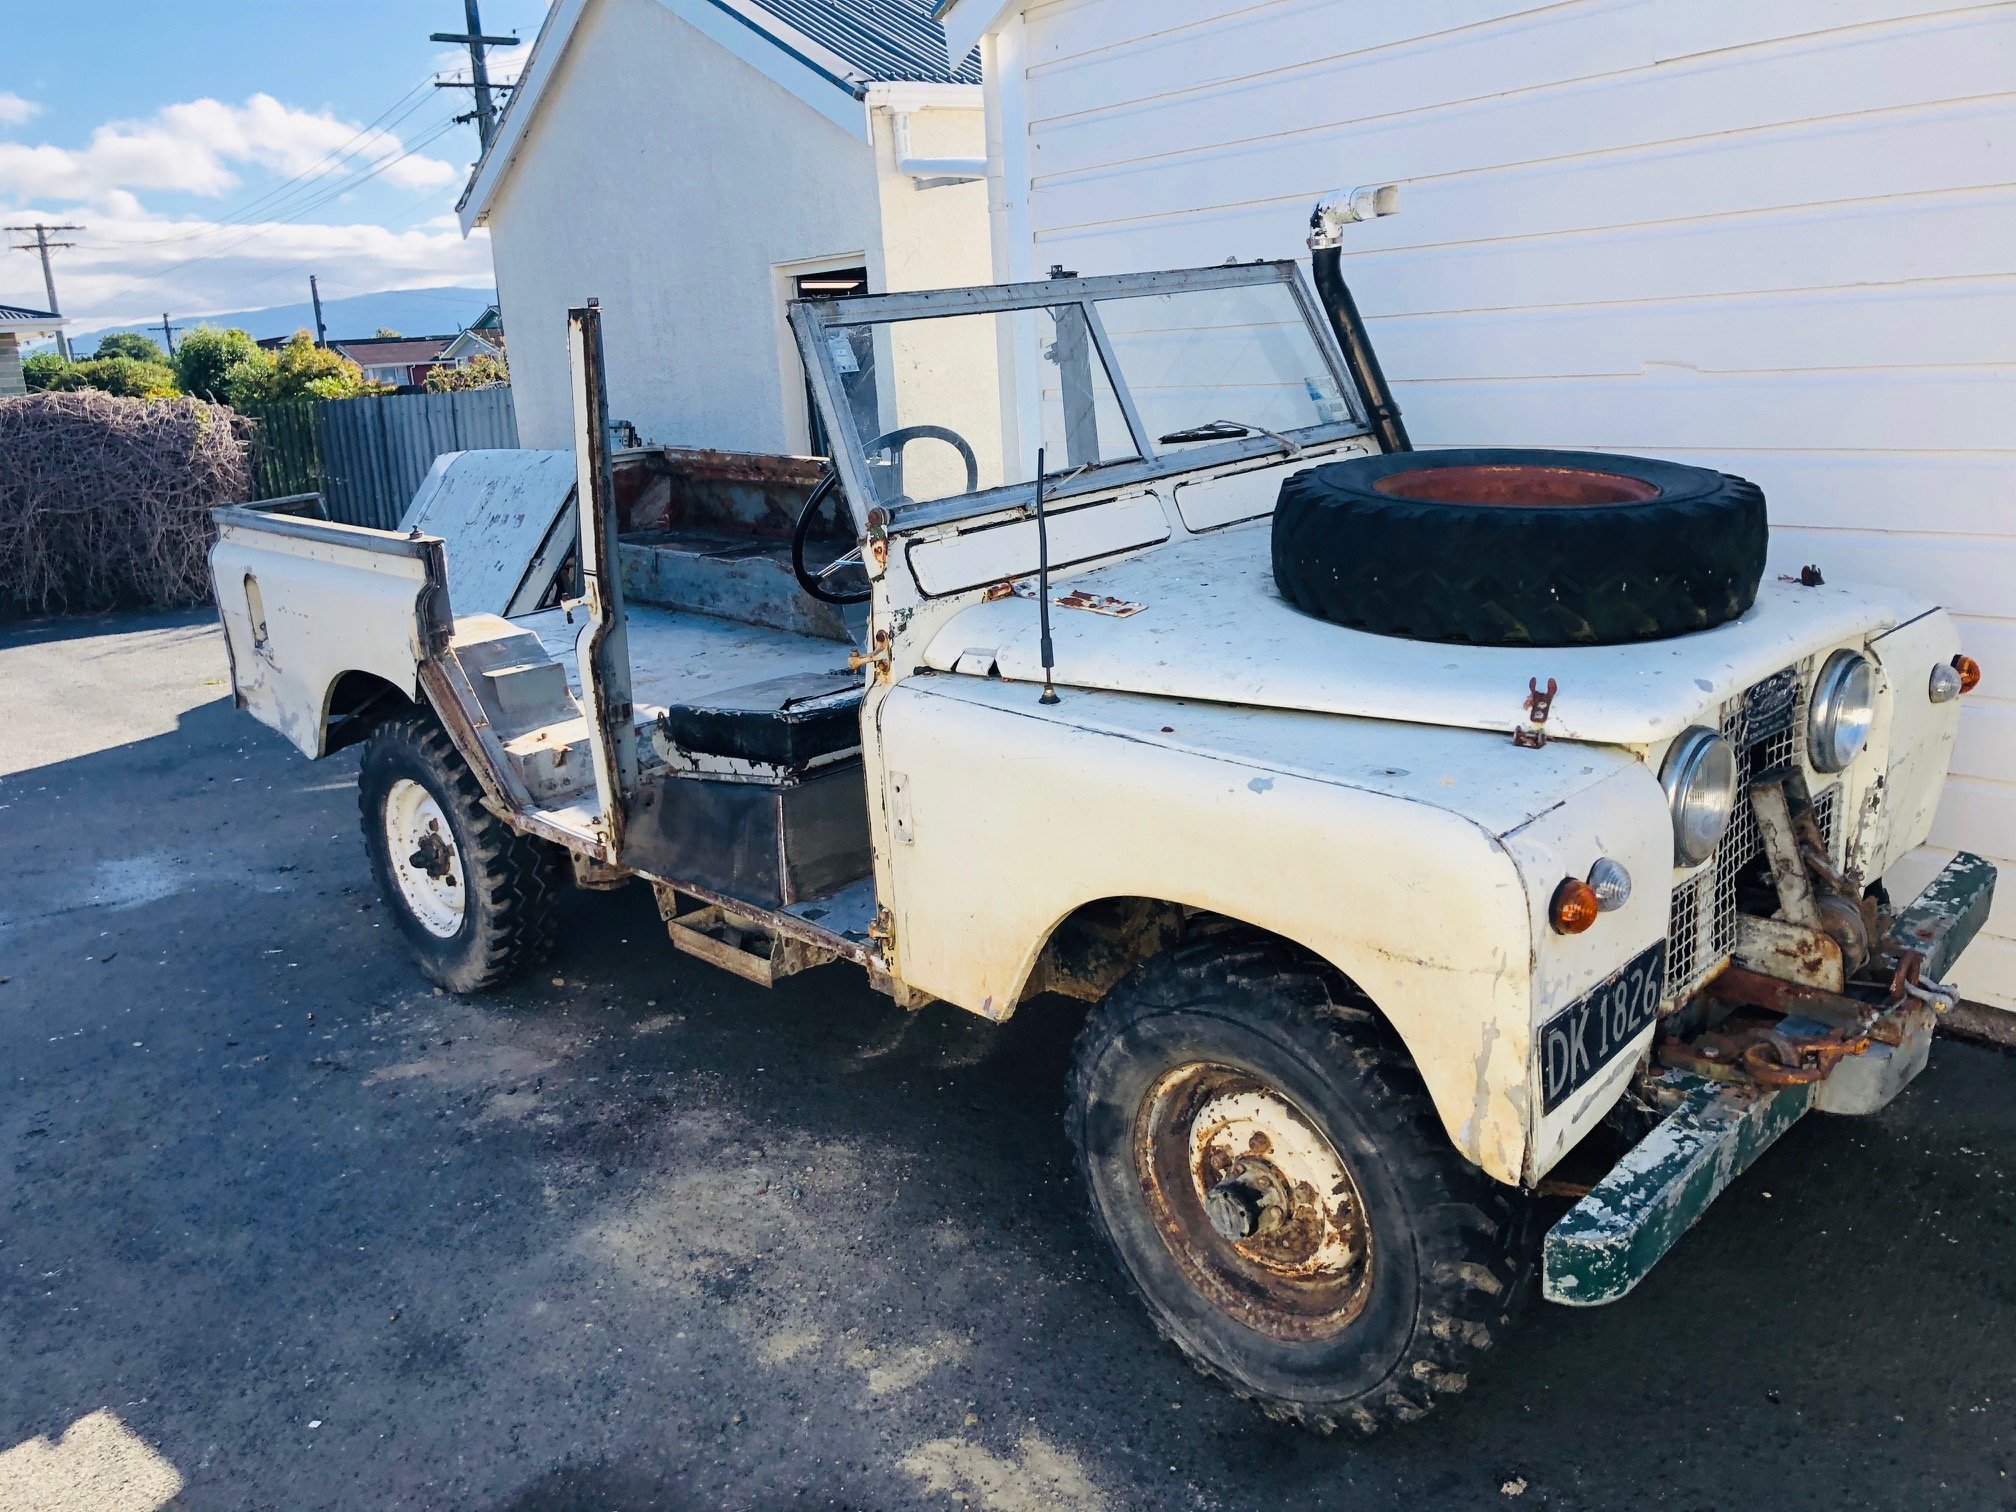
Moved it so time to get to work... And yep.... I suspect the bulkhead in his has been replaced at some point - 1) There are traces of green paint under the white and 2) the b-pillar and sill dog leg are quite rusty while the bulk head looks fine (so far). Like so.... Still putting bits apart, amazing how many rubber seals are needed to hold all of this together.... Only had to cut a few bolts out, will likely buy a bunch of new fasteners to replace the older whitworth fixings.
- 70 replies
-
- 11
-
-
New owner took it home this arvo before the lockdown THEREIN ENDS THE THREAD...
-
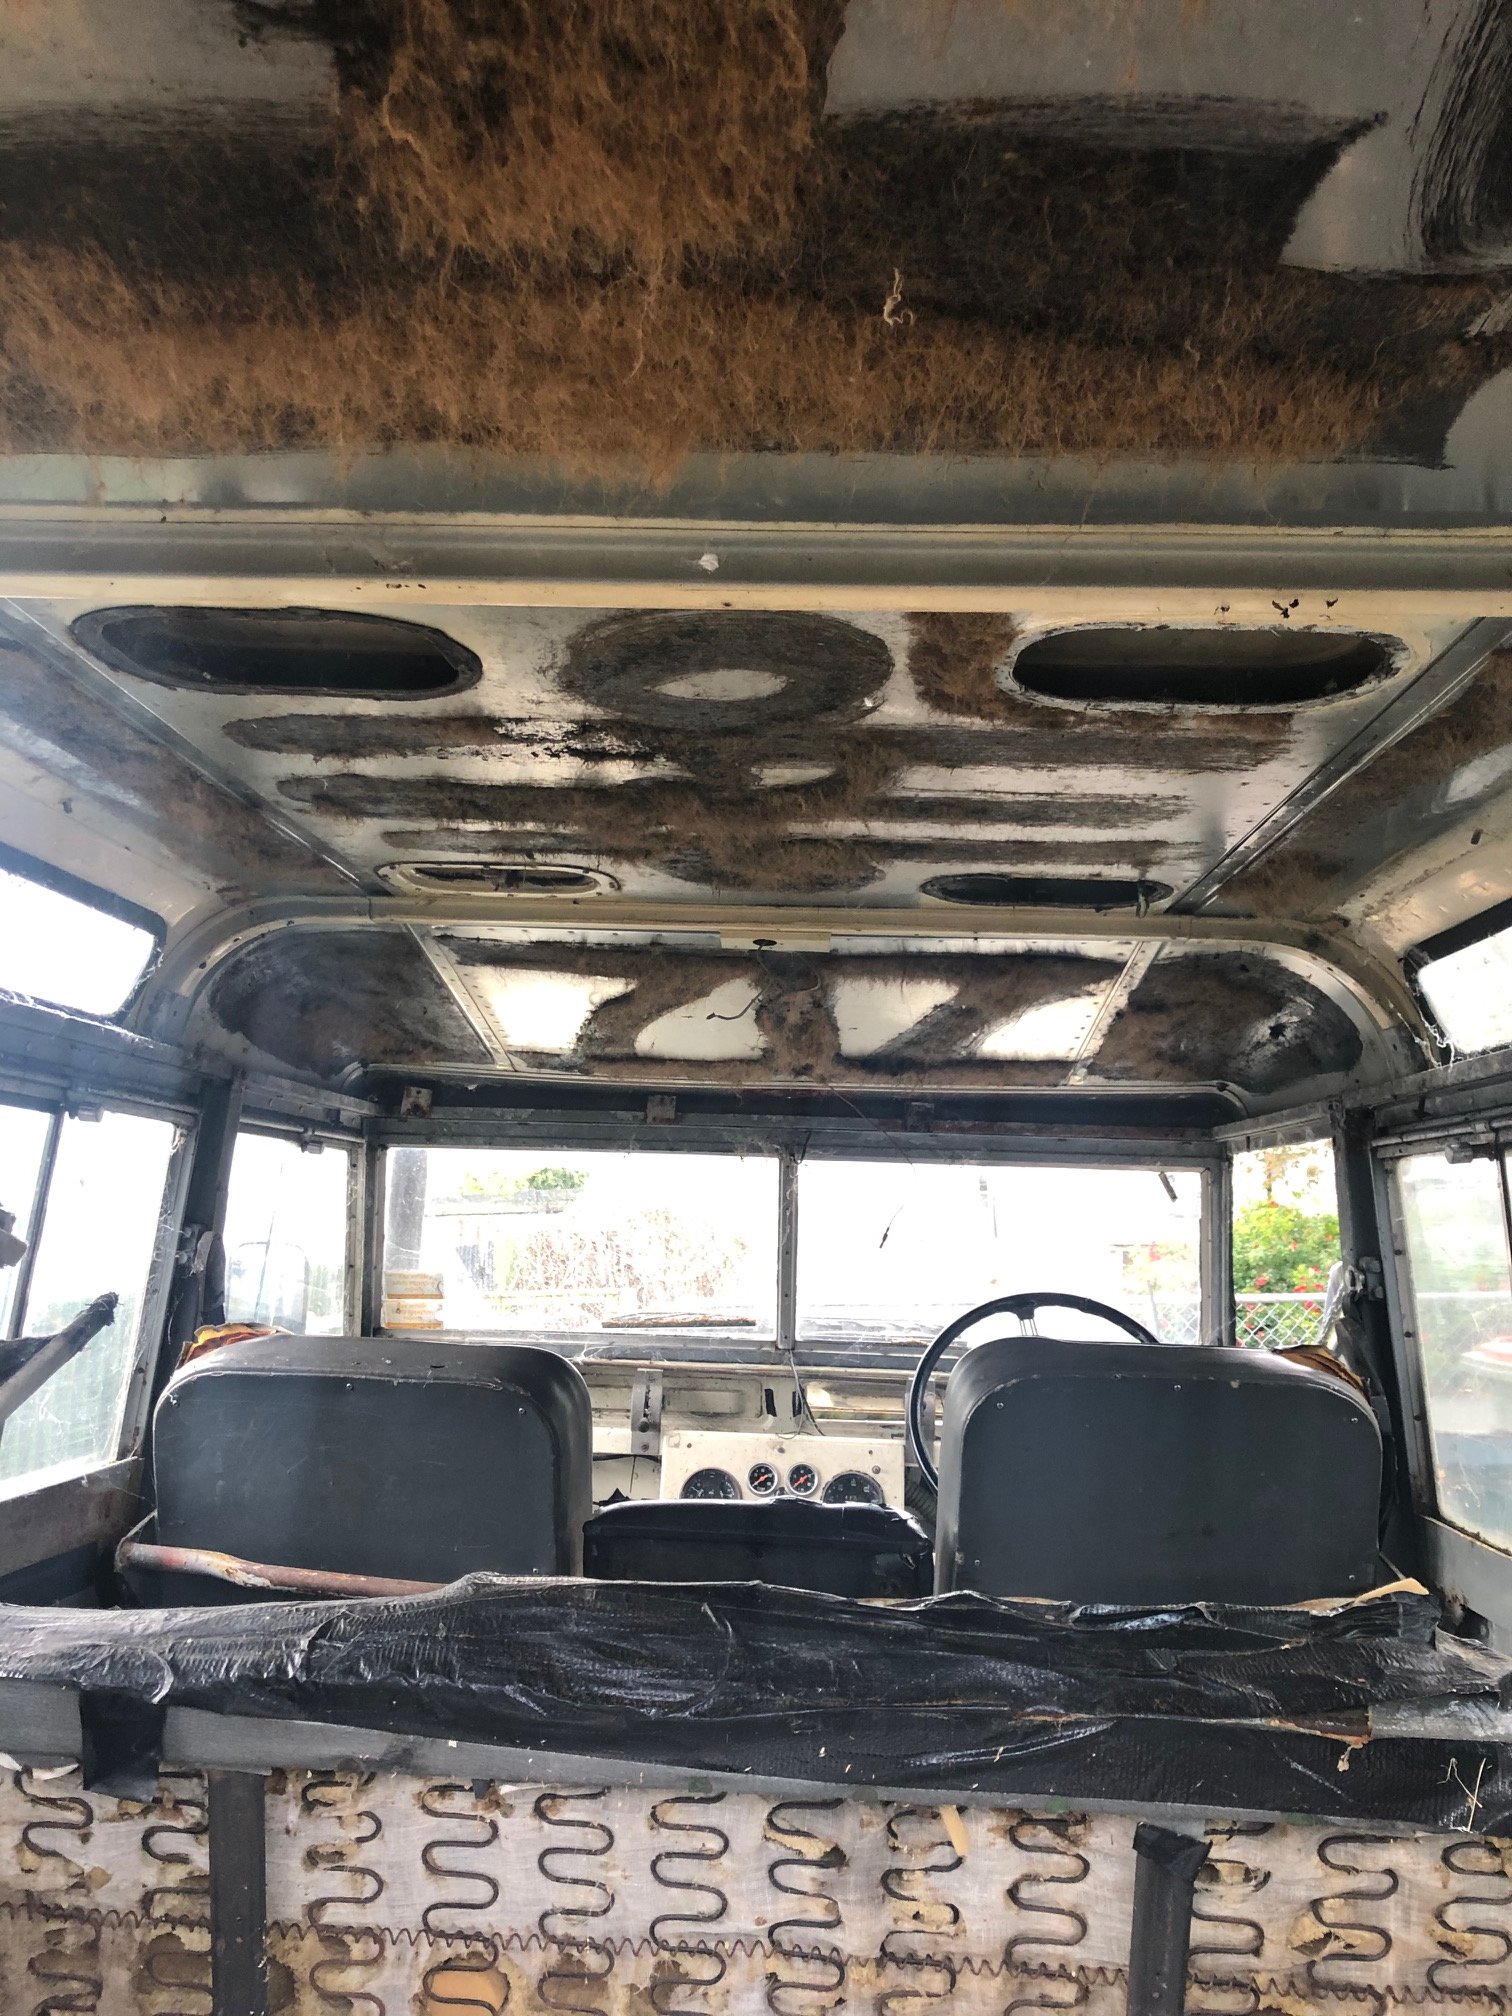
With the mini soon to be off the section I've started on some of the easier parts of this project and assessing what needs to be done... Pulled the hoodlining, the frame sections were pretty crunchy and the hessian type insulation crumbled in the process. Not too worried, I will be retrimming this all in a different manner. Also pulled the vents for the safari 'tropical' roof. These are seized shut and in poor shape.... What I like to do with parts like these is dip in oxalic acid. It is brilliant for taking rust off (does a great job on pitted chrome). Rear doors need a little bit more work than expected though repairable. I've taken it for the odd trip round the block. Drives as magical as one would expect, 'rolls coal' without hesitation so suspect weak gov springs. Decided I'm going to keep the running gear to get it on the road but go through everything in the process.
- 70 replies
-
- 11
-
-
First time its seen the sun.... But I've also gotten an offer I cant refuse so it's been sold. New owner is buying for his teenage kids as a joint project and for their first car. Now I can focus on this Land Rover...
- 20 replies
-
- 14
-
-
-
-
Buy some powdered oxalic acid and make a mix up. Had incredible success with it in cleaning up chrome parts on bikes. Soak items for a few hours and scrub with a plastic brush.
- 67 replies
-
- 1
-
-
- ebike
- vintage bicycle
- (and 1 more)
-
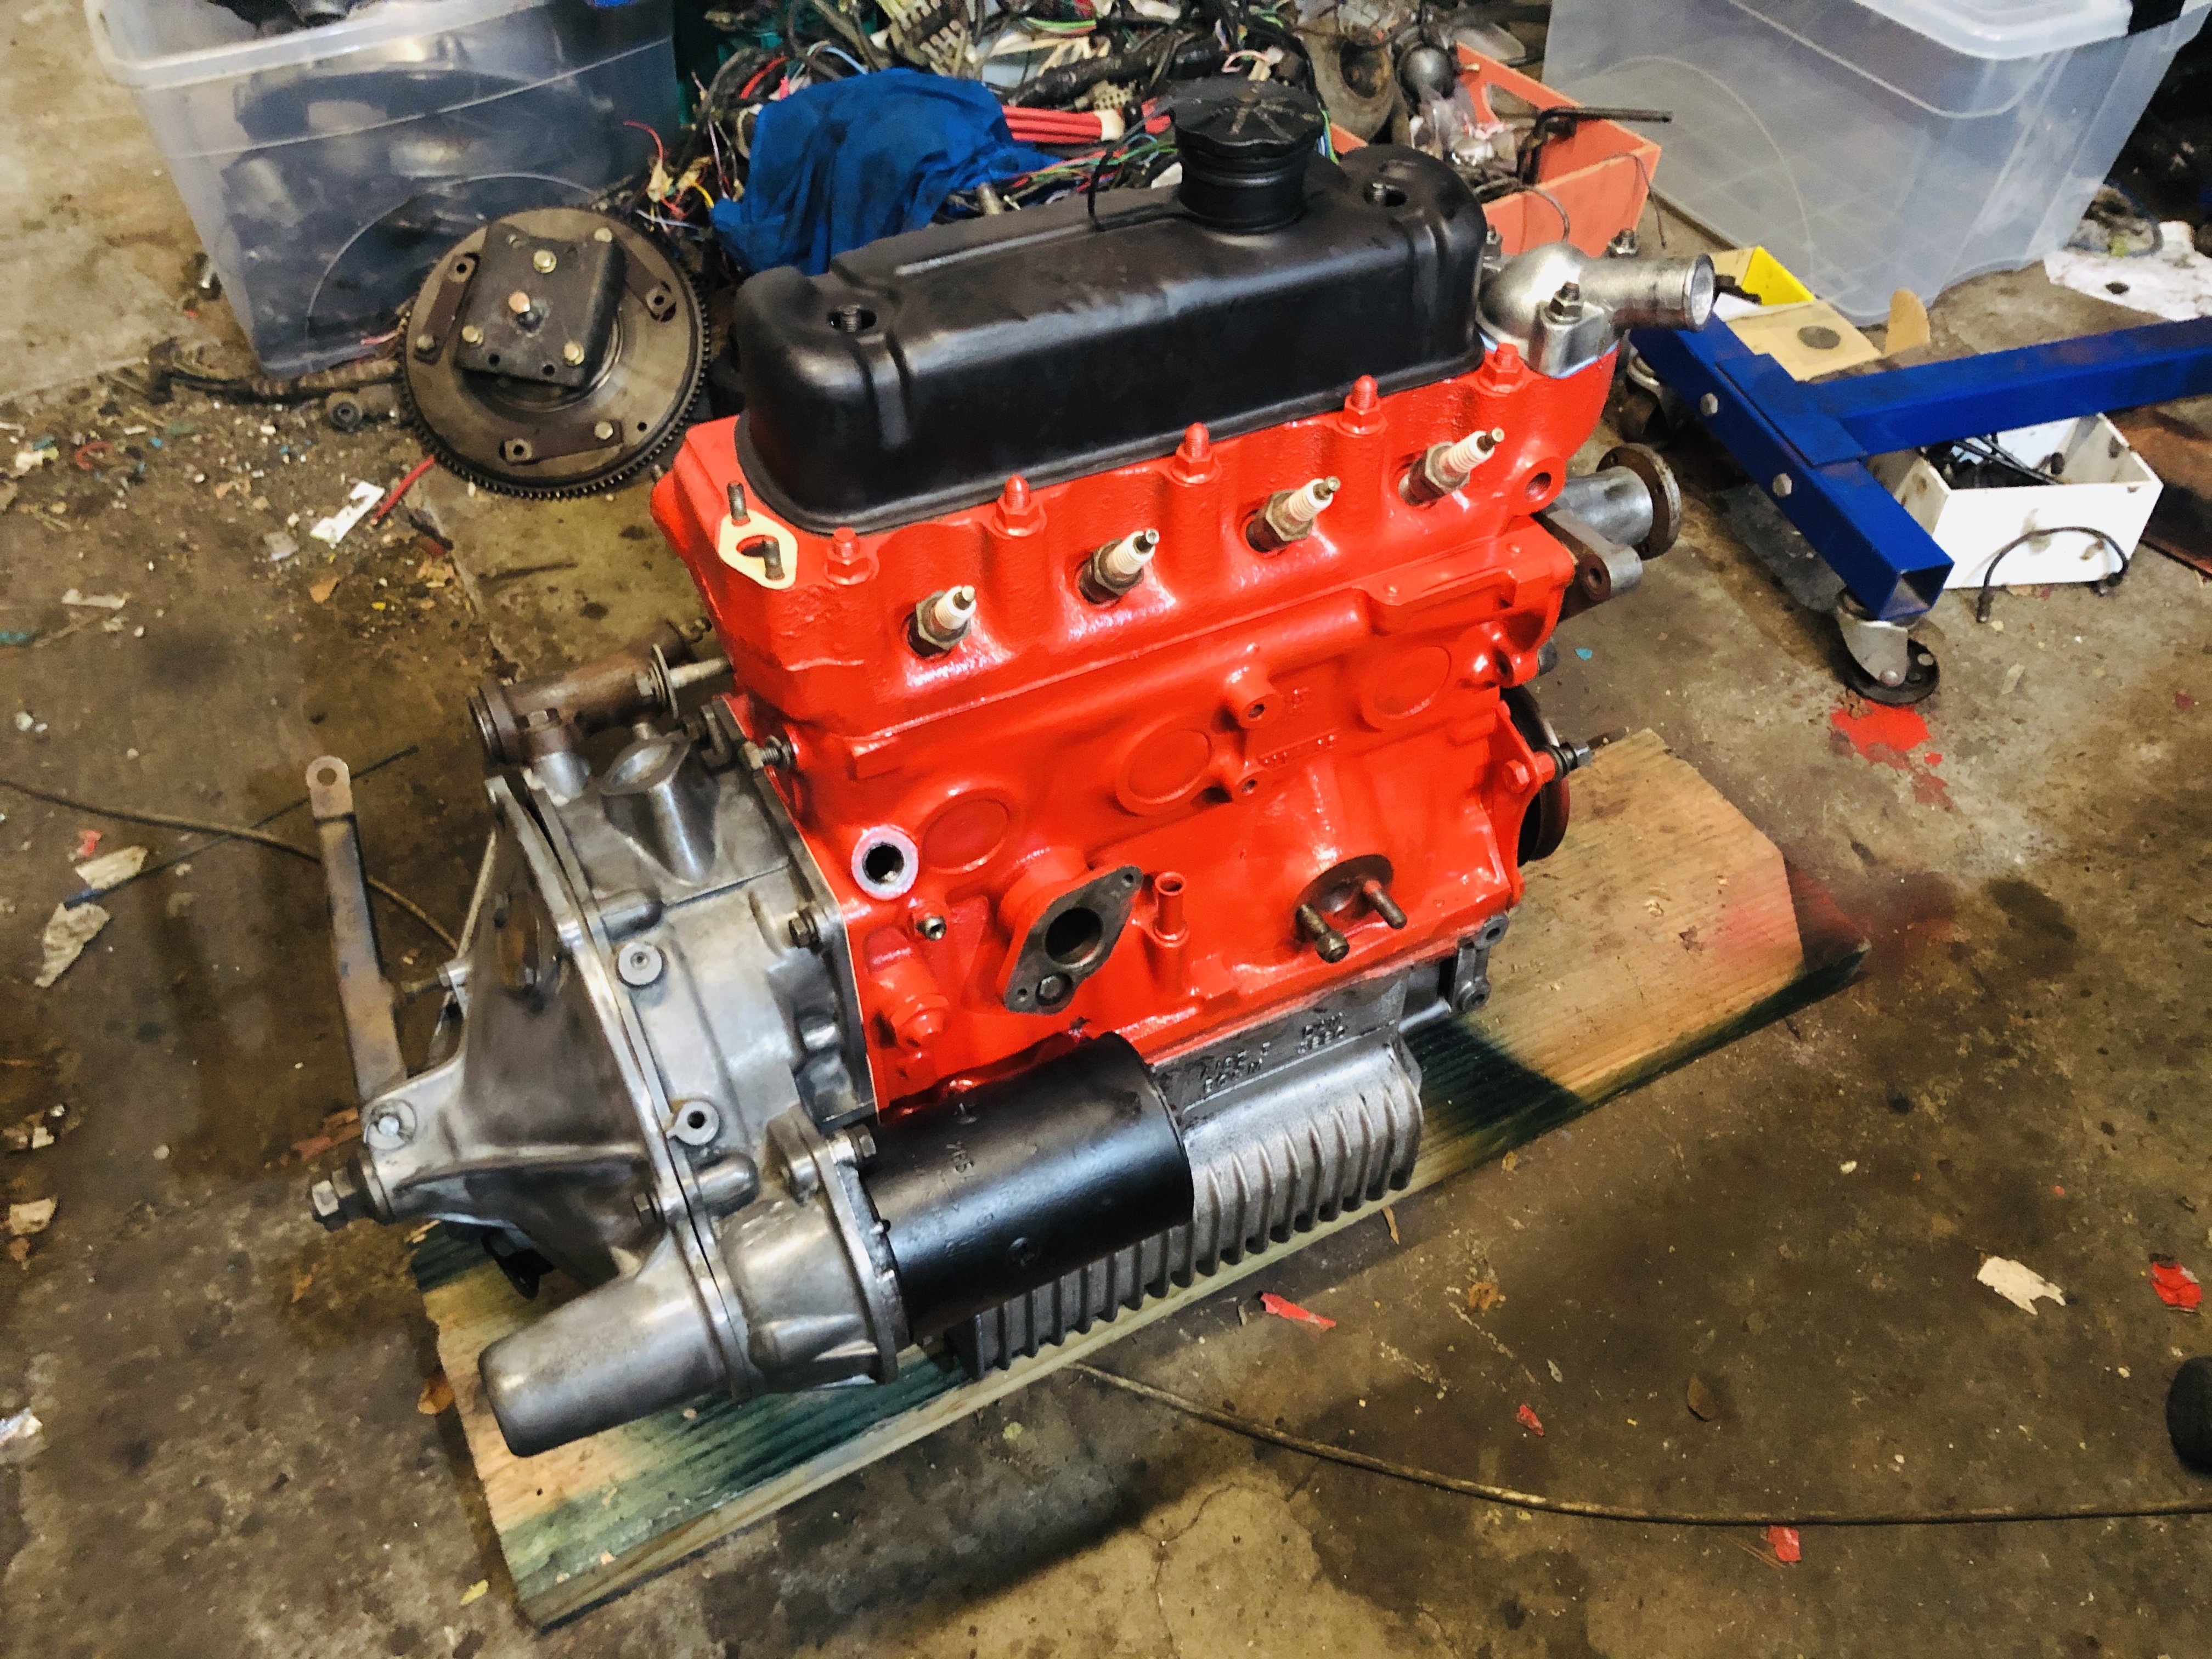
Making progress. Completely std build using good S/H parts and all new bearings/rings. Once I got all the required parts it’s gone together reasonably well.
- 20 replies
-
- 19
-
-
Yea none taken..... I've since sold it and in fairness didnt enjoy the end product as much as I thought I would.... R20 arent the lightest things in the world and with all the 3-bike stuff it was just incredibly heavy.... I've since gotten over my 'building bikes' phase but there are still bits there for another project... Still probably have alot of Raleigh specific stuff so let me know if you need any hardware.
- 67 replies
-
- 3
-
-
-
- ebike
- vintage bicycle
- (and 1 more)