Adoom
-
Posts
2193 -
Joined
-
Last visited
Everything posted by Adoom
-
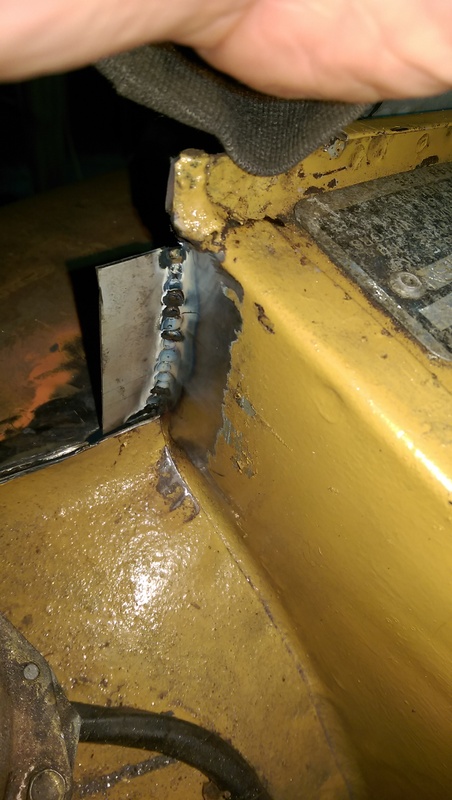
Turned the power down to 1. The welds still look a bit wobbly because I had trouble seeing. I realised afterwards it was because the lens behind the clear plastic was filthy rather than my cheap Chint auto darkening helmet being shit. Got a new clear plastic thing and wiped the lens. Now it's much easier to see. Haven't done any more welding since cleaning it. Was thinking about getting a better helmet and speedglas 9100xx looks great. But I don't think I can justify spending $750 on one from 'murika/Amazon.... Can anyone get deals on these? Still need to flap sand the weld down with the flappy sanding wheel on the grinder.

-
Where would I get cold rolled sheet from? In manageable sizes. I have a boc mig 170P. I have 6 settings for power and variable wirespeed. I am using 0.6mm wire. I did set it up with a couple scrap bits of the patch metal butted together. I set it as high as I could for tacking without blowing through. I suspect the original steel I am welding the patches to might be a bit thin in places. I'll try it on a lower setting this weekend.
-
I am using 0.6
-
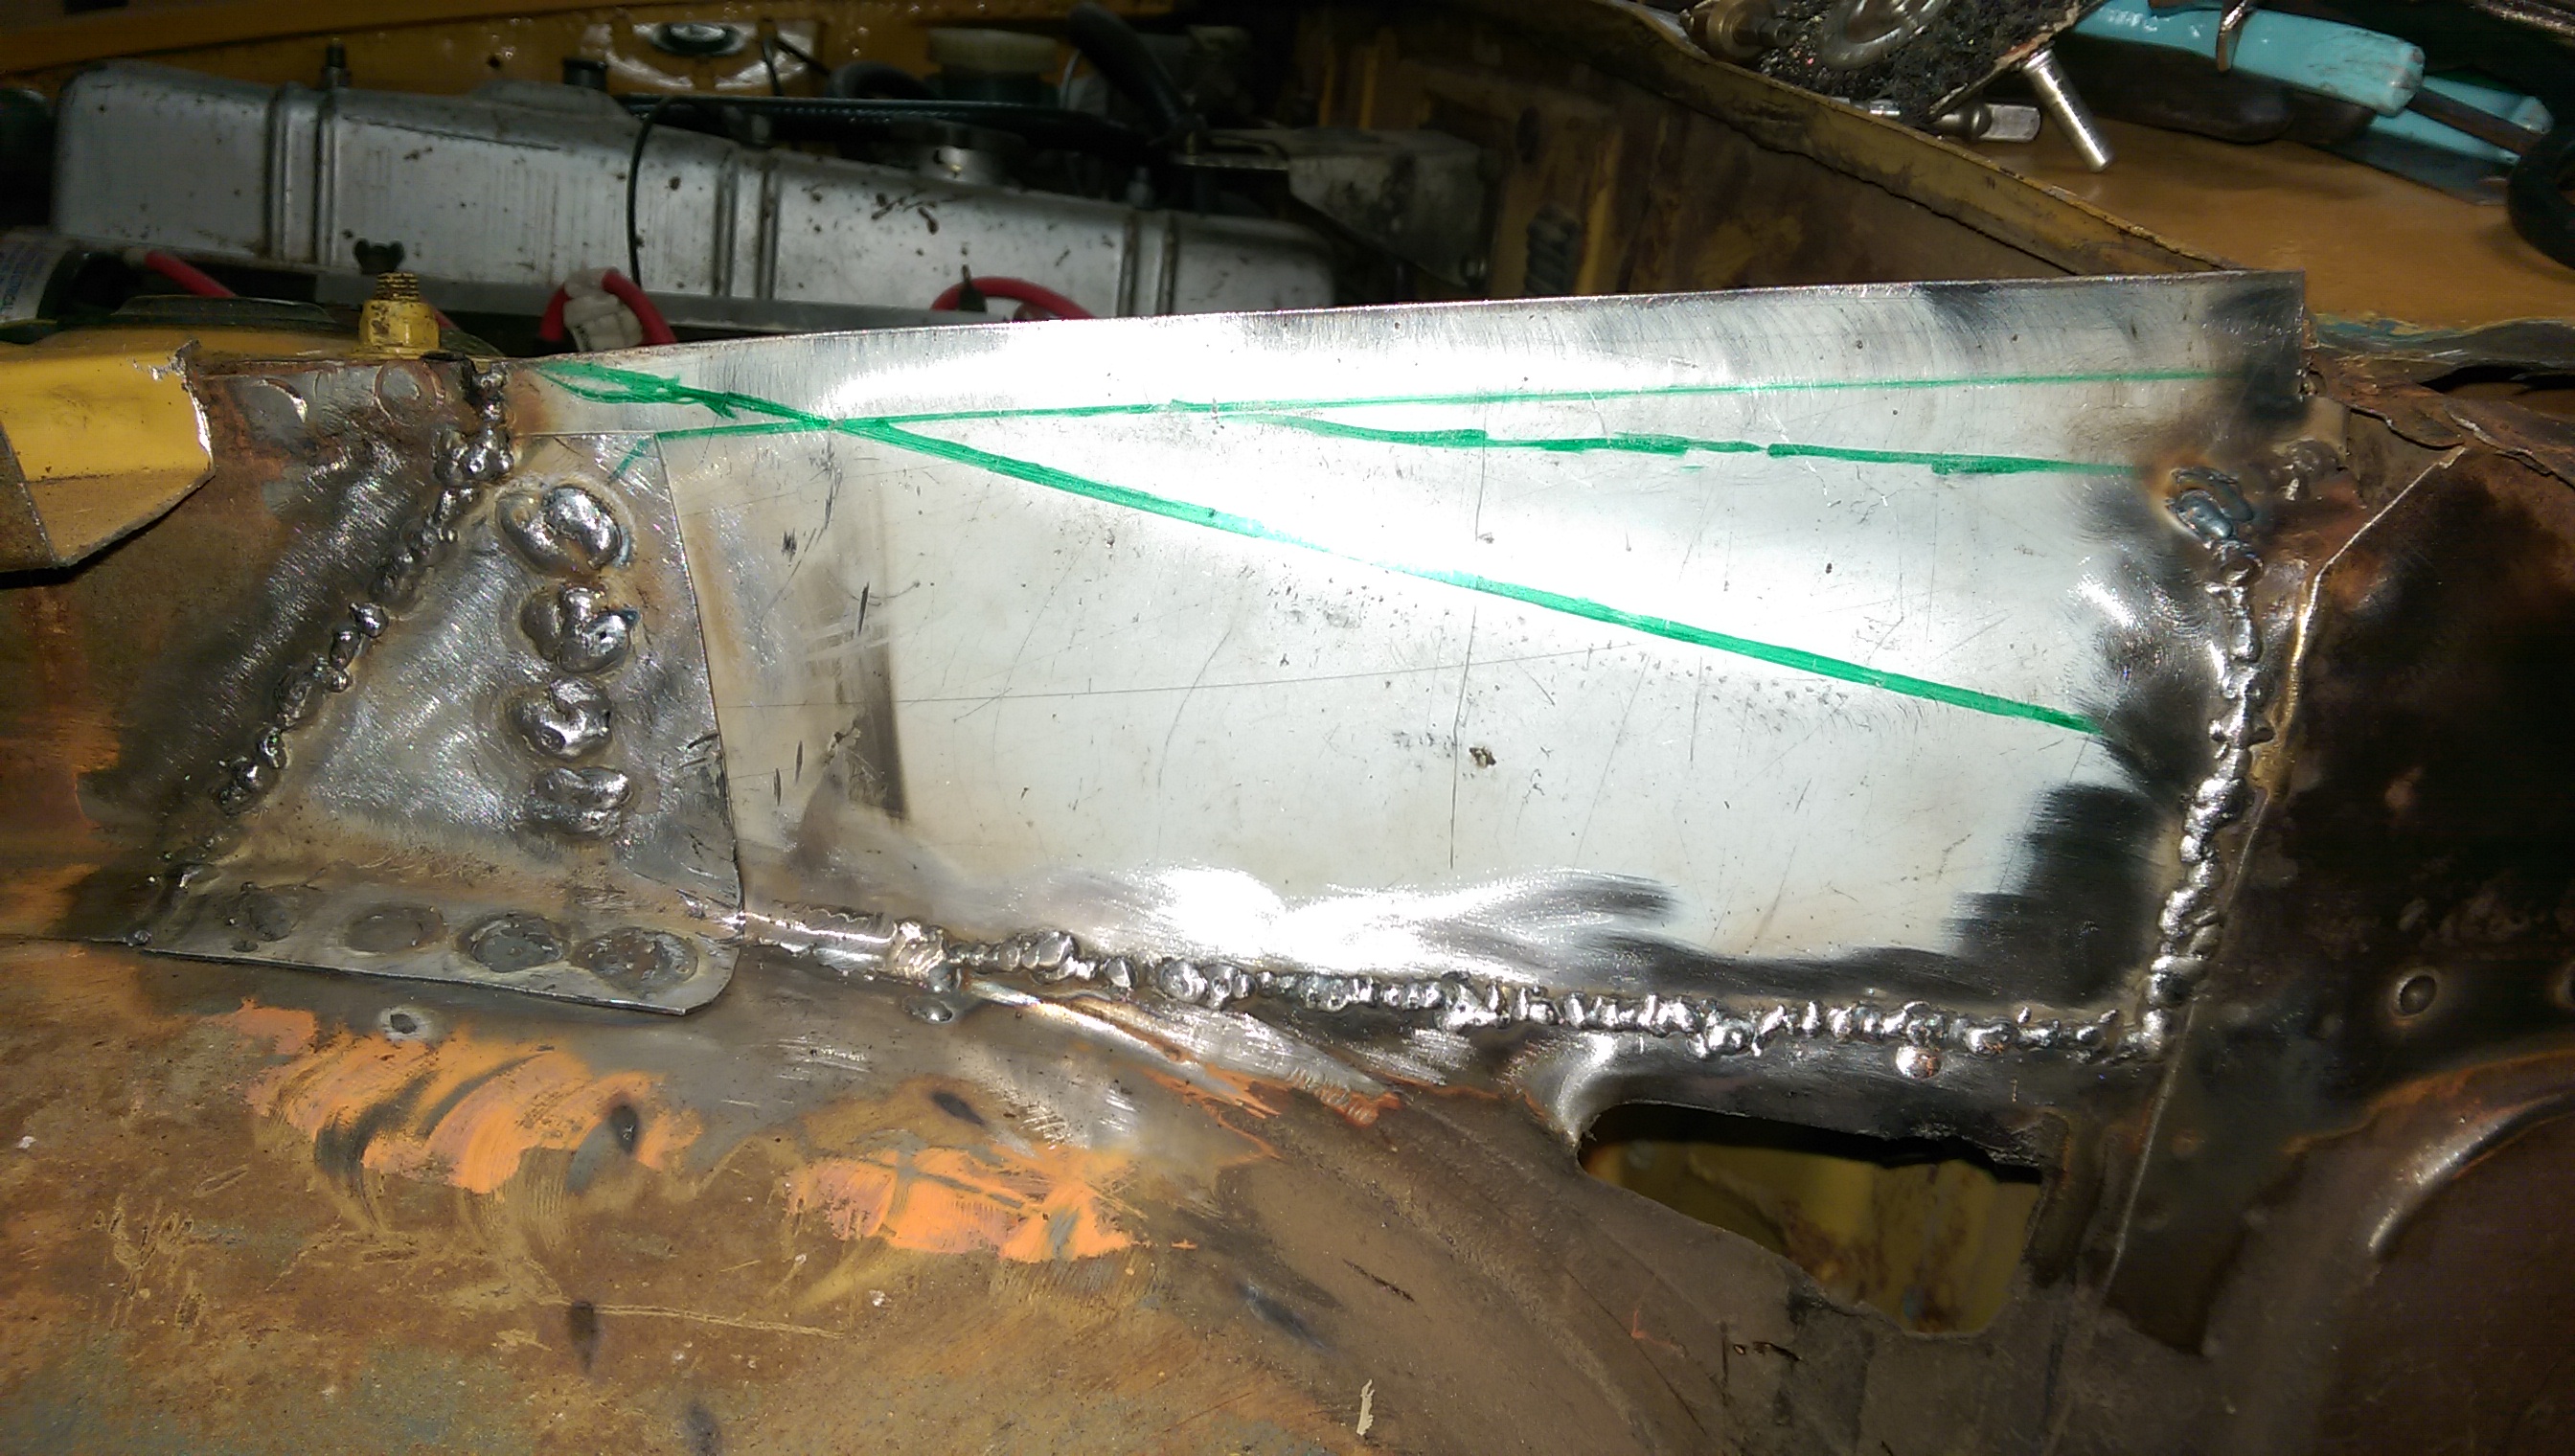
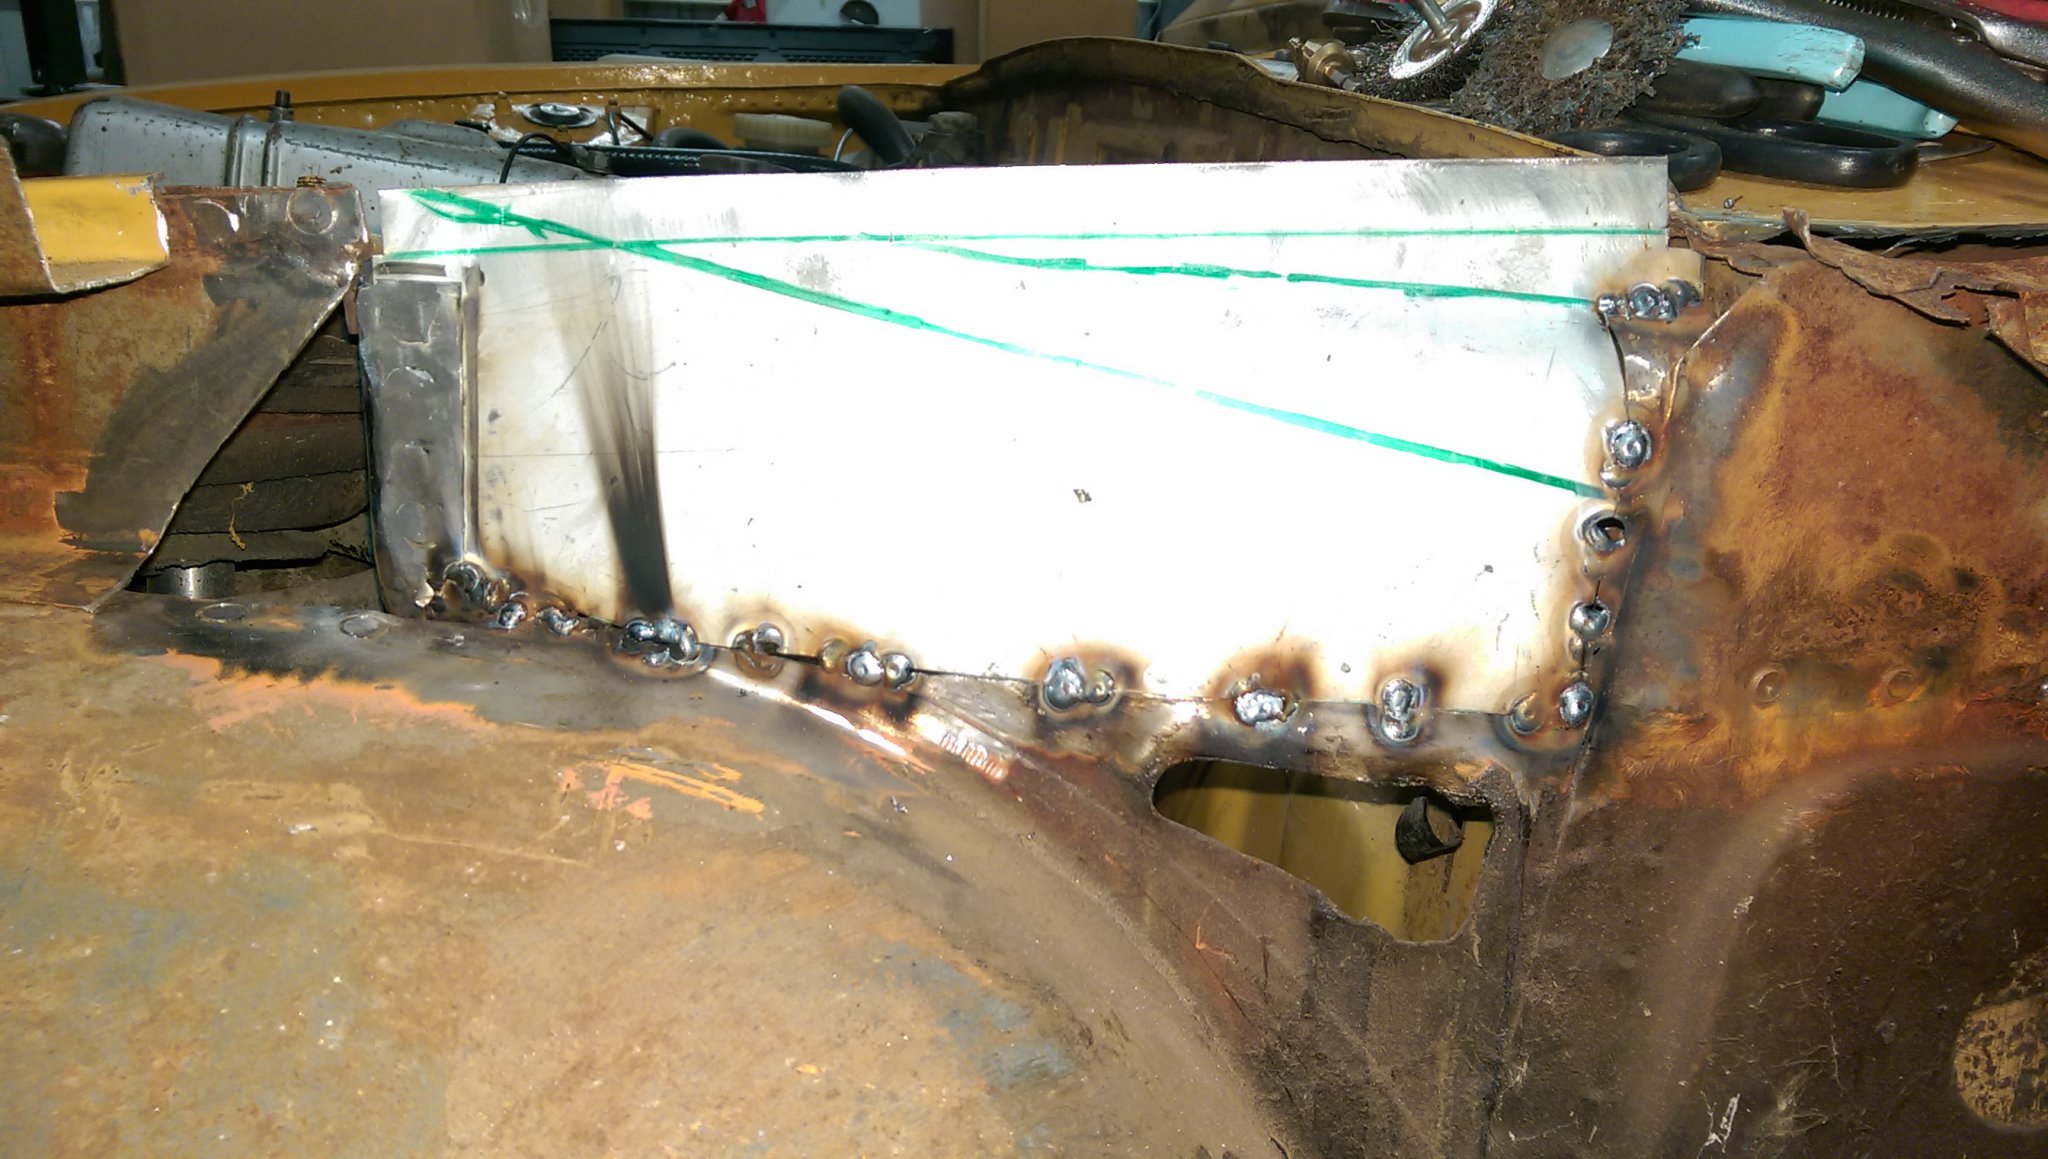
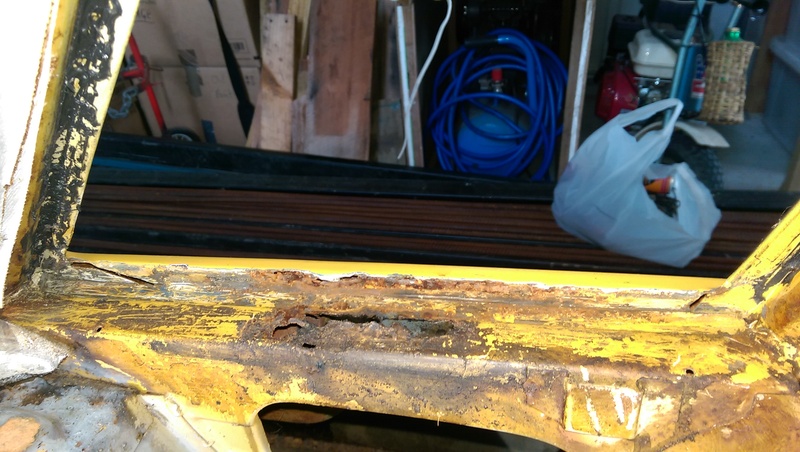
The photo, it tricks you. The metal is new, with that grey/zinc whatever coating on it, looks white in the camera flash. The burn mark is because I burnt through into the guard where I hadn't completely removed all the underseal from the seam. I have removed the paint all around the weld area on both sides. The gap is the best I could do, most of it is 0-1mm, some parts might be 2mm. I do have the welder turned up quite high to get enough penetration on the plug welds I was doing. I'll have to try experiment with a lower setting without having the weld just sit on top of the metal.
-
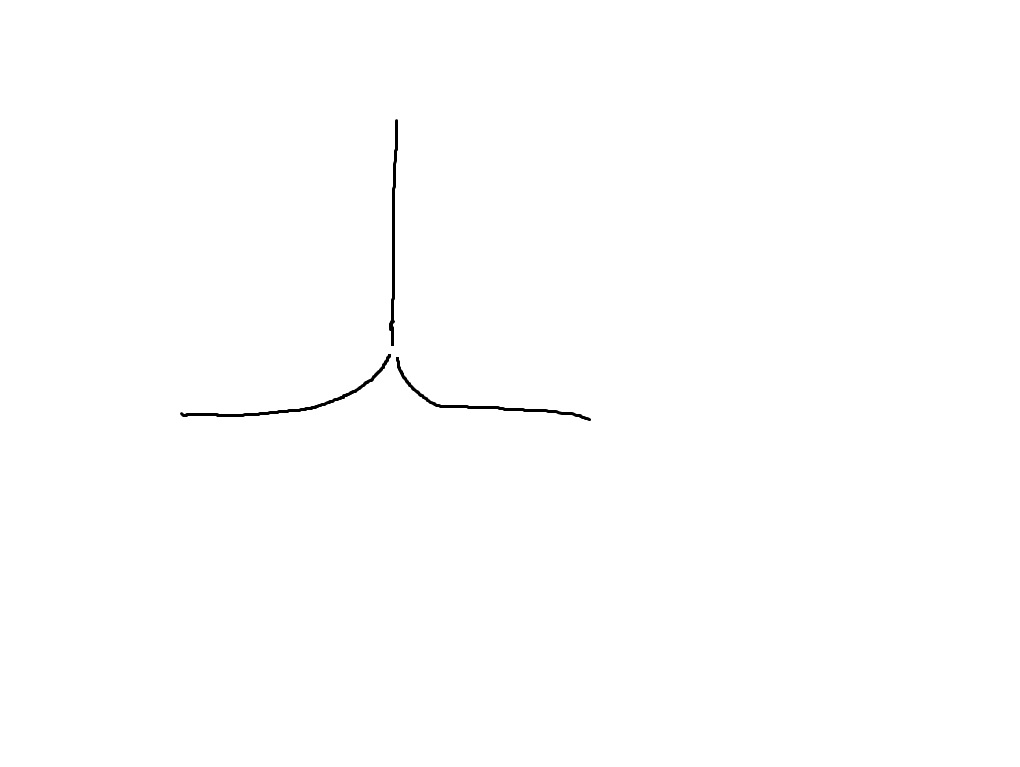
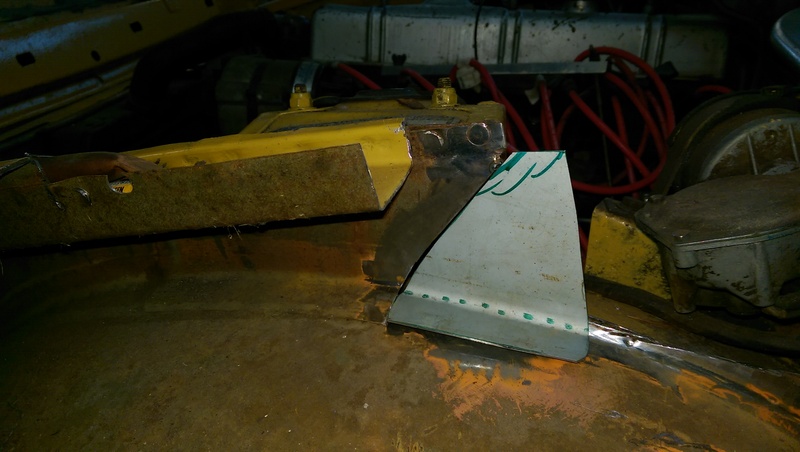
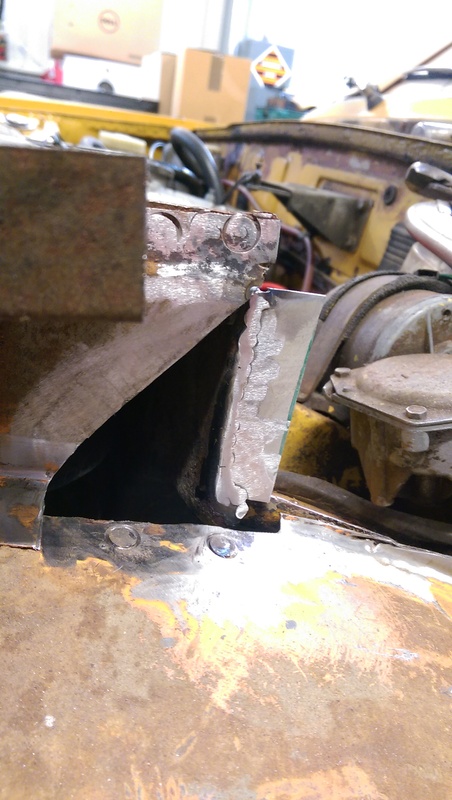
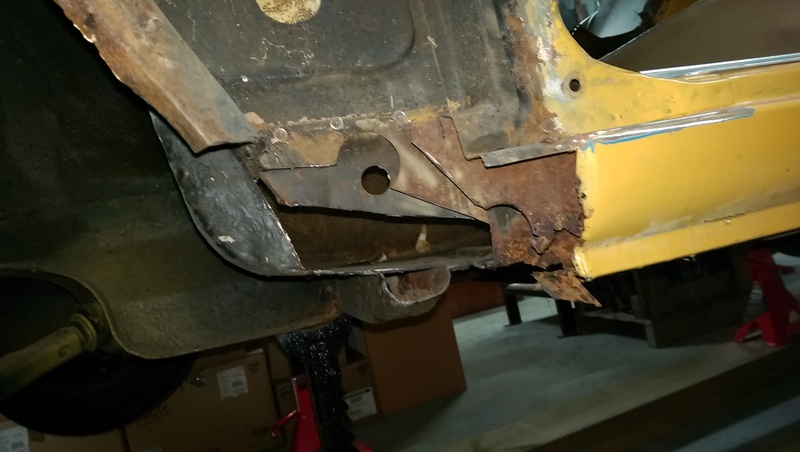
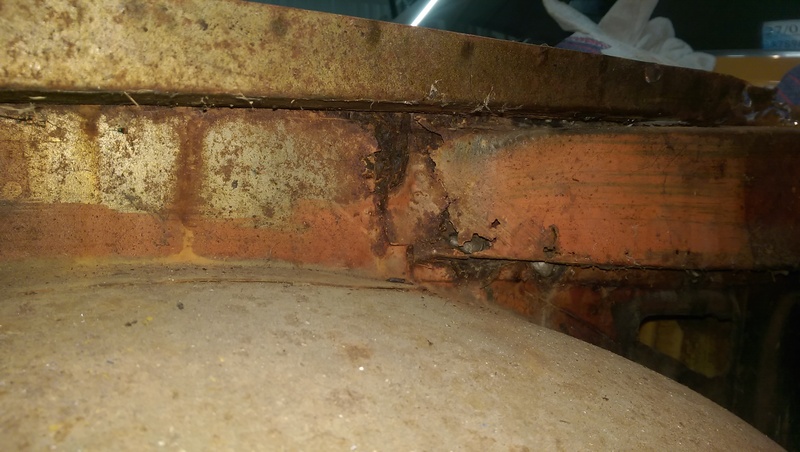
The weld join I am trying to make looks like this. The top is the patch I am welding in. The left is the remains of the inner guard. The right is the inner wheel arch(front). It's the left side of this patch, where the burn mark is.
-
So I have seen this technique where you put a bit of copper or brass hard against the back side of where you are welding some thin metal. It's good for butt welds and filling holes because it absorbs the heat and stops you blowing holes in the metal. And the copper doesn't stick to the steel you are welding. I've just tried this for the first time today, using a bit of flattened copper pipe. It seems to work well if you can get the copper to sit flat against the metal you are welding. But some of the stuff I an trying to weld is NOT flat and the weld blows through until it reaches the copper. I have one weld where 3 panels come together in a Y shape, so making a bit of copper fit nicely is hard. I've heard you can also use aluminium instead of copper... What about aluminium foil.... if I hammer a bunch of it into the back of the join it should conform to the shape nicely? Yeh, nah? Has anyone tried this?
-
Tacked this patch in.
-
Reposted all my photos in this thread loading them up to OS for hosting.
-
Copy other peoples code and modify to suit. Before you could just use a phone... I made a GPS based speedo one time. It worked, but it was too laggy. I thing the problem was the refresh rate of the gps receiver thingy. My problem was trying to think of what to make....
-
I have one of these. Makes spot weld drilling easyish. I've drilled maybe 30 spot welds and I'm still using the first side of the cutter dealie. You get 11 cutters that you can use both sides of, so 22... You need to center punch or drill a little dimple, or the drill just fucks off and makes scratches. Start slow and don't push hard till it's started cutting, or, the drill just grabs and fucks off. Desic spot weld drill on trademe link thing
-
Welded on a tiny patch. Got pretty good penetration. Unfortunately my dog is shit scared of the noise of mig welding and goes to stand in the furthest corner of the garden and pants like crazy. :/ I have to use treats to get her to come back. So I feel bad when I weld and don't get much done. Hopefully it's better when the house is done and I can put her in there where she should not be able to hear the welder. This patch is next. I need to drill some holes in it, for making spot welds, first. Then I make the big patch that goes behind it. Shouldn't be hard, it's just a rectangle with a bit of a curve.
-
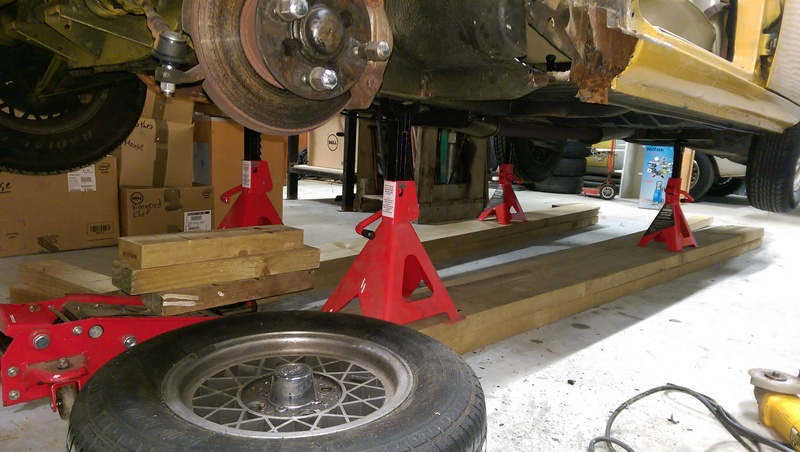
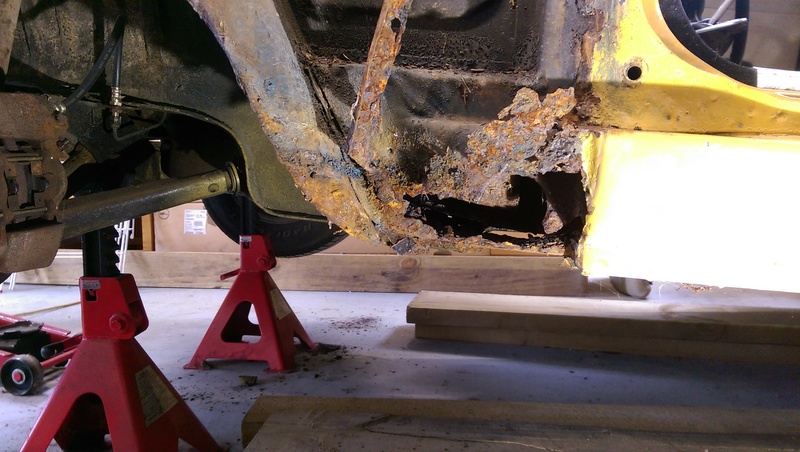
Got a couple more axle stands to use at the back. Couldn't find any as big as the ones I had at the front.... It will wobble a bit if I push on it, but I think it needs to wobble a fuck ton to actually fall off. Cut some more bits off. I can/could start making repair panels for the top of the guard now and start putting metal back in.
-
My bench is a real sturdy motherfucker, so heavy.
-
Most of the patches I need to make are simple shapes. A bunch of straight bends, no compound curves. A lot of it is out of sight so it doesn't have to be exactly the right shape. I'll need to make a sheet metal bender. They are stupid expensive to buy. But freight for stuff that size must cost a fortune.
-
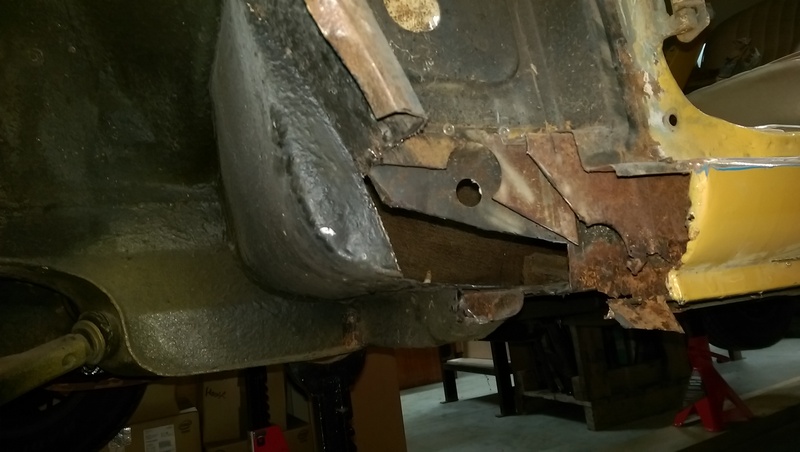
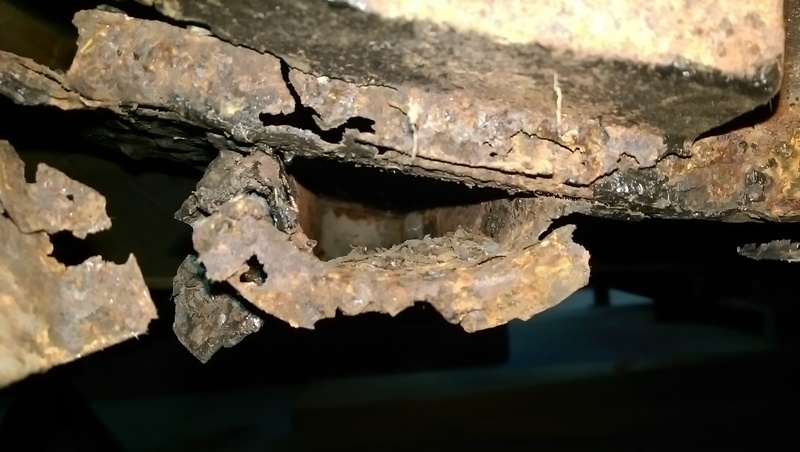
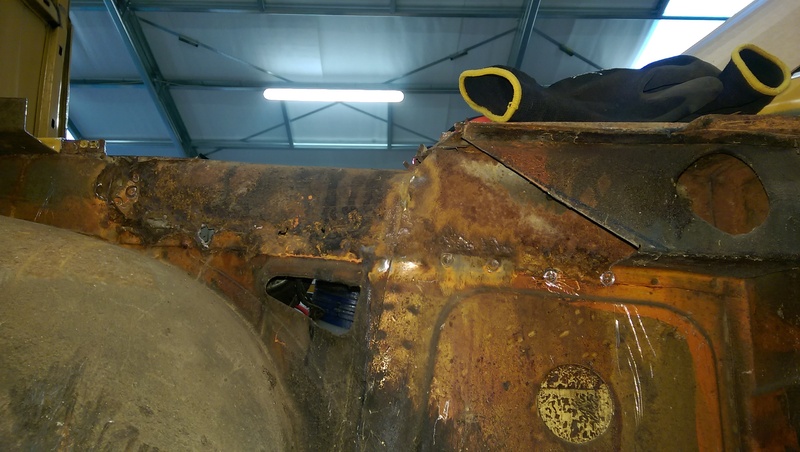
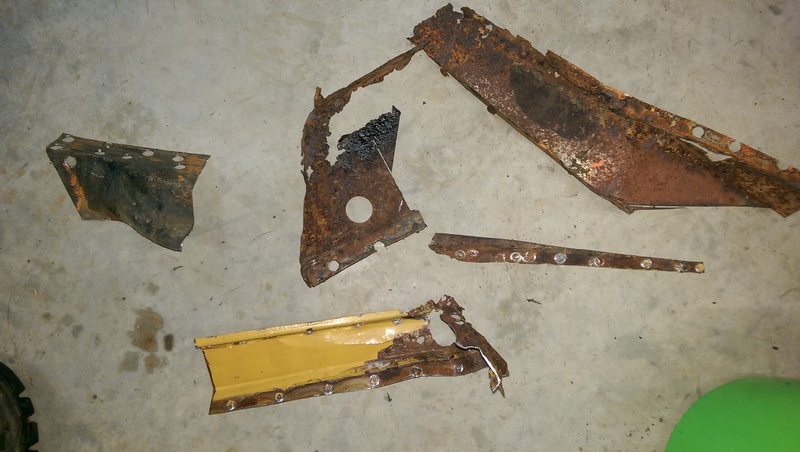
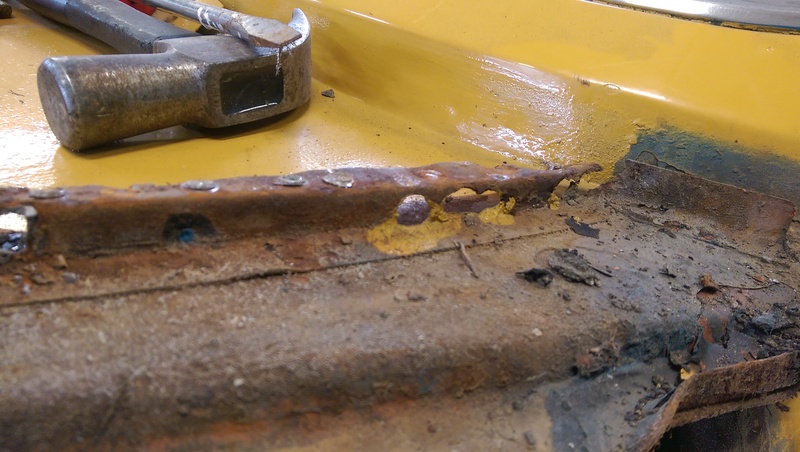
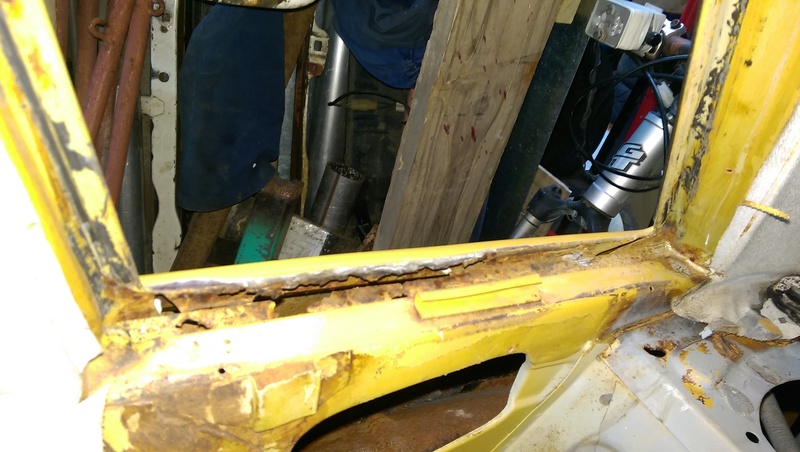
I got the channel off. This is rusty. These are bits I have cut off and need to use to make templates for repair pieces. Cut that off. The inner wing panel behind it also need to be replaced, it's pretty thin in lots of places. An outer sill was BRAZED, over the old rusty sill, so that will have to come off too. Need to make a new end for this box section thing. Still more cutting to do before I can start putting new metal in, getting a bit hard to fit the grinder in... Might have to switch to the reciprocating saw. Maybe the plasma cutter, but I'm wary of cutting through more than one layer. I would like to replace the rear half of the wing/guard as mine is full of bog. Anyone got anything? Front half of the guard appears to be okay,
-
I've looked further down the guard and didn't see any more horror.
-
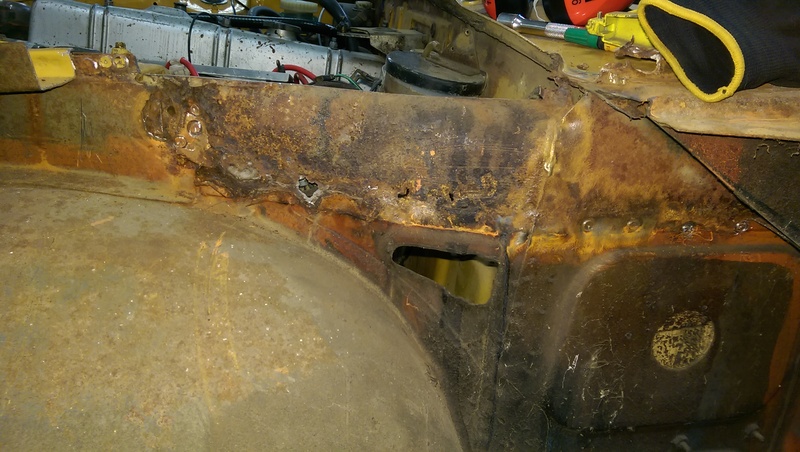
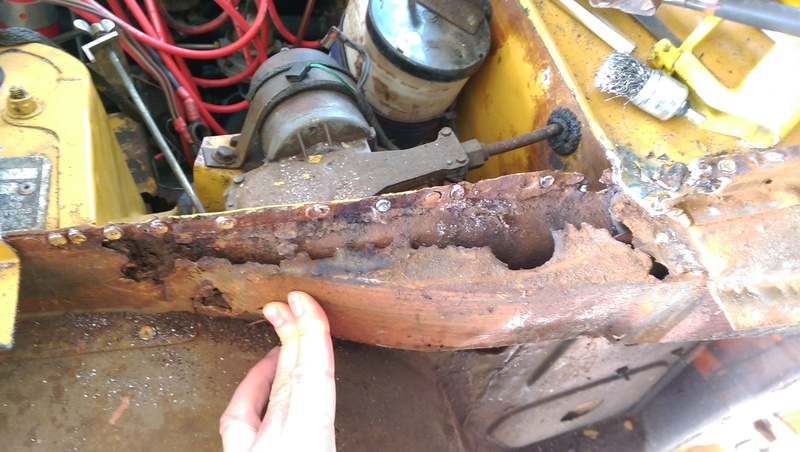
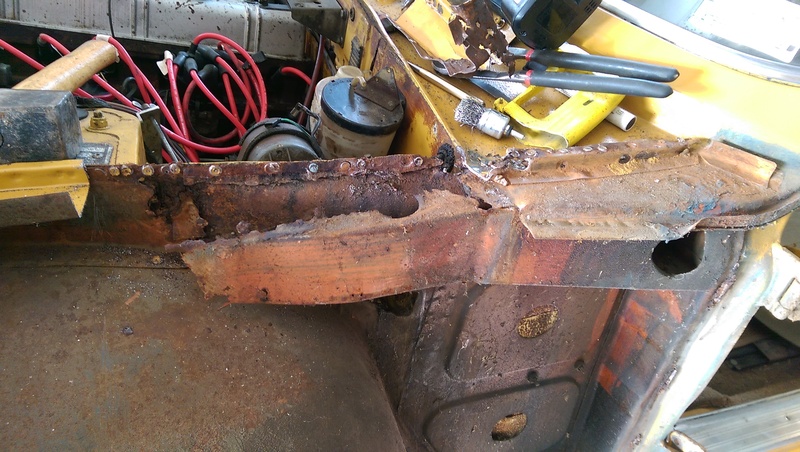
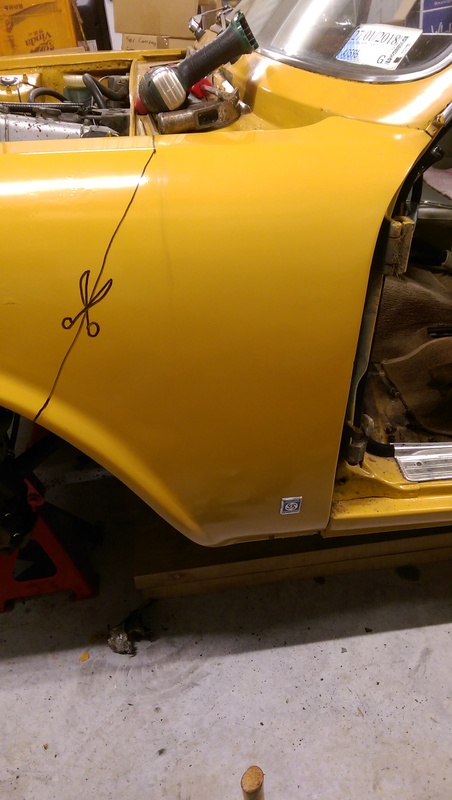
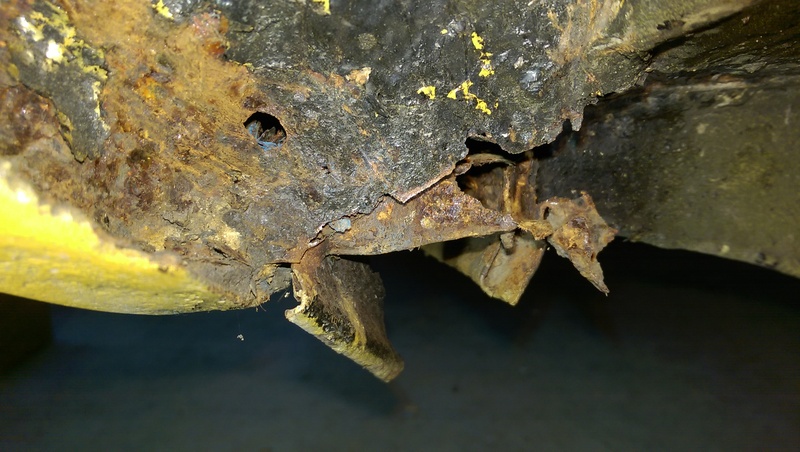
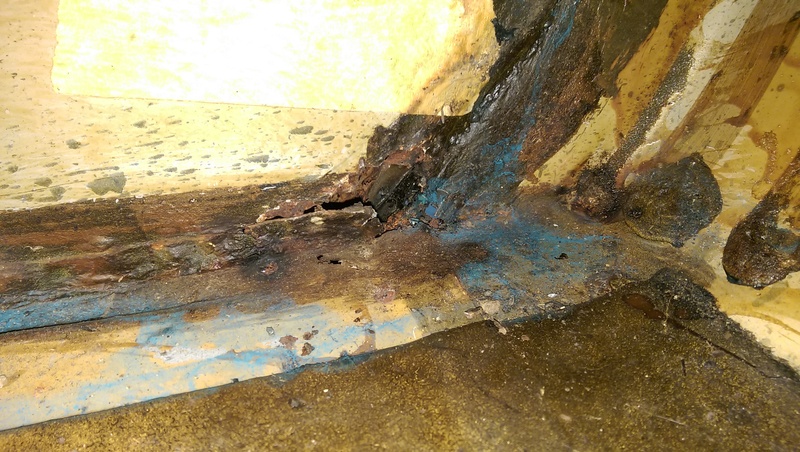
And then...so the guard has been damaged in the past, beat back into shape, then skimmed with about 6mm bog. Balls, more rust up there. Bye bye guard. I need to make another one of these. I need to replace part of this gutter, and it needs to come off so I can fix the rusty thing under it. Most of this thing needs to be replaced... there is also a small hole behind it that has been bogged over.
-
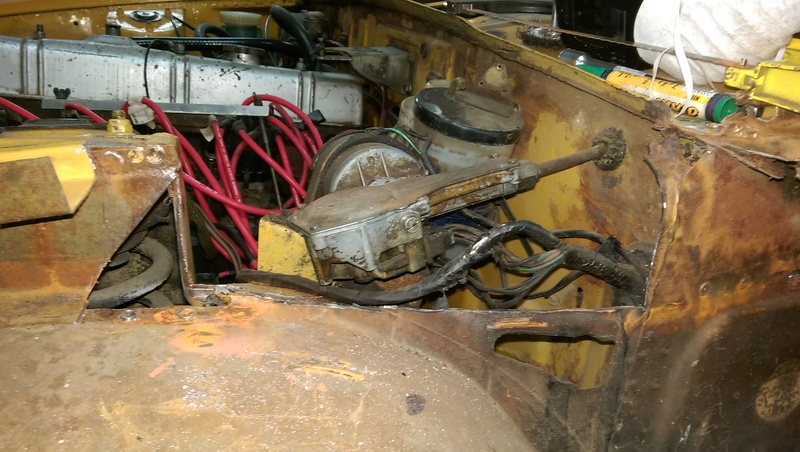
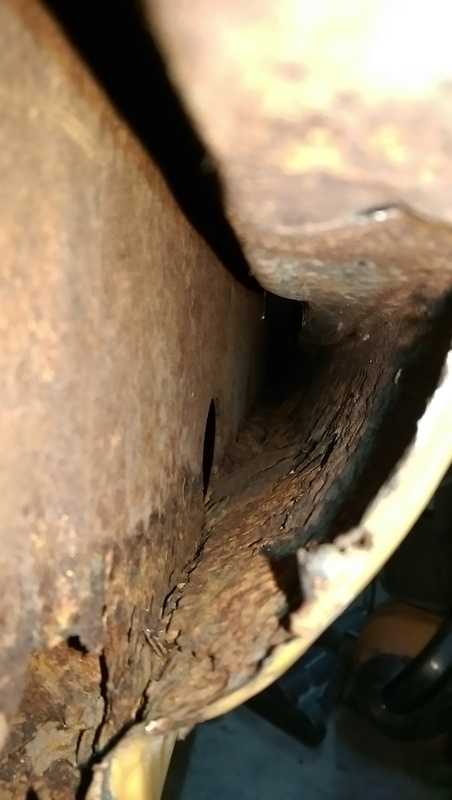
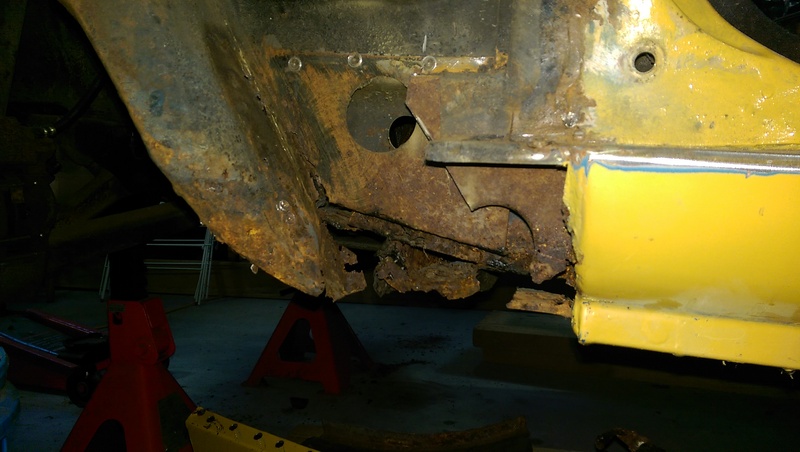
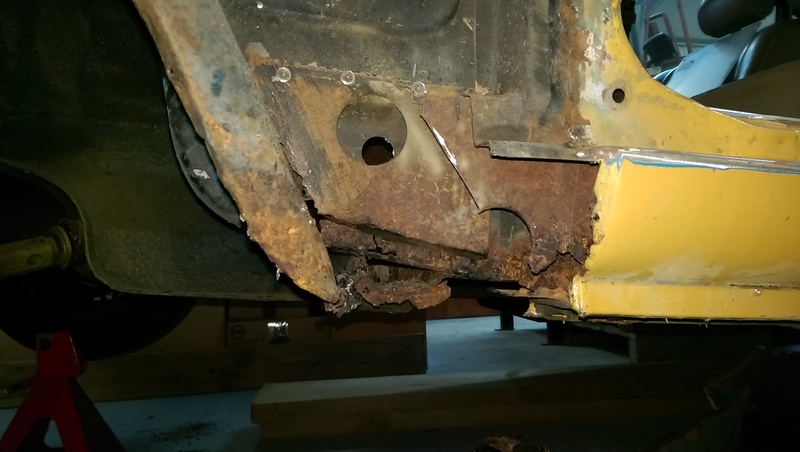
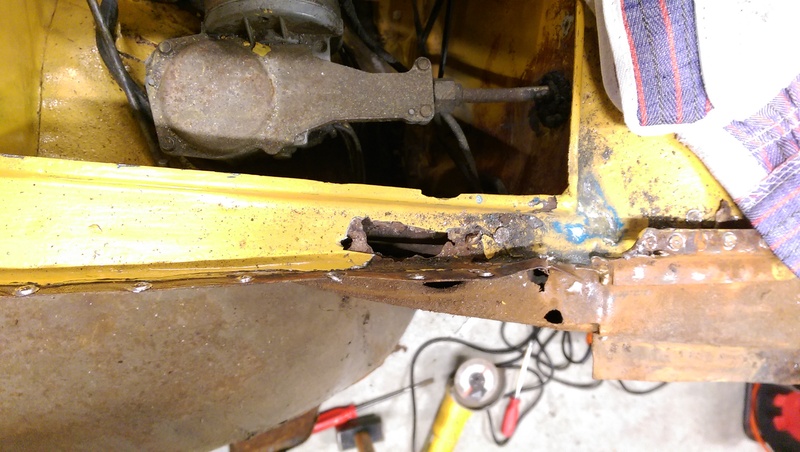
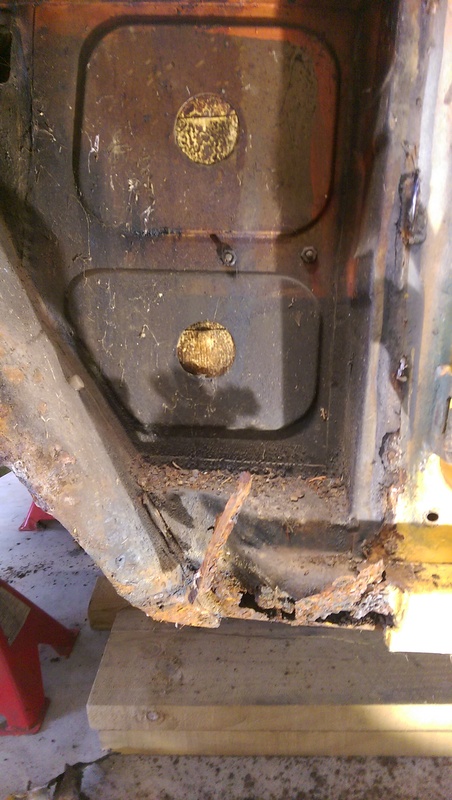
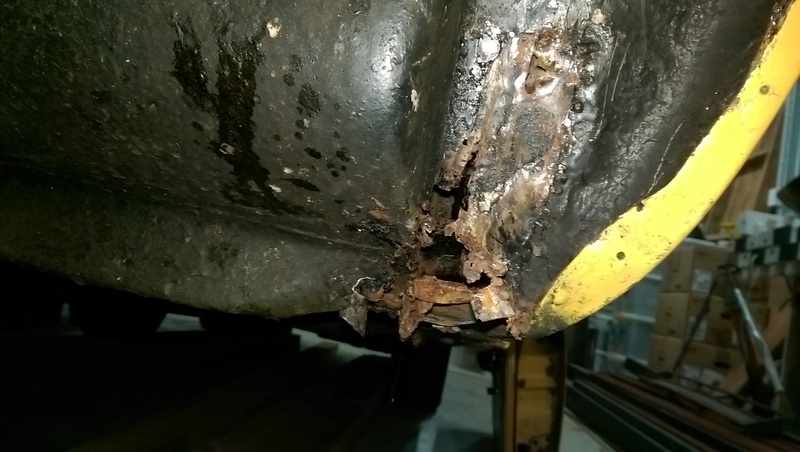
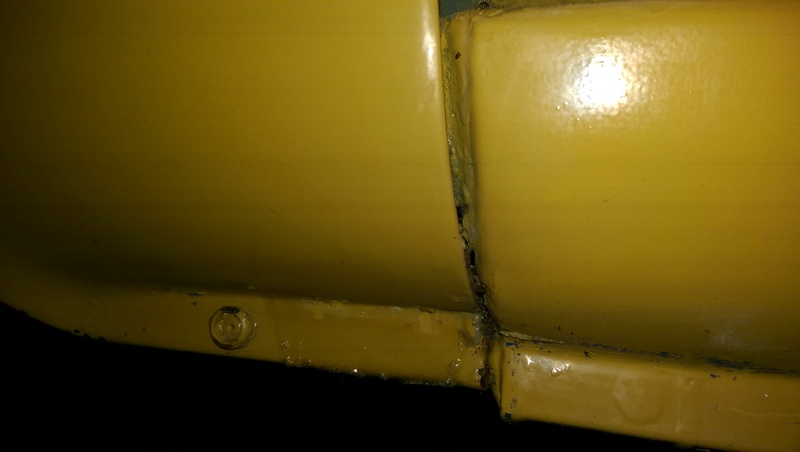
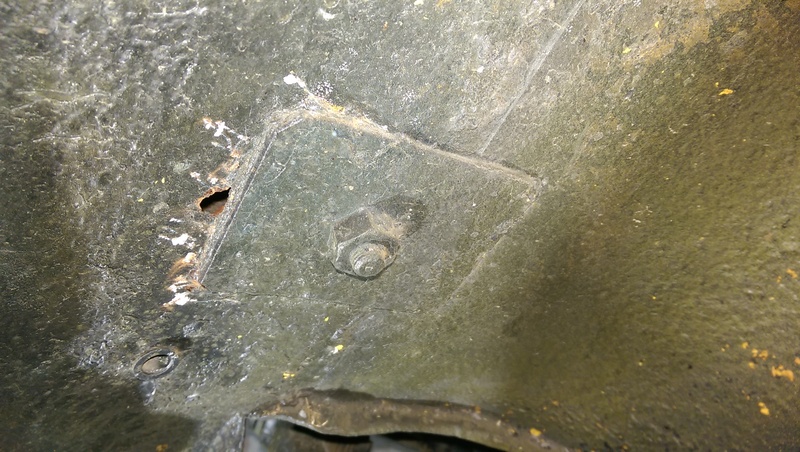
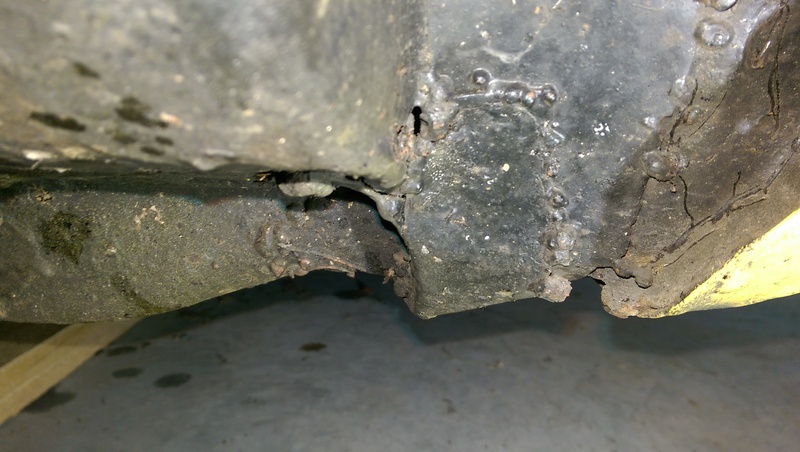
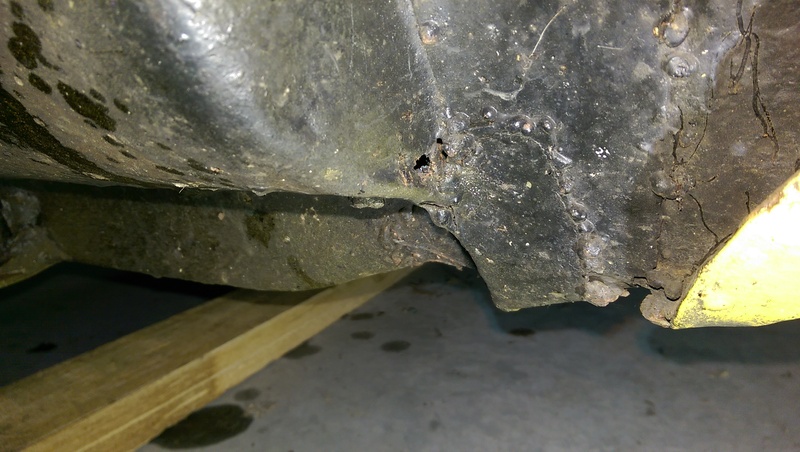
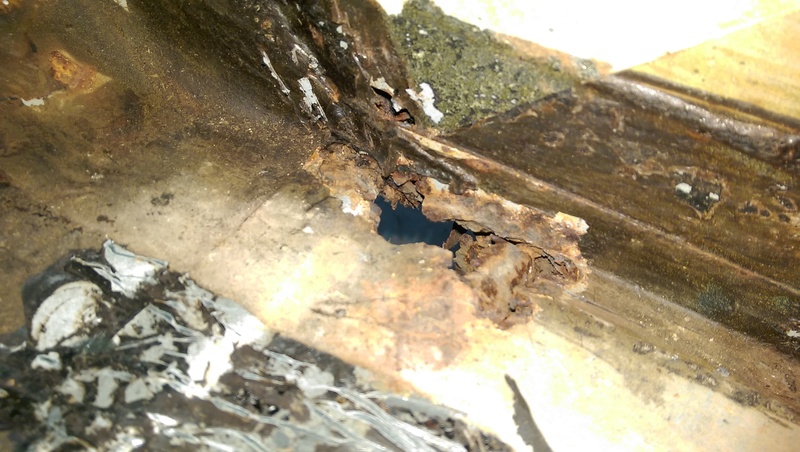
Passenger sill. I can shove a screwdriver through this gap. I removed the dodgy patch welded on with bird shit. And.... To get behind the guard I'm going to do something that scares me a little.
-
Sounds like my Starlet. Disconnect the steering column and remove the engine cross member bolts. With a jack under the engine cross member, lower it just enough to give you clearance to get the gearbox out, without having to remove the engine. EDIT: Keep an eye on hoses and earth straps as you lower it, or you could damage them.
-
Could you use a ride on mower with the deck removed? And some chunkier tyres. And a welded up different(mine single spins if I get stuck). I forget what the original question was....
-
Steam catapult like on aircraft carrier. With a crappy plastic office chair strapped to it.
- 106 replies
-
- 5
-

-
- honda big red
- quad bike resto
- (and 2 more)
-
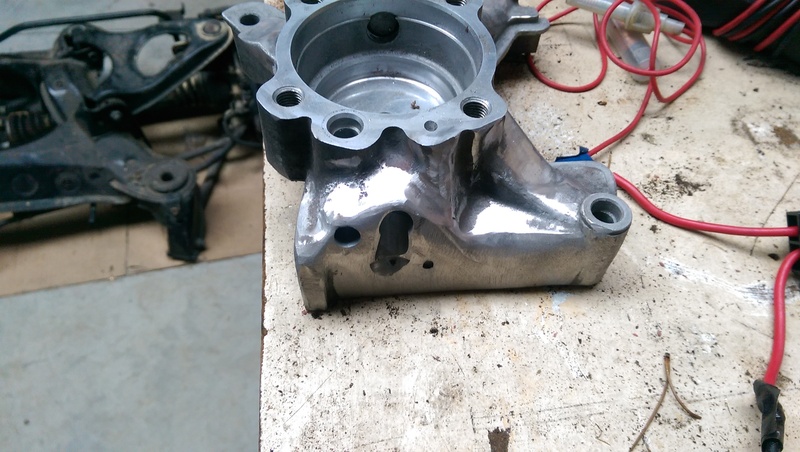
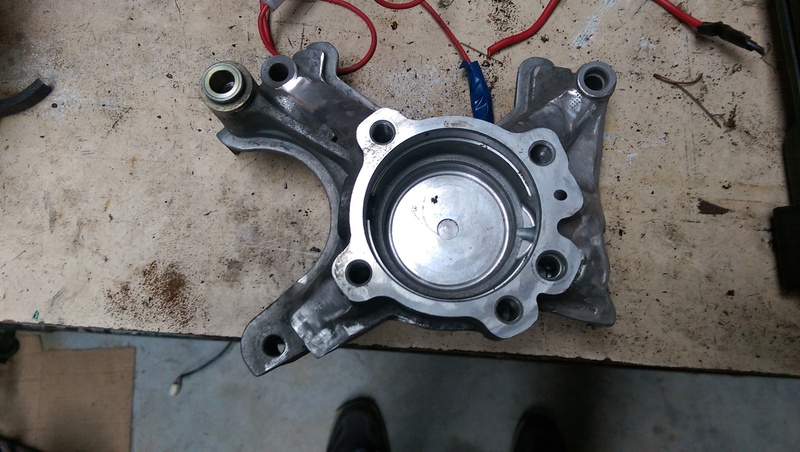
I got power to the shed on Friday! Lights and powerpoints are coming on Wednesday! My 1UZ had a hydraulic pump for the fan, wtf is wrong with an electric one?!?! I'm only running an alternator, so don't need any of the other idler pulleys. If I just remove them, it leaves big holes exposing the timing belt. So I adjusted them with the hack saw and angle grinder to remove the bits I don't need. I also removed some brackets from this that were for the AC or PS pump. This tensioner thing no longer served a purpose other than filling in a hole, so I cut the shaft off.
-
Left rear quarter window rust Right rear quarter window rust Under the parcel shelf rust Left footwell/sill rust Right footwell/sill rust Right sill/wheel arch end rust Shitty looking patches on left sill end/wheel arch Rusty left rear seat belt mount/wheel arch
-
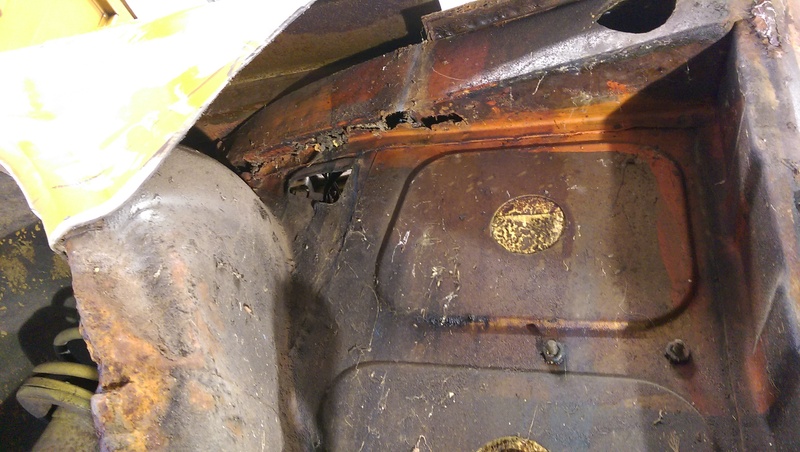
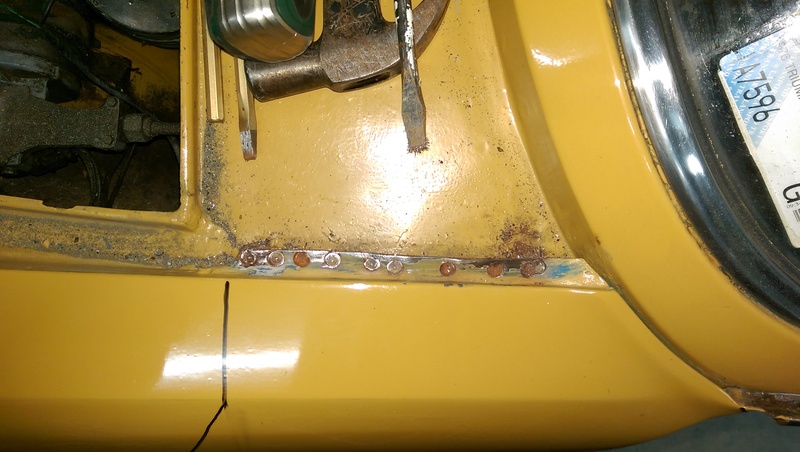
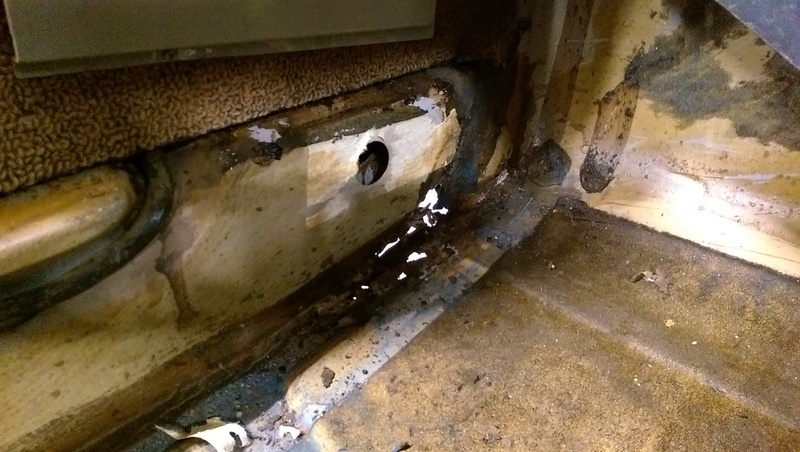
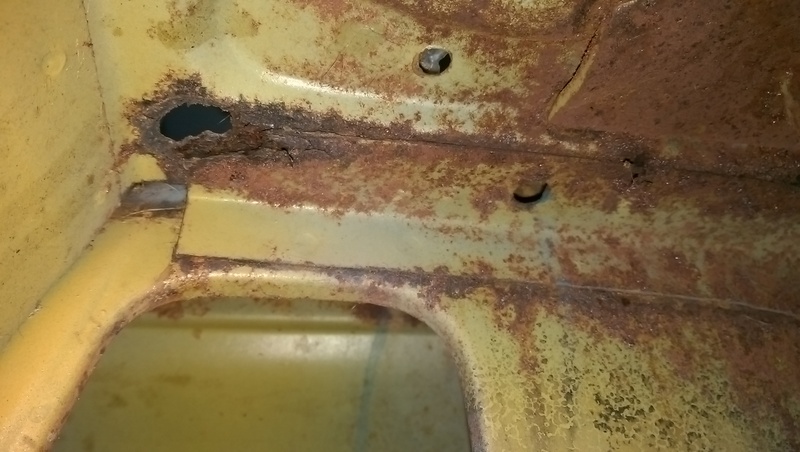
Looks like I will need to do some rust repair on the sills. There is no rust on the outside/underside, though I still need to do a comprehensive search. So far... I can stab a screwdriver through the front left corner of the passenger footwell. The front end of the drivers sill in the wheel arch has some rusty holes. The end of the passenger sill in the wheel arch has some roughly tacked on patches. The front outer part of this sill has been repaired, but I don't know if they cut the rust out first or just slapped a panel over the top because there is a lap weld rather than a butt weld where the repair ends. The end of the sill in the rear wheel arch is rusting through around the seatbelt reinforcing plate. This guys thread is most helpful to make it look less intimidating. http://retrorides.proboards.com/thread/173102 I'm supposed to be getting electricity in the shed TODAY! So I could use tools other than my cordless drill.
-
You could join a motorsport affiliated car club too. The annual fees are usually bugger all. Like $20 or $60 or something. Then you get invites to their track days, and all the clubs often invite each other to their track days too. So join club X and you could also enter events arranged by club Y/Z/etc... Often, depending on the event, you run in classes by engine size, forced induction, FWD, RWD, AWD. So you typically end up running with cars 'similar' to yours in performance.