~Slideways~
-
Posts
1,607 -
Joined
-
Last visited
Everything posted by ~Slideways~
-
HA! yeah that does cross my mind a lot. I actually like the painting bit, the body work, prep and sanding fcking sucks though. If only I didn't have another one to paint...
-
SO much work. I've definitely learned a lot though.
-
Thanks man, feels like its taking for ever haha
-
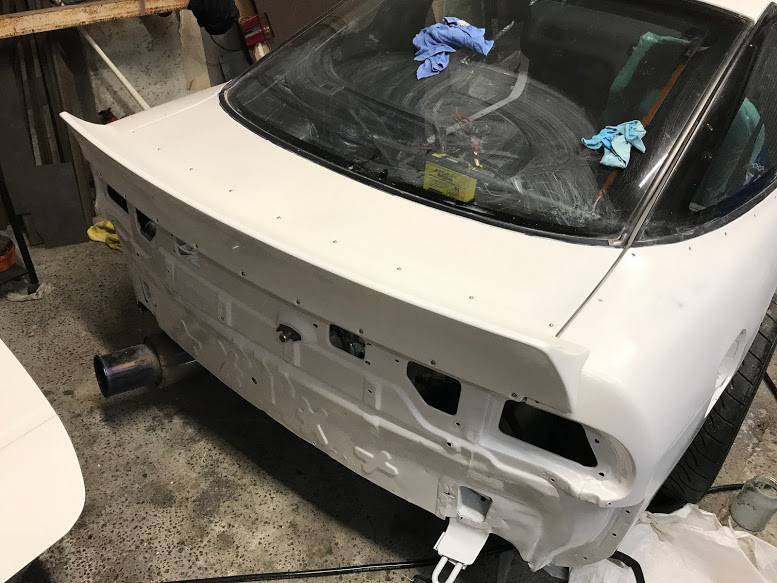
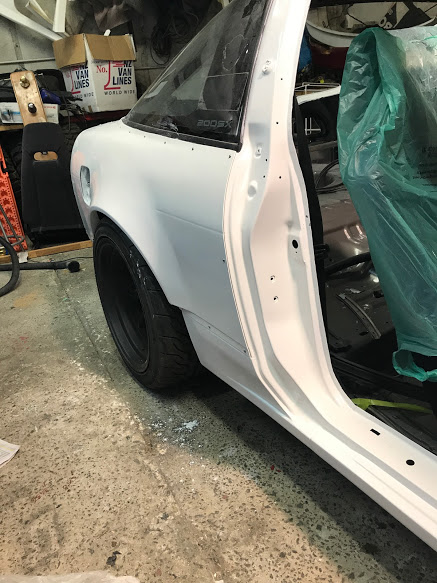
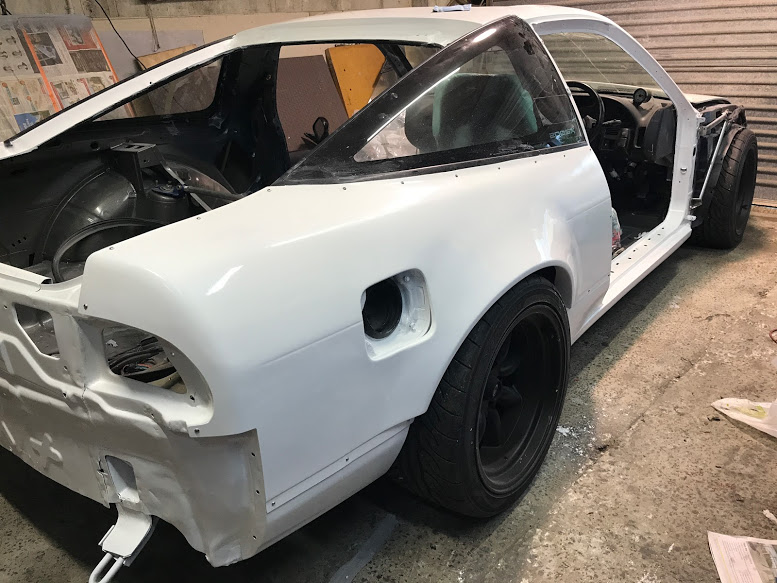
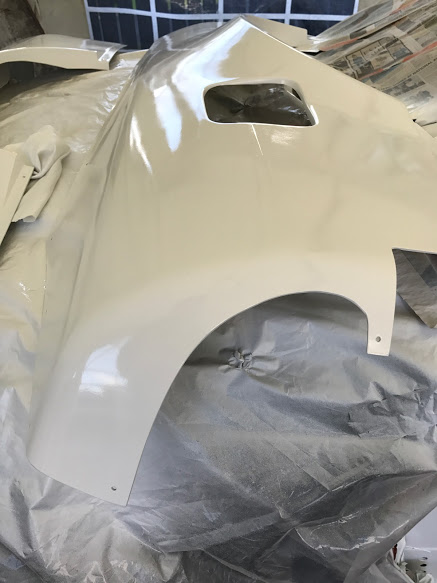
Progress, slow... but progress. - Hatch seal fitted - Wing fitted to hatch - Hatch fitted. - Drivers door fitted. - Rear quarters fitted. - Wet sanded and cut n polished all of above. Rear quarters on after fixing a couple of paint issues:

-
Stormtrooper emergency room?
-
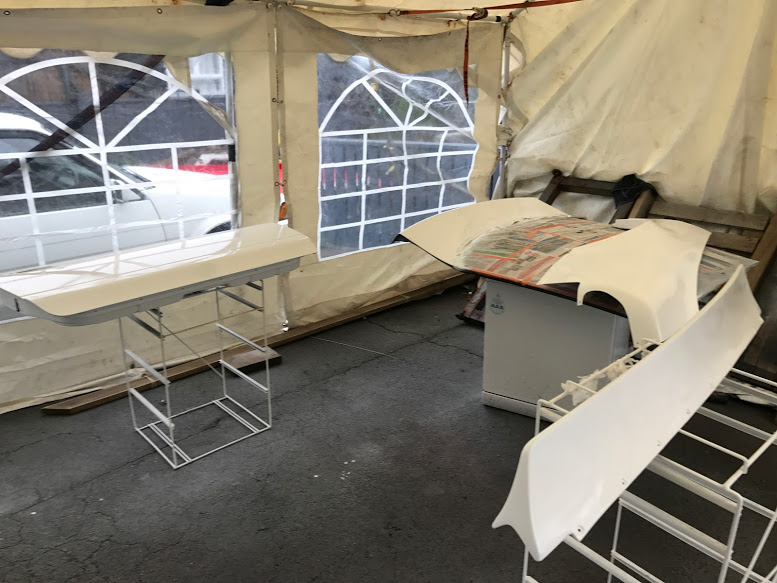
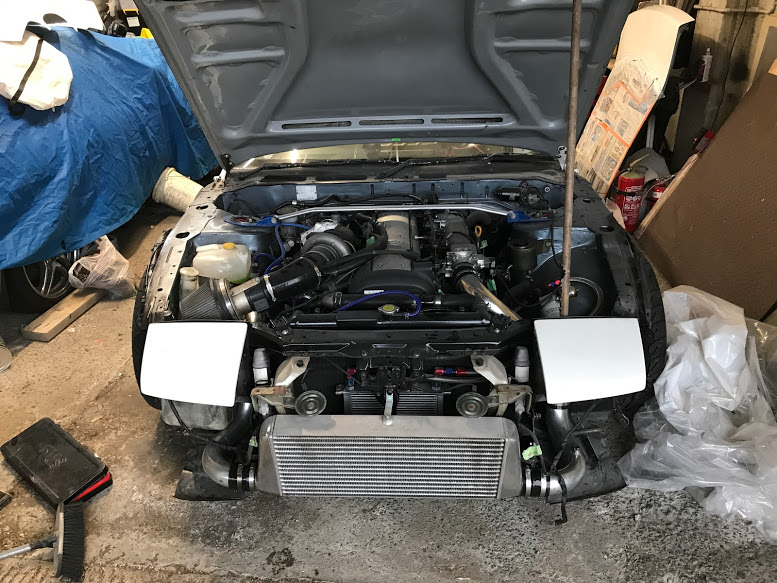
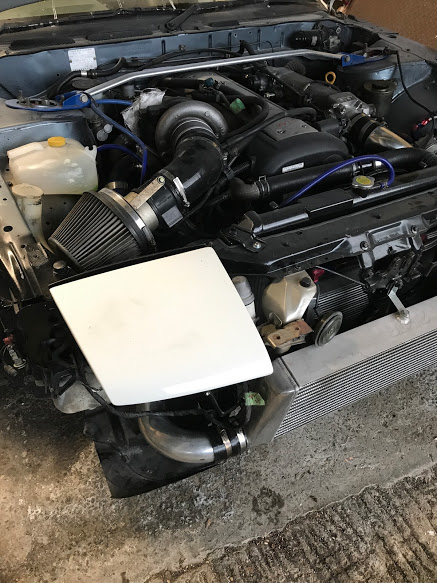
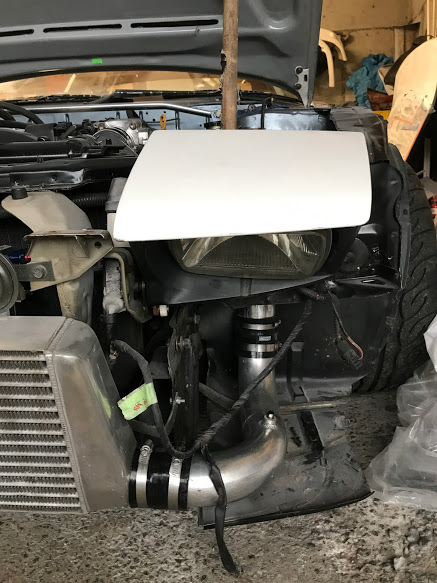
Old dishwashers make good paint table things. Did some more painting, it was cold so I made a higher thinners to paint ratio it seemed to work but got a couple of bad runs which is annoying. Will let it dry for a few days and see if it will sand out. On the duck tail wing I got a reaction in a couple of spots, maybe it was because there was more thinners...maybe that Rustoleum fibreglass primer was a bit thin after sanding it back. I'll sand those spots back again and respray. Also replaced the silicon joiners on the intercooler piping with better ones, the old blue ones that came on the SR20 donor were super thin walled so decided to change now before getting the bumper painted and fitted. Black joiners: More black joiners: Black joiners as seen from a standing perspective:
-
Just discovered your build thread, god damn photobucket though... fcknfckers.
-
Good point re: being charged via the alternator anyway. Thanks for the link, I'll have a look at some options.
-
Thanks, I had a quick look at prices just now and they aren't much more that an AGM one which is good, what about charging? Do they need a special one?
-
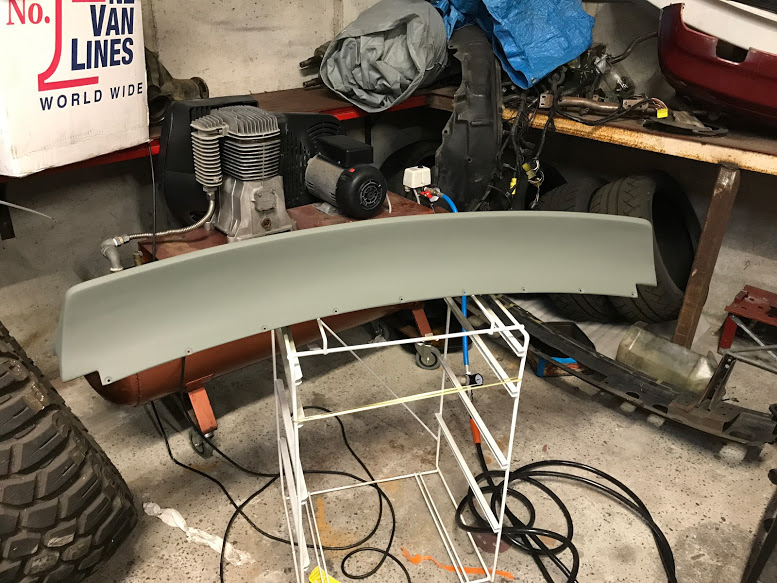
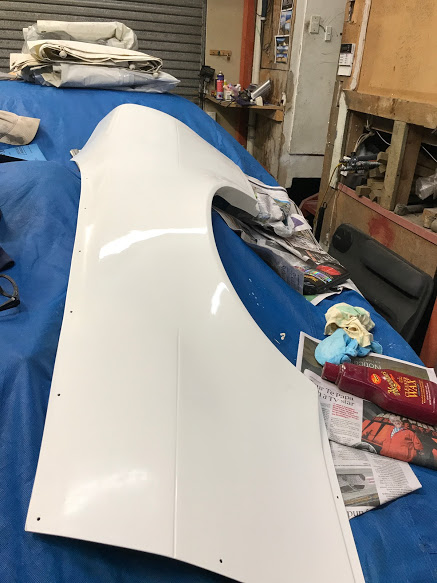
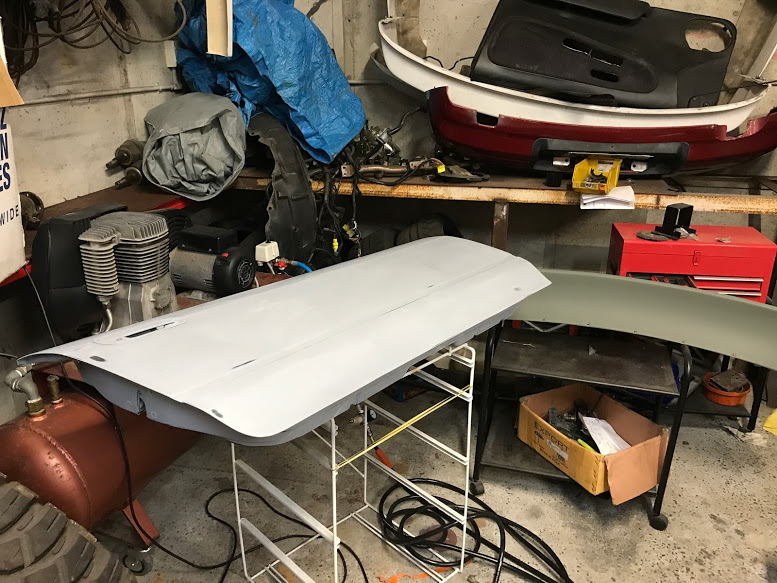
Some more prep progress on other stuff. Filled some scratches and imperfections in the duck tail wing, then primed with this Rustoleum stuff the paint shop recommended for fibreglass: Sanded back the drivers door, filled some shallow dents and high fill primed then blocked back again: 2000grit wet sanded the rest of the fibreglass rear quarters, came up pretty decent for fibreglass but I think next time I will spend more time getting the FG smoother. All part of practicing though: That looks dull because its before cut and polish. Stupid SCA primer gun broke on me, there is a swivel joint that but snapped in half. Piece of crap, such cheap metal. But not too fused since it was just a 'free' one which came with a kit along with my old small compressor many years ago. Guess I'll need to buy a better one, my iwata w400 won't work with primer. Deciding if to use the aftermarket rear bumper or not. It a genuine Origin Labo jobby that came on the parts car from Japan. I do have a standard rear bumper but I was planning on using that on the other 200sx.
-
Awesome, that makes it easier for me too being on this side of the hill.
-
Sweet, so I guess he must plan to use someone else's hoist etc. But good either way.
-
This is of interest to me.
-
Thanks re: paint, definitely satisfying. I can see where the cost comes from in a professional job. For the AGM batteries, they are great but yeah it does appear to be a slight drain. It's my second one now, the first one was great but was cooked by a faulty alternator in the previous car. I parted that car out in order to build this one and I kept the battery plus bracket, its a couple of years old now with very little use. It was fine not that long ago, but left too long when I should have had it on a trickle charge. Live and learn...again.
-
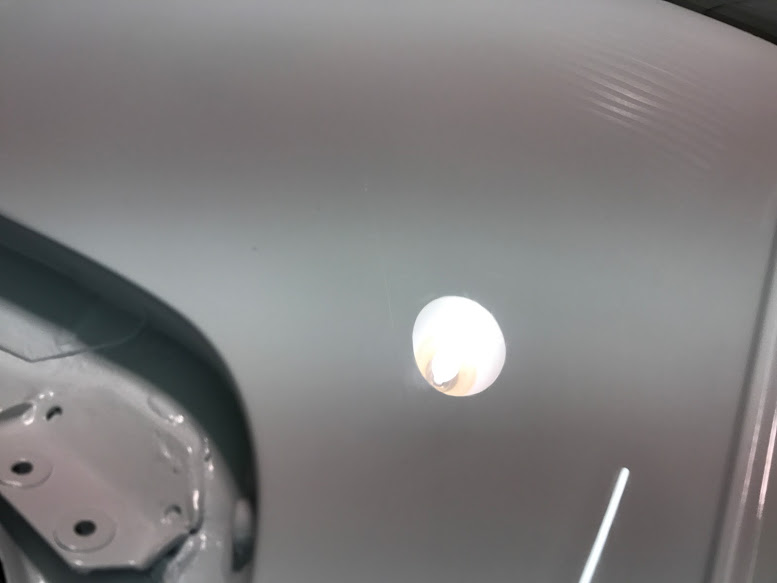
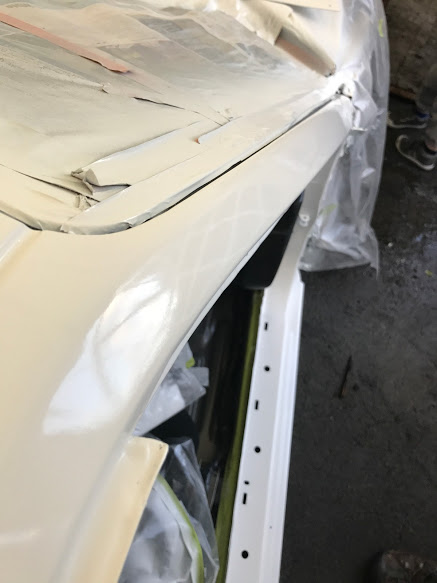
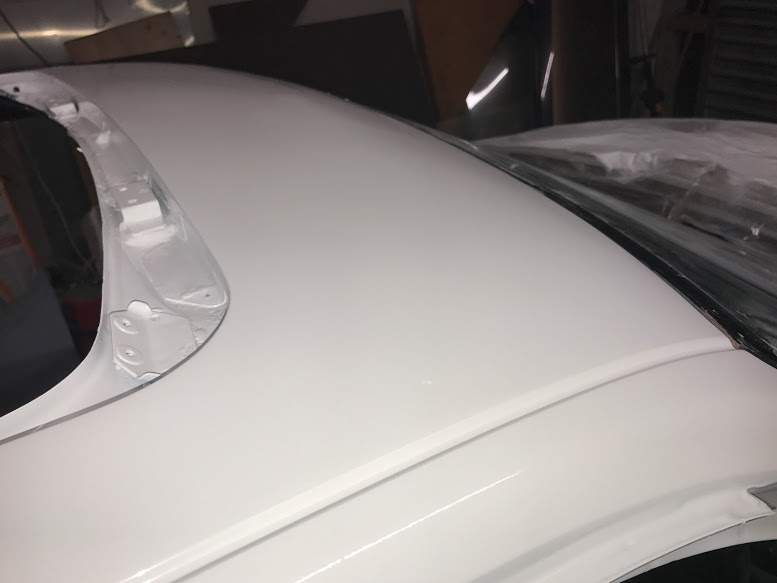
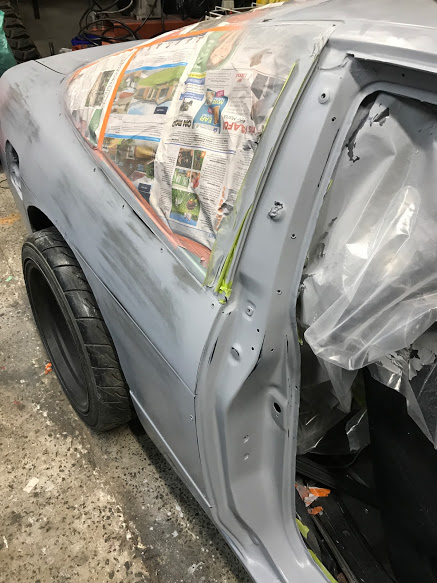
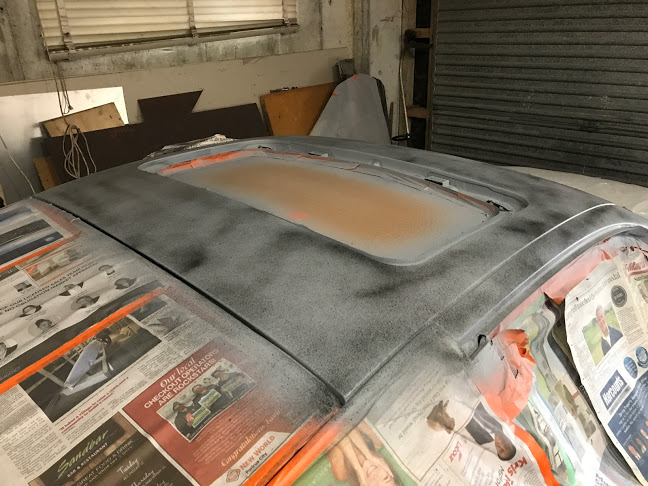
Fitted rear quarter jobby tested wet sanding to clean up some of the orange peel. Wet sanded 2000 grit on the fibreglass and it came out nice without too much effort, but unfortunately sanded a bit too much in one spot so will need to spray that bit again. I haven't done the whole fibreglass quarter, only above the wheel and the upper rear bit to test, but it looks like this: Then I moved onto the roof and this turned out really nice! But again one small bit will need to be sprayed again... I guess that's all part of learning how to do stuff though. Trial and error. Shiny roof!
-
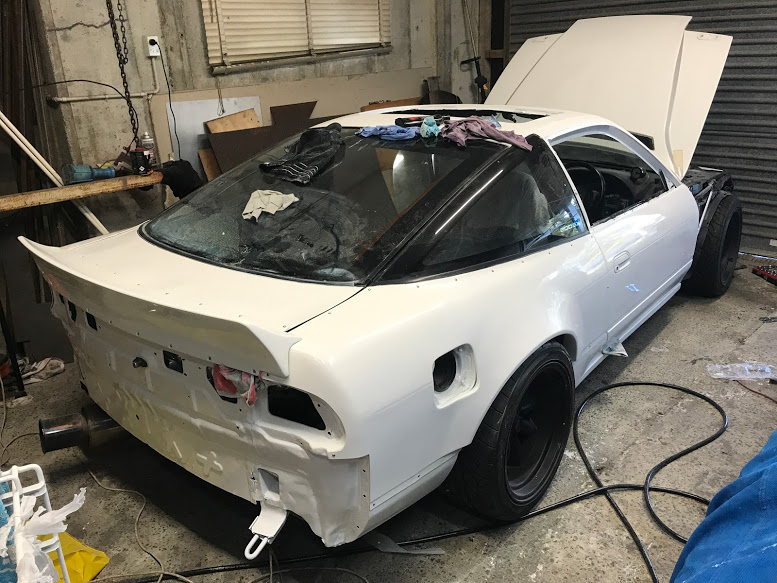
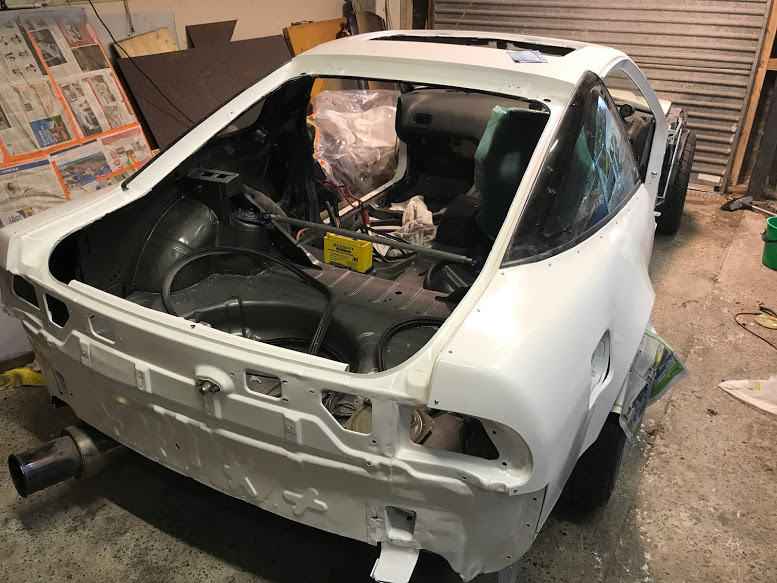
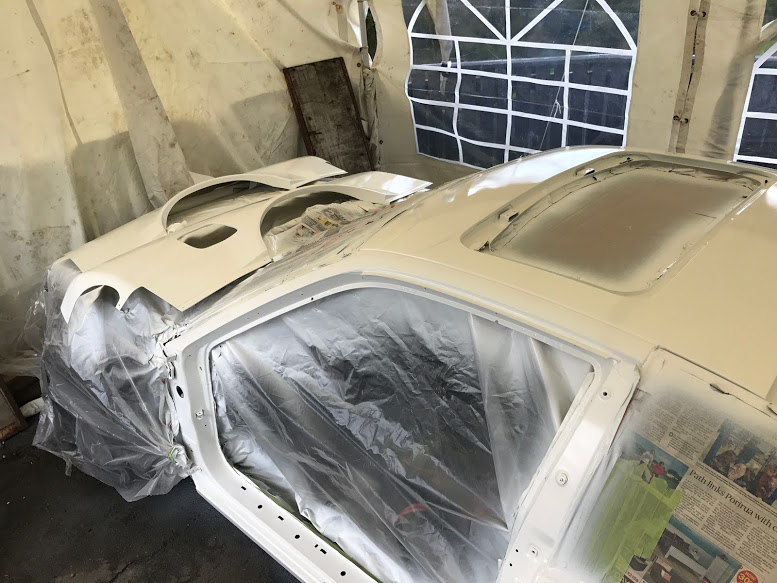
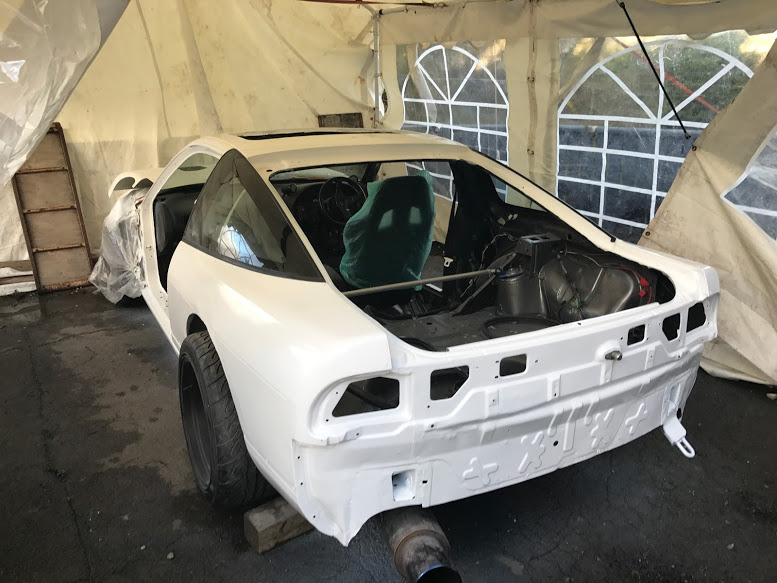
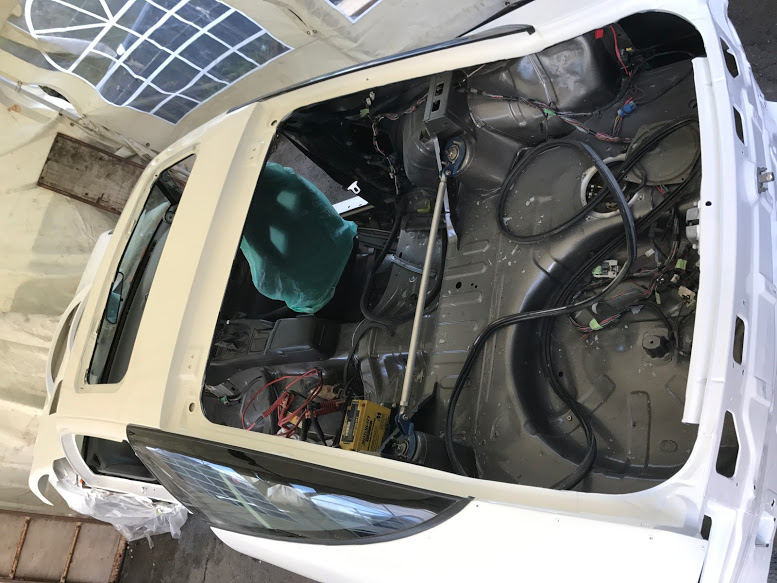
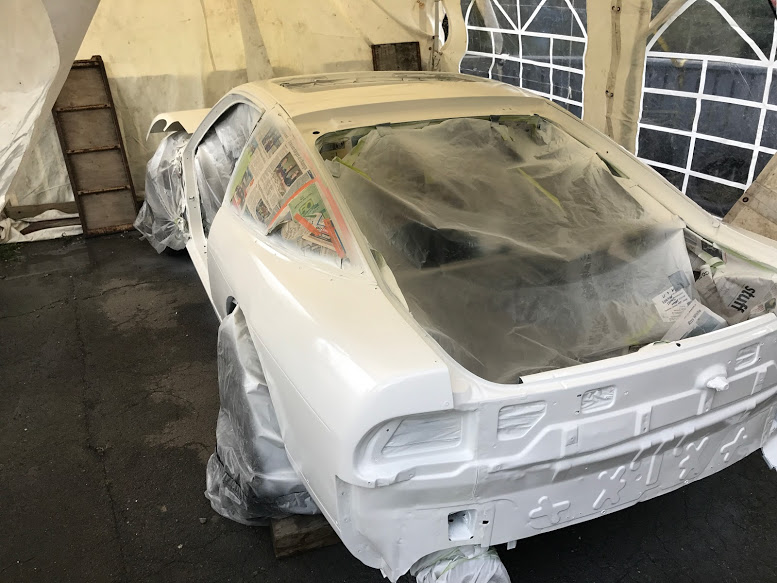
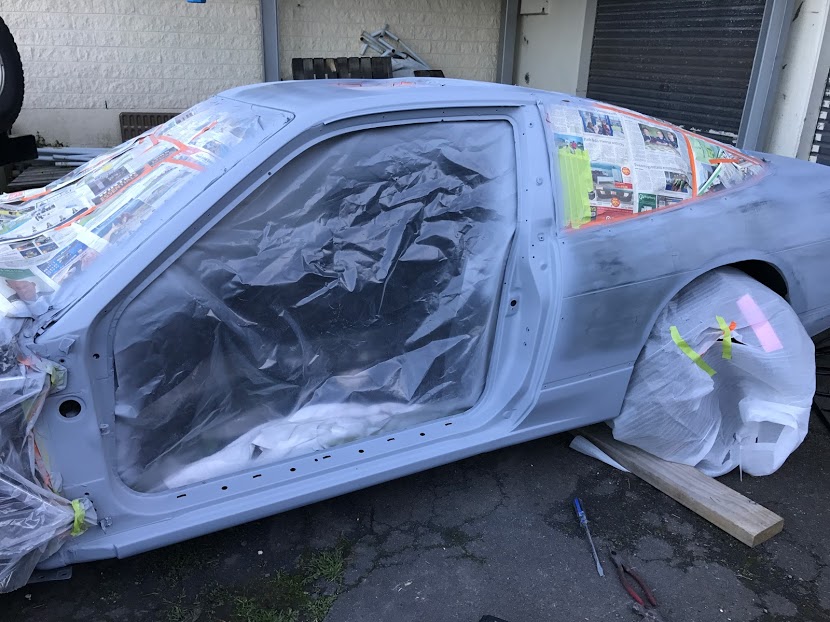
Bit the bullet and tried out my sudo "paint booth" and first time painting a car, only practice was spraying my trailer so I was a bit worried it would be a water fall of runs and oranges. This is just the main body and the rear wide body jobbies. I still need to prep and paint the doors, hatch, bumpers, side skirts bonnet, guards etc. But I've got way less time to do this than I thought I had, so I wanted to at least get some paint on the body. It turned out pretty good! It'll need some fine wet sanding and a polish but I'll let it dry for a week or so. I don't know why but I find the door jams particularly satisfying. Weird. So I've confirmed I didn't waste my time and I can paint okay. Next time I'll try a metallic and see how hard I fail haha.
- 419 replies
-
- 12
-

-

Richy's 1991 Porsche 944 S2 - BEWARE OF SHARN.
~Slideways~ replied to Snoozin's topic in Other Projects
Great write up, even greater FC!- 85 replies
-
- 7
-
-
- midlifecrisis
- notarealporsche
- (and 2 more)
-
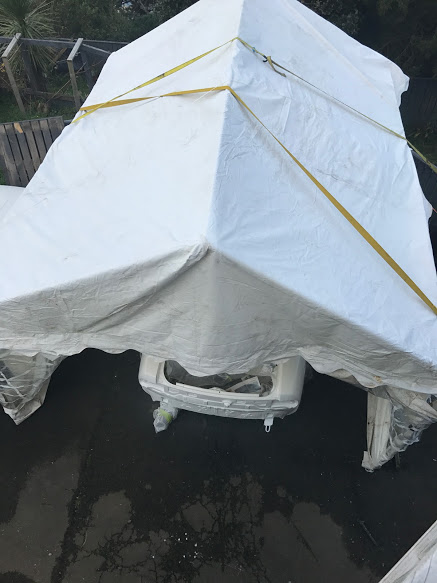
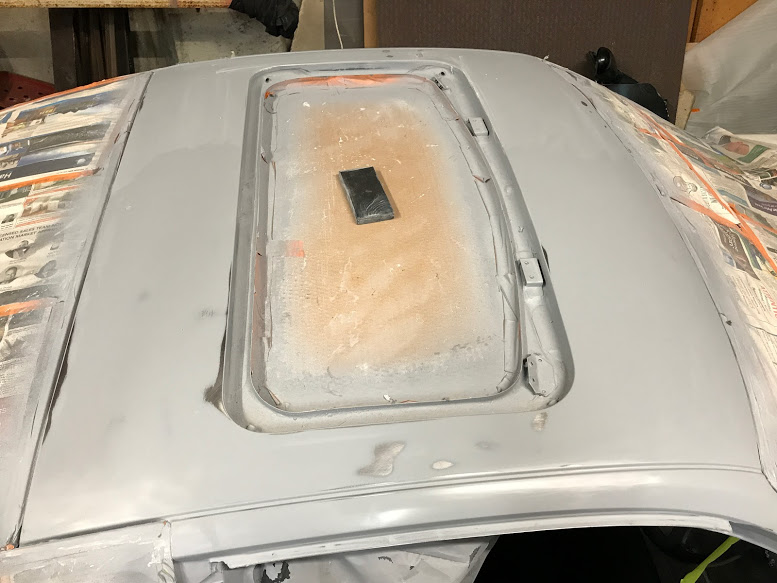
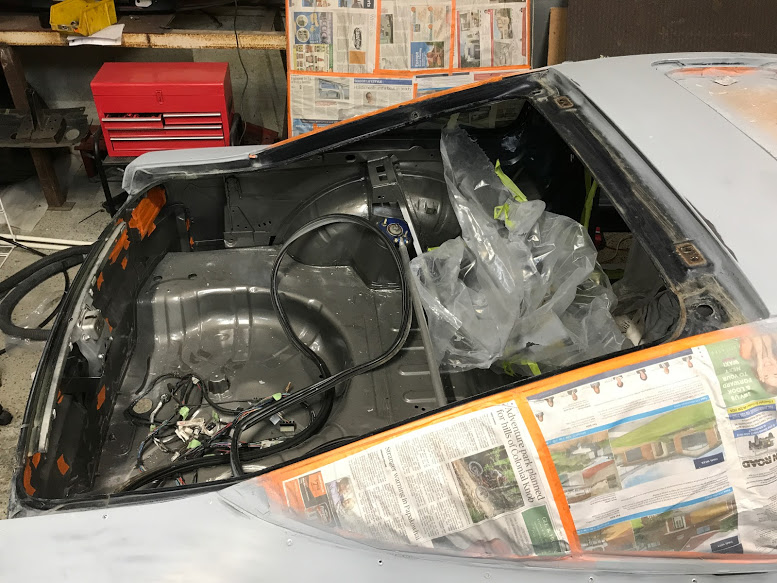
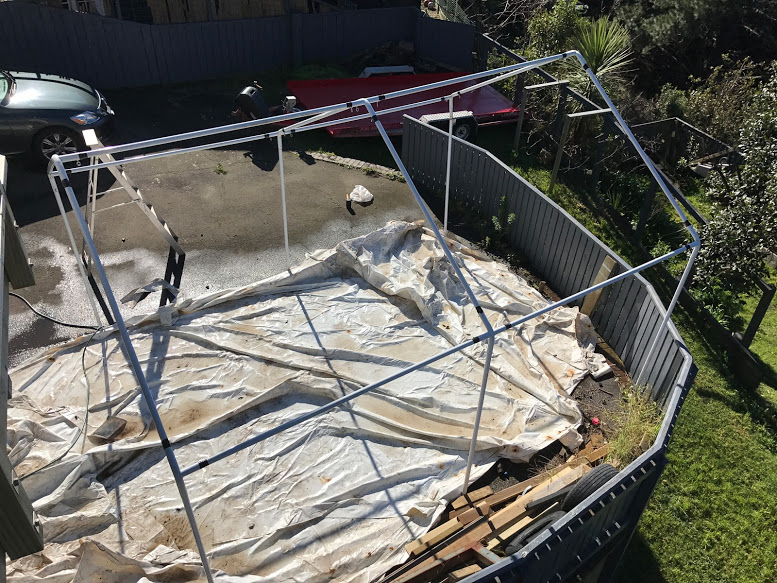
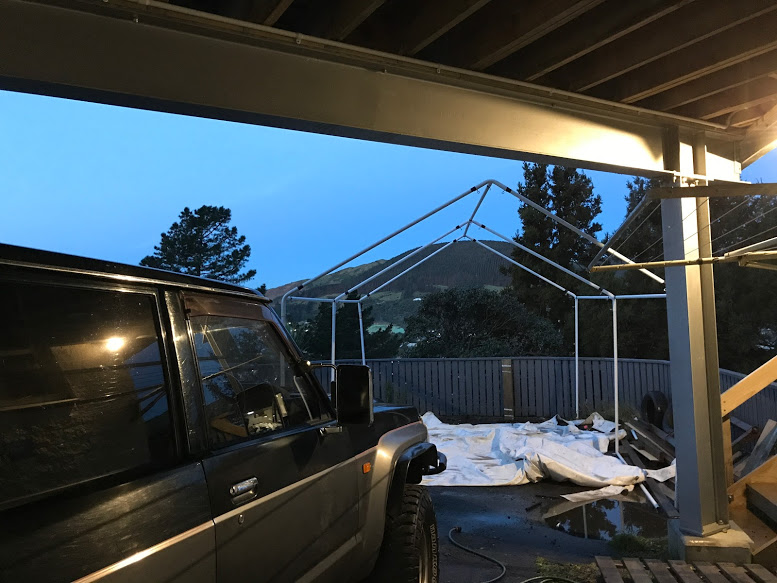
More high fill primer on the roof and it's blocked back with much fewer high spots: Door jams and sills sanded to 320 grit, high filled and sanded back: Almost at the stage where I can get some paint on the body, last part is the rear hatch jam? (I guess that's the name) so off came the hatch, very happy with the lack of rust here! Only some minor surface rust, nothing under the seals etc: The rear hatch is a bit warped from having a big wing mounted to it from it's previous life, so I got to the point where I won't worry about it not being a perfect finish there. The semi warp is flattened out when the duck tail wing is mounted anyway. I also started putting together this damaged marquee I got for $40 on Trademe to see if it would work for painting since I don't want paint fumes in the house (garage under bedrooms). It had been in a storm so had some bends but I fixed that. Unfortunately I had to spend hours waterblasting the cover because the storm mud had been left on it and become ingrained.
-
Do you mean less or more of earth money?
-
Trying to link an instagram video but it doesn't seem to work.
-
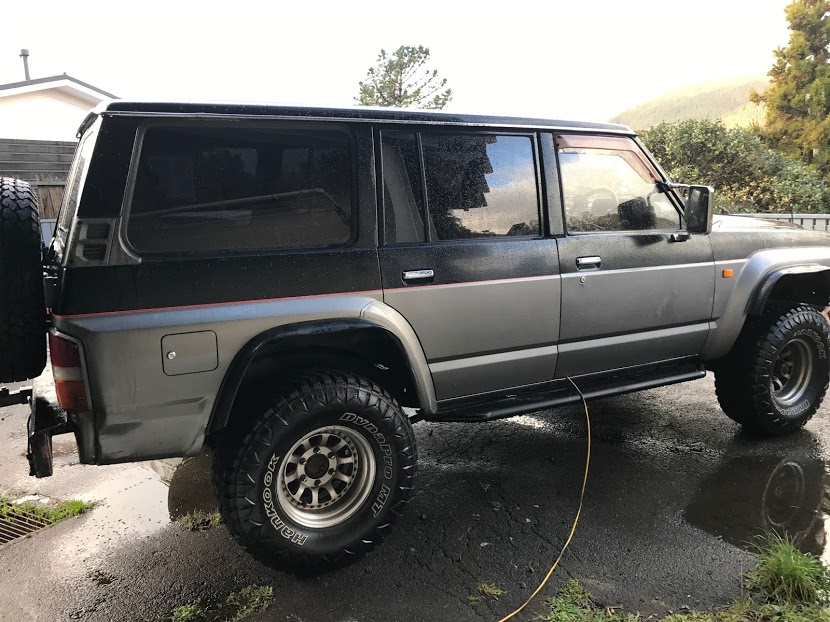
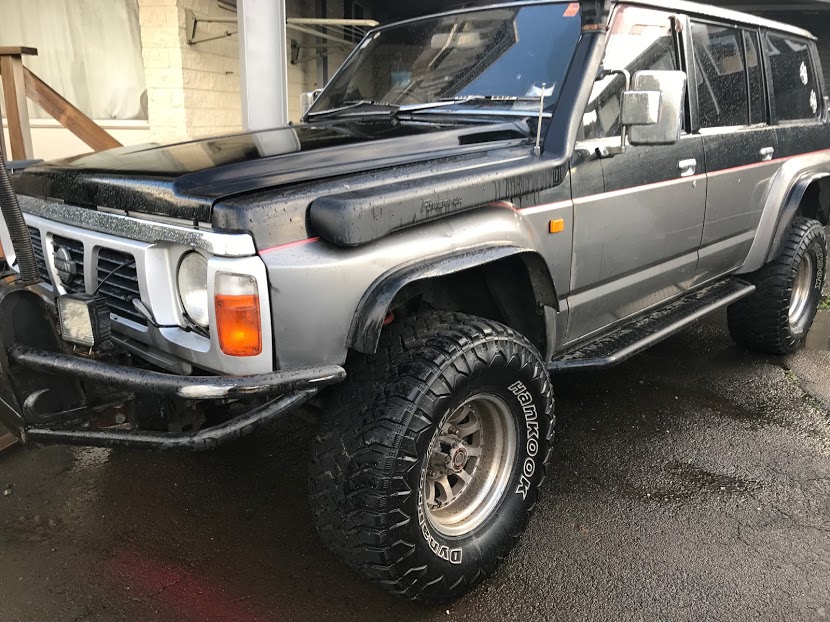
New shoes. Well 2nd hand shoes. I bought some different 33x12.5's to try out, because I've been meaning to change my current ones because they fckn HOWL on the motorway and it would get annoying for long trips with the little boy and wife. I did a 7-8hr round trip with them on to pick up a car a few months ago and it gets old haha. Even though they are 33" tyres they are actually a bit bigger diameter than my old 33" tyres (similar tread depth). Its a surprisingly common thing. Lots of '35's are more like 34's. It's weird. These are Hankook MT jobbies, much quieter but still a bit of noise...wayyyy better though and should still be good for offroading if a little less tread gap for the mud than the old ones. I still have some Maxxis Creepy Crawler 35's for more extreme offroading anyway. EDIT: it's secretly an EV, that's what the extension cord is for.
-
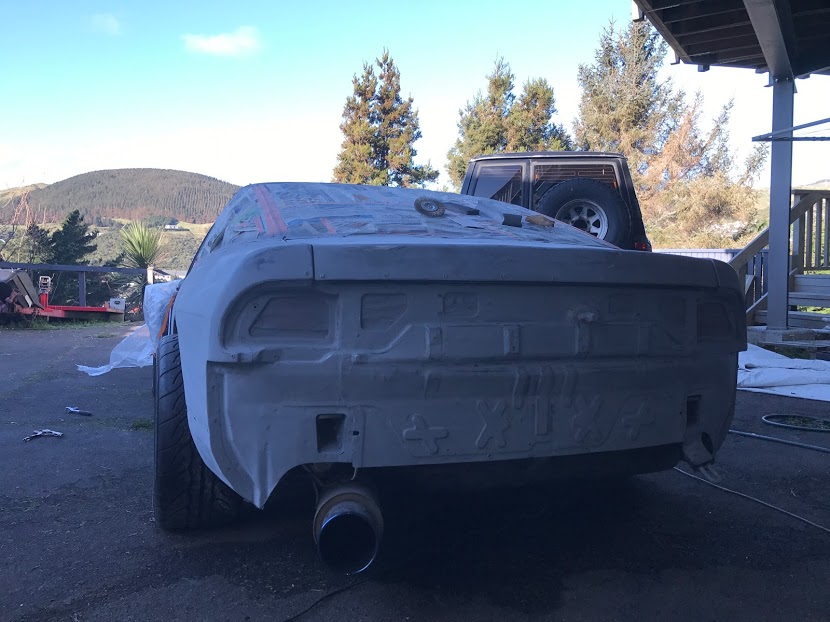
Sanding my life away... Think my AGM battery is stuffed too, bugger that's $150 wasted. But yeah, doors off and trim off, sanded door jams and sills to 320 grit. Primered: Also primered the roof and boot lid again, didn't take a photo so here is the back, because. Next up, sanding!
-
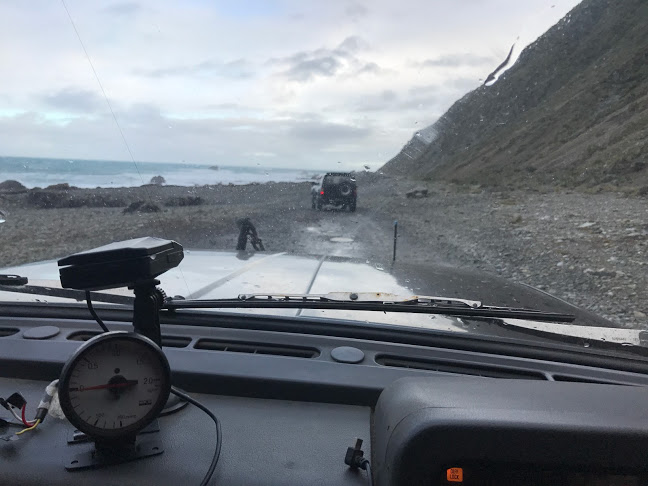
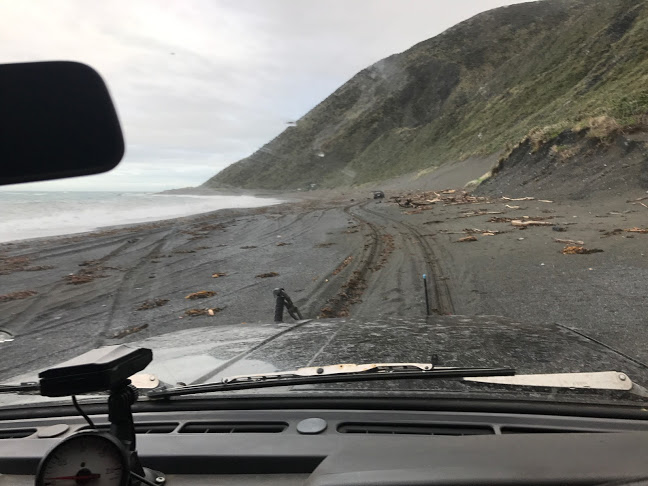
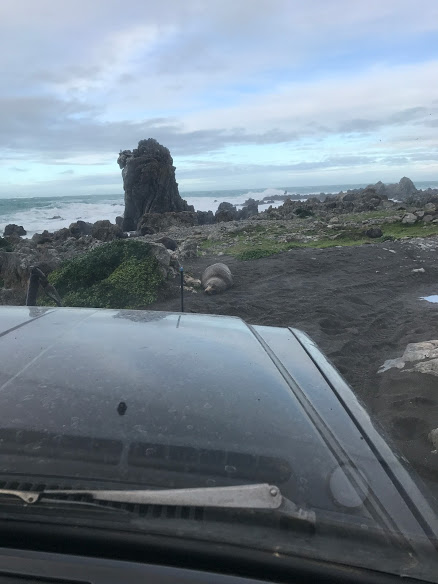
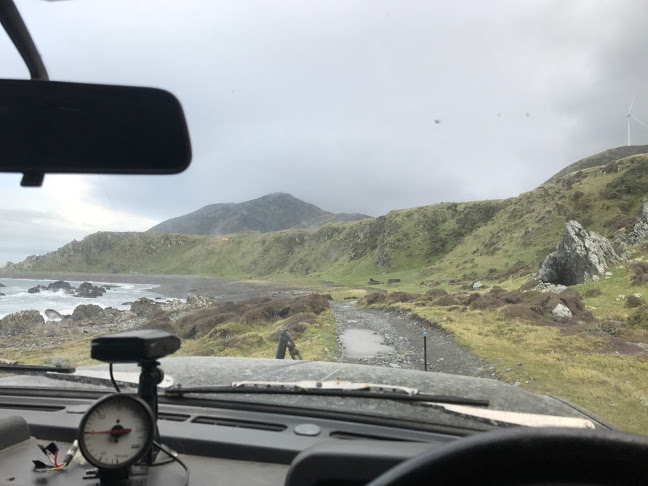
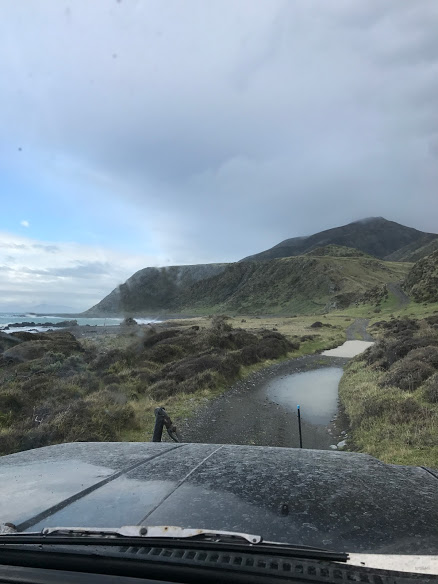
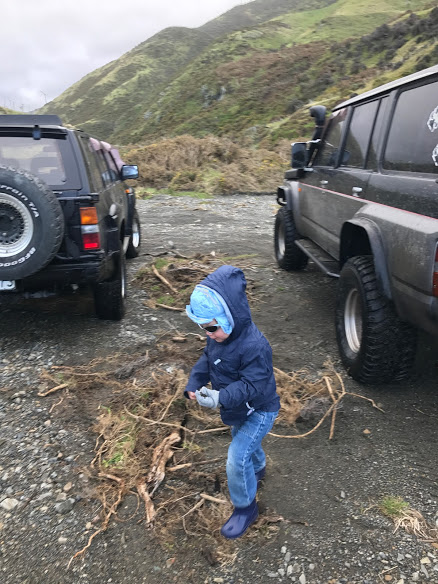
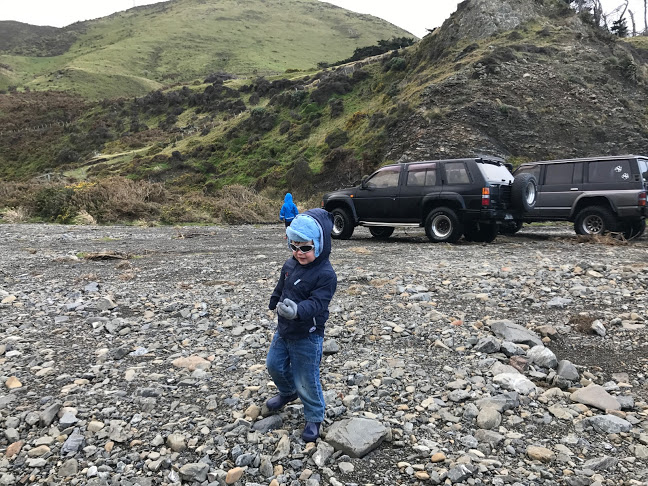
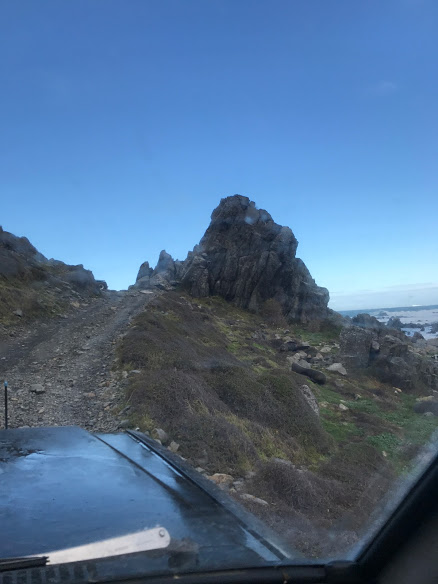
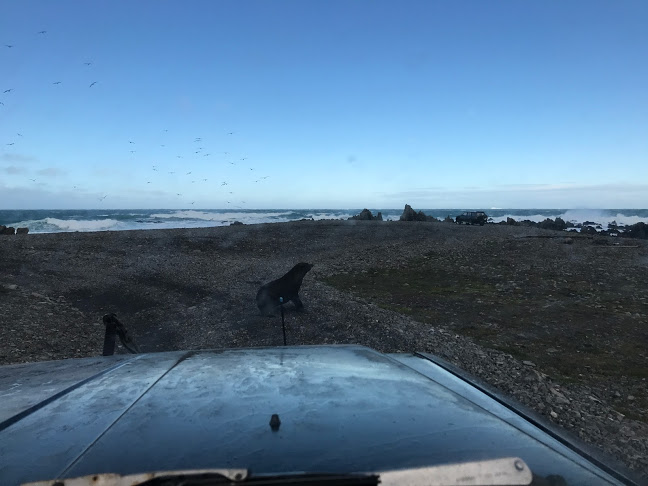
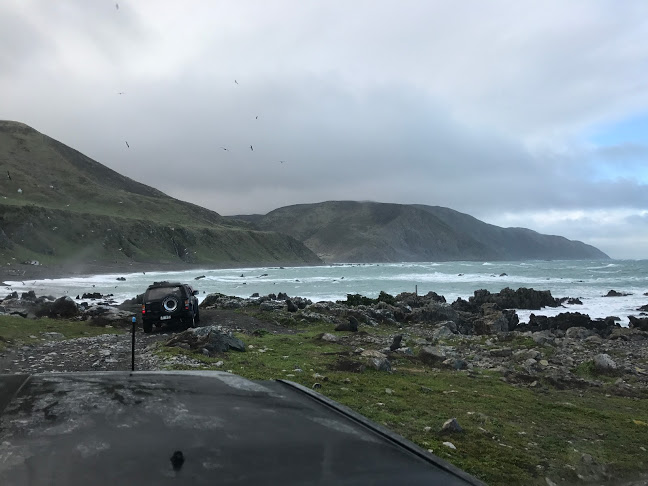
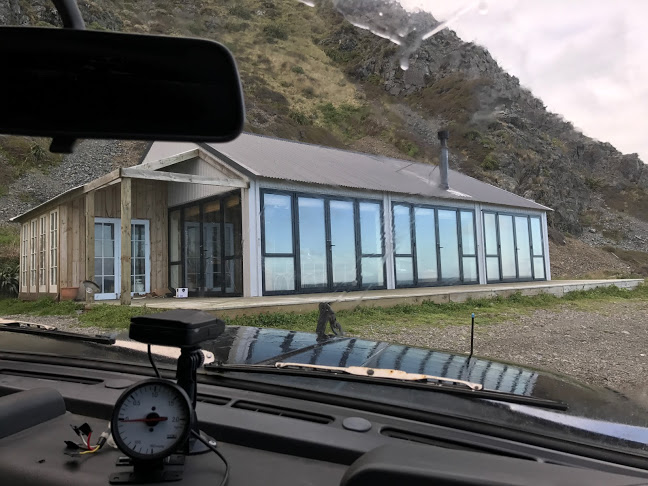
Took this to Redrocks on Saturday with my brother in his Terrano, it was 9degrees with some epic wind. Got to a valley that I hoped would be more sheltered for my 2.5yo boy to play, the wind was blowing him off his feet but he had a blast anyway. Saw some 'seals SO big daddy': This one was sleeping right on the outside of a tight corner, I ended up edging closer then climbing over a big boulder in order to not squash him: Its been years since I've come here, the few baches are corrugated iron rust boxes, then this place turns up?! Its epic, dining tables and shit. I mean in a bad storm its so close to the waves it must get battered? I thought there were limitation to new builds too...
- 110 replies
-
- 11
-
-
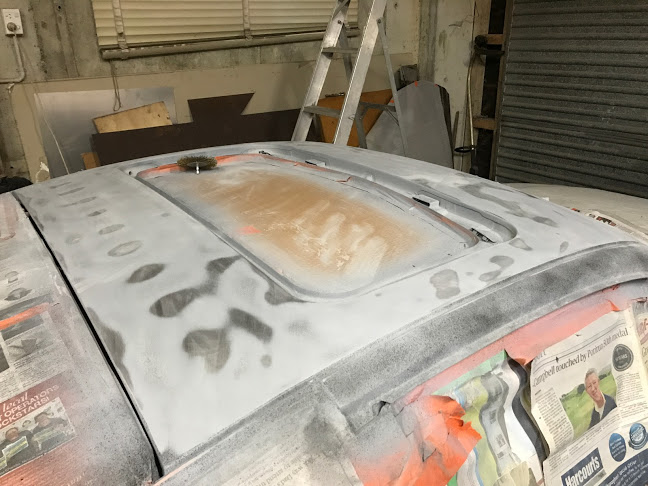
Guide coat makes it look like an Upper Hutt bogan Escort from the 90's: Sanded some of the high build primer and have some high spots showing from the factory spot welds at the rear of the roof, but its so minuscule. Will probably do another couple of coats of primer after this:
-
Looks like devils gate in the background? Drove through there for the first time in years on Saturday. If it is, I'm not sure where the photo was taken from? Also, heartily approve the use of this jobby in this spot.