yoeddynz
-
Posts
19,452 -
Joined
-
Last visited
-
Days Won
158
Everything posted by yoeddynz
-
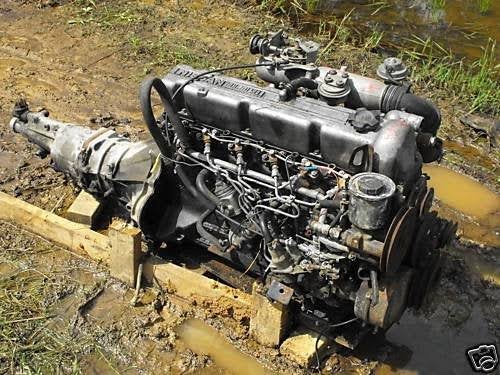
Or 4 strombergs on a v12
-
You did well @Kiwibirdman. You answered all 18 questions!
-

- 64 replies
-
- 11
-

-

-

-

-
I've never had a holden but always liked these. But my brother had a cool landie with a 202, which I drove from chch to blenheim. Will never repeat. 202 sounded nice though and went hard fwiw. Until one of the pistons fell in half.
-
Twin SUs thank you please. The ones off a rover V8 will be spot on.
-
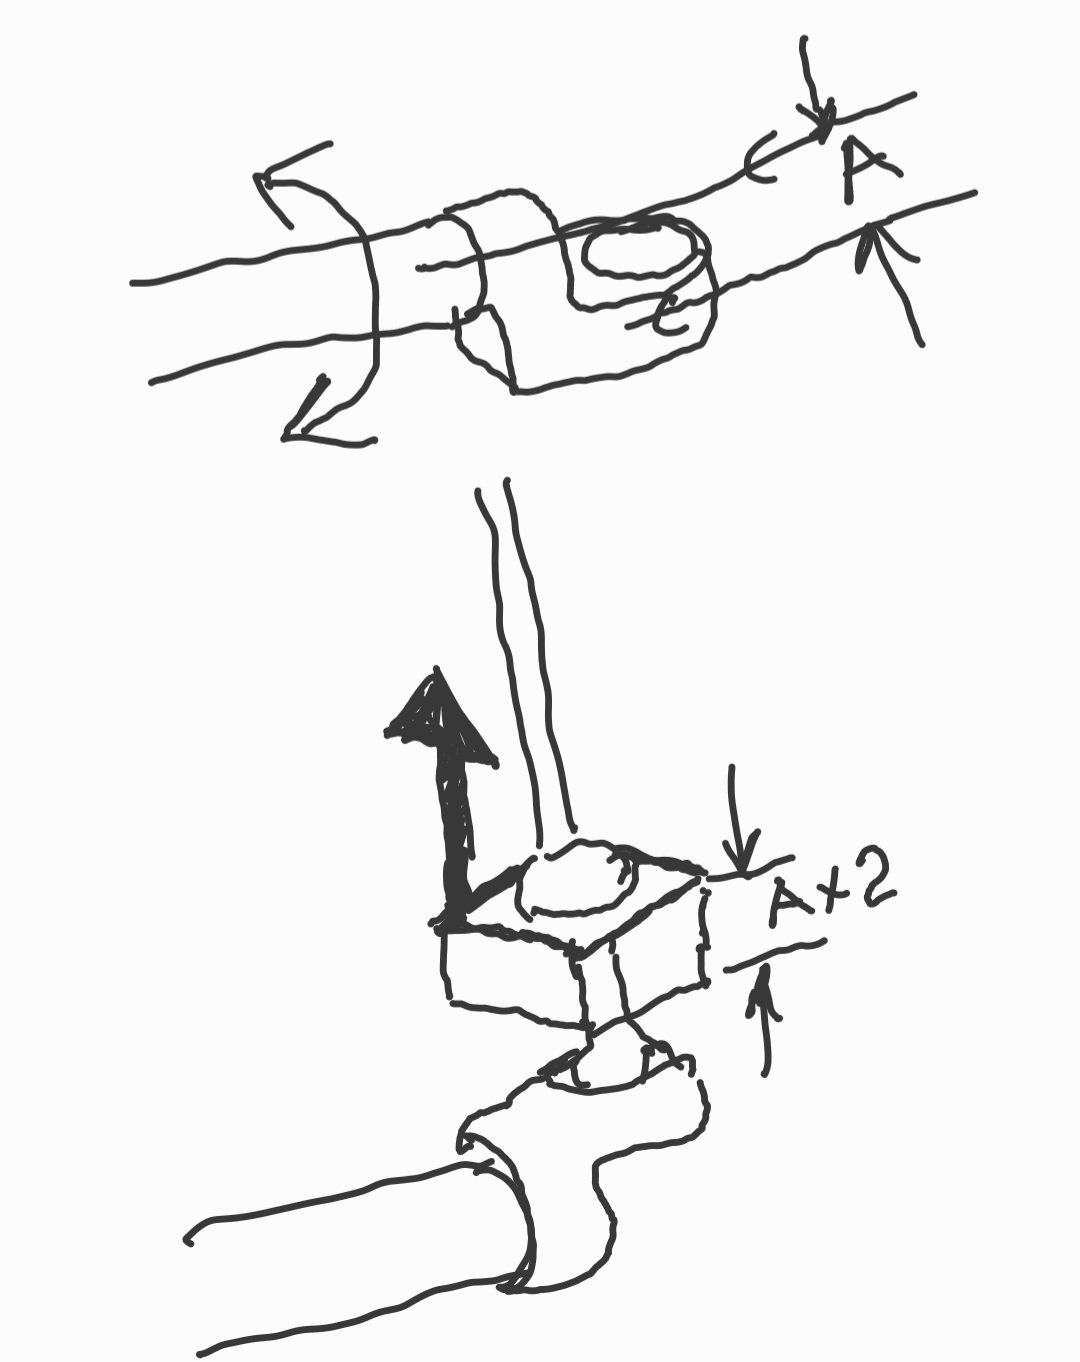
'A' is just the distance between centreline of shaft and the centreline of the socket. You'll need to raise the gearstick fulcrum twice that distance once you have turned the shaft around.
-

Tomble's adorable go cart / distraction / Alto Works
yoeddynz replied to tomble's topic in Other Projects
You have a big banana. Nice curve. -
2200rpm at 'an indicated' 60mph. My speedo reads way out! But even if yours is out a bit it's still a huge improvement from 4000! Dreamy
-
@dmulally like I said this morning on the reverse gearstick anonymous phone call, you don't have to make it as poncy as mine. Just rotate your under tunnel shaft 180 degrees so flipping the forged socket to the top and raise the gear stick fulcrum the required amount (30mm iirc), so reversing your across gate movement....
-
I can do that. Message the dimensions.
-
Sweeeeeeeeet! Congrats. Looking forward to the next driving day with REACT* on some twisty roads. *Rear engined agile cars of Tasman
-
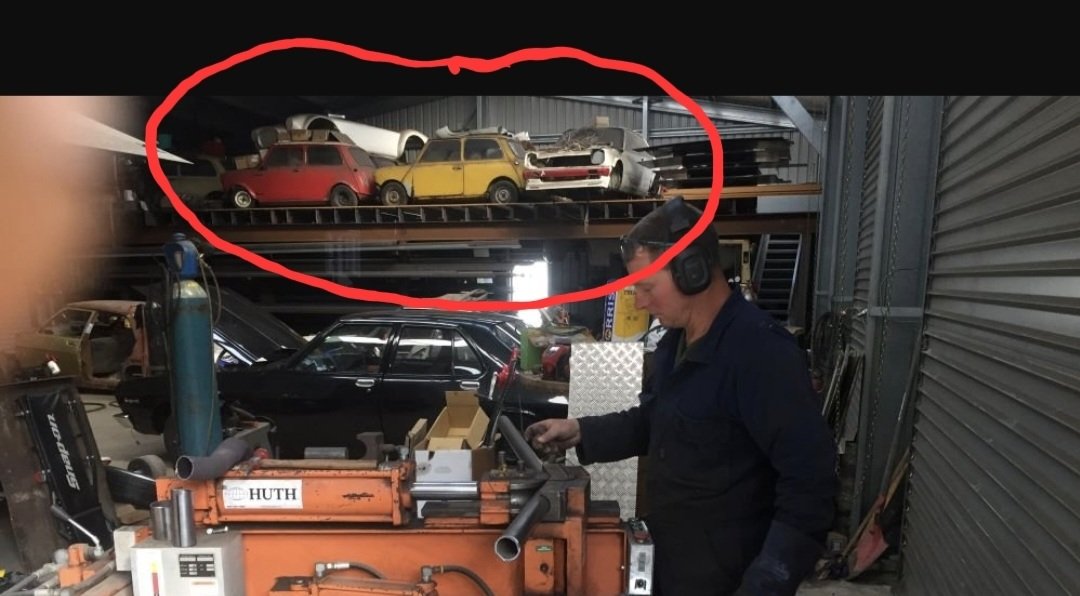
Mr exhaust has quite a collection of "projects he's going to do one day"...
-
Discuss here about Yoeddynz's little Imp project...
yoeddynz replied to yoeddynz's topic in Project Discussion
Molded onto a steel shaft? -
@nzstato Naseby is great. I've stayed there a fair few times for mtb racing back in the days. Cool trail network. But no *hotpools for winter warmth *exorbitantly priced
-
Discuss here about Yoeddynz's little Imp project...
yoeddynz replied to yoeddynz's topic in Project Discussion
I was reading somewhere that some large camshafts are constructed with the lobes shrunk fit in place. I'll try find it. Figure it cuts down on material and machining costs a lot when dealing with big items. -
Its a date then But what date?
-
As per title. I'd love to have something to aim for and look forwards to this winter. Hanmer is always good because cold + bbq + hotpools + frostpot of hell = a good combination. Who's keen?
- 59 replies
-
- 11
-
-
Tomble's 1983 Starion GSR-X fumbling / hand-holding / discussion
yoeddynz replied to tomble's topic in Project Discussion
All those paint stripper fumes..
-
Discuss here about Yoeddynz's little Imp project...
yoeddynz replied to yoeddynz's topic in Project Discussion
It's really just a plastic container that fills up with fuel because not perfectly sealed around the lid. The return line goes into the bottom of the container. The pump is mounted at an angle so it's filter sock sits at the very bottom of container. Very basic and very neat. Use one of these, or a similar item (I figure a k11 pump won't be up to the task of feeding a V8 at full chat) , along with the internal baffles you suggest above and you'd be fine I think. -
Discuss here about Yoeddynz's little Imp project...
yoeddynz replied to yoeddynz's topic in Project Discussion
I tried removing separating the test sample at local engineers yesterday. Got to 12 ton pressure and it wasn't moving and the shaft we were using to push with started bending. We called it quits before it spat out (had put a shroud around the lot but still...) I'm going back with a beefier press tool. I want to see and hear the bang No way it's gonna shift in my setup that's for sure. -
Discuss here about Yoeddynz's little Imp project...
yoeddynz replied to yoeddynz's topic in Project Discussion
Thanks man. I'm glad to have sorted that bit out ok. Now scratching my head on exhaust box design. -
Discuss here about Yoeddynz's little Imp project...
yoeddynz replied to yoeddynz's topic in Project Discussion
Well I don't think this dudes earlier 1800 has the same troubles. It just keeps bouncing back! ( I reckon a 1500 would have had its cam belt housing/pulleys smashed) This fella Matt has some cool vids inc a nice offroad trip in Idaho back country on this bike.