tortron
-
Posts
60782 -
Joined
-
Last visited
-
Days Won
600
Everything posted by tortron
-
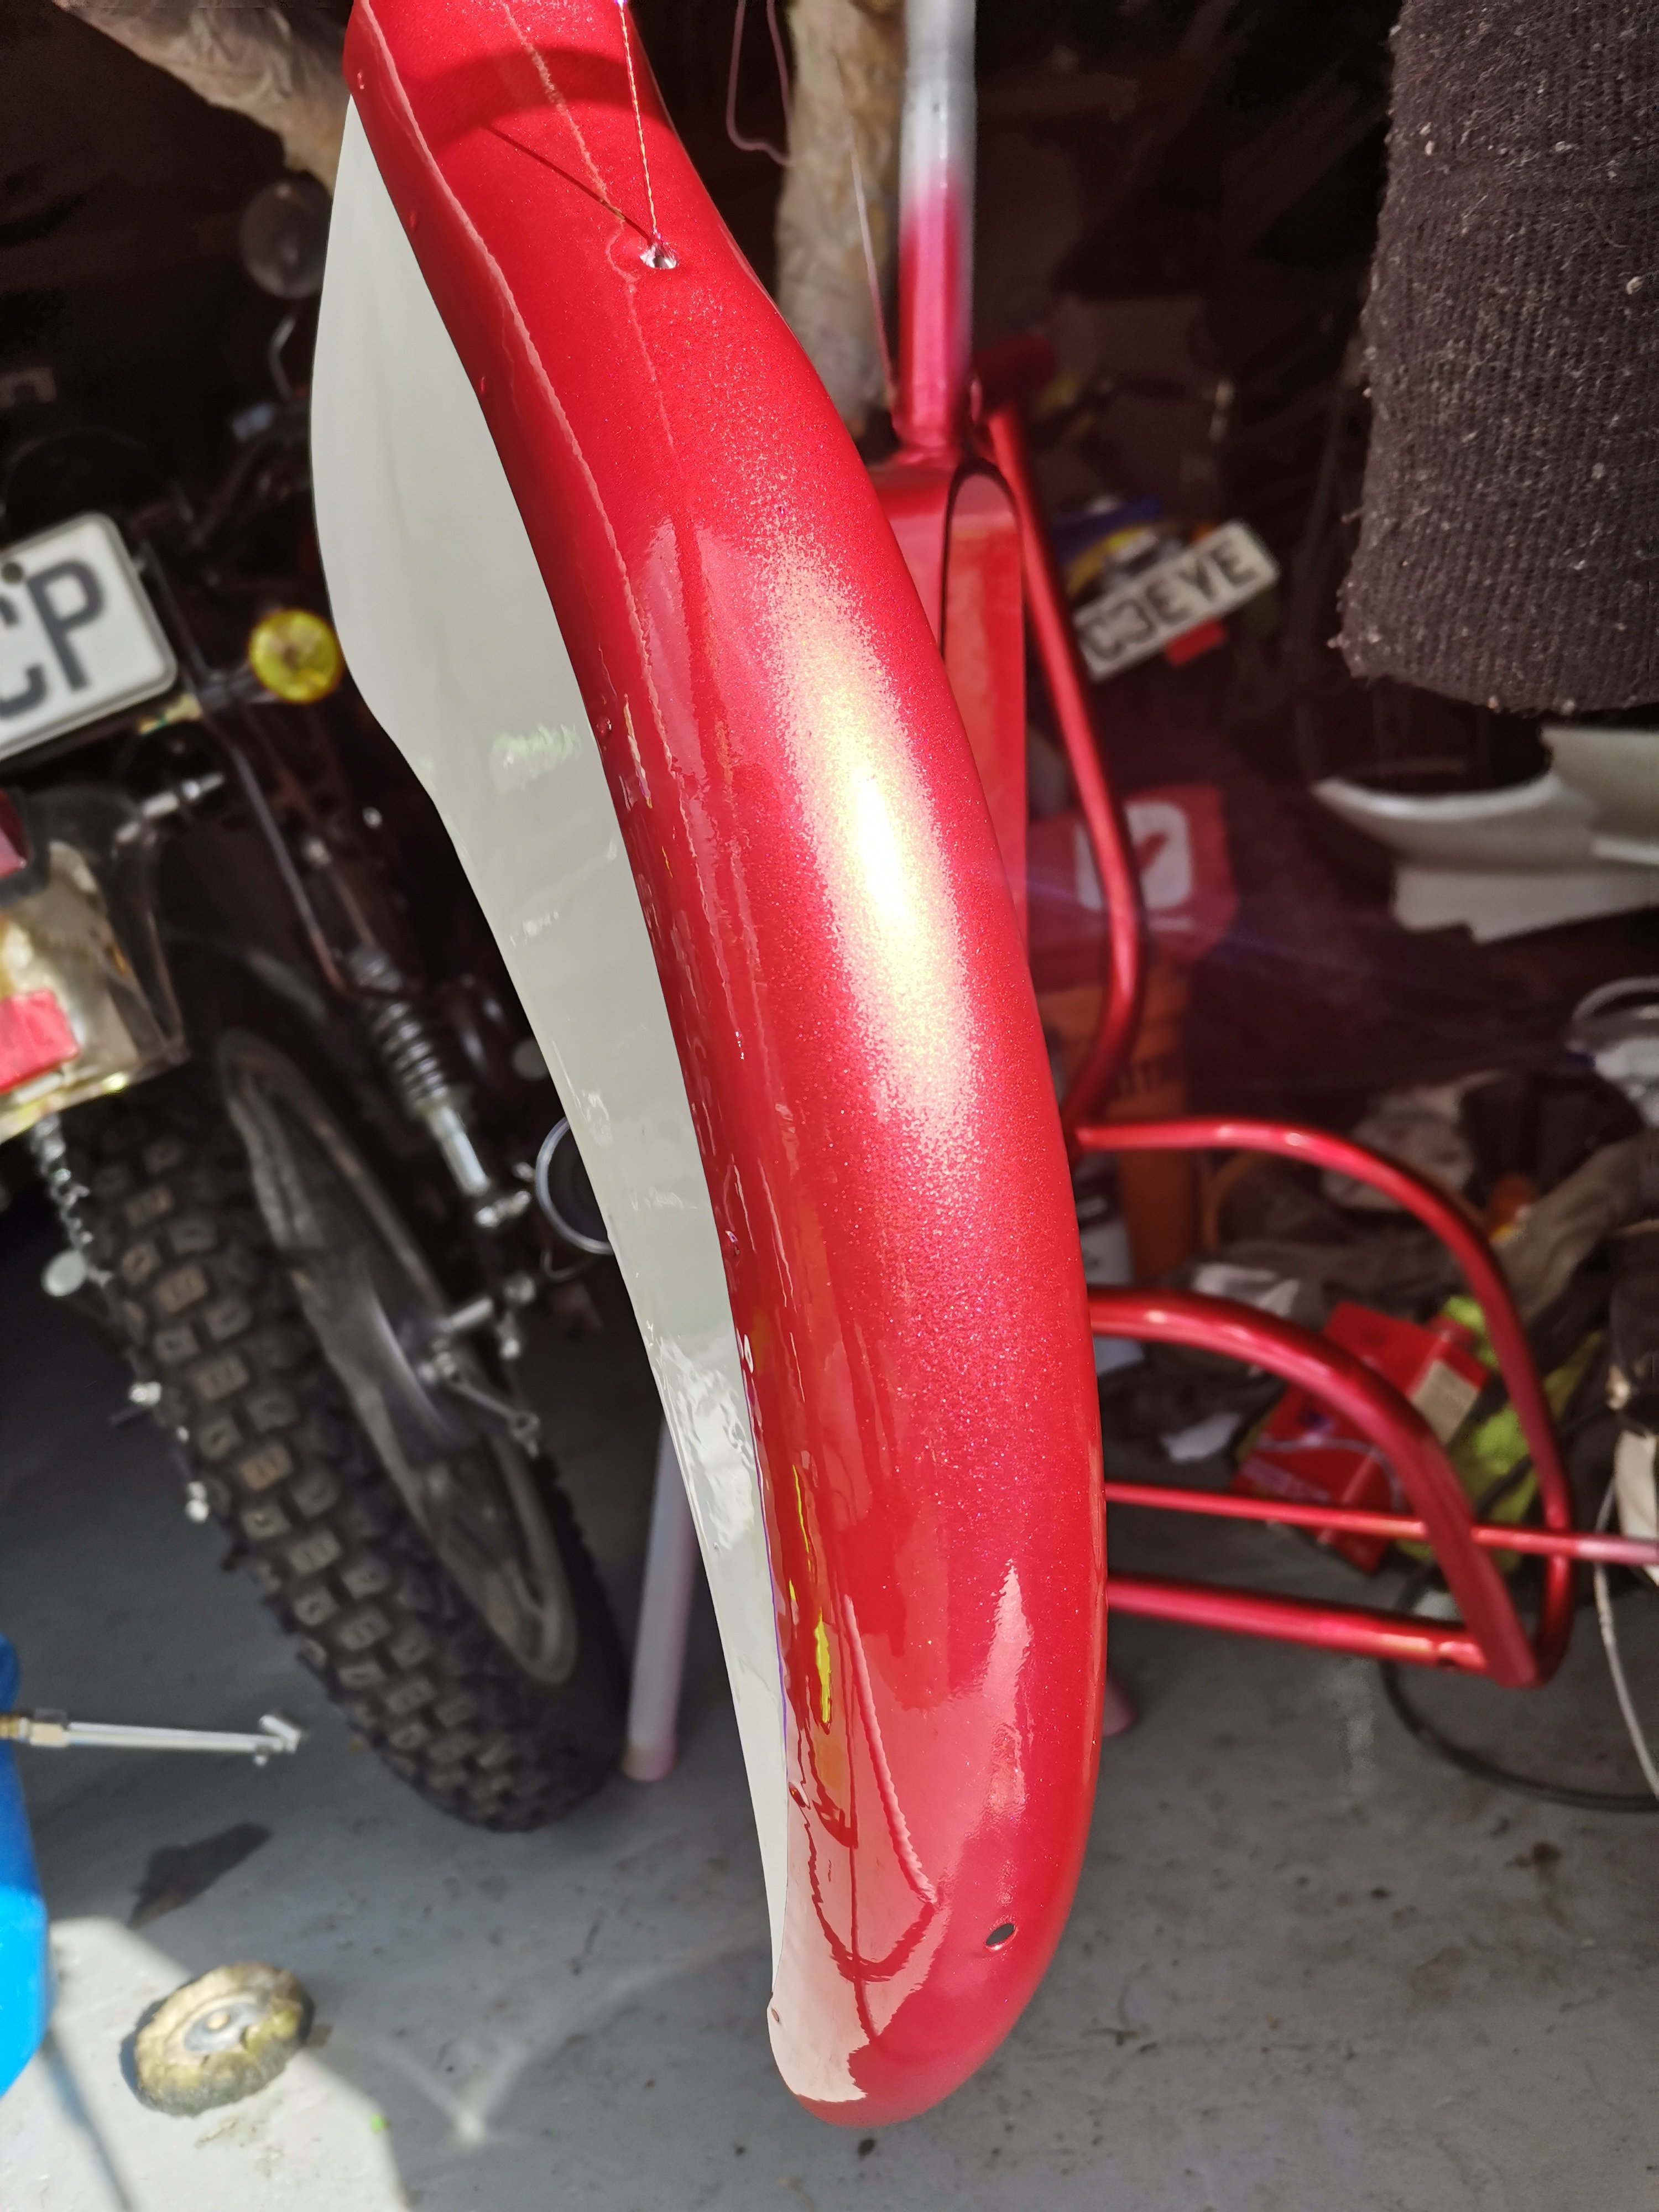
I can't get my camera to focus on it. But with clear on it. It glows in the sun. Heaps of fine flake under the candy This sort of gives you an idea Clear done, it's gona rain soon, good timing

- 35 replies
-
- 14
-

-

-
Decent for outside under a tree tho tbh. Just got a little bit of leaf in the inside of the tray. Which I painted white as well. Obviously in use that won't stay white for 2 mins
- 35 replies
-
- 11
-
-
Candy apple red and snowflake pearl white. White didn't come out great, but il probably leave it and hide it under a lot of clearcoat. Have used about 12 mixing cups for all the basecoats, pearls, and candy's lol. If it rains right now I will be upset
- 35 replies
-
- 14
-
-
Nzta has a complaint form somewhere Also if they are an mta member you can go through that Therea a bit saying they don't take complaints about tyres lol
-

Maruia Moped Melee, 10, 11, 12, March, 2023
tortron replied to RUNAMUCK's topic in South Island Region
Yeah there's more options for byo plate Keep an eye on hustle live for dealz @TimShadboltfan27 One foggy morning I applied too much throttle on my gn250 at a T intersection. Lit the rear wheel up and I very slowly pirouetted in front of an oncoming lorry full of bridge parts, thankfully the tyre heated up and I got traction at thr last minute -
Maruia Moped Melee, 10, 11, 12, March, 2023
tortron replied to RUNAMUCK's topic in South Island Region
Does look like slim pickings right now There's a $900 gn125 This would be rad, rego on hold, but budget wise not fantastic https://www.trademe.co.nz/a/motors/motorbikes/motorbikes/classic-vintage/honda/listing/4081538802 I went on a bike quote site a month ago for Dunedin to Auckland and they kept dropping it till around $500
-
With any luck ip put the final coat of primer on the frame tomorrow and put the colour on later this week
- 35 replies
-
- 14
-
-
Started nickel plating Really I should set up a bubbler and add some surfactant to get a nicer finish. Goes like that cos the tiny bubbles cling to the surface so you get little craters. It's fine tho
-
Maruia Moped Melee, 10, 11, 12, March, 2023
tortron replied to RUNAMUCK's topic in South Island Region
75kph is faster than I go on a real bike m8 -
The benefit looks to be that it's made as cheaply as possible
-
Yes https://panelstore.co.nz/products/plan-4-1-2k-satin-clearcoat-5l-kit-4l-1l
-
Ahh, they use a different style head. Which works properly with the China kit pistons, and is probably high compression with the high dome ones that don't fit
-
So this nugget is a suzuki gs150R, and it's just about the ultimate adventure bike It is factory 150, kick and electric start, and it's got a 6th gear for highway cruising Looks like india/Pakistan only. I would like to get an engine from one for the above reasons as that's basically what I'm building lol. I'm interested in seeing what piston and combustion chamber is like. Maybe it's just the same as the China 150cc kit, low compression in a dr125 head
-
https://www.trademe.co.nz/a/marketplace/home-living/cleaning-bins/vacuum-cleaners/other-vacuums/listing/4054631908 Two here. Very stylish
-
Just use a bunch of firebricks to reflect the heat. Typical of building bicycle frames with a weak torch
-
For these dr250s, the engine is more or less a kick-start only 6v version of the standard gn250 engine If you totally destroy your dr250 engine they are not that common for replacement. You might have 1 leg, and they are kick start only Mainly I'm interested in keeping a spare as if your 6v dr250 cdi dies, they are nla worldwide since the late 80s Cutting the frame isn't real appealing, so just bowling one in isn't for me, but a 12v conversion based on GN parts is also handy
-
Some guy already did the gn250 into dr250 swap. Not quite bolt in Sprockets have different splines. Gn250 one needs spacing out, use the dr250 spacer Obviously use the whole GN loom Front engine mount. Frame is a bit too long and hits thr starter motor. He makes a new mount, but I think a gn250 one would work fine along side some new holes to bolt it to on the frame. I actually have a donor front section of a gn250 frame, so that will go on the keep but never use shelf
-
If you care what the underside looks like. Wrap the body with some tape to stop it from marking when you lever against it. Here's my GN one that I opened up to convert to electric (pre dented) If you use something like a jewelers screwdriver you can pry it all up fairly evenly. I didn't put too much care into this one, and only half crimped it back down for later adjustments
-
You can make a couple of small nicks in the back of the trim ring and very gently work around it to pry the edge up. I have done a couple of gauges this way
-
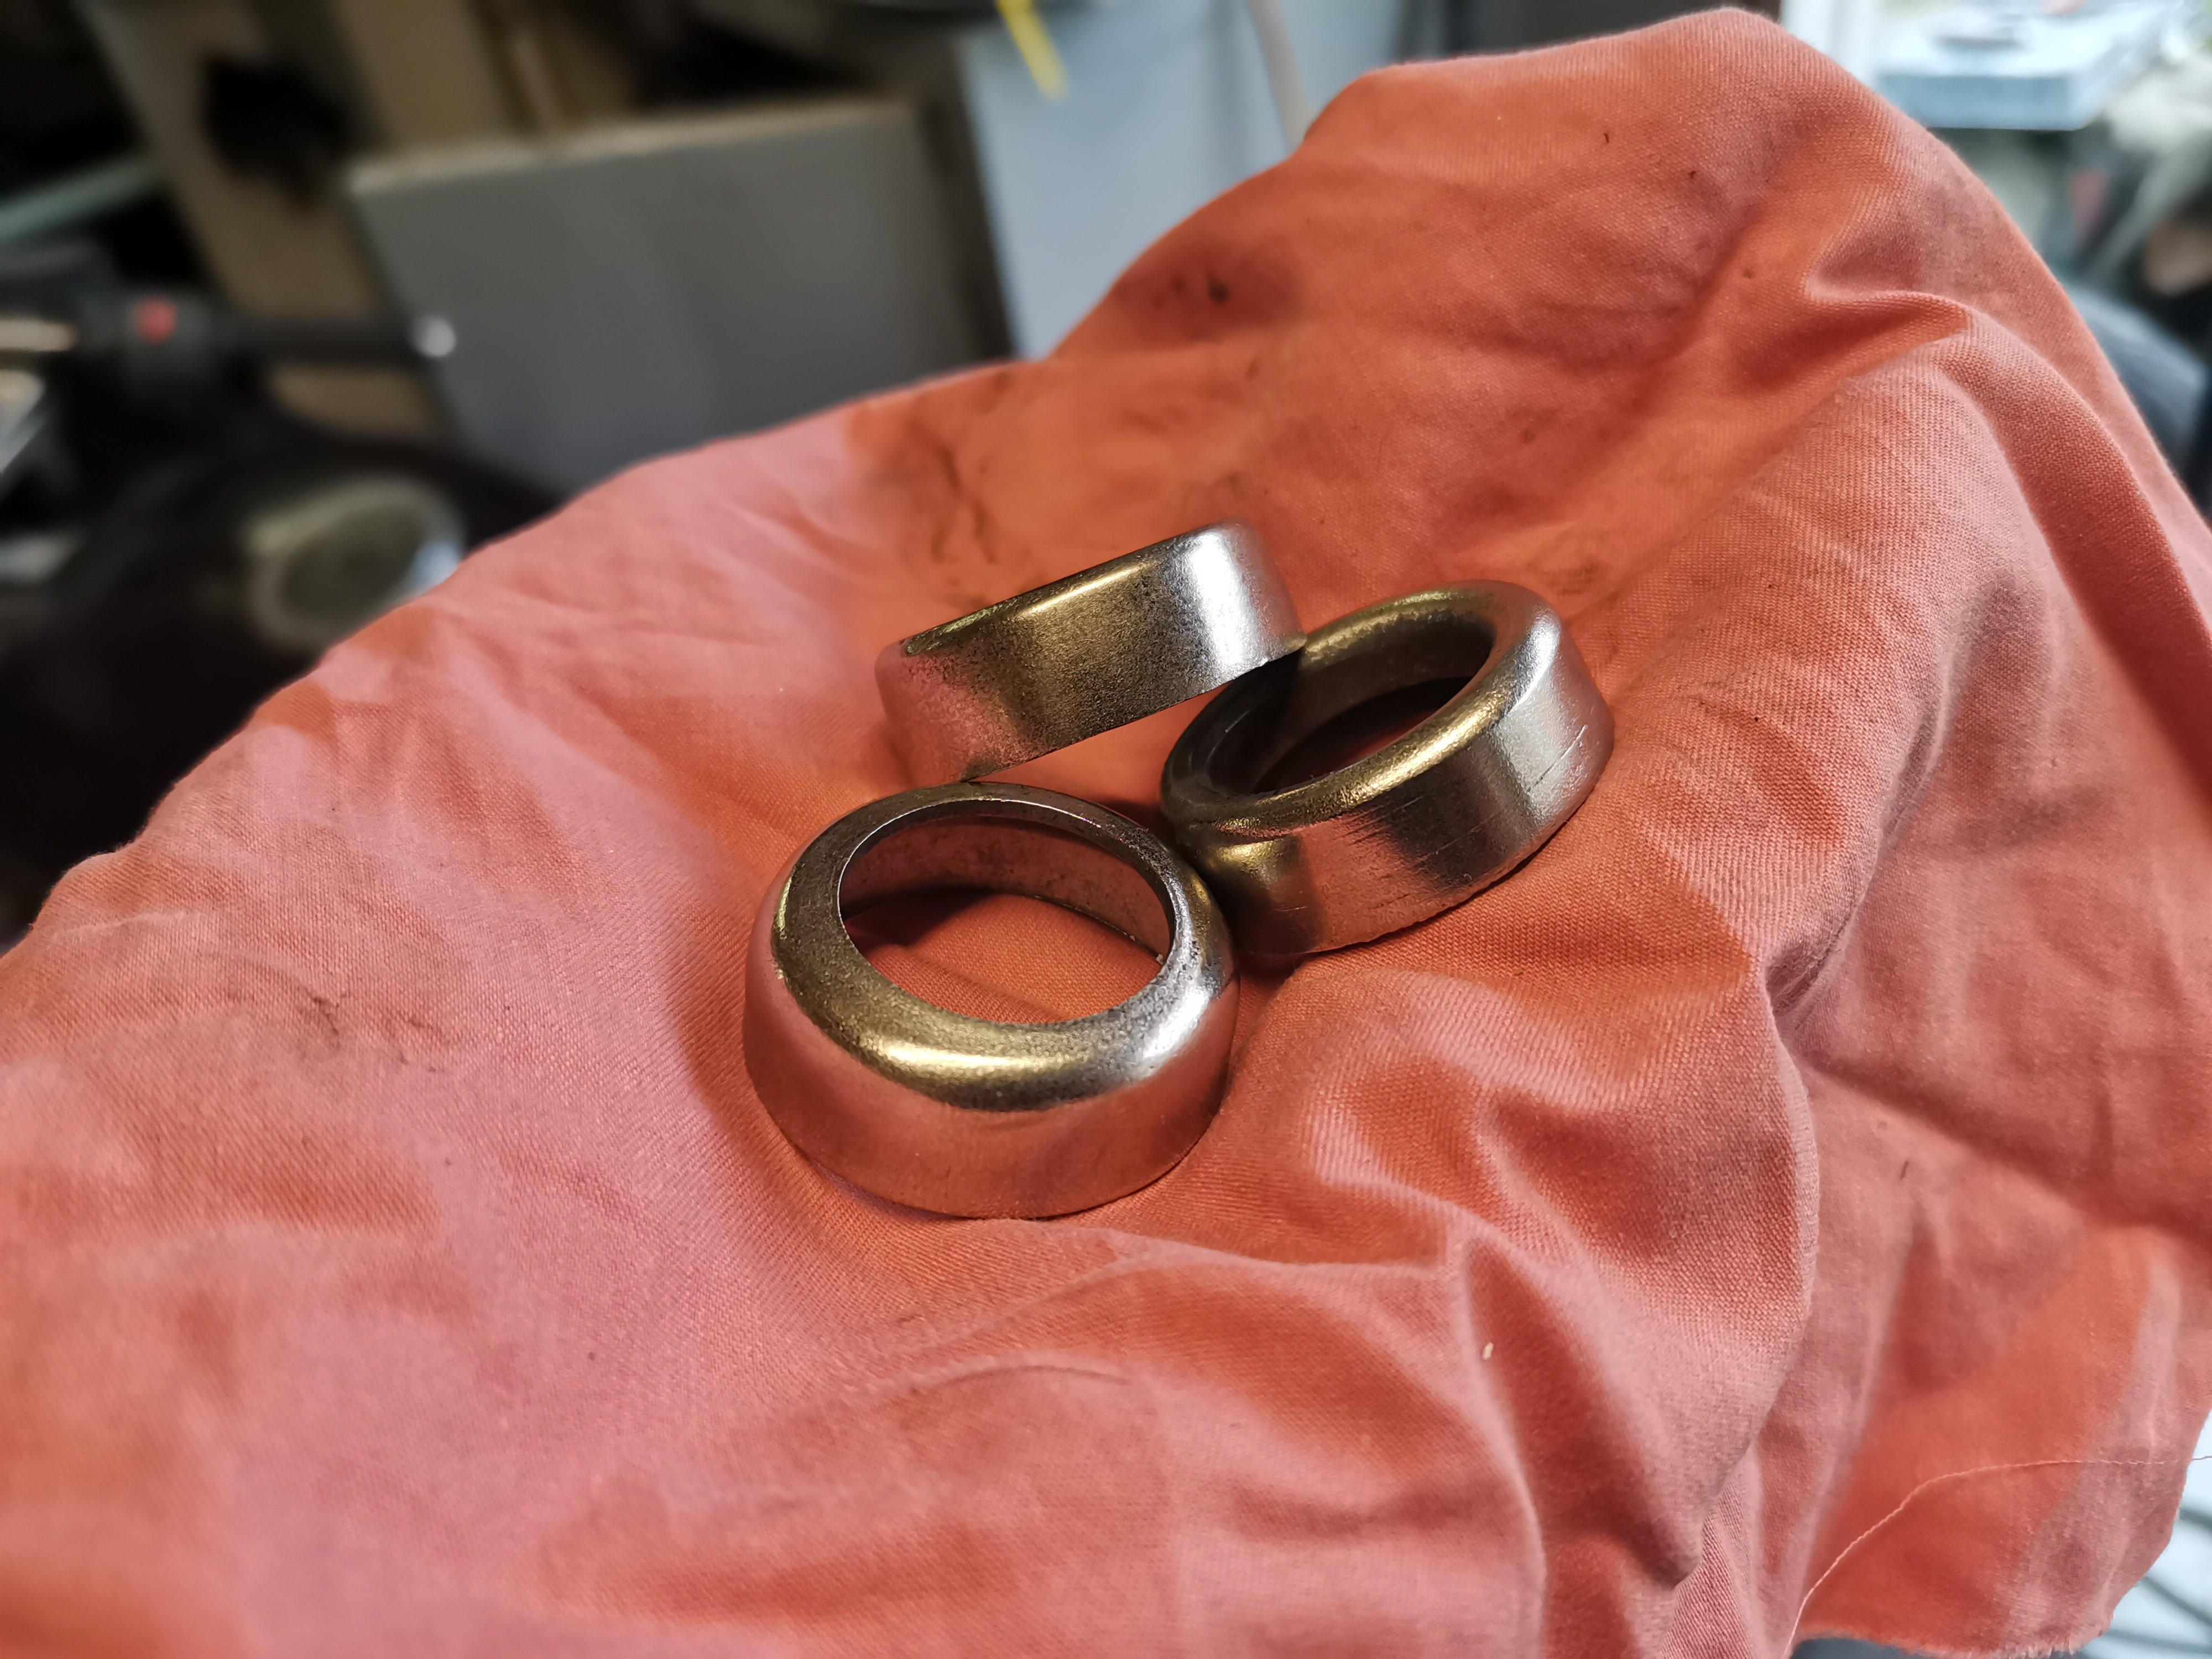
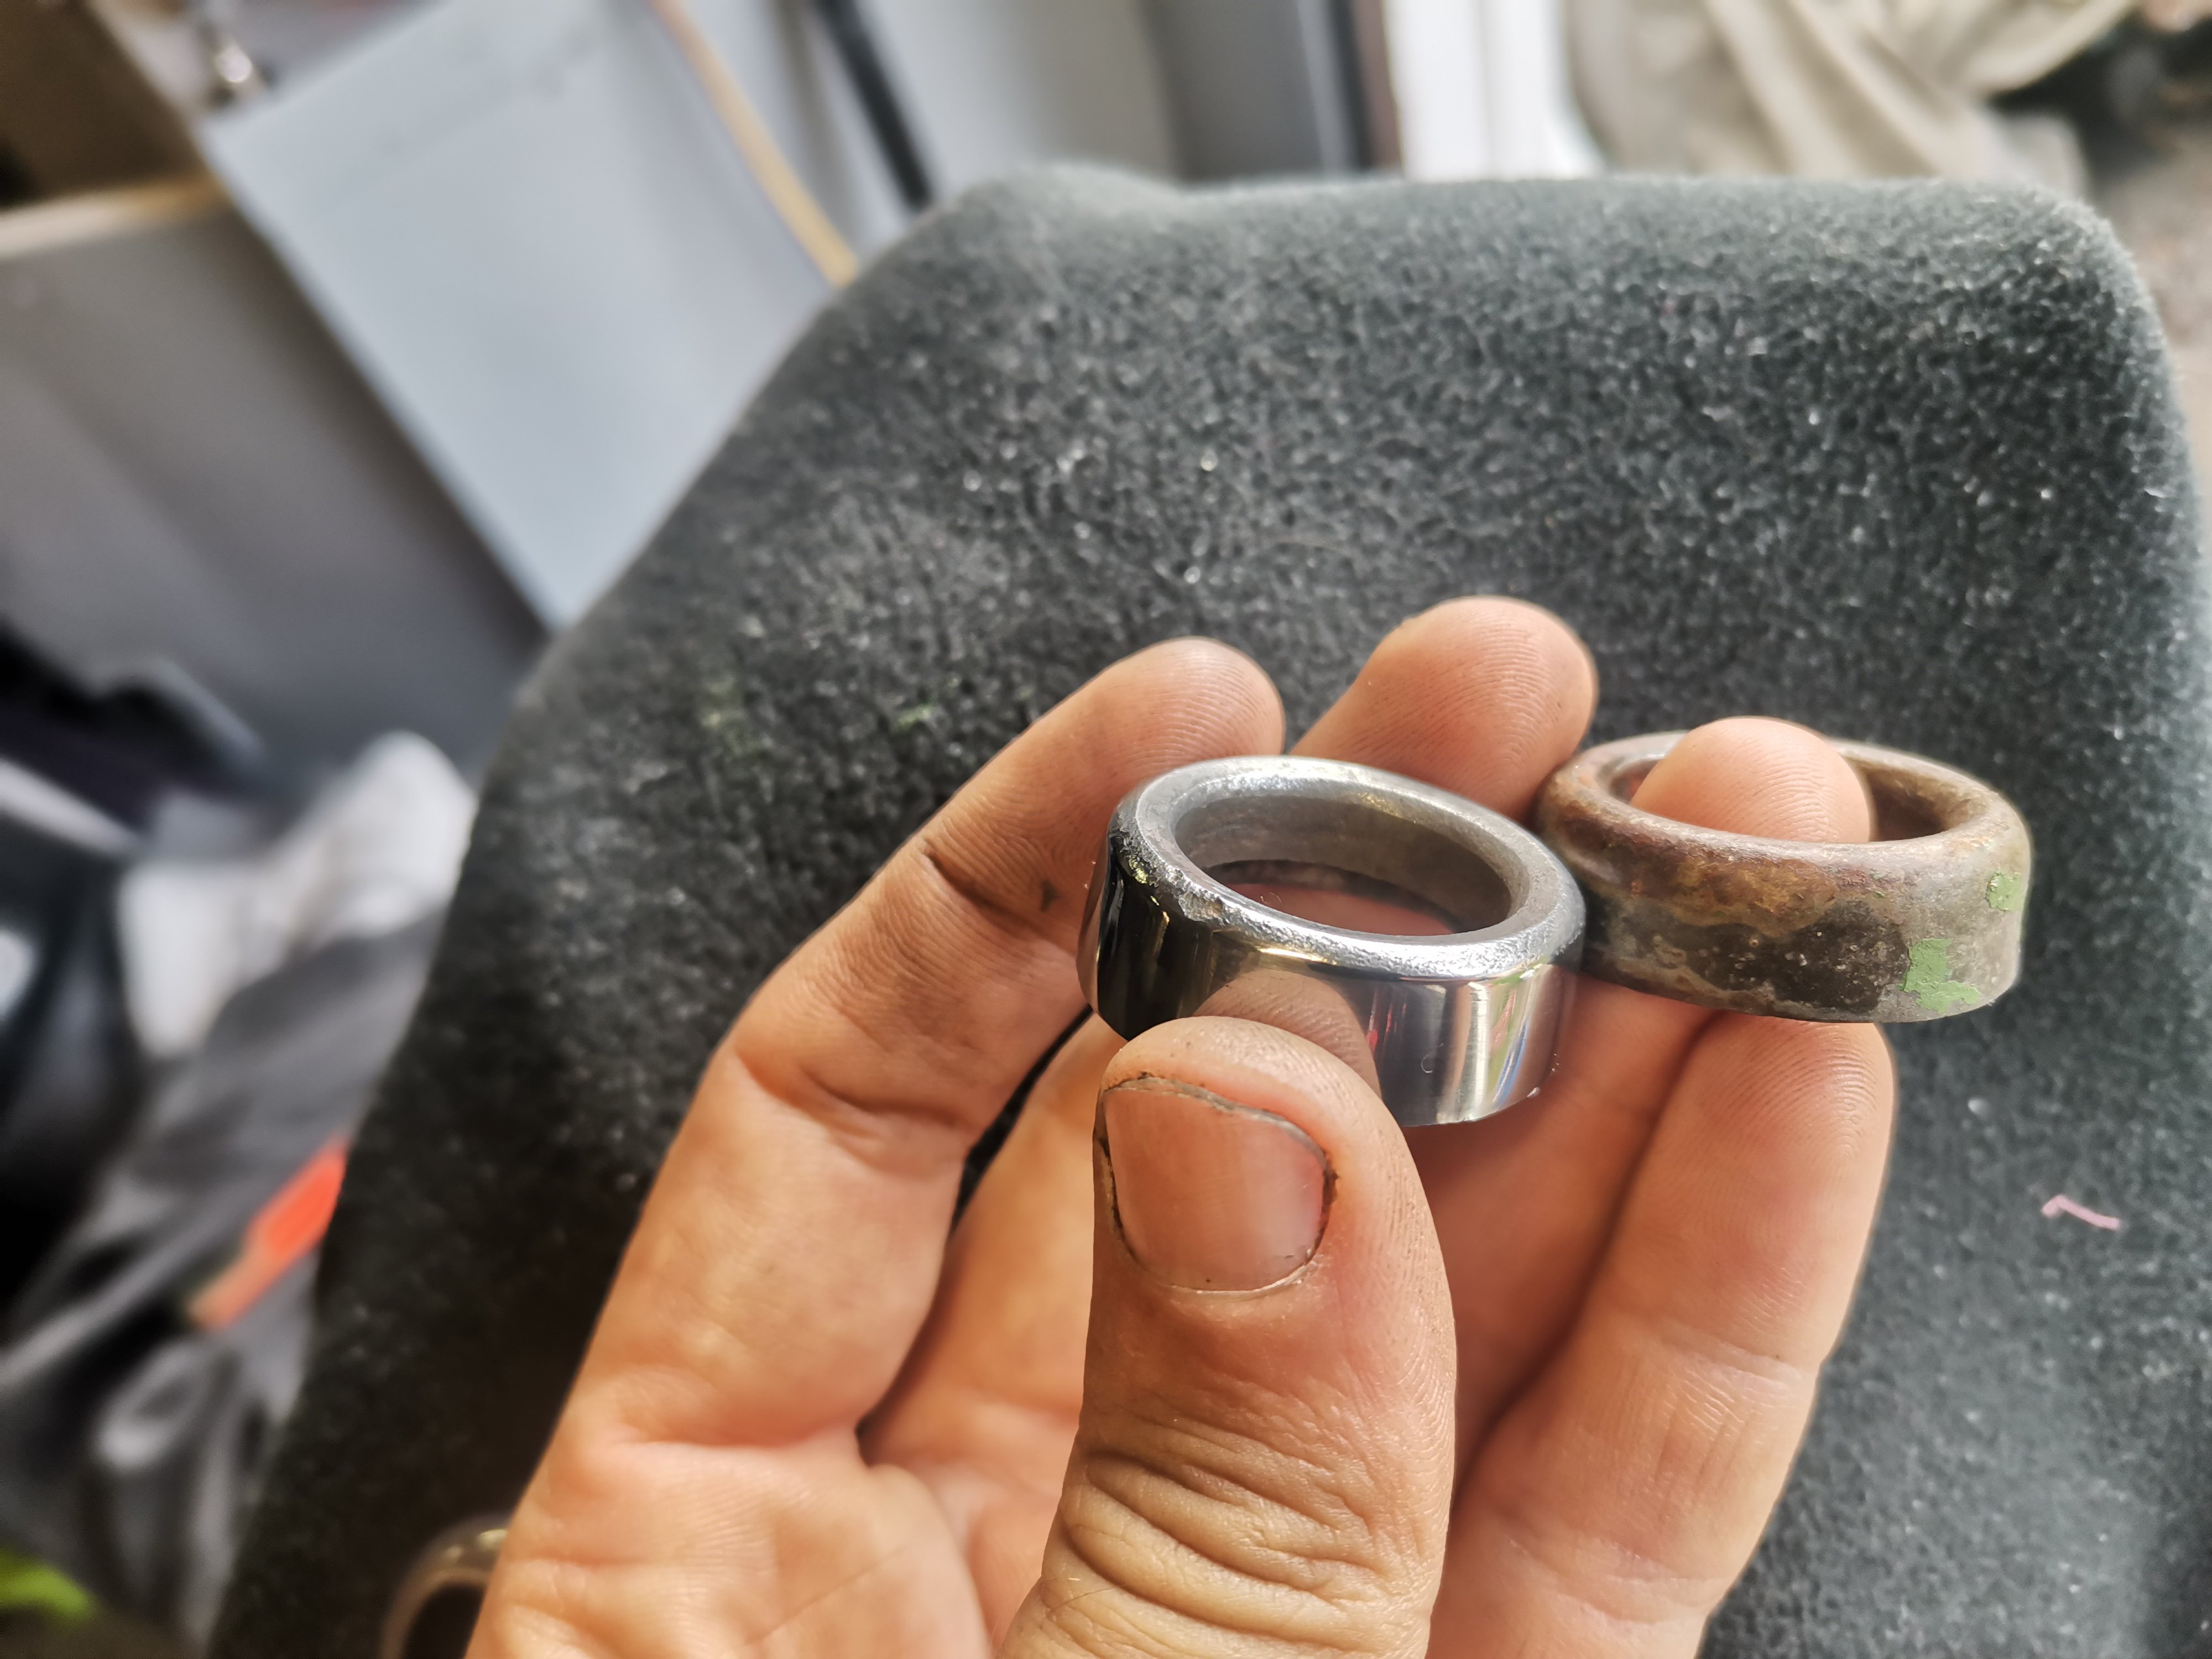
It's just a kids trike, let's not get too crazy Wait, no not like that These are the headset "bearings" if my memory of 30 years ago is correct, there should be an oil soaked felt washer between them. The bottom one was nickel plated, the other two, hard to say, very rough surface so I don't think they were. However they will all now be nickel plated I will also replate the bars, and probably do the wheels
-
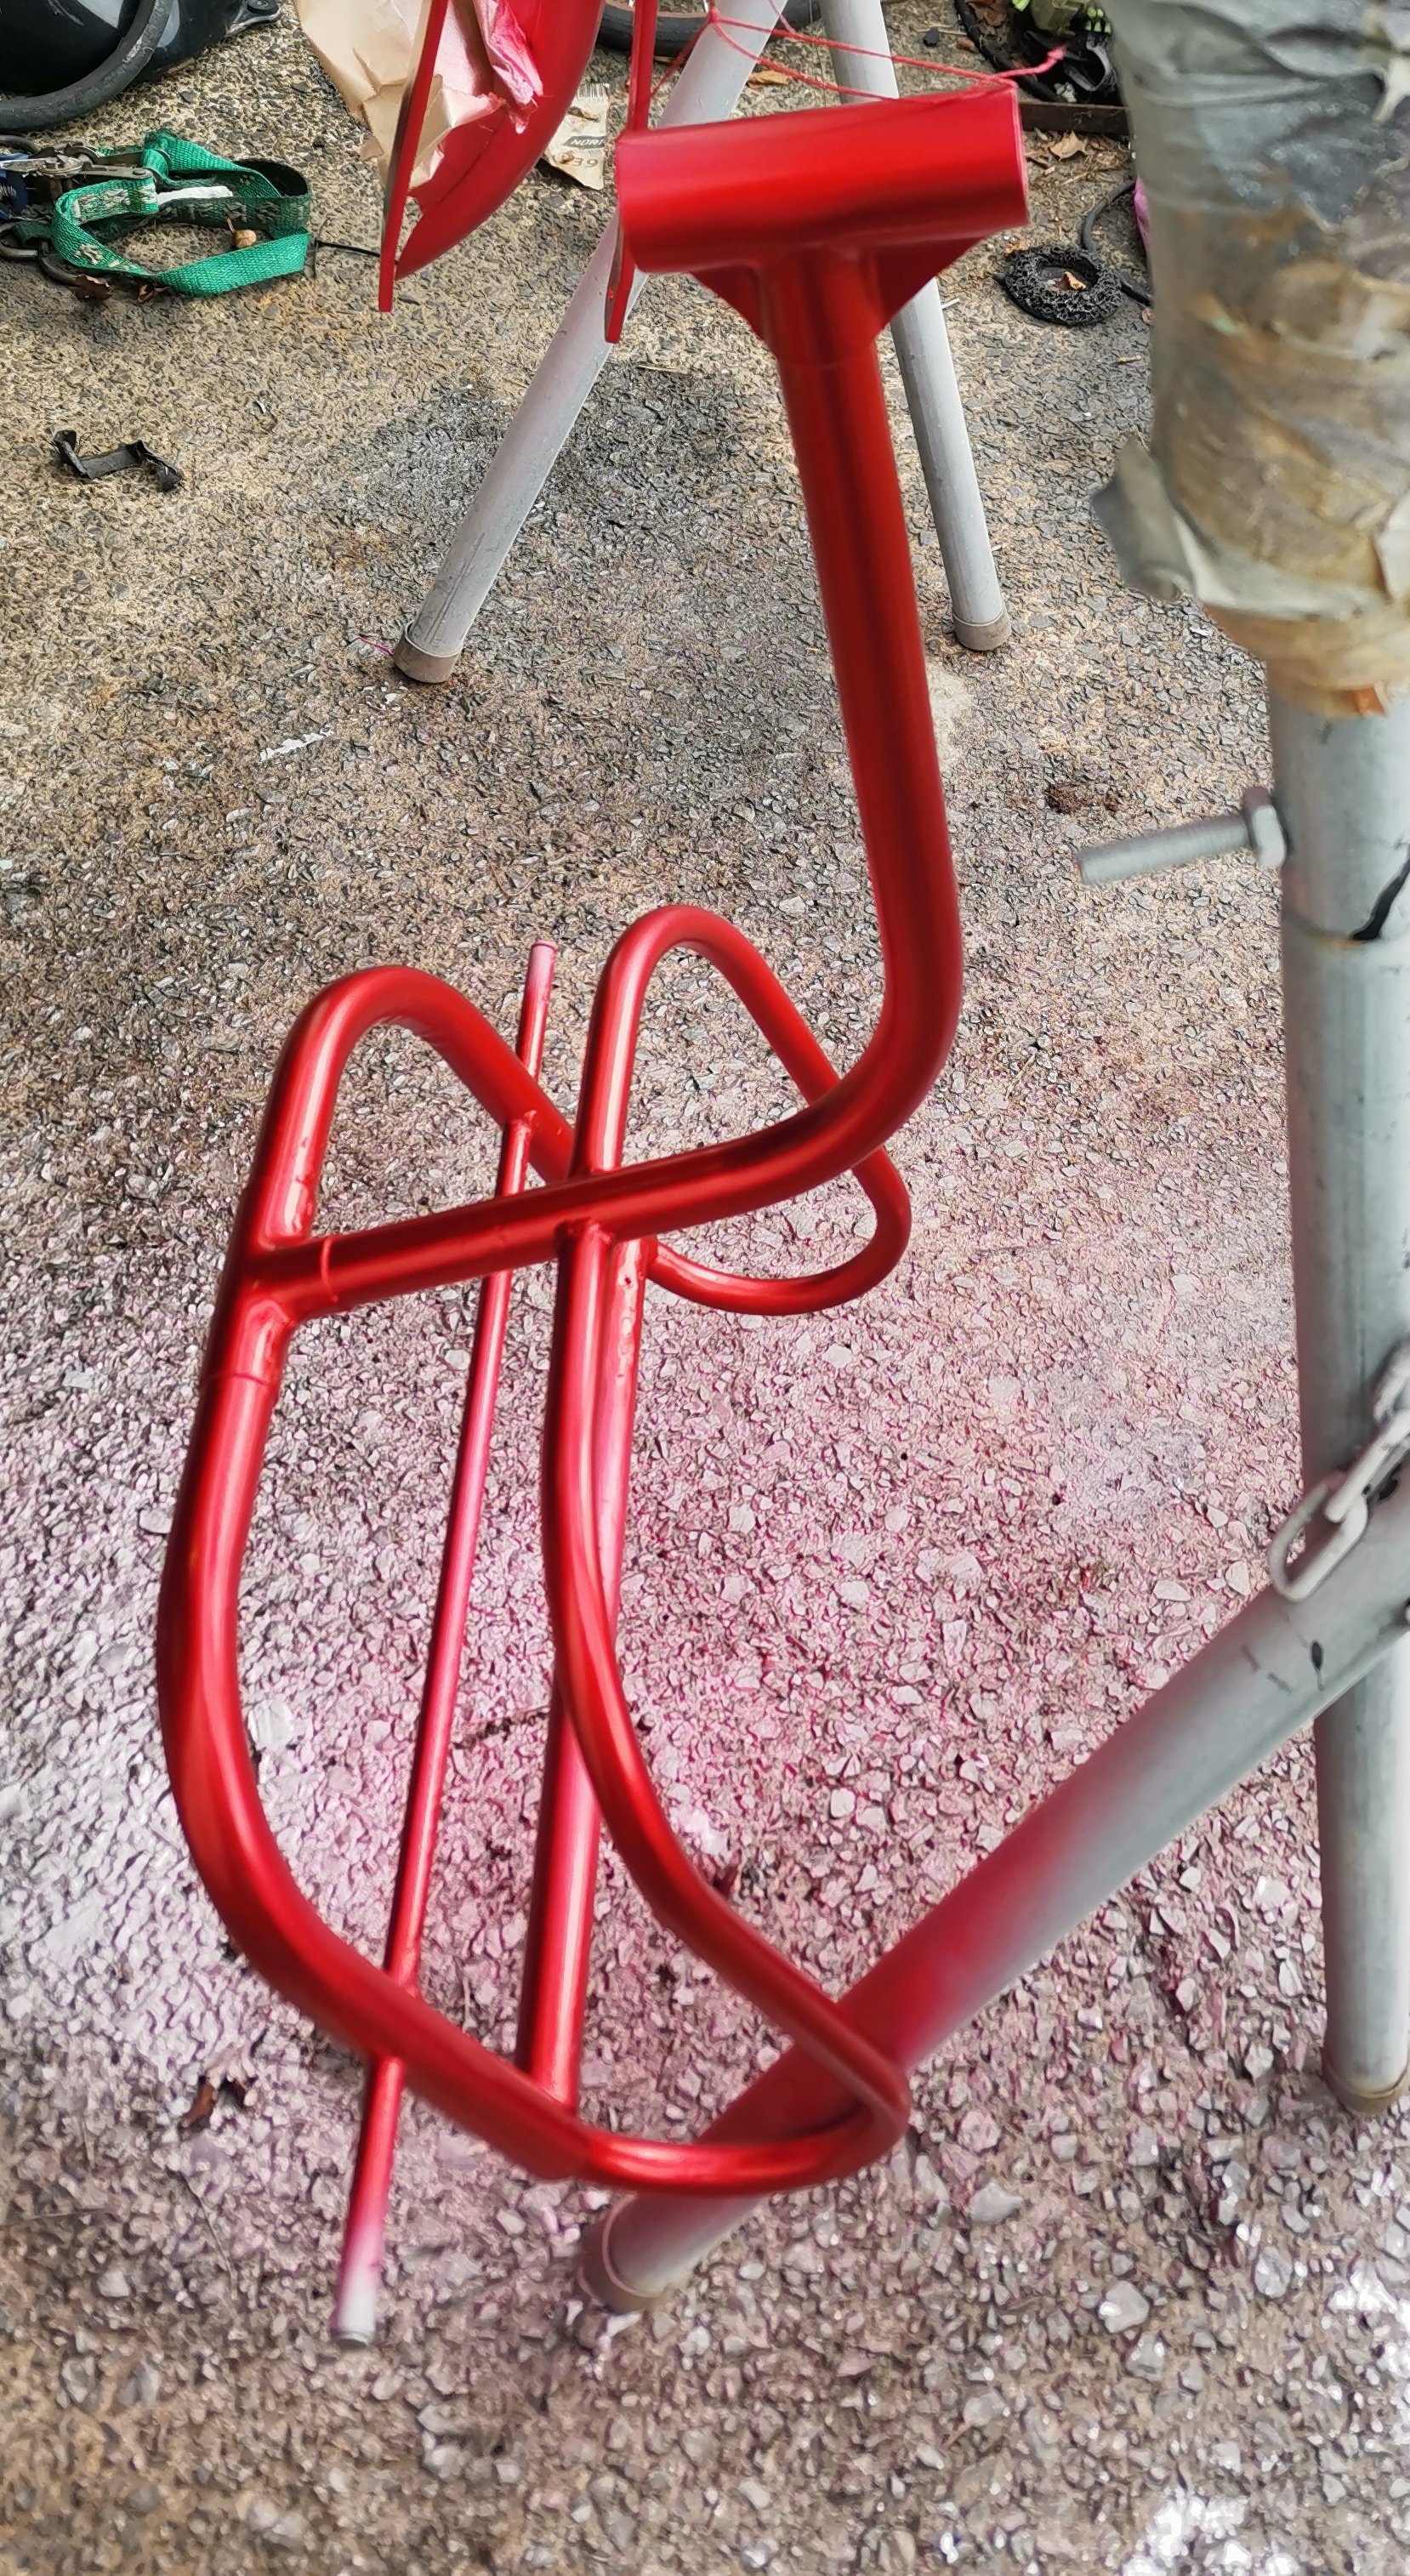
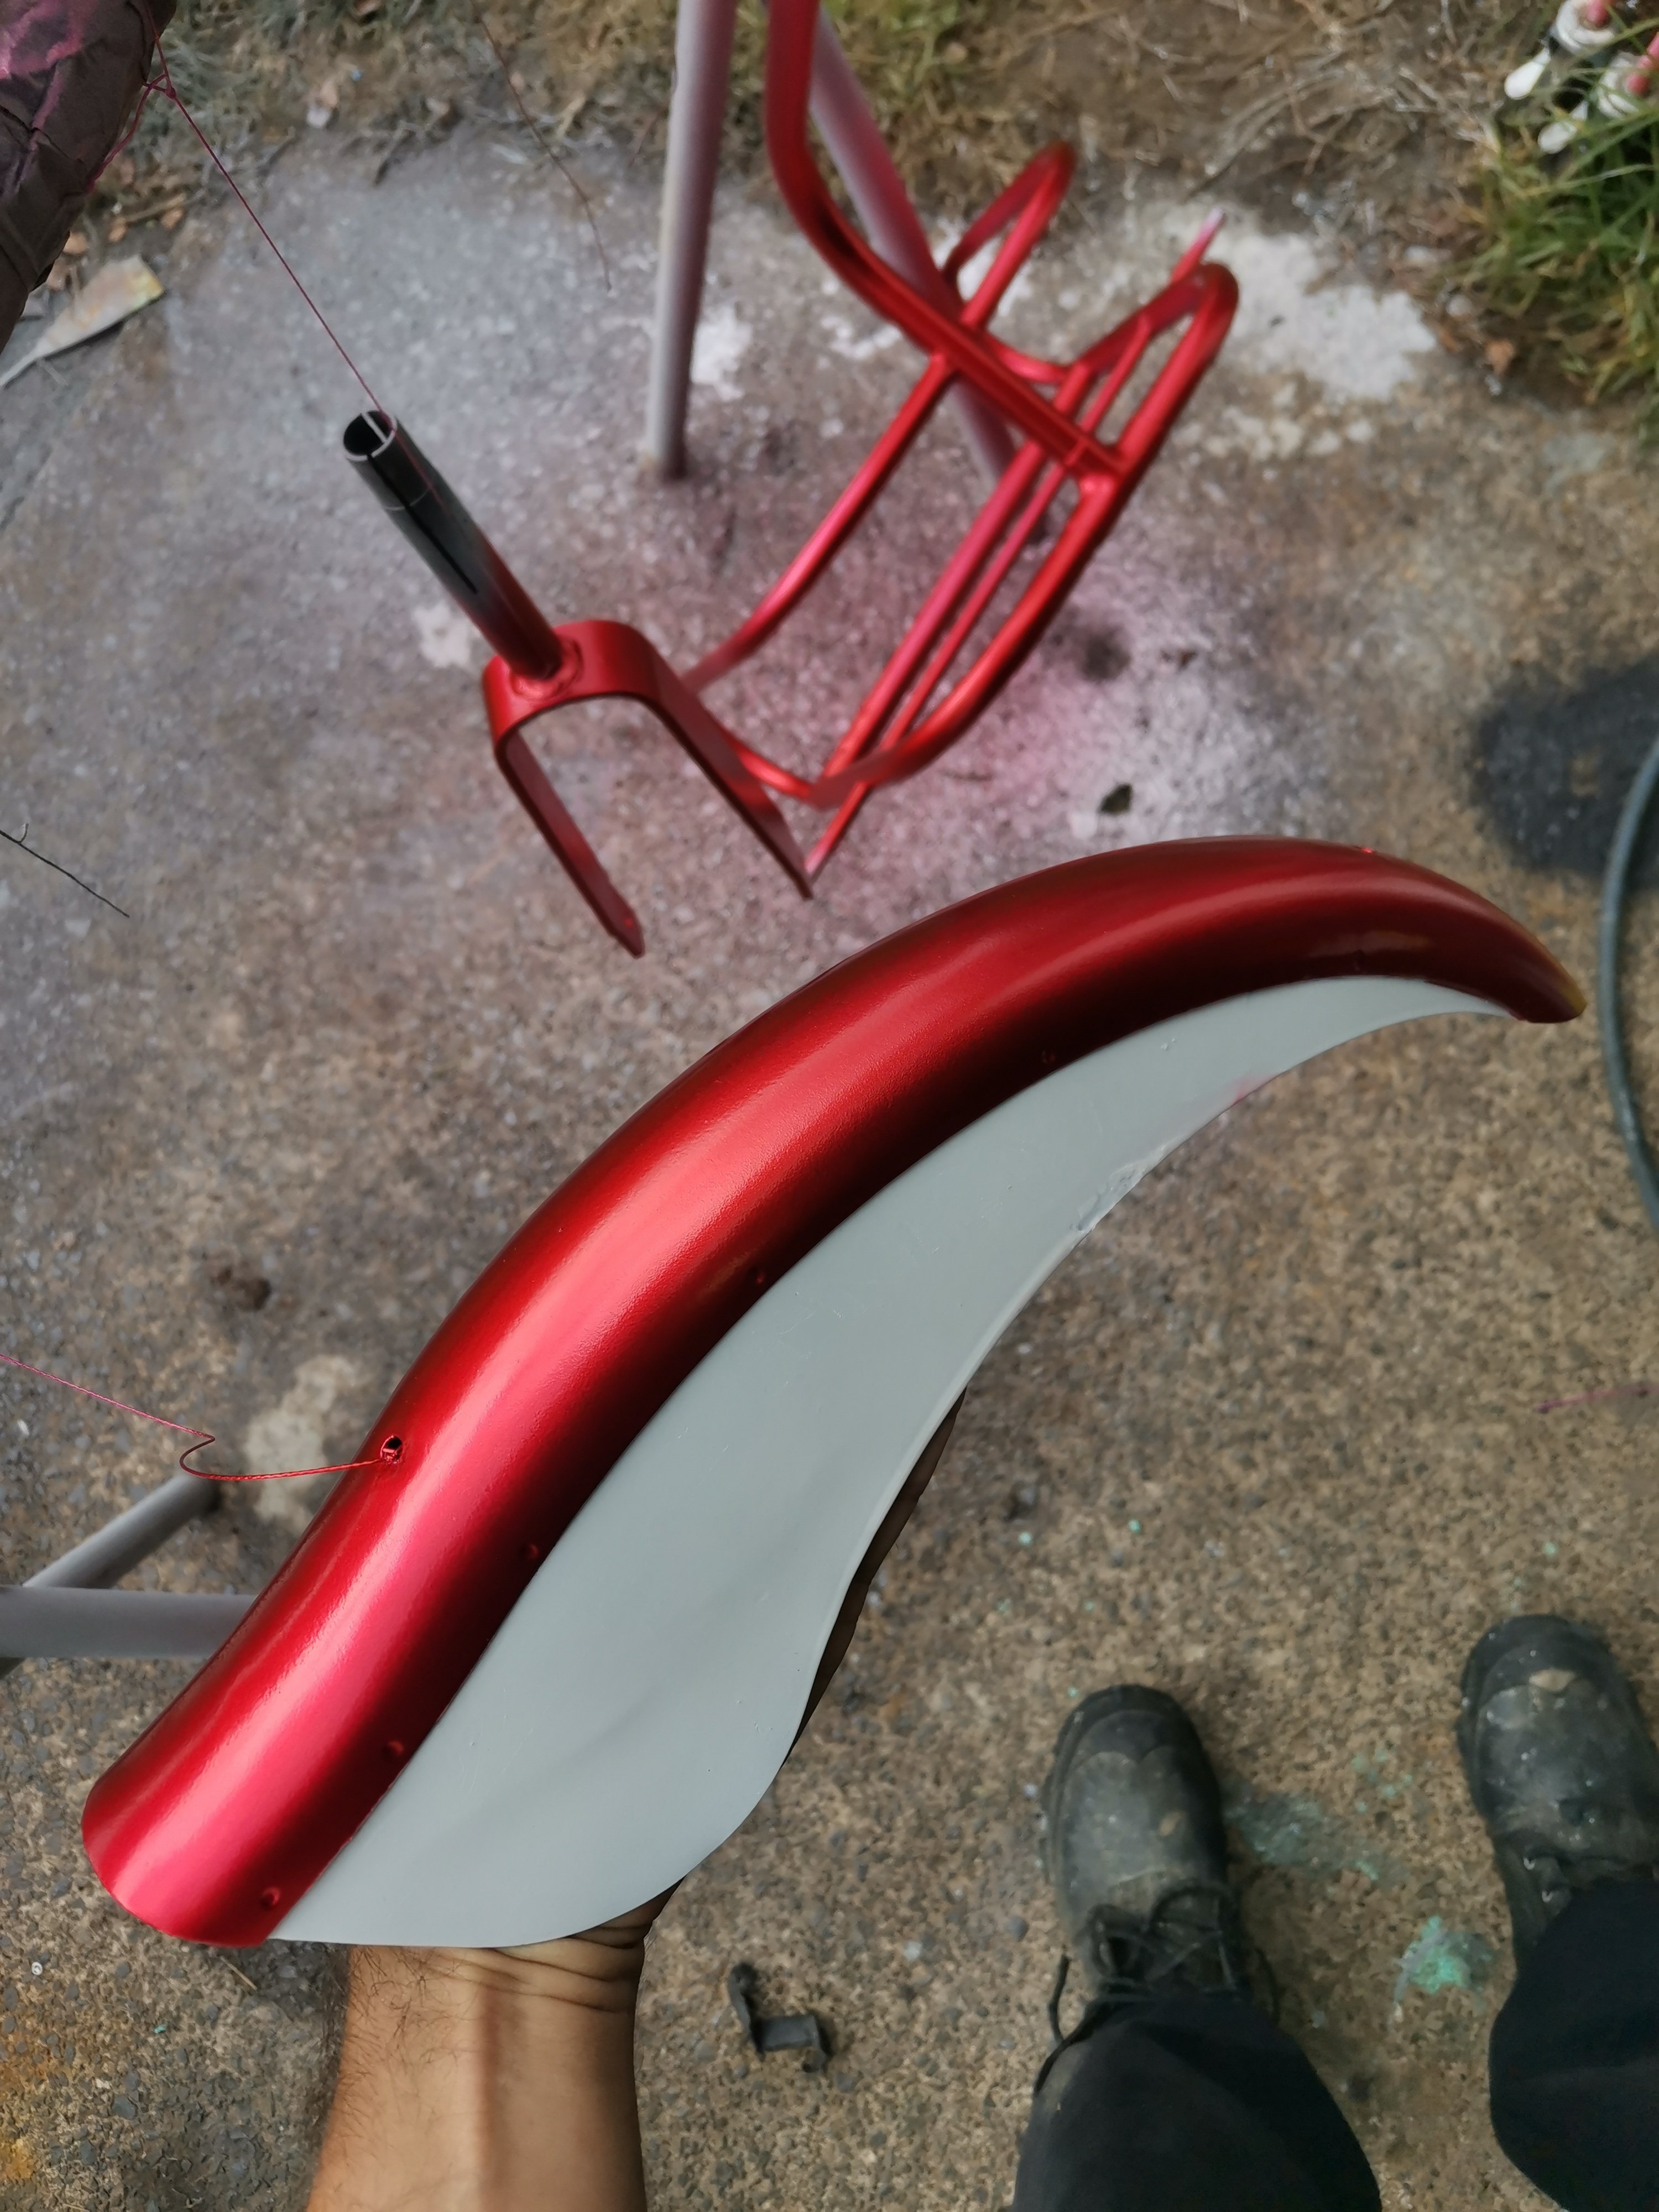
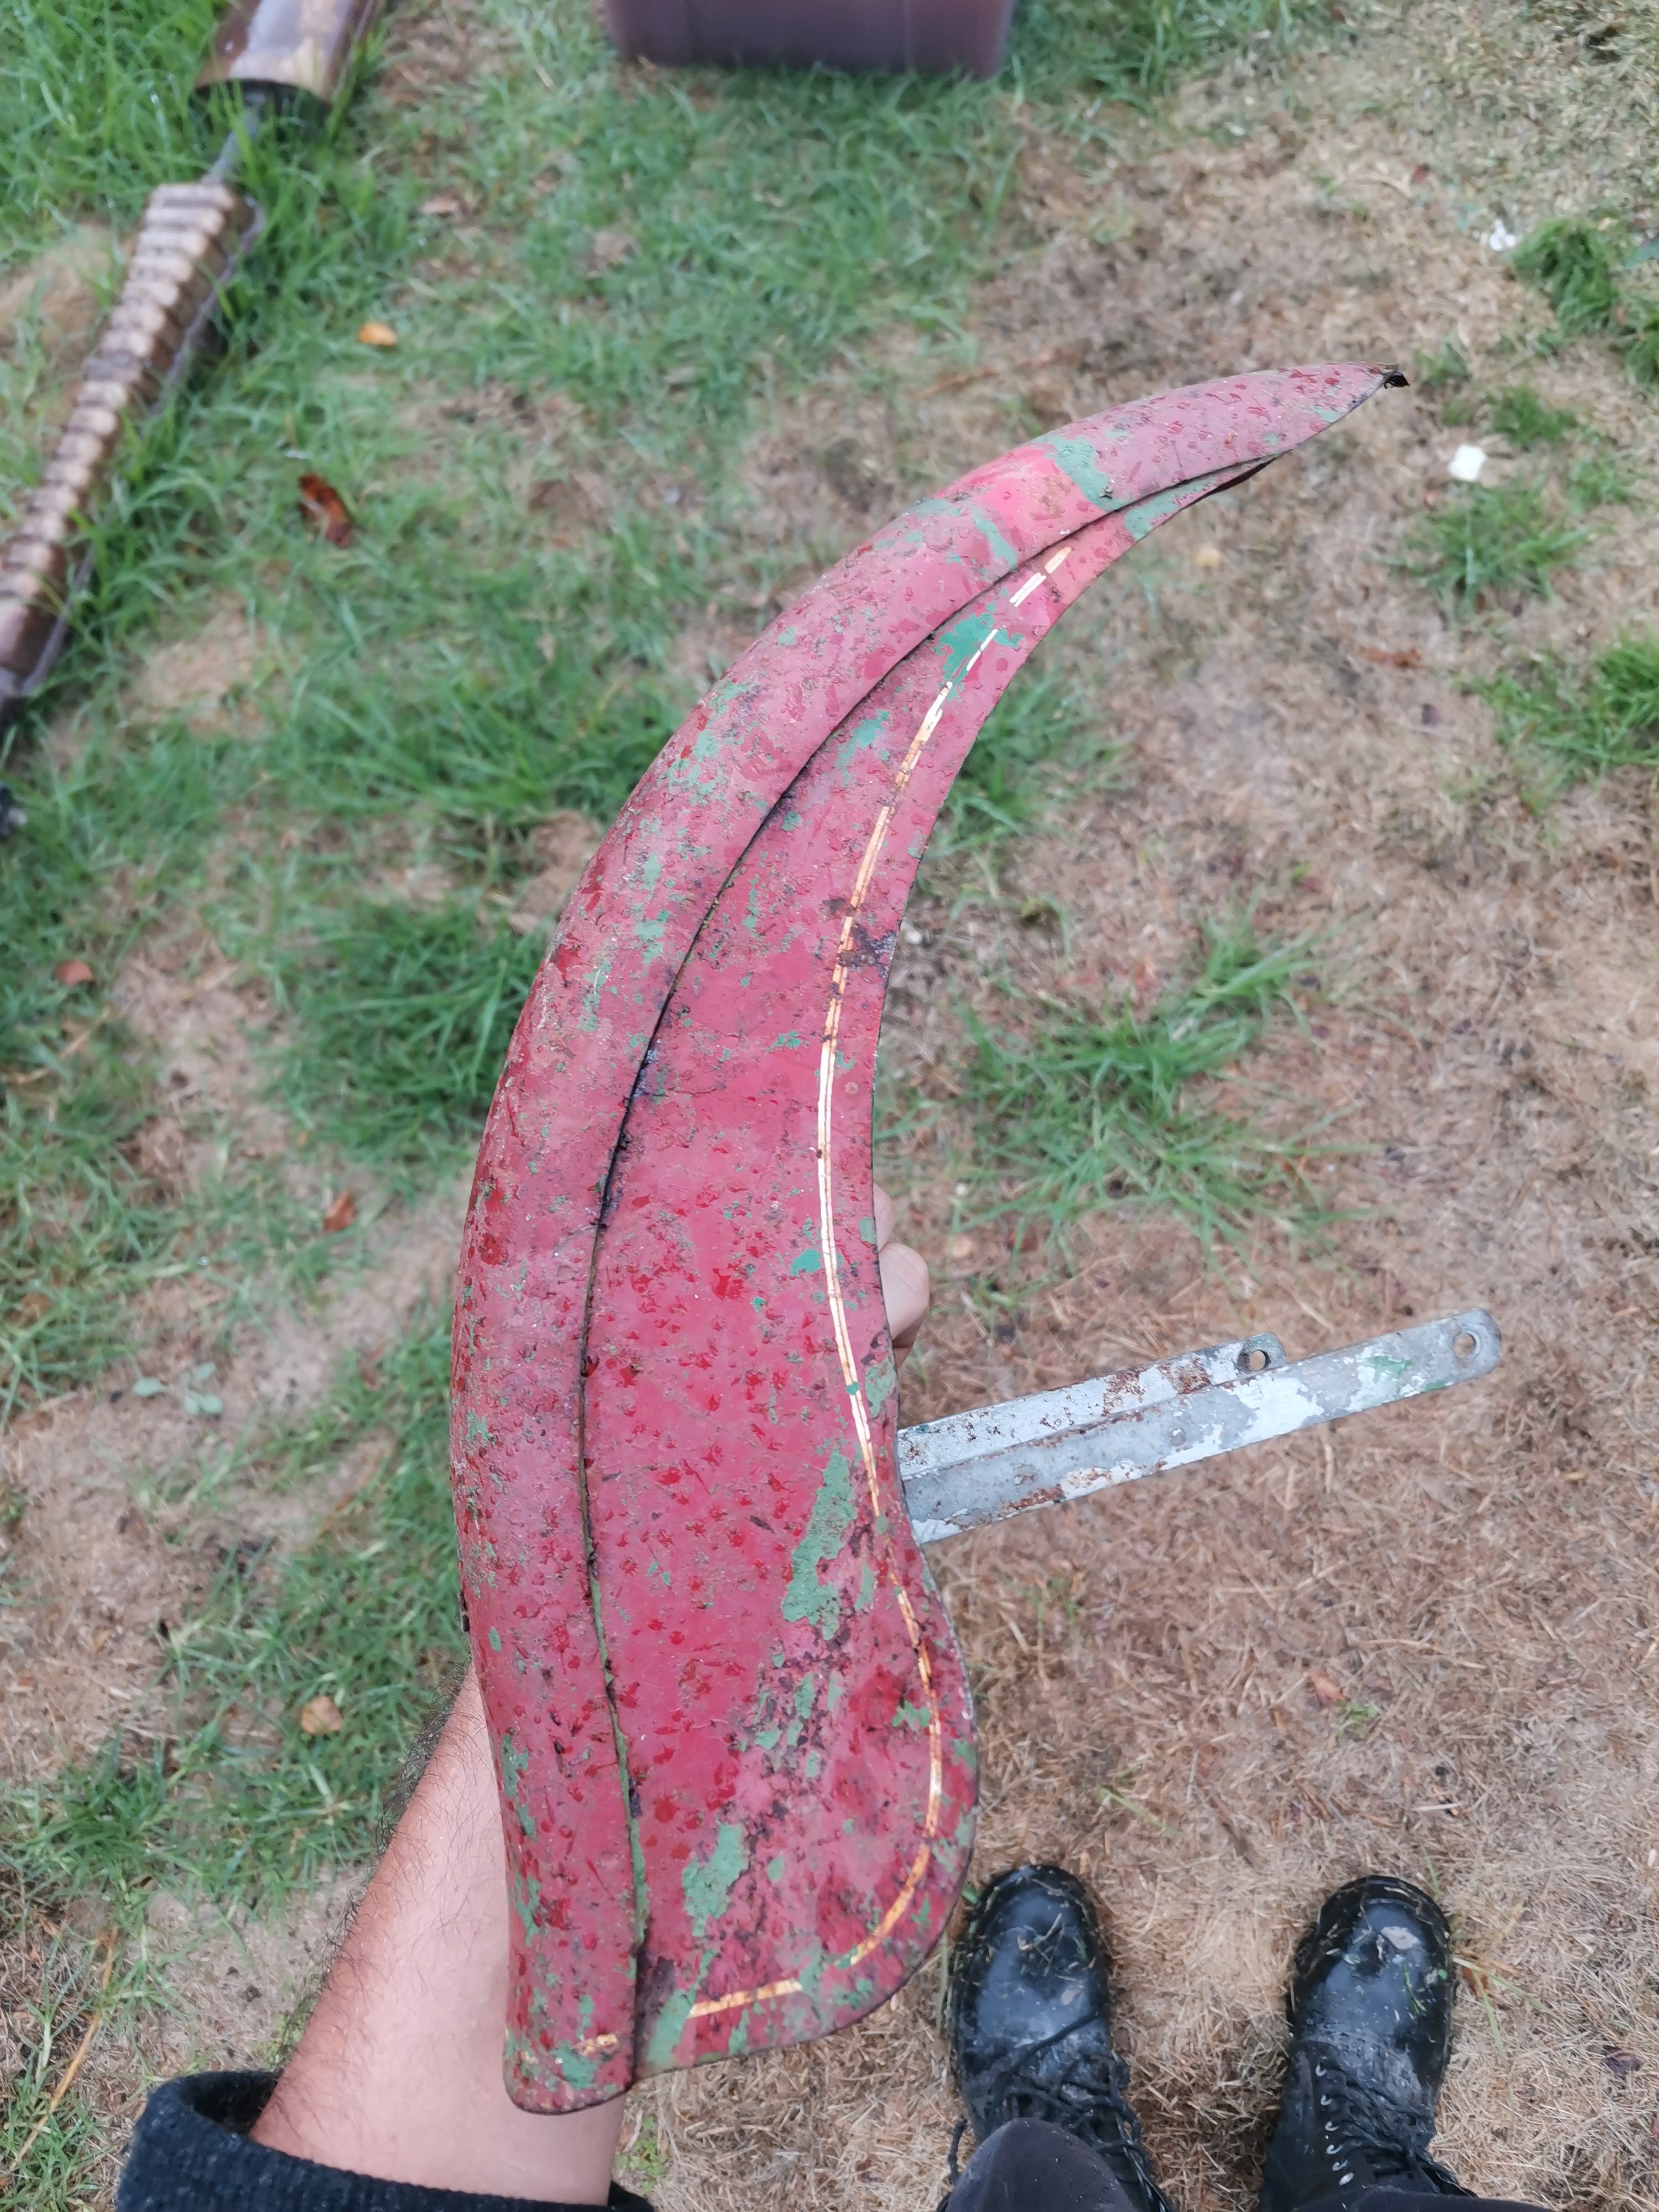
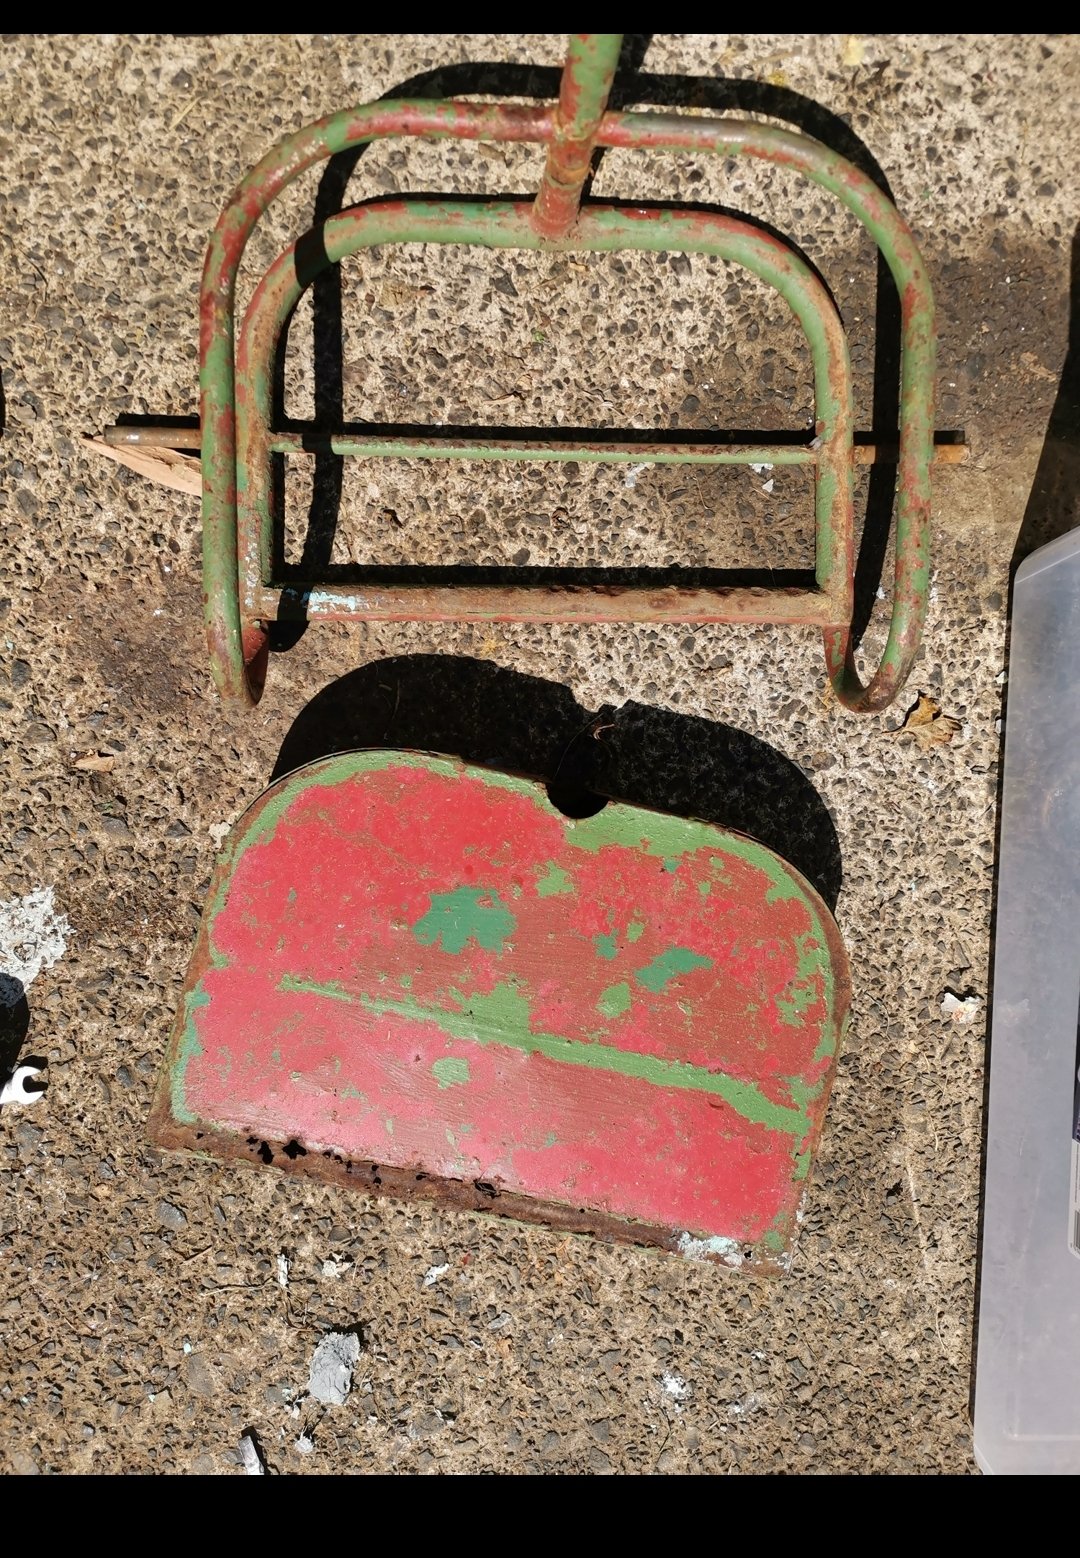
Found the fender
-
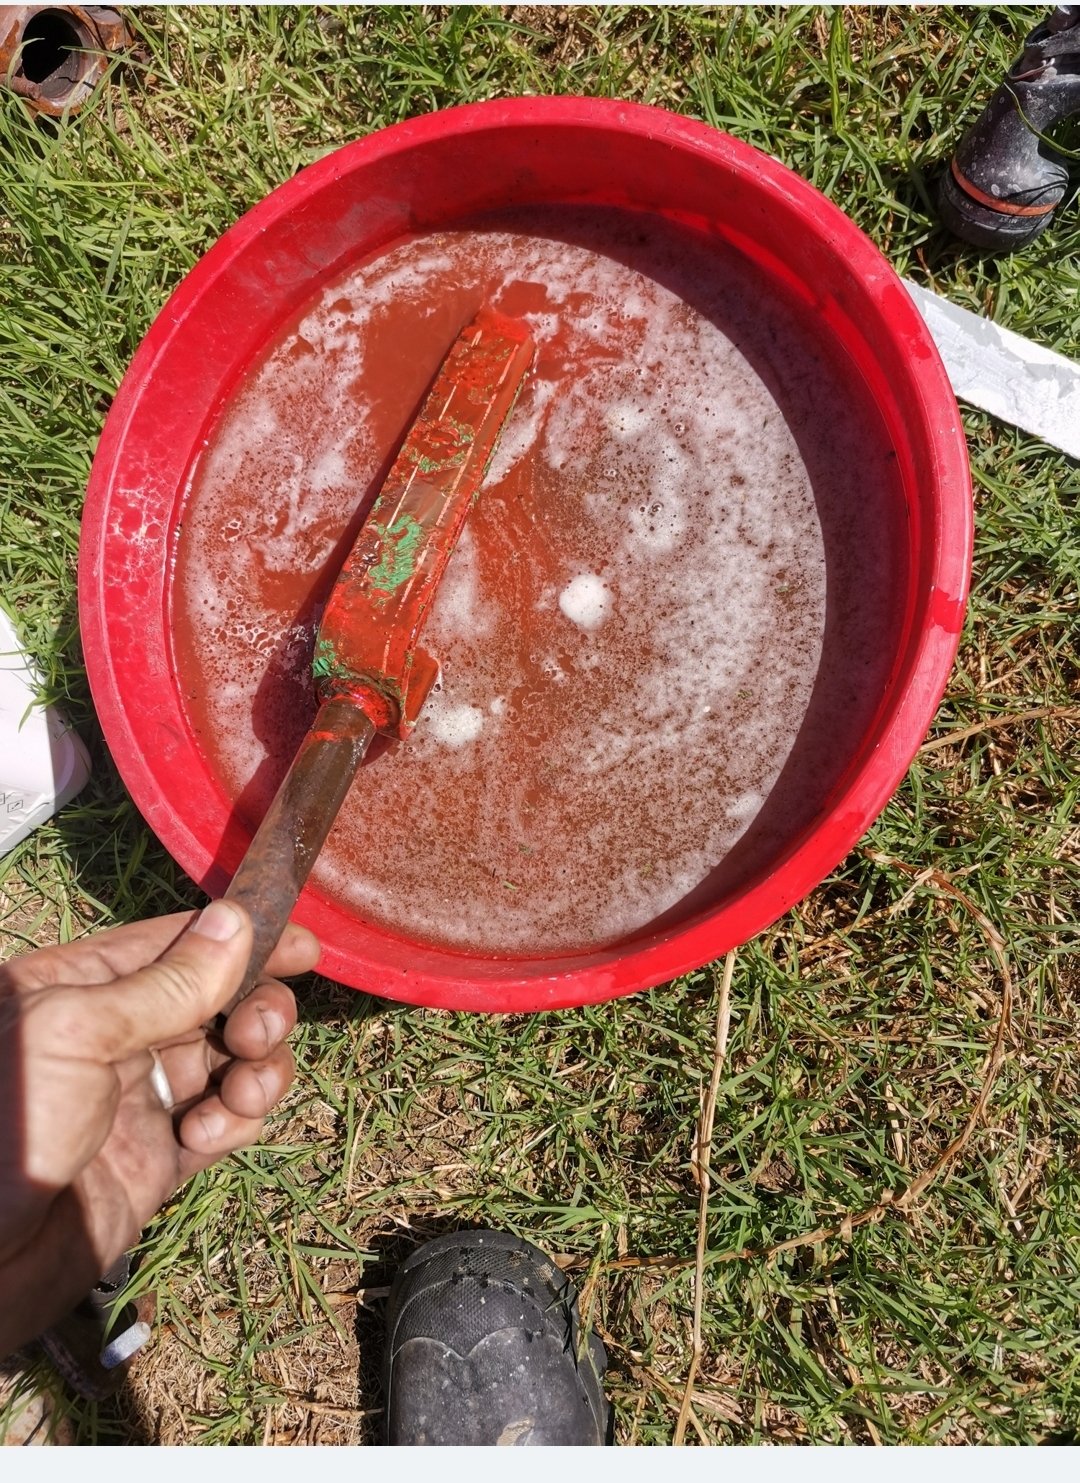
Needs tacking together, but you get the idea, will be much nicer to paint. Yes I made the back bit level so it's not a perfect reproduction. I'm going to put rivnuts in the frame so it bolts on rather that hold it on with 2 tack welds at thr back and 2 at the front of that saddle thing The rear tyres are penny farthing style with the wire that runs through them, front is one piece plastic. One of the rear wheels has been given new spokes. Every spoke is deadly loose. Not sure how much I can dismantle the front wheel assembly, the bearing holders/fork mounts are riveted together. Might see what I can do without drilling those out. Oh I have just noticed I don't have the front fender. I do, but it's "somewhere"
- 35 replies
-
- 14
-
-
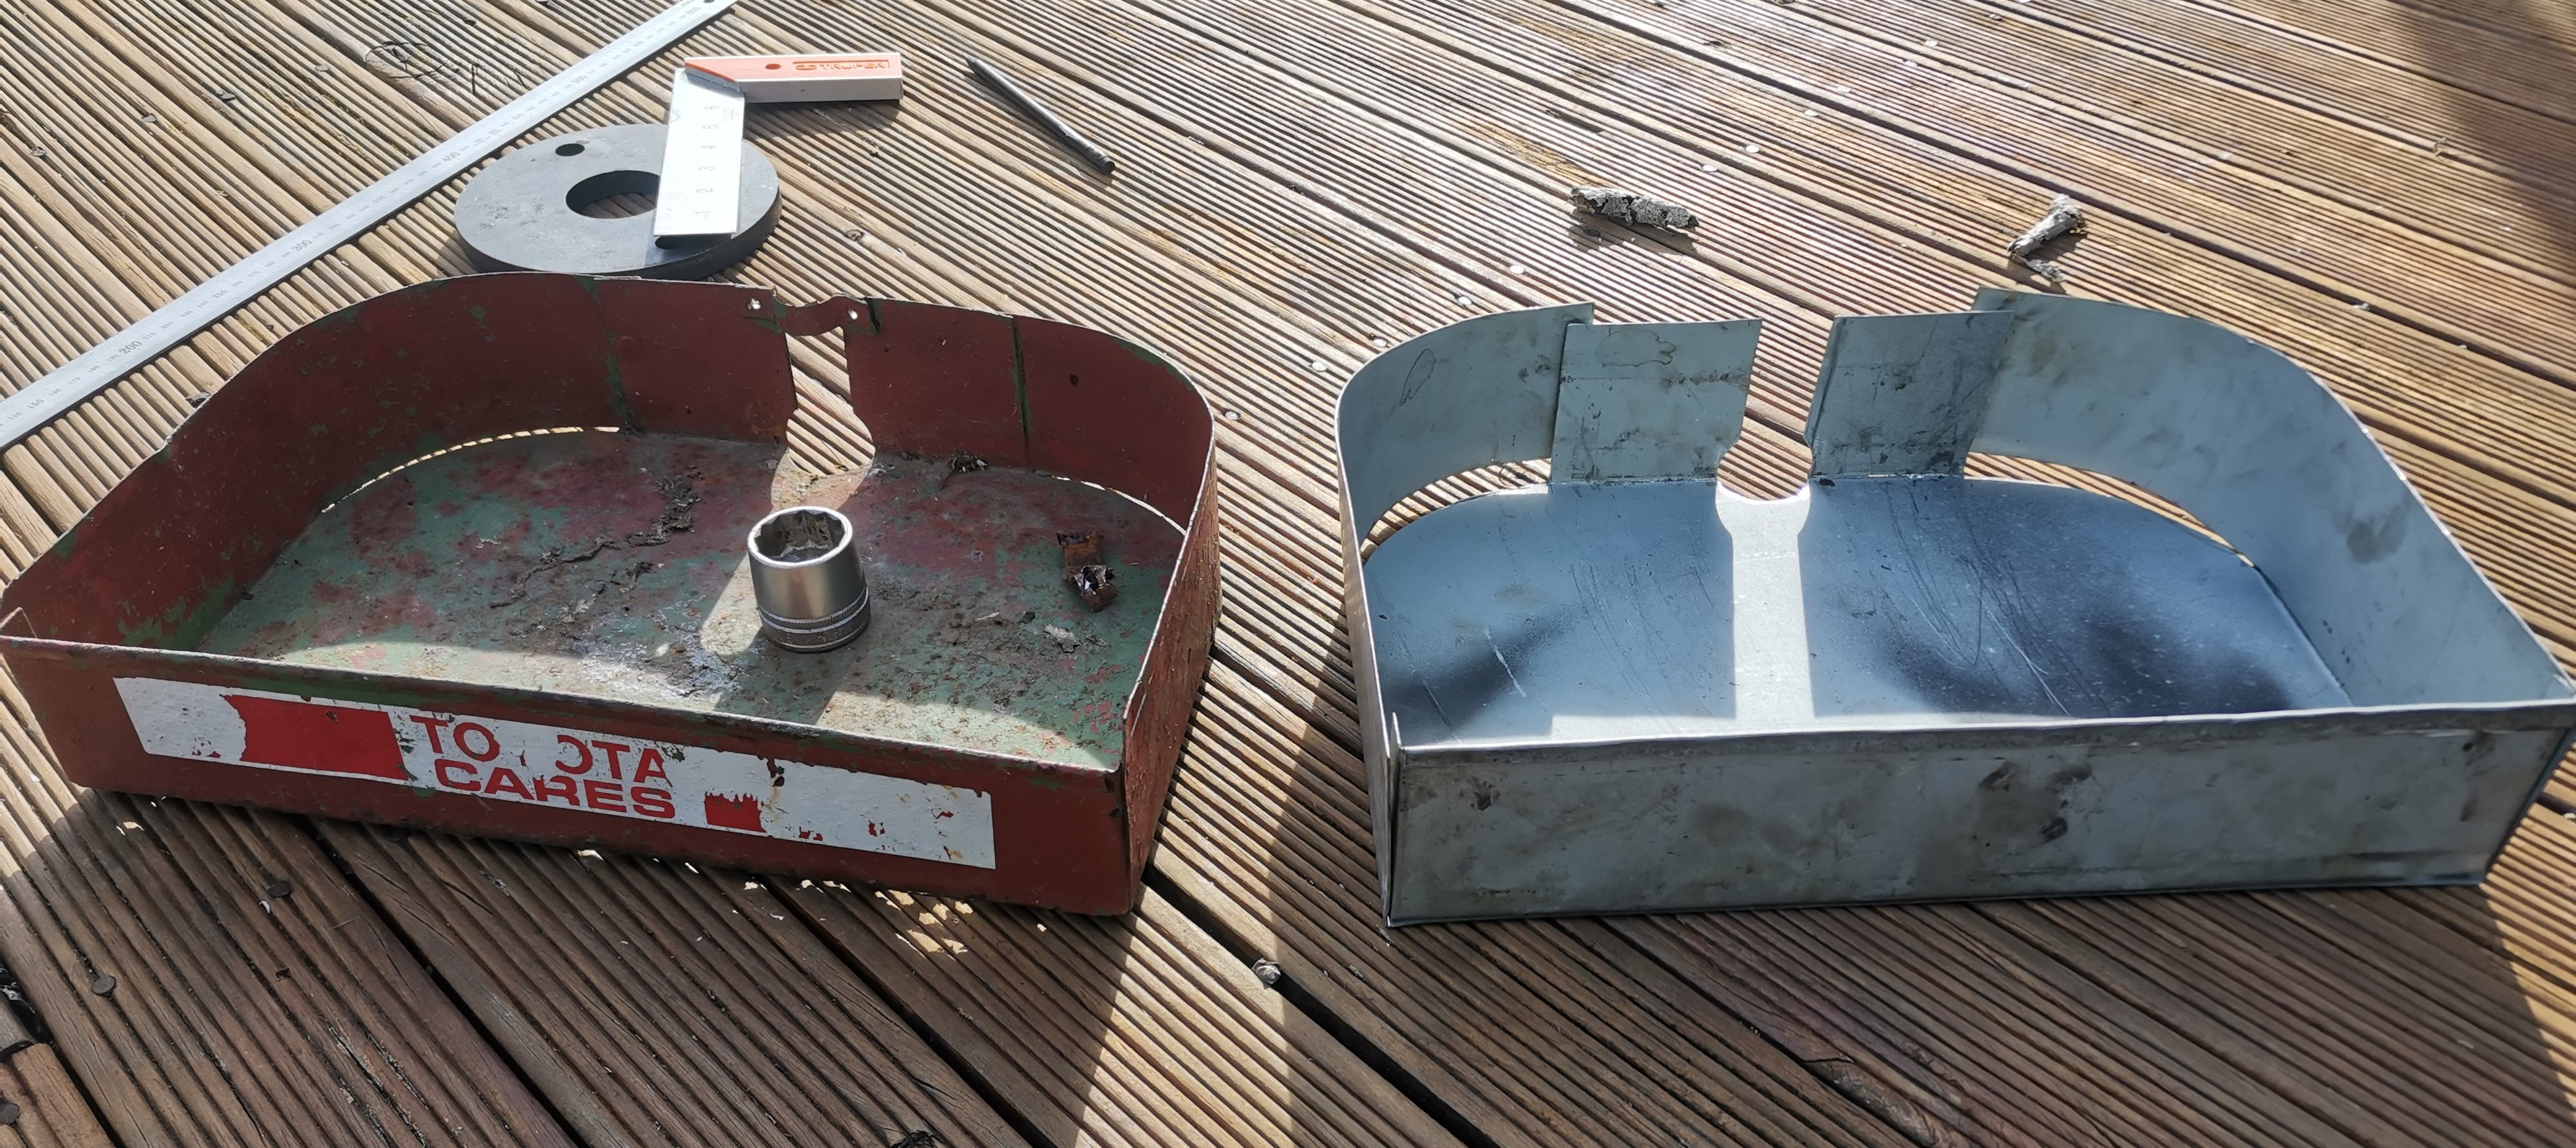
So I made a new one
-
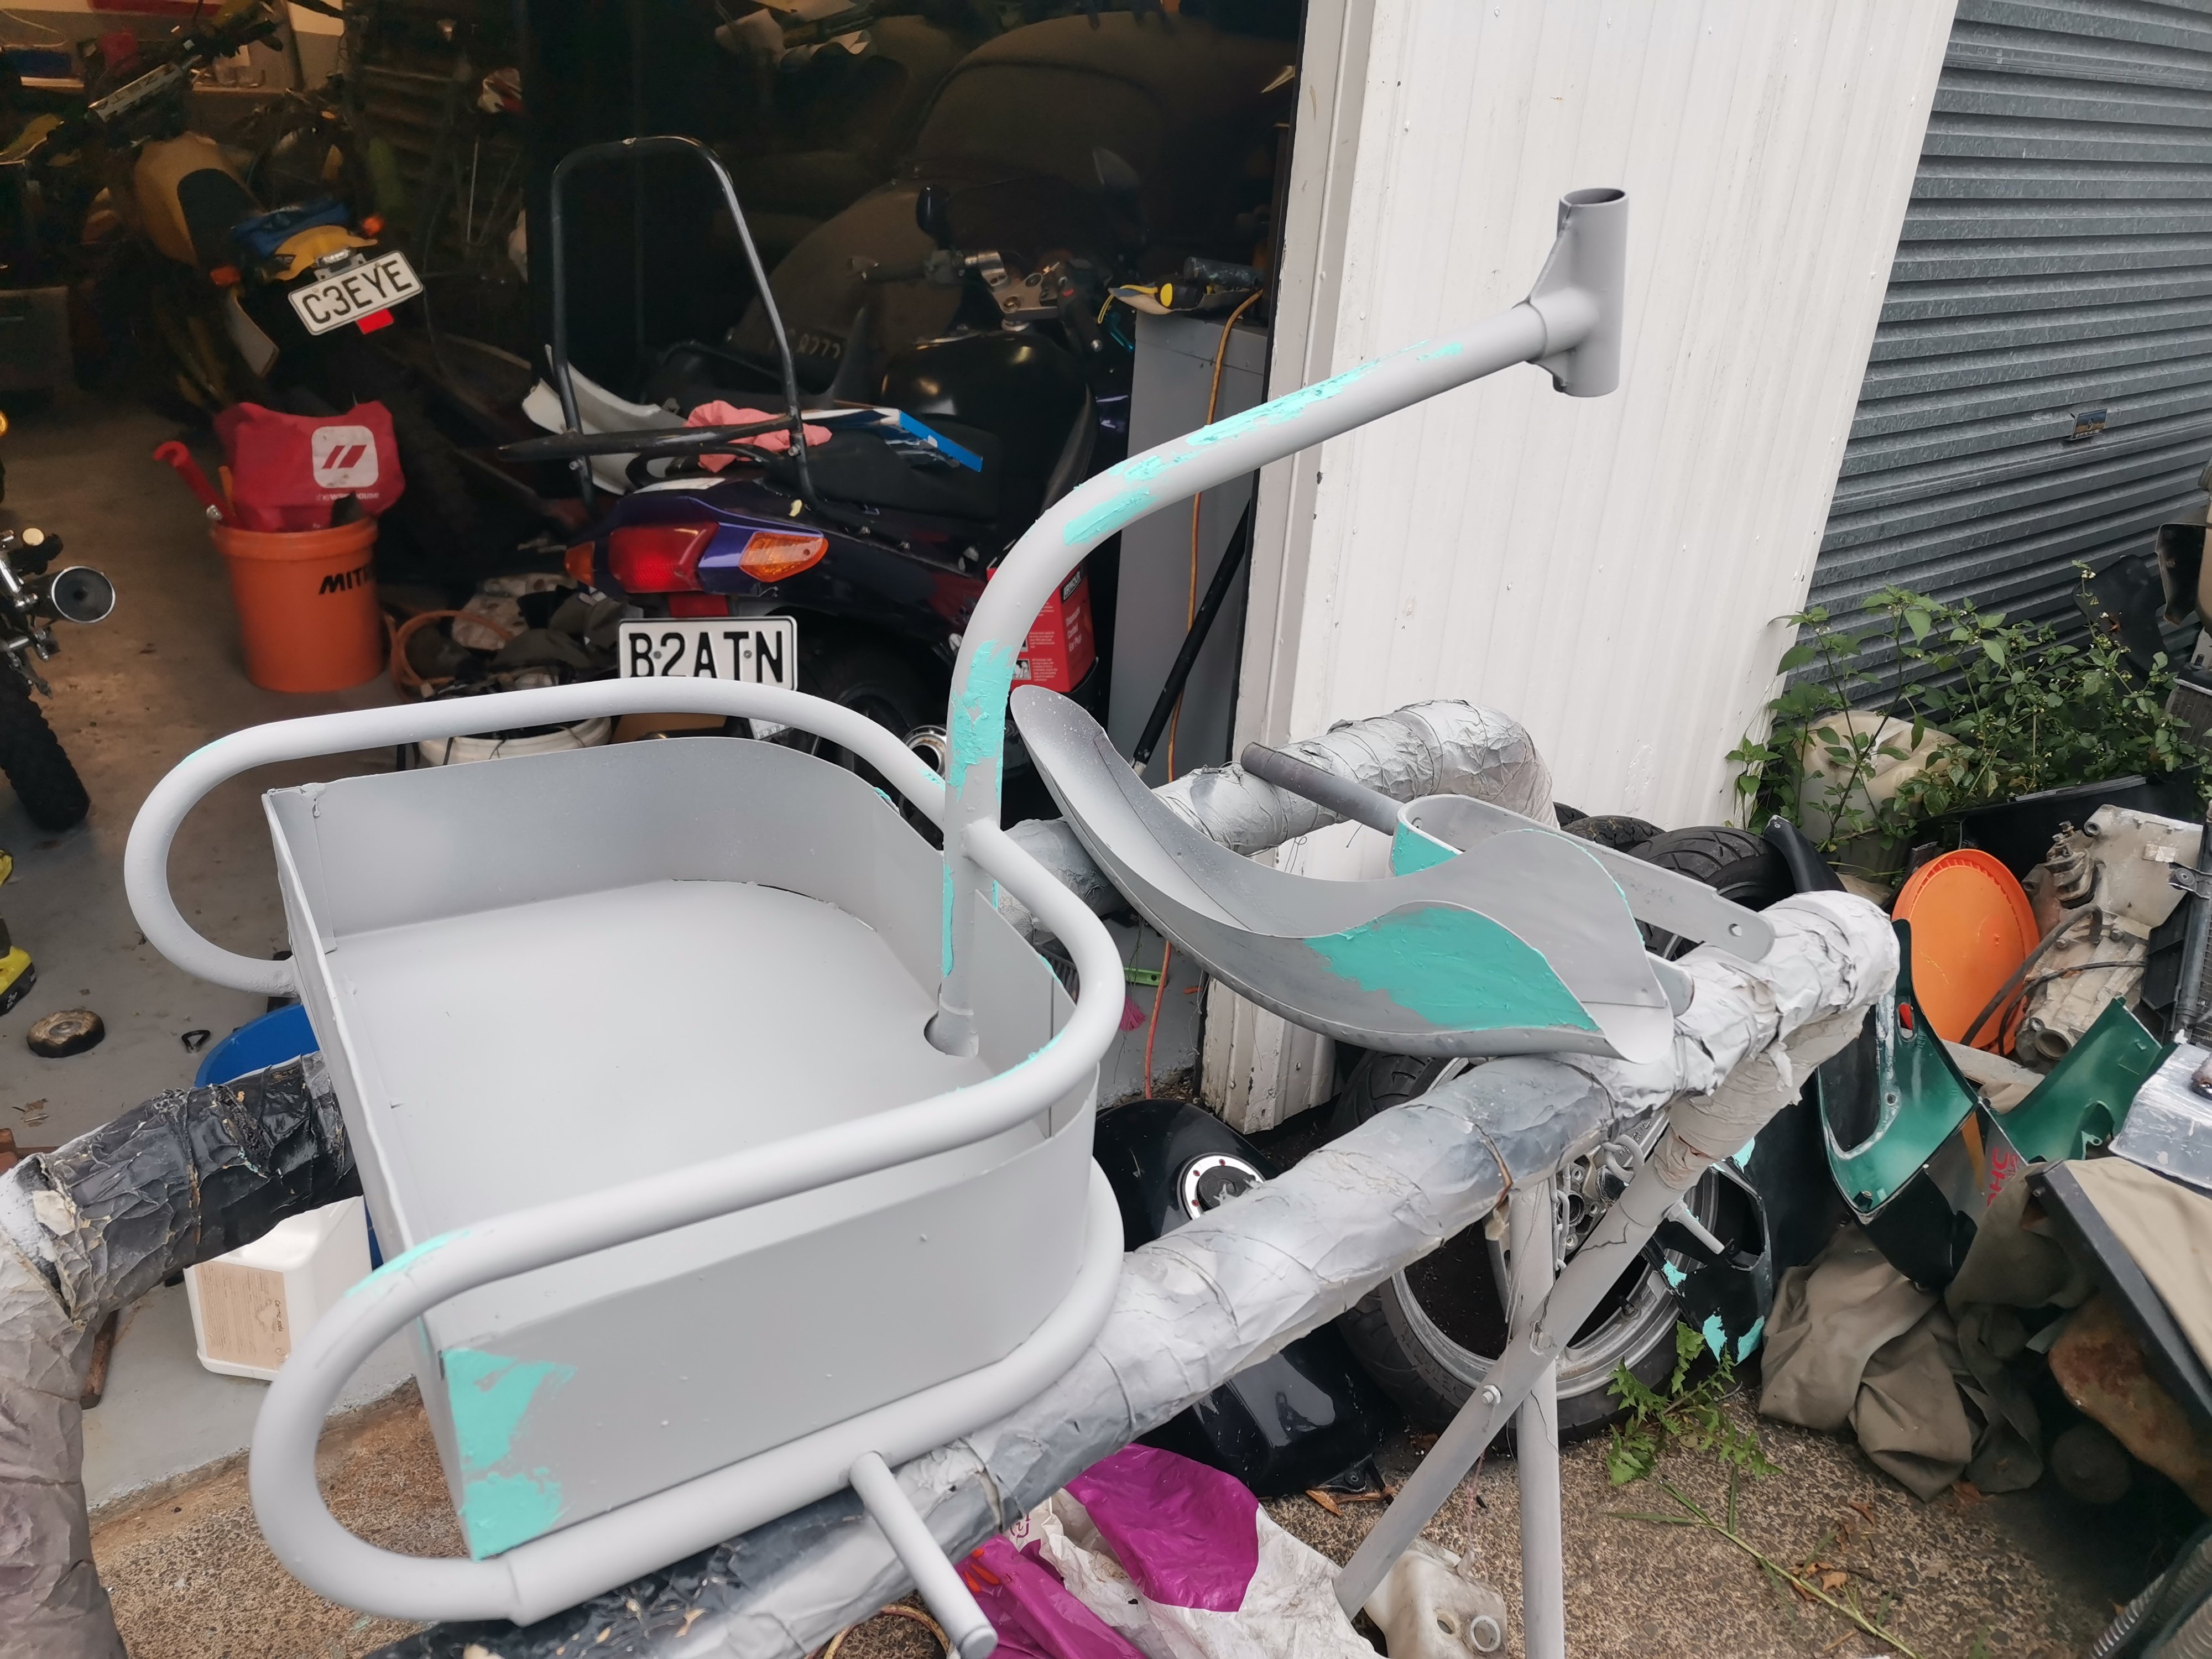
I actually have the frame sitting in a big one as well, there's 2 spots that are brazed which won't like it, but il just tickle them with the mig welder later The tray is savable, but for the time and effort to strip all thr paint, cut and weld patches I decided not to bother. The frame has a hole in one section, so that but will get repaires