Kimjon
-
Posts
2,354 -
Joined
-
Last visited
-
Days Won
2
Content Type
Forums
Downloads
Events
Gallery
Everything posted by Kimjon
-
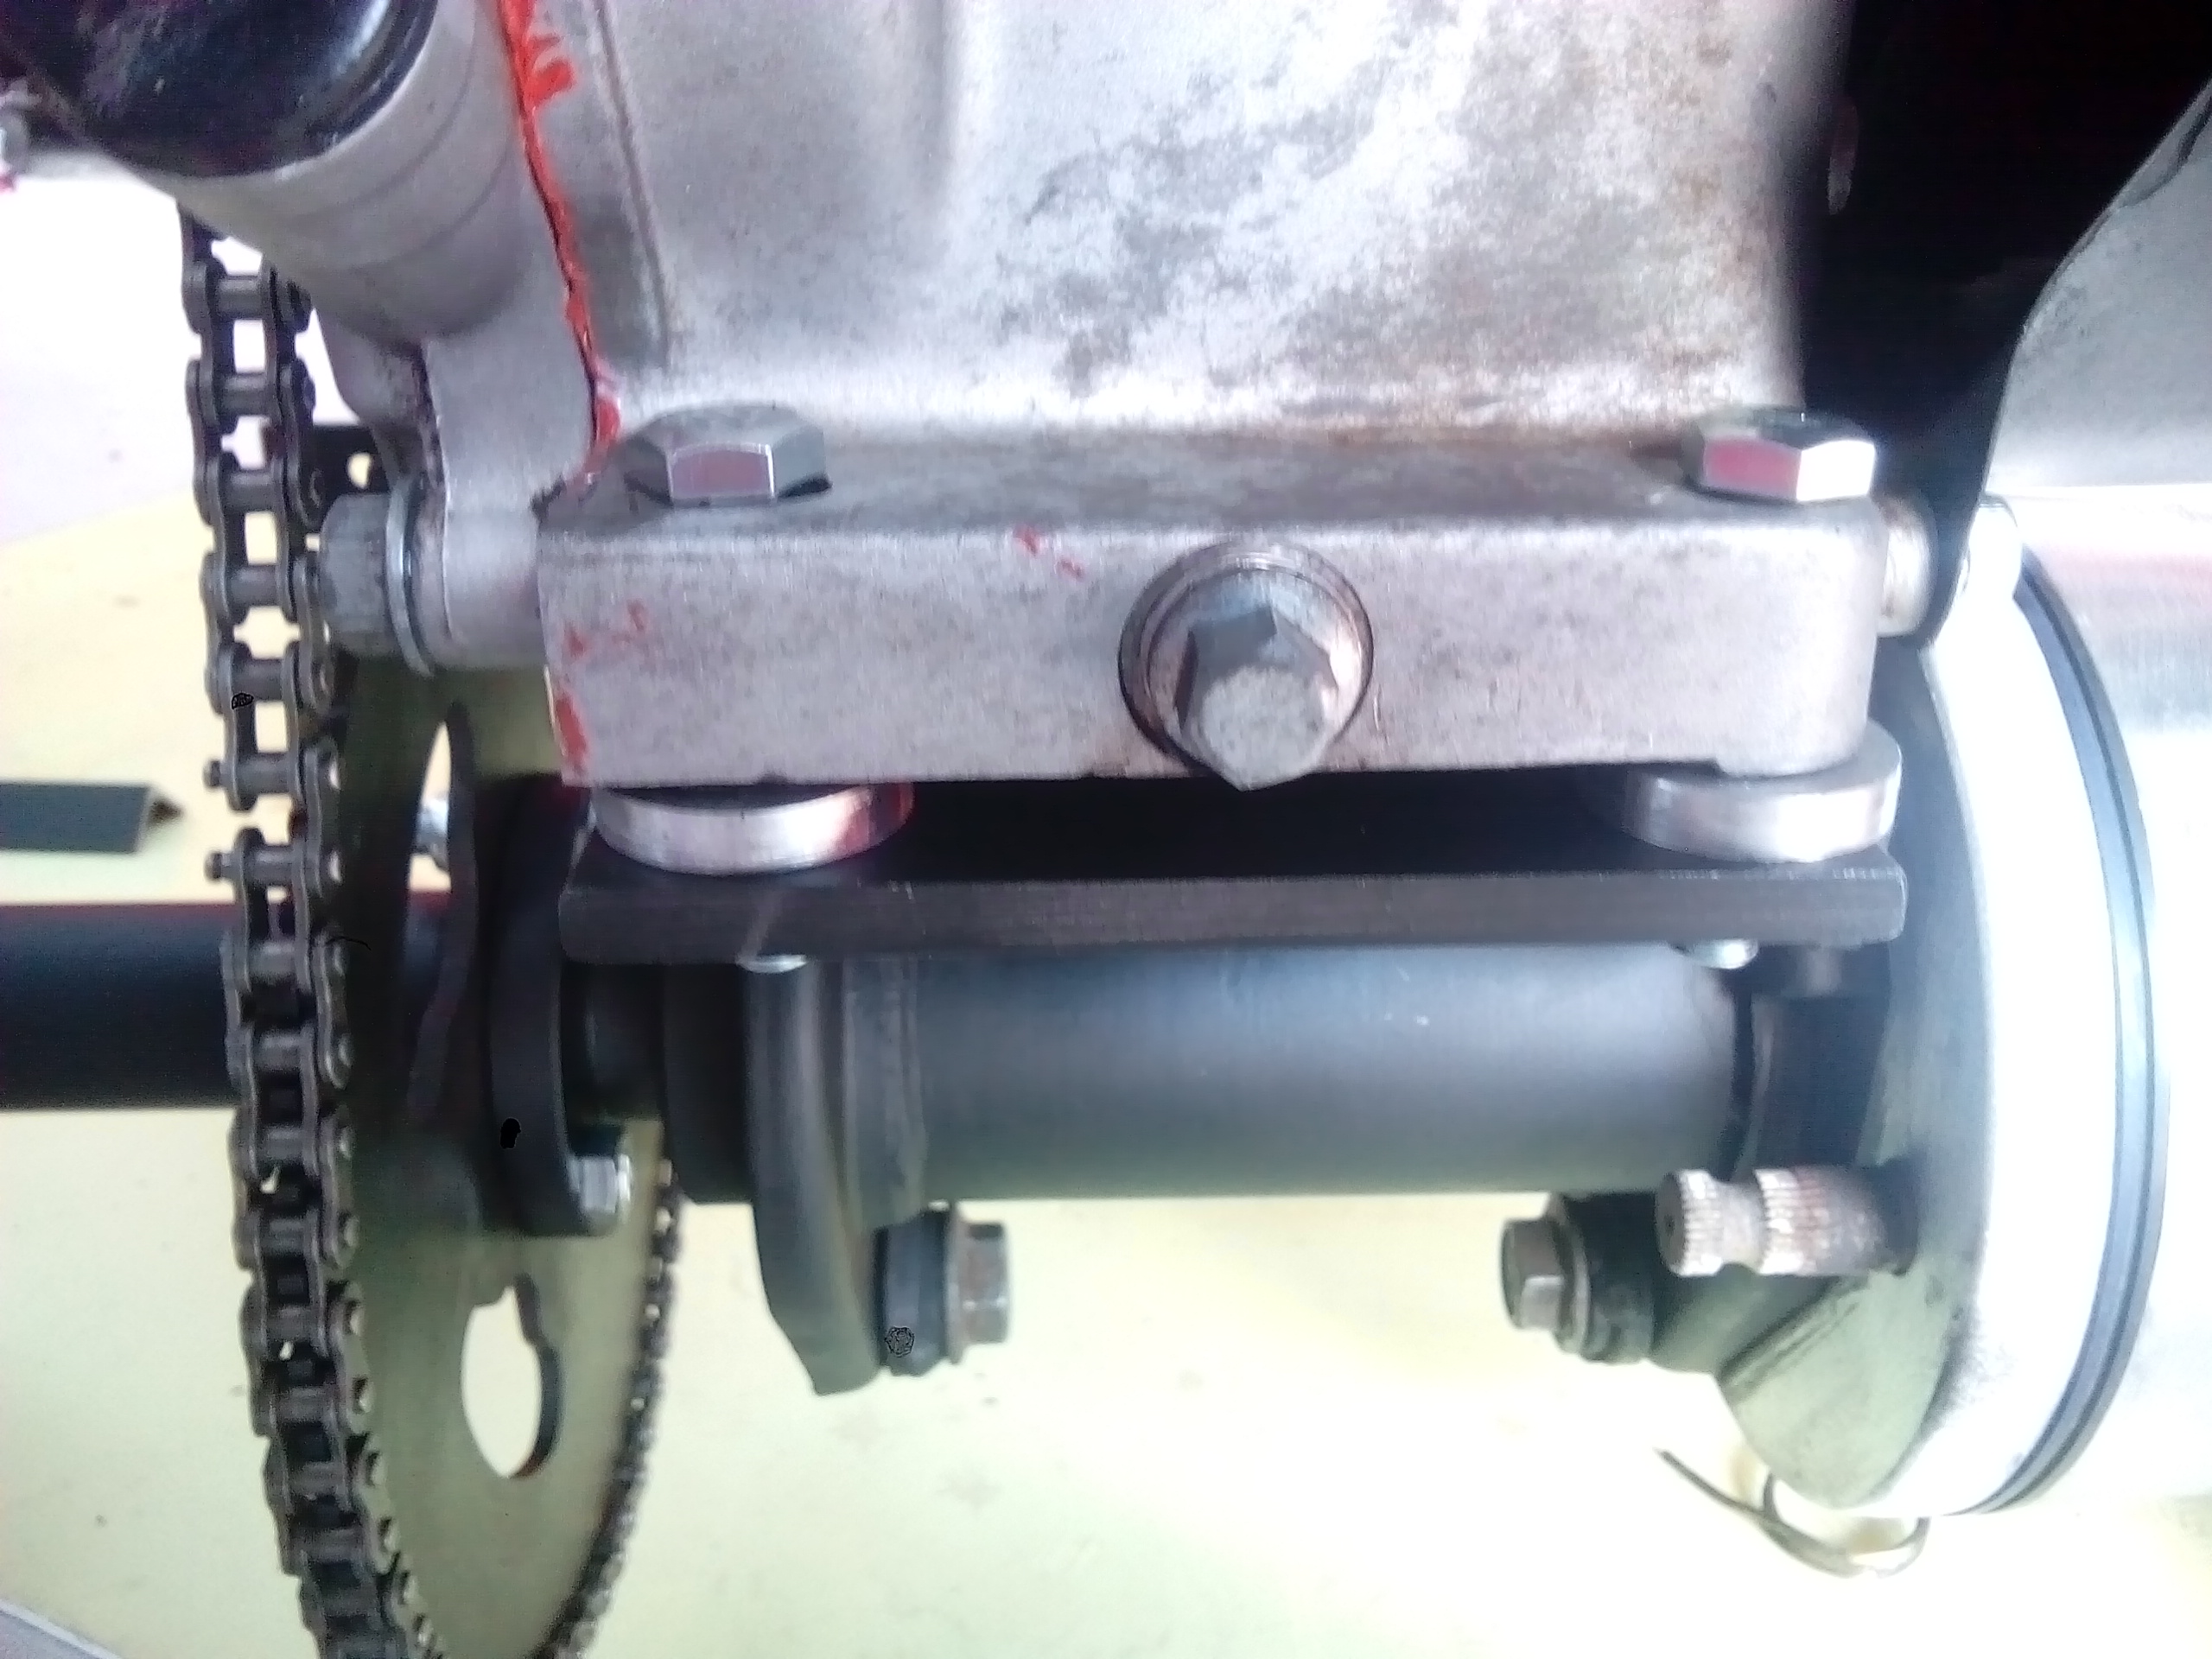
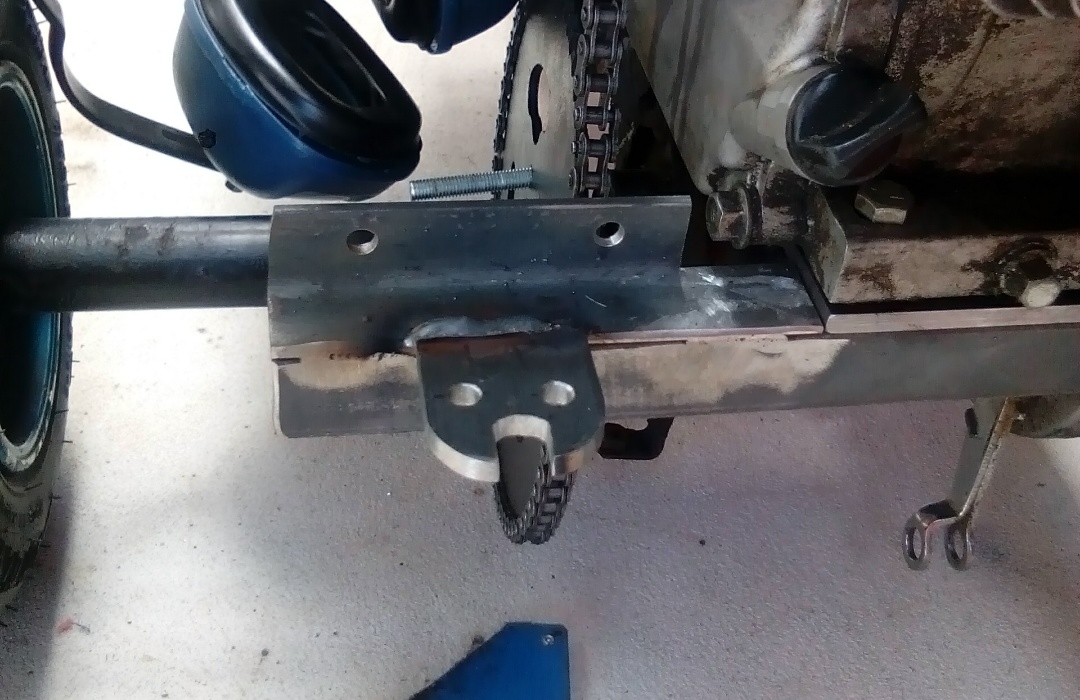
The axle has a certain amount of adjustment in terms of a chain tensioner. But Murphy's law...the way I mounted the motor landed on a half link. Now getting a #35 half link is like trying to find a unicorn in nz. However this should do the trick: And yup, it sure did...worked out perfectly!

-
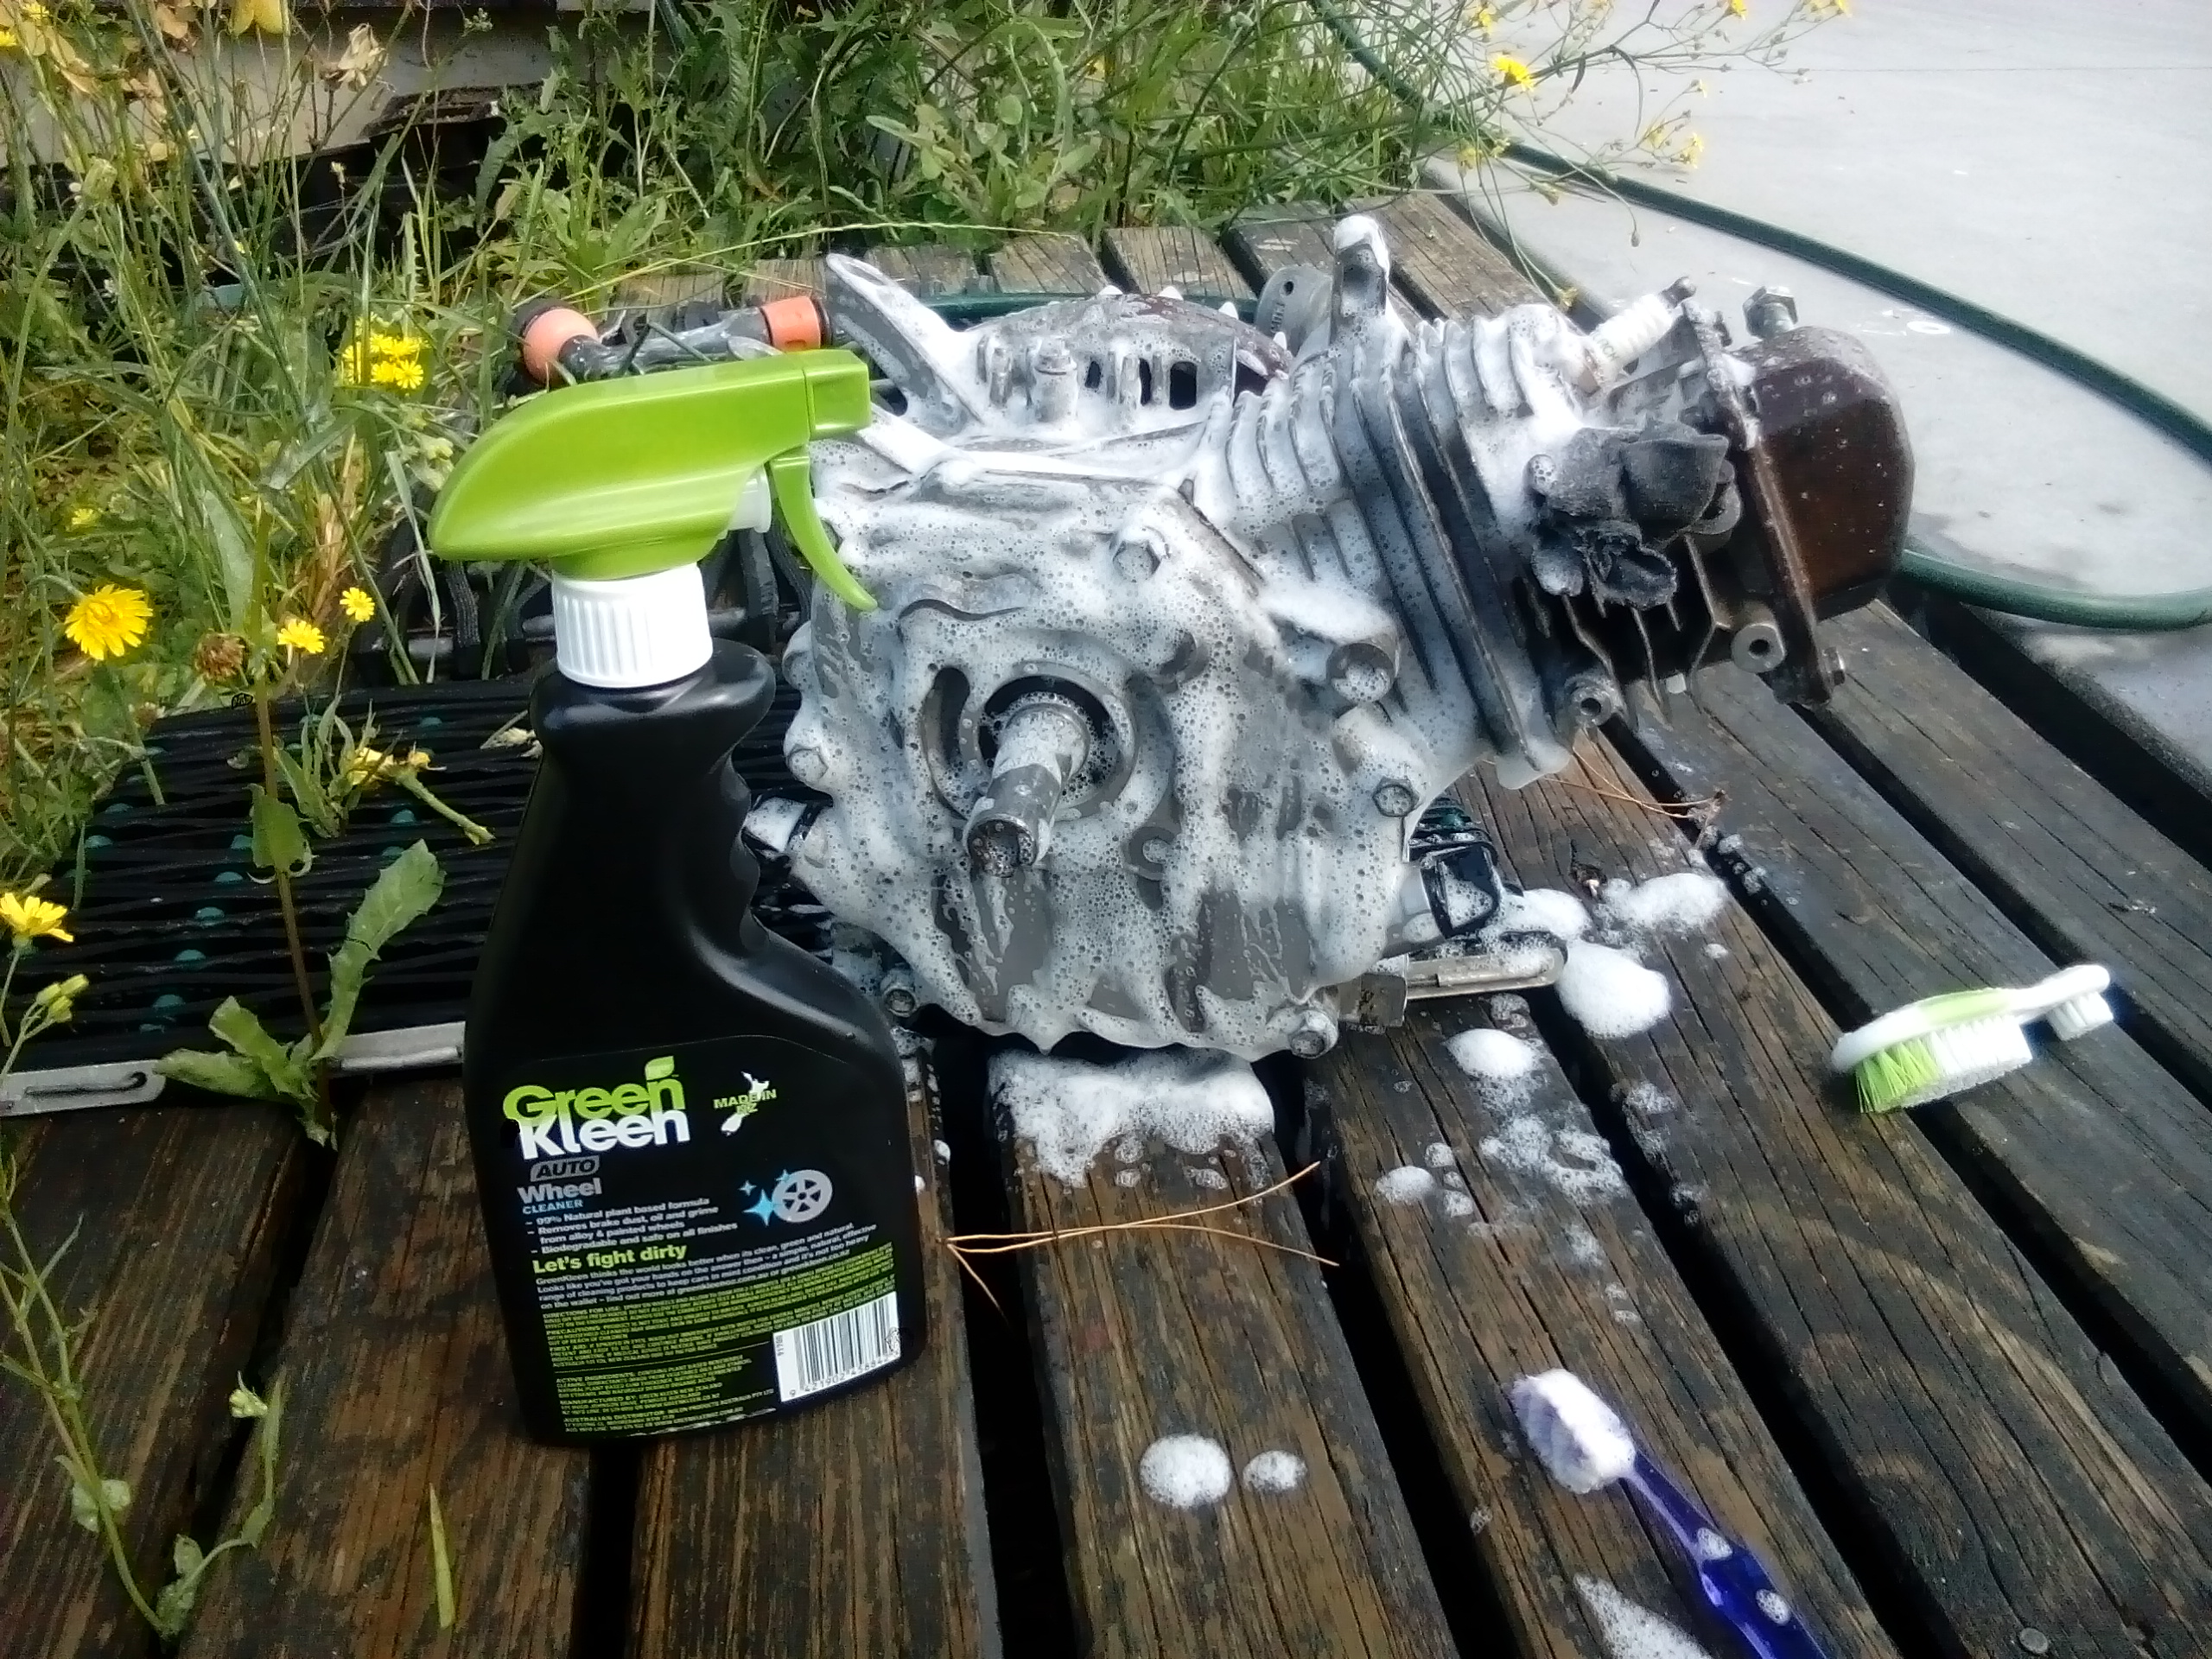
Quick scrub up with wheel cleaner, YouTube recommended...maybe the usa brands work, mine was no better than say dish washing liquid? But the oil is gone, so it's better than before: Then, replaced the shitty old valve cover: And its now starting to look the part.
-
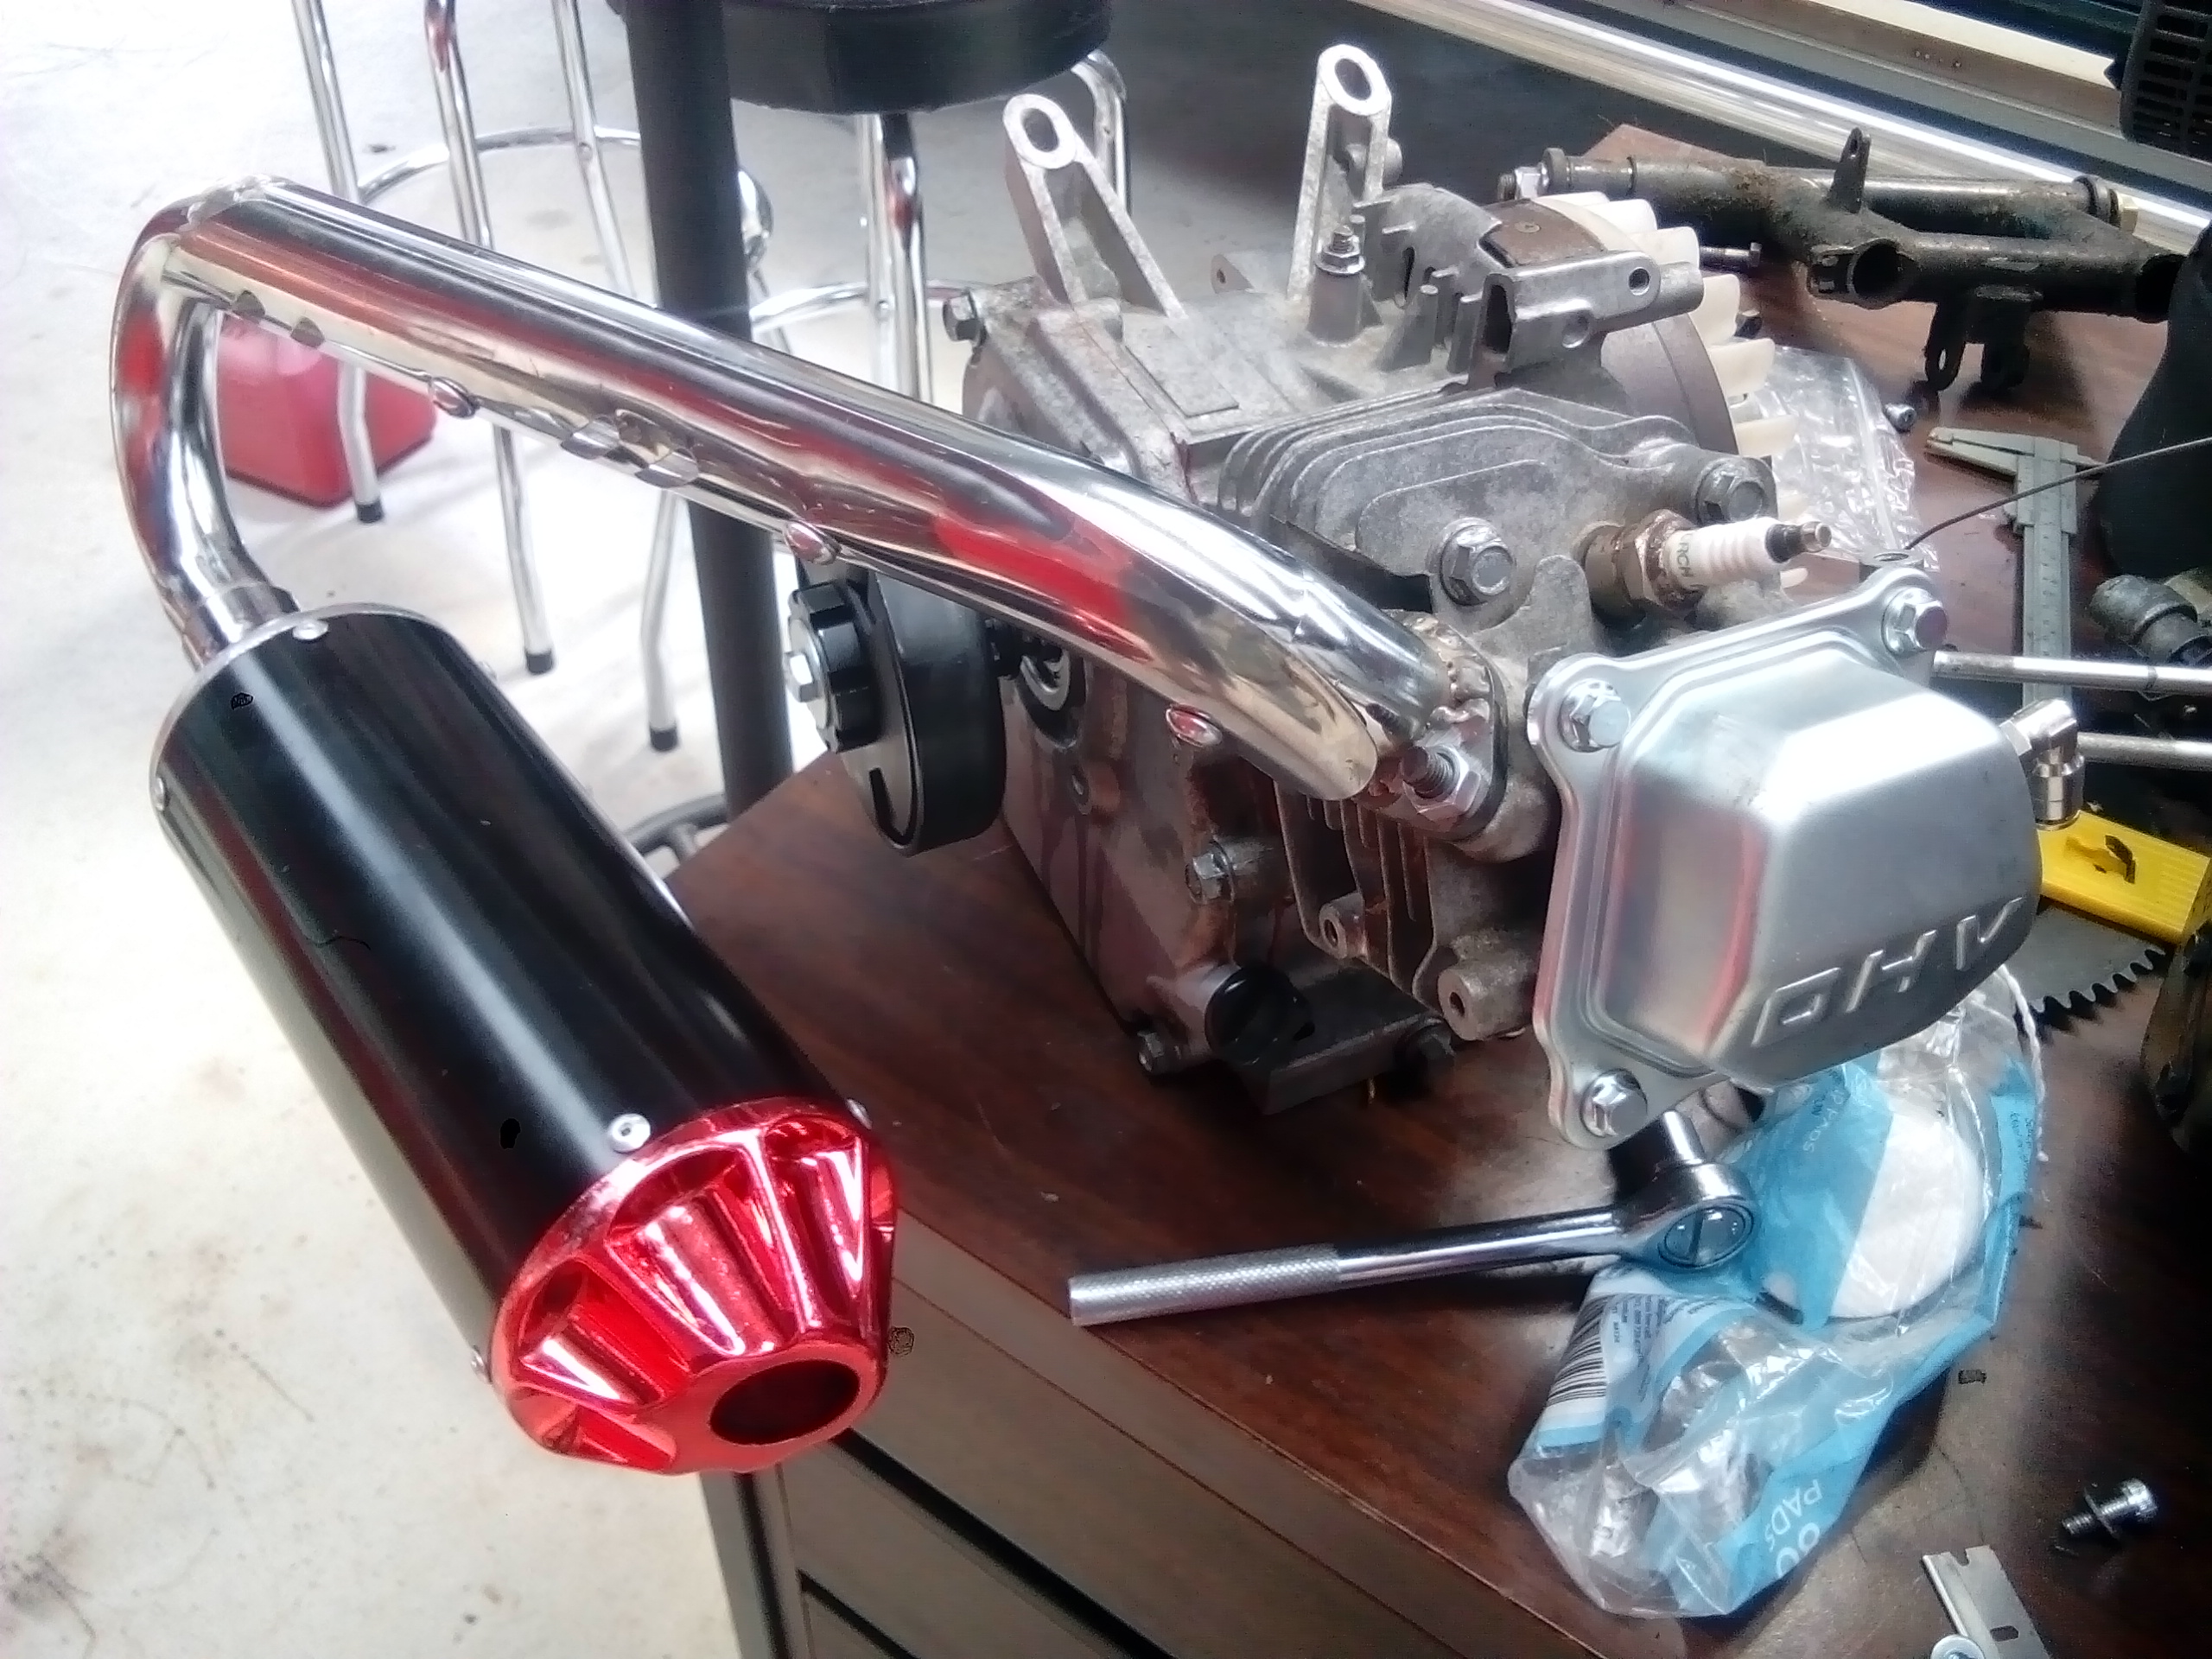
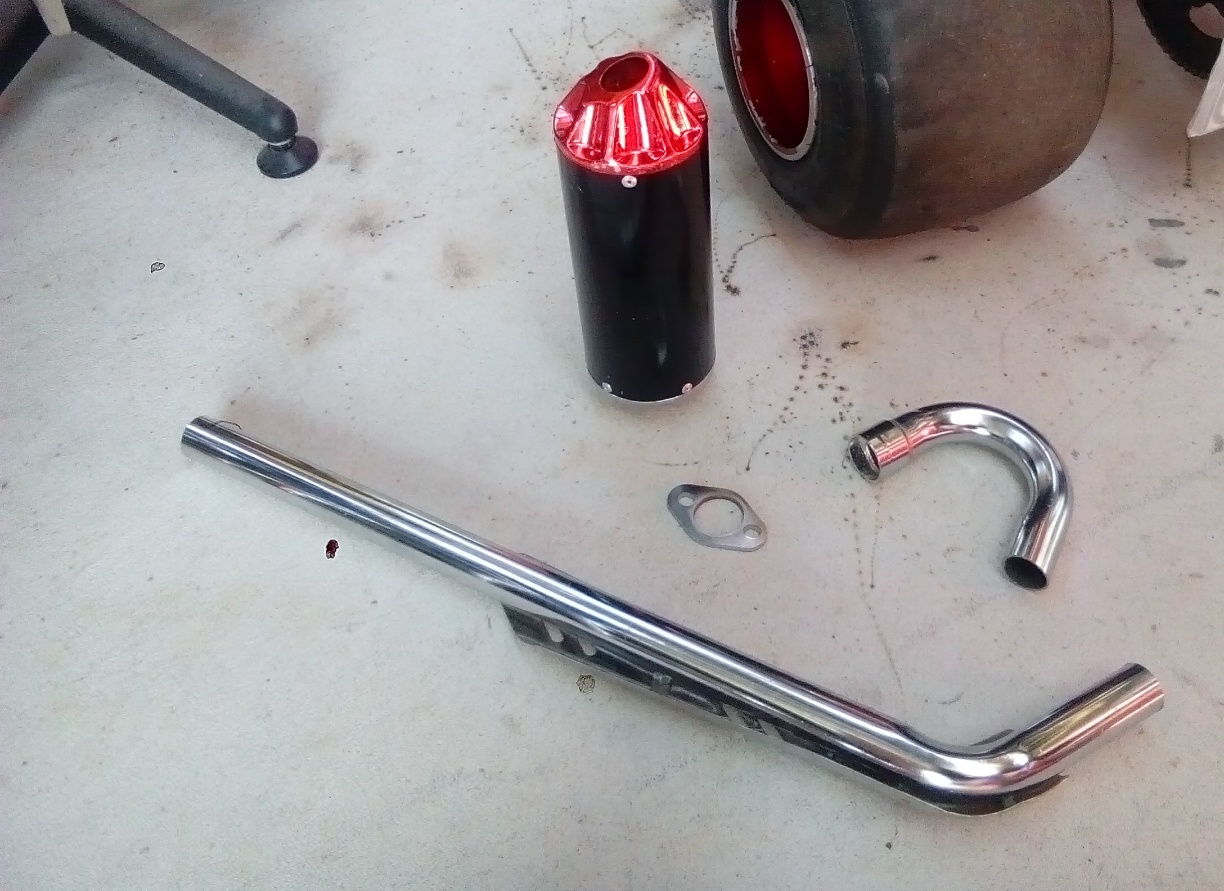
Port matched exhaust... And muffler shimmed with coke zero cans (we were out of beersies).
-
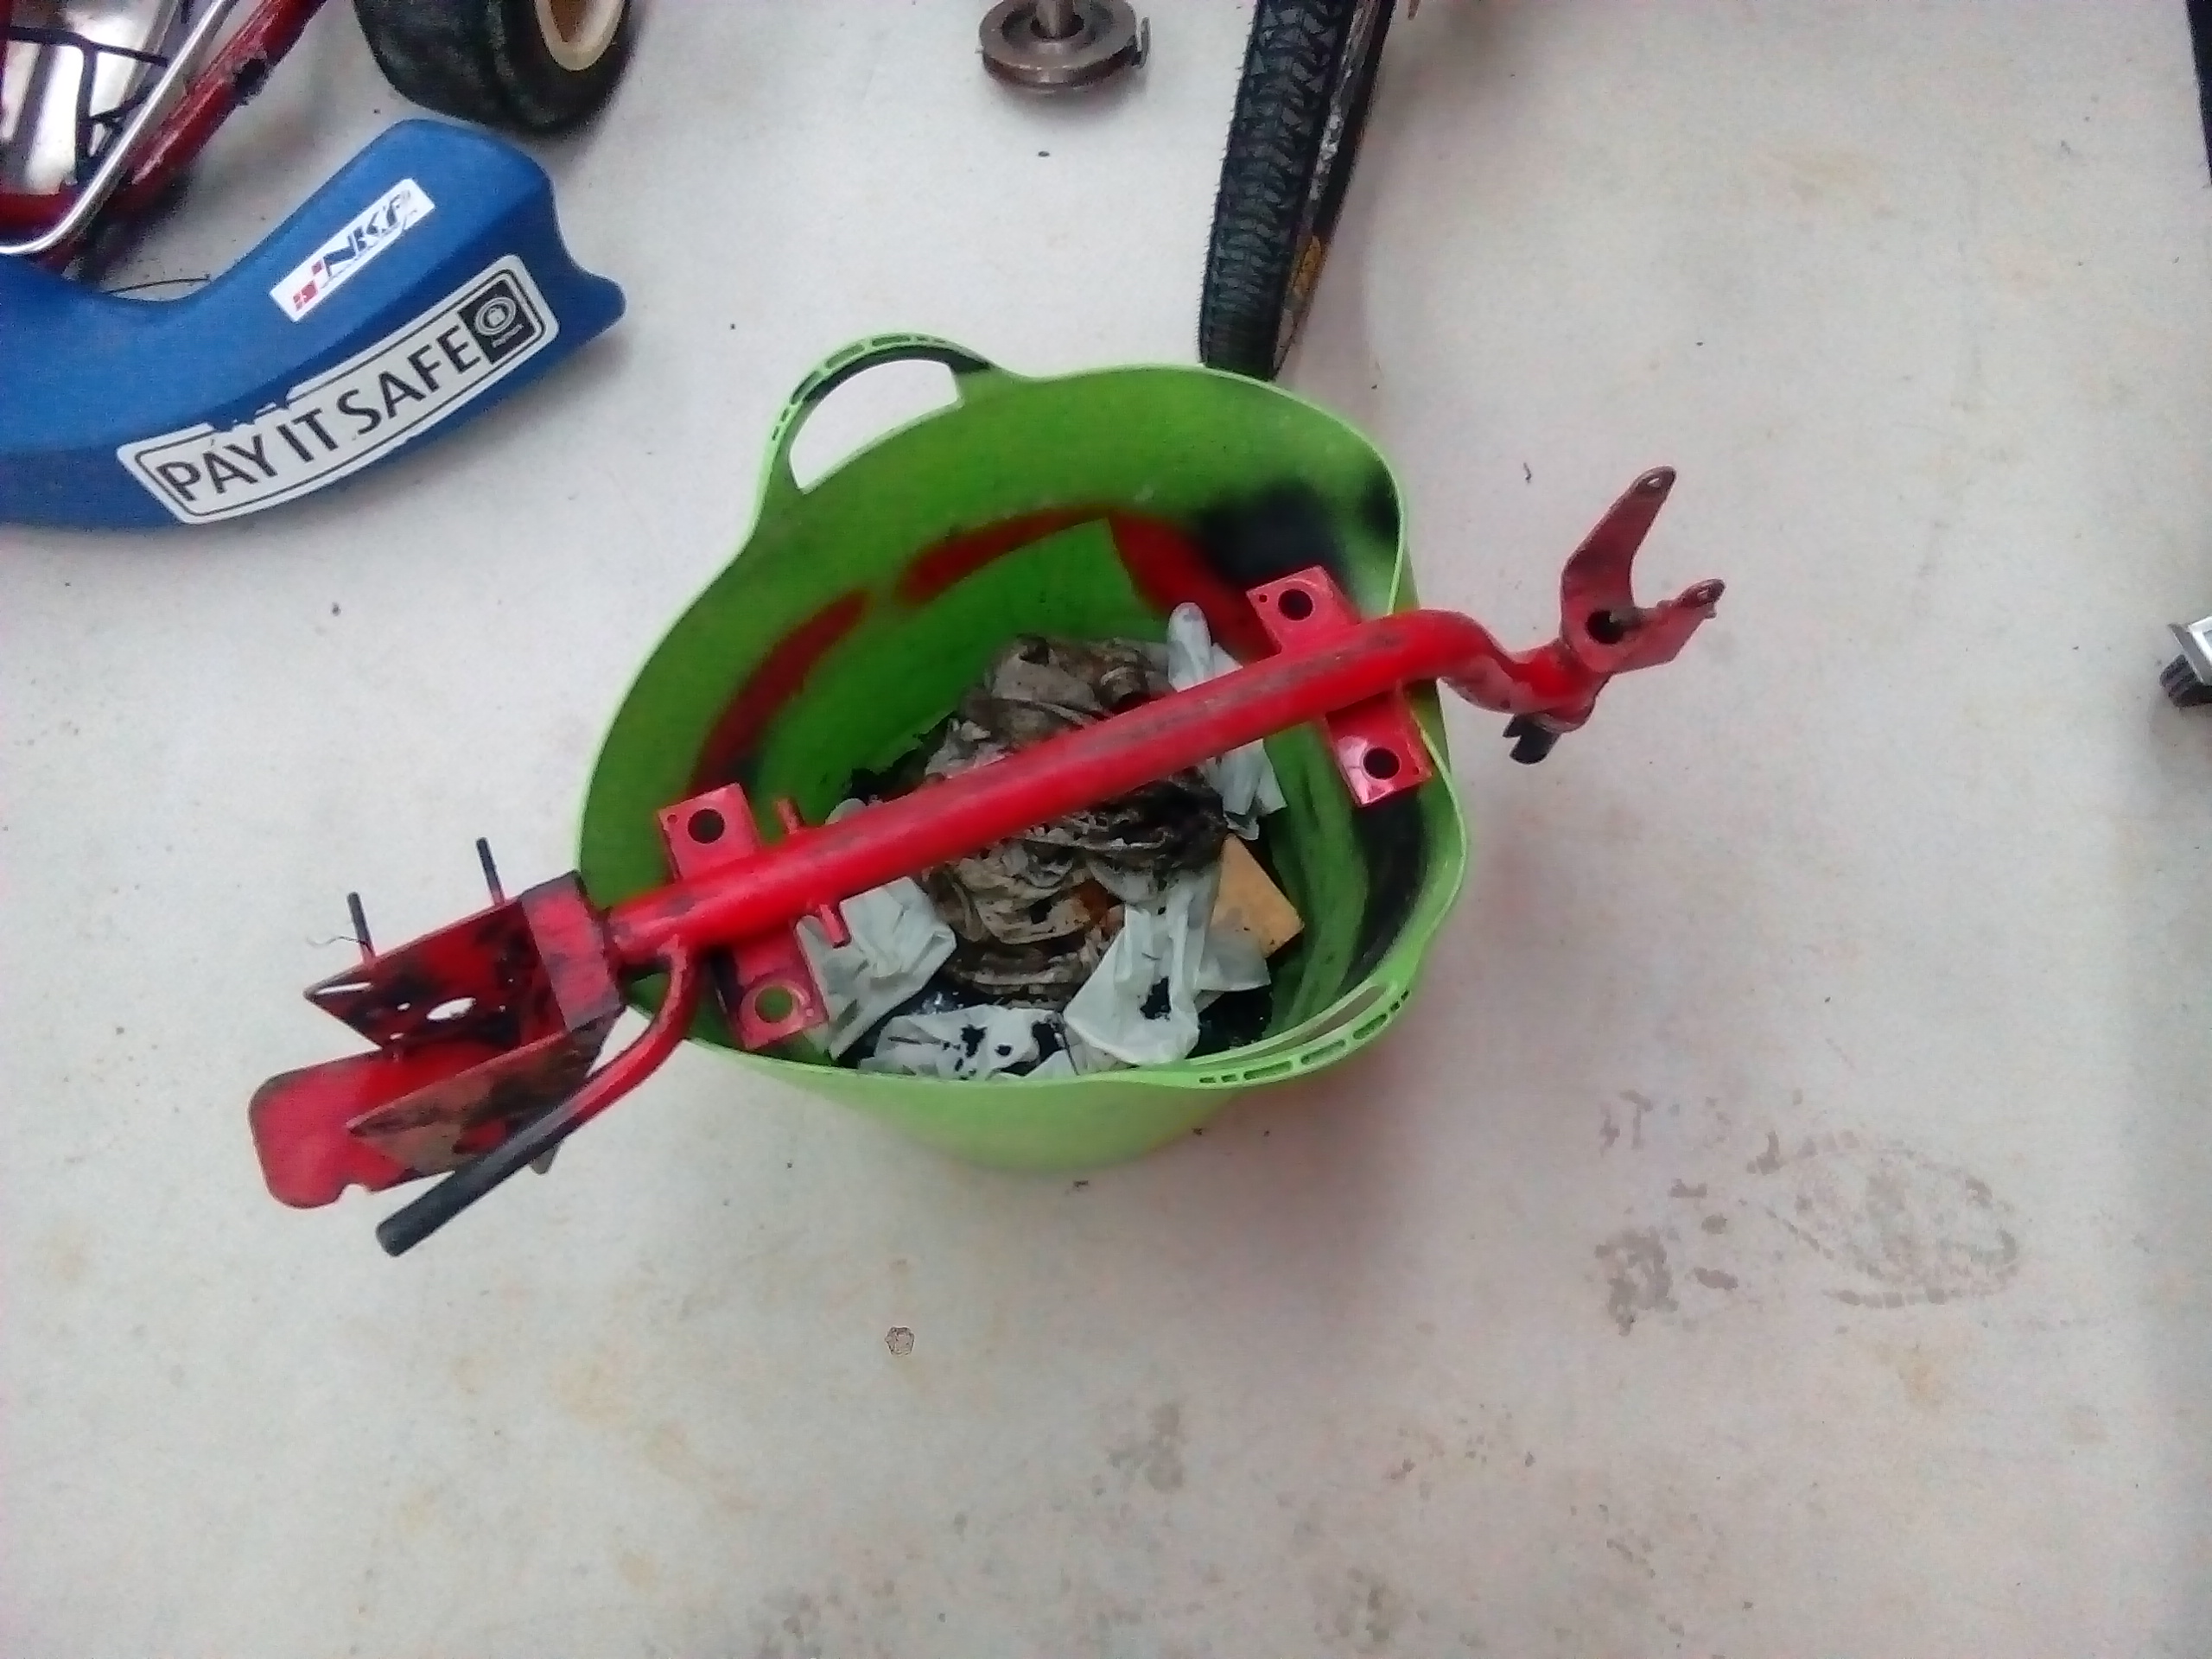
Then on to the frame, preparing for paint. And then 1 minute later (yeah right!):
-
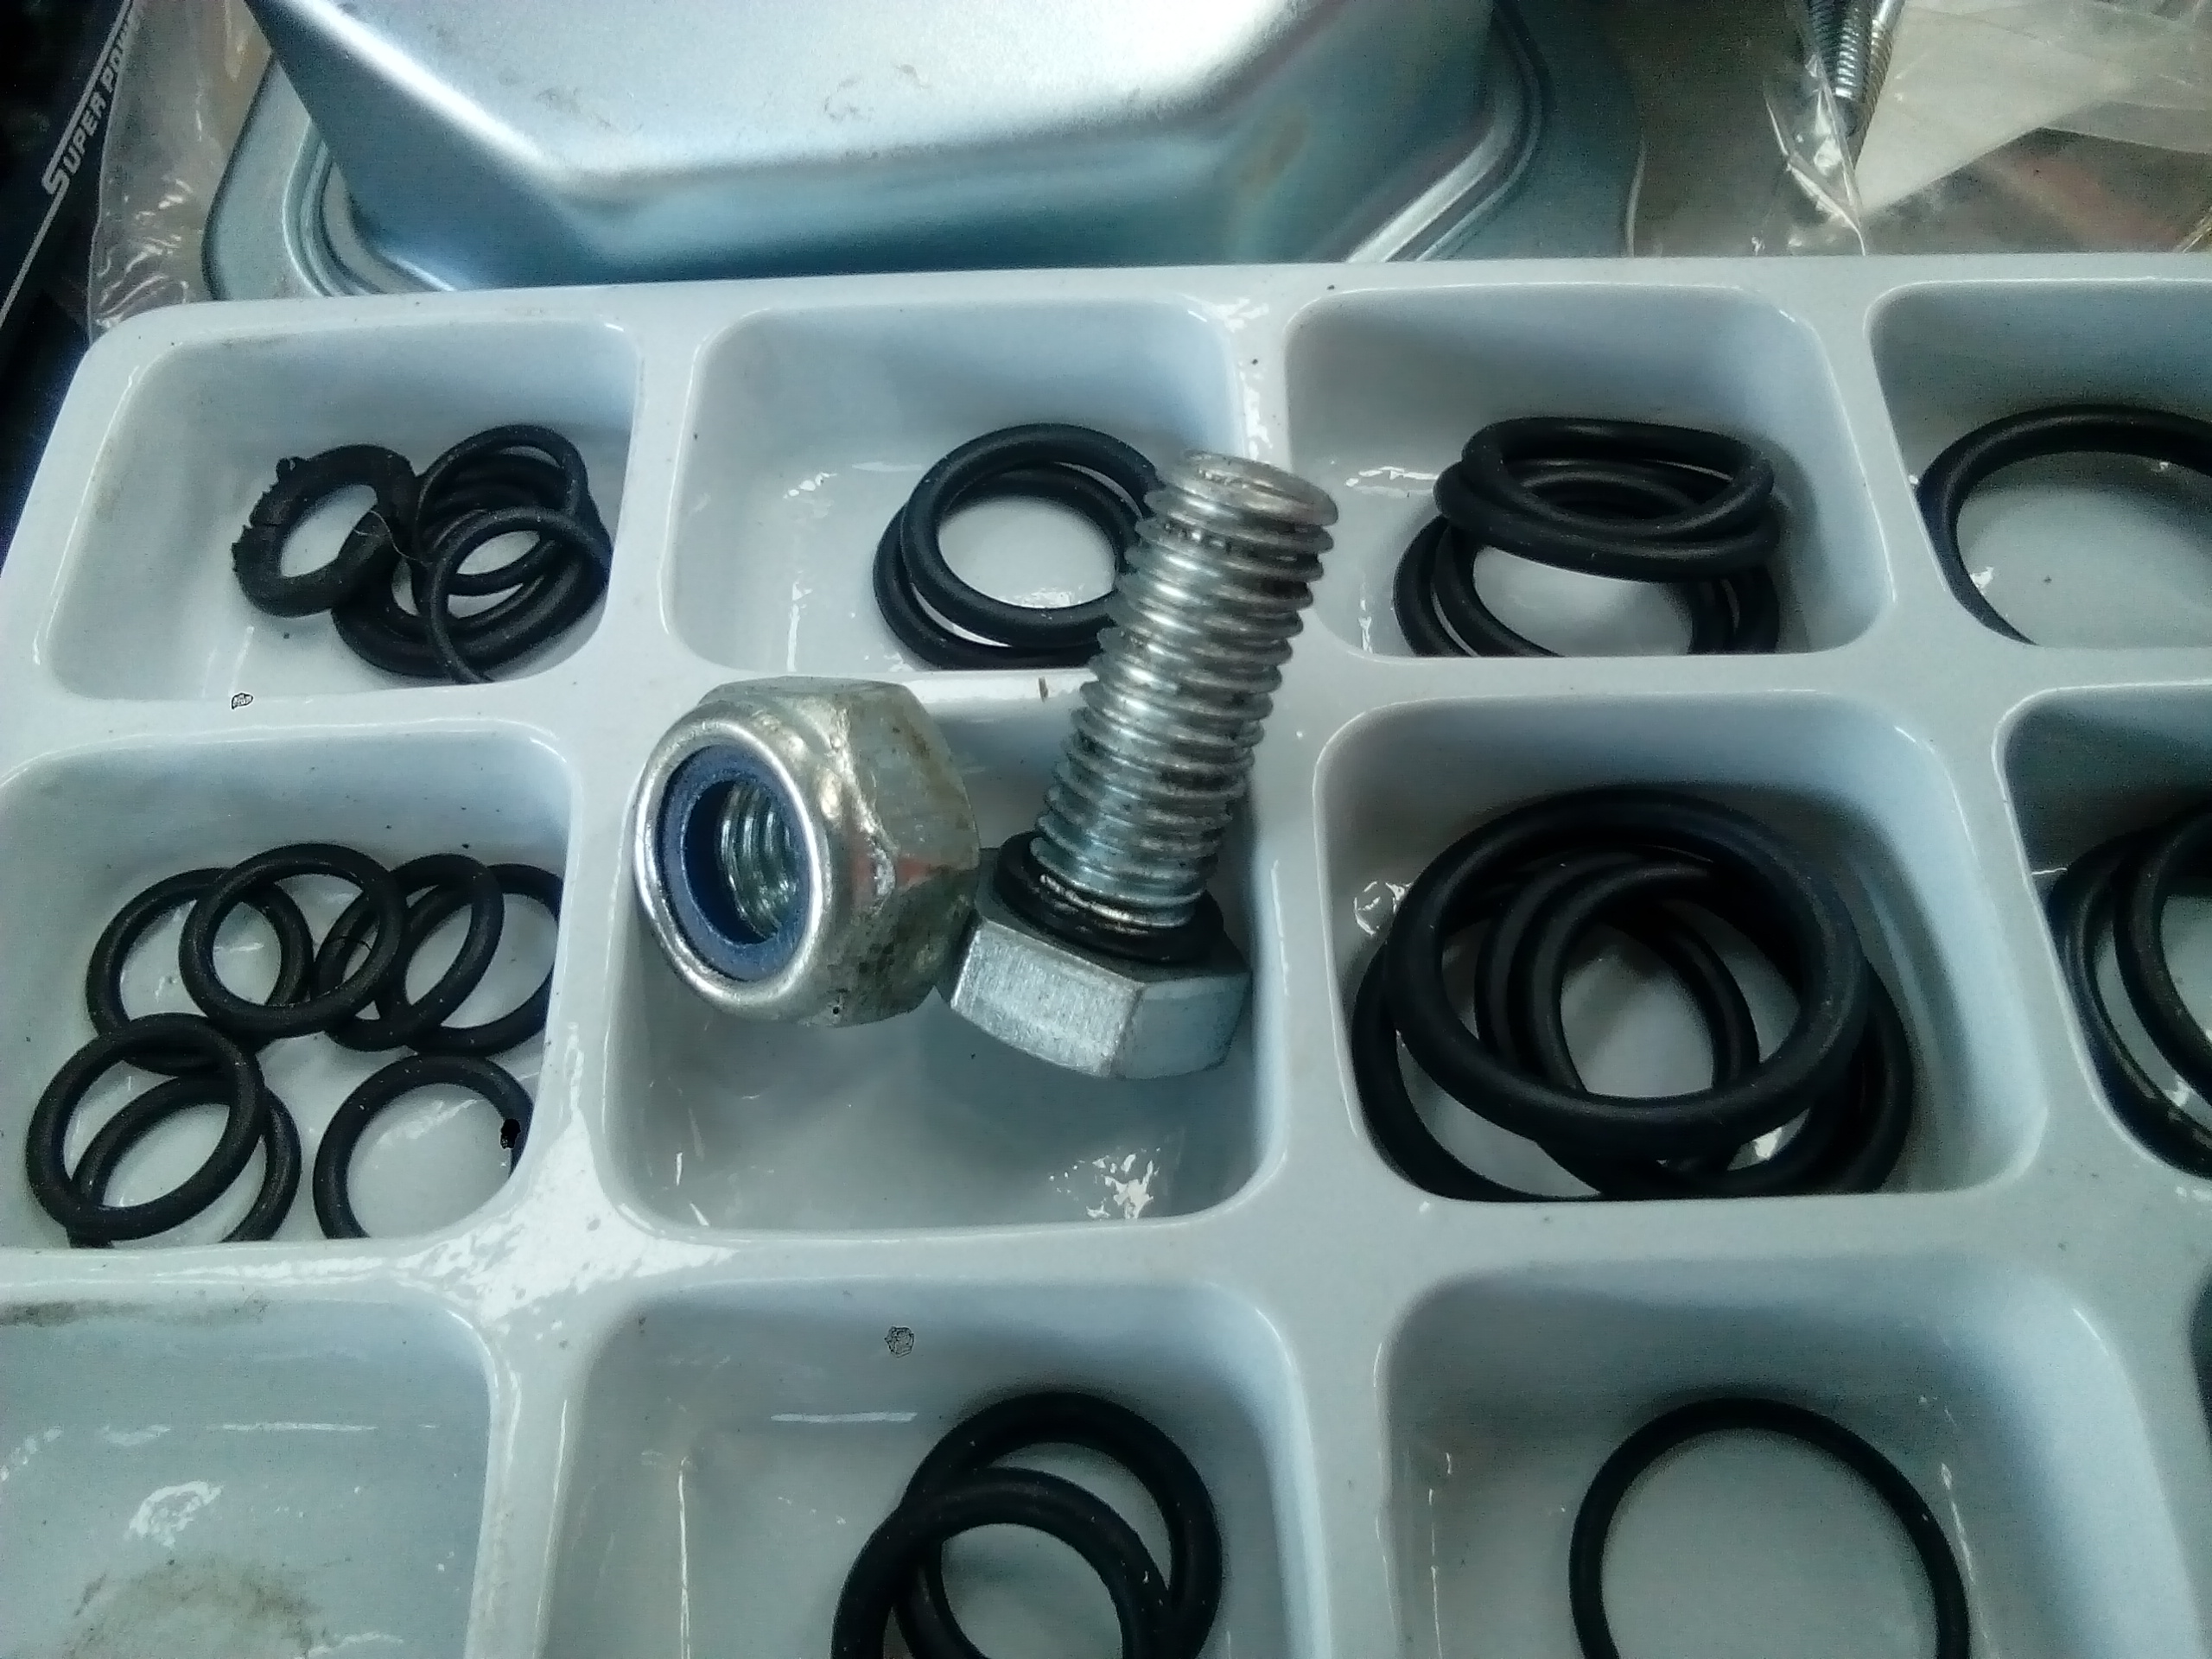
I removed the external threaded conduit as well. The internet is full of over complicated solutions for blocking the hole it leaves...this is what I did: Installed: I did shave about 3mm of the bolts head, just to aid clearance as it was a tight space. If I'd gone for a slightly shorter bolt that would have solved this issue too...but I have a lathe...so quicker for me to take it off that end.
-
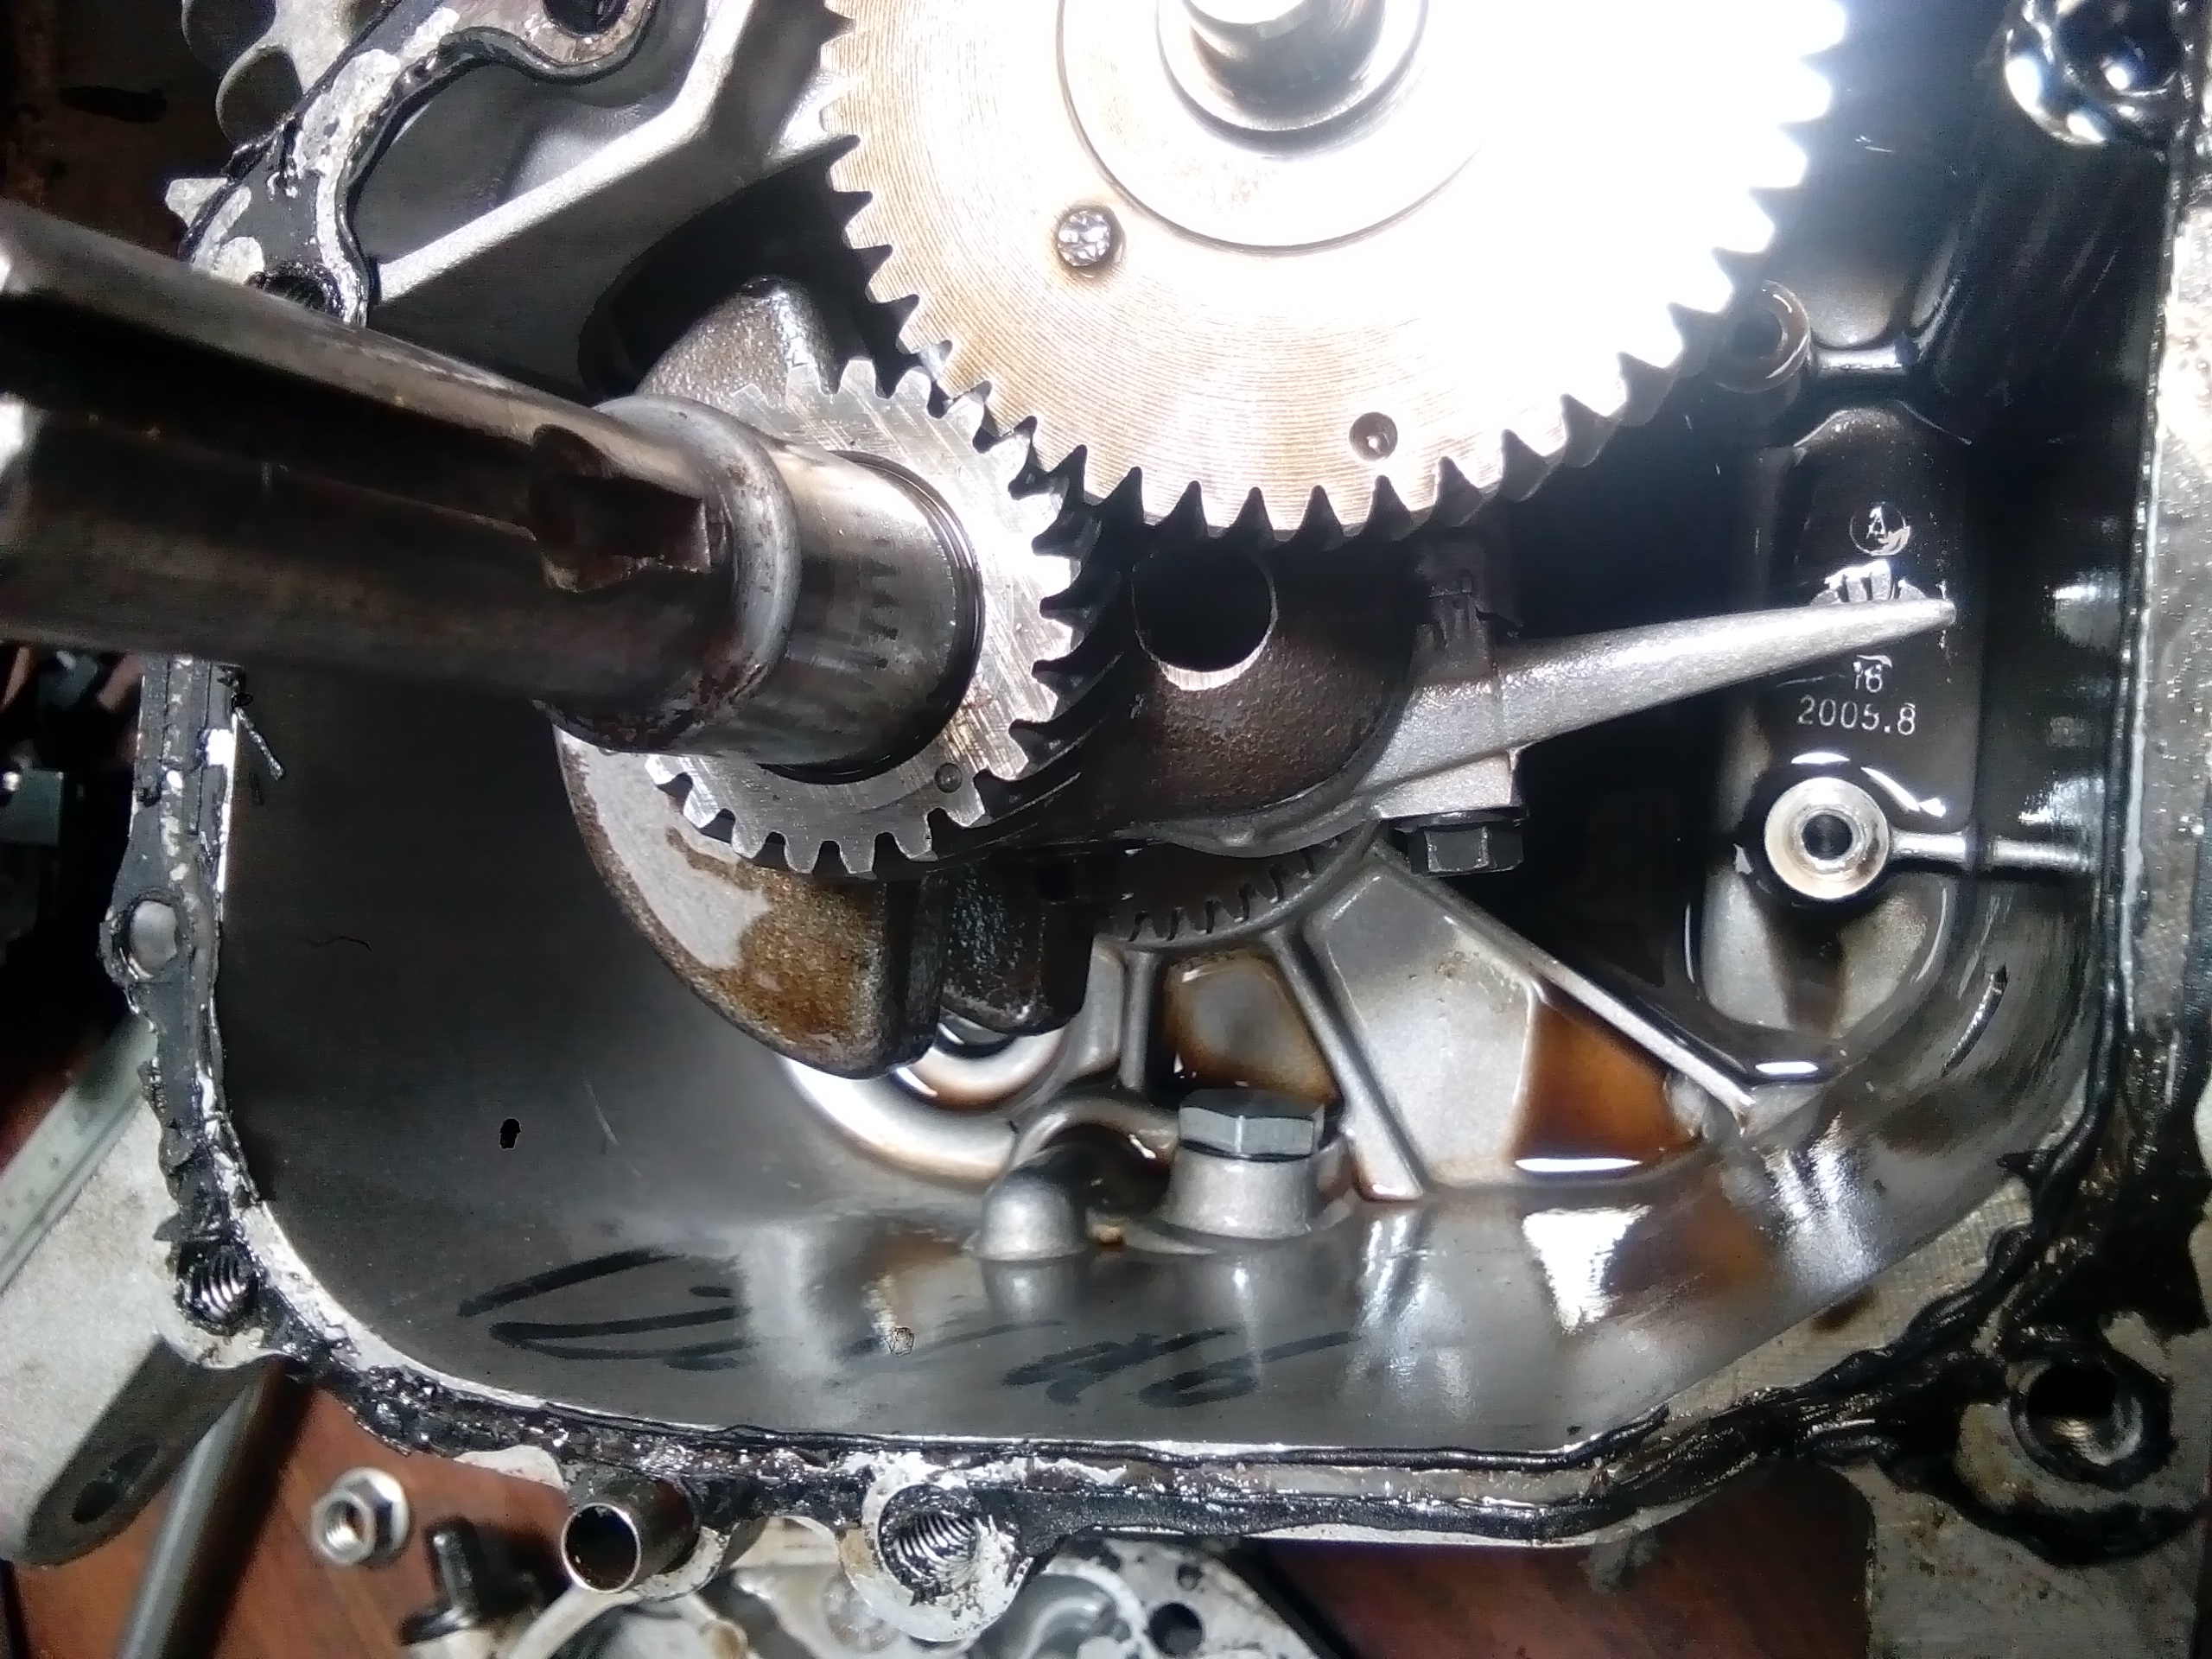
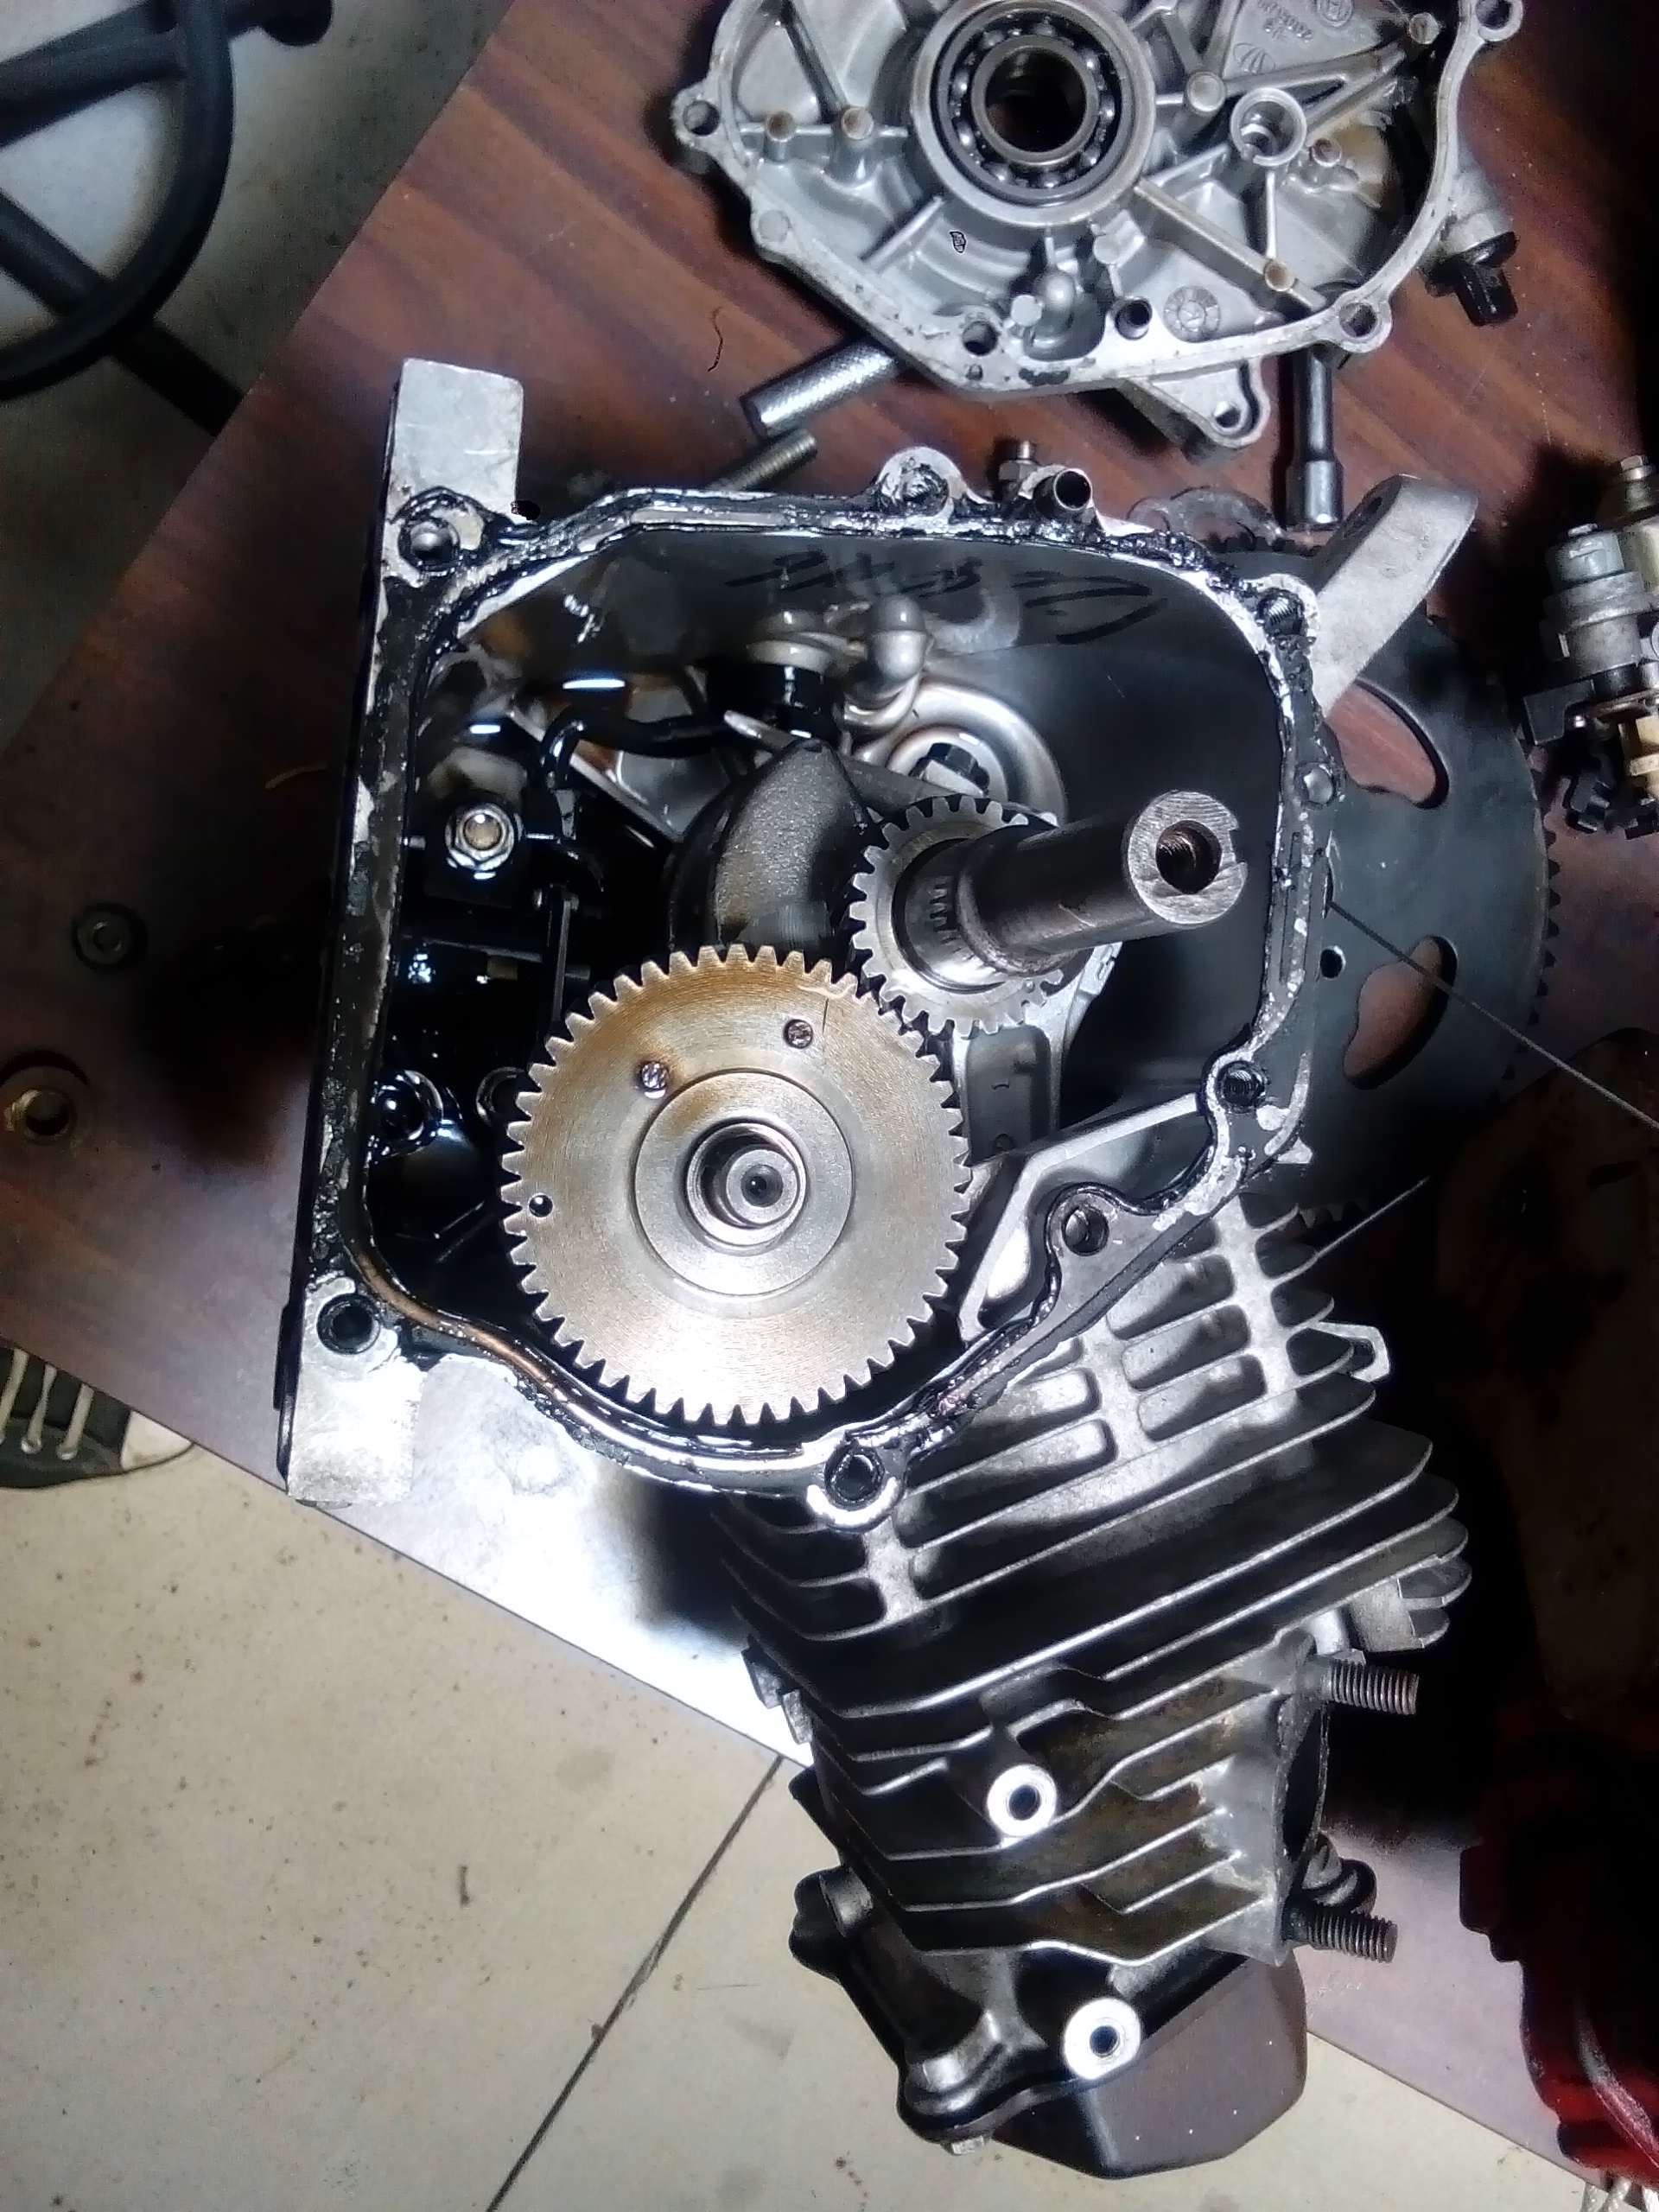
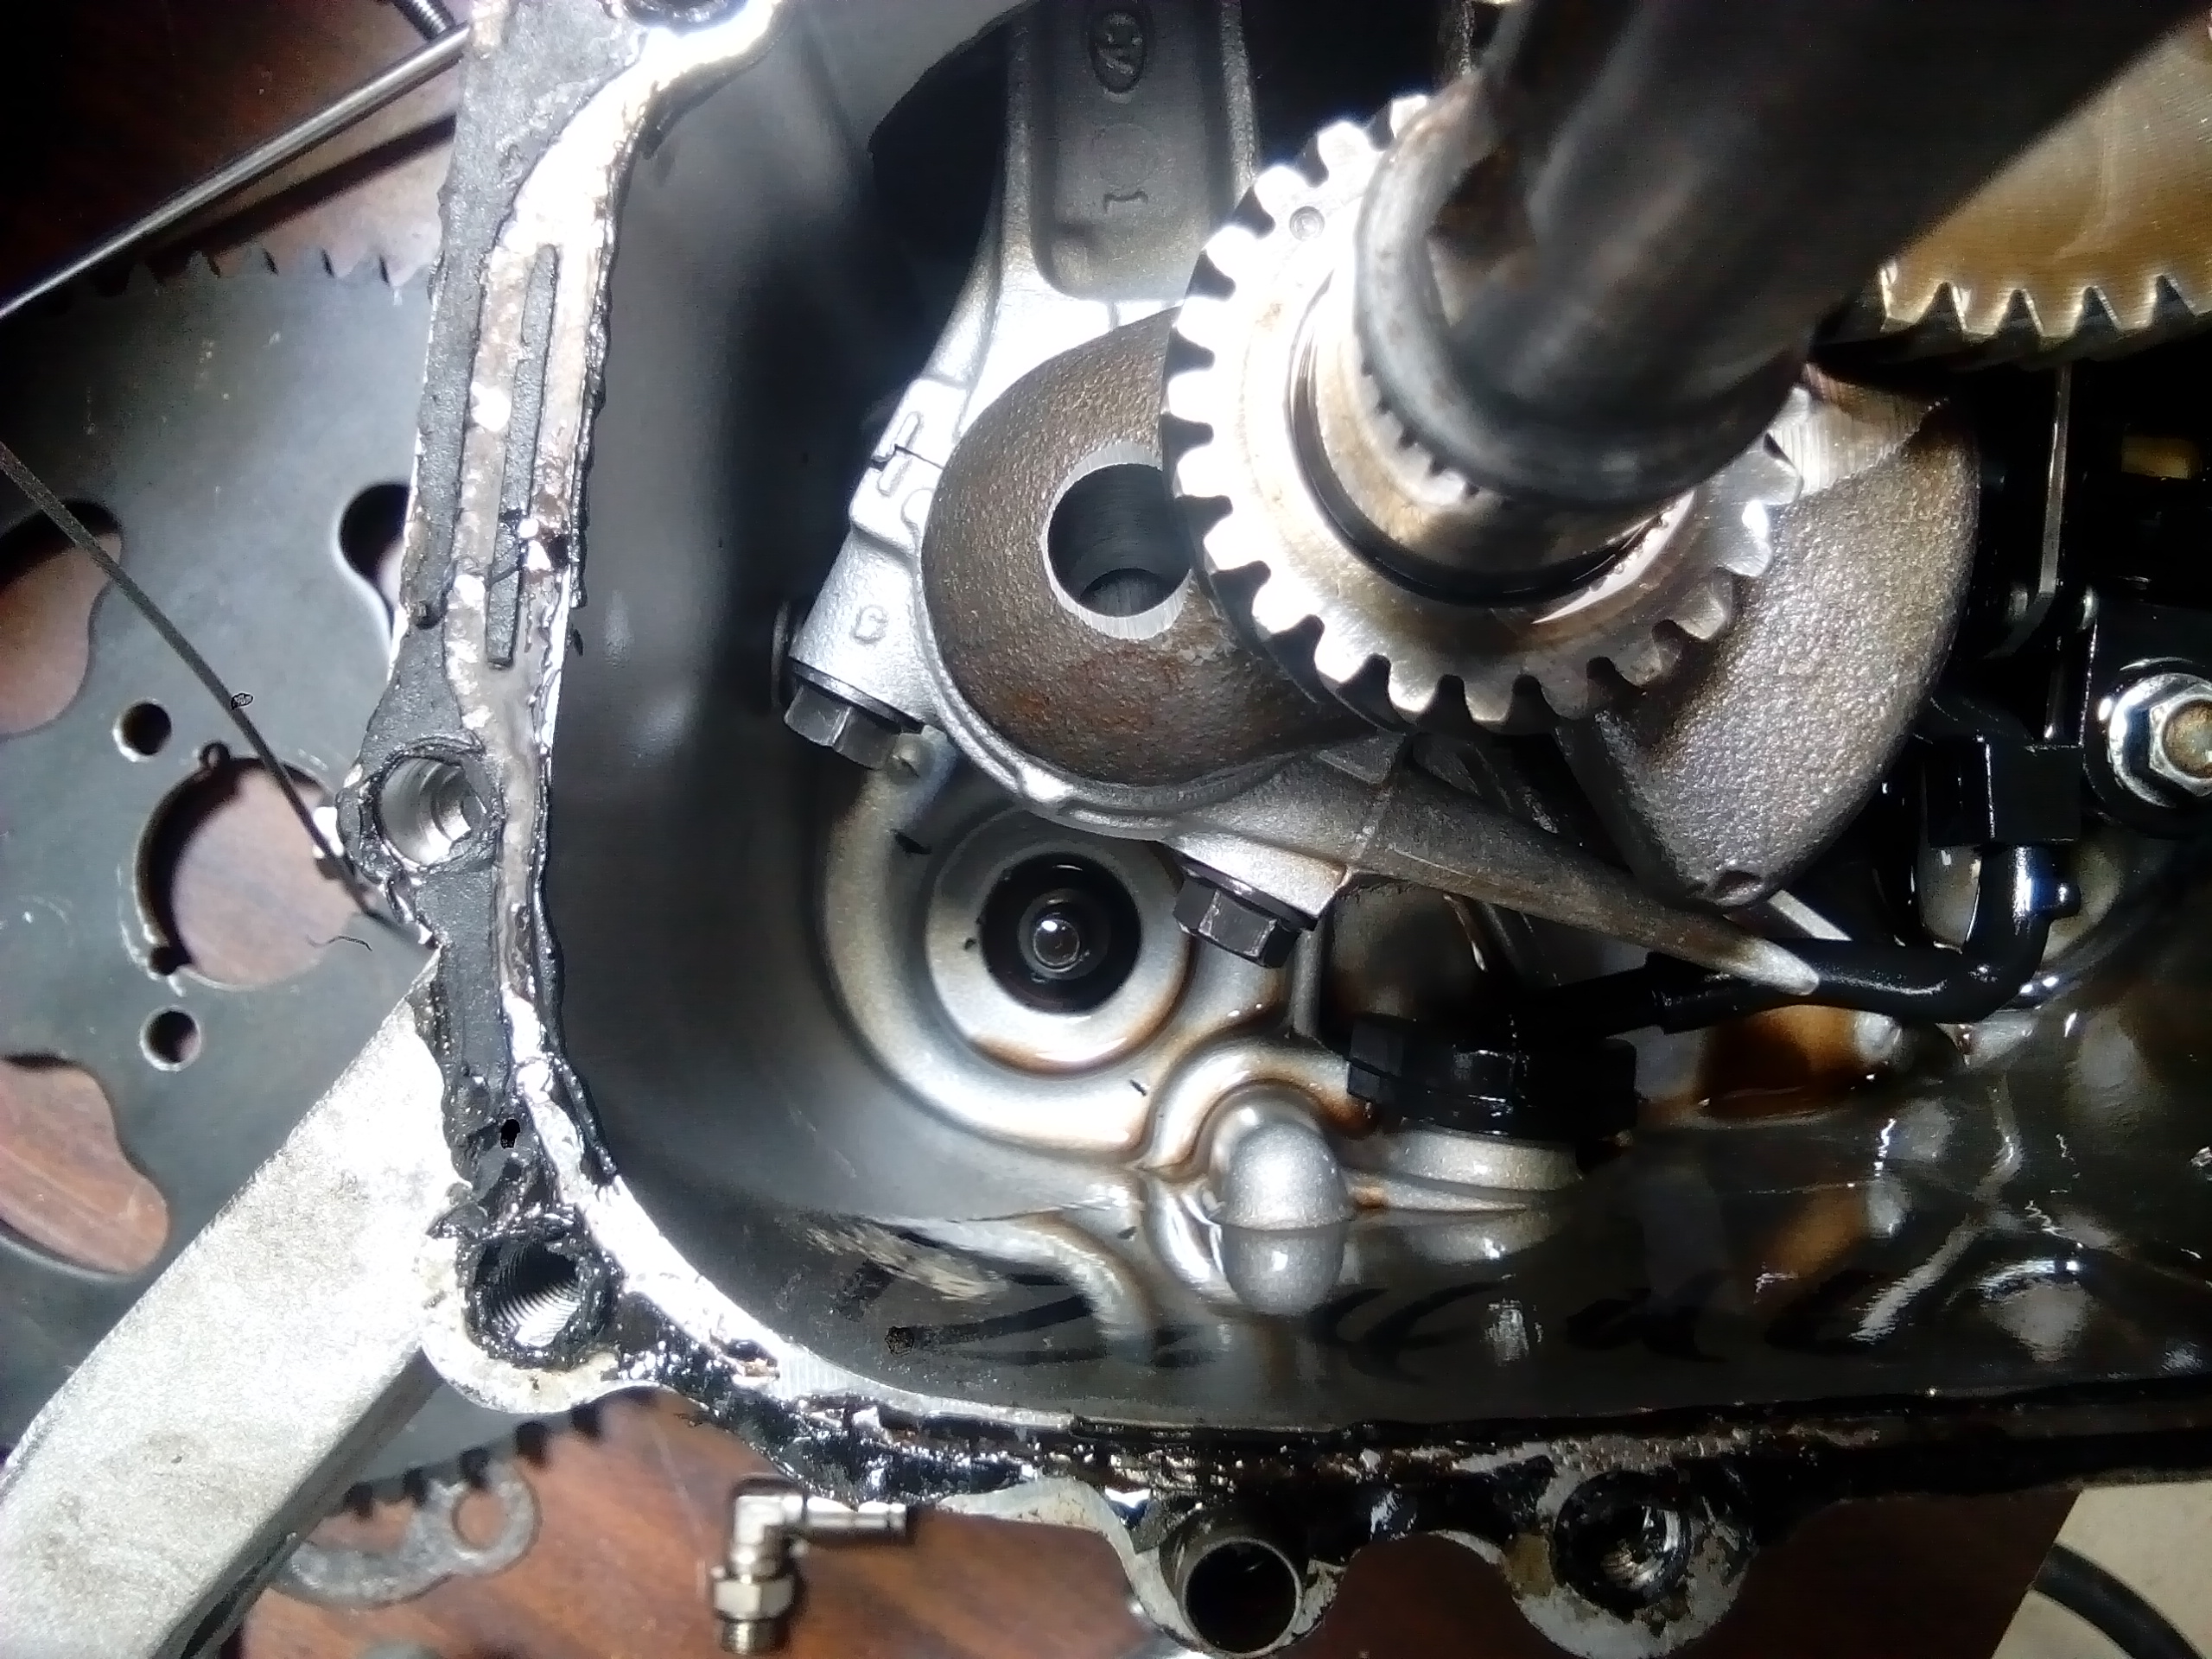
Motor: I'm removing the oil cut off sensor here. It would shut motor down when cornering...no good for a drift trike. Engine will be fine as there will be oil there. Before: And after removal:
-
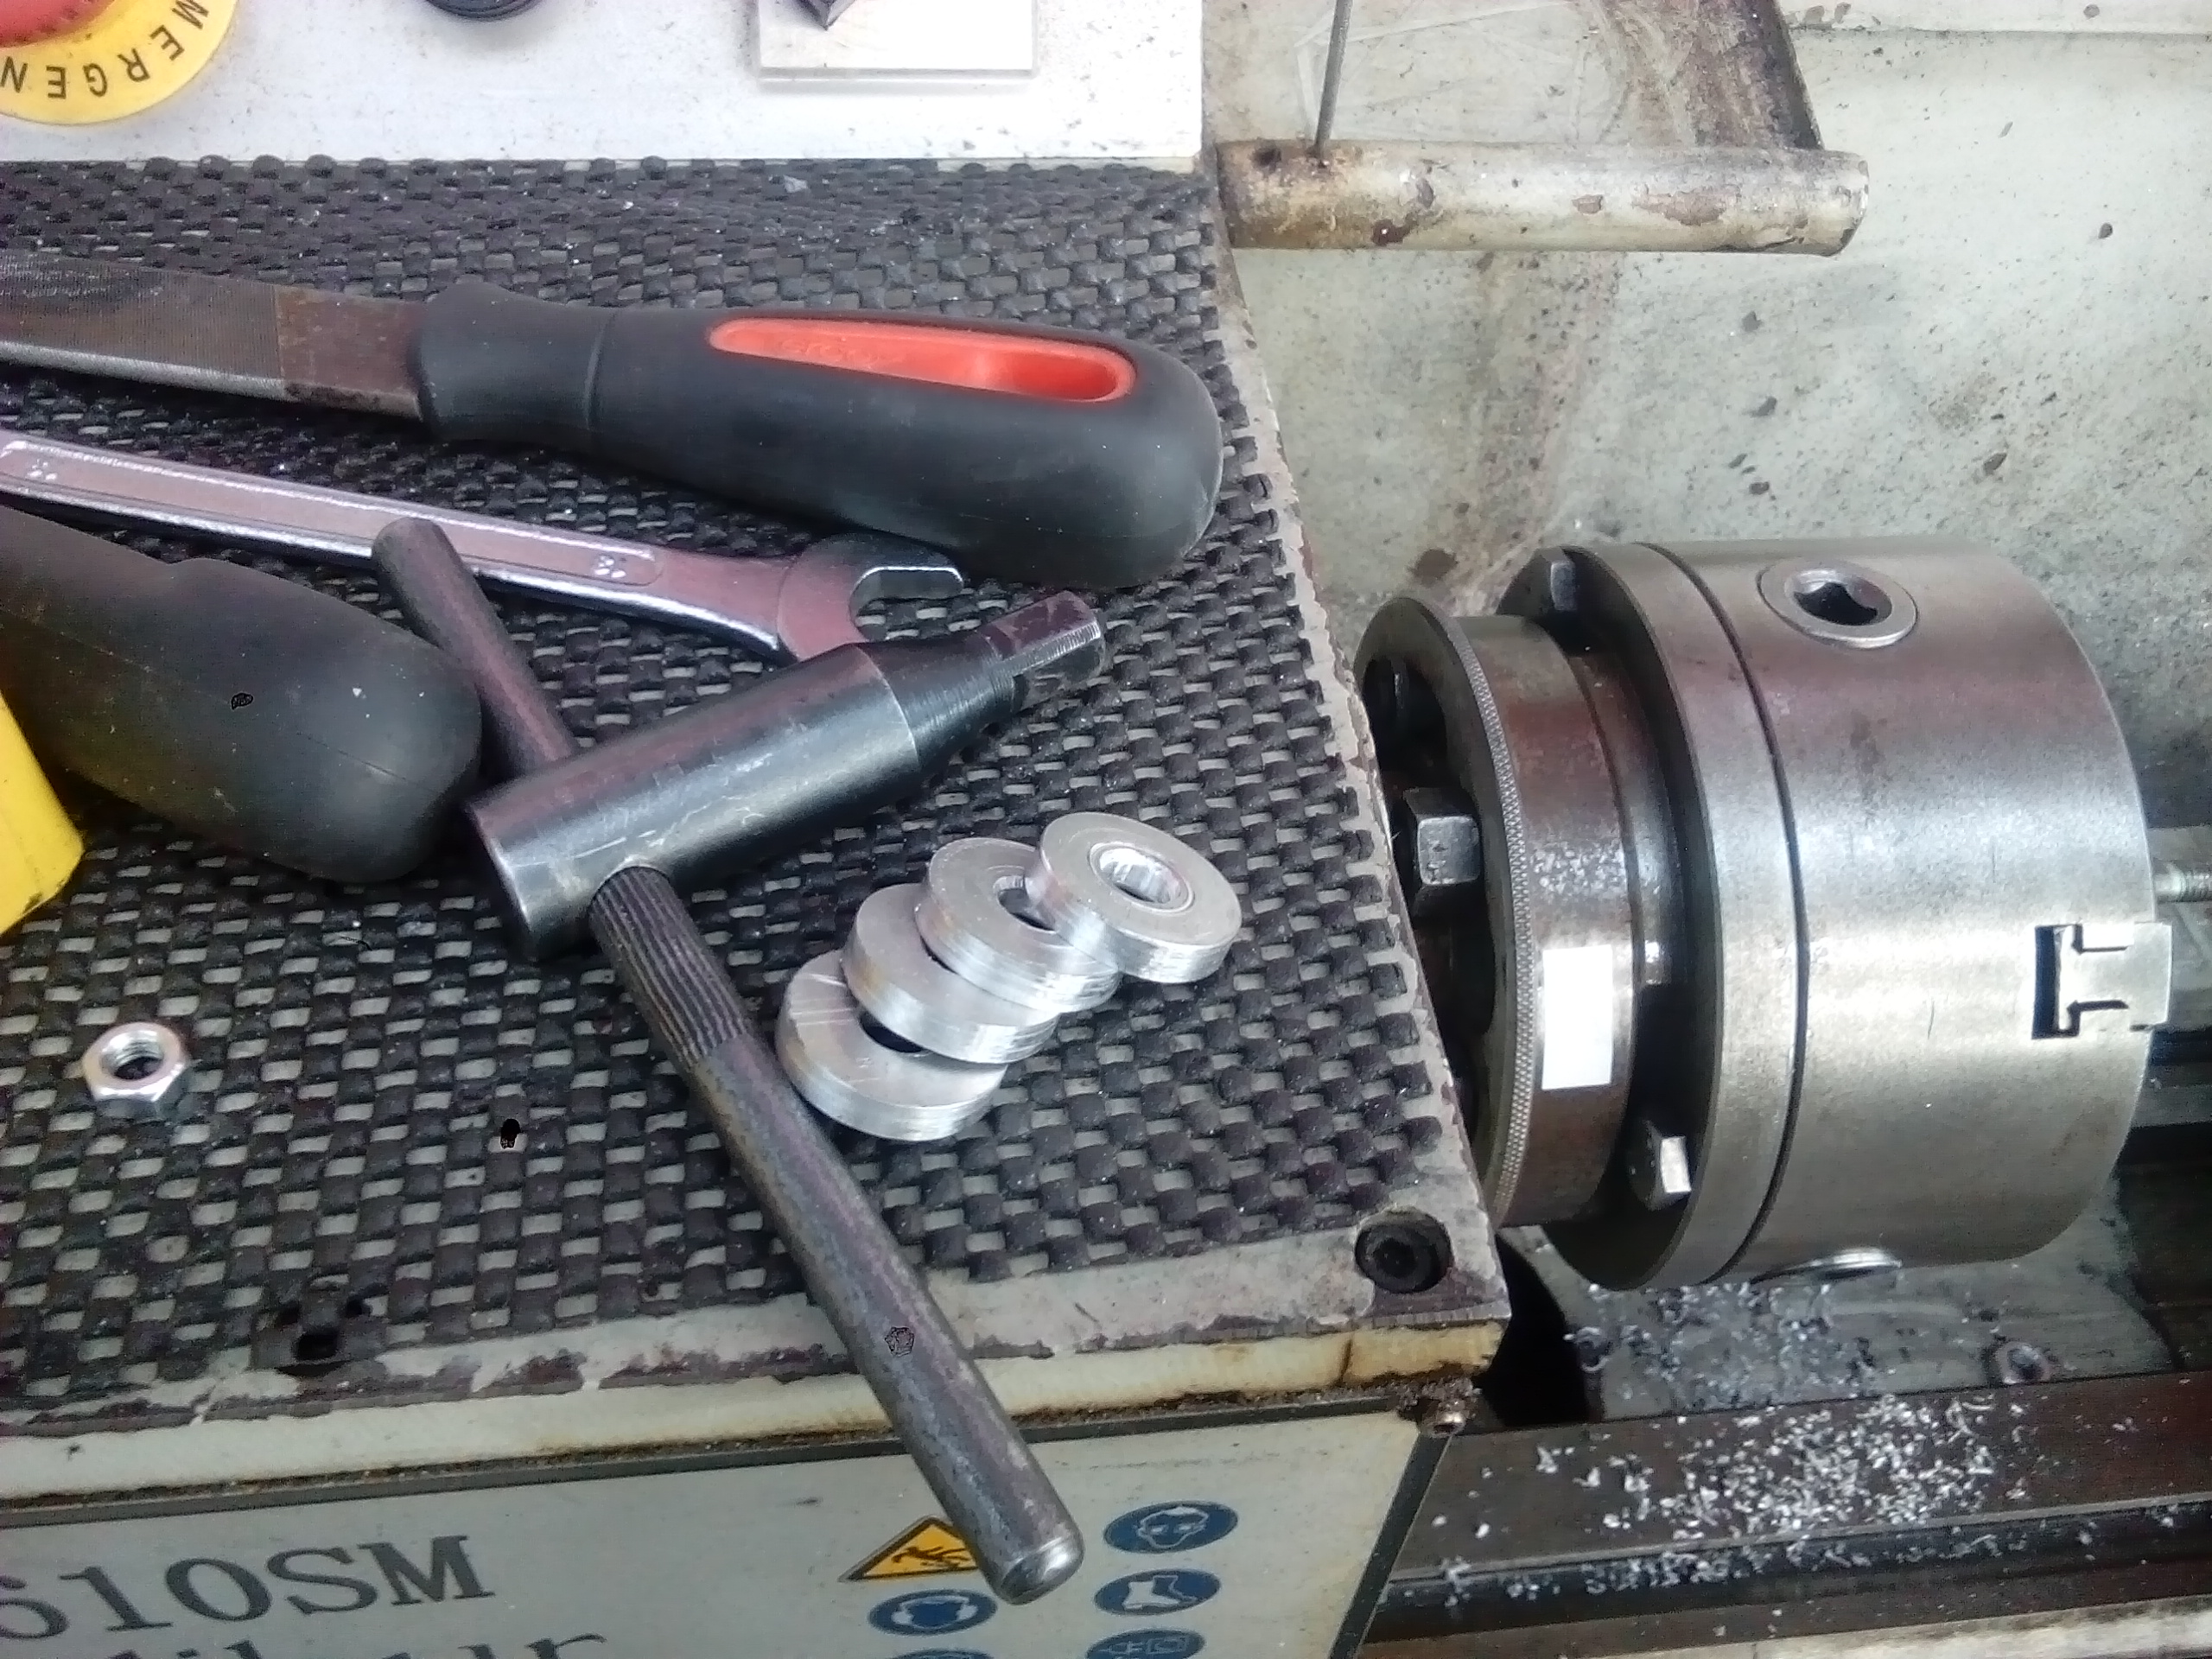
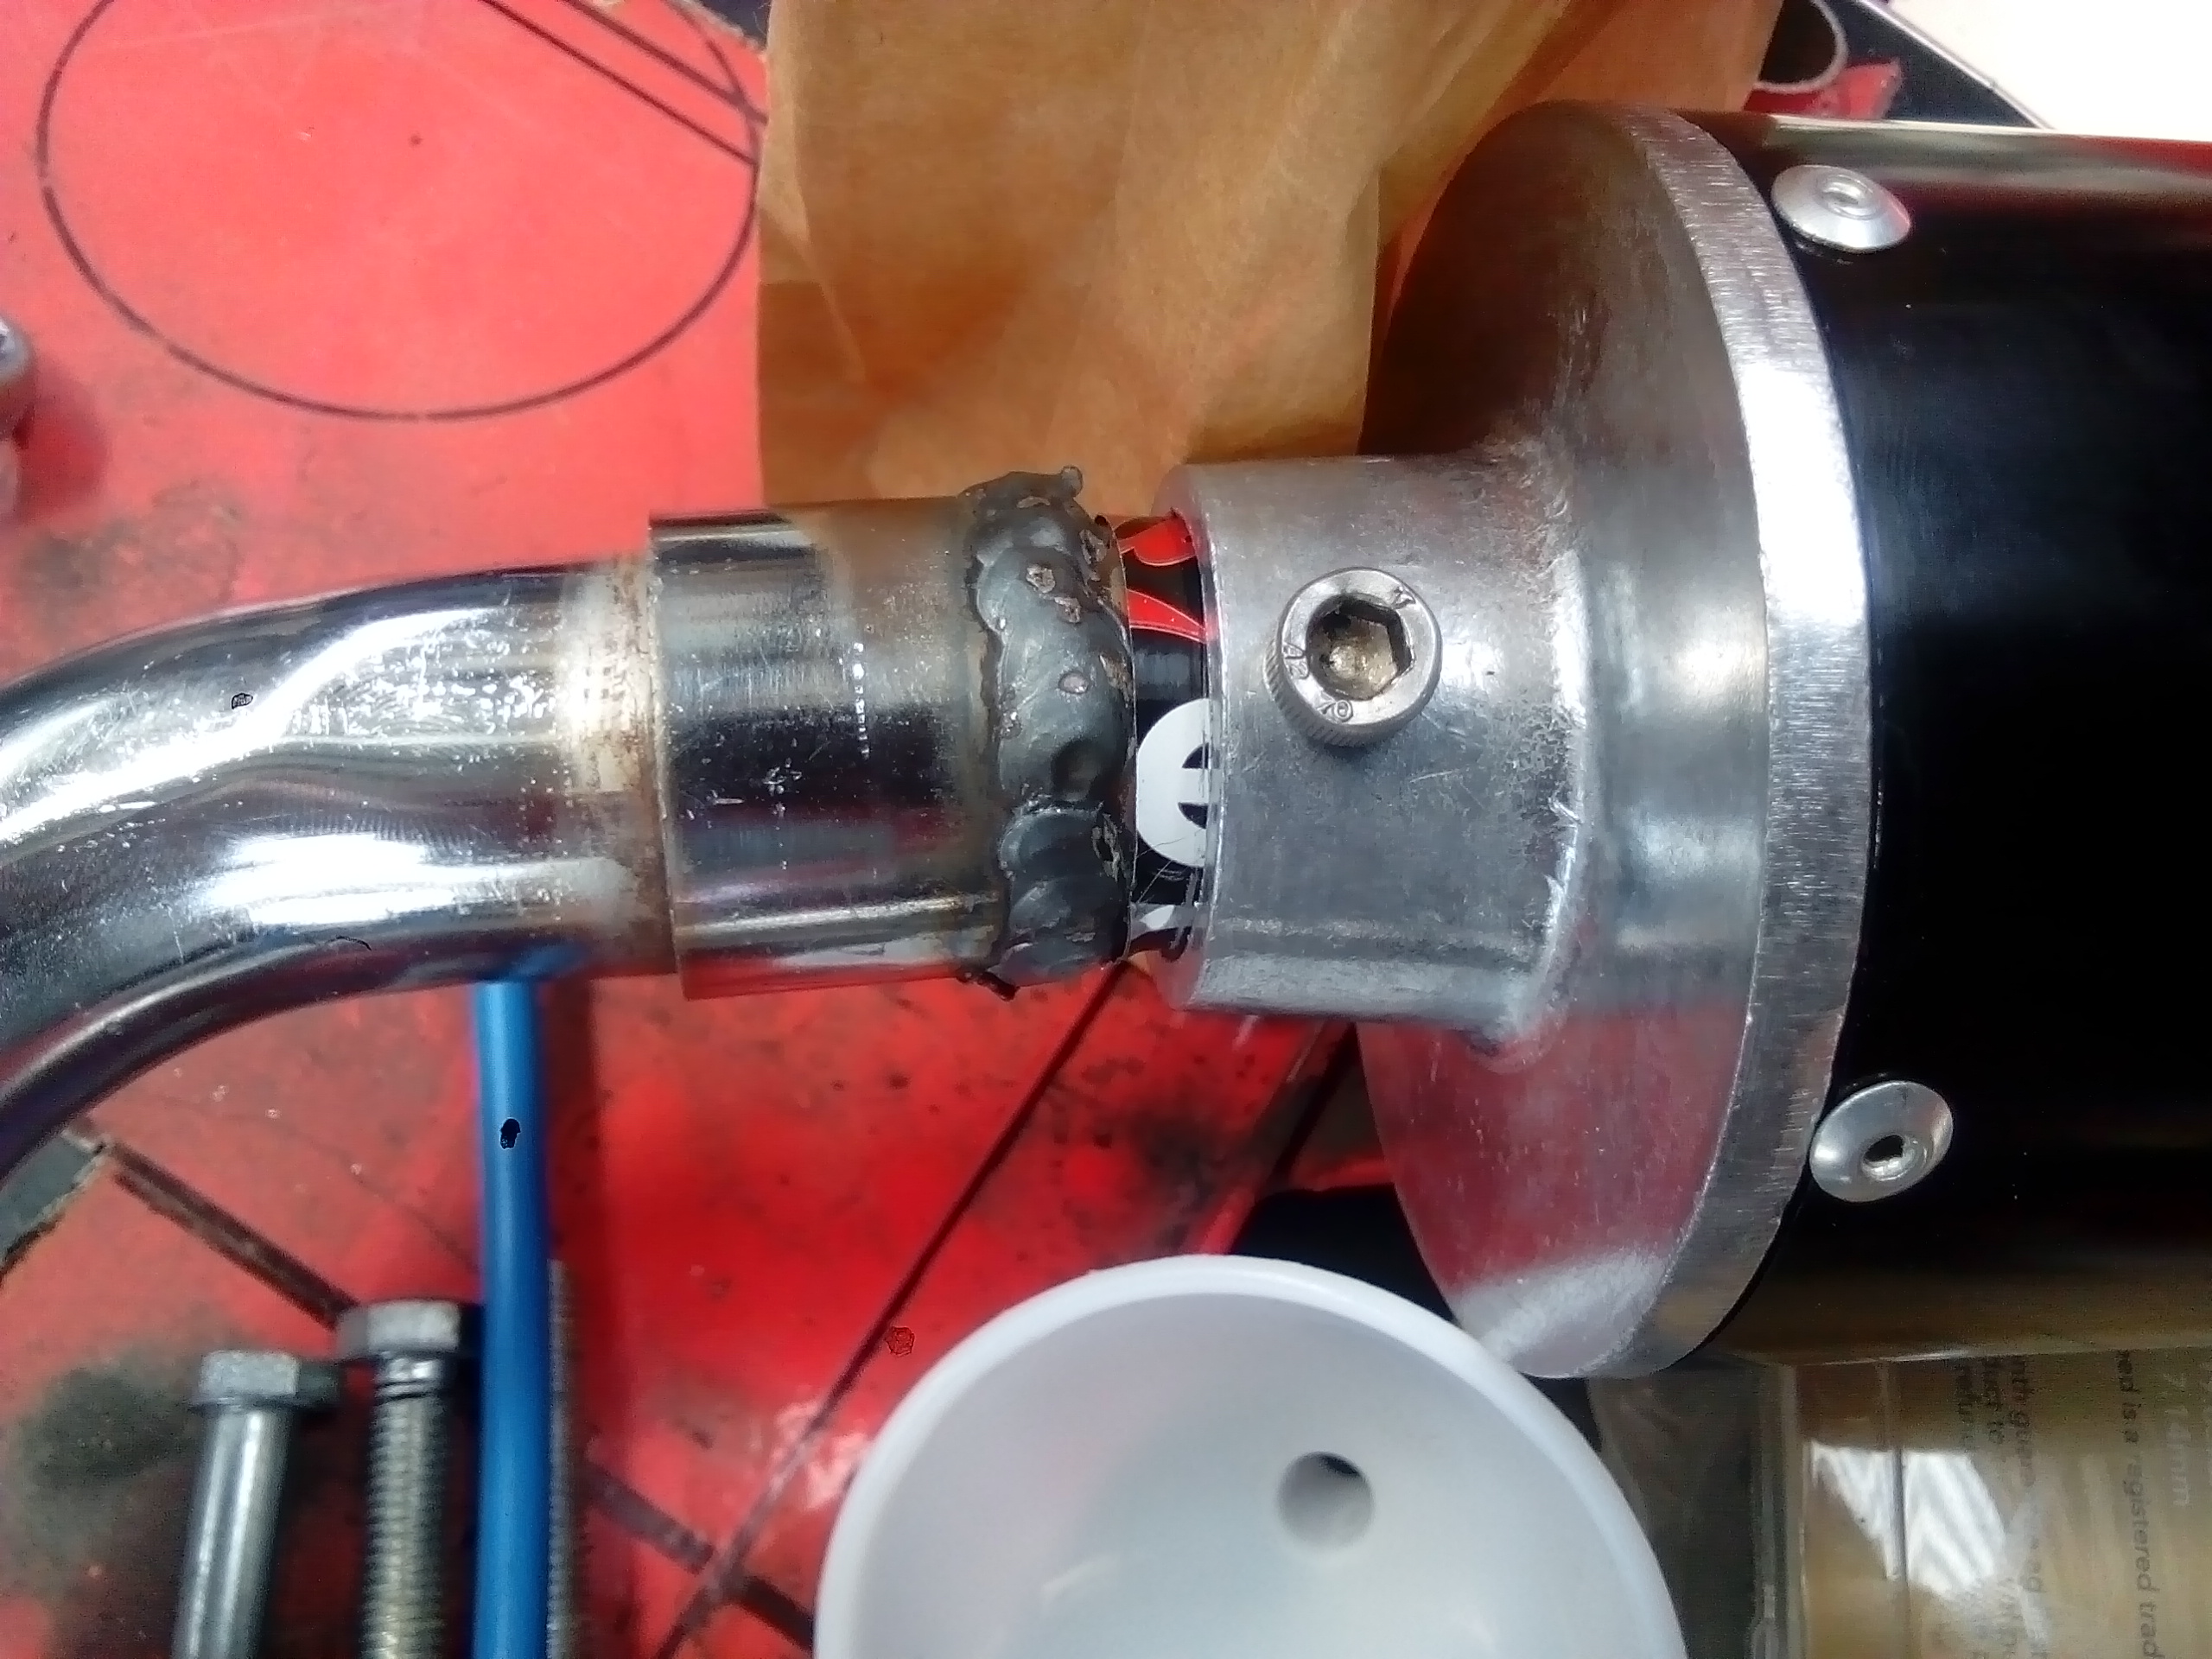
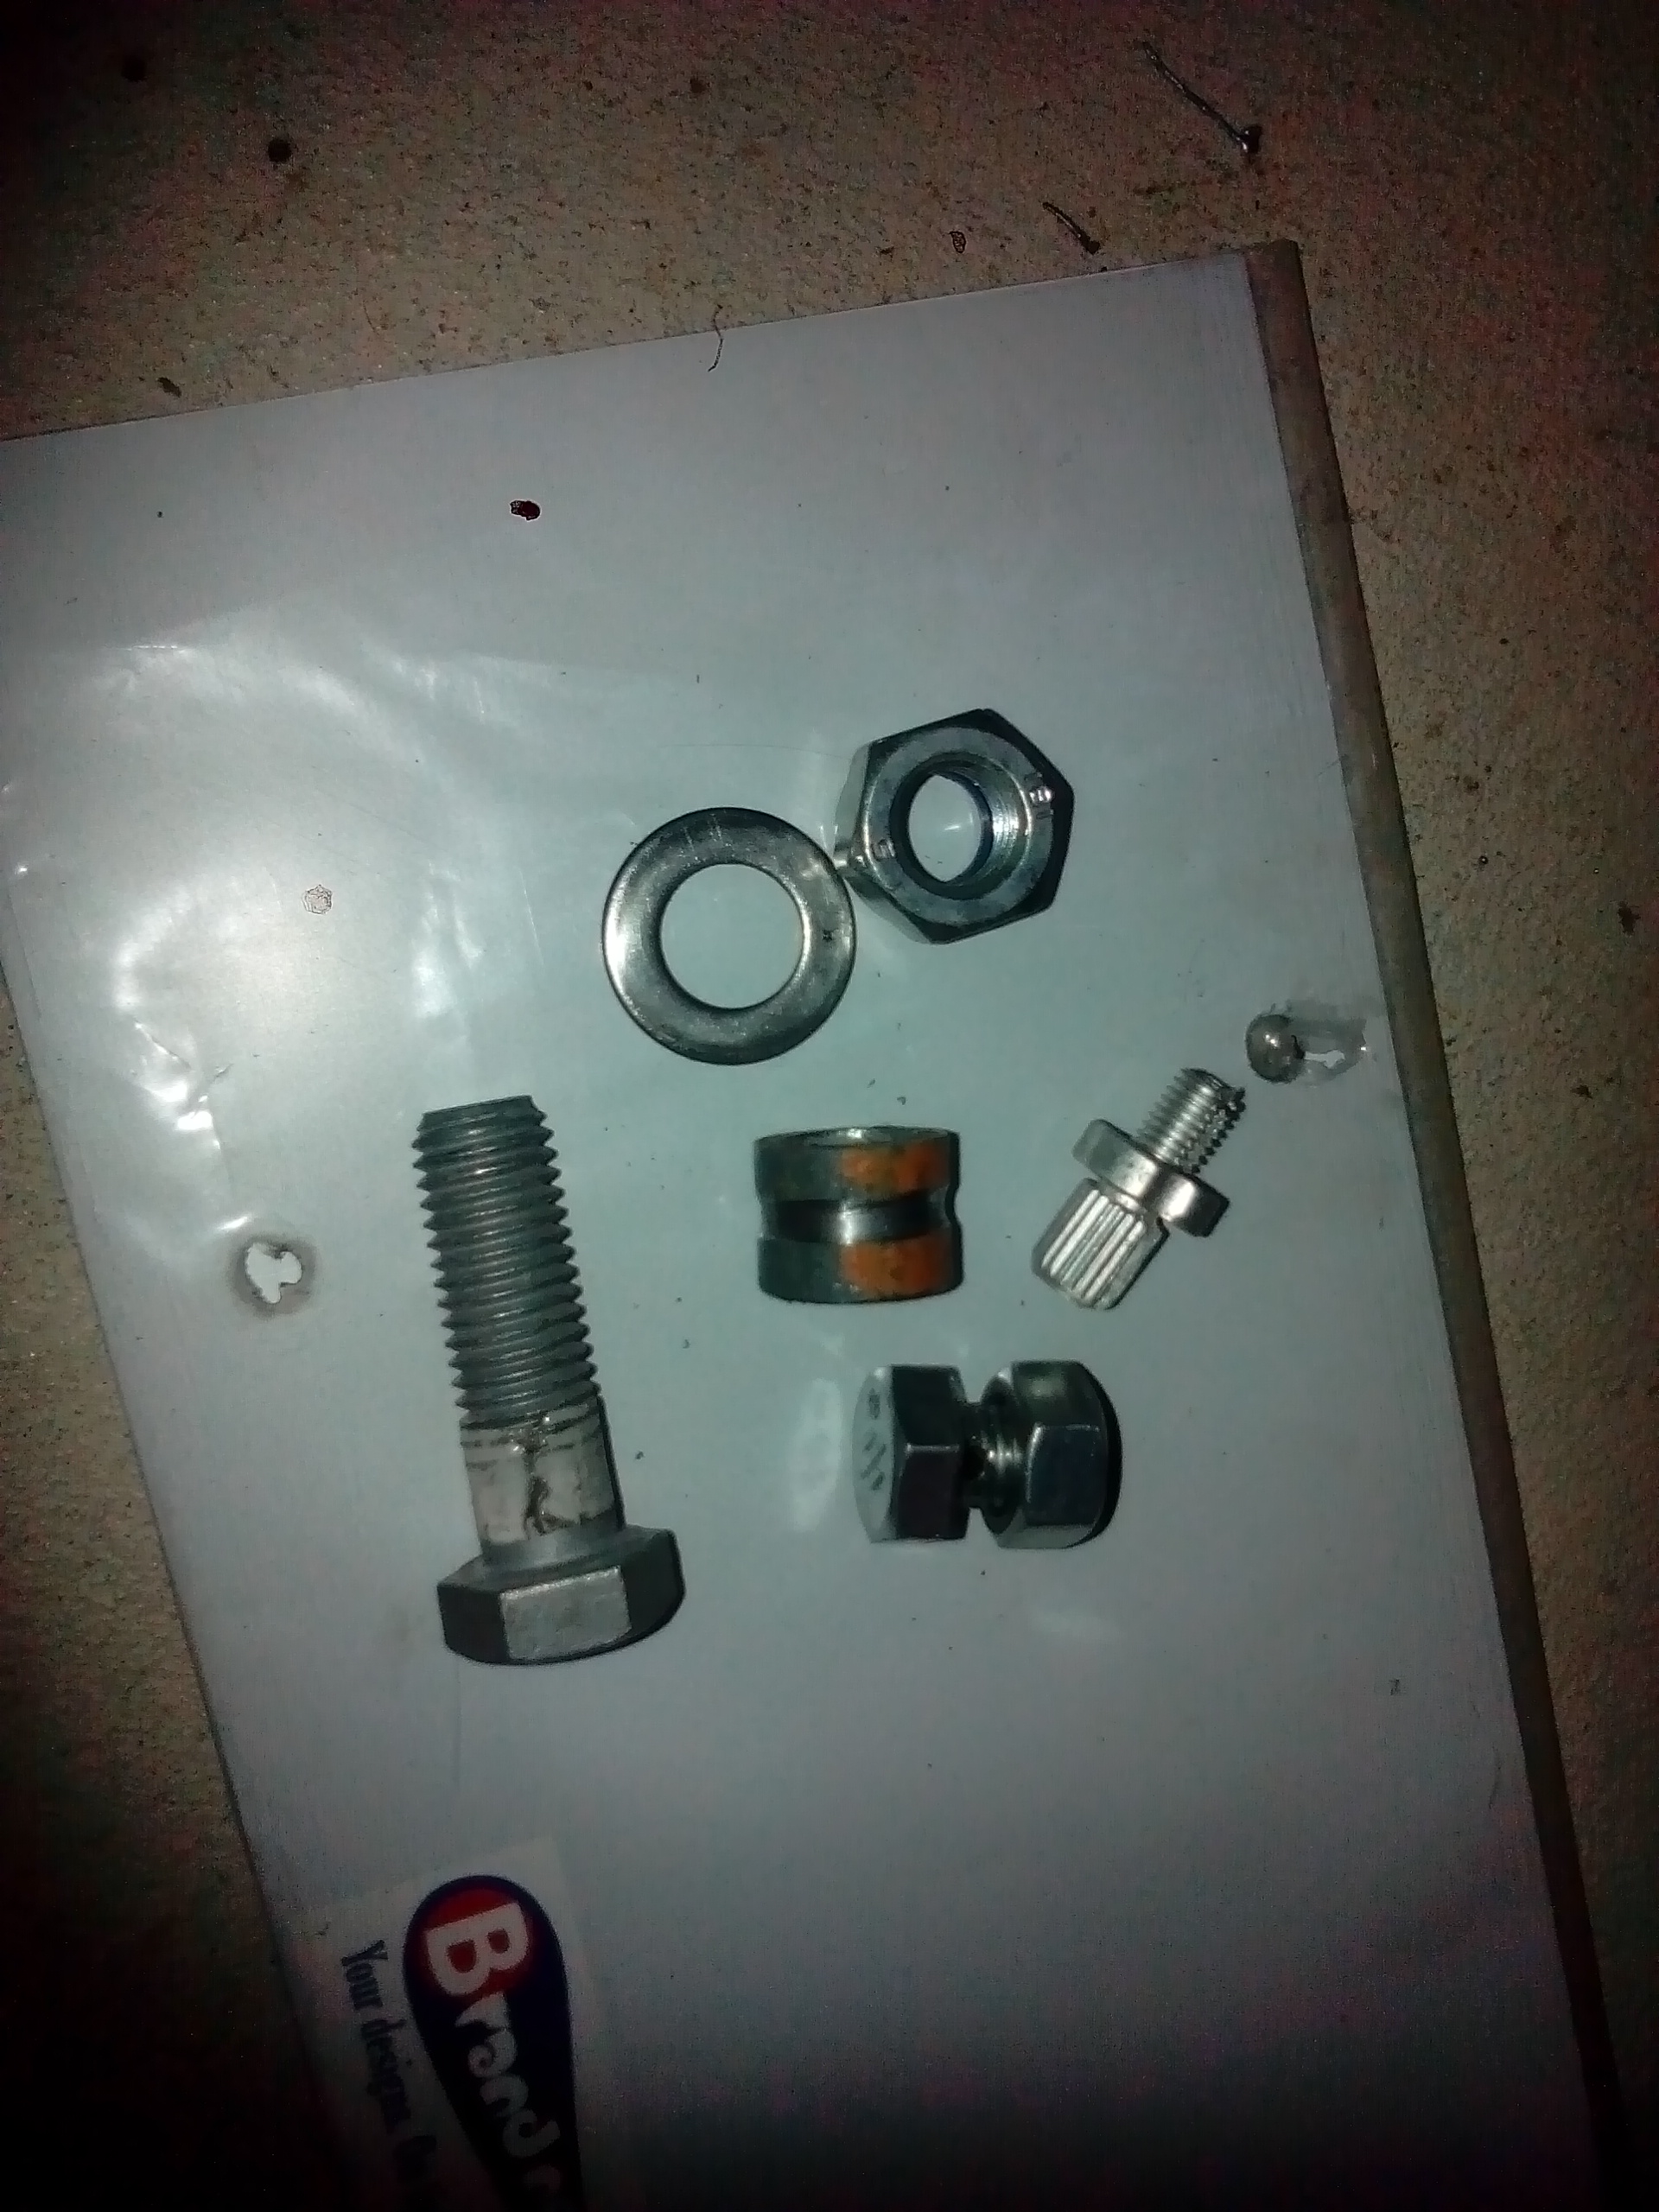
Working on the brakes. It has a huge drum in the rear and a disc up front. May as well make use of what's there...so here goes: This random selection of bits I found/made should almost do it. Should be becoming clearer now So a cable will go around the groove in the "roller" on the bolt. The other bolt has a 3mm hole in it and the cable will double through it and once tightened should lock the cable. More pics later.
-
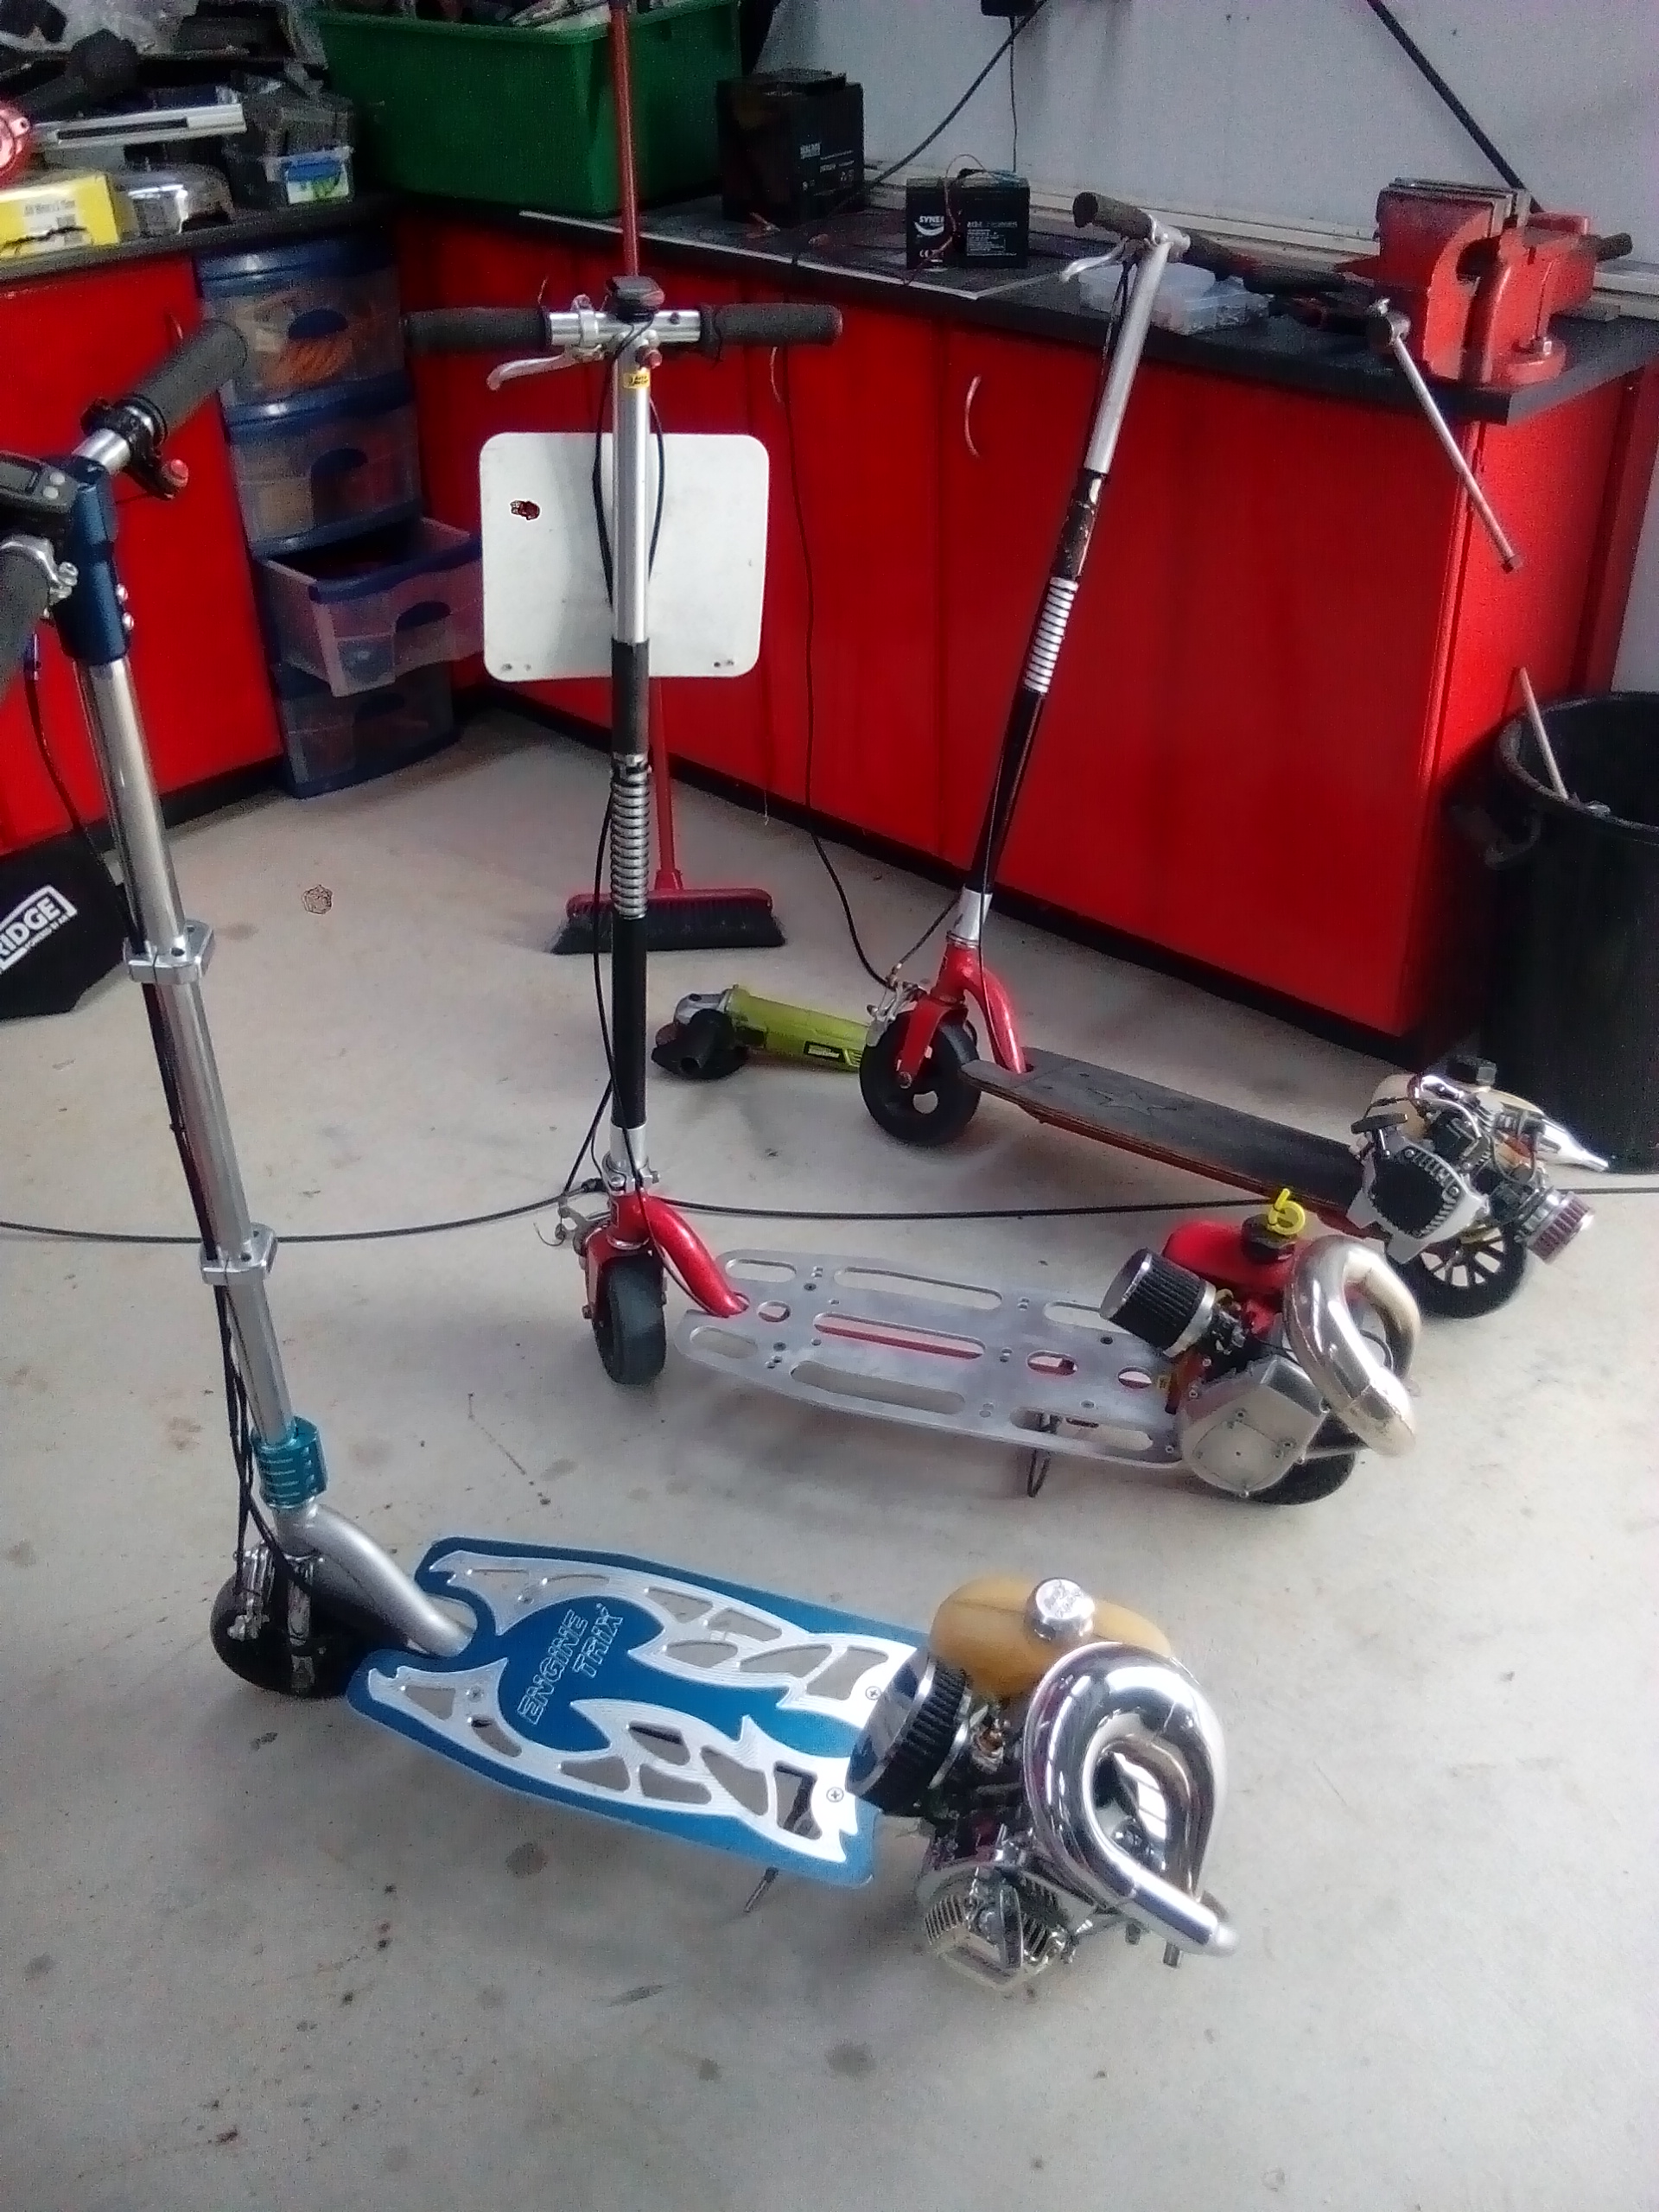
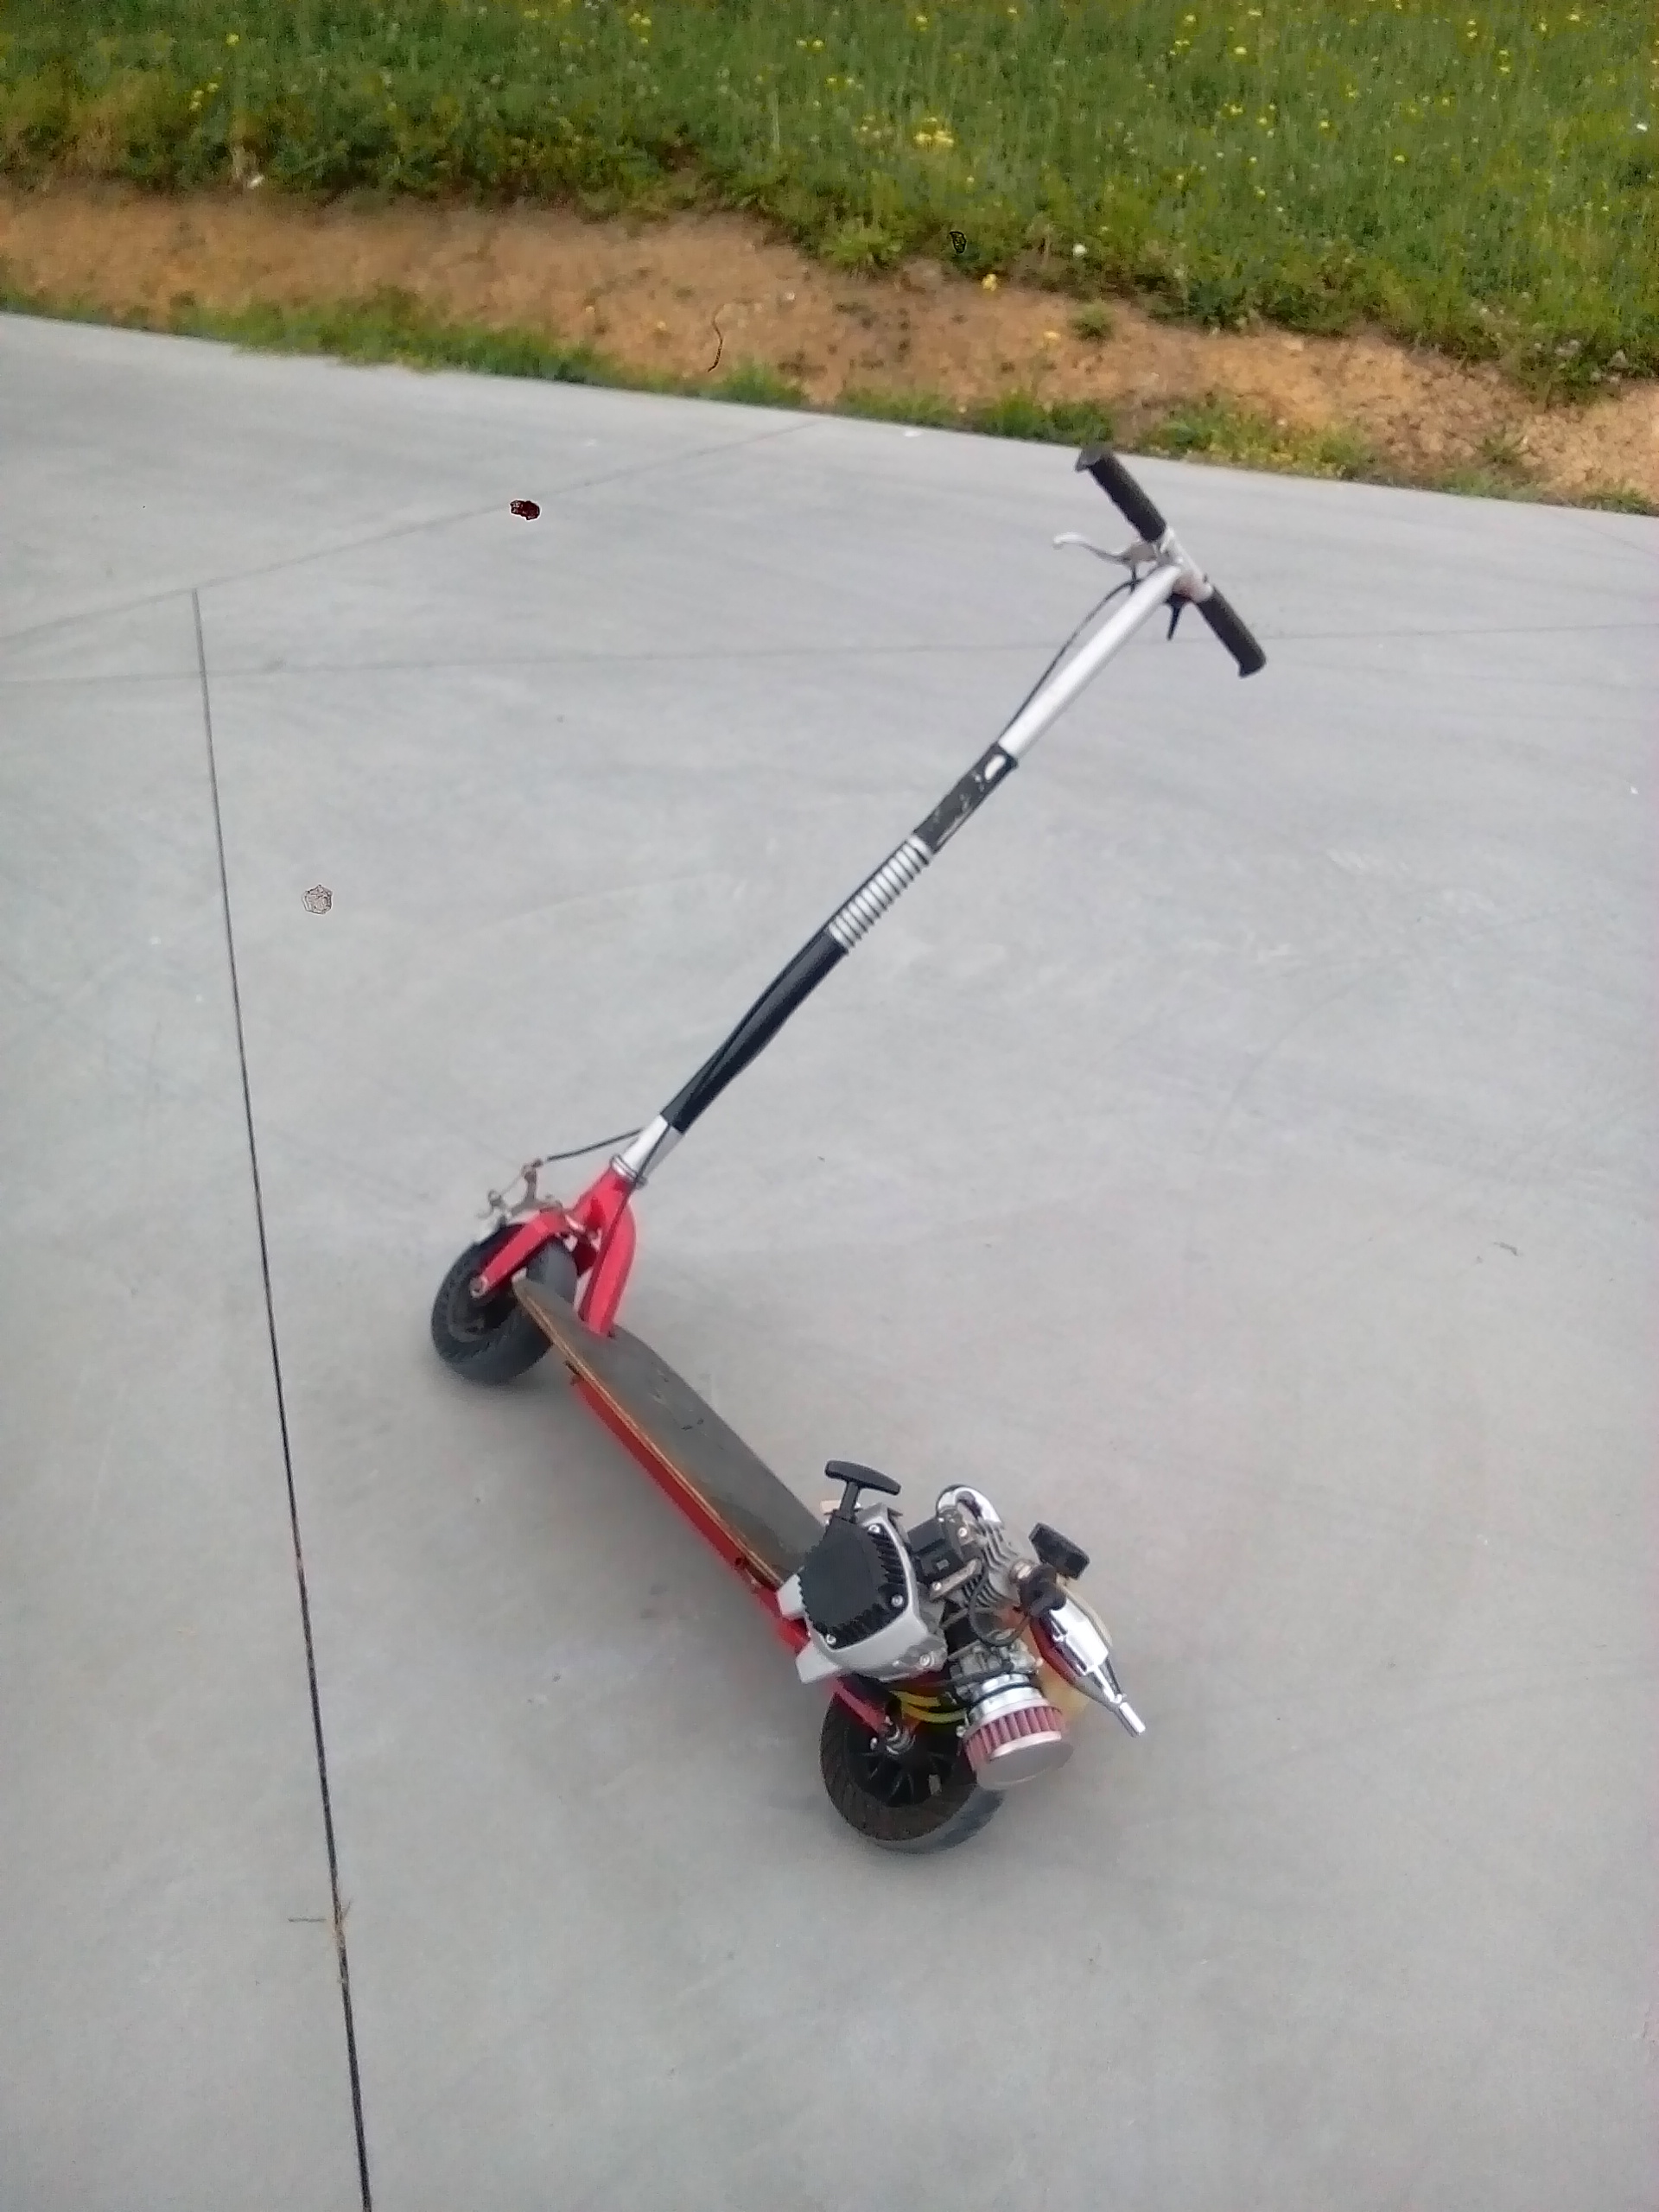
I've been riding my newly made goped around for about a week now...goes awesome, not too loud, quite fast, reliable... yada yada yada... So then inspired by getting back on this goped, I dug out my other two that were buried behind a mountain of shit in my shed... no easy task. Holly fuck they're fast! It's been so long since I've ridden them I truly forgot just how insane the power band is, I nearly flipped it first go! The red one (pictured in the middle) is geared lower and has a brutal transition between slow and hold the fuck on! The blue one pulls like a school boy from slow right up to warp speed, but is far smoother to ride. In a straight line the blue one is fastest.
-
Cool, looks fun
-
@Muncie what size motor were the carbs off?
-
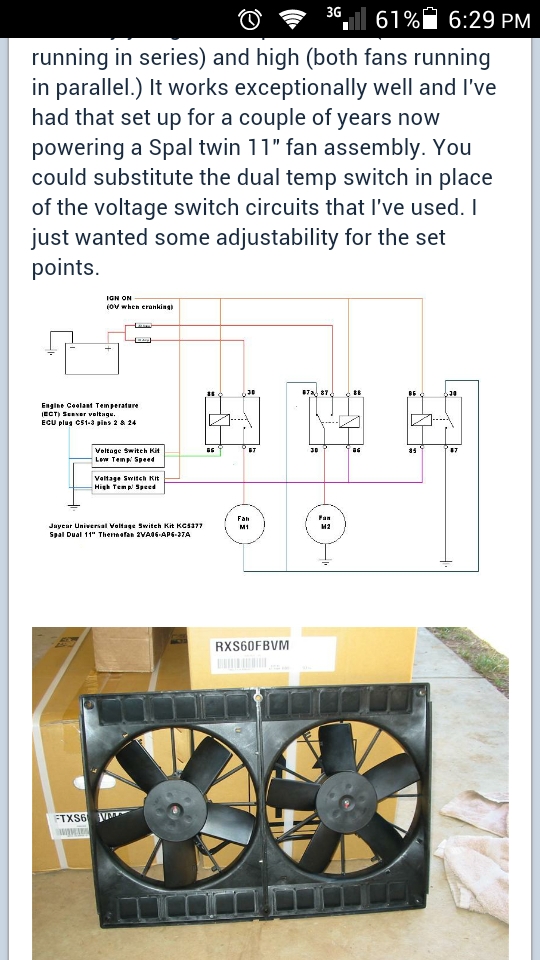
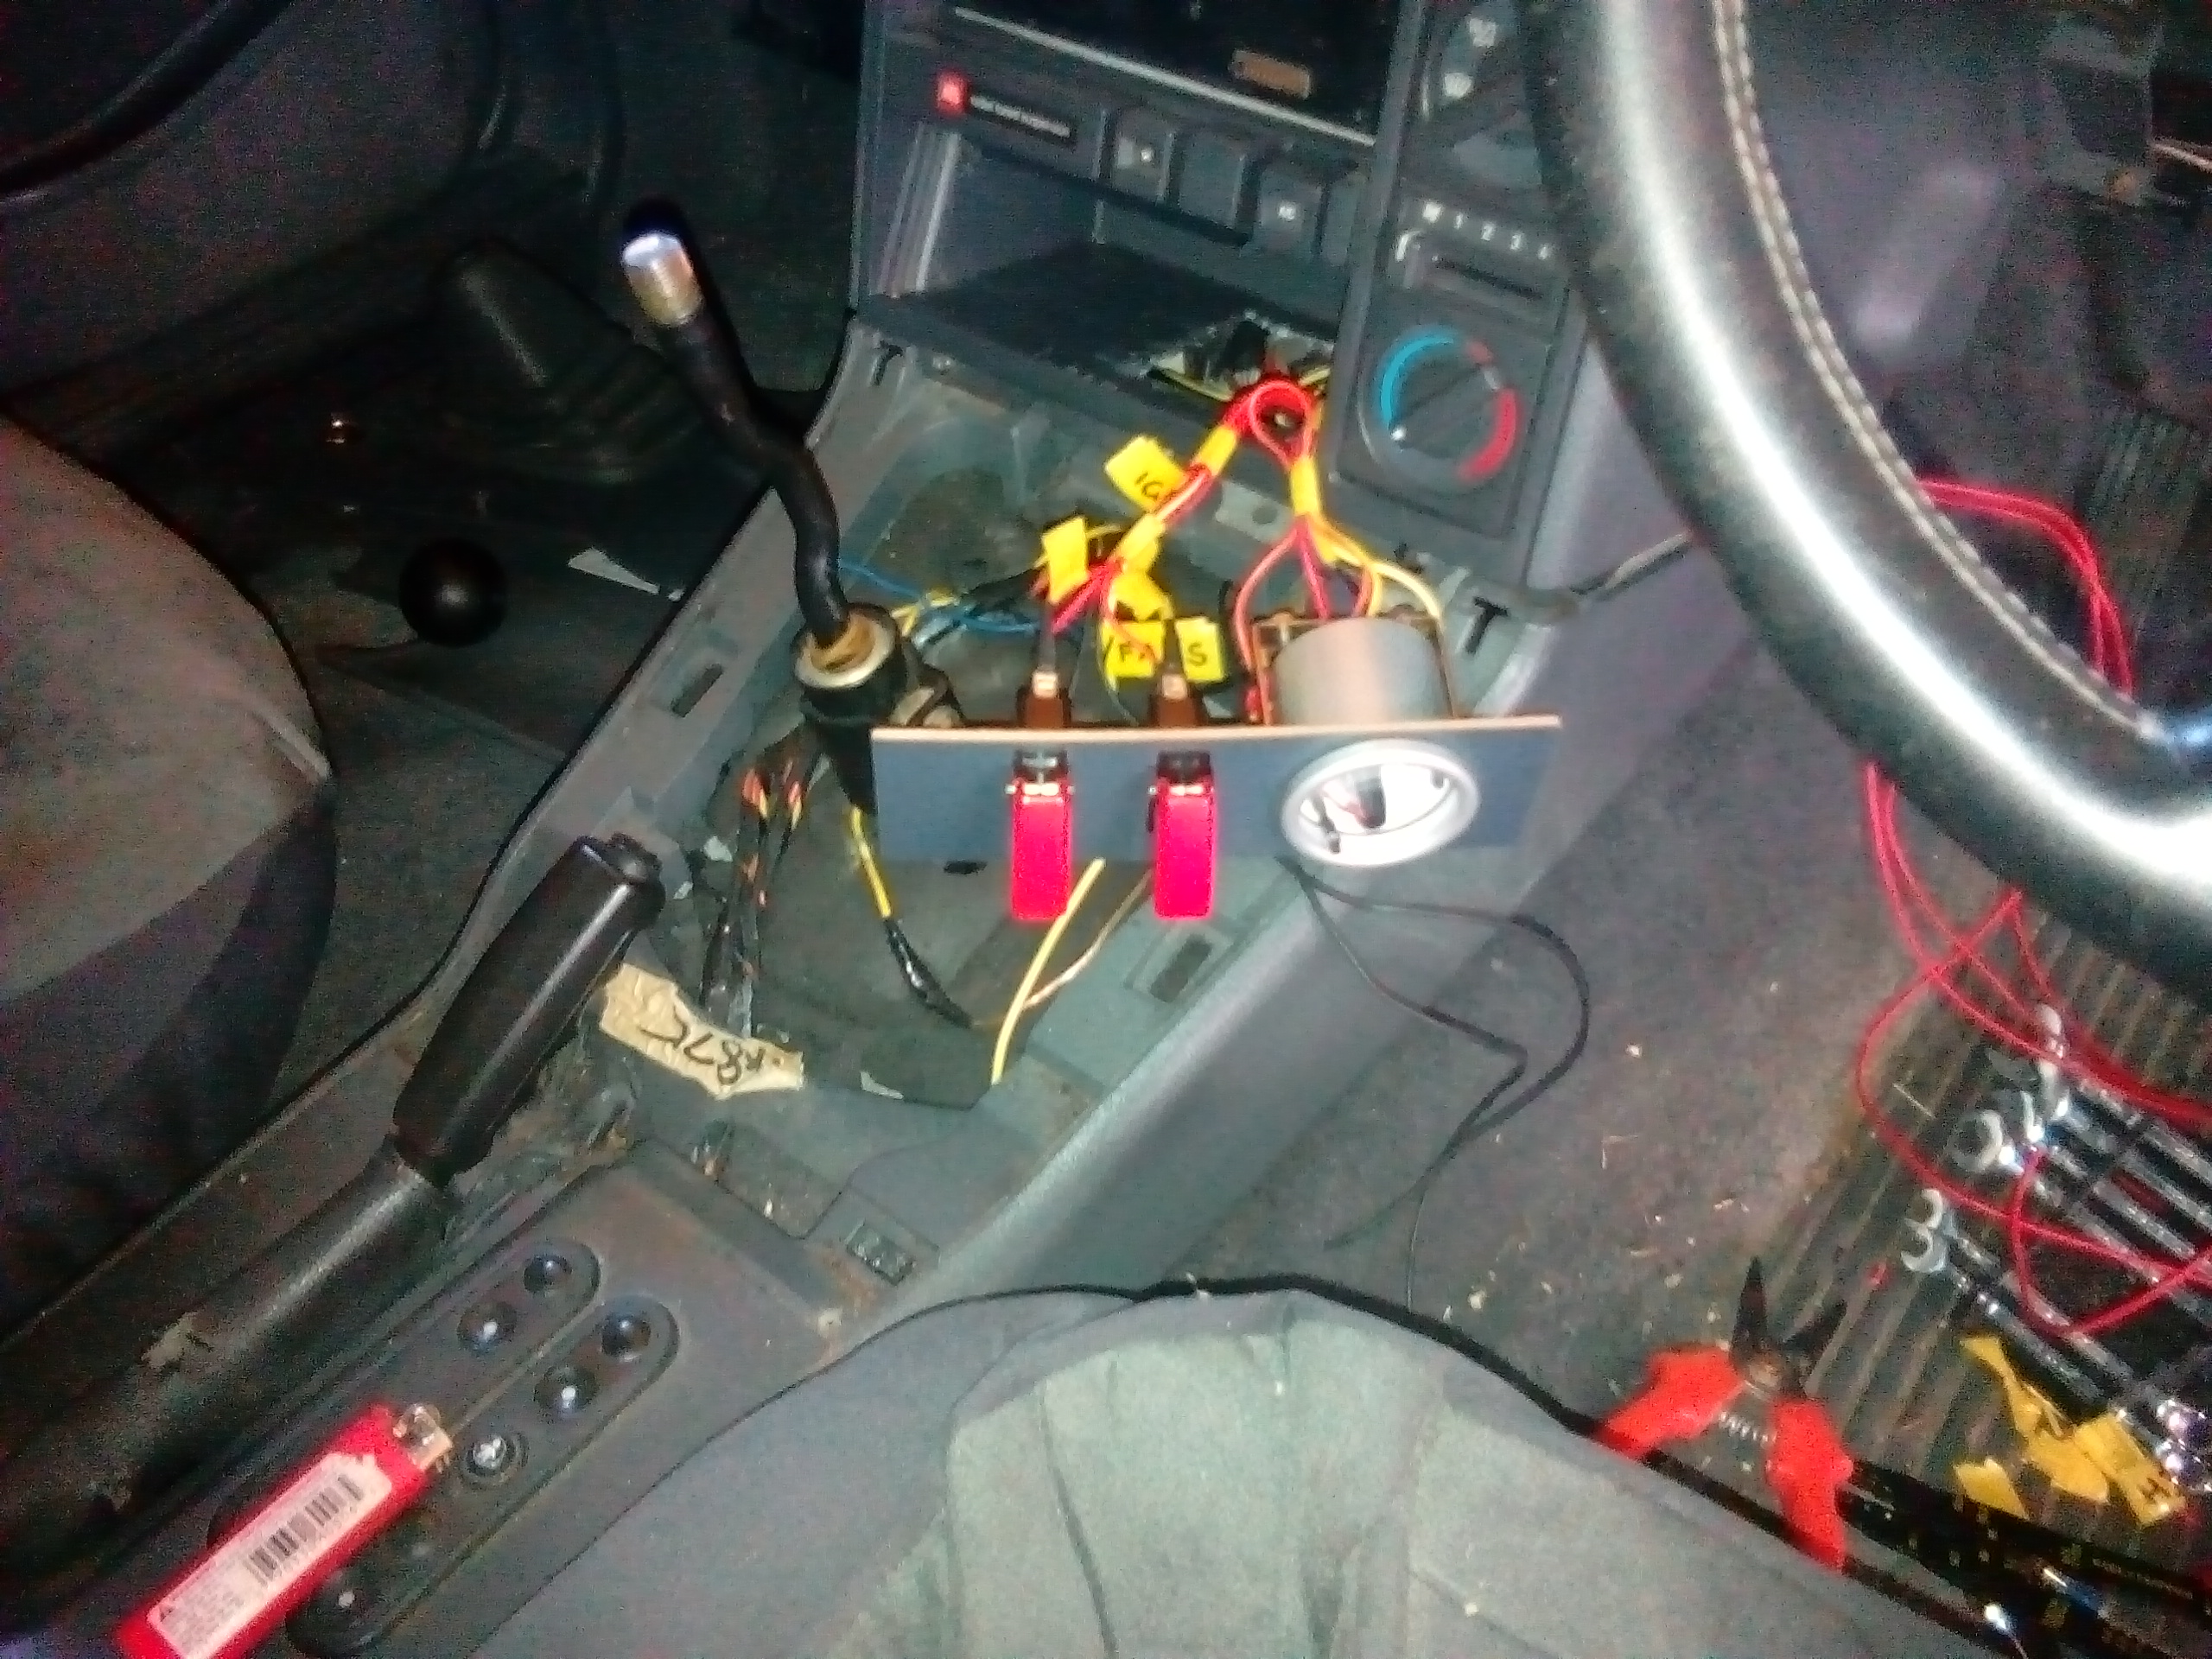
Here's the wiring diagram I also put a couple bypass switches in so I can manually override each fan separately if I suspect my vehicle might enter "a state of sustained loss of traction" where the engine may get hot, I can manually turn the fans on prior to giving it some jandal!
-
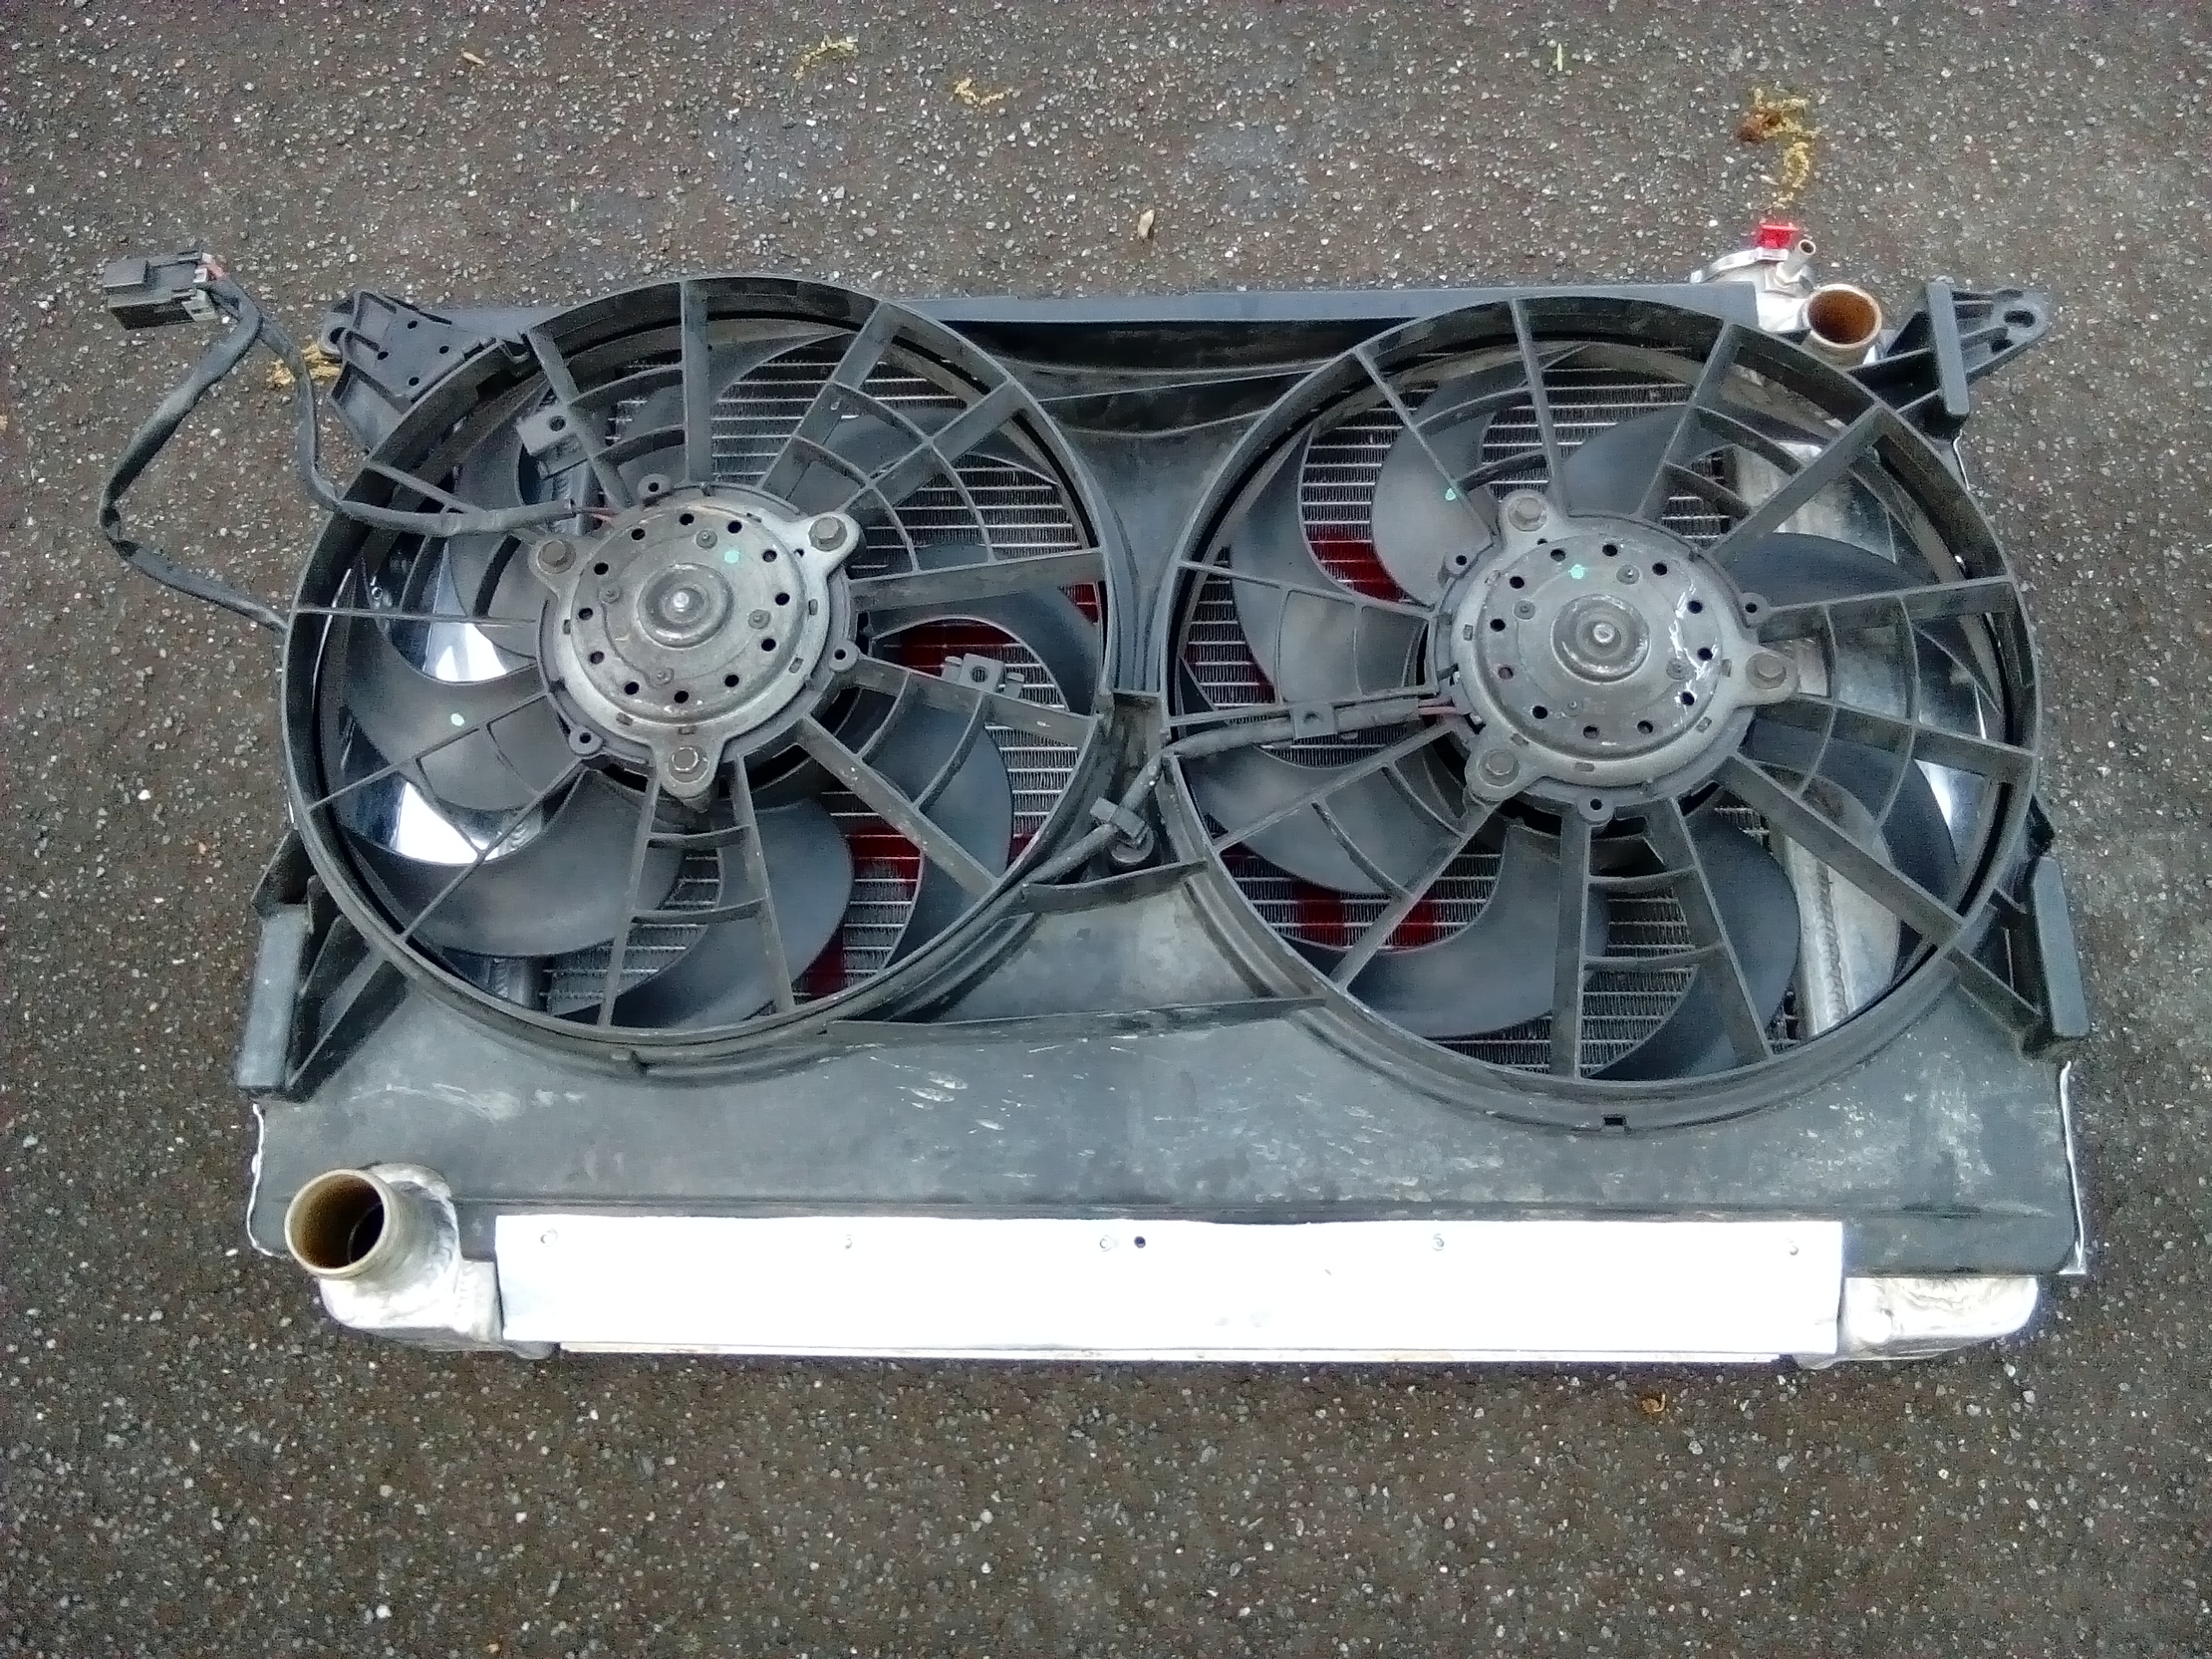
I fitted a (either EA or AU, can't remember) ford falcon fan to mine. Apparently they are the shizzle when it comes to electric fans, pumping out twice the air anything Repco would sell you. I had to cut it up a bit to make it fit, but got there in the end.
-
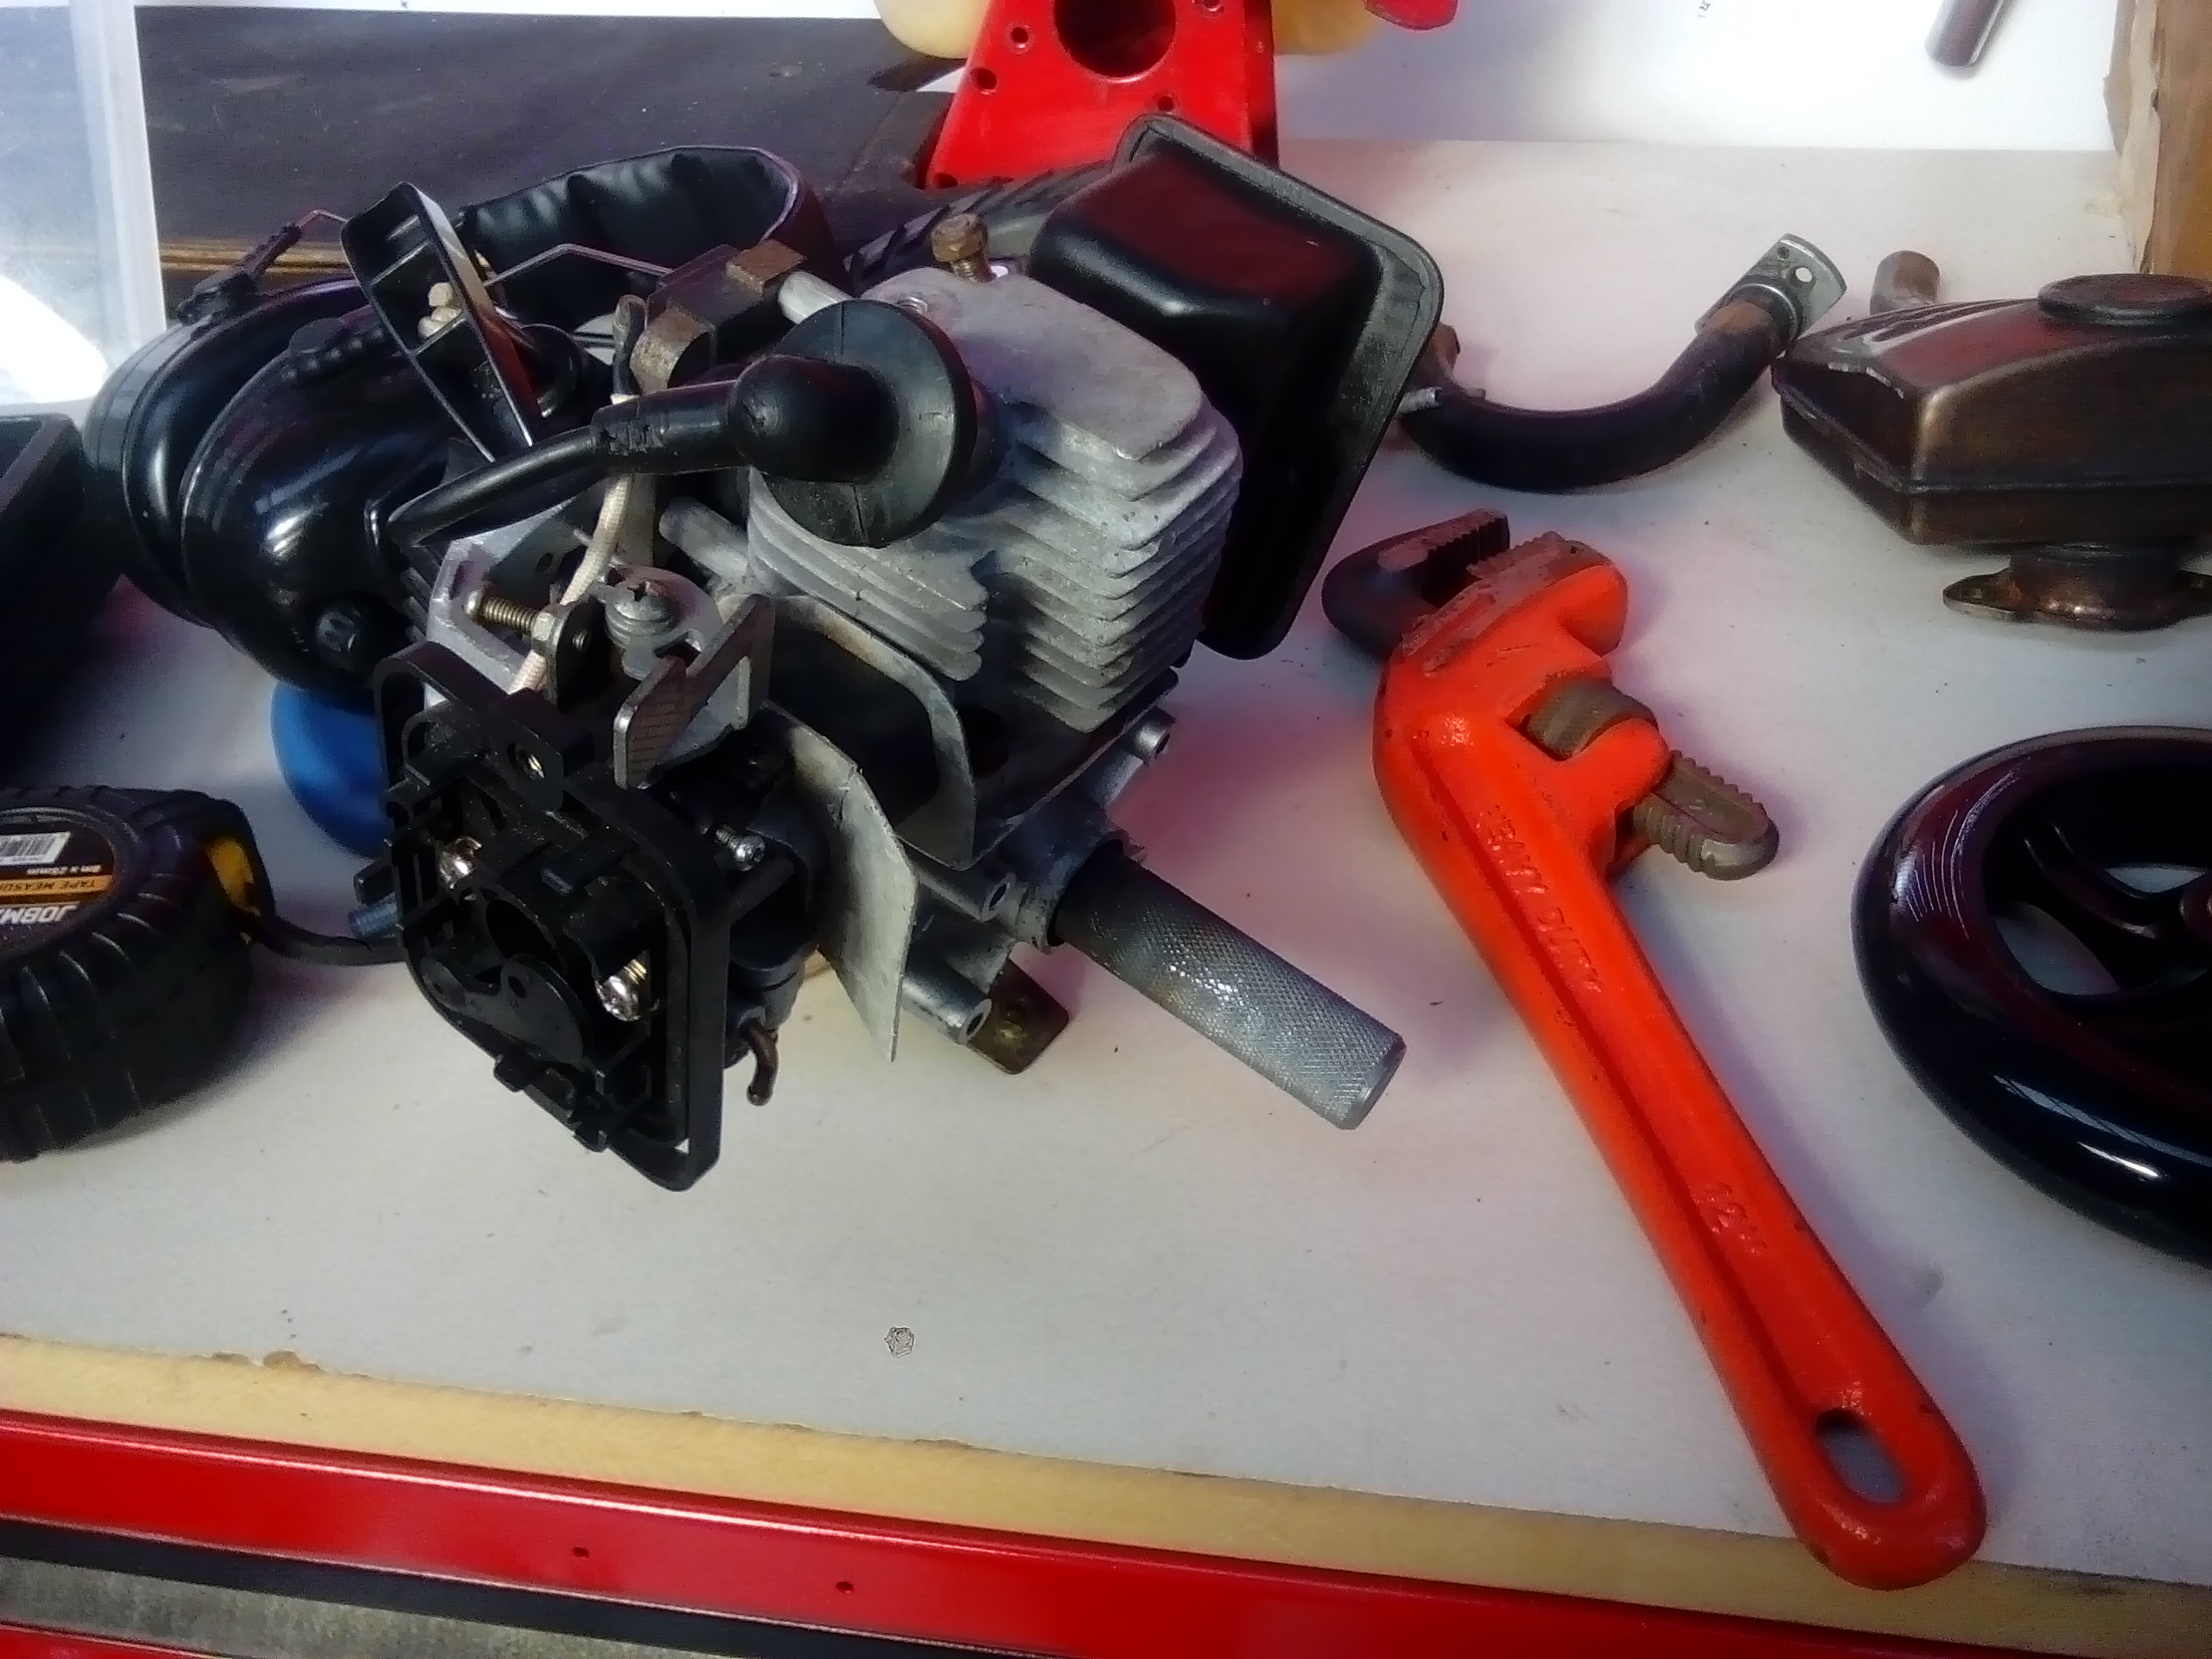
Then I kind of got in the zone and forgot to take pictures...oppps? But I made: -An adapter for the air filter -Cut up an RC car expansion chamber and made it fit this application. -And machined up some fiddly little stuff to adapt the carburetor to take a cable, as the original was driven by a RC servo. I fitted a deck and other bits left over from past goped projects. Replaced all the old fuel lines with new. Pulled the starter...brommm brommmm...yeah buddy, success!!!!
-
Here it is getting fitted to the engine:
-
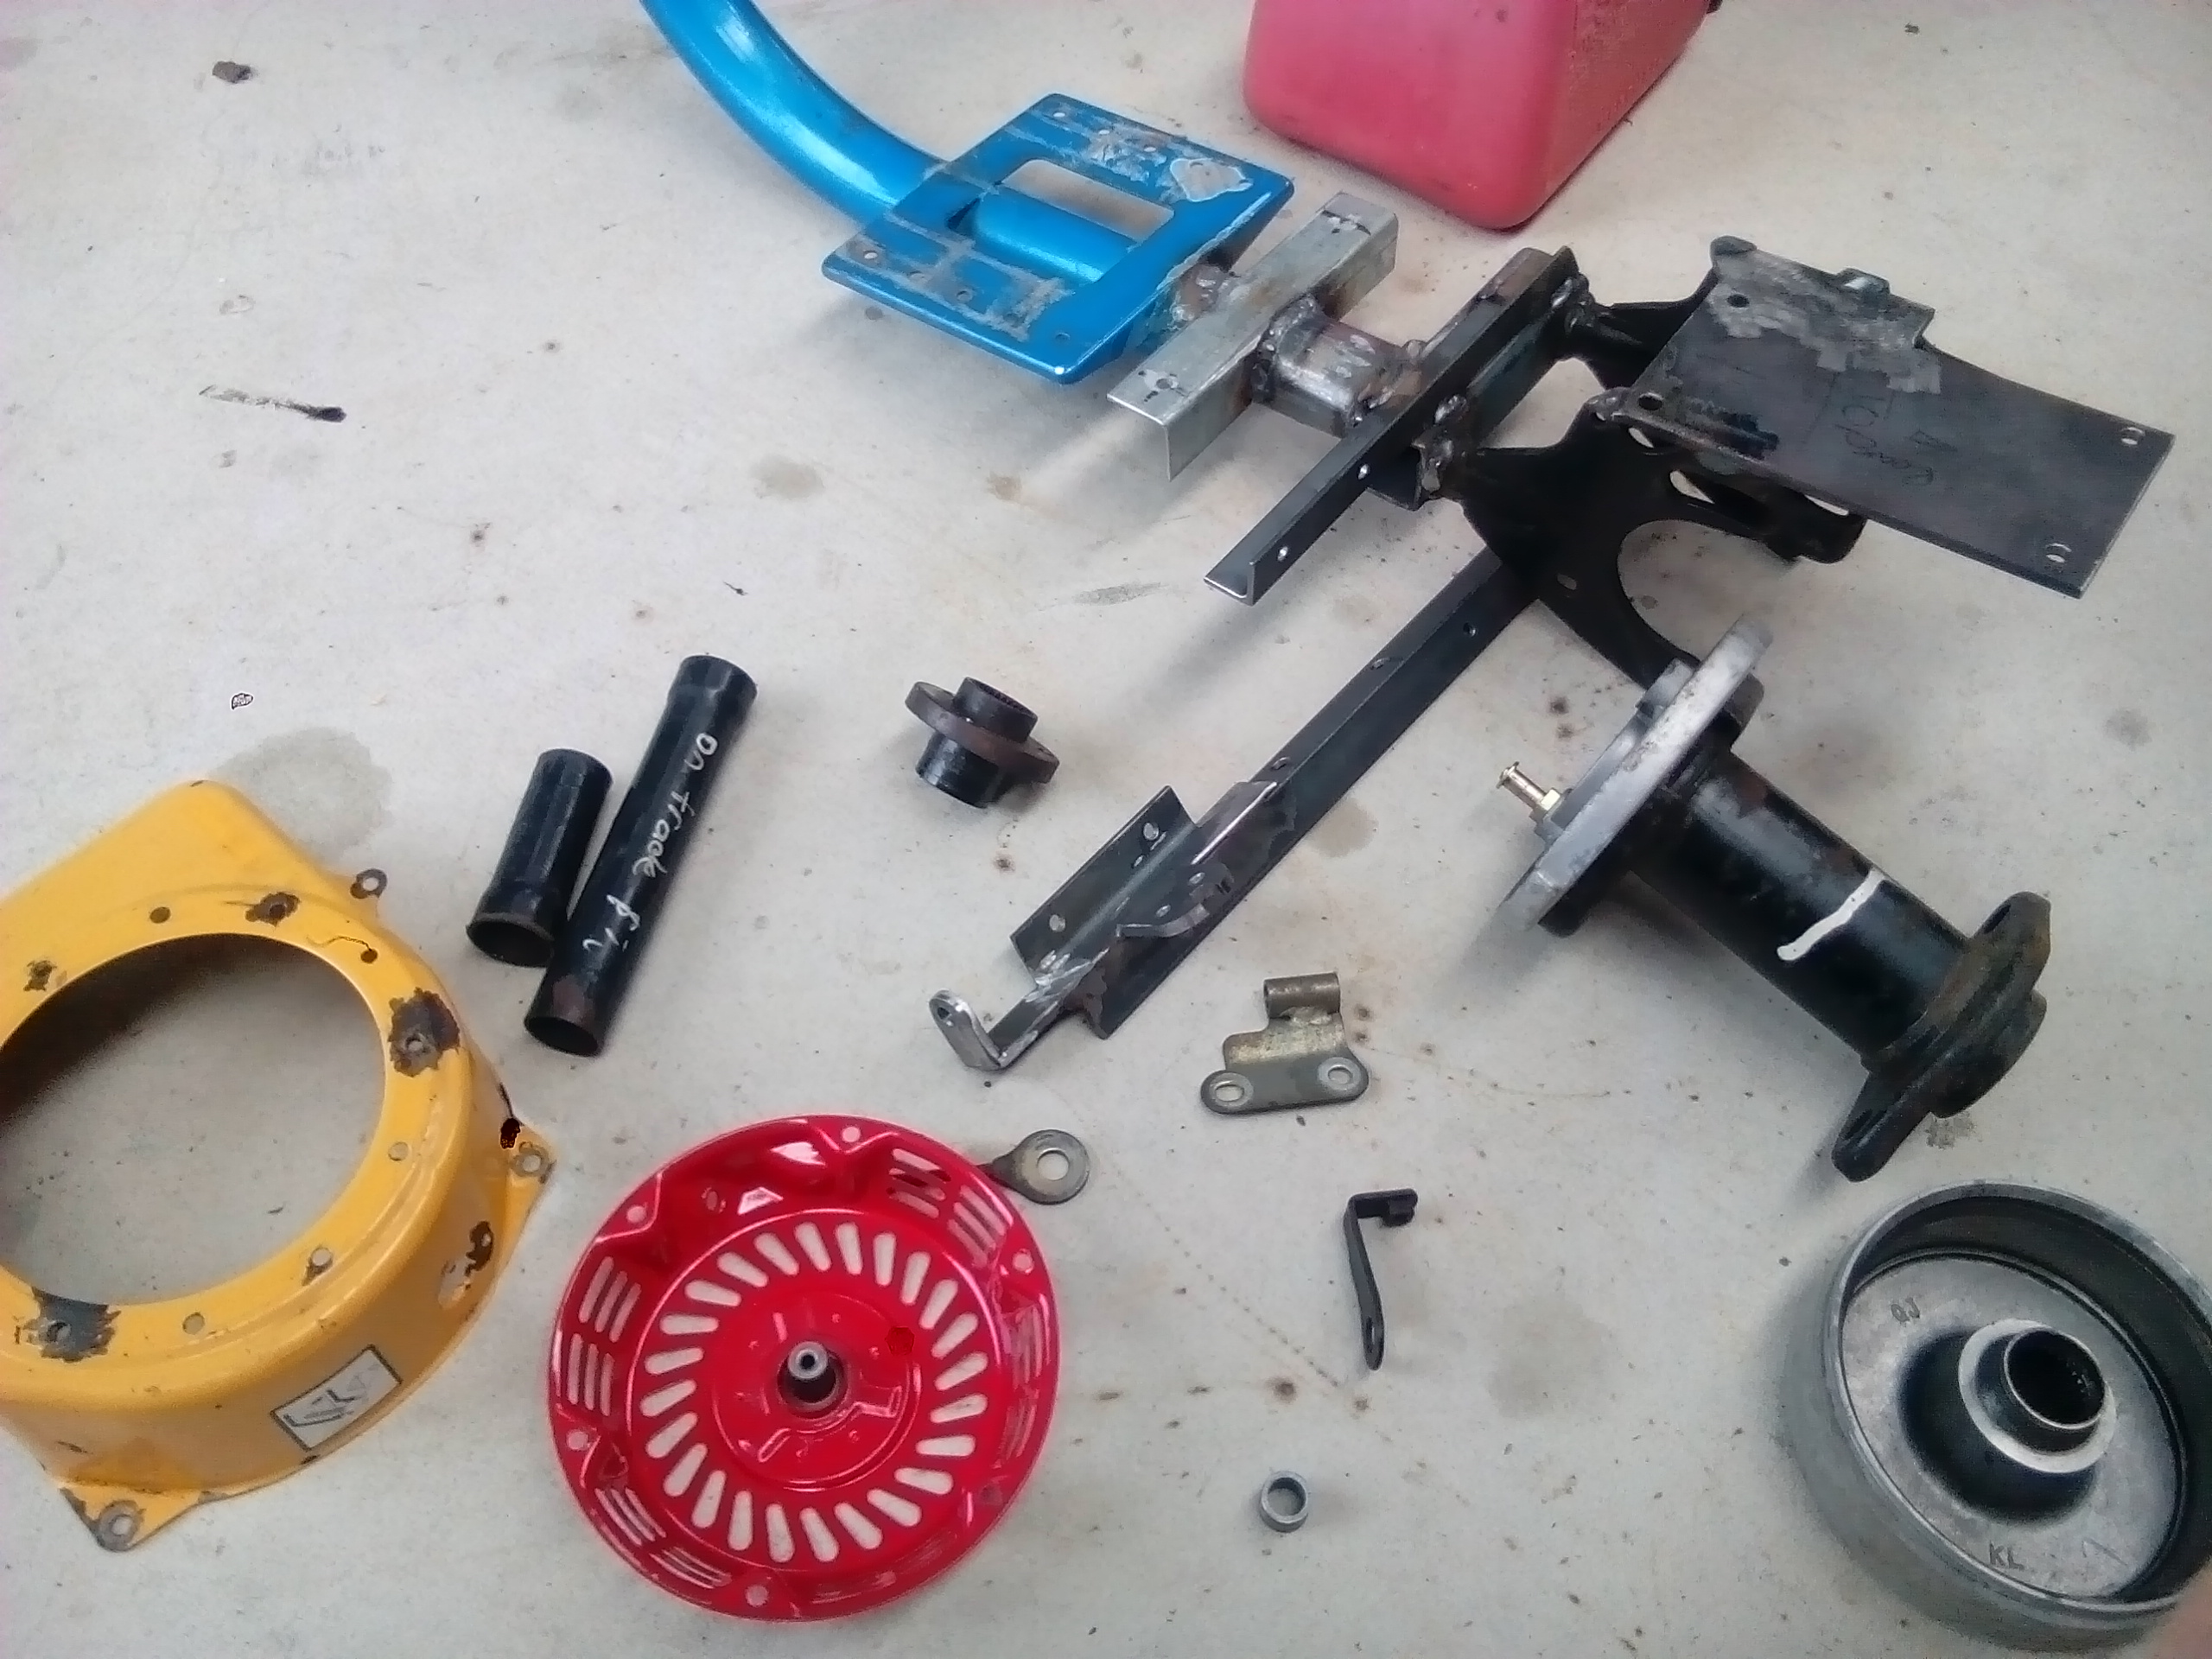
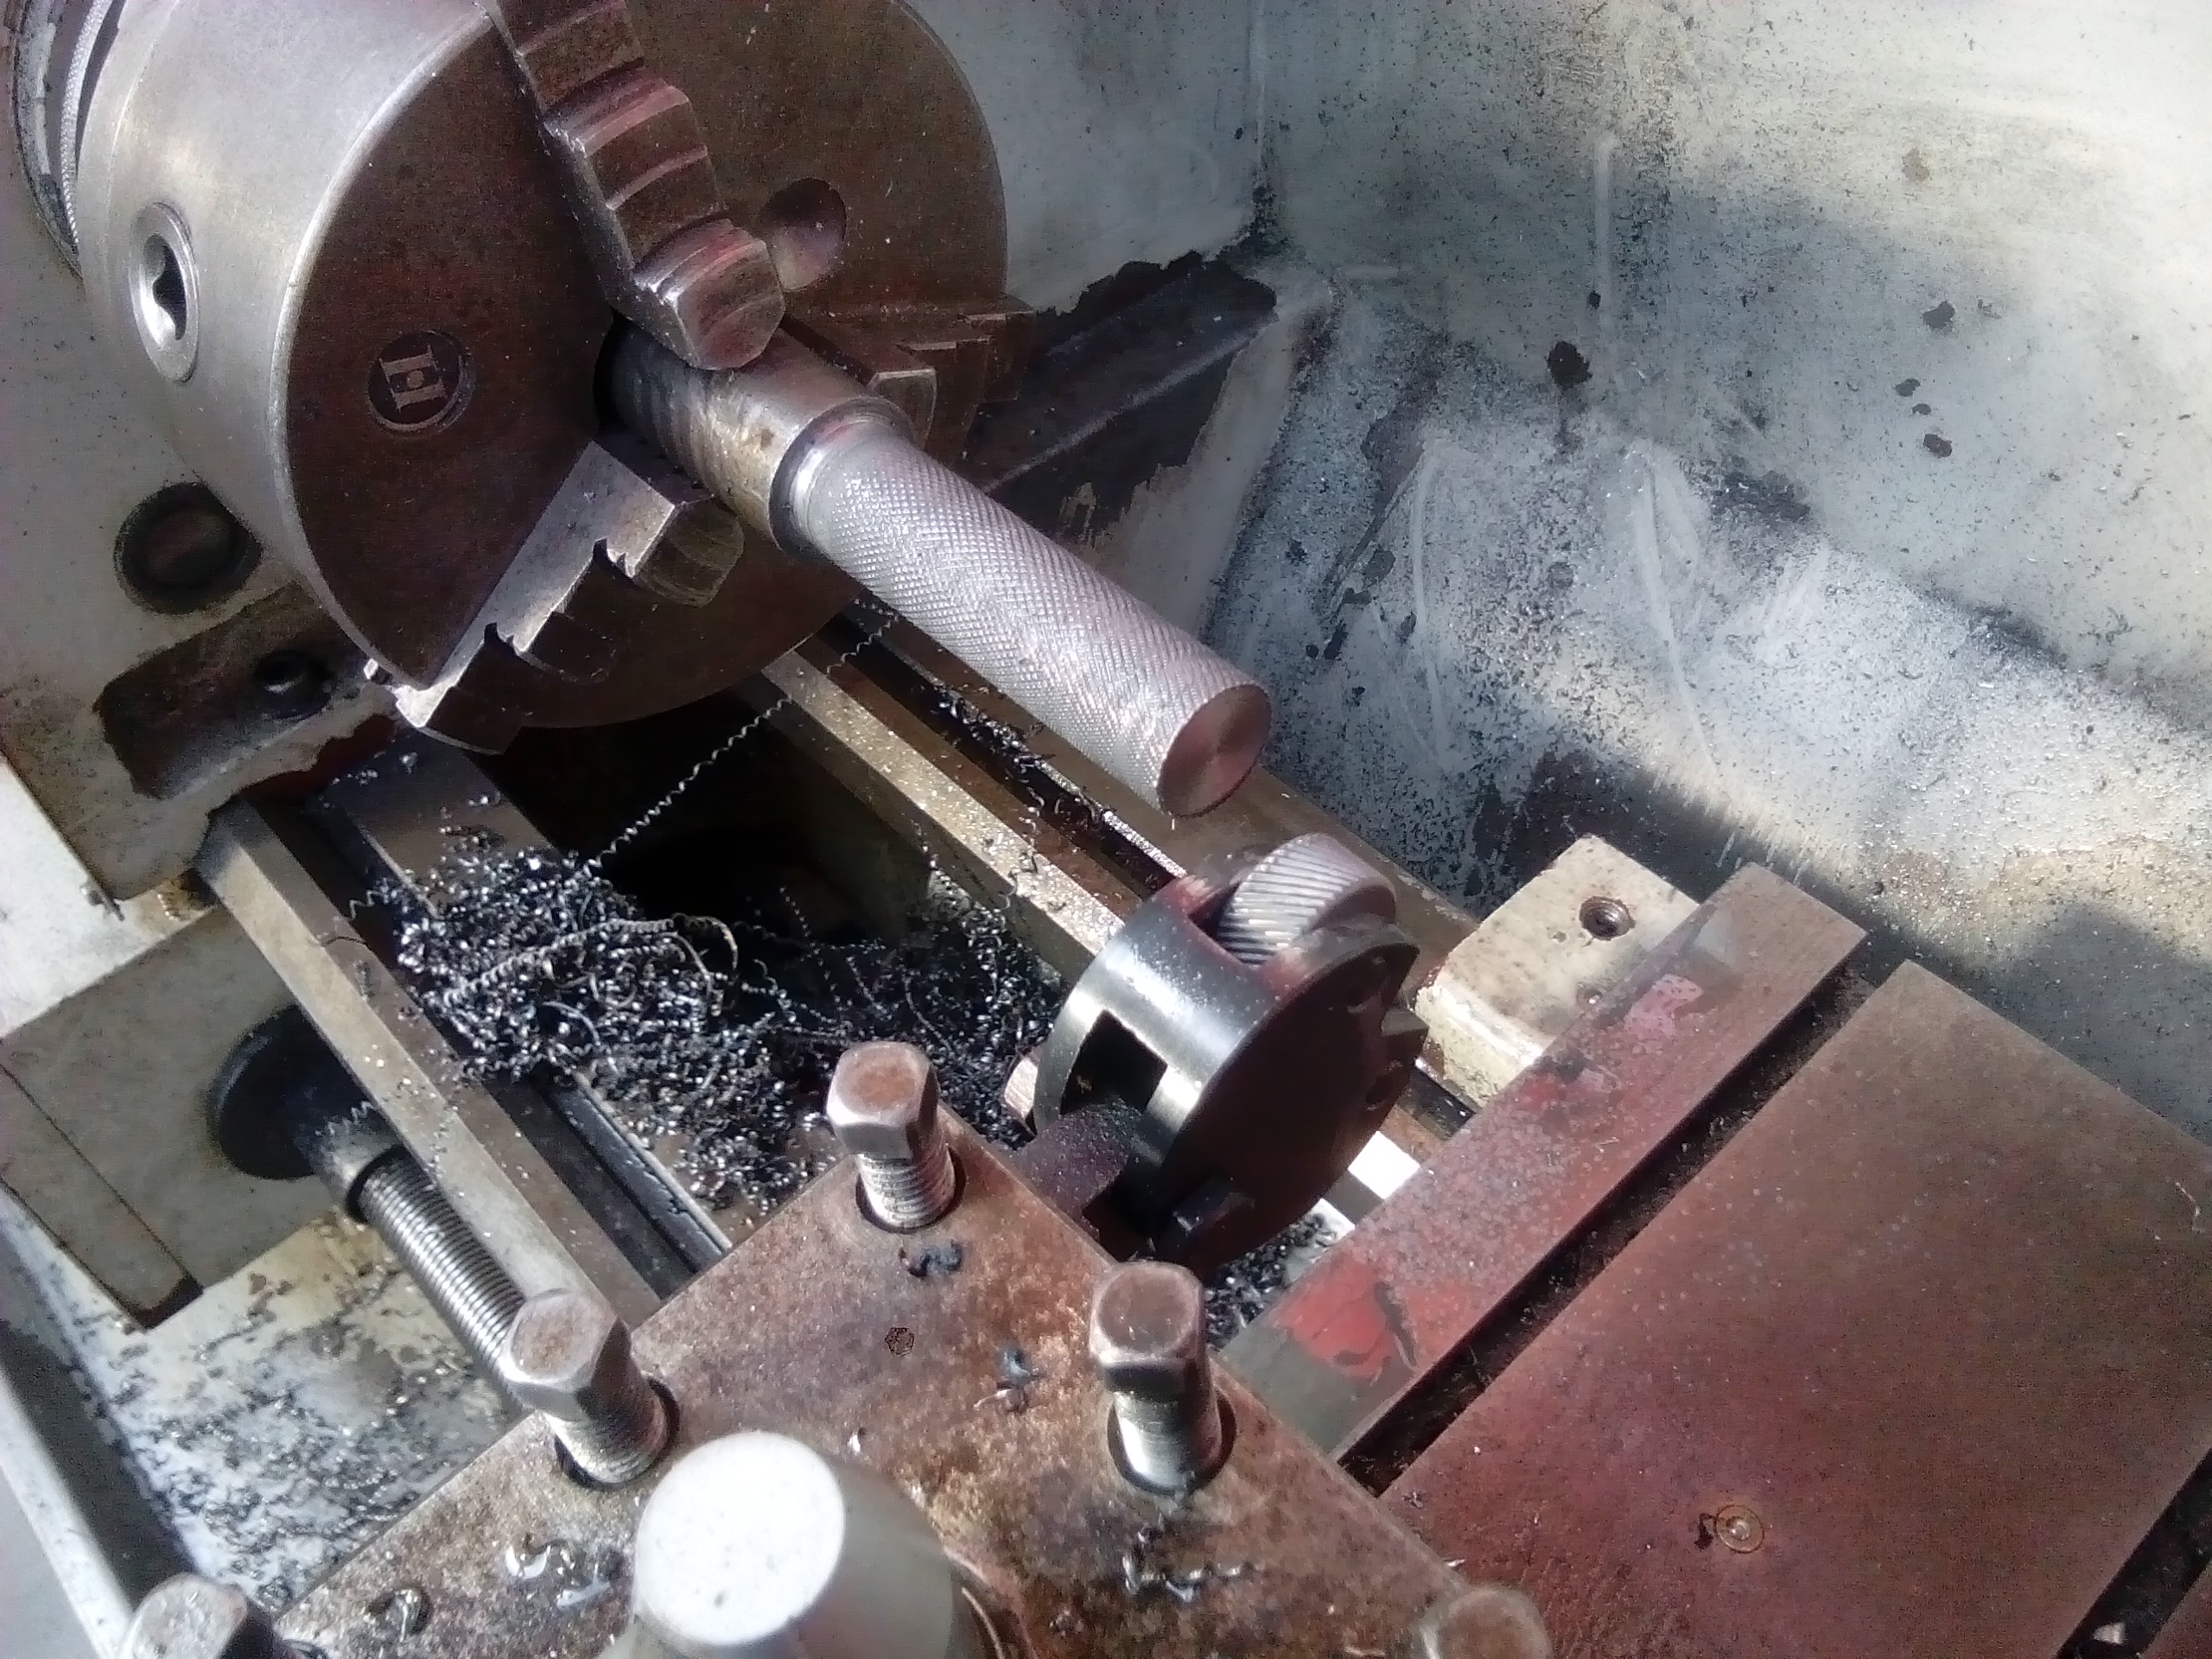
I picked up a nice 22cc RC car engine, these are normally pretty hotted up already. It then needed a drive spindle, so I made one:
-
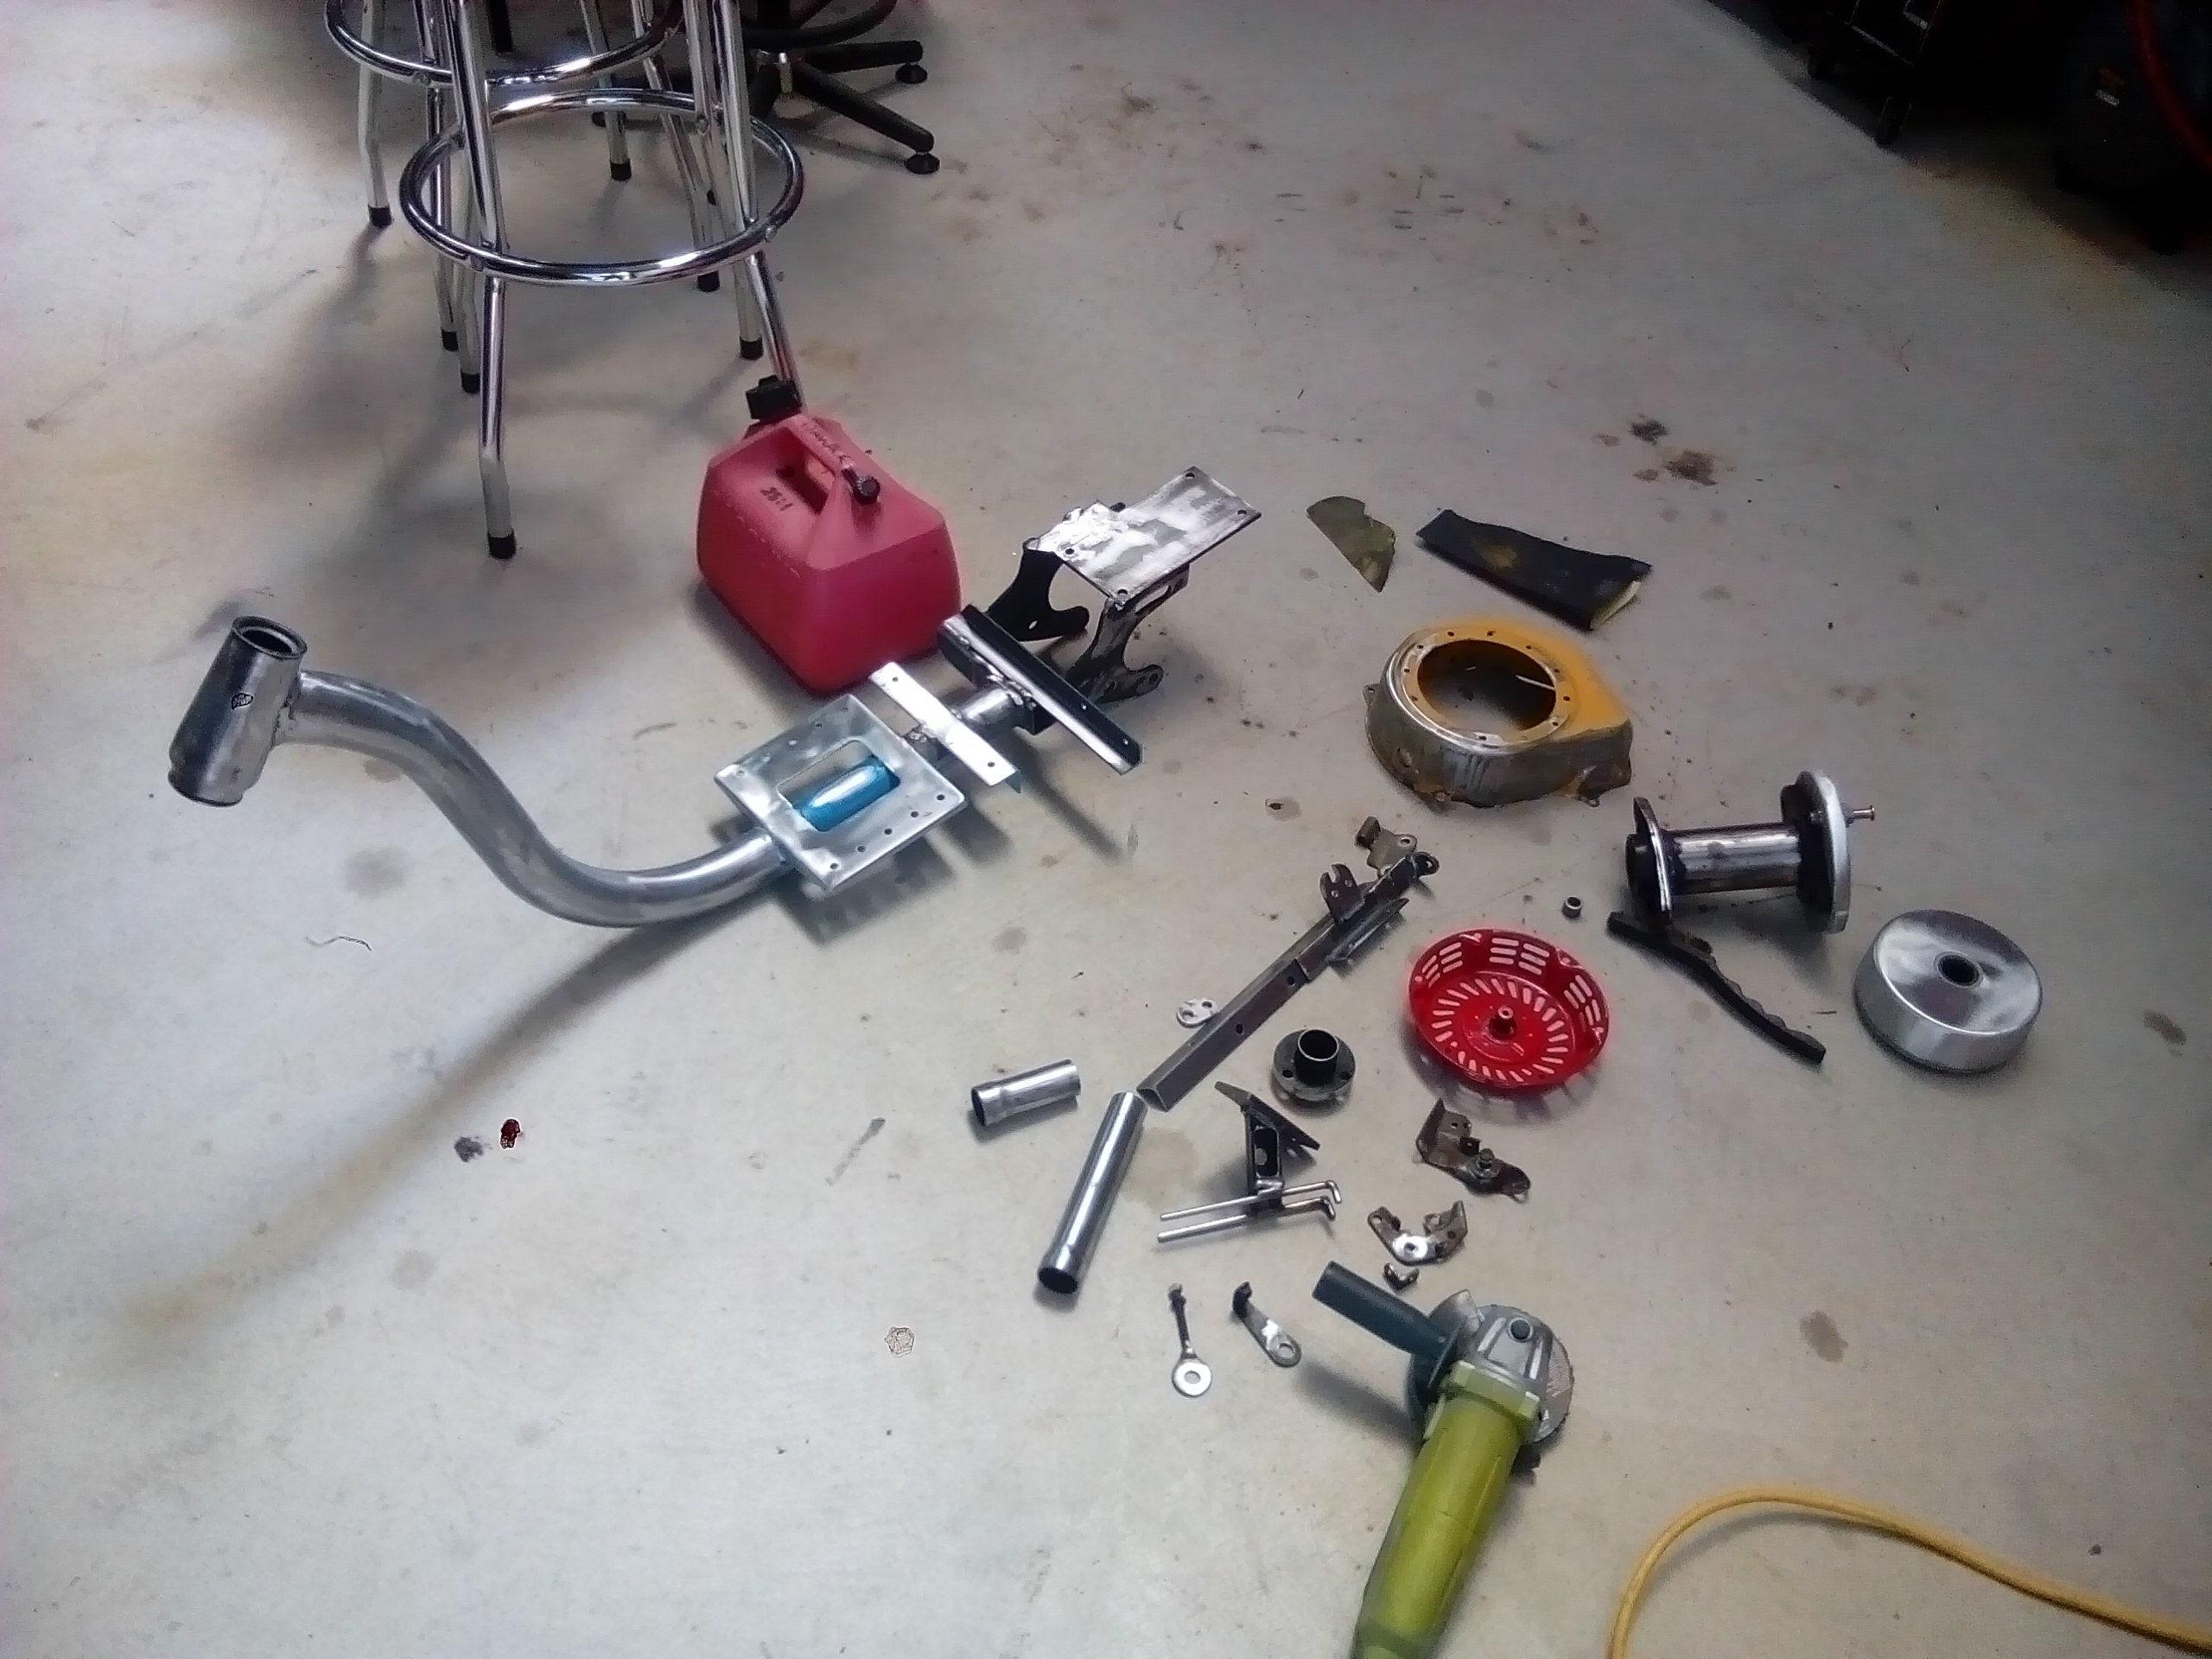
I've always loved playing around with gopeds. I've probably made about 10 of them, mostly from broken ones that people have given up on. Having made so many, you end up with a few spare parts lying around. I looked at the "graveyard" the other day and thought hmmmm - I wonder???? So here goes...
-
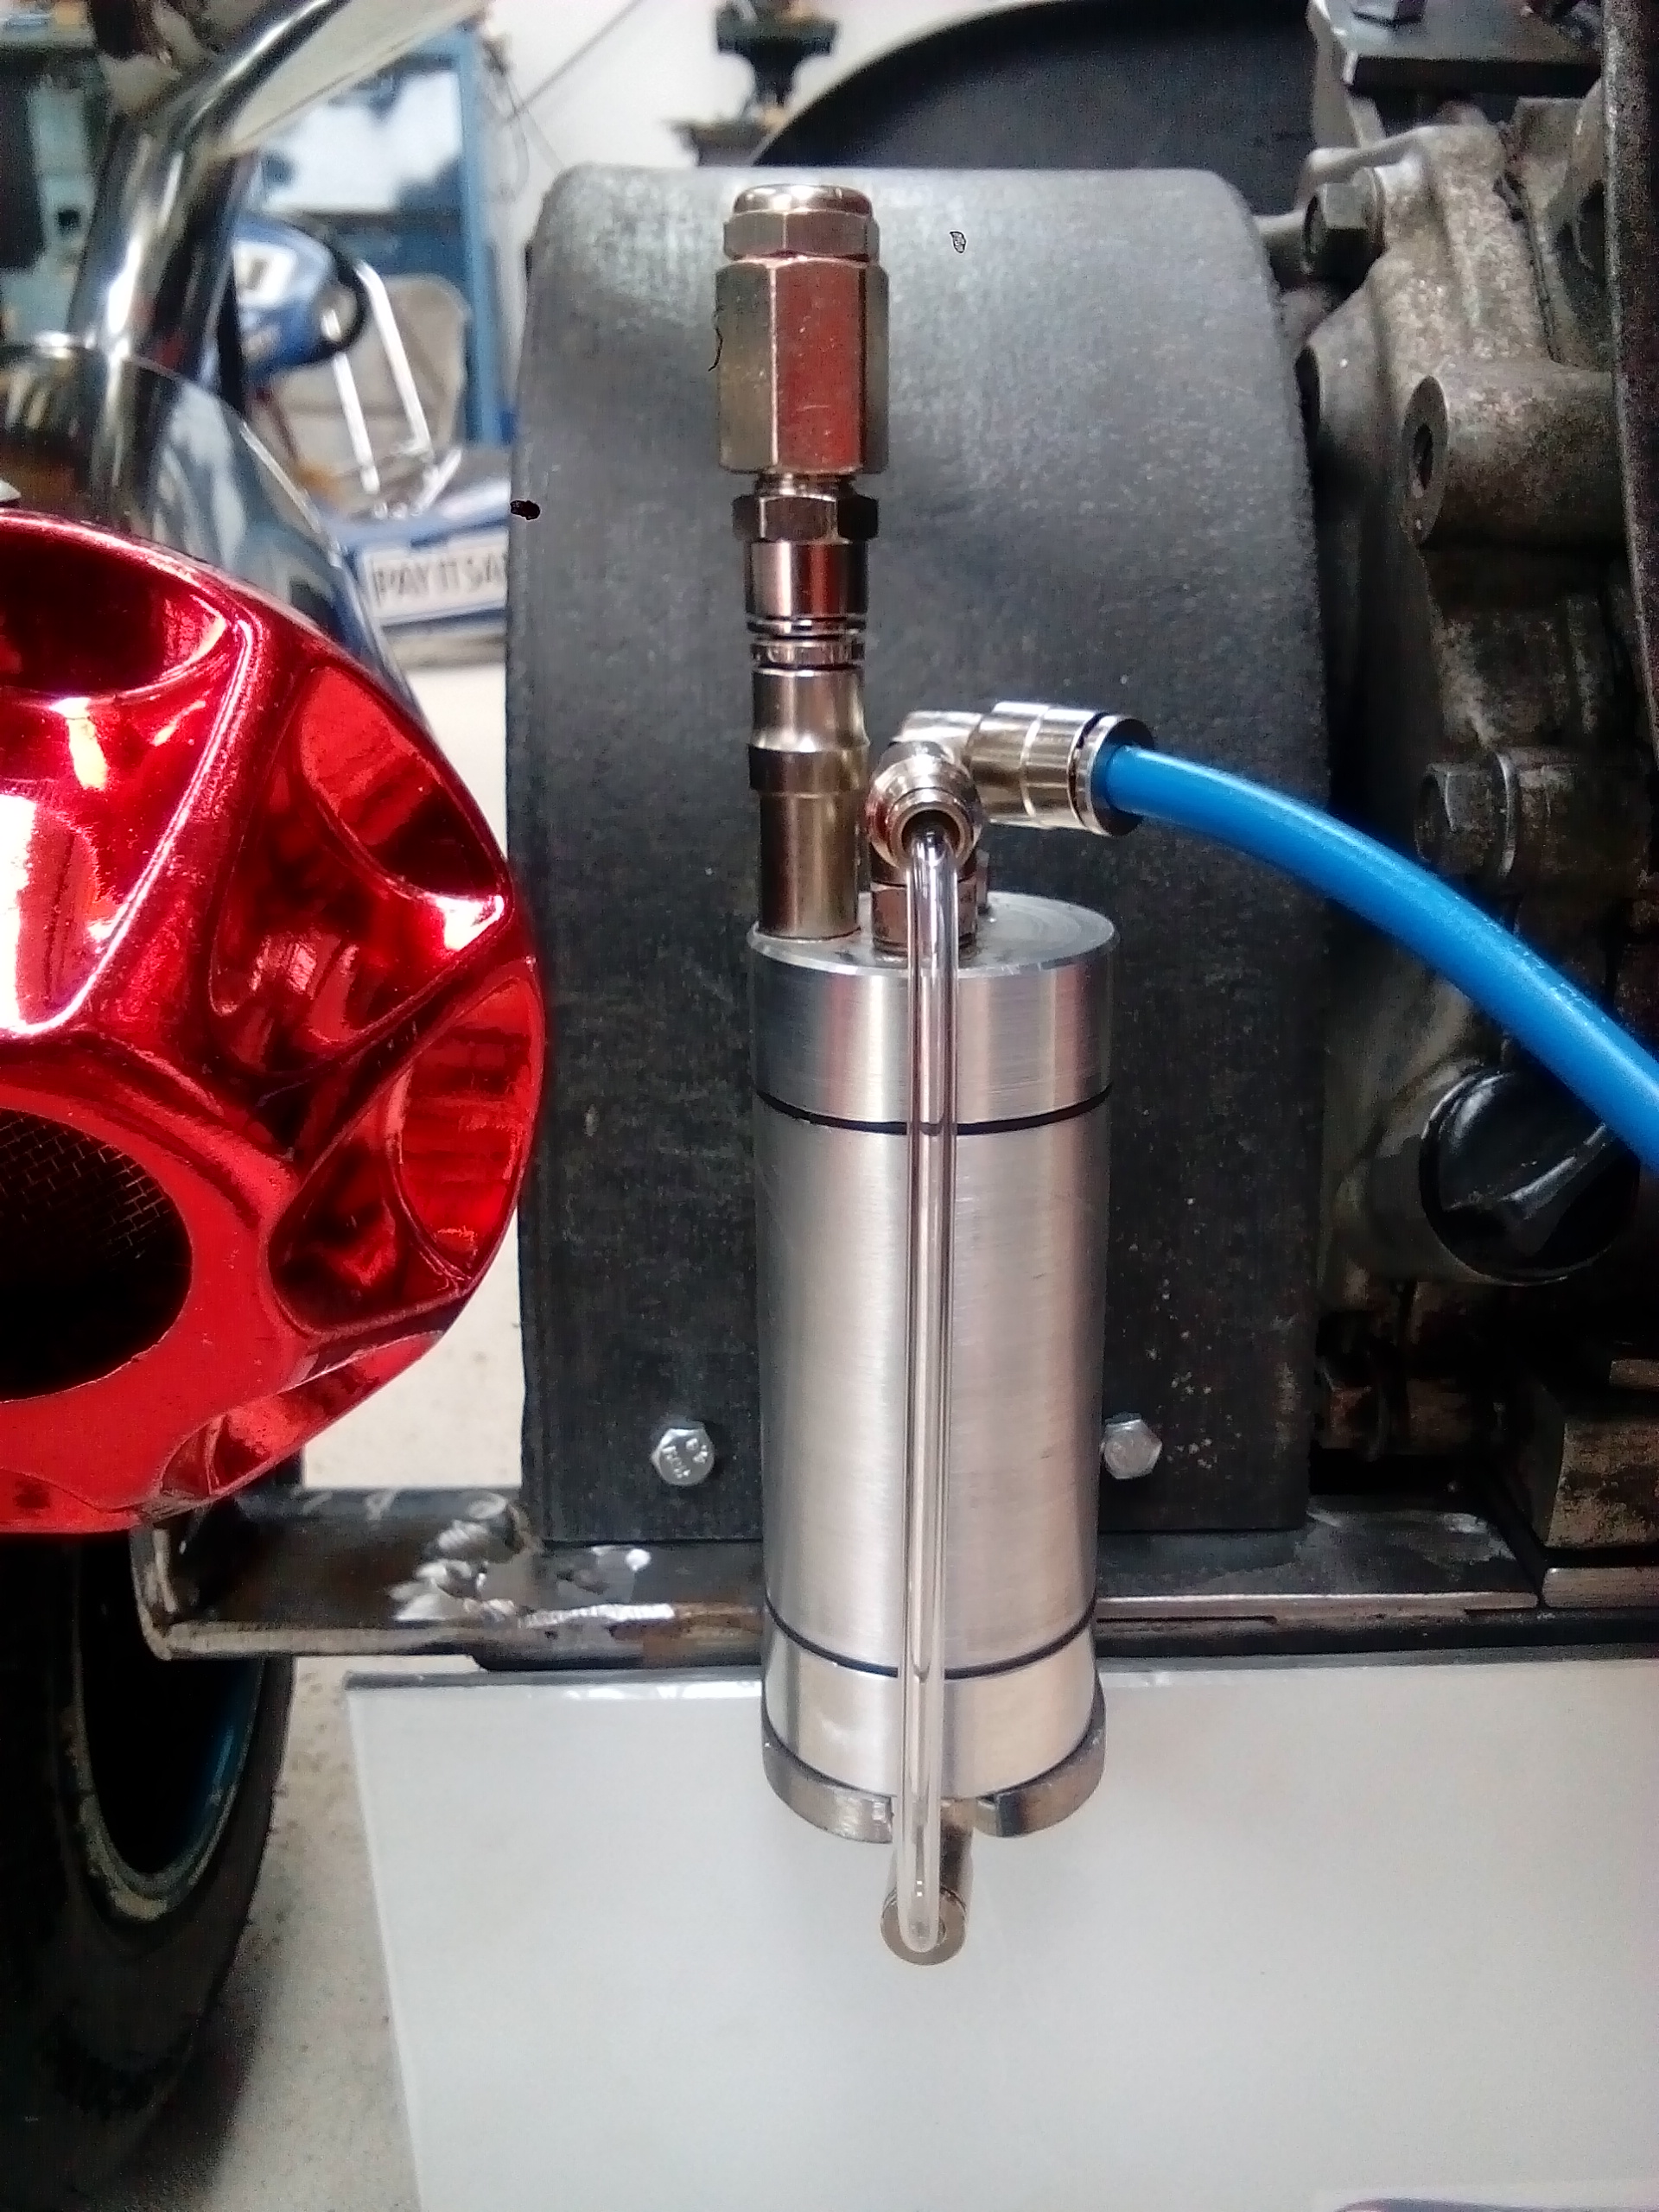
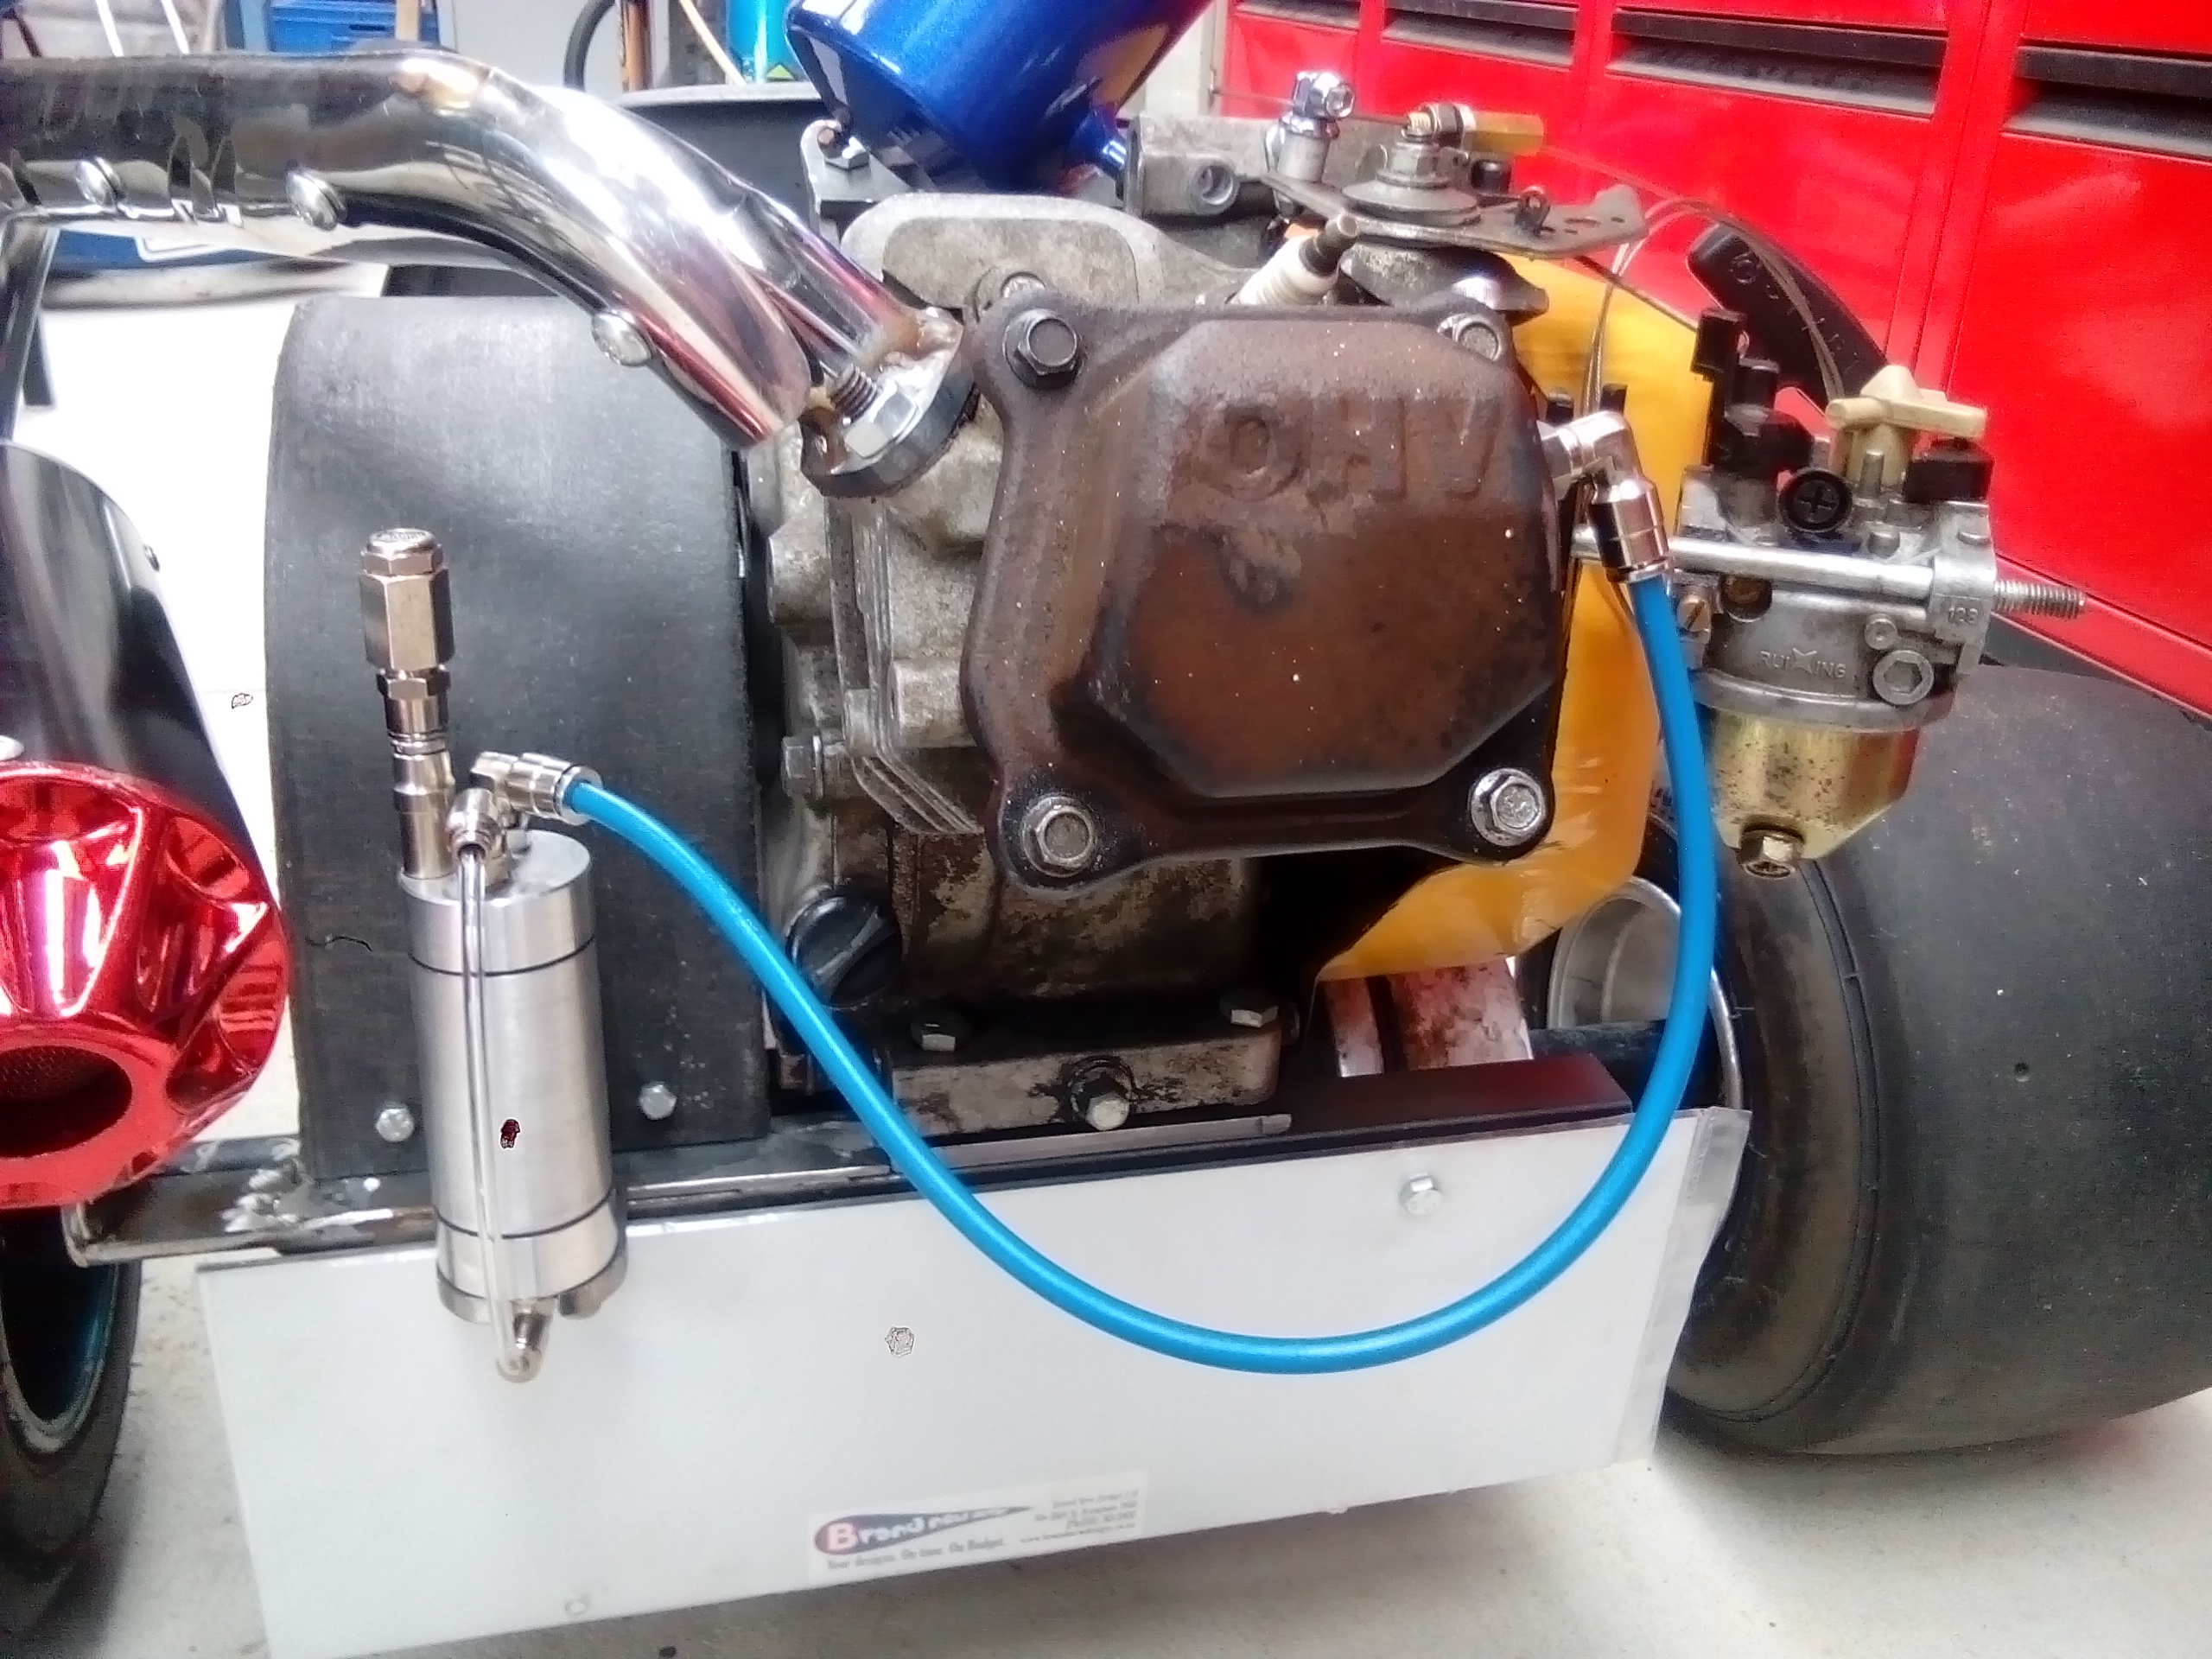
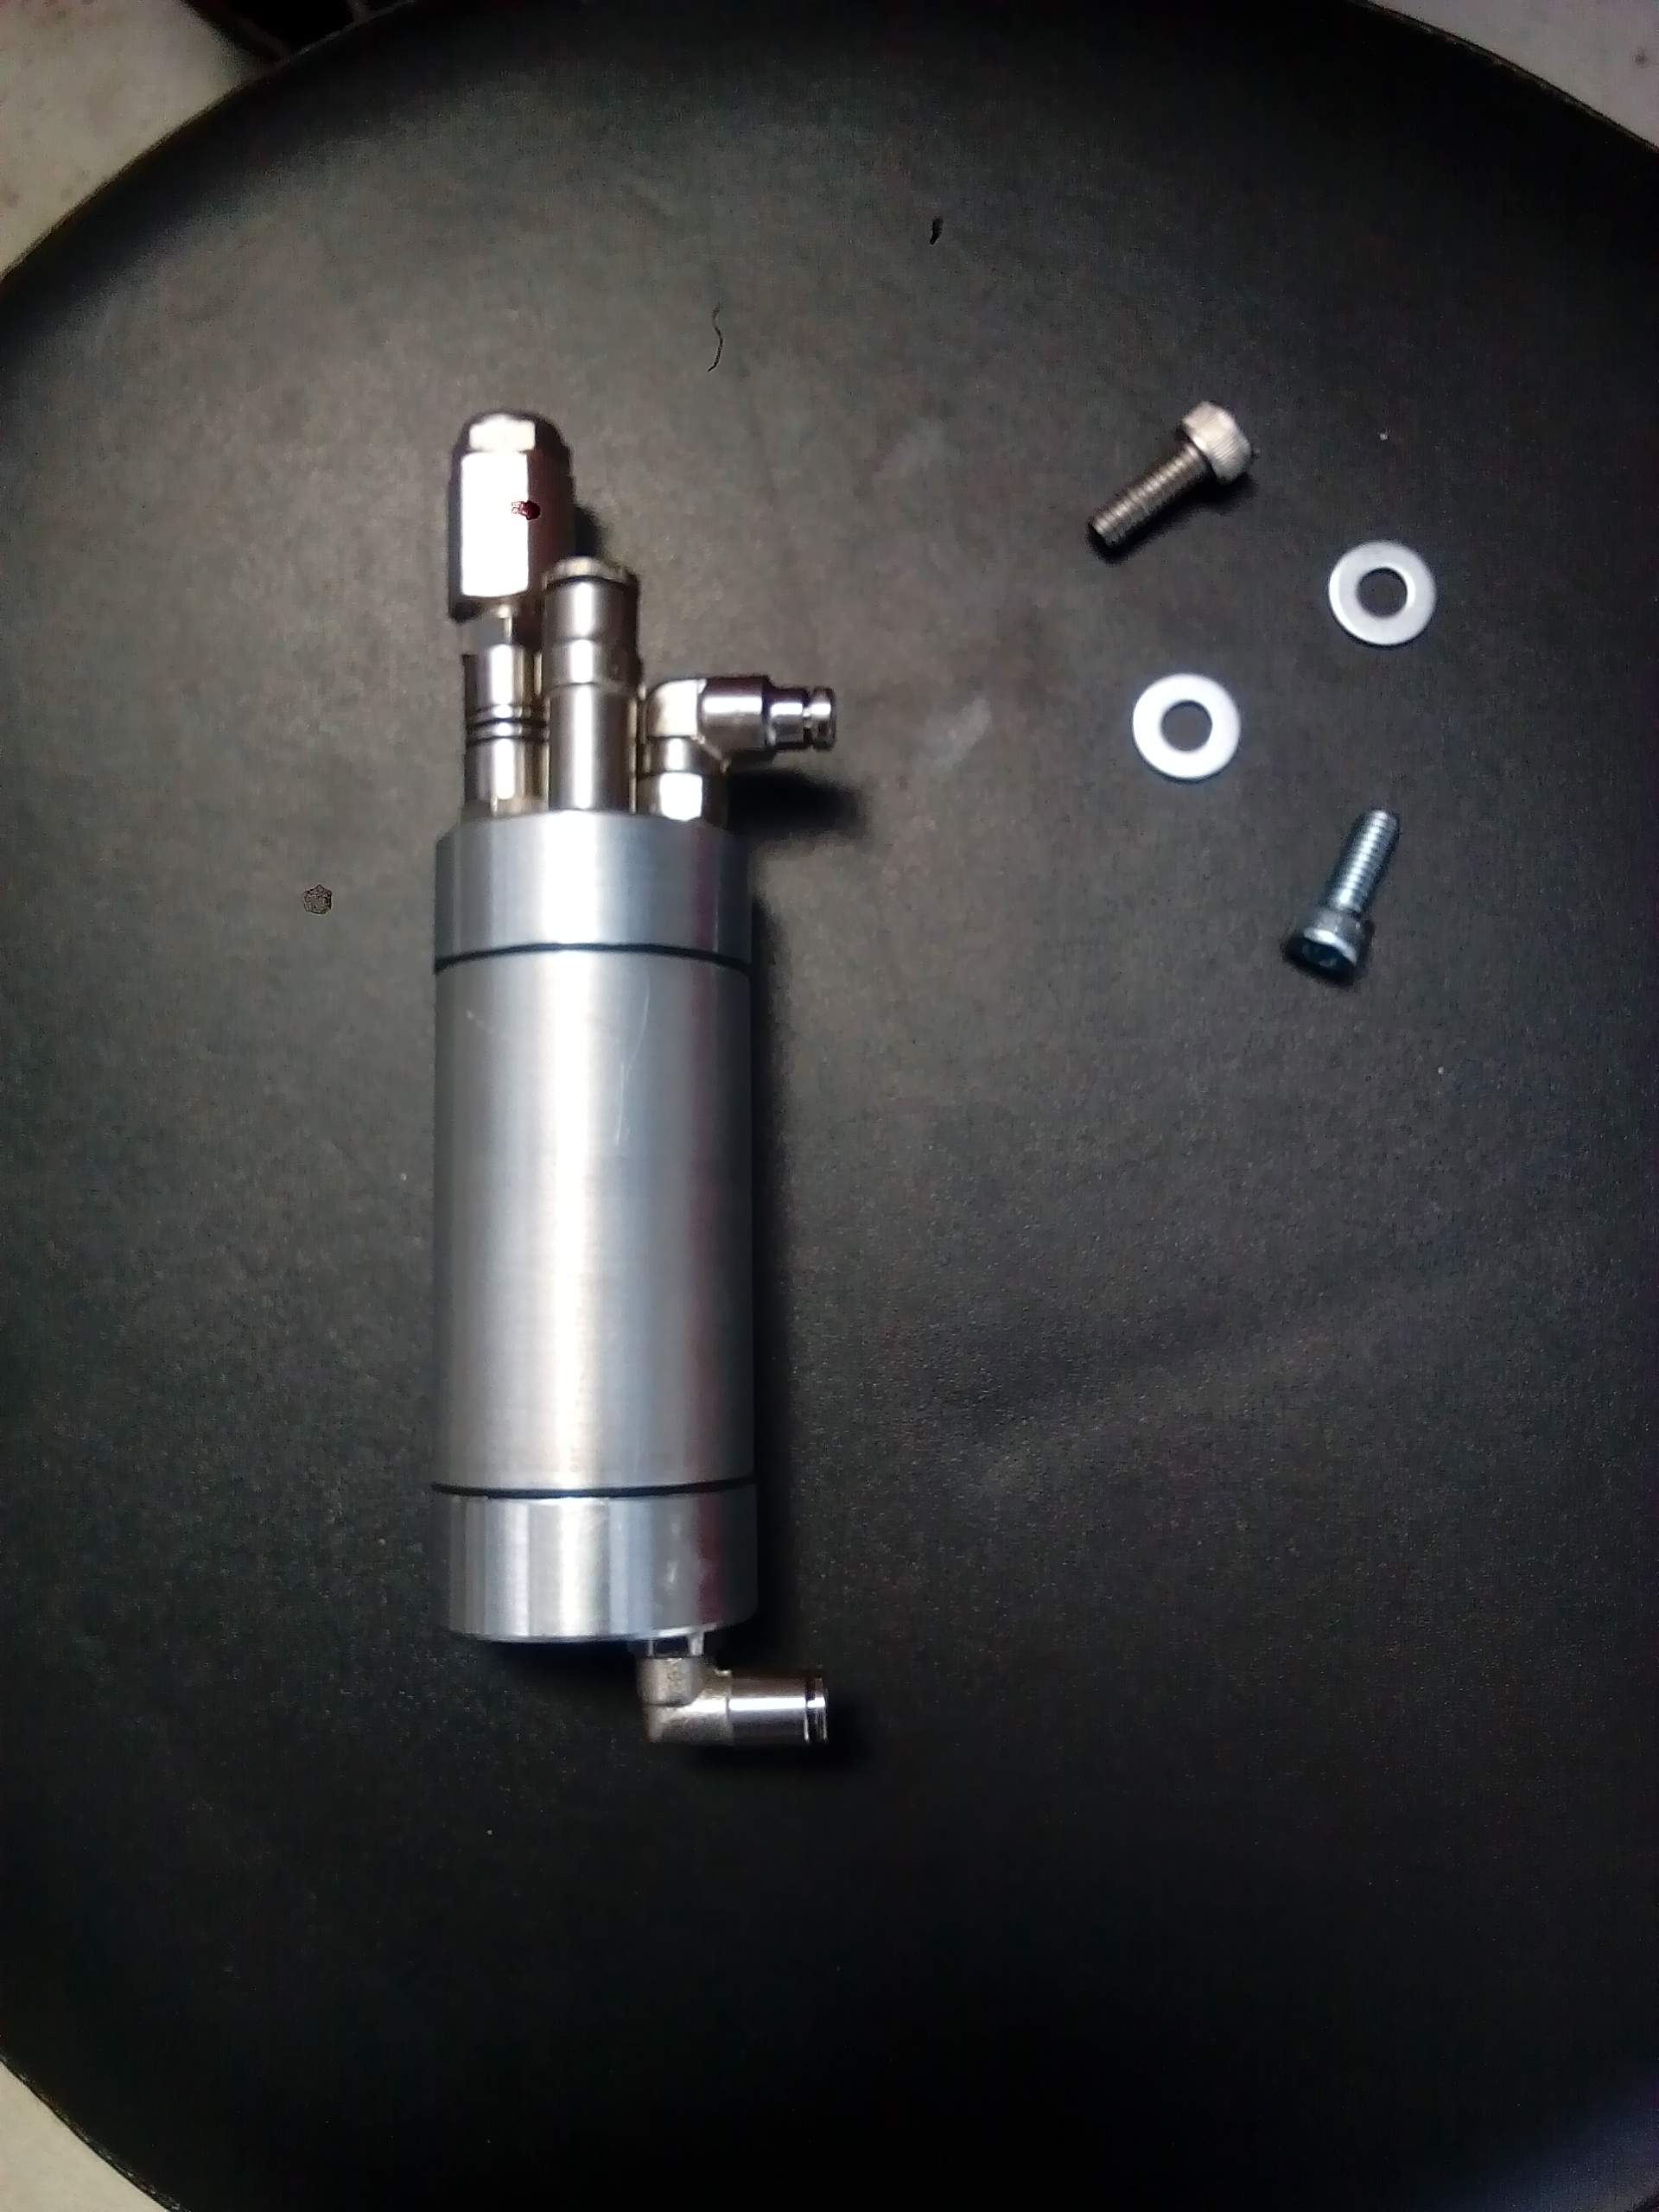
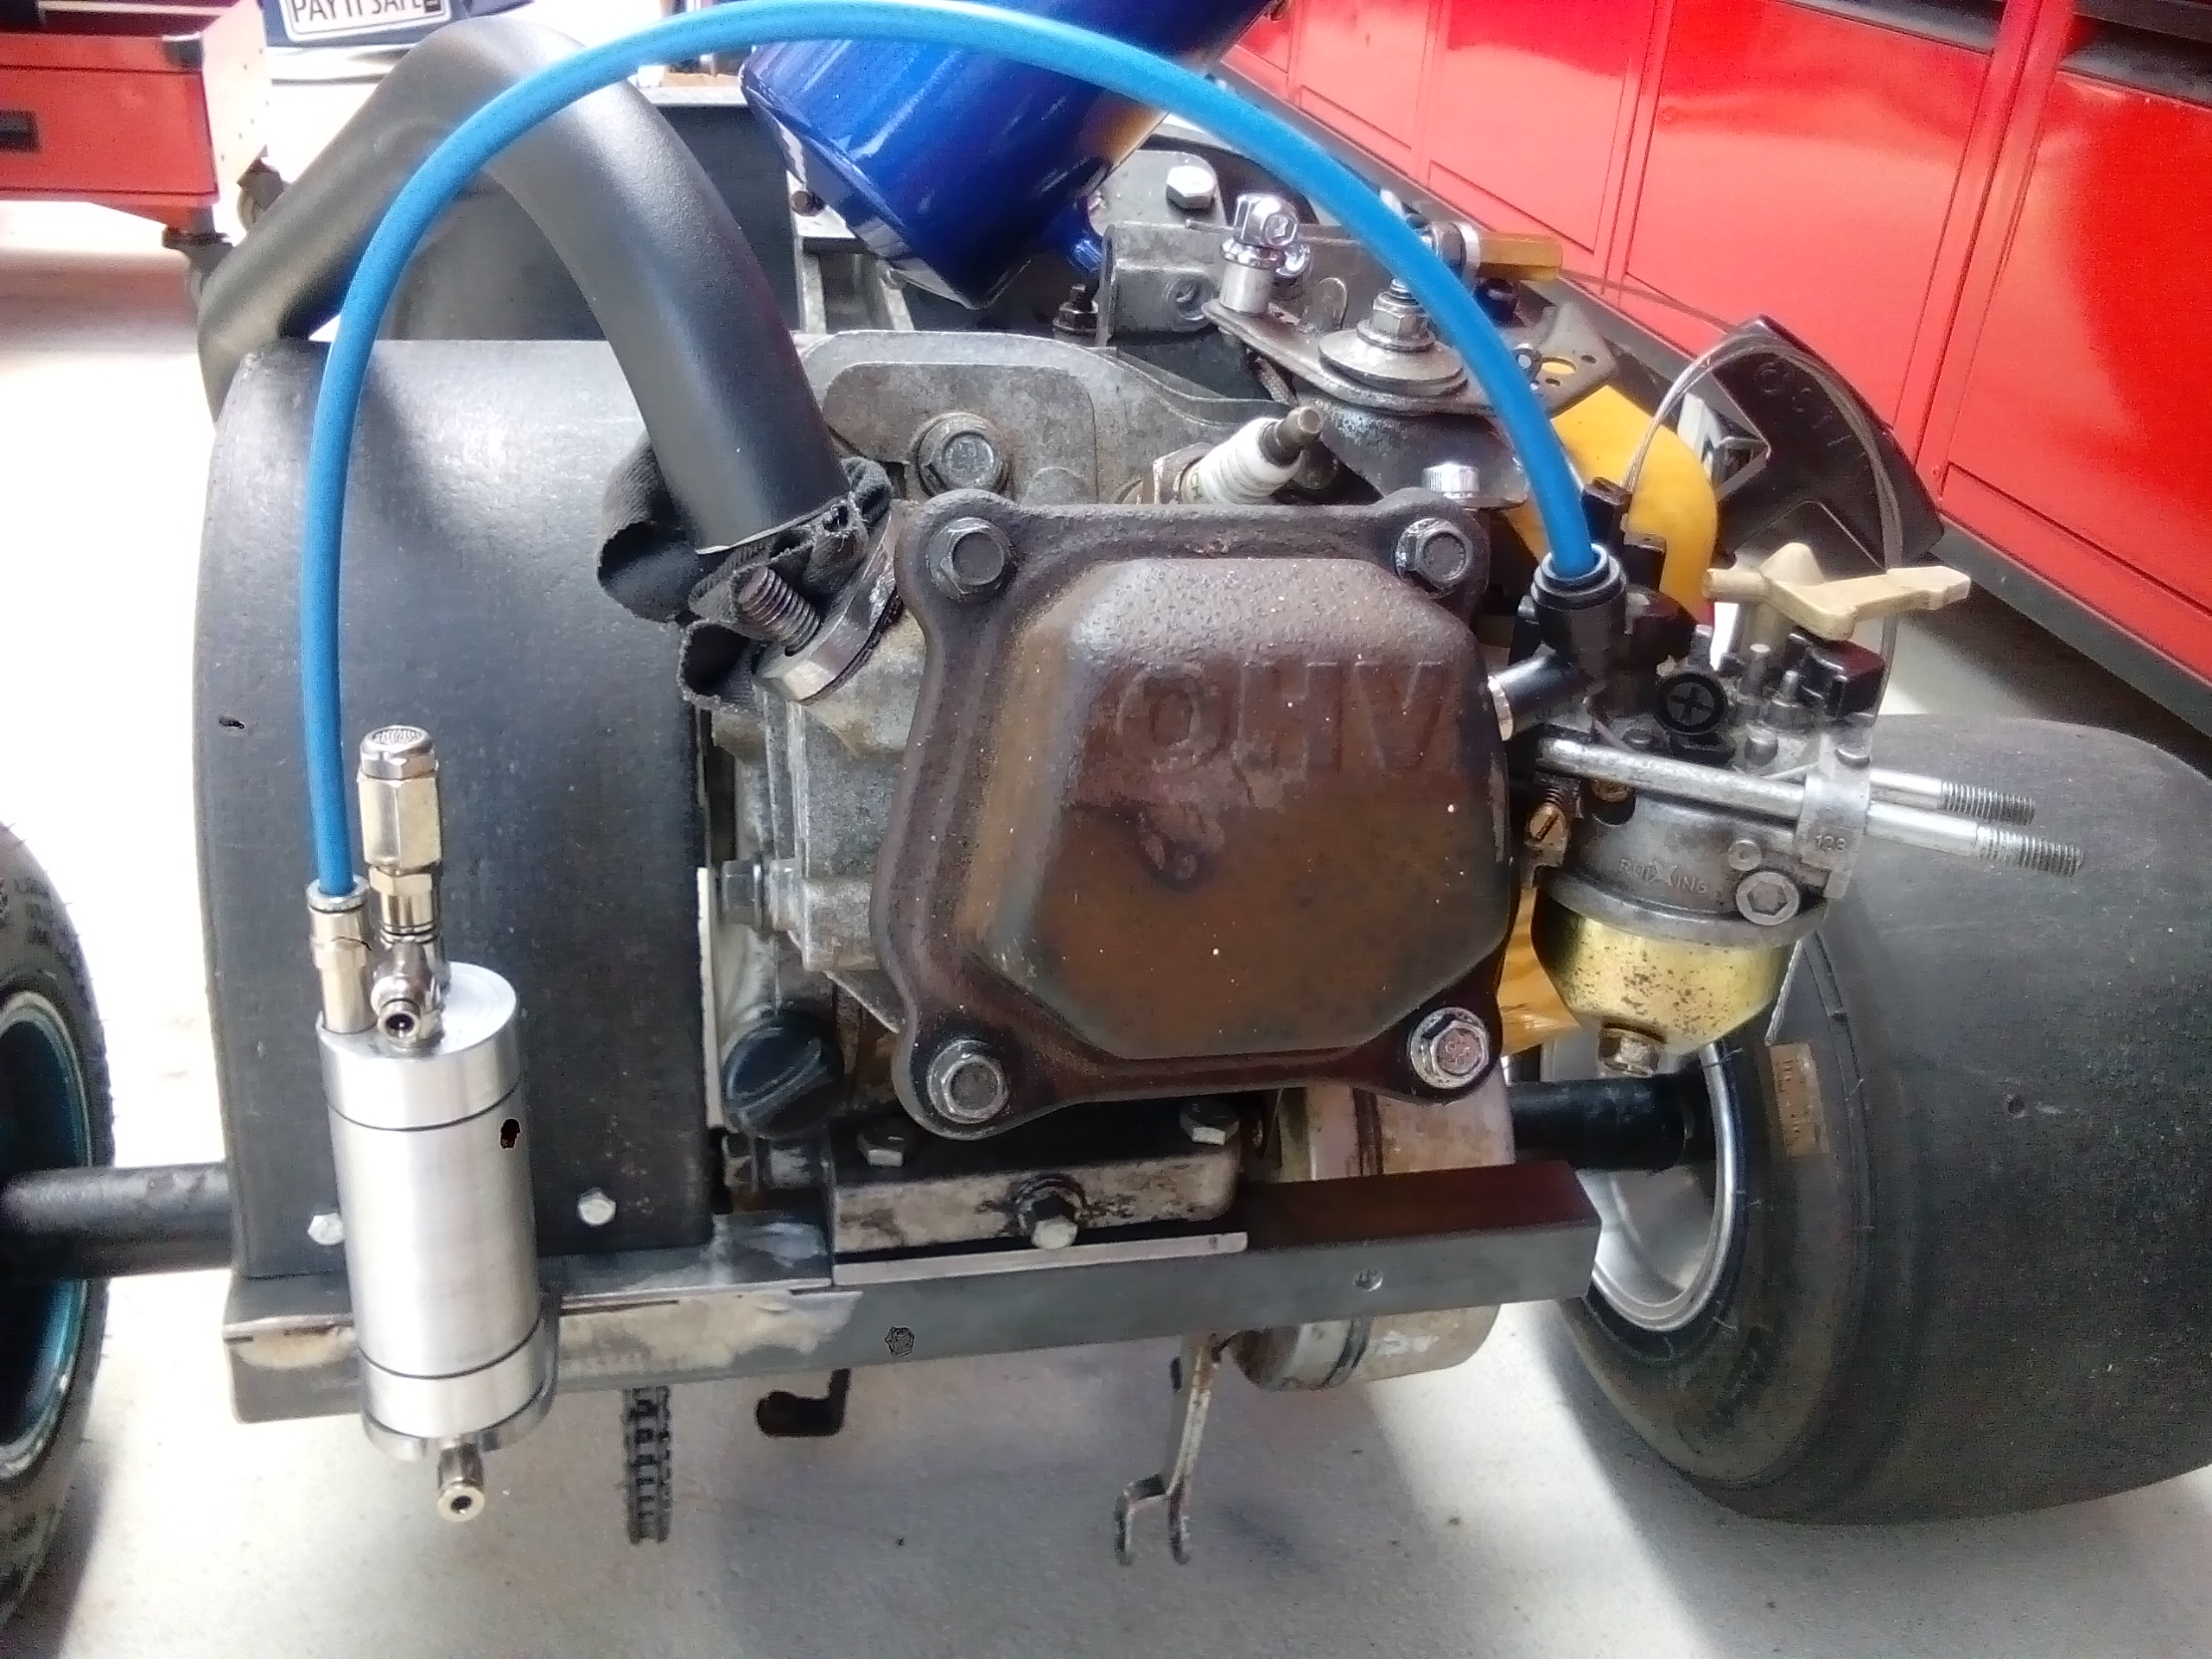
Finished the oil catch can, looks the part now. And rerouted the breather line
-
I haven't specifically tried that one, be interested to hear how it works out for you? On a goped, I once drilled out the main bore to the next size up right through the carb, manifold and cylinder head. It was quiet successful, but that style of carburetor has high and low adjustments for fuel mix ratios...so they are easy to tune.
-
Personalised plate fitted. I've had this plate for some time now just for this project, but I have purposely left it out of the photos. But rather than leave it out of the photos, I'll censor it by turning it around from now on
-
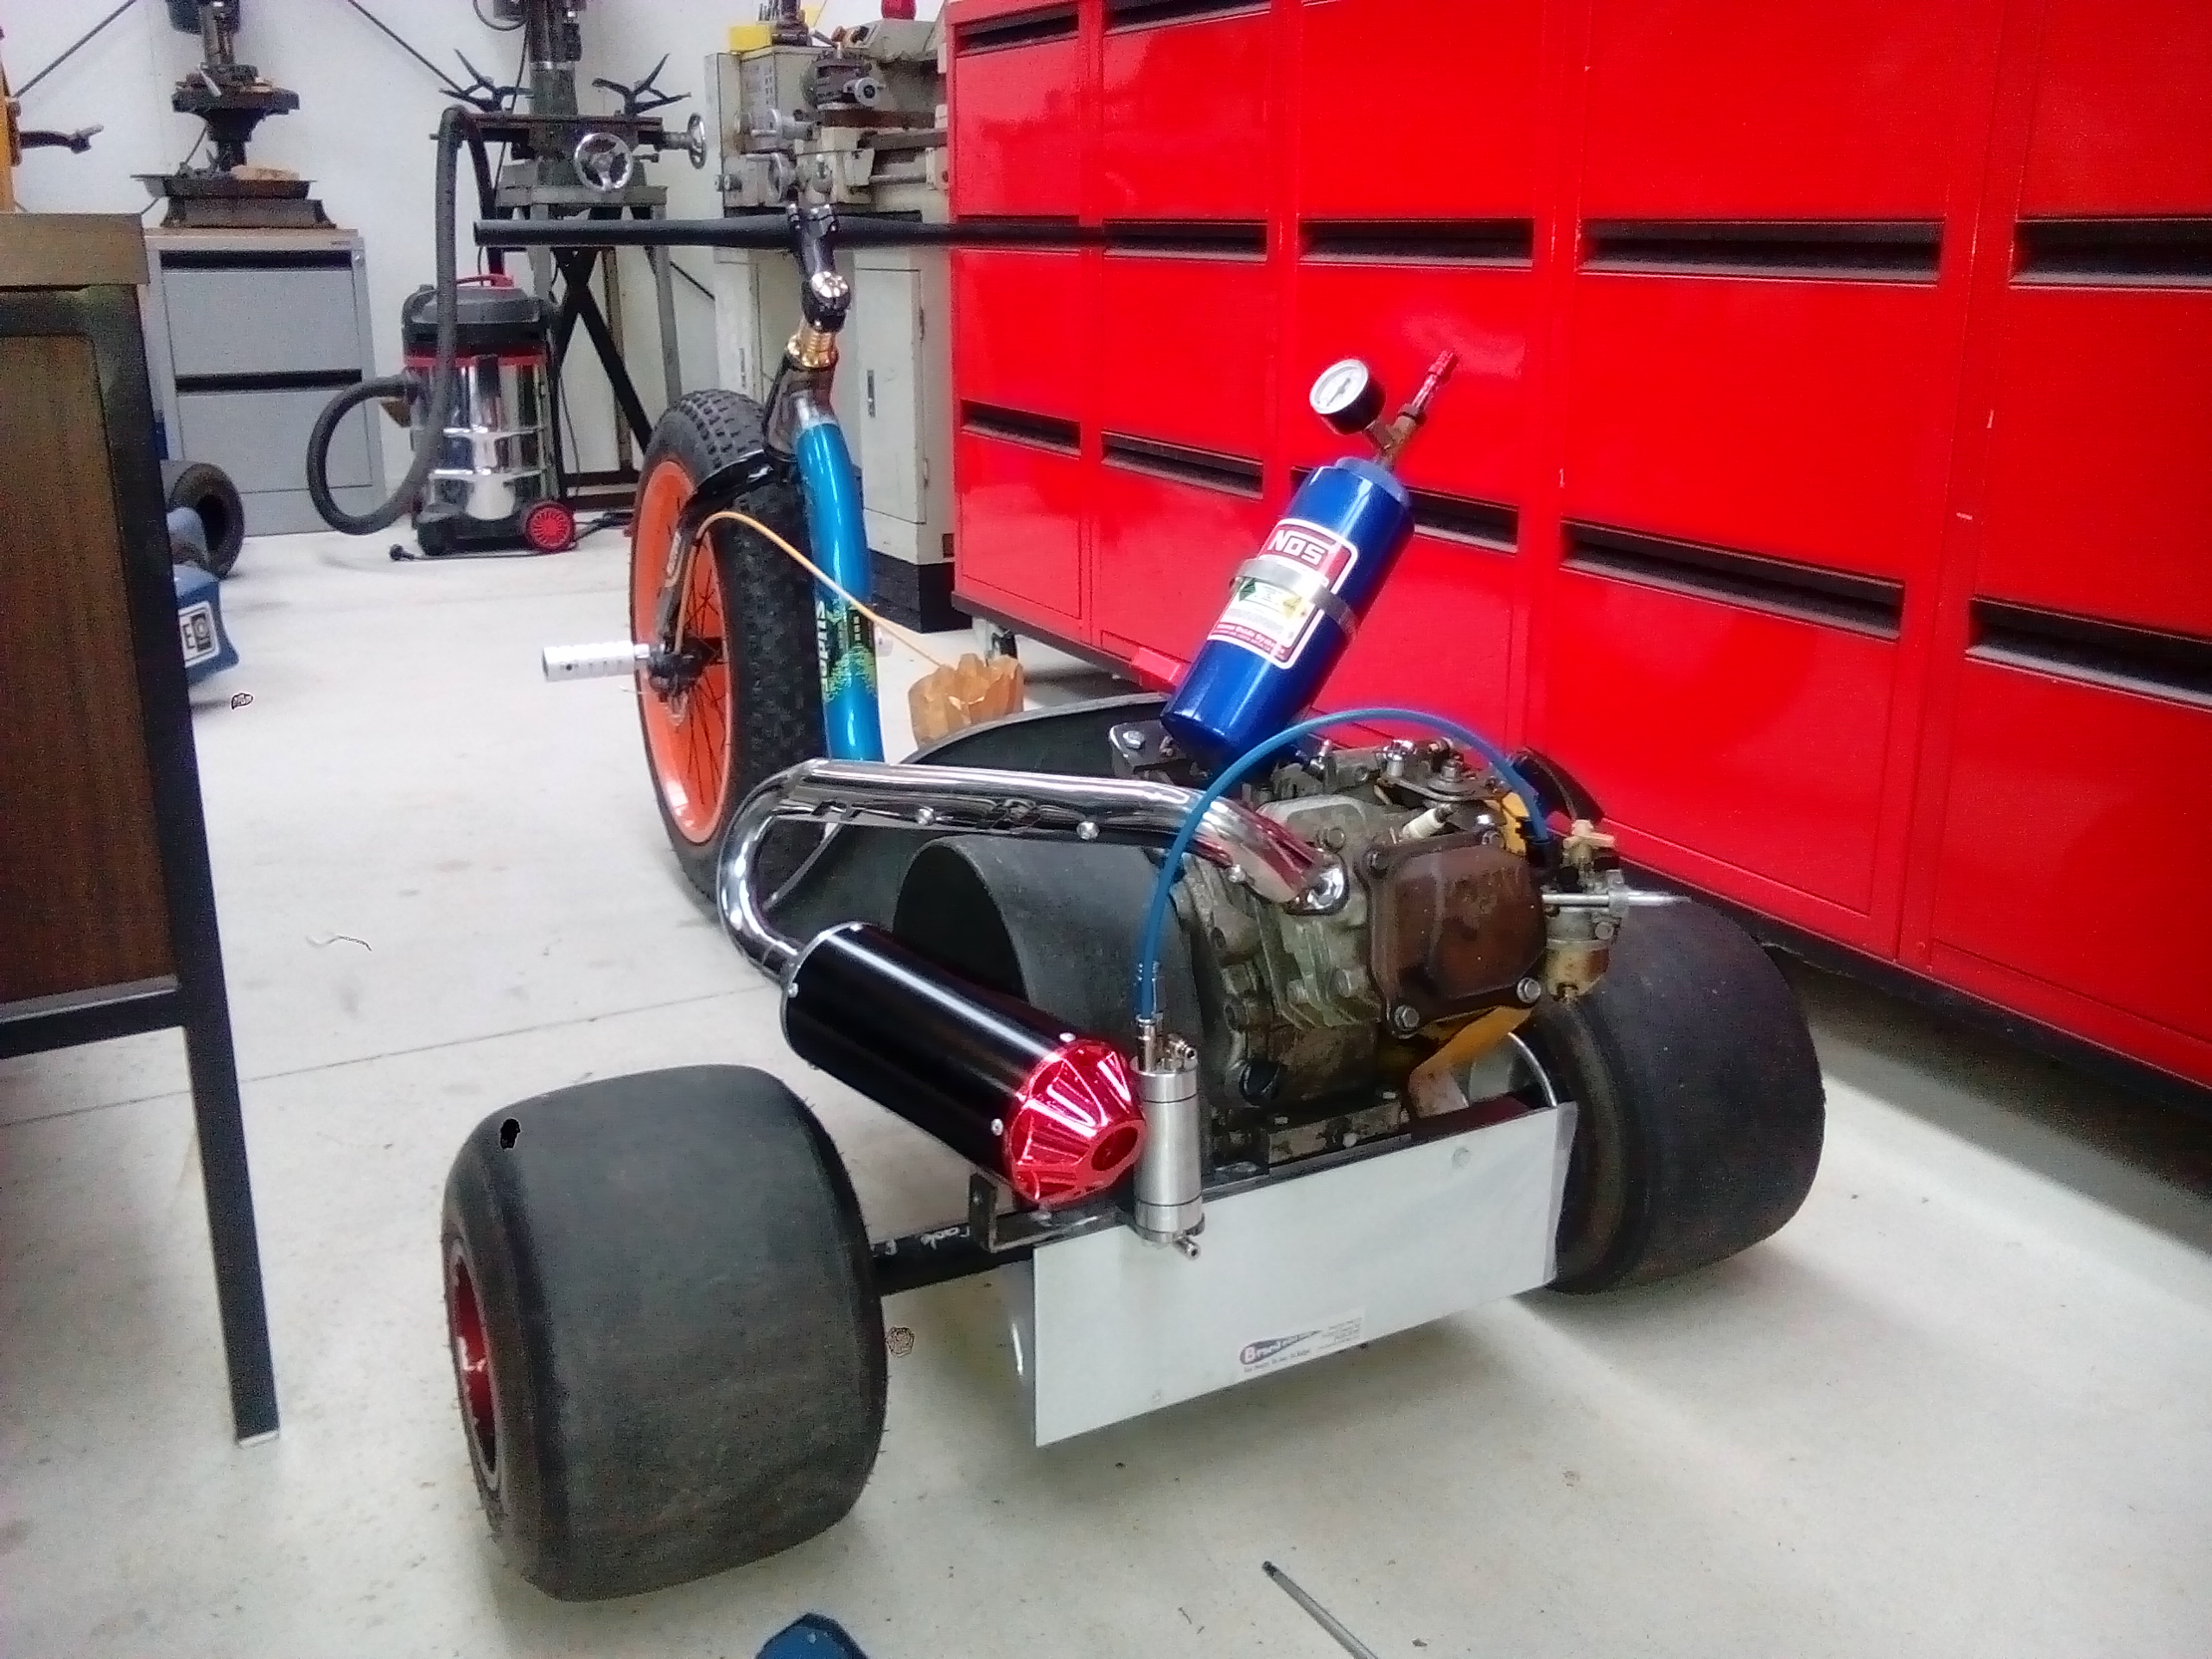
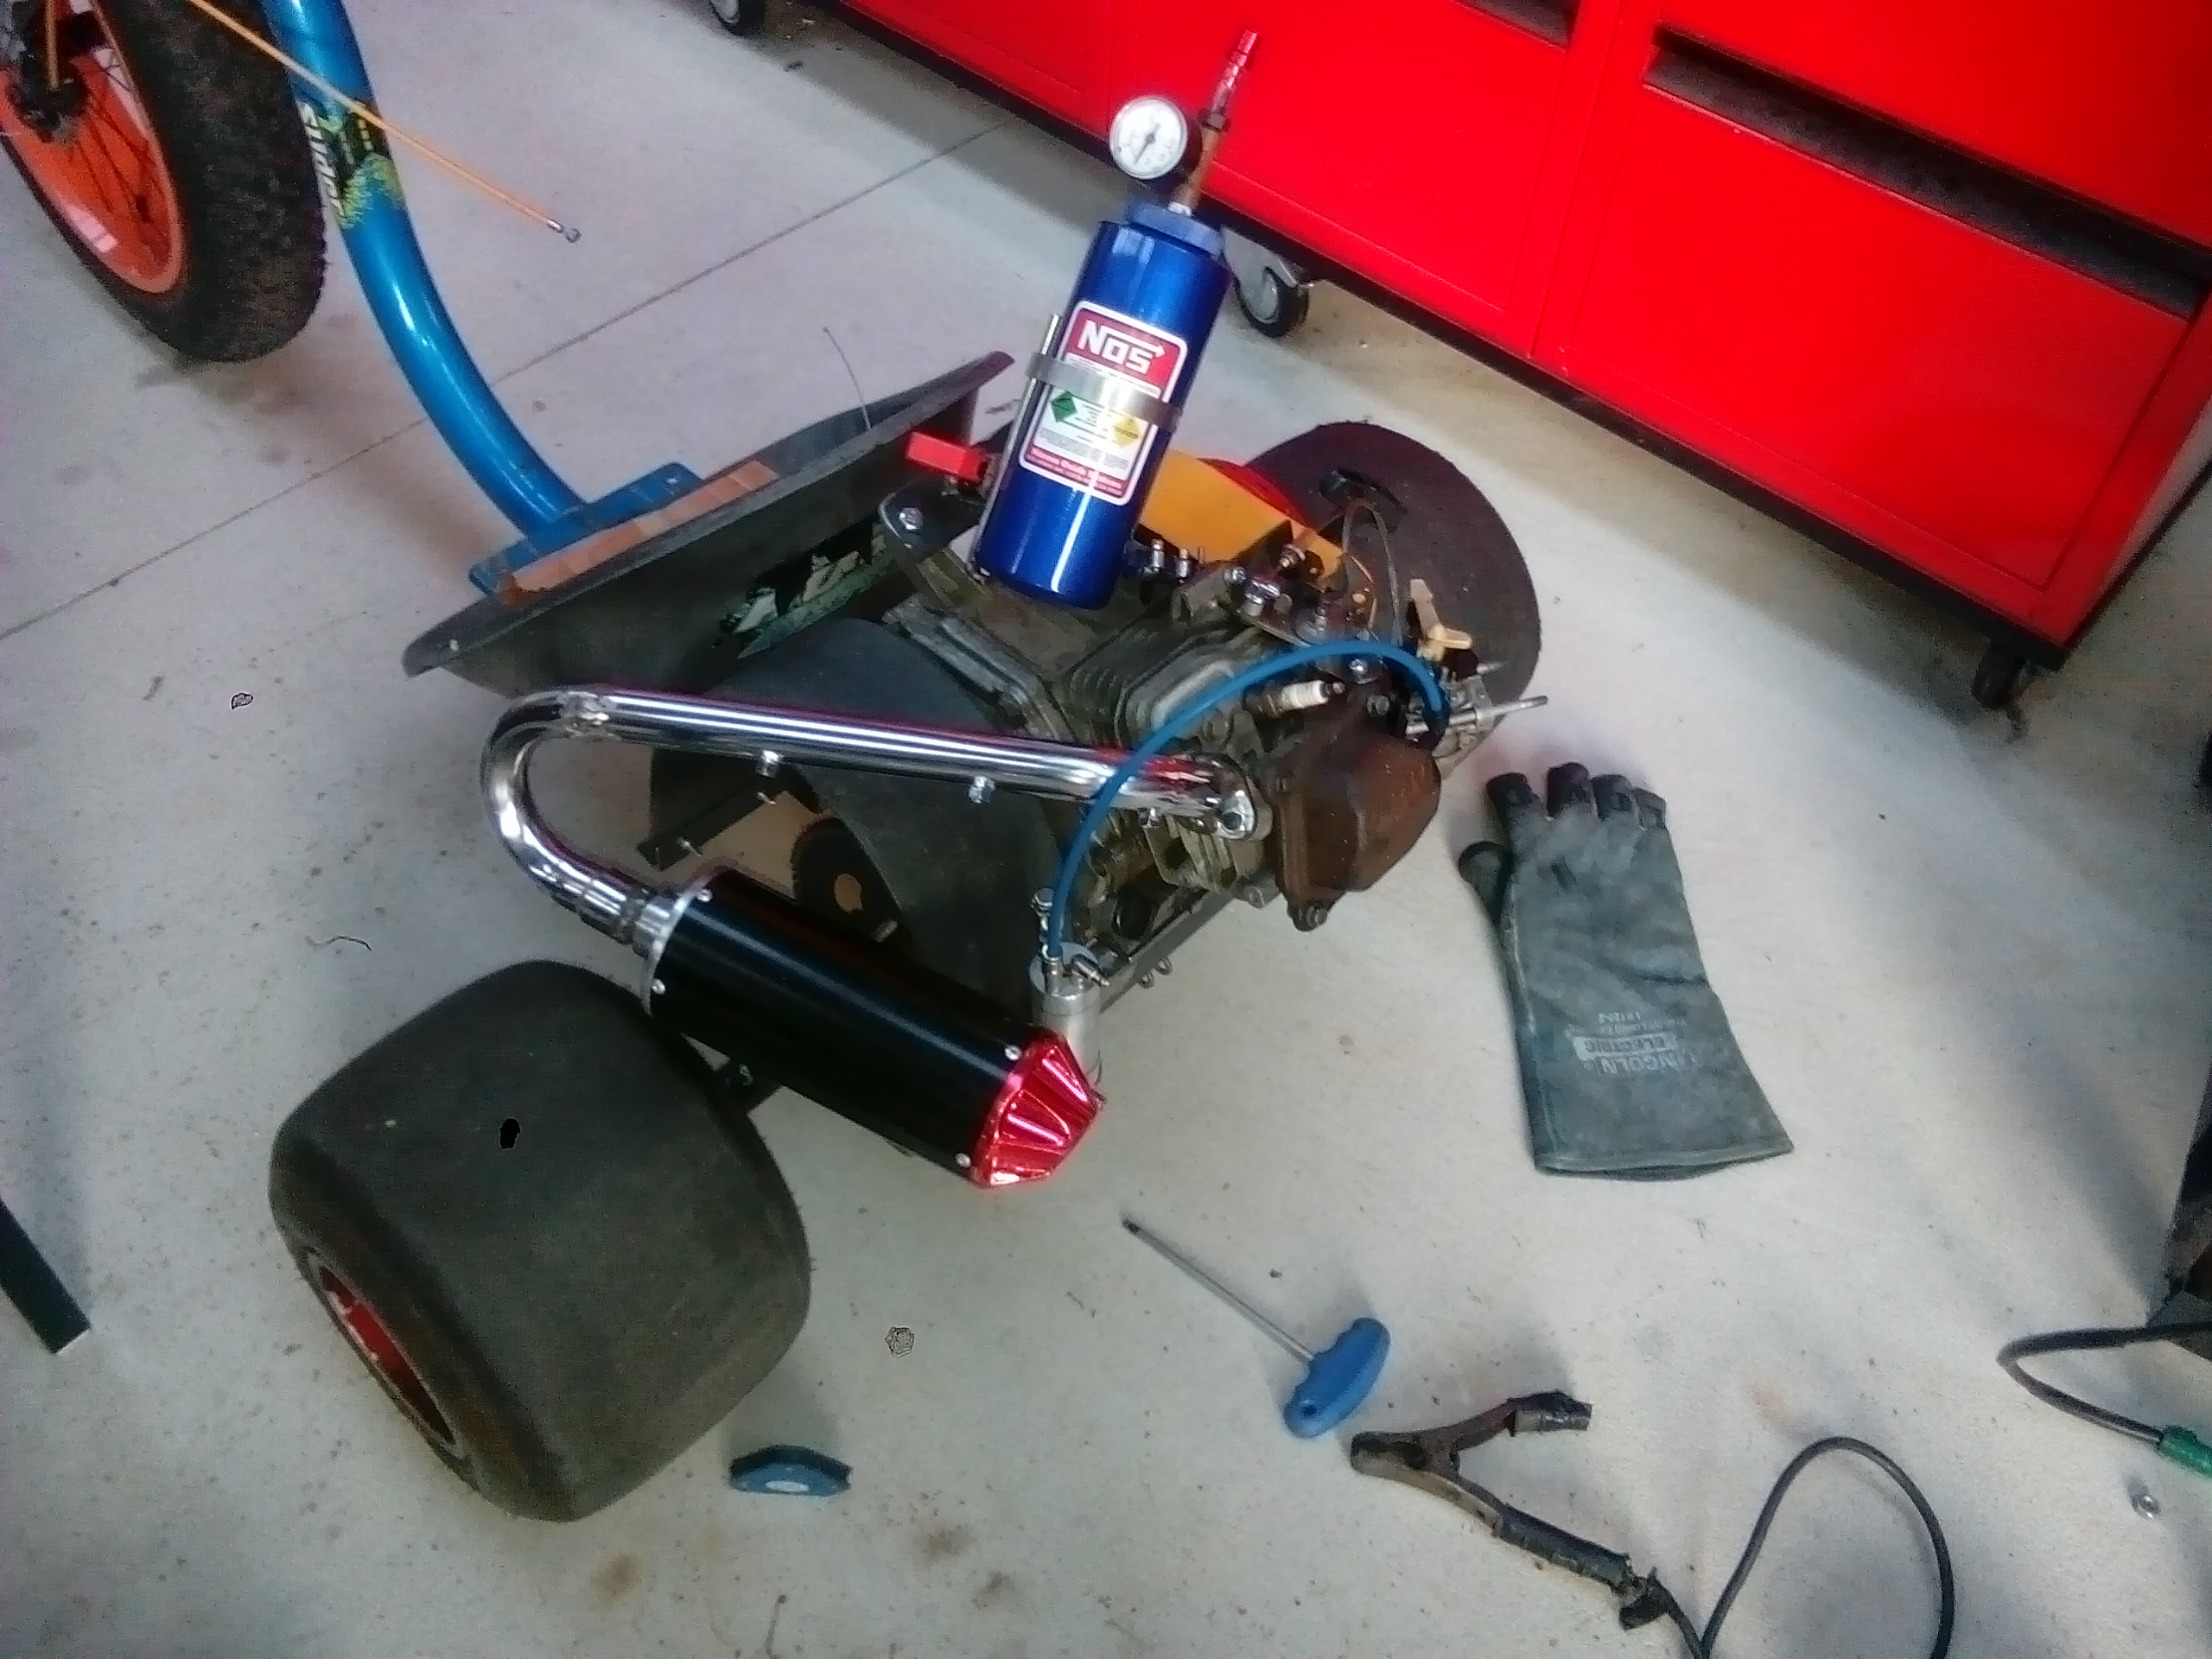
And finally a muffler (I later added a support bracket, not pictured)
-
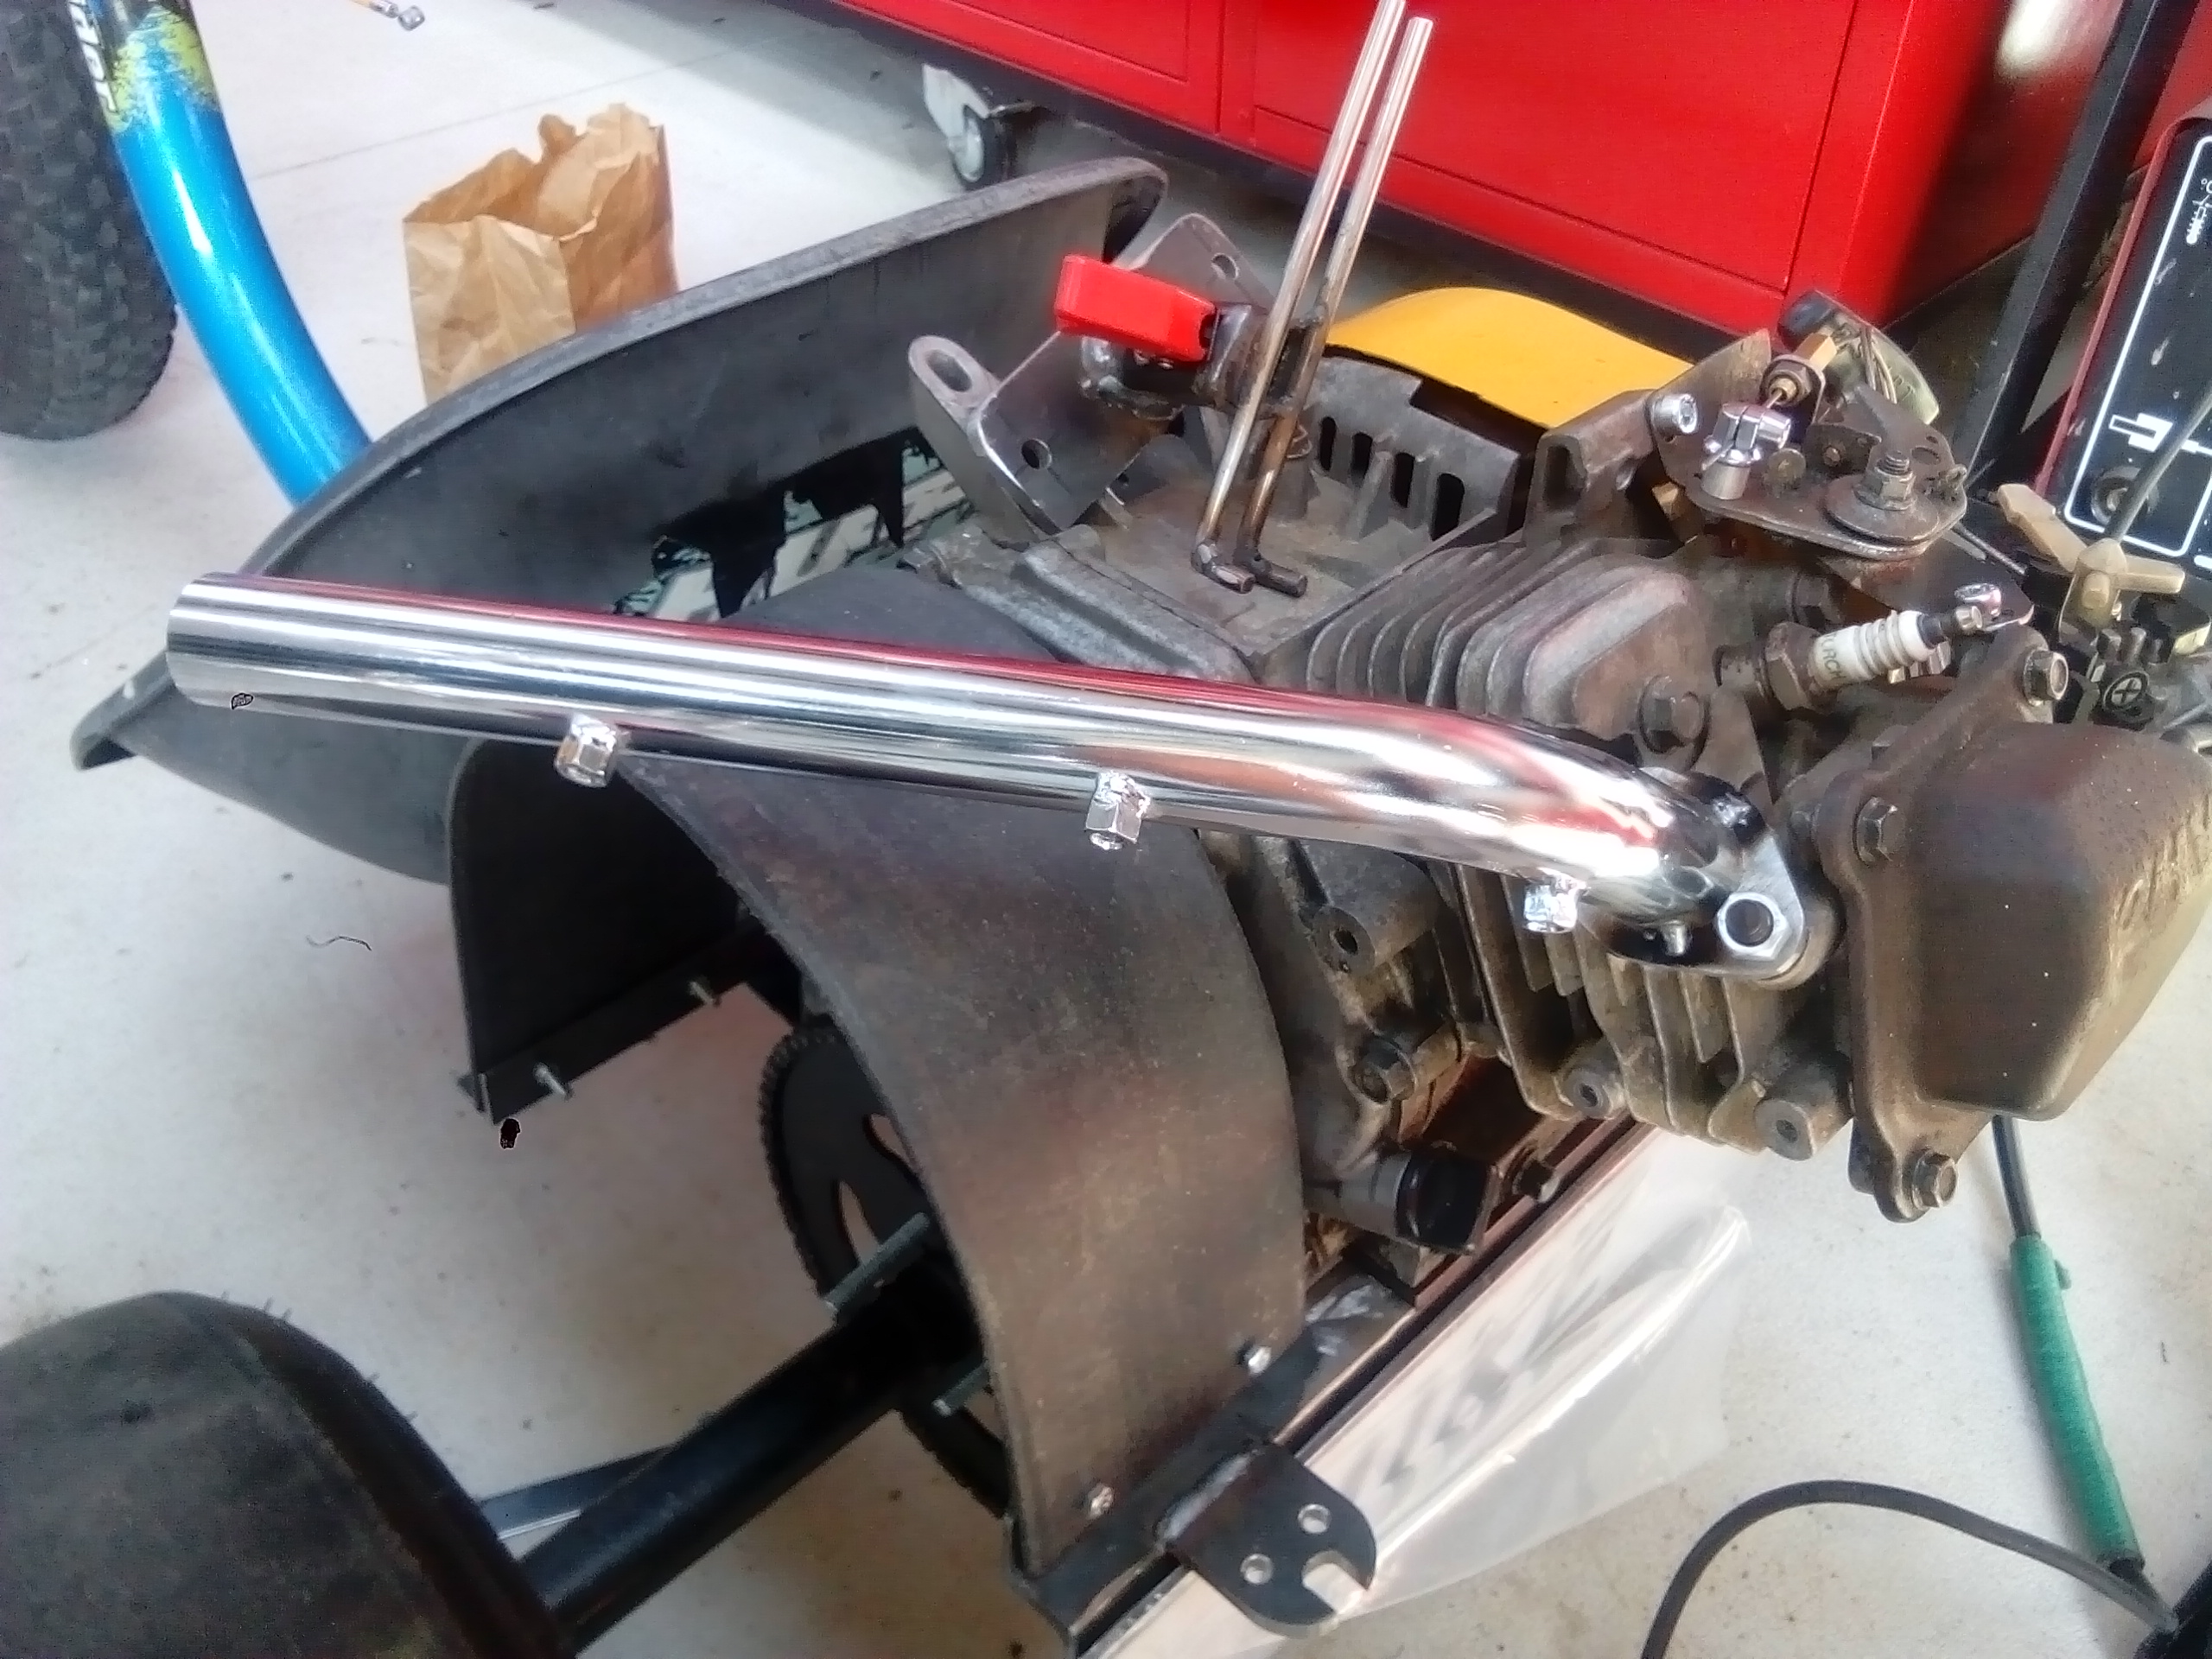
Exhaust turned up from eBay. I quickly set about hacking it up! And then putting it back together in a different configuration.
-

2 Trailer Loads of Death... Mostly Gyro X build thread
Kimjon replied to Raizer's topic in Other Projects
Dude! You've done such a great job on this. So impressed that you can take it from trash to factory fresh without giving up. I can see this isn't the type of project where you give your licence plate number to the disinterested 17 year old behind the counter at Repco and expect them to hand you some parts... -
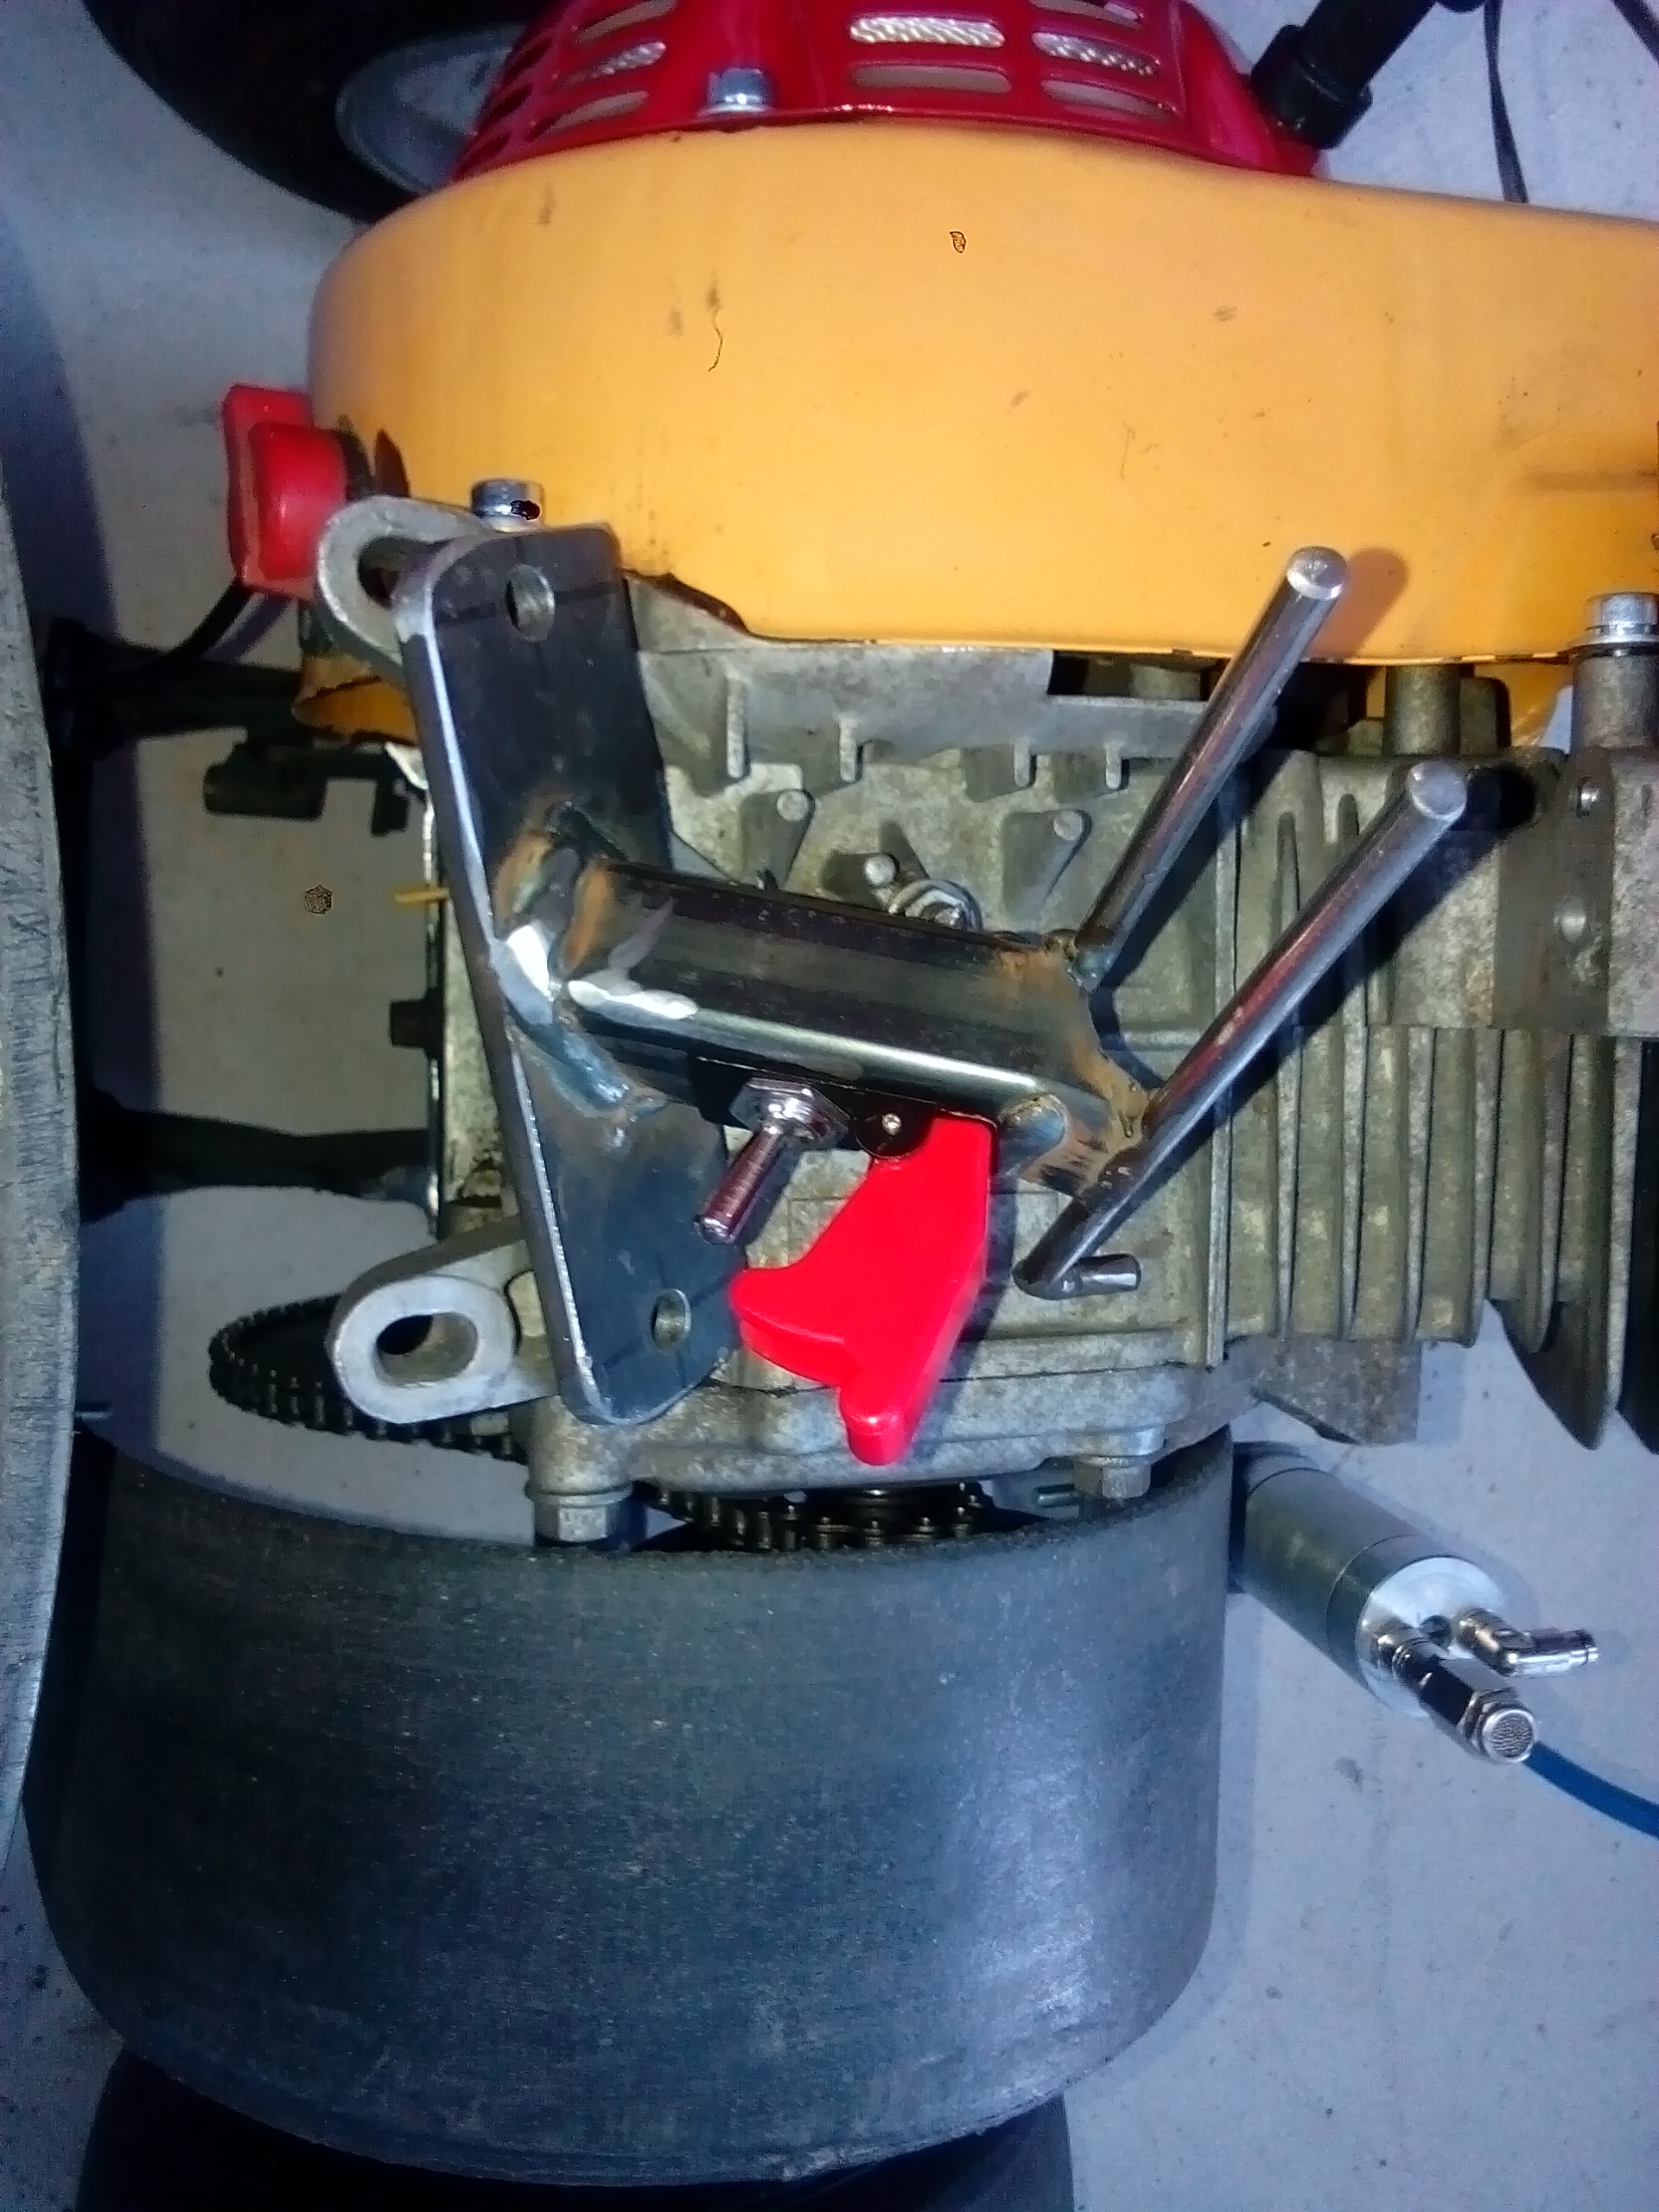
And a panic switch roughly fitted. I struggled to clamp this on the mill...bastard kept wanting to move on me. Rough as guts, but I'll make it pretty later.
-
Normally the valve cover vents into the air filter and any dirty oily blow by is fed directly back into the motor and burnt in there. I removed the stock airbox, so had to come up with a solution. Option A: do nothing, vent to atmosphere. But end up with oil everywhere. Option B: run a line, dump to ground like an early motorbike would. Fine on the road, not so cool on your own nice concrete driveway. Option C: run a catch can like a race car would. So in true style I elected for the most complicated solution (Option C). And rather than spending around $70 to buy one, i further complicated it by making my own scaled down version on the lathe. Bracket: Mounted loosely in position: It's loosely bolted there for now, and missing the sight tube (4mm clear pneumatic tube, will allow visual of oil level in the catch can)...but looks the part.
-
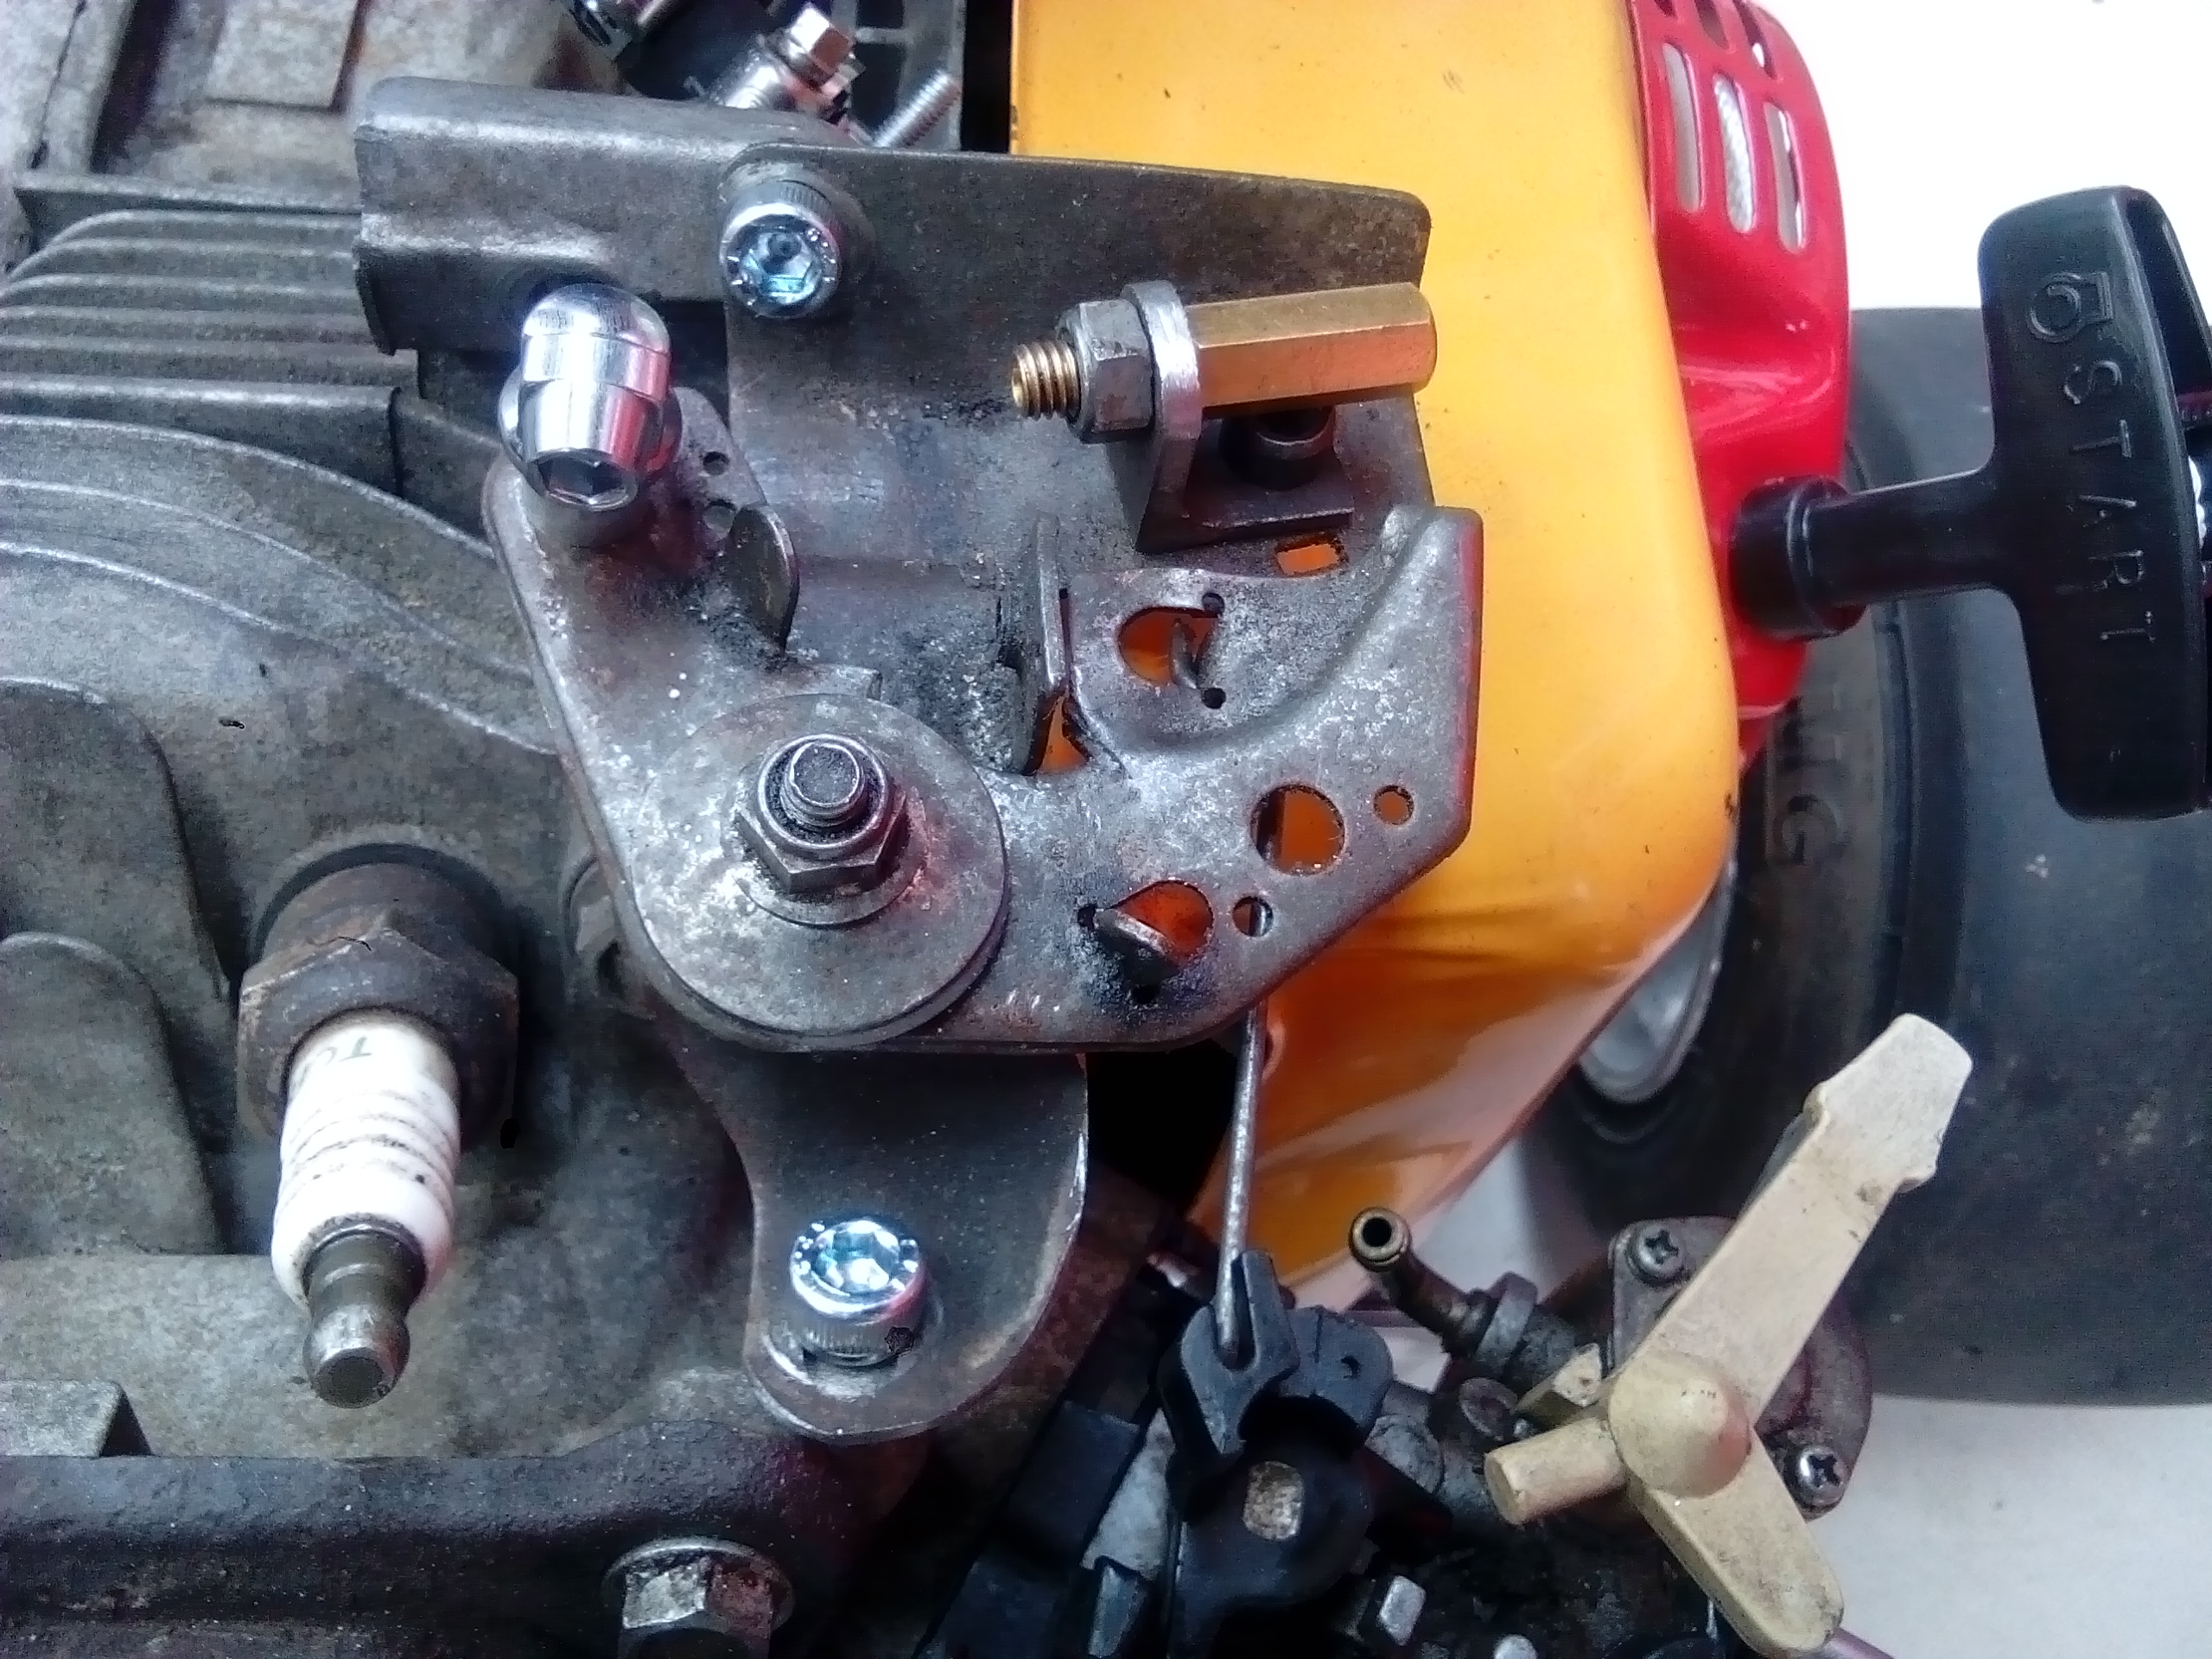
The throttle linkages are a mess on these. They are reliant on the governor and when that's removed they flop about. I got it functional, but it looked untidy. So I cut it up and reshaped it: Before (functional...but pugly) And after (still ugly, but better) I'll paint it and see if it "disappears". If not and it still annoys me, I'll mill one up out of alloy.