yetchh
-
Posts
5341 -
Joined
-
Last visited
-
Days Won
1
Everything posted by yetchh
-
Pm'd
-
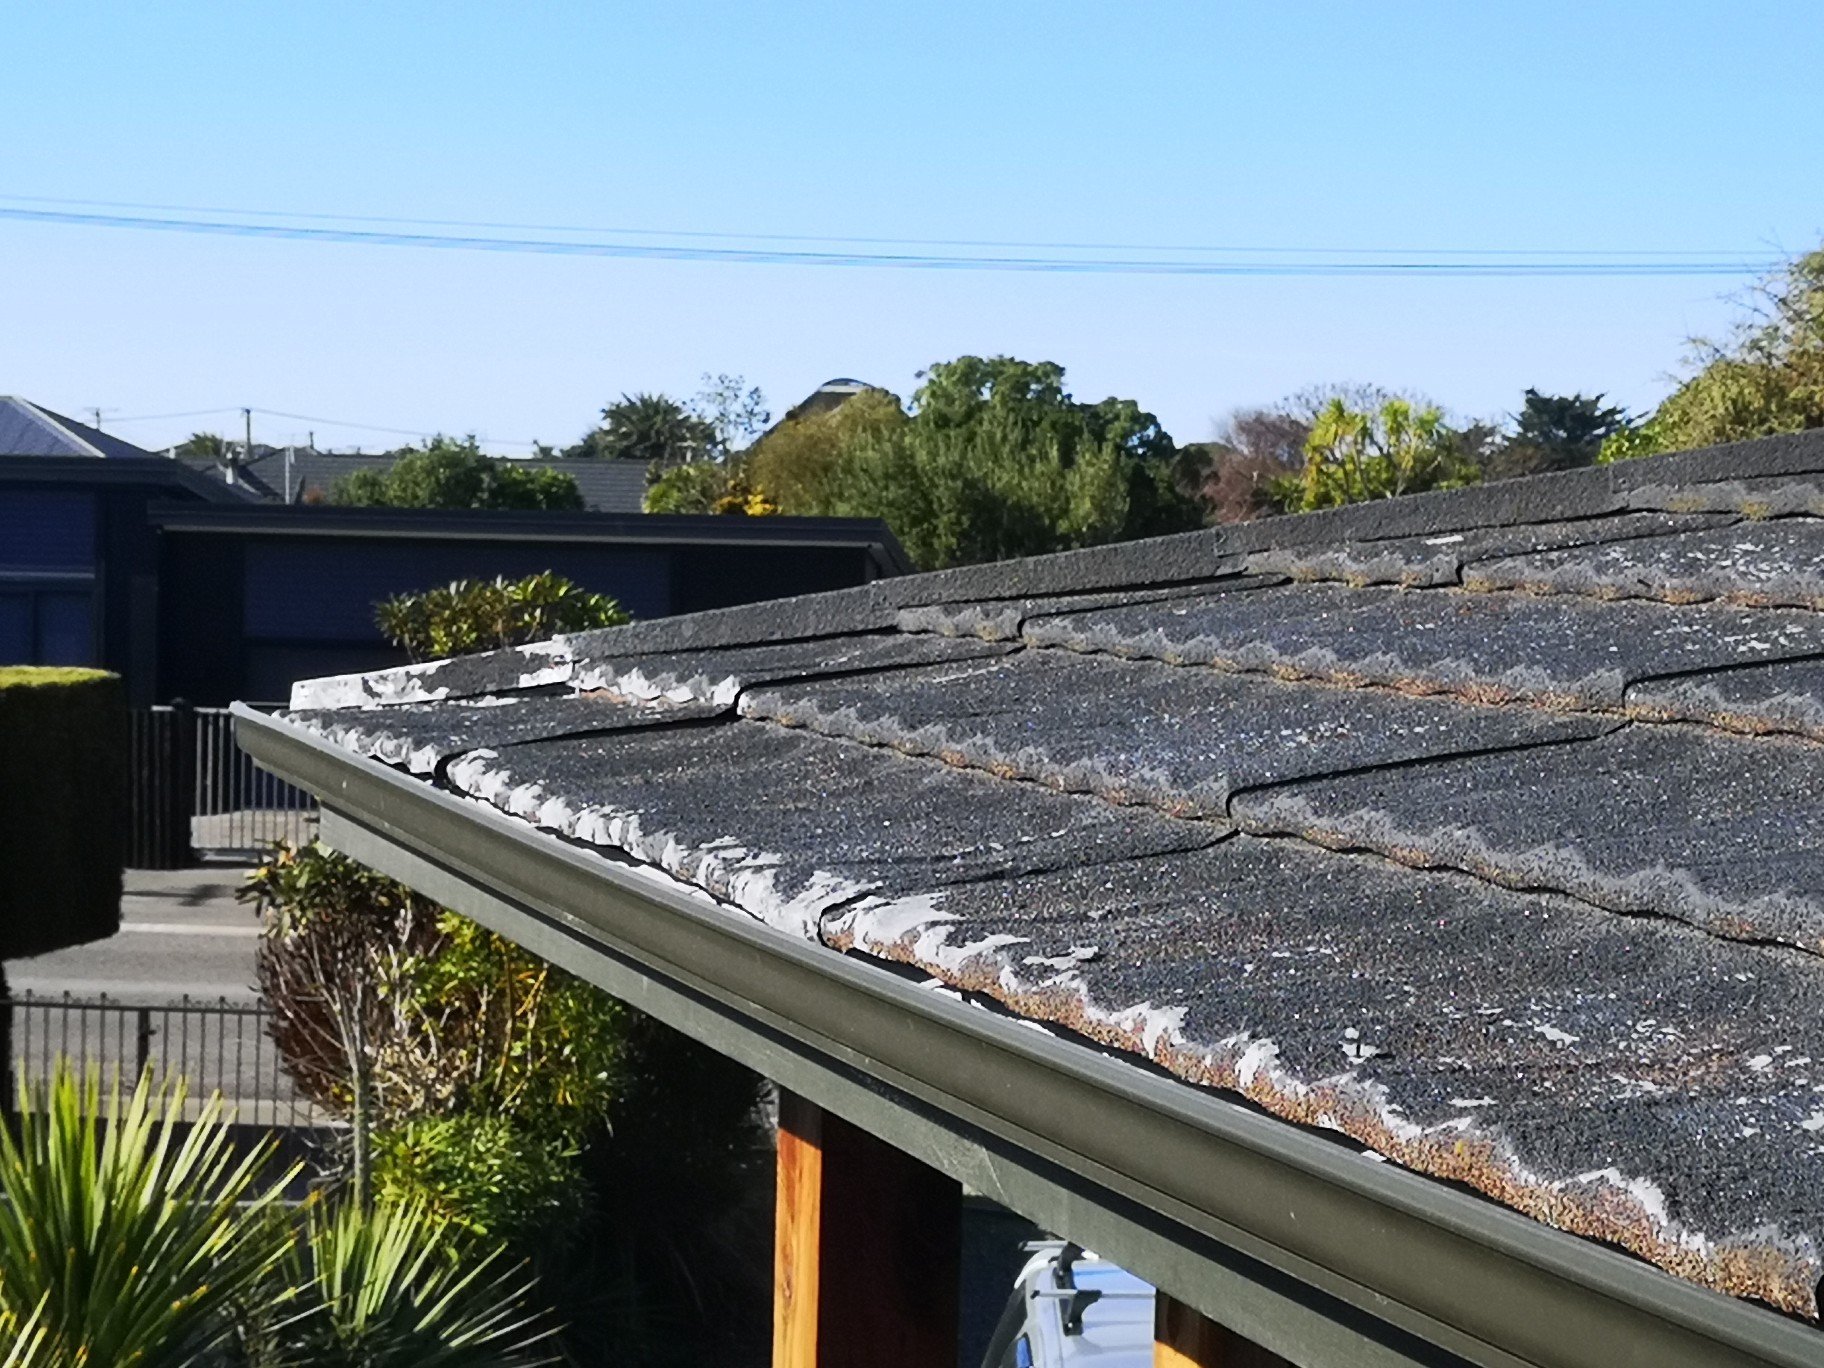
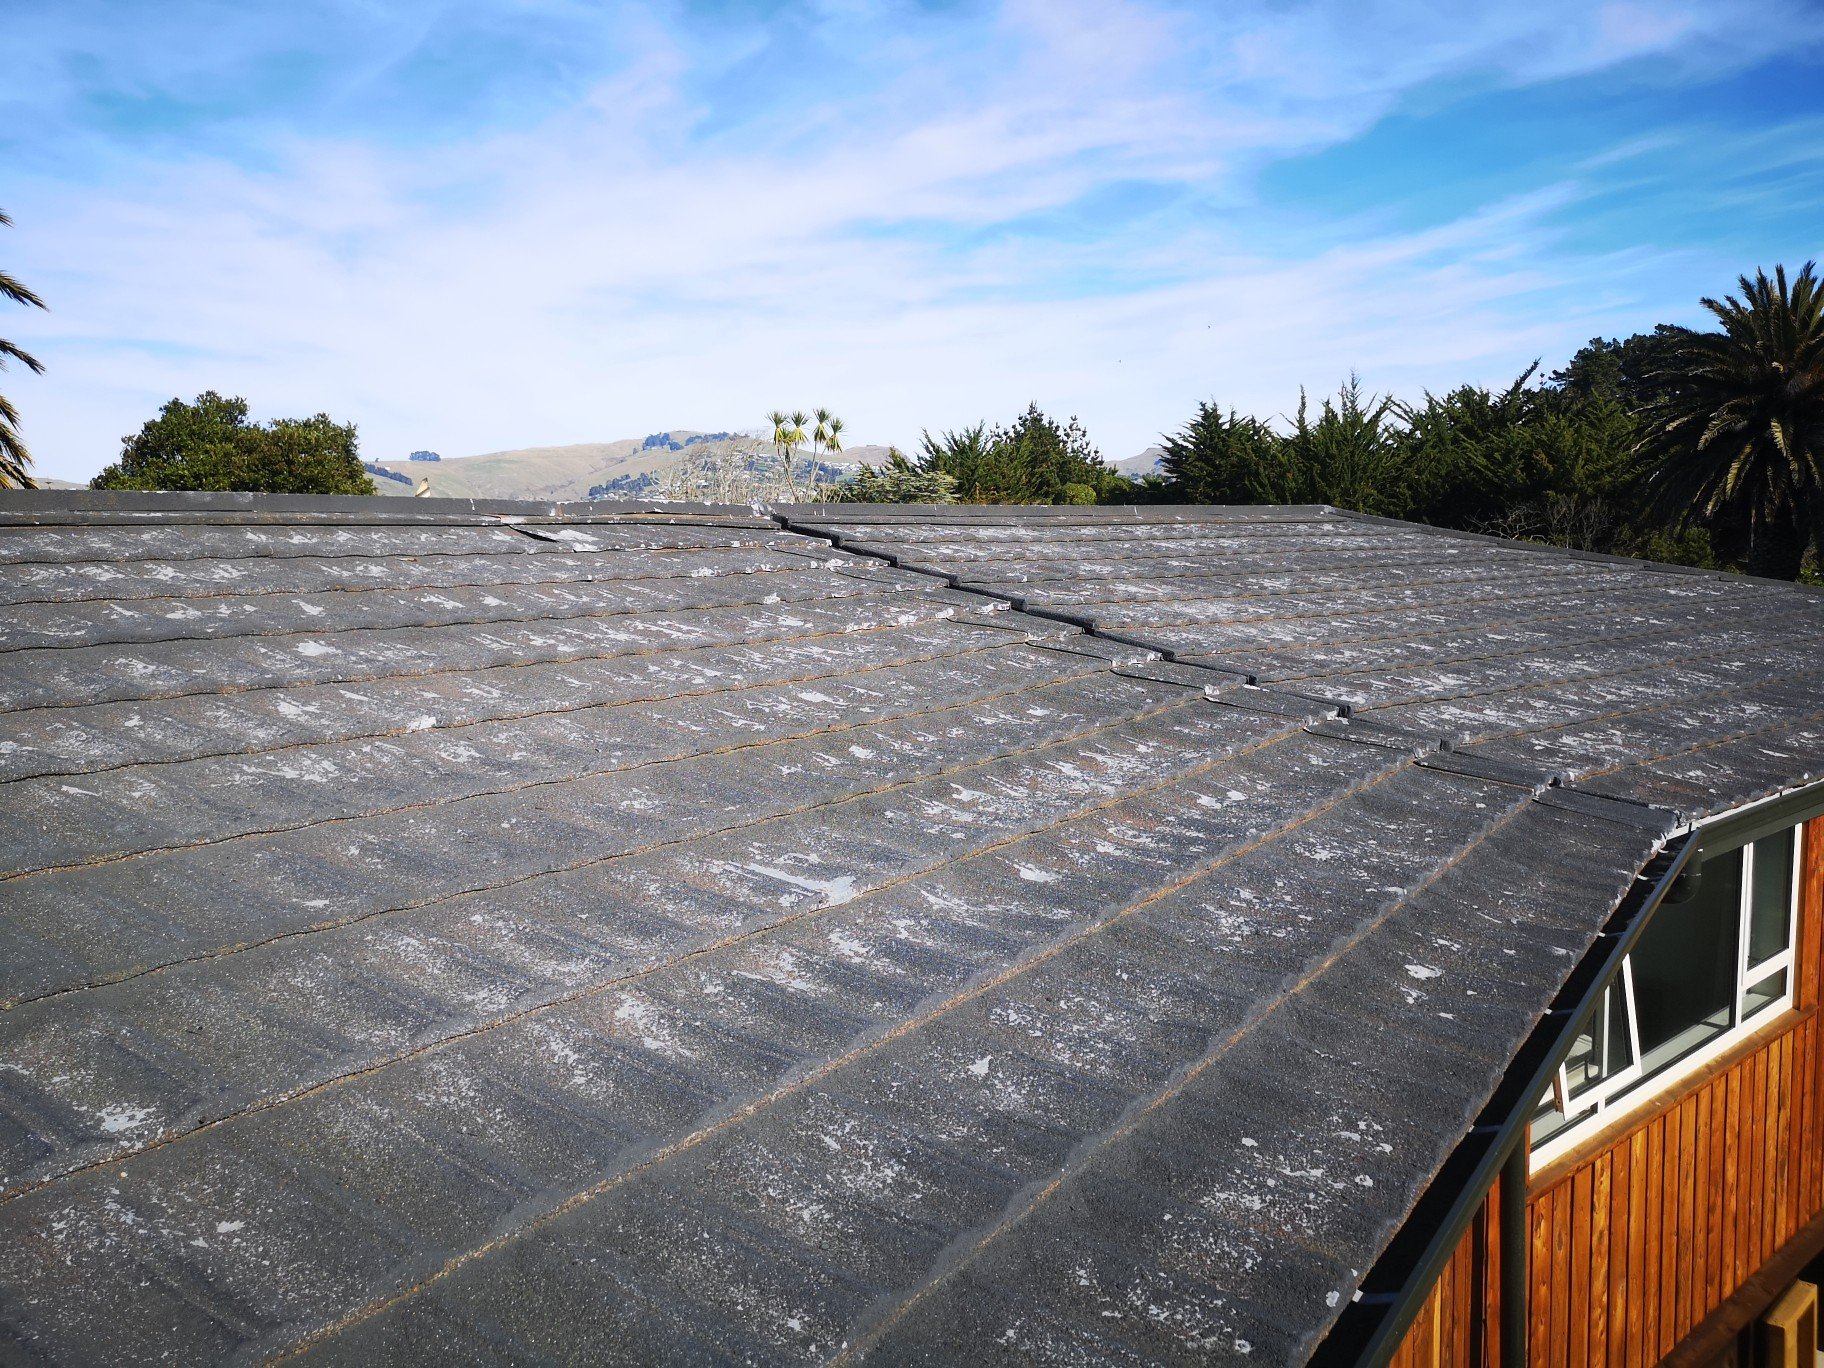
Also got up and had a look at the roof.. Not sure what to do if anything. Needs a paint tho. Also got to clean up this mess, but now have an extra 7 days..

-
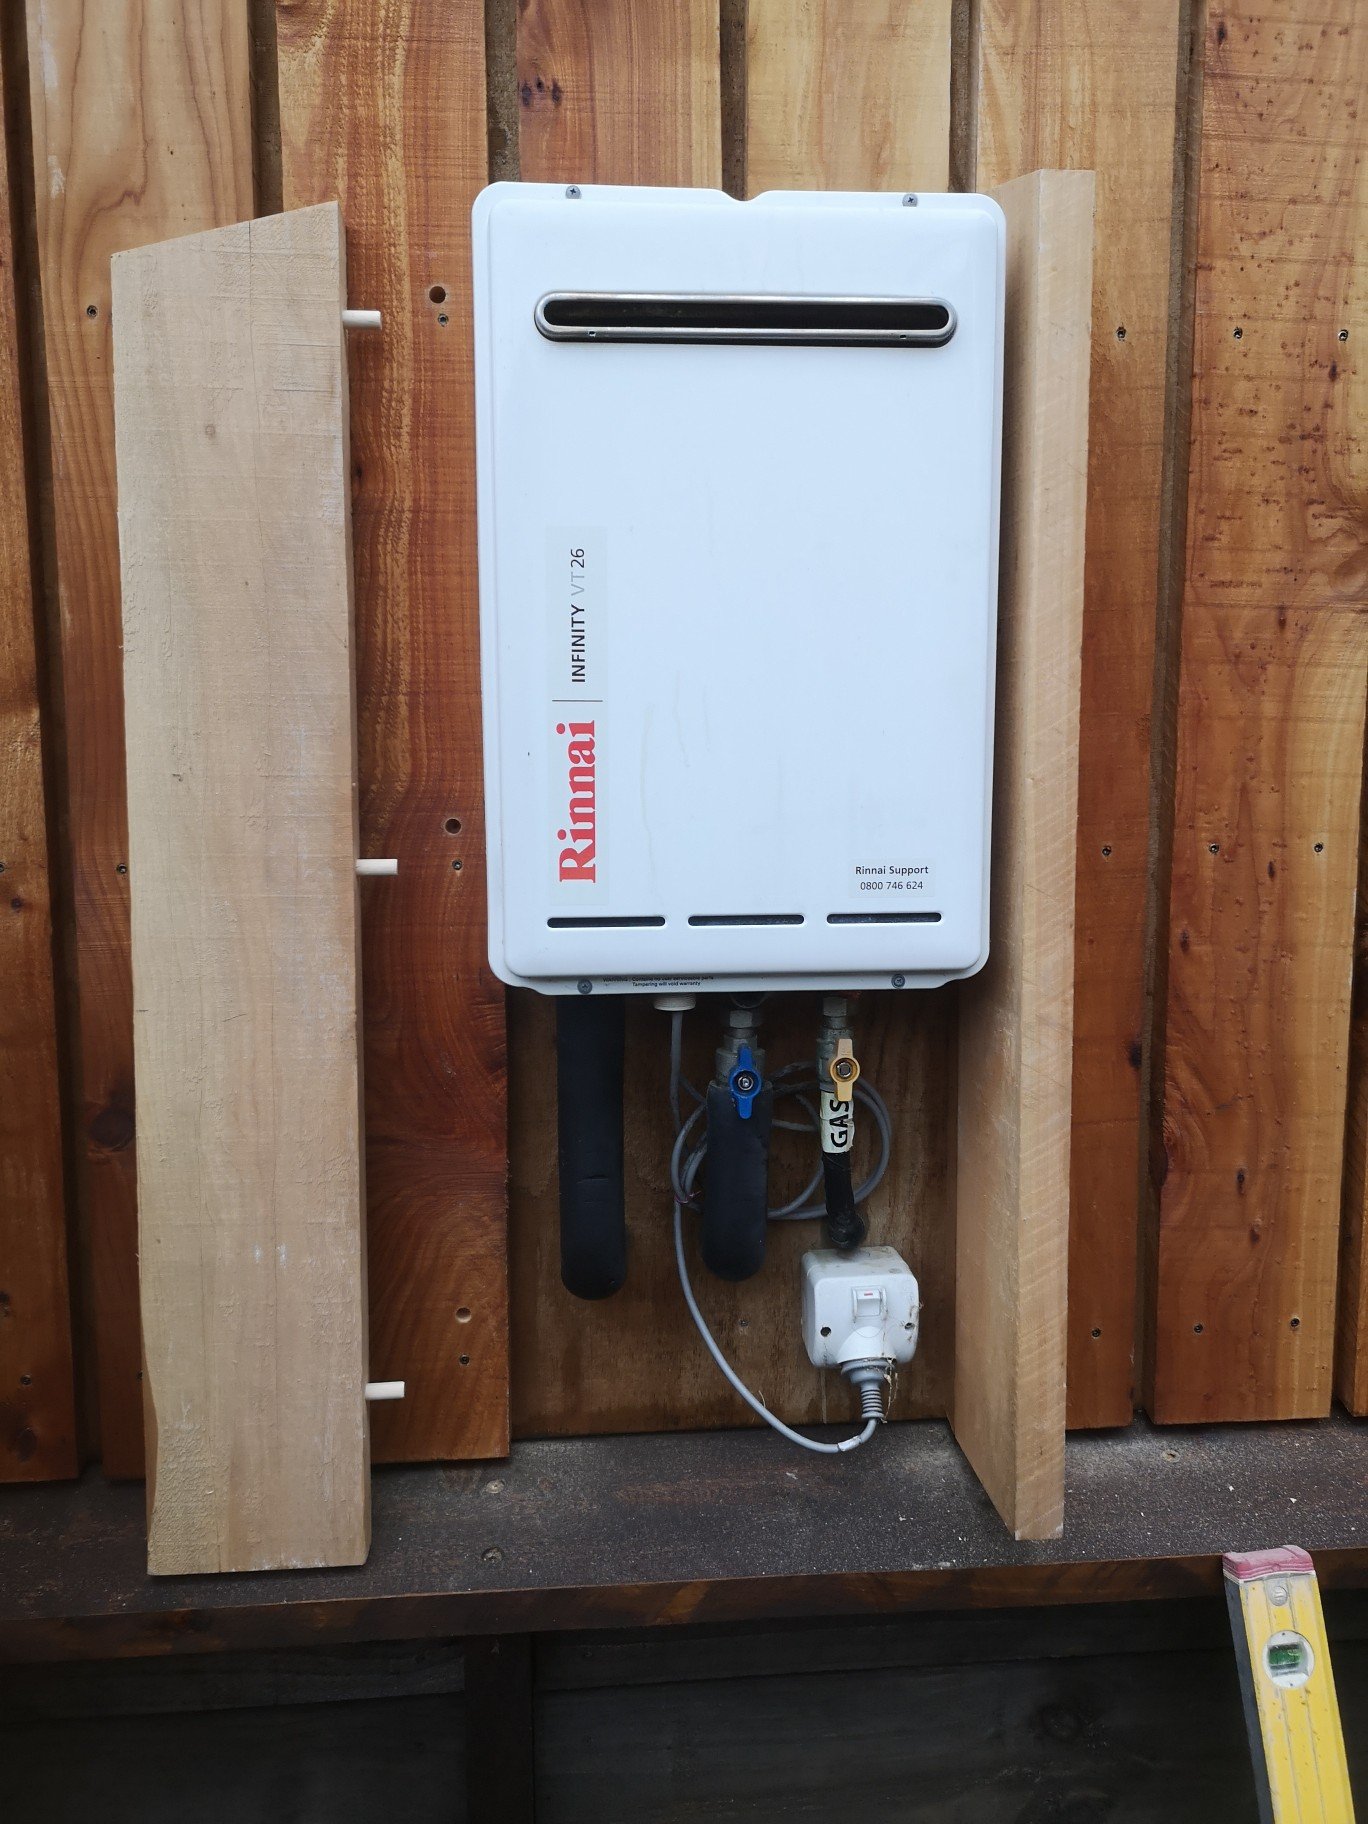
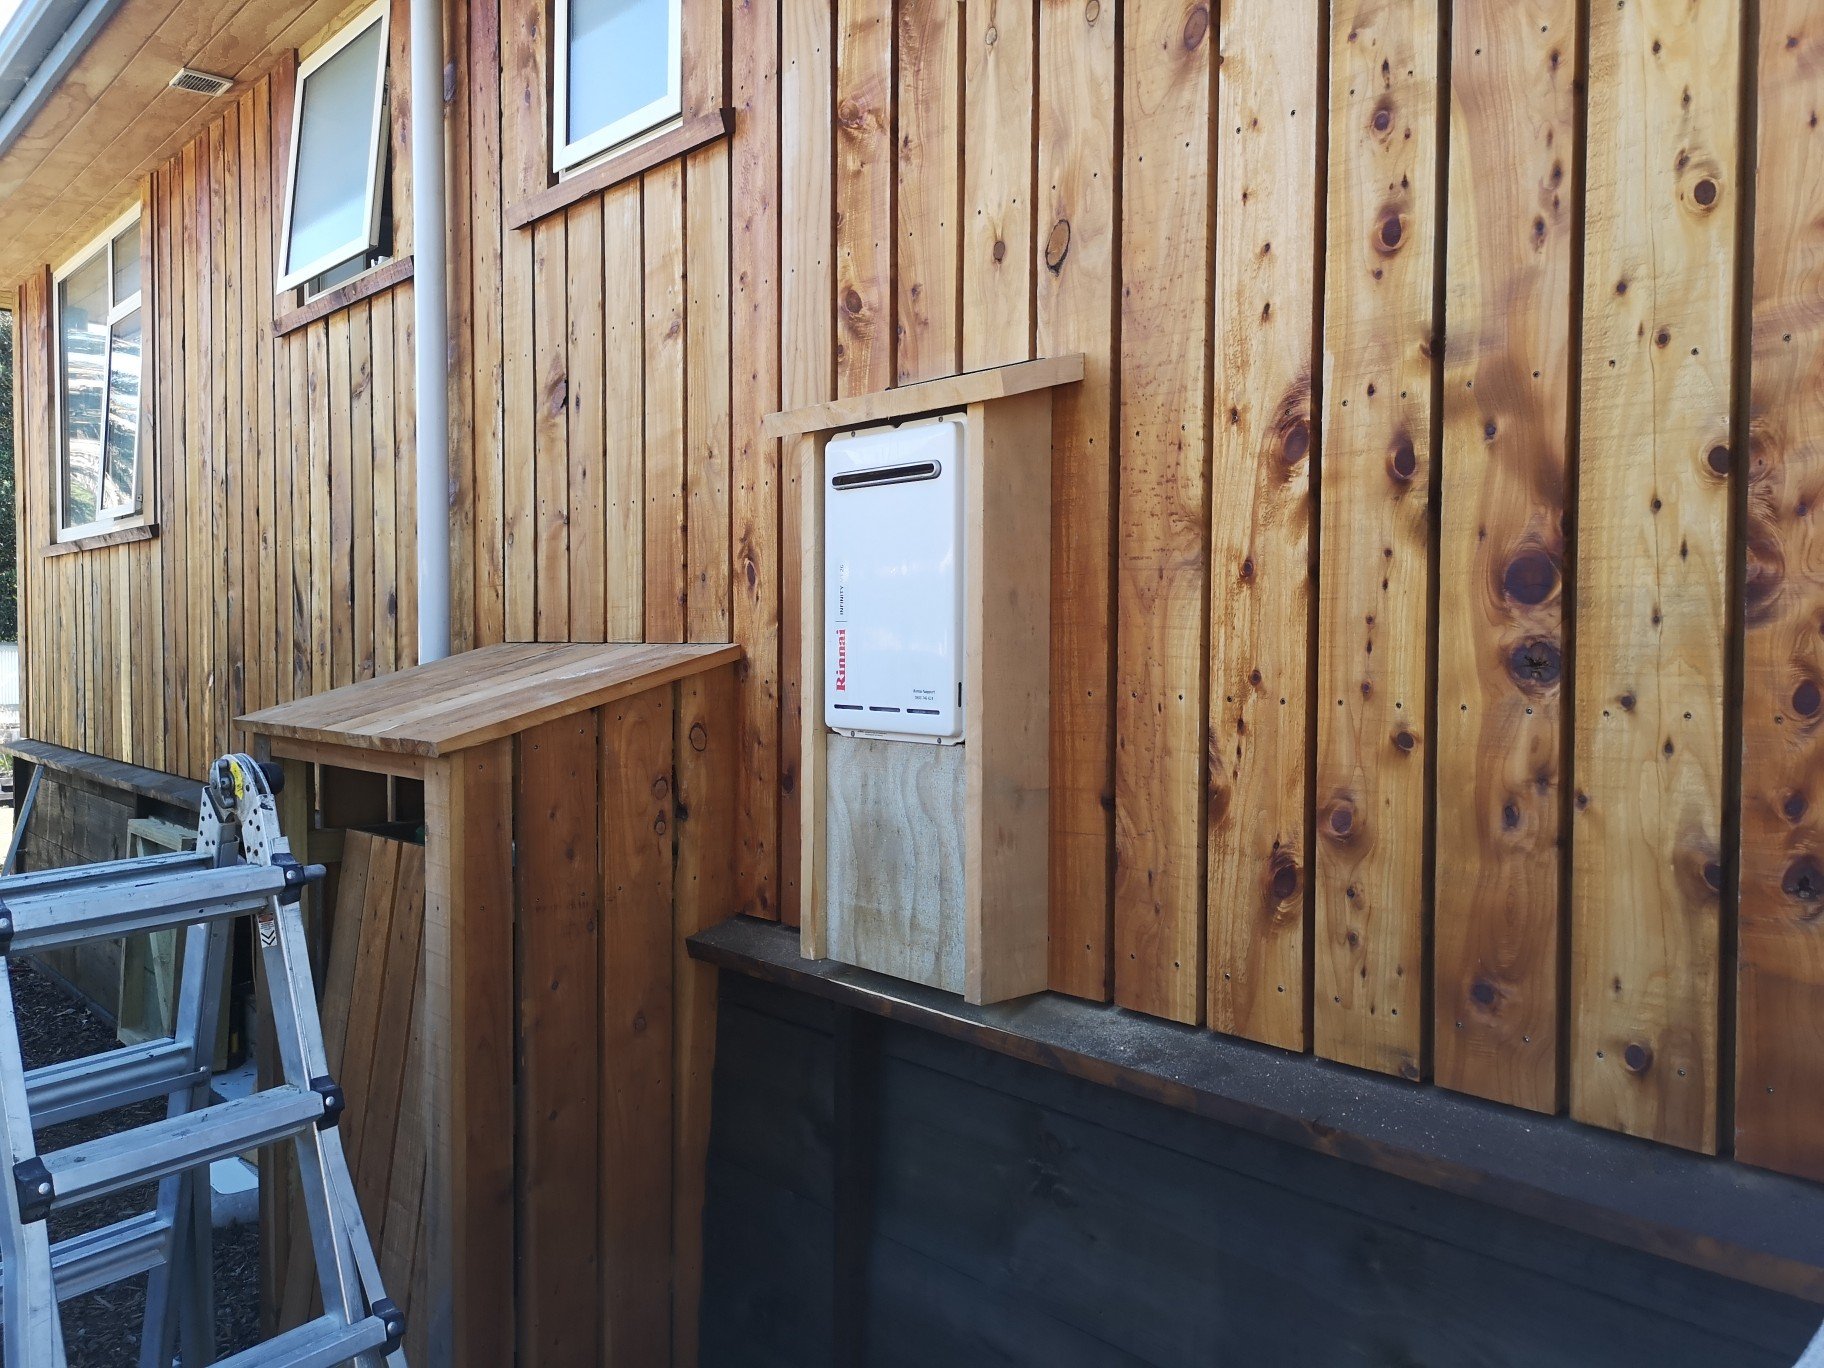
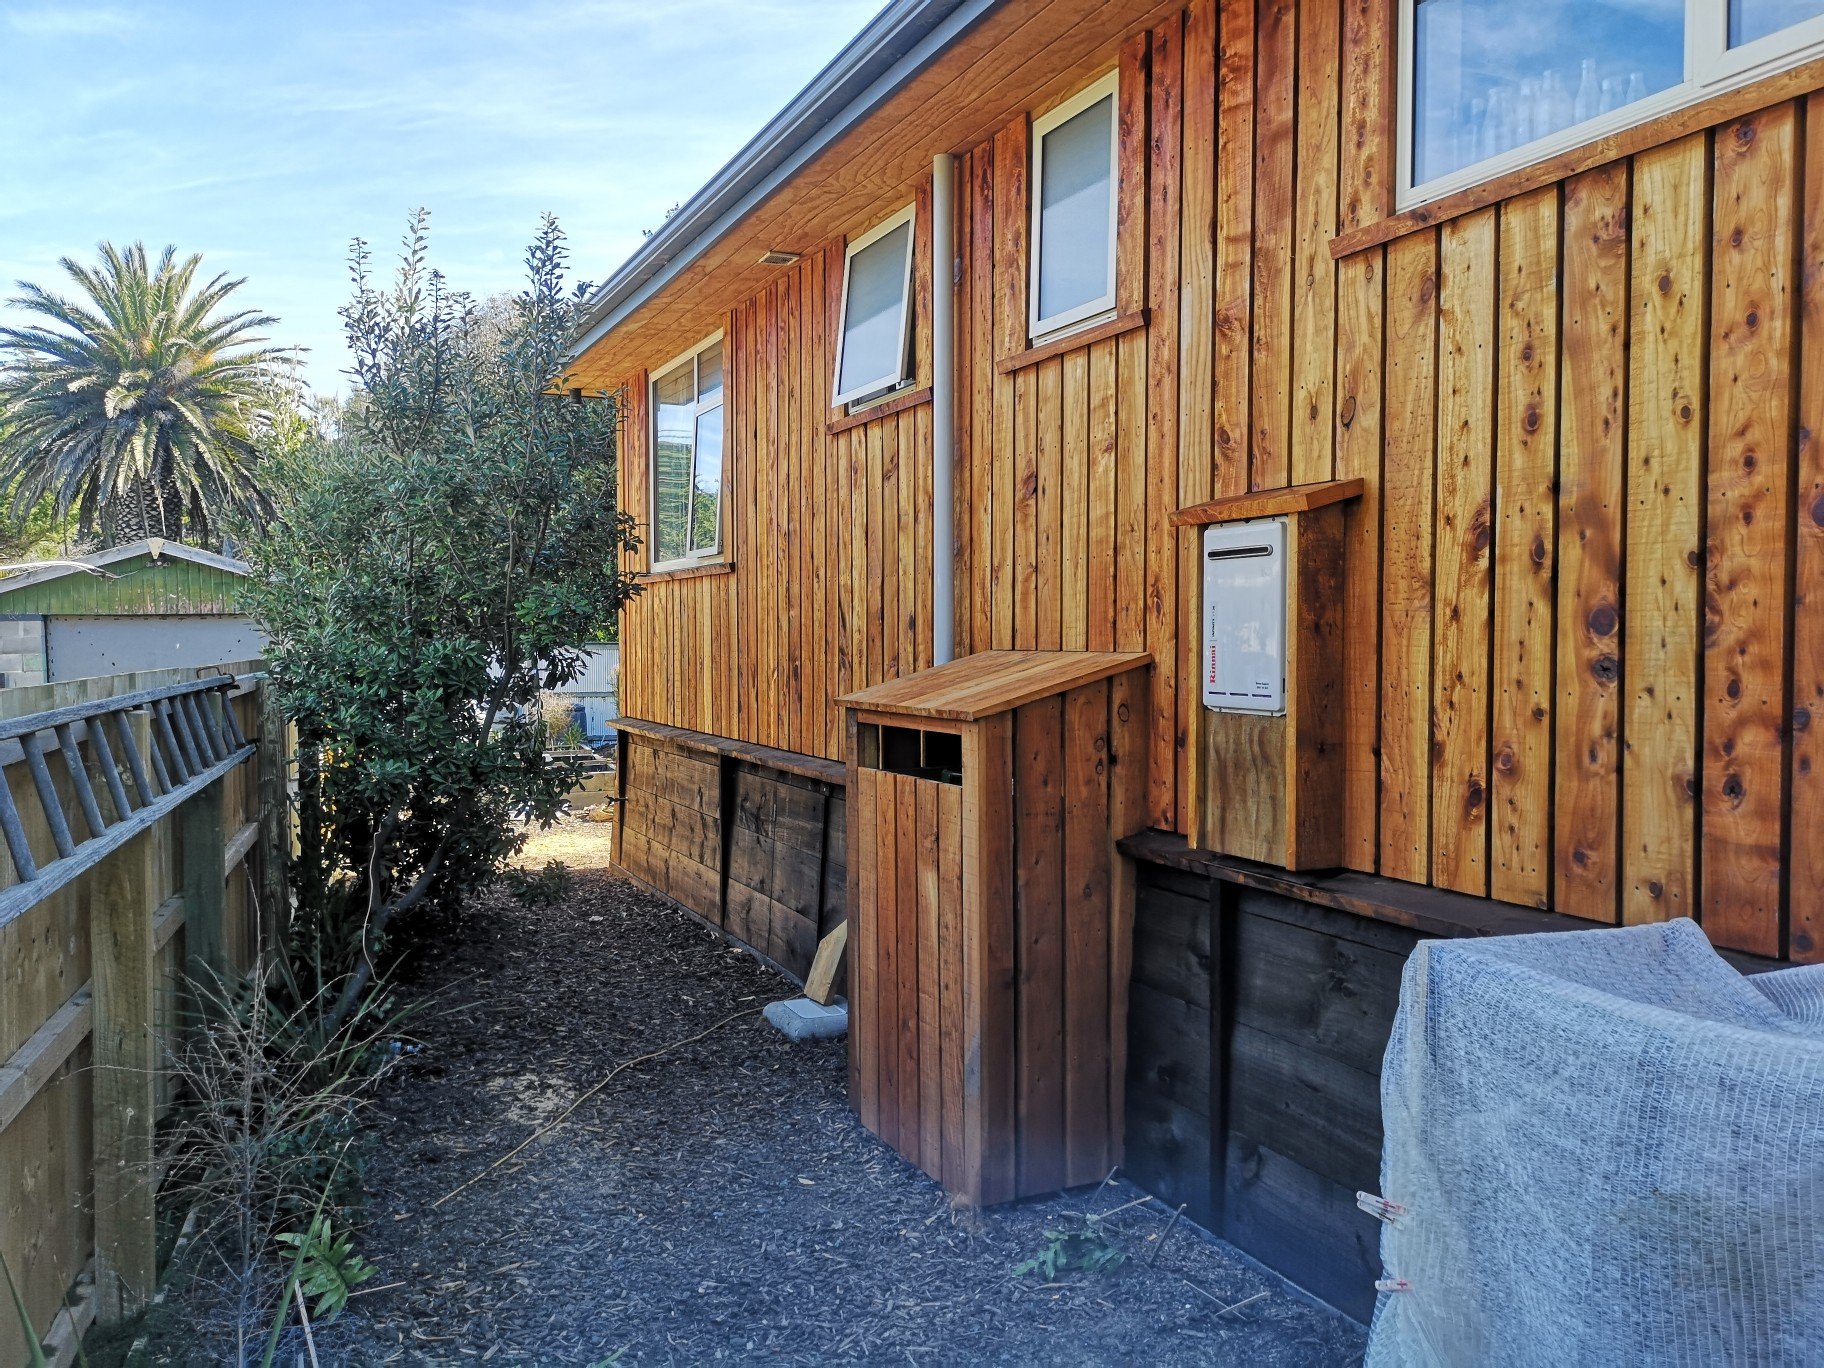
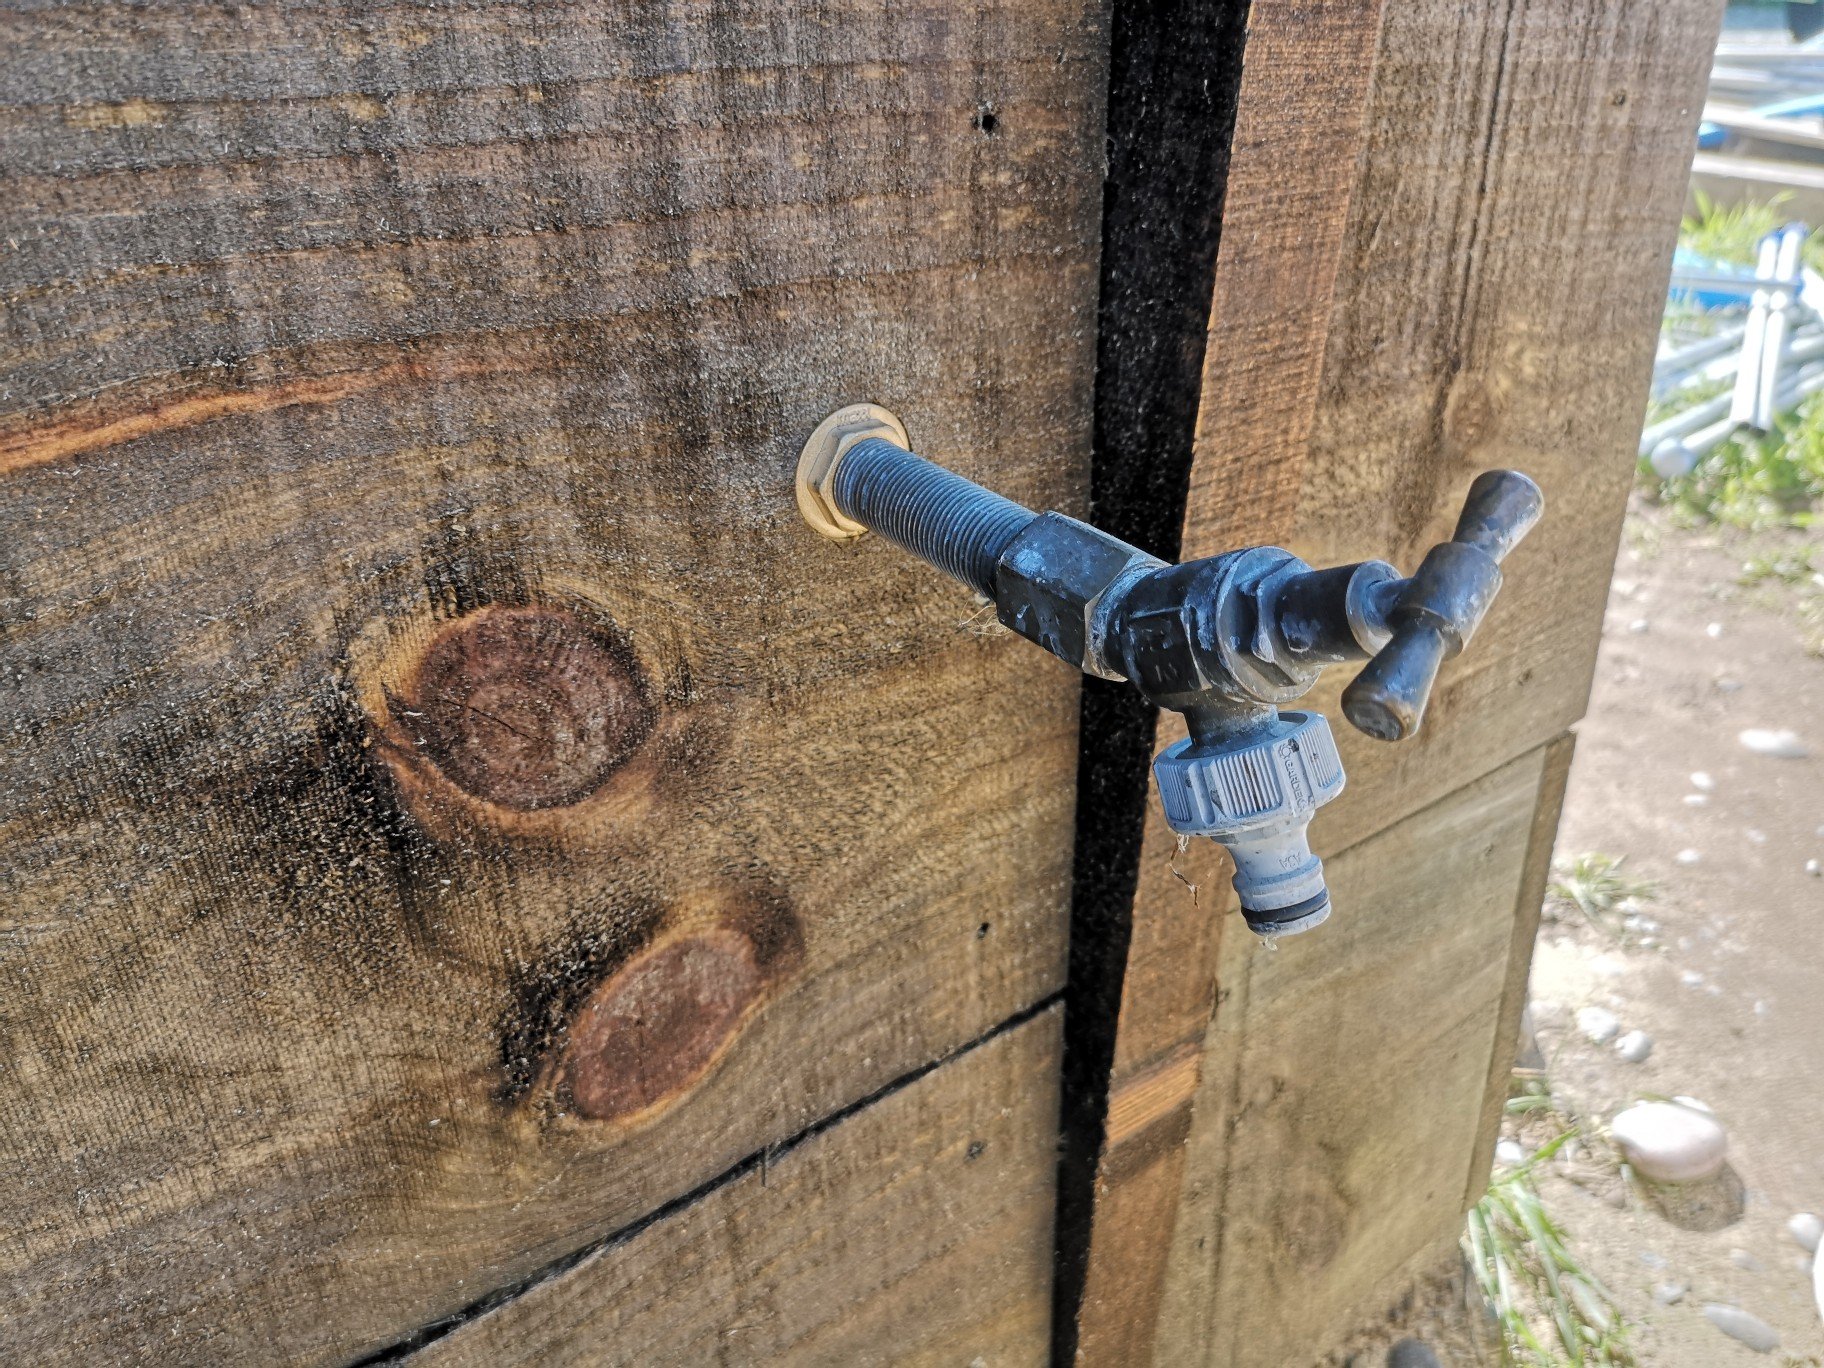
Made the surround for the califont yesterday and finished it today, has a 25mm gap all the way around so hopefully it's ok. Doesn't seem to get particularly hot anyway, even when it's been cranking for 10mins. Dowelled and lightly glued the sides on, Just 11fc'd the top on, also routed some slots on with side for the bottom cover. Then discovered I couldn't slide it in because the cap below was in the way..... Sanded some off so it just slides in. Oiled. Finally did the taps as well, wanted a brass plate against the timber but couldn't find one so used a brass nut instead. 100%? Yeah almost.. Just got to finish the threshold.. and... Put two bits of timber over the joins in the soffit above the front door (something else I forgot) pretty simple.
-
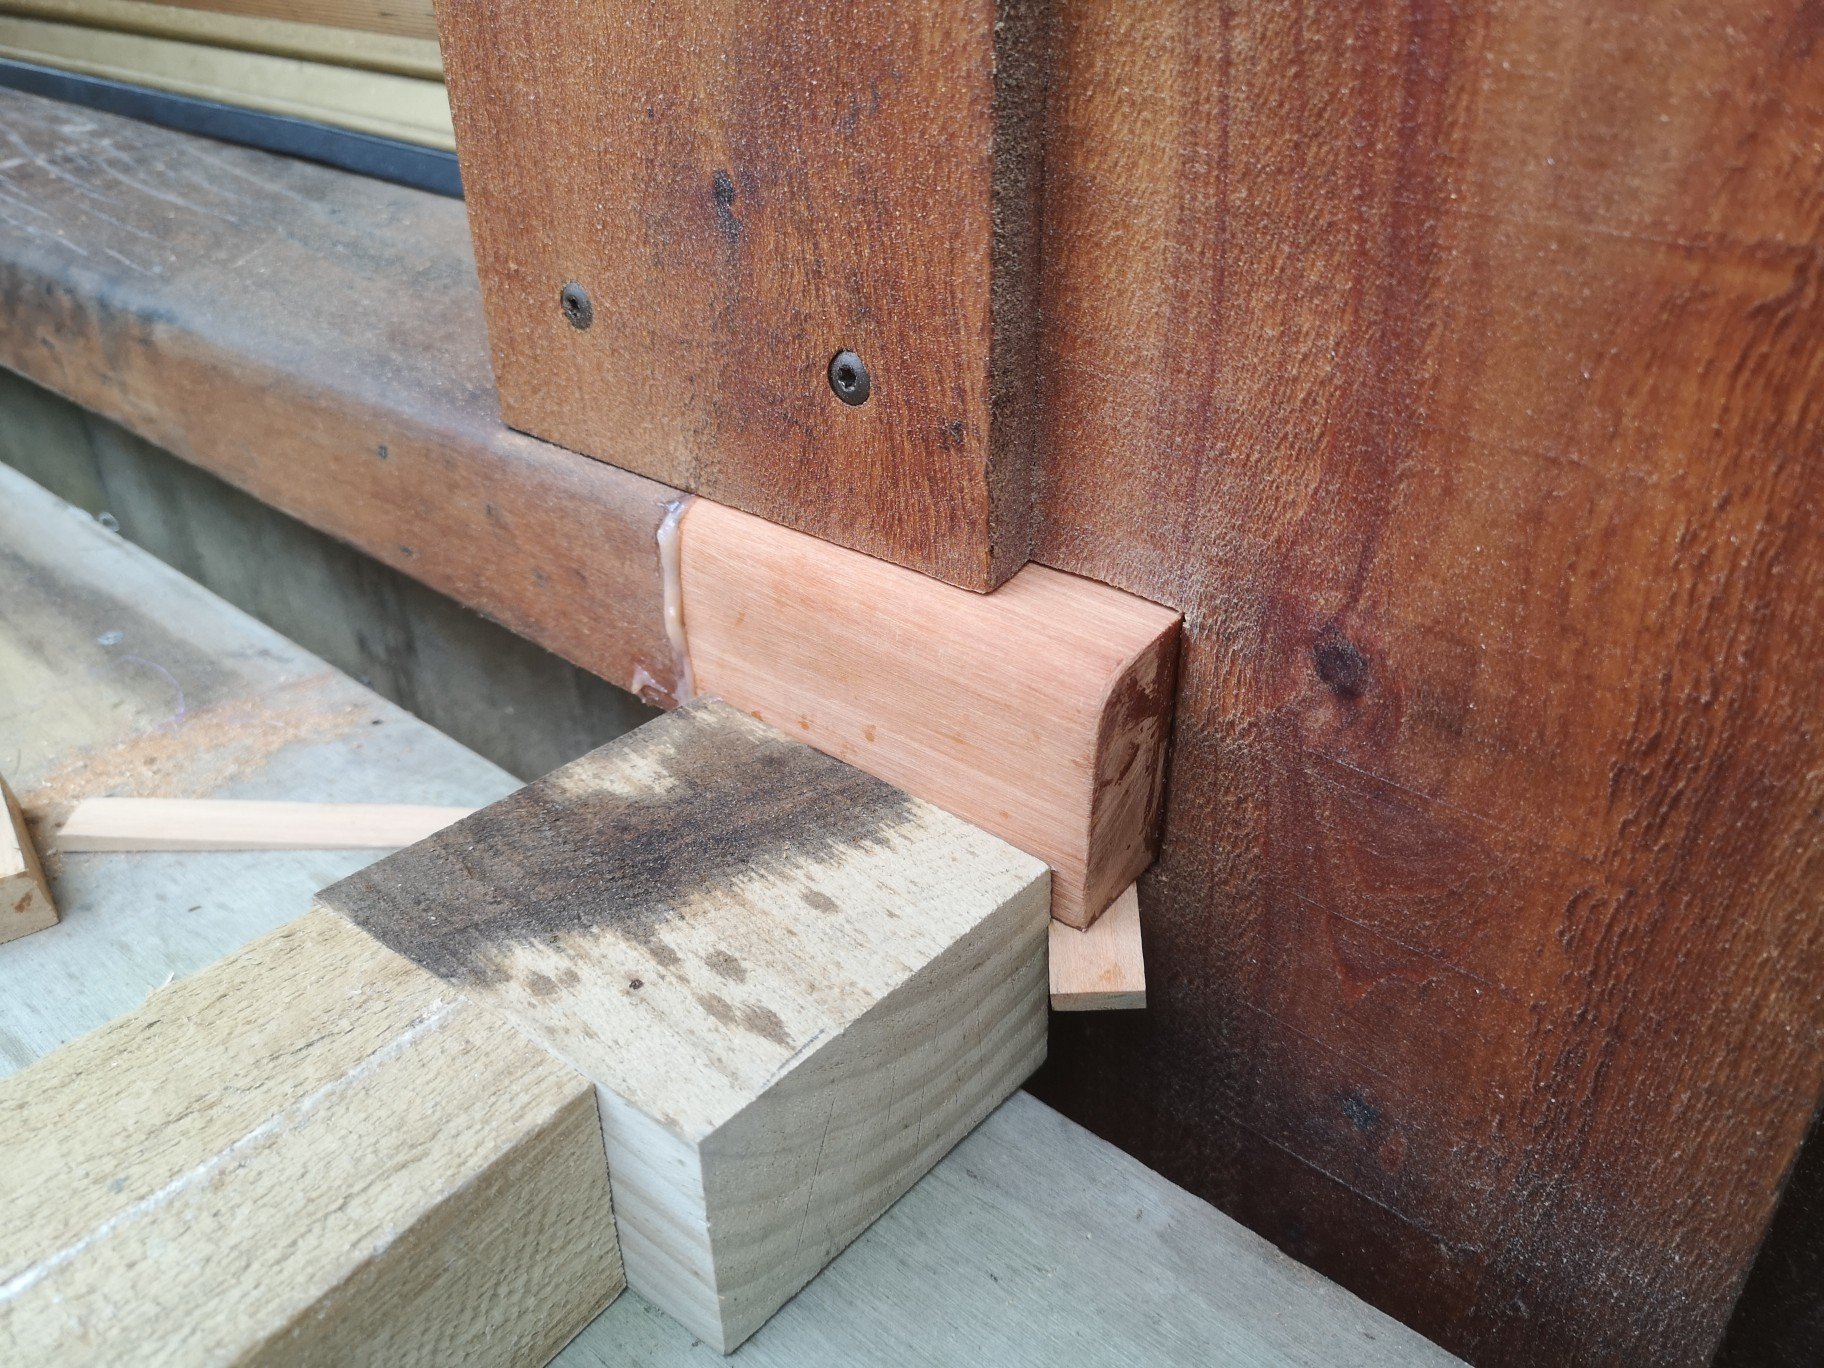
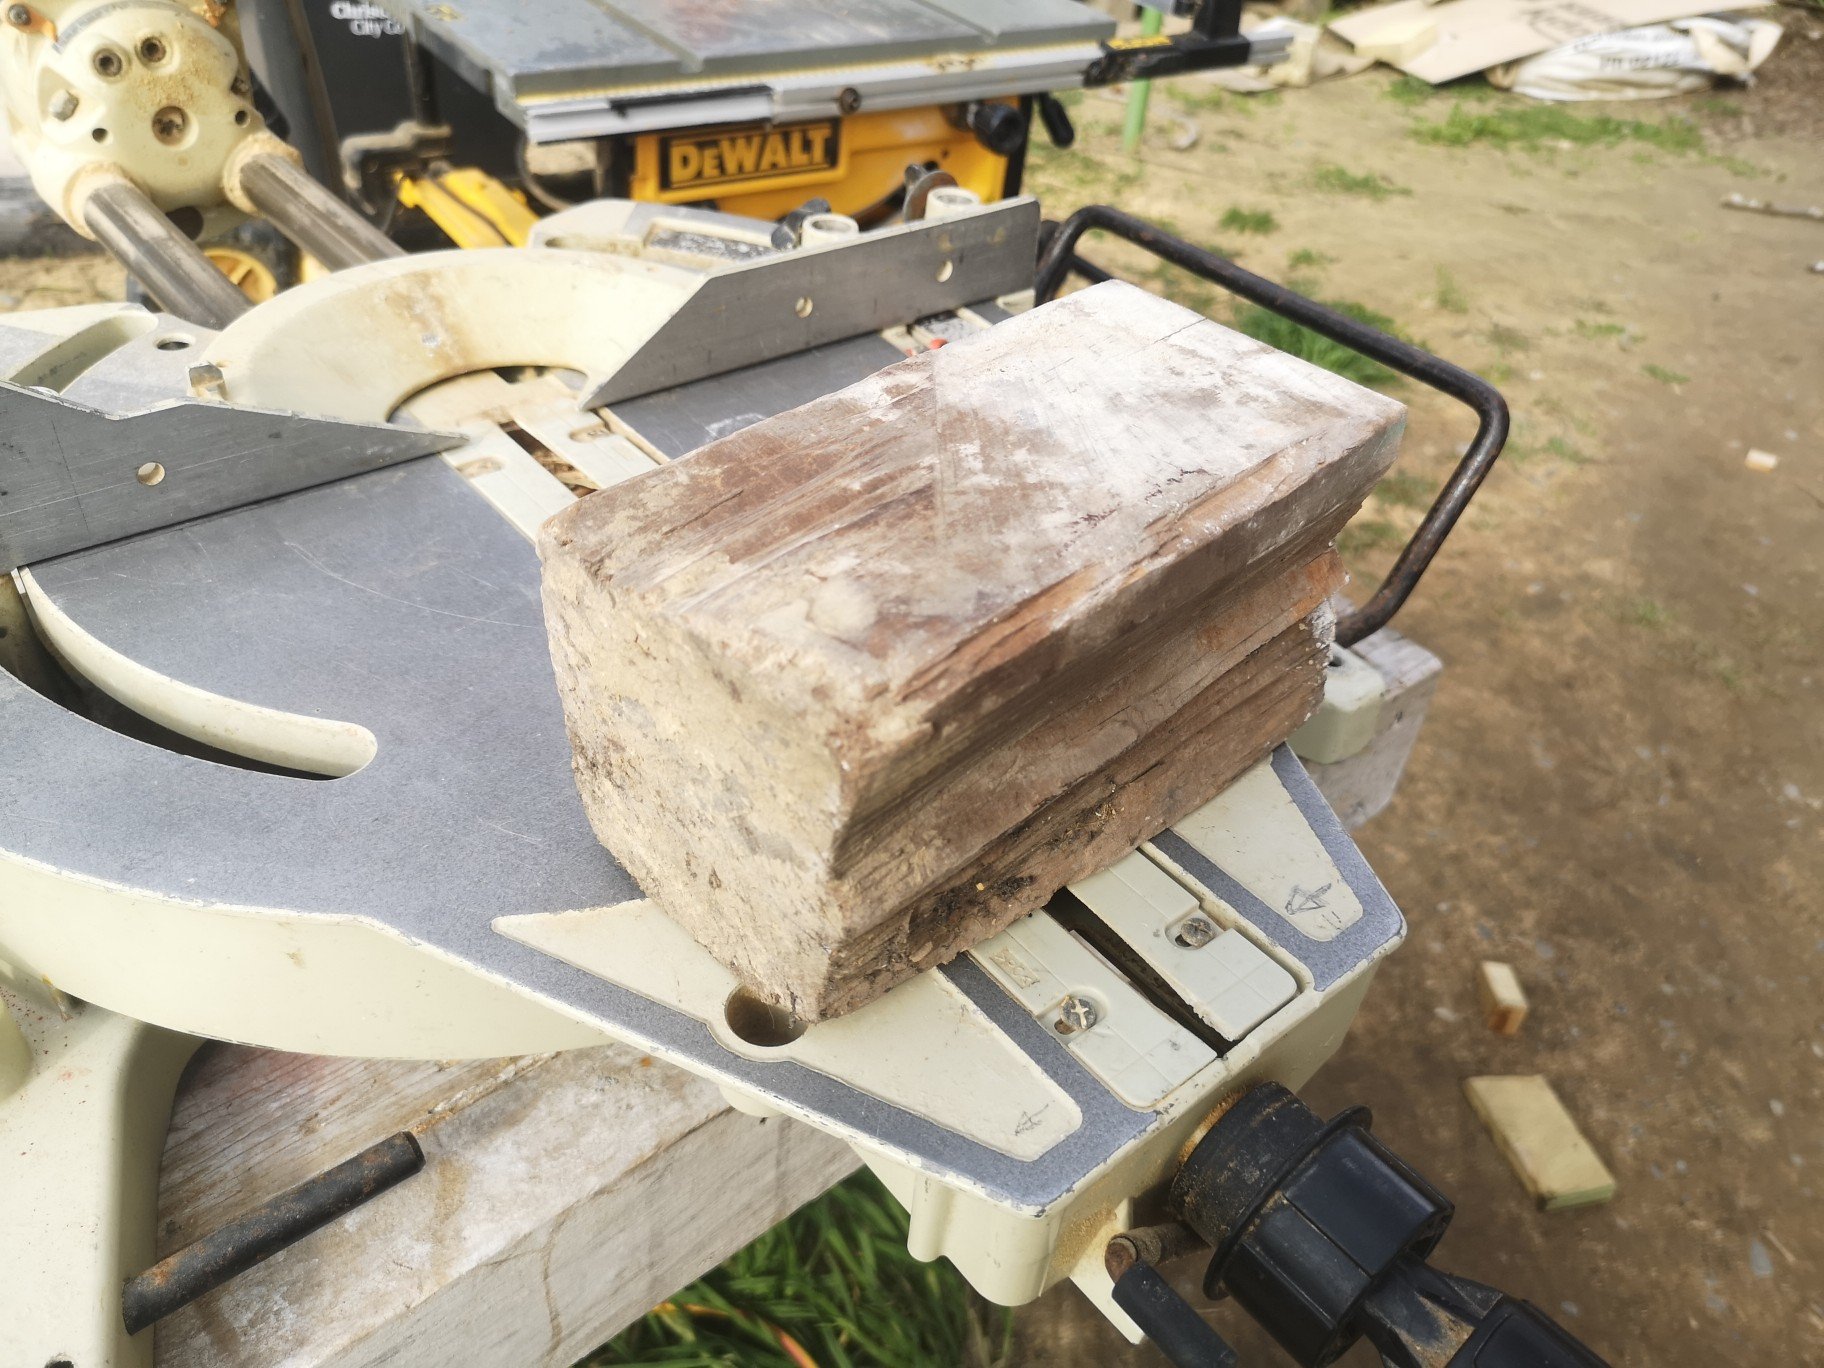
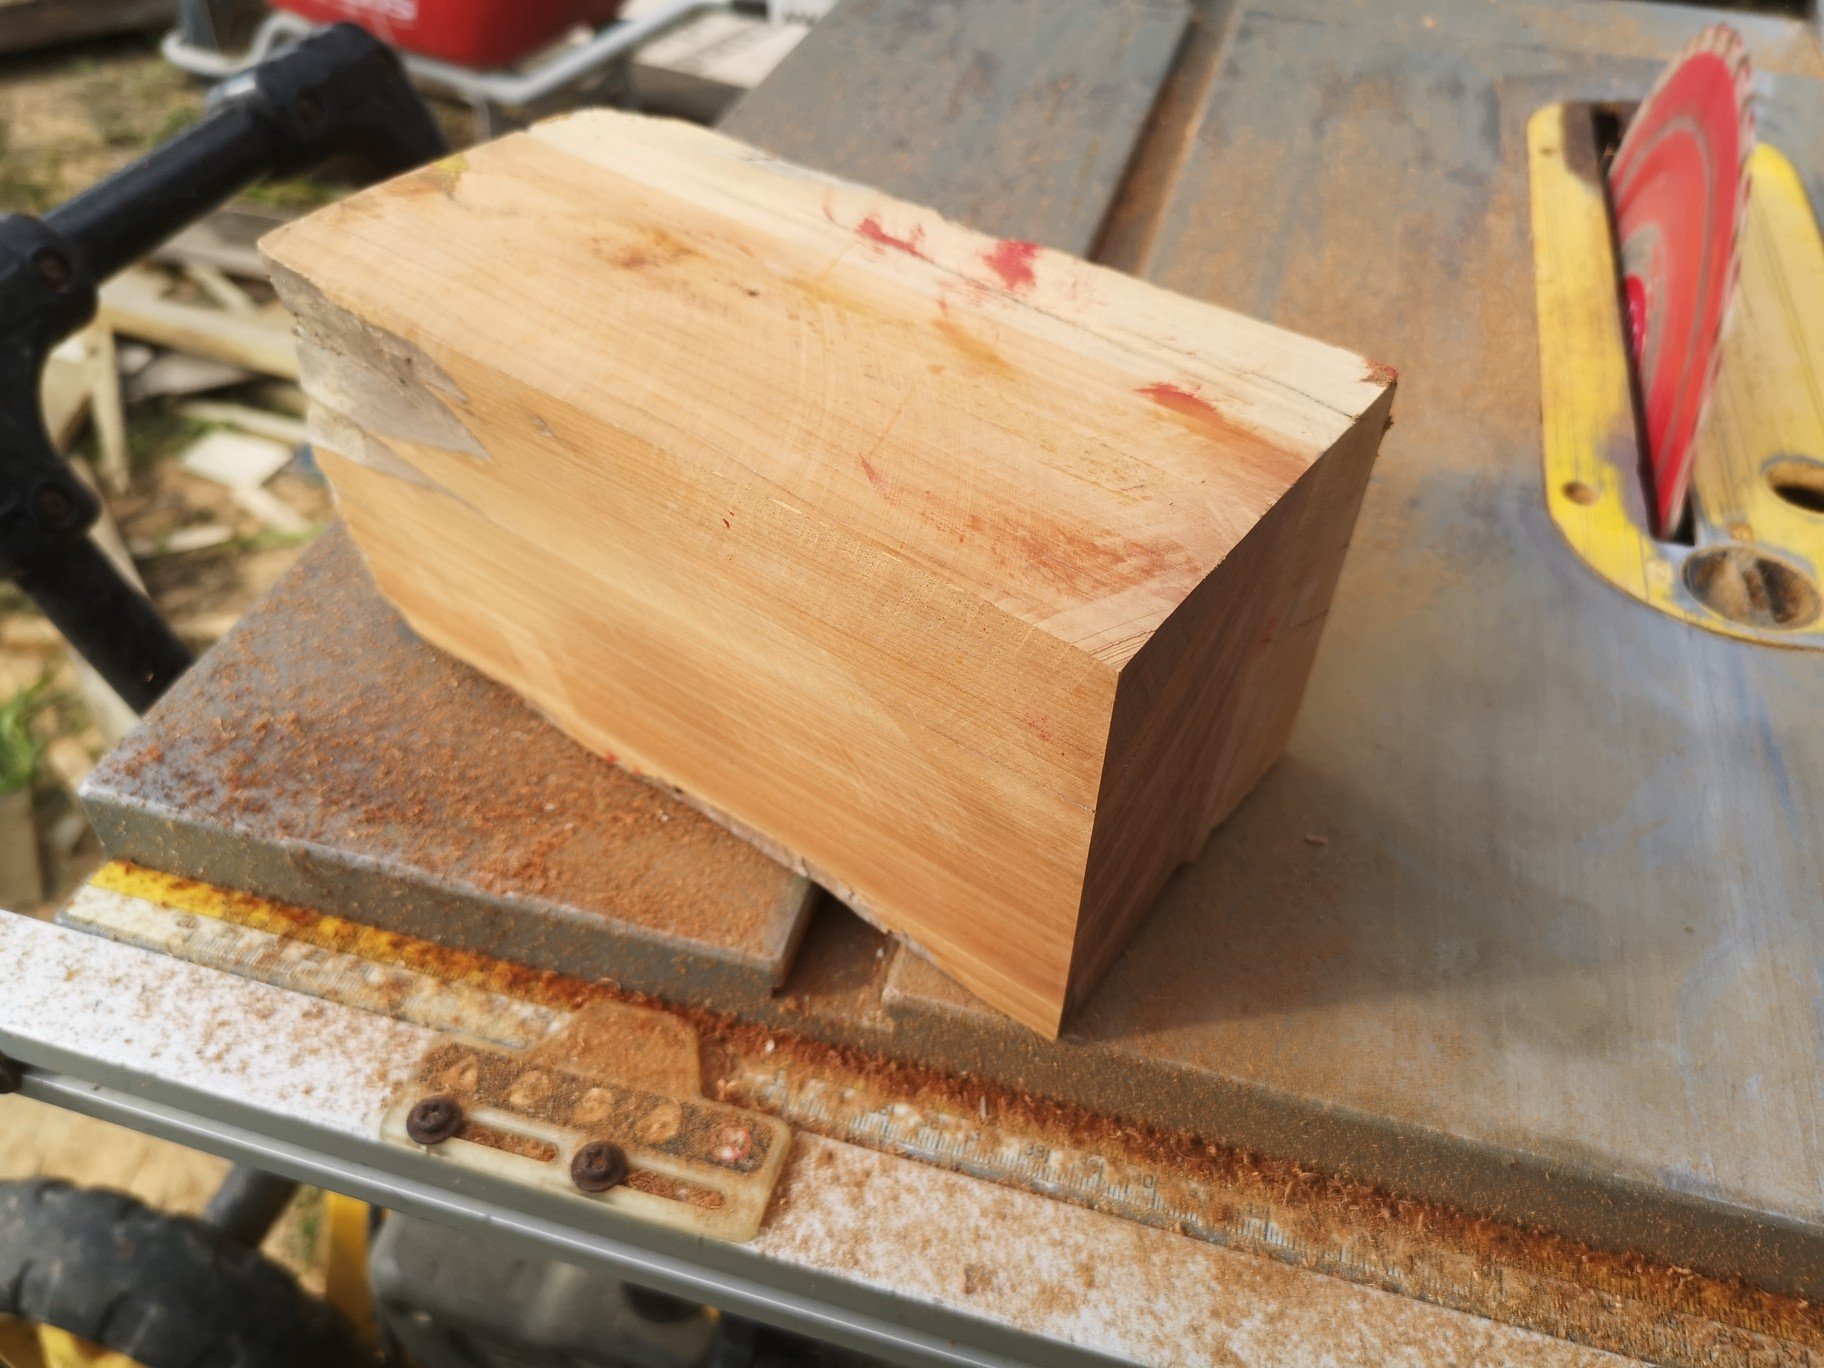
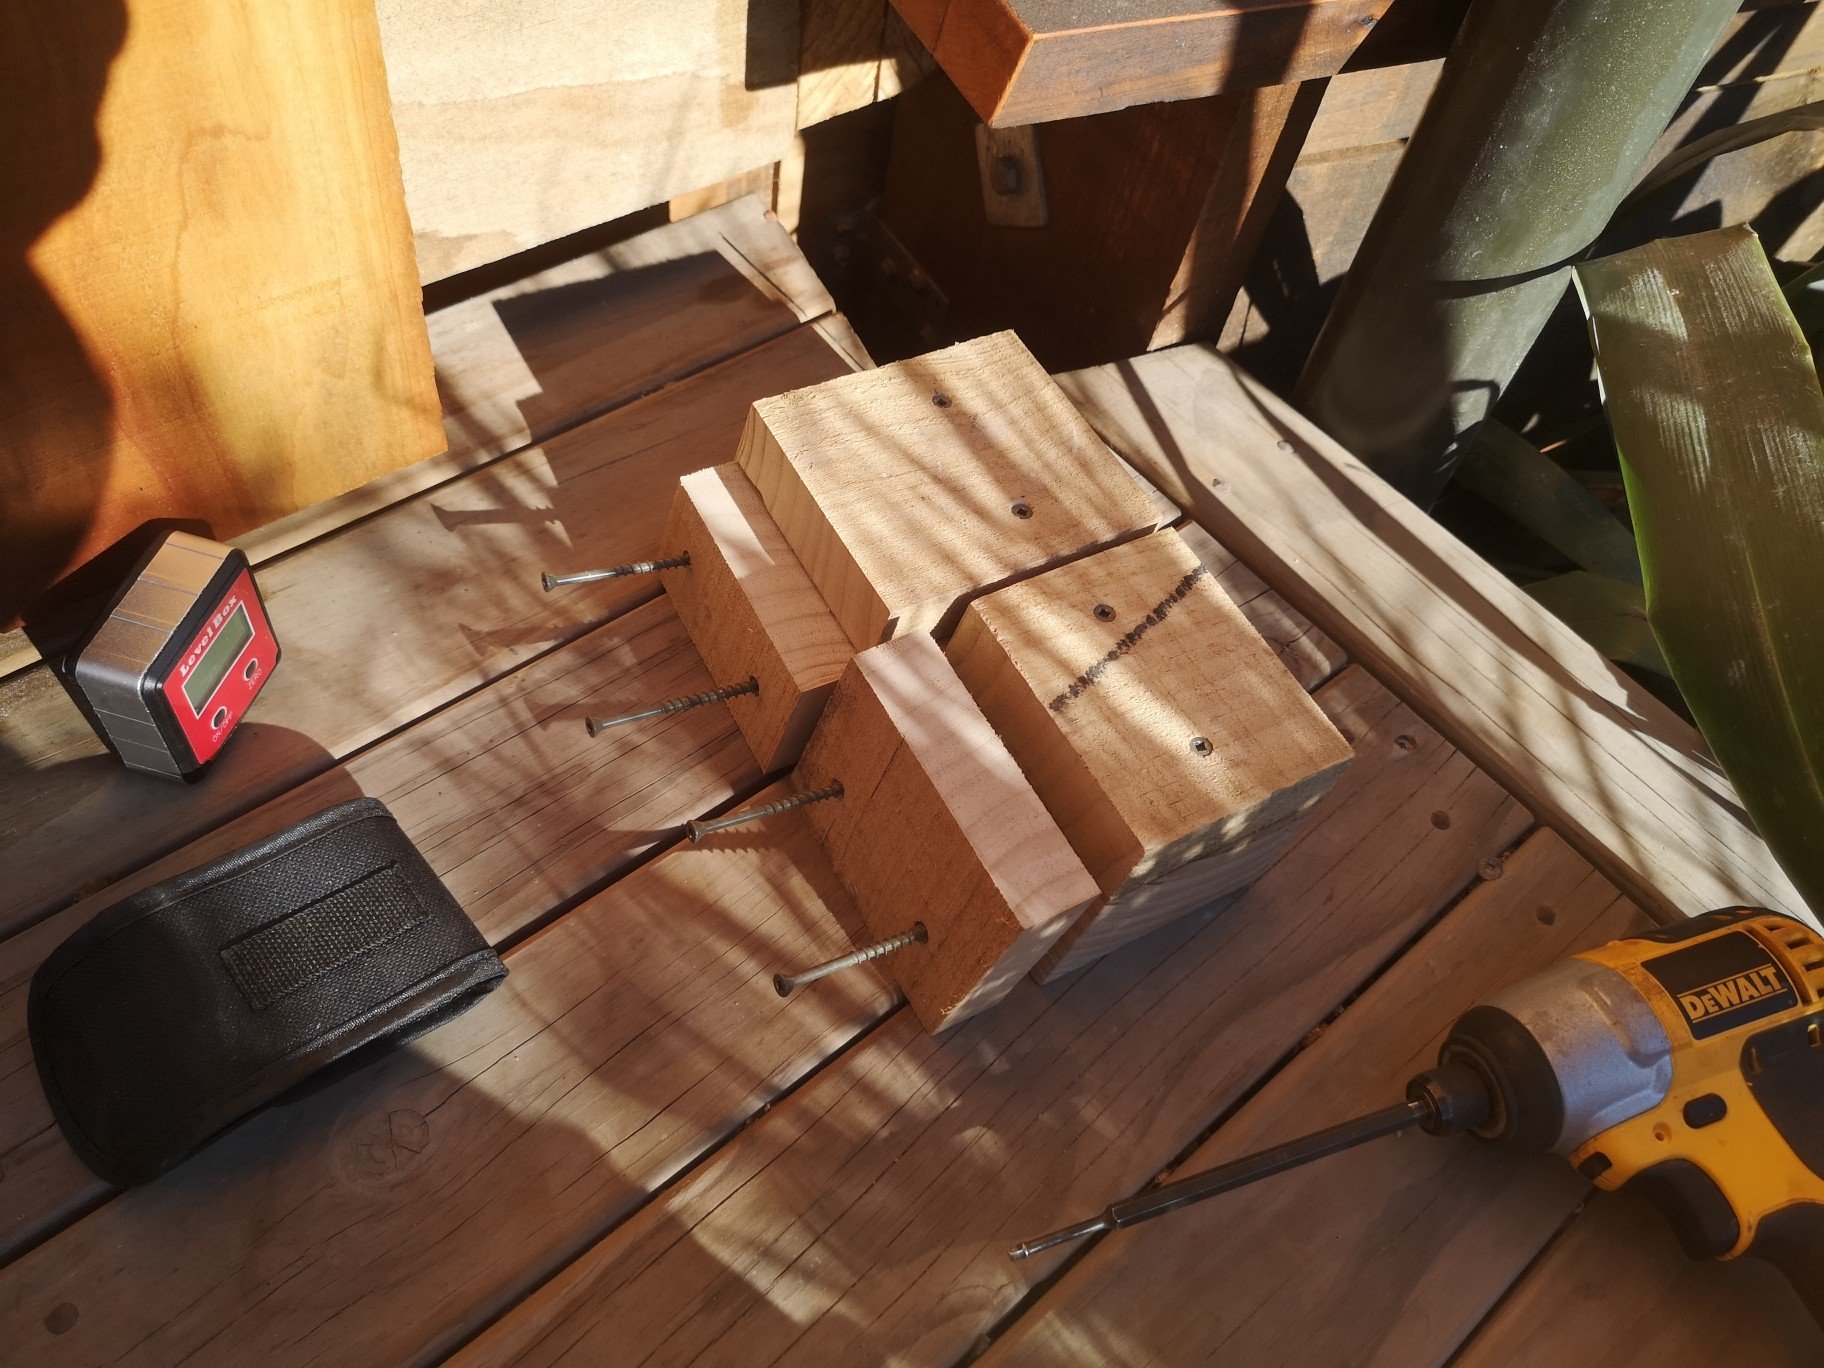
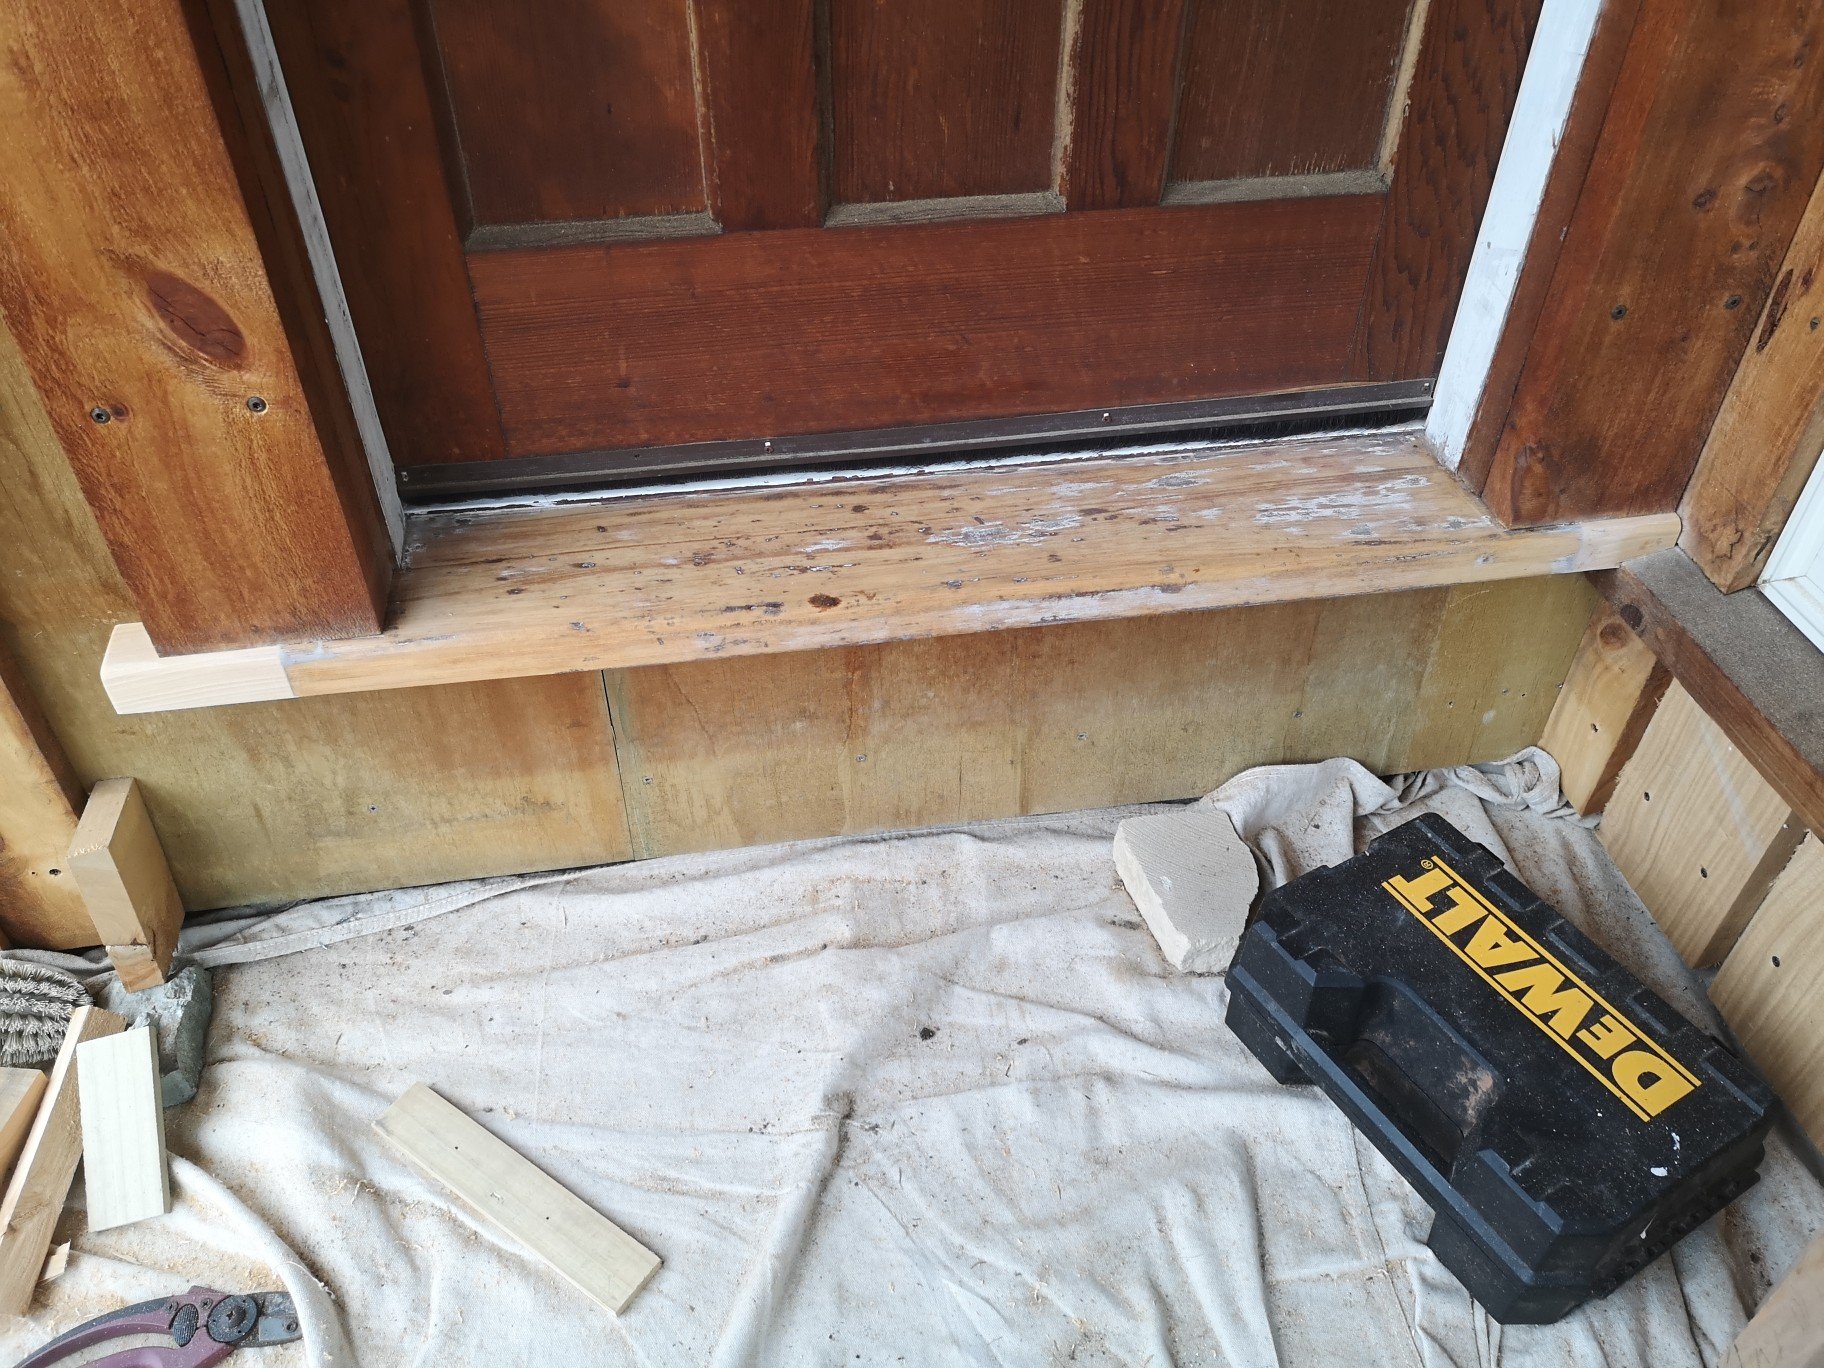
Yesterday I made the gas bottle gate, spent to long extending the back door threshold and making a surround for the gas califont.. Gate, just sitting there as in my Haste last Tues I forgot to get hinges. Offending threshold, discovered it was actually rimu and not cedar which makes it easier. Rummaged around in my wood stock and found this mystery block from a ship in the early 1800s (came from an 1830s cottage in lyttelton we restored a few years back. Bloke who built it made all the windows and framing from timber he ganked from the ship repair Dock. Cleaned it up, pretty sure its rimu. Make it work, Epoxy the bitch in. Still gotta sand it as I forgot today.
-
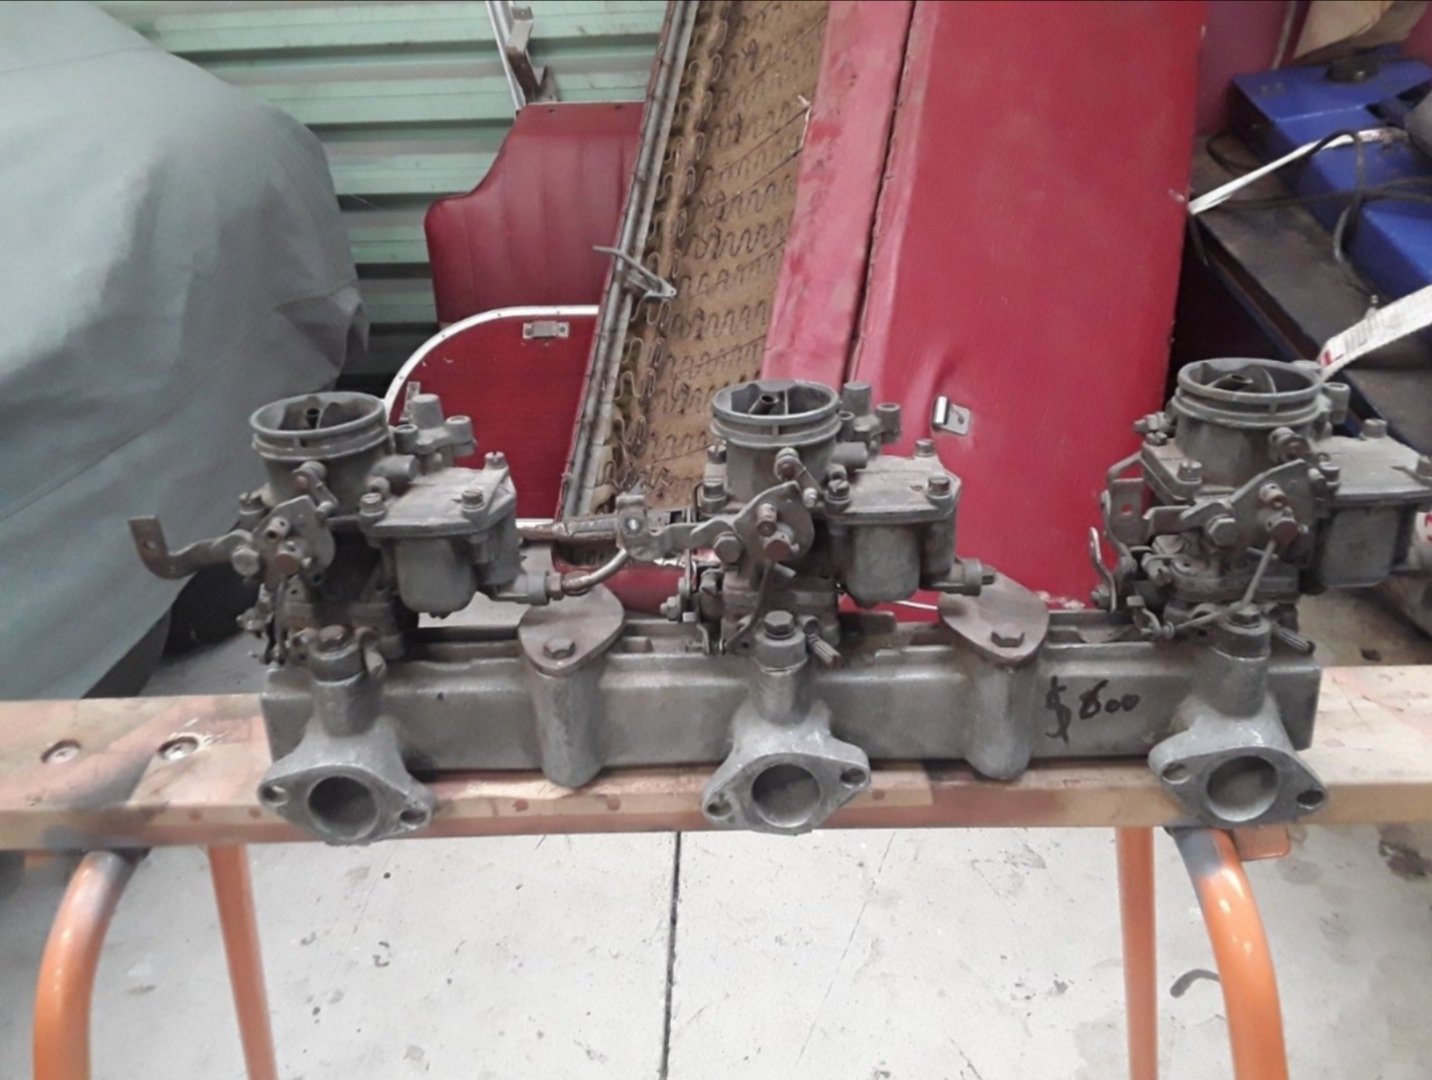
Three harley carbs.... Aren't they a 45mm?
-
Yeah there's the other triple on there that's homemade but it finishes before the other one so there's no back up haha.. I find there seems to be a distinct lack of information regarding the zephyr 6 engine, especially since gale force went under. I want to do some porting and upgrade pistons/valve train but there is zero information..
-
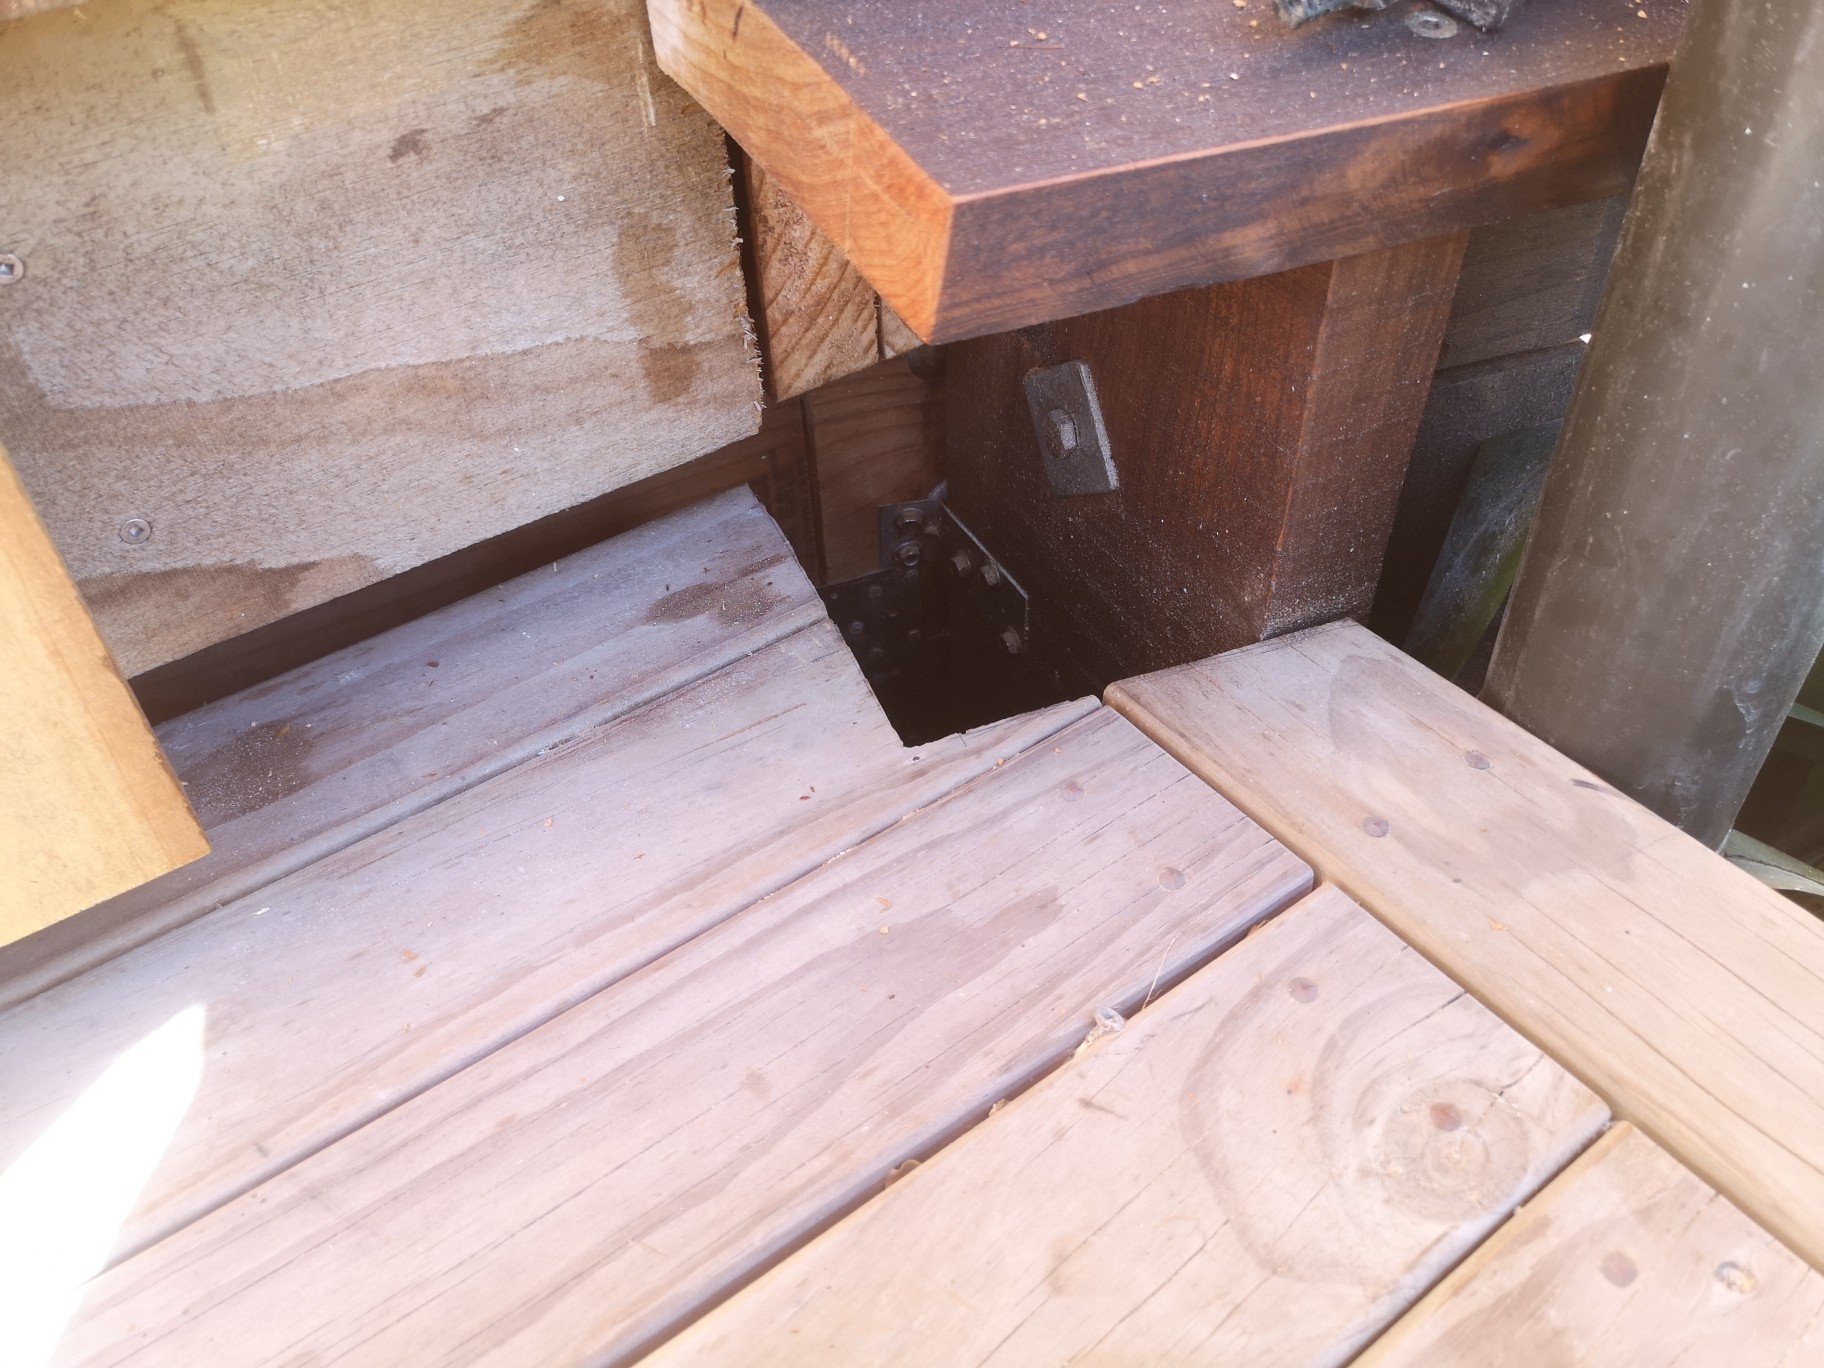
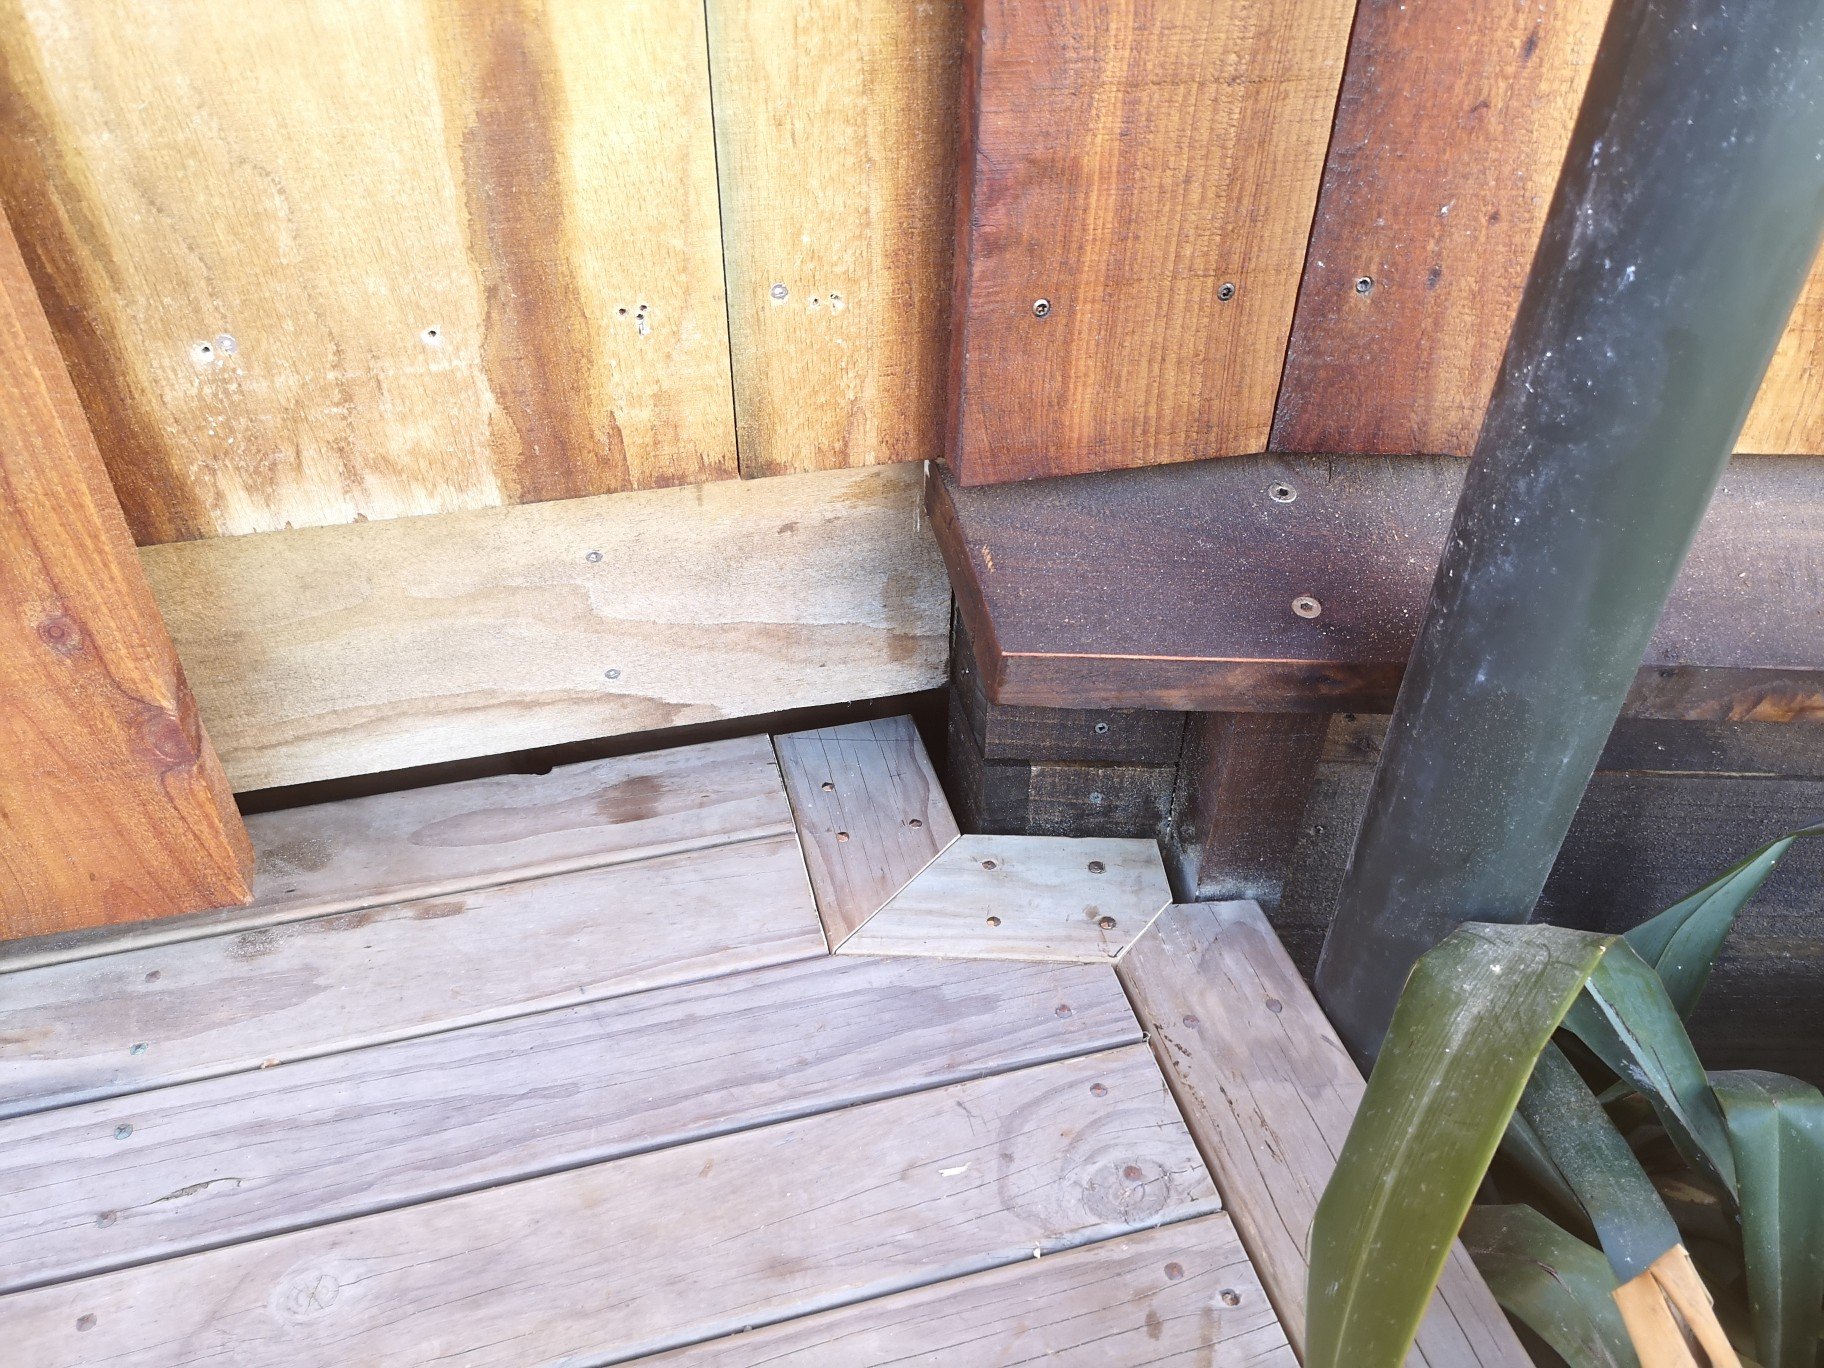
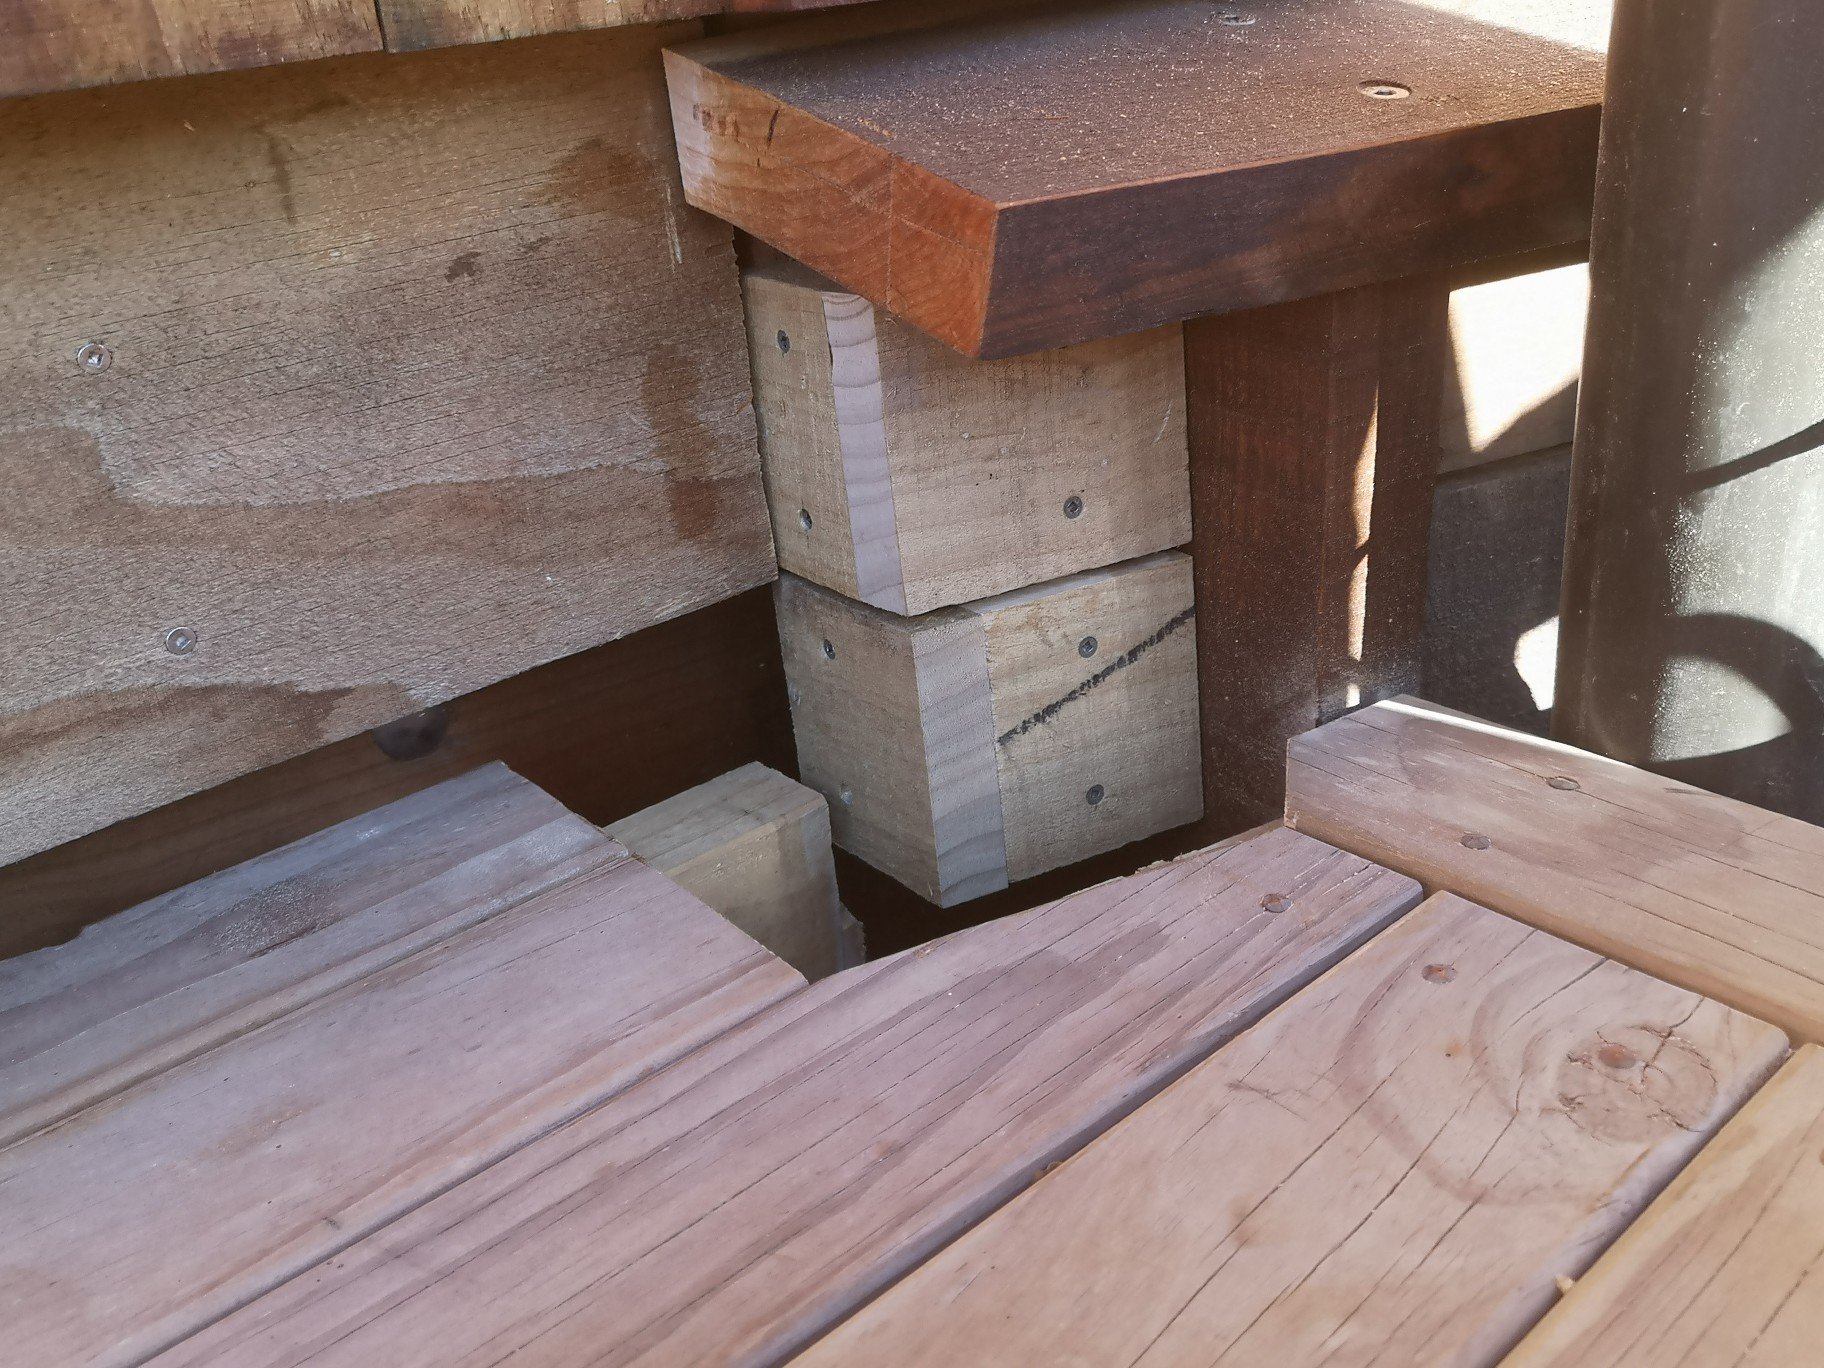
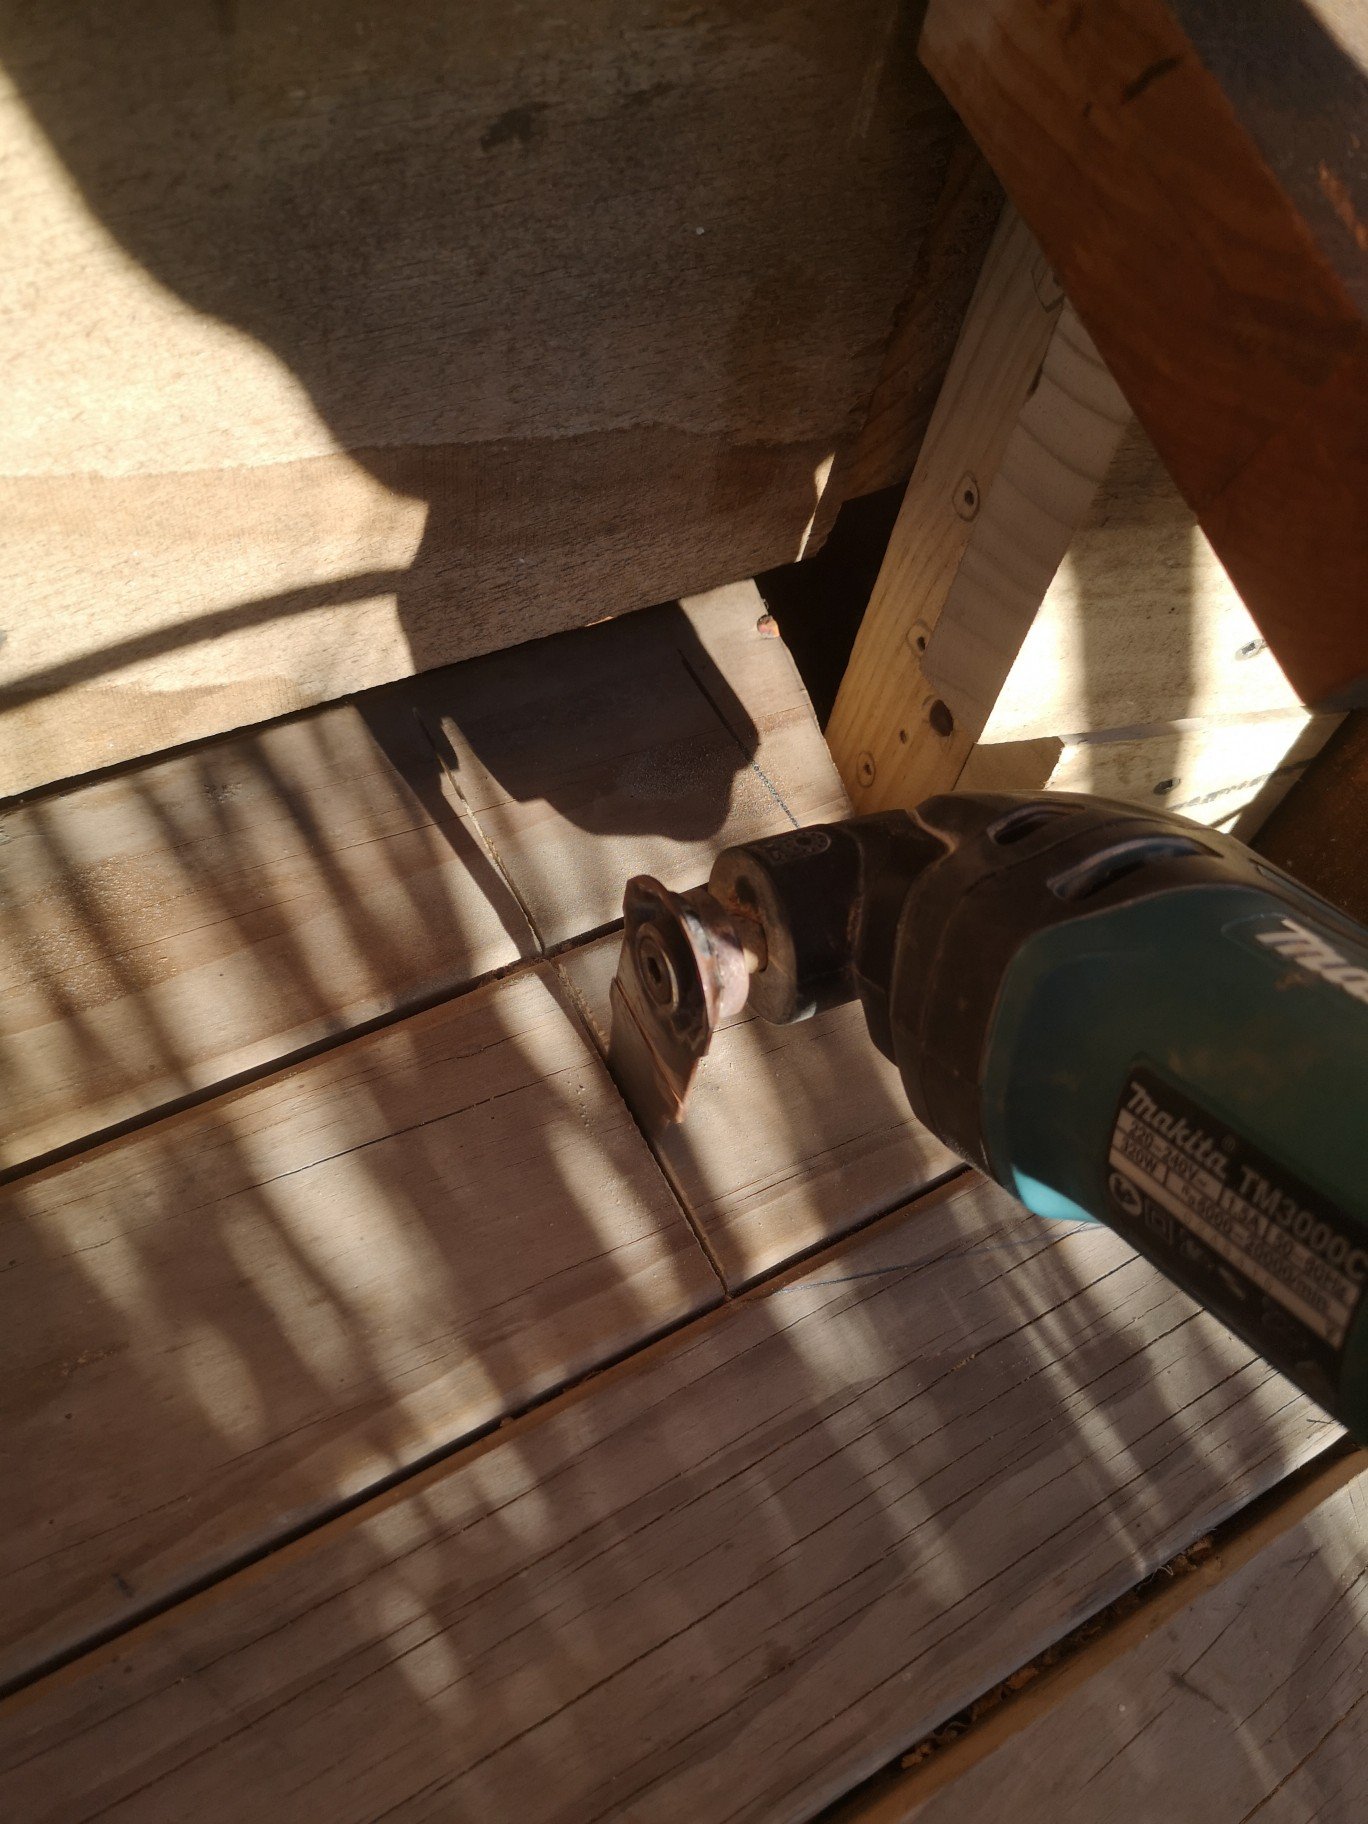
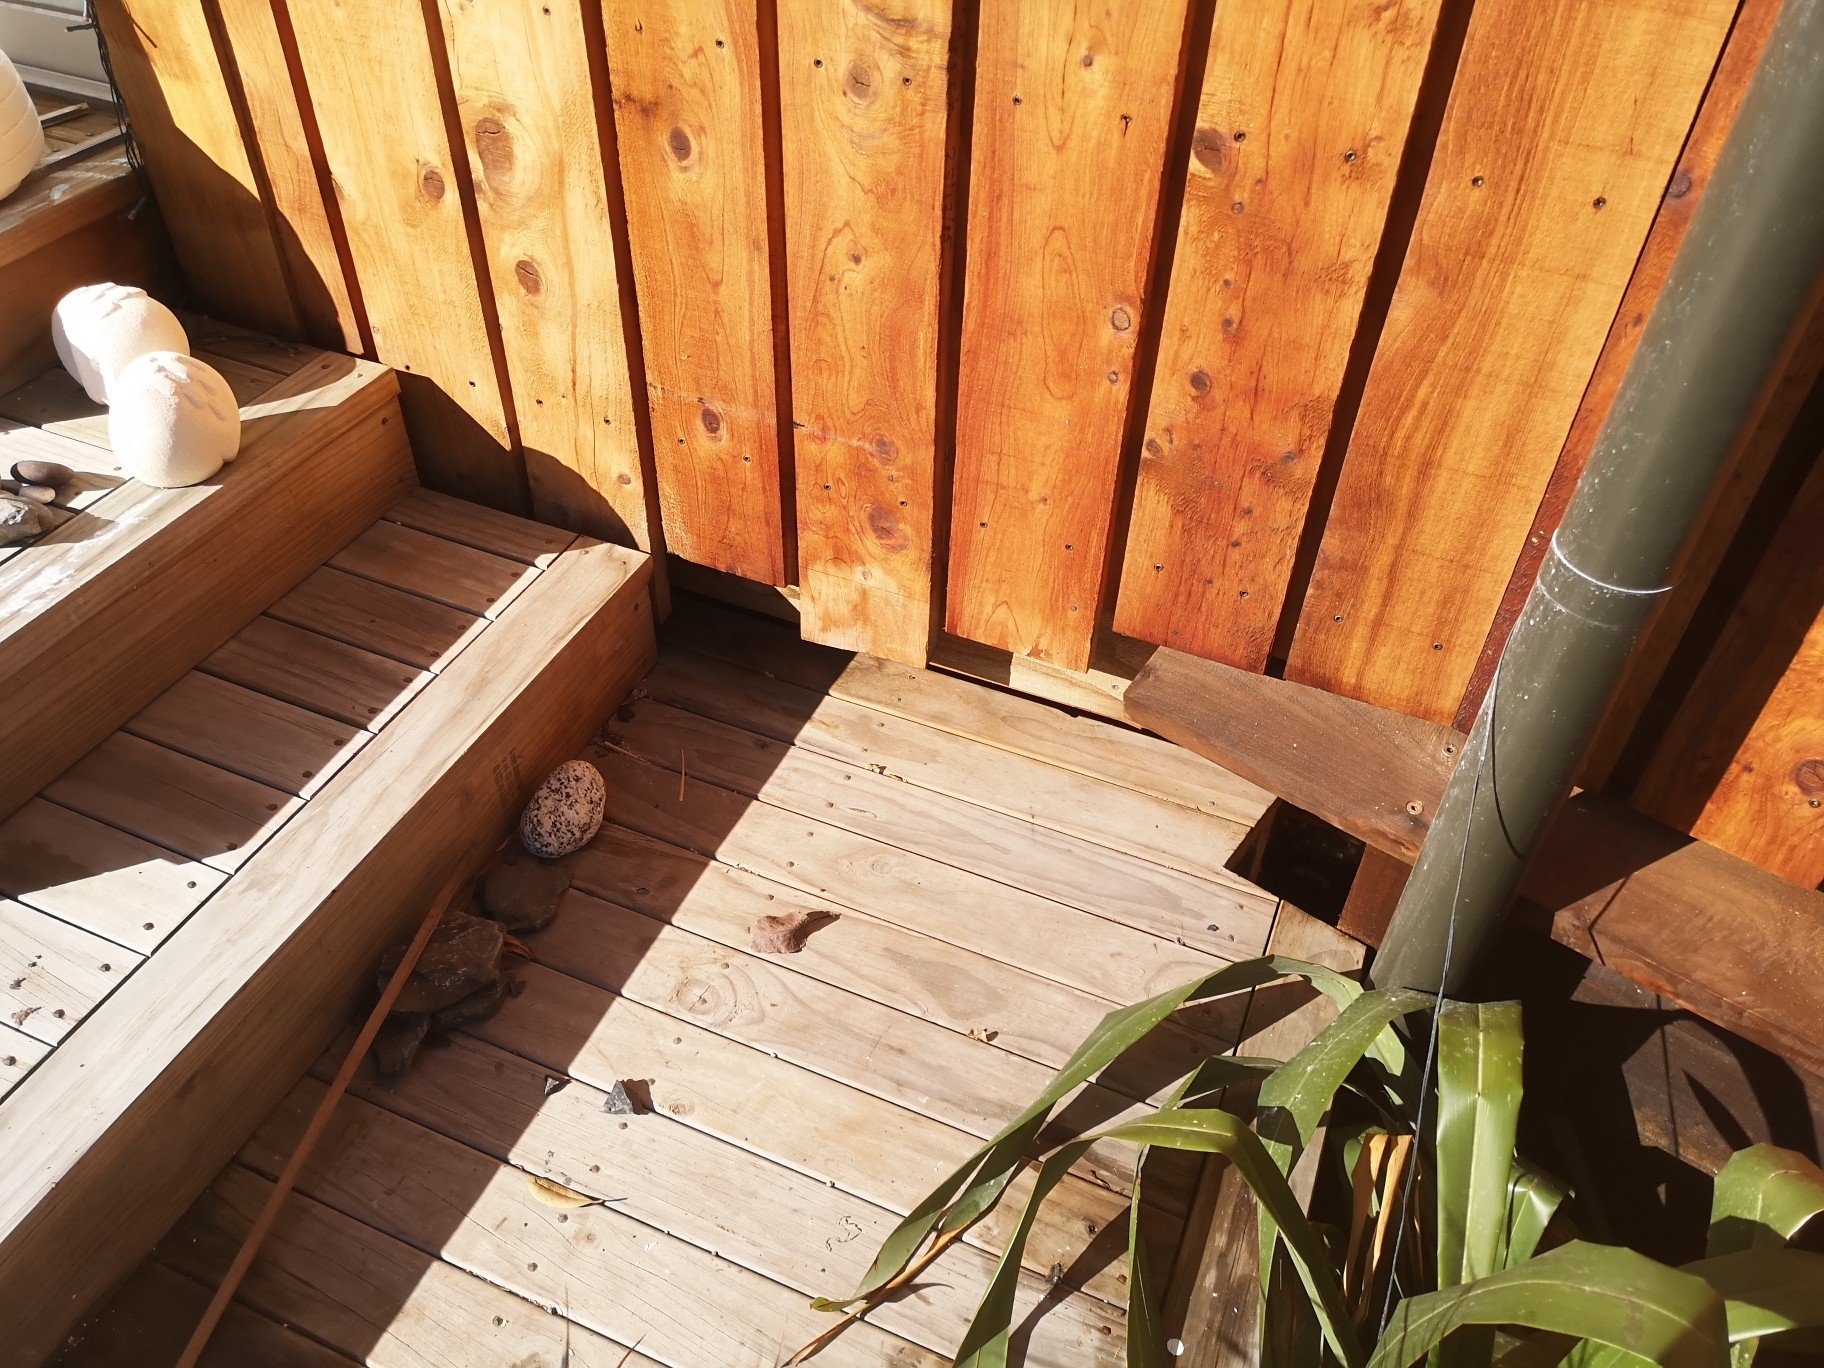
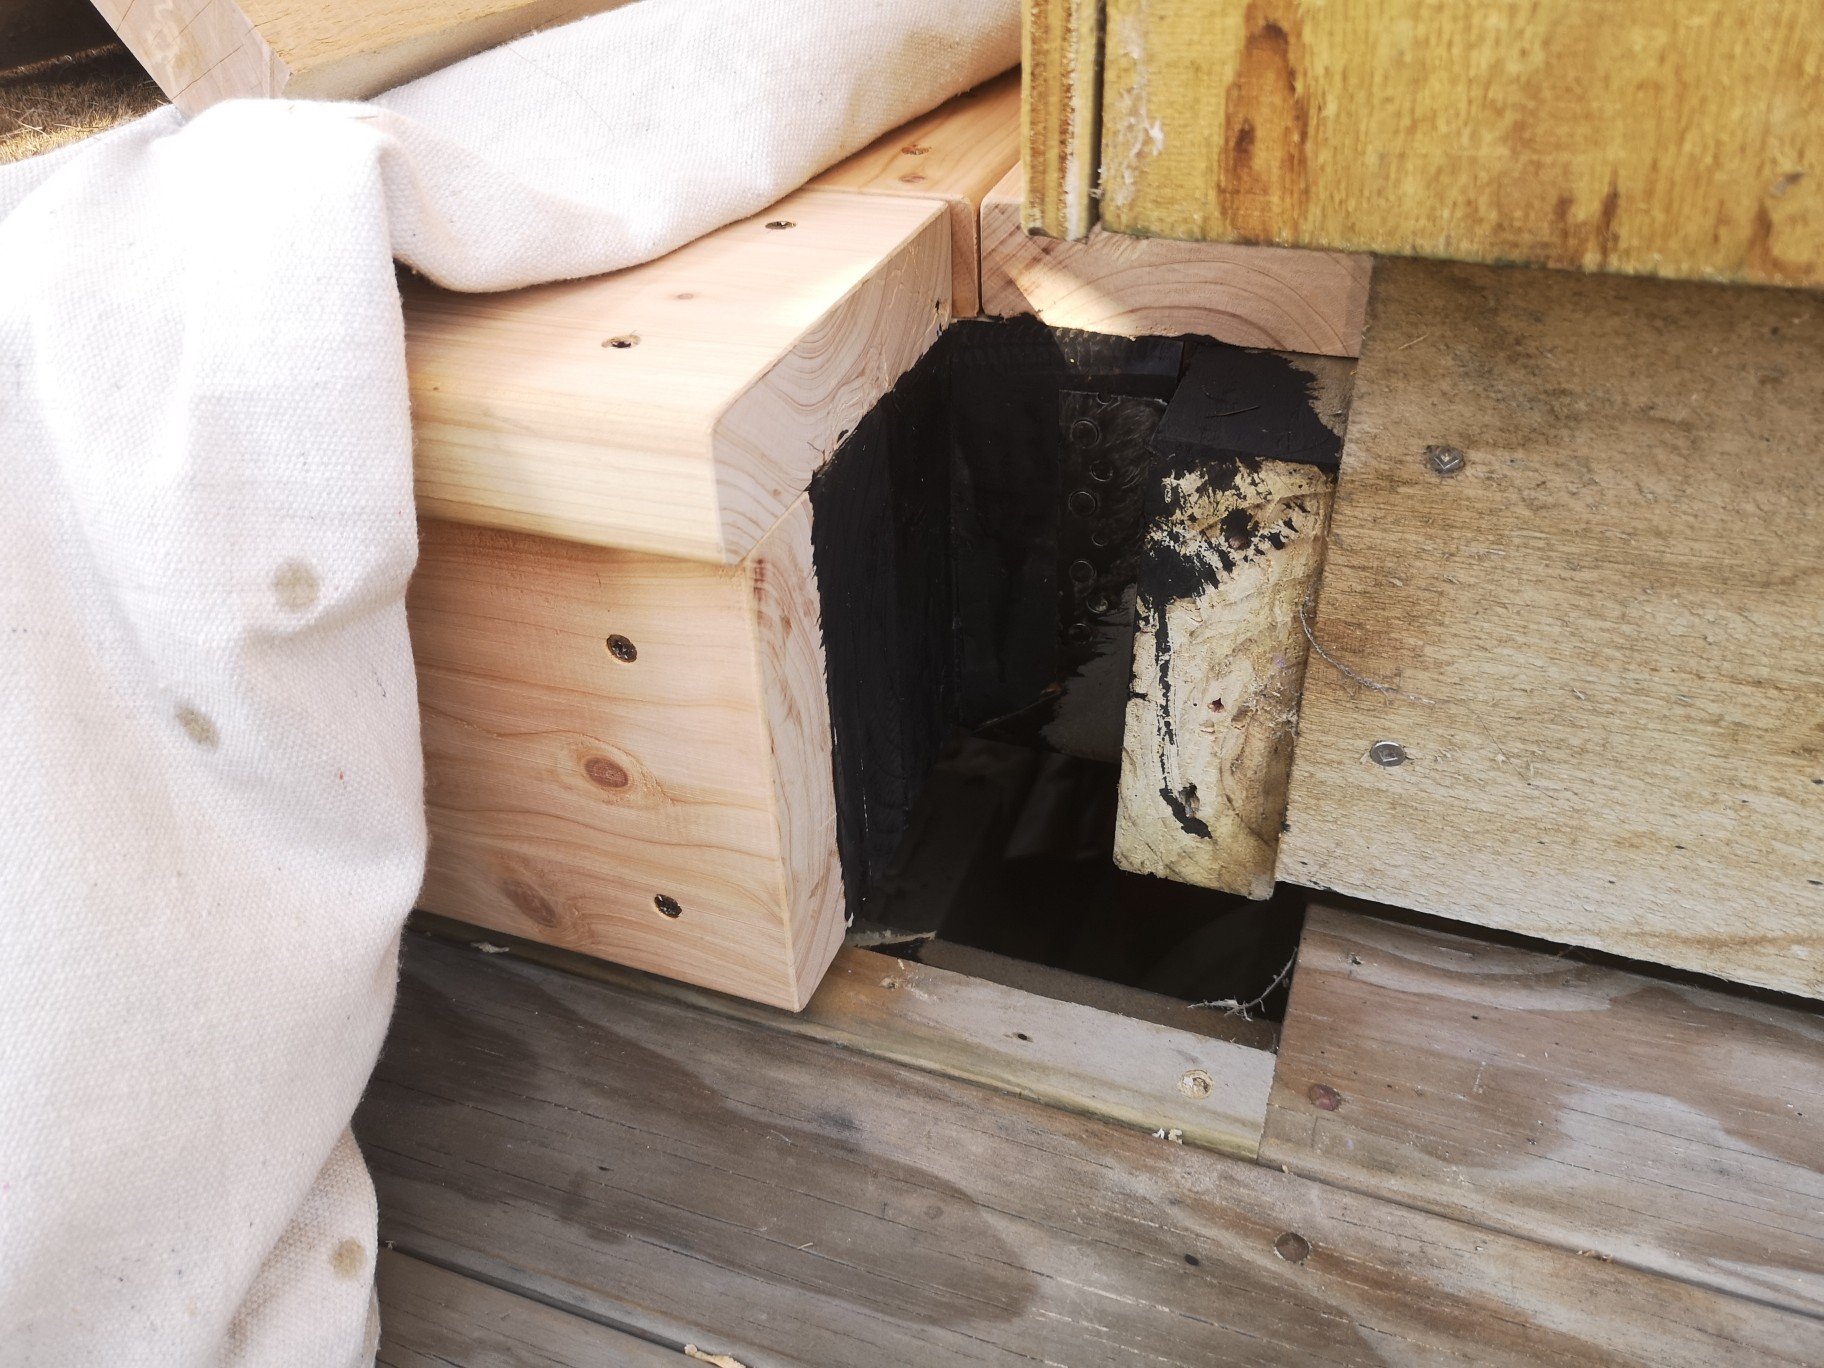
Spent a really long time fucking around with the hole repair in the deck, lucky its lockdown and I have some time to burn. Hole, Made a fake end to go in there, Cut out for the picture framing, Was bit of a cunt to get some nogs under there, got them in tho. Luckily l found some old bits of decking lying around that matched what was there otherwise there would clearly be a repair there. Missus oiled it while I had a cuppa. Cladding back on and finished. Gonna have a massive cleanup outside tomorrow and sort some heights for the driveway.. Edit* fuck.. Just realised I've got to do the gate for the gas bottles, surround for the califont and extend the back door threshold.. Just when you think your out, it pulls you back. If lockdown gets extended again I'm gonna sort the back deck which I could just leave, but if I have extra time why not waste it doing that rather than spinning spanners? Edit2*. Also have bring the taps through the timber at the bottom, luckily have all the gear to do this.
- 322 replies
-
- 11
-

-
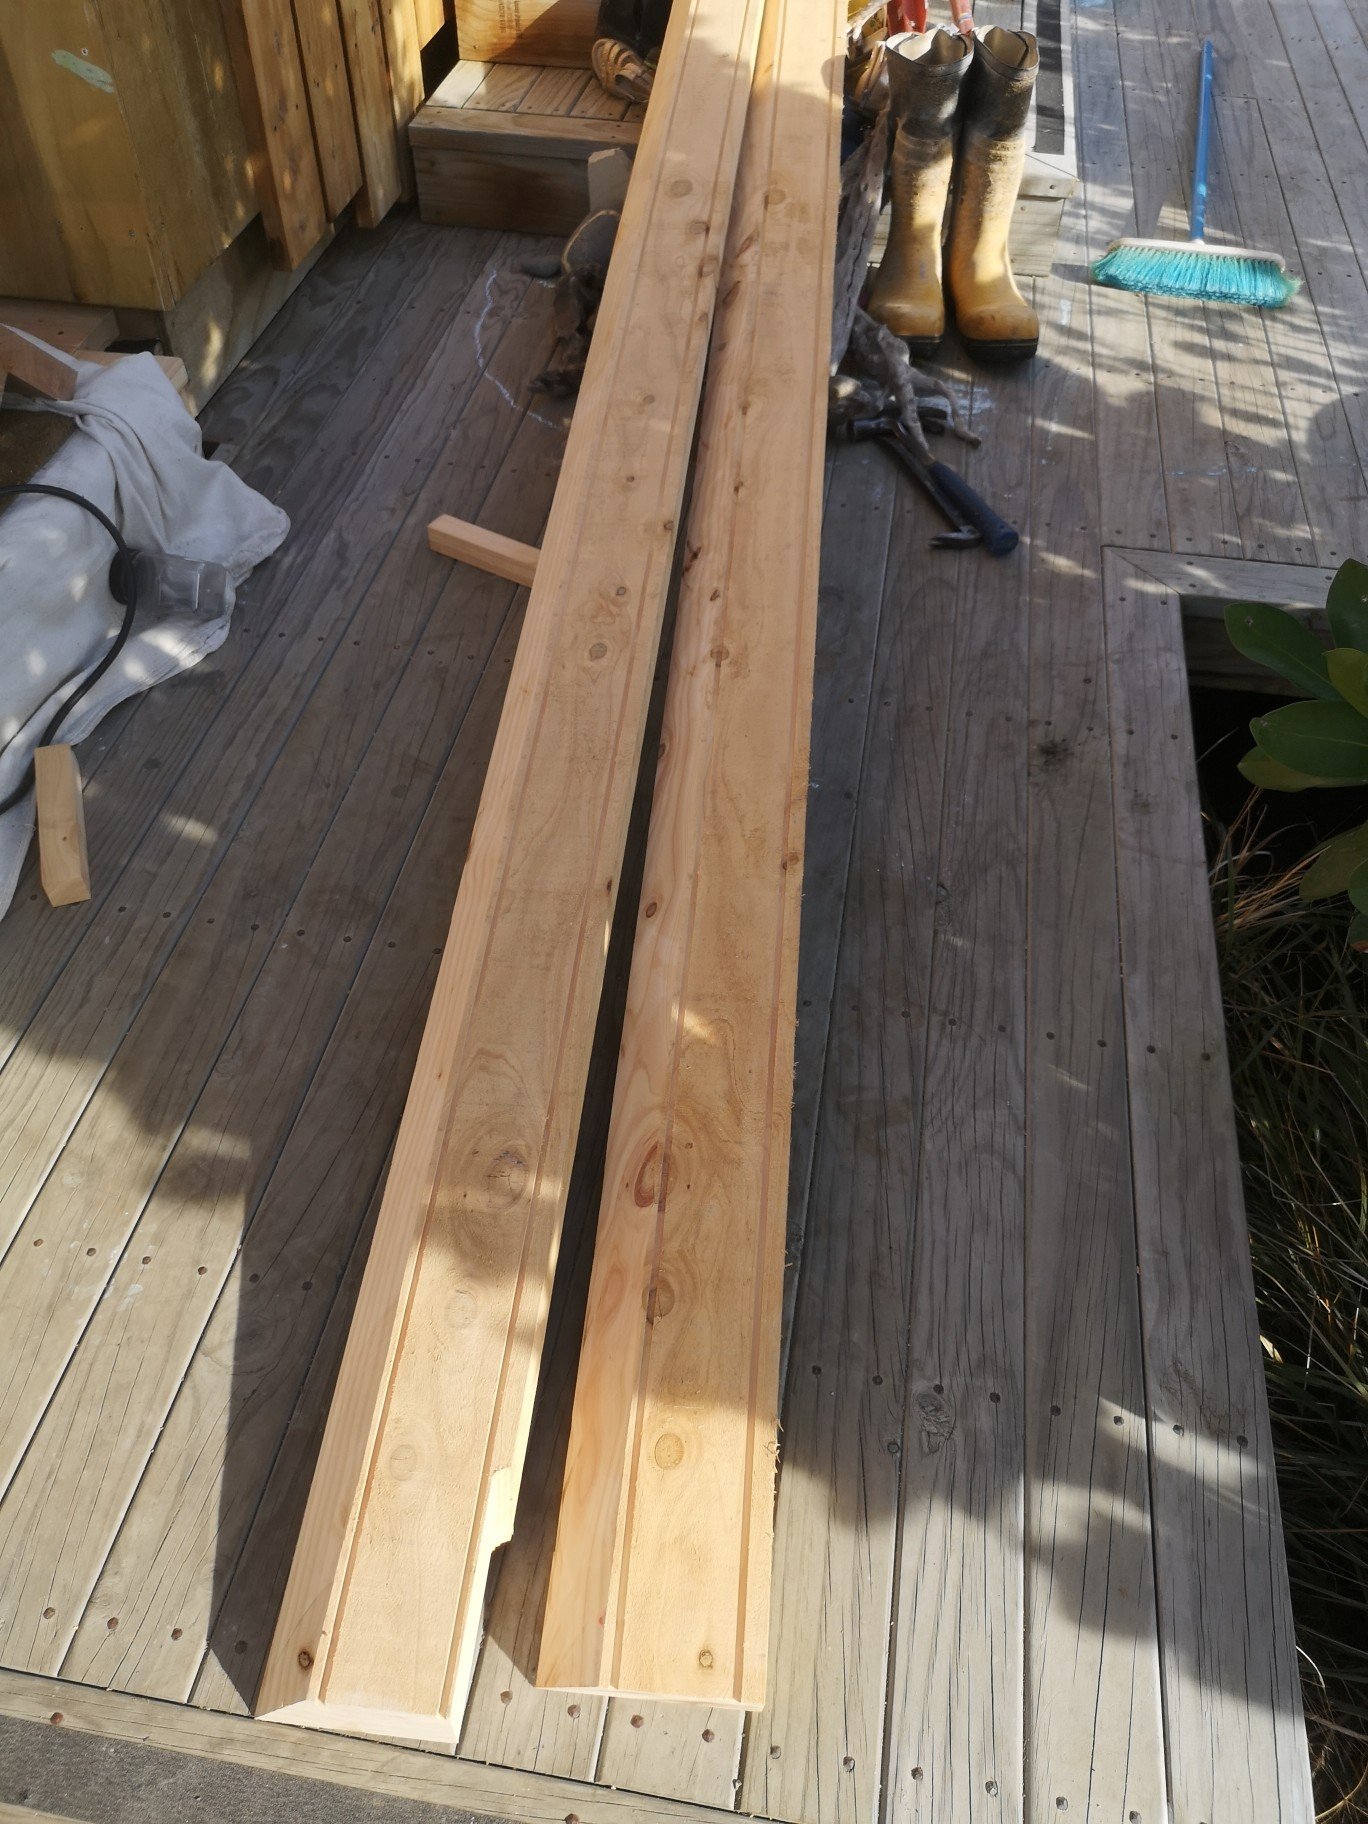
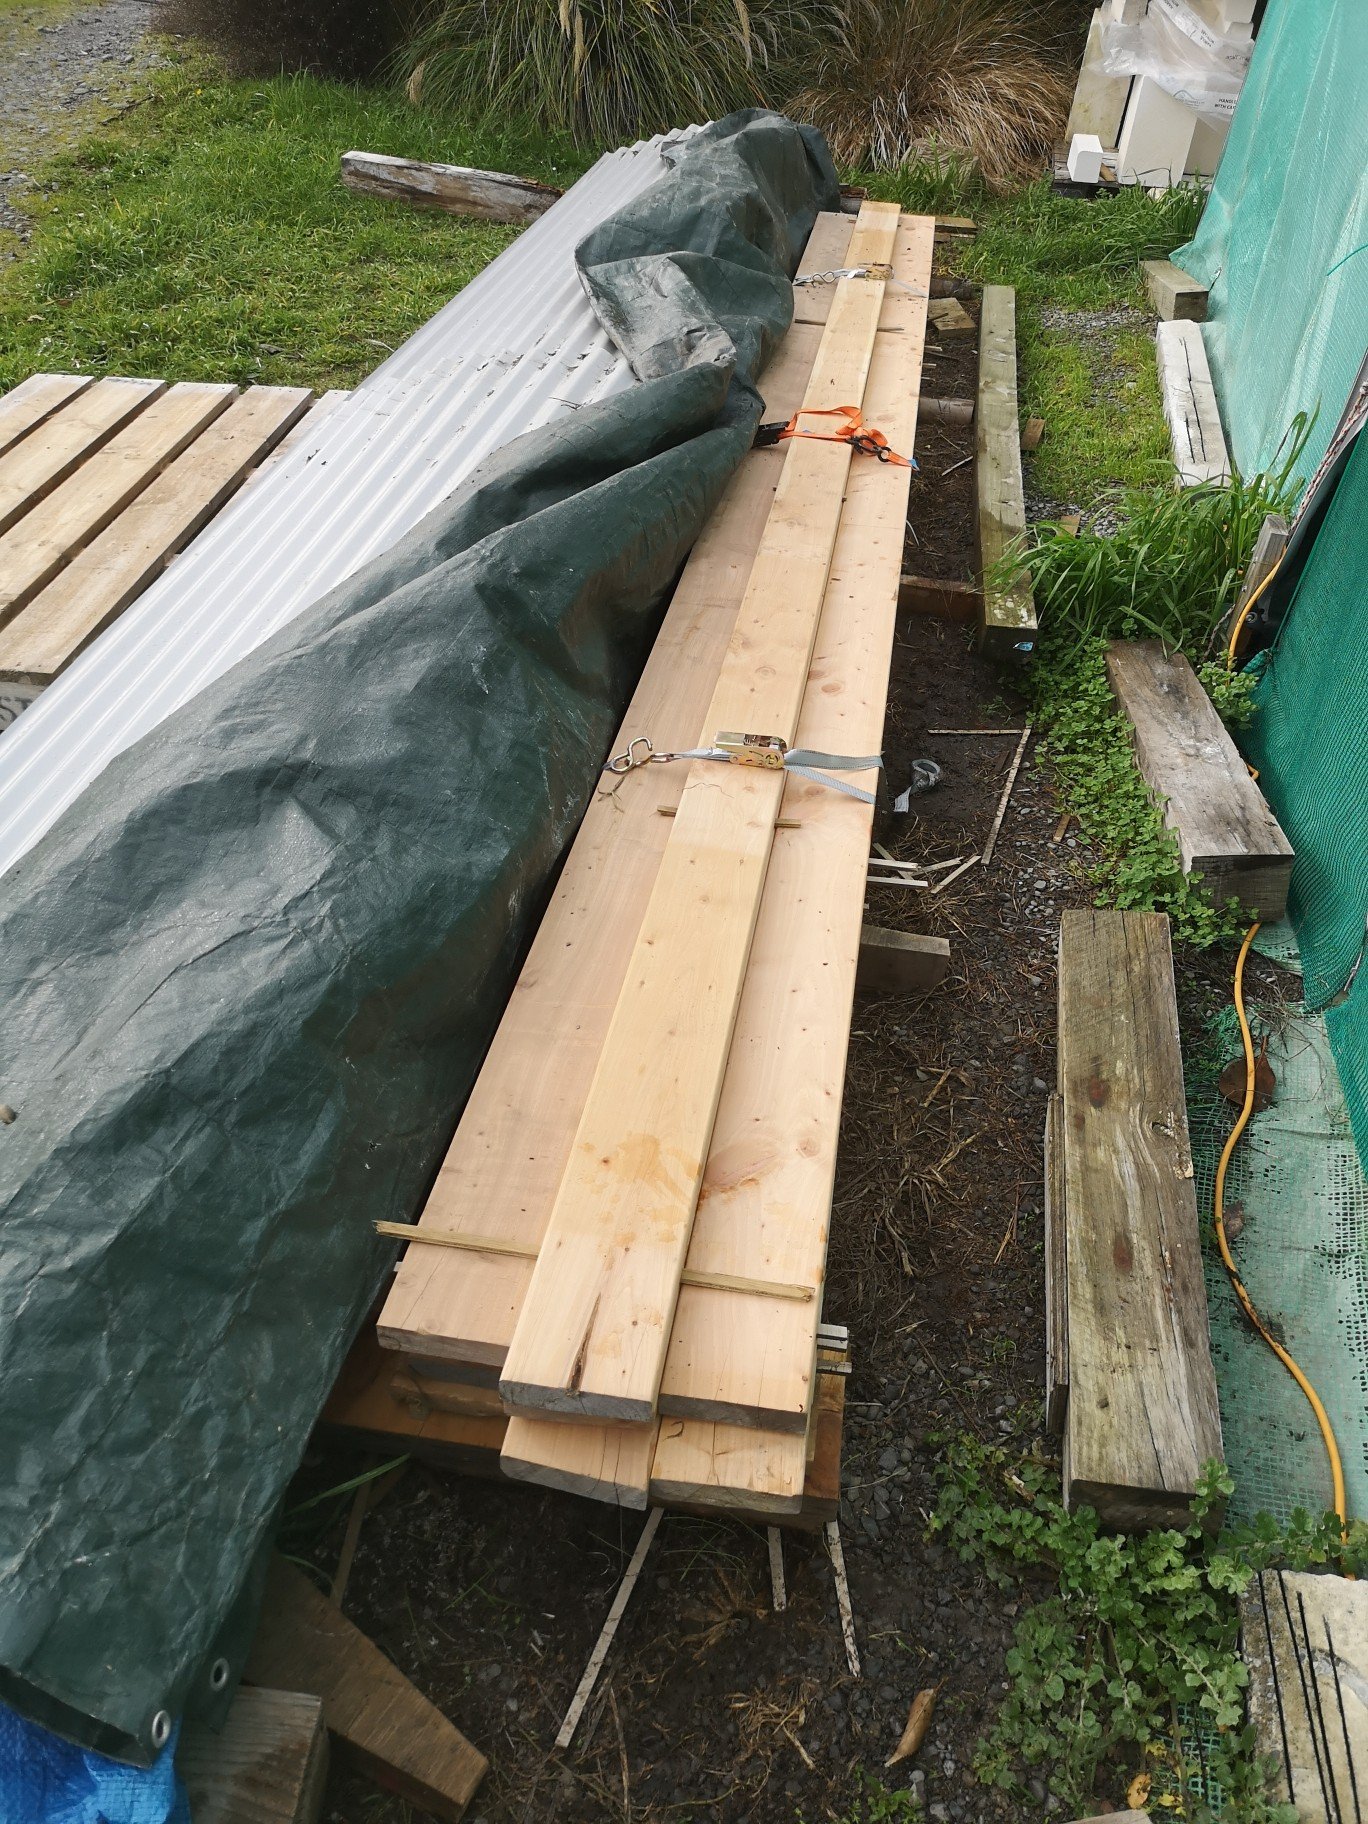
OK, so now it really is 100% done, but. Rosie pointed out to me that I'd forgotten a bit of cladding, so I filled it with a fillet. This is the only example of why I went with the bigger corners. The reason I haven't done this one is I ran out of mac, well I thought I ordered 5.4 lengths of 150x40 but when I came to do them I realised they'd sent me 4.8s. Was a bit pissed. Have about 7 offcuts of 2.2m 150x40. Anyway,
-
I'll just use yours..
-
Back seat.. Thats where all dreams are made.
-
Baited breath to see what's going on up the front... Knowing falcons..
-
Hey @Benno what did you pay for those SU's? These triple zeniths have come up on the tard that I'm fairly keen on picking up. They're fairly pricey but then again they never come up. Talked to zep (galeforce zephyrs) a while back and he reckoned the triple zeniths had more initial punch than su's but its a struggle to get an air filter to fit under the bonnet..
-
Yeah, they aren't cheap.. Even second hand like mine. Its missing a few things and I need a thinner riving knife as it jams with my thinner blade. I really want to get the dewalt thicknesser but then I need to find something to use it for..
-
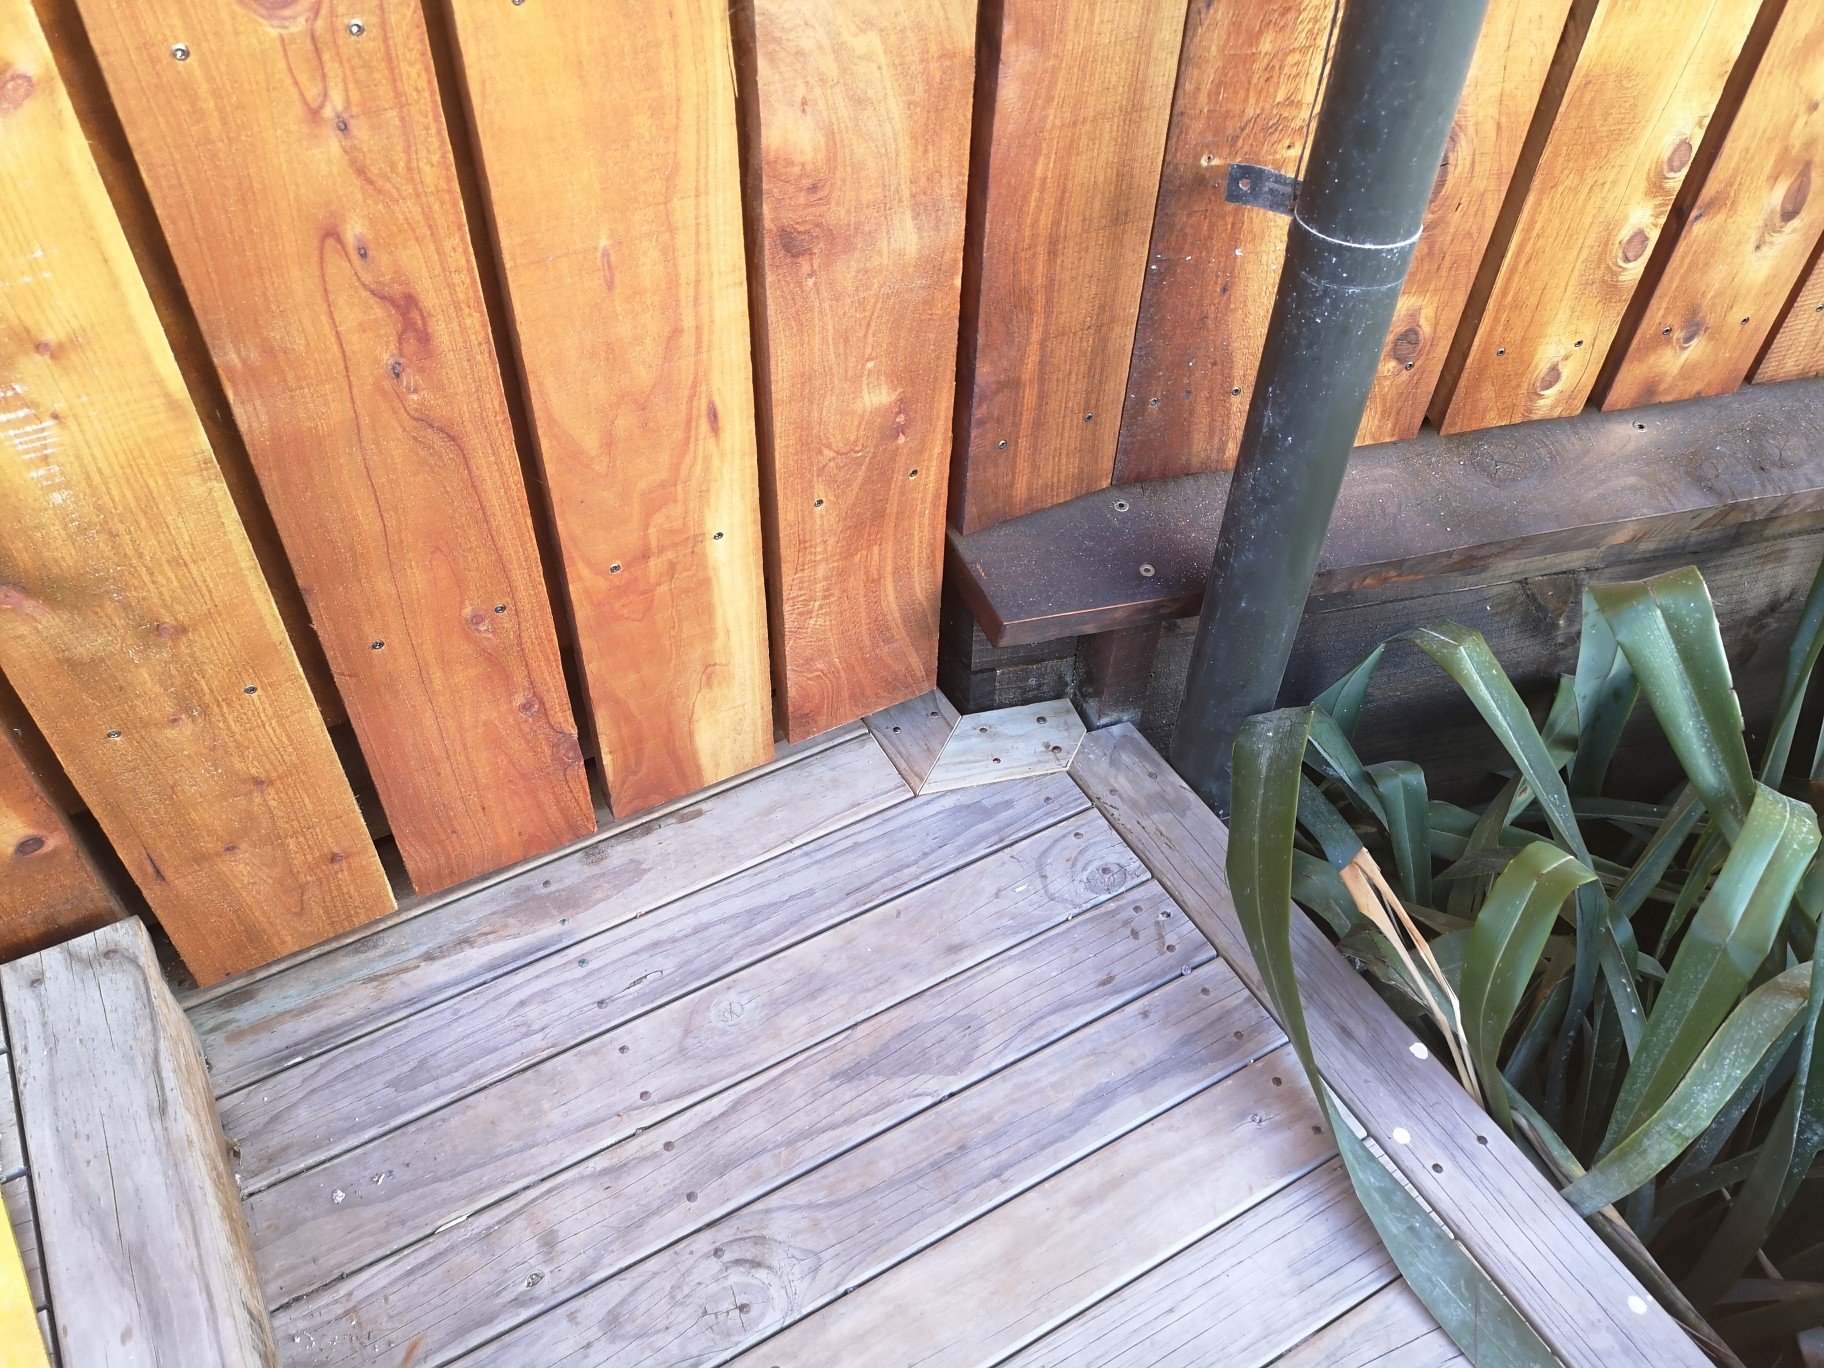
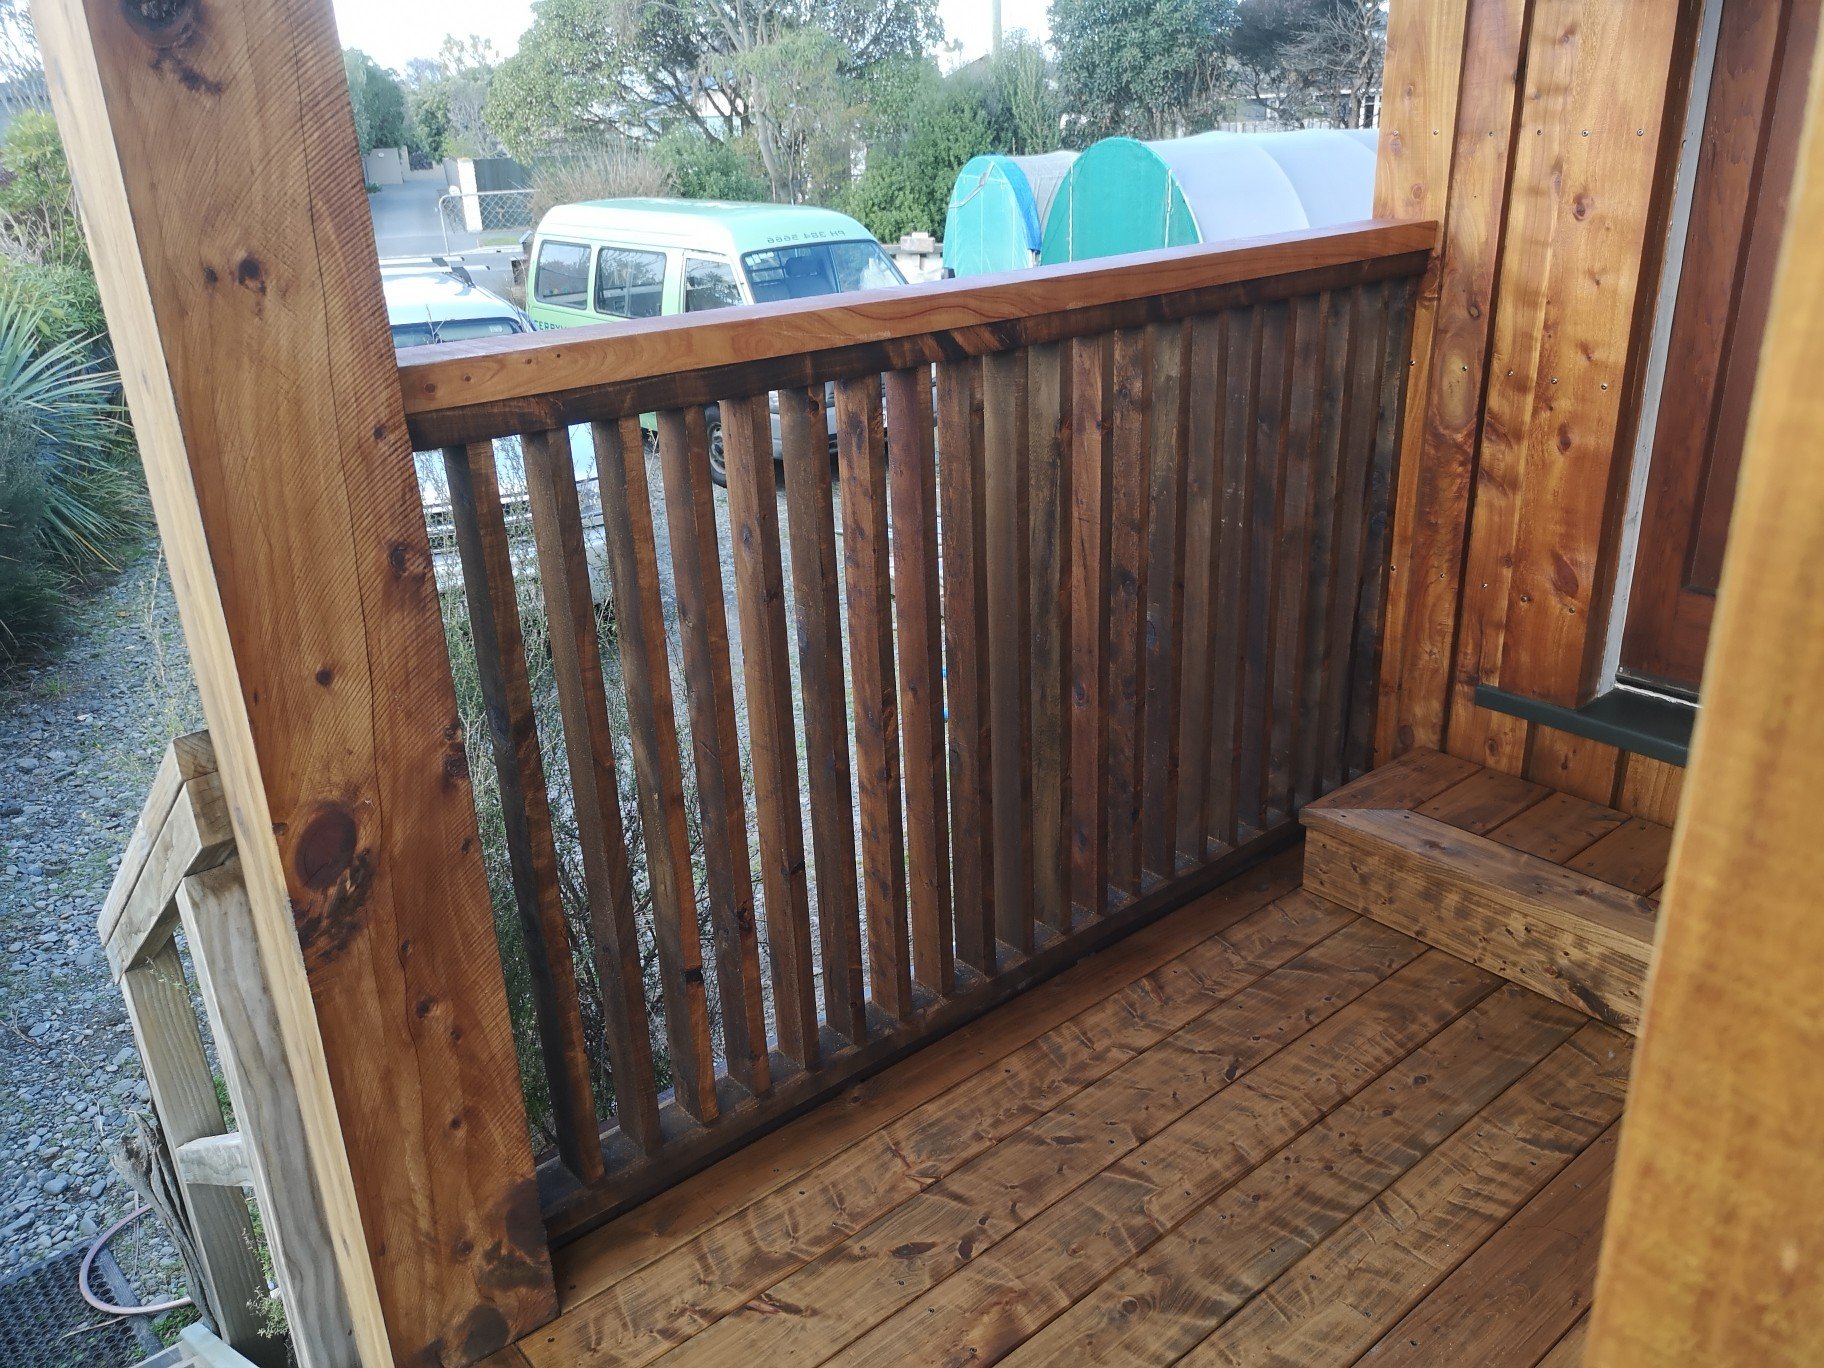
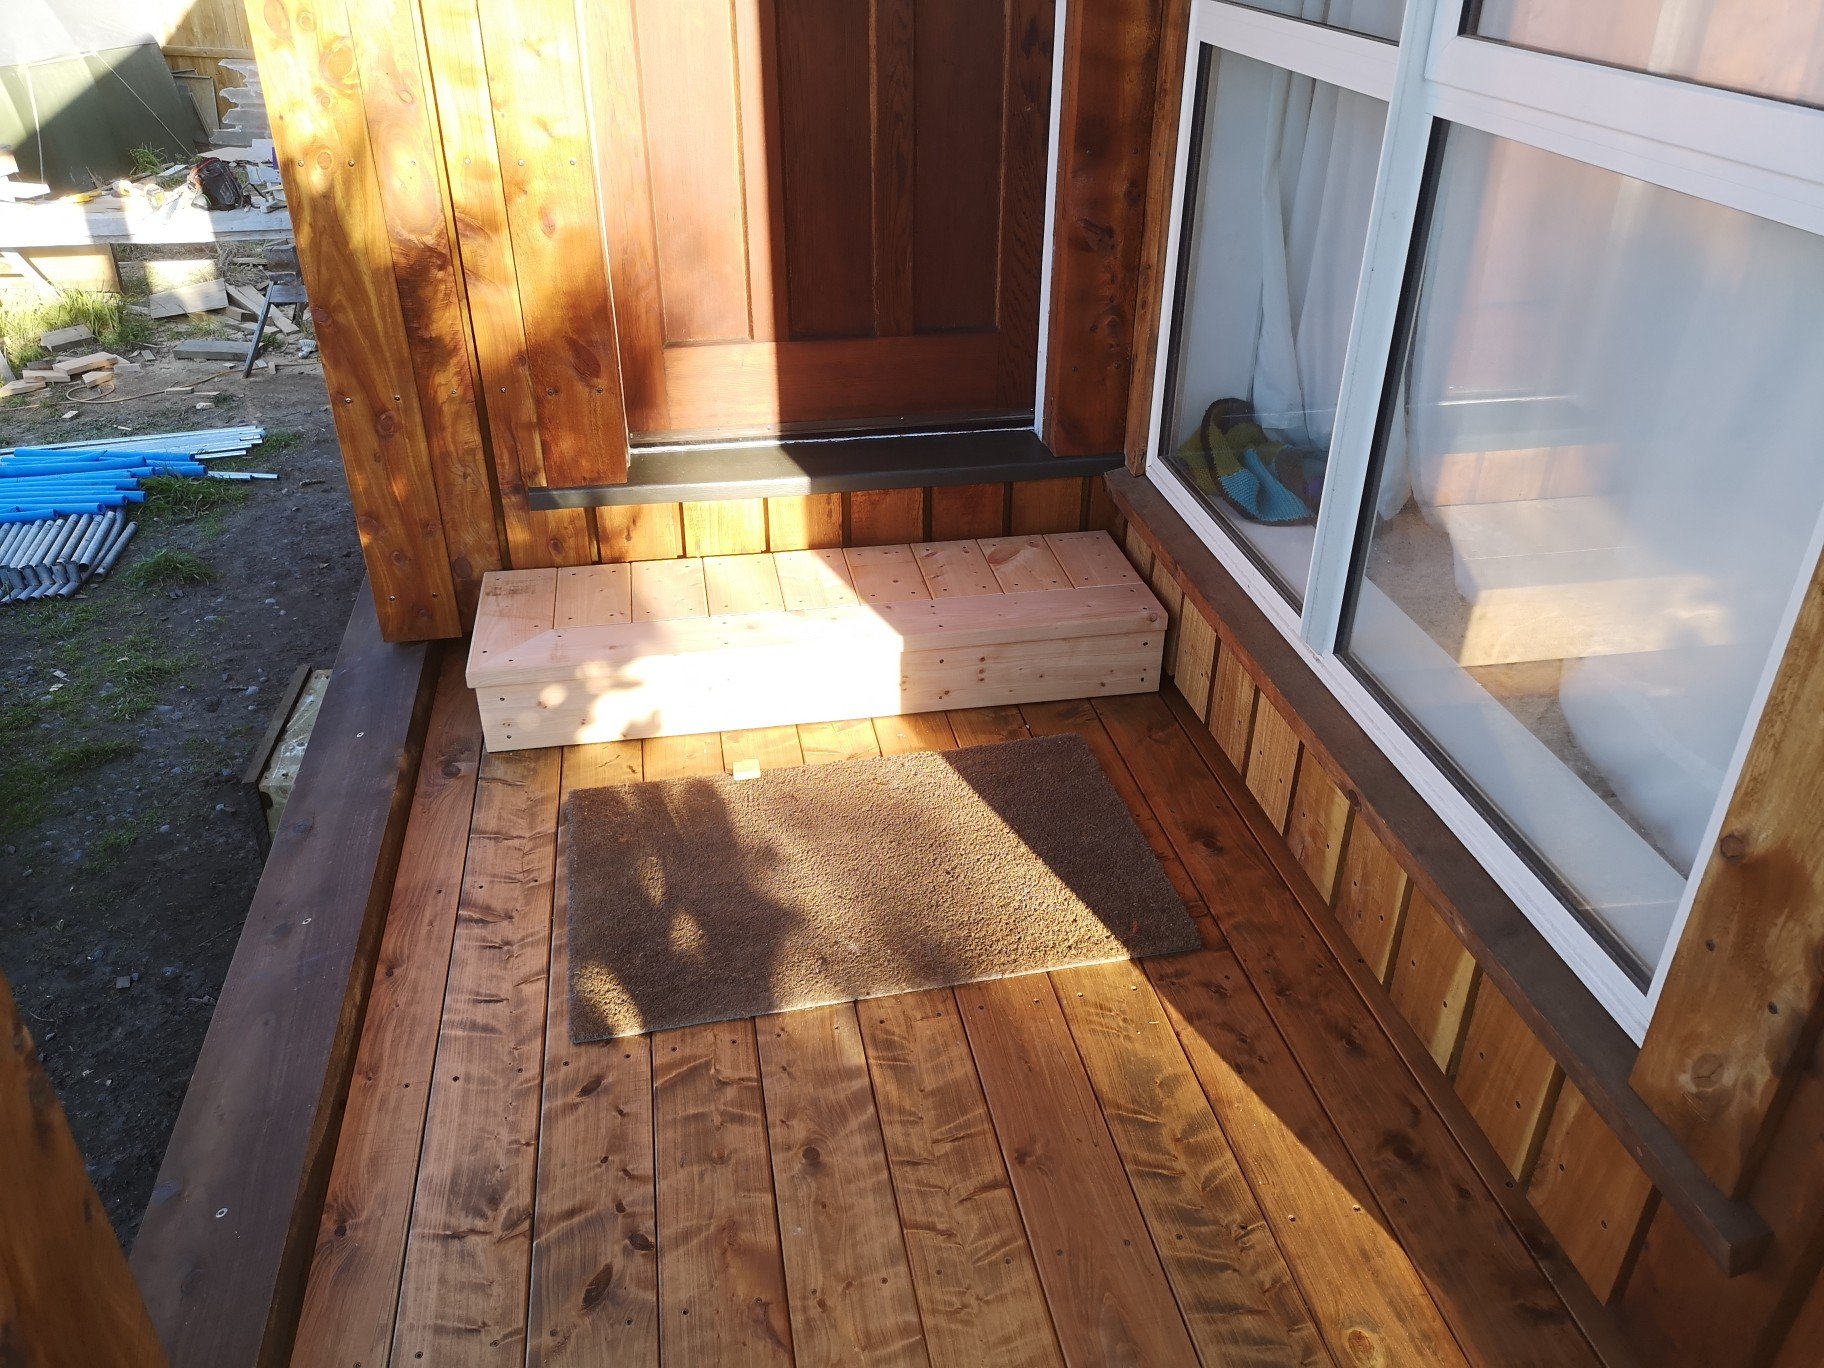
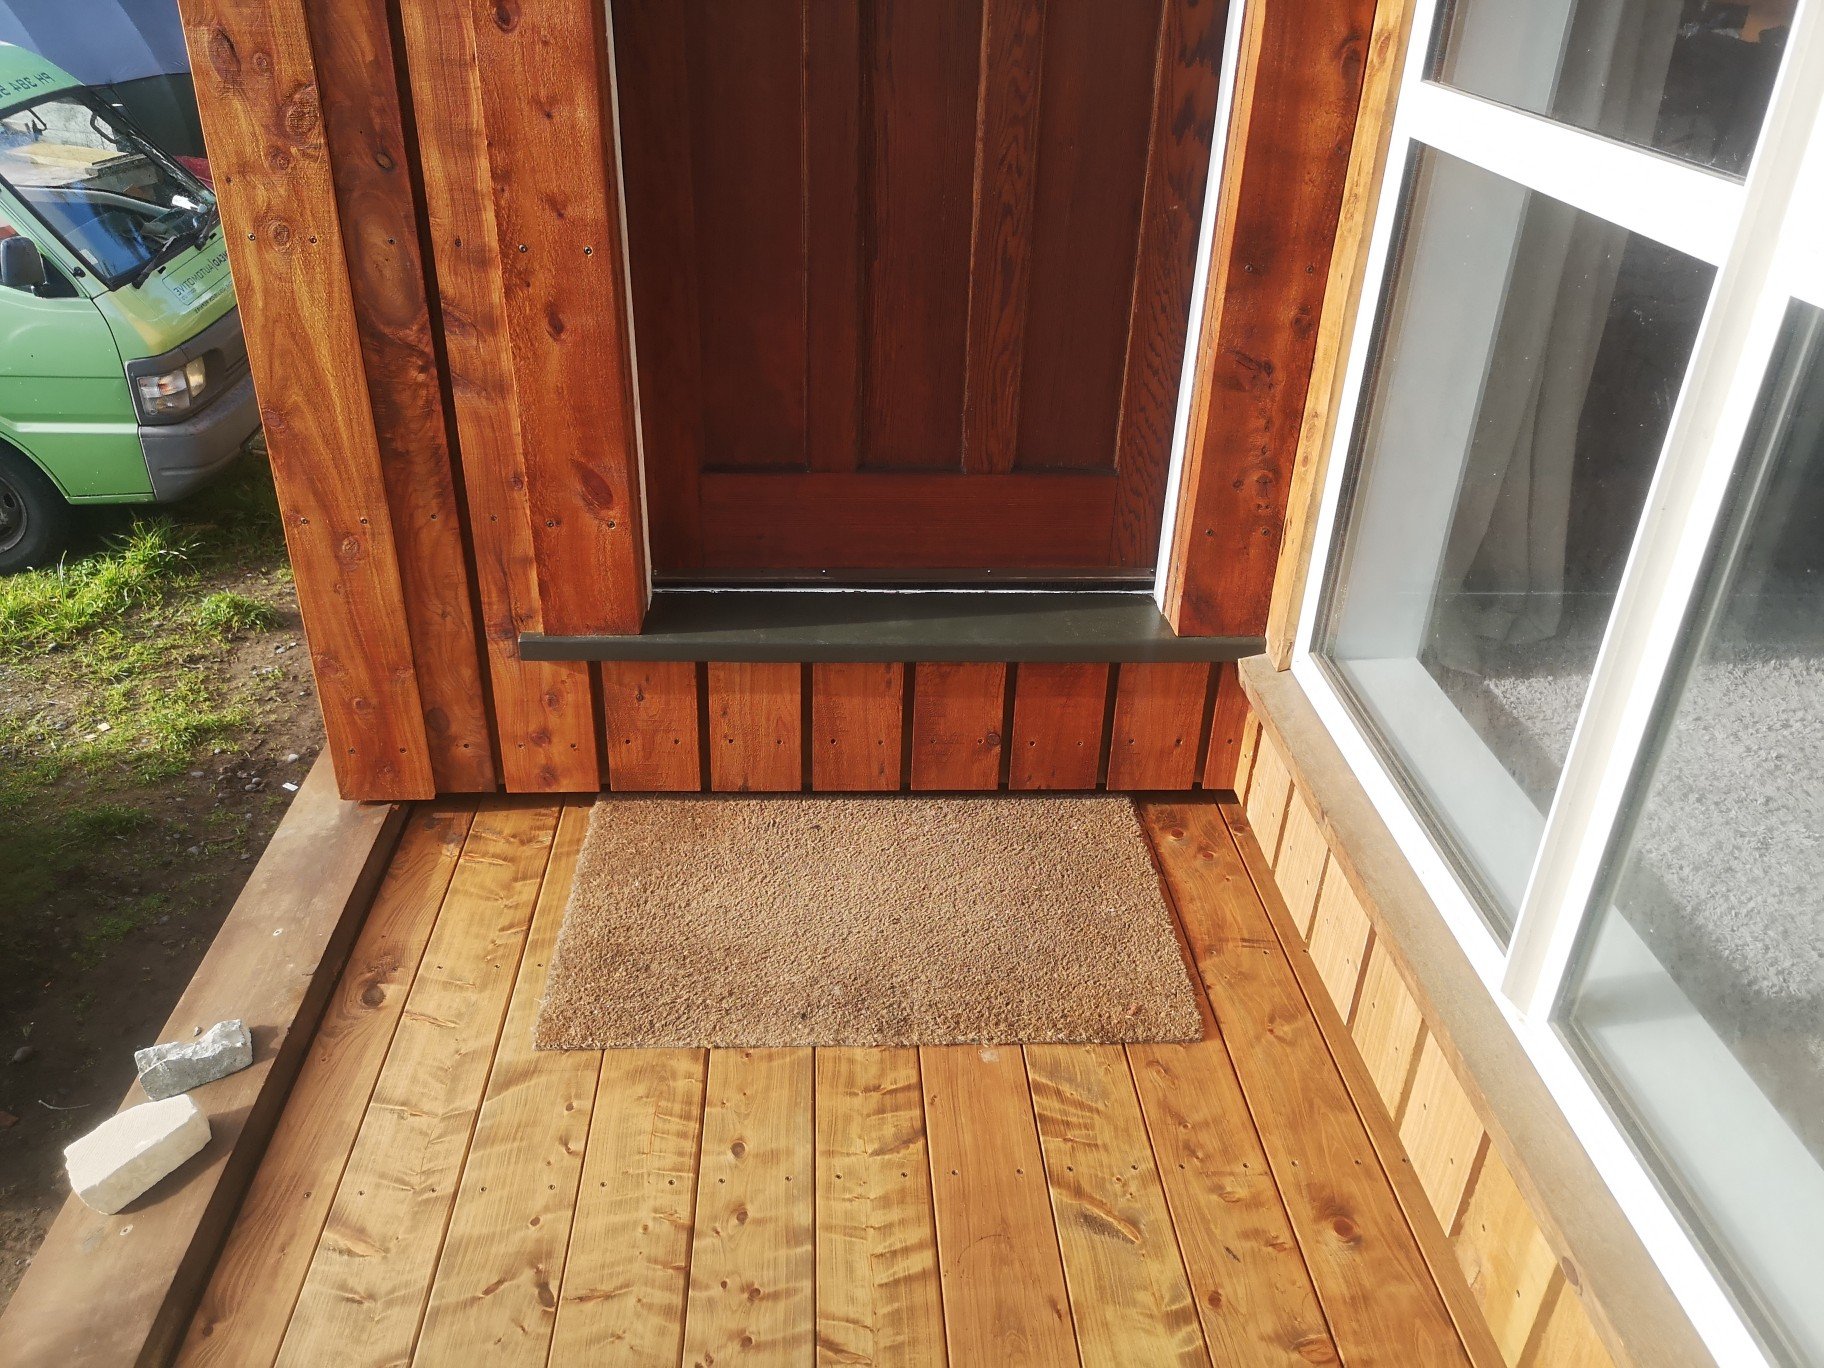
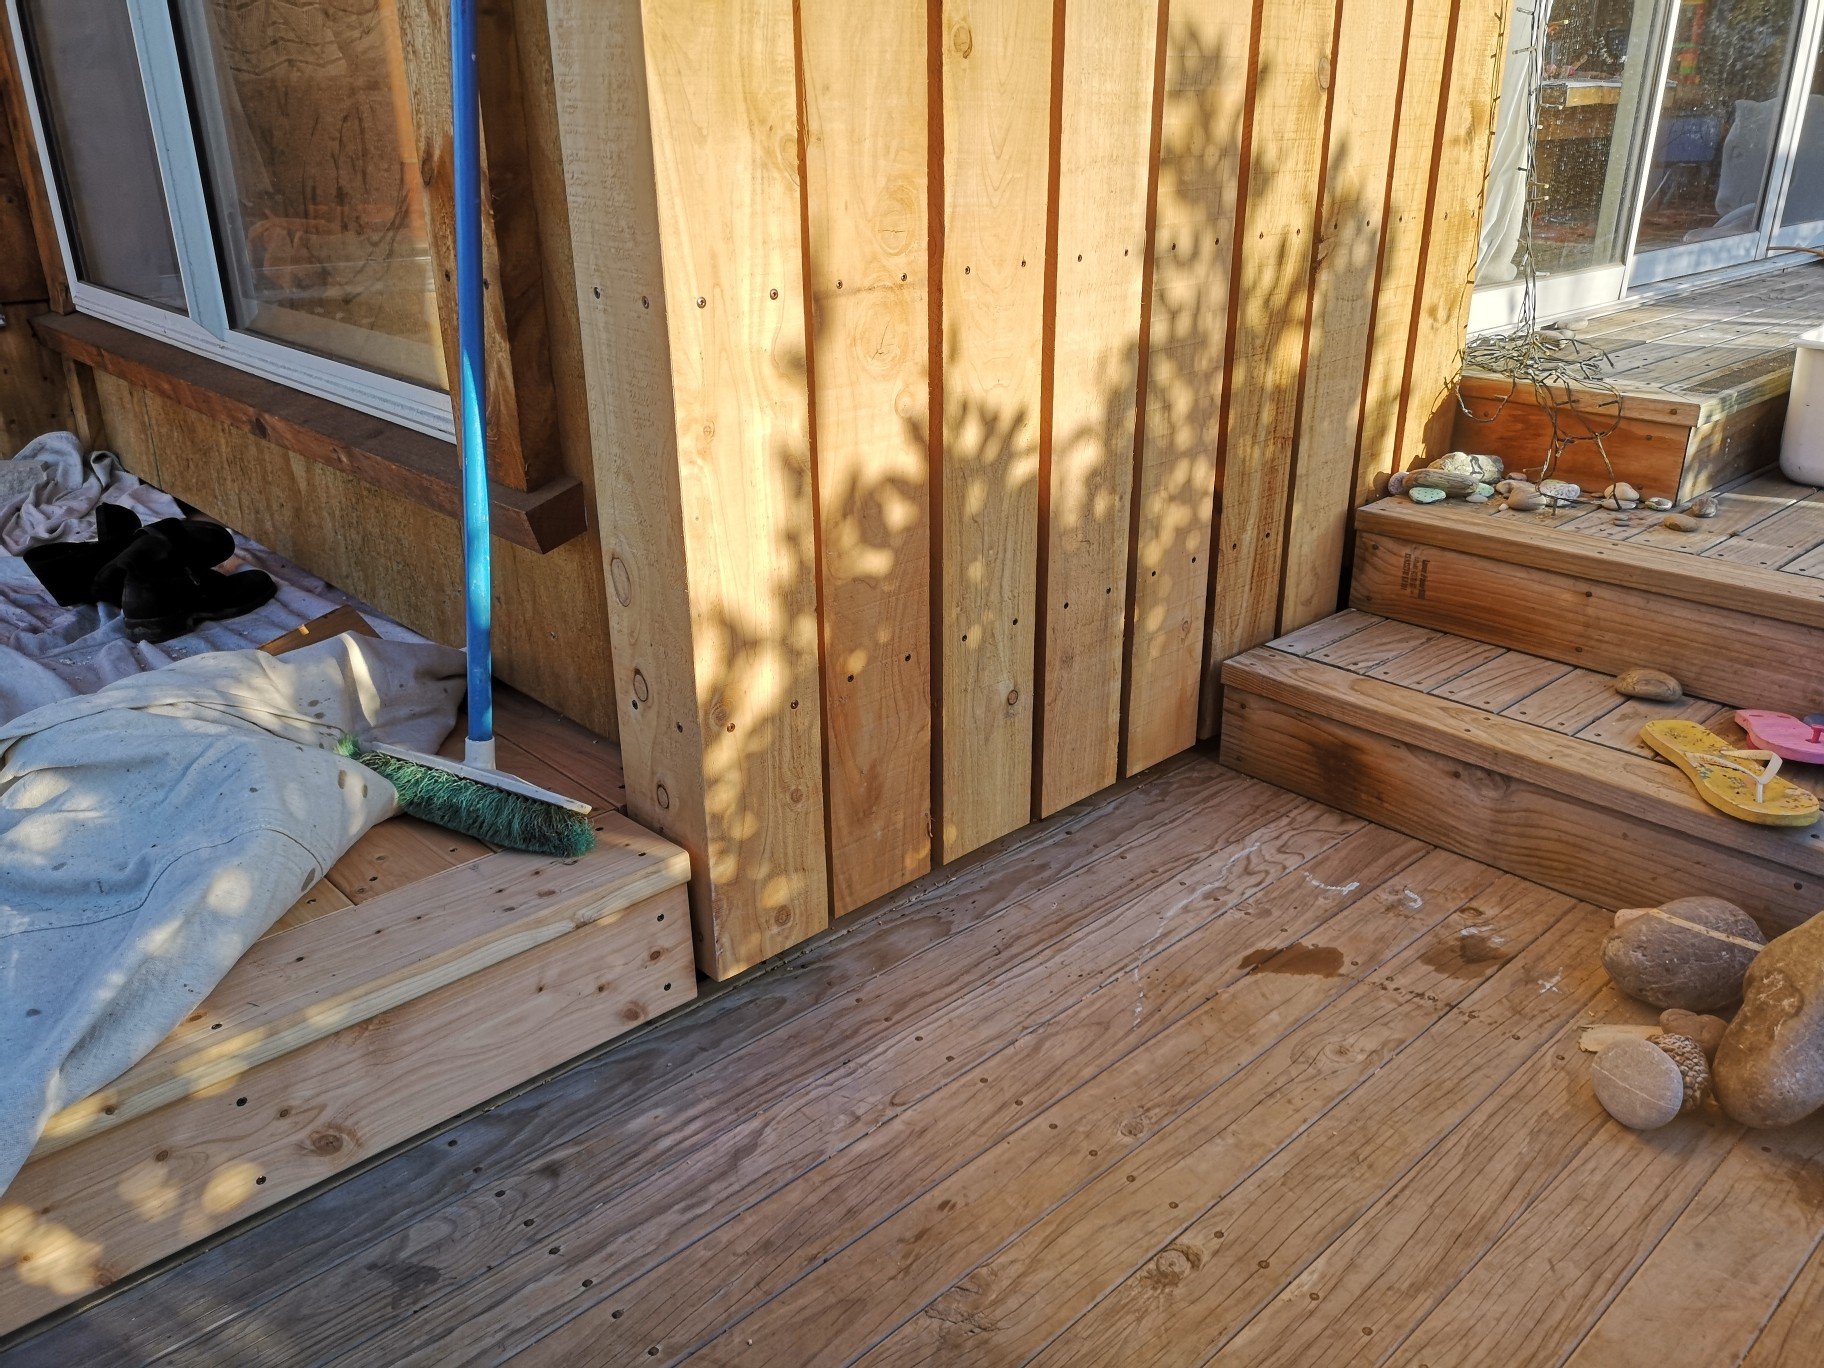
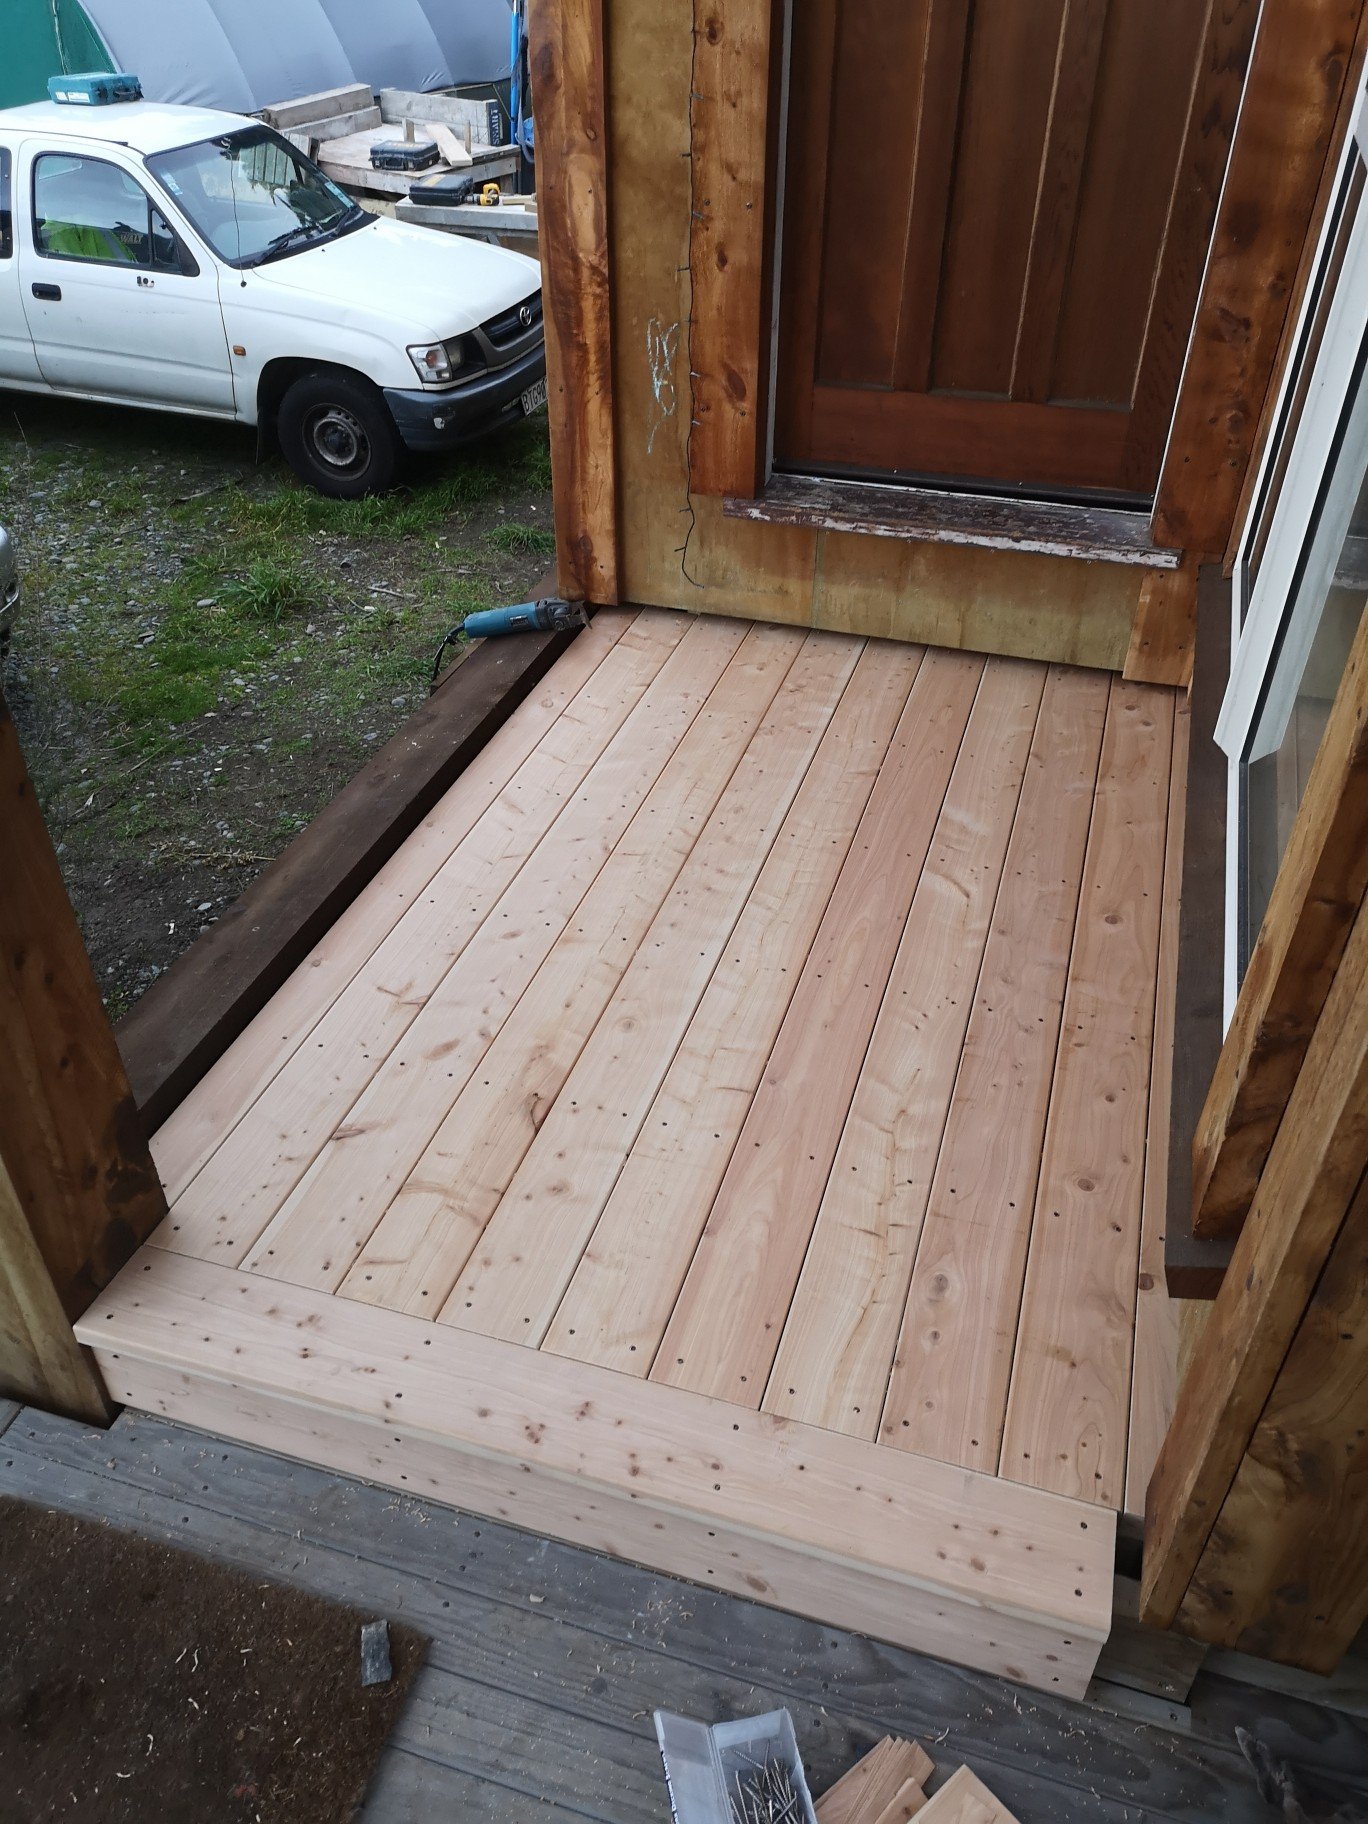
It all looks very woody.. My missus did suggest a similar style but with Corten. After I priced up 6mm I decided it wasn't worth it. Would've looked good tho. Oiled it, This is the view that would have suffered had I lifted the landing up to the threshold . This looks neater to me. So that is now almost the the entire outside finished. Just have to fill in around the other side where I got too vigorous on the deck with the saber saw and she's 100% done.. Phew, thanks lockdown.. Or covid..
- 322 replies
-
- 11
-
-
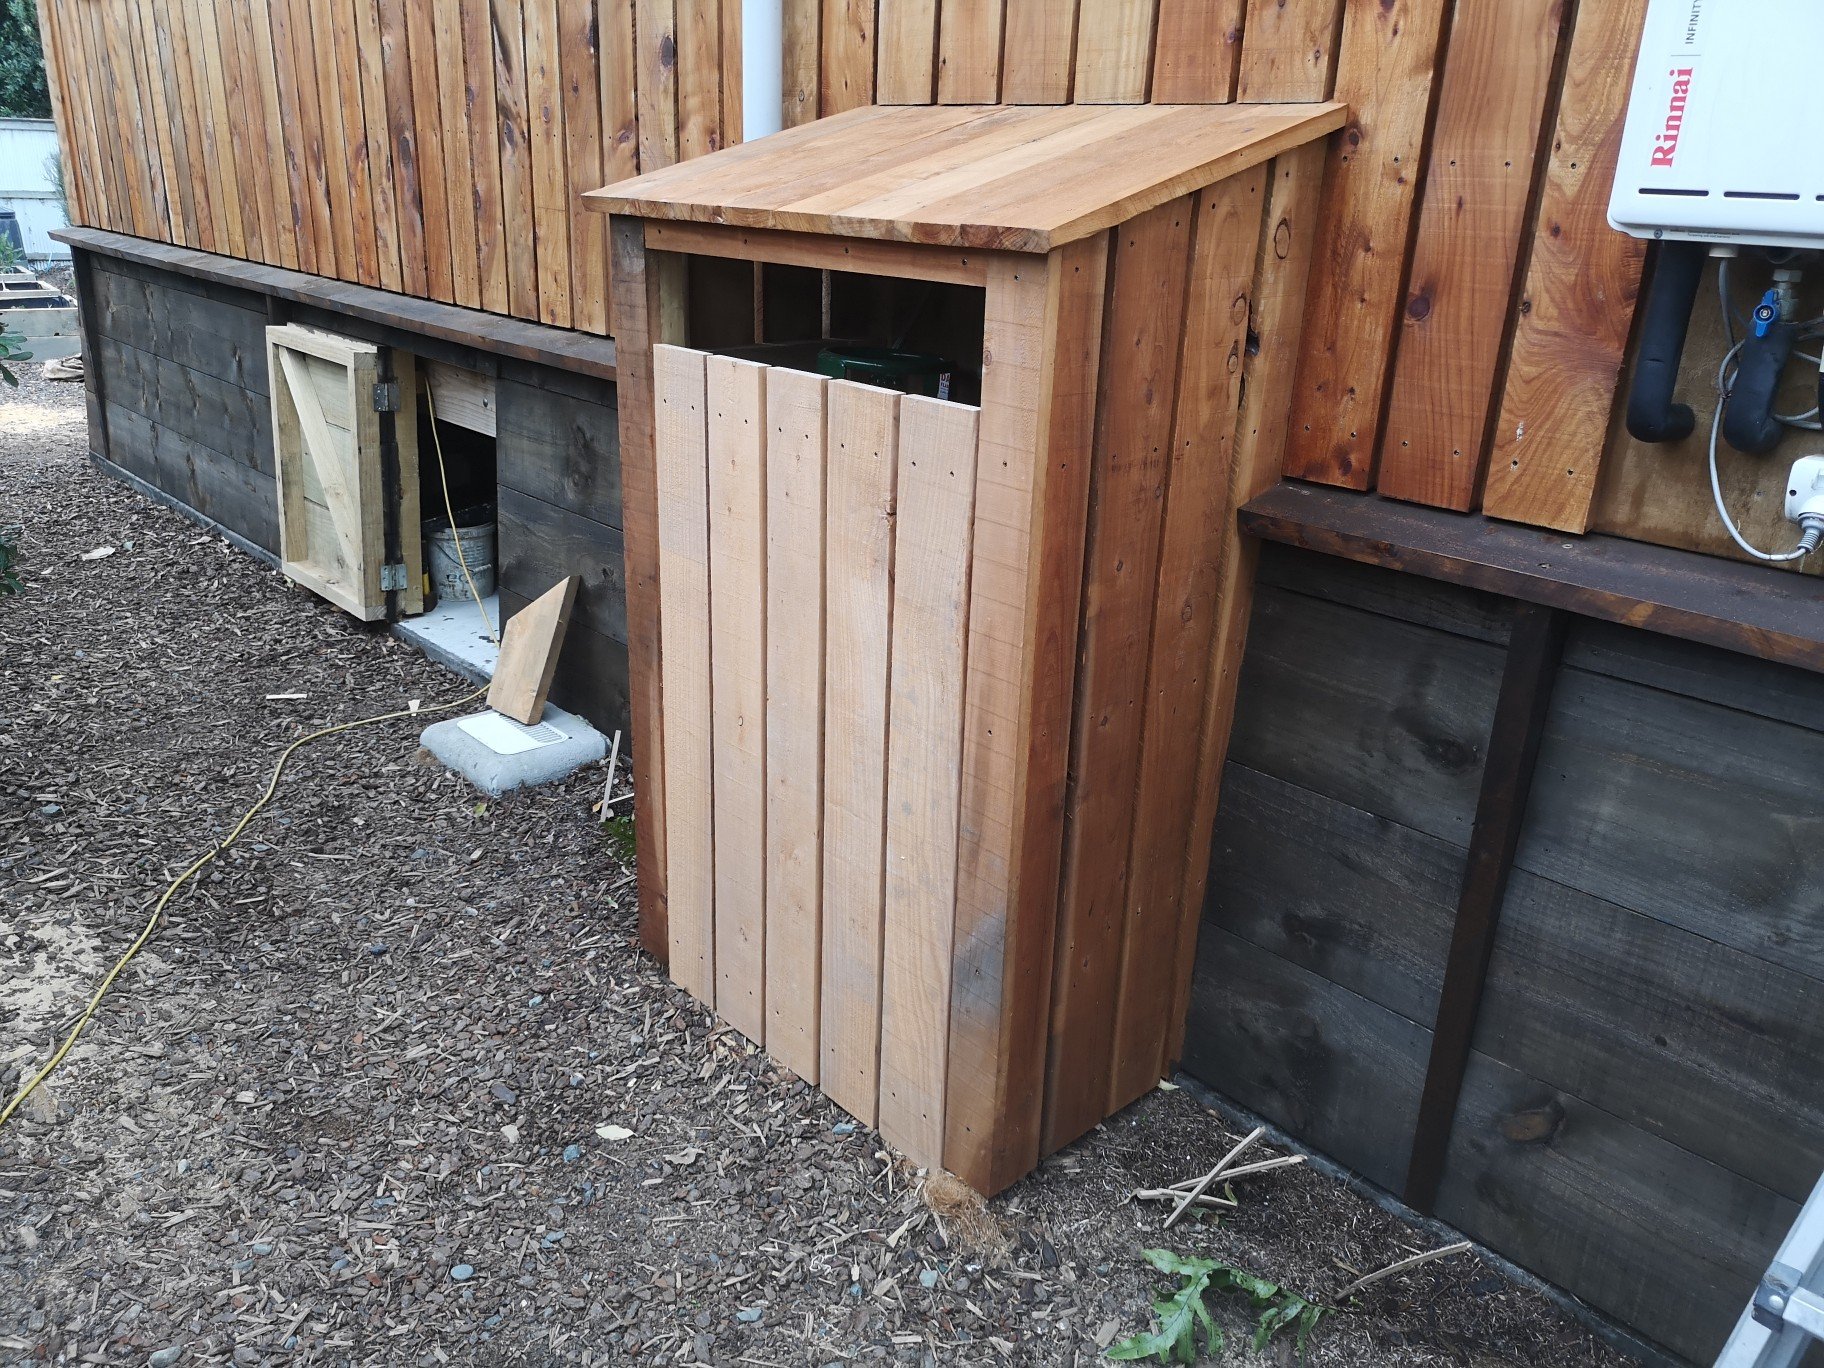
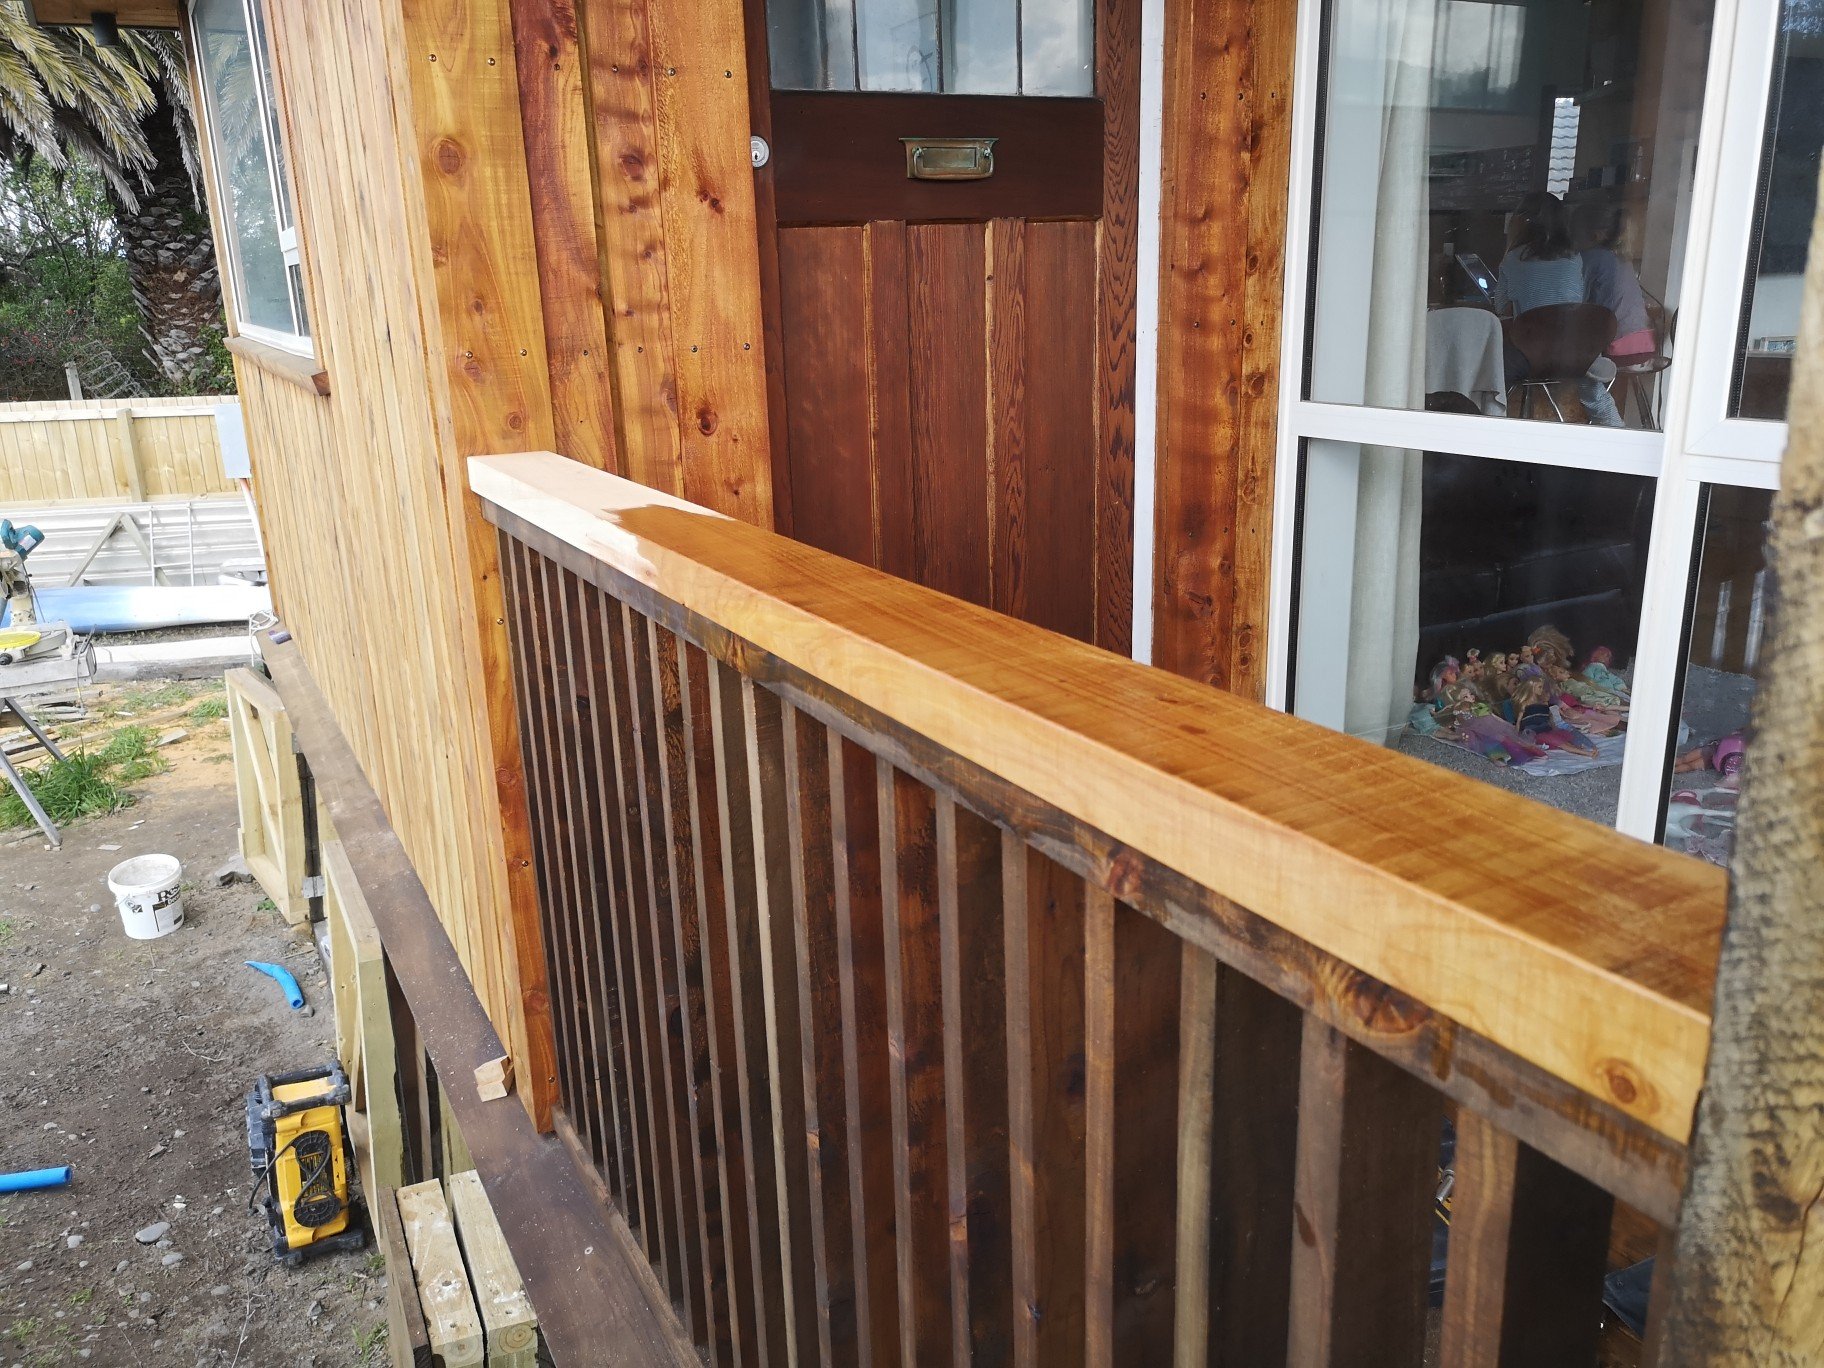
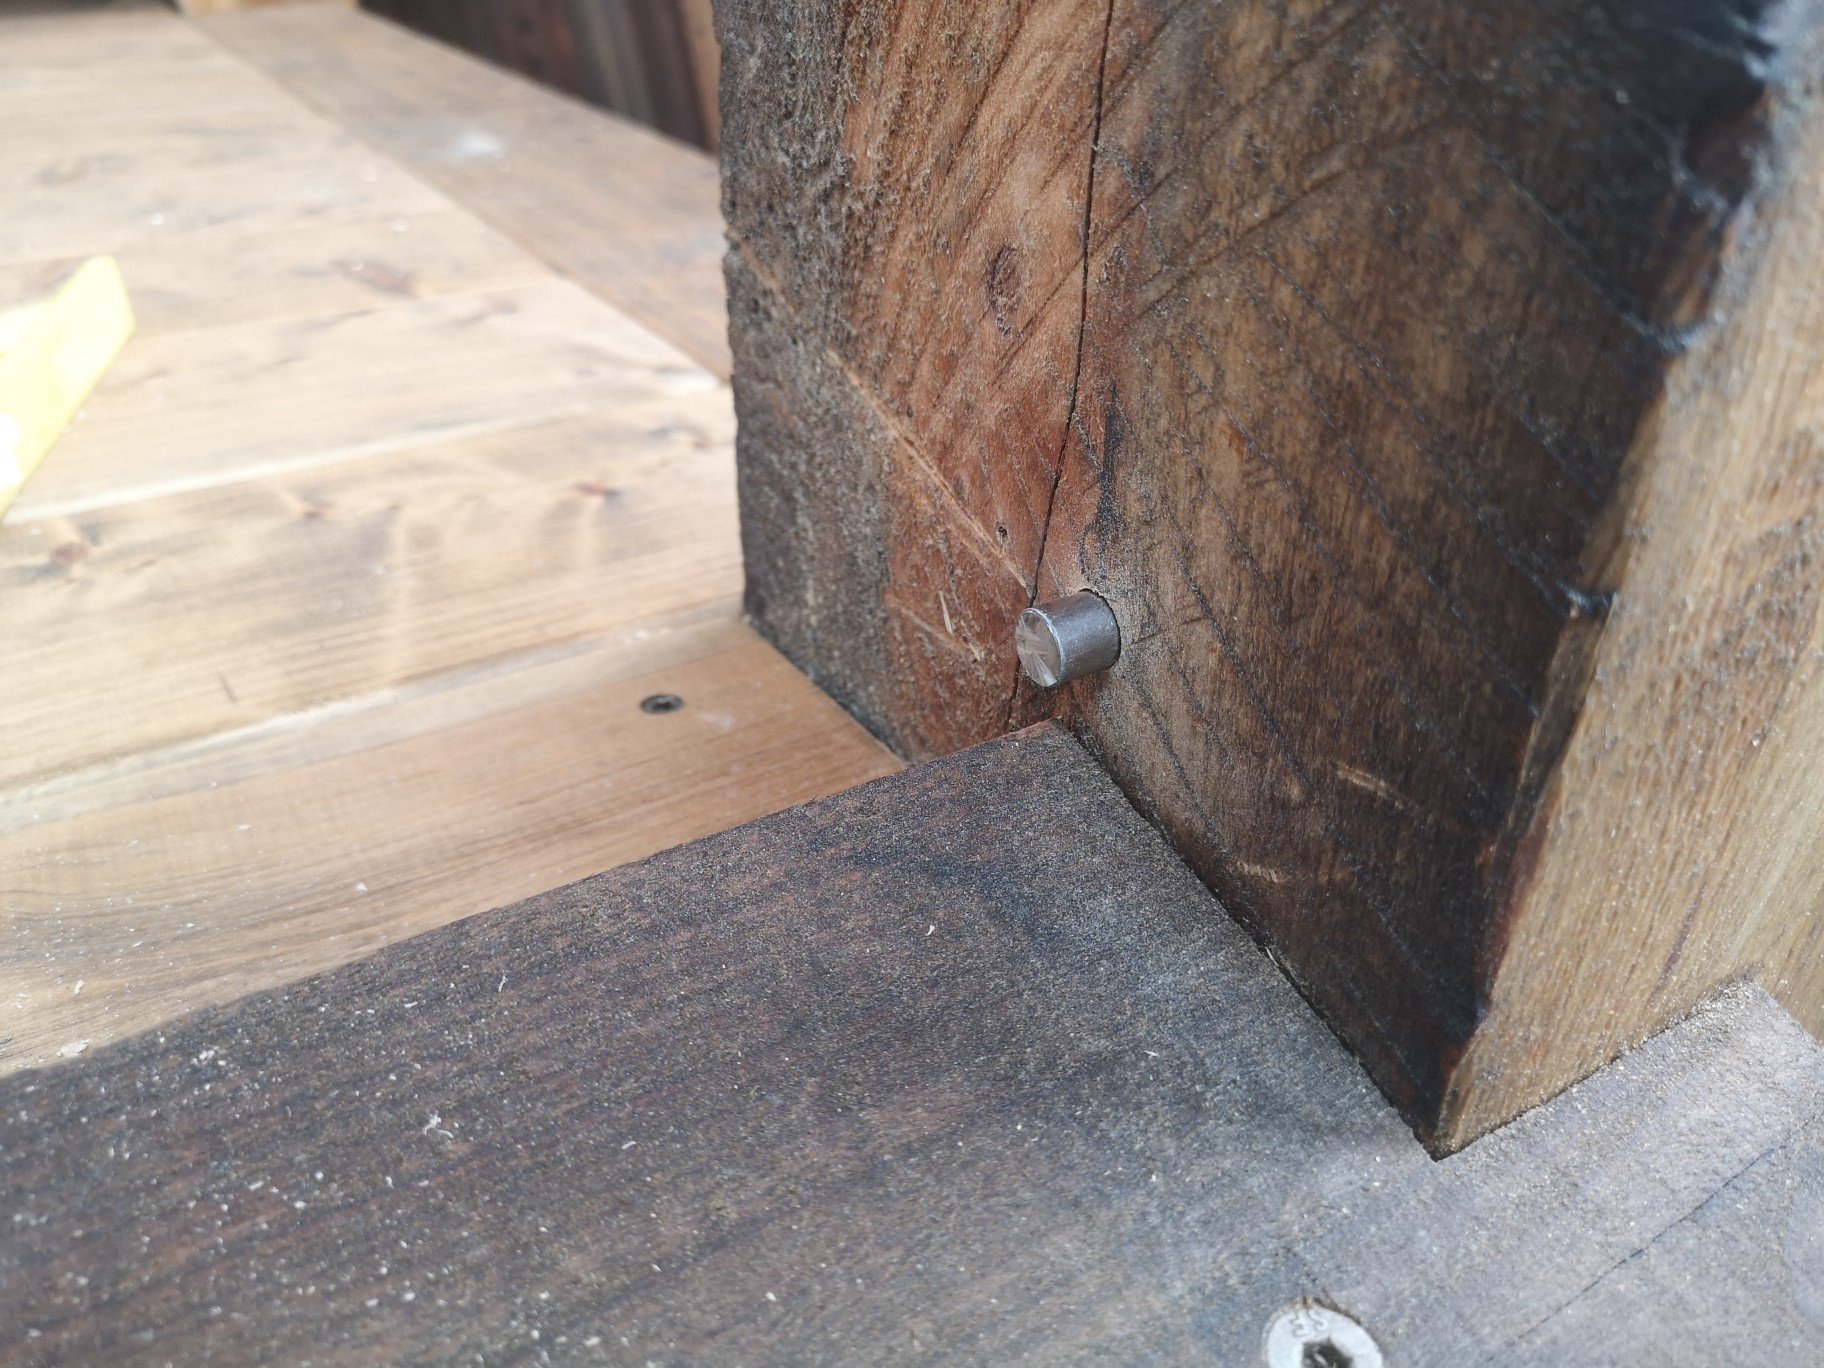
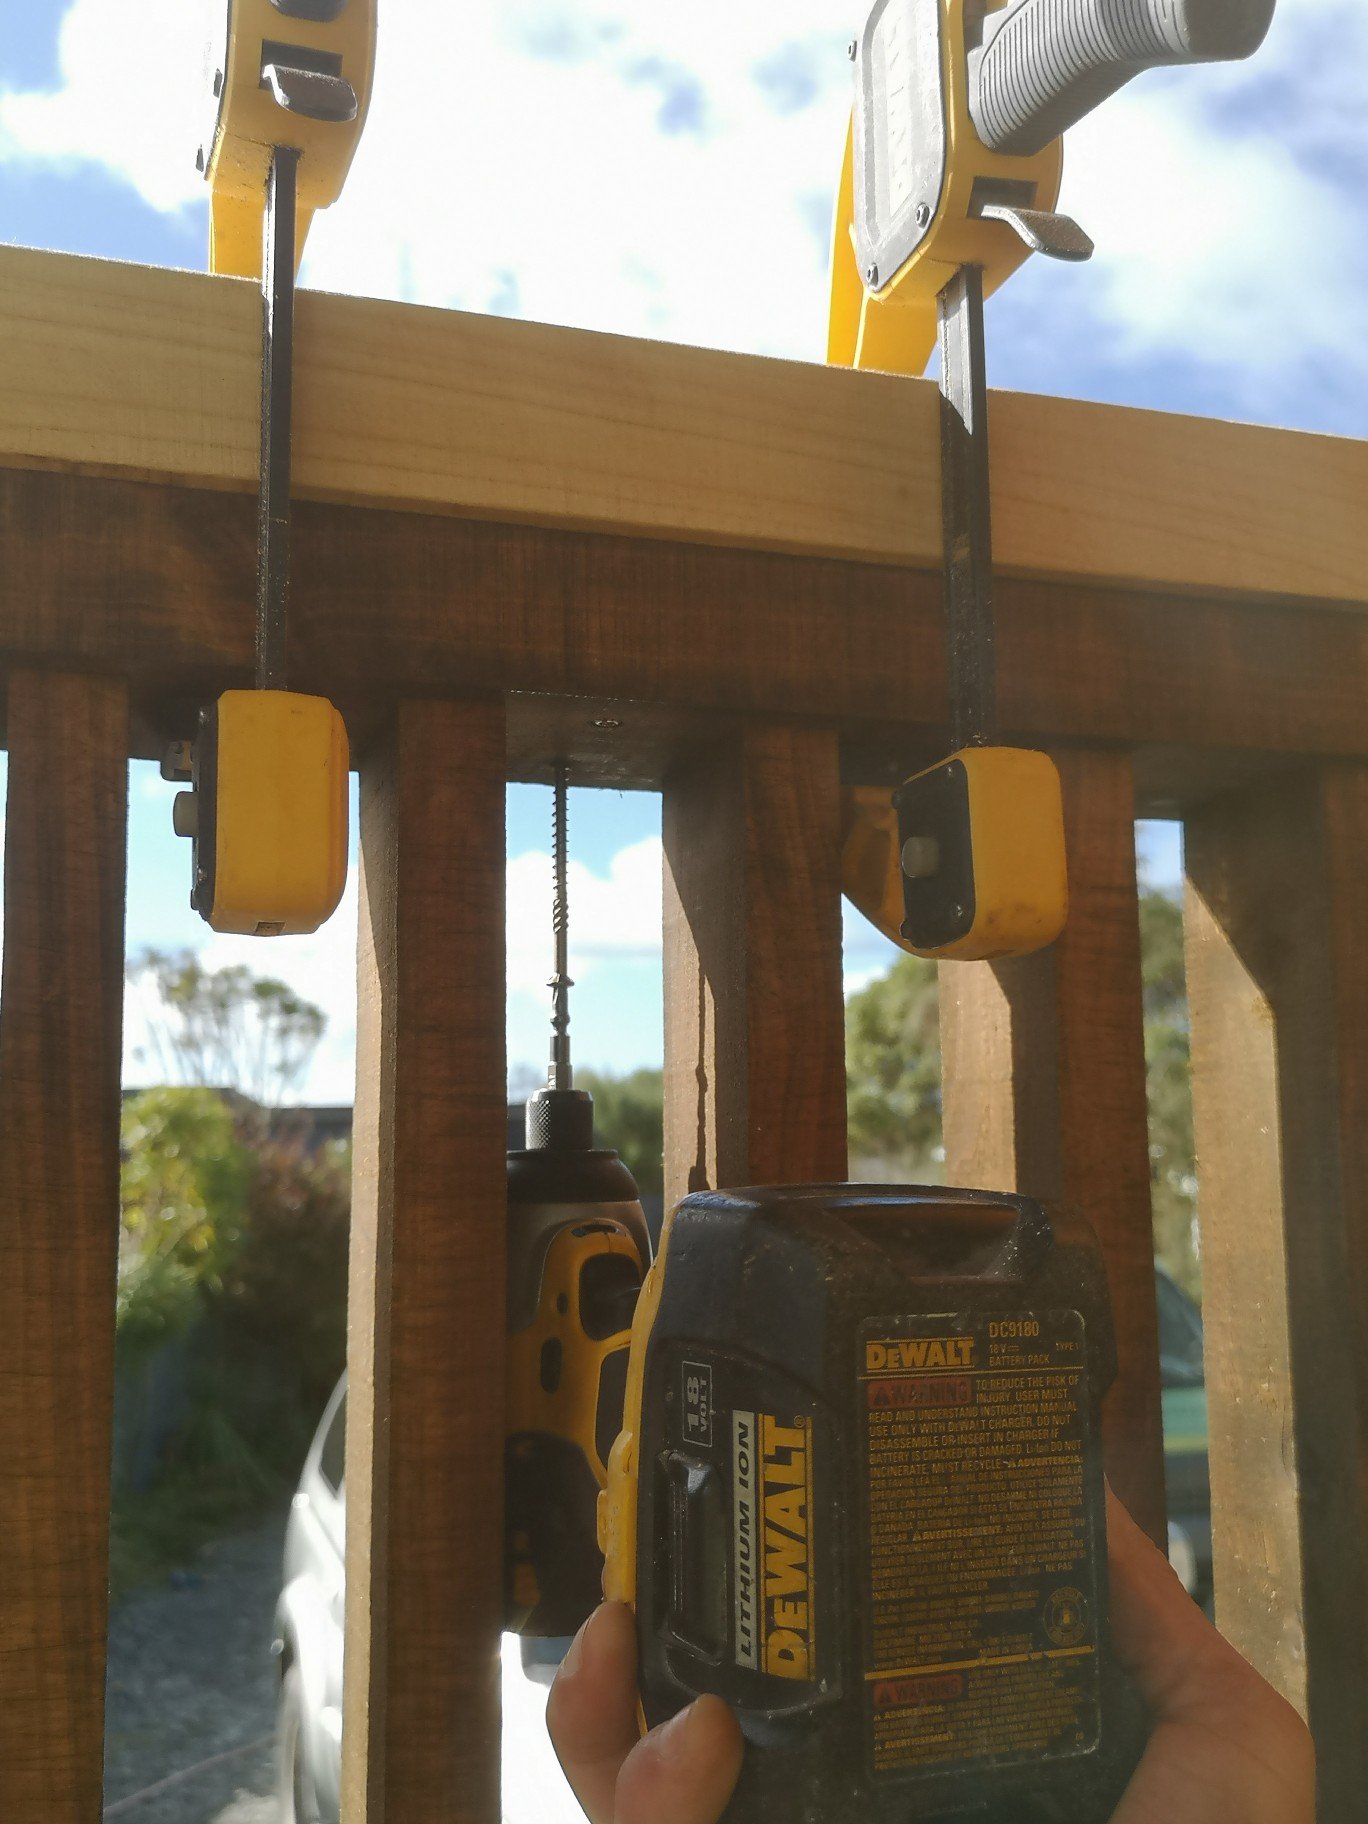
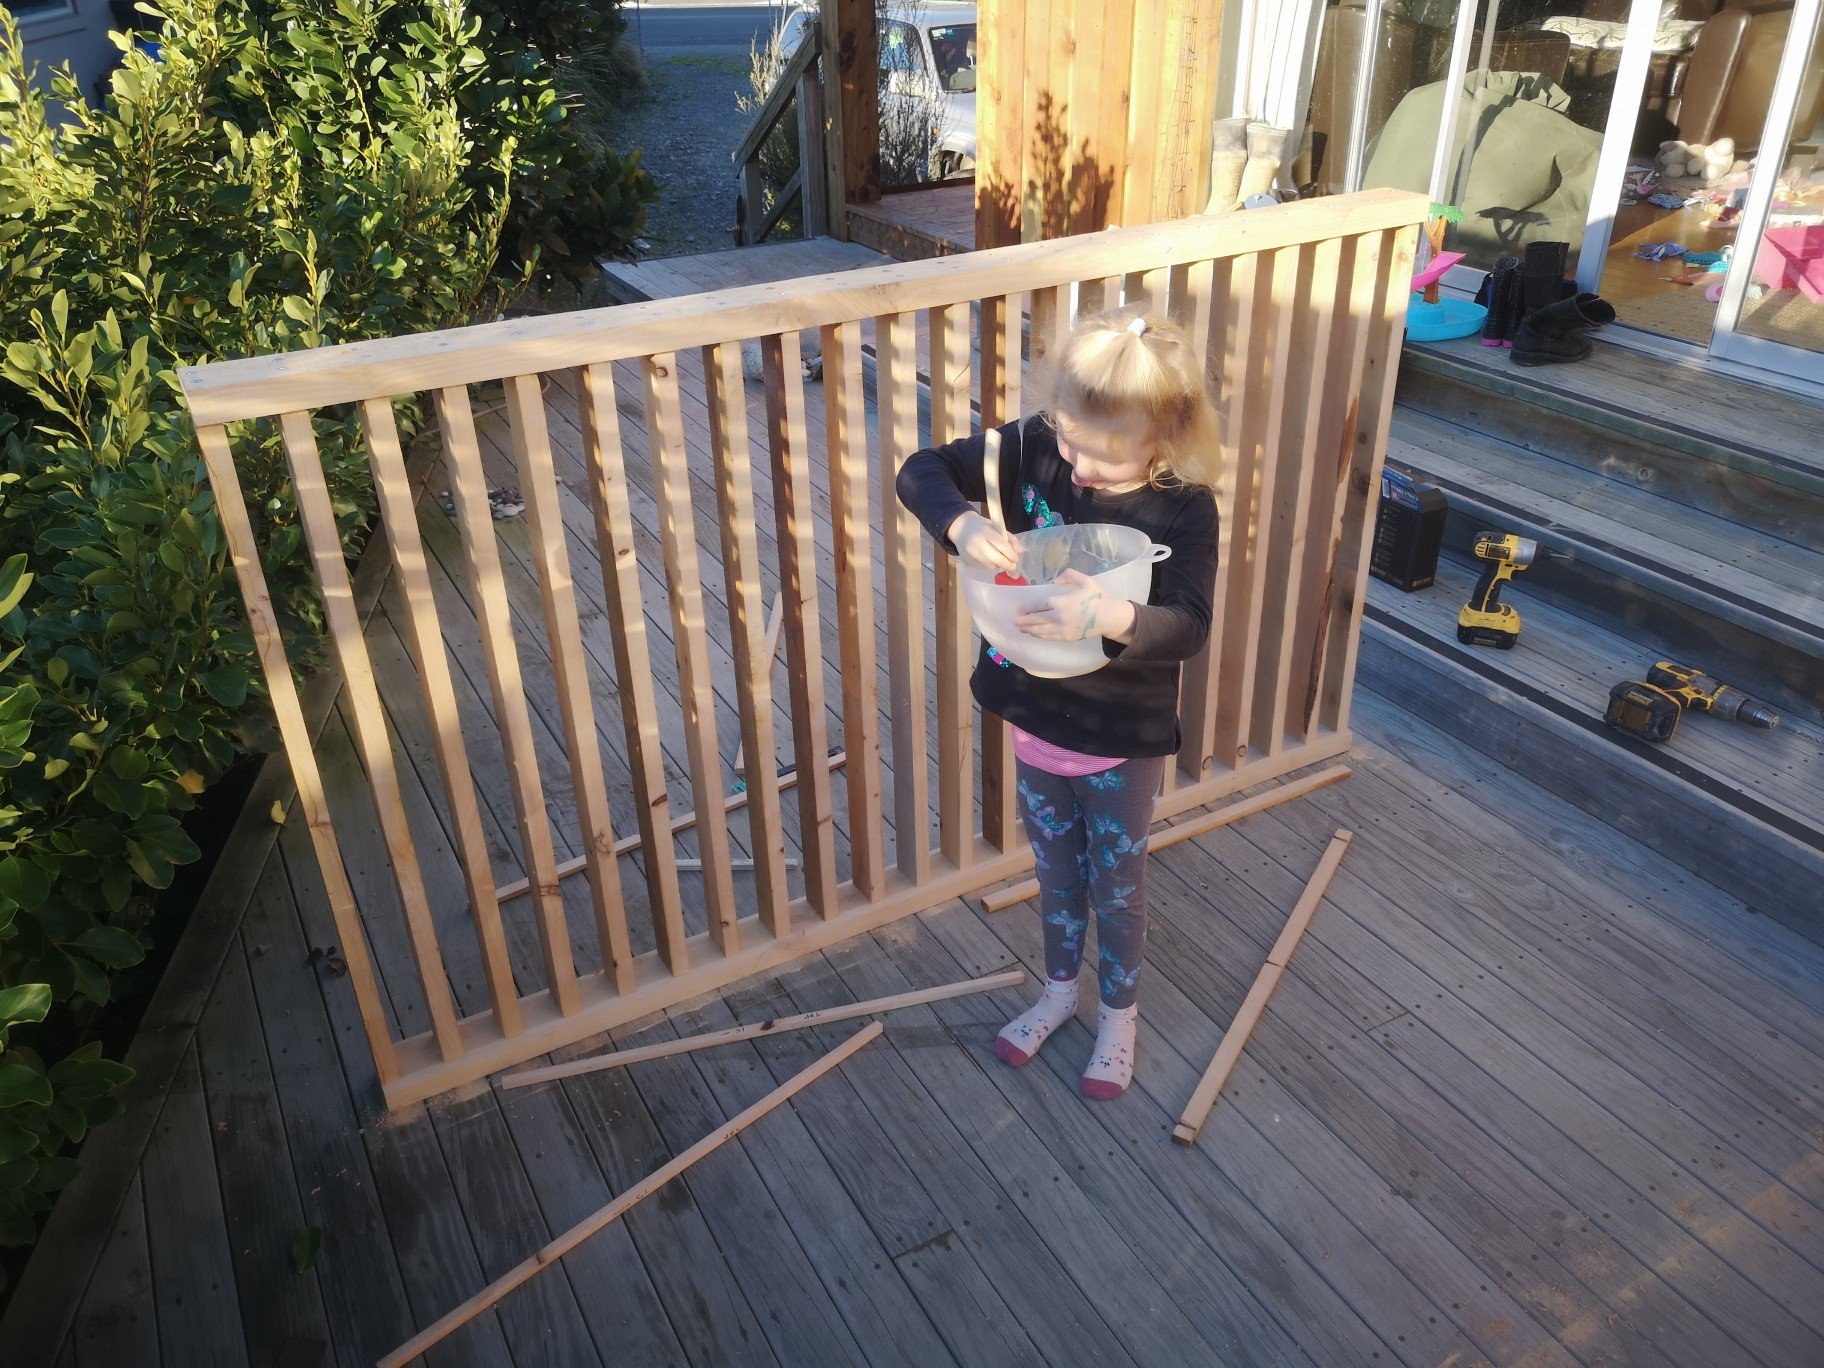
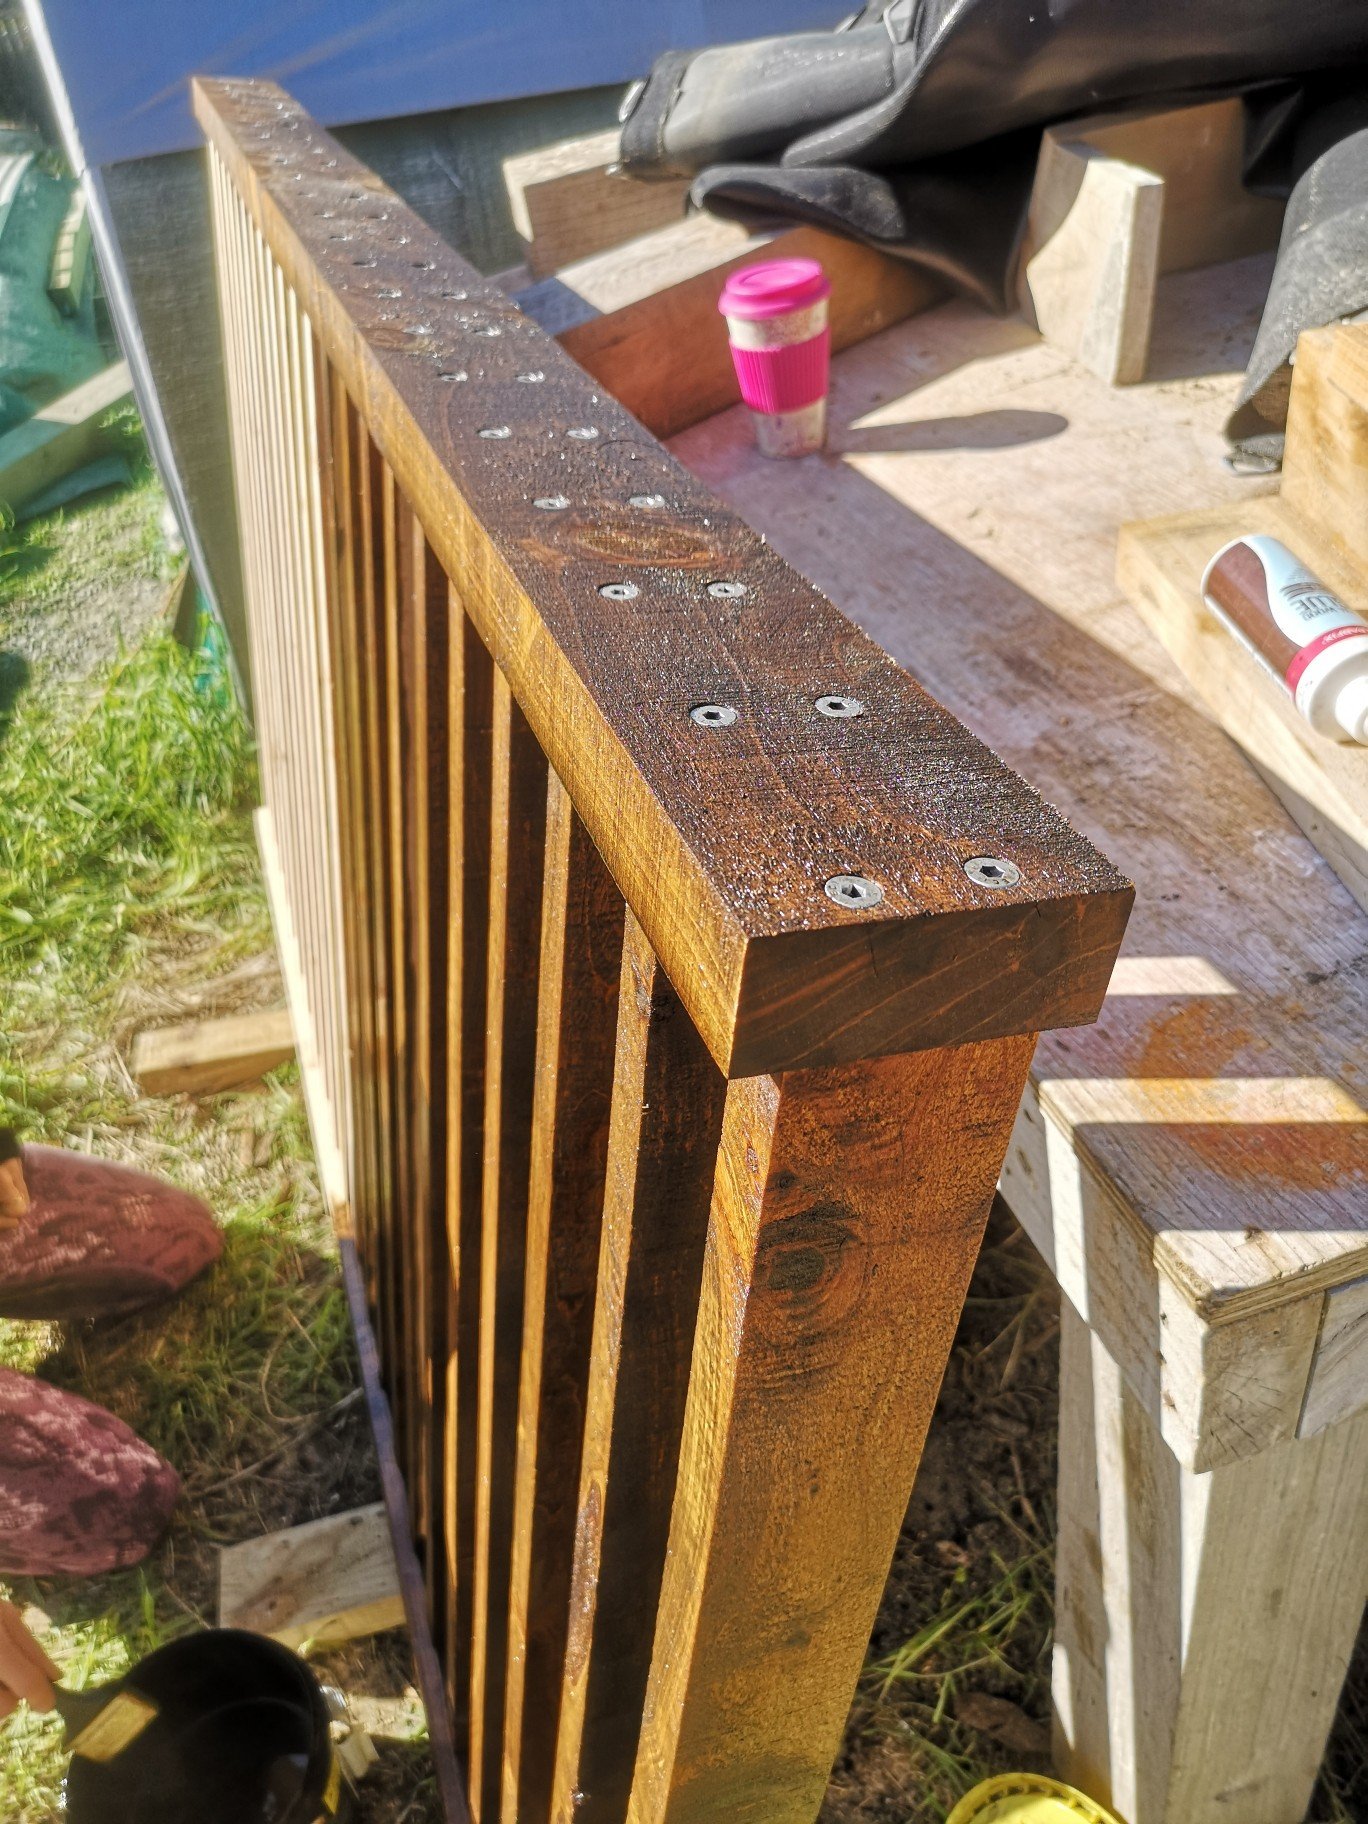
That was yesterday, Today I mounted it, bottom is held on either side with a 12mm dowel the locates the bottom. Corresponding 12mm hole in the bottom rail. Then at the top just angled a 100mm x 14g batten screw both sides. She's pretty sturdy, I was a bit worried it might flex. Capped it off with a 50x100 left over from the the bottom of the house.. She ain't moving now. And again, just managed to get my driver in between the uprights.
-
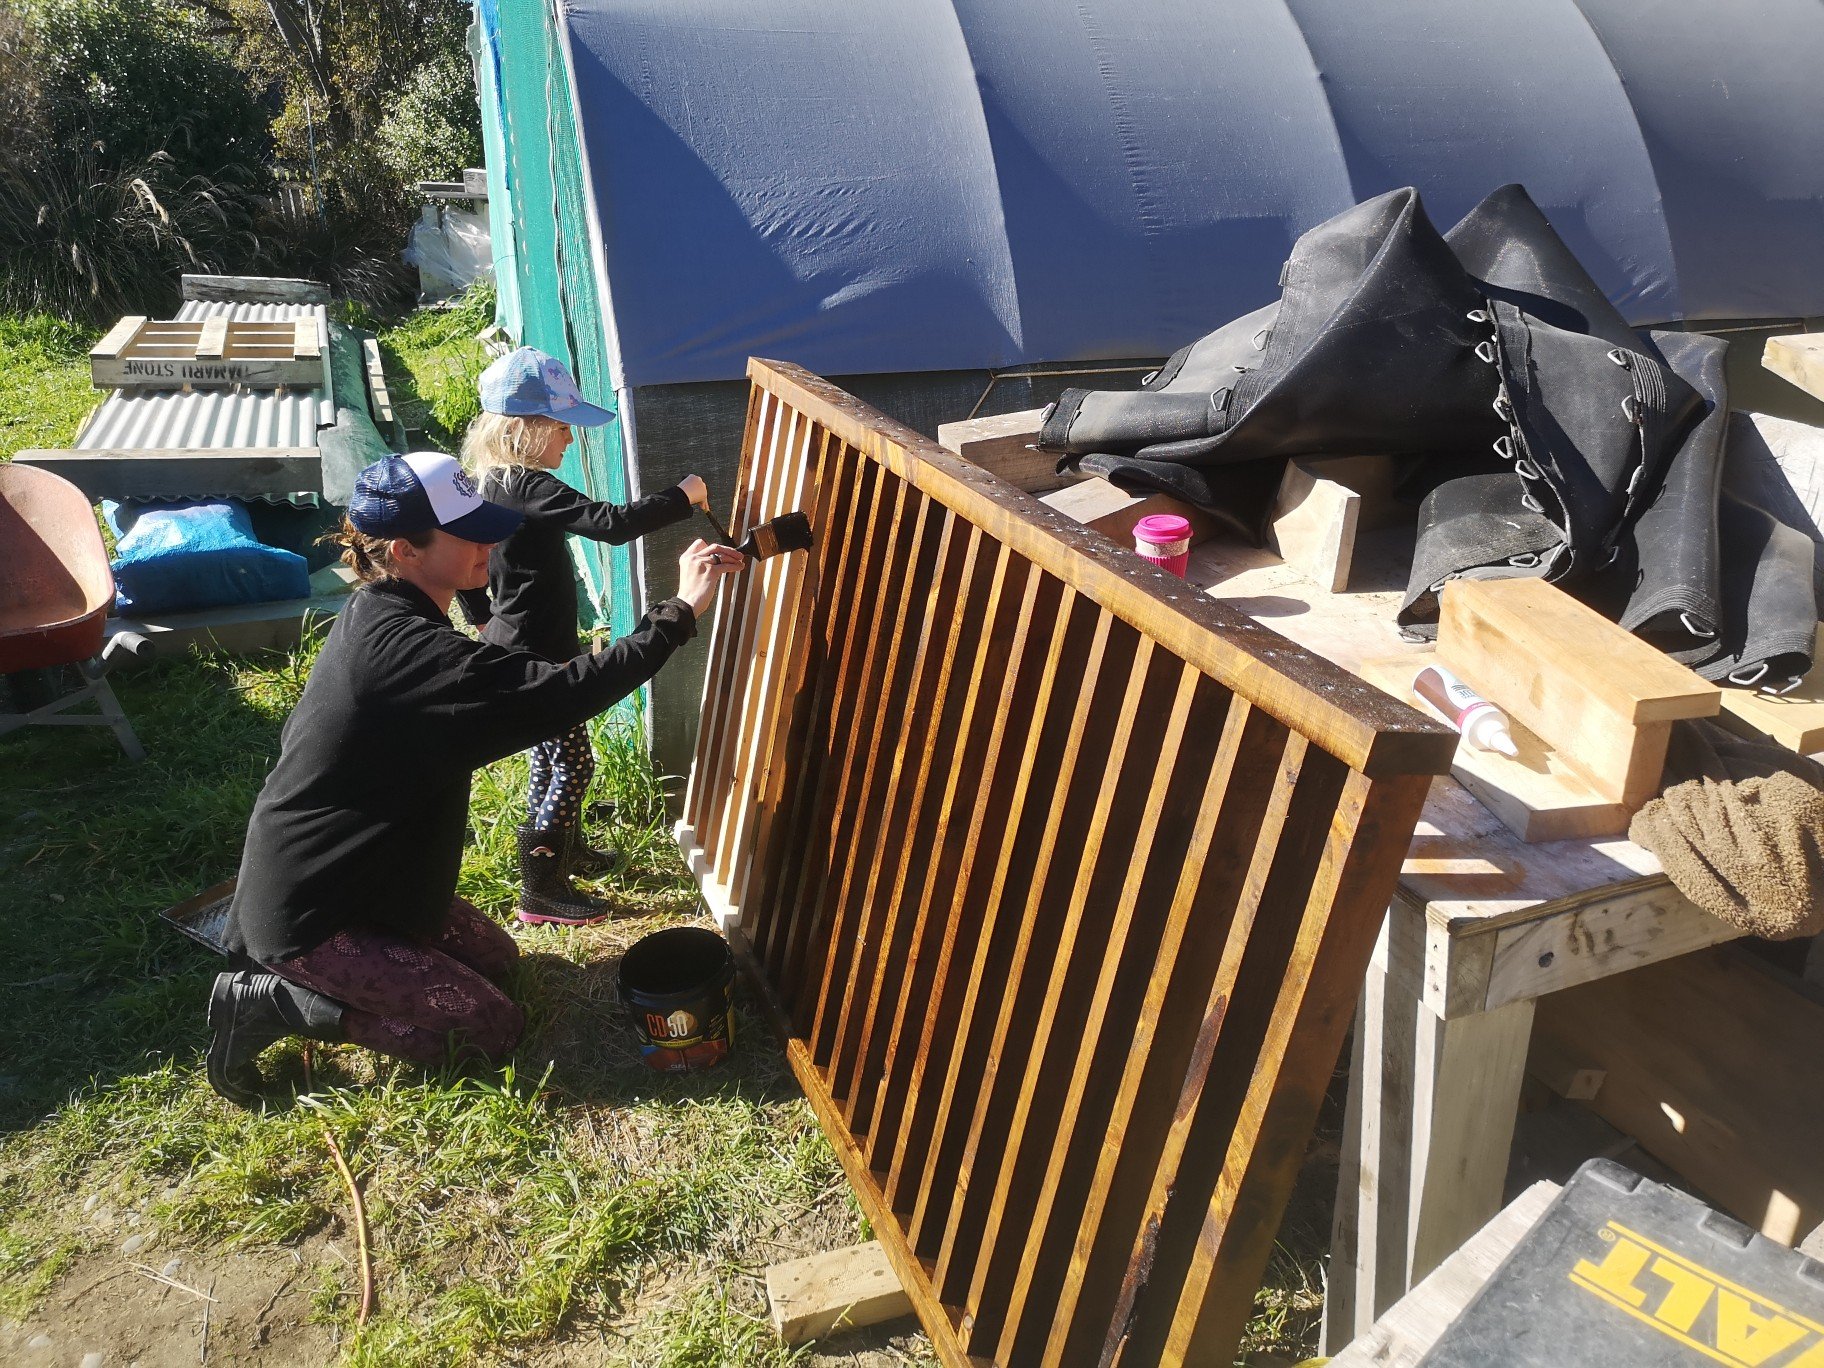
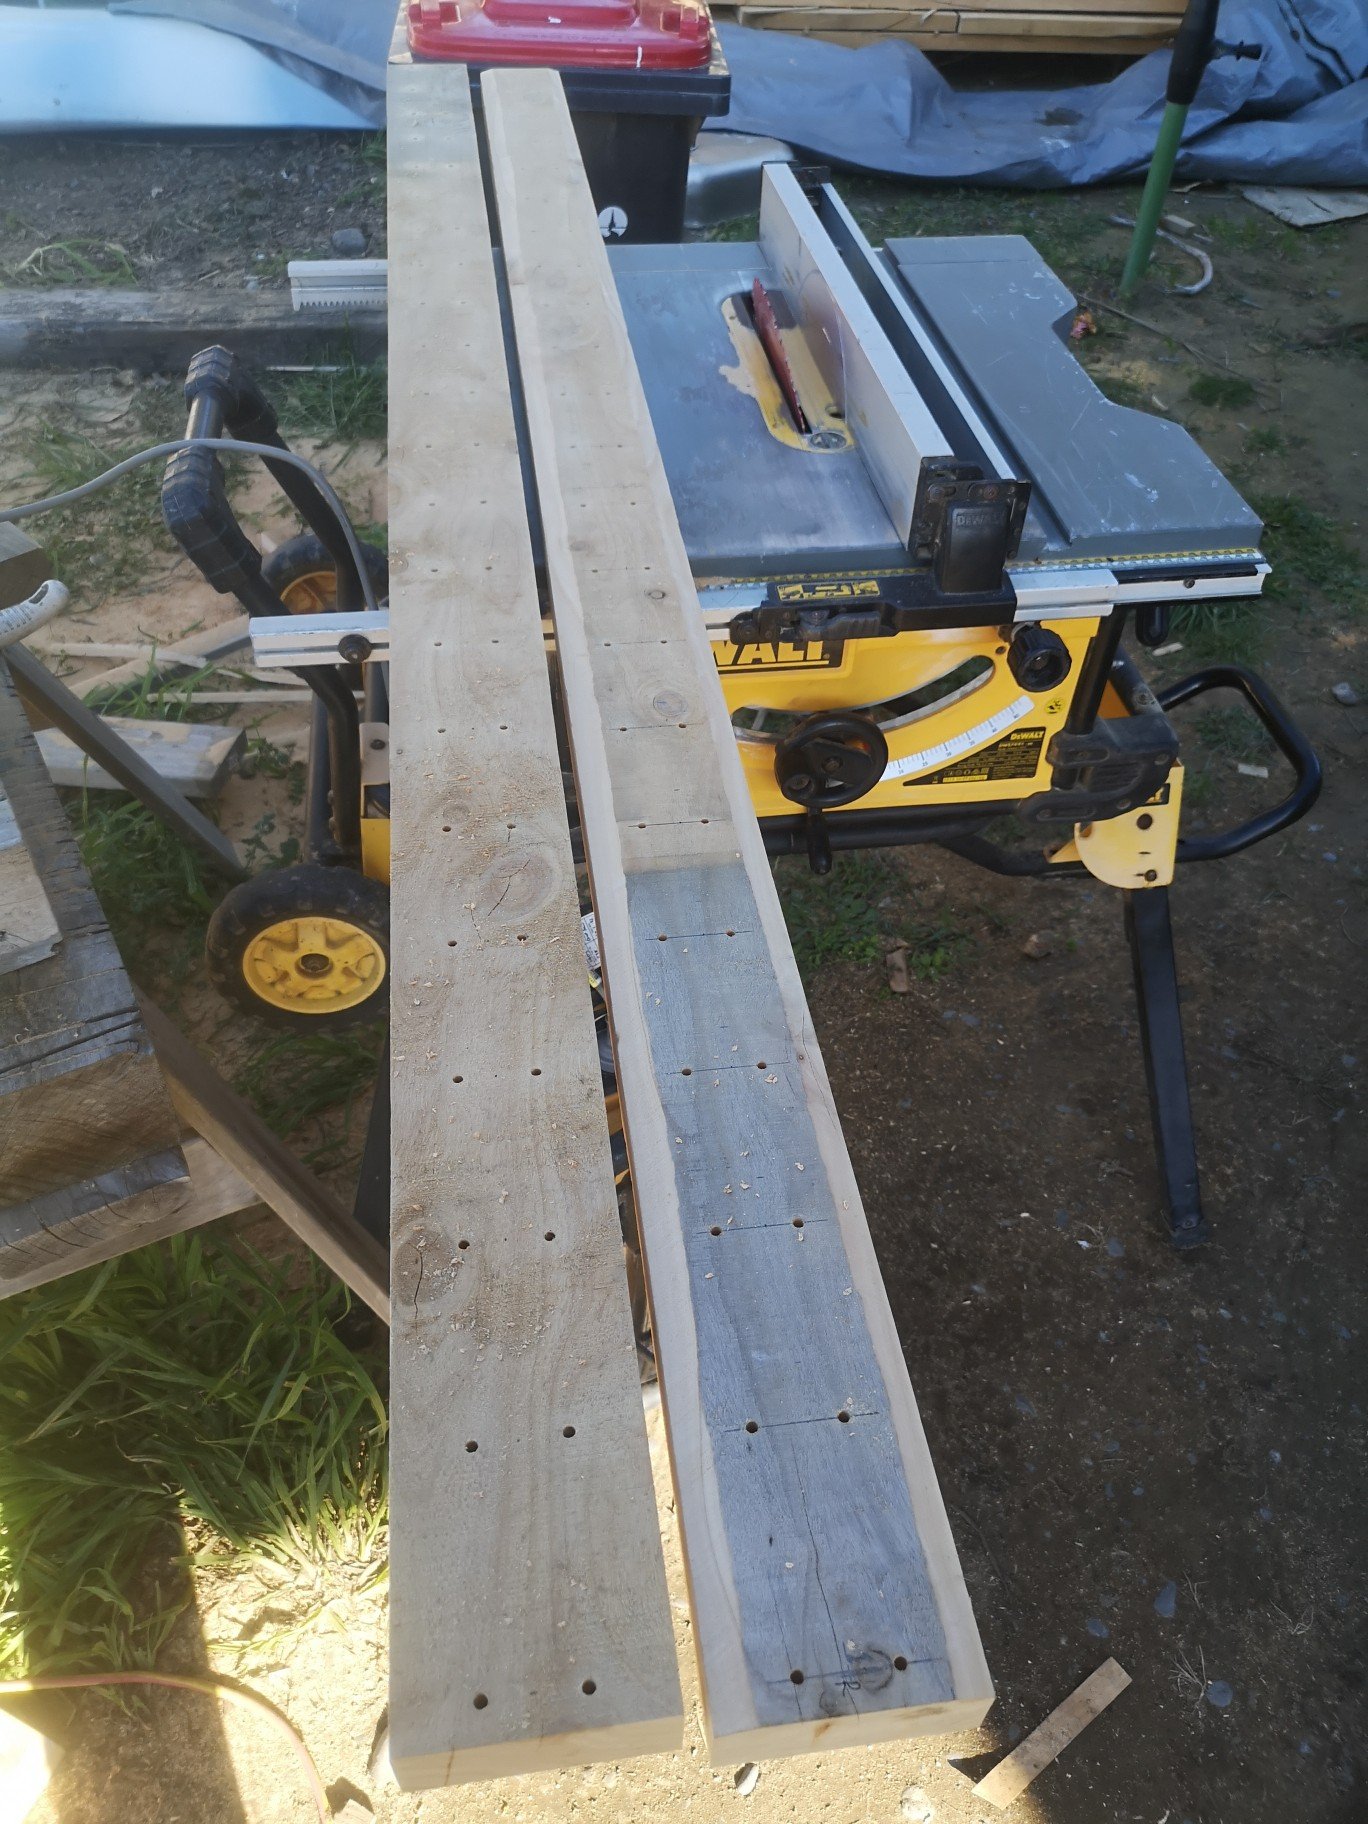
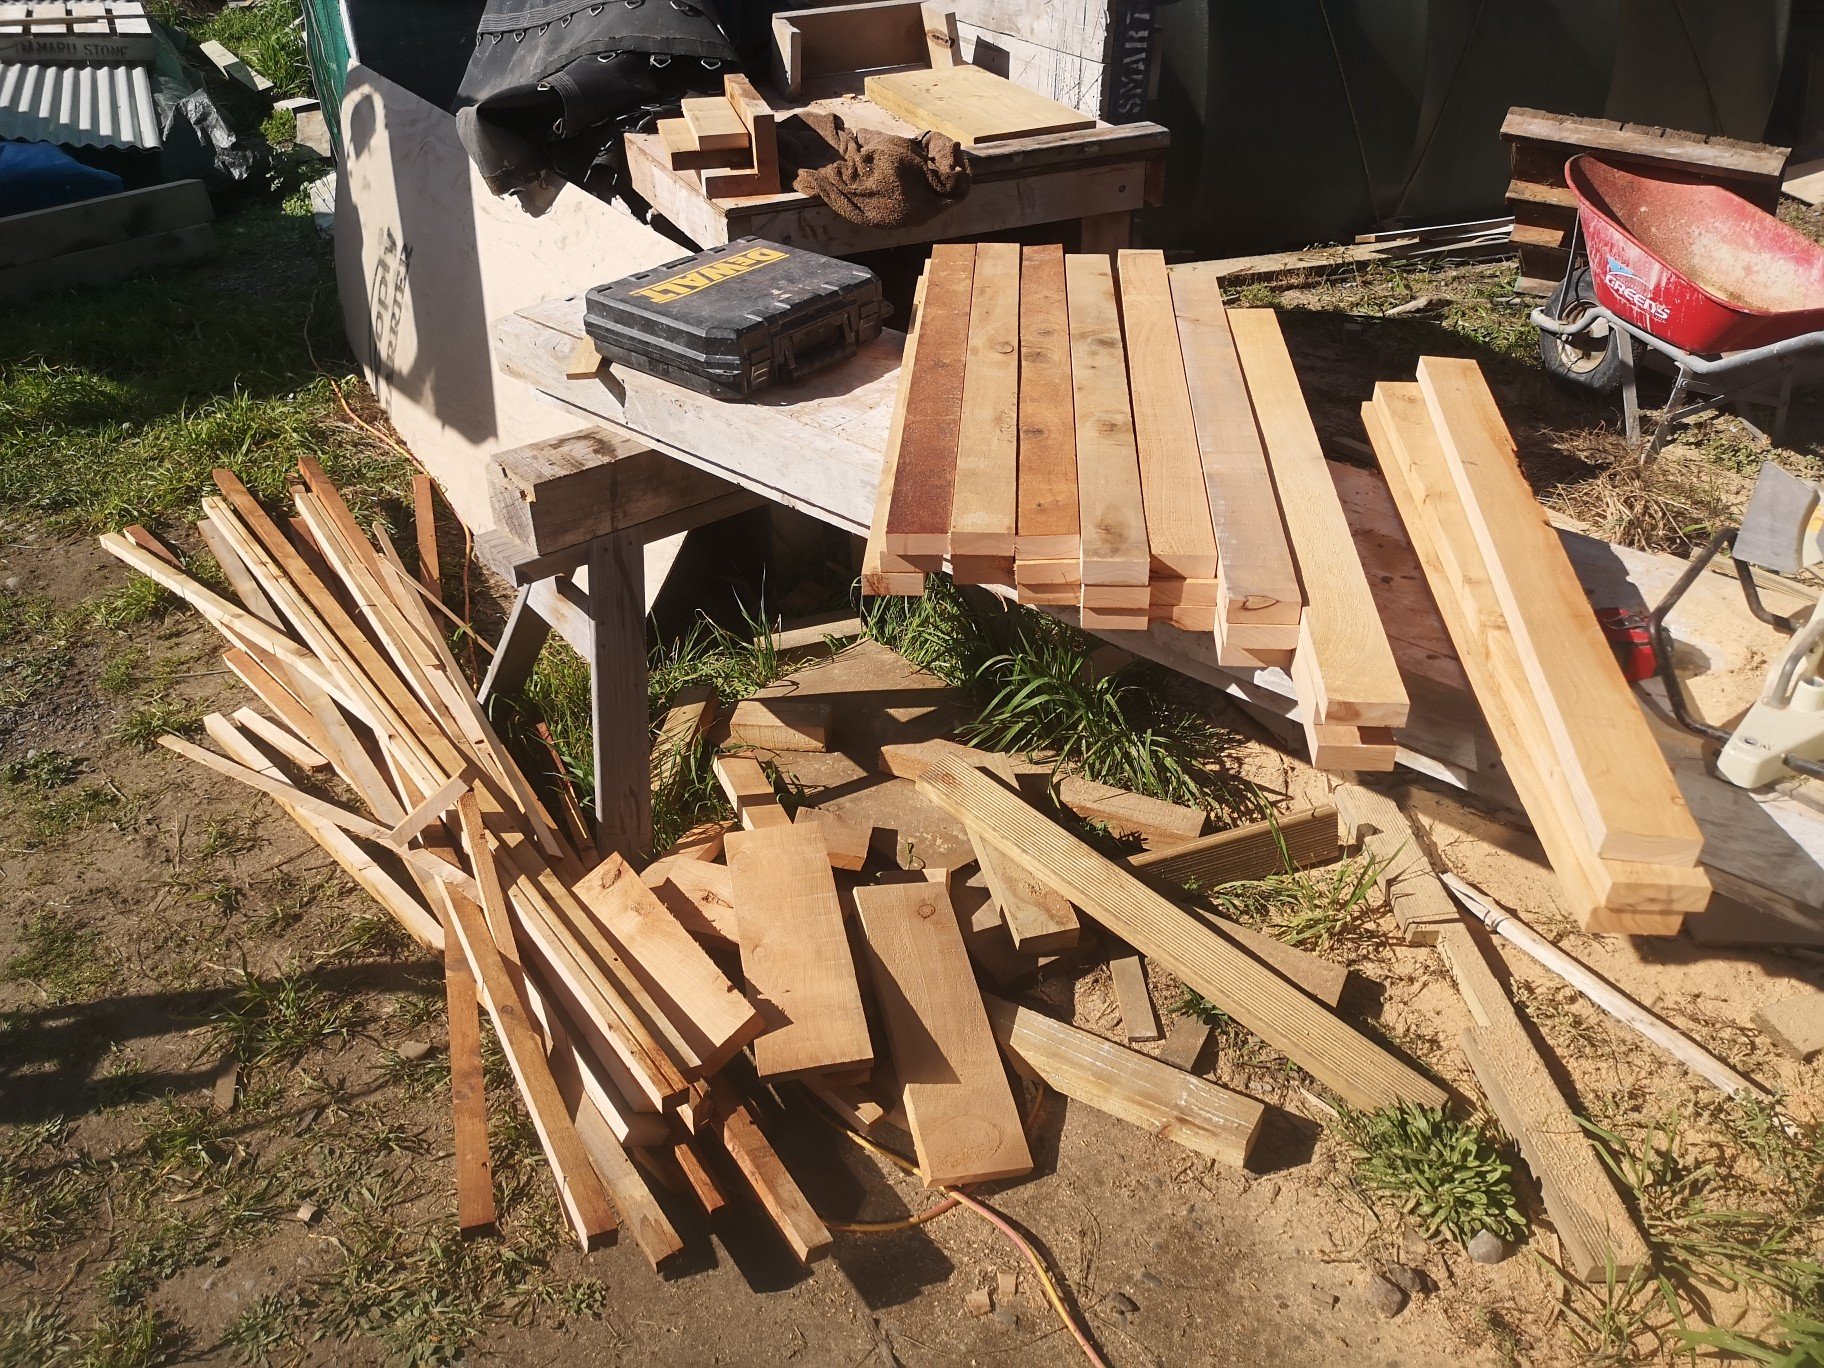
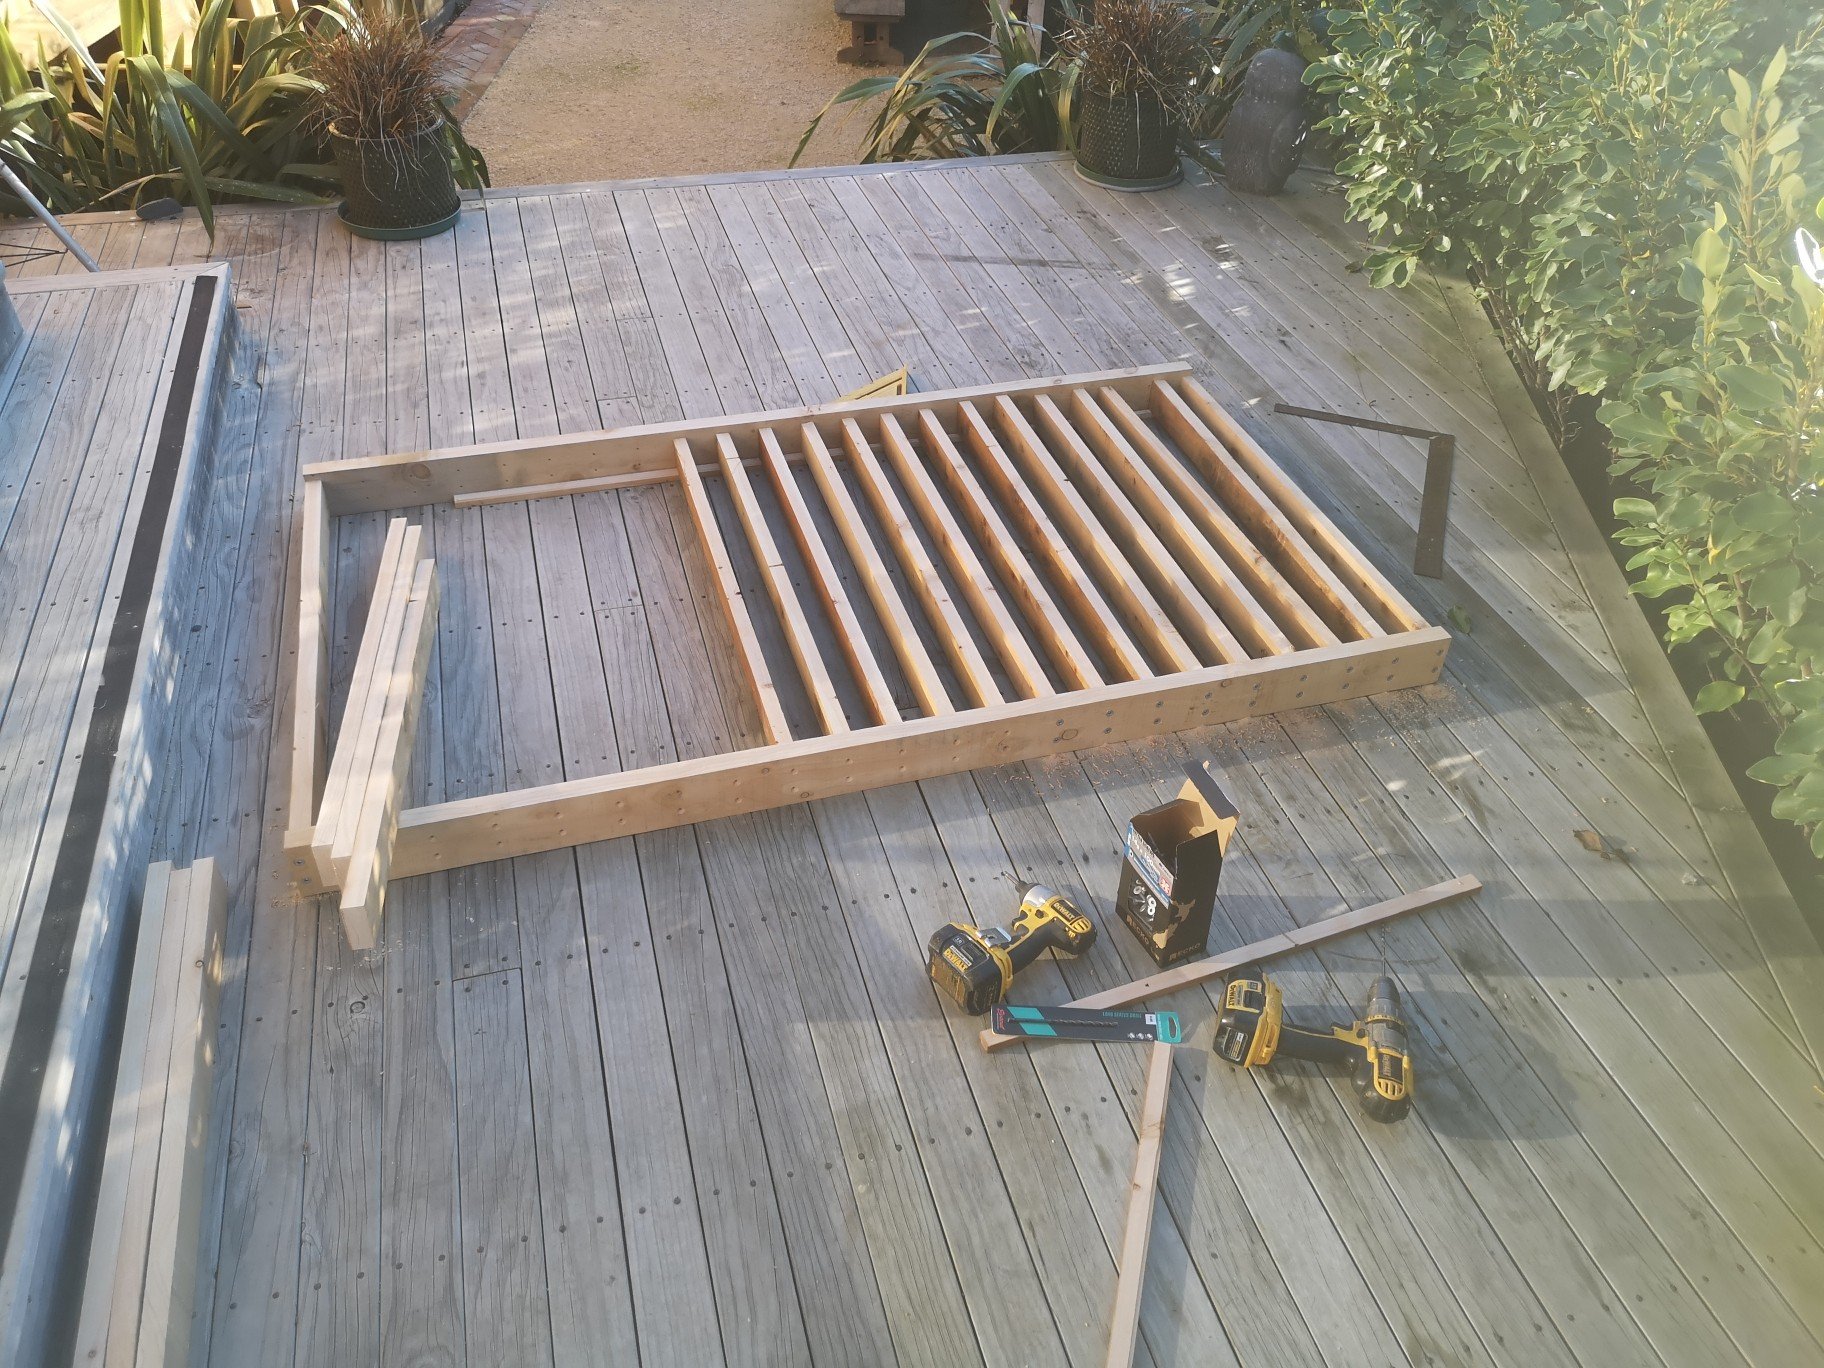
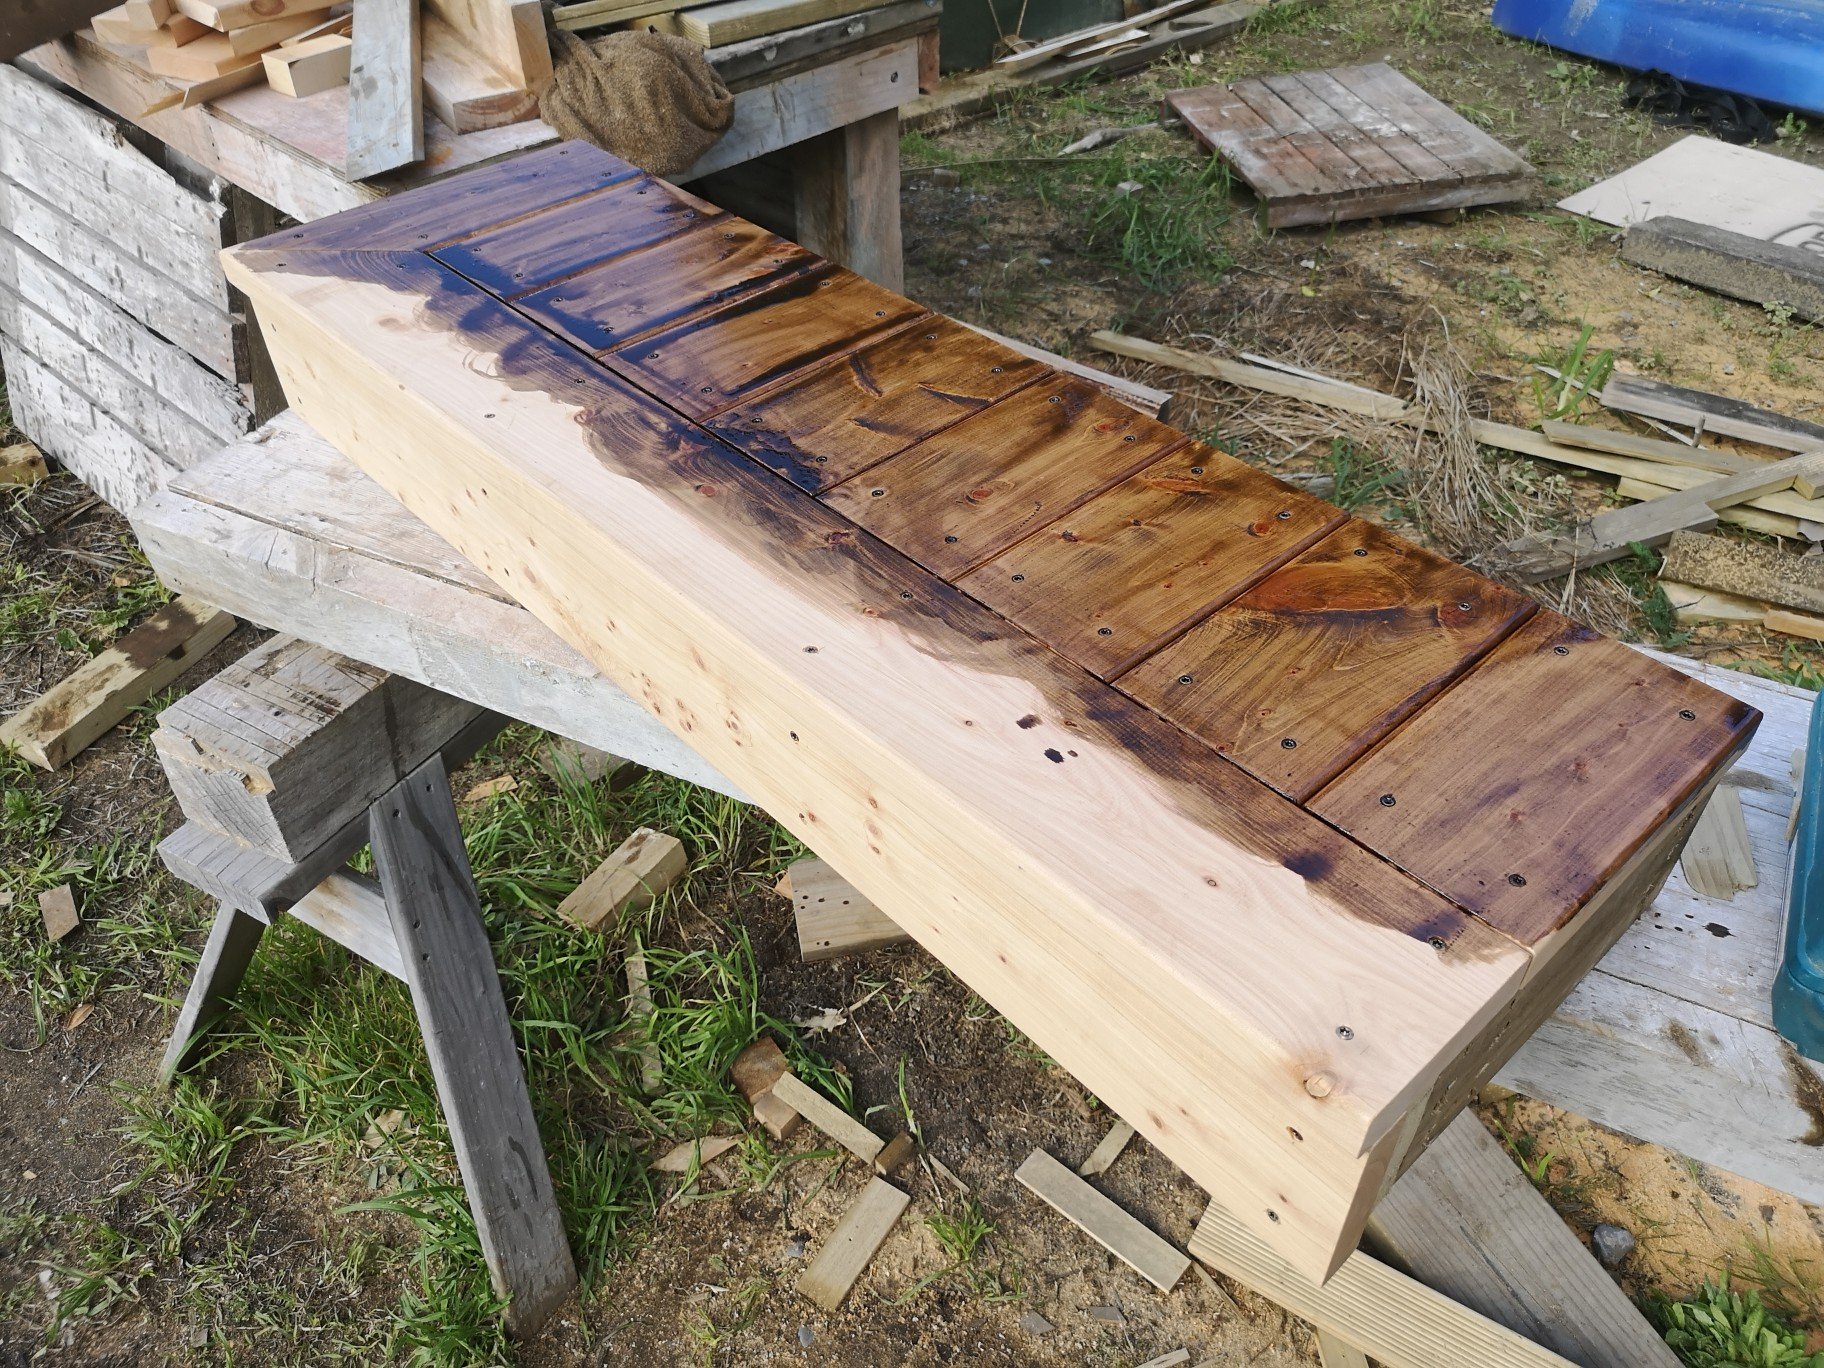
Cut the mac up that came off the front corner of the house, a bit of wastage but the only other thing I could have used it for would have made as much waste and more unusable.. But, meh. Ripped the top and bottom and drilled some holes.. Screwed it together.. Photobomb.. When you rip them through the table saw it leaves a clean shiney finish that doesn't hold the stain very well so I glued some 40 grit to a board and made fake bandsaw lines.. Came up good. Enlisted some oilers..
-
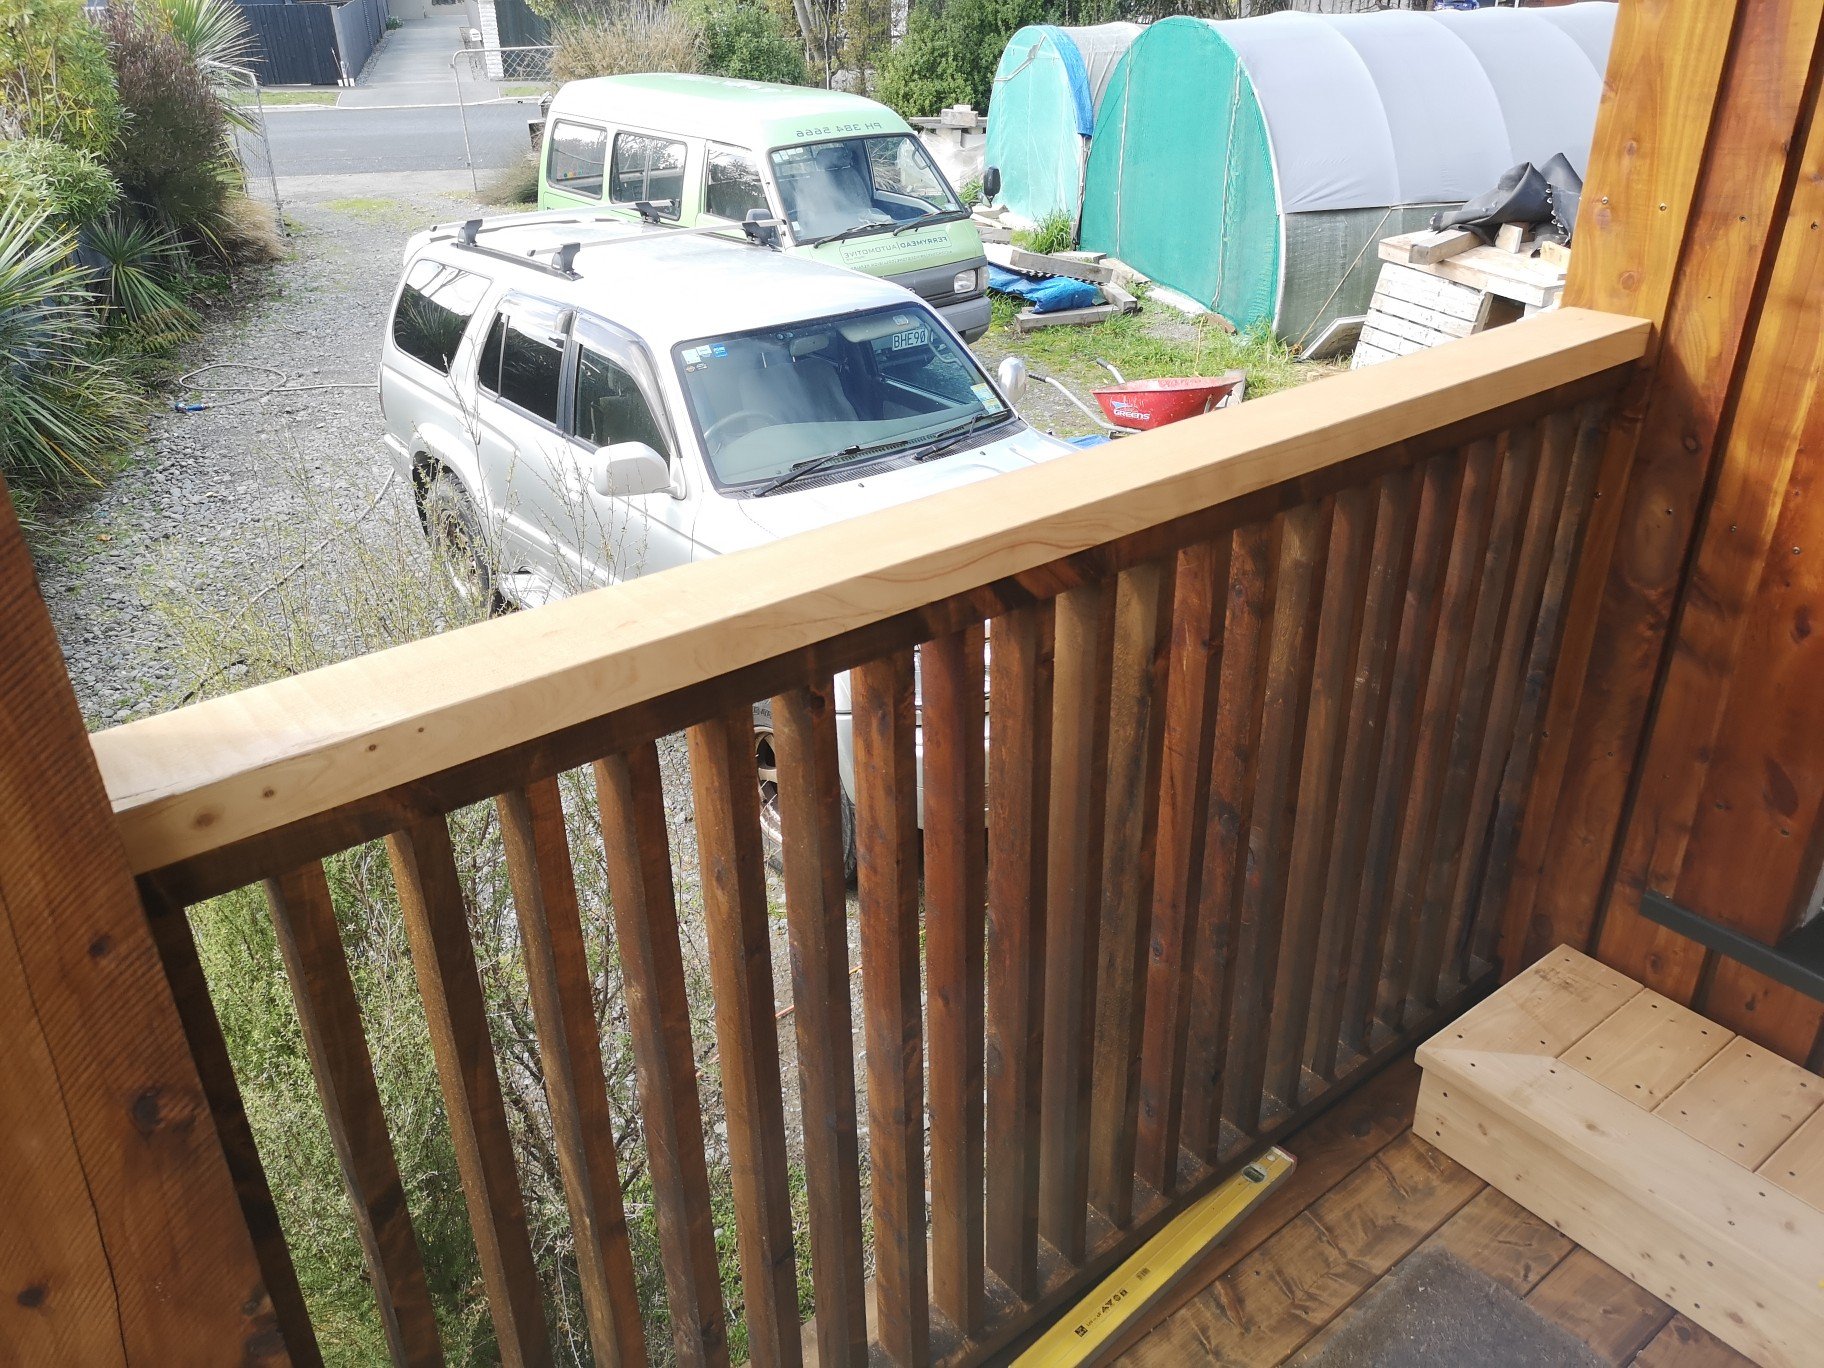
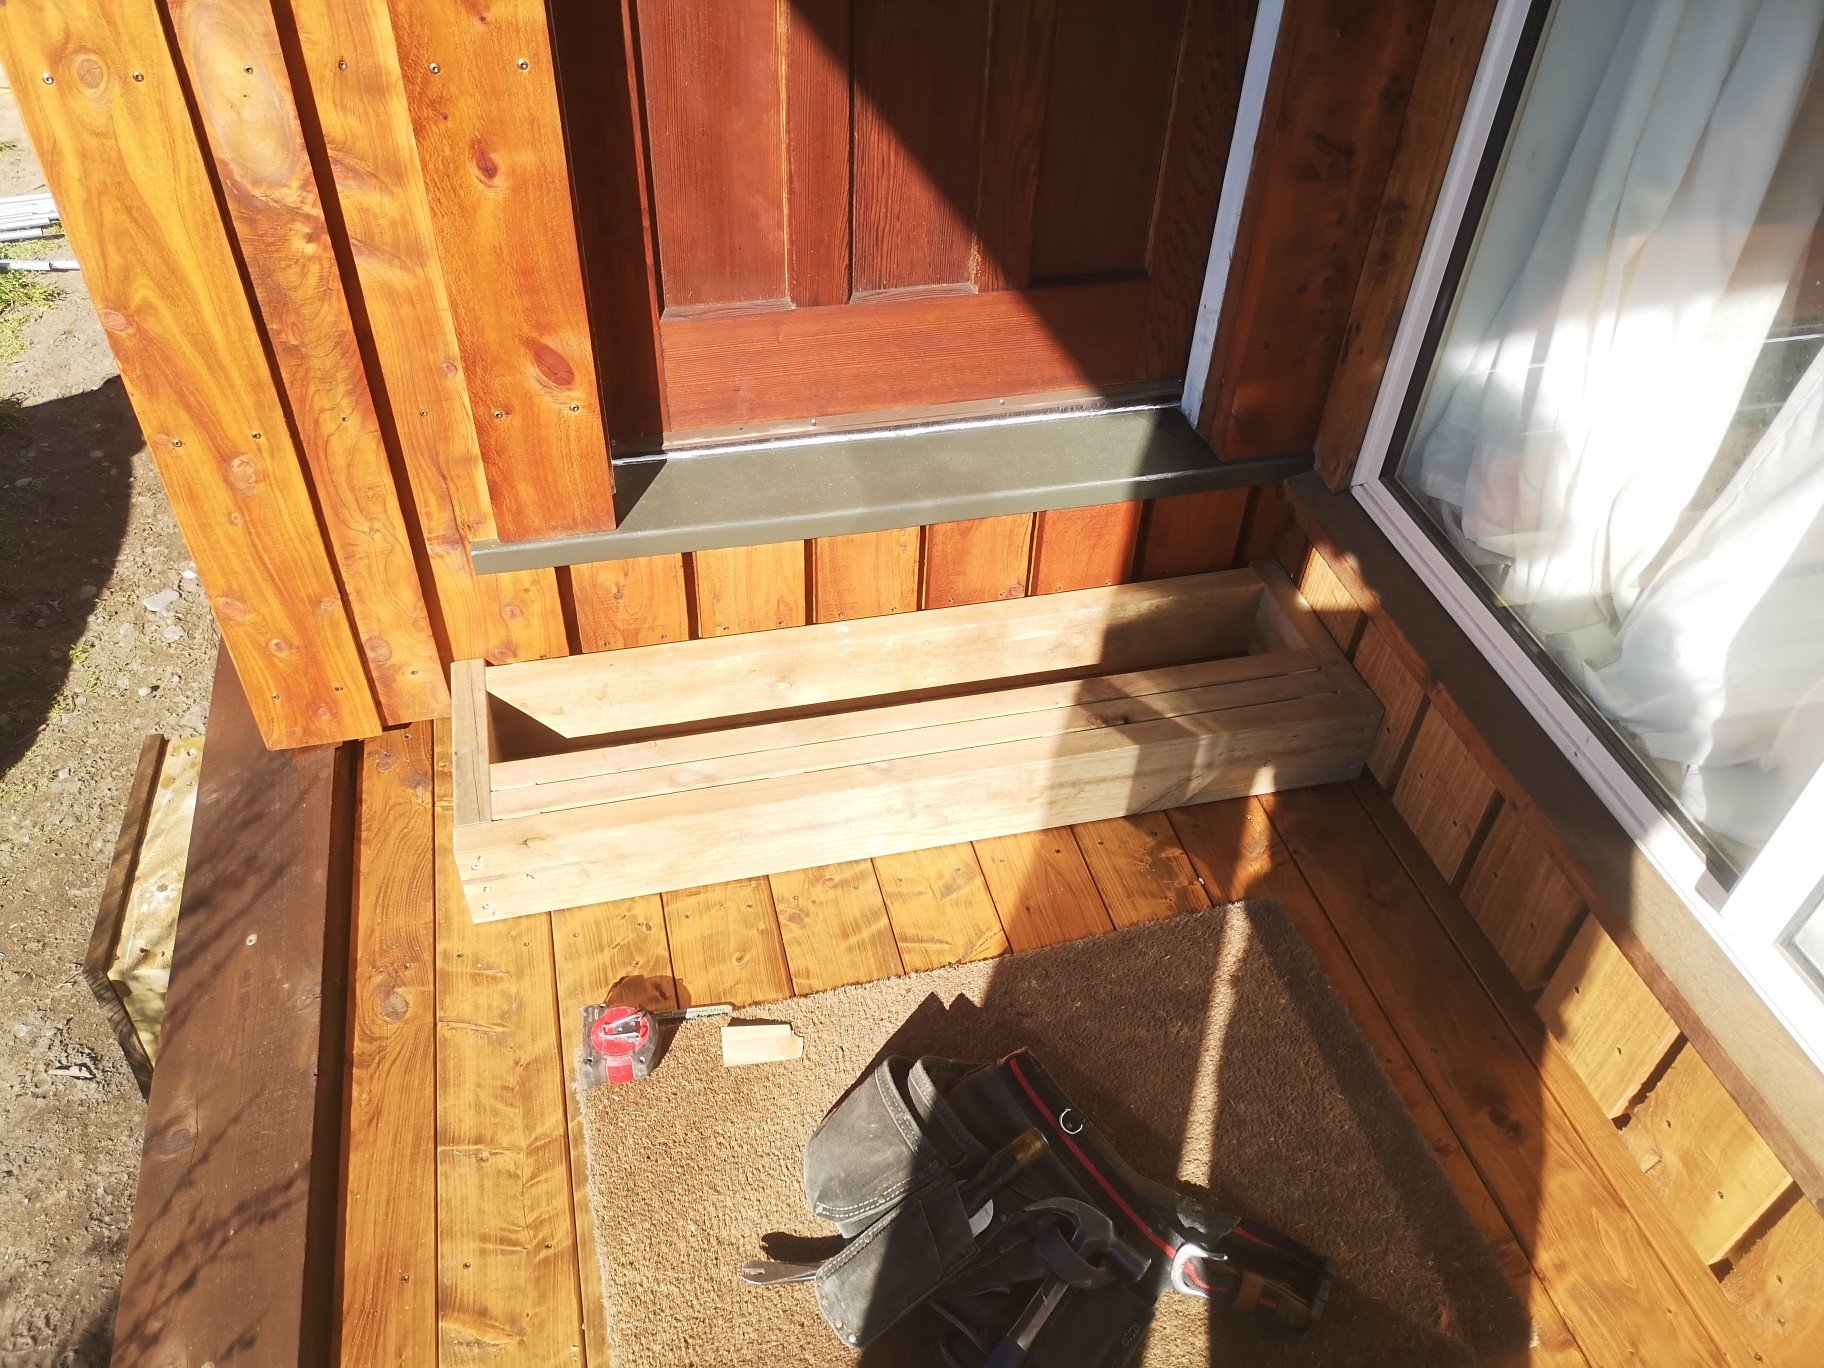
Got the balustrade and the front step done today.. Hit it with some oil.. I did originally want to have the landing at the same height or just below the threshold with the step by the post. Problem was the then the line of the house/cladding looking from the road would be wack. This way isn't ideal but it looks a lot cleaner.
-
That.. Is a good idea.
-
Fuck yeah bro! Love chevells.
-
Ruh roh!......
-
Hah thanks, those comments are much appreciated... In my mind it seems like I'm doing an average job except for the occasional win.. A bit like my golf. If we get a good price for it, the whole thing will have been worthwhile.
-
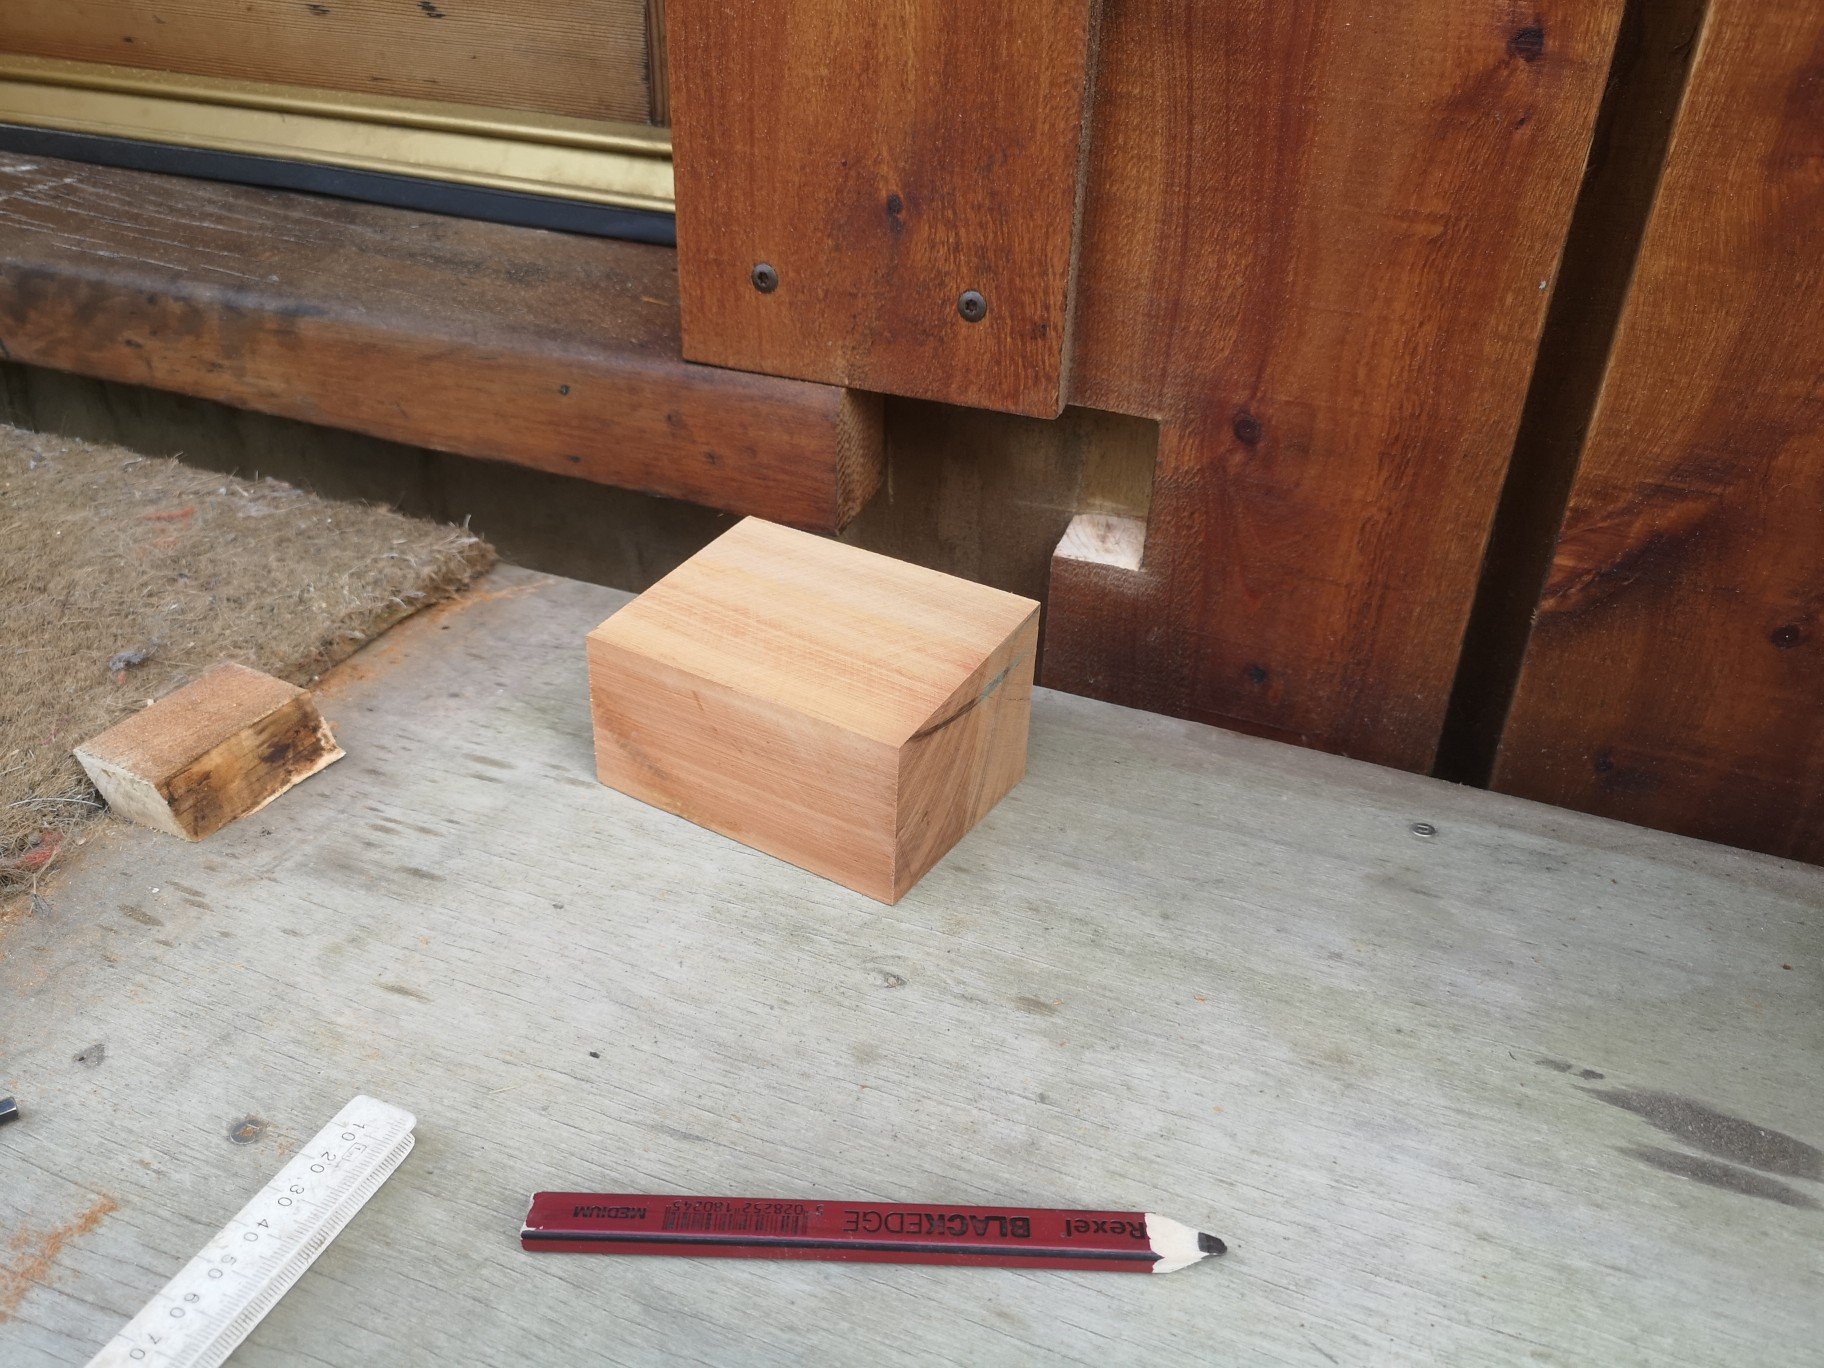
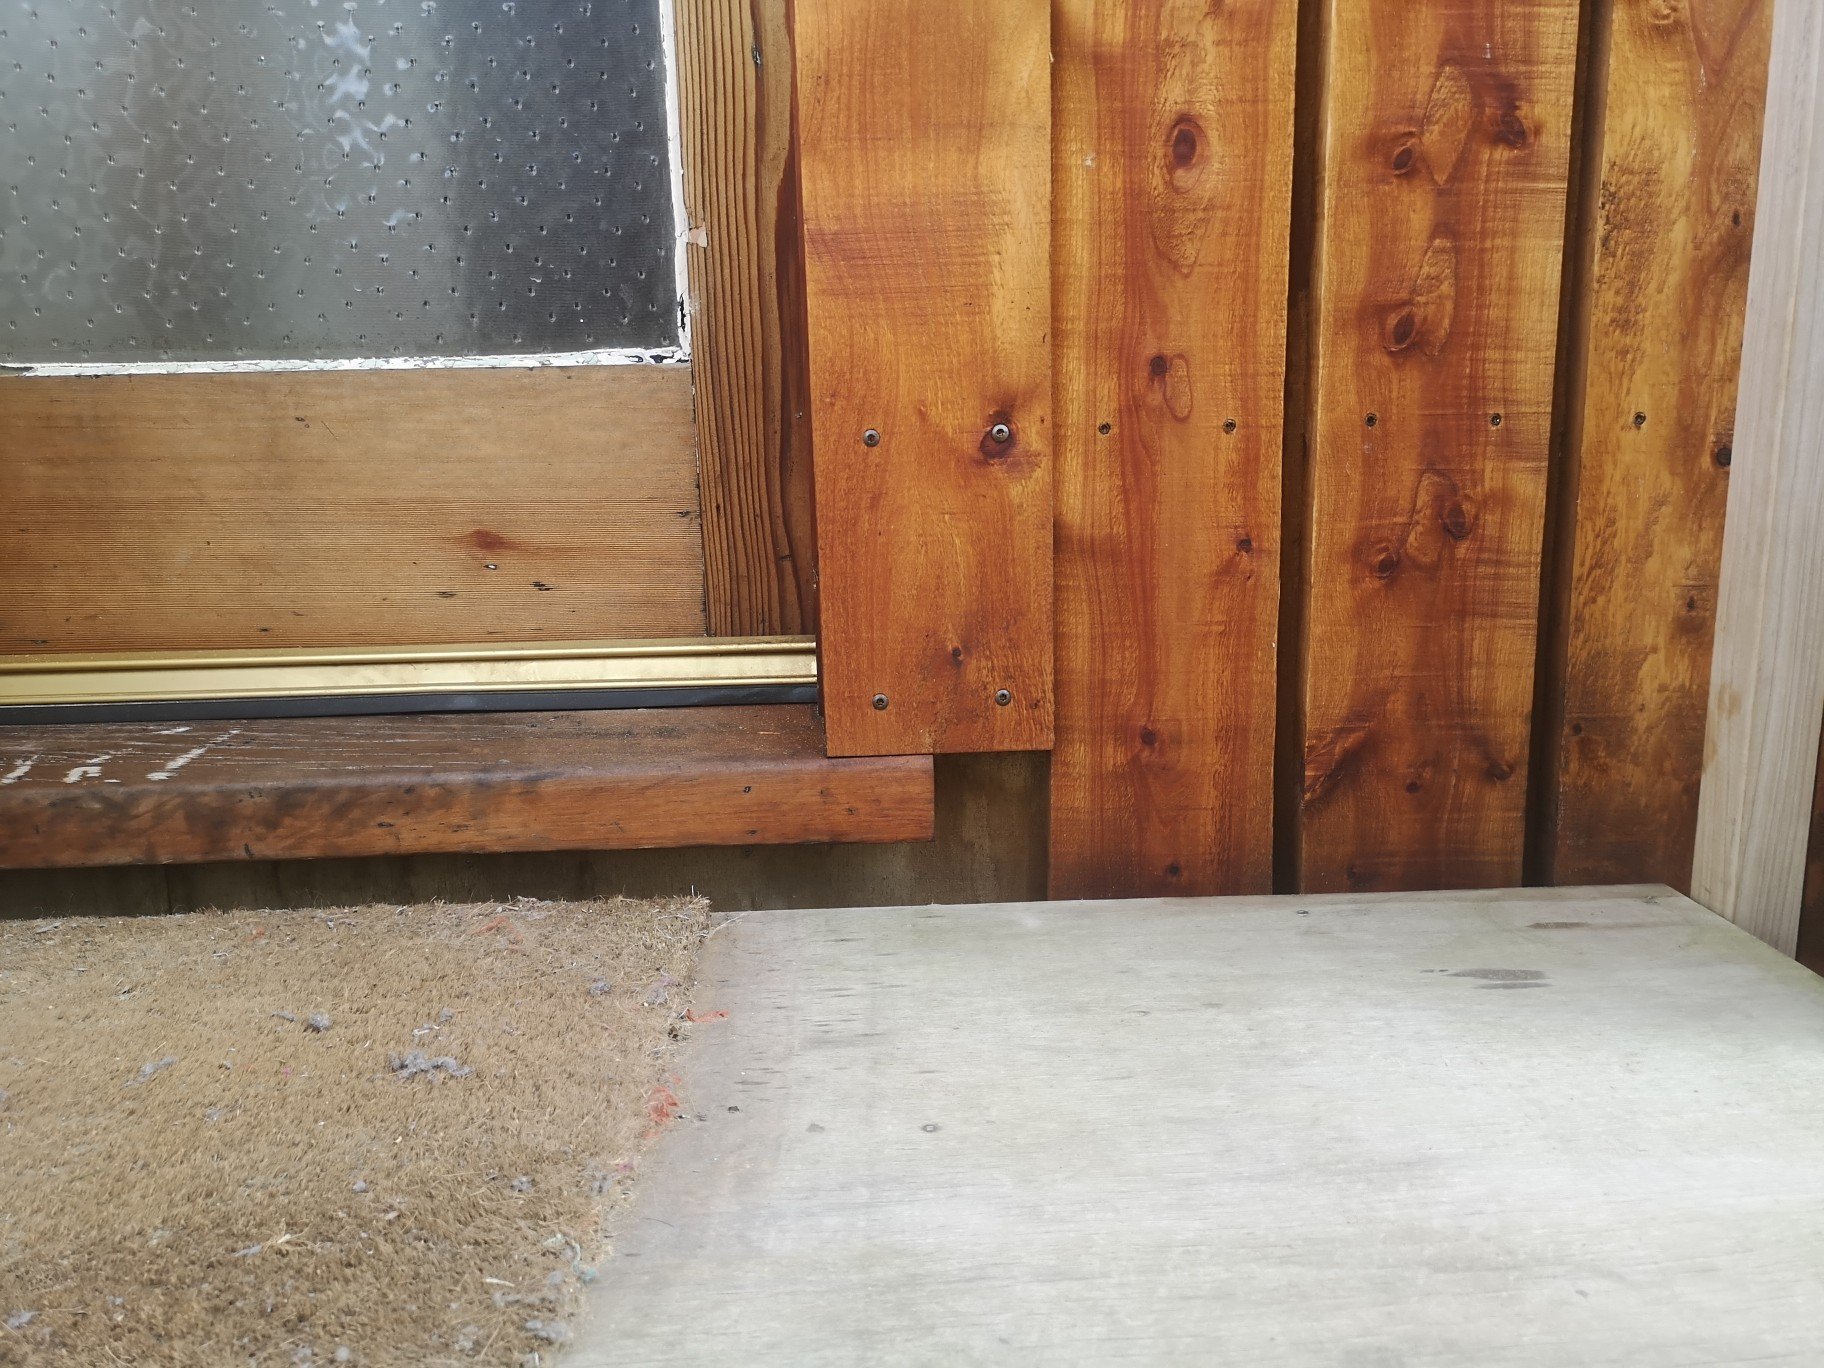
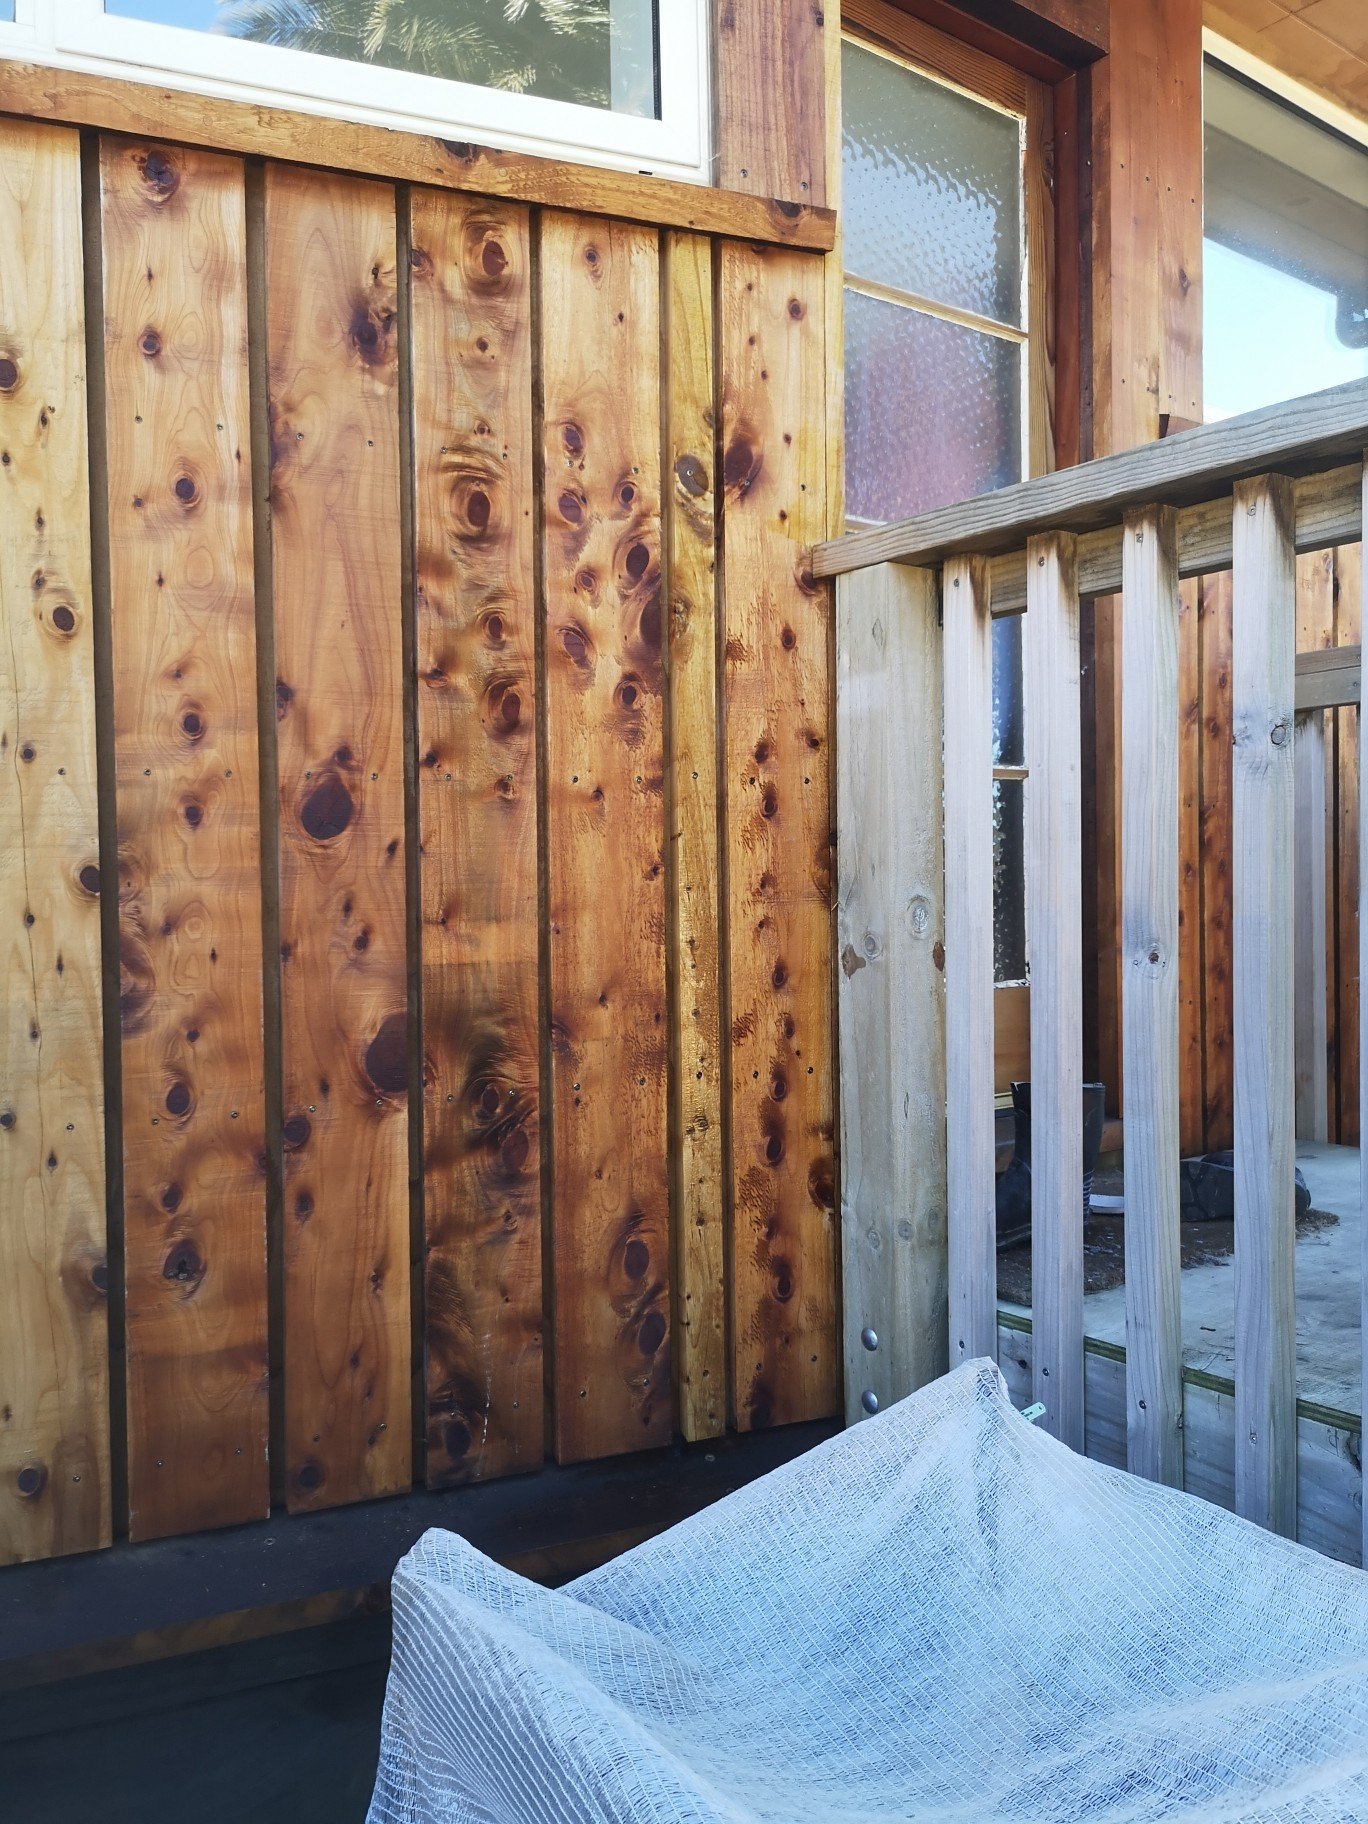
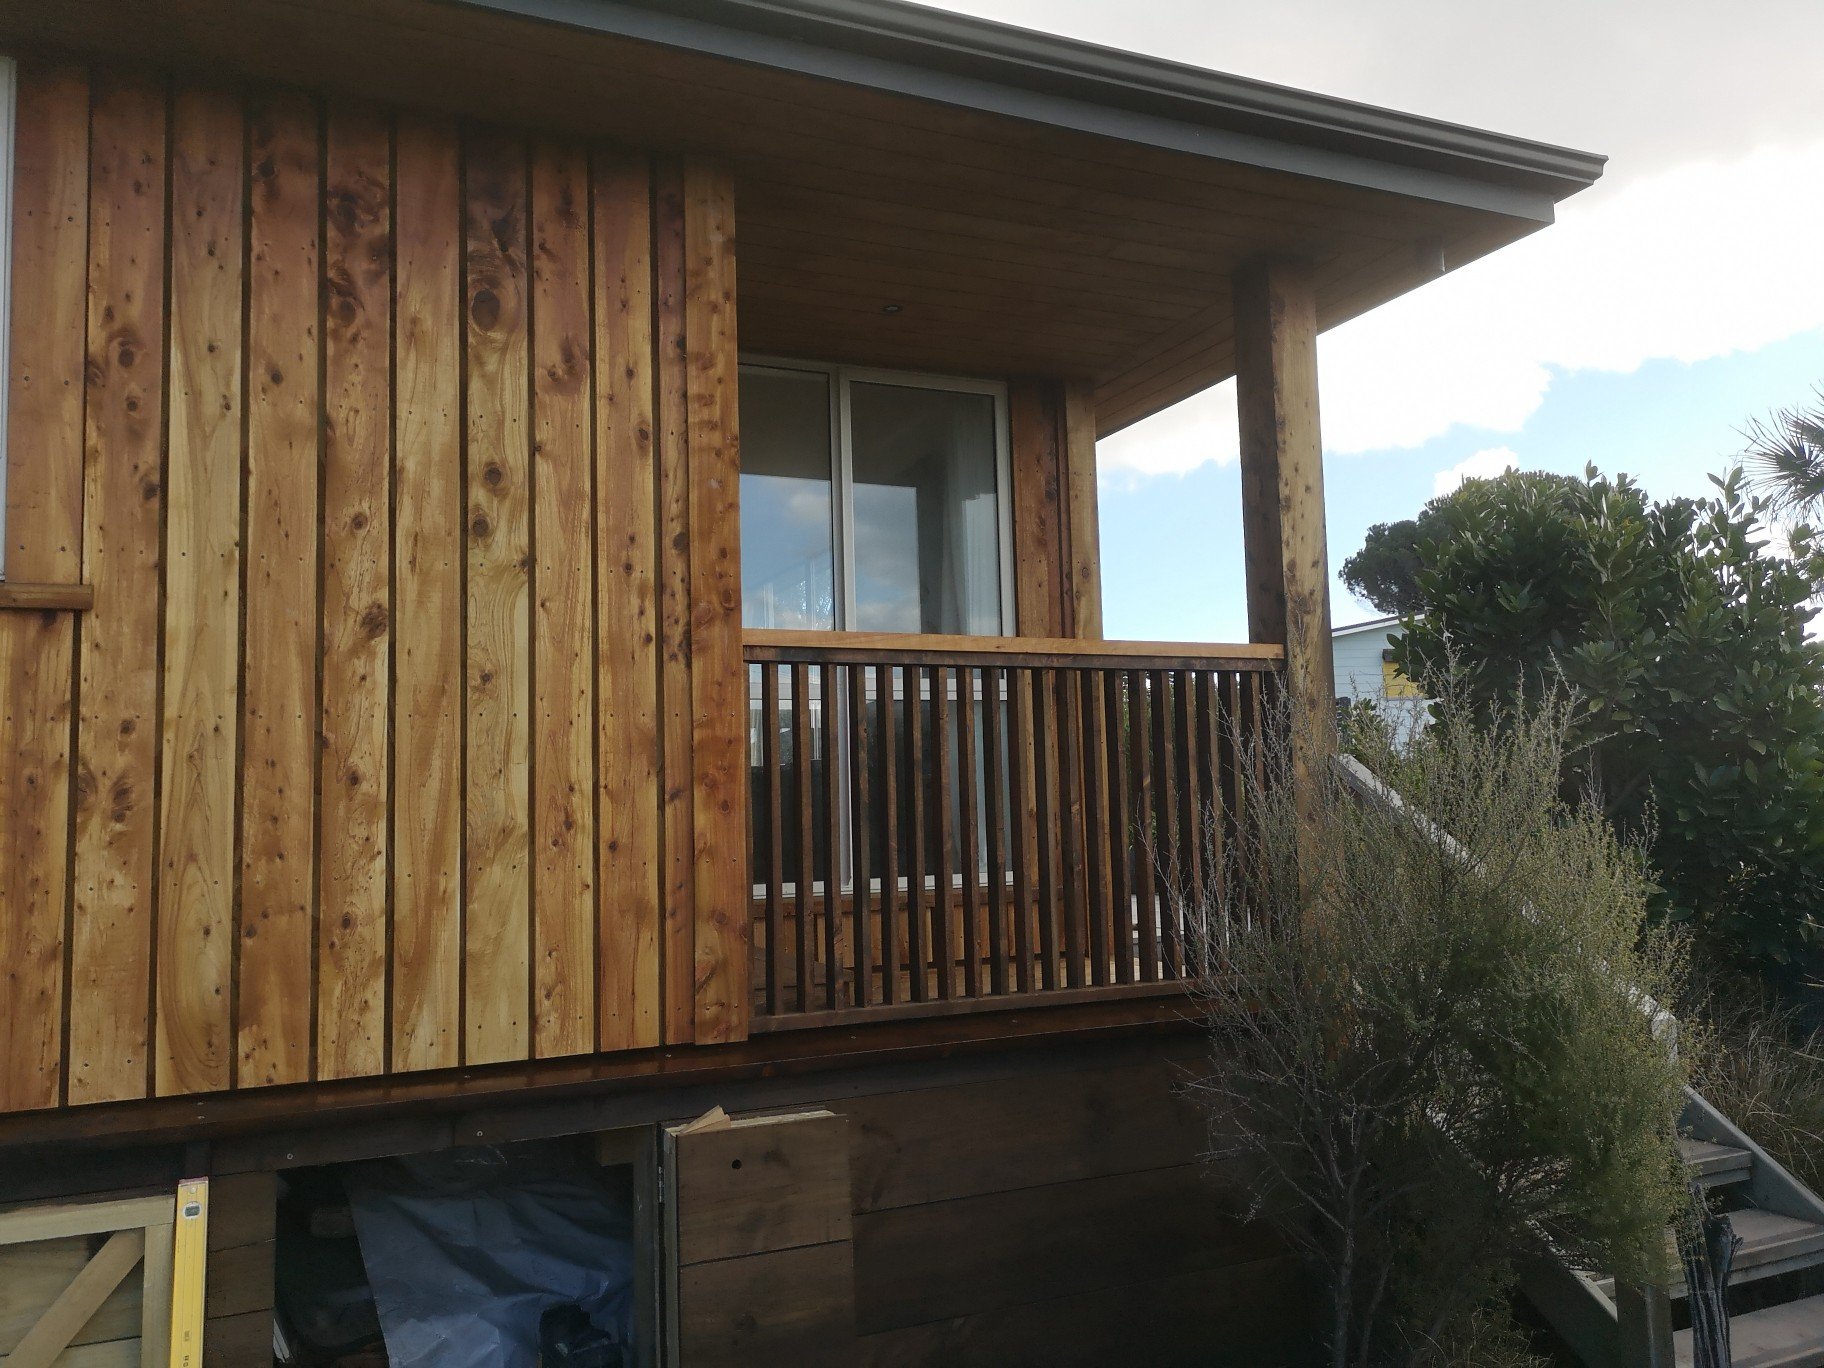
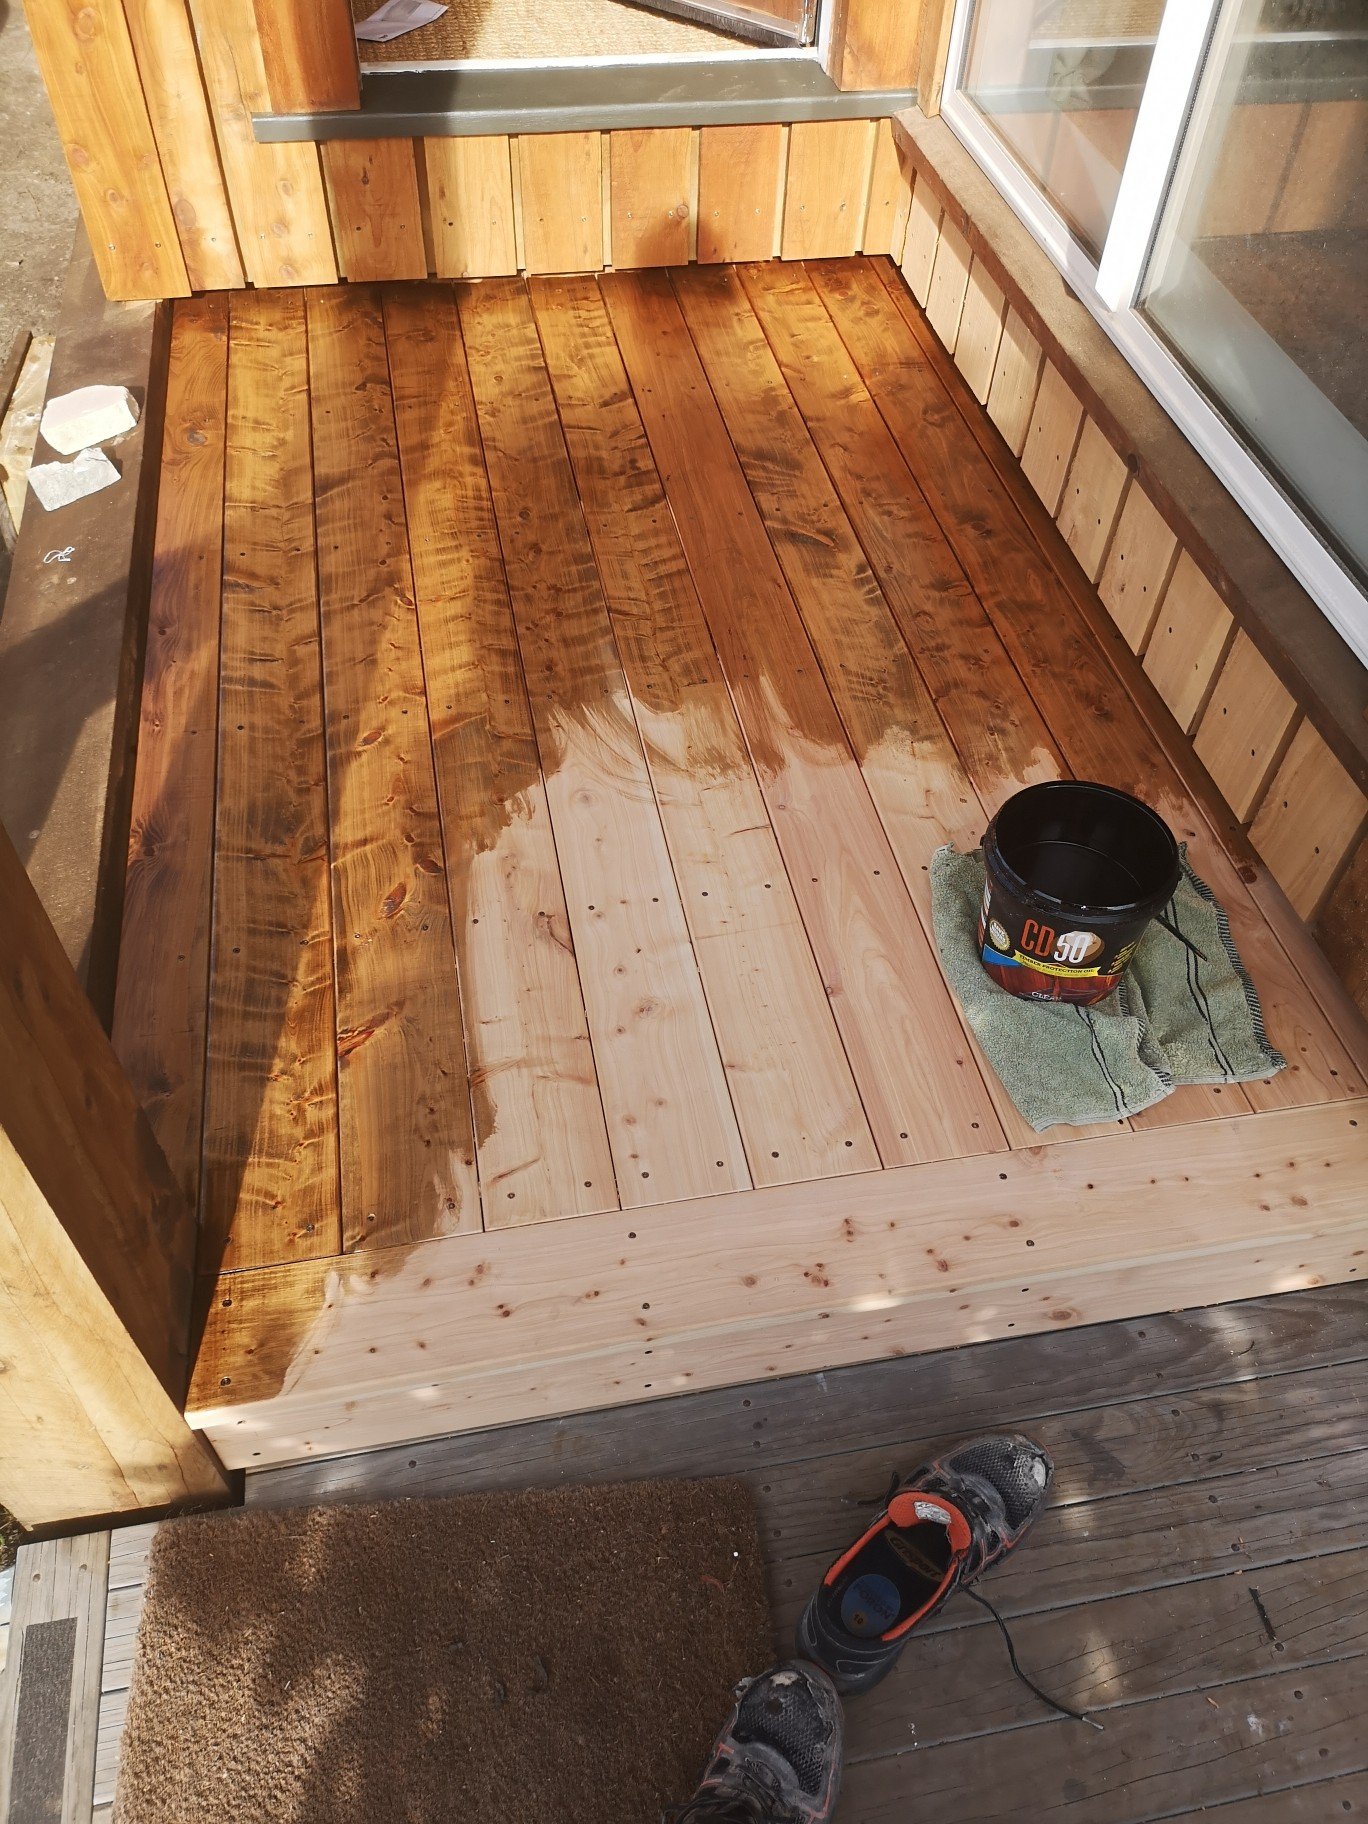
This also meant I could now finish the entrance. I needed to extend the threshold on either side and originally was going to get piece of cedar like the threshold, cut the front off in line with the facings and epoxy the other bit of cedar on that included the extended ends. Cfb factor took over and I just epoxied some mac extentions on, sanded then and painted the whole thing karaka Finished the last of the cladding and then oiled the deck. Used the same stain as I did for bottom of the house but just applied it with a rag and wiped excess off as i went. Missus oiled the cladding while I was at work. Then re-oiled the rest of the house for the last time.. I guess it's pretty obvious that I like mac.......
- 322 replies
-
- 12
-
-
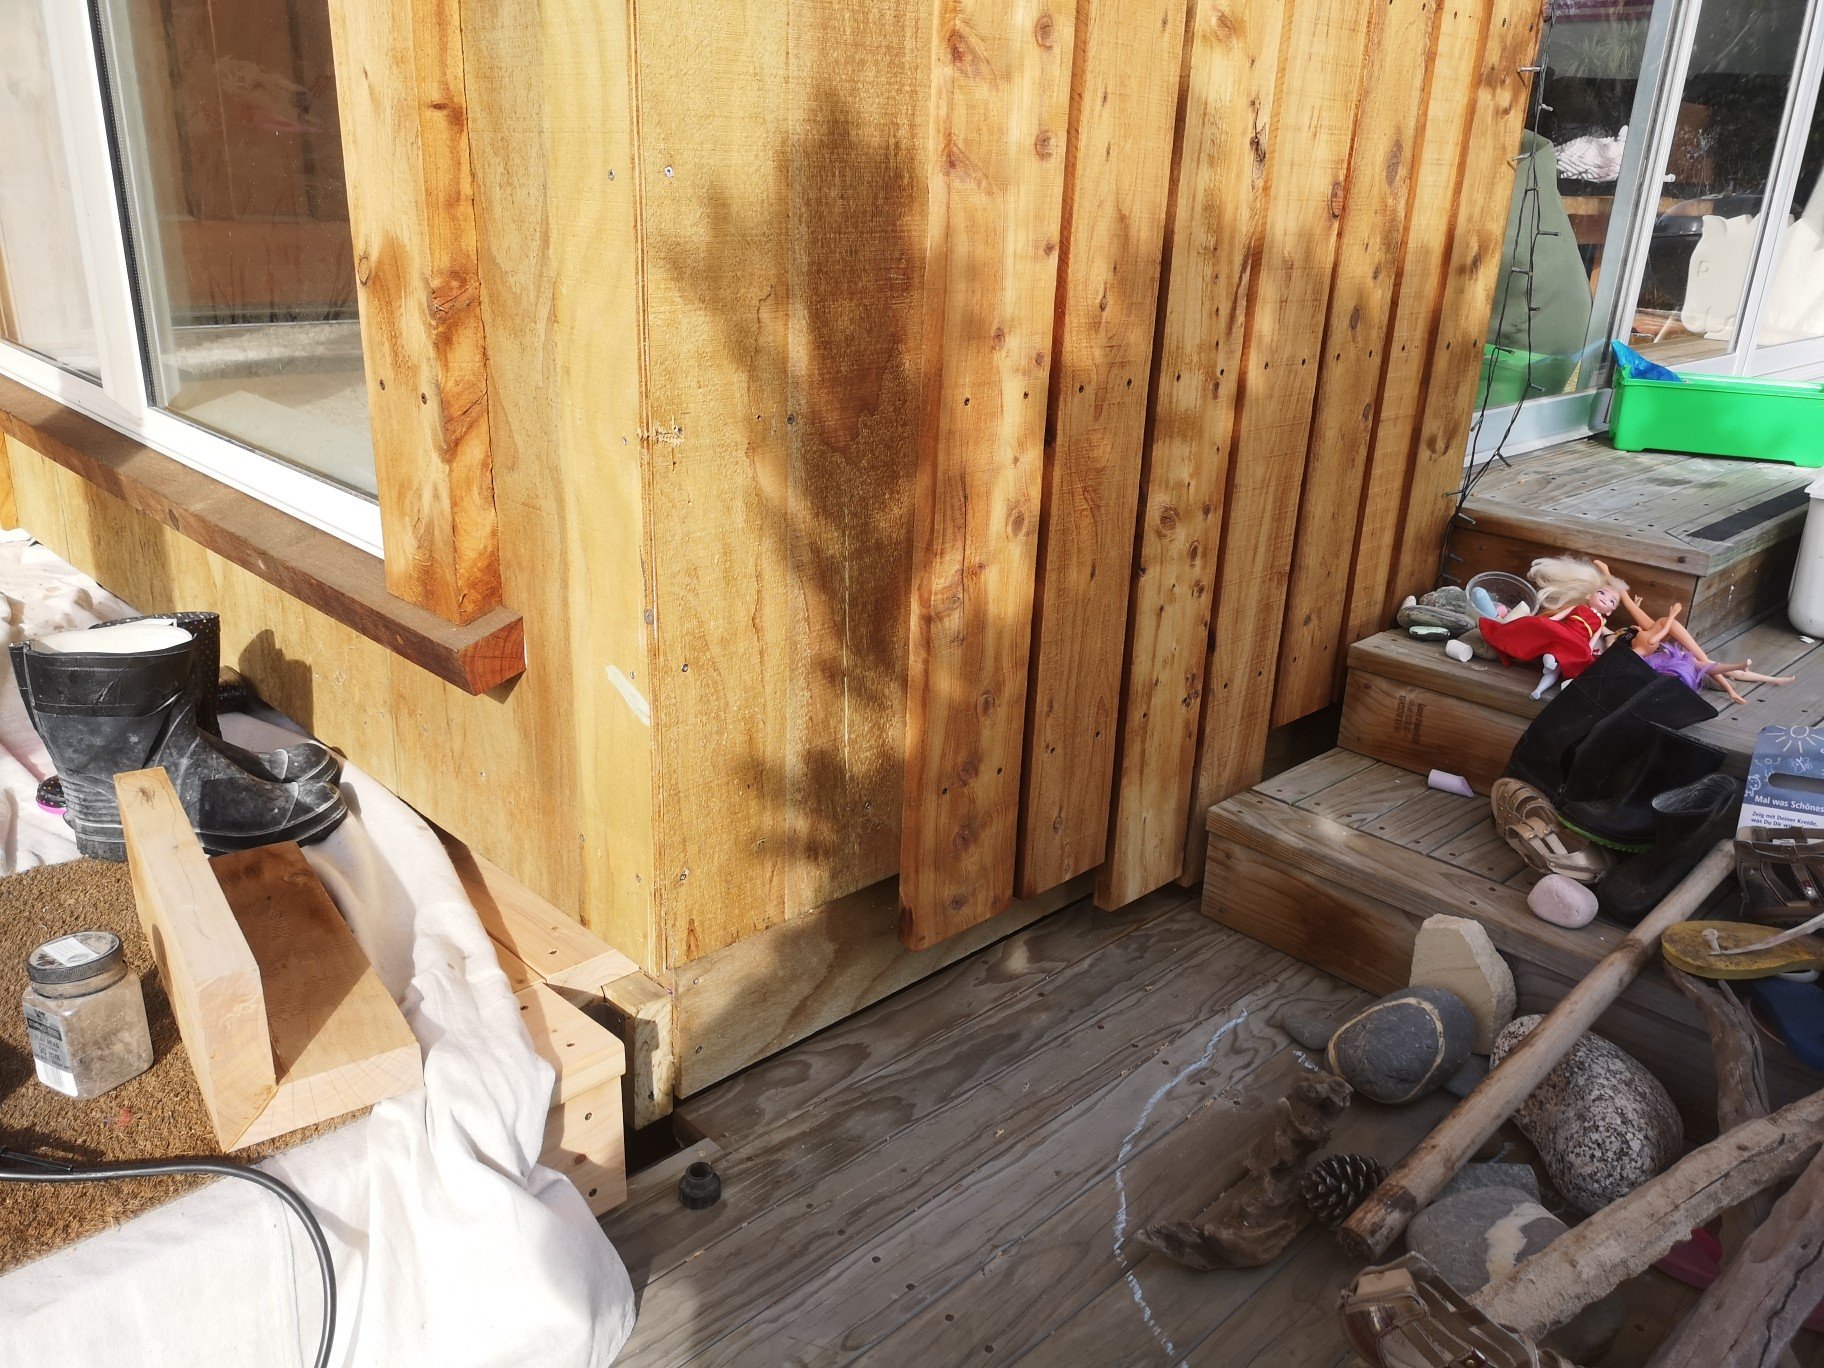
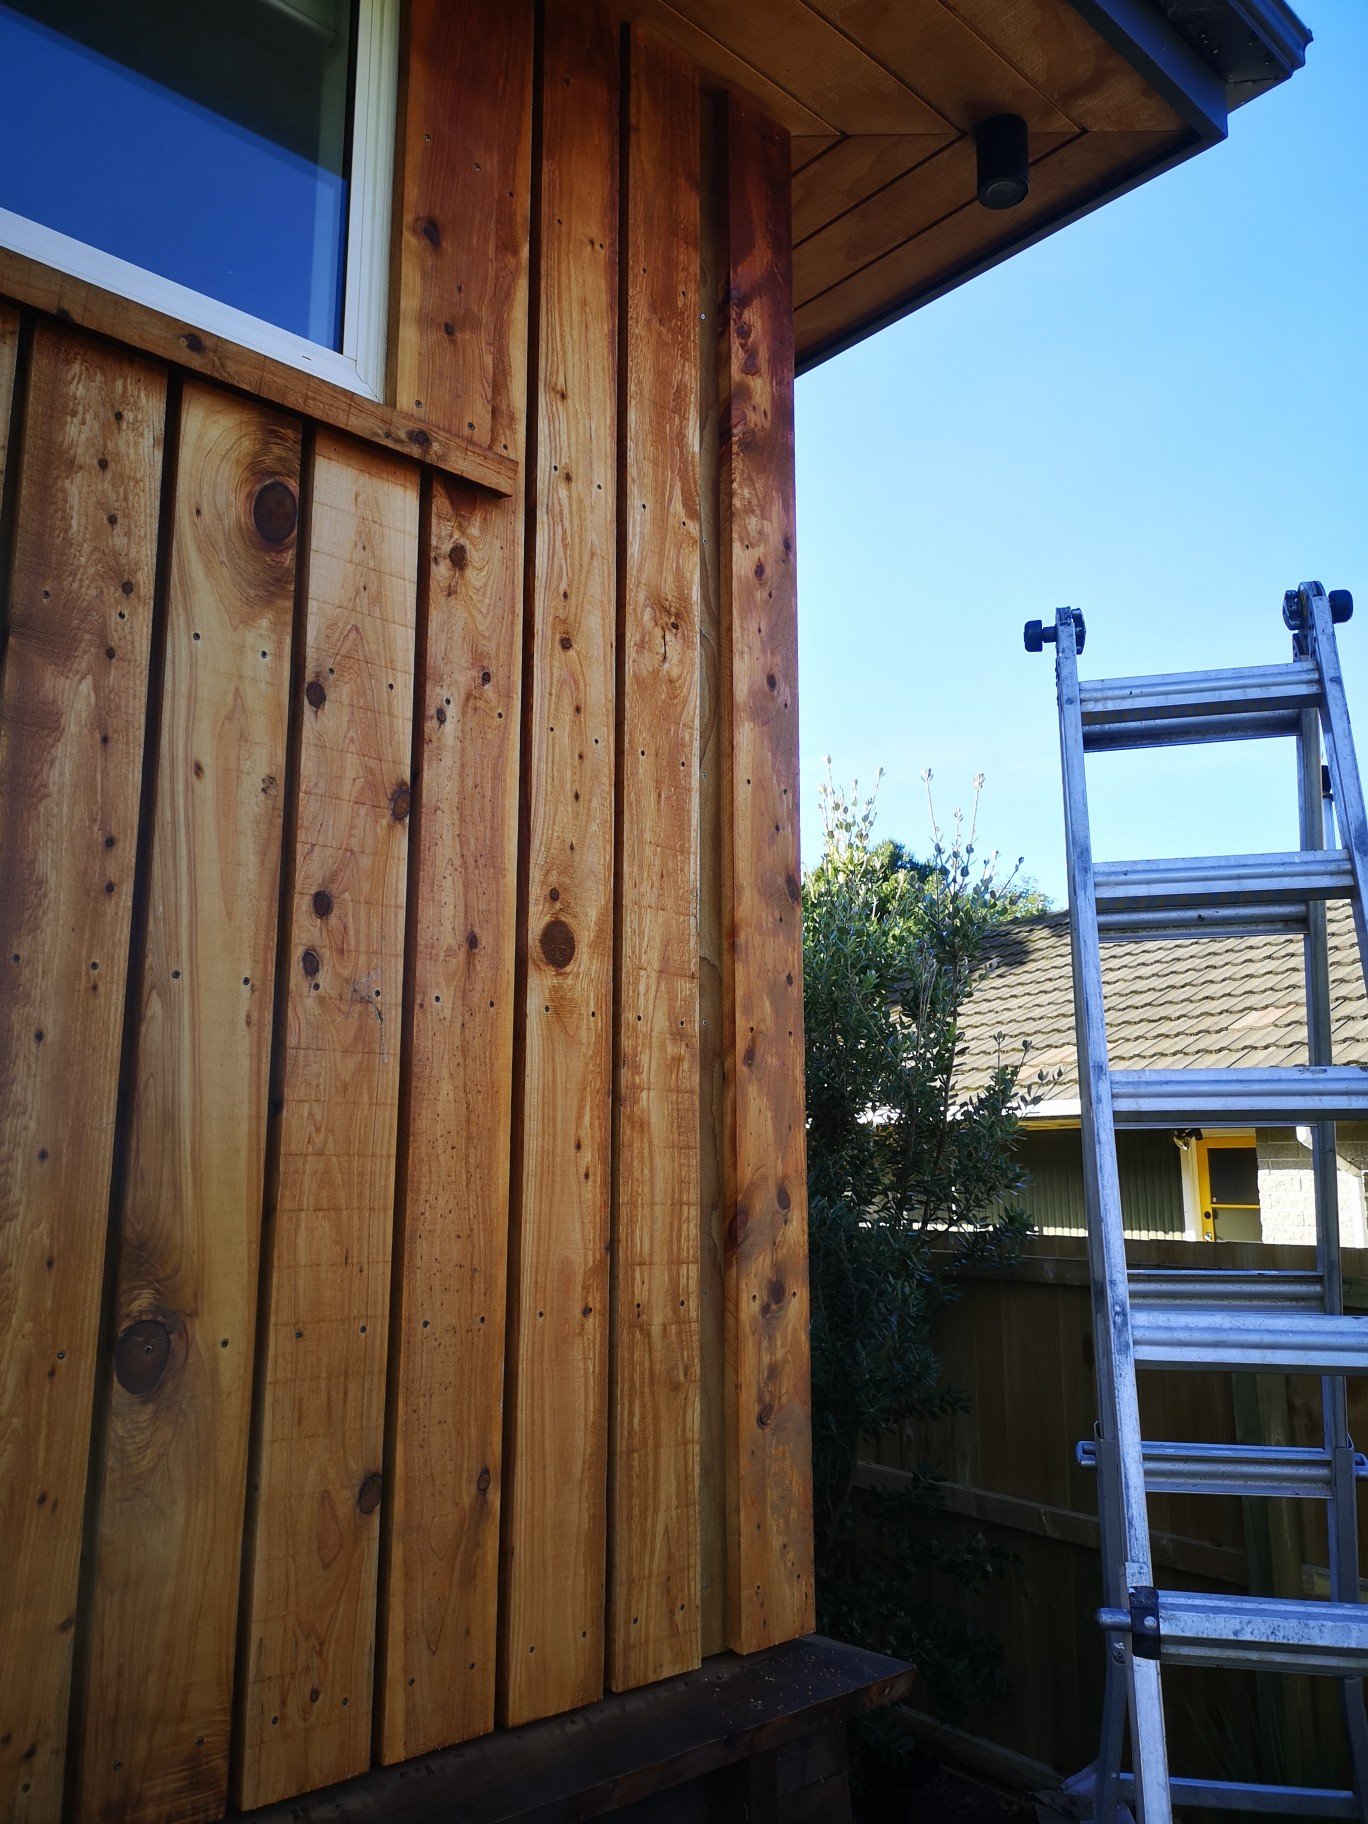
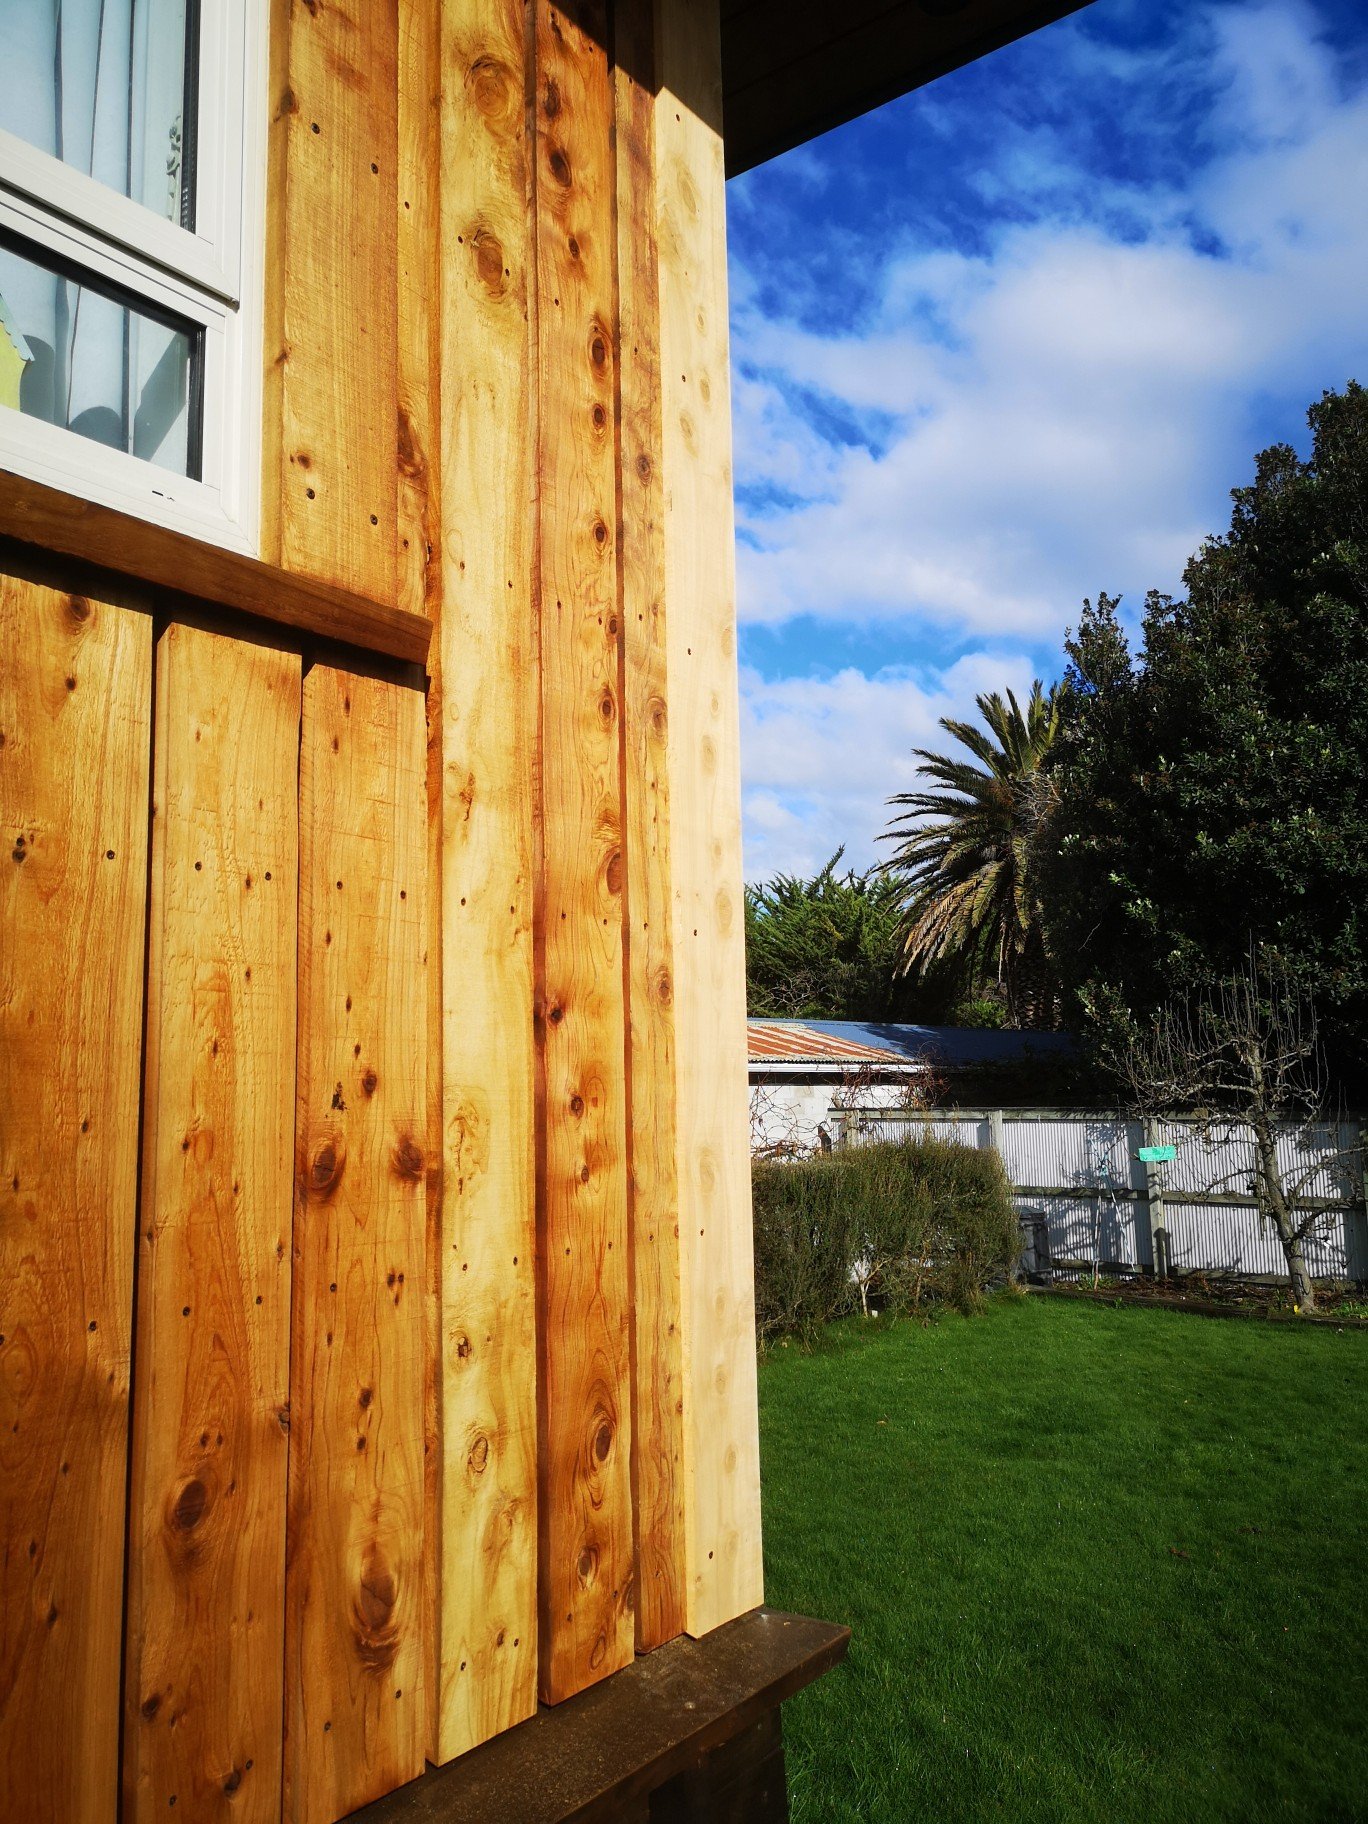
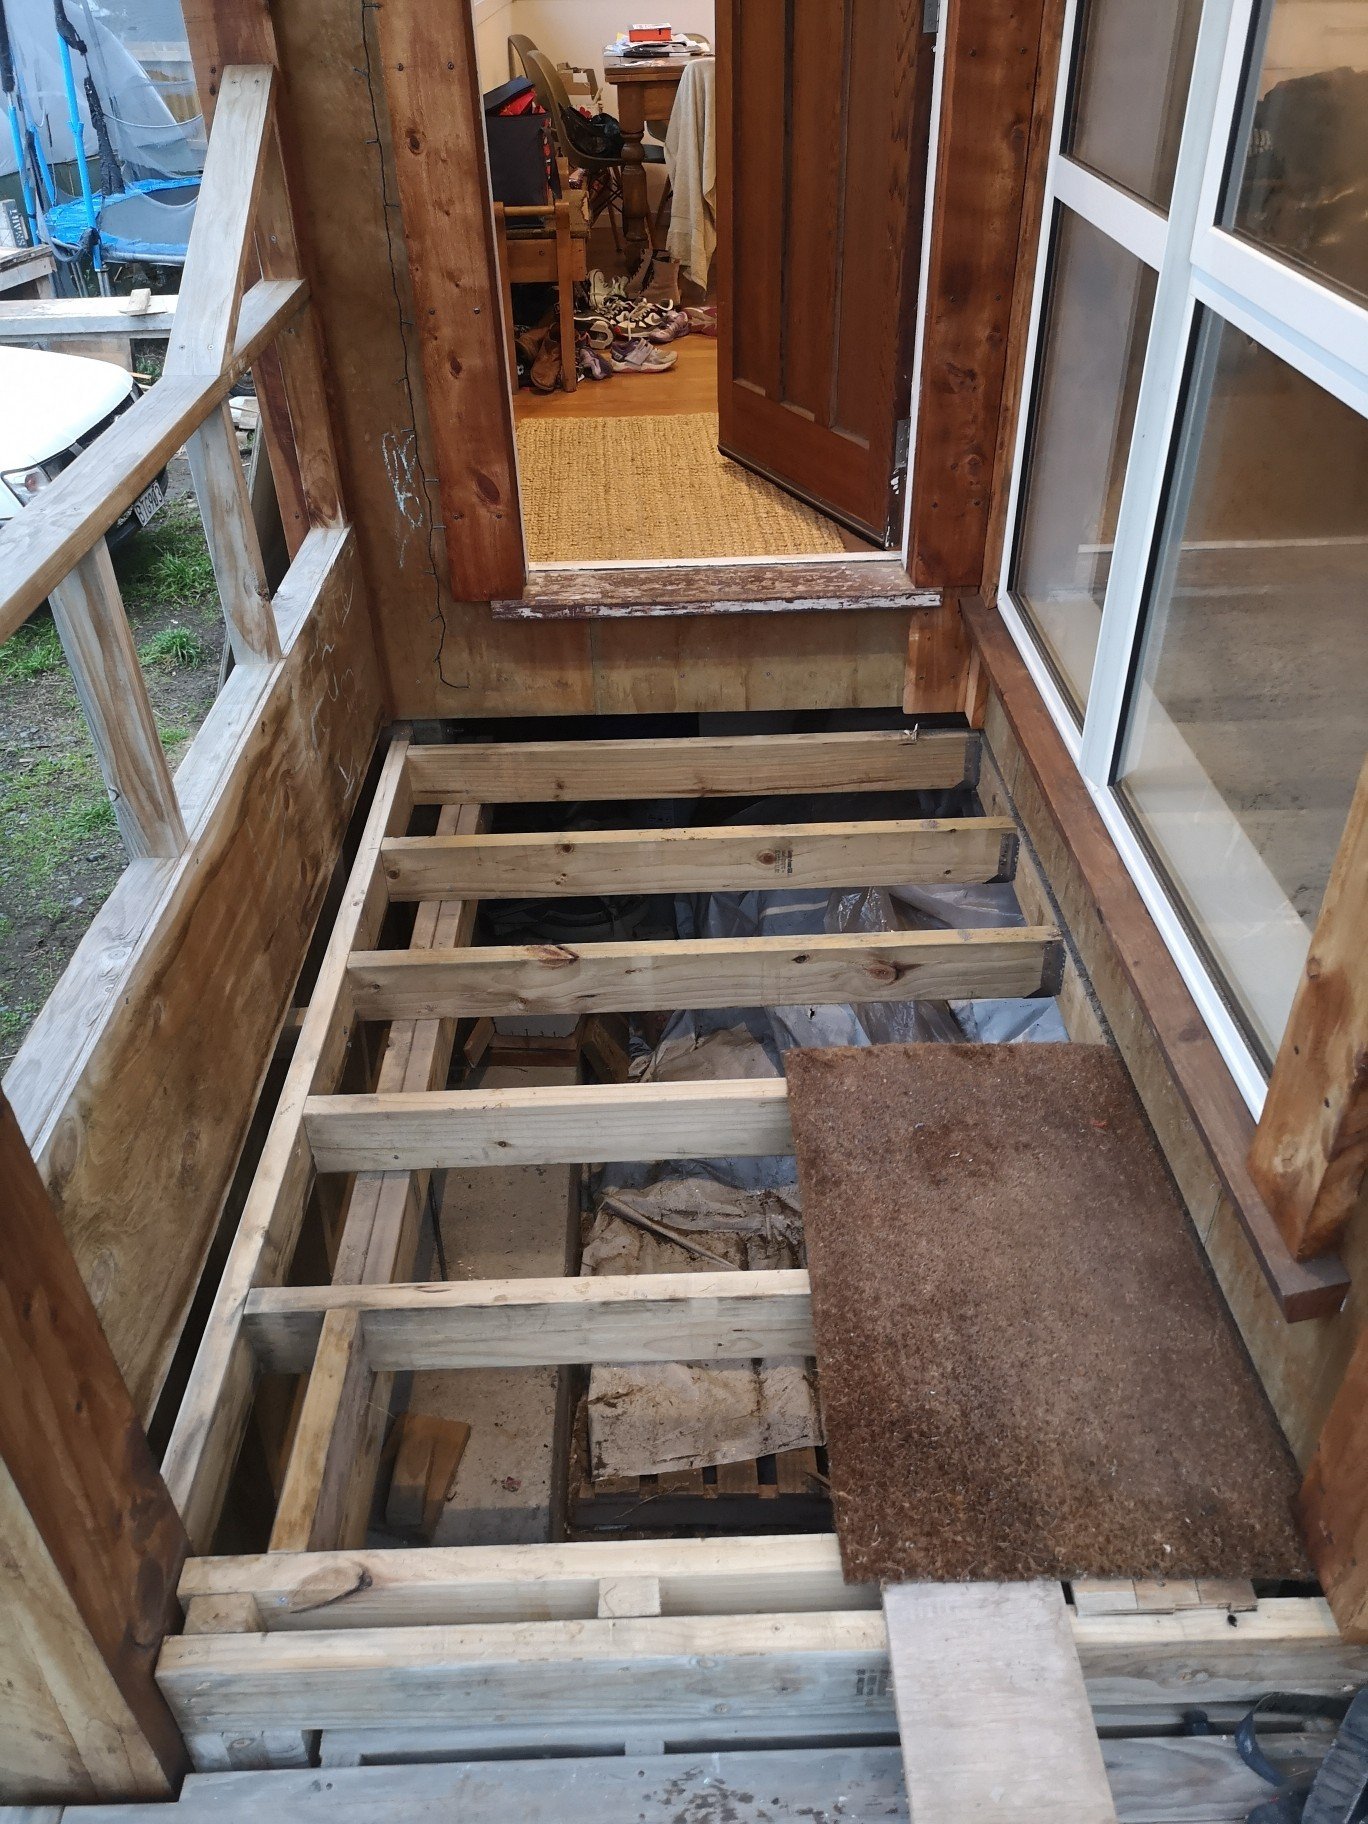
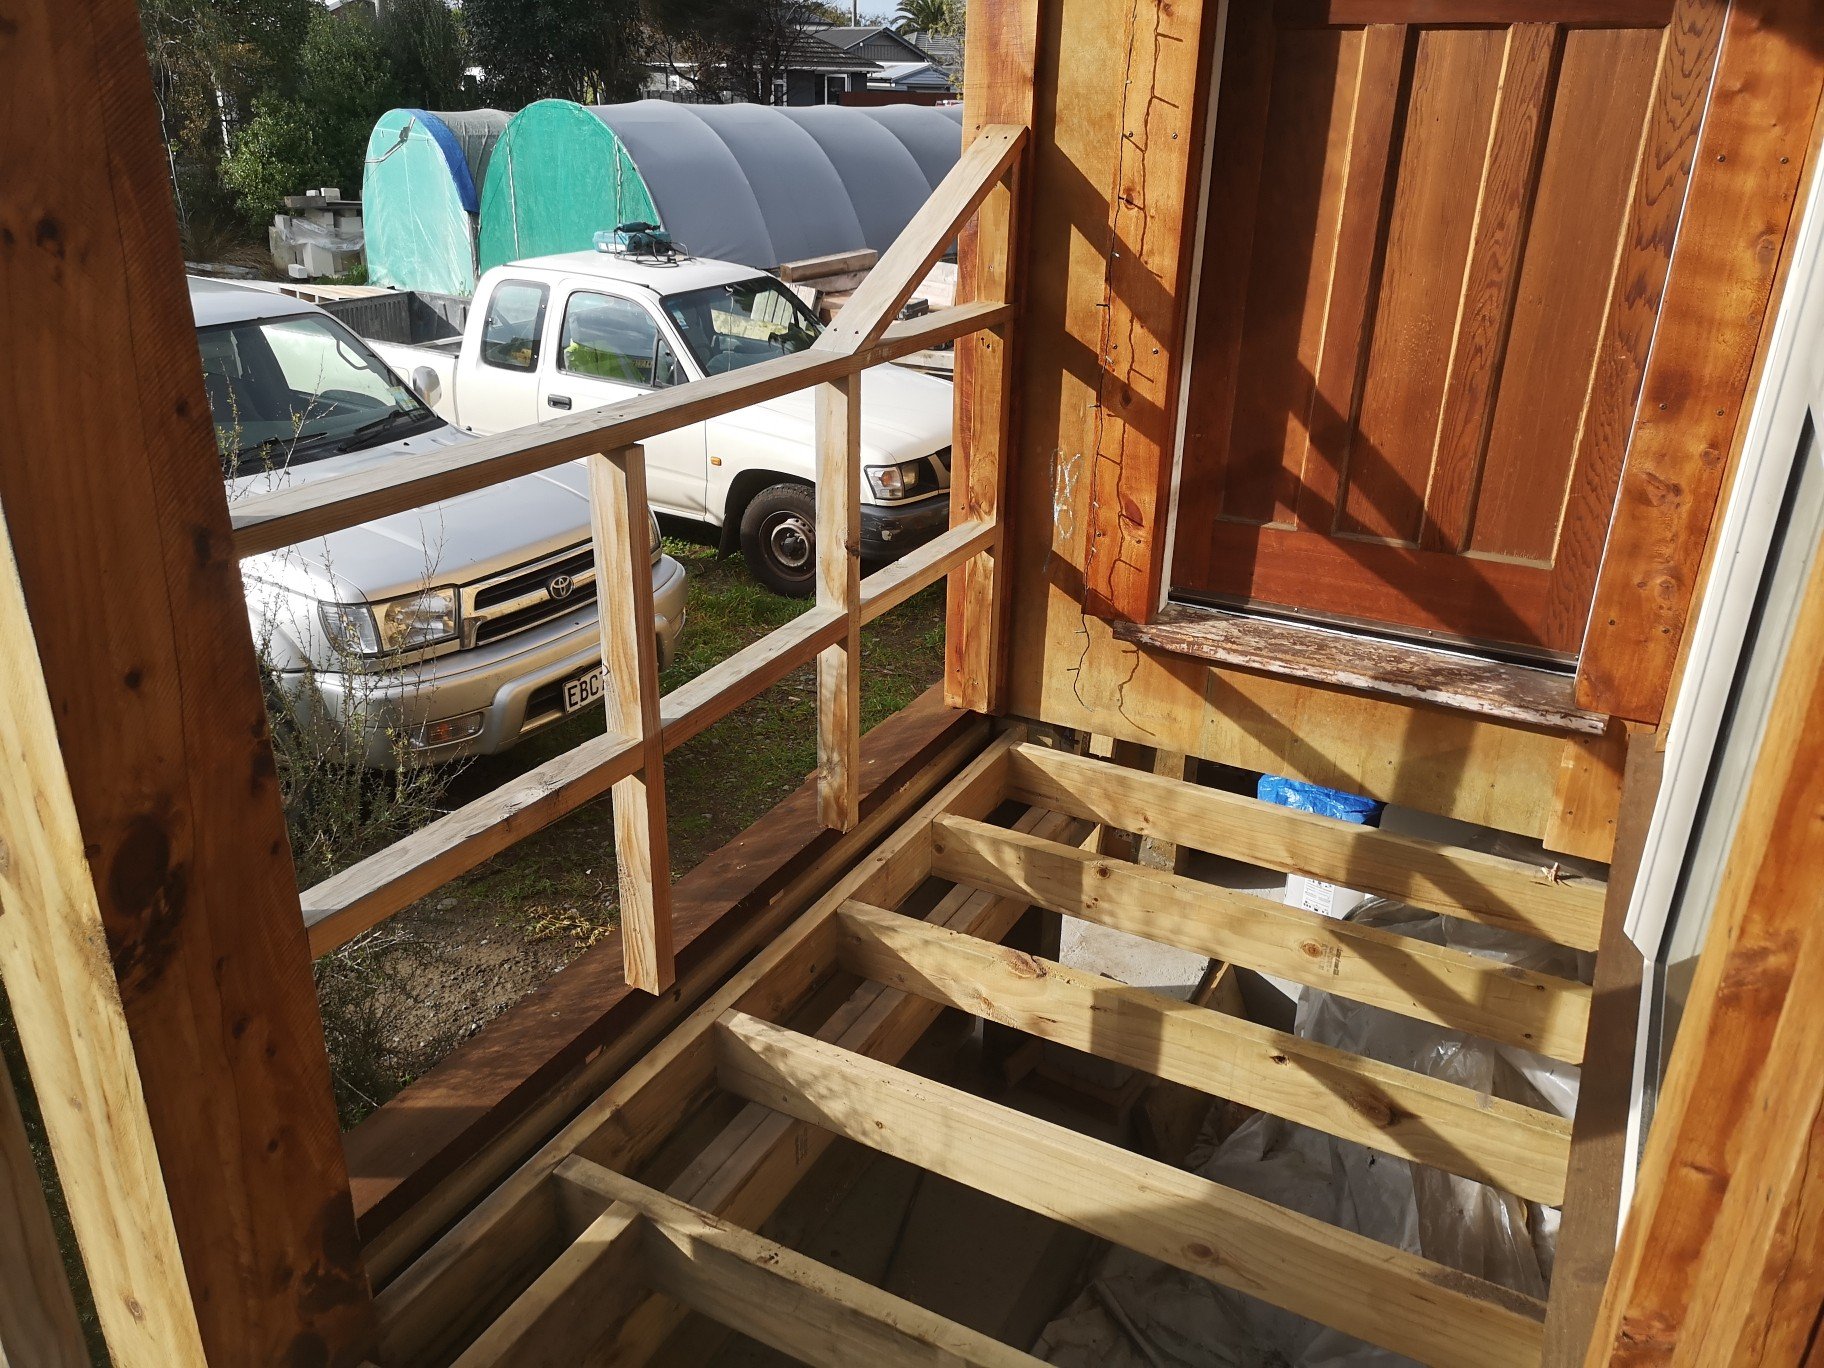
On with the last bit.. I had never been quite sure how I was gonna finish these bits. If I copied the same style as the rest of the house with the capping it meant the capping would have to go all the way round to the front door which wouldn't work with the decking.. And somehow in behind the main steps.. After mulling it over for a few weeks I decided since there was already a board hanging down to within 35mm of the deck (see above) that I would just copy it with the rest.. it may not be legal as you sposed to have 150mm from bottom of cladding to whatever the actual bottom plate and cavity closer are about 250mm from the deck.. looks much neater anyway. Cut a bit of the deck framing to make way for the corner, All the corners are rebated for water. Corner on, Cladding on. Doing it this way meant I had to replace 8 boards, still have a fairly good supply left so it s no biggie. Going to use the old boards for the balustrade..
-
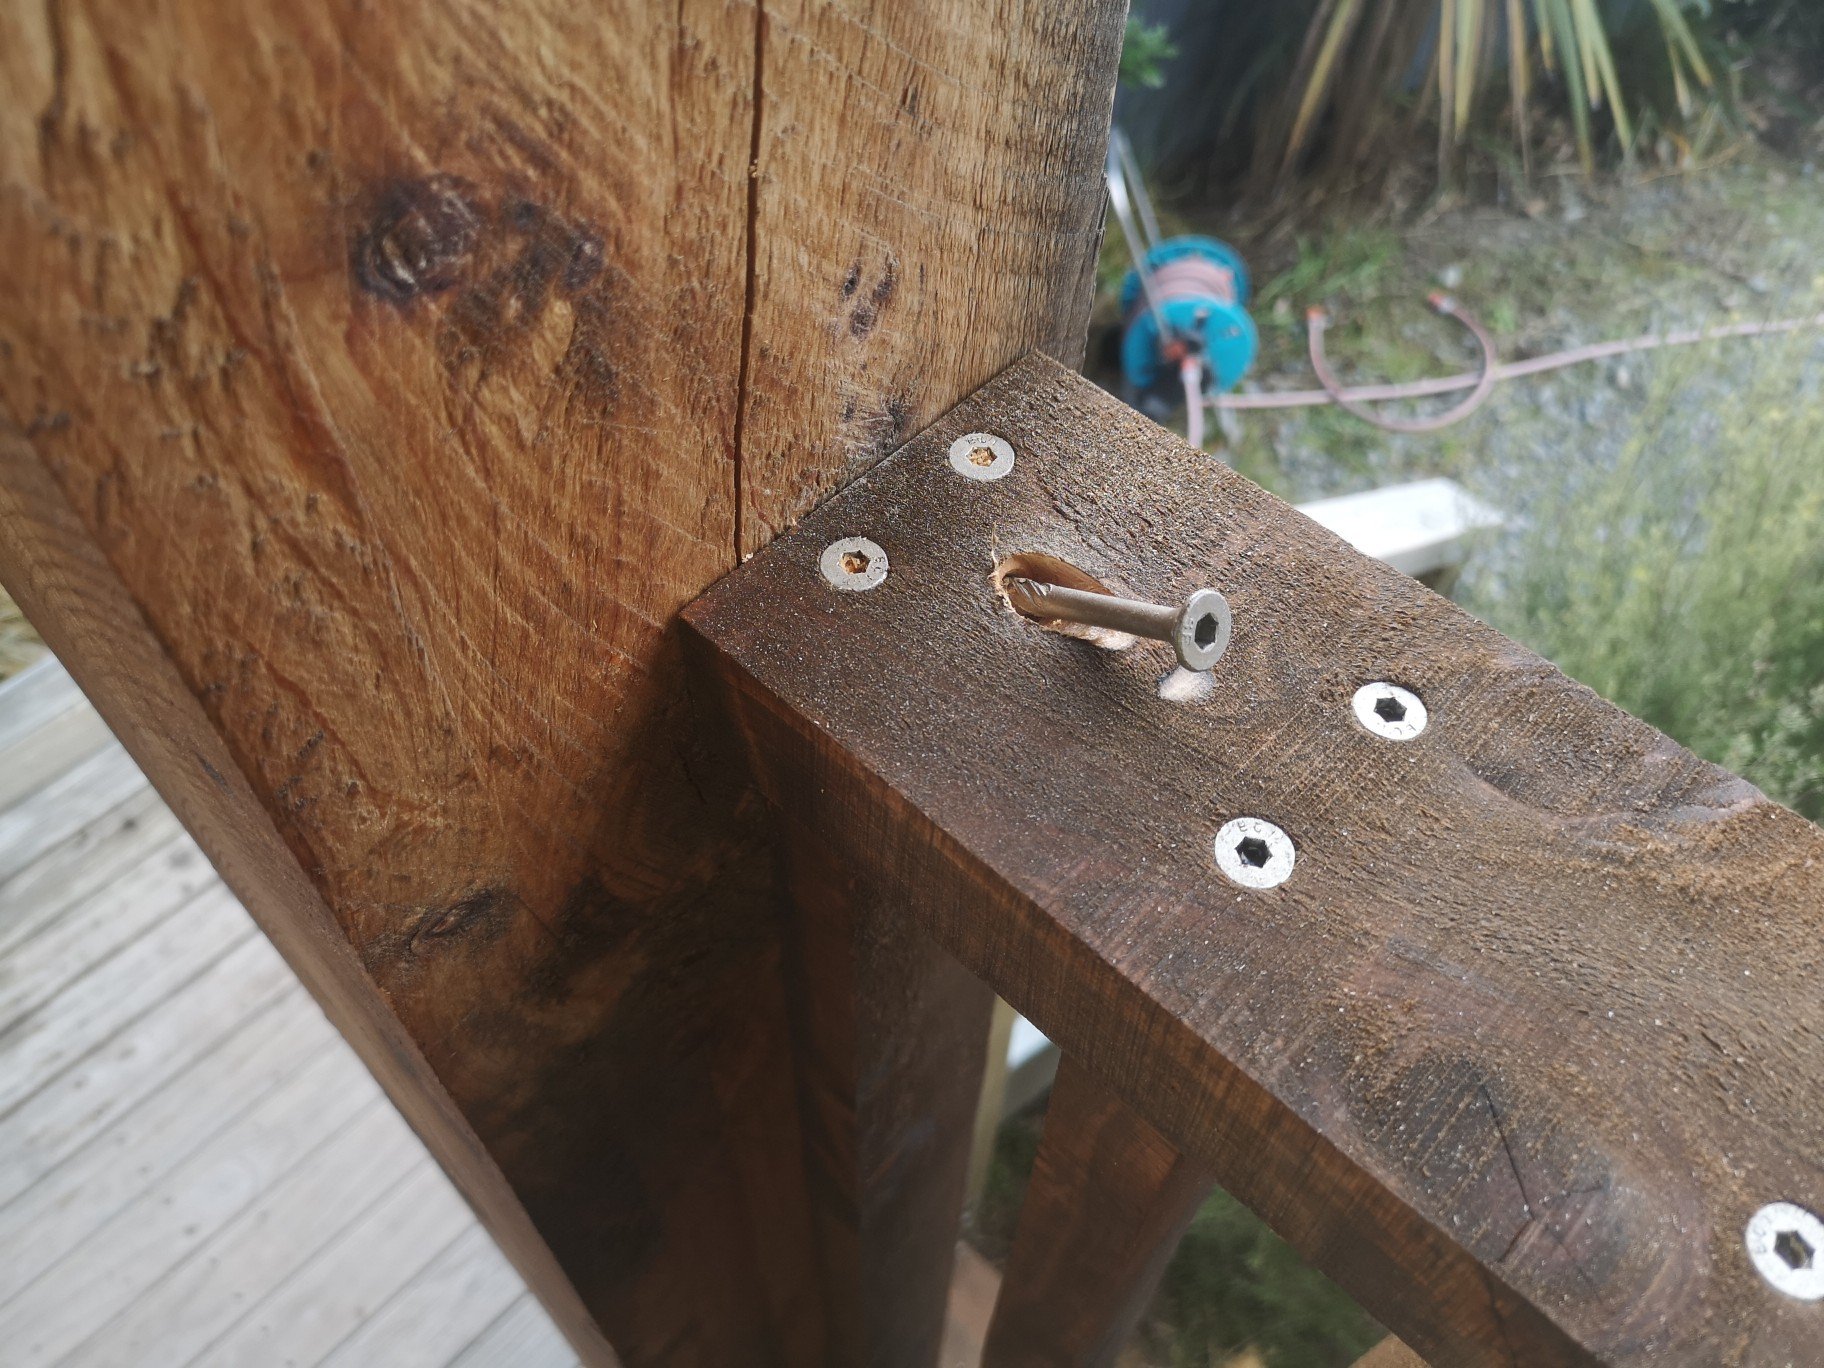
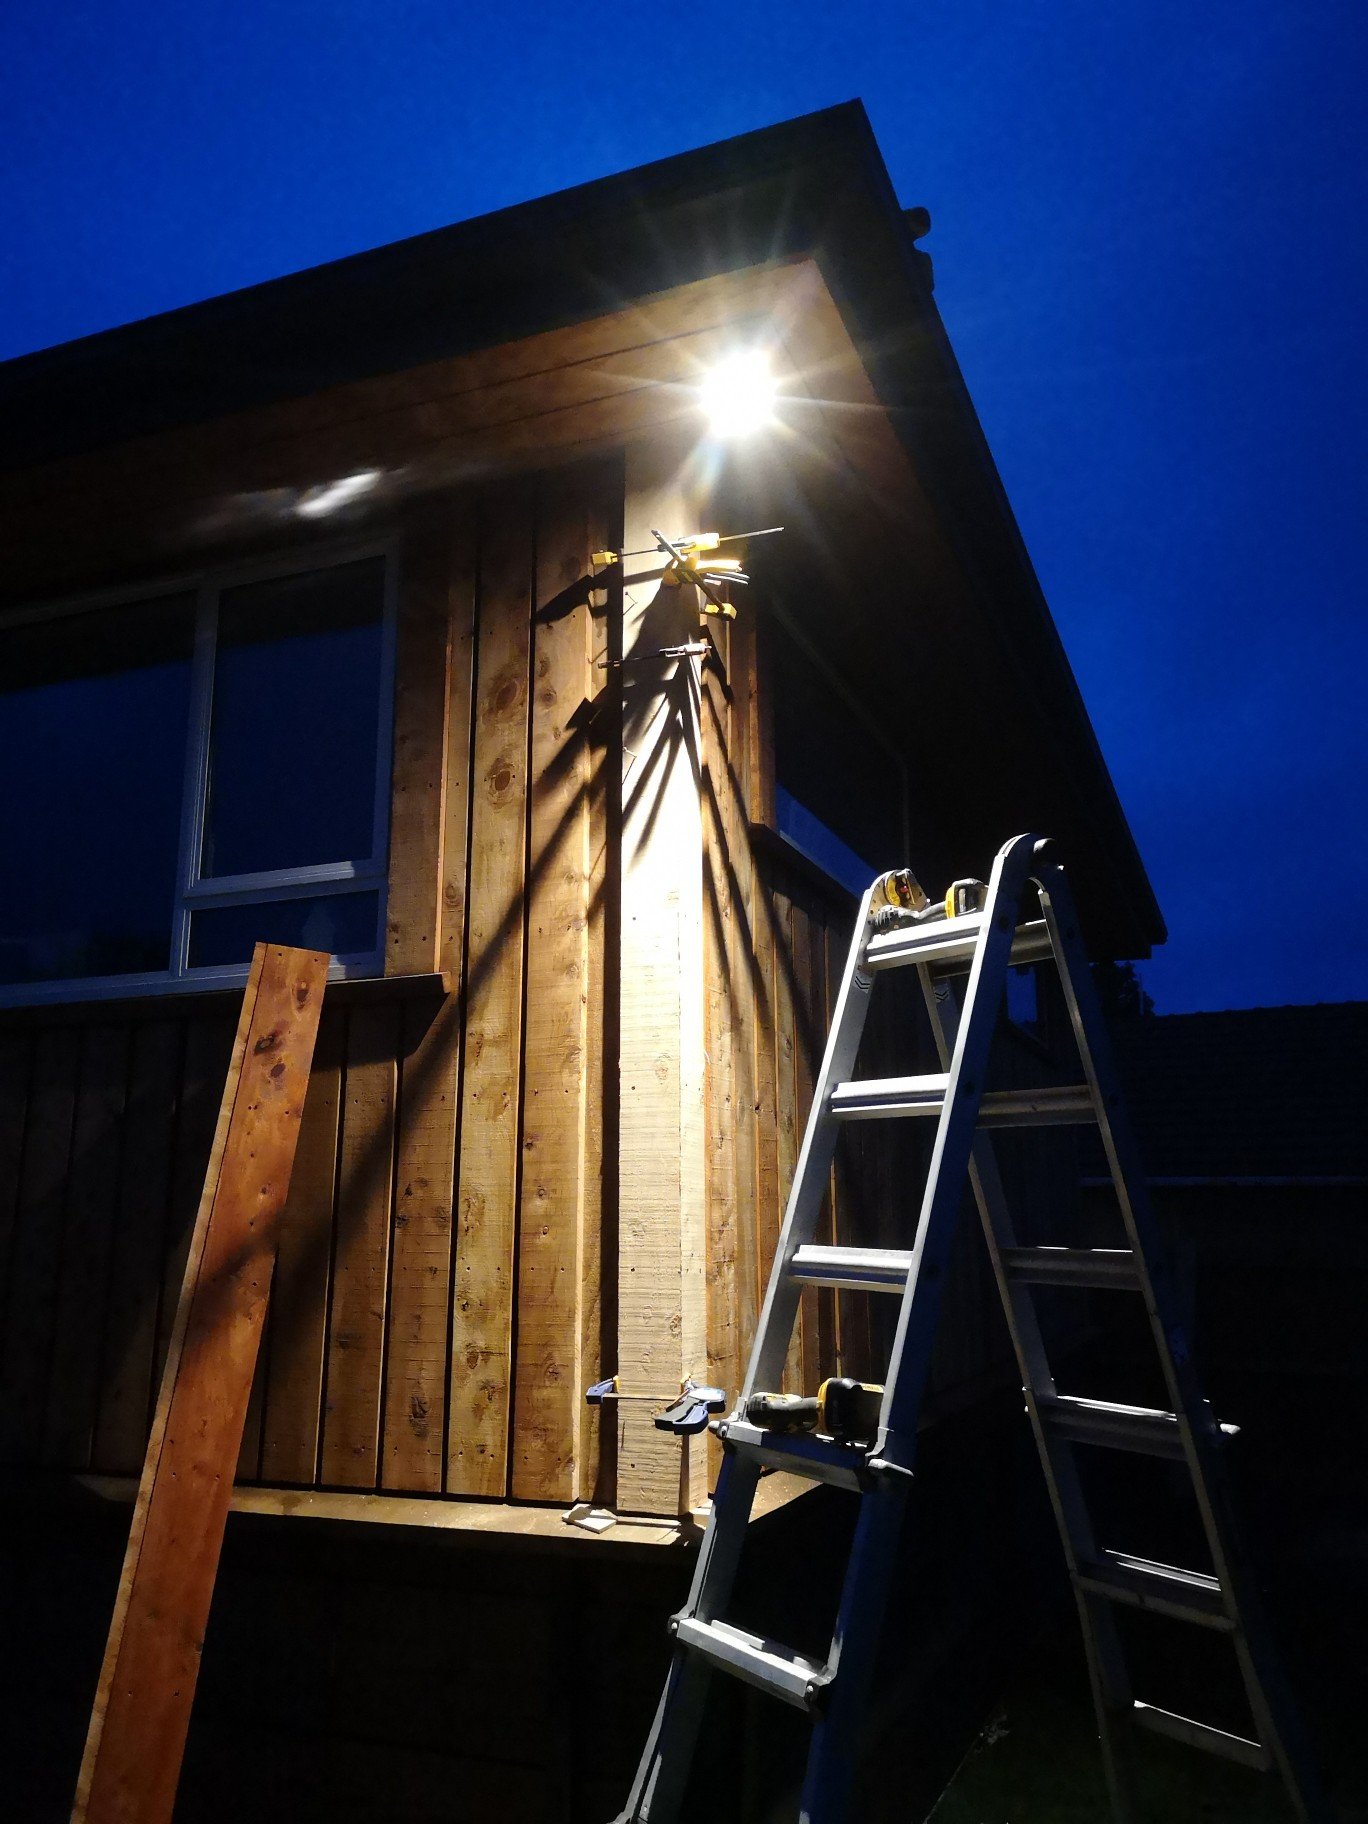
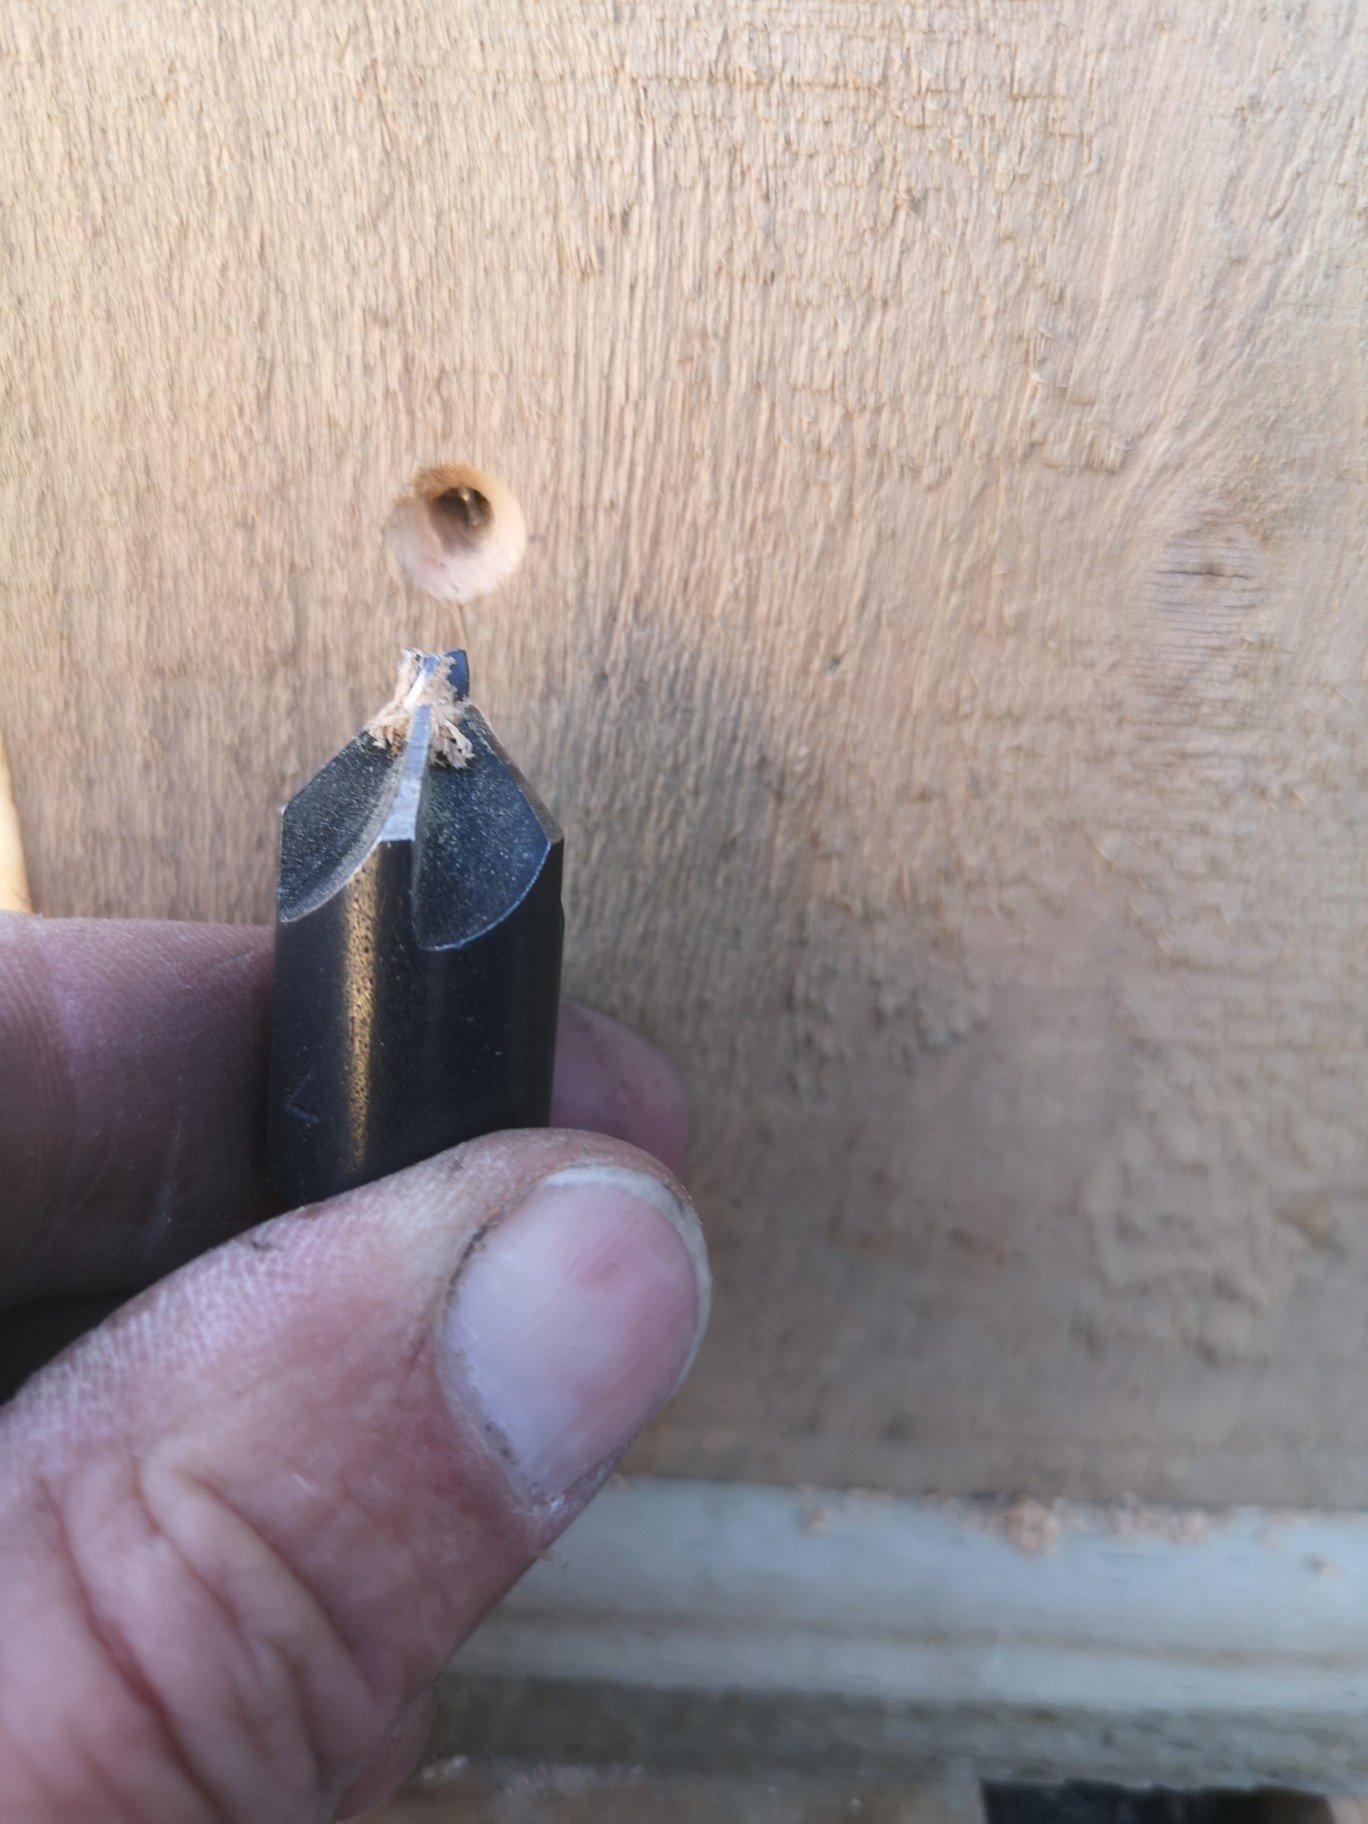
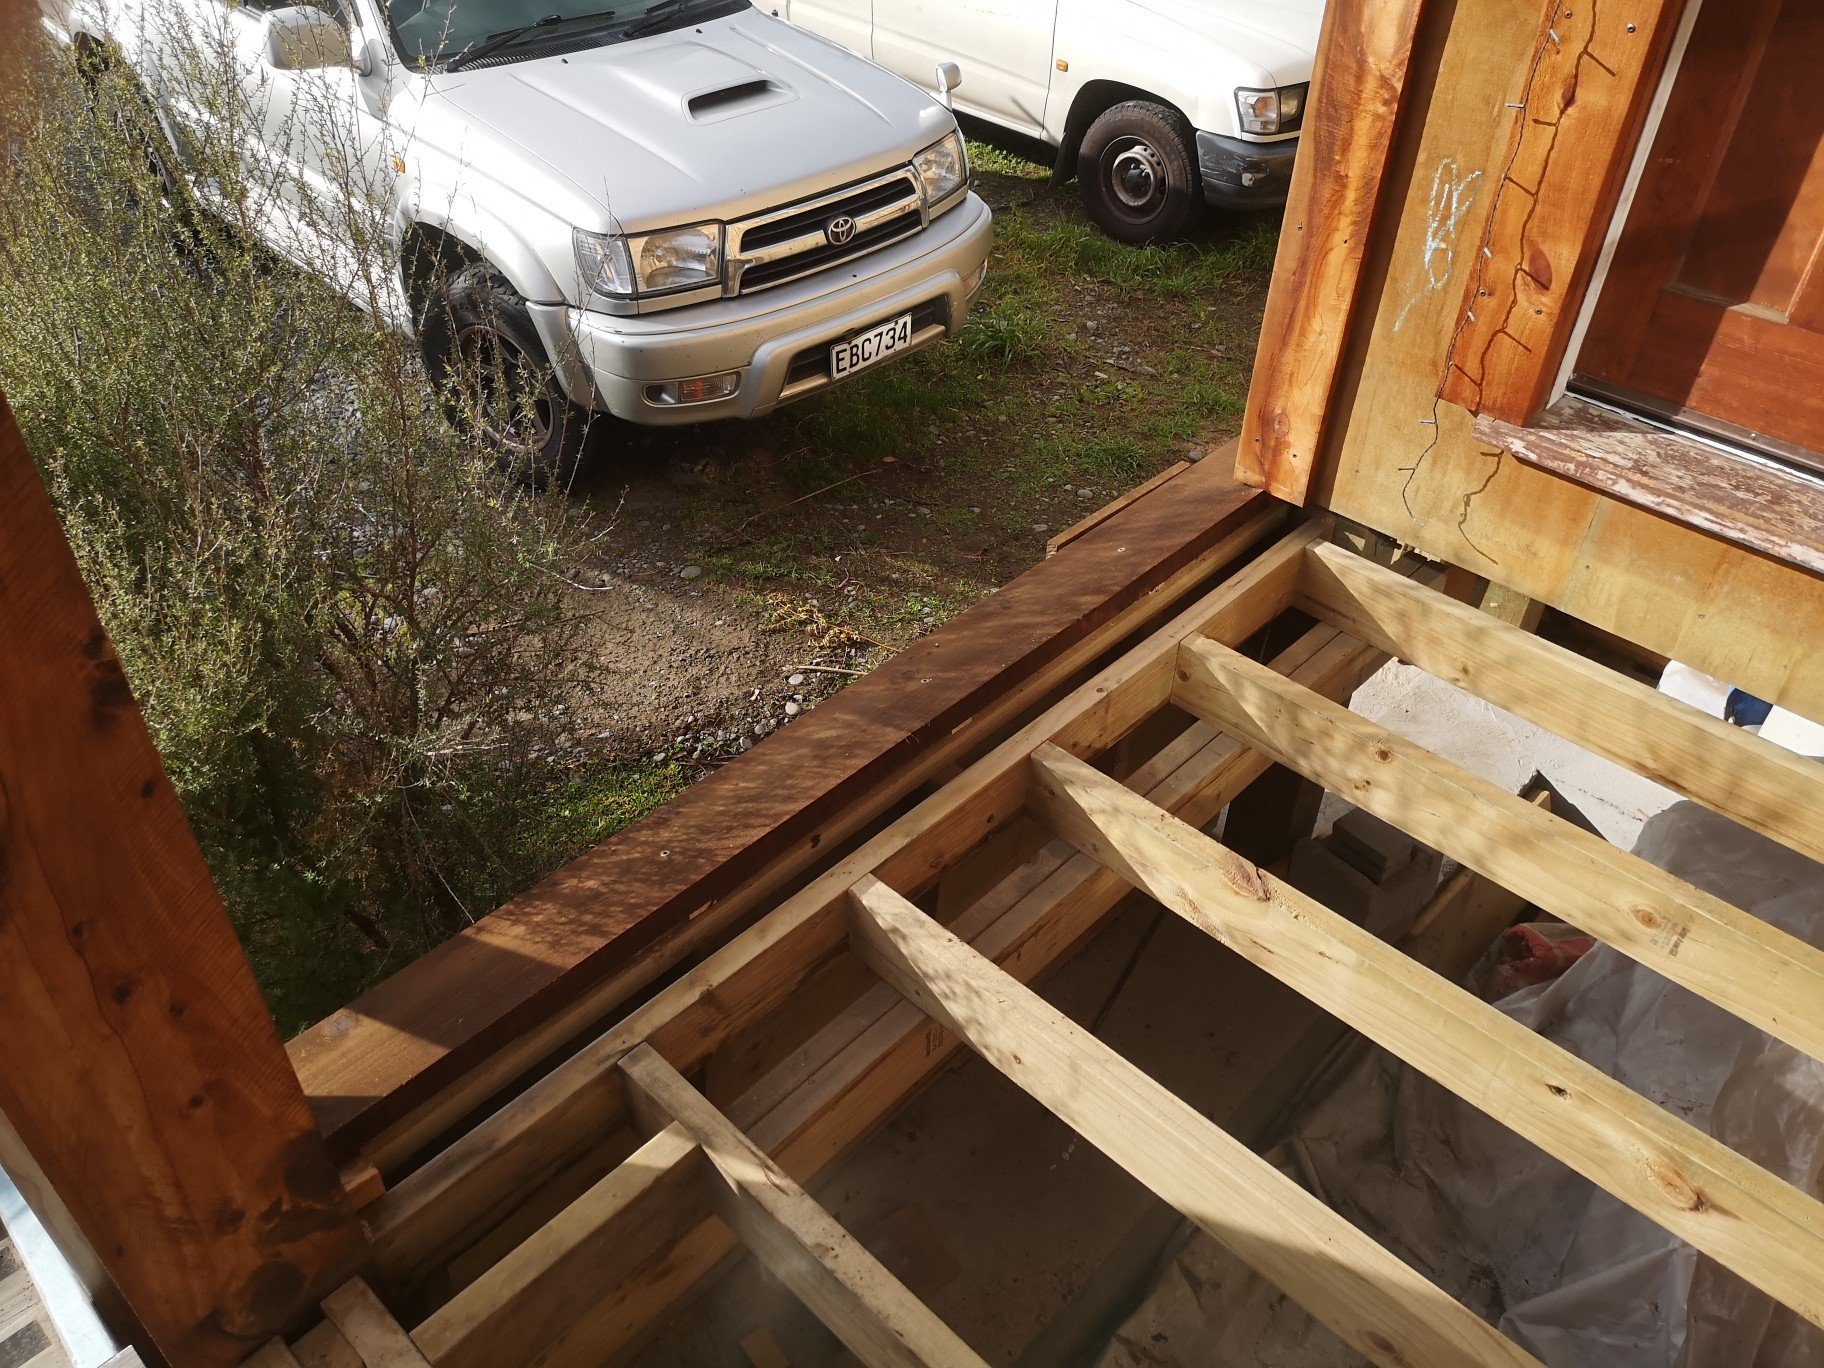
Did the back two corners, More night time epoxy...... This was the reason I had wanted to do it this way instead of just leaving it capped with the standard 25x150 boards. Because the house wasn't designed with this cladding in mind I had to set the boards out to fit the windows and forget the corners. Down the track I realised I would have to copy what I did around the windows on the corners, butt joining them looked shit which is why I went with the beveled and glued corner. It meant I could just run the cladding out like this. Which looks much better than this. Of no significance, but on one screw, I managed to break the drill bit I was using, on the corner I had to angle the opposing screws up or down away from each other. Got it wrong and snapped the bit, punched it in further then drilled again on a different angle and snapped another bit, at that point I threw the drill and went and had a cup of tea. In the end I snipped the end of a screw and epoxied it in there.. Cunt.... Oh... And being the total muppet that I am I cut both corners without allowing for the 15deg drip edge on the bottom which left both corners 7mm short. I realised this only after I had glued the first corner (goddammit!) so I had to drop them down and cut a packer to go in the top. Second corner worked fine but the opposite corner now has the screw line 7mm lower than the rest... Fucken numptey.
-
Now I can carry on.. Did the next corner, but first had to pull the temporary balustrade which led to pulling up the temporary plywood decking. Exposing vw parts...... modern day archeology. This "mistake" mac decking had been patiently waiting since 2017. Well seasoned 35x140. Also came up better than I expected. More late night epoxy. That's not me by the way....
- 322 replies
-
- 12
-