kws
-
Posts
4,180 -
Joined
-
Last visited
-
Days Won
5
Content Type
Forums
Downloads
Events
Gallery
Everything posted by kws
-

Going a full circle into a Marina again. KwS's 1973 Morris Marina Coupe.
kws replied to kws's topic in Projects and Build Ups
Since that last post, I have now run the car up to temp with the water in the system, cycled the fan twice (which worked perfectly), and then dumped the water. It was still coming out quite brown, but not sludgy. I flushed the system with more fresh water, including the block drain. After flushing the system until it ran clear again, I refilled the system with a proper coolant mix. I ran the car and cycled the fan again to bleed all the air out. So far, touch wood, there are zero leaks and everything seems quite happy. The temp gauge seemed to only just creep above cold and no higher, and I know the gauge works (goes to full when grounded), so I have ordered another temp sensor to see if that will fix it. This weekend I have booked in a full day in the garage to try and get on top of the bodywork. I mainly want to finish the welding, and do enough finishing work to be able to get the door back on.- 80 replies
-
- 19
-

-
Going a full circle into a Marina again. KwS's 1973 Morris Marina Coupe.
kws replied to kws's topic in Projects and Build Ups
Having run out of MIG gas, which then nuked my momentum and motivation on the bodywork repairs, I decided to change path, and do something I actually enjoy; mechanical and electrical work. Ages ago, gosh, back in 2021 now, I flushed and cleaned out the cooling system. This was pretty nasty, with lots of brown sludge. I removed the radiator and reverse flushed it with the hose, which got a lot more sludge out. As it turned out though, the radiator was trash. The core was all rotting away, and I ended up poking a hole in it with a screwdriver when doing up a hose clamp After looking at various options, of which there were... none, I ended up having the original radiator recorded at great expense by a local firm. A recored radiator means the radiator is rebuilt using a new center core (with the fins and pipes) and reuses the existing end tanks and mounting straps. Along with the new core, I had them add a bung under the top radiator hose (the hottest point in the radiator) to fit a temperature sensor for my electric fan controller I did some quick measurements and decided to go with a 10" fan, which was far too small. I later changed to a 12" fan. I've had this sitting in a box for months, waiting for me to get my A into G and make more progress. One thing that was stopping me, was that I needed to fit an electric fuel pump and remove the old fixed engine-powered fan (not even a viscous clutch fan, this bad boy spun at engine RPM no matter what; I don't have that much faith in 50 year old plastic). The fan was easy, it's just bolted to the front of the waterpump with a spacer. I removed the fan and spacer, cut some new bolts shorter to hold the pulley on and not hit the waterpump, and that was done. The fuel pump was a bit harder. I needed to find a suitable location to mount the pump and then run the hoses. The pump I went with is a Fuelflow 015 piston pump. It's happy to be mounted almost anywhere, at any angle and has the low pressure output required for the SU carb. Its a nice neat little unit; it even has rubber mounted feet My plan was to mount it on the inner guard, on the Lh side of the car, running the hose feeding the pump under the radiator. Before I started any of the mounting, I grabbed some hose and ran it more or less how it would be once fitted, and directed it into a jug, just to make sure the pump could pull fuel all the way from the tank, through the filter and pump it up higher than the engine. The answer was yes, easily. I drilled a couple of holes in the inner guard, and mounted the pump with a couple of rivnuts And ran the hose along the radiator support, using a pair of rubber-lined P-Clips to secure it (also using rivnuts - I love rivnuts) The outlet hose was run from the pump to the carb inlet And a fuel filter was fitted on the other side, before the pump (as per the instructions). Oh, and a nice new drive belt was fitted, probably for the first time in 15-20 years, maybe if ever. The next step was to remove the old mechanical pump. It lives up under the alternator on these early 1750 engines (later ones are mounted up on the valve cover) It's held to the sump with two studs. Yes, like the oil filter, it's mounted to the side of the sump. Be careful when removing the pump to catch the pushrod that drives the pump (and if you're refitting the pump, make sure it's fitted). It's the straight rod on the right in the above photo. There is also a spacer block, which has gaskets on either side of it. The old pump was literally leaking everything, from everywhere. You can follow the trail down the sump to the back Using an old gasket I carefully removed, I copied it to some scrap steel and made a blanking plate Which I painted black with the quickest shot of black paint. A pair of new gaskets were cut from gasket sheet; one to go on either side of the spacer. You could do without the spacer if you spaced the nuts on the studs since the studs aren't threaded to their base, but it's easier to just fit the spacer. Technically you don't need two gaskets either, just the one between the spacer and sump should suffice. I still needed a couple of washers to space the nuts out anyway The stud closest to the filter needed an extra washer, as someone had stripped the thread. Probably why the fuel pump leaked. One bonus to removing the mechanical pump is getting rid of the dodgy fuel hose that used to run across the front of the sump I replaced this hose very early on, but I still didn't like it there. According to the manual, it should have a hardline from the pump, not a hose, which makes a lot of sense, but obviously someone "fixed" this at some point. The last thing to do was to wire the pump, but I wanted to get the radiator in first so I knew where the wires could run. A note before talking about the radiator. A while ago, while the radiator was getting recored, I flushed the block. There is a block drain at the back of the block above the starter I used a small funnel in the thermostat housing to pour water straight into the head. I got a ton of brown sludge out this way, and flushed through litres of water until it ran clear I did this because I really didn't want to risk filling the new radiator with sludge from the block. The radiator was quite straightforward. Fit right into the factory mounting points, and the 12" fan clears everything (or would have if I had mounted it slightly to the right. As it was, it just touched a bend on the top hose. I cut a few mm off the thermostat end of the hose to move it away from the fan). I hated the old bottom hose and really didn't want to refit it. Because the car is running the more available Maxi/Allegro water pump, which has the outlet on a different angle, you cannot run the standard bottom hose. The previous owner had done his best to cobble together something that worked, and to be fair, it did, but it was ugly. The outlet is almost level with the radiator inlet, but is pointing almost straight downwards. The radiator and waterpump are also different sizes... As it turns out, Dayco makes the 81081, which can be ordered via RockAuto. This has the correct size ends; 32mm and 38mm, and is a suitable length. It took some wrangling to get the stiff hose into the right place, but it fits well and clamps on fine. With the top hose fitted too, it almost looks like a car again At this point, I hadn't wired the fan in, but I did run the pump power wire and hotwired it to the switched side of the fuse box. This meant I could give it a kick in the guts and see how it was on the new pump. Being able to prime the fuel system makes all the difference in starting the car after months of being laid up. With the old mechanical pump, which only pumps when the engine is turning, it would take minutes of cranking to get enough fuel through to fill the filter, then the carb bowl and finally start. Now I can switch the key to ON, wait a few seconds, and away we go. Now, obviously having the pump hard-wired to run when the key is ON, is not ideal. A lot of people are happy to run it like that, but I don't want the risk of the pump running if I'm in an accident. Yeah, I probably have bigger problems if I crash this car, but I'd also rather not burn to death because the pump fed a fire. This meant some wiring work. The plan was to have a separate fuse box that the fan controller and fuel pump run through. This would be powered by a relay, which is triggered by the original switched wiring (so all the load runs through the relay, instead of the 50 year old wiring). The pump would be isolated by an inertia switch, just like a modern car. I started by locating a suitable place for the fan controller and mounting it with a pair of rivnuts. Now, before anyone mentions it, yes, I hate the primer patches everywhere too, but I'm very much subscribing to the "don't get it right, just get it running" mentality now. I will come back and tidy it up later, but for now, I just need to wind the scope back and make the car go. A suitable location for the additional fuse box was found I did toy with the idea of replacing the old fuse box that uses glass fuses, but it works, so I'll leave it well enough alone (other than replacing it with a new one of the same style, when that arrives, just so I can have nice new untarnished terminals). The fan controller was wired in And once the relay was wired in, I powered it up The readout gives a live coolant temp reading in celsius. This particular controller can switch two fans, hence the two relays, but I'm only using one. The fuel pump was next. In order to make it safe in a crash, I fitted an inertia switch to the front panel. When this switch detects an impact (or sudden deceleration) it trips the switch, cutting power. It can be reset by pressing down on the top and can be bypassed completely if needed. This was then also wired back to the fuse box A few minutes with some fabric tape made the wires look a bit less ugly The final part of the system was to wire in the fan override switch. The controller is designed so that if you feed 12v onto this particular wire (the AC trigger wire, technically), it will instantly turn the fans on (if they are off), but will not interrupt the automatic switching, so it cannot be used to turn the fans off unless the temp is under the switching threshold. Basically, I can use it to turn the fans on and keep them on, if the coolant isn't up to temp yet. Could be good in traffic, but it's mainly a failsafe I hope I won't need. To mount the switch, a made a small steel bracket that mounts under the dash using existing holes. Its definitely function over form I had an idea where the switch would light up when the fan was on, and as it turns out, you can buy toggle switches that have LEDs in the end, for this purpose It blends in a bit nicer with some wrinkle black And when used, it makes the fans go brrrrr With that done, the radiator was filled with water and tested for leaks. So far, it hasn't lost a drop. I need to run the engine up to temp and then drop the water out and then refill it with proper coolant, which I will try to do this weekend. With the cooling system and fuel pump done, that signals a turning point where the car is drivable again. Sure, it's missing a door and still has a couple of holes I need to weld up, but we're getting there.- 80 replies
-
- 27
-
-
Fyi, anyone in Welly that needs a coregas mig gas swapped, Petone Bunnings has a couple. Pays to ring ahead and check though. But yay I've got gas.
-
Ah, can you swap the bottle anywhere, even if it was originally from Bunnings? I thought i'd have to swap it there since i technically have the swap "contract" with them?
-
I probably need to make some calls, but does anyone know if you can get the Bunnings ezi-swap bottles refilled elsewhere? The local bunnings are all out of Mig gas and they cant give me an ETA for replacements. I know there is a shortage of CO2, but in wondering if I might have more luck getting it refilled?
-
Thats a given on an old British car To be fair, I had recently fixed a couple of leaks and not cleaned it down enough. Same with the service overdue, I forgot to replace the sticker when I serviced it.
-
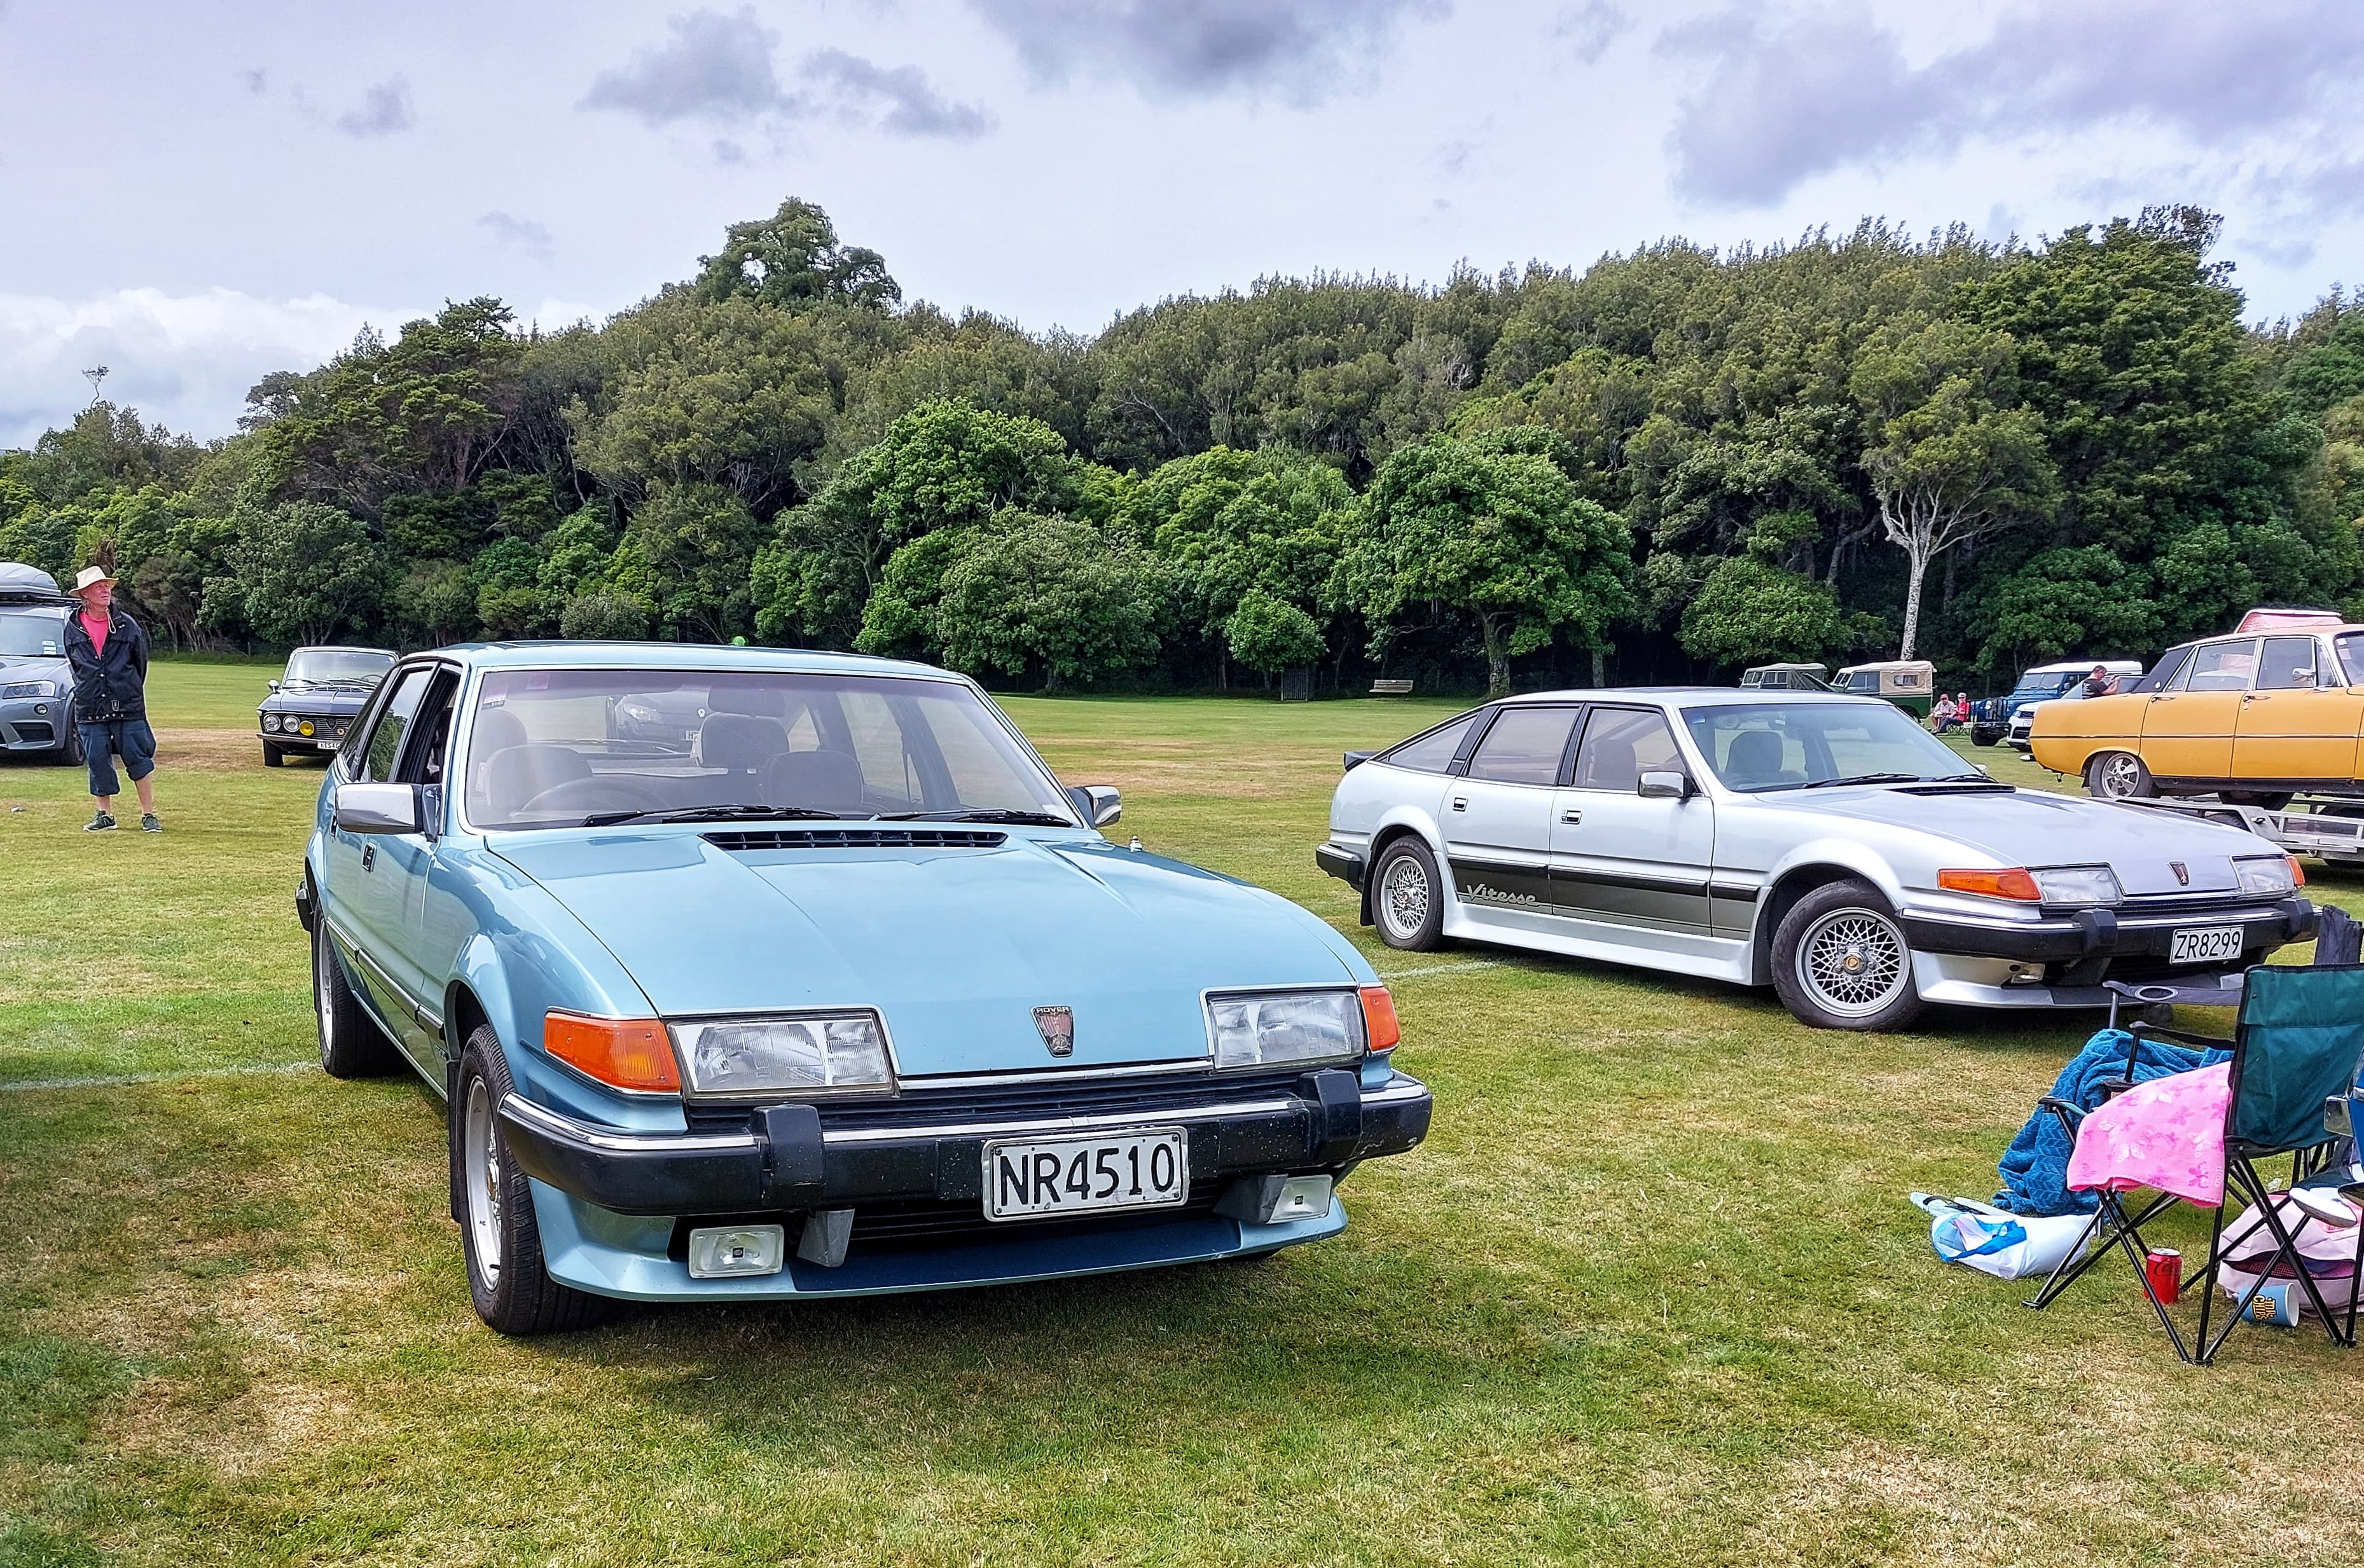
i got a clean sheet WOF on my Rover SD1. Whats your point?
-
So much this. I spend a lot of time going over my classics before WOF day, to fix absolutely anything that could be called into question. Too many people rely on their WOF to tell them whats wrong with their car, and get mad when its inevitably failed. You're meant to keep the car in WOF condition all the time, not just once every 6/12 months.
-
I was thinking the same, seeing the list on Wiki of all the cars its used in, and then the is250. So hyped to see how this project turns out
-
Unfortunately, as much as I enjoyed the Swift, over time my attention span/ADHD forced me to start looking for something else new and shiny, so the Swift is gone, and replaced with a C30 T5. They are completely different cars, and I'm not going to lie, I only got the Volvo because I haven't had one before, so it likely won't be around for long.
-
KwS is back in an SD1 again, because of course.
kws replied to kws's topic in Projects and Build Ups
Other than fixing a couple of minor coolant leaks that have popped up, Lucas has been flawless since the engine swap. Took him out to get some sun at the dog park yesterday. Found a couple of other doggos to chill with.
- 30 replies
-
- 20
-
-
Pinion angle is what its called. https://classicautoadvisors.com/2021/04/21/classic-car-pinion-angle-why-it-is-important/
-
Tool shed ones are shite, they fly apart as soon as they see metal . I got these ones, https://www.trademe.co.nz/3948985443 A+ go hard for what they cost.
-
Going a full circle into a Marina again. KwS's 1973 Morris Marina Coupe.
kws replied to kws's topic in Projects and Build Ups
At times it feels like I'm playing Whack-A-Mole with the rust, but I am steadily knocking rust on the head and putting new steel in. I know it's probably not particularly interesting to most, but it is what it is. Once the bodywork is done, I can return to the fun mechanical stuff. I left off the last post with the no sill, and a blimmin' great hole in the quarter panel. The first step was to get the new sill on and return some strength to the car. A quick test fit of the sill, with the door on, showed that it fit nicely It sits a little high with it only clamped at the bottom, so should pull down a bit when welded. The door is adjustable if I need to tweak the gaps. Next was to spend the next few minutes punching holes in the flanges. There were dozens of holes, and all of them needed to be punched out and welded. I'm glad I have a proper punch, and I wasn't drilling these one by one. And finally, after some tweaking of the placement, it was all welded into place. I ended up using a jack under the lower flange of the sill to help align it with the inner sill, since it appears that wasn't welded straight from the factory (which explains why the old sill I removed was barely spot welded along the bottom) A quick skim of filler along the top edge should make the repair invisible And some filler to shape the front edge too. In hindsight I should have angled the edge so it matched the guard line, but oh well. This is where I took a bit of a break from the sill/guard area, as I had found a donor arch section for the rear (from a sedan), and was waiting for it to arrive. Instead, I moved on to one other area that needed attention; the window frame. Before venturing further into the story, it occurred to me that I completely forgot to mention that a few months ago I removed the rear QTR glass, because I knew there was a rust hole in the B pillar. This was a bit of a faff. Being a Deluxe, it didn't get the pop-out windows the TC did, which are easy to remove, so I had to lever the old, hard, rubber seal off and try not to break the irreplaceable window glass. I started with getting just that section over the lip, and one by one moved the screwdrivers further along until the window finally started to pop out. Once it started to come out it was quite easy to remove. This revealed the horrors hiding under the seal This is the hole I knew about But there was also rust at the rear of the window Interestingly, this also confirmed that the B pillars of the lower spec models are already provisioned with the holes for the hinge blocks for the TC pop out windows, albeit with the top one covered in tape I cleaned the B pillar hole up and bit, and its quite sizeable So yes, that's been like that for a few months. Moving along, I wanted to repair both of the holes. I started with the one in the B pillar, as it was more straightforward. I stripped it back until I found good metal, and then using my best friend, the air body saw, I cut a nice square hole Made up a nice patch for it Welded it in, and ground it back. I did have one shocking surprise when welding that in. I didn't realise, but the joint with the quarter panel had been lead loaded, which is where they fill and shape the joint with lead, instead of bog/filler. I only found this out when the lead got superheated by my welding near it, and blew molten lead all over me when I used the air gun to cool the welds. Thankfully I had my welding mask down, and the rest of the lead just peeled off my clothes. The same was also present near the rust at the rear of the window, so I made sure to grind it all back to bare steel (wearing appropriate PPE, of course; powered lead cant be good to breathe). The rear rust was much harder to do. I cut it back until I had solid metal, revealing a large hole And welded in a couple of patches (one for the flange, the other for the curve). It was really hard to grind the welds back, so it's not pretty, but nothing a skim of filler won't fix. I was laughing with my wife about how hard it was to weld this, as previously all my welding had been low down and I could just put the light I use to see what I'm welding, on the floor or wedge it against something. Because this was up high, and my light is massive and heavy (cordless Ryobi foldable light) there was nowhere to put the light. I mentioned I had been holding the light between my legs, or pressed against the side of the car. My wife looks at me, and asks "why don't you get a little magnetic light?". It's so simple. I bought one the next day and life has been better since. Another tool that has improved my life is this power file/finger sander. It's amazing. Way better access than my grinder, and grinds welds down like butter. I took the recommendation of a local forum to get some "green zirconia" belts for it. I had been using the ones that came with it and they were good, but sure enough, the green ones tear through anything and will wear out before they snap (which is a common issue; The other spares I bought with the tool snap within seconds of trying to grind welds down. They were cheap, but they're useless). The next day the arch section arrived. I bought this from a seller that was wrecking a sedan. The coupe shares the same basic arch profile with the sedan, even if the quarter in front of it is different, because there is a door where the coupe doesn't have one. I started by drilling out the spot welds, to separate the inner and outer arch sections, as all I needed was the lower outer arch I finally got the spot weld cutter to work. I used a 2.5mm drill bit to drill through the middle of the spot weld, and this pilot hole holds the cutter in place and stops it from slipping around. I did go right through on a couple, but I wasn't trying to save the inner arch anyway Unfortunately, I did find this arch also had filler in it. Not as bad as my old one, but enough that it was annoying. I only really needed the very bottom of the arch, so I kept going anyway After some tidying up, and lots of measuring and tweaking, I welded the arch section in. I trimmed down the end of the sill, and pulled the top edge outwards, to match the shape of the arch This meant I could cap the end of the sill. I used the donor sill to get a basic template, and made the panel Welded into place After grinding everything down Next was the hard part, making the filler panel to fix the large square hole. I measured and cut this a few times, and I'm still not 100% happy with how it turned out. Next, I made the last patch. I had originally planned to reuse the section I cut from the guard, but it was easier to just make a nice fresh new section. I also plug welded these new patches to the top of the sill, from the inside of the car. And there we have it, all welded in. I had agonised about the damage, and how hard it was going to be to fix, but at the end of the day, although the donor arch helped massively, the rest of the job went quite smoothly. The only issues I have are that the bottom folded edge of the two patches don't line up (filler will fix this), and there was a raised high point where the panels joined It is hard to see in photos, but was really obvious in person; it looked like a big raised peak. I wasn't sure how to fix it, so I just took a hammer and dolly to it and now it's about 80% better The main thing is that I have retained the seam between the sill and quarter, and the swage line above that seam is somewhat straight. I spent ages with tape measures and straight edges making sure that the swage line would be near straight. That's it, other than some filler and paint, the sill is finally done. Next on the chopping block was this rust But on the way there, I poked at the inner guard, behind the wheel... Yes, I should know better. Well now, I couldn't just leave that as it is. I also poked around at the rust I was meant to be doing, and made it much worse Looking at the inner guard, the only option I could think of to fix it properly, was to unfortunately cut the lower edge of the arch off, so I could access the full section Remember, measure once, cut thrice But now I could see the whole thing Which made slicing and dicing it much better I barely had to cut down the sides, it was that rusty I cleaned it up And used the old rusty section as a template to make a patch The only thing left was to weld in the section of arch I cut out. This was a real mission as the metal was super thin here. Beware, it's ugly. Awesome folding magnetic light that has made life better. It's wearing a little nappy to stop metal shavings from getting jammed around the magnet on the base Much better. Just needs some sealer down the side (as it was from the factory) Now it was time to finally deal with the rust I came here to fix I did some poking around, and made the target area bigger Using the air saw I cut the area back to good metal, and carefully split the seam where it was spot welded to the outer quarter. I made another patch, and clamped it into place for test fitting And then welded it in. I welded it in from the top as it was easier than welding on my back. Look at that penetration though, and not a single blown hole. I plug welded the new seam to the old one to make a nice solid flange. I also plug welded a right angle into place to support the spare wheel Job done. Probably one of the quickest and easiest repairs on the car so far. While I was there, I wanted to weld up the surplus holes in the rear panel. The car had previously had towbar wiring bodged onto the rear panel, via a couple of holes drilled into it. There were also three misc vertical holes on the RH side by the light I got rid of the plug ages ago, so it was only the holes left to fill. The towbar might stay, I'm not sure yet, but I don't really intend to tow anything with the car, so I won't be reinstating the wiring for now. I ground all the paint around the holes back (using spare welding gloves to protect the chrome bumper from weld spatter) I made a small "round" filler for the big hole from scrap and held it in place with a magnet A few presses of the trigger later, all the nasty holes are gone The three remaining holes above the big hole are for the Morris badge. A quick squirt of some epoxy primer to keep it happy in the meantime, and we are done for the day. Speaking of, I recently found out that painting over zinc-based weld through primer can be problematic and not recommended. This is a pain, as I have painted over EVERYTHING I have done with zinc-based primer, to protect it. Now I will need to go back and strip it all to bare steel again and paint it with epoxy primer. The zinc primer is good for inside spaces, or between two bits of steel, and that's really all it should be used for. Oh well. I'm getting really close now. I have to cut out and fix the rear valance, which is very rusty, and then the major rust work is done. After that, it's the boot seal flange, and a couple of "cosmetic" areas that need work, but they can be done at any time, even after a WOF check. Lucas will be at British Car Day on the 12th Feb, but unfortunately the Marina just isn't quite there yet as I'm a couple of months behind where I wanted to be. Such is life, but I'm happy I'm finally making progress again.- 80 replies
-
- 27
-
-

-
Going a full circle into a Marina again. KwS's 1973 Morris Marina Coupe.
kws replied to kws's topic in Projects and Build Ups
Please -
Going a full circle into a Marina again. KwS's 1973 Morris Marina Coupe.
kws replied to kws's topic in Projects and Build Ups
New page please -
Damn, googling it, it seems I was lulled into a false sense of security and weld through primer isn't really a primer at all. Good advice, I'll strip it back before filler and epoxy priming.
-
Touching up rust repairs. Currently it's being protected by weld through zinc primer. I need to use some filler and then epoxy primer and some 1k paint. Do I do it like this, Zinc - epoxy - filler - epoxy - paint Or Zinc - filler - epoxy - paint Cheers
-
I tried some finessing with a hammer and dolly, and got it around 10x better than it was
- 248 replies
-
- 12
-
-
Going a full circle into a Marina again. KwS's 1973 Morris Marina Coupe.
kws replied to kws's topic in Projects and Build Ups
Did more cutting, hitting, welding and grinding today to fill the holes. Not 100% happy, there is a high point here, where the patch is joined to the original guard. Not sure if i had the guard out of alignment or something warped when welding (likely the former). Not sure how to fix it, but im thinking cut the join, hammer it all back into alignment, weld up again?- 80 replies
-
- 19
-
-
God damn that thing sounds glorious on the track. Shame about the water pump ending things early. Its probably been brought up before, but could you change to something like a Davies Craig EWP instead of the Toyota one?
-
Oh man a RWD M16A from a Swift Sport would be awesome. Plenty of power, enough torque, and love to be revved. ZC31S are being scrapped pretty often now, even at PAP. The only problem with modern engines like that is the ECU and immobilisers and stuff. The Swift immobiliser is linked to the ECU, so cant operate without all those gubbins. Not like wiring a 4AGE or MX5 engine.
-
Everyone thinks the company/dealer in NZ is the bad guy, but knowing the margins in NZ on things like keys, the "problem" is the overseas overlord. Yes, locksmiths can sell for much less, but having also had both a genuine and a locksmith "knockoff" keys in my hands, there is a reason they are cheaper. If you dont care and its to get you from A to B, then that is a fine option.
-
What a load of bullshit. So anything i dont like the price of, I can just take them to court and get it cheaper because "the sum of the components is less than the complete part"? He should be thankful he has a Toyota and not a Euro.
-
Thanks, I didnt think it'd be a problem but I sometimes overlook the obvious, so a sanity check is good. The very early UK Marinas ran a hardline under the radiator in the same place, but changed the pipe from the tank to the other side of the car later down the track.