Rhyscar
-
Posts
921 -
Joined
-
Last visited
-
Days Won
1
Everything posted by Rhyscar
-
Thanks Dave. I’ll do some enquiring since Hamilton is the centre of the stainless tube manufacturing industry in NZ
-
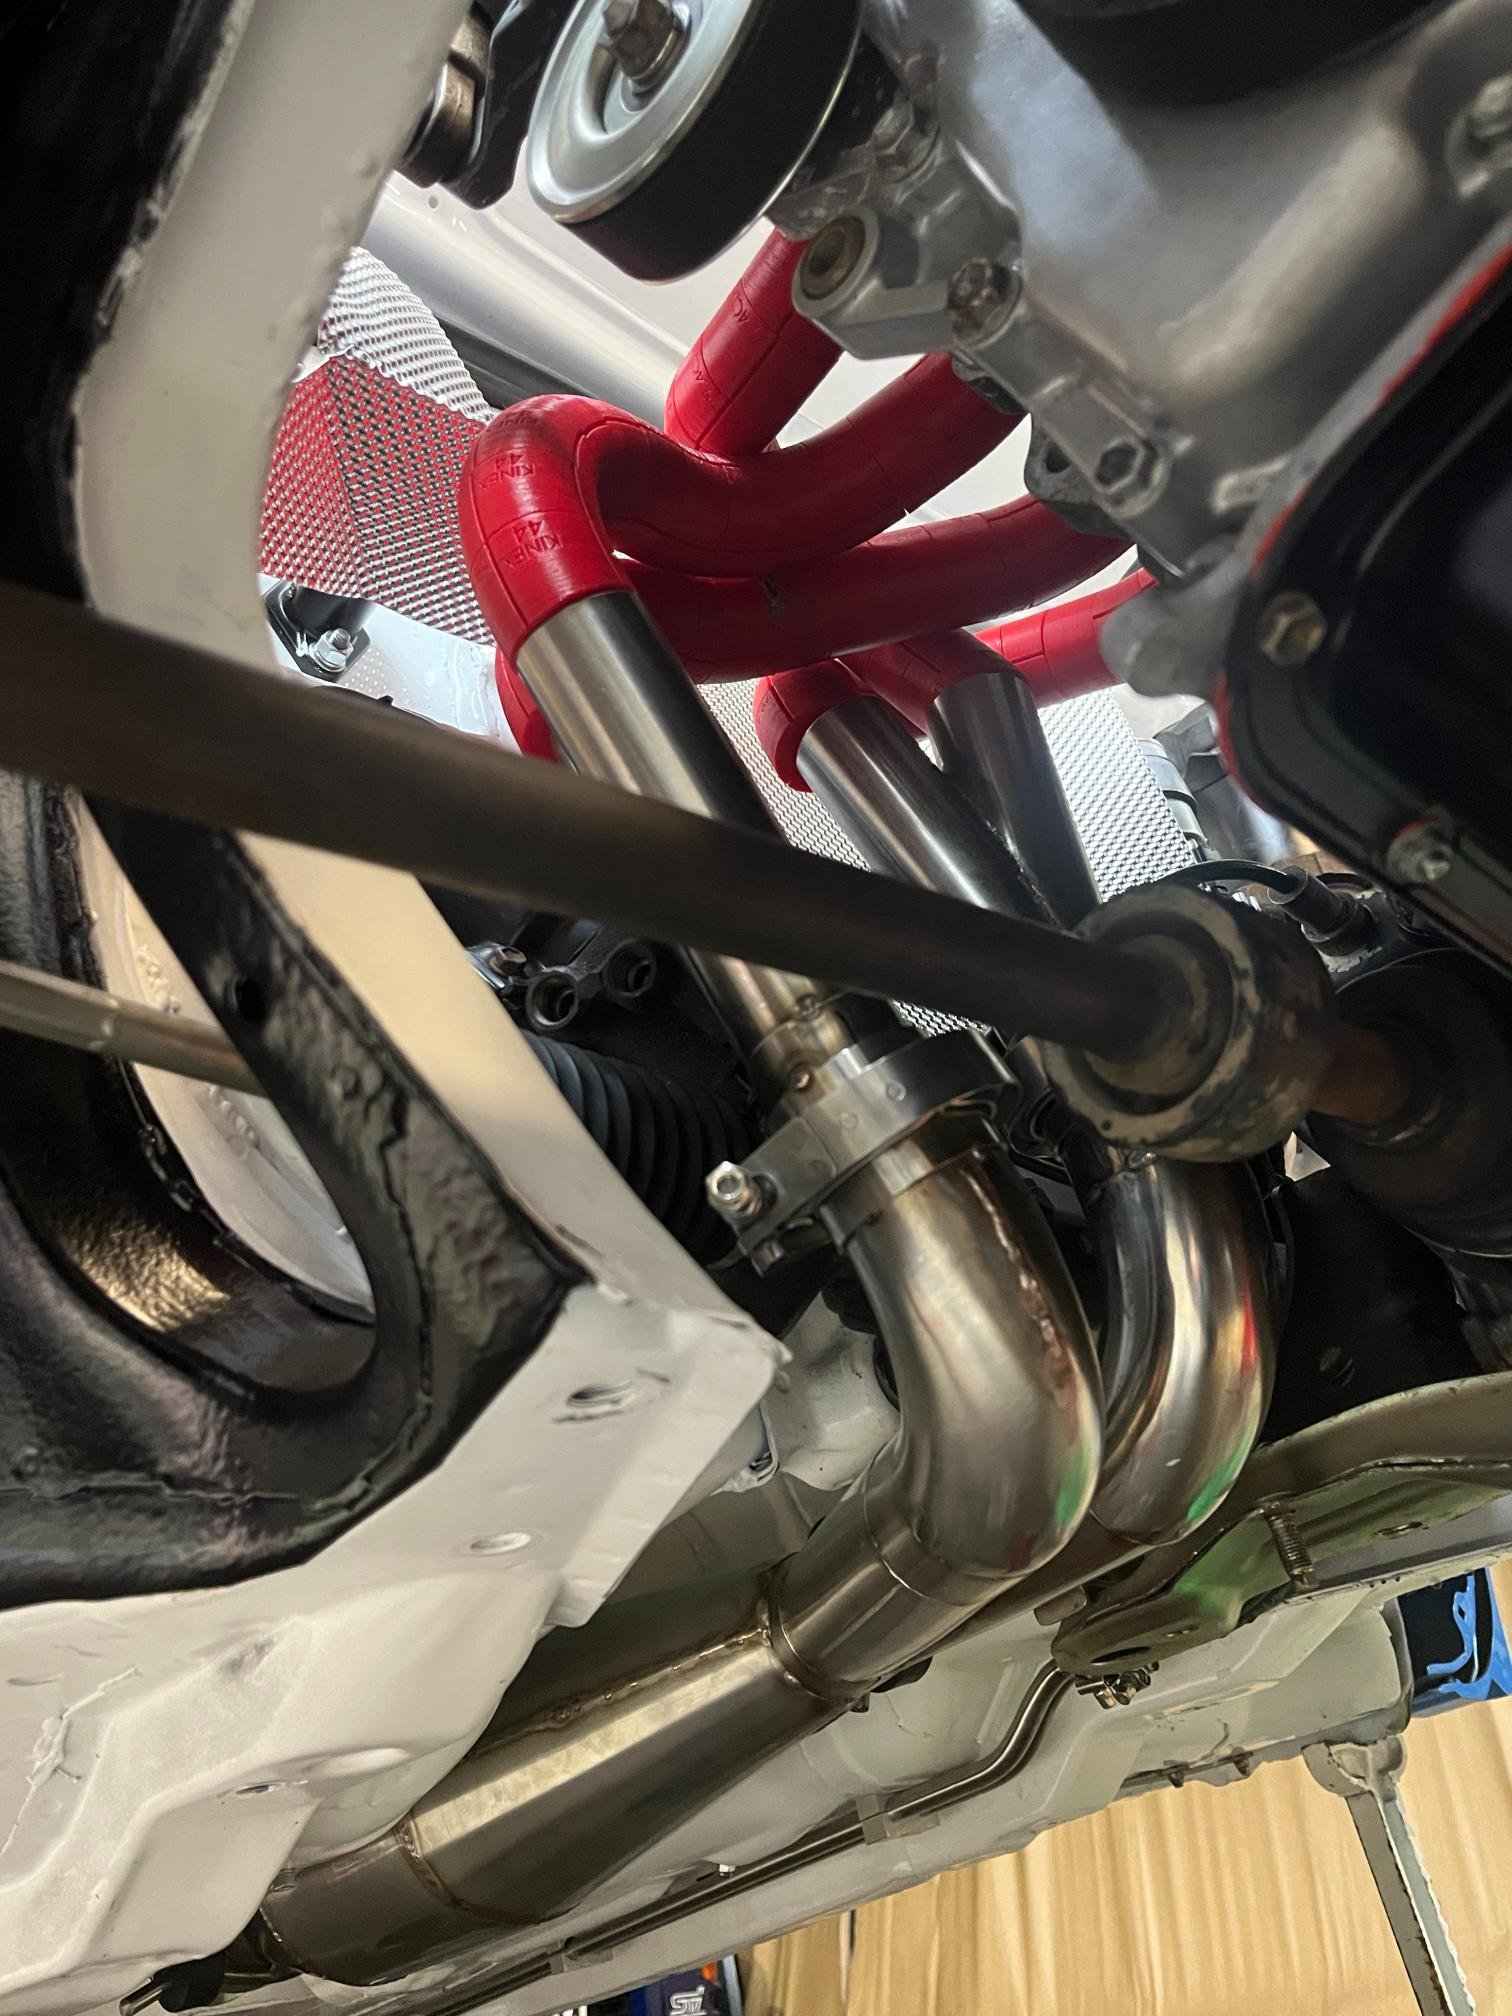
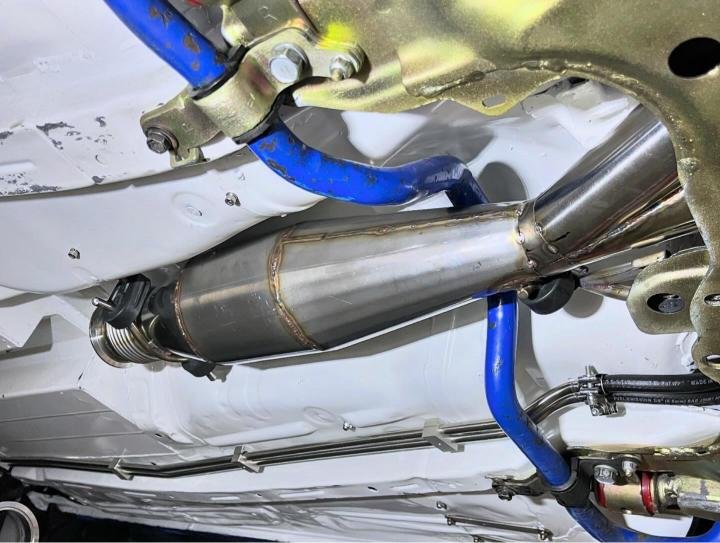
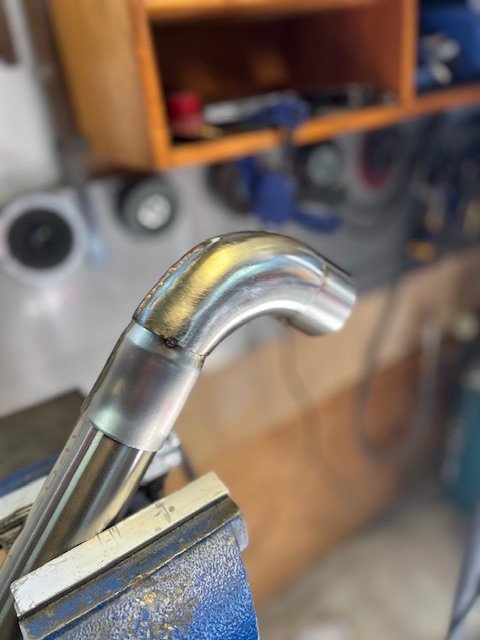
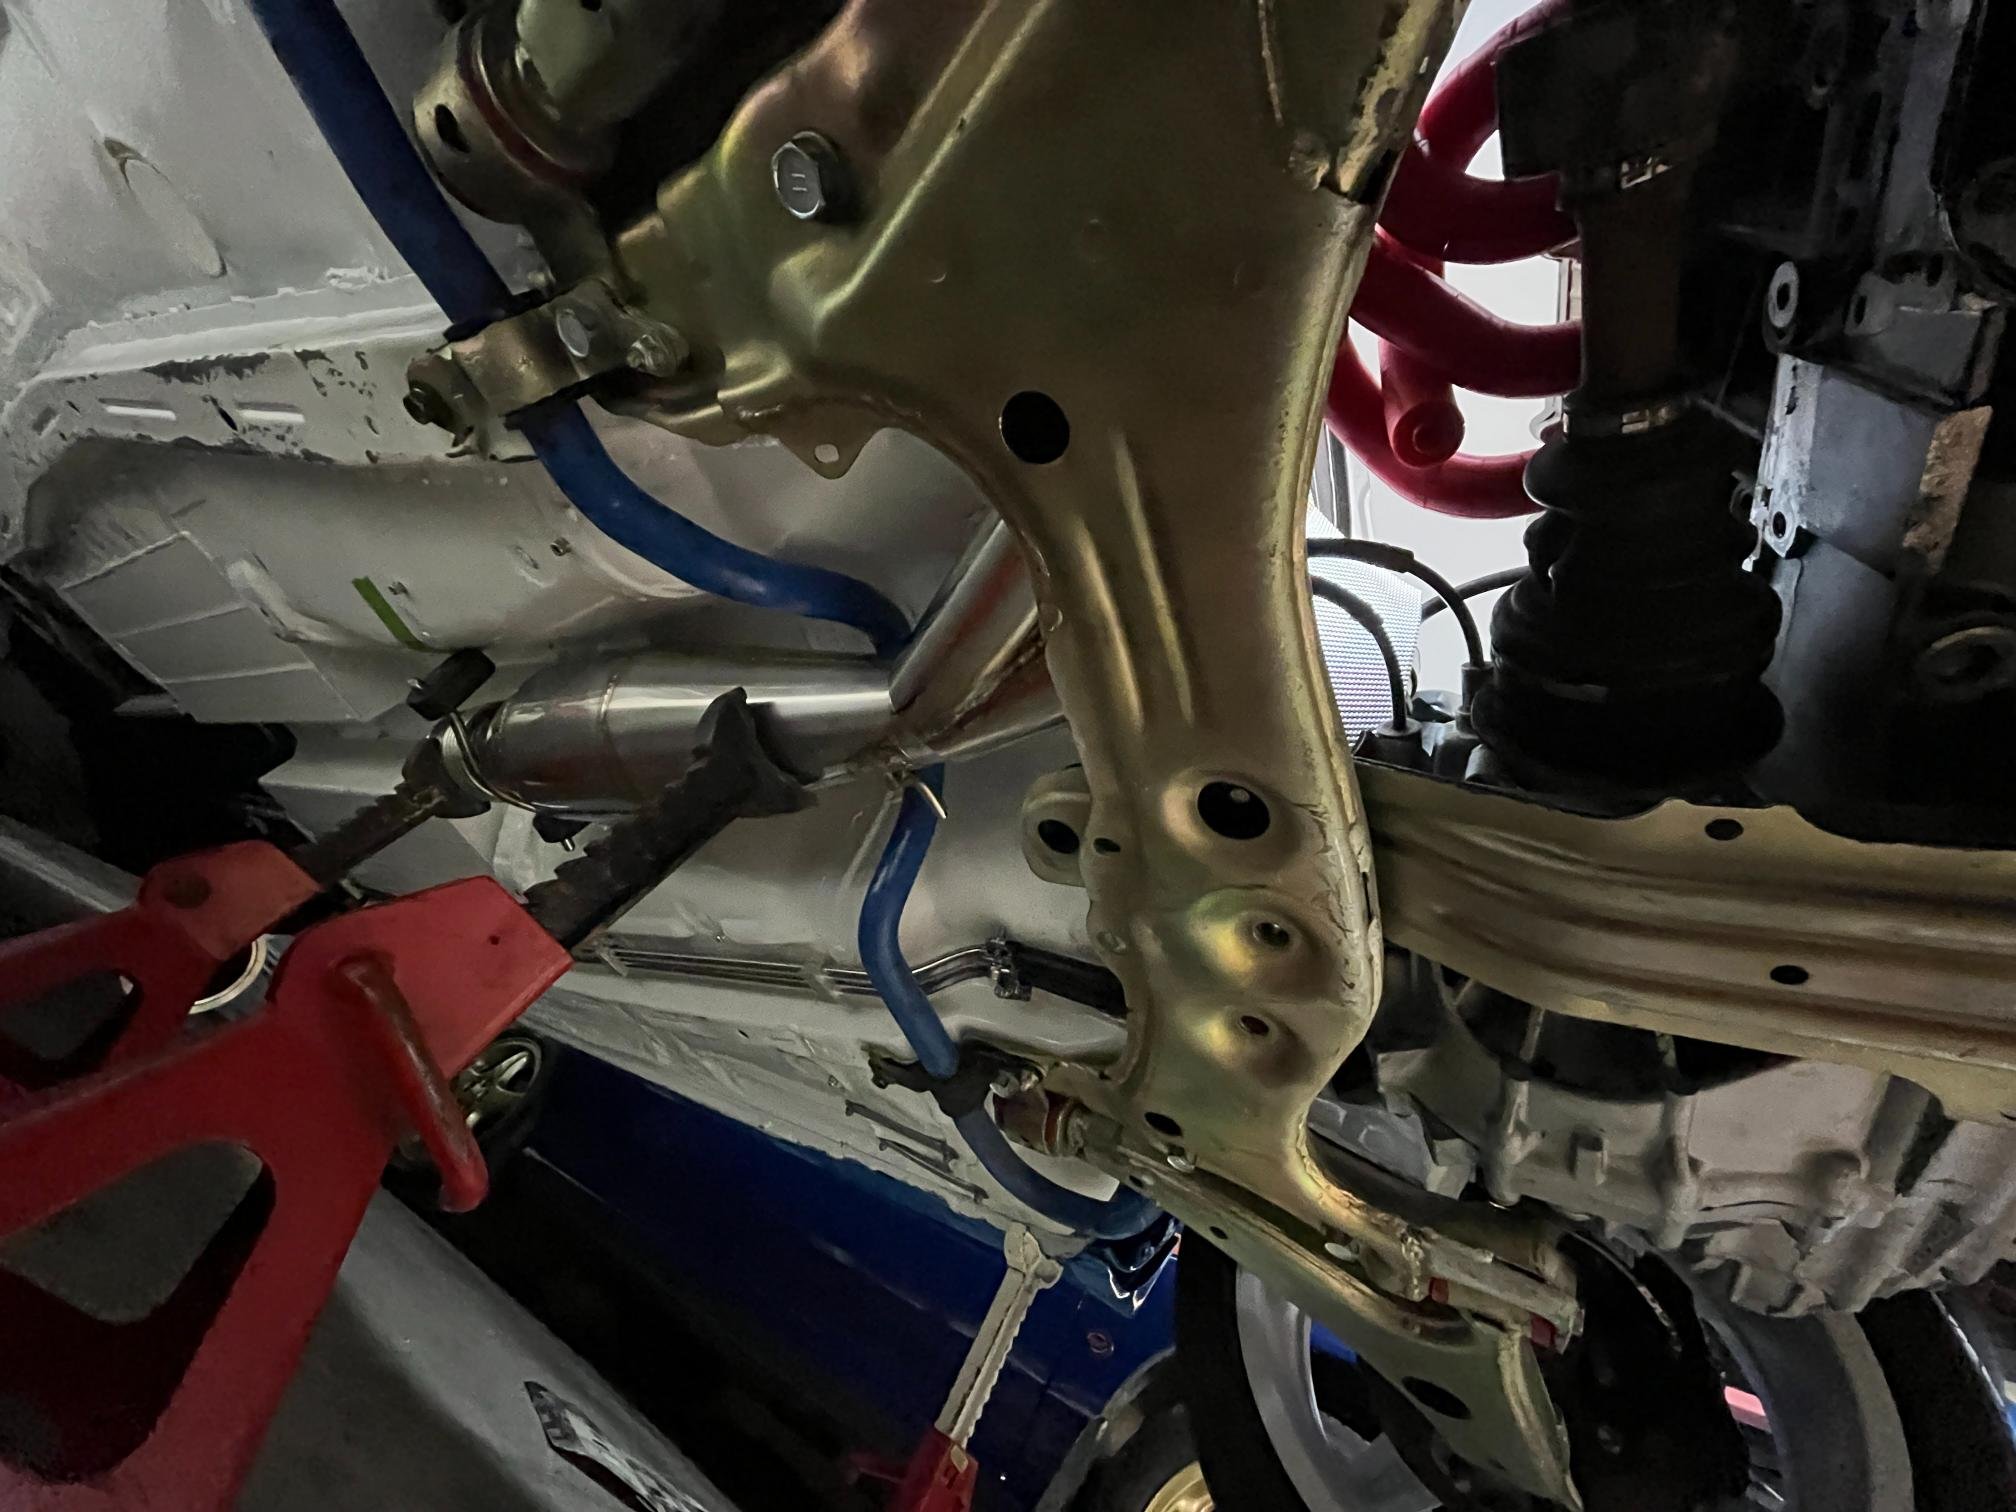
Exhausting progress report. Got the secondaries where they need to be & mounted up. Ended up removing subframe for easy access (this is the only way secondaries will come in/out so hoping it won't become a regular job!). Moved from slip joint to v-bands. Hoping I don't regret it in the future with leaks/cracks. Main benefit is it saves 30mm in height. With the slip joints, I found I didn't have enough primary length to get the tubes where they needed to be. Another benefit is I can have the secondaries at different angles (slip joints need to be parallel) which makes the drivers-side secondary a lot simpler. Now comes the fun process of cut-tack-cut-tack-fit up-cut-tack-throw in bin... A little bit of jiggery-pokery needs to get 1 & 4 fitting well but I'll be able to make it work. But will need all of my patience to see this through. @Roman got me thinking about metal printing/CNC forming the primary tubes to reduce amount of welds to crack in the future.. Anyone tried this and have input on process/cost to do so? The non-straight section of primaries are 12" so 300mm each. In non-exhausting news, we filled the coolant system with water yesterday... it only had 3x leaks in 3x seperate parts of the system. Fun! time to pull it all apart. Good news is system is approx 8L and bled up no problem at all. Fill point is highest in system and air bleeds on heater hoses was a stroke of genius. Only thing I need to add is a radiator drain bung. All part of the process. Rome wasn't built in a day.

- 417 replies
-
- 16
-

-
So stoked for you. Getting to use a car like this with the family are great memories to make!
-
Rhyscar's Subaru Type RA of teenage dreams... where less is more
Rhyscar replied to Rhyscar's topic in Other Projects
@kws I can relate to that. A good Subaru goes forever if you don't rag on it too hard. A rubbish one is nothing but problems. I've had a pretty good run of experiences with them. Trick is determining what kind of owners have been before you... 2008 WRX - brother still has this one probably 240kms 2013 WRX - sold at 250kms, still going well was a great car 2006 Legacy - EZ30R developed some weird overheating issues around 230-240kms (cause I towed a 20ft boat with it) but wouldn't loose water. Replaced fans, radiator, thermostat etc. Never got to the bottom of it sold the car for bugger all to be done with it. 1996 STI type RA - 240kms engine unopened, gearset replaced with new @100k (probably from doing helis as it was based in Dunedin around this time) -
Rhyscar's Subaru Type RA of teenage dreams... where less is more
Rhyscar replied to Rhyscar's topic in Other Projects
I'd have to counter that by saying our generation is obsessed with making heaps of power which has ruined a lot of really good 90/00's cars. If it does everything else well (diffs, gearbox etc) I don't think a GC8 needs more than 300hp which open deck will handle OK with a good tune. Diffs probably have the biggest influence on the balance in a 4wd car. Alternatively, the later model semi-closed deck S207 blocks are good for 400-450hp are also another good option. A few years ago they cost approx $4500 for an assembled long-block from Subaru so pretty cheap option. Dad's GRB Targa car runs one of these and it will peel your face off between corners. I don't think a Subaru needs 500hp+ to be fit for purpose, the beauty of them is the driving dynamics for attacking the corners (how they dip, dive & transfer weight). This was even evident back in group A days, where Toyotas had all the HP and smoked Subaru on open events, but the Subaru shined in the tighter stuff (check out coverage from 95 NZ rally Motu as an example). My experience with this car is that Subaru did a great job of transferring this pedigree into their road cars. For a production model, this wasn't really rivaled until Evo 6.5 onwards where they nailed the AYC setups.- 37 replies
-
- 14
-
-

-
Rhyscar's Subaru Type RA of teenage dreams... where less is more
Rhyscar replied to Rhyscar's topic in Other Projects
Close ratio gears make every performance-orientated car 100x better! Might need to bring to your place next time so we can find some corners... it's crazy how much slowing down you don't have to do with lightweight. -
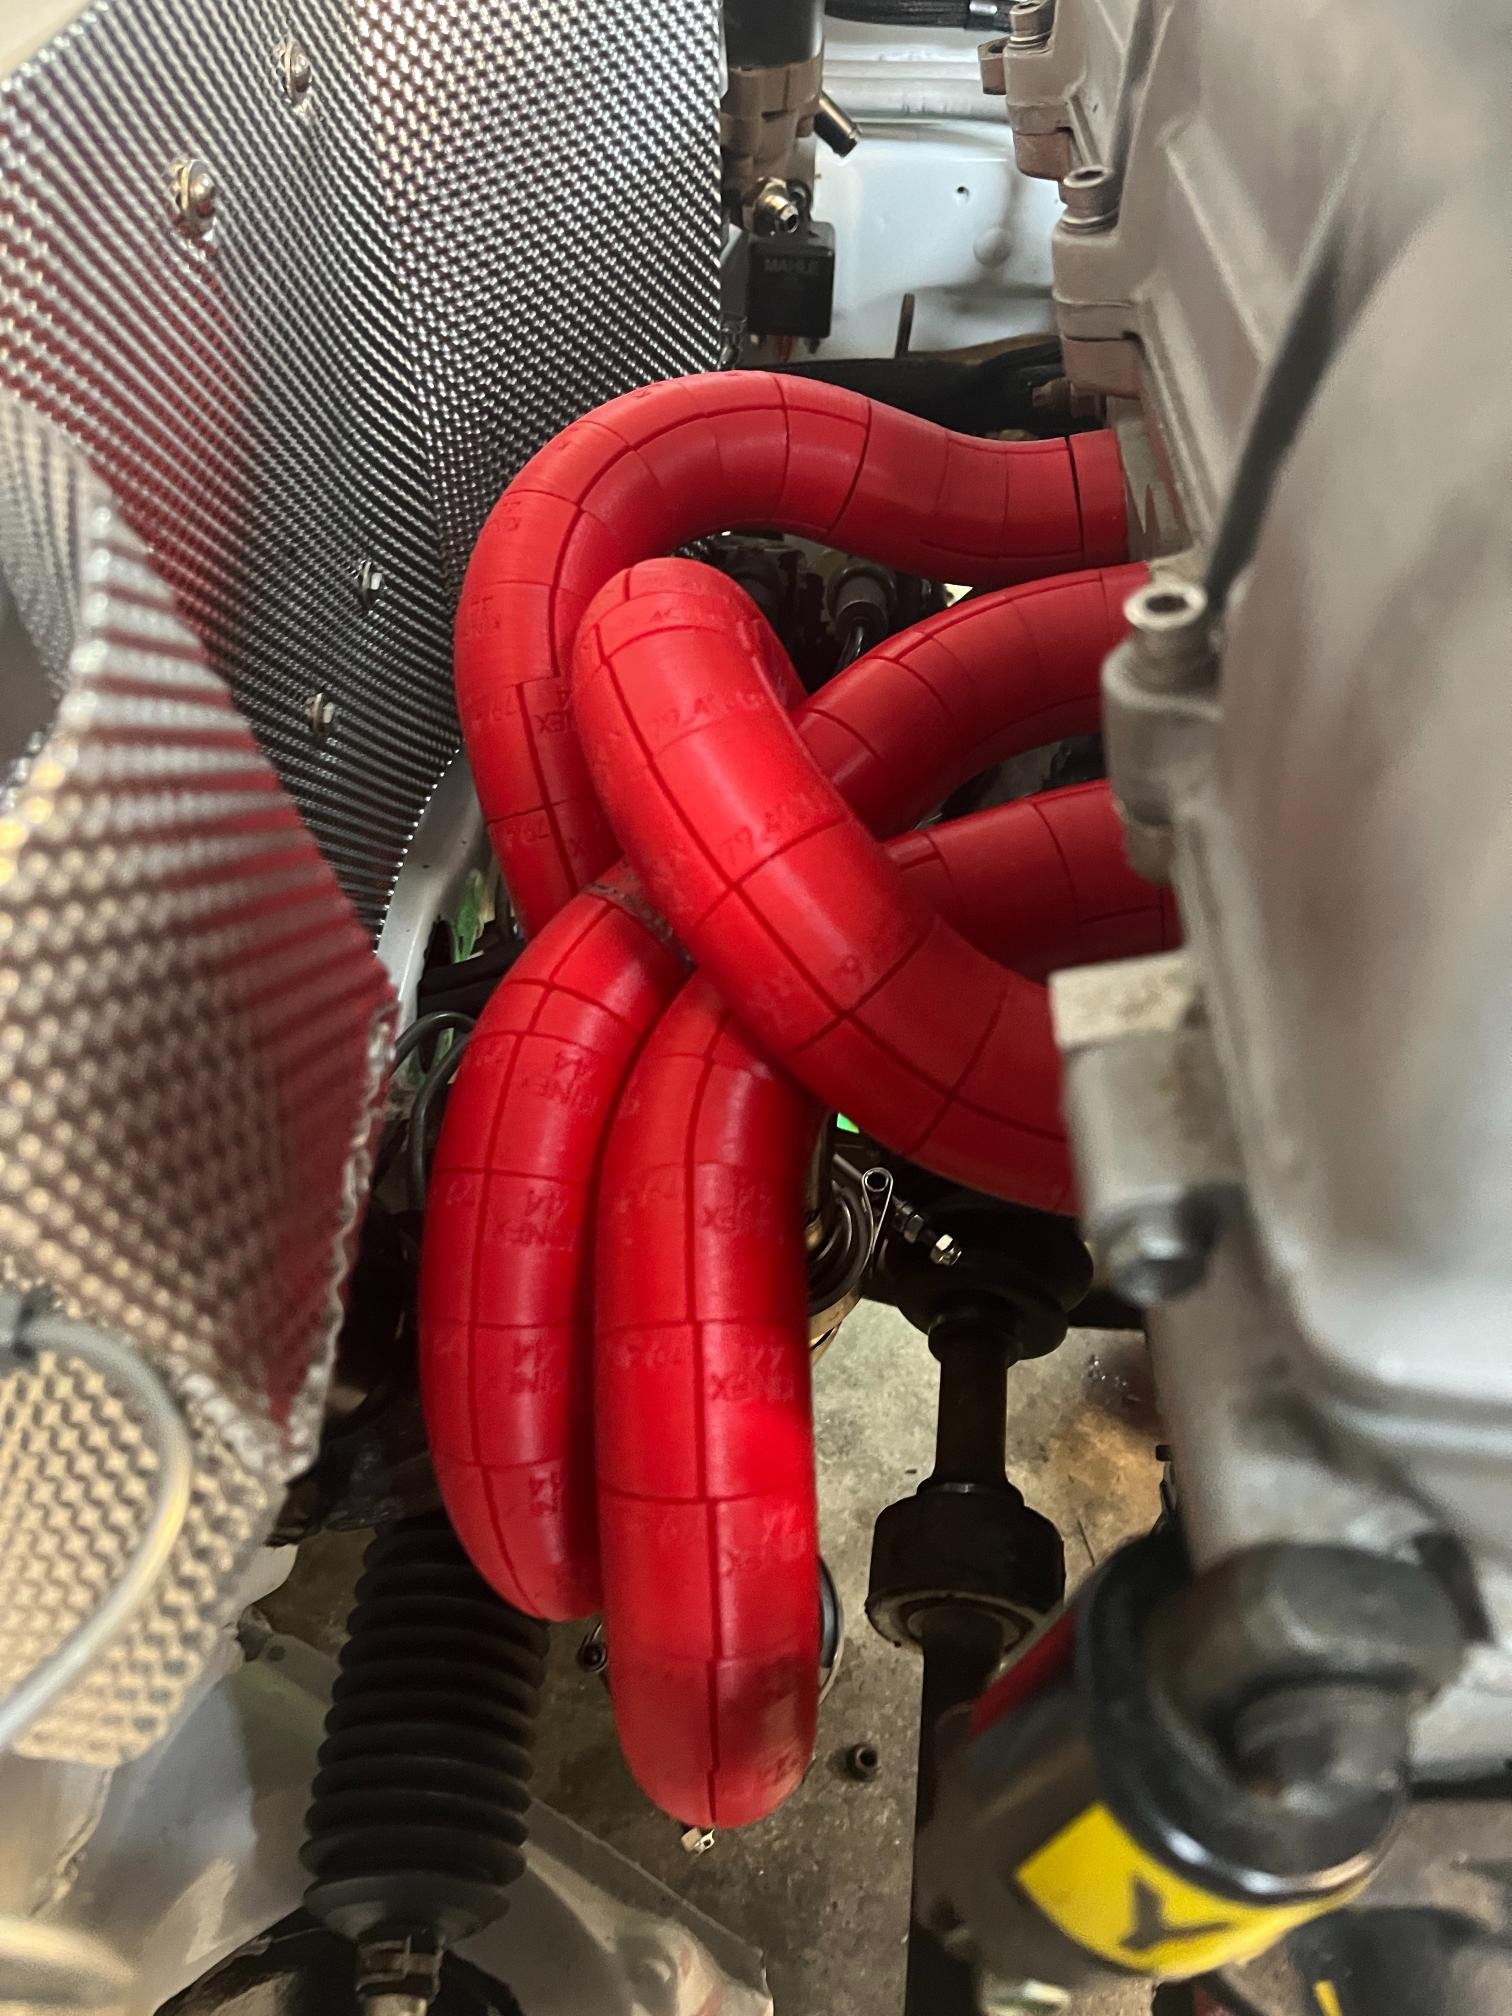
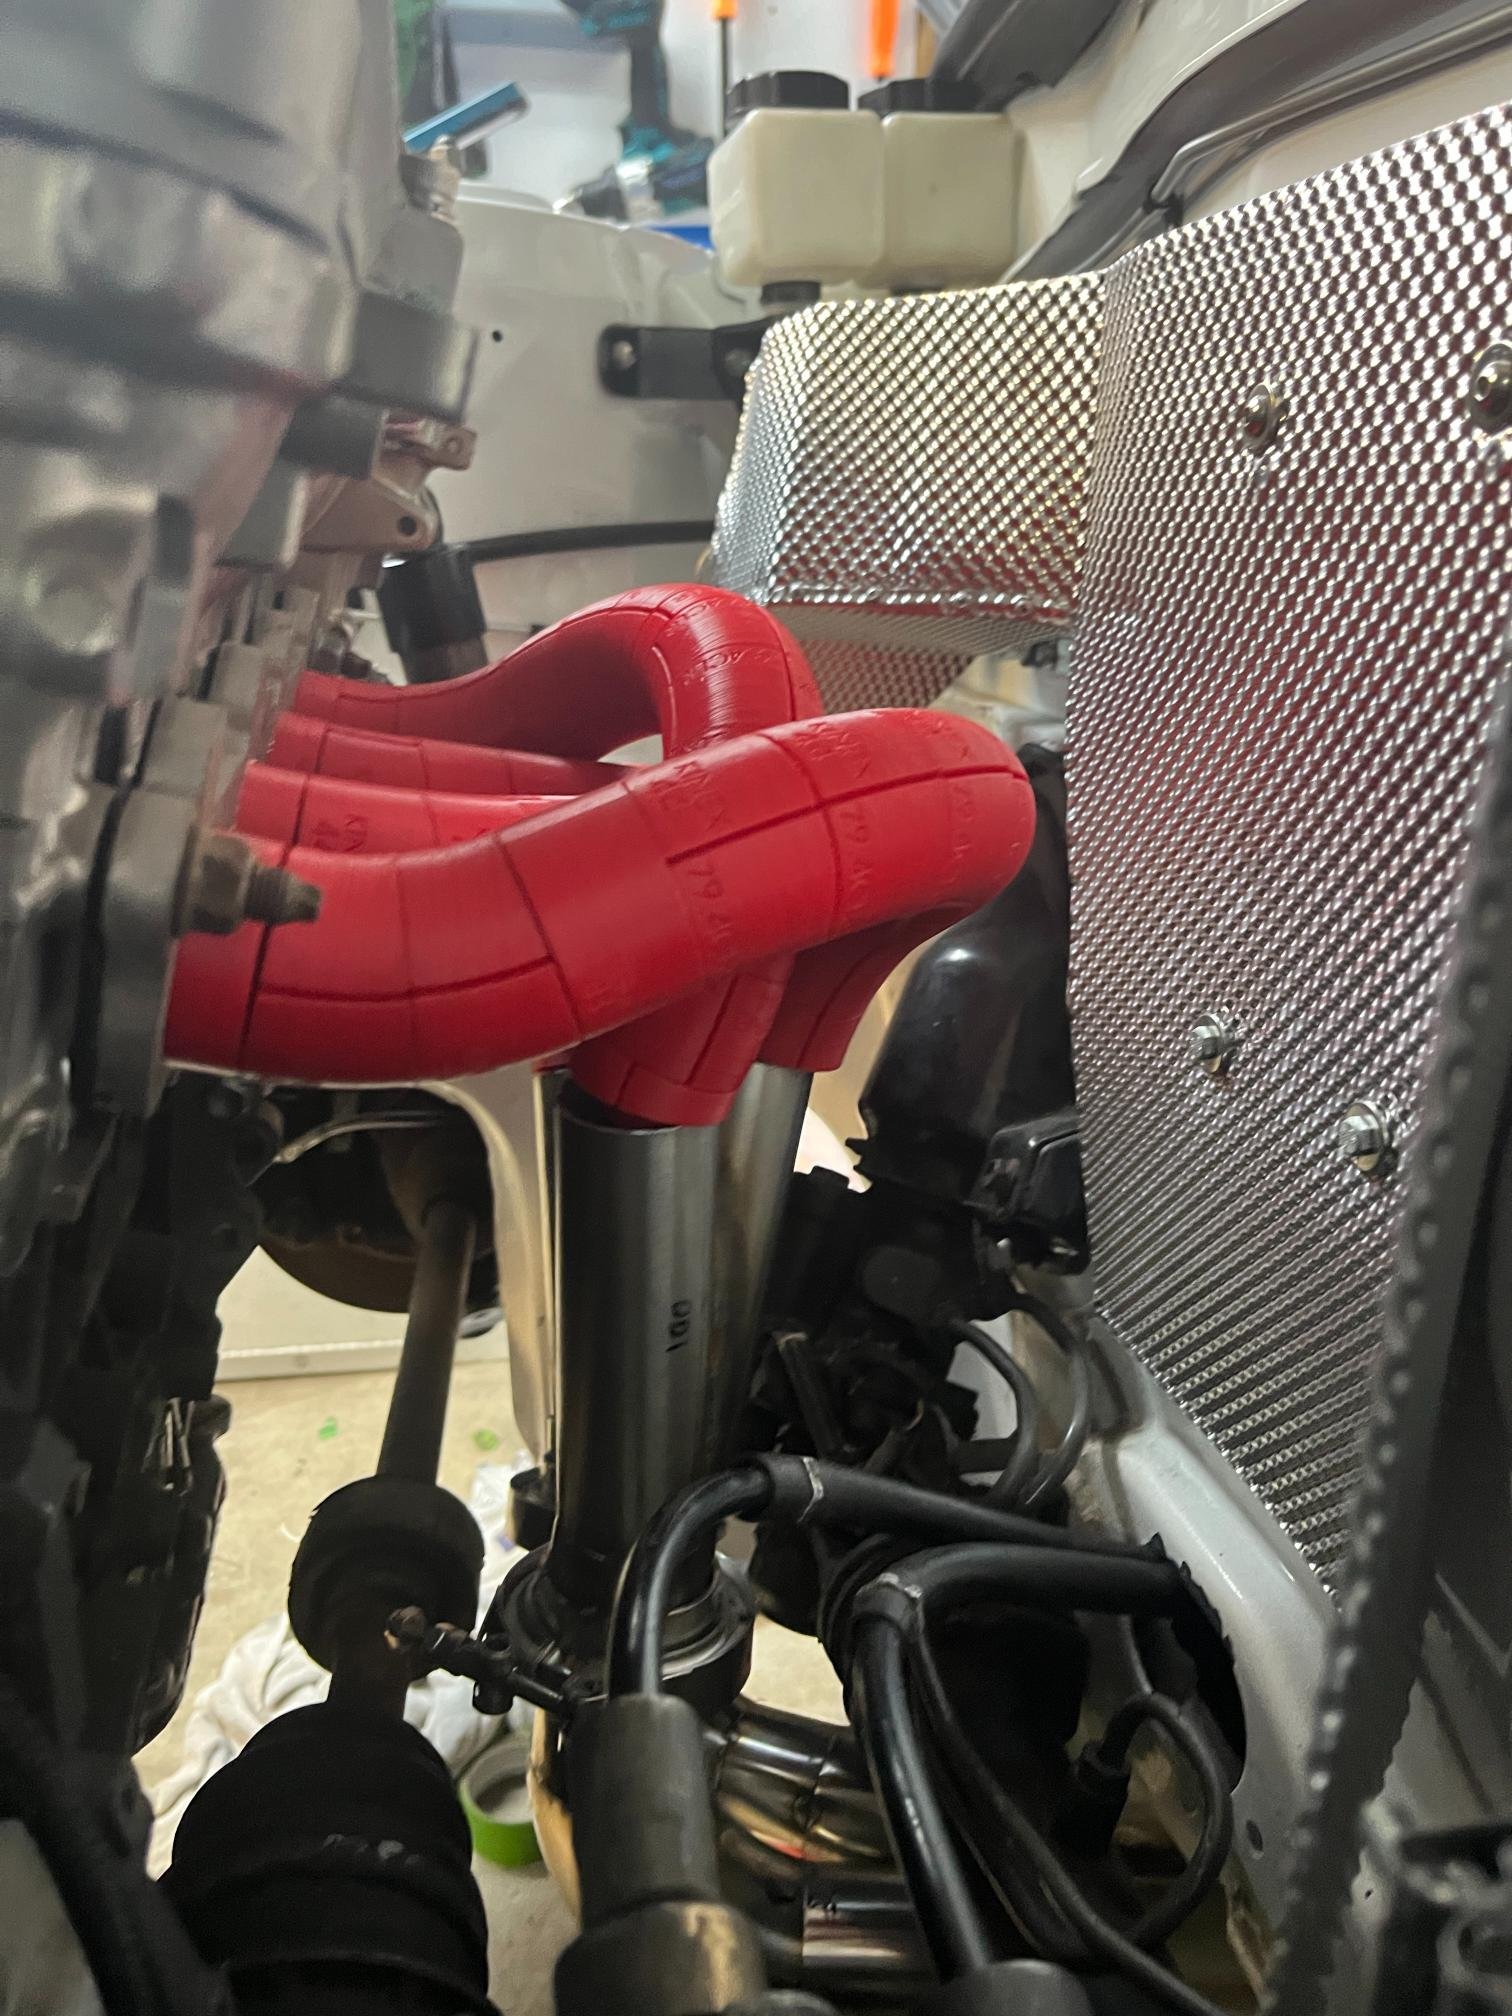
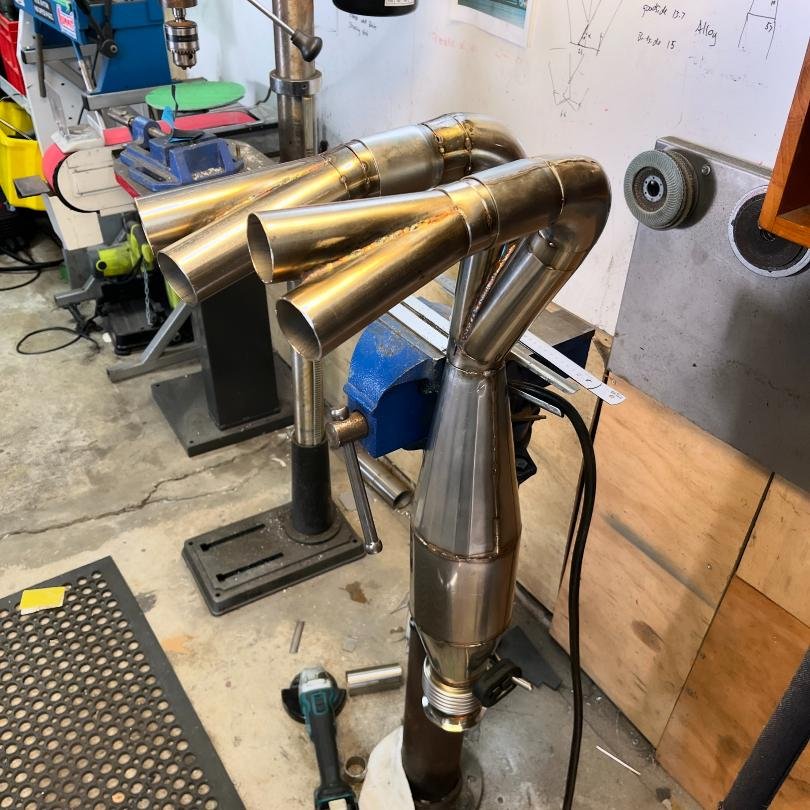
Faaarq this is hard. Too many constraints and me wanting to do everything properly are making my life difficult. Anyway heres some quick pics of progress. Been hitting my head against a wall trying to get the primaries to where the secondaries join. I think I need to hit it with a fresh mindset and box-load of creativity to come up with a workable solution. 2" to 2.25 through a 90deg bend @10deg divergence... Slip joints in place. I was worried about the secondaries being slightly too big so decided to gradually transition from 2" to 2.25. Worked out perfectly with the size of collector outlet. Megaphone all mounted for 2nd time... Ended up removing the subframe for easier access. Long-term plan is to make a tubular subframe to correct roll centre which would also solve this header clearance issue... but got to get car running/road legal first because that won't be a 5min job!
- 417 replies
-
- 12
-
-
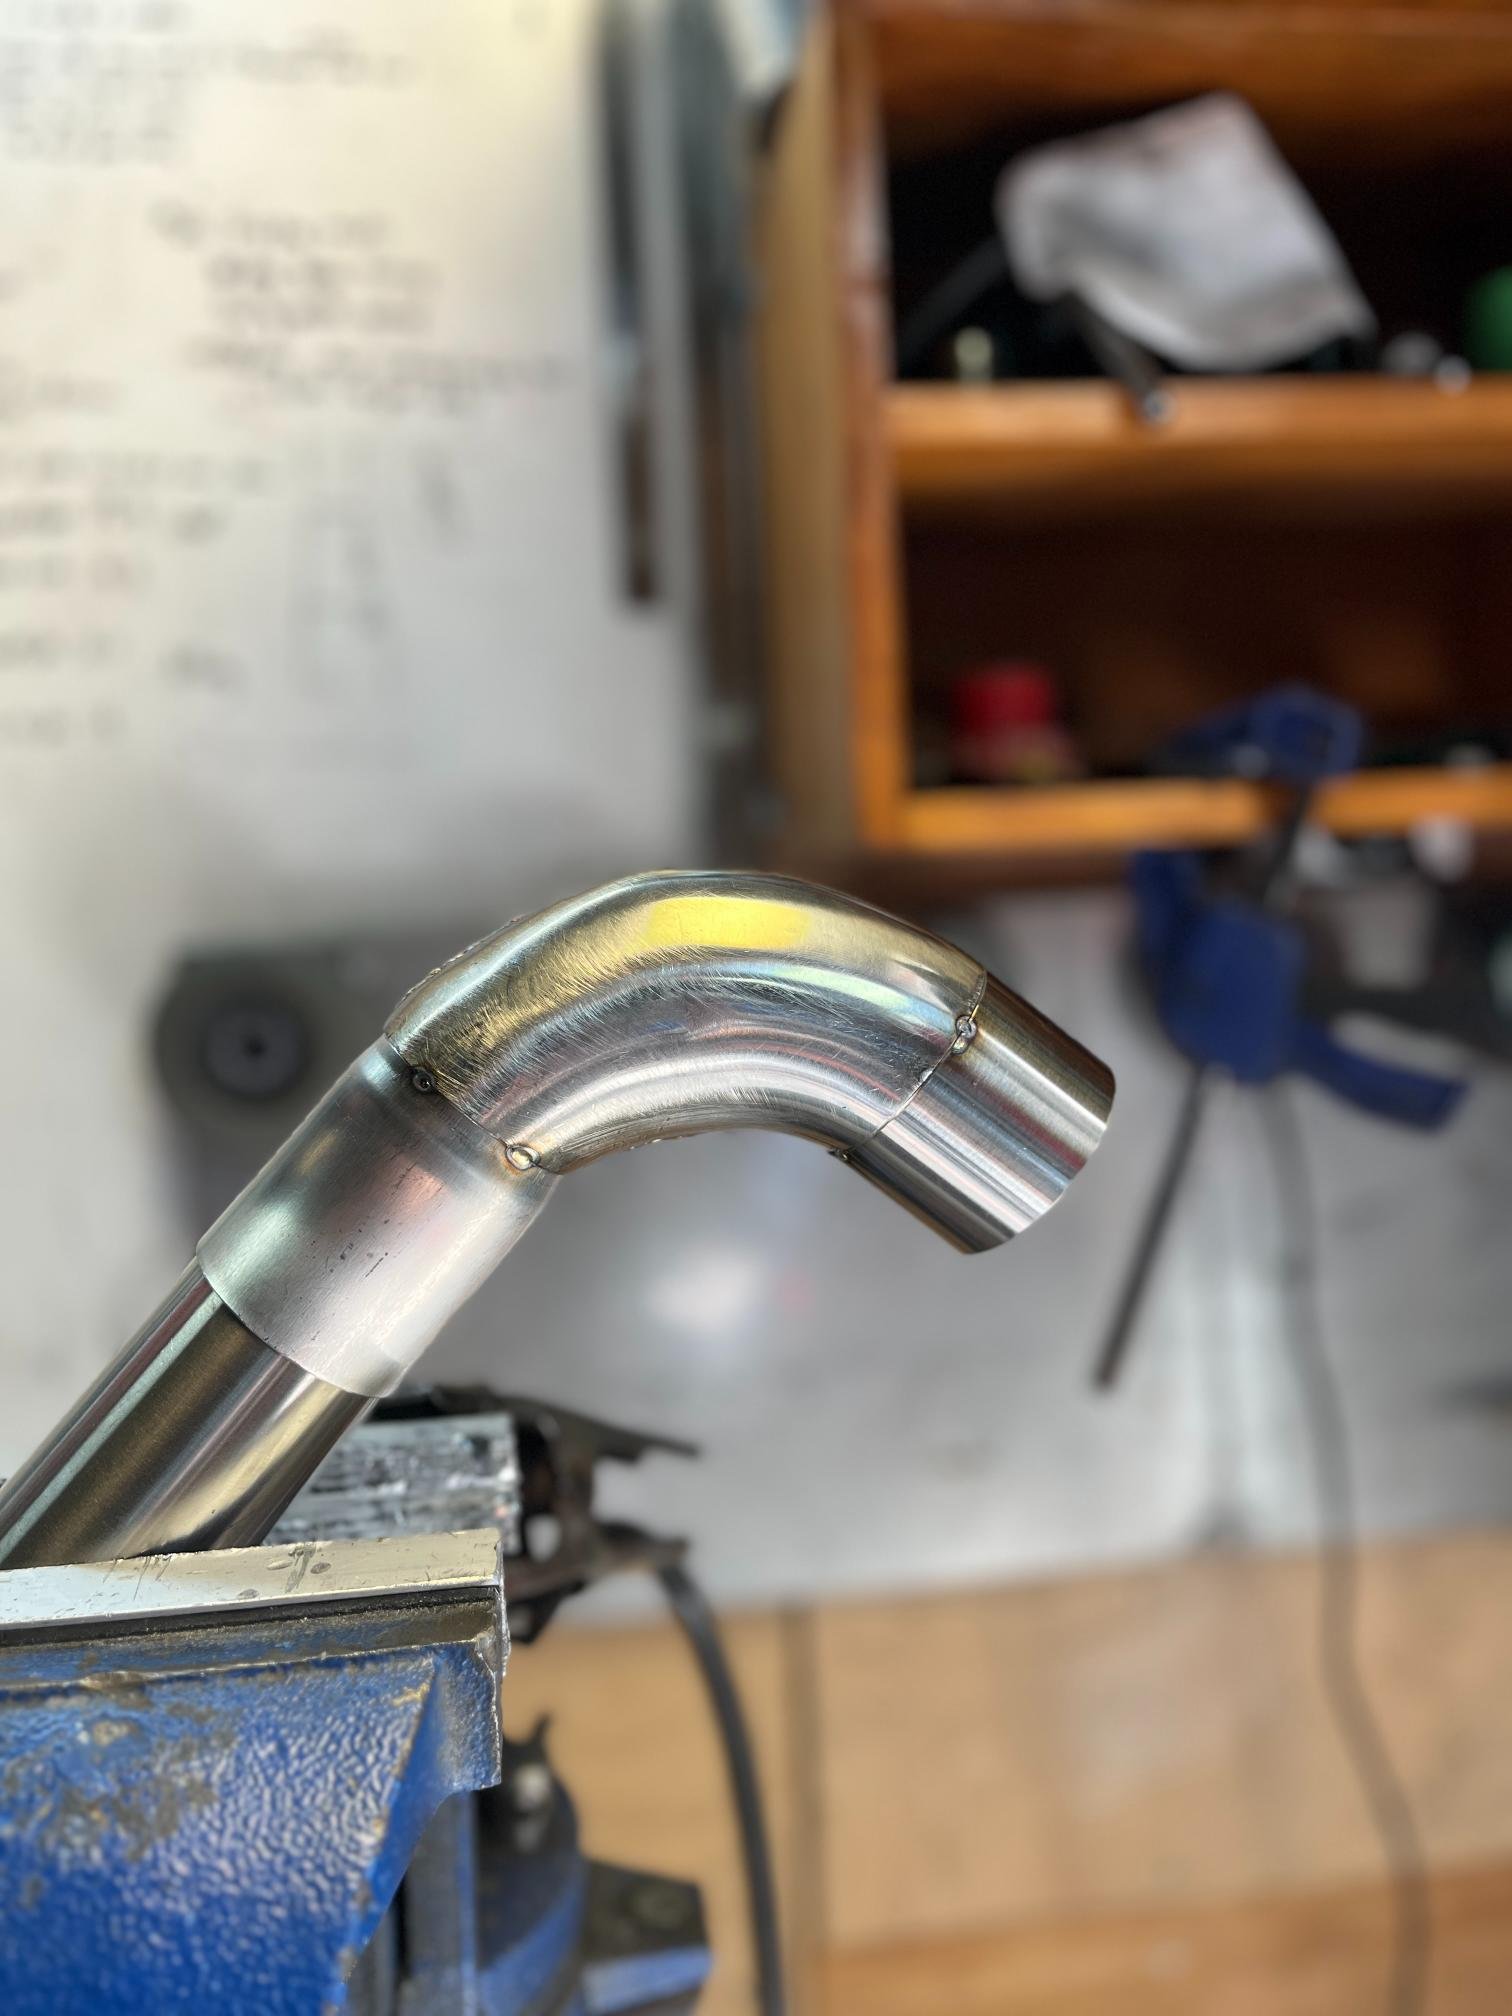
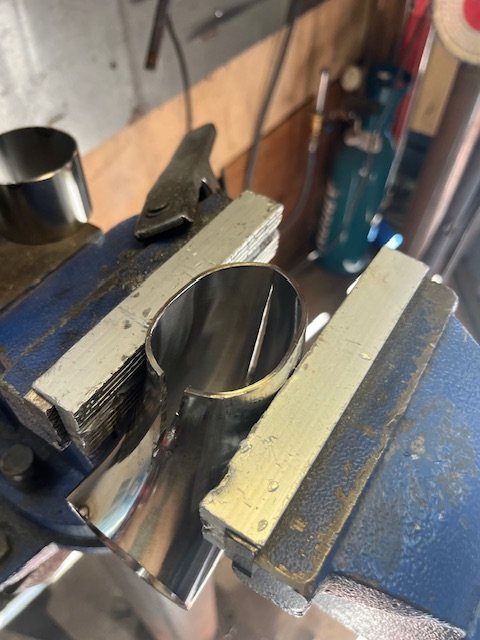
Im super keen to see 3D printed collectors. Mine have taken soooo much effort it makes me never want to make another set of headers! case and point, here’s a seemingly straightforward thing to do when 3D modelling stuff - transfer from 2” slip joint to 2.25 through a 90deg bend… let me tell ya, this was bloody difficult!! Took 20mm of circumference out of the small end by slicing a triangle 36mm long to achieved my goal of 10deg divergence. In the end, leaving it overnight to hold in a position was the best way to release all the tensions on a bend like this, along with heat then hammer and repeat. Anyway that was 4hrs of my life I won’t get back, so 3D printing sounds like a great alternative!
-
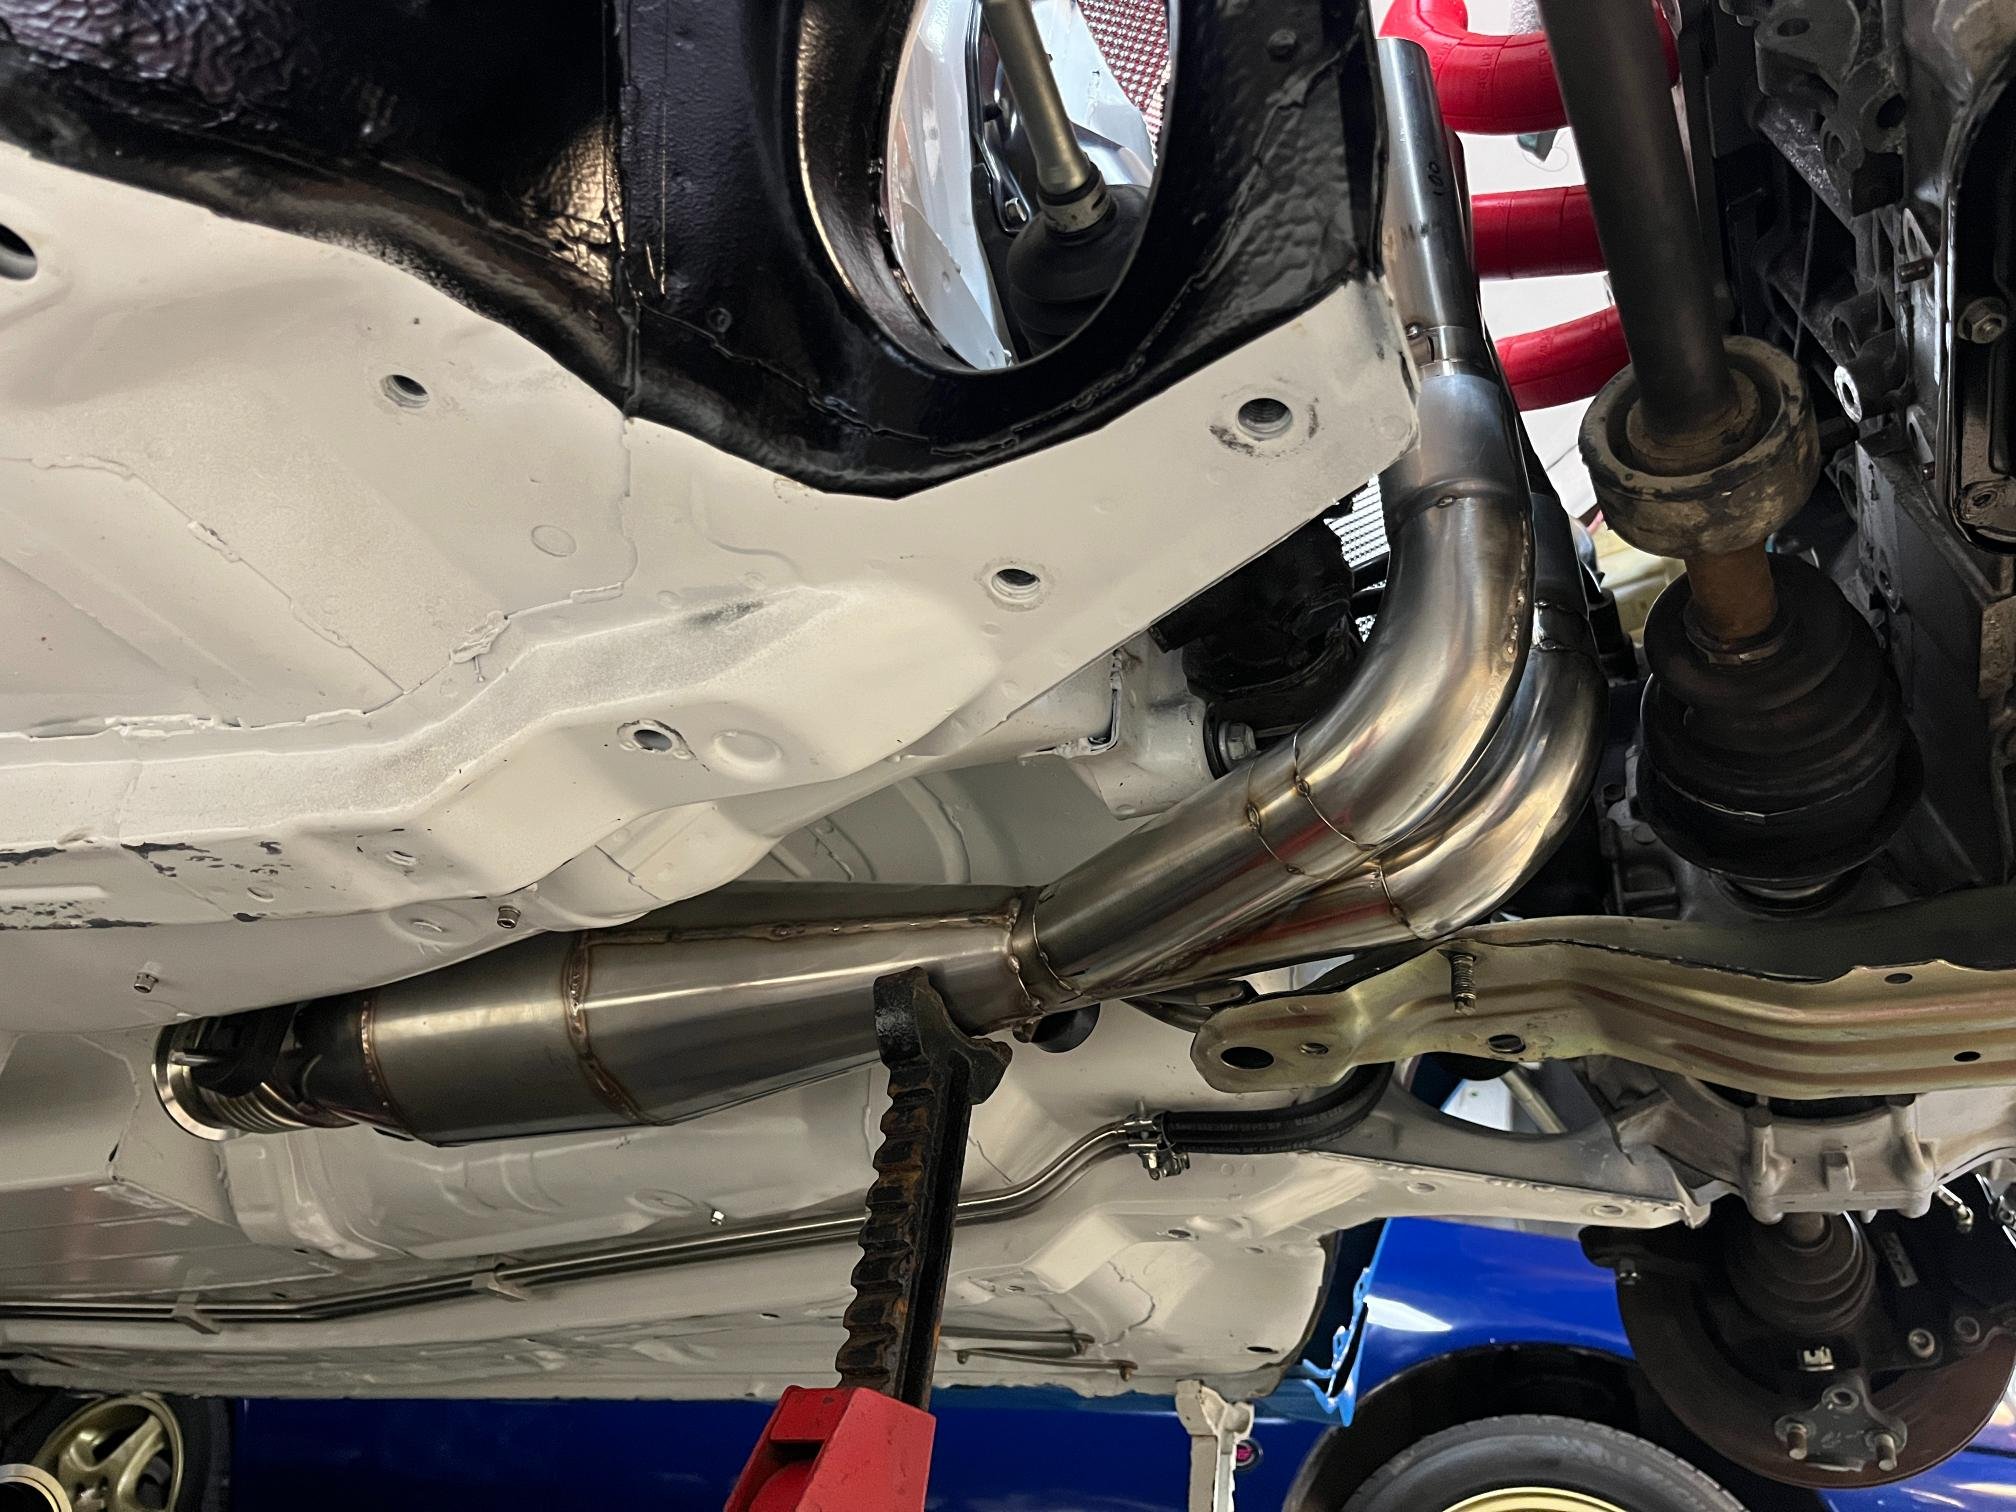
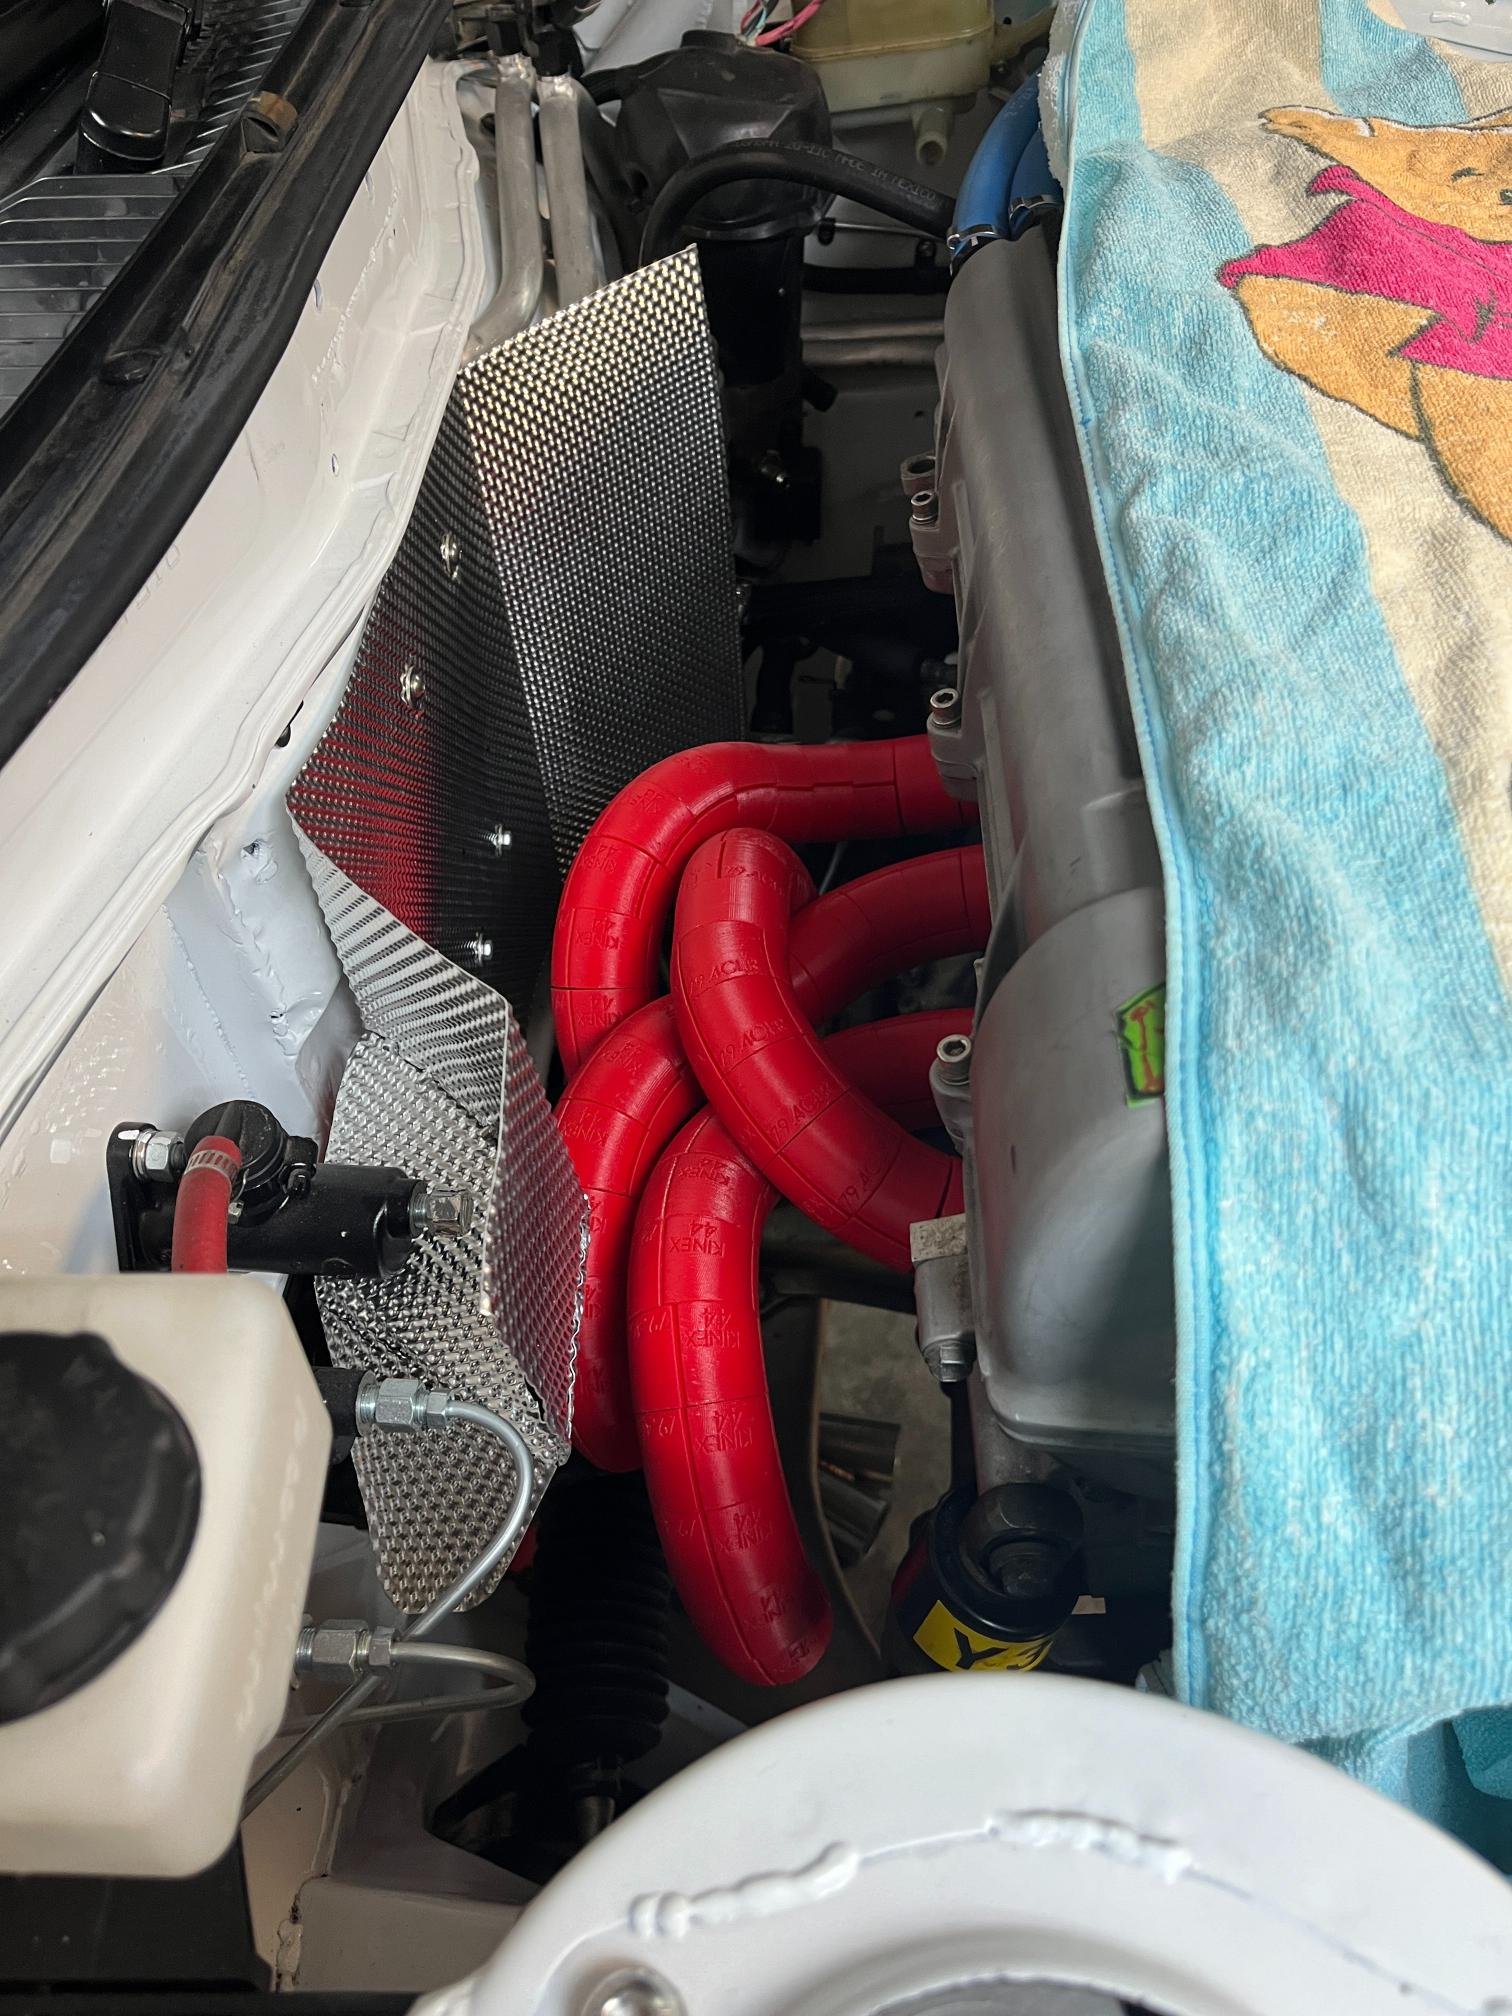
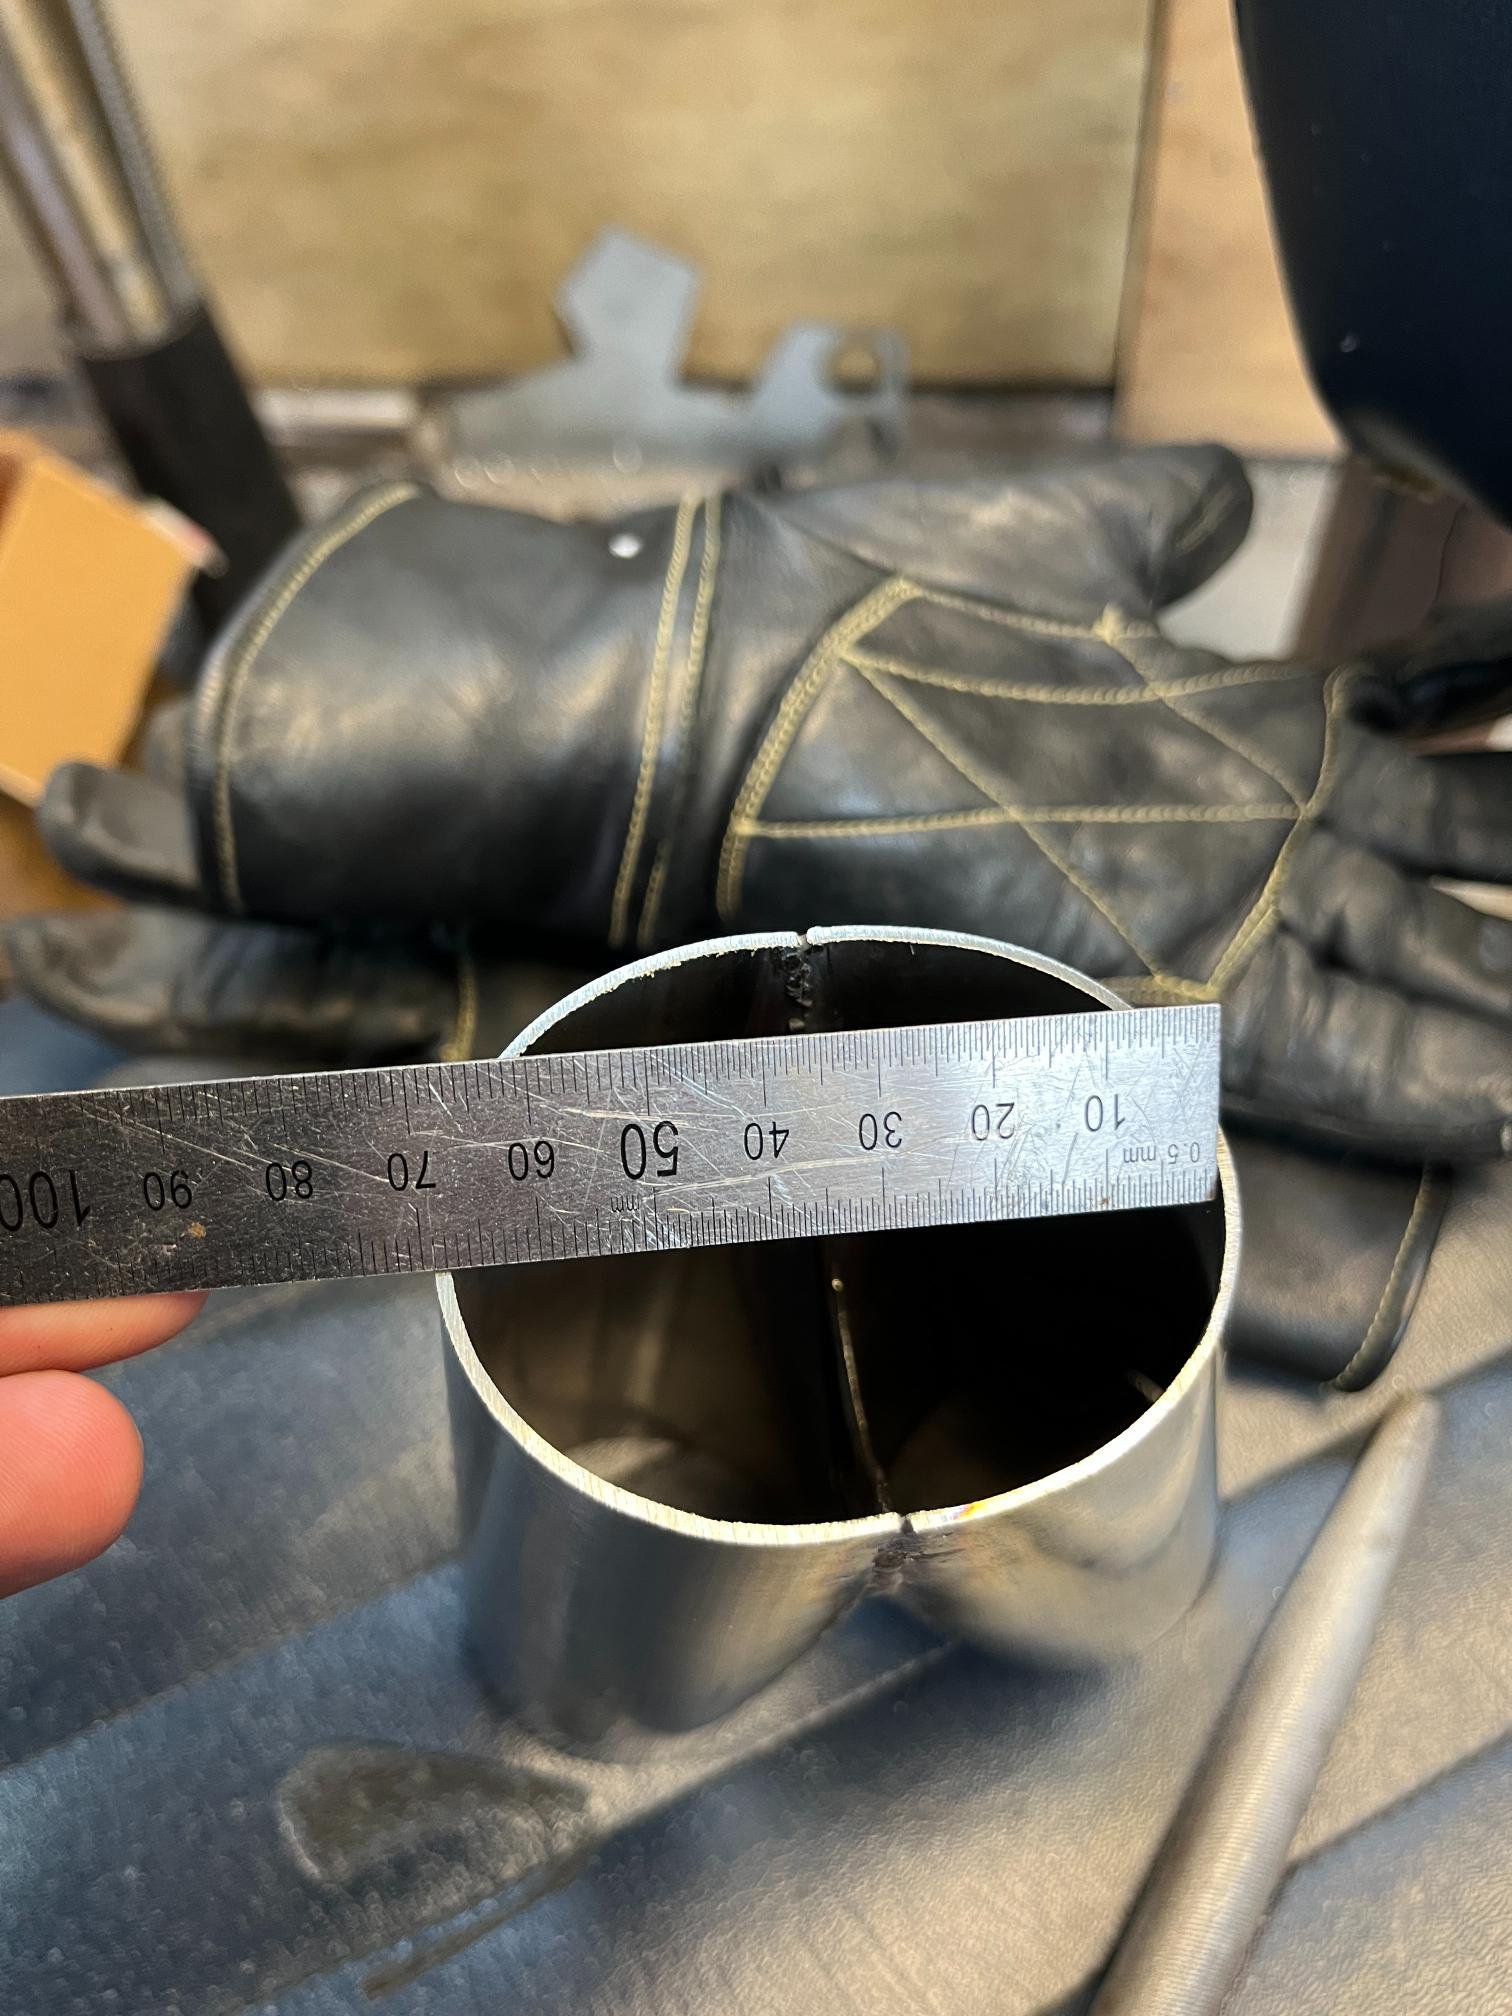
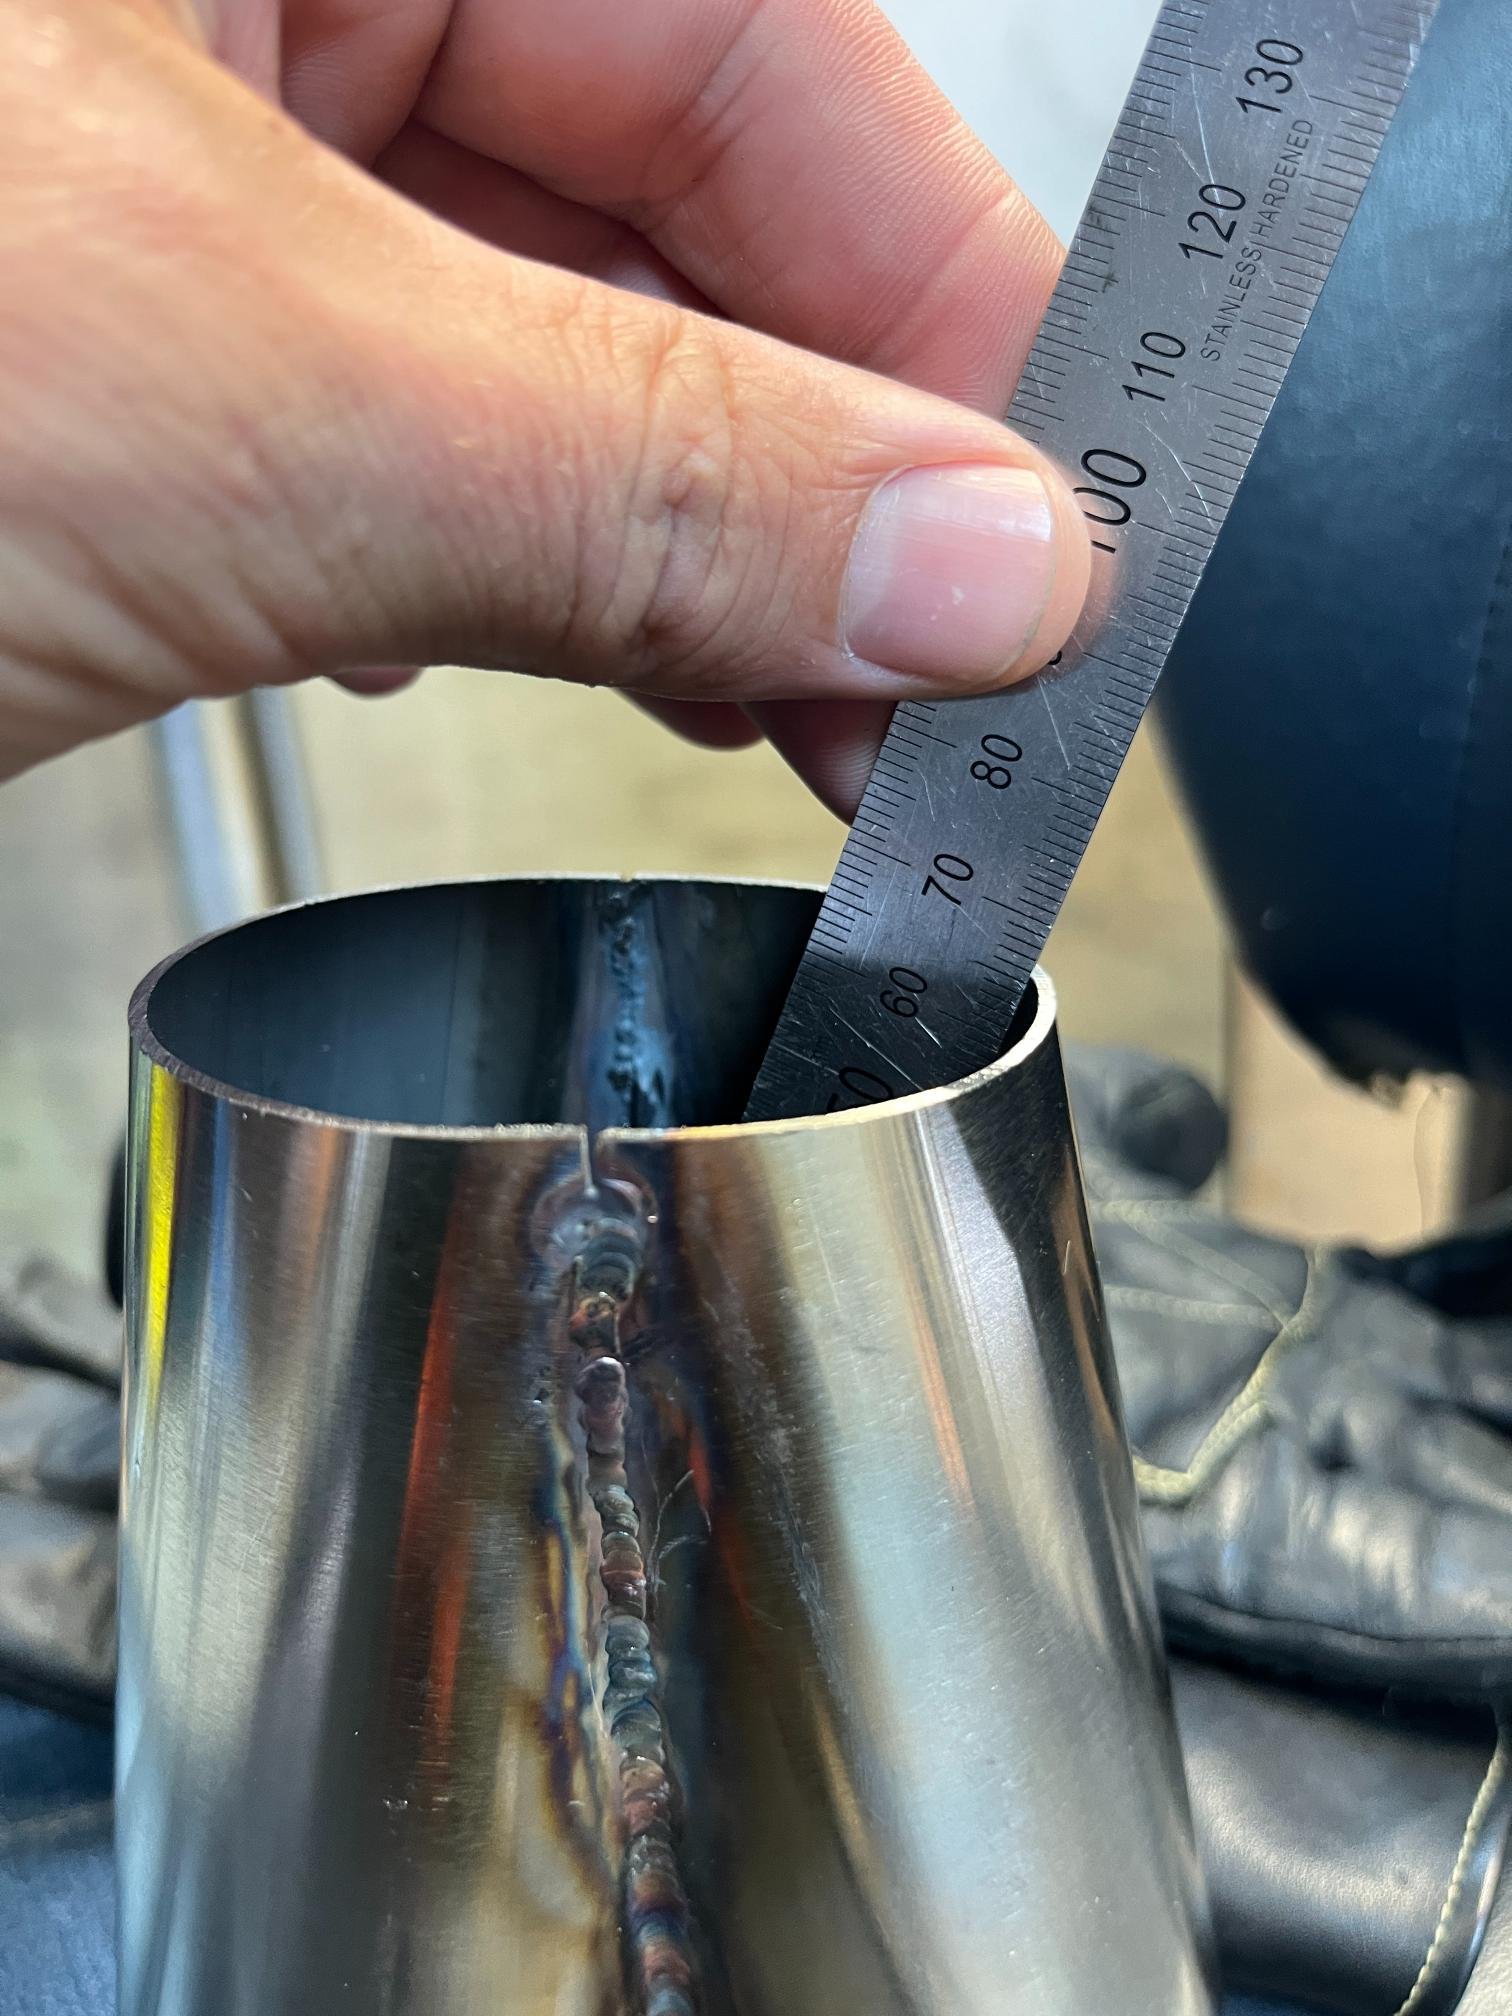
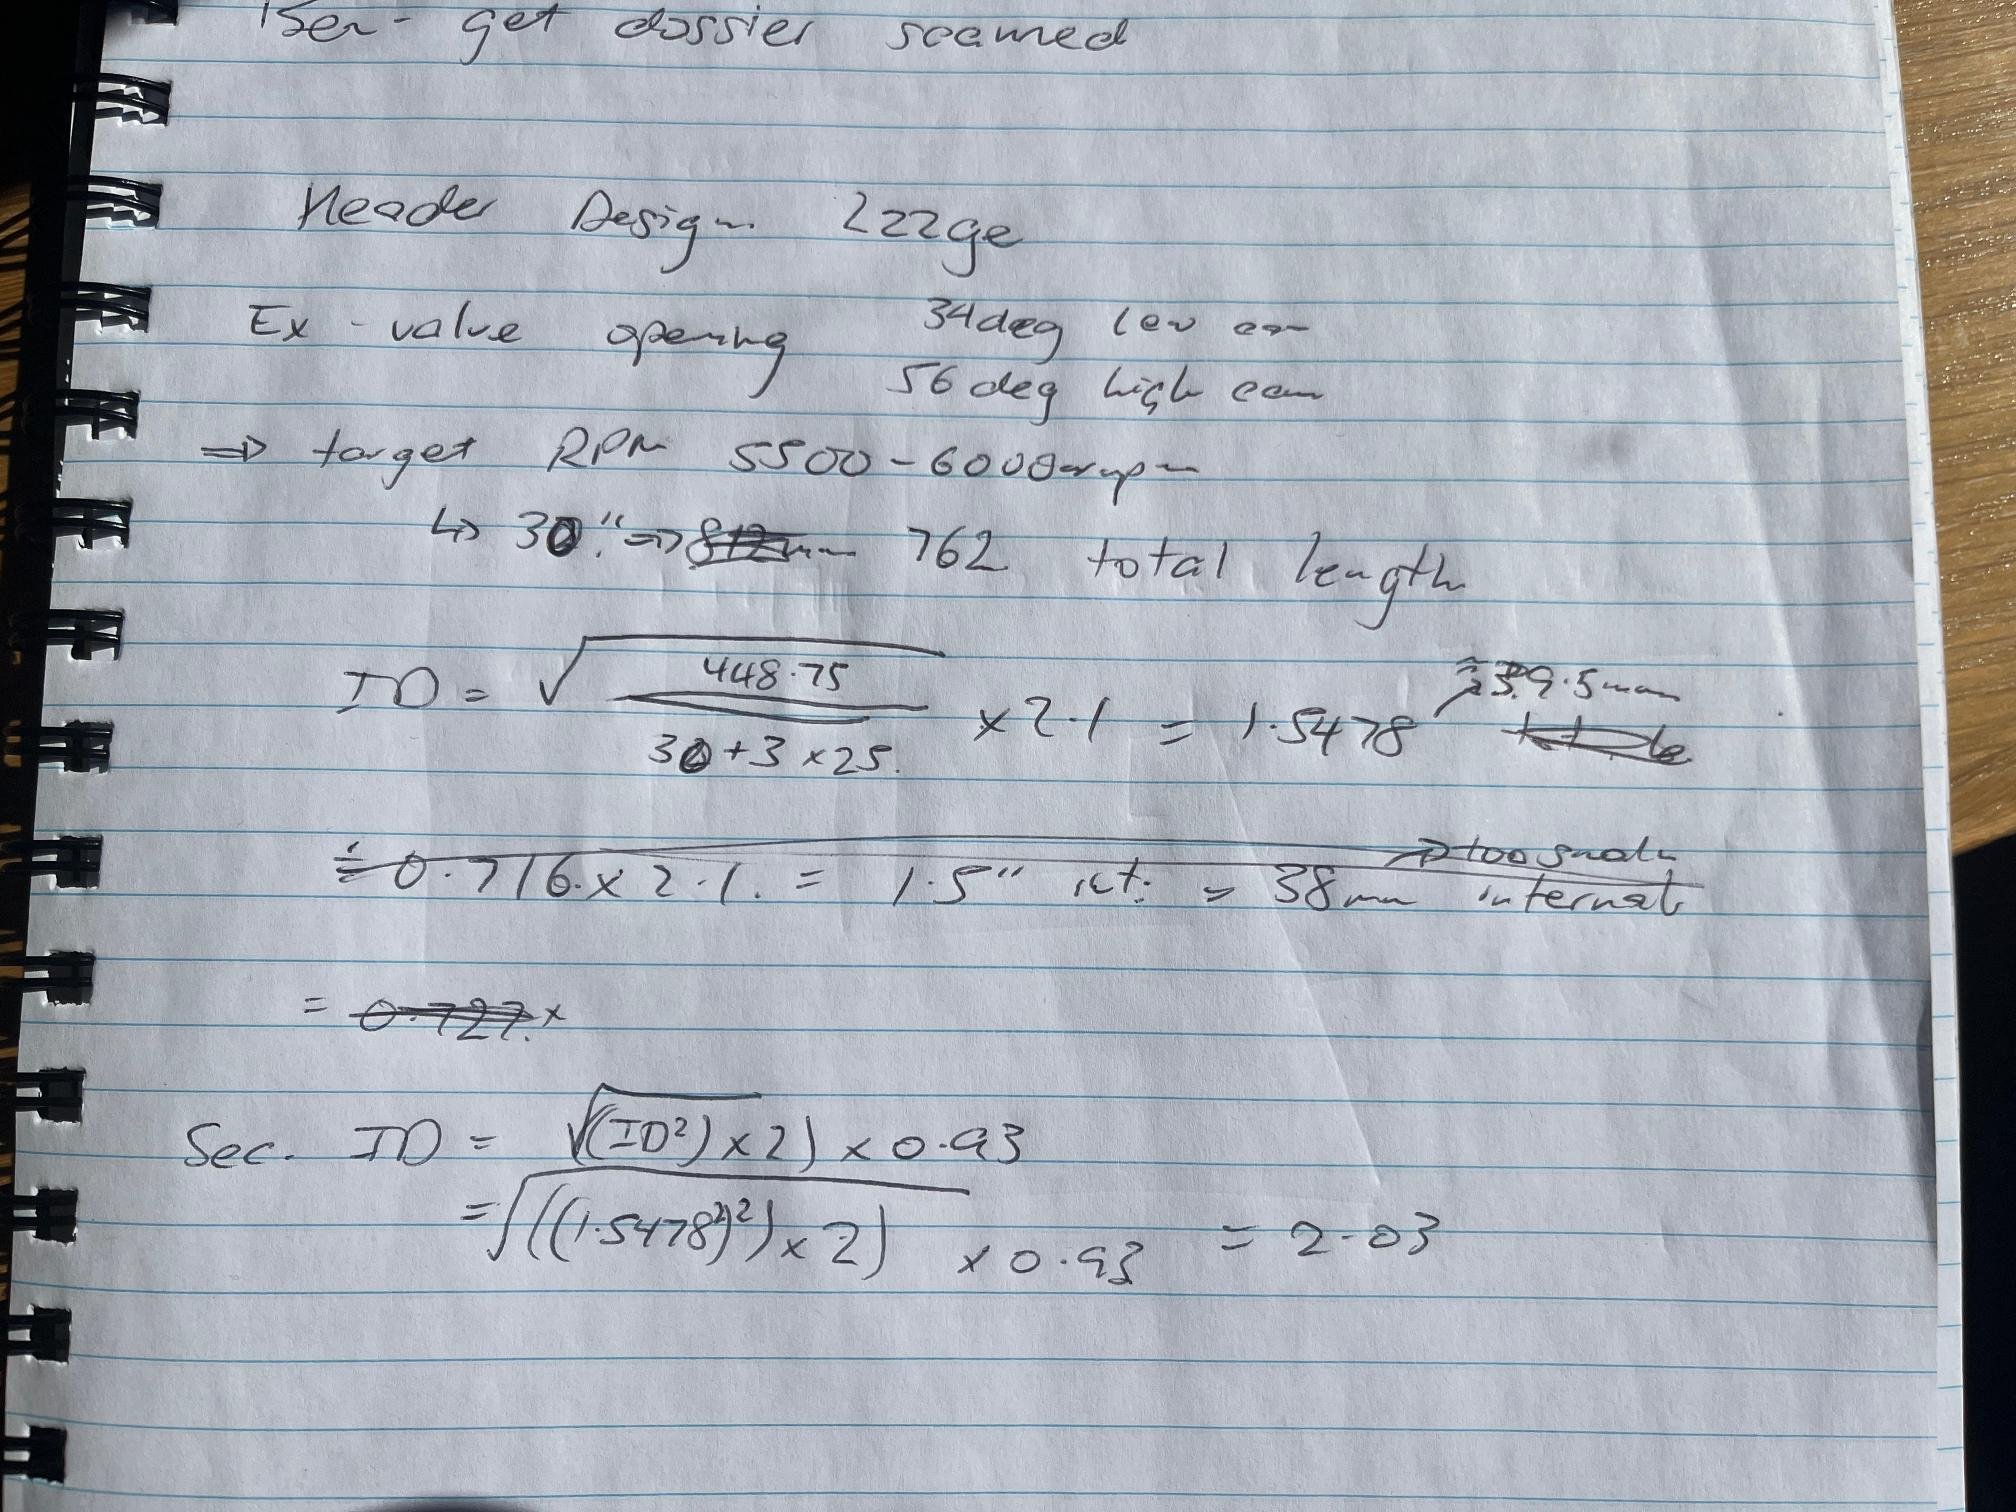
Not much progress to report but lots of technical stuff going on with the design/fab of my headers, so sorry but this will be a nerdy post.. not claiming to be an expert, just figuring out how to make stuff work.. So here's my scratching for re-checking my length. Unfortunately I need to run 4-2-1 header as I can't fit 4x runners under the steering rack. The expansion chamber clashes with the swaybar (wasn't in the car when I mounted it argh!), meaning I've needed to push it back another 100mm. I'll need to incorporate the slip joins into the '2' section (because bottom section will be permanently attached to exp. chamber) as this is the easiest place to get the runners parallel where they'll slow into place.. This means my 9" secondaries are going to look more like 12", which by keeping overall length the same, will mean my primaries are getting close to 15-16" (which is the minimum as I understand it). In summary its complicated..... With restrictions in tube sizes available (above calcs is inches ID), I've had to go for 44OD primaries (works out well as is the same size as exhaust port) and 57OD secondaries. Secondaries in particular will be a little larger than optimum considering it's only a 30" long pipe, so it will likely favour higher RPM's. As long its making solid power from 5-6krpm I'll be happy. 2zz's have a massive torque hole at 4krpm so I'll be bringing the high cam in as soon as possible. Might also push me to add a big cam sooner rather than later.. Found this super interesting paper on the development of the 2zzge. Pretty much says they designed this awesome high-revving engine and then proceeded to put a terrible exhaust manifold on it to reduce noise emissions and wasted all the hard work they put into the head etc. https://www.lotustalk.com/attachments/toyota2zz-ge-technical-data-pdf.1297134/ For the header design, I'm following the theory laid out in Graham Bell's Four stroke performance tuning book. Main examples are based on 2L touring car engines, which is pretty comparable to what I'm doing (12:1 comp, itbs & 9000rpm). All my sizing/calcs are firmly in what he defines as purely 'racecar' realm... I also think engine & ecu technology has moved on since early 00's which has proven you can get away with a lot bigger tubes than the 'old' rules of thumb. I'm using an adaption of a venturi collector design with a centre divider plate. Apparently the venturi and divider plate should be equal-sided triangle 1/2" bigger than the primary tube. Nailed the fabrication on the secondaries in particular which I'm proud of. Will be interesting to see if these work as it does essentially create 2x venturi effects in the same collector - 1 where the pipes join, then a second as it expands to secondary. Who knows if this will work as intended? So this is my crossmember conundrum... I ended up needing a small bend between the collector and expansion chamber which is another compromise.. Primaries are roughed-out in Kinex blocks. These are a bit of a spaghetti junction as the 2-3 cylinder runners need to go the furthest so need to take the 'under' route. No doubt these will be refined a few more times as I confirm the position of the secondaries. I plan on tacking secondaries up to slip join, then start back at the top and work my way down. Wish me luck!! All this learning has taught me is everything is a small compromise when it won't fit in the car. Exactly how the power band will work out is yet to be seen, I won't be surprised if I end up making a few variations as I test these.. just got to keep putting in the effort and one day this damn car will be finished!
- 417 replies
-
- 17
-
-
-
Shit yeah great work, what a massive job this is. Can't wait to hear boosted barra harassing other lake goers!
-
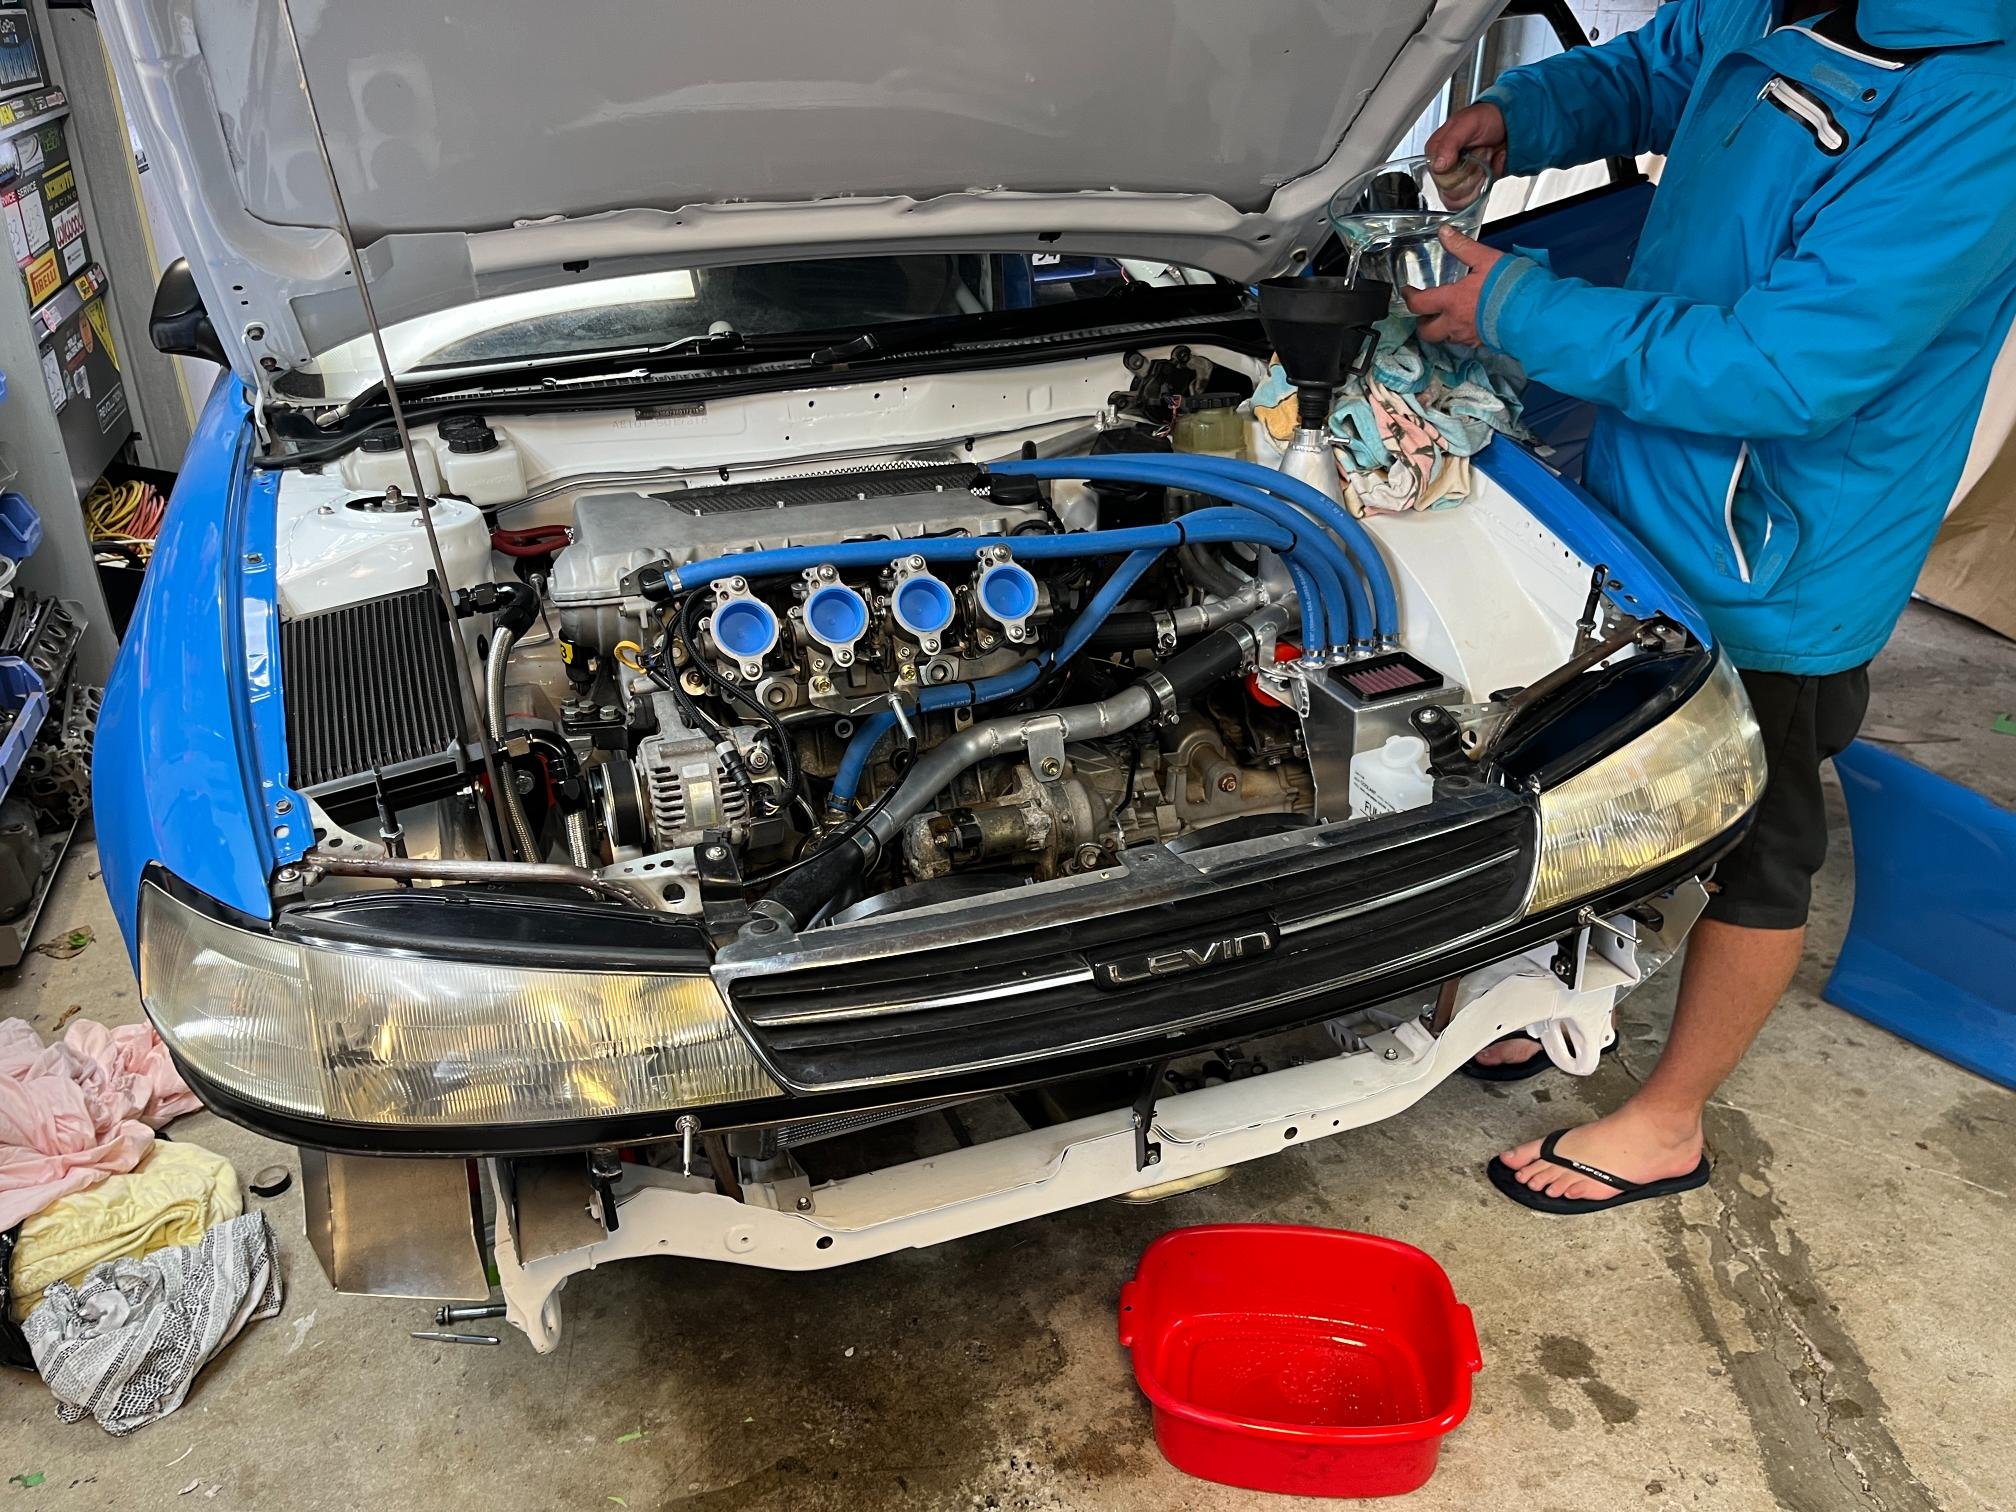
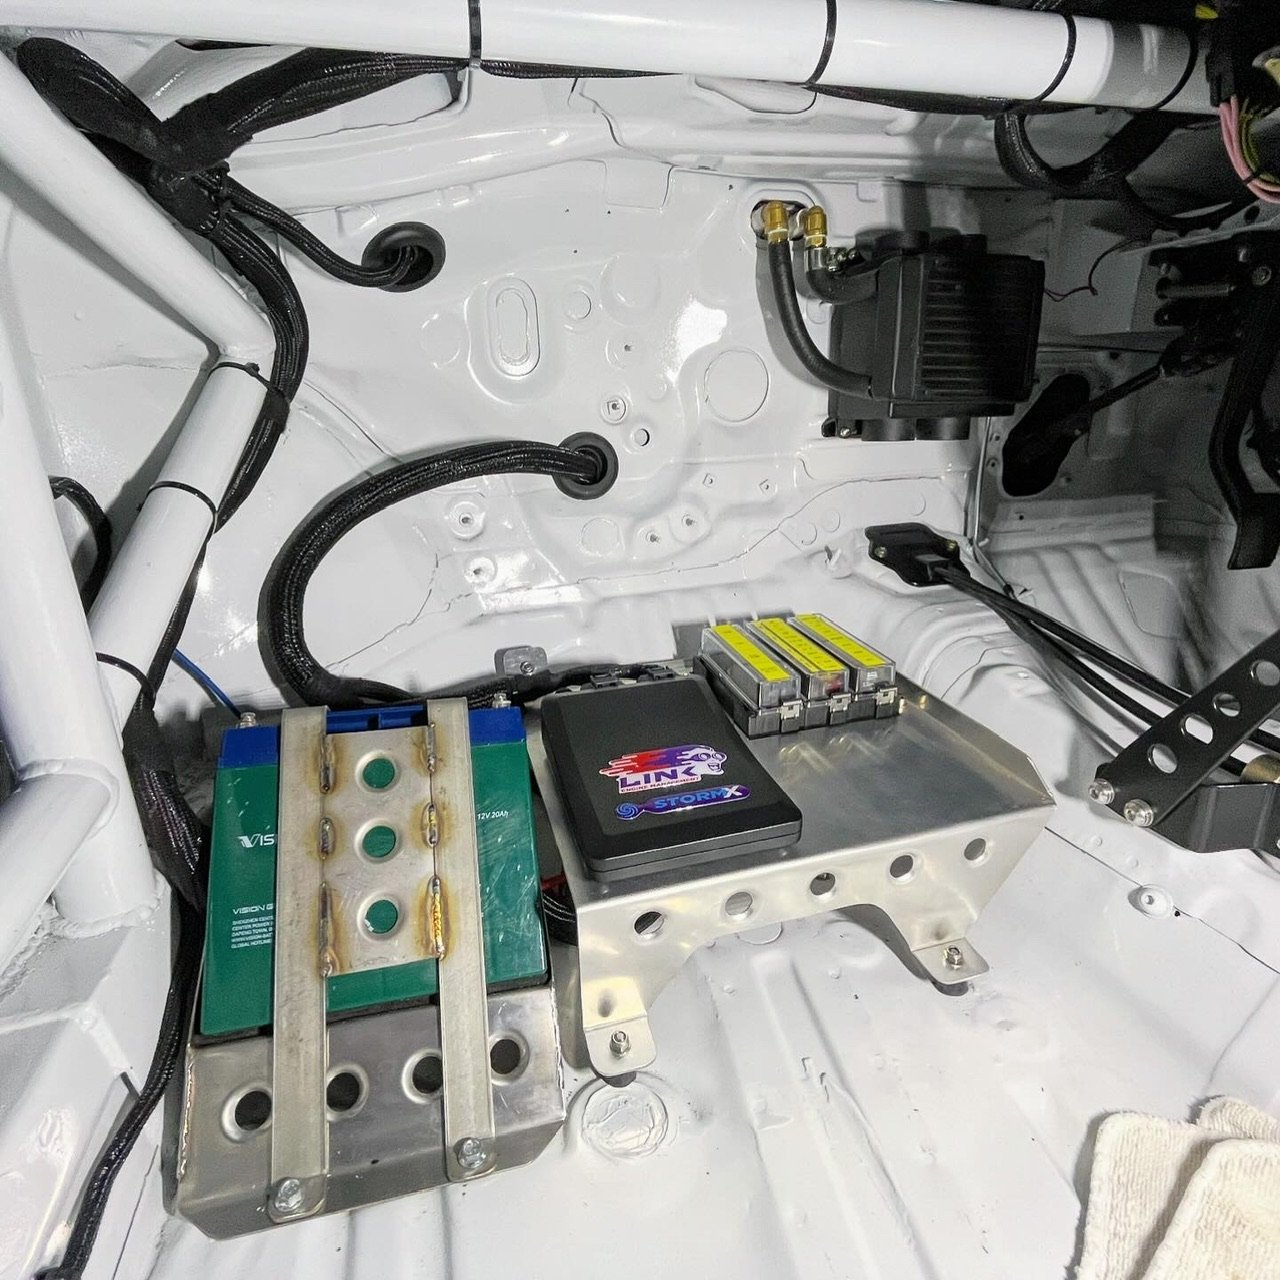
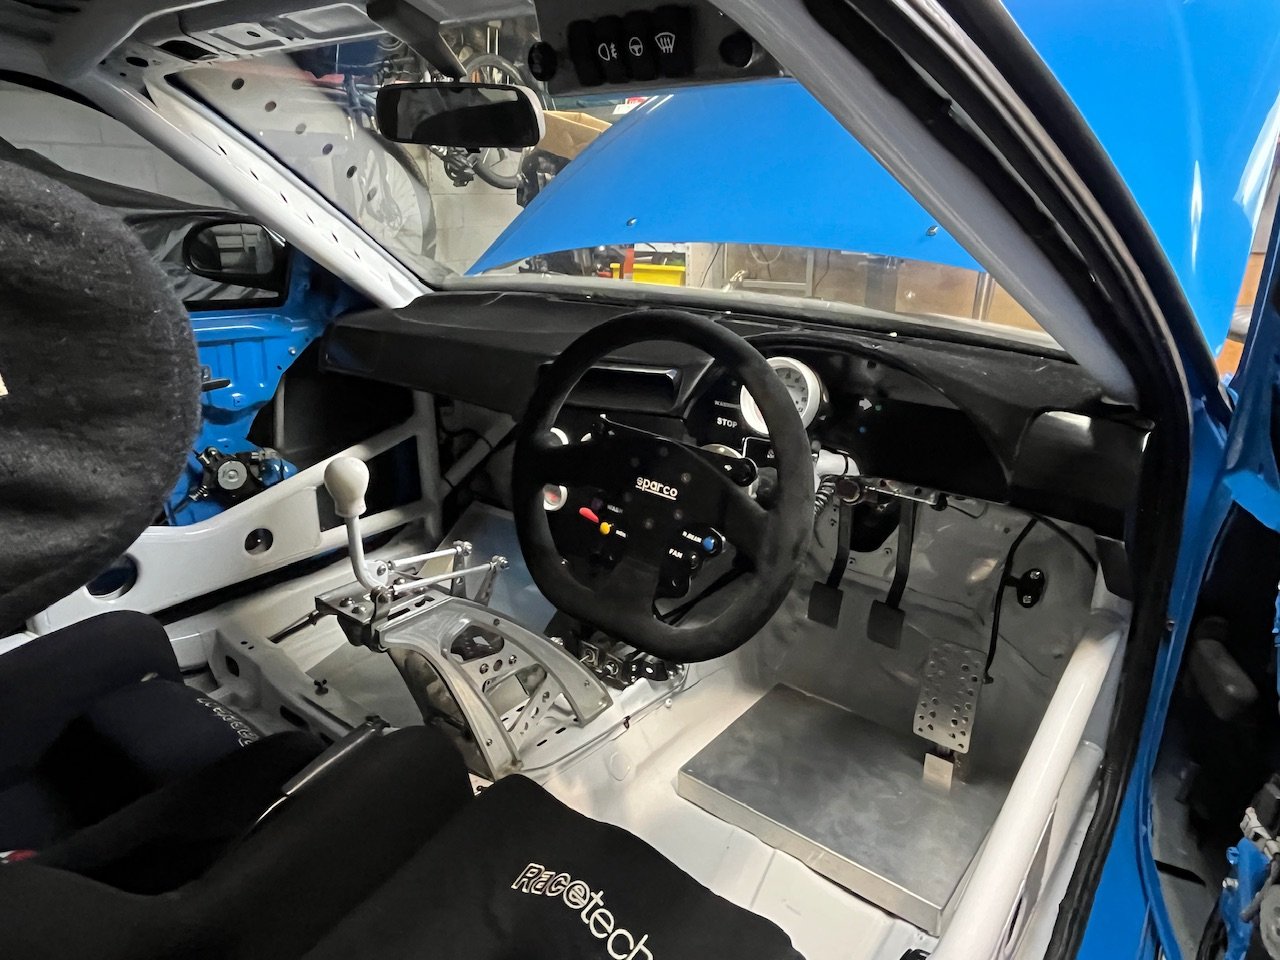
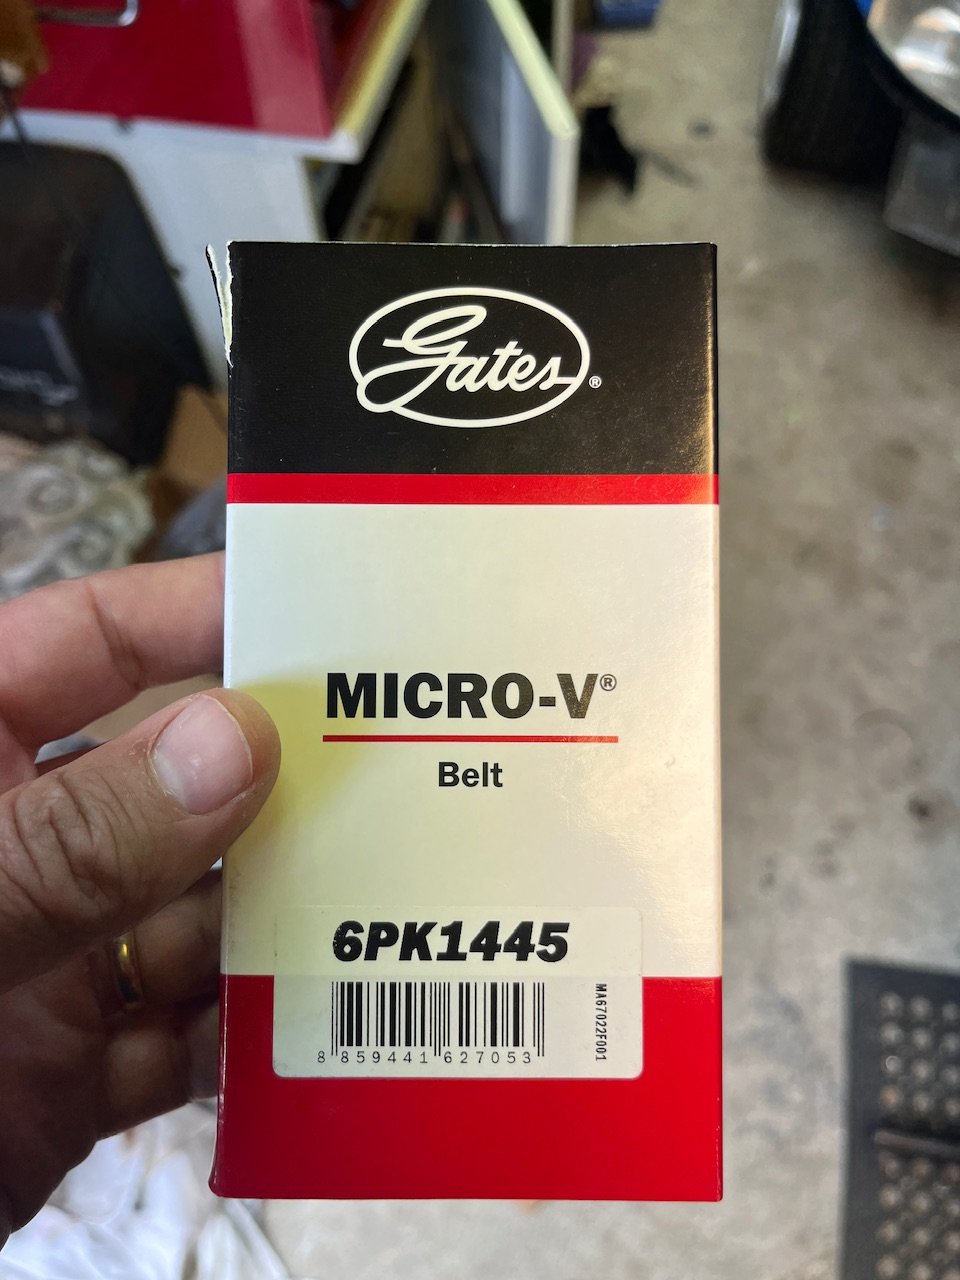
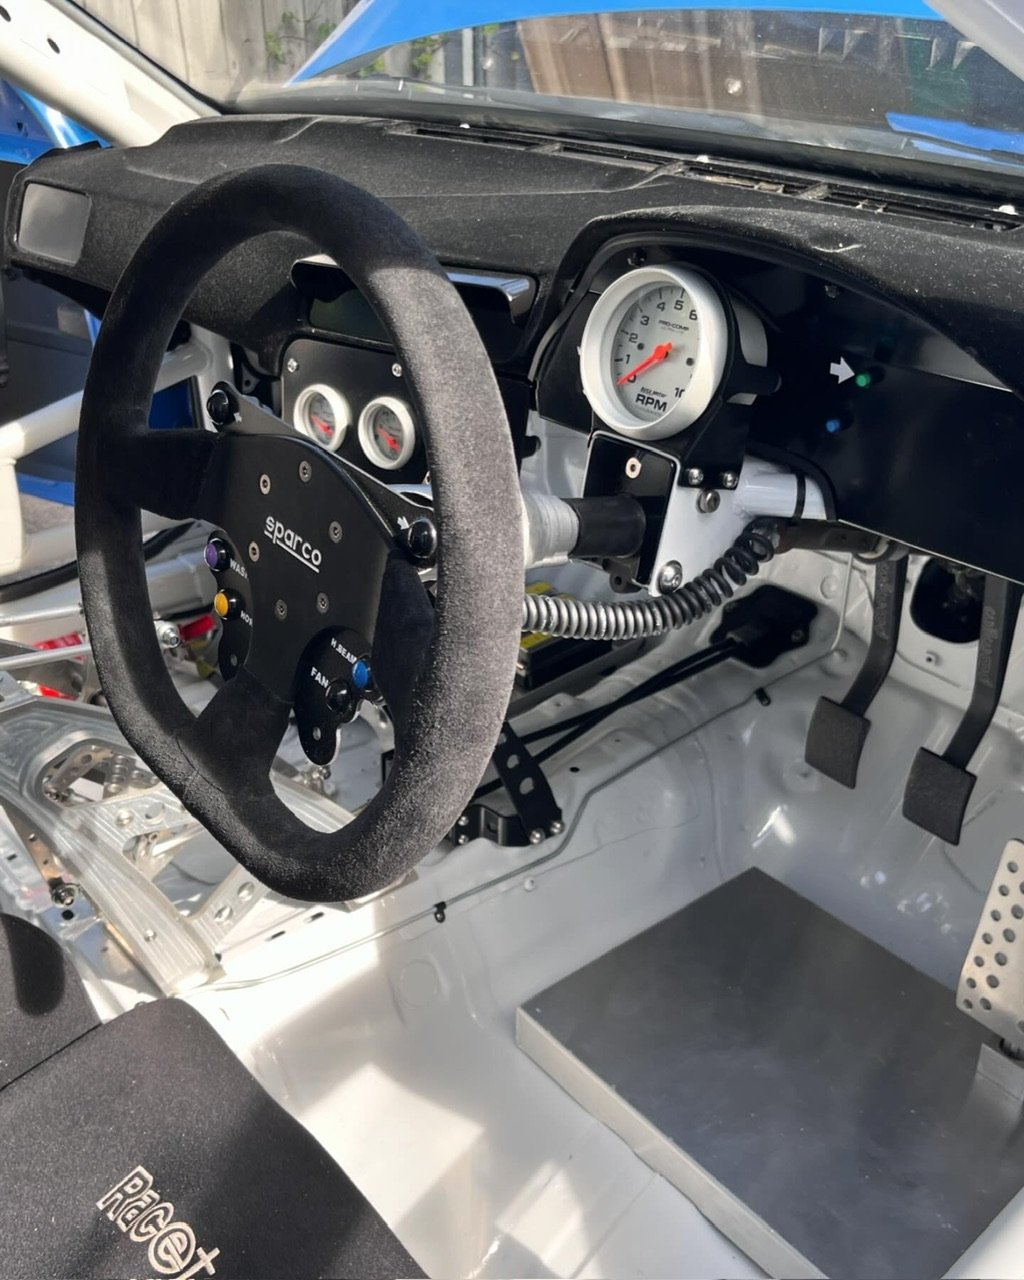
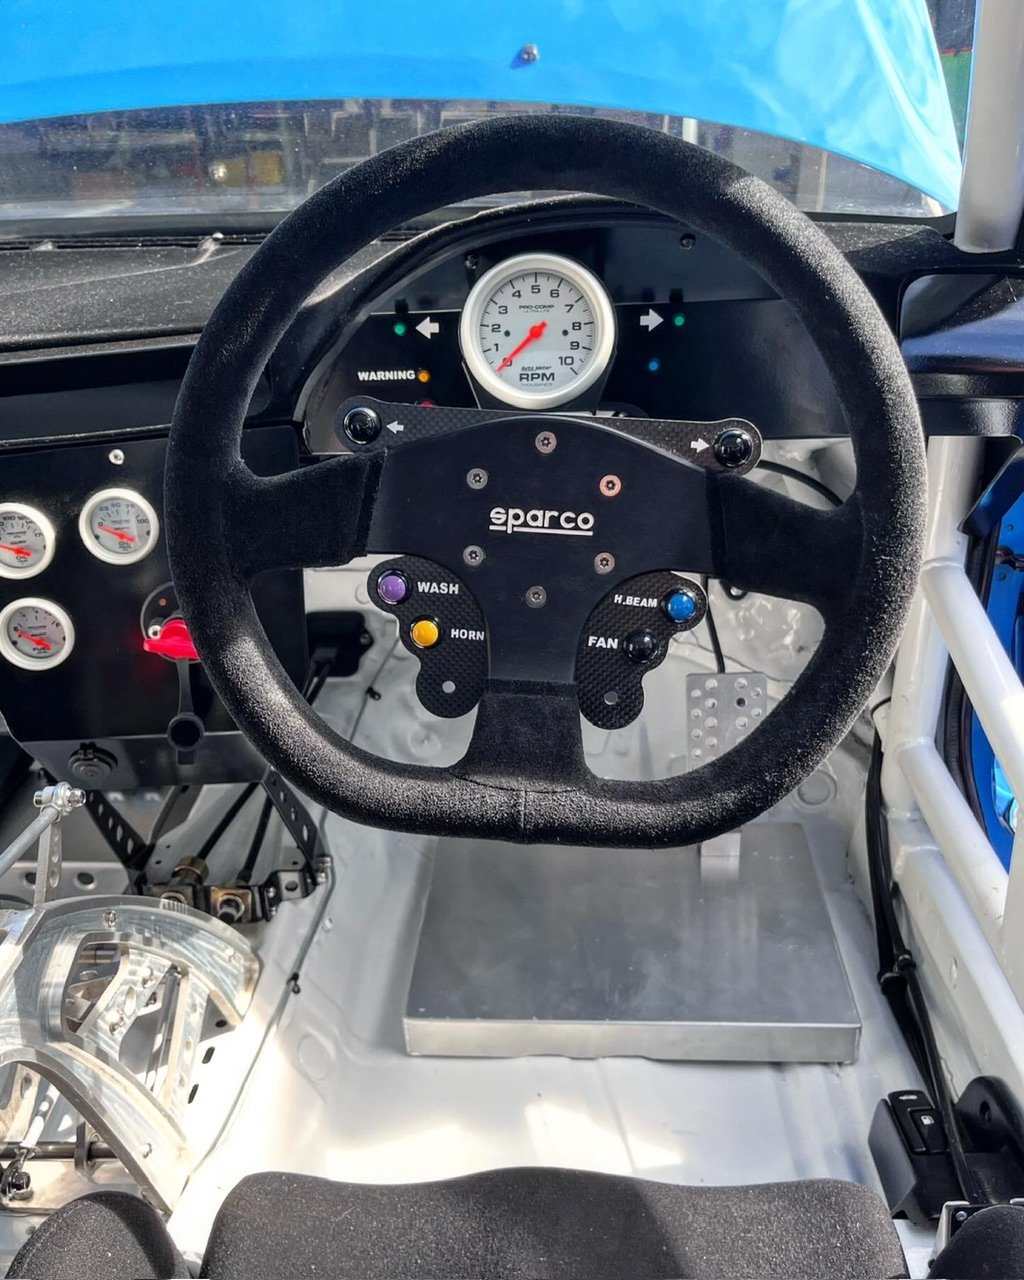
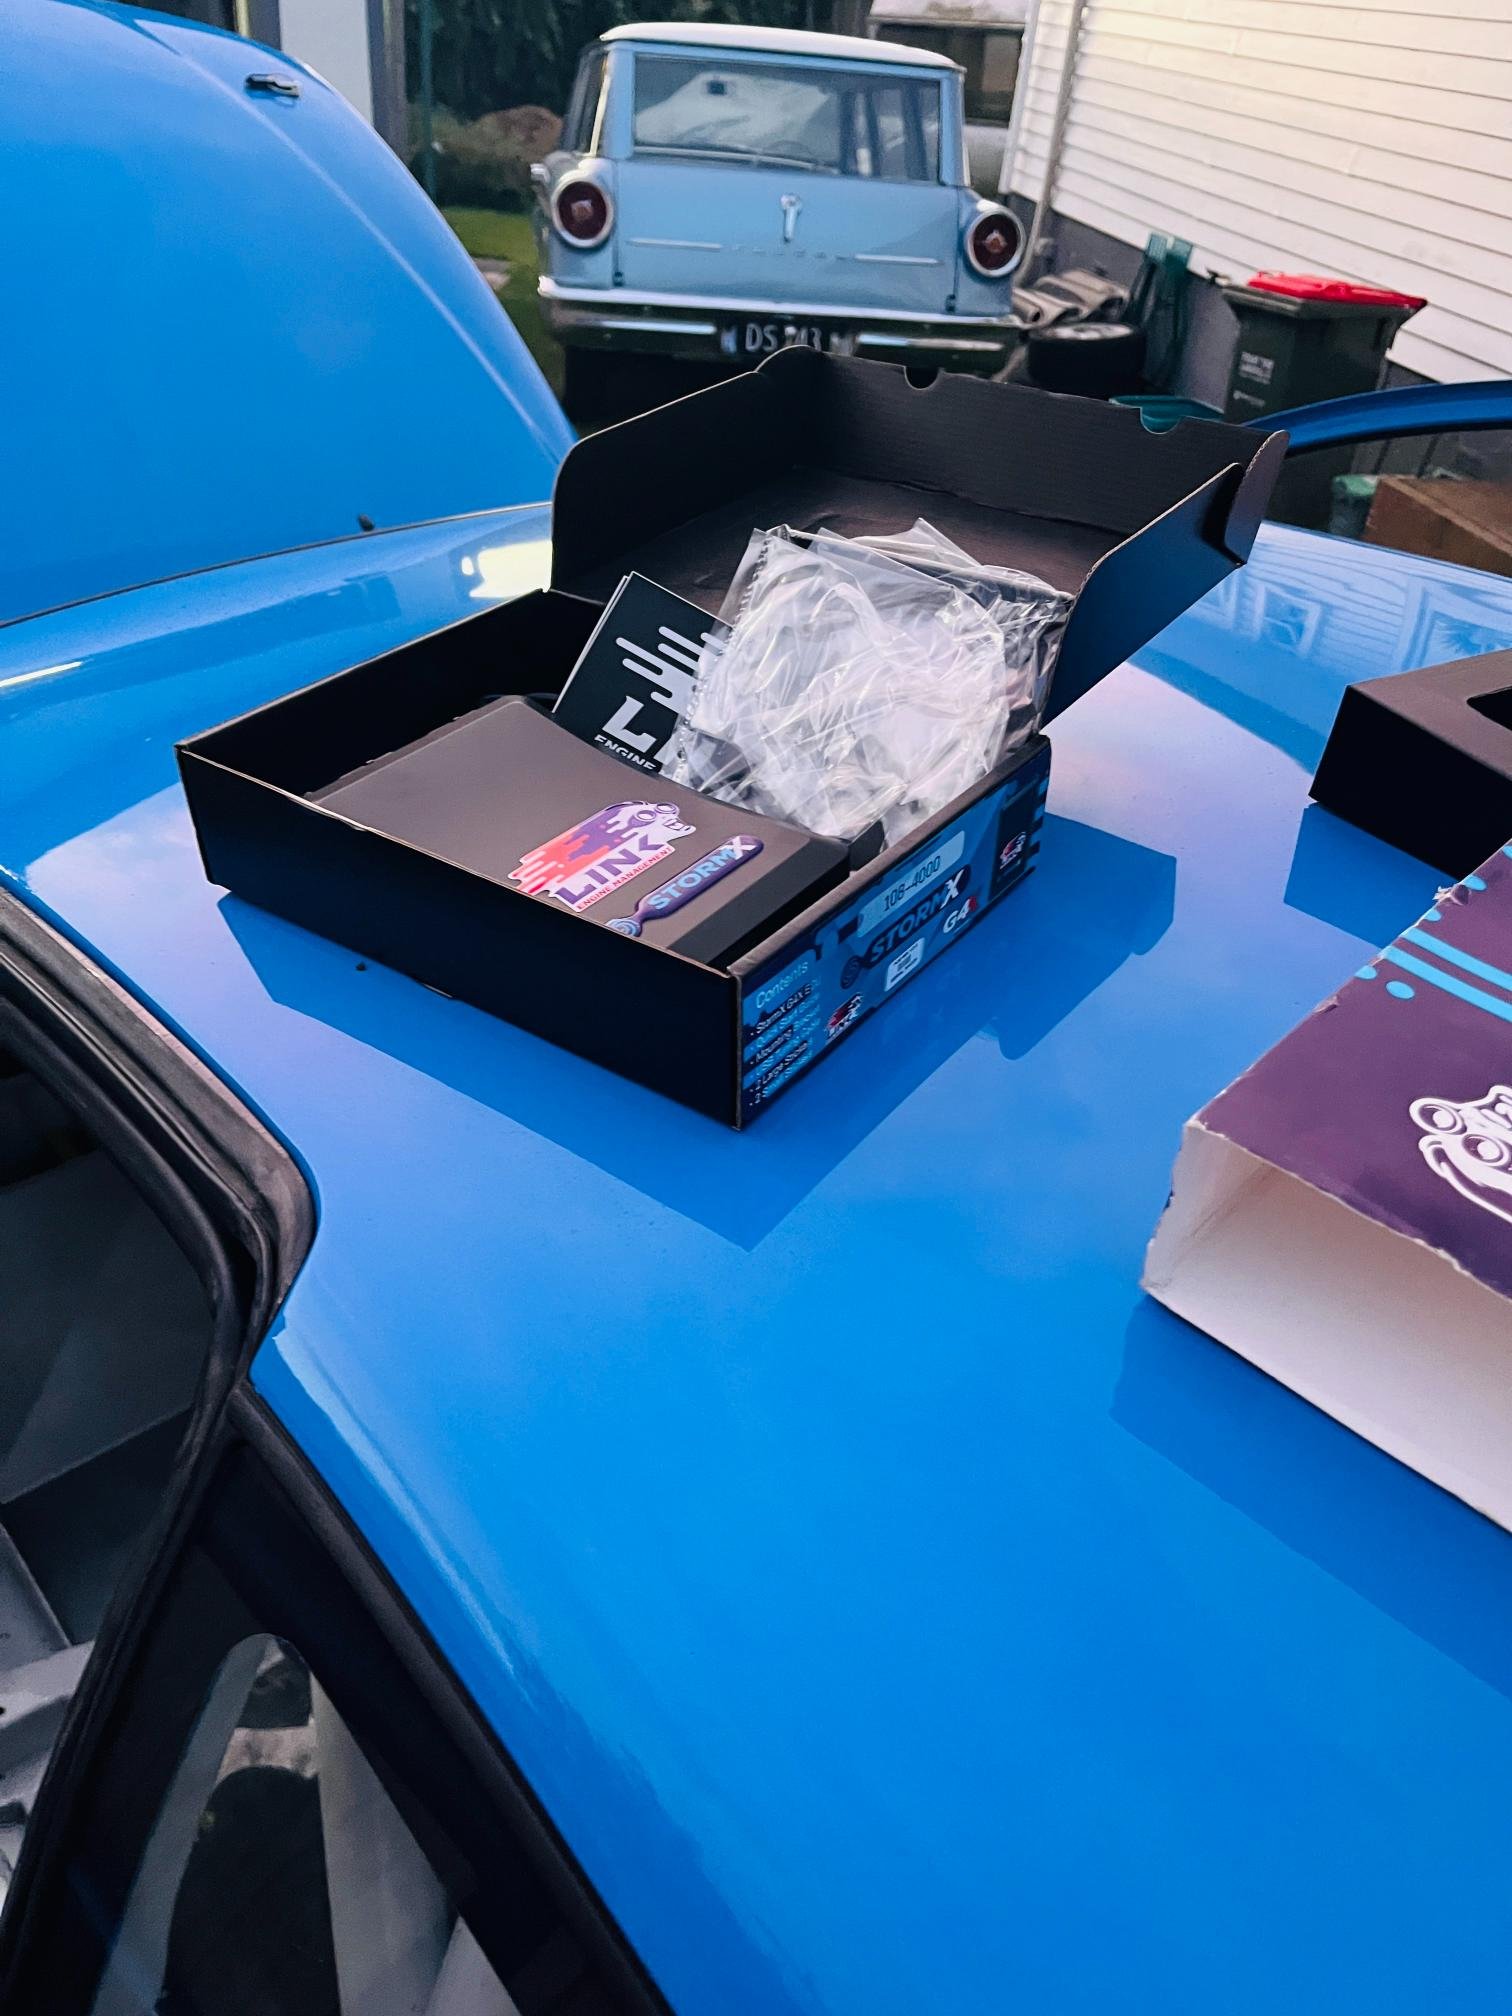
Quick update. Been busy over the past month so this has taken a bit of a backseat. Got some stickers made for steering wheel/dash. Makes it feel a lot more finished. I’m not 100% happy with them yet but they’ll do for now also tidied up the curly cord mounting. Looks legit now. So the set of pulleys I brought back from the states didn’t fit my alternator (which turns out is from a 1zz fielder). So jeffy came to the rescue and made a bush to suit. For future reference..1445mm belt works with no PS, and underdrive alternator and water pump pulleys. This took quite some time to figure out found a wee molded hose to finish up the heater piping. Still need to 3d print an airflow thing for the dash heater ducts. Cooling system is now sealed and ready for a pressure test (pending a few extra hose clamps!) Also replaced gearbox axle seals and filled with oil for first time in 10yrs. Hope not too much damage has been done from sitting around. Bought and sold another Levin to pay for Link Storm g4x and engine wiring loom. Loom worked out great looks very hidden away. Some small mods to make but all simple enough. next up; 1. fix stripped thread in engine mount 2. replace sump with baffled version 3. remount expansion chamber 4. make headers 5. first start??
- 417 replies
-
- 21
-
-
-
Mitchs is never going to finish 2zz Ke70 race car build discussion
Rhyscar replied to Mitch.W's topic in Project Discussion
Yeah look like it. Nah I've said goodbye to 15" life. I've got 2x sets of 17s so fully committed relationship now. Zestino do a 215/40/17 with a 603mm diameter which is best of a bad situation. Haven't figured out slick sizing yet. But long-term I need to be finding a 5.3 or 5.5 above final drive to sort out the gearing. I can probably get them to chch in May if you need. I've got a 2zz corolla on my back lawn that's being collected by the owner and taken to chch. I'm sure there'll be room for a set of tyres. -
Mitchs is never going to finish 2zz Ke70 race car build discussion
Rhyscar replied to Mitch.W's topic in Project Discussion
-
Mitchs is never going to finish 2zz Ke70 race car build discussion
Rhyscar replied to Mitch.W's topic in Project Discussion
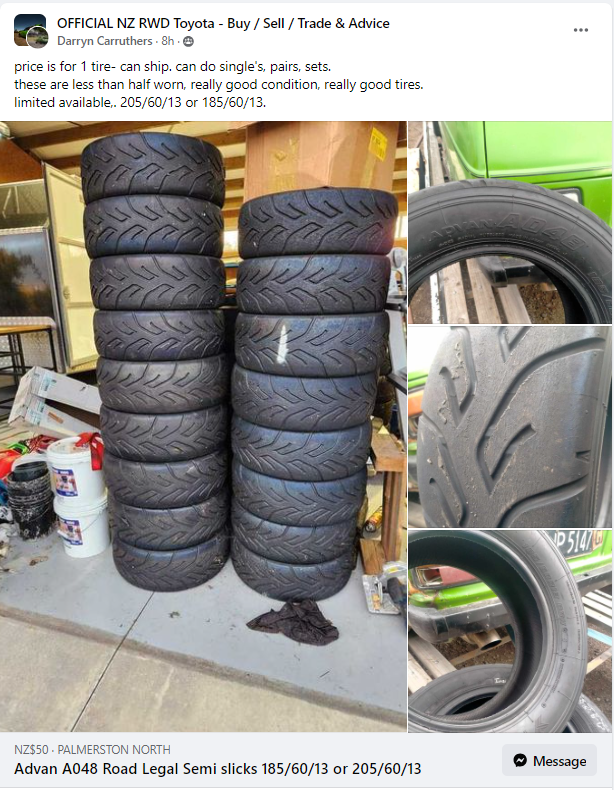
Speaking of 13's.. Did you see on FB marketplace a stack of 13" advan semi's going for $50/tyre?? Tried to tag you in it but didn't work. AE101 on 13's would be hilarious! I'm not even sure they tyres would touch the ground... -
Mitchs is never going to finish 2zz Ke70 race car build discussion
Rhyscar replied to Mitch.W's topic in Project Discussion
Oh man with 9000rpms that will work out perfect! 13" wheels FTW. With 17's I need to go for a 5.3 diff! -
Mitchs is never going to finish 2zz Ke70 race car build discussion
Rhyscar replied to Mitch.W's topic in Project Discussion
Keen to see some progress on this. Love the philosophy with starting with something not too nice. shell looks pretty good. How does the J160 gearing work with the 4.9 diff? It'll be interesting to see what the torque sits with a decent 2zz. Seeing as you've potentially got up to 9000 rpms, you may need a higher diff ratio? (depending on tyre size too!) You may have already worked that out. Typically the toyota 6 speed boxes are quite long in the gearing. -
Truenotch's BEAMS AE86 racecar discussion
Rhyscar replied to Truenotch's topic in Project Discussion
New muff will be good improvement and looks great too. Will be interesting to see how it changes the 3S rasp. -
Great little project and good work on the underbody. My Subaru needs this treatment sometime soon and I expect it will go a similar route...
-
I can fully get amongst this new direction/distraction. I went around in a similar circle trying to find one the right size. BRZ/86 is another option that's close in dimensions. I've got a Fenix core left over if you need to make one? 600mm wide and maybe 750-800 high. almost perfect size. Your configuration inlet/outlet ports could probably work well for dual pass as well? So excited about intake over the radiator. It's the way of the future.
-
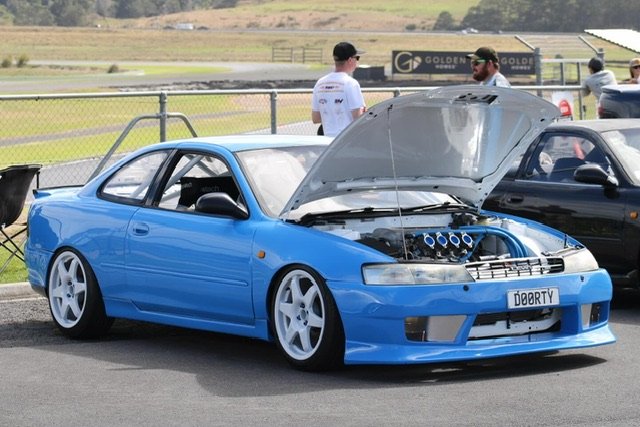
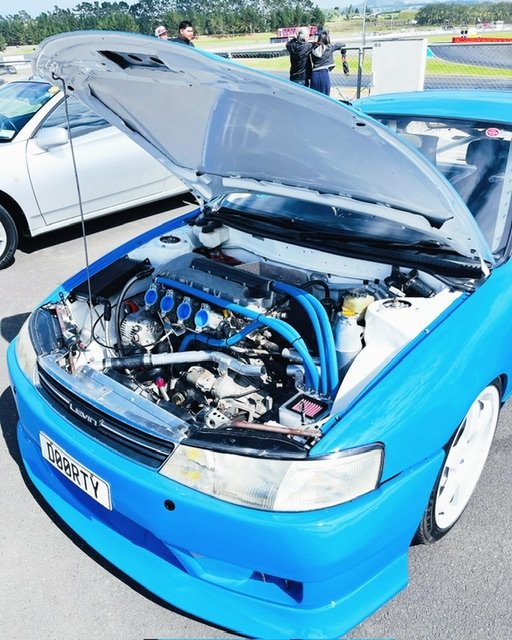
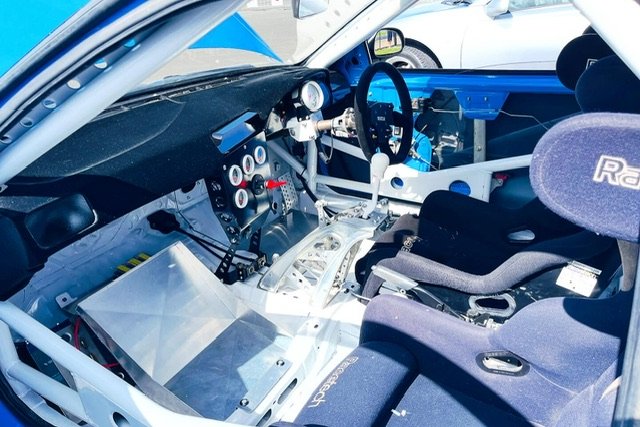
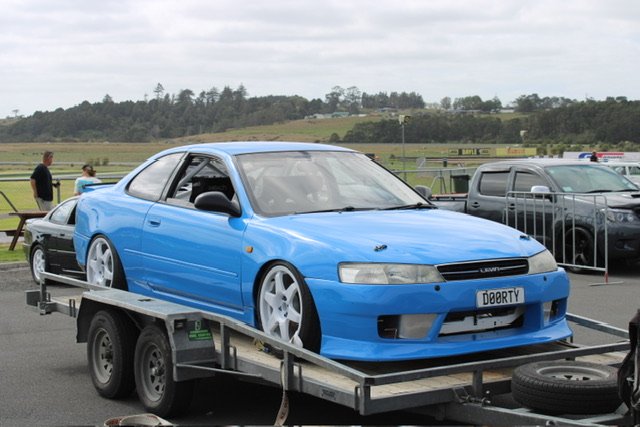
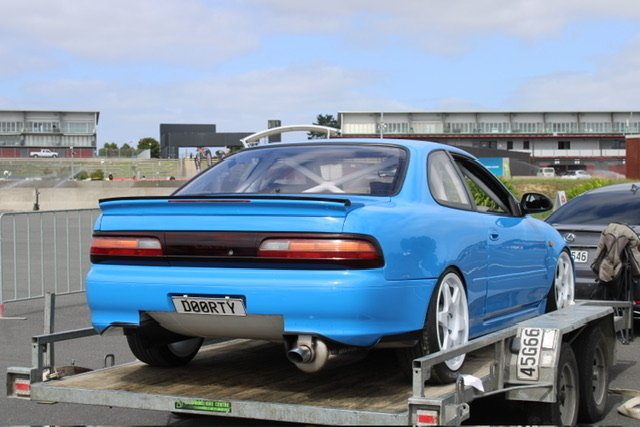
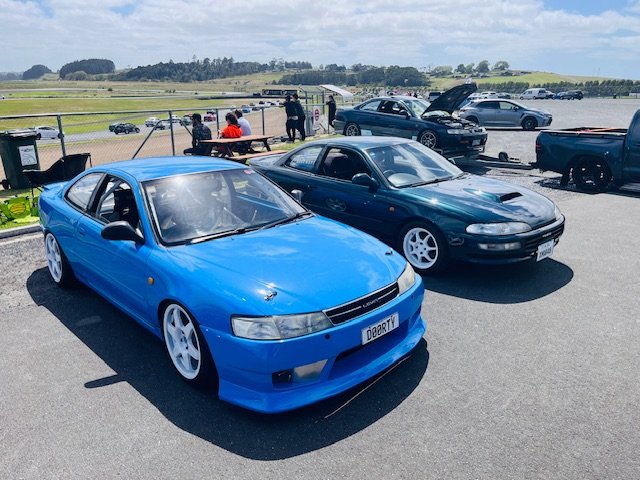
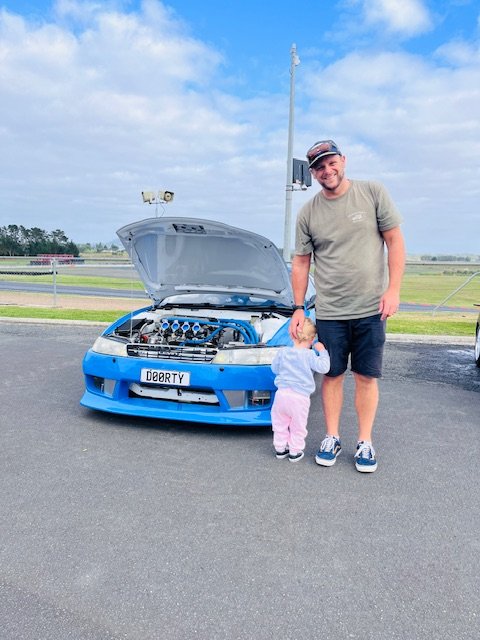
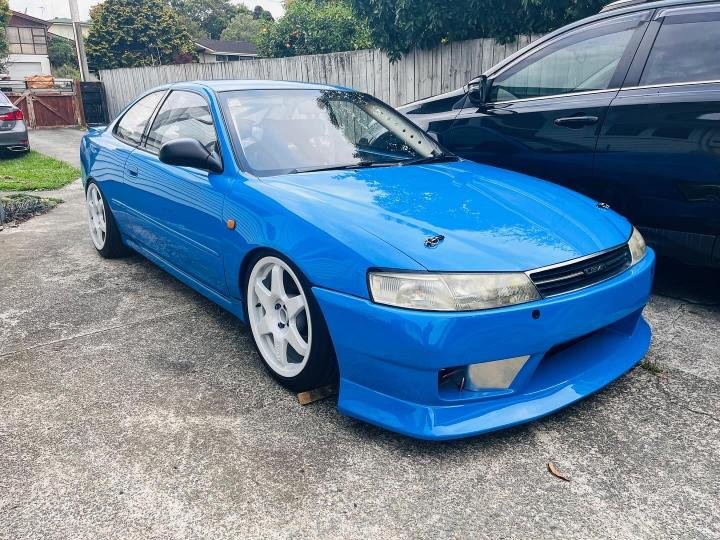
A few snaps from Toyotafest. If anyone got some feel free to share as well. Great to get the car out and chat to lots of people about it. Lots of motivation to finish it now! Trailer queen for first and last time hopefully Finley loved it too
- 417 replies
-
- 22
-
-
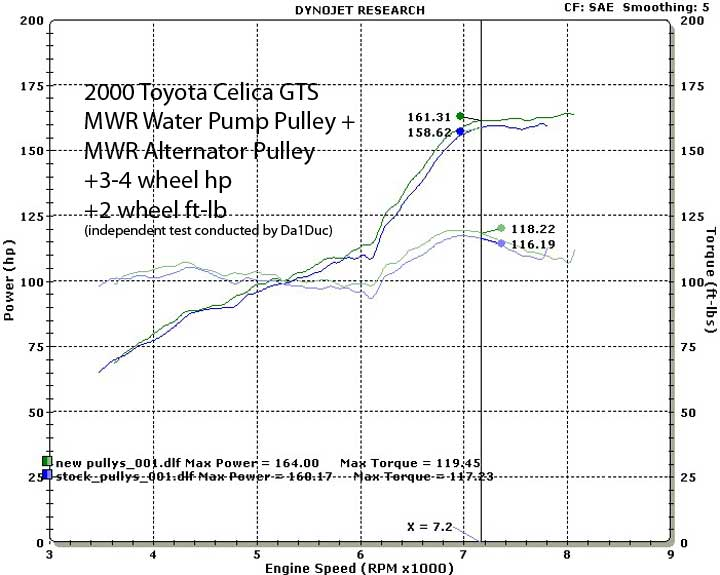
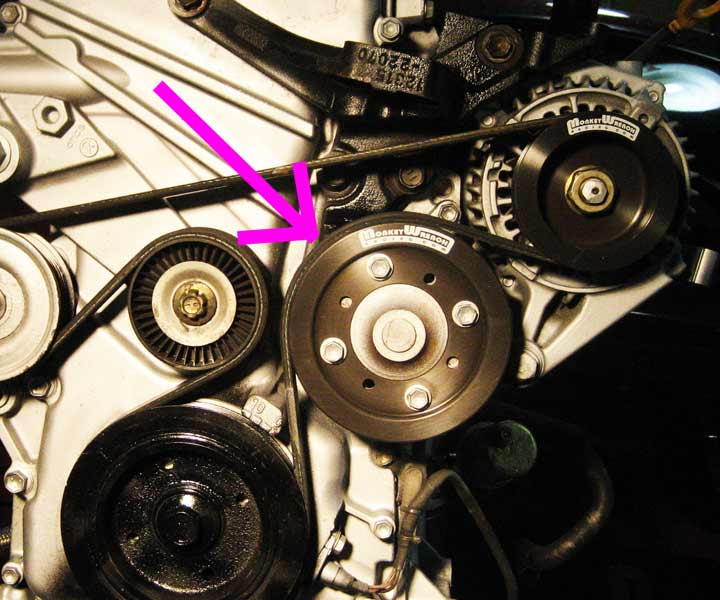
Also quite excited about purchasing alternator and water pump undersized pulleys from Monkeywrench racing. Interestingly, they claim a 3-4HP gain on a factory motor, which combined with my lack of belt-driven powersteering, higher compression, ITB's and exhaust could potentially add up to 5-8hp total. Might even get close to K20 power? This few HP is probably the cheapest $$/kw I'll ever make so stoked to have this piece of the puzzle coming together. These are waiting to make it into our suitcases when we visit the states in a few weeks..
- 417 replies
-
- 11
-
-
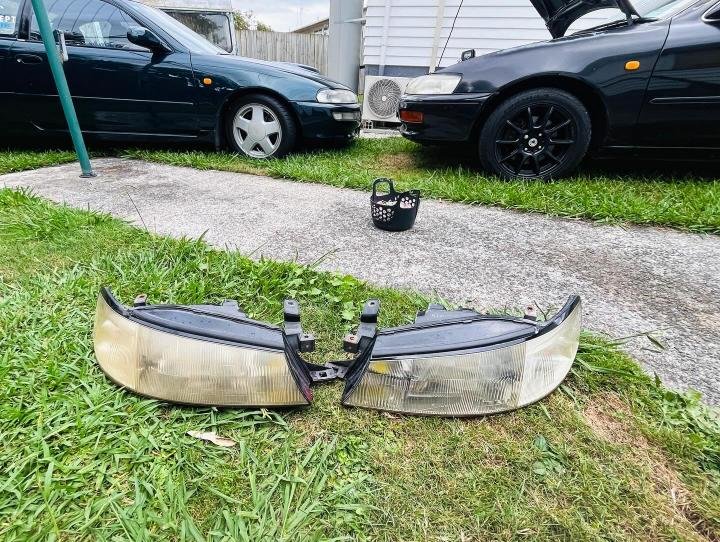
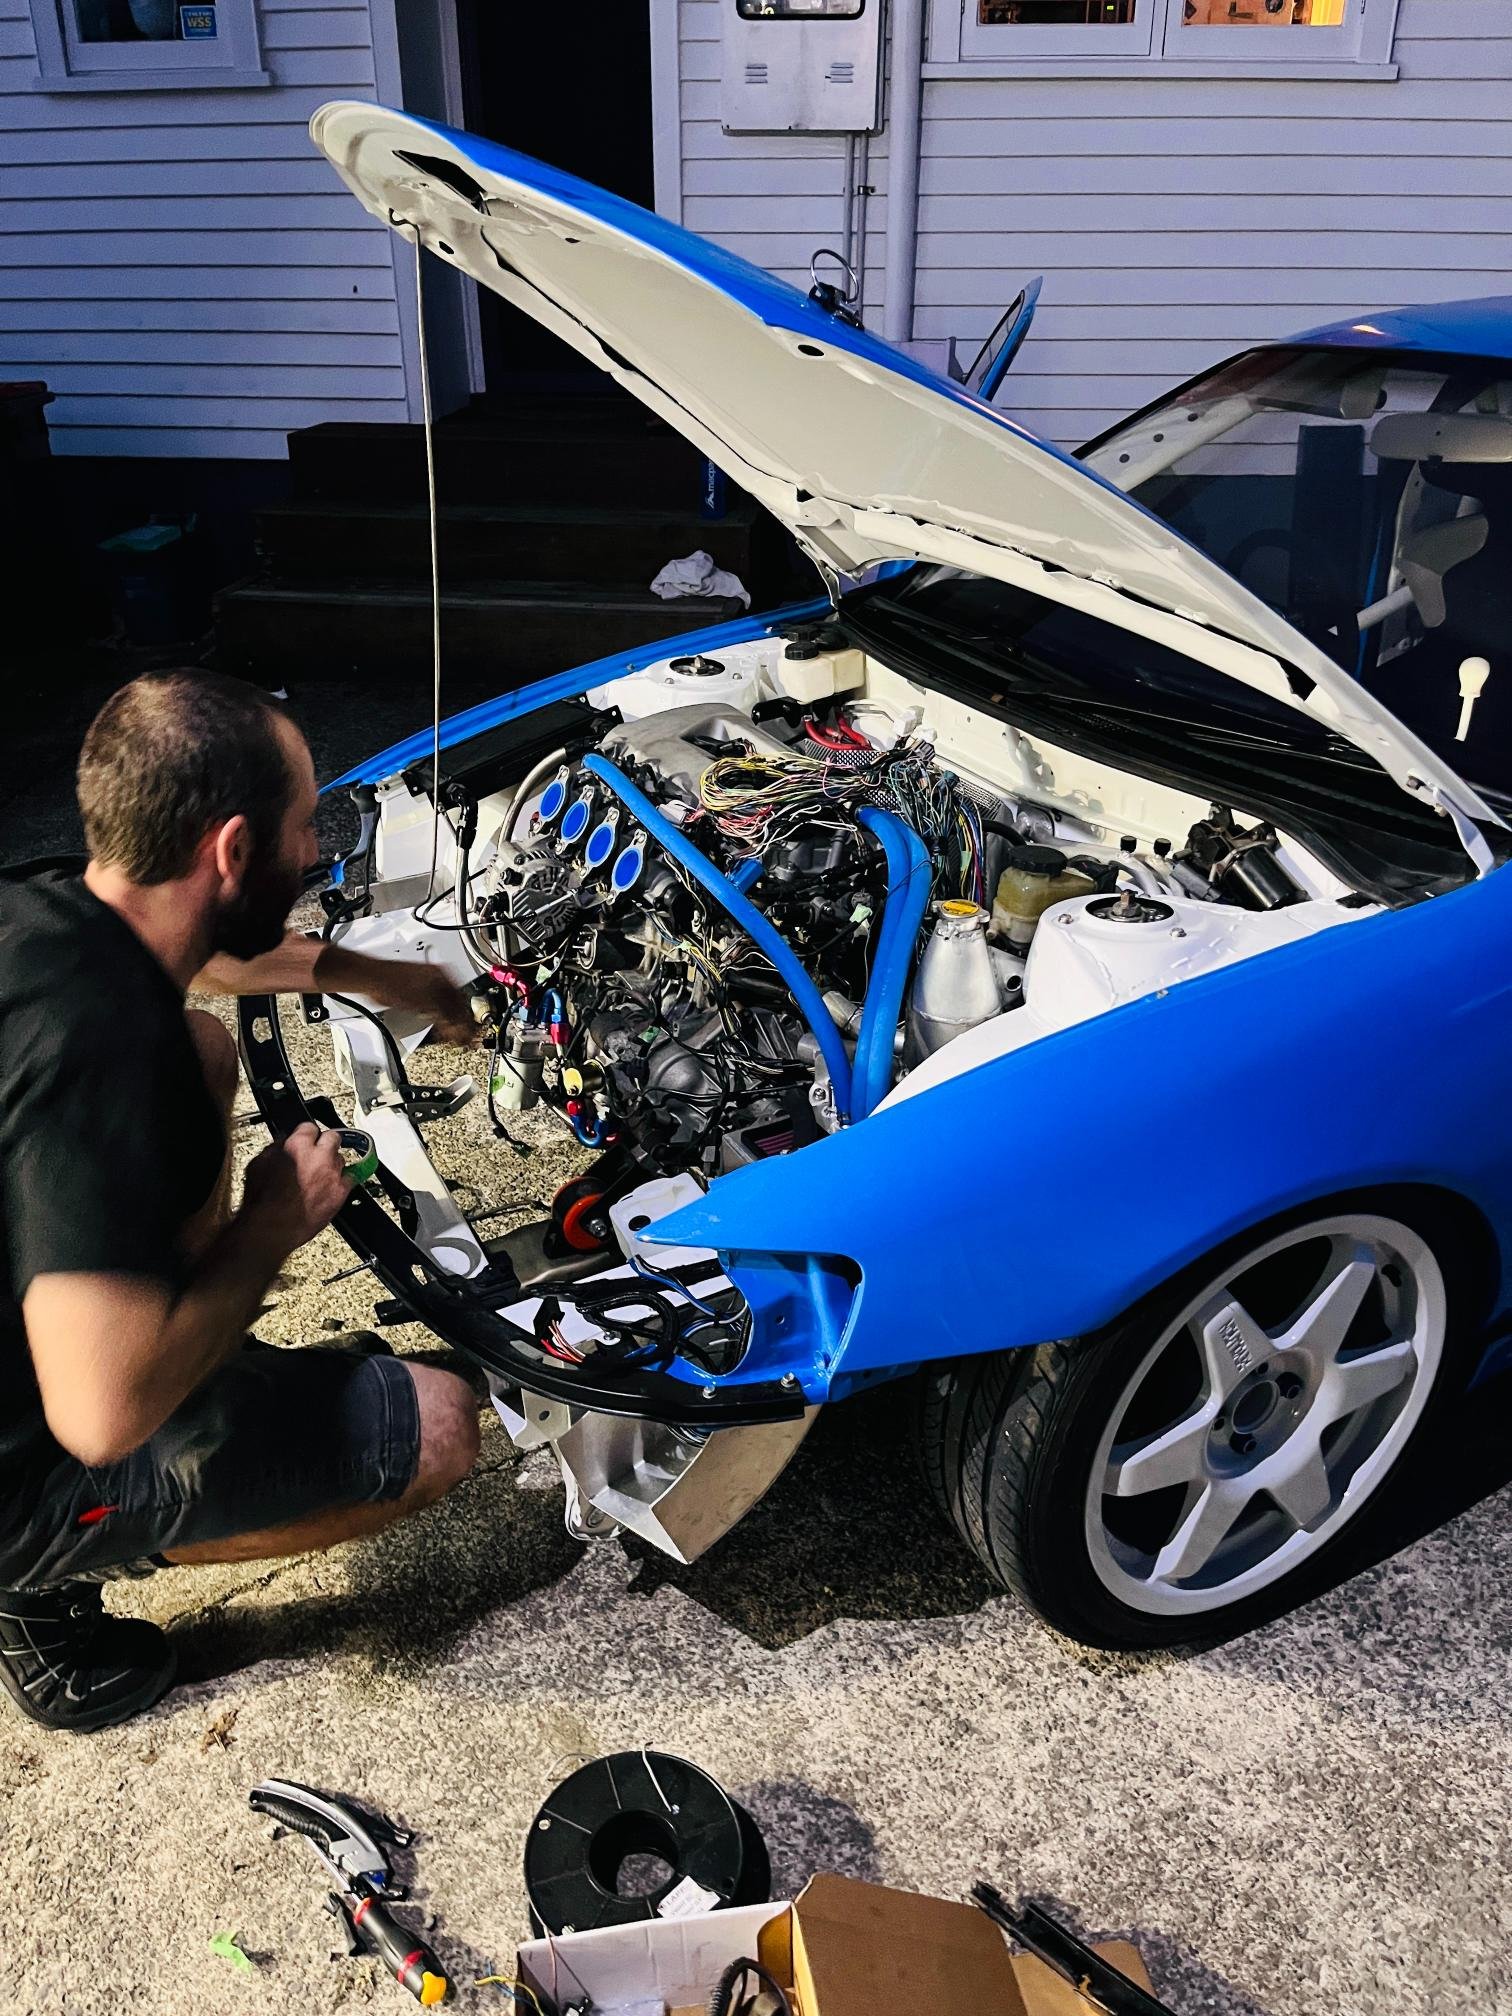
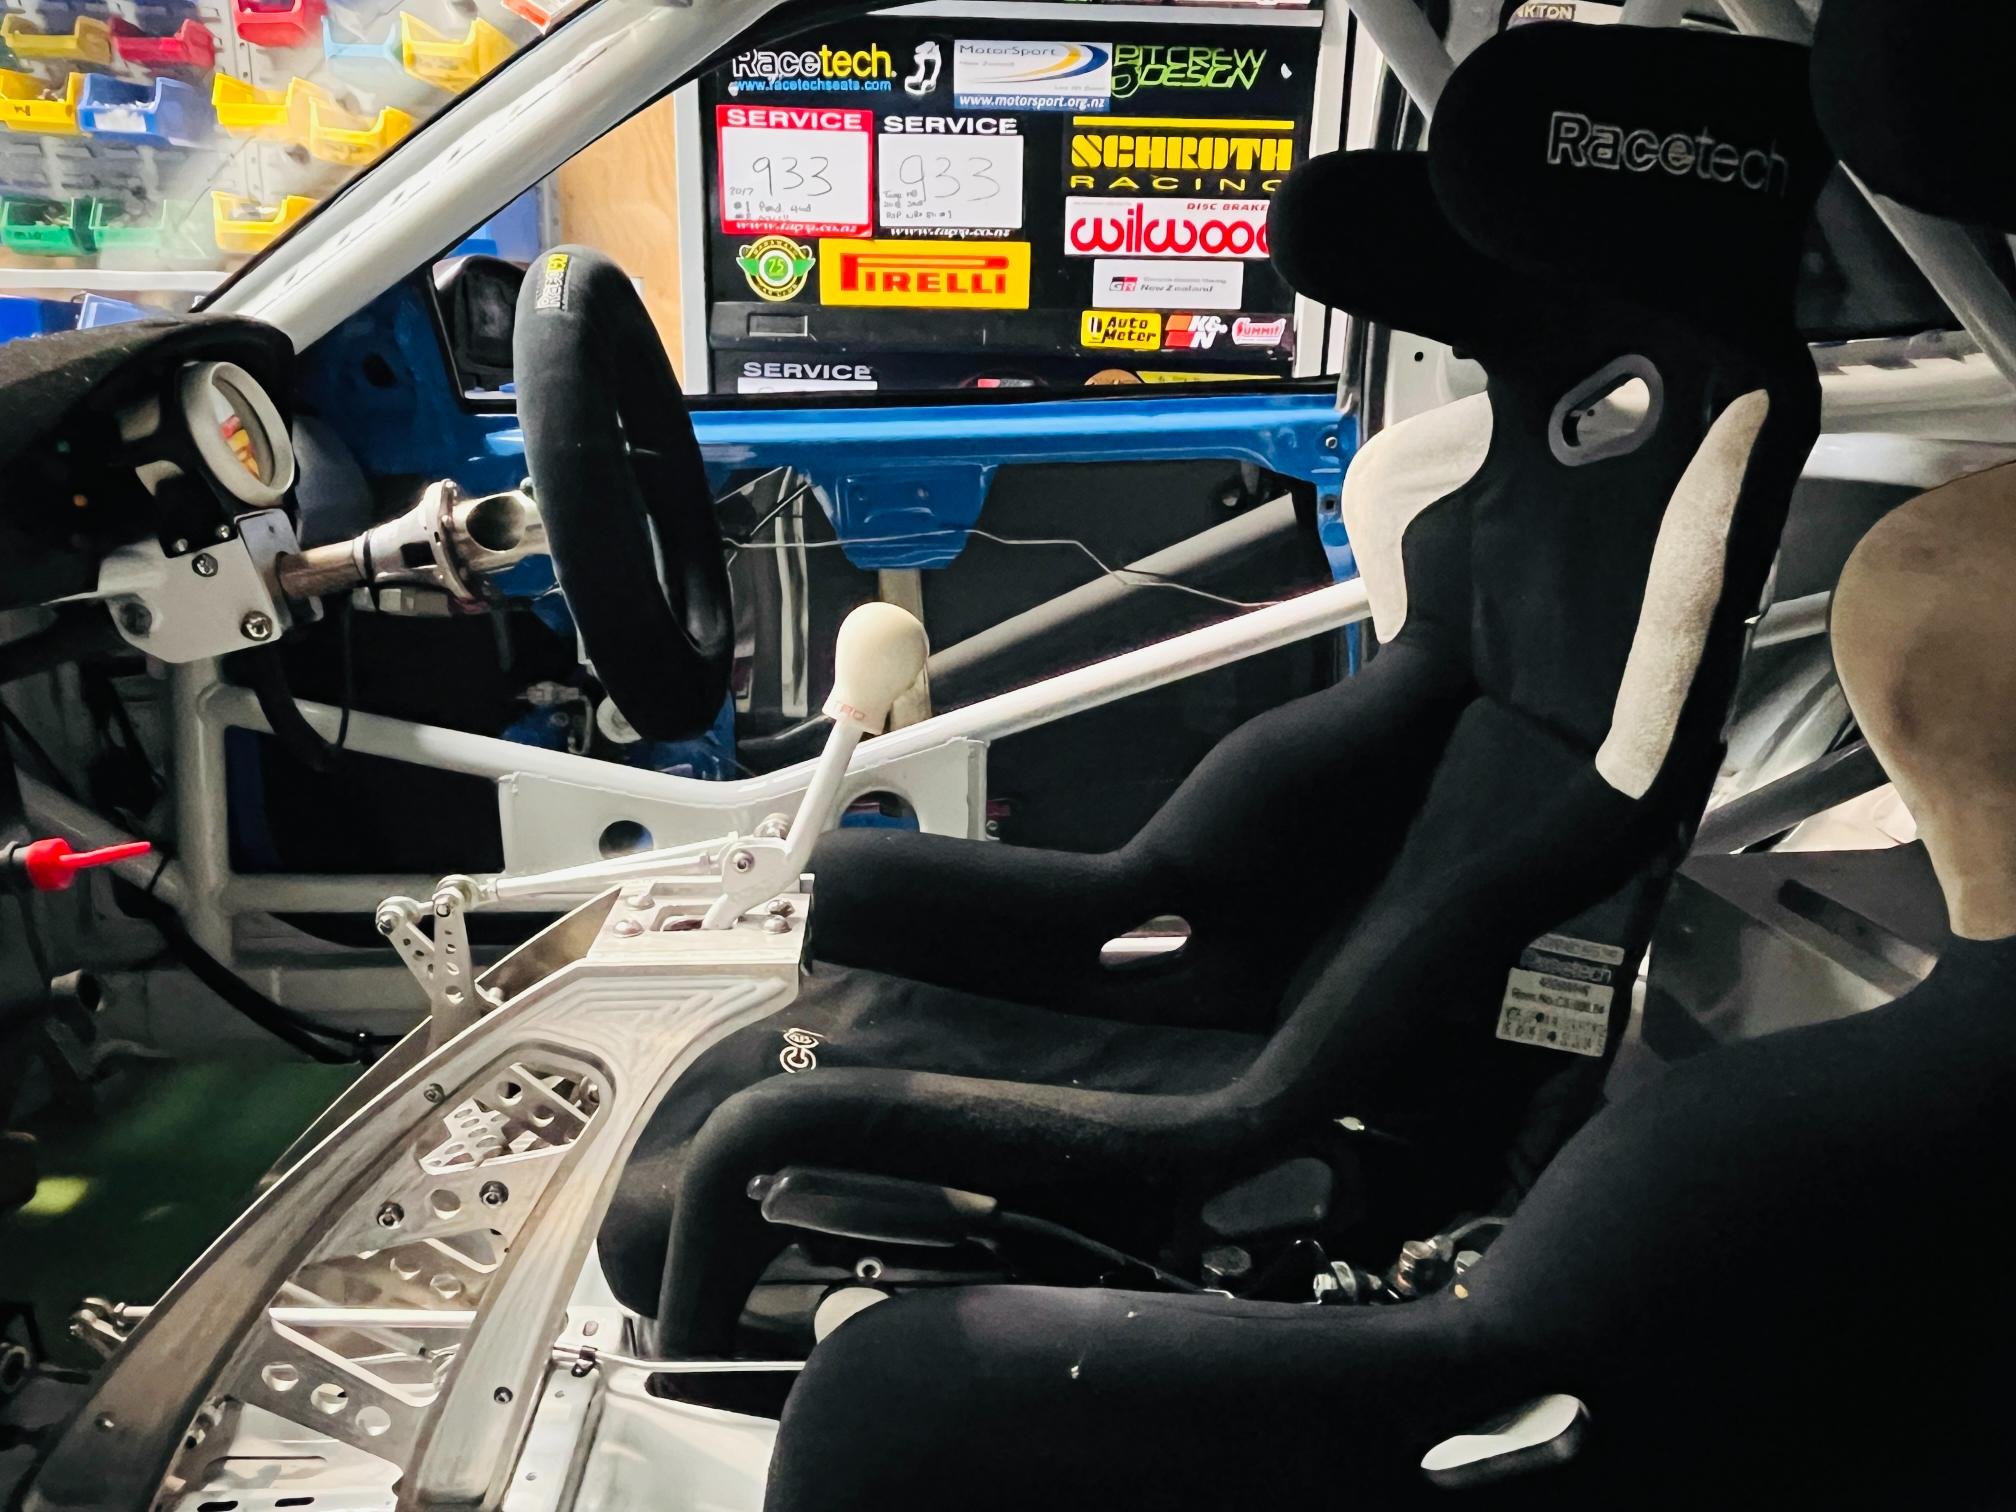
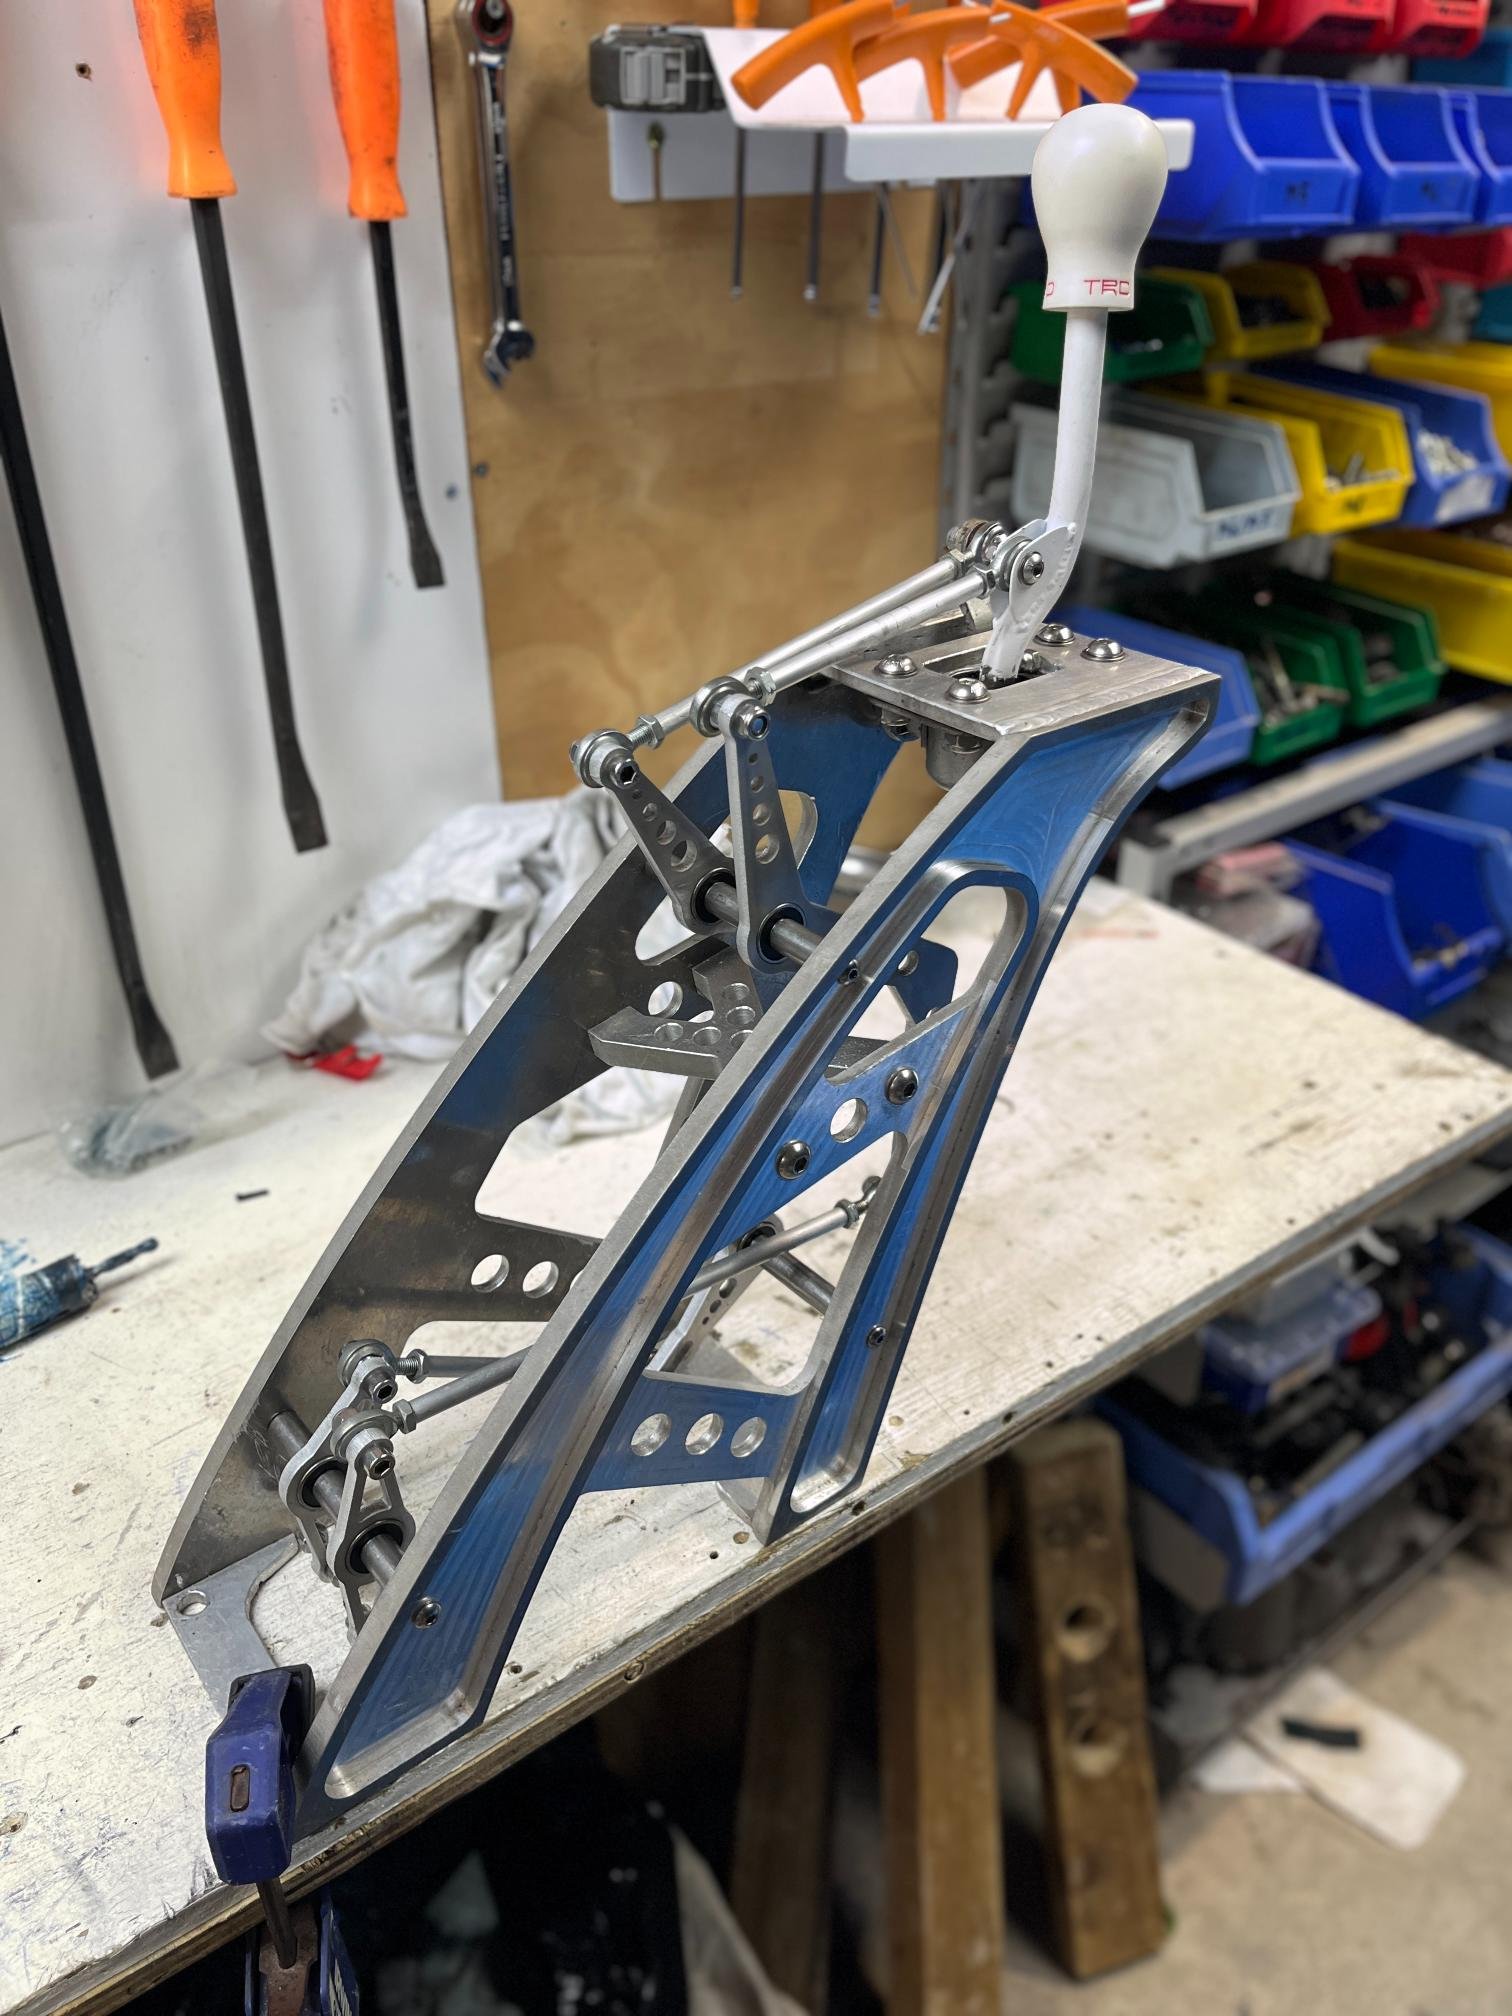
Lots of finishing details taking lots of effort with this project. Stuff that's been sitting on the shelf 'finished' for a few years always needs adjustments or I need to remember how it was supposed to be installed... Final adjustments made to the gear shifter. Locked skateboard bearings in place with Loctite (they are a gentle press fit). Also replaced axle seals and got driveshafts in place. Gearbox is ready to roll once I add some oil... Polished up the headlights finally. Look great, but could be better still. Repainted mirrors in repco 'trim black'. Turned out great! Decided to paint gurney flap black as well. Not sold on it but unsure what other options would look any good? Also, its amazing to see how unlike this car looks like a factory Levin... Dropping a car 4" will do that! Pulled the front apart to do final welds on headlight frames. All comes apart in less than 30mins which is great. Wasn't stoked to need to remove radiator again though (it's a bitch of a job!) And because I hate AN fittings & braided hose.... I sourced some Continental heater hose for breathers (not rated for oil but is no pressure and has 150deg C temp rating so should be fine). Bonus that it comes in almost an exact colour match to my car. Still one more hose end to fabricate for the final breather. 2zz has an obscene amount of breather ports so why not use them all!? Less crank pressure = more power. Last night Drew popped around to do a final measure up on engine loom. Added a few things and adjusted the factory loom to suit. He also brought some goodies with him. This is probably the biggest financial piece of the puzzle left so happy to make this step. Assembling the car and touching things up for Toyotafest at Hampton this saturday. Entered show in 'under construction' category. It's bittersweet because it feels good to finally have something worth showing/sharing with people for my 10+yrs of effort, but still so much work in the finishing touches. Next year I'll be driving it!!
- 417 replies
-
- 18
-
-
Rhyscar's Subaru Type RA of teenage dreams... where less is more
Rhyscar replied to Rhyscar's topic in Other Projects
This one doesn't, but yeah they were an option for A31 & A32. But that one is manual (swapped) which is a rarity. Spent the day pulling maximas door apart to get stuck actuator fixed end solution is its completely fucked and I need to cut the door skin open to release the door. Not a fun time. -
Rhyscar's Subaru Type RA of teenage dreams... where less is more
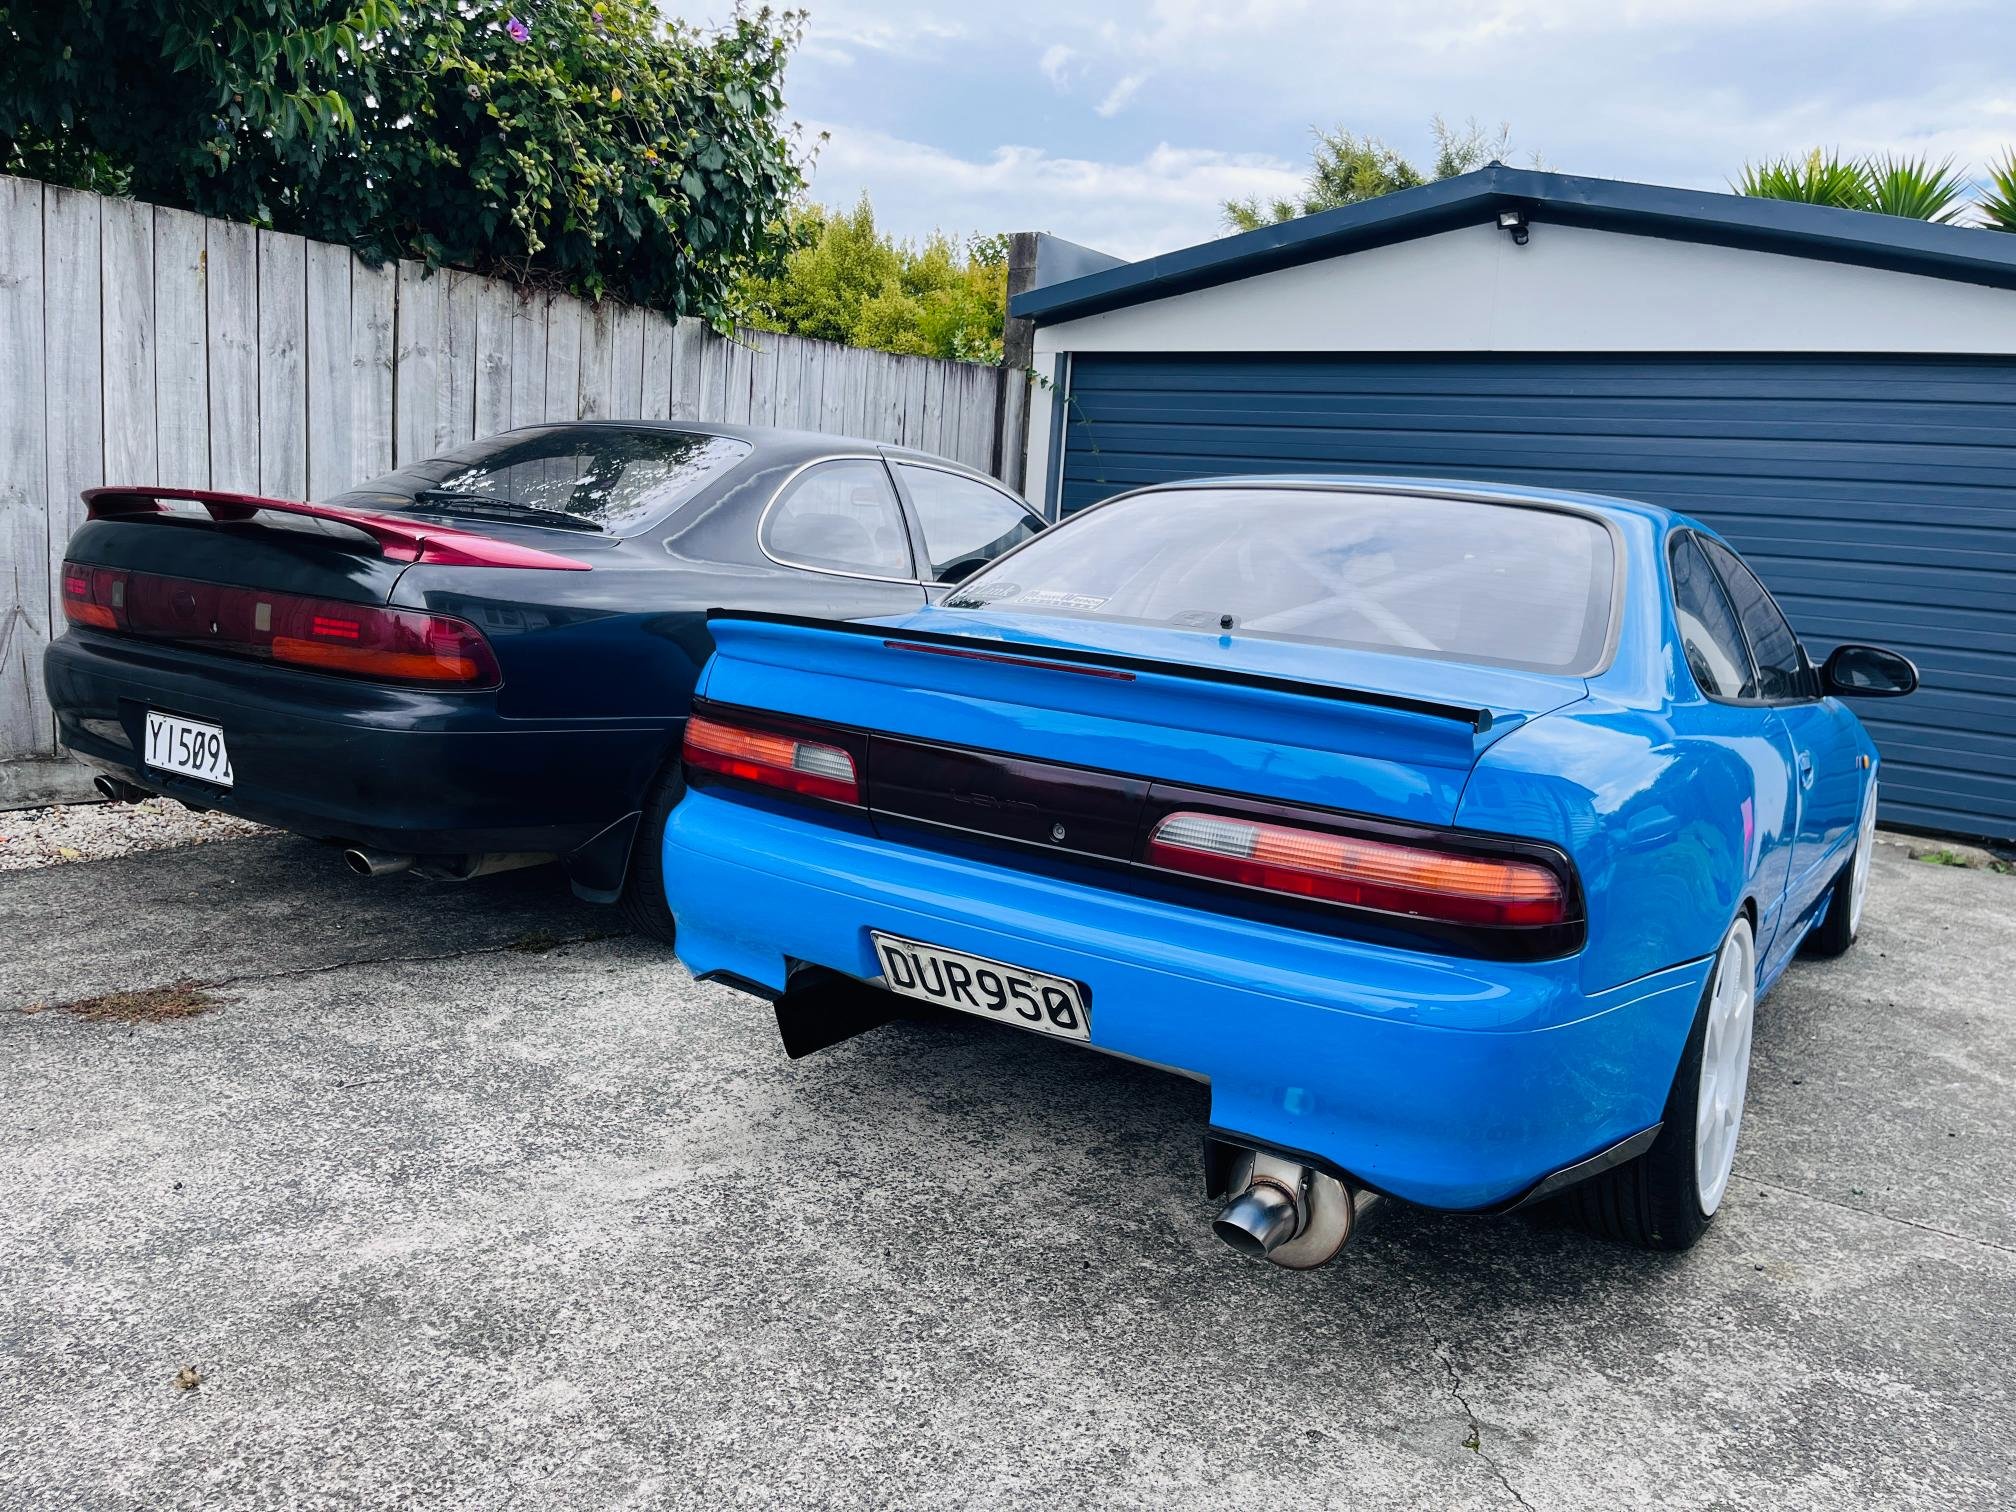
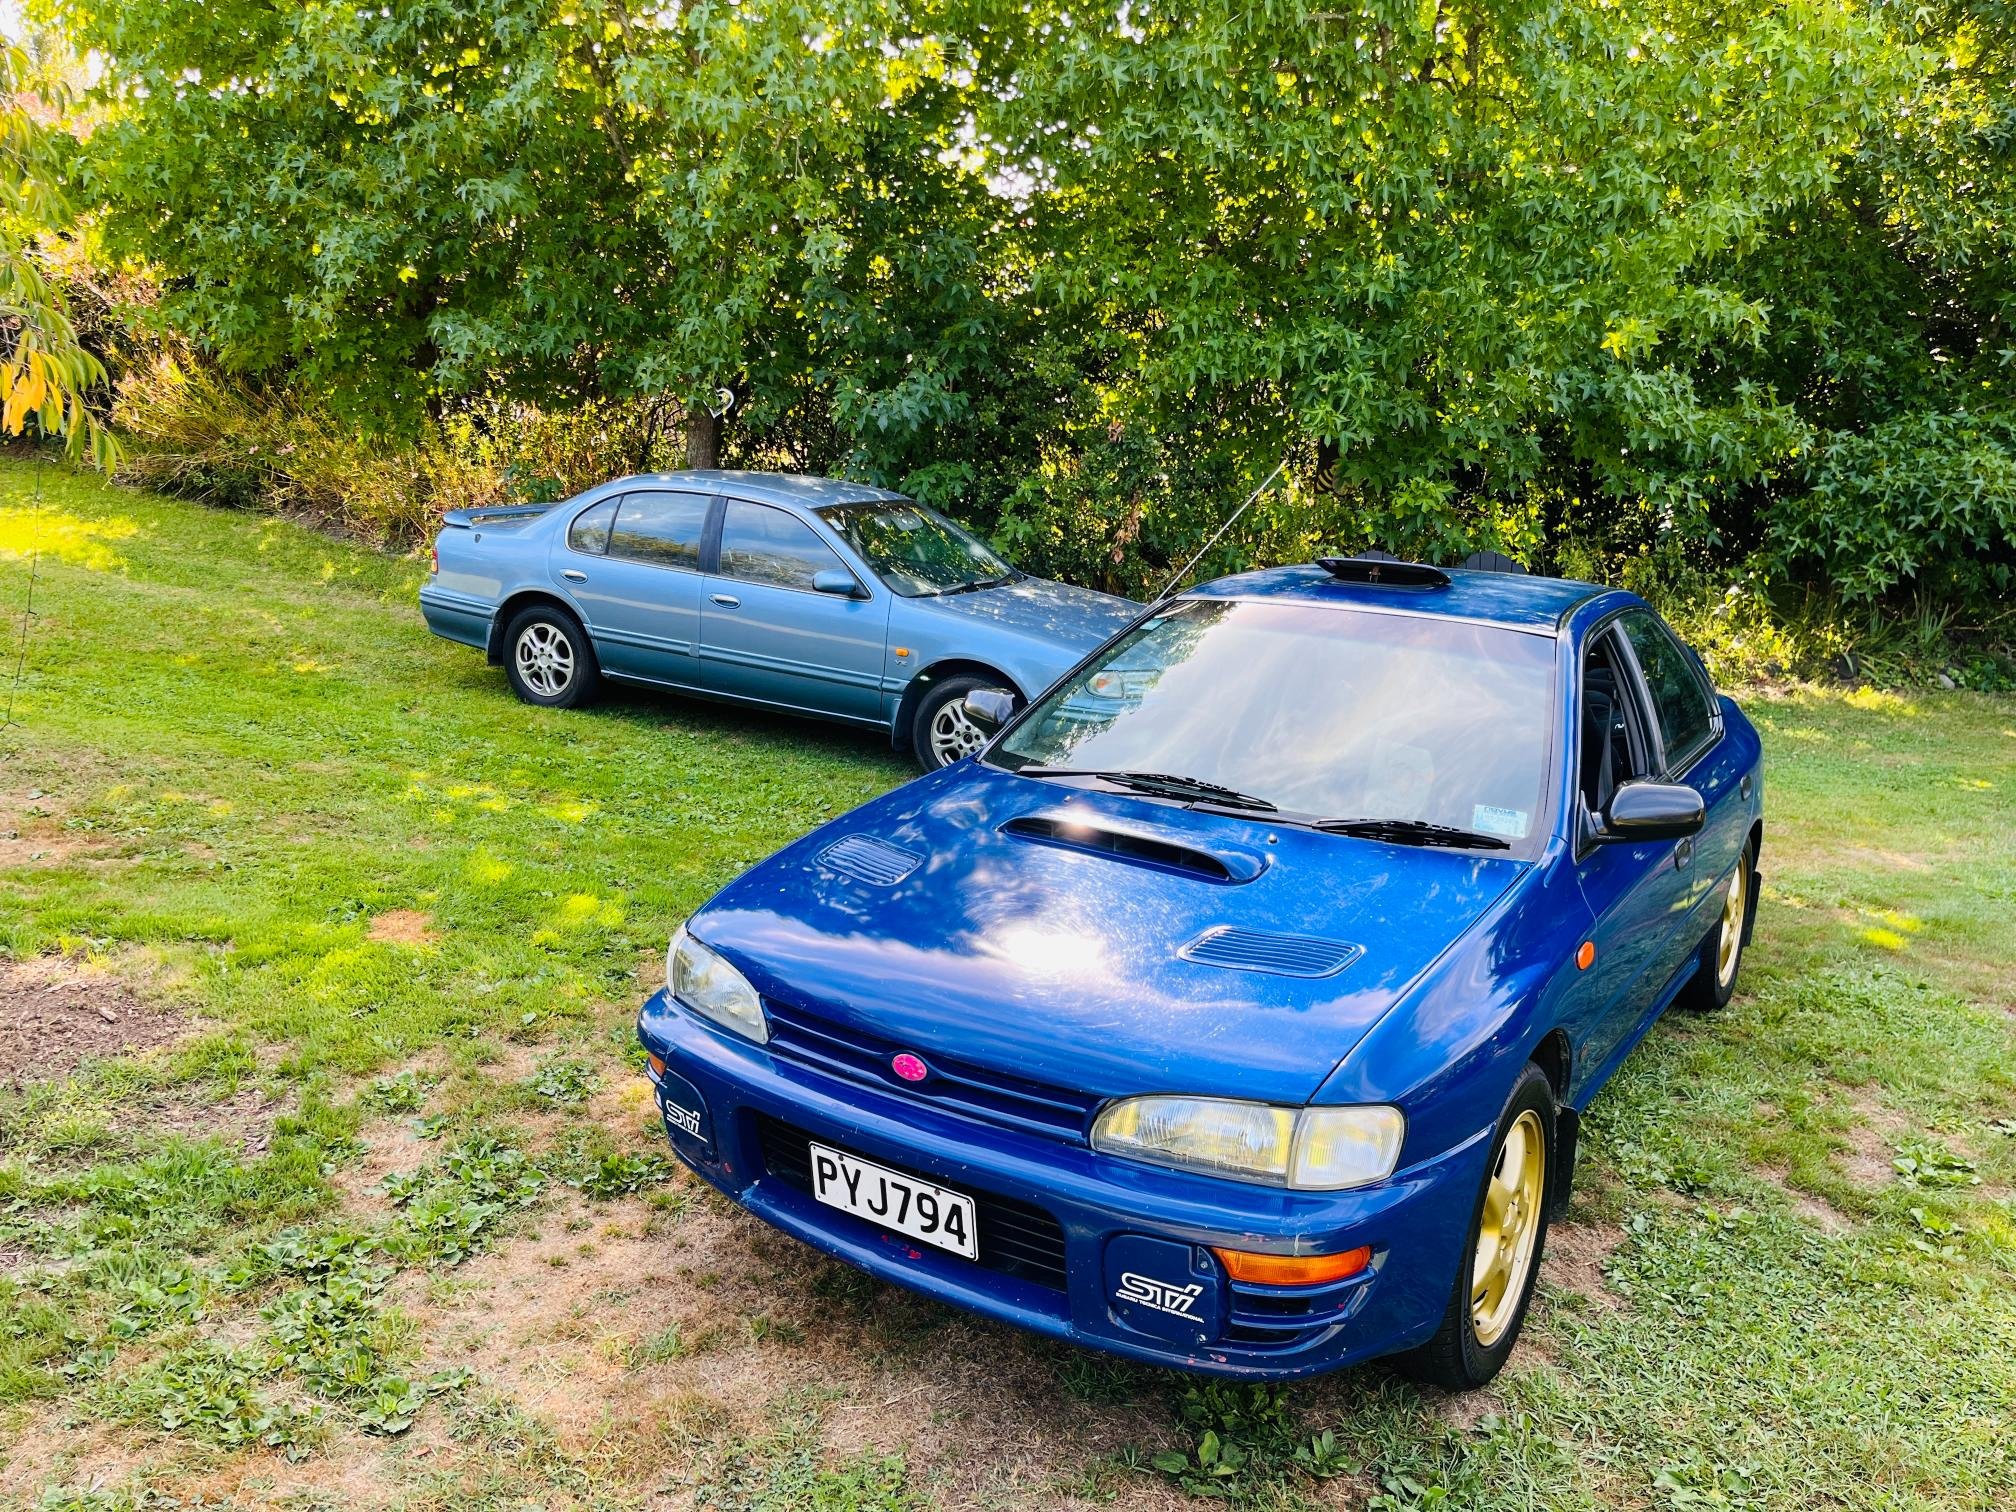
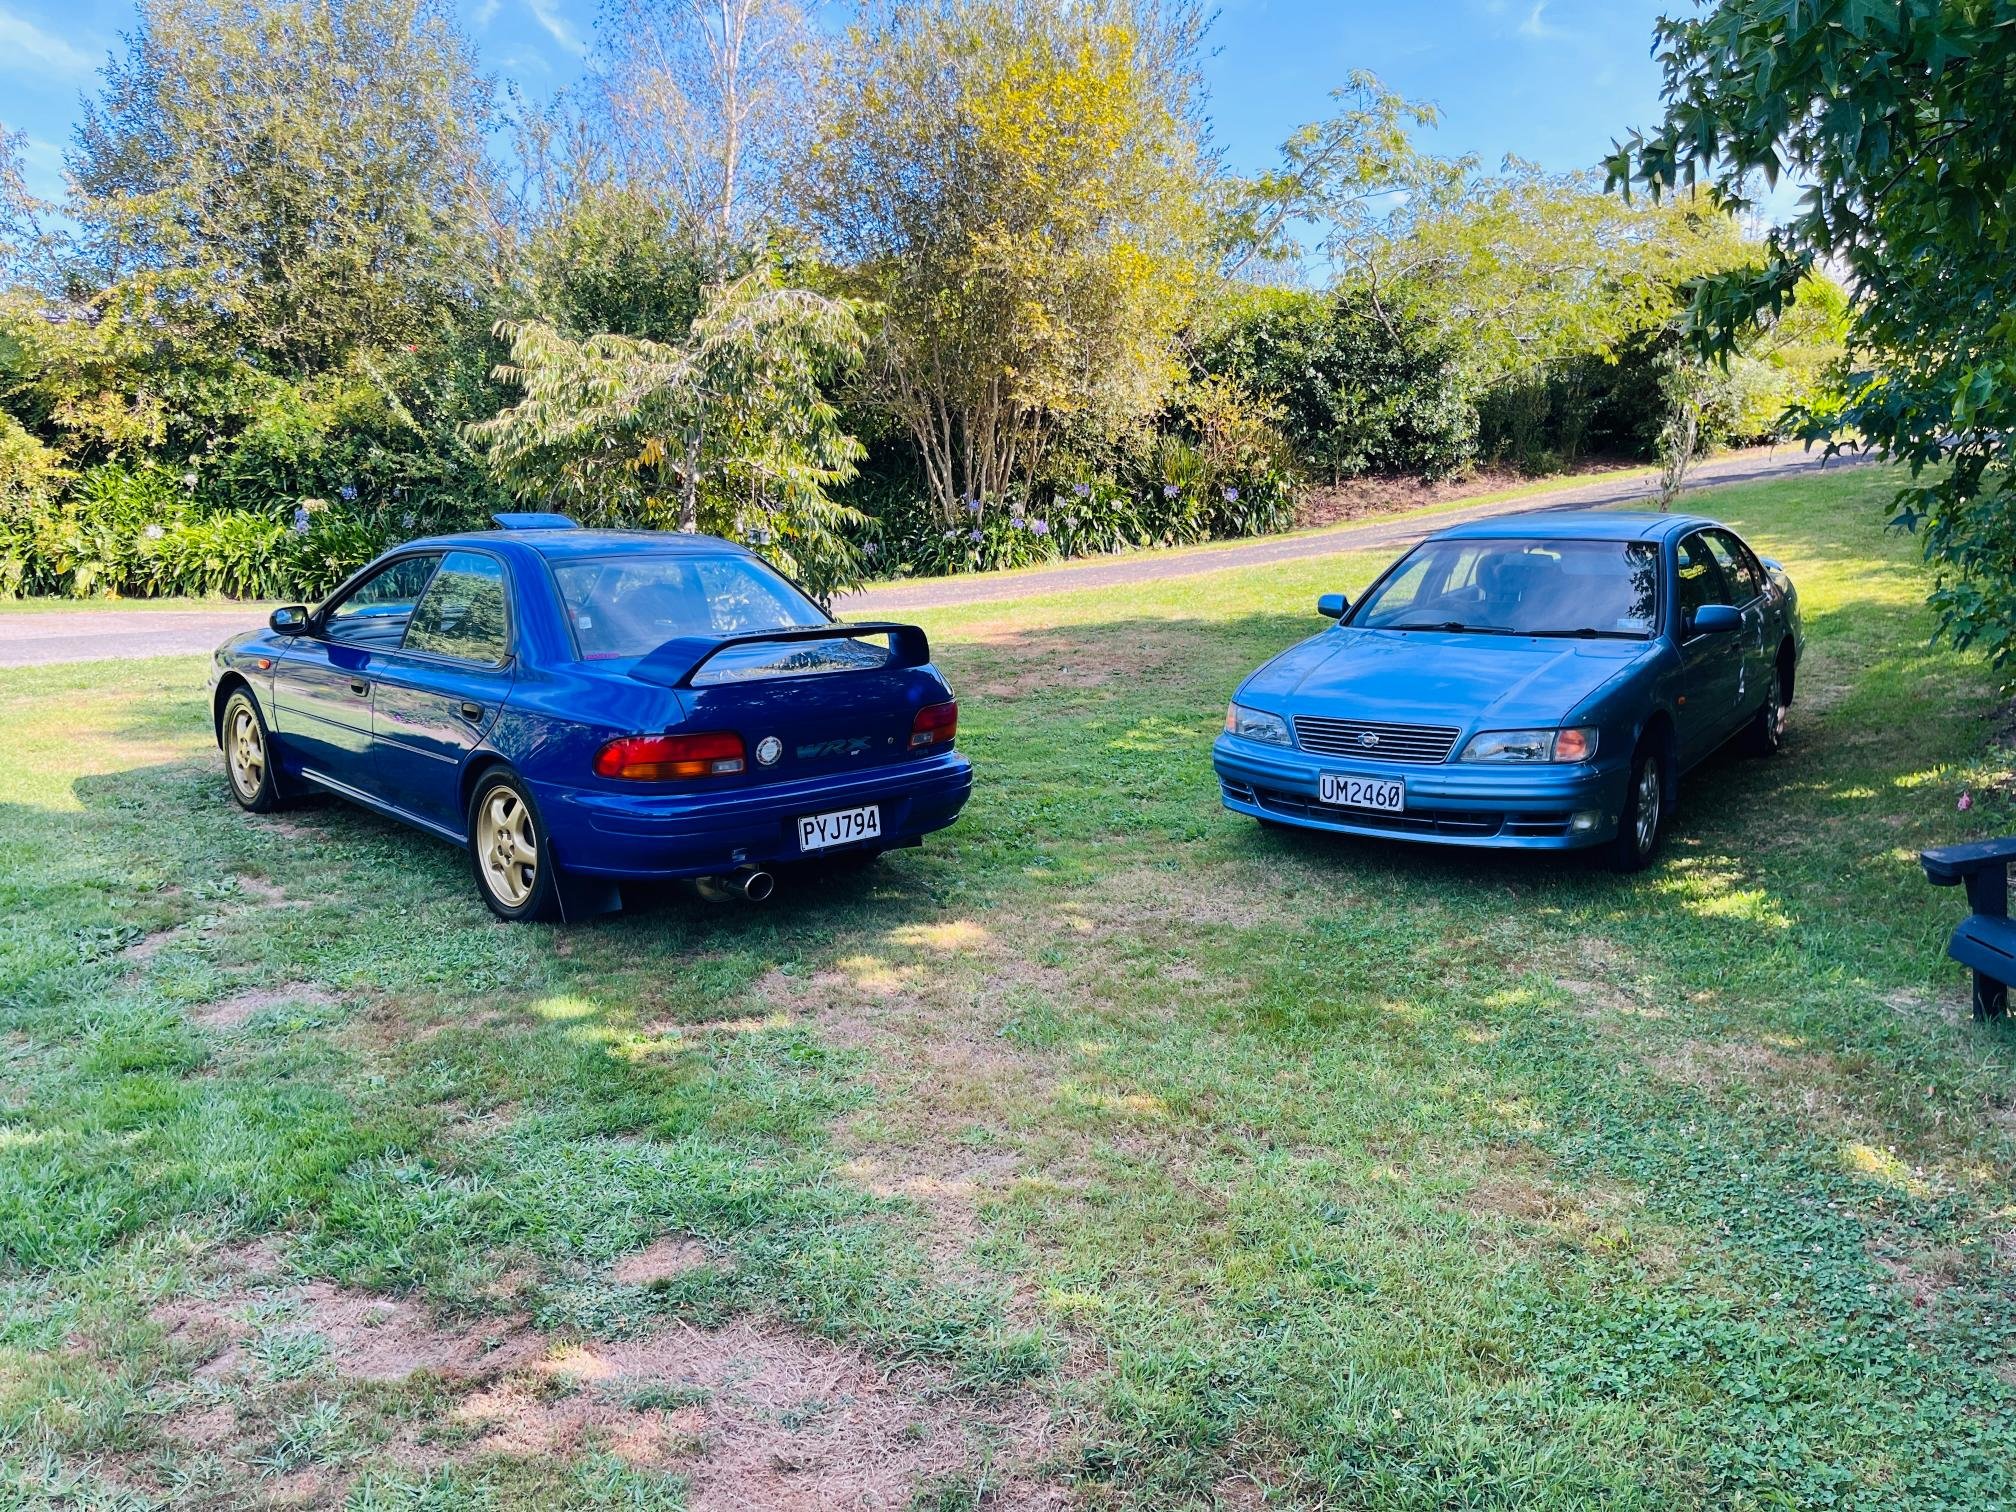
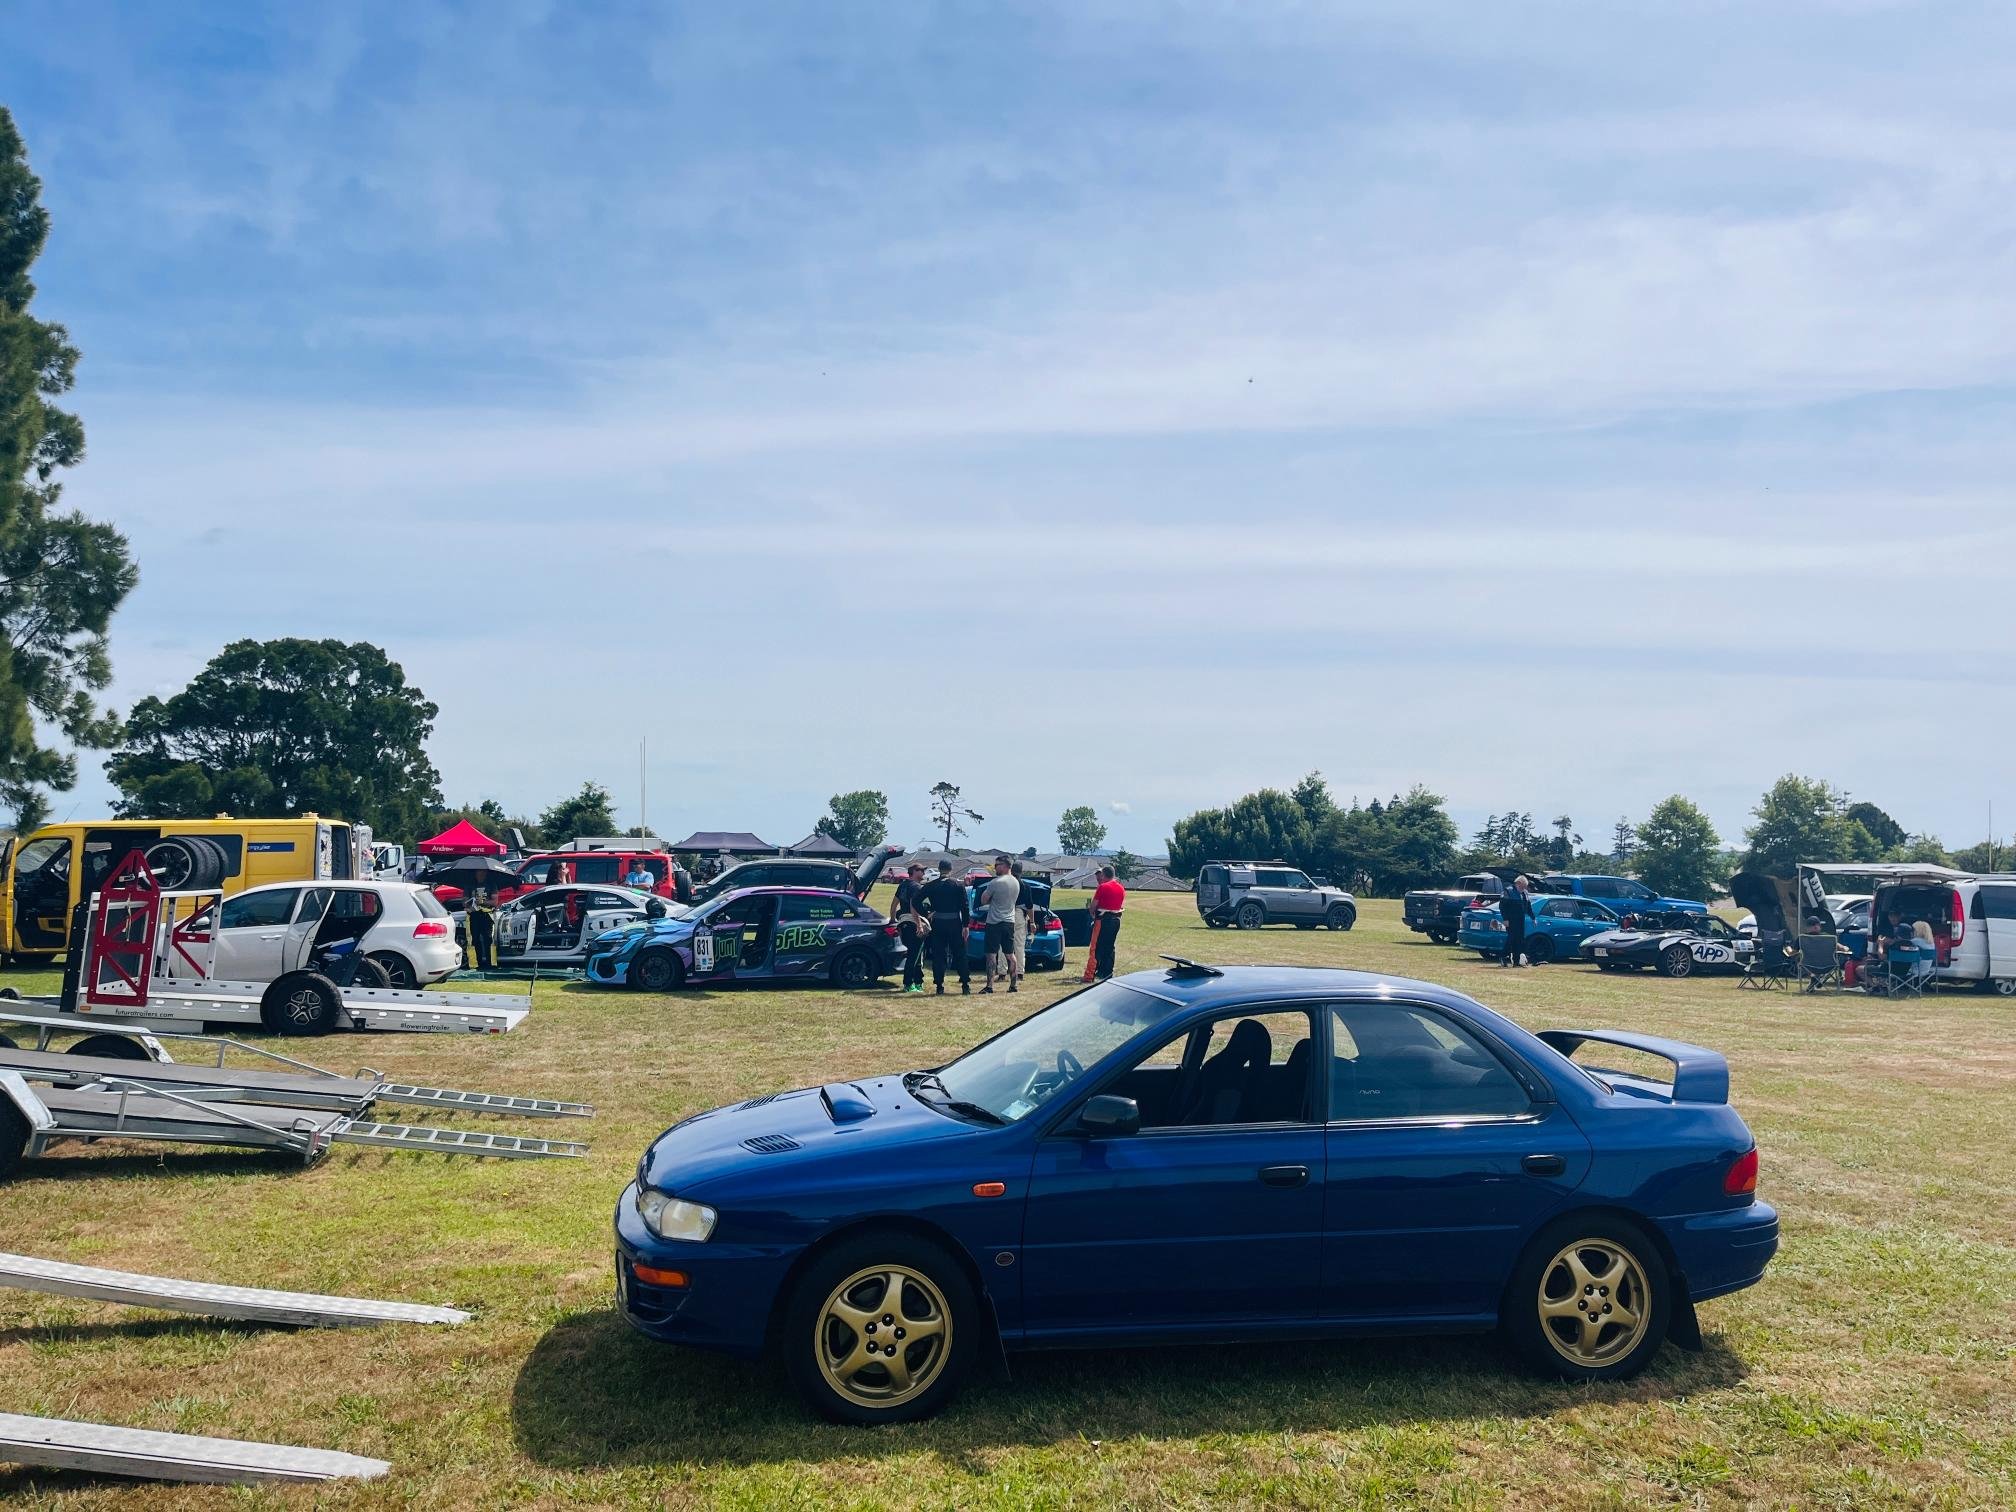
Rhyscar replied to Rhyscar's topic in Other Projects
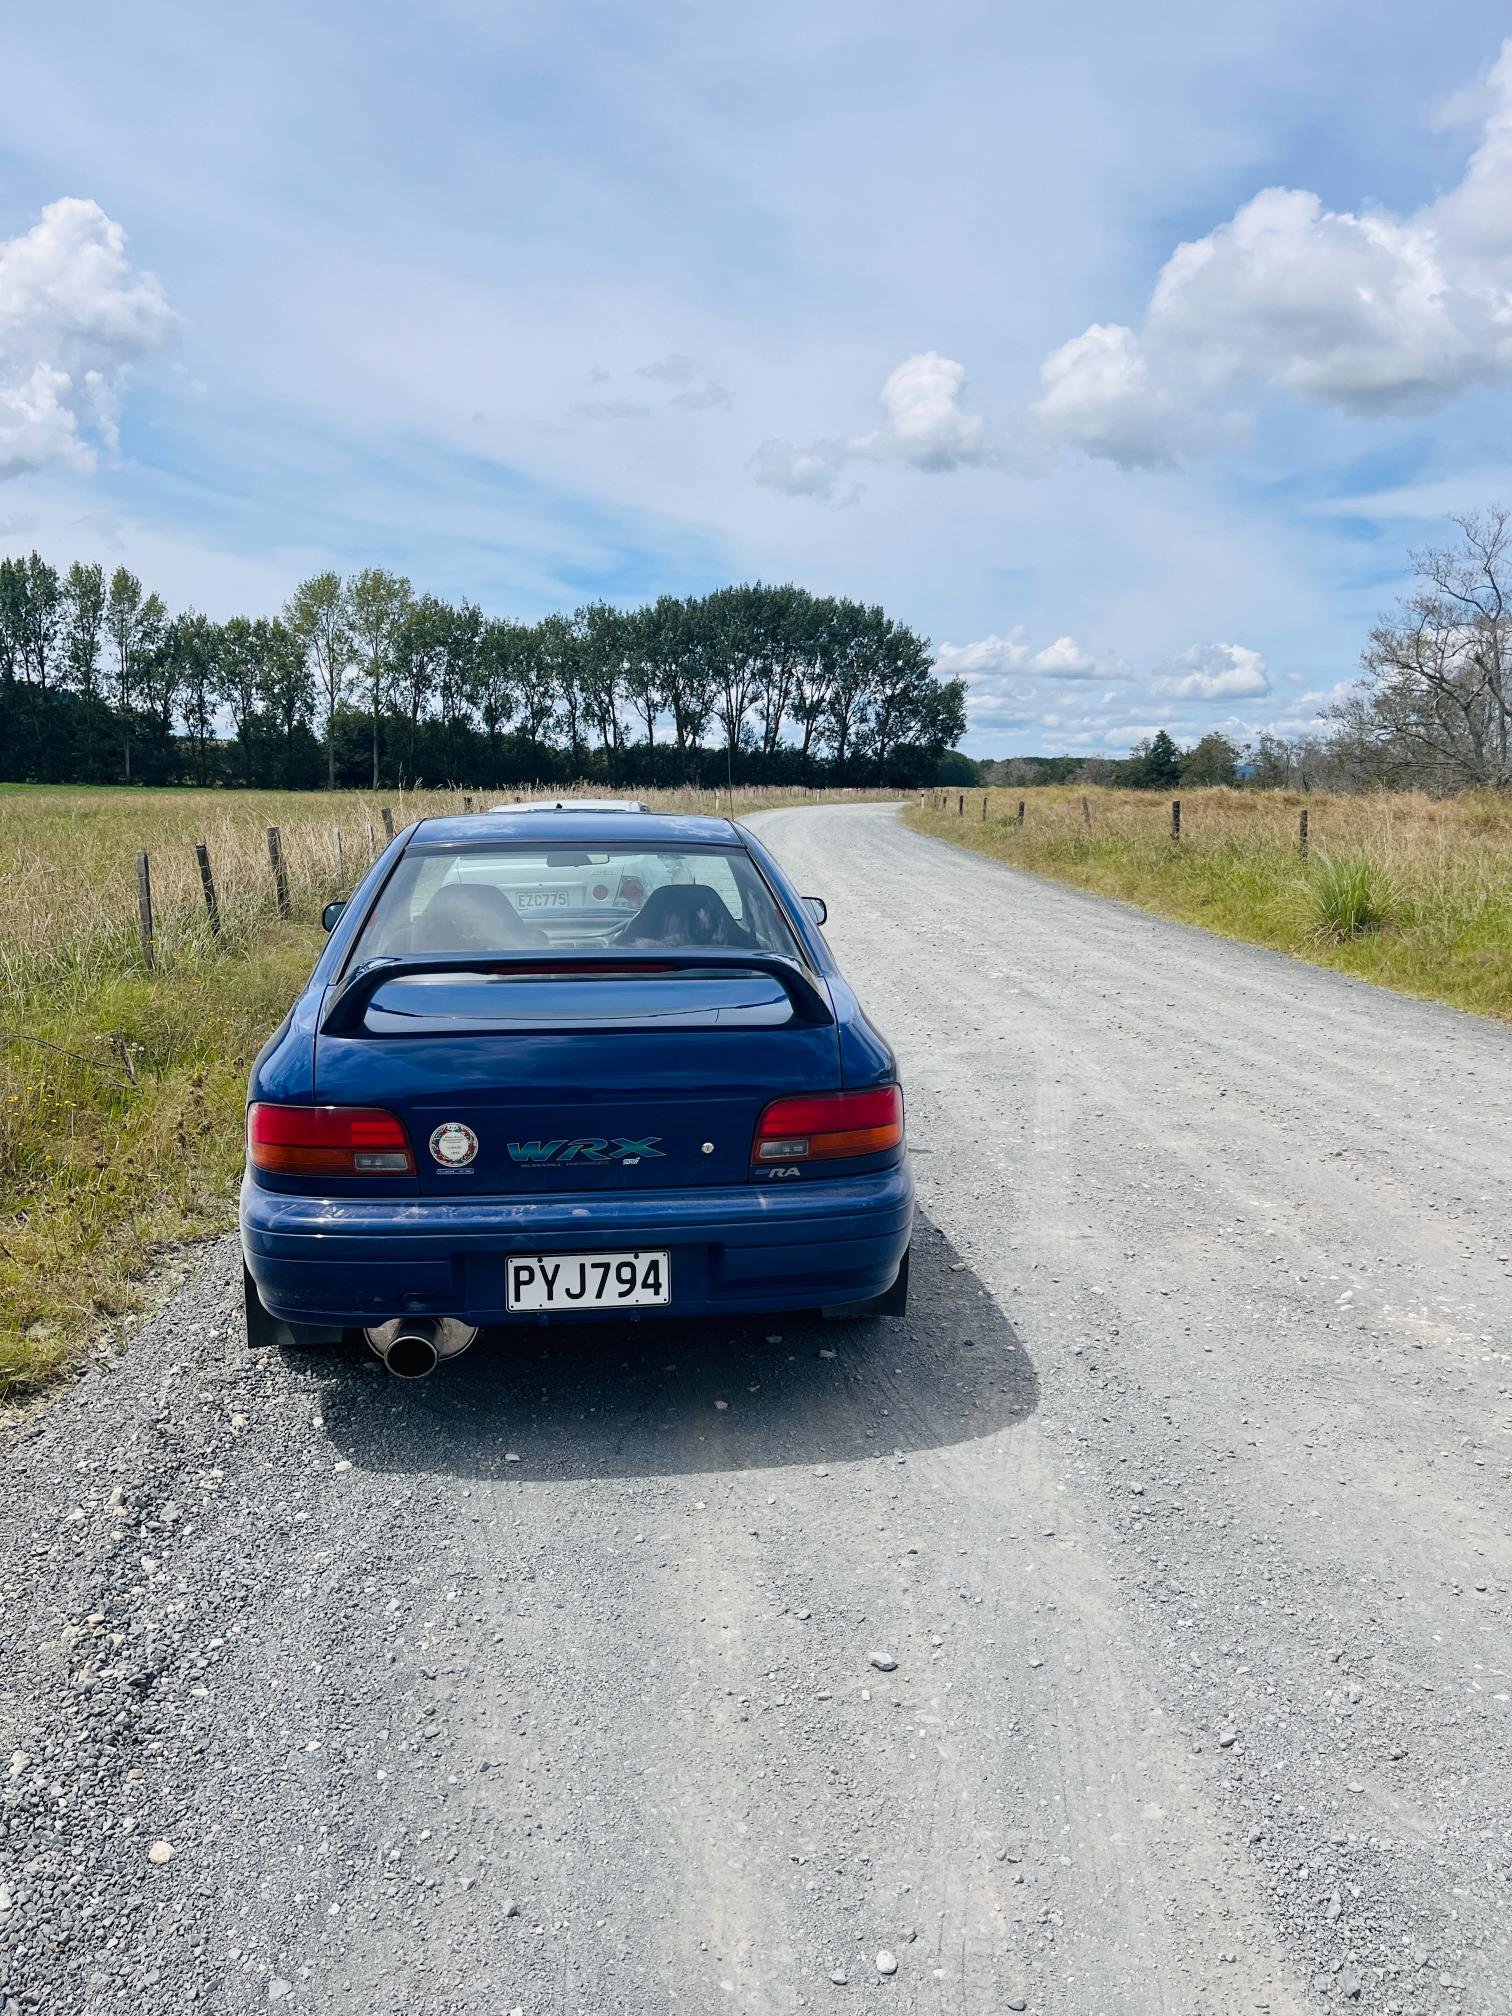
Been driving this bit lately for a few events/occasions. Maybe a bit much - watching the kms. Perhaps two of the finest cars built in Japan in 1996?? Prove me wrong. Got out to watch some Targa in North Waikato over the weekend. Did a quick reece over one of the roads and wow when you get in it, this thing is a beast. Wound the diff up and it just glues to the road and clunks at low speed. Steering is super precise, gearbox is perfect which makes for a lot of fun carrying speed through corners. Very impressive for 1996, a modern car would need 450-500+ hp to keep up with the 1180kgs of 90's engineering. Unsurprisingly, the brakes suck but that's a later issue (has a slightly leaky master cylinder and rusty booster). Its done 240kms so its to be expected. New exhaust makes it a pleasure to drive on all occasions. Can hear BOV & wastegate doing their thing now which is cool. Car feels at home in the service park. All the old Targa geezers were fizzing. Found a gravel road to test out some launches. Goes better on gravel than tarmac Going in the shed for a while now. Need to give it a clean/wax and get the Speedlines repainted.
- 37 replies
-
- 17
-
-
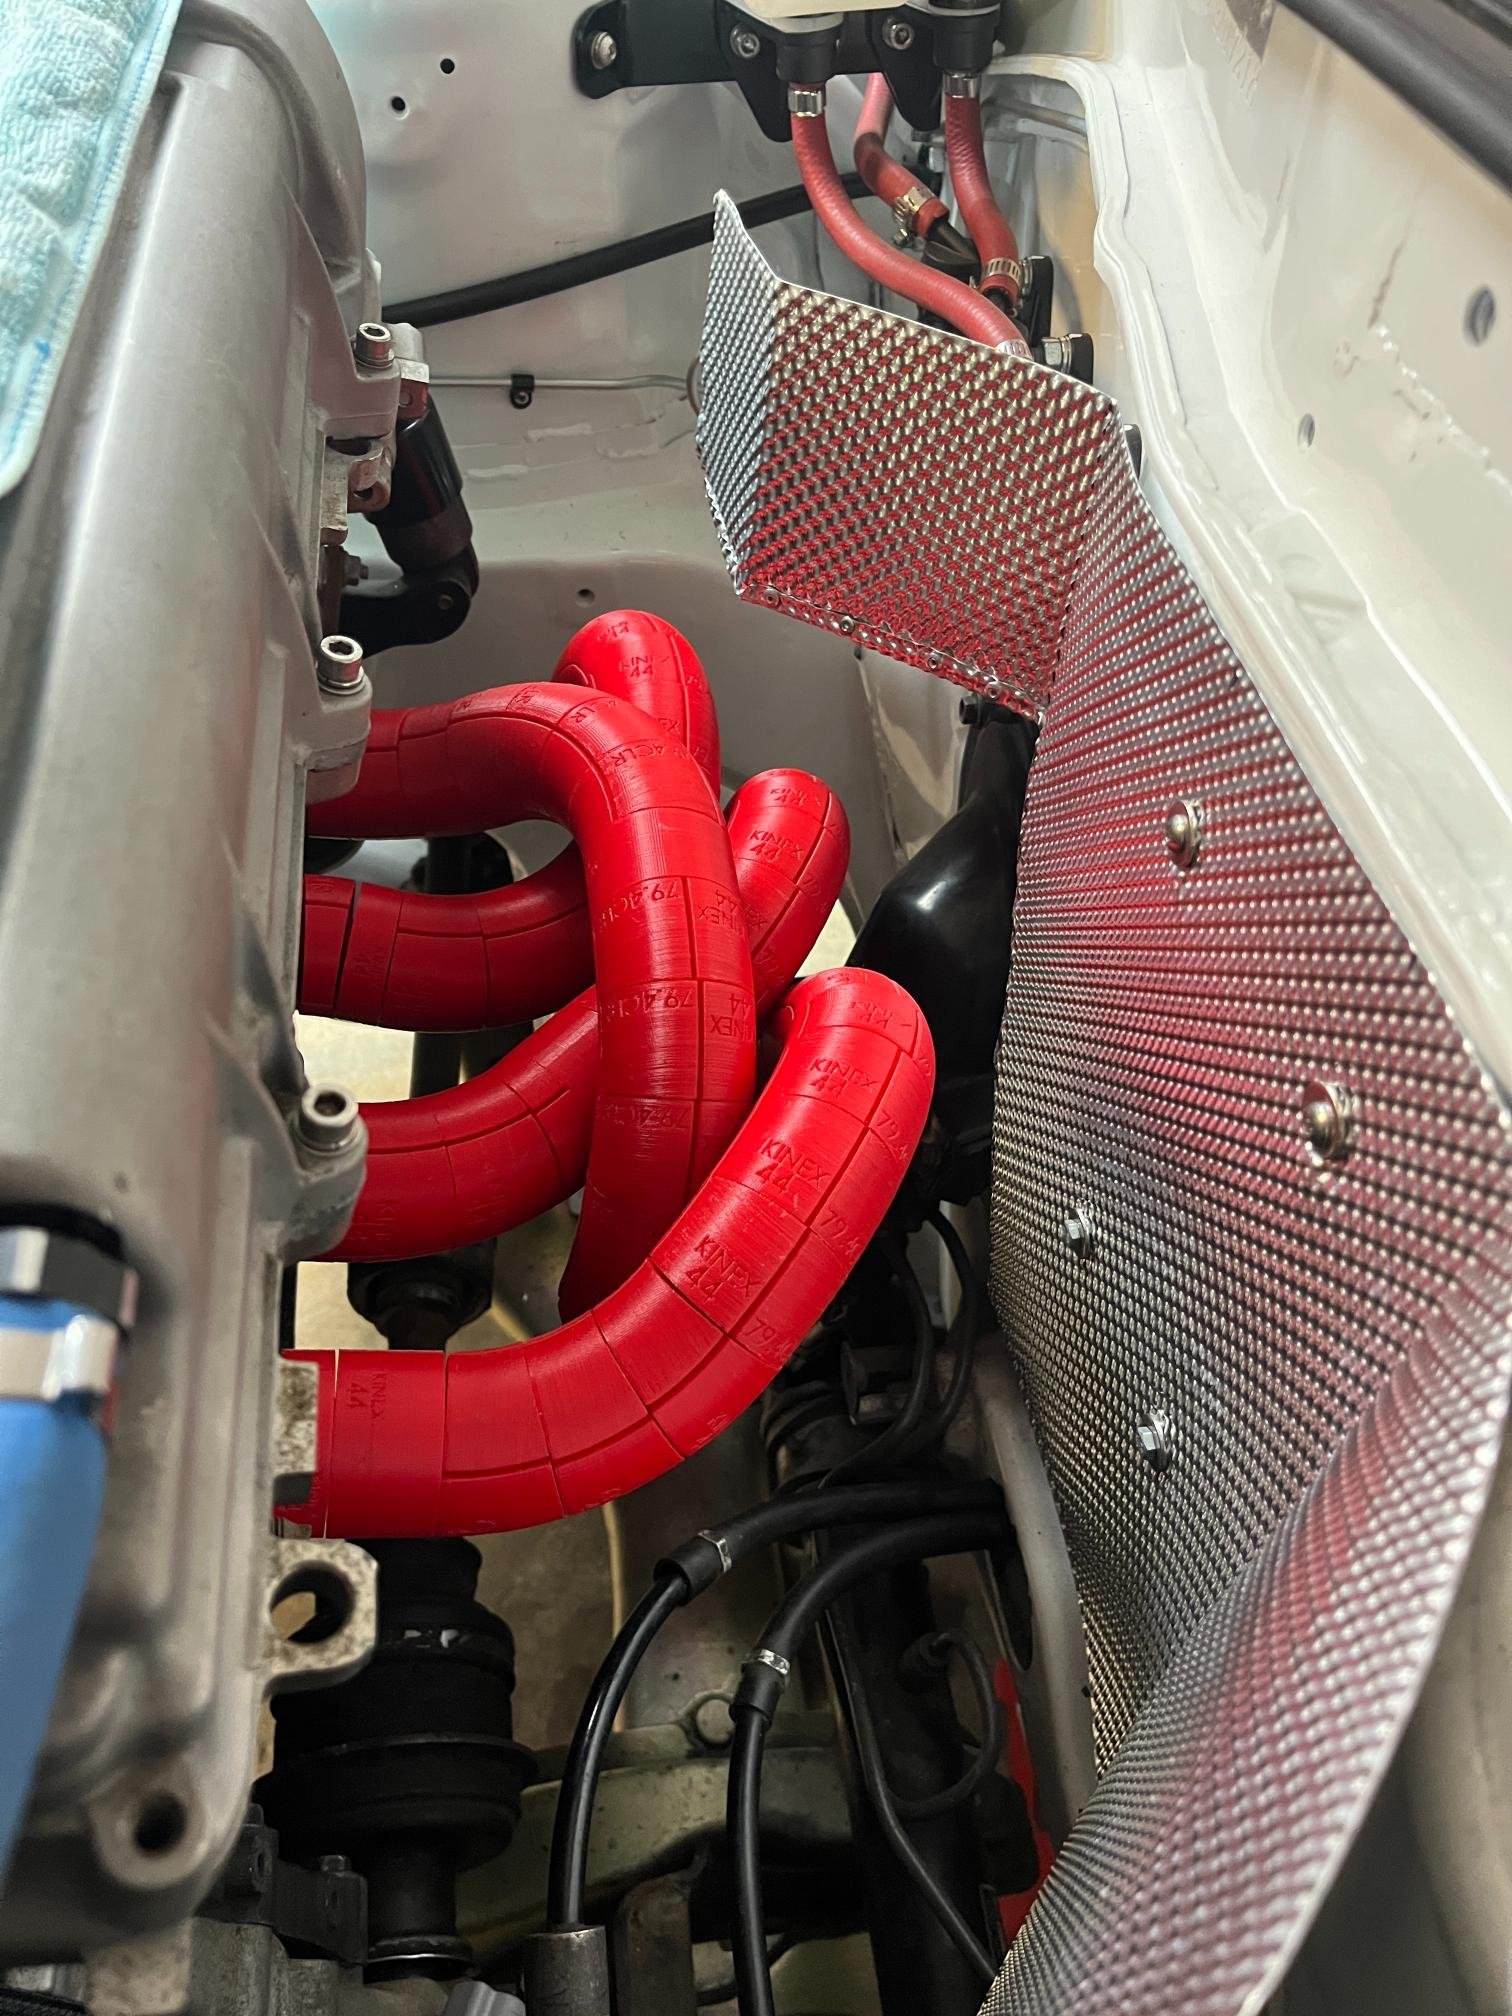
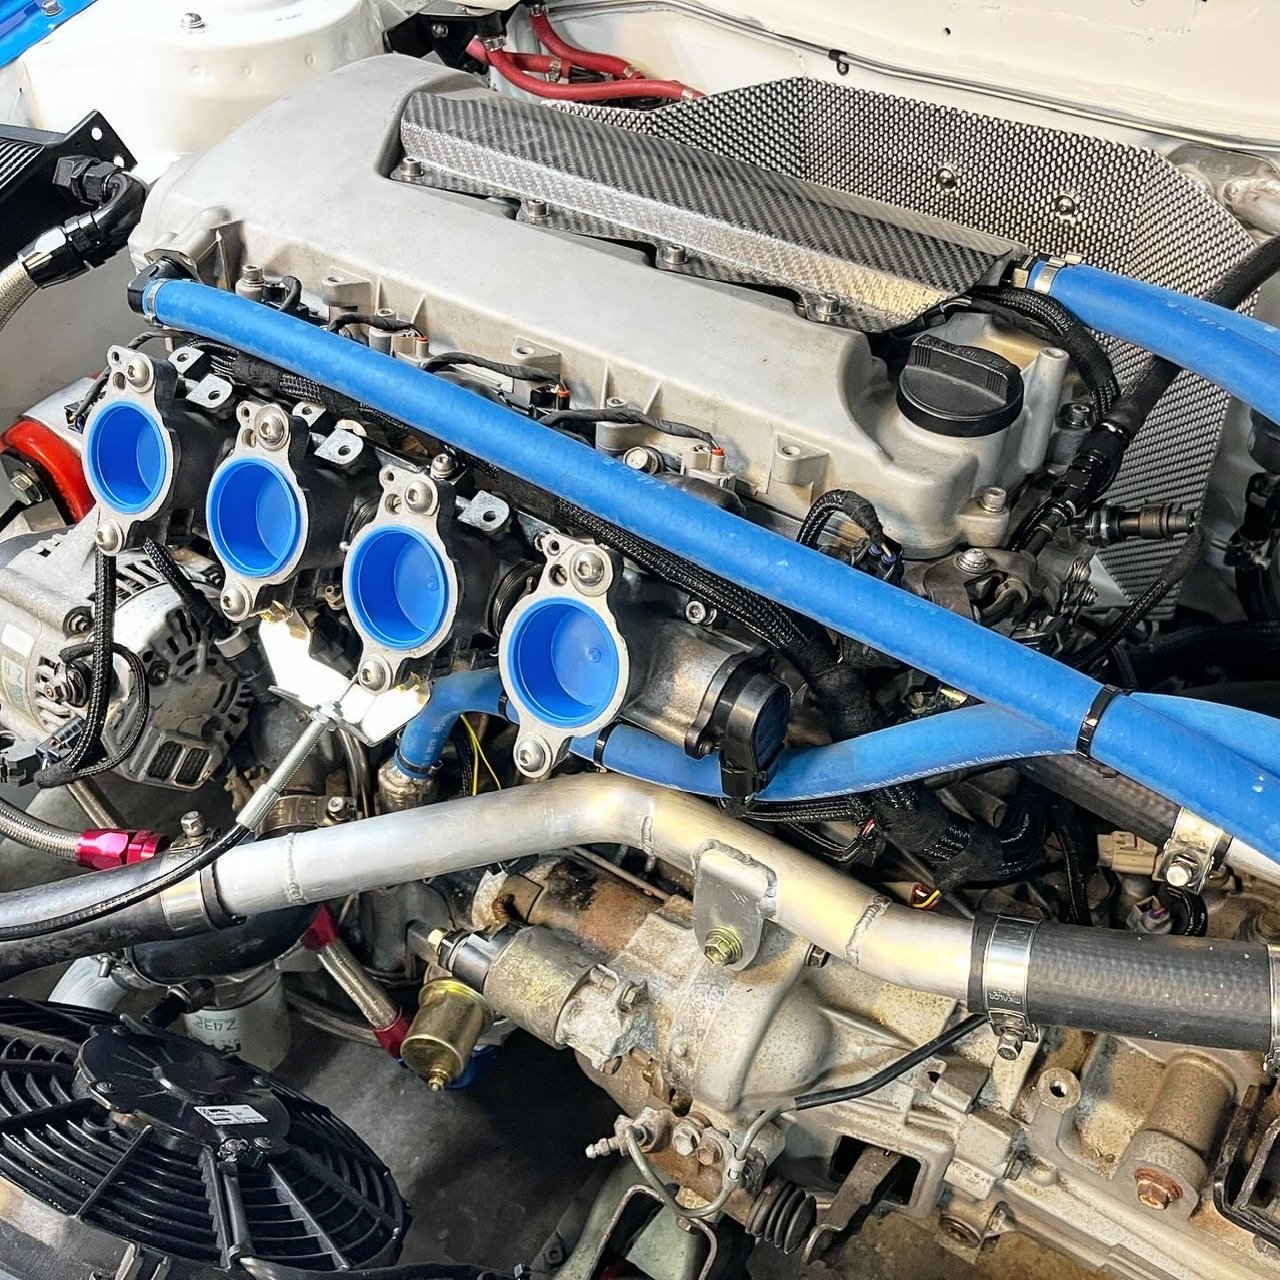
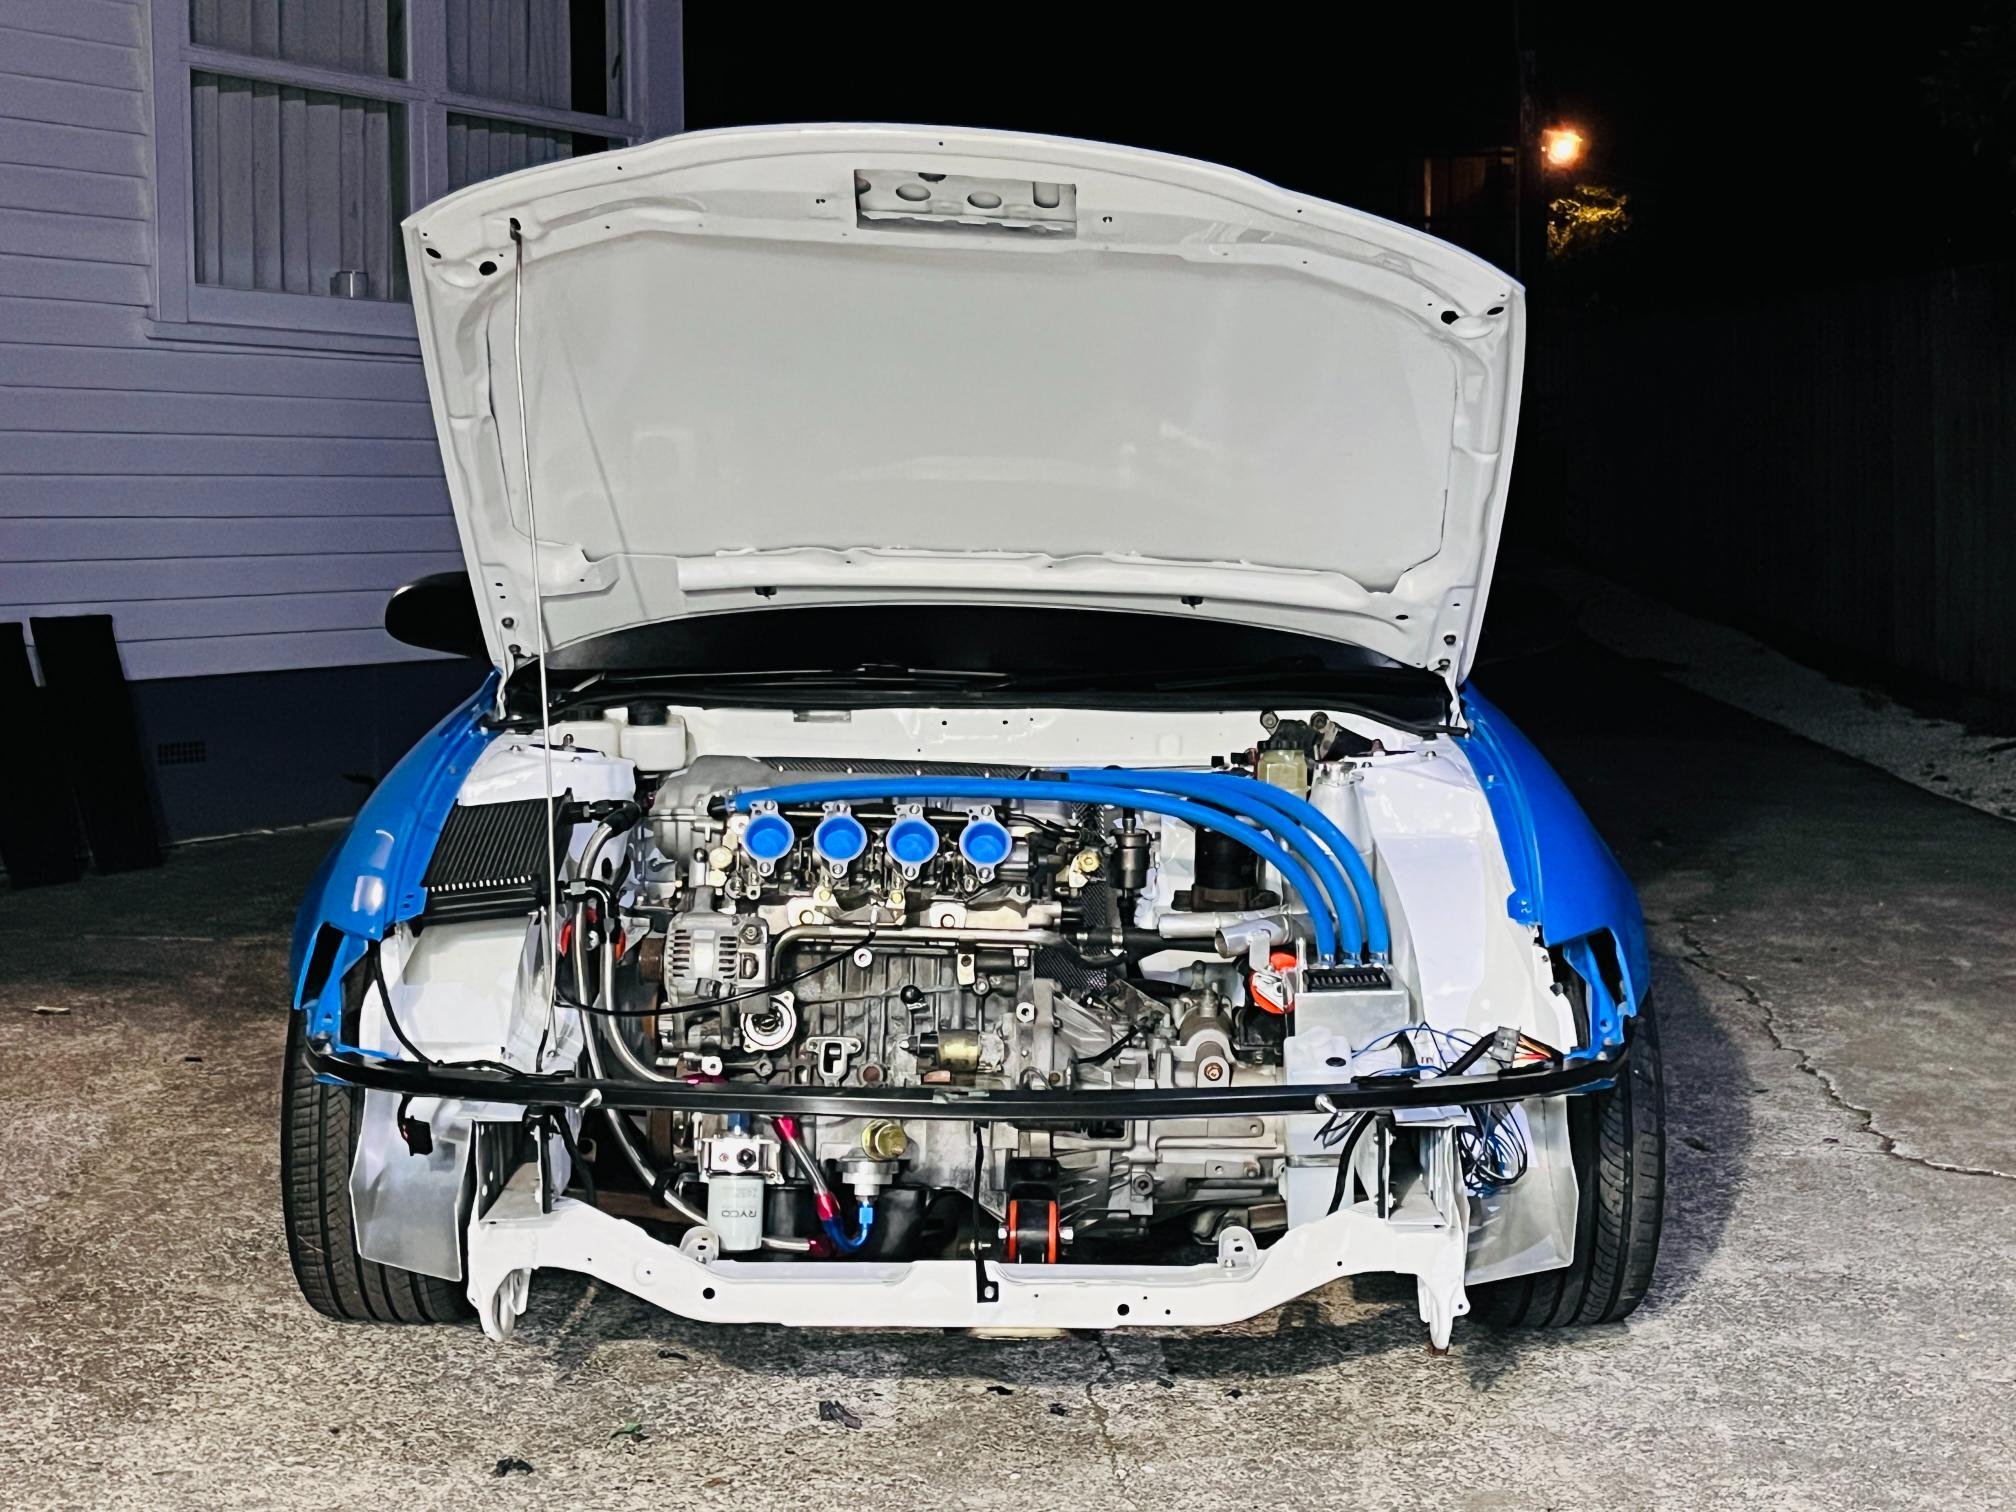
End of weekend engine bay shot. Made a nifty heat shield for the firewall to keep the important stuff like brake masters and fuel hoses from melting. Rocker cover is off getting a parts wash to get all the swarf out from drilling breather holes out. Sump needs to same treatment after I added an oil temp sensor hole.
- 417 replies
-
- 10
-