-
Posts
2743 -
Joined
-
Last visited
-
Days Won
3
Everything posted by azzurro
-
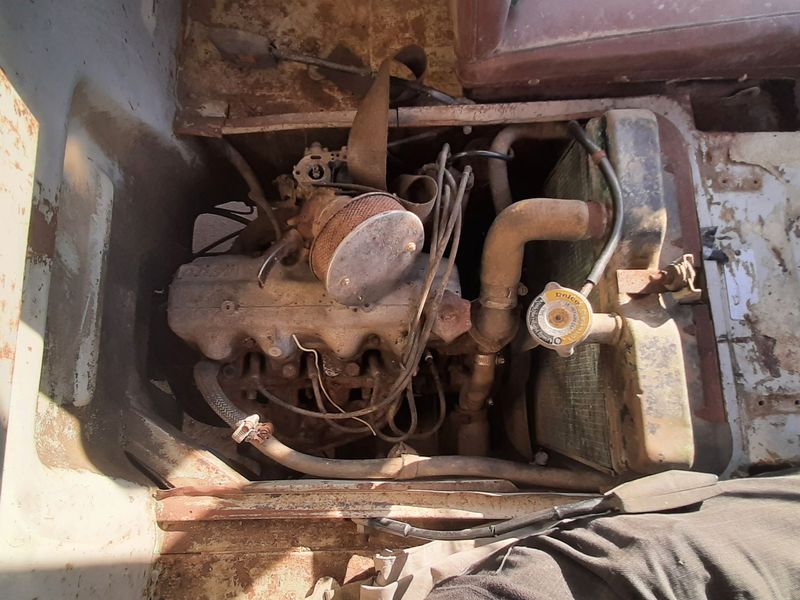
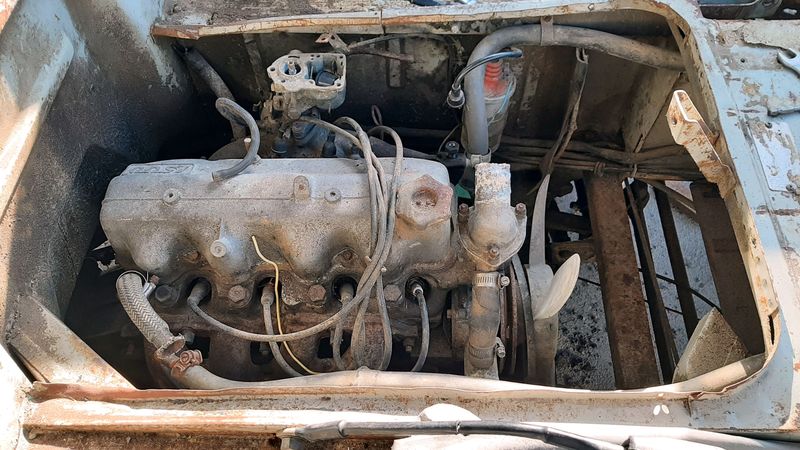
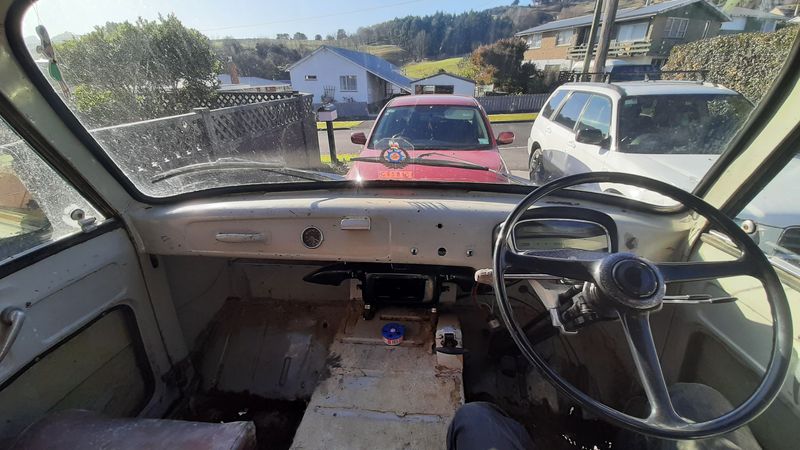
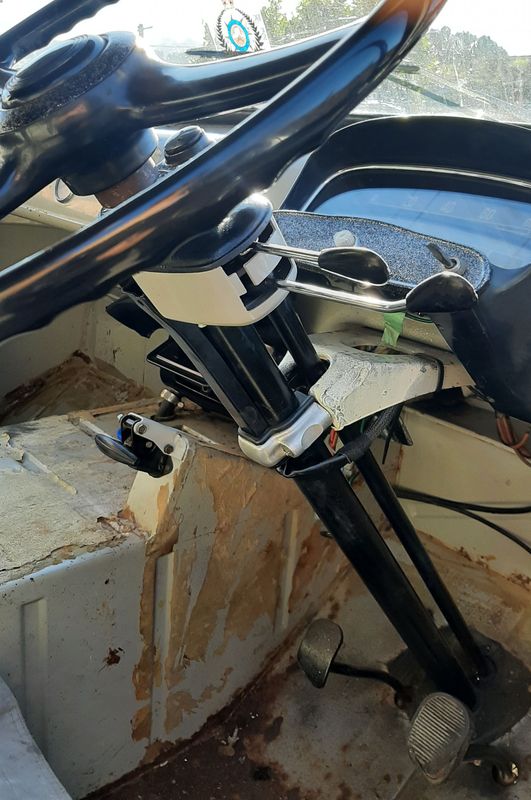
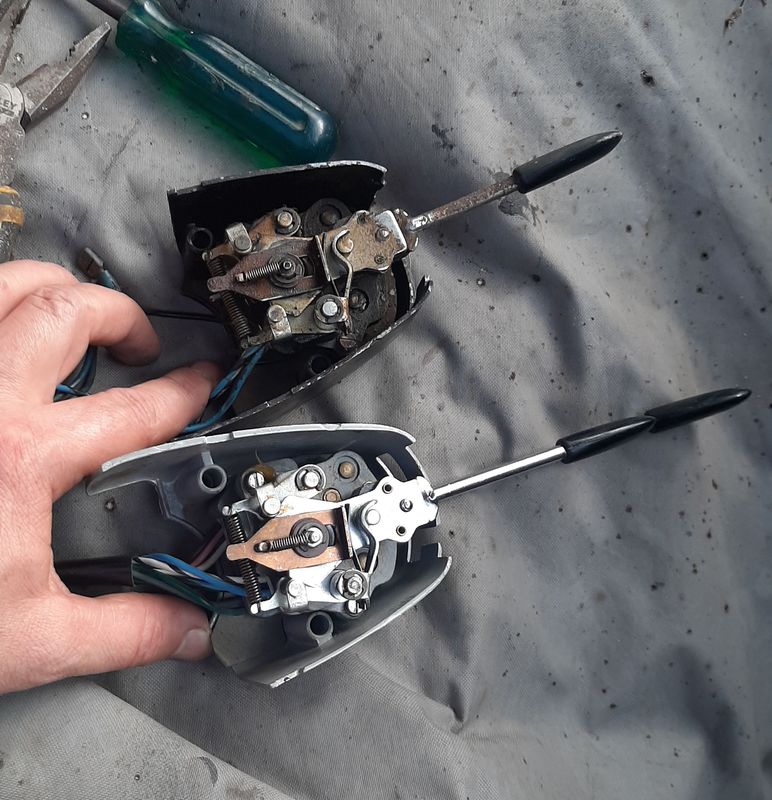
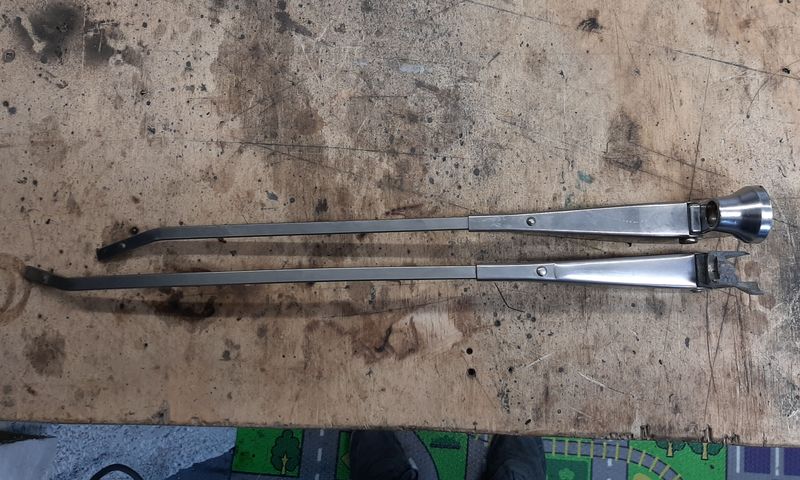
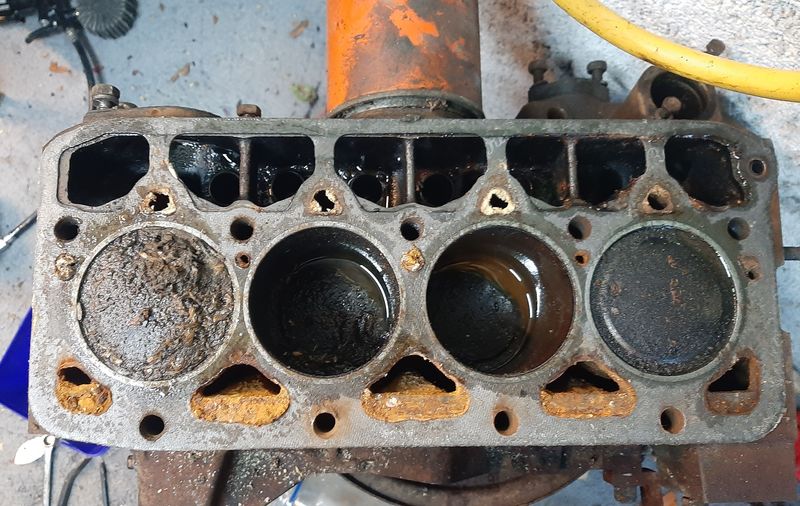
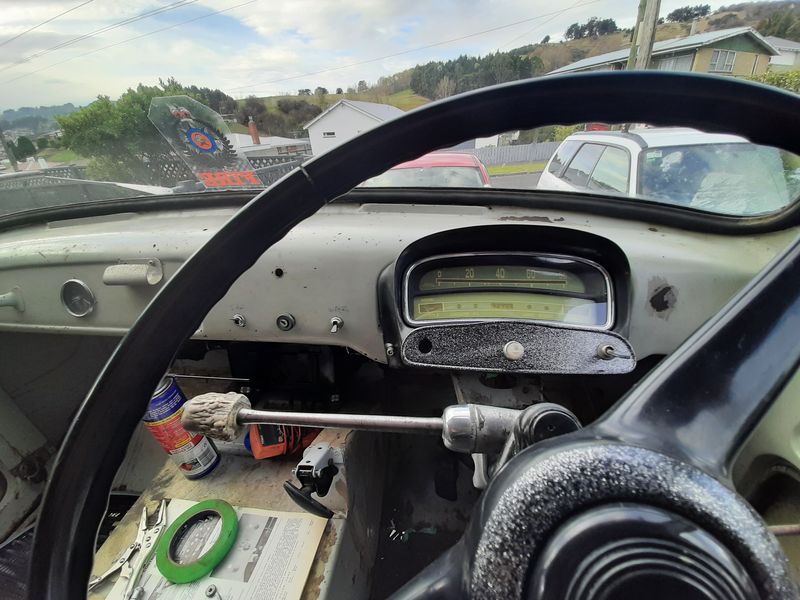
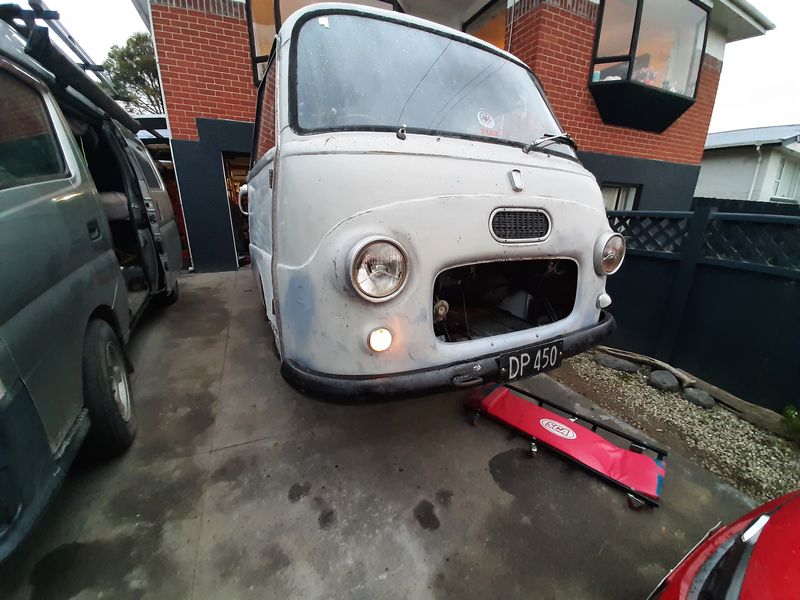
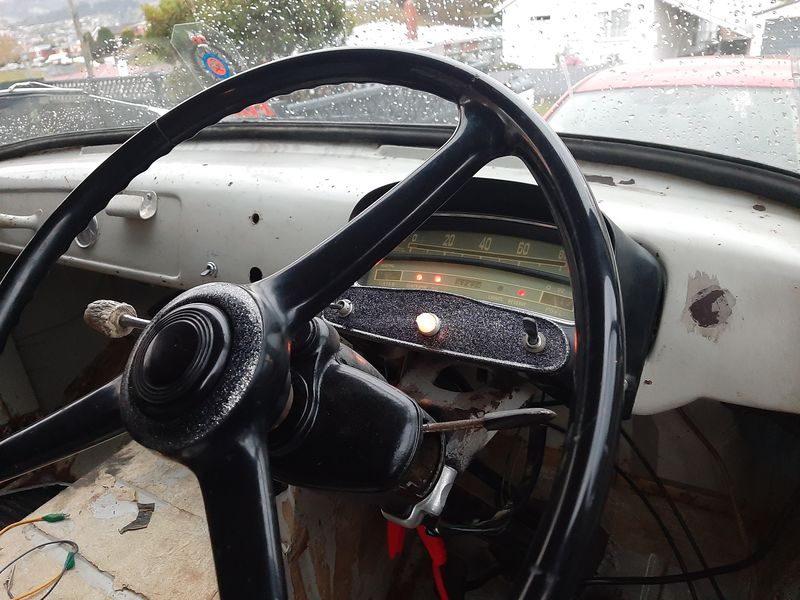
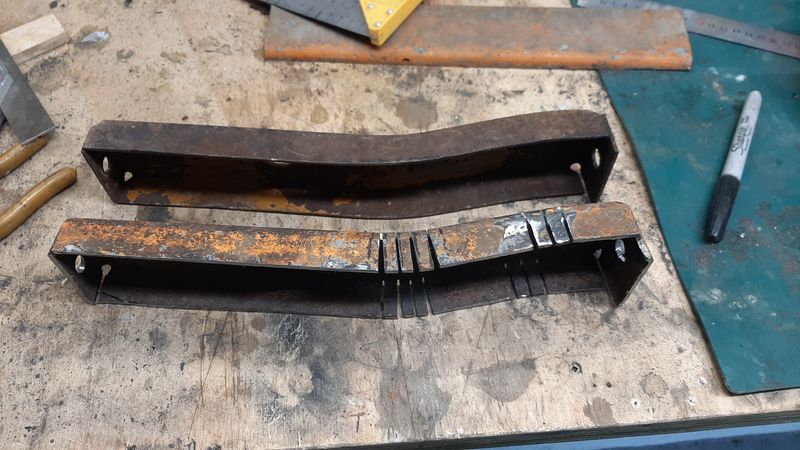
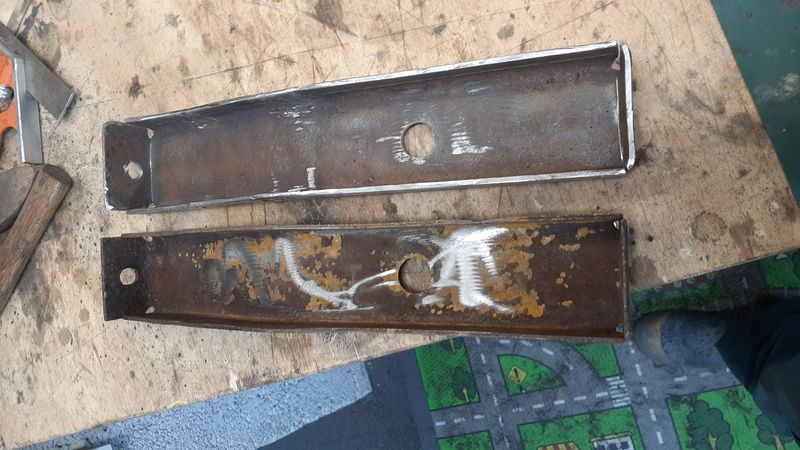
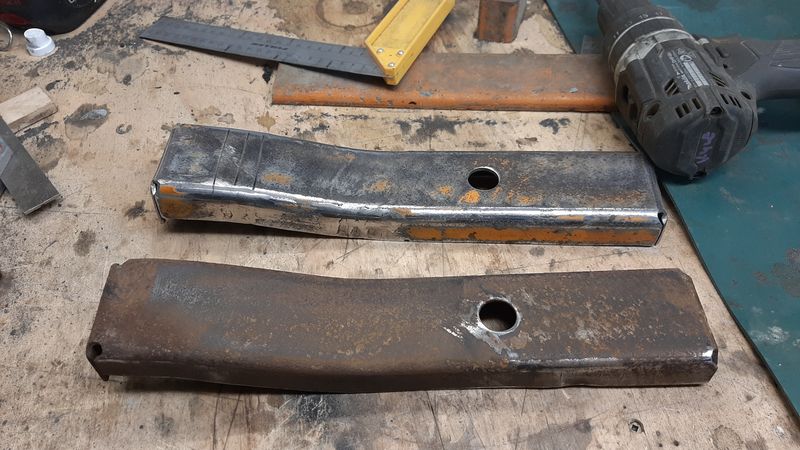
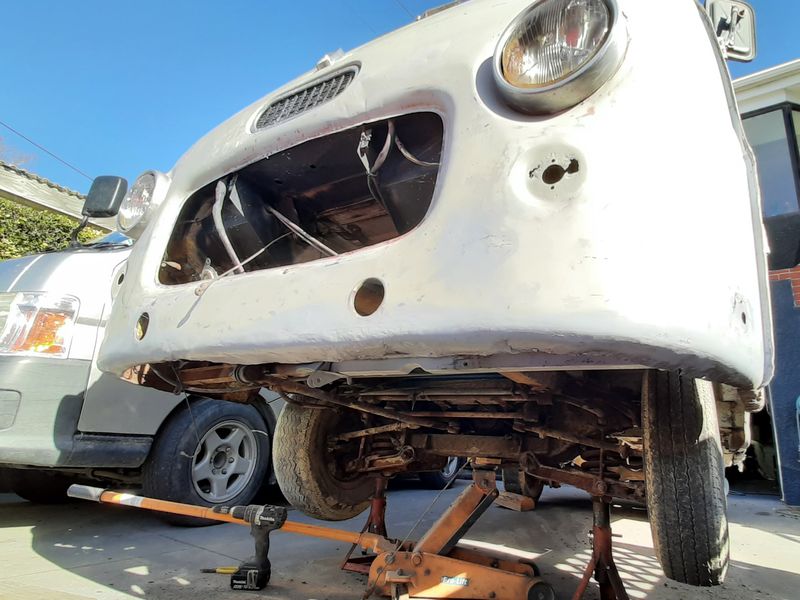
In my last order, a 4 euro part (hand washer squishy button) plus some finangling with tiny hoses under the dash got the window squirters going. A somewhat more expensive part also turned up, all the way from the motherland The original RHD black one on top and new LHD one mirrored below, I almost cried, becasue LHD ones dont exist, but turns out the mounting holes are the same, only the lenth of the sides are different so just needed a careful dremelling, as well as a rewire (9 wire instead of original 8 wire version) which was quite simple as the extra wire was from splitting supply between the headlights individually instead of sharing. And all wired up and installed, with the newly cleaned and operational dash, heater, handbrake, column, wiring etc. Headlights (original bulbs!) now working too off the switch plus the indicators like before, so that's all the accessories officially operational. Ill swap out the non factory switches eventually, and now i have a spare spot as i bypassed the switch for the dash light so it just comes on with the headlights instead of its own switch. Its not exactly luxurious, but at least it all now works! Spose i should worry about getting it to move under its own power instead of making brumbrum noises then! **** Digging thought the stash turns out i have most of a gasket set for one of these (much cheaper to buy than a 2300 one and lots of bits cross over) so I started to put the bottom end of the spare and now slightly cleaner engine back together. Turns out only 2 of the 4 pistons (the ones i casually checked) rings were free, so of course i broke 3 of the remaining stuck rings on 2 of the other cylinder trying to get them out. Bugger. I do also have a spare set of 2300 rings, but they are marginally too thick to fit the grooves on this later (115 C) engine, and id feel weird 'wasting' 2 pistons worth of rings/ a rare set anyway. Seems like the 1500 engine rings are pretty thin on the ground too! So they might fit the engine in the van yet, maybe. Turns out this engine probably isn't as good as i thought/hoped anyway, so made a start on prepping the engine and box to come out so i can see what bits are fucked or different on both, and actually might need to buy. Not really done anything in the engine bay yet, but it is complete excepting the factory air cleaner Radiator was empty and came out (needs the neck resoldering and there is lumps of dried silt in the bottom but otherwise good nick!) wiring disconnected, just starter/alternator wiring to go, and i may remove a few more accessories like the carb just in case. Ill drop this out the bottom, pretty sure its supposed to come out that way, the hole in the top is just for checking fluids but someone has hacked it before. its only 4 bolts each side that hold the engine crossmember on from underneath and has a funny hanging gearbox mount that im glad looks like its not busted as well.
- 64 replies
-
- 35
-

-

-
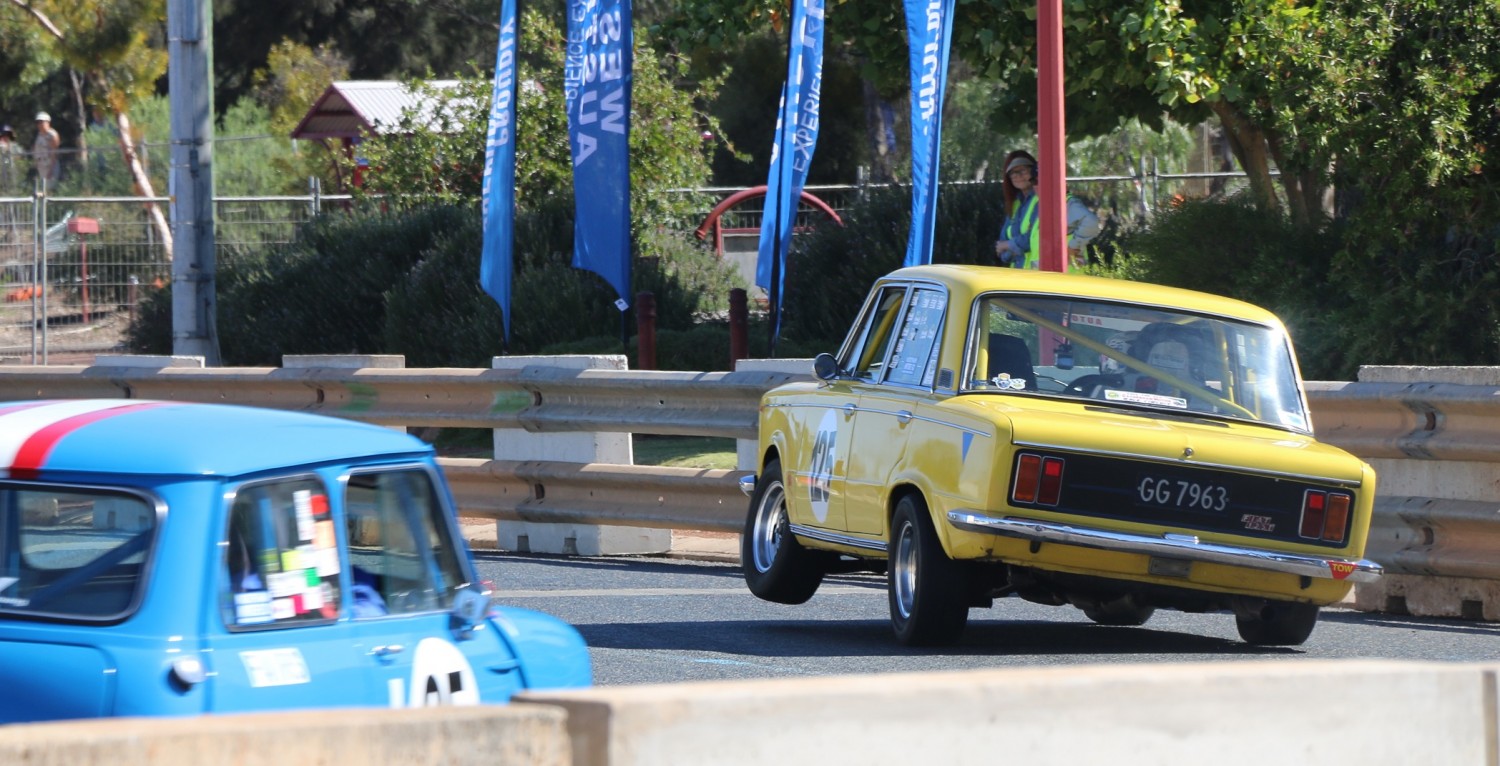
thats a funny way of saying 8.1%-9% better acceleration the 185/55 14s are uncommon, the 13s were common as muck, they may be 185s too, maybe? Front were Rear springs from (i think??) the FWD version, as in my mind the springs were very easy to pop out of their sockets from the wide selection at PAP. Still needed 2 coils dropped off. Rear springs on my sedan are reset 2 or 3 inches lower (? cant recall) and is pretty soft as a result, but has new Koni yellow up front (softest setting) and 2nd hand koni red in the rear (hardest setting) and it drives very well. Couple of 125 racers said you want the rear soft for traction. - truck as 3 leaves and they are stiff as feck, but that has the spring pack think put in upside down which may be a slightly better approach to maintain the same spring rate but also get lower
-
the tyres ive got are 195/60 13s, or 185/55 14s but ive never really drove it standard/ unlowered which is i think 165/80 13 or similar? All my rims are fairly weak offset too. unless you are track daying it i dont think it will really matter too much, the wider track from new rims will feel more planted and a bit more effort to turn at low speeds, and can feel tracky/tramlining if you dont get the alignment right. Your going to lower it too, right? Right?
-
CD66 If you dont like them, ill take them to the dump for ya
-
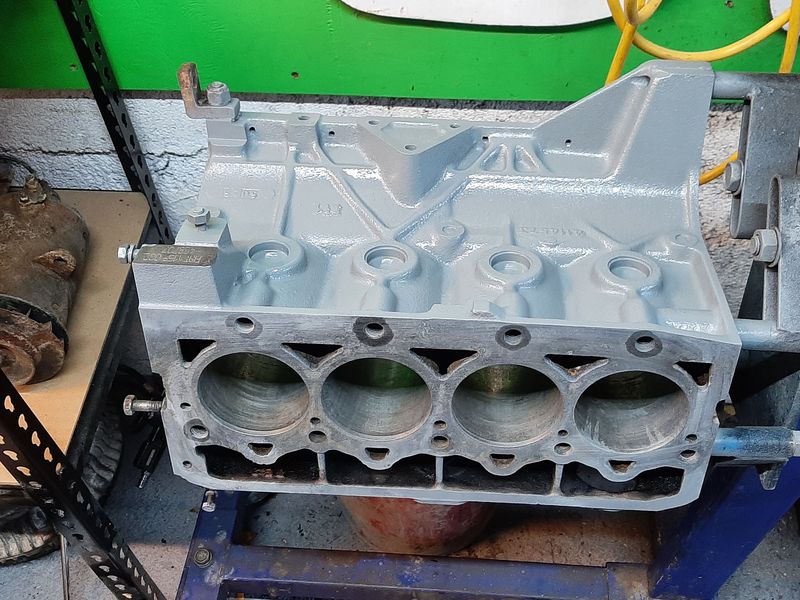
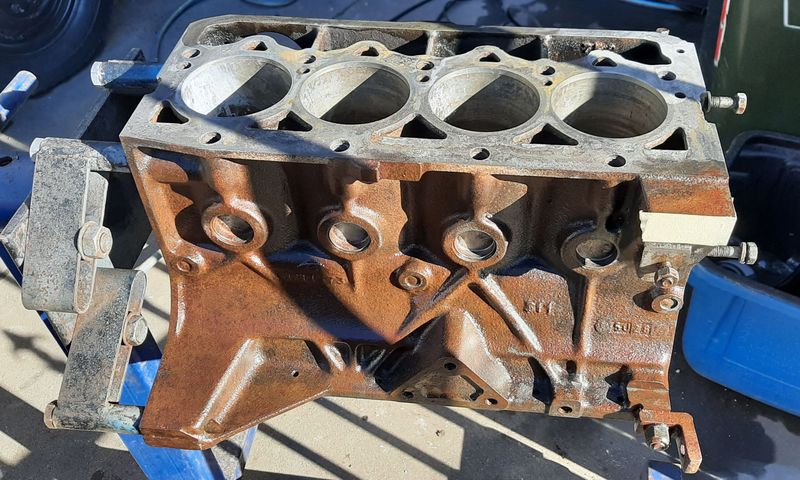
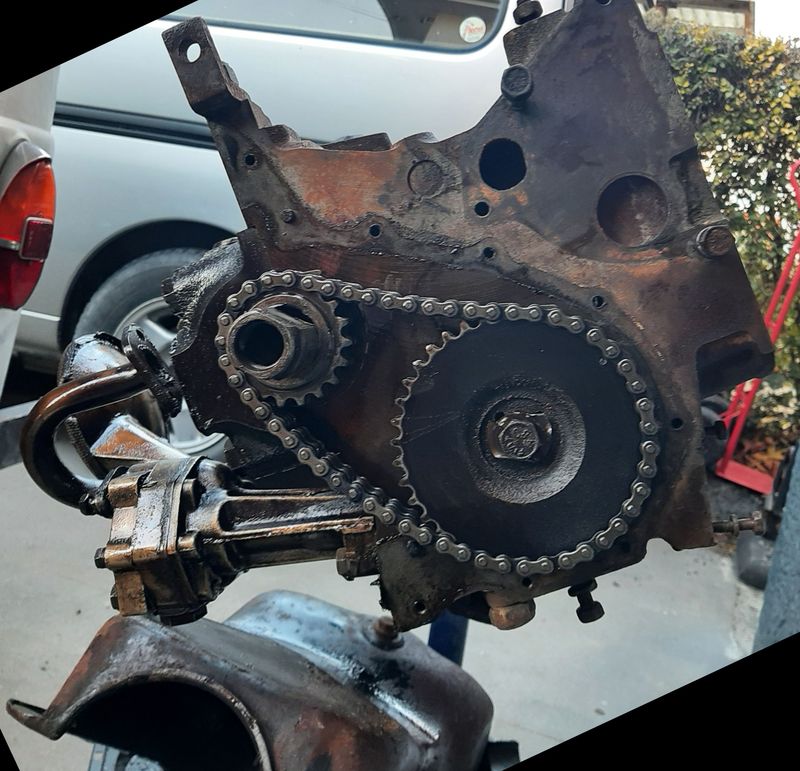
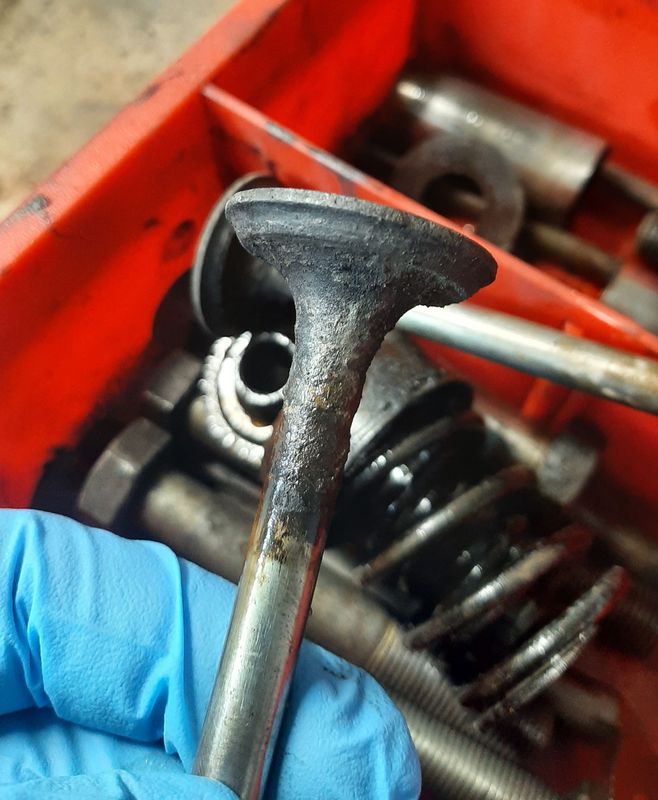
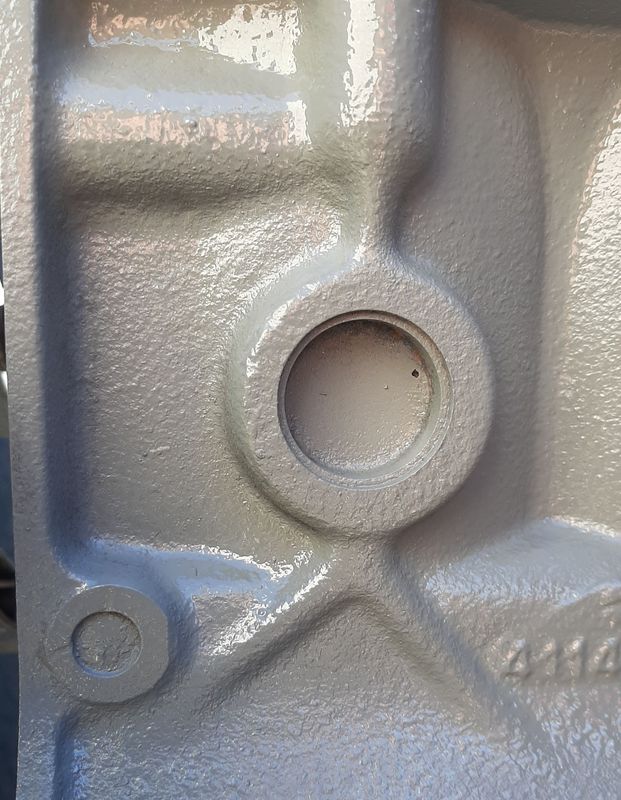
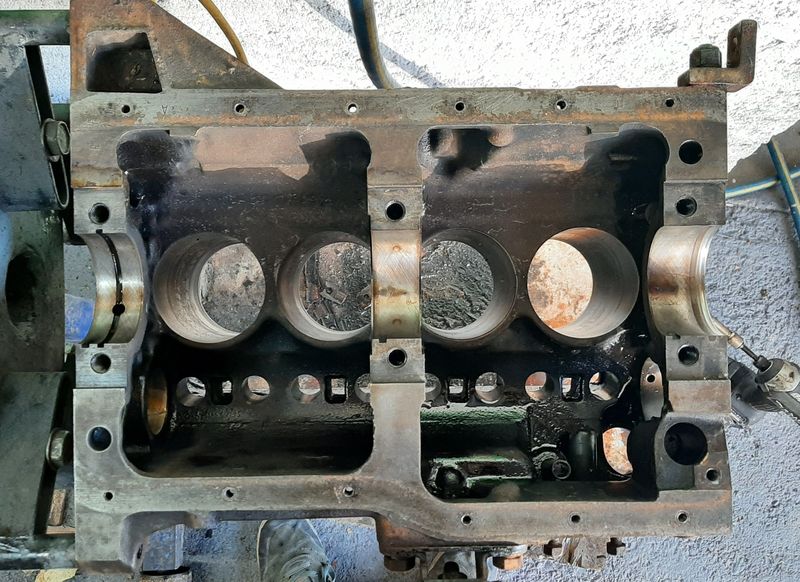
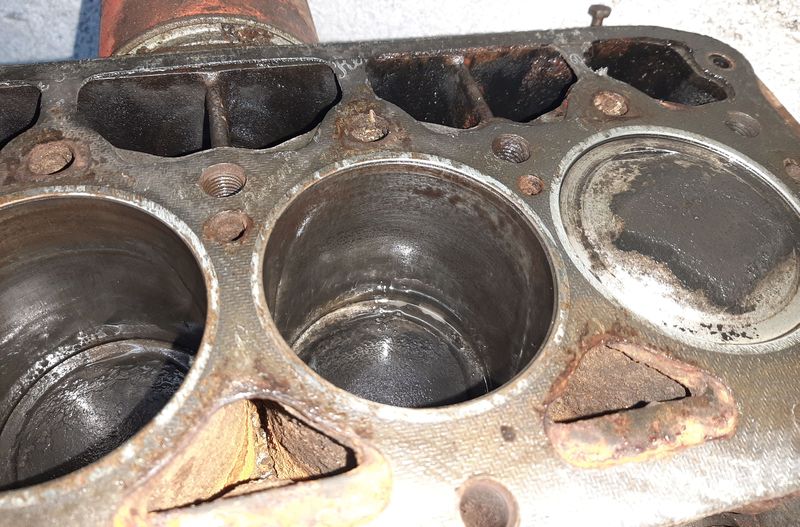
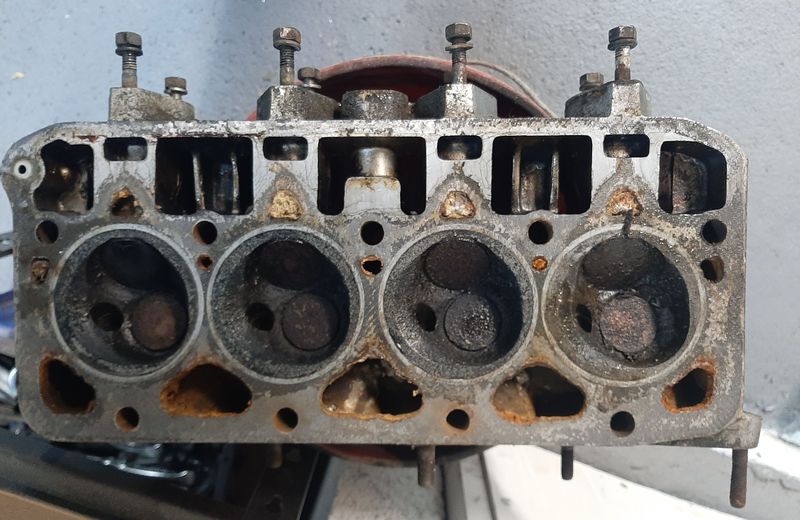
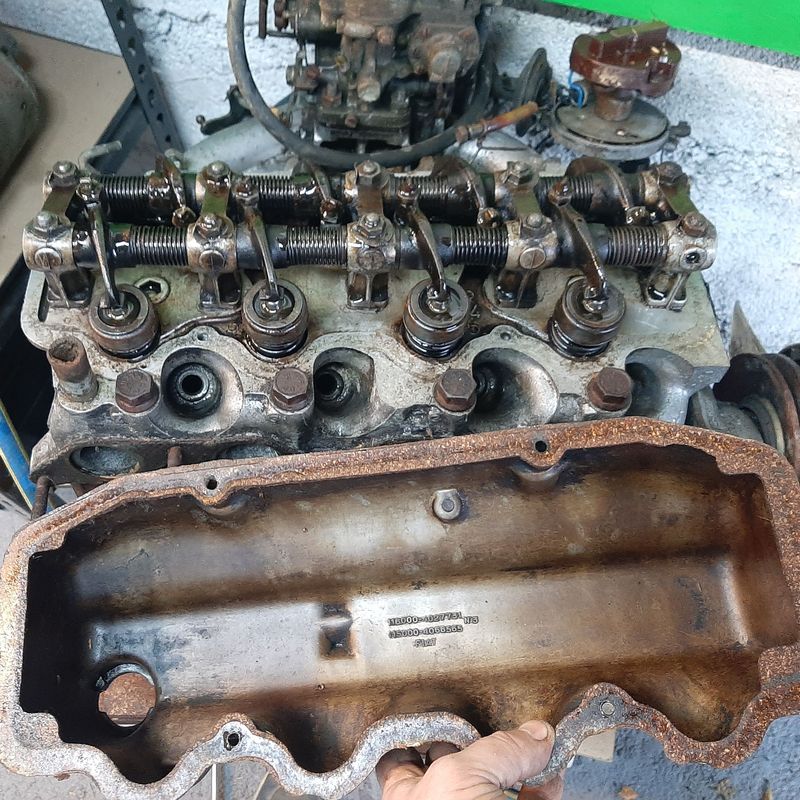
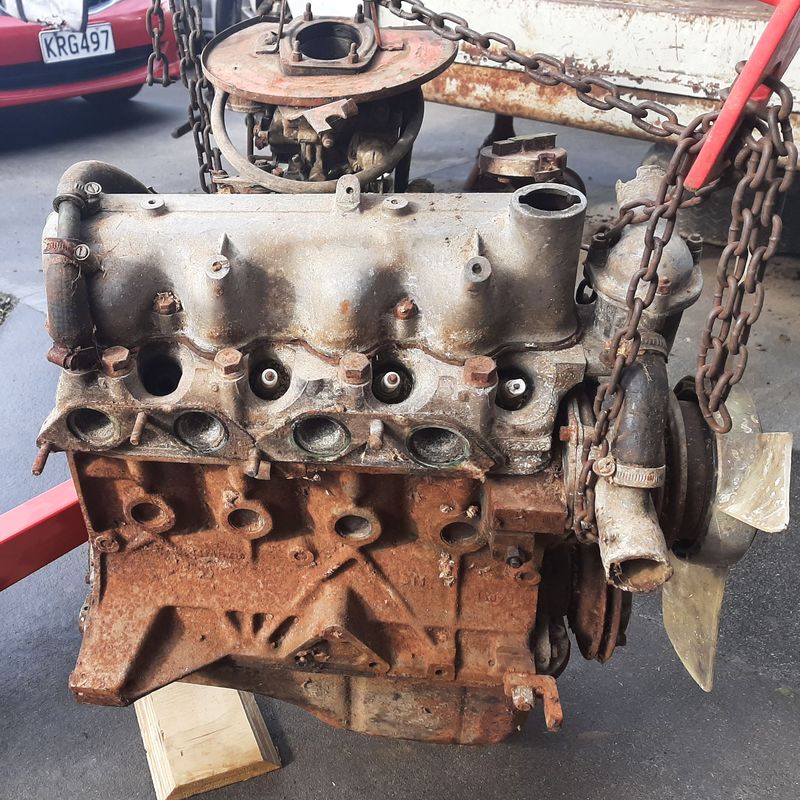
Disassembled the engine a bit more using the lights in a garage after work. Cam chain pretty loose. Is a FIAT stamped one so probably original. The chain stretches a bit over time but the main source of increased tolerance, is the gears themselves wear. The chain had been slapping the inside of the aluminium cover too, and has actually worn a hole in one spot. This will be the source of the metallic crud in the centrifugal filter (which is on the end of the crank nose) Took the head apart, Something ive not seen in any of the old Fiat engines ive dismantled before, pretty bad valve recession on several of the intake and exhaust valves, a couple of the seats are also similarly rounded too. Some of them are also fine. Its pretty weird. Hopefully the head on the engine in the van is better. The block disassembled next, camshaft and crankshaft are good, piston big ends look new, main bearings could do with replacing. Pistons all look new as well, and all the rings freed up pretty easily. Cylinder 3 looks to have a liner installed and the cylinder itself looks the same but has F45 cast on it compared to the other ones which have F35. I wonder if the new head bottom end gaskets and very good condition piston bearings and bores are evidence of some work at some point? Could have had head issues too (dropped a valve maybe?) and they slapped a worn out but 'known runner' on the refreshed bottom end? Anyway, decided this bottom end looks pretty good and given the other engine is seized ill probably run this one, hoping that the other head is in better nick. Bit of a tidy up with some Phosphoric acid on the outside and the water blaster all up and though that to get all the rusty shite out of the block coolant galleries Put some engine enamel on the outside, which is good for at least 10 HP and because its smoke coloured on the outside the engine hopefully wont smoke as much from the inside Dang nang it! Better now than on the first start up i guess.
- 64 replies
-
- 30
-

-
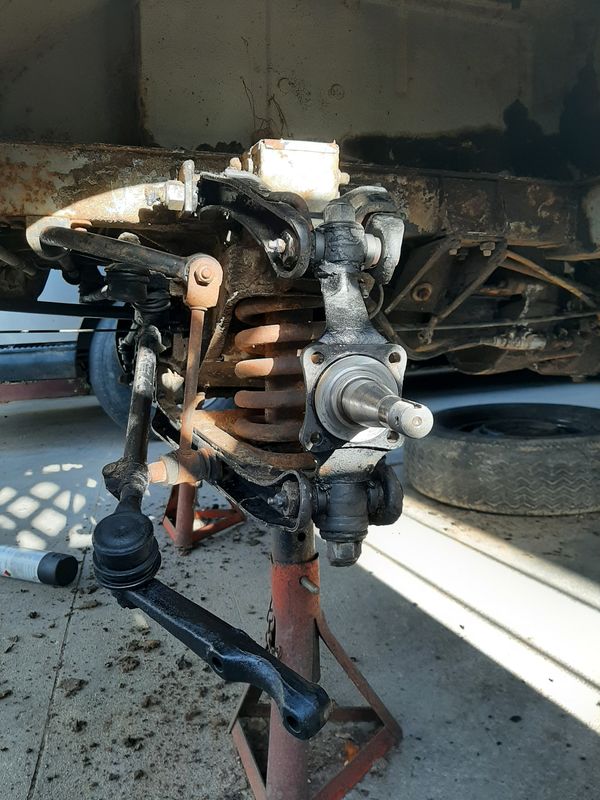
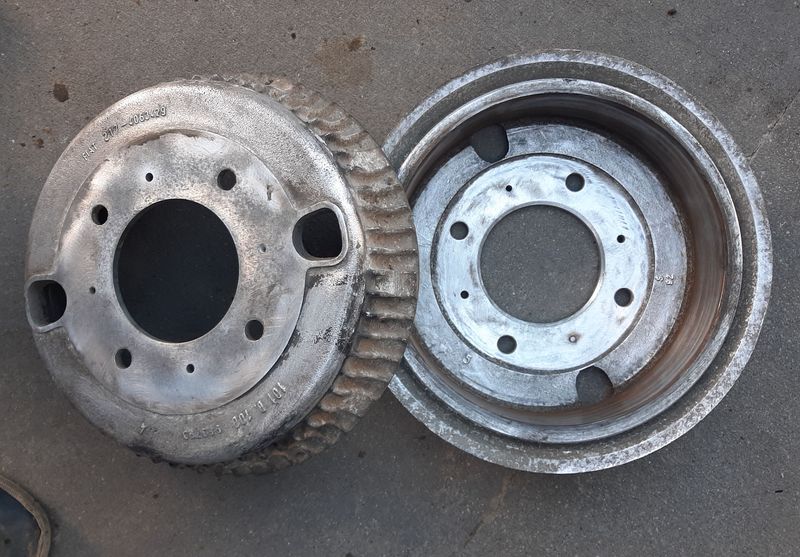
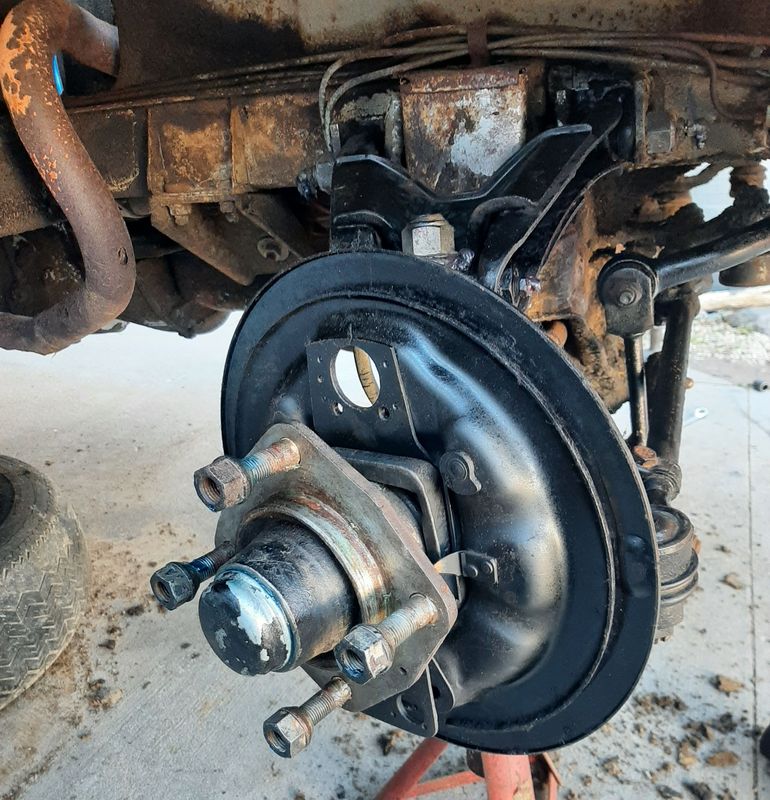
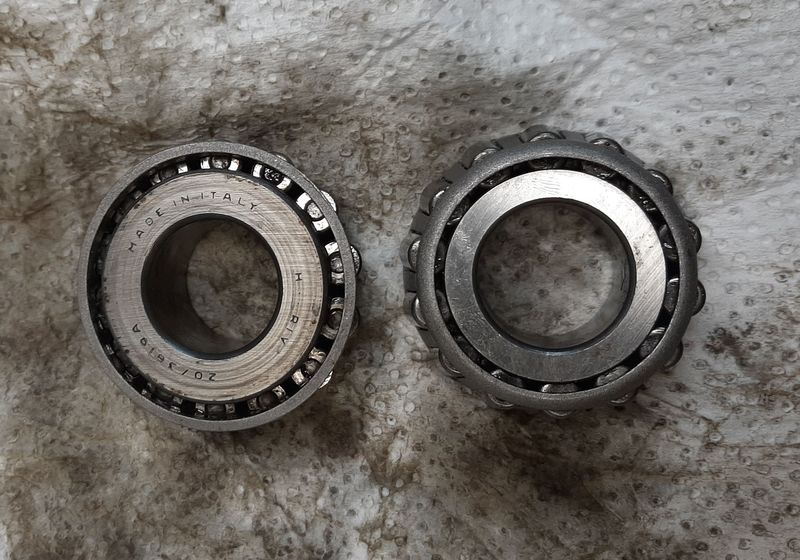
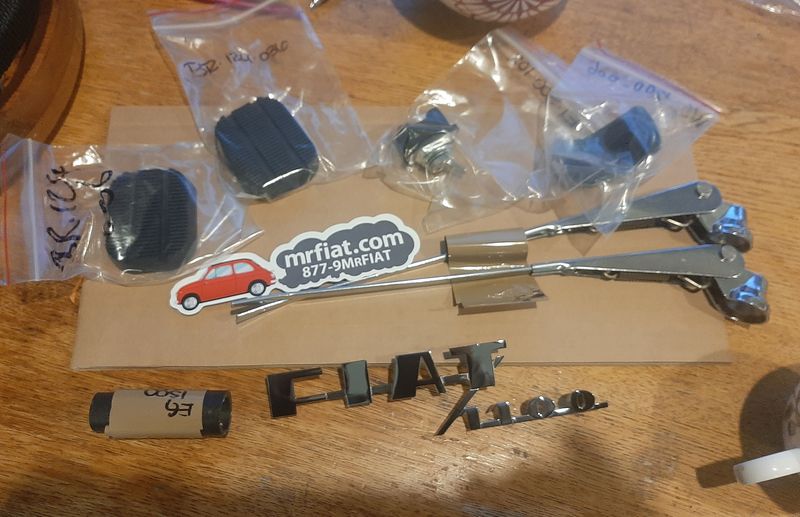
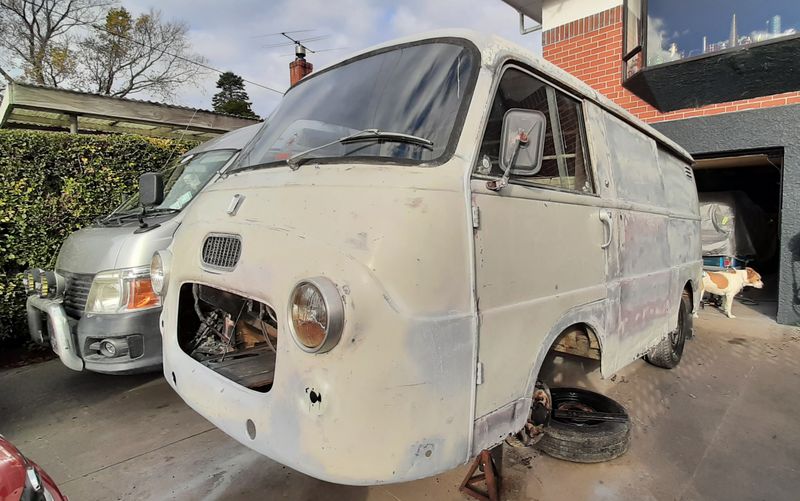
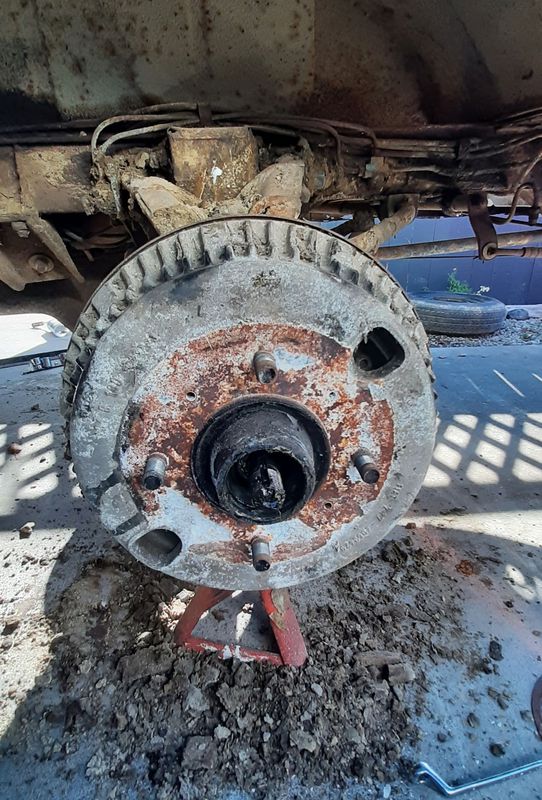
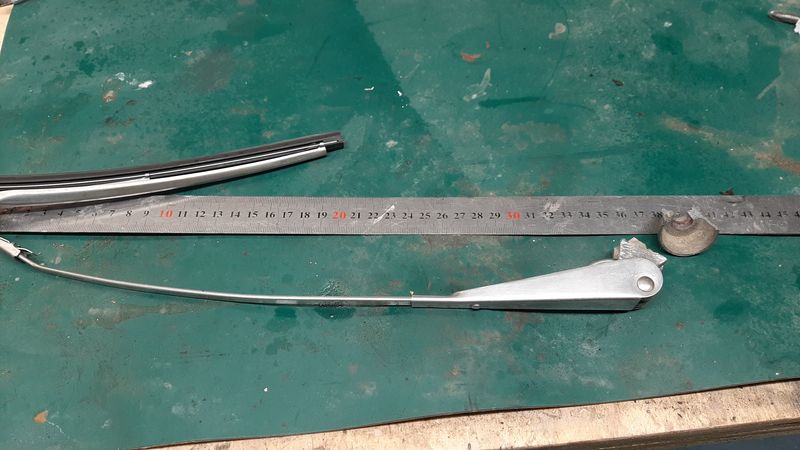
Took a bit of a break from the engine to get the front hubs back together because I want to turn it around, so its easier to drop the engine and box out with the crane on the drivers side, and dragging the whole lot into the garage. Hubs looked ok, wheel bearings are Italian so probably original - races look ok too, but one has an issue from rusty water sitting, will be ok for getting it rolling anyway. Had to very carefully smash the hubs off the drums, they a very tight fit on the centre bore, no way the M6 bolt though 5mm of aluminium was going to press them off. They cleaned up ok, one has some scoring but both are hardly worn at all. Will probably get them vapour blasted or something Scraped the 20mm thick grease and dried dirt off the suspension and pushed more grease in all the zerks and wafted some satin black around. This runs a king pin style knuckle and there are about 20 tie rods in teh steering linkage. Im gonna need some replacement boots! I got some for my 2300 from some guy off ebay will try him again Drivers side back together. I left the drums off as there's no brakes anyway and they are tight as feck to get on and off the hub - i think they need a tiny bit of a clearance on the centre bore. Possibly the outside of the hubs need a tidy up too as that lip got a bit of a hammering Mostly finished sanding off the crappy paint Some of the panels are just fine and had hardly been prepped so the paint basically just fell off, like the driver side behind the front door. However , others like the sliding door and the had been sanded with 40 grit and a hammer from the inside and had 3 layers of different primers and some bog for good measure. Anyway it looks marginally better and has confirmed that other than the obvious bits shes pretty bloody good for what it is! Had an order show up, took about 3 days from the US, mostly small things, rubber stuff, wiper arms, a badge and some switches Wipers are for an 850, and a LHD one at that, so the arm is too short and bends the wrong way. What i really wanted was the part that connects to the wiper spindle, and the plan was to gring off the pin that holds the skinny arm and swap that over but the pressed SS part style is slightly different and feels cheaper than the orginal, so I ground off the pin at the pivot and just swapped it over as well as the new spring and hook, using a small M5 bolt for now* (lol)
- 64 replies
-
- 19
-

-
crooked gate makes me itch given the workmanship elsewhere! Hope its just the camera angle. -_ (ps good work man, time to get some $ coming inwards!)
-
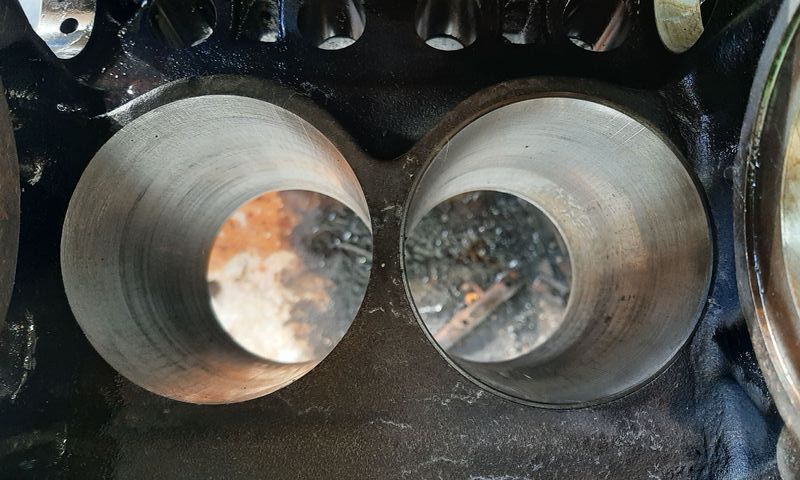
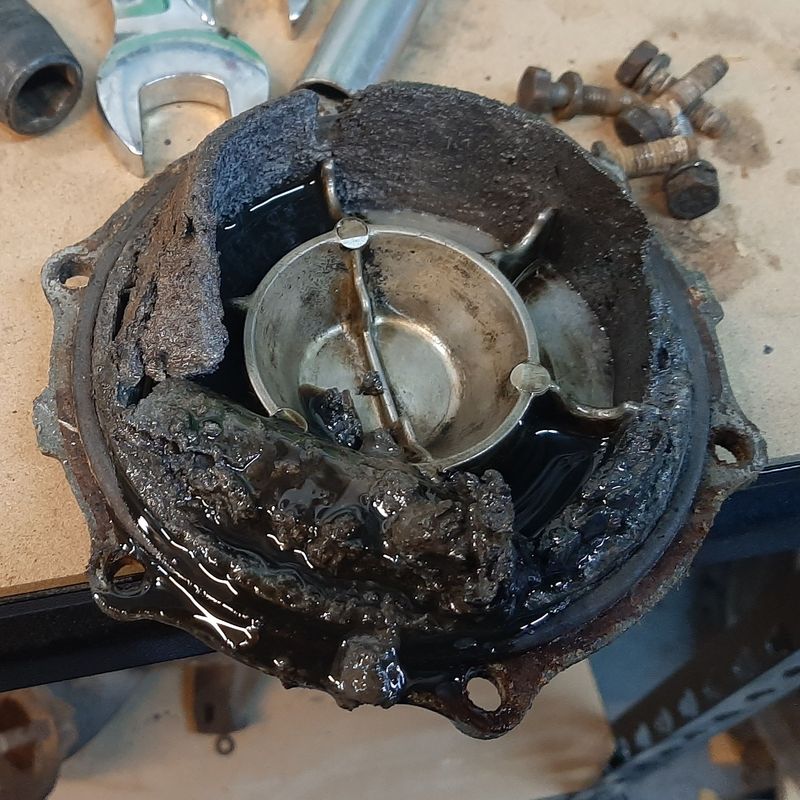
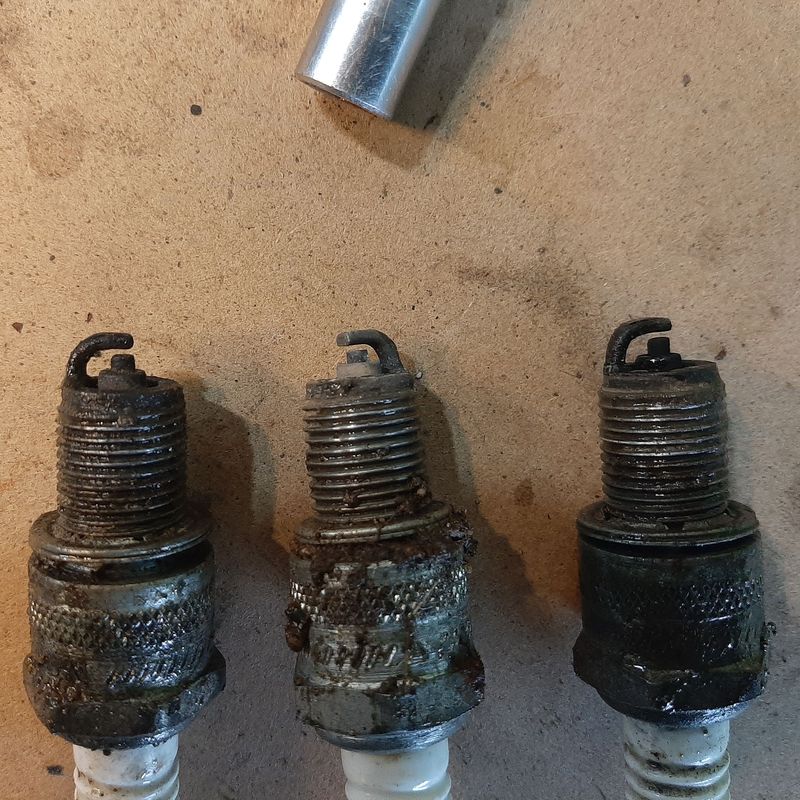
I got a engine crane for my birthday, so i yoinked the spare engine from the boot out and ripped into it. Its a 115.000c engine which was probably from a Fiat 1500 sedan or Crusader based on a Solex carb it has. This would have been the factory engine in my 125P Ute and is also the 2300 engine less two cylinders, so shares a lot of parts and design It only had three spark plugs, no air filter and no oil cap, with grass seed and mouse nests everywhere, and appears to be seized. Perfect. Remaining park plugs out look not bad, not too bad at all, not bad. Hmmm. Valve cover off, well, would you look at that. Bit of crud under the open oil cap, but otherwise clean I guess? Centrifugal oil filter says, well maybe you shouldnt get too excited, just yet... At this point the effort of getting the crank nut loosened the engine shifted. Some more oil down the cylinders and it moved nearly 360 both ways. Couple of the valves were sticking so Head off, Mouses grass seed and fluff so tightly packed in on the inlet valves it was actually stopping the valve from closing again. Ill chuck it in the vinegar for a bit it should clean up i reckon, no damage, just grub Guess which cylinder had a and a mouse living in the spark plug hole! However thats a pretty new head gasket, can still see the writing A bit more brake clean and the pistons look shiny! Bores are a bit surface rusty in a few spots as expected but no scoring, i reckon a hone might be all it needs. This is after some worn out wet and dry and wd40 for about 20 seconds on the worst bit Need some M12 x 1.5 bolts to put it on my engine stand, then ill remove the pan.
- 64 replies
-
- 35
-

-

-
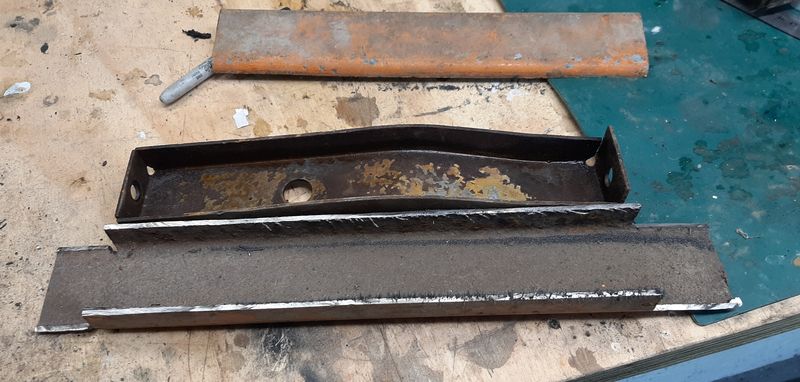
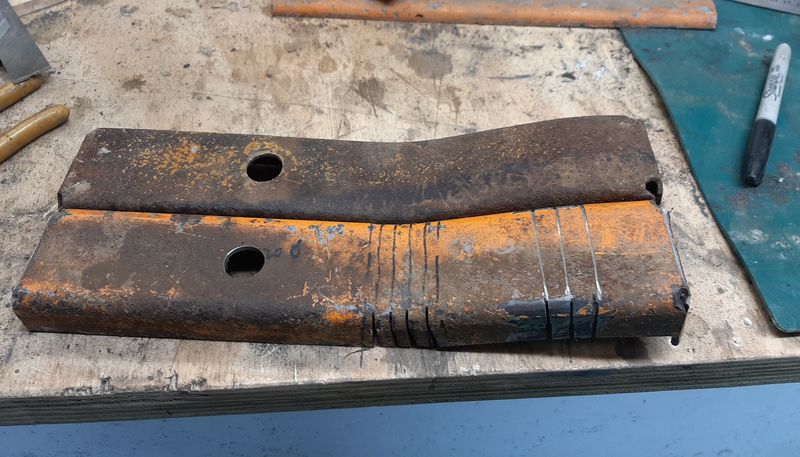
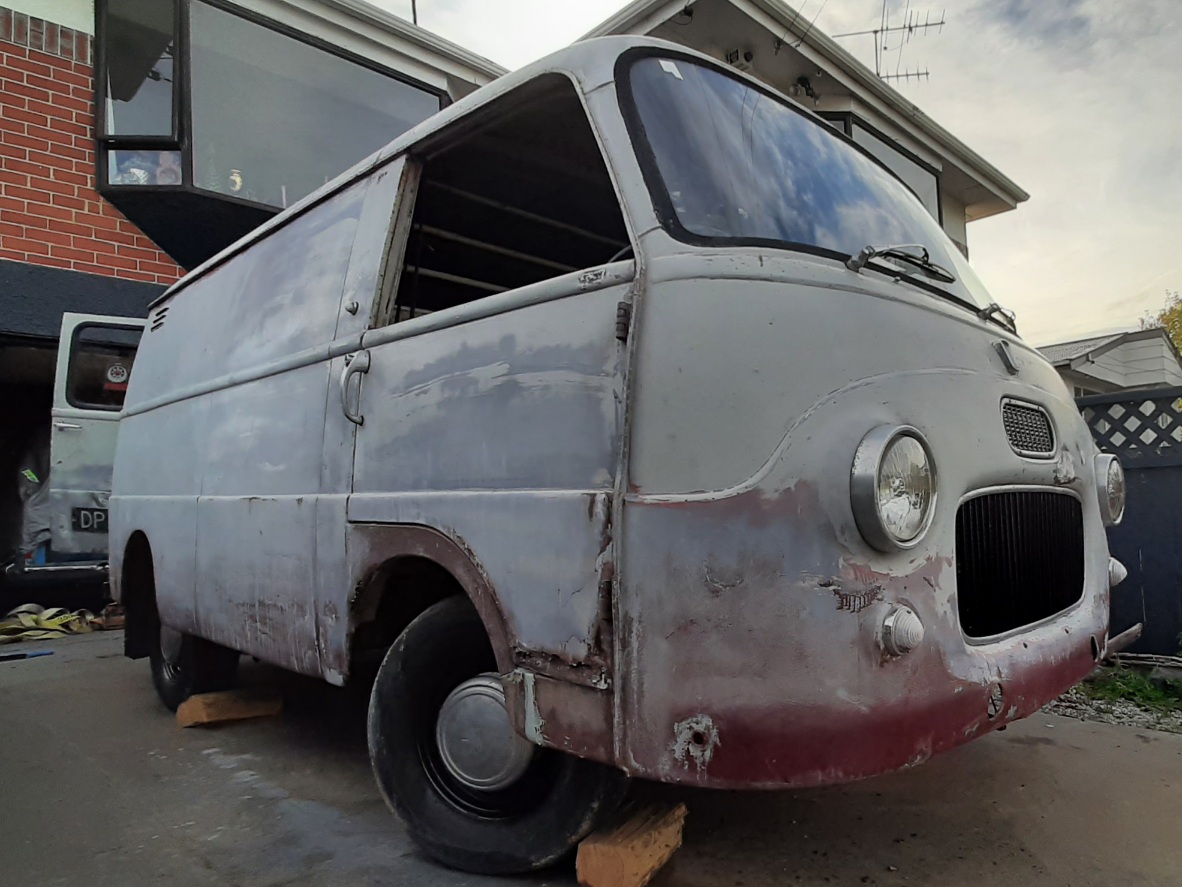
Made a bit of box into something else Its a bumper mount, the front bumper had been removed by a PO and one side was missing some bits. That means i could put the bumper on and finish routing the the wiring from the dash to the engine So i could put the dash back in, and ran a bit of juice though the circuits. IT LIVES! Indicators, dash lights, fan, and wipers all working. TStill some electrical work to do - on the engine side (after i drop it out) need a new column switch so the headlights can works (Ebay, ordered), and to install the new headlight bulbs (stuff in stock). Brake lights use a pressure switch so cant test those yet. So I put the front back together Look at that little face
- 64 replies
-
- 30
-

-
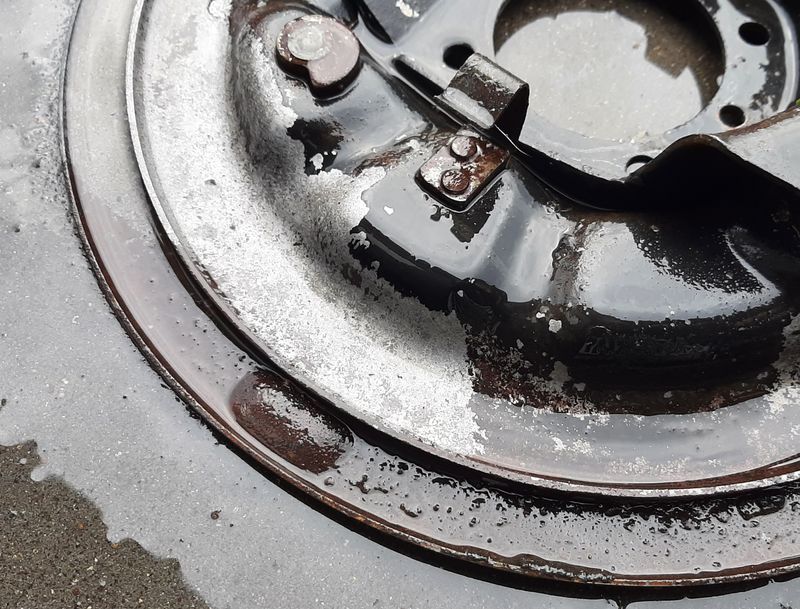
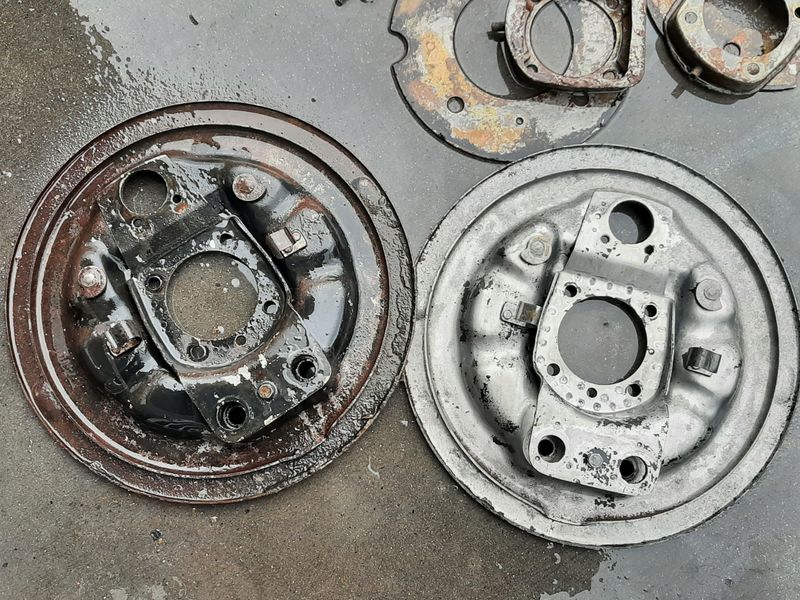
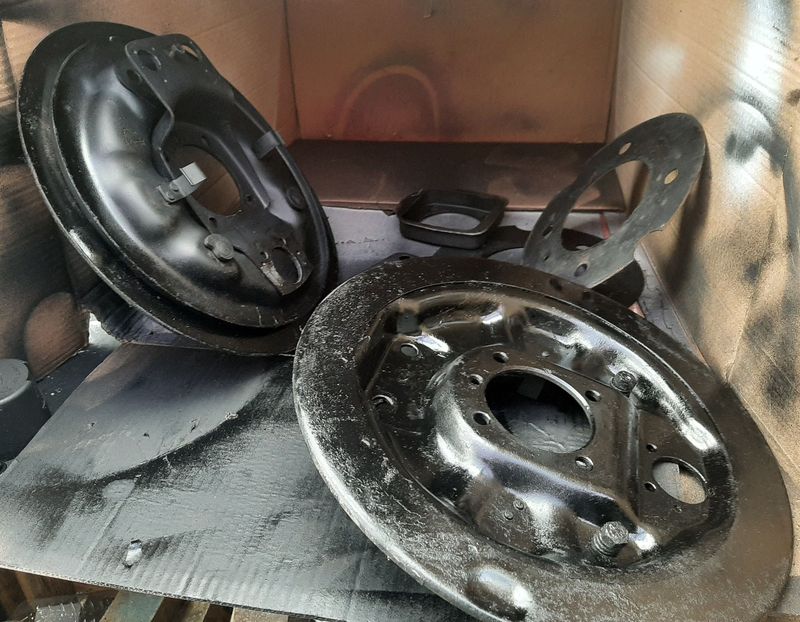
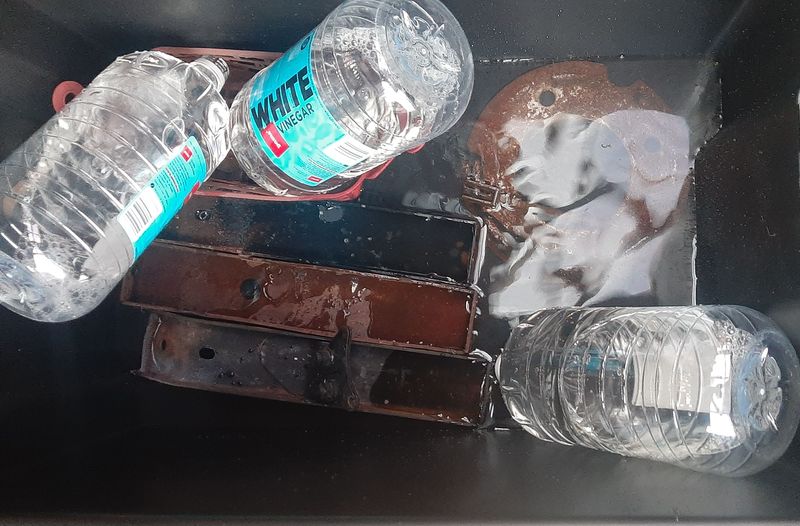
Brake bits out of the vinegar bath after a few days and then a quick water blast. Magic! Before and after, everything just washes off like its dirt. Gotta catch the flash rust tho, i spray them with degreaser (alkaline) to neutralize the vinegar (acid) then wash them again, then a bit of rust converter or evaporust before paint.
- 64 replies
-
- 14
-

-
The agent works for the seller, not the buyer and thier goal, backed by % commission as an incentive, is to get the 'best' price - from the sellers perspective - ie the highest. But not withstanding that, i agree, when we were looking some of them came across as smug lying fucks so tended to work against us putting in our best offer, but with a long line of bigger suckers it seemed like pretty easy money to put up a sign, hold an open home and then sort the offers from highest to lowest.
-
The process allows the provision of 'alternative documentation' beyond any primary documentation (like rego papers and wof sheets), allows them to consider repair receipts, insurance documents old stickers and period and current photos to support the statutory declaration. Its a pathway i would prefer to not abuse as its pretty nice that it exists. Oh, and here is me totally ripped on a sweet beach with a smoking hot babe who is totally also my girlfriend
-
@yoeddynz no, its a lot bigger than that! Its based off the Fiat 1100 sedan, but was a contemporary to the 600 Multipla, so shares a few bits from the broader Fiat parts bin as well as having a similar design language i guess, putting aside the out-thereness of the multipla @dmulally cheers, lots of Sound deadening might help too. There is none apart from the engine cover. I want to get it back on the original plates and thats a bit more involved paperwork wise than rereg on new plates as i need to prove the plate and vehicle relationship.
-
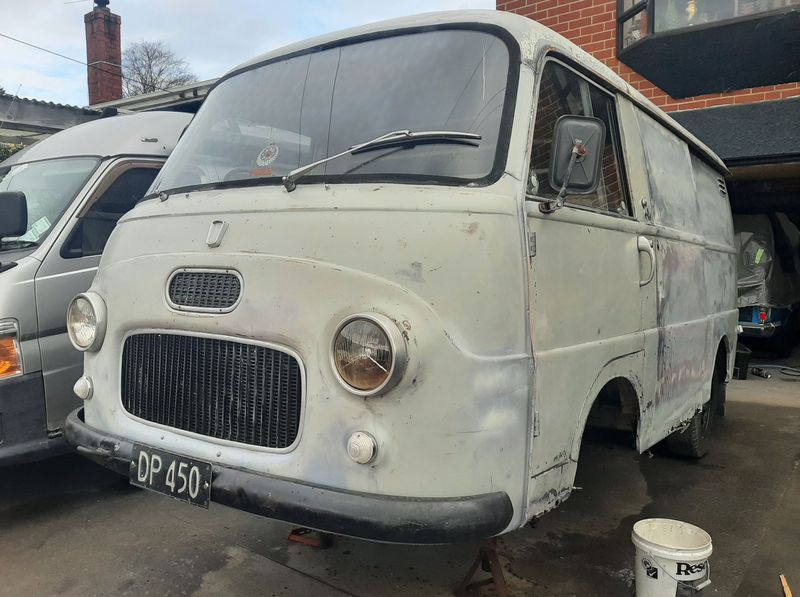
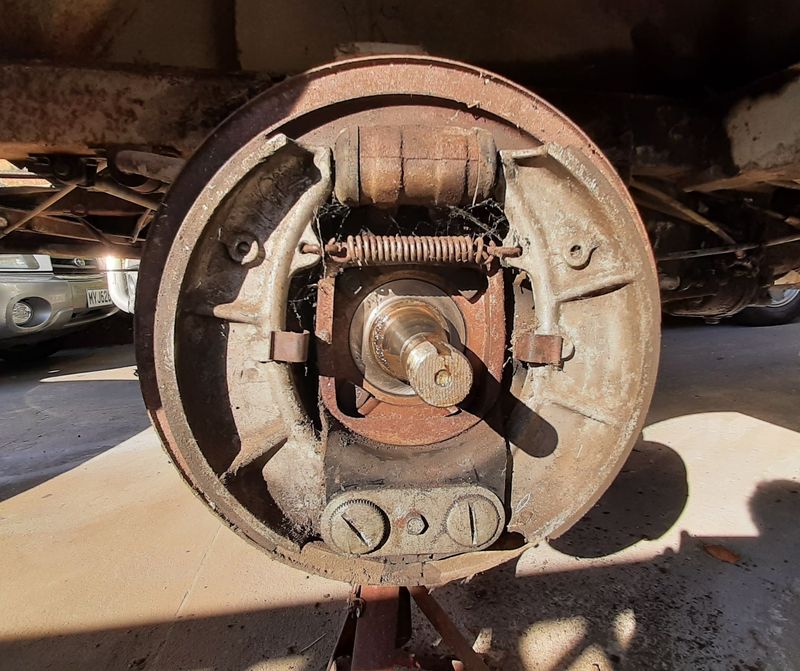
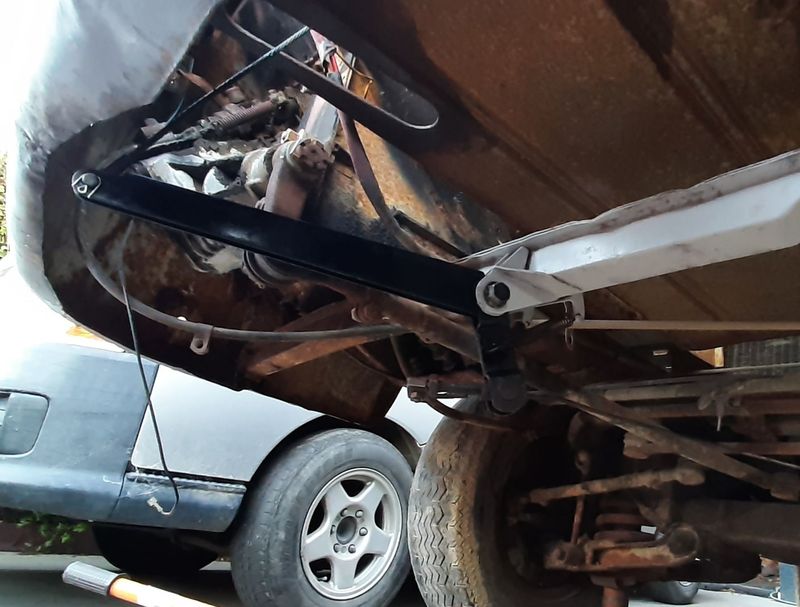
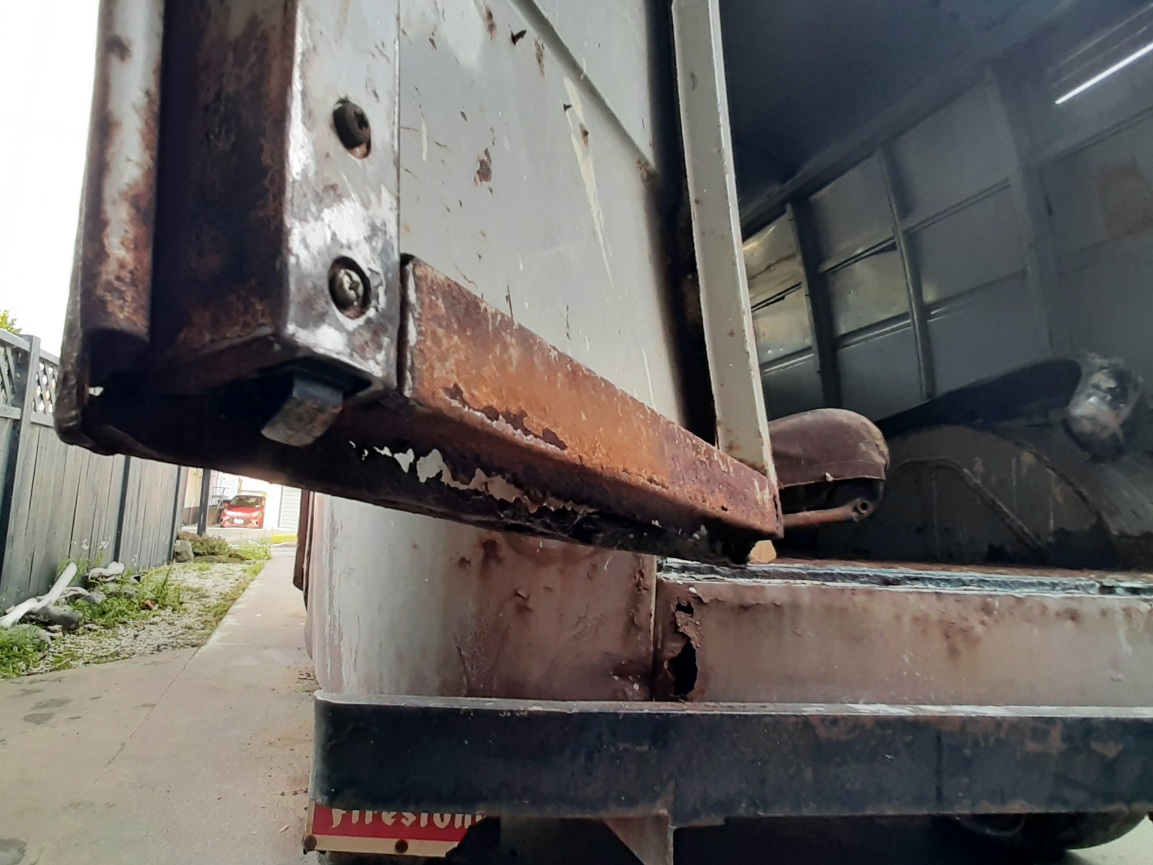
Bit more progress on this, Did some more panel beating of the front end, it had been chinned quite badly on the passenger side especially, and had a sharp bend just below the round bumper mount holes. Now its pretty even and roundedish, way better than before. Once the front bumper is on it will be hidden anyway. Again very finding very little rust holes, there is some, obviously, as well as surface rust, and there are a couple of tears as well, but its held up very well considering. Removed the handbrake mechanism so i could tidy up the handle, and the lower mechanism was scraping on the valance, so that all got removed for a clean paint and grease. its crossmember also got a light sand of the surface rust and a squirt of 'not quite body colour' spray paint as a test, pretty happy with that! Check out the factory cut out for the end of the mechanism, it as all chewed up around the tip of the pivot before Looked good, so did a bit more sanding Its starting to look way less shitty. Still shitty, just less I also got onto the brakes, i needed to pull the fronts to inspect and start parts hunting. 10" Aluminium drums front and rear. Check out the pile of dry dirt and grease i chipped off - its caking everything that pile is just off the backing plate. Ive only done the fronts so far, ended up having to pull the hub off, as the drum had differentially welded itself to the steel hub and the puny M6 spacer plate retainers that get moved to another set of holes were not going to shift it. Got it off in the end and its all clean and dry and no damage. Im glad the drums especially are ok they are simply NLA. Cylinders are rusted stuck tho but they are quite cheap, shoes less so (rears are cheap, fronts are $$$) I bought 16l of vinegar for about $24 and started chucking bits in after i water blasted them, ill check them in the morning. Someone had already taken one of the rear brakes apart already so i have those bits in a shopping cart already. The Brake and clutch master cylinders were already removed too, but praise be, they are not seized. The clutch master and slave is the same as my 2300 wagon, ie Lada stuff can work, so that's good. Im very very happy the brake master cylinder is ok. It is available but not cheap, because its a part that is shared with both Ferrari 330 and Lamborghini Espada, lol https://www.okp.de/xtc2/Ferrari/45-Brakes/Master-cylinders/Brake-master-cylinder-Ferrari-330-1-series-4-holes-flange::19478.html?language=en
- 64 replies
-
- 30
-

-
Yeah, i asked @Carsnz123 last time it was for sale and it was probably still there, but unfortunately the old boy has since passed on or been moved to a home and the place is pretty much cleared out now
-
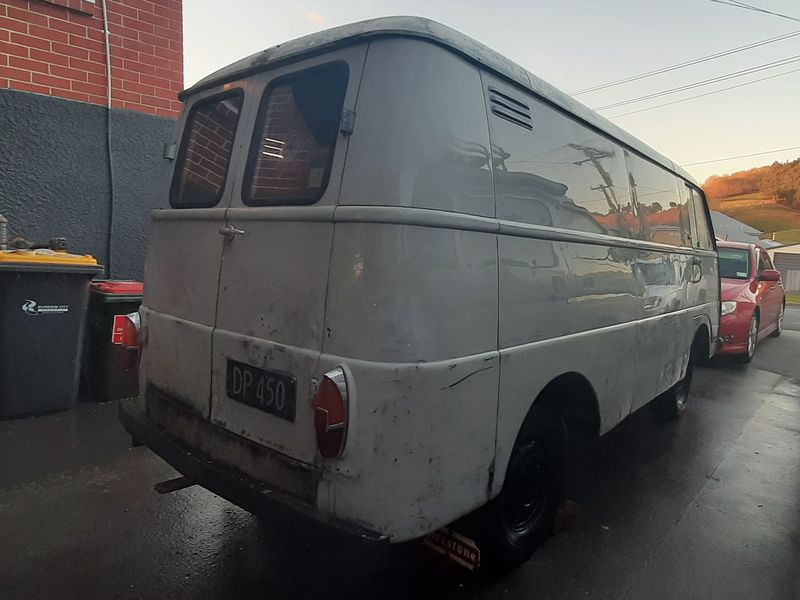
Thanks all, this one might actually be one of the easiest, as despite the looks its actually got pretty good bones and is a 1950's simple design that almost all components are designed to be serviceable. Scraping off the years of benign neglect, mouse shit and poor paint job is pretty satisfying. The paperwork side is the new part for me and more worrying than the actual recommissioning!
-
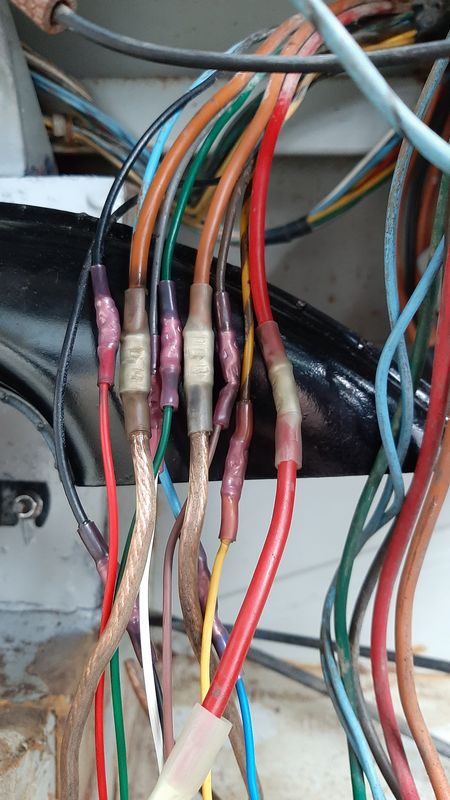
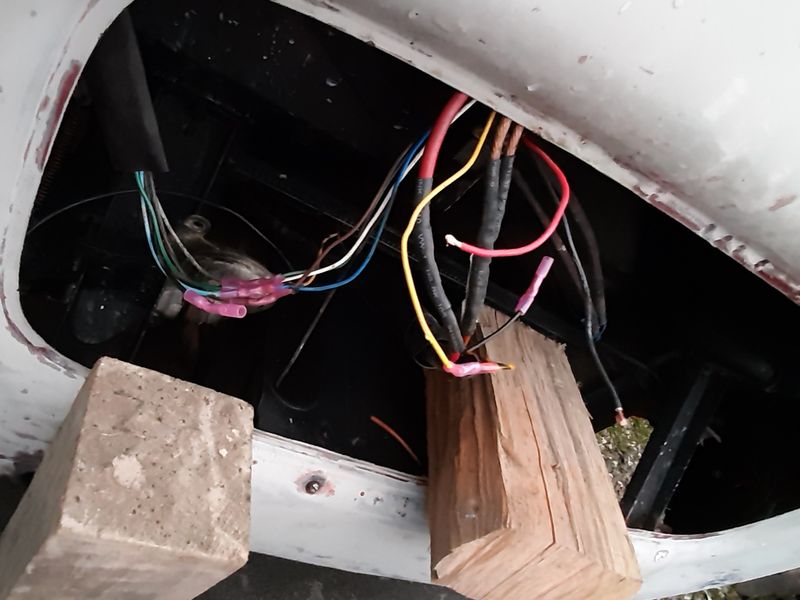
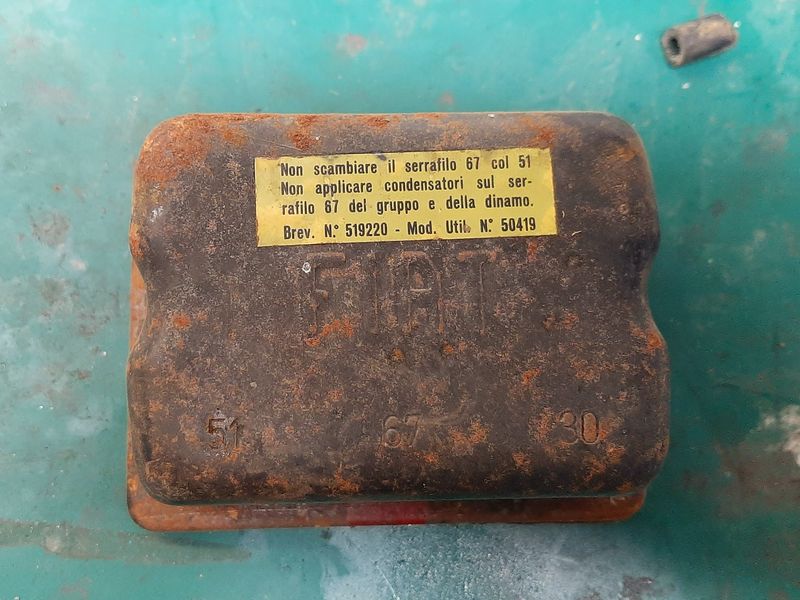
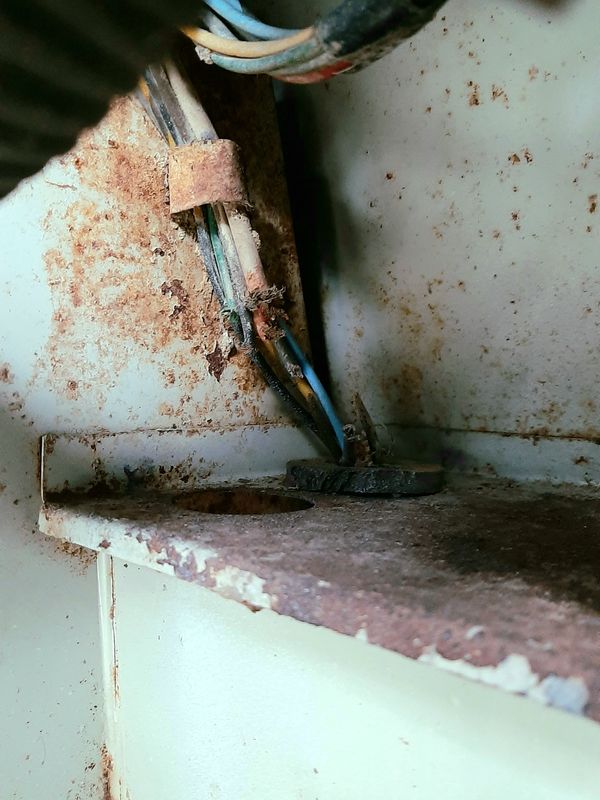
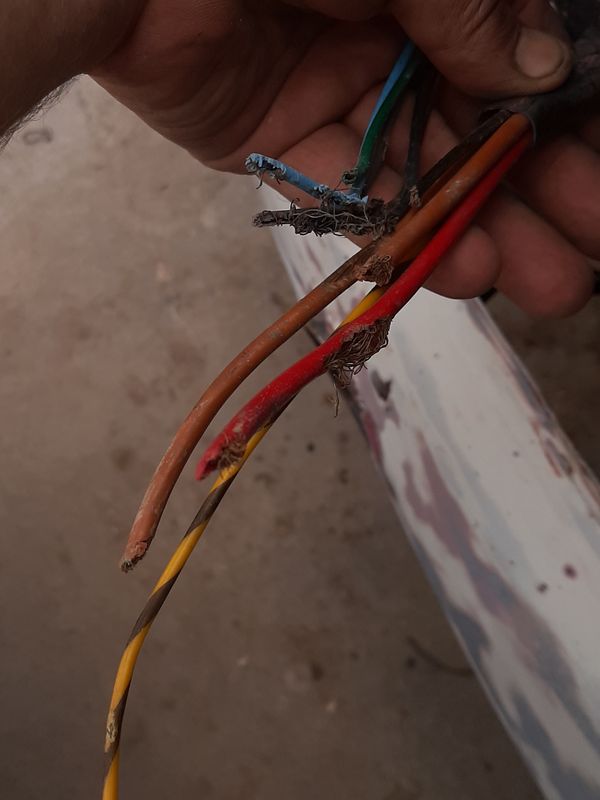
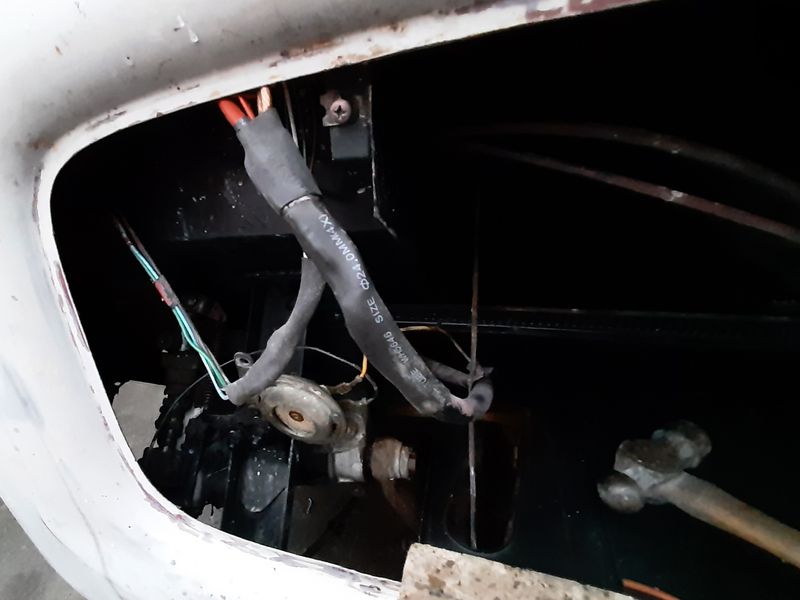
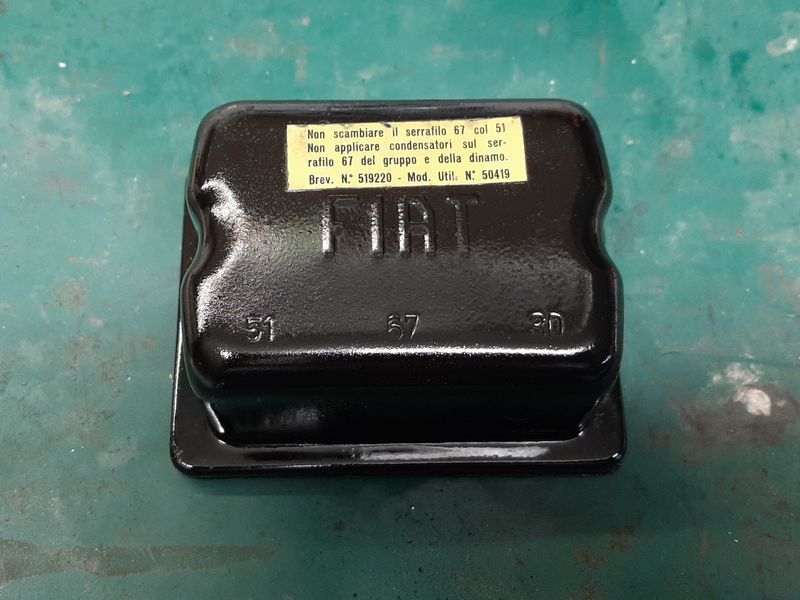
Before i put any electrical things back in i gotta take care of some shit. Fucking rats man. This is the main engine loom (alternator and starter control plus main power feed) as well as the drivers front lights loom. Only wire not chewed to the point of separation was the horn power supply. Interesting horn wiring sidesharn, the other horn wire (from the button, that earths out the circuit) actually travels the length of the hollow! steering column and exits the bottom of the steering box!?! Because of where the break was,right in a really tight shitty spot, under the dash, I extended the loom from the dash side first. Love these shrinky connectors and my box of wires came up with almost a match for most of the wires. For future reference the black to red wire is the alternator signal for the voltage controller. Then poked that though the hole after a quick derust on the shelf while it was all ot the way. Then finish off underneath with lots of heat shrink. The wooden block for really getting those small crimps crimped up good with a blunt cold chisel, my crimpers dont quite go small enough on the small ones And some cable ties then more heats for good measure. If you cant fix it with a hammer you got yourself a software problem... Voltage regulator lives under the dash too. "Do not mistake the clamp 67 with the 51 Do not apply capacitors on the wire clamp 67 of the unit and of the dynamo" Cleaned out the cobwebs and gave the 'points' a quick file while the paint dried after a quick sandblast. Important electrical safety messages maintained. I forsee a bit of this before i finally wire everything back in. My back got pretty sore from even thinking about doing that, so I did some more sanding, shes coming around. Got a good light for finally seeing the chassis number properly. I also wanted to be able to get a good photo of it before cleaning up the area. FIAT 217D * 107627 * Tipo 217D = Type 217, revision D, that makes it a 'late' 1962 to 1968 model, and this was the 107627th, Tipo 217
- 64 replies
-
- 36
-

-
Still room! Factory quoted 95kph top speed. With a 6.17 diff, it would be screaming.
-
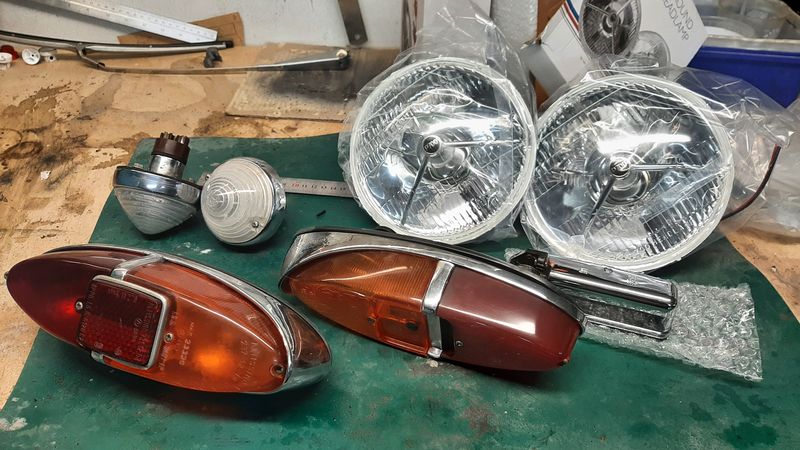
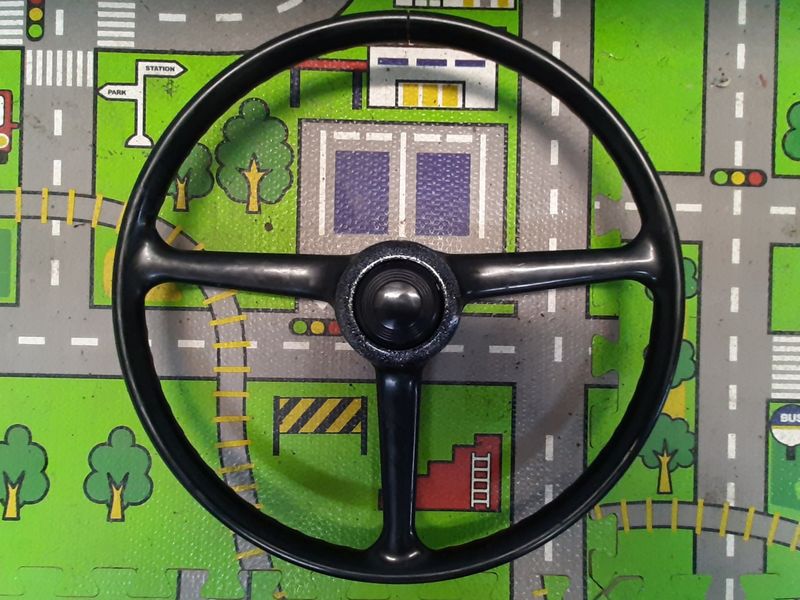
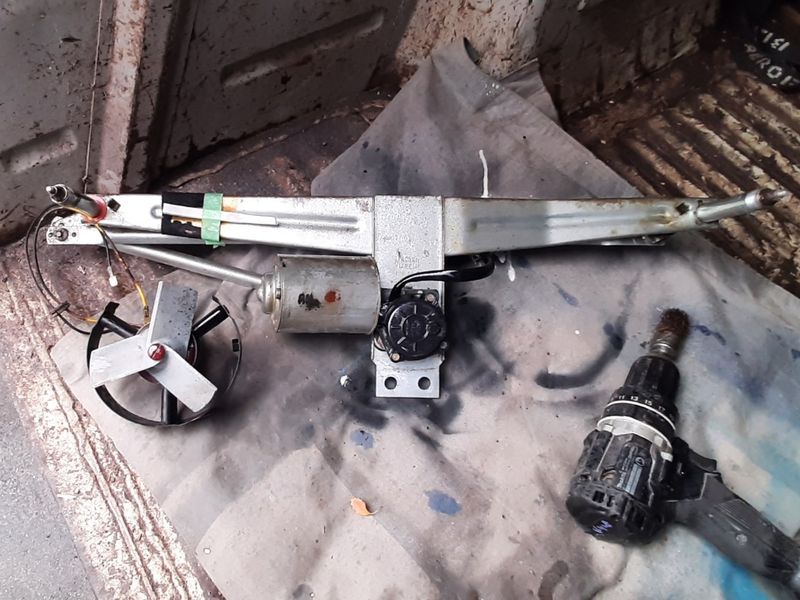
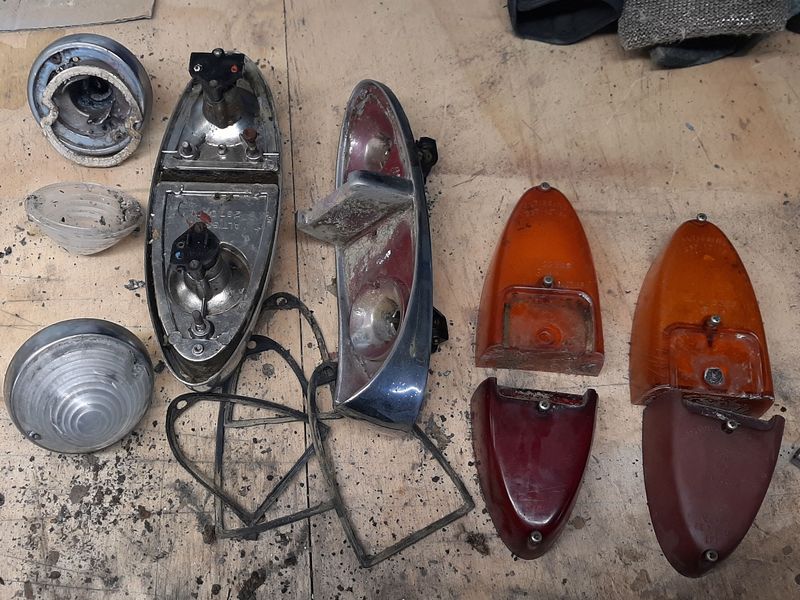
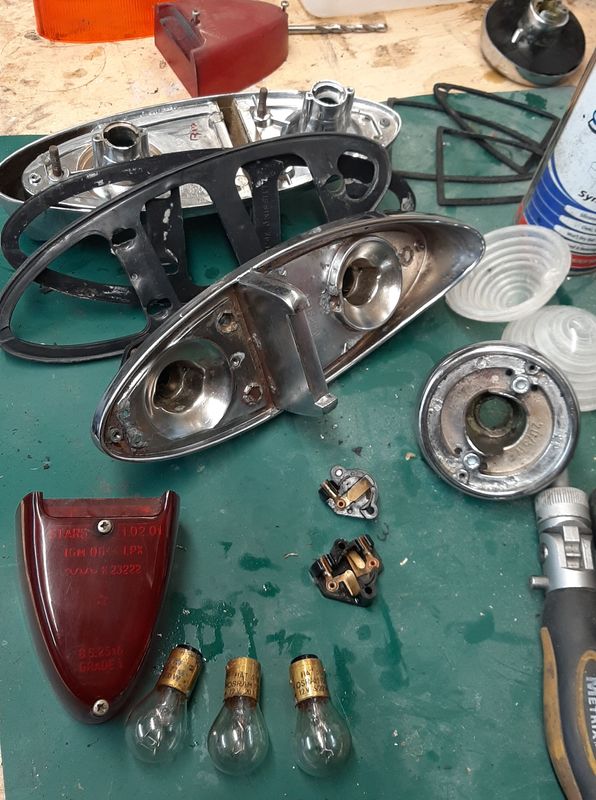
Also removed and tidied/greased and checked the operation of the ventilation fan and wiper mechanism. Putting the wipers back on this happened the pot metal just split as i was tightening the nut. They are the same style as my 2300 (and so also several other Fiats of the era) so should be fairly easy to find. Tidied up the horn button to match the dash And cleaned up all the existing lights Some modifications needed to replace M4 and M5 fine threaded steel machine screws embedded on cast aluminium on end end and wheel well muck on the other that either snapped off or got the dremel. Components are all quality material and servicable and have some up well - 2 of the Original FIAT branded bulbs went back in Some headlights came in as well, along with some generic mounting rings so i will see if i can get them to stay in. Lamps all tested and ready to install.
- 64 replies
-
- 30
-

-
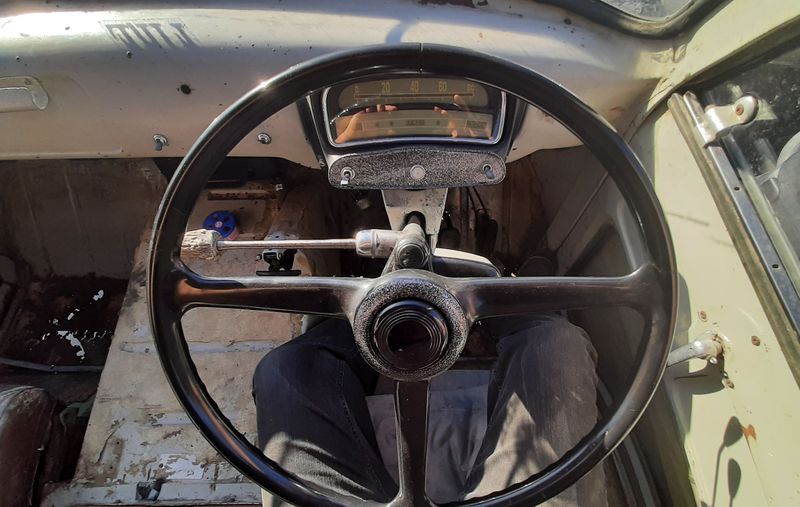
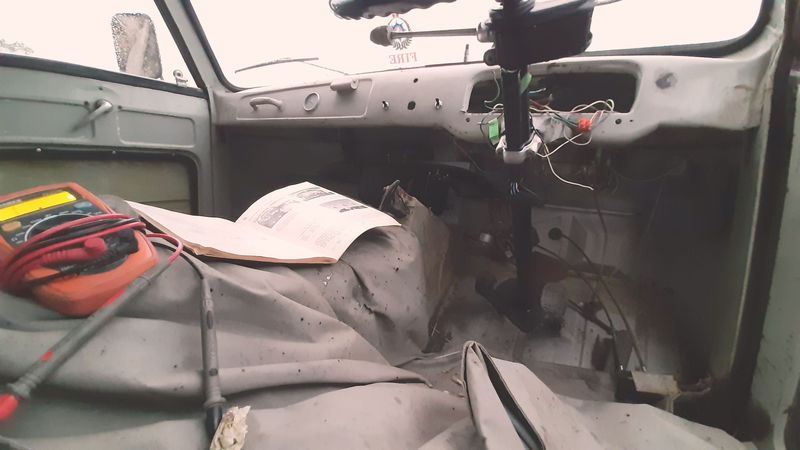
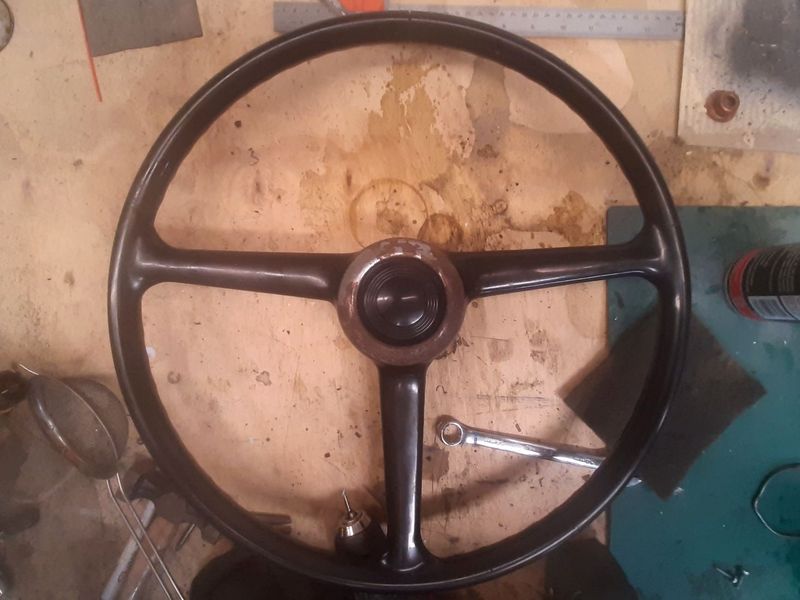
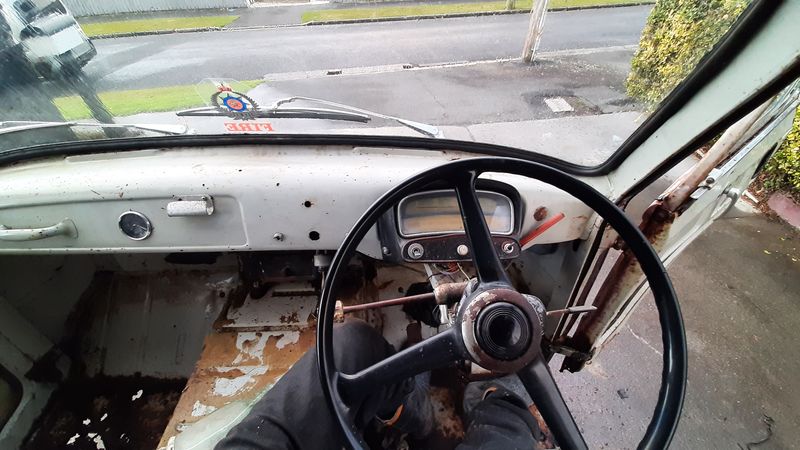
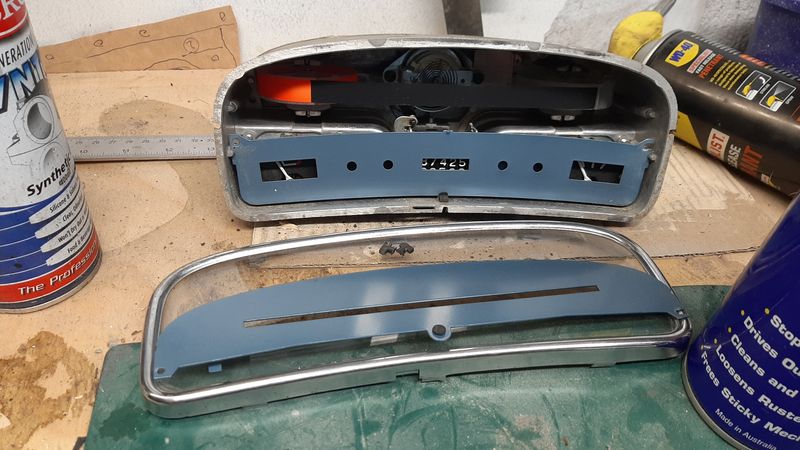
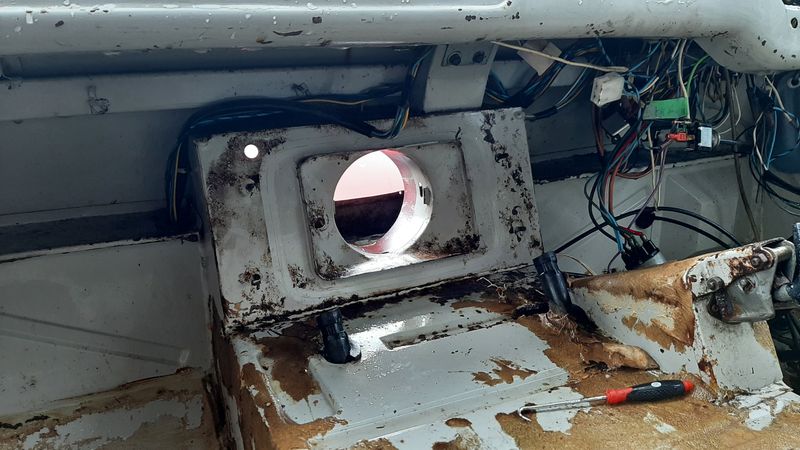
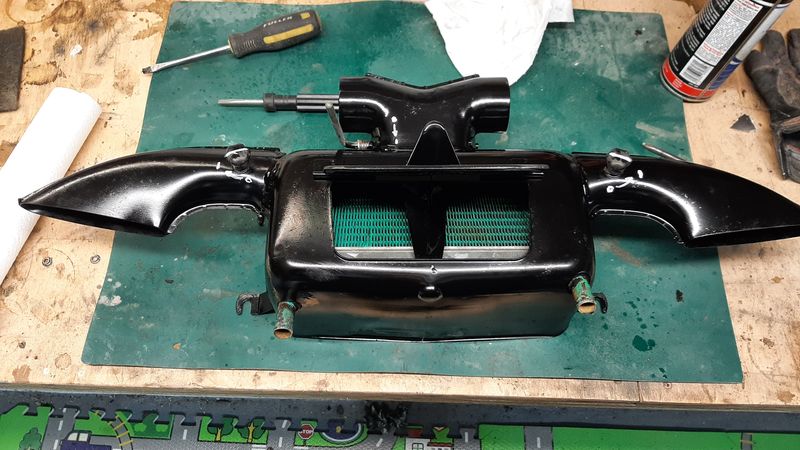
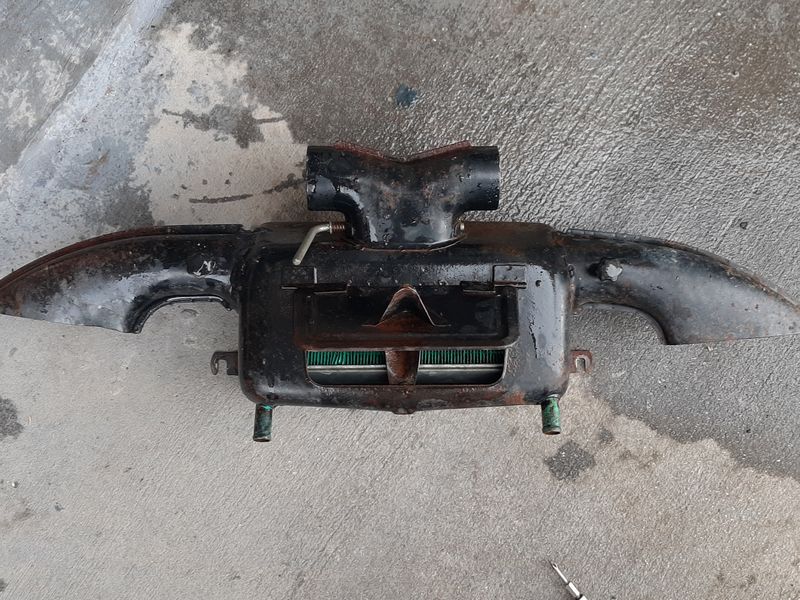
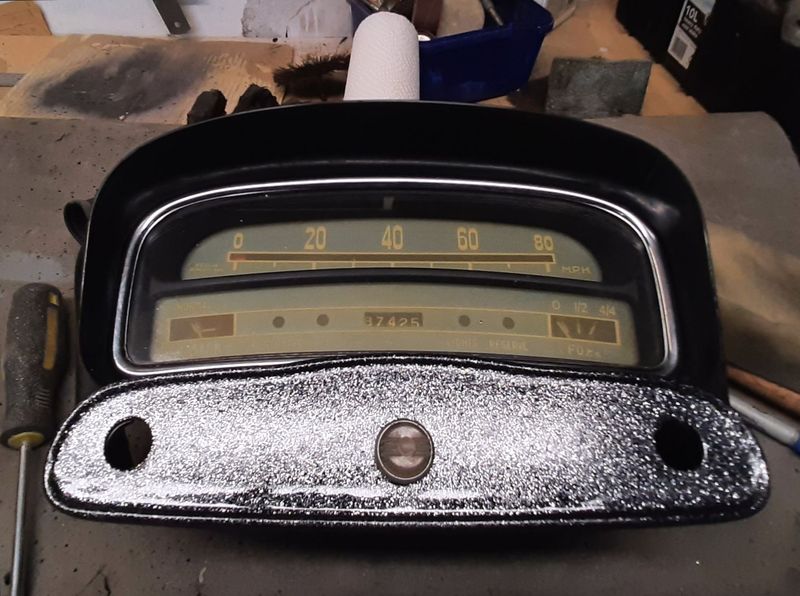
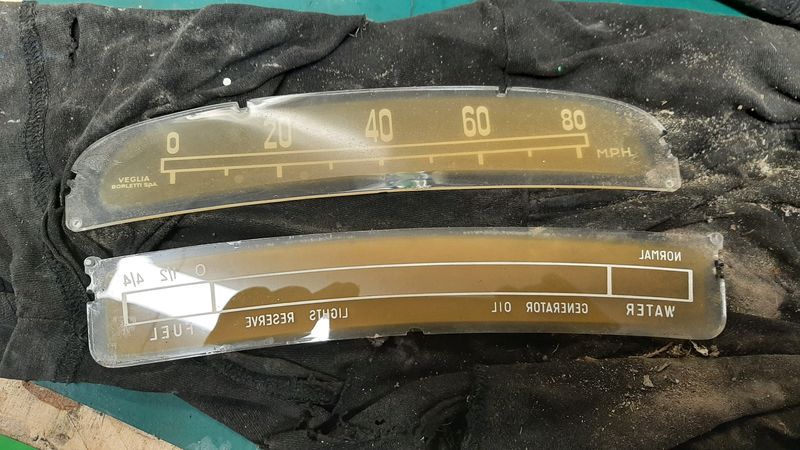
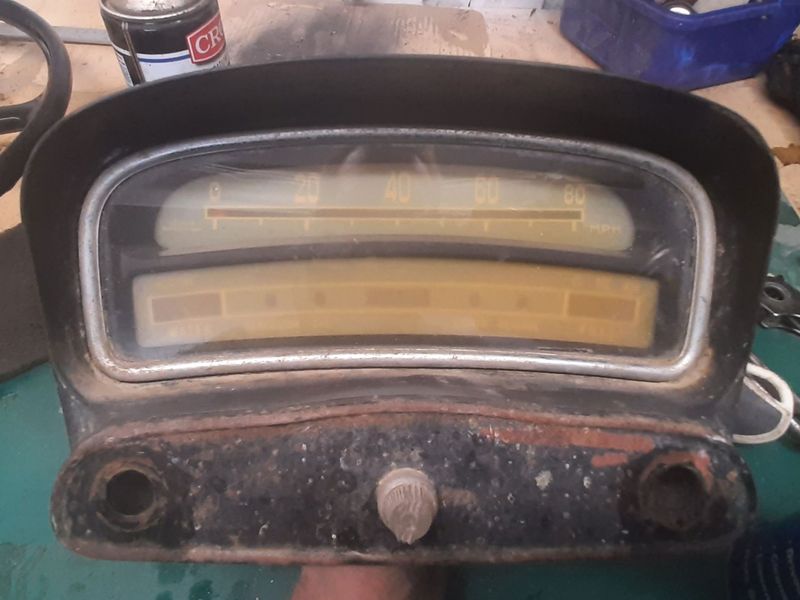
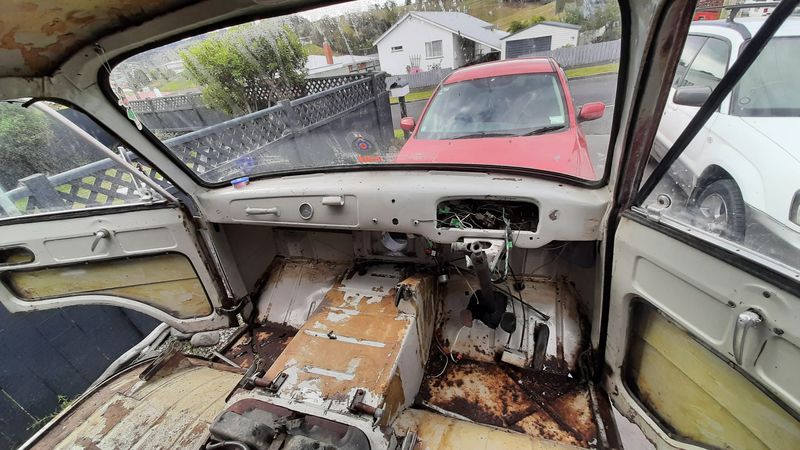
So, now armed with a diagram i could confidently* identify all the cut wires, odd switches and vampire taps in the dash to hack around the busted high/low beam column switch. Time to pull the dash apart to clean the mouse/rat poo off, and see whats what. The interior is pretty spartan, not even a glove box (there is a metal pocket on the cabin divider) and some bourgeois wanker has added a few features like a bag hook, a clock, some random holes and that decadent bit of hose screwed to the dash. Beyond that the instruments are a speedo, fuel and temp guage, some idiot lights but very hard to see, gear knob is a piece of bone, 2 of the 4 dash switches are not original and there is a hi/lo beam type foot switch hose-clamped onto the column in place of the broken factory column switch Bleugh, dirty rats. Simple Green, hot water and another hose out before lying down on it. Pulled the heater out too, this hole houses the ventilation fan which is behind the small upper grill on the front That blasts air through this cool thing, the lever is for the window vents, knobs for the feet, and flap at the front for the cab. In winter you turn on the water tap on the block, in summer you turn the tap off. Heater matrix is a nice teal colour and everything is in great shape apart from the rust from damp and mouse poop Sandblasted and came up really nice. Dash looking pretty sorry for itself The perspex? itself has been affected by the sun Can see the milage now too, 87,425km, i would believe either first or second time around. But otherwise very clean and vibrant colours on the inside, and giving me ideas for next time. Wet sanded the clear plastic and clear coated them, everything else got tidied up too, checked all the bulbs and fixed a stuck speedo drive. My drill has a max speed of 40mph. Bit of bling on the switch panel
- 64 replies
-
- 31
-

-
Trinkets are starting to arrive. This will be painted to suit, once i decide on the full size version A factory service manual. These 'yellow books' are great, beautiful hand drawn 'photos', pics of the special tools in use and all sorts of specs and info. Such power! (The 116.000 is the 1300, the 1500 is closer to 52hp with slightly more torque). Such utility! What i really wanted was this page. Fiat 1100T wiring diagram. Not too many systems, with only 4 fuses, but classically FIAT in its implementation And this. Dash contols, none of the switches are labelled from the factory anyway, and there has been some hackery, like a foot switch for hi/lo beam retrofitted to the steering column, aftermarket switches replacing the factory ones and vampire taps galore, as well as some rodent damage.
- 64 replies
-
- 20
-

-
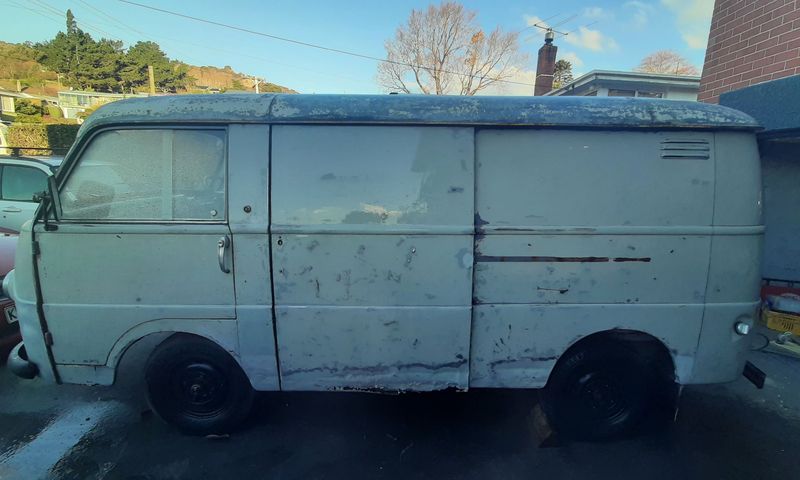
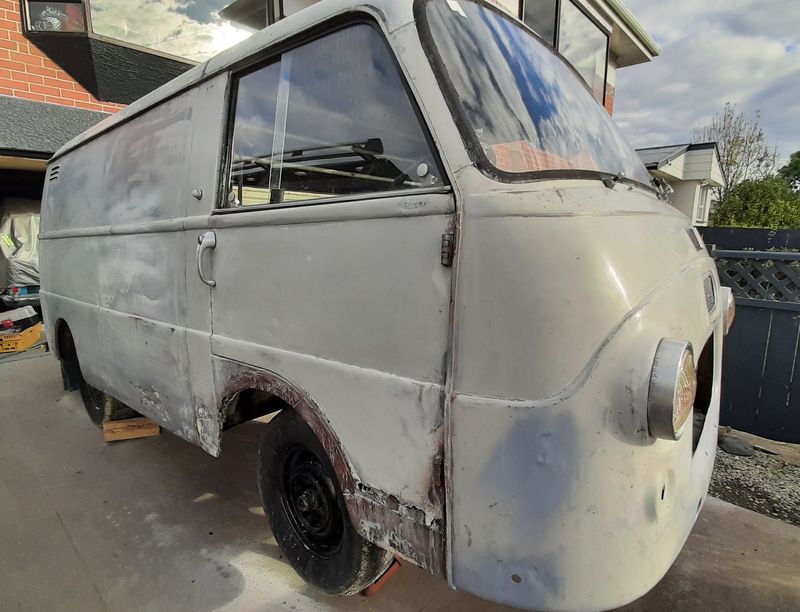
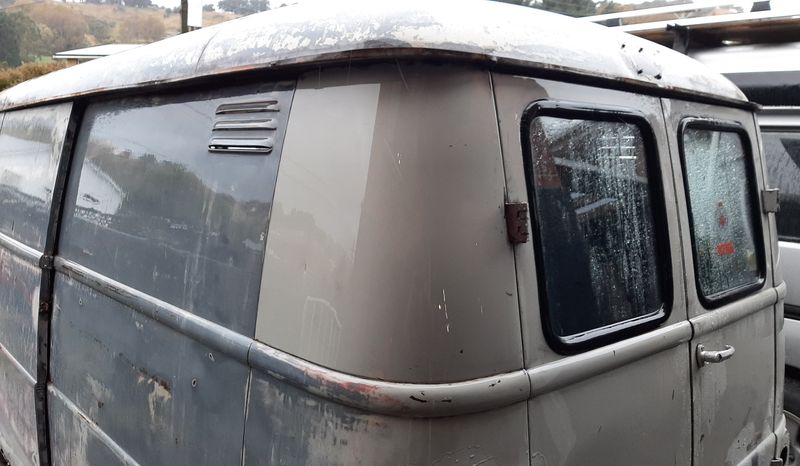
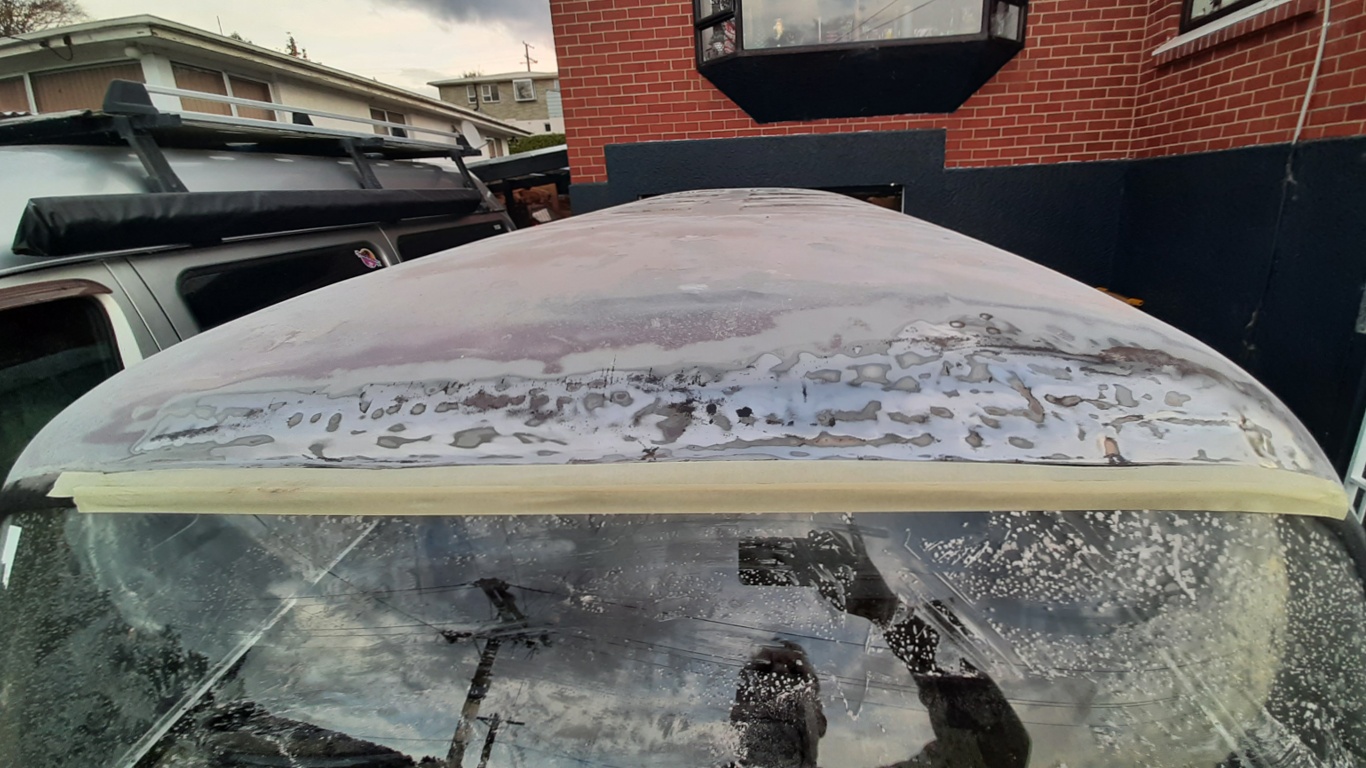
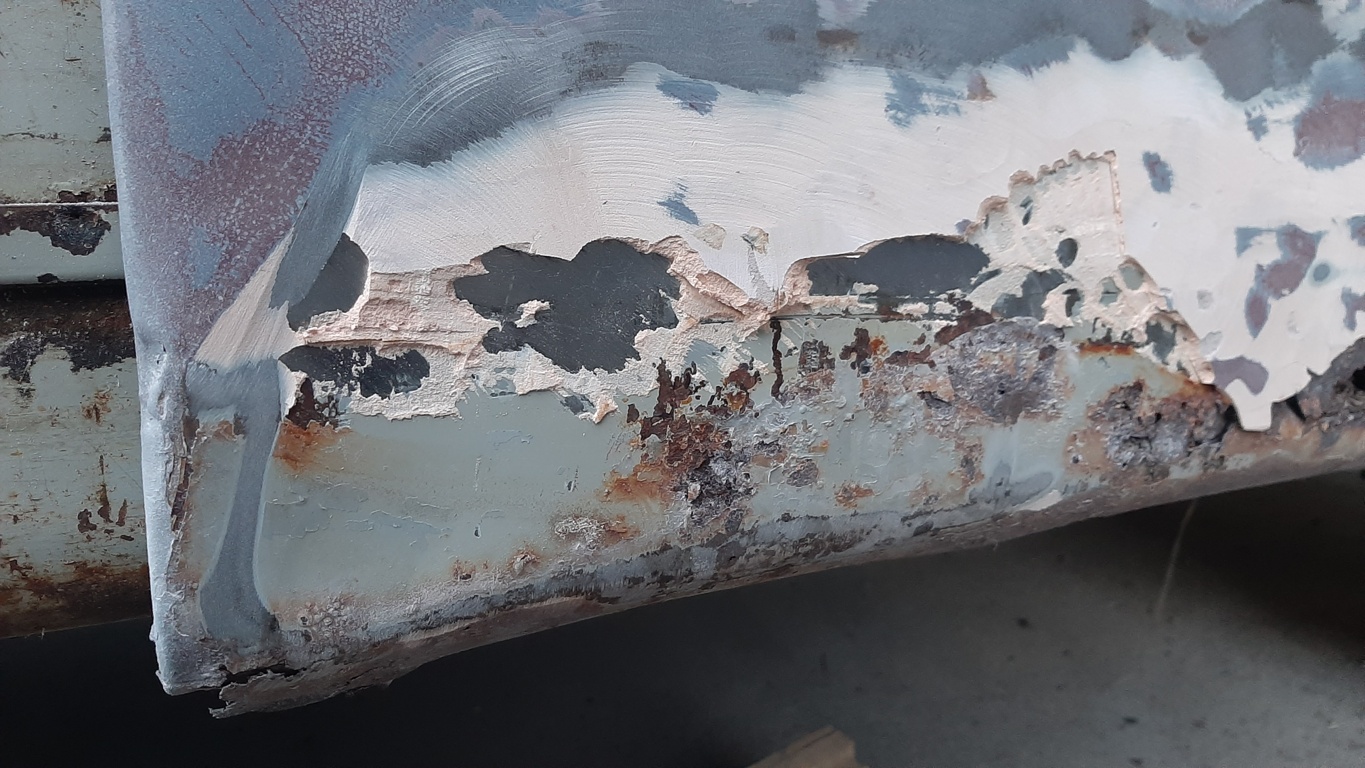
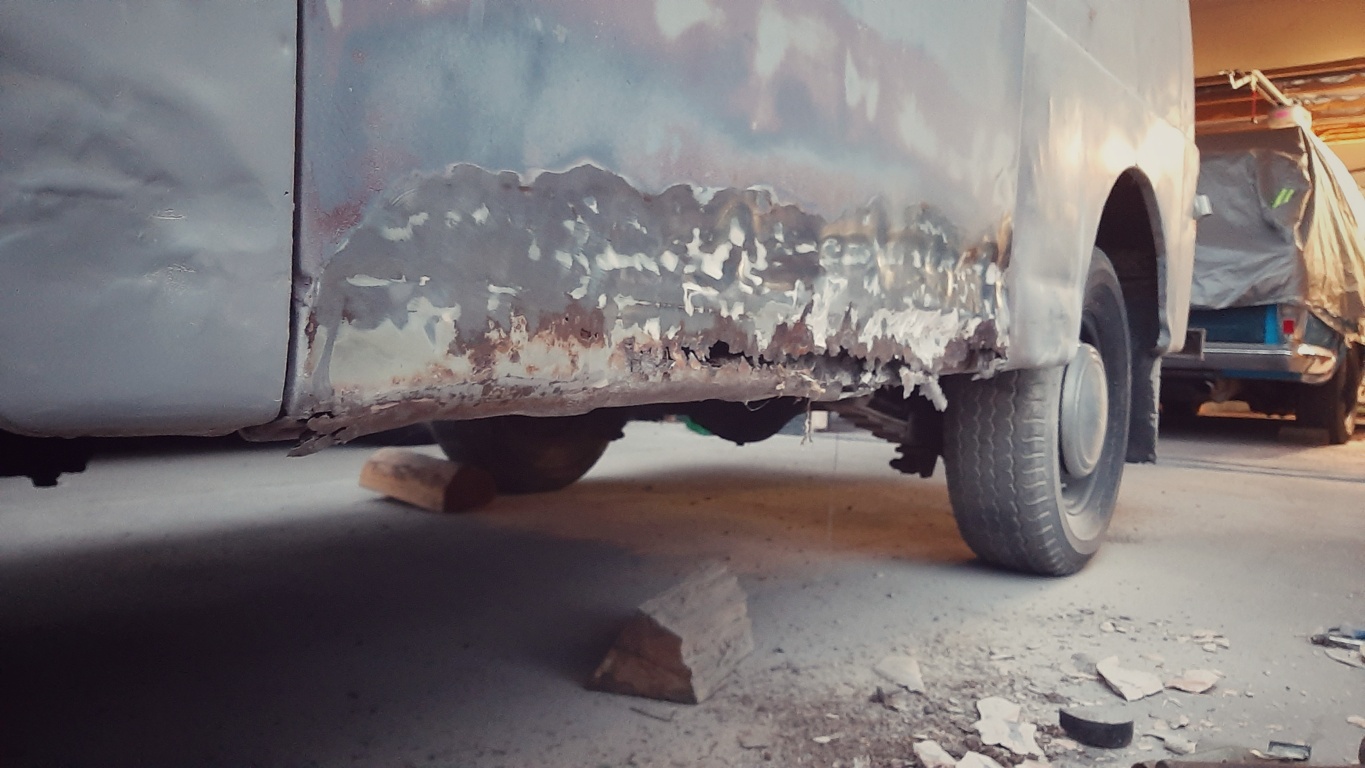
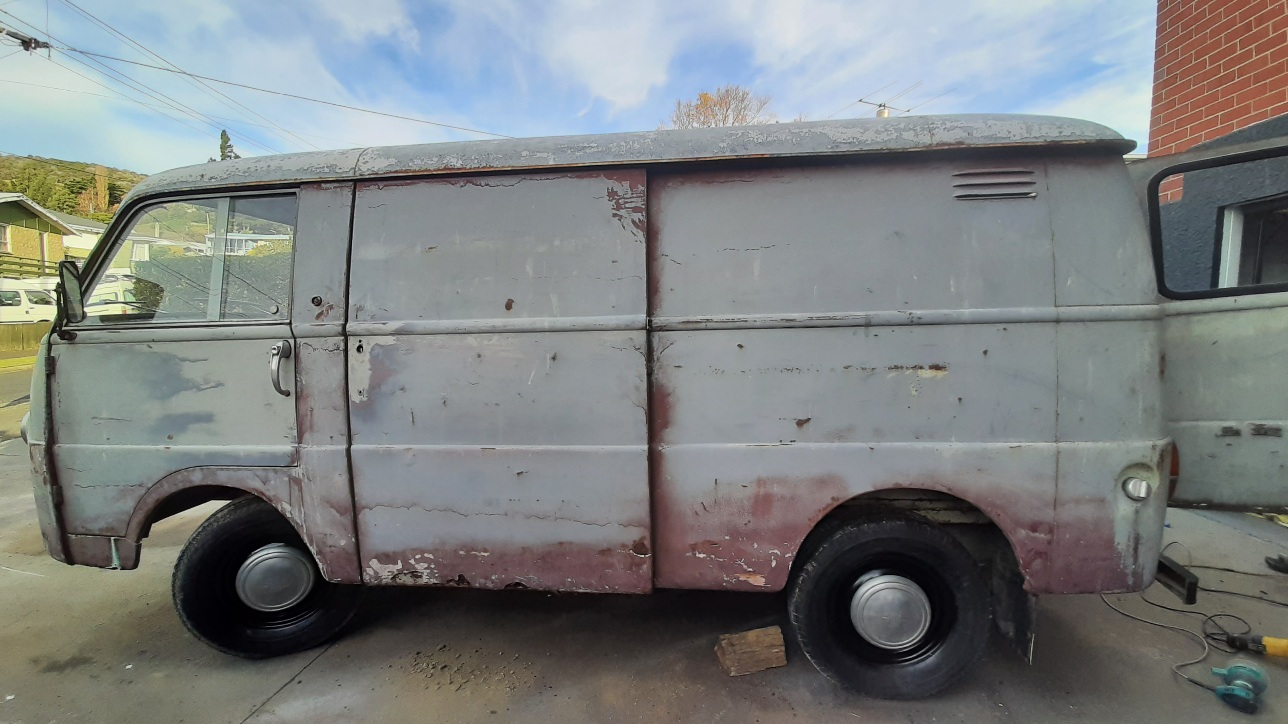
Been doing some excavation, attacking the bog patches with a stripping wheel to free what lurks behind them. First the ugly forehead lump above the windscreen. Looks like it was driven into something, and very roughly but also hardly tapped out. Pretty easy access from the back too so some tappy tap should tidy up a lot. Stoked there are no rusty holes tho! Then the area between the wheels on the passenger side. Jeepers! Front of the sliding door looks good under the protective 10mm layer of wob Back half not so much, and reveals the deep dingle down the side. The panels either side of the sliding door are pretty beat up but not rusty. Again pretty good access from behind so not sure why they used heaps of time layering on so, so much bog, rather than spend a few minutes with a hammer and dolly.
- 64 replies
-
- 25
-

-
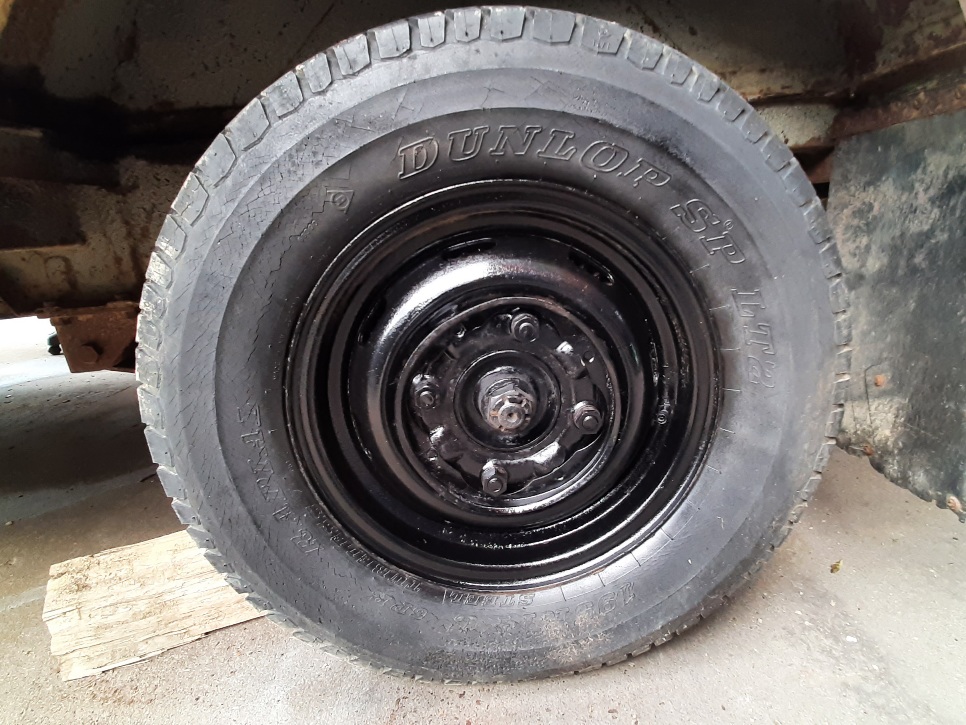
Sprayed some black rust remover and metal restorer on the rims. Massive stud pattern. Ill take the drums off to look at the brakes another day. Im sure they are juuust fiiine. Cop mode. Put the rear doors back together and straightened a few things out and did a bit more sanding. They are still busted but now they open and close nicely. Pulled the front door apart to get the inner latch out. Safari! Some percussive maintenance needed where the limit strap had bent in the door flange and the door now opens and closes lovely.
- 64 replies
-
- 28
-

-
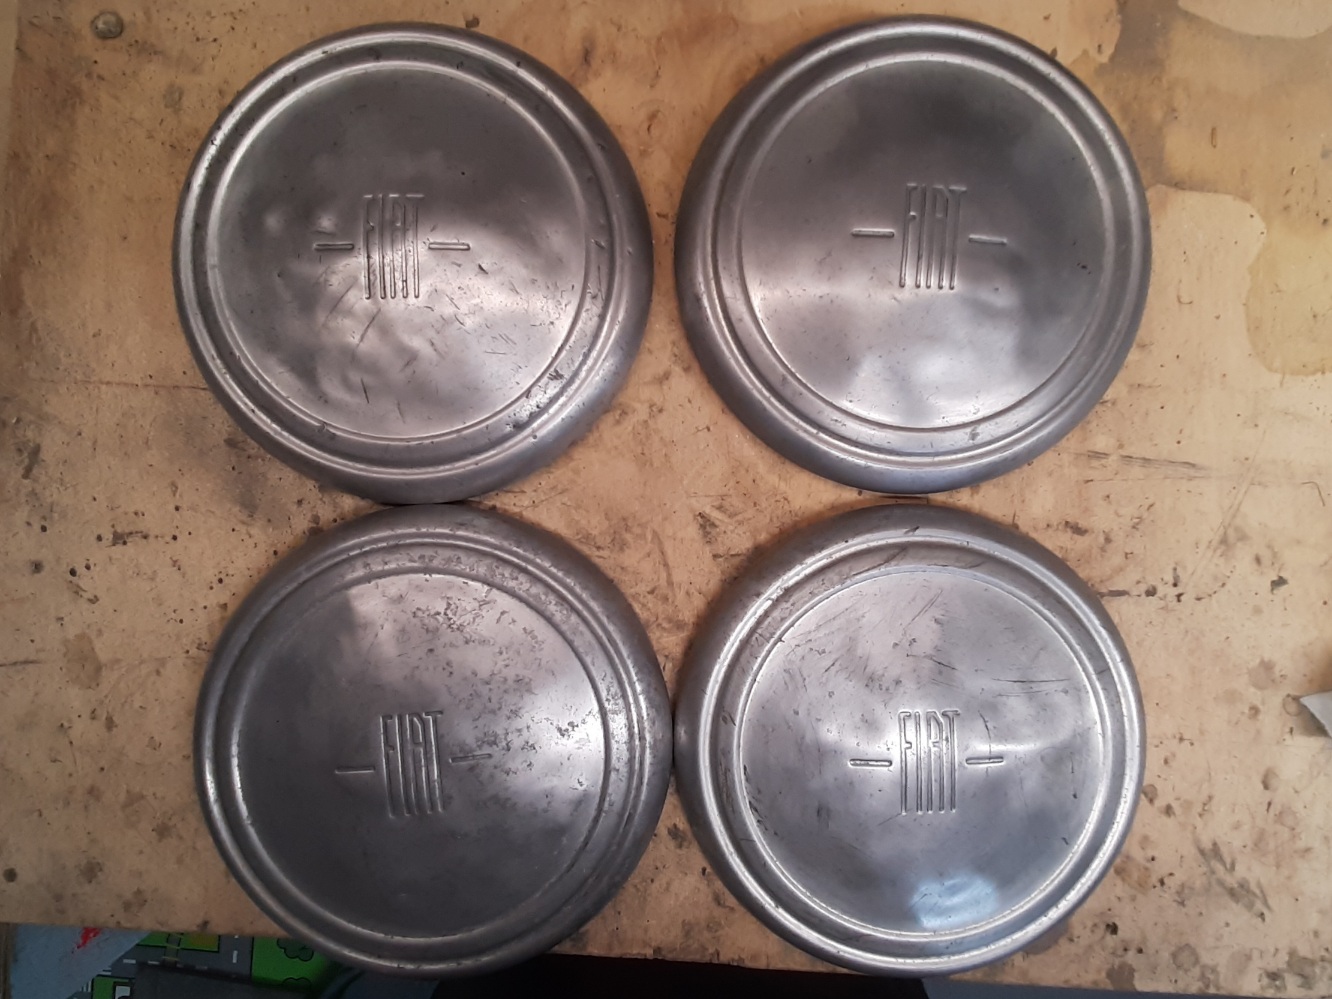
I also tidied the hub caps. Came with all 4, which i happy about as they are van specific too, but they had all been given a good kicking. Underside to show the ring that clips into another ring on the rim, and, A former owners address? D. S. Clark Kelso 5 RD Gore Again alloy, so came up much better, certainly good enough, after tapping the dents out and a whiz with the scotchbrite and wore wool. Ill give the rims a fresh waft of black and pop these on tomorrow.
- 64 replies
-
- 26
-

-
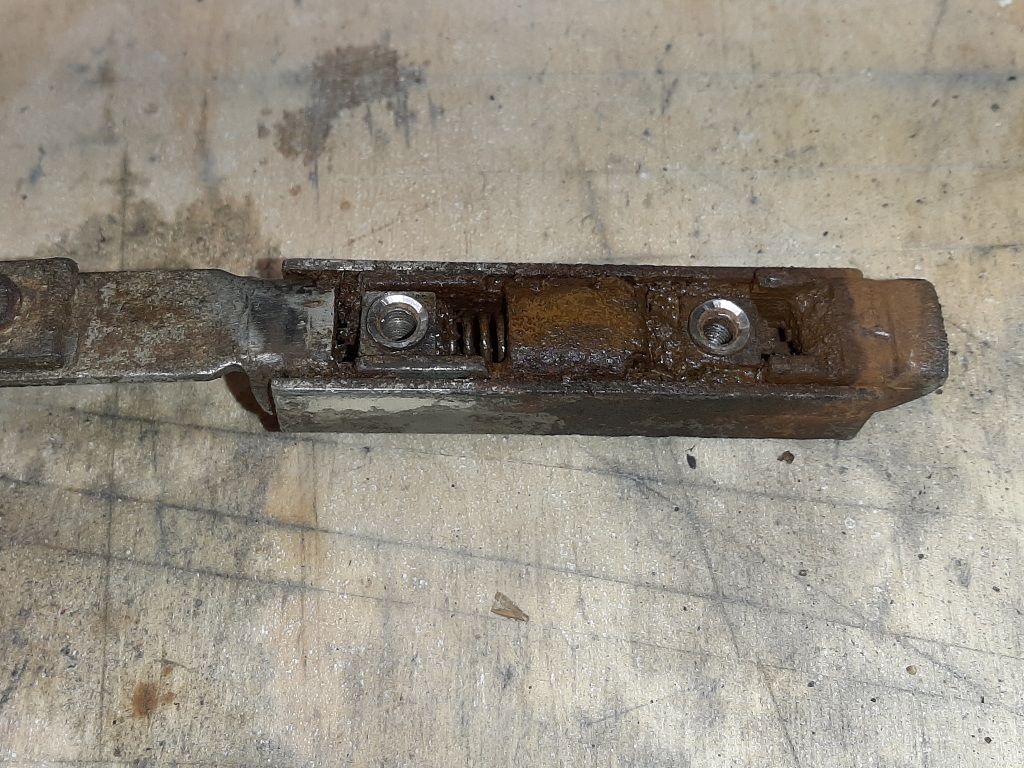
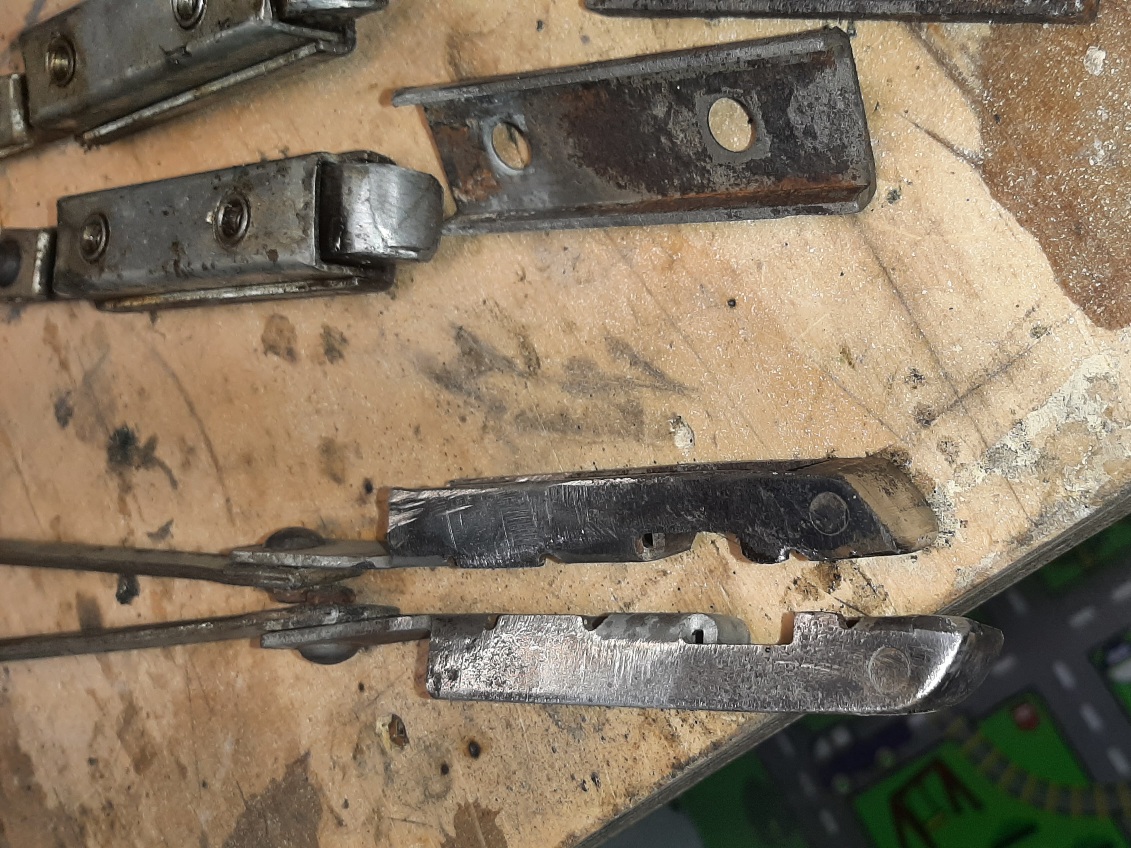
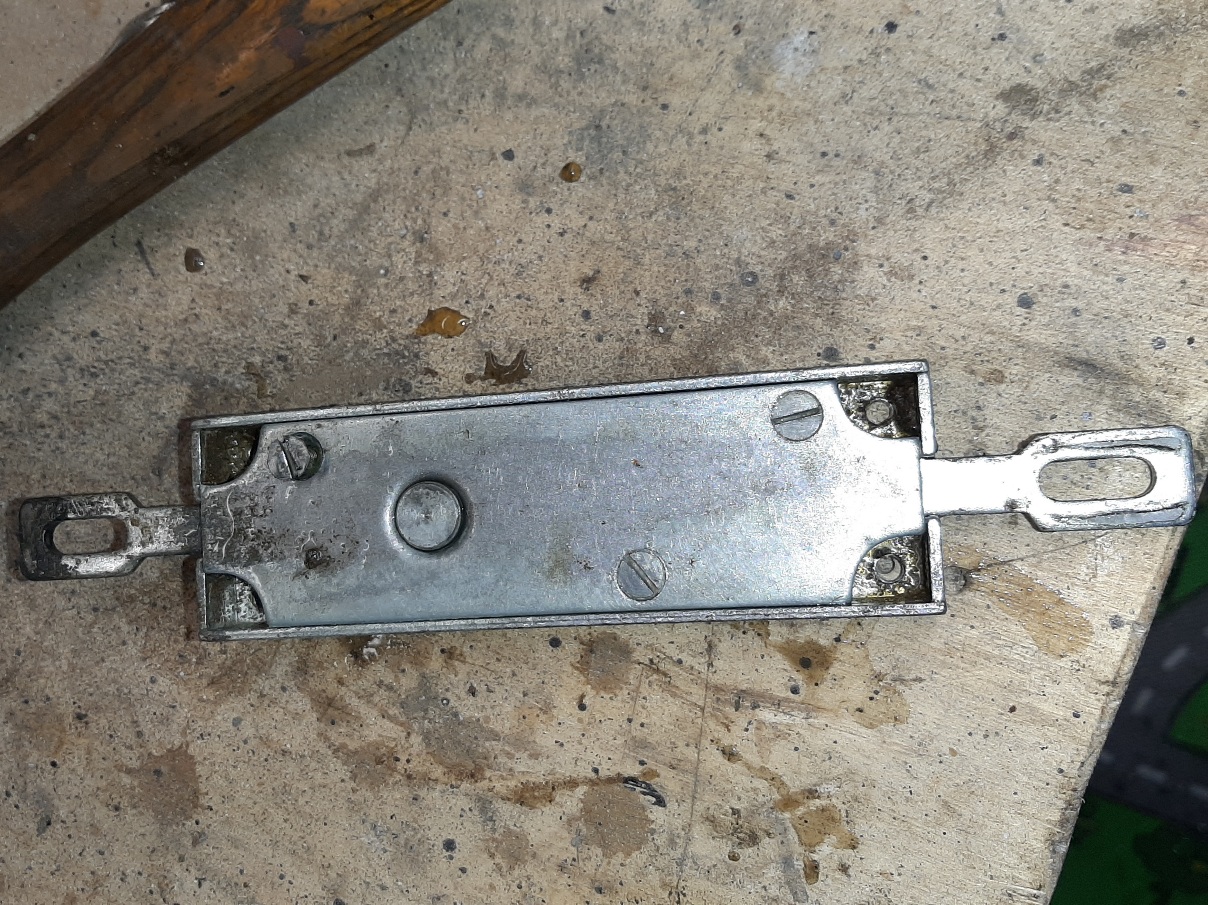
None of the door handles really worked so the doors dont really close properly. Lack of use had made them stiff and sticky. I was most worried about the rear door handles and mechanism because thats stuff is van specific, and well, good luck finding another one, and it was jammed. Tap tap with a hammer didnt do anything much so drastic destructive action needed! That'll do it! Both bottom latches were full of gunk, that could get in but not out. Cleaned up ok, very different life compared to the top ones which look like new! a bit more weld to fill in the wear areas, fill with grease, assemble and weld closed again. oh, and dont forget to put in the spring, silly! The latch mechanism tidied up well too, a degrease, soak in evavorust and reassemble with new grease All the exterior shiny bits, of which there aren't many, are all lovely cast alloy. disassembled as i far as i could without keys and withscotch brites and steel wool came up nice and satiny. Should be able to open and close the doors easily for the first time in many years tomorrow
- 64 replies
-
- 22
-


