gibbon
-
Posts
2,726 -
Joined
-
Last visited
-
Days Won
7
Content Type
Forums
Downloads
Events
Gallery
Everything posted by gibbon
-
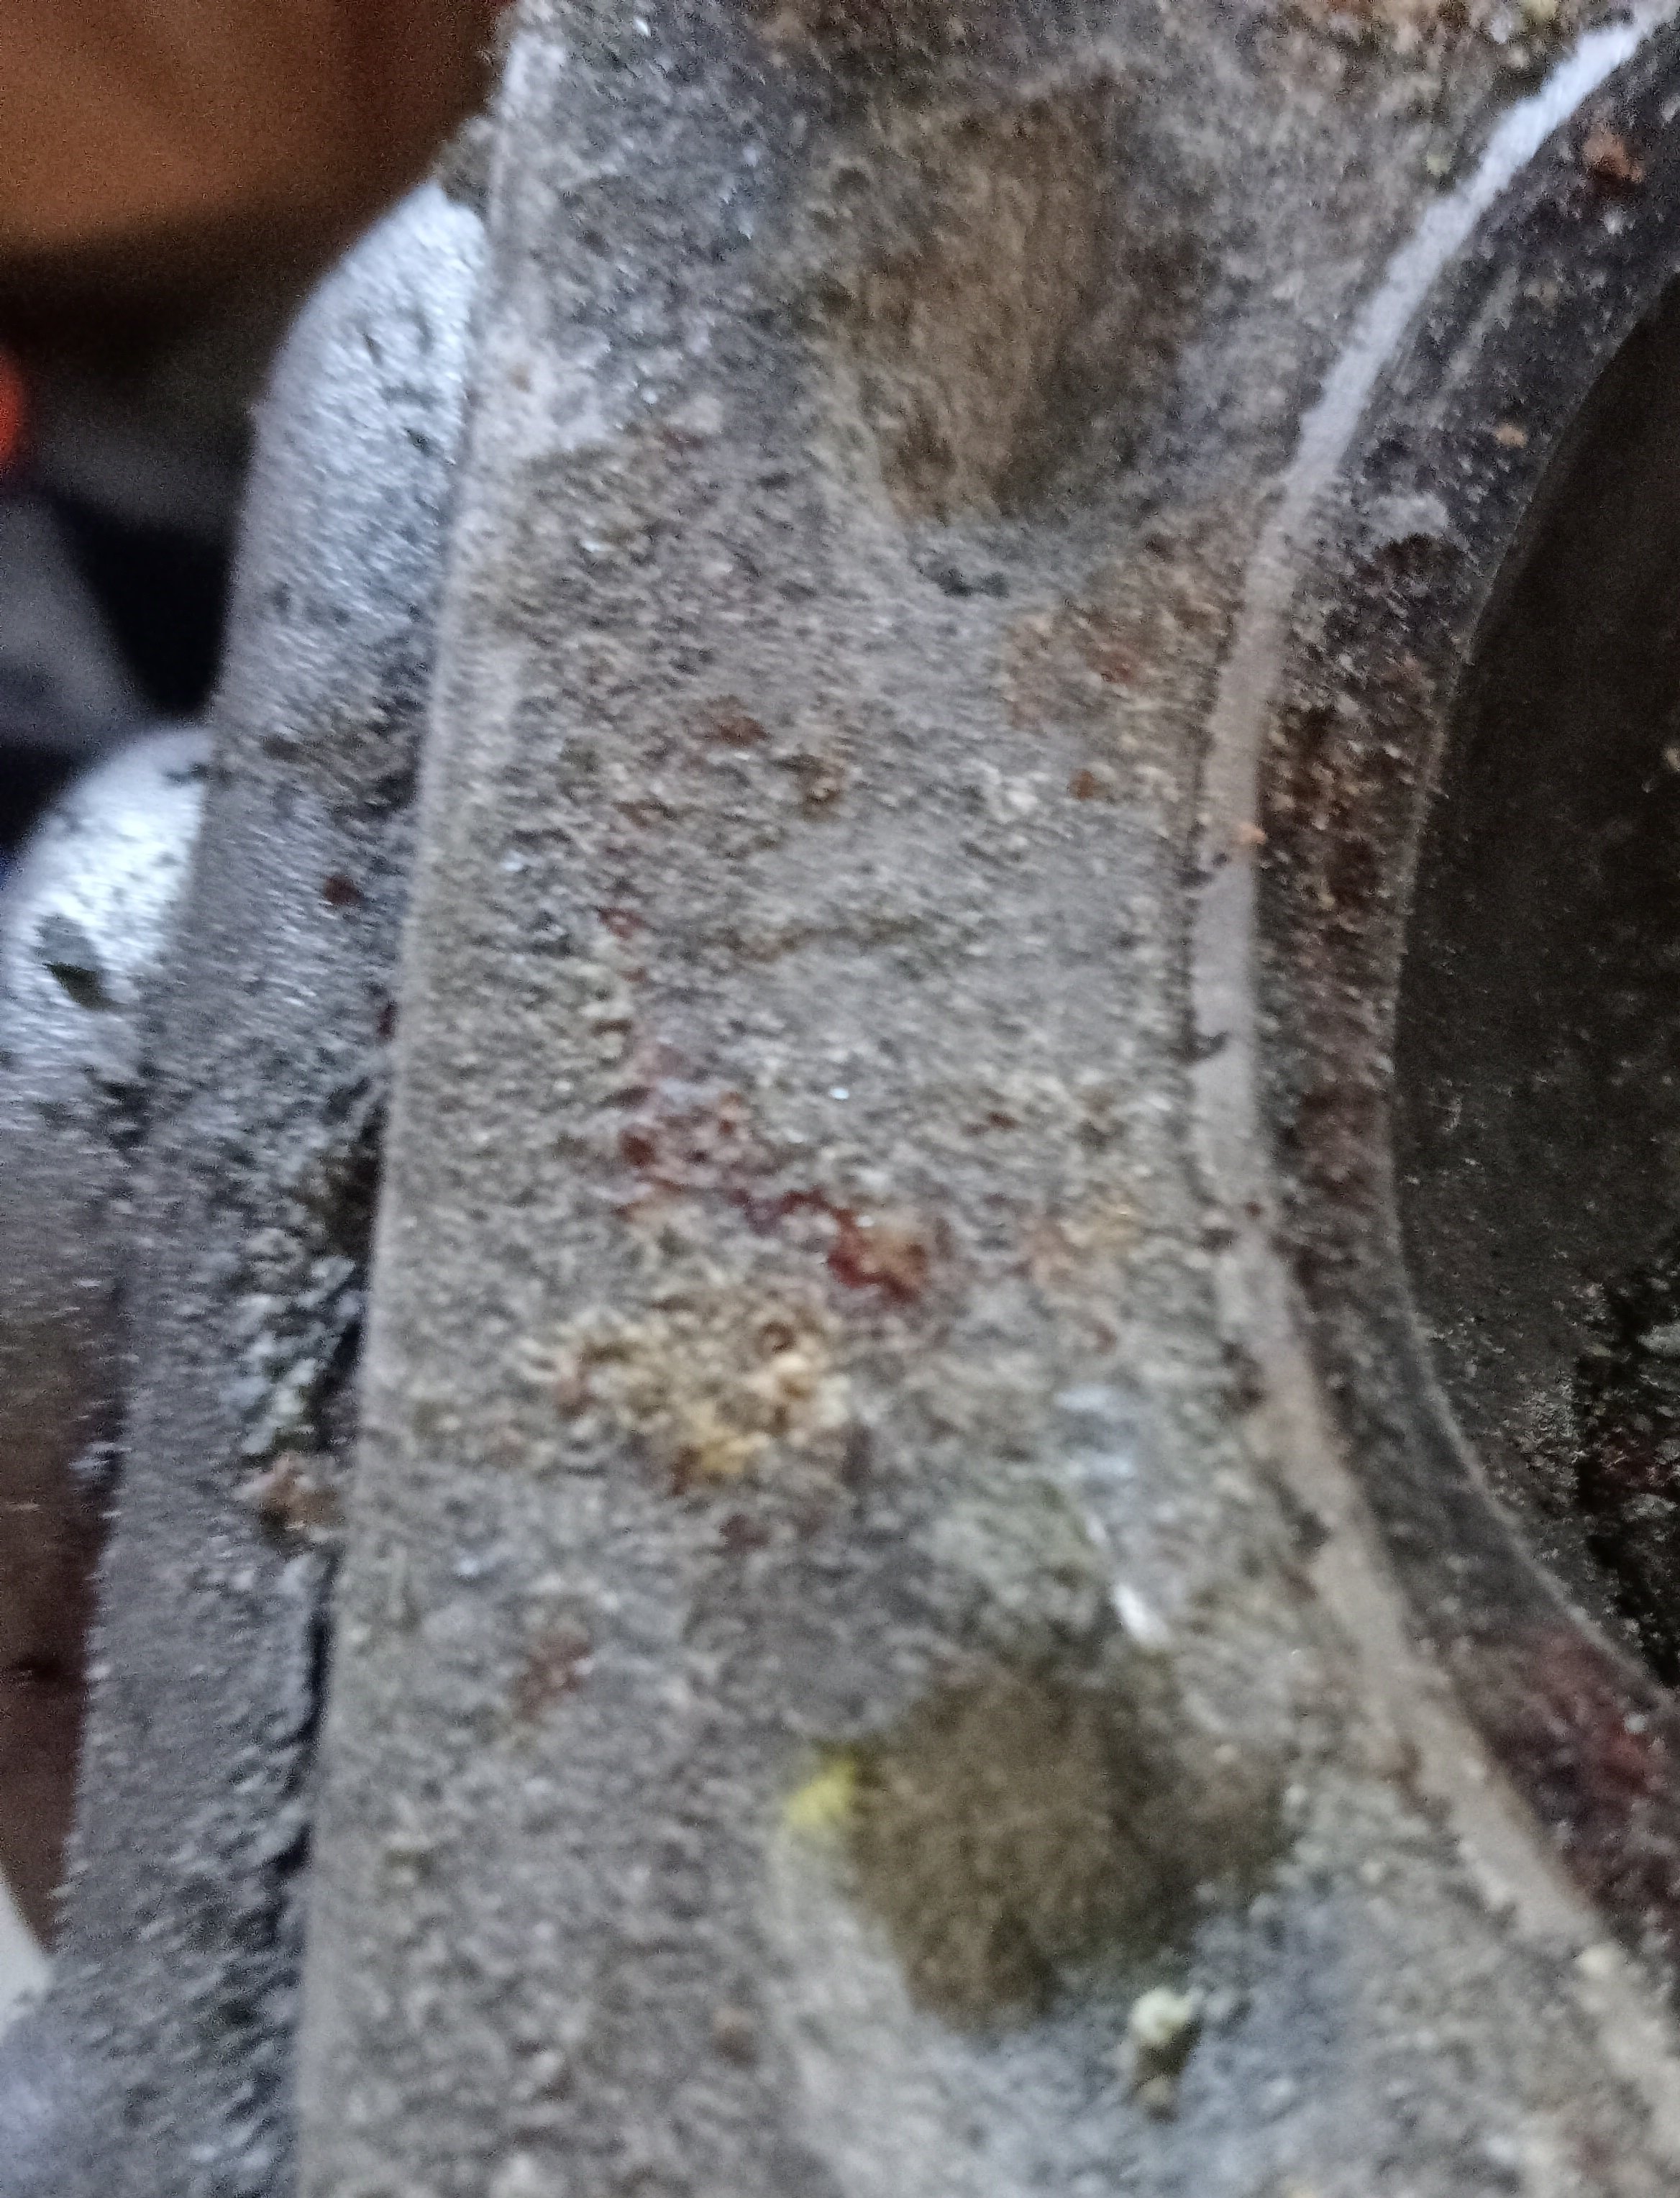
when I pulled the head on the starion I found that the head gasket has a couple of holes in it that don't line up with anything. thanks to these holes, coolant (or rather, straight water by the looks of it) has been allowed to sit against the head and has started eating into it. in fact the whole area around it looks a bit corroded and I think I'll condemn this head I pulled the head off a spare engine and found the same gasket, same corrosion, same problem (but significantly less bad). the corrosion pit is pretty gnarly but isn't anywhere near anything, probably a good 10mm from the gasket fire ring so I think it's OK to run again? just wondering if there's anything I should/could do to prevent it getting any worse. A blob of silicone to close up the hole in the gasket? this is the old head:

-
I think you need some angles to trig it out... or sketch a full size mockup on the floor. or yeah CAD
-
many of us squeeze a year out of our 6 month wofs
-

Car Storage Between Auckland and Whangarei
gibbon replied to Sambo's topic in Upper North Island Region
I'll have a spot in a hangar at the airfield (Whangarei) after next week. Under cover and pretty secure but you'll need to give notice to get it in or out -
supposedly more predictable clamping force, probably pretty important on the bleeding edge of automotive performance, probably less so in an 80s mitsi donk
-
ah, I think I probably do... I just saw "sohc 4g63" and figured it was the old model but of course they probably kept building them forever. Oh well now i have a set of new TTY bolts on the way, I suppose I'll use them - the engine was rebuilt not that long ago, can't be sure that the head bolts that went in at that time weren't TTY too
-
stuff it, a whole replacement set is like 80 bucks lol. cheap insurance edit: $40 bucks through Segedins
-
hmm I've found a manual too and it doesn't say replace, but the torque figure is 20NM plus 180 degrees, isn't that a hallmark of torque to yield bolts?
-
quick question, are the rod and head bolts on the old 4G63 reusable or one and done? @fuel @bigfoot
-
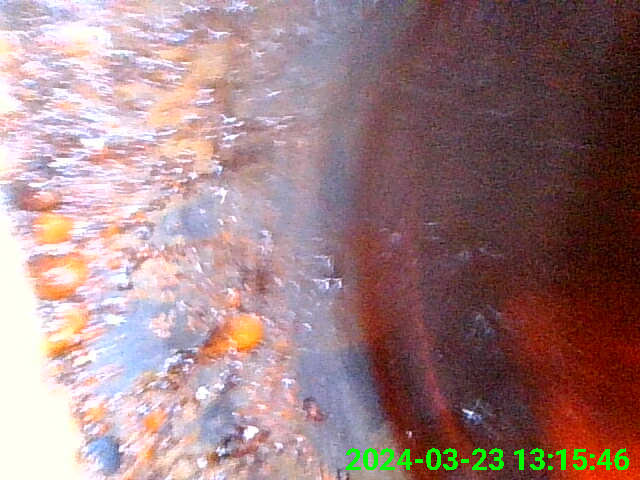
the red is ATF floating uselessly on a layer of water I guess
-
meanwhile in the cylinder bores
-
man I think I've got real problems now, the bottom end is locked solid, I think I've disturbed the throttle body at some point and it's dumped the contents of the coolant jacket into the inlet manifold/cylinders. borescope tomorrow, FML
-
it's pickled in brine, is this likely to cause issues?
-
the throttle is now completely jammed shut and won't budge, god this car is such a fucking diva
-
ok I've removed the residual pressure valve for the rear circuit but unfortunately that hasn't changed anything. Im thinking there might be a mechanical drag as well though as even with the lines cracked it's not exactly free spinning. I've just re-kitted the calipers and the pins are nice and greased, really don't want to get back in there I'll replace the rear lines and give it a flush too because why not
-
I haven't really done much of anything in terms of flushing it out, I just figured that if there was a blockage further downstream, then cracking the line at the master wouldn't have released the pressure? The front half of the reservoir tees off to the front brakes and they're fine. The rear section has a single line, must tee off somewhere under the guts
-
I've been struggling with the rear brakes on the starion locking on for some time now, its definitely w hydraulic issue, and as the brakes ease off if I crack ANY connection in the system, I think it's an issue with the master cylinder? I disconnected the pushrod from the brake pedal and made sure the piston was being allowed to return fully, so that's all good. The master has residual pressure valves in it which is apparently strange for a disc rear, can I remove them? I cleaned out the return port in the master cyl reservoir and it seemed to work fine on the bench but the moment I reinstalled it, it started giving shit again. Not sure if the port is blocked again, it looks as big from the top as the feed port but I could only get a .010" bit of wire through it in the end, not sure if it tapers or it's just loaded with crud. what would happen if I opened it out?
-
Whangarei Monthly Meet. Wednesday 18th dec. Burgerfuel 7pm
gibbon replied to bigfoot's topic in Upper North Island Region
err has this come and gone? -
we need to know how big your missus is first. a pic will do
-
RS components or whatever they're called now
-
fuck that explains it lol I weld like I make love; with little ability but maximum enthusiasm
-
Question for welders: Yesterday I successfully TIG welded a bunch of steel together. Then the argon bottle ran out. I got the new bottle (C02 this time) and had to change regulators to a cheap Chinese one as it was the only one that would fit. Today my welds (again on steel) are like they're not getting gas, instead of a weld puddle I'm getting sizzling and sparking and porous holes and shit. I can hear gas coming out of the nozzle when I pull the trigger though, so what the hell is the problem? Is C02 wrong for Tig? Has some asshole filled my c02 bottle with oxygen?
-
That'd definitely do it, too... Price is getting a little up there for something thatd only be getting hauled out once or twice a year. Ideally I'd like to modify our 28v ground power unit as discussed above, but $500 doesn't even buy much sparky time these days. Anyway at least I've got a few options now
-
@ajg193 it's for rigging some electric landing gear that has a dynamic brake on the actuator, the manual is insistent that in order to get everything to stop in the right place with the right tension on the locks given the momentum of the whole assembly, that it be rigged at 14v instead of 12v. It's not really "precisely 14v", just more something in line with what the bus would be expecting with the engine operating
-
I have looked inside once and there's a TIE fighter in there, is that enough to go off