BlownCorona
-
Posts
6,540 -
Joined
-
Last visited
-
Days Won
4
Everything posted by BlownCorona
-
yup thats my plan now. unbolted the manis and they cant be flipped, so ill carry on with the install and build manifolds later on to suit once i know where everything goes. not sure where id put the turbos??
-
more progress during smoko and lunch today. building a race car at work rules. cut 100mm out of the top of the firewall and made two cuts down each side of the tunnel roof, pushing the tunnel up. once i know the engine fits the holes will be patched up. should make installs a breeze. came across the first real issue too. the exhaust manifold foul on the frame rails. i can notch these out enough to clear i think. however the drivers side manifold dumps right onto the steering shaft. flipping the manifold looks to be an option, and im contemplating the option of bringing the drives side exhaust around or under the engine and merging with the passengers exhaust, or crossing back under the trans. ill clearance the frame rails and see where that leaves me i think. not quite in, but its getting lower in the engine bay! should go down and back about 3" both ways any ideas, shoot them my way! gotta say, i thought id be swinging a sledge hammer pretty early on to make this fit, so im pretty stoked on how its fitting, and can see why LS swaps are so popular in the states.
-
An exciting day today! first test fit of the huge engine and trans into a mostly stock body mx5. first i started by cutting the 'ears' off the frame and firewall. forgot to grab a pic but its these parts. theyll need plates welded in to re-add the strength lost. this squares up the bay and allows the engine to sit close to the firewall then in goes the engine! its SO close to fitting in unmodified. infact if i was to unbolt the subframe, id be able to fit the sump bowl past the subframe and the engine could sit down properly. however, i dont really want to have to unbolt the subframe everytime i need to pull the engine. which hopefully wont be often, except for during the build, but even thats enough for me. if i want to slide the whole lot in, ill need to cut maybe 60-100mm out of the top of the tunnel. a pretty easy job for the massive benefit of easy install! trans hits here sump just doesnt quite get over the subframe its possible the unmodified hood may even close over it all! most of the bulk ontop is the wiring loom ect what a monster
- 21 replies
-
- 18
-

-
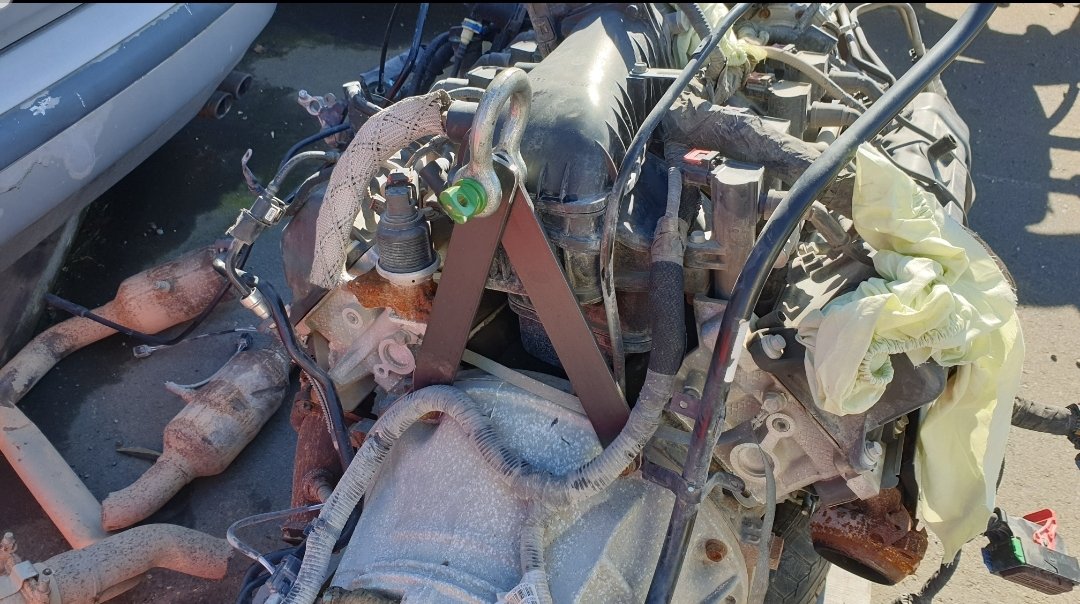
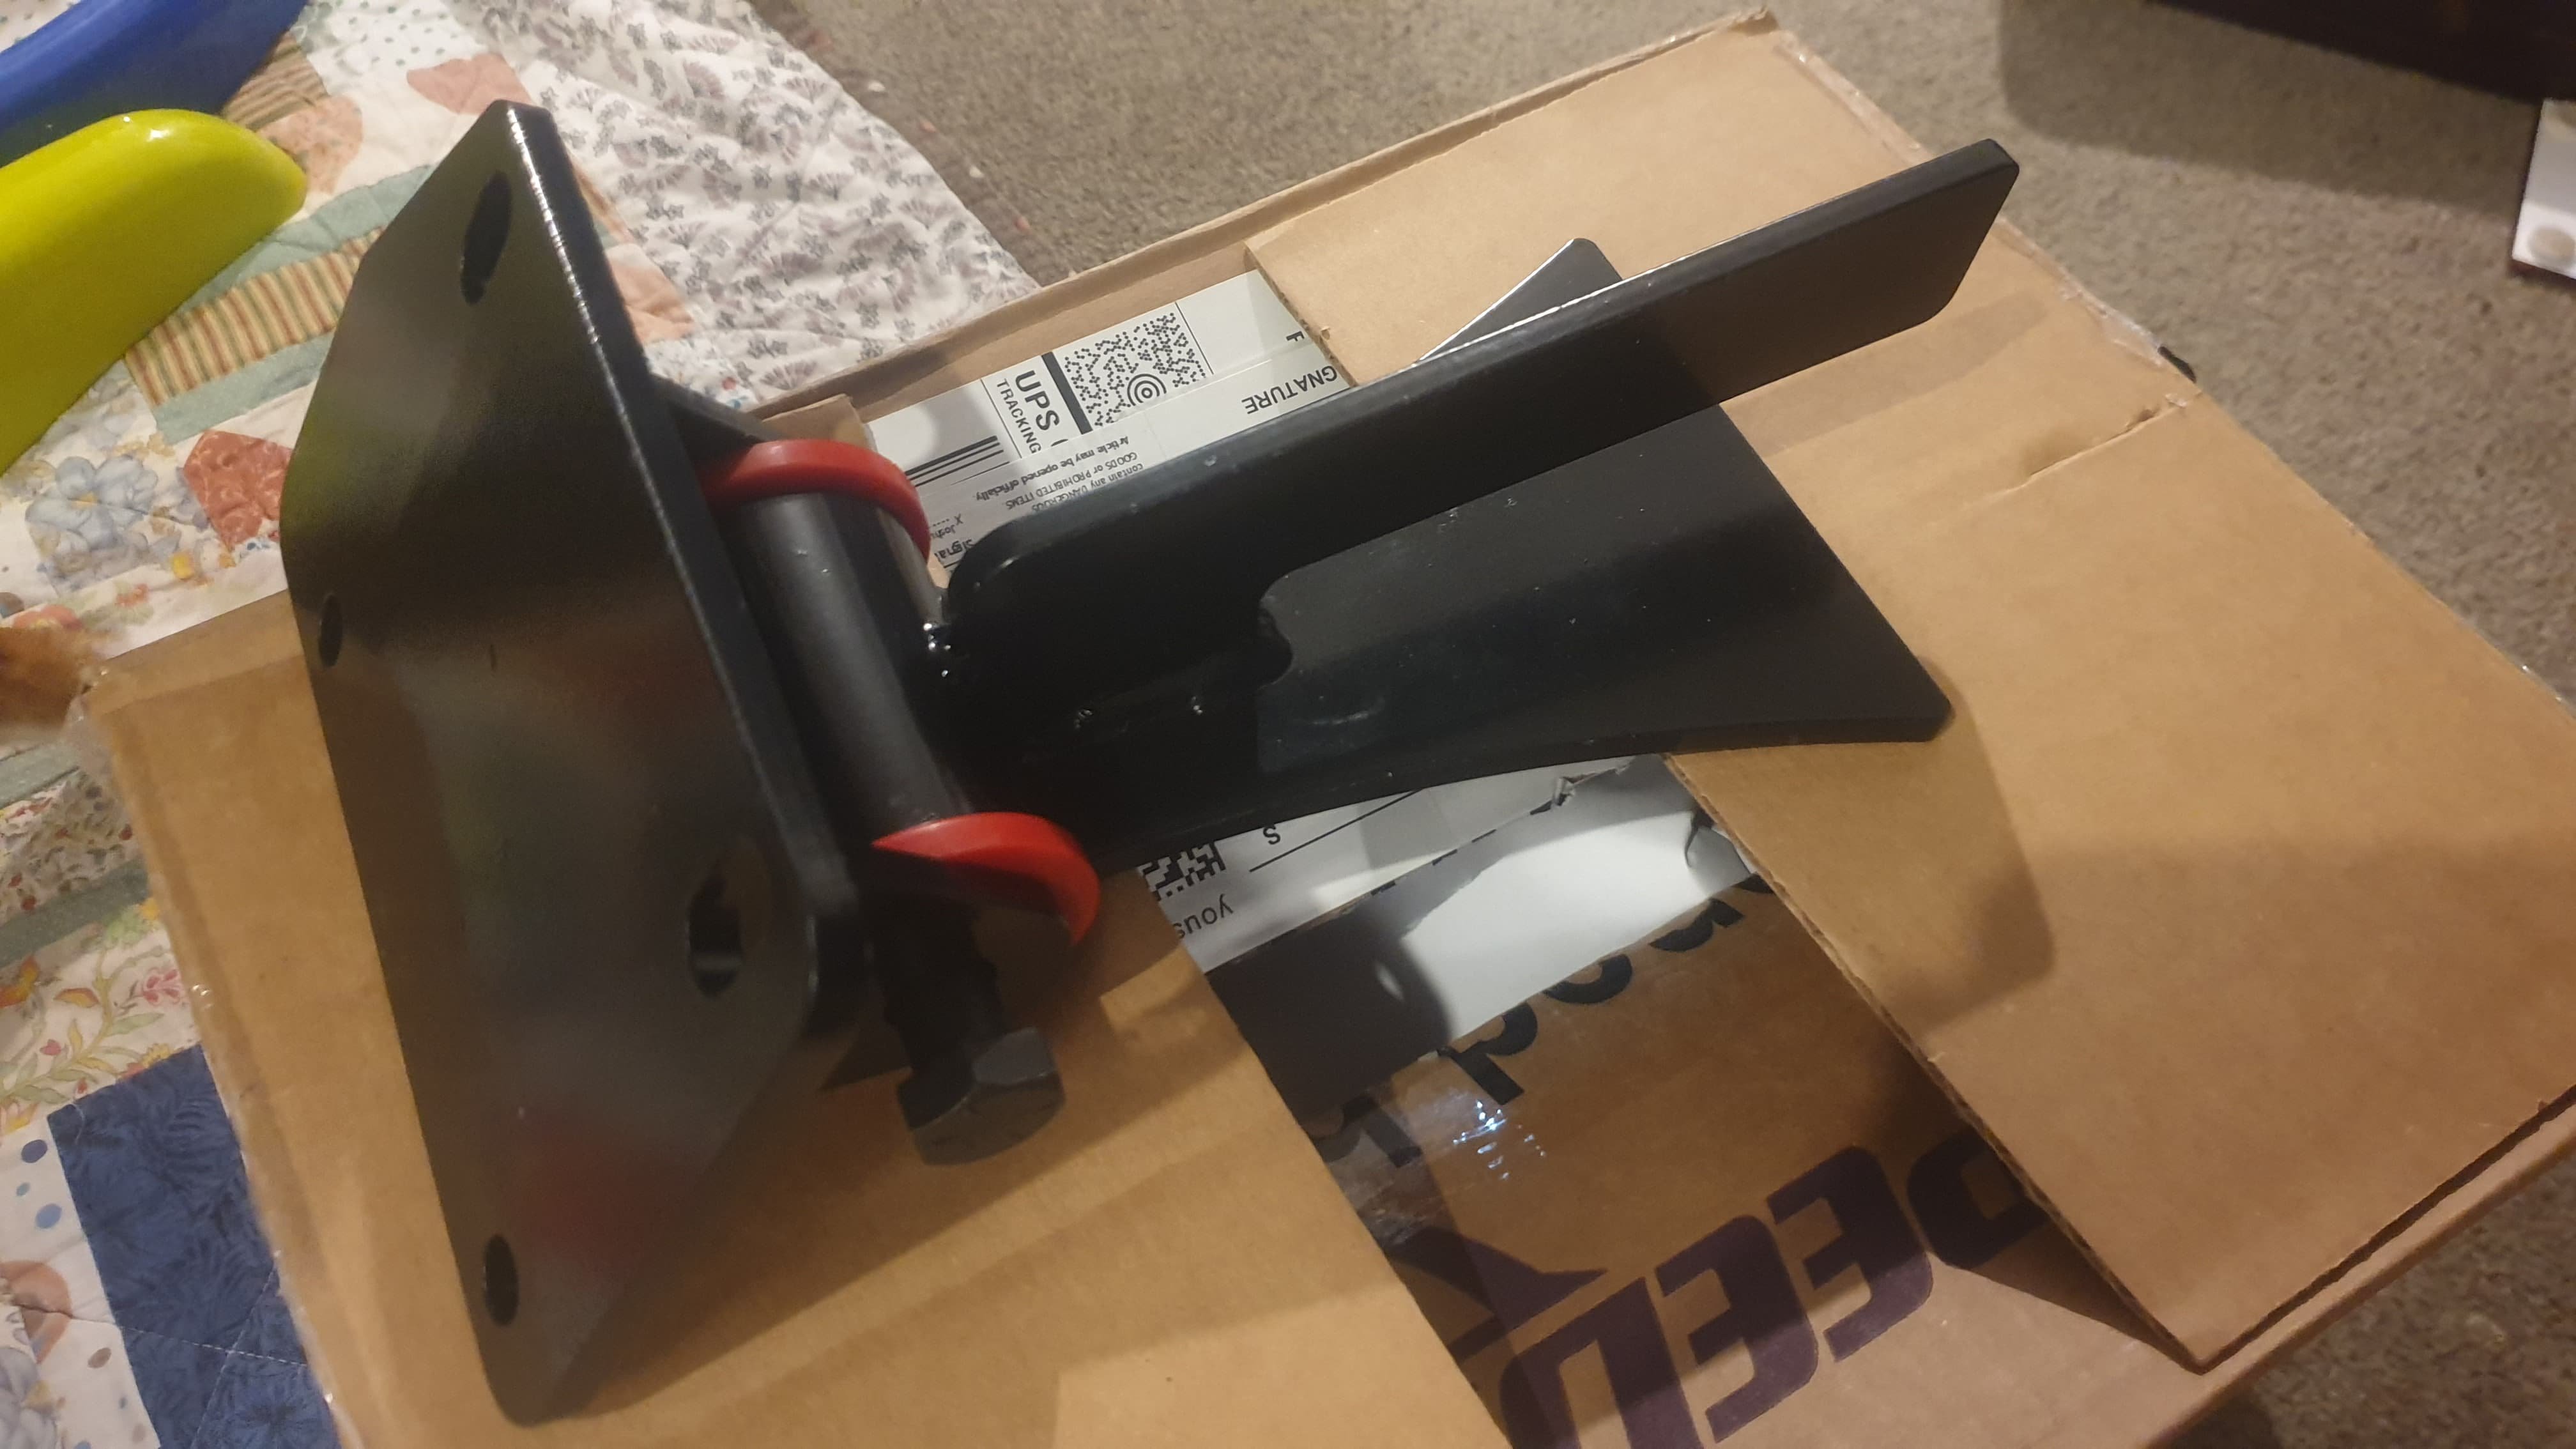
Yesterday I made some engine lifting points as weirdly this engine doesn't have any. I assume they are under the manifold, but I have no interest in pulling the manifold off. These will also alow the use of an engine leveler as I hope to fit the engine and trans as one unit

-
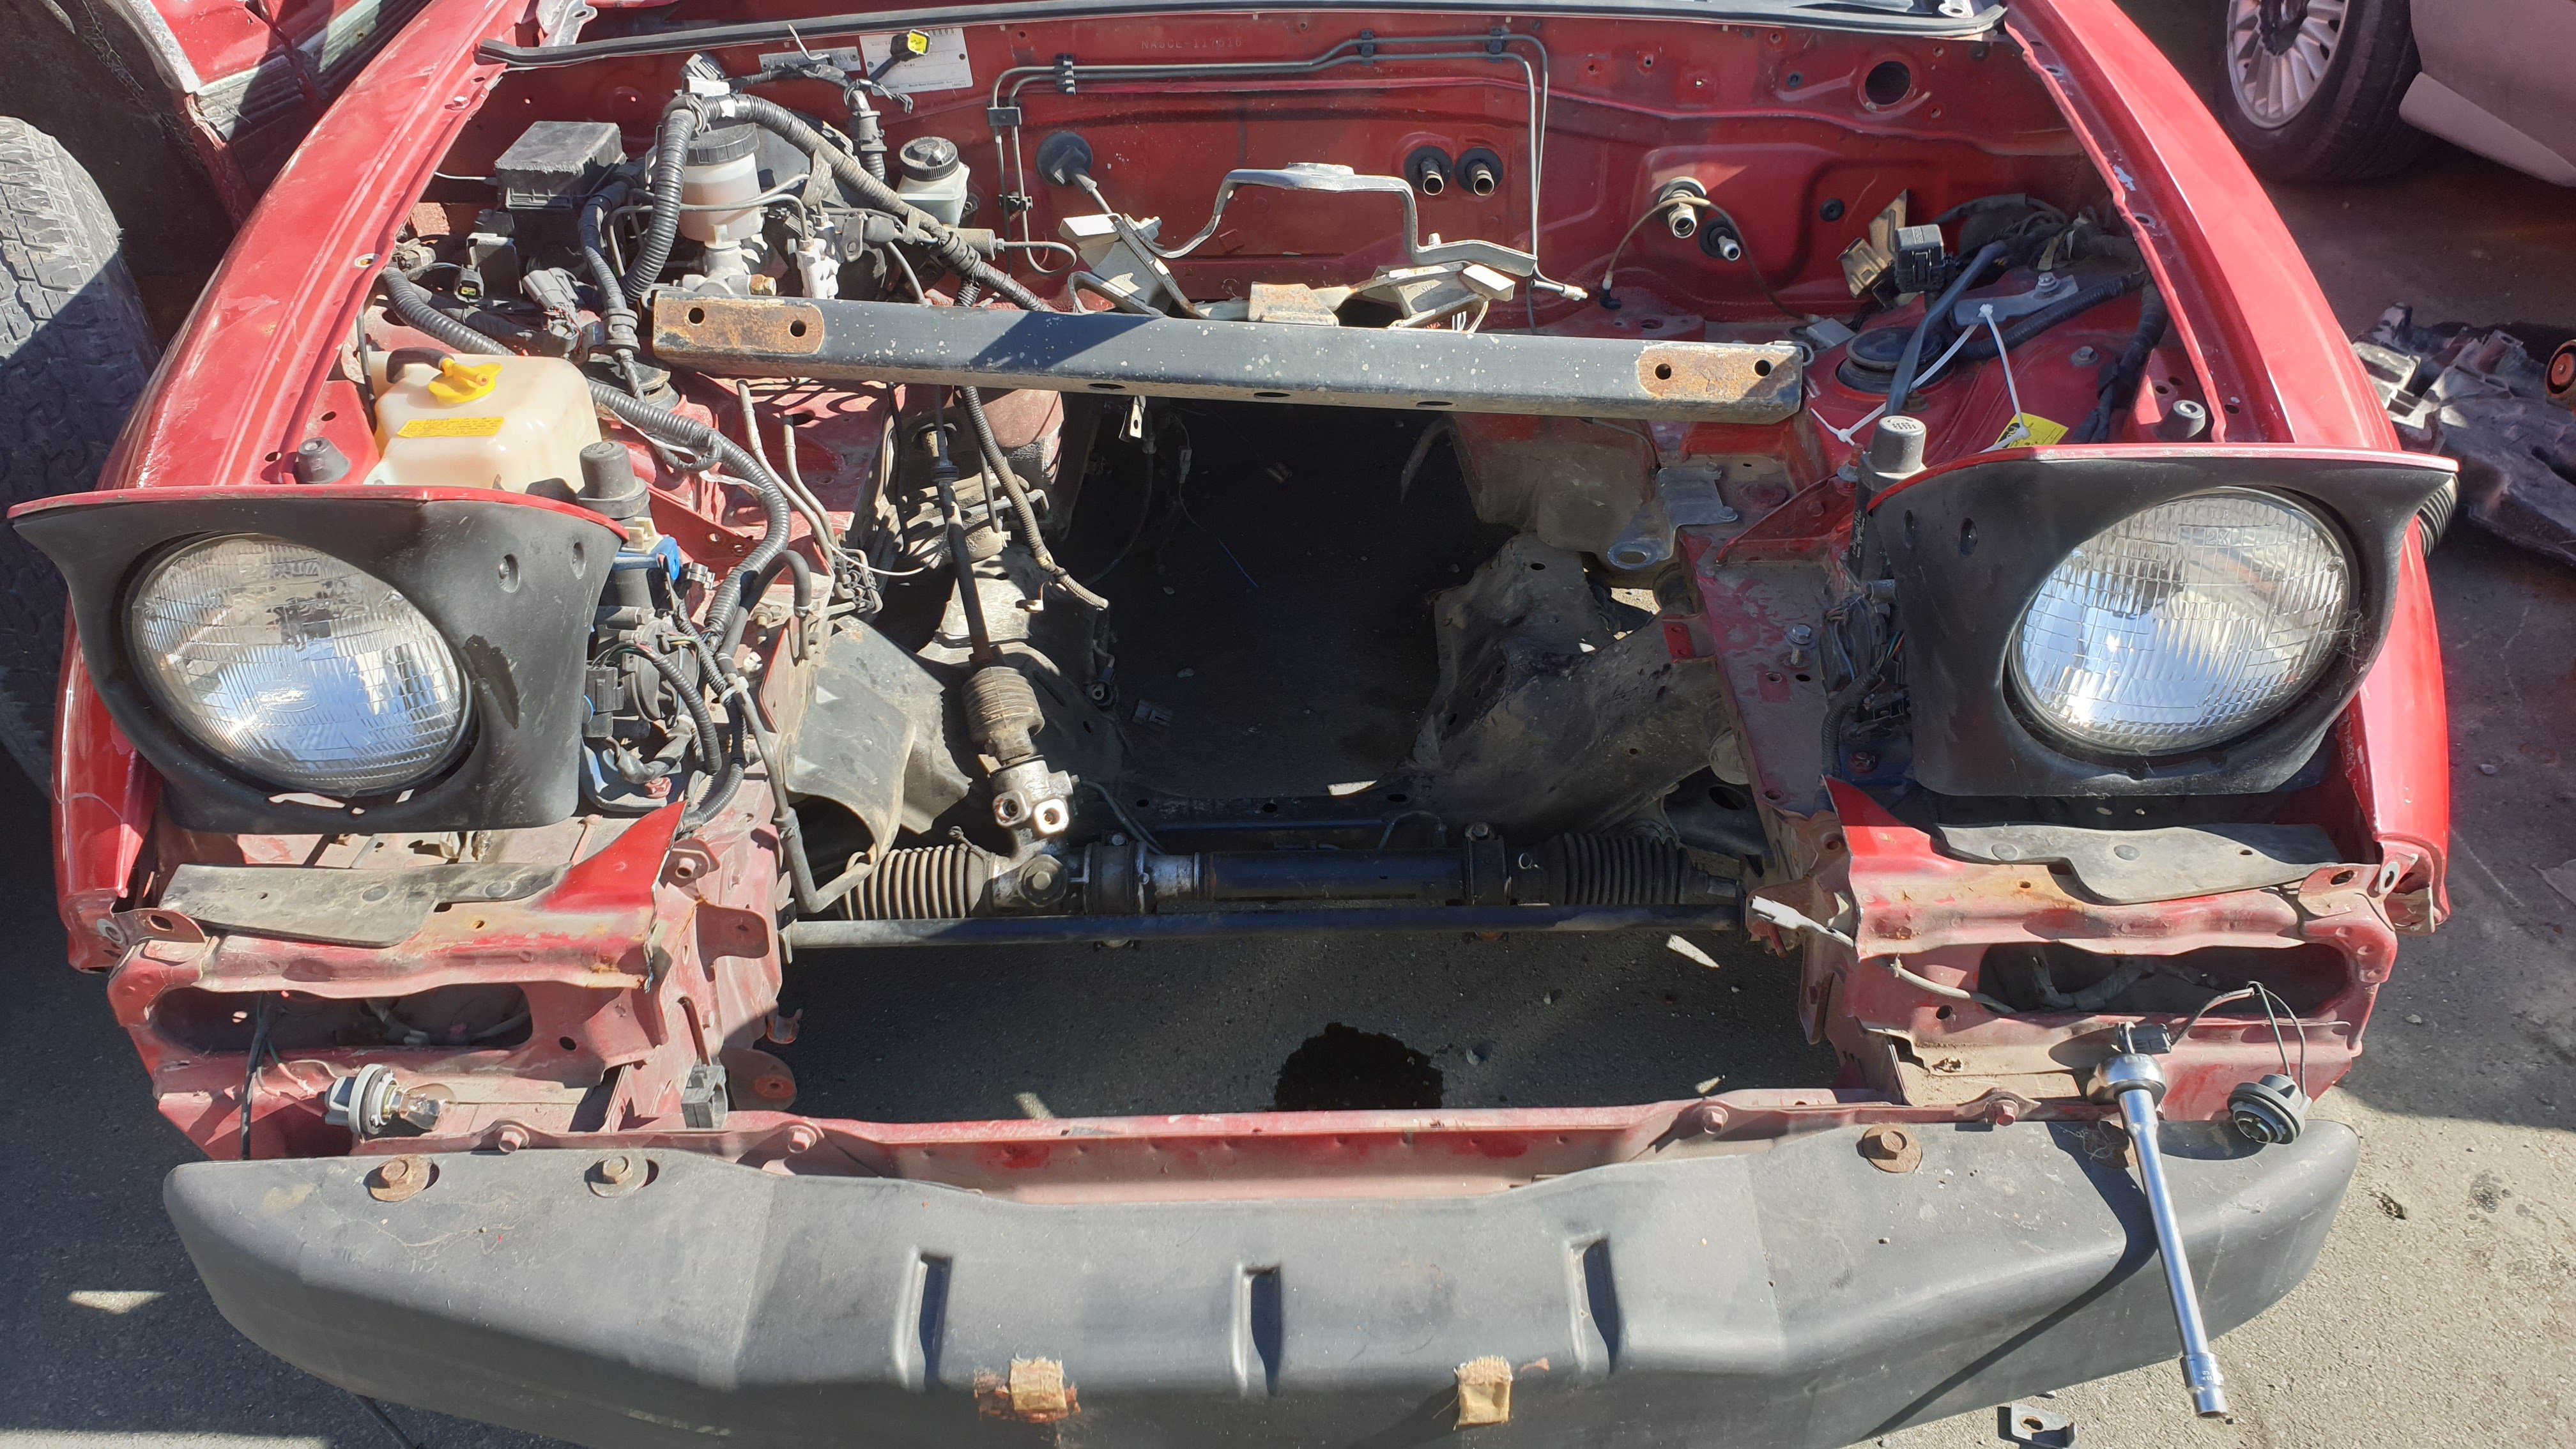
Romoved the front bumper and made the first grinder cut at lunch today. Wiped the radiator core support off to give a little more room to sling the engine in, this will get flanged for refitment later, and the hood will be pinned.
-
They started off looking like this!
-
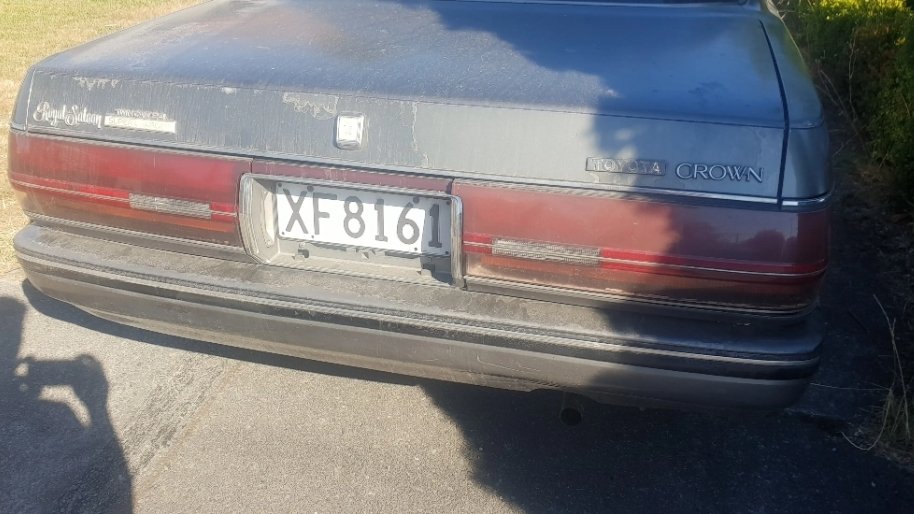
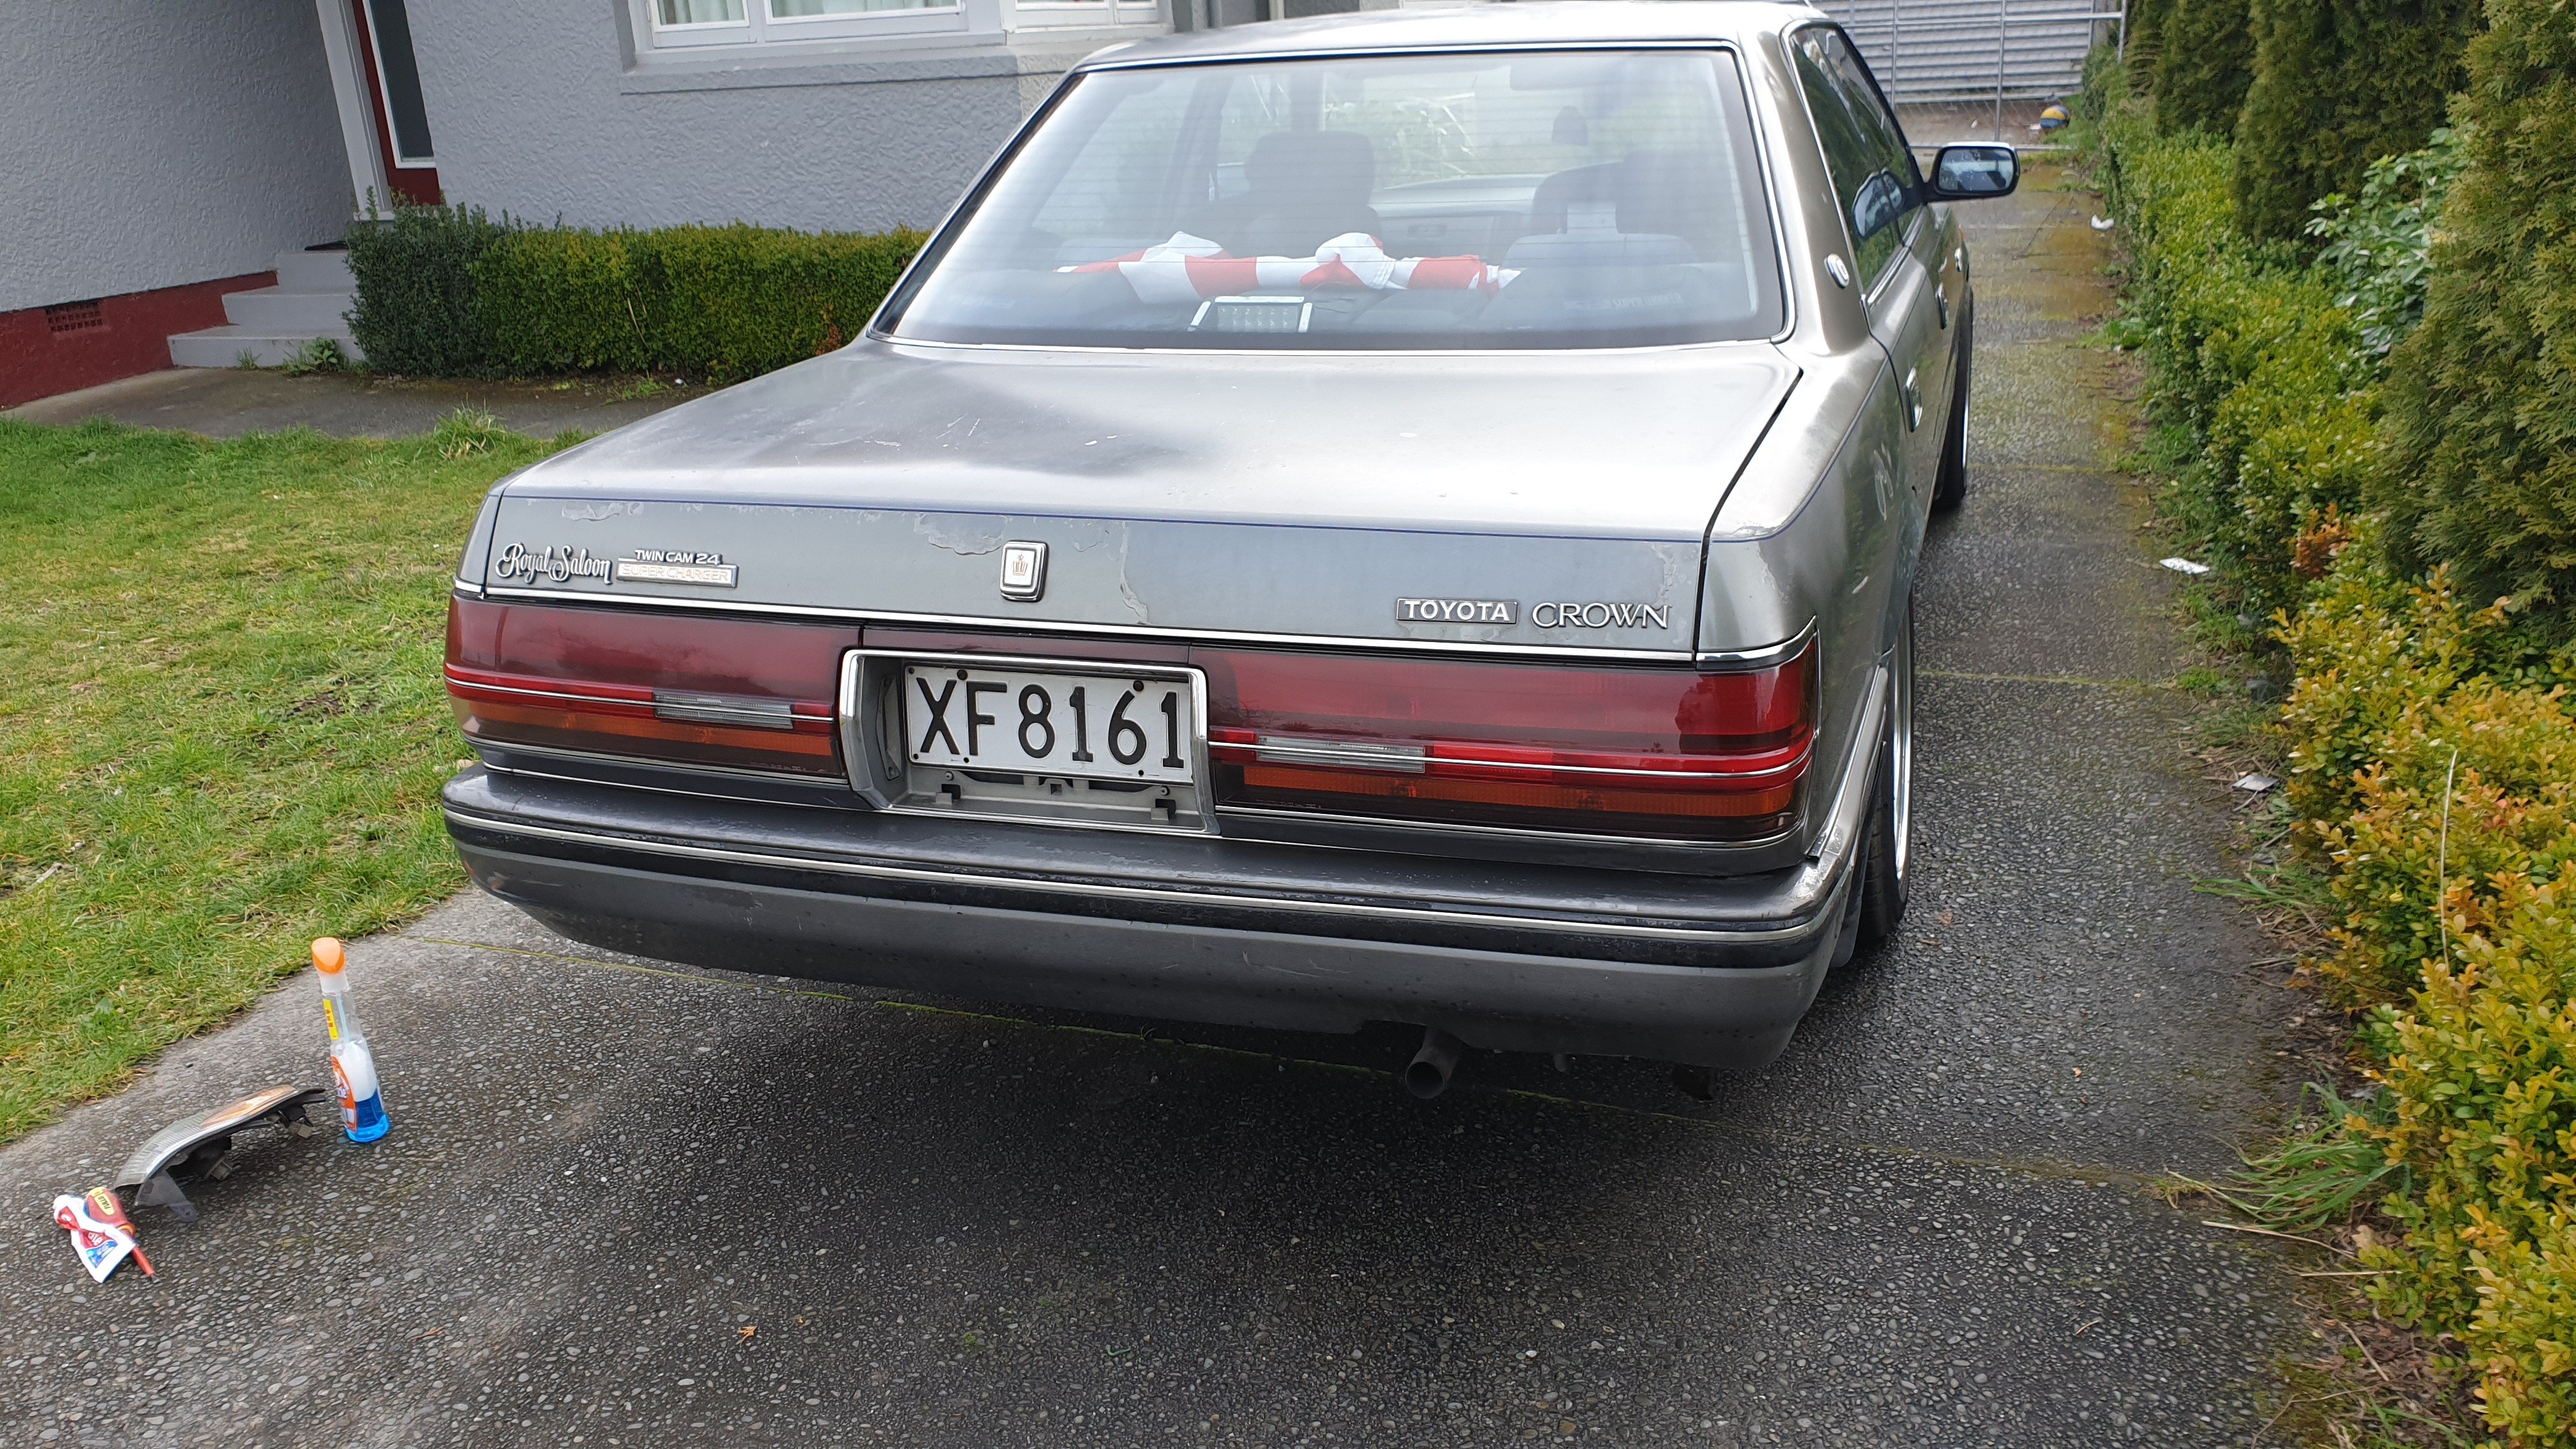
Fitted up the nearly brand new tail light, and had a few hours on polished the existing good one, 800/1500/2000 grit sand paper and then some cream polish, came up pretty close but there's still some in it I think. Will pick up some actual plastic polish. But if it gets no better than this I'm still stoked. Miles better from where it started. The tail lights are one of my favourite parts of the car so it's great to have them sorted and looking mint
-
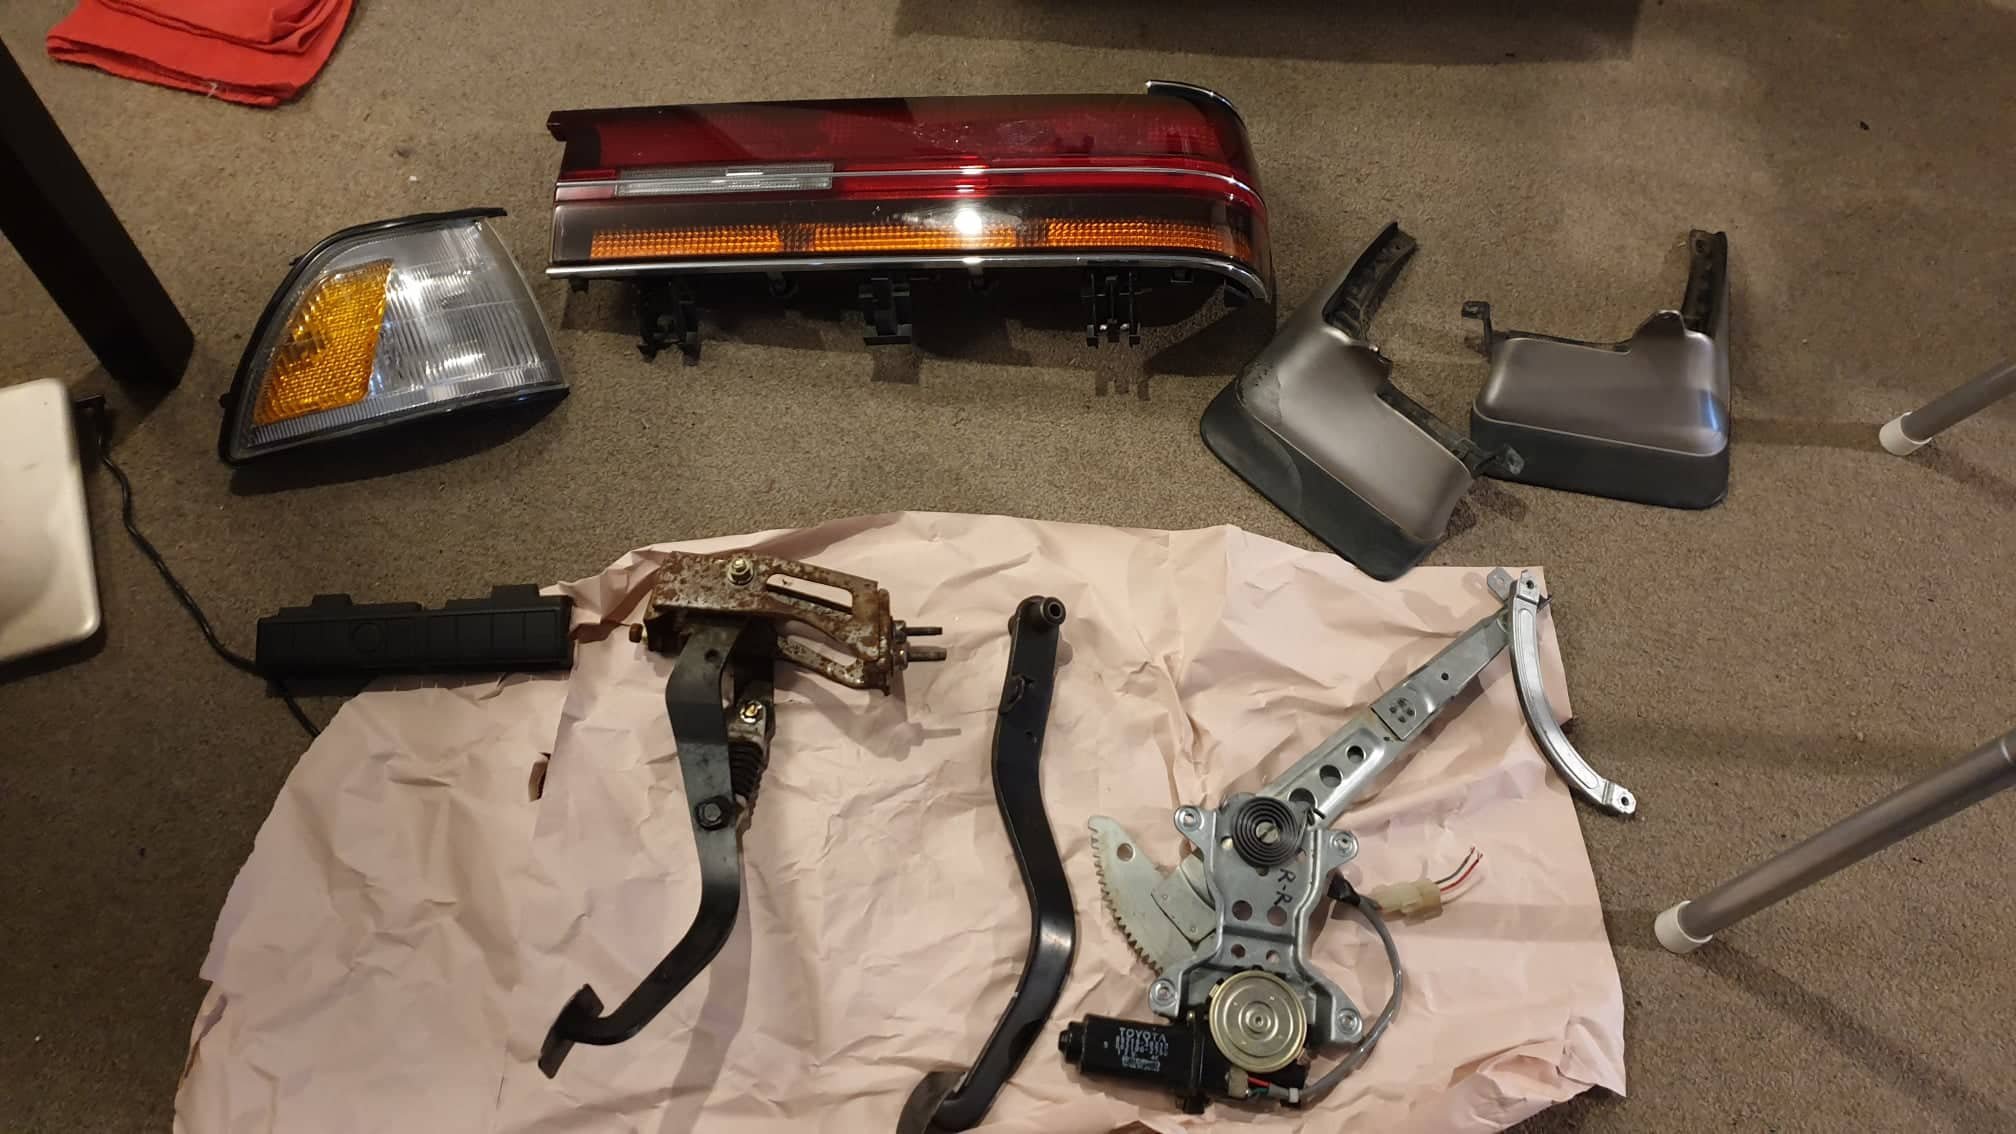
Another parcel arrived from japan this morning with more or less everything i need to tidy the car up. new tail light in the hard to find configuration and tint. super stoked on this one, it looks brand new and ill have to polish up my "good" one to match now. my old RH light had a big crack in it and water had gotten inside and made it cloudy and corroded, would have seriously let the car down post paint. corner light, again, looks almost new. existing one was cracked and suffered the same as above. has black trim where as my current one (and grill) has chrome. ill either paint the whole set black, or maybe spray chrome for the rim. either will look good. rear mud flaps. im missing the RH one and it was cheaper to buy a pair. the rear looks quite incomplete without them RH rear window regulator, current one is fucked and this will keep my daughter happy in the summer months! heater control panel, featuring working off button! a luxury my car has sorely been missing. and finally, perhaps the best score for nearly no money, a clutch pedal and manual spec brake pedal. naturally there are some other things around the interior of the car that are cracked, but i think this is the extent ill go to for importing parts. its a daily and the things remaining that are damaged can be glued or ignored, possibly found local if i get lucky, but they dont impact on the whole experience! cant wait for paint and manual, itll be like a totally different car.
-
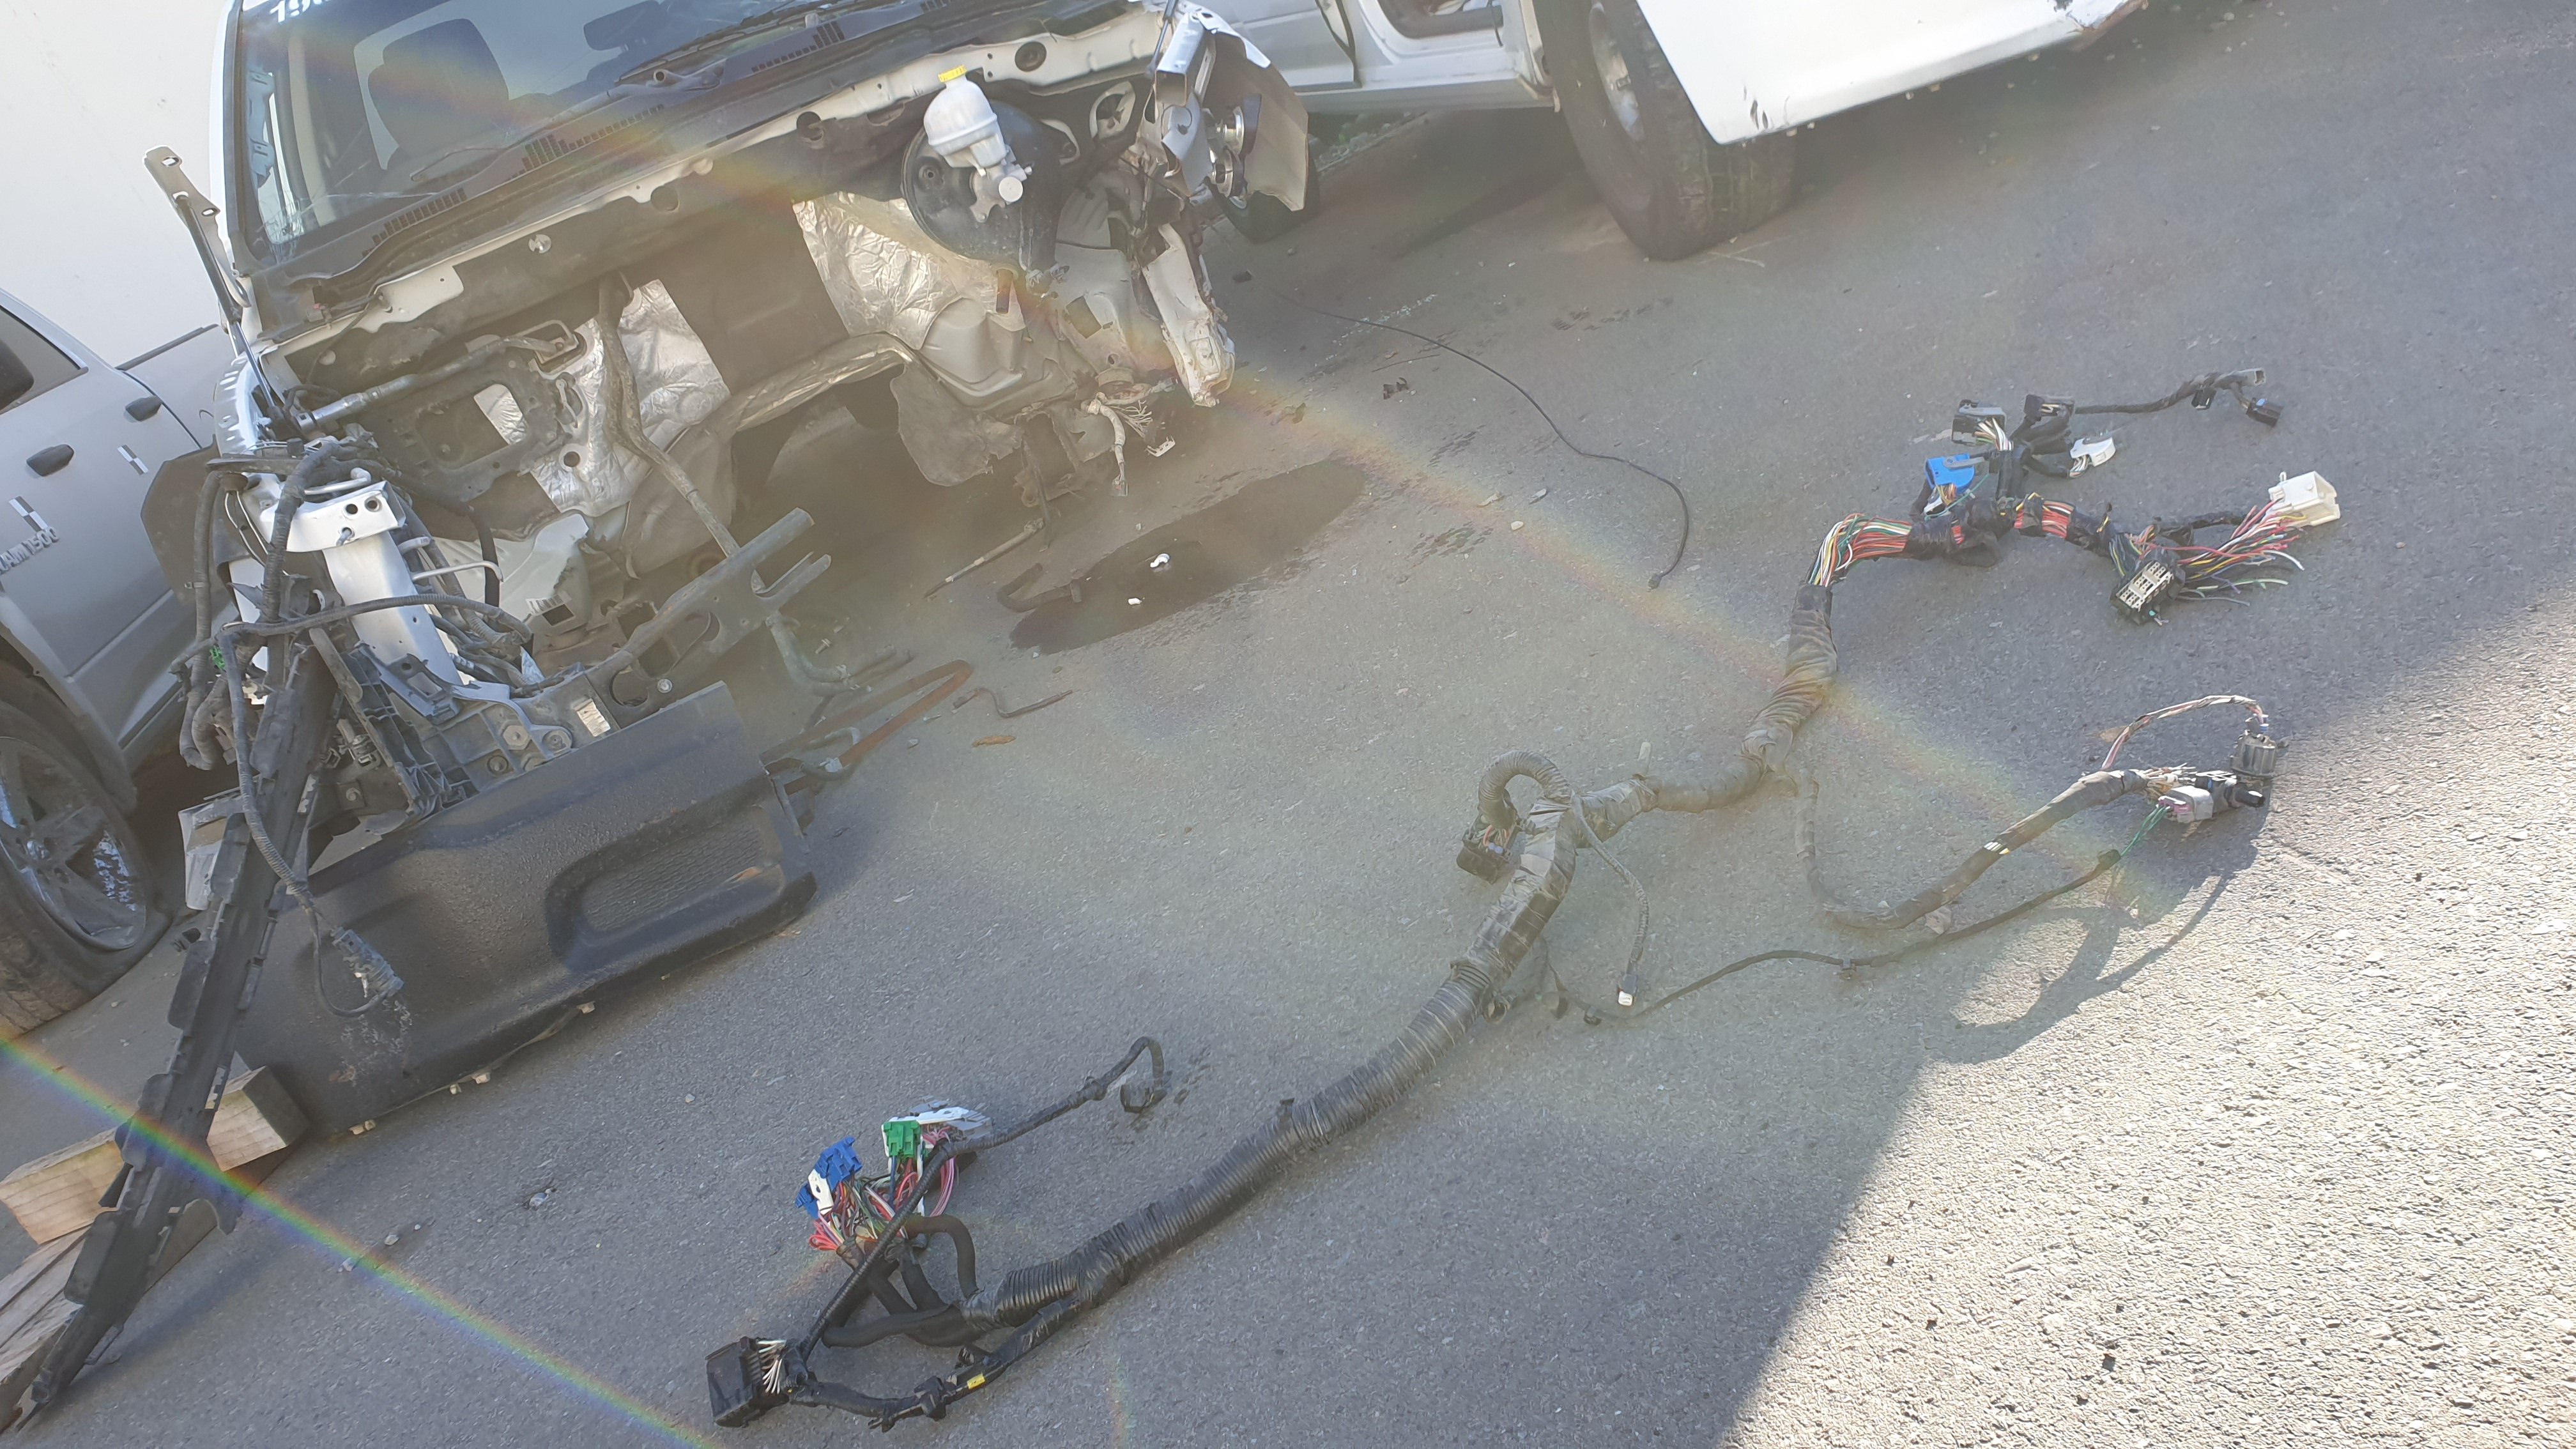
Got the final piece of wiring loom that I'll need freed up from the smashed truck. Compared to getting this out in tact, fitting the engine should be a dream! Stoked
-
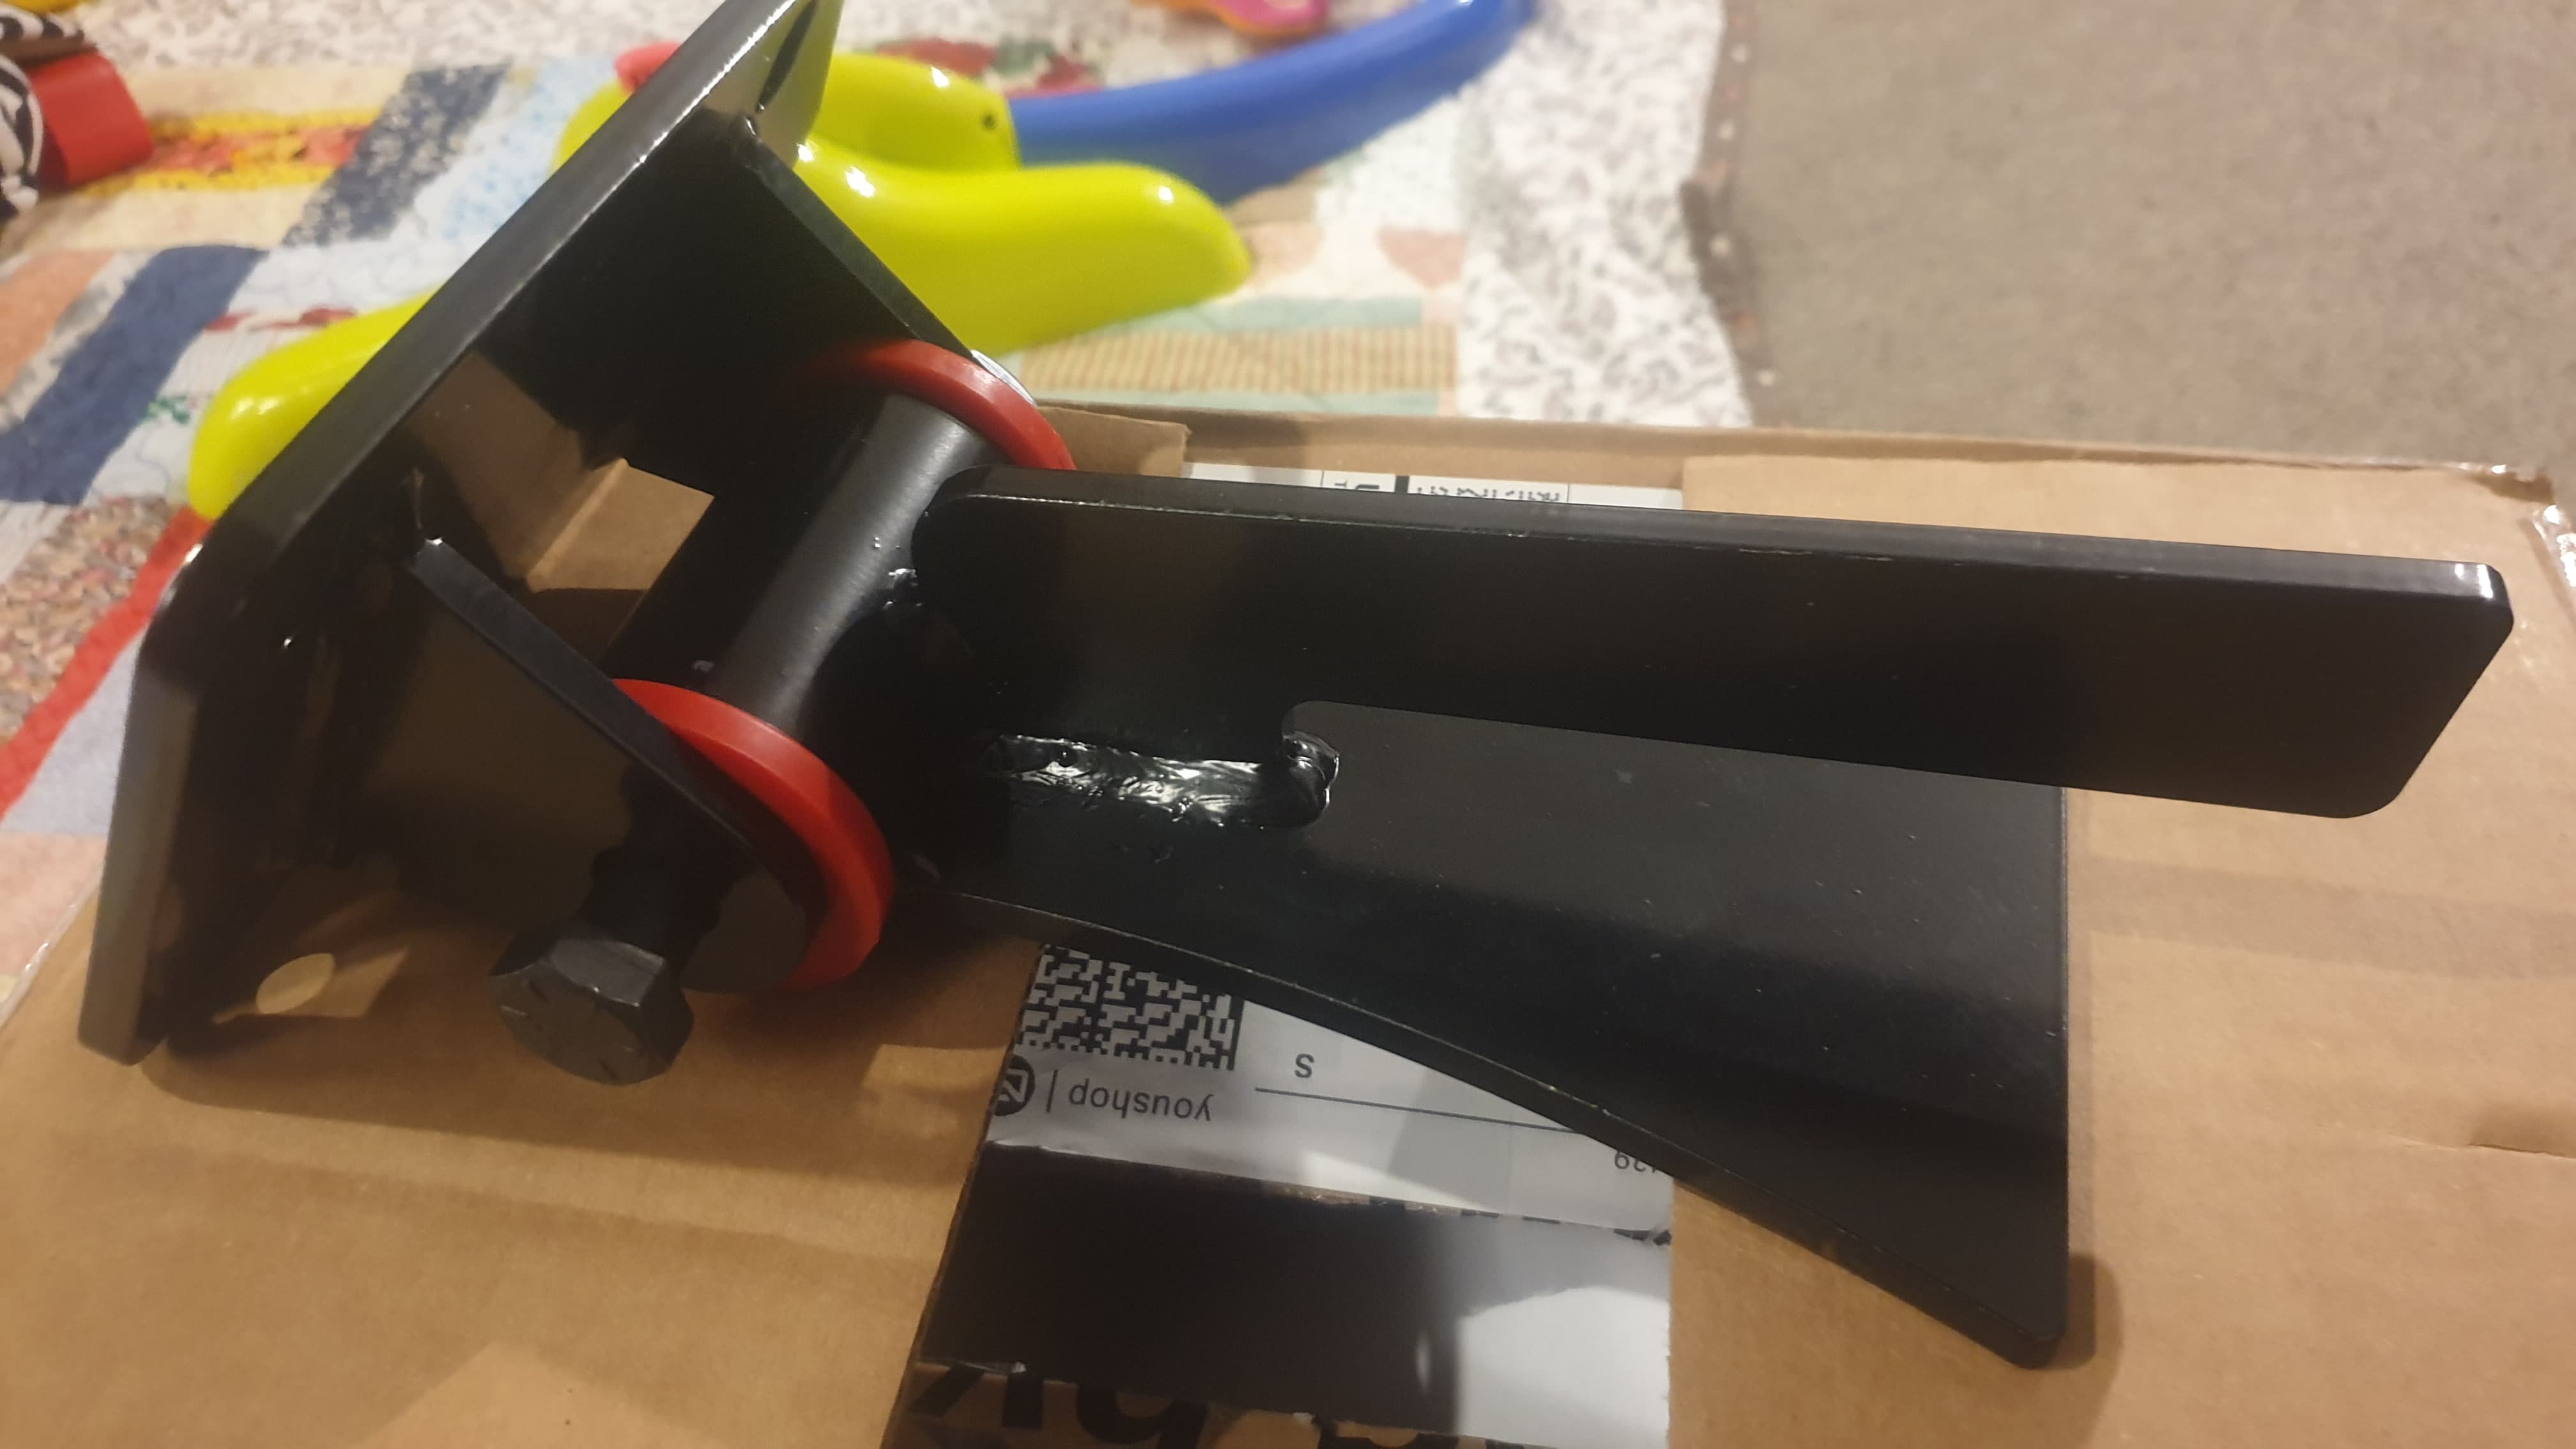
on the suggestion of runamuck, i posted in this forum looking for wiring info, and user on there was very kind and gave me a bunch of info which should hopfully sort me out, i was gonna dump all the info in here but sort of cant be bothers, plus give those guys the traffic eh? https://www.forabodiesonly.com/mopar/threads/4-7l-corsair-wiring-diagrams.440431/ also had my weld in 'project car' engine mounts turn up from speedway motors in america, grunty looking things! they are actually for the new gen Hemi, but for the price, i couldnt have bought the materials and if they don't fit the block then worst case is a redrill or a new engine plate. easy as! hope to have the engine "fitted" soon.
-
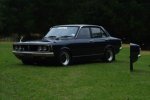
Took this on my works mid winter xmas do car rally. got this pretty awesome photo! makes the car look way better than it is, but gets me super excited for painting it!
-
the dude helping me seems to have a direct line to the dodge system where ever he works. i asume a dodge dealership, or an auto sparky. ill dump all the info he gives me in my build thread once ive got it all and hopefully any other people can find that info that simply wasn't freely available. although he called my project ambitious... i told him thats how we like it in NZ
-
Have already had an reply with ecu pinouts from that forum. super helpful bart, cheers!
-
Signed up to that forum and will ask the questions after a poke around. came accross a thread detailing how to megasquirt the genIII hemi, so that will be super useful when we hemi the merc SL600 at work!
-
cheers! i bought those hemi mounts anyway. for the money spent i probably couldn't get the mount bushes and weld in chassis side. so if i have to make a new engine side plate, or redrill, thats fine by me!
-
the seem to go alright, not over quick in the truck, and who knows what the economy is like. dont suppose you have any contacts in the mopar world with access to wiring diagrams? Armstrong prestige told me they have then but wouldn't give them to me. cunts, i used to dish that info out no problem when i was at bmw.
-
Ive been looking into them and im not convinced that true, it looks like the early engines were manufactured at Daimler. but a lot of resources on internet claim its a new Chrysler design, that said, it does appear to be a separate design from the 5.7 at any rate so i do doubt the mount kit will fit, although it may still be cheaper to mod the 5.7 kit than it is to buy all the parts on their own. are there universal mount kits available locally? also note the twin spark plugs i never noticed! 16 fucking spark plugs! im certainly no expert though, but this page has alot of info https://www.allpar.com/mopar/47.html
-
also does anyone here have access to the ecu wiring diagram/pinout for the 2009+ 4.7 v8s came out of a 2013 dodge ram 1500 2wd and has 3 plugs on the ecu, some seem to have 4 smaller plugs.
-
Hi mopar experts. I have a quick questions, you can buy "project car" engine mount kits for the new gen 5.7 hemi engine for fuck all out of the states. now im putting the not so flash 4.7 dodge motor into my car, and wondered if anyone knows do they share the same block mounting pattern? as in could i use the 5.7 kit, bolt it to my 4.7 and weld it into the car. the internet hasn't been much help, but i did find out the 5.7 and the 4.7 use the same transmission, so a hemi swap down the line could be an option, especially if the mounts are the same.
-
oh man, i definitely need to remember these meets. drive the 1 minute down the road to spitfire square and add the crown to that sweet lineup of big body toyotas
-
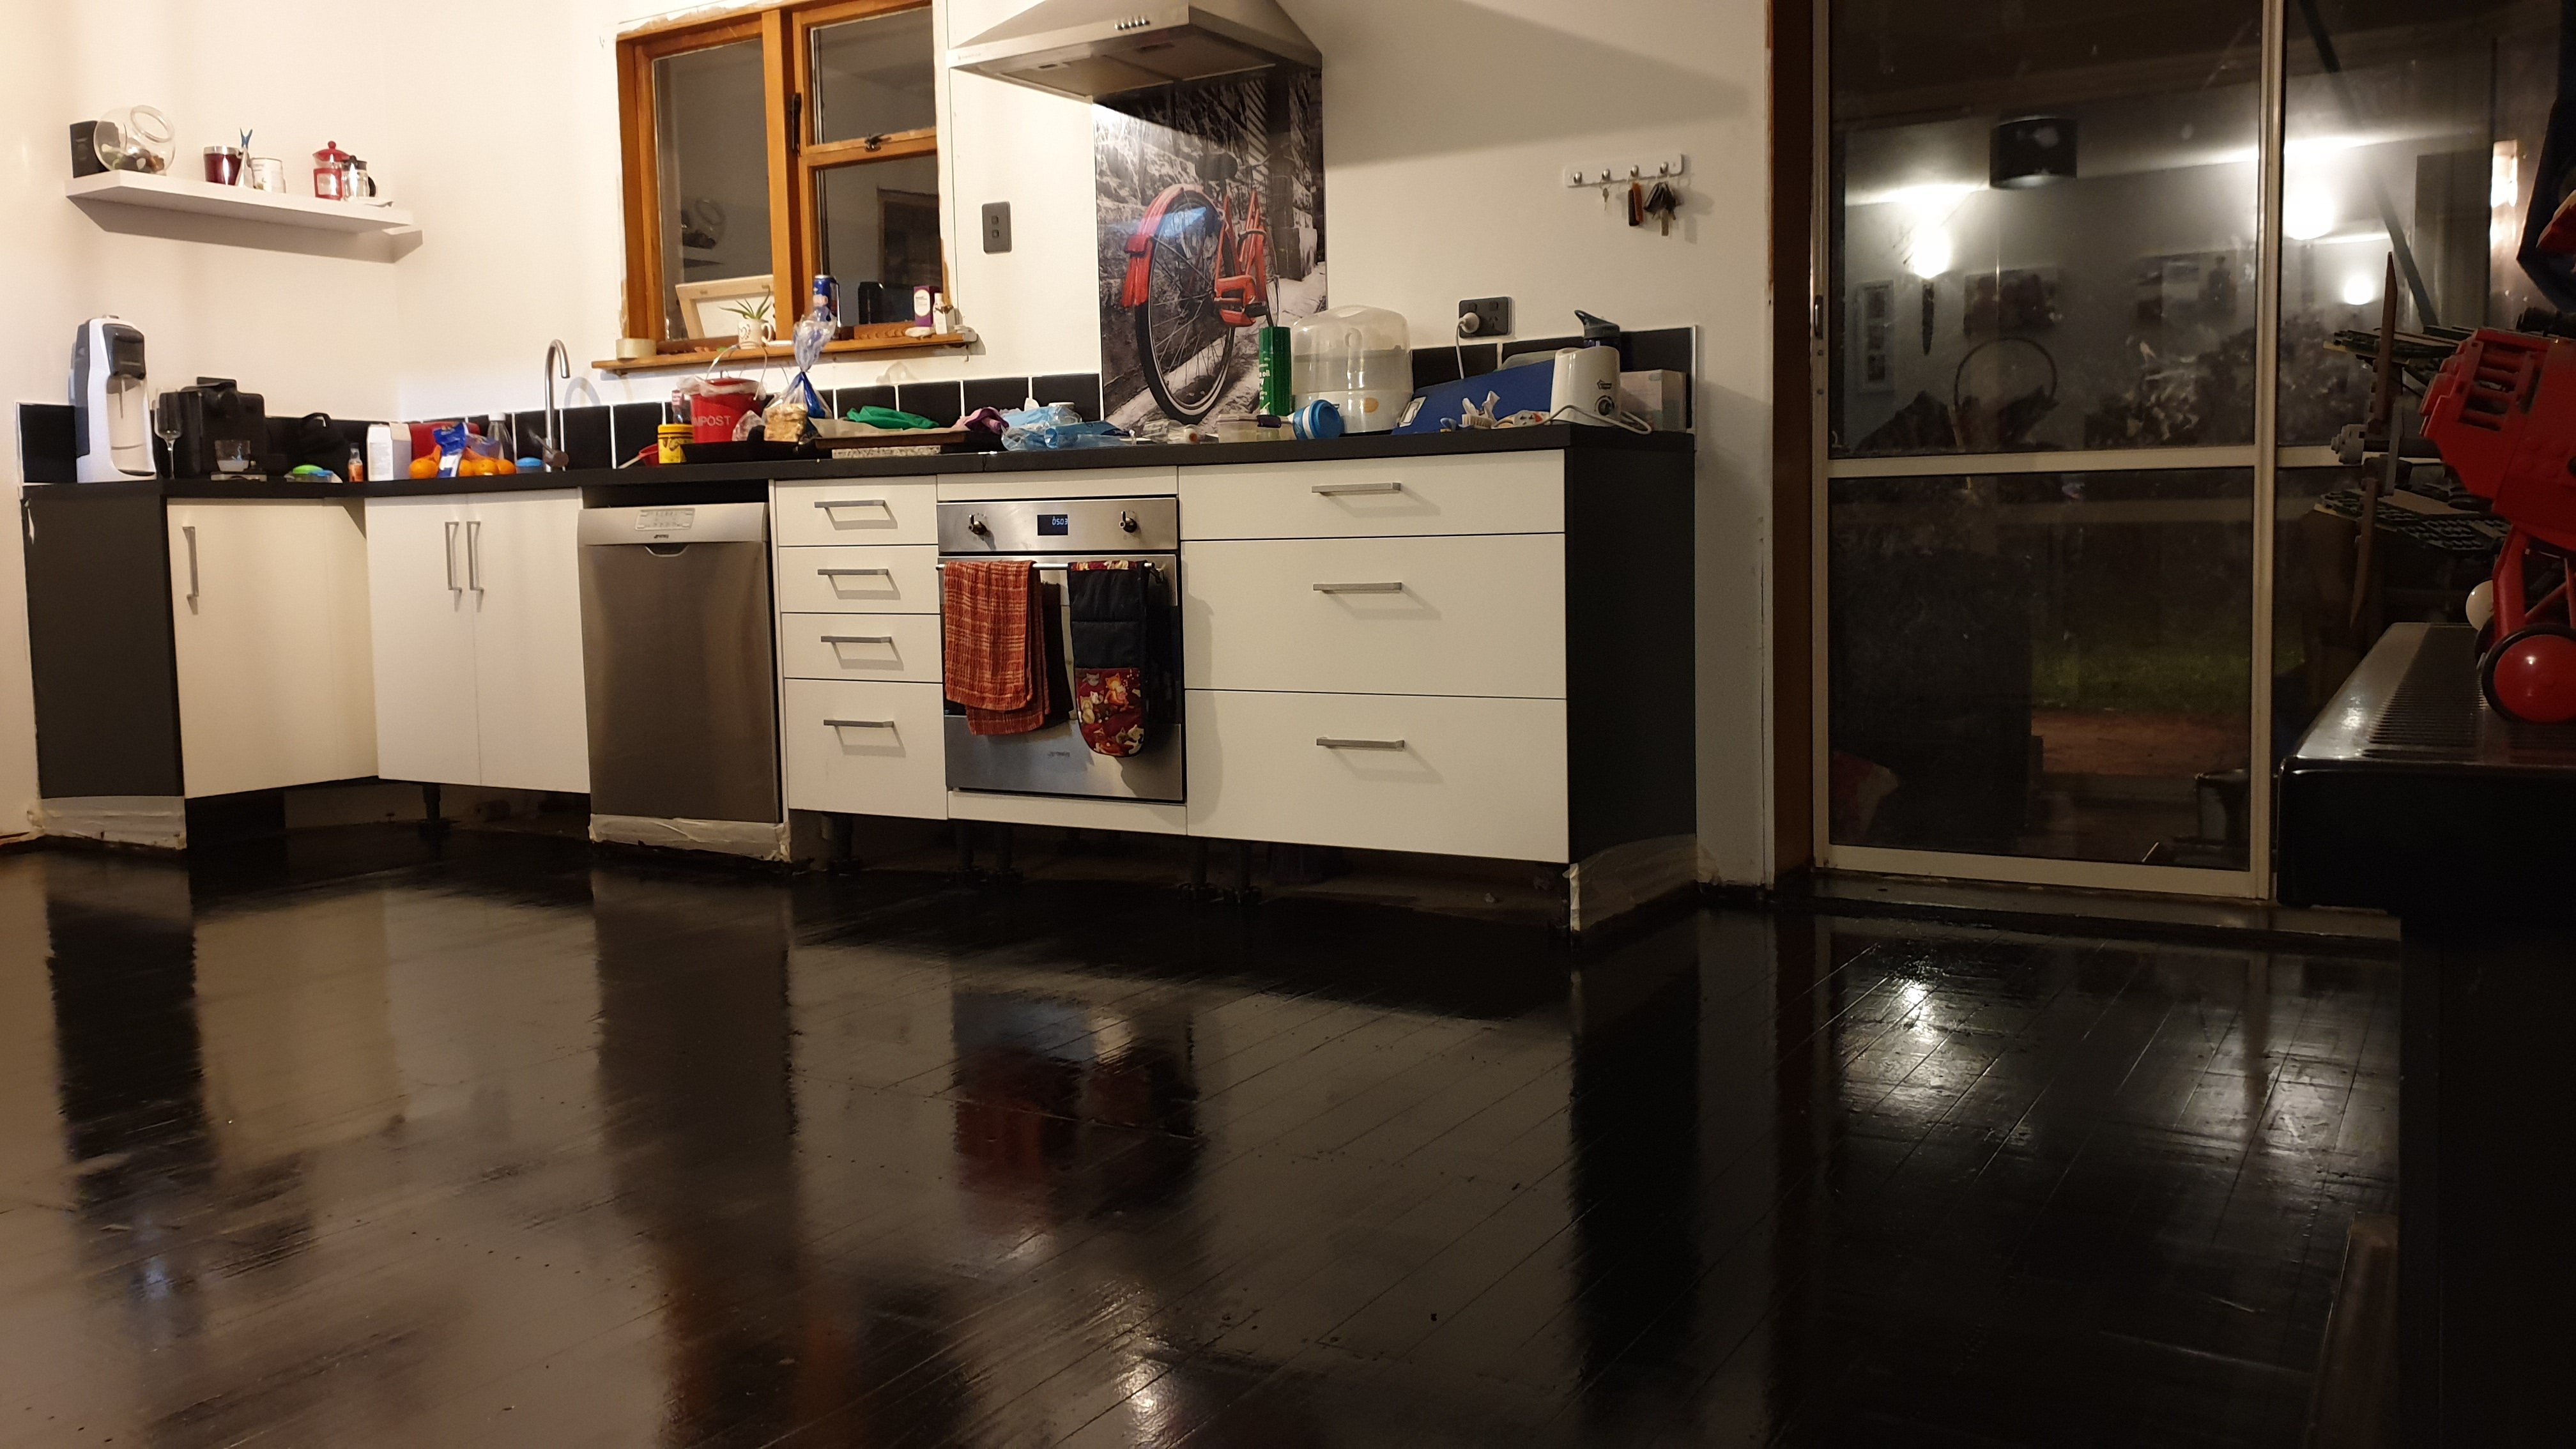
Cheers! Yup that's the plan. Most of the house is already done. White walls, black doors. Carried that monochrome theme through the rest of the house with dashs of red throughout. Sorry Ash for the thread hijack! Cheers for the advice though. Worked a treat
-
Just enough stain left to build a knock off of your table in coffee table size too.
-
Thinning it out made all the difference, rolled on with a foam roller like a dream. Now to paint that window frame black and fit the kick boards!
-
i did a test spot and it was like putting Tar on. mines a specific flooring version but will see how it goes and perhaps mix some clear for a 3rd or 4th coat. im wondering if it needs to be warmed to apply given how cold its been down here recently? how was yours? might try thinning it out too.
-
so thats why that thing was so fucking fast.....