bean.101
-
Posts
136 -
Joined
-
Last visited
Everything posted by bean.101
-
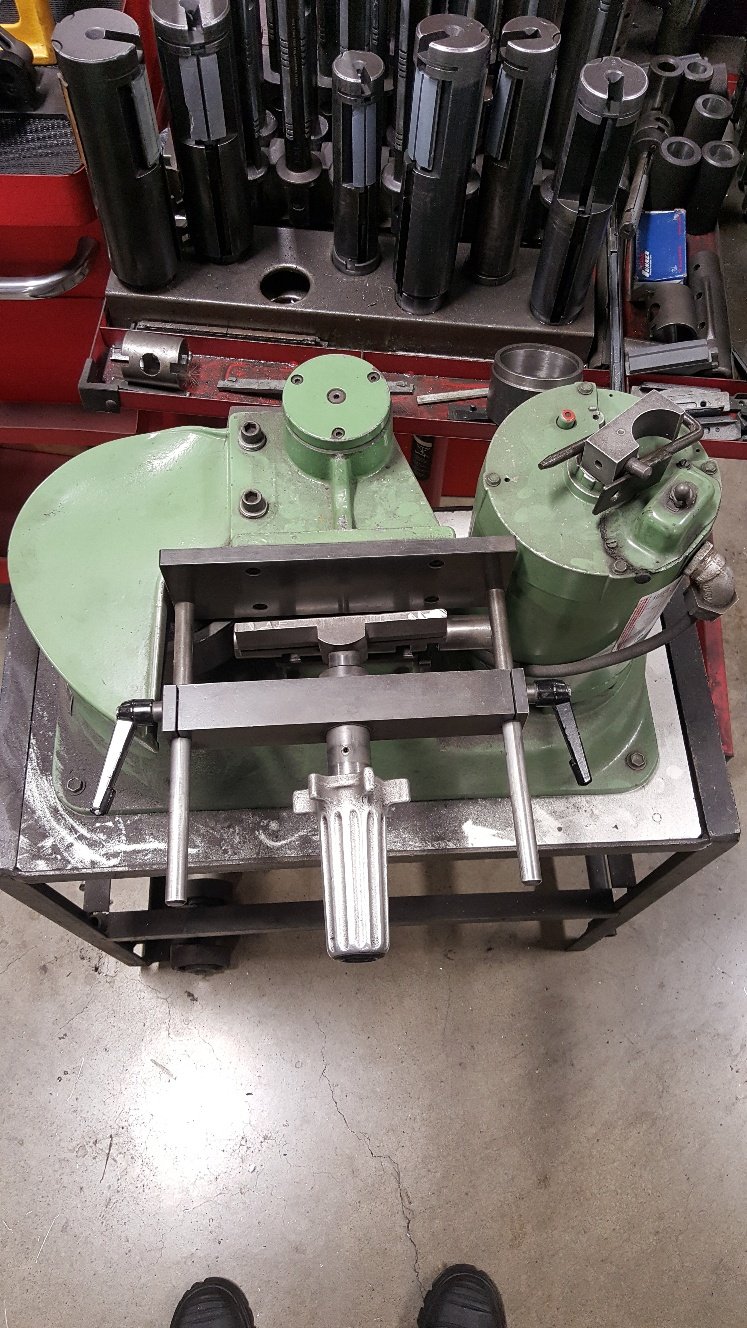
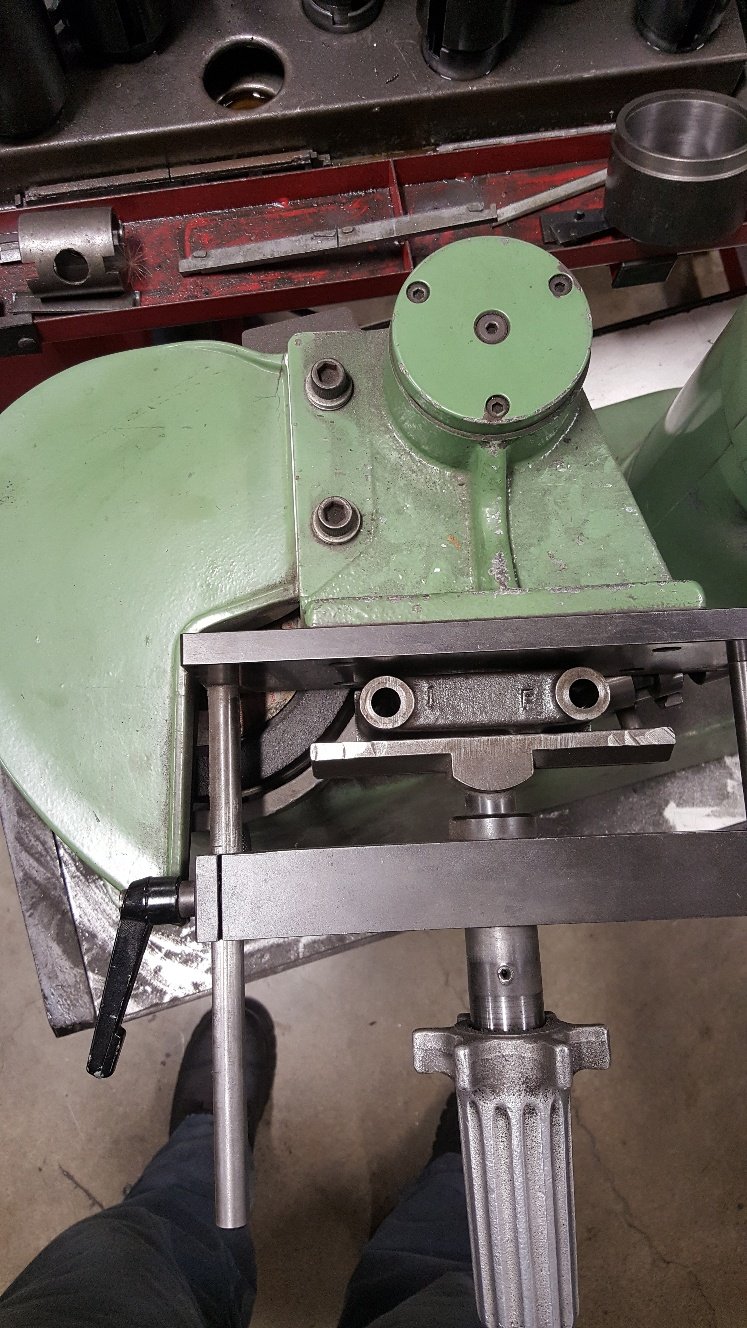
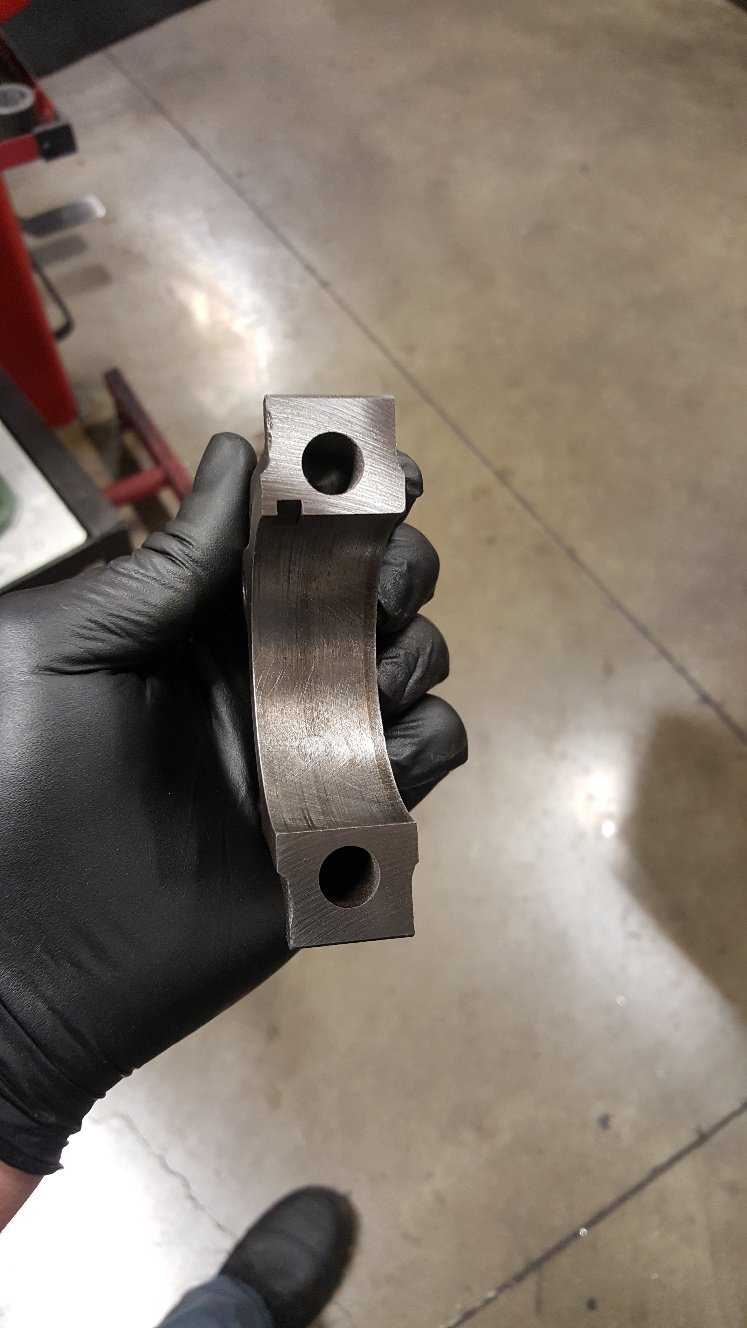
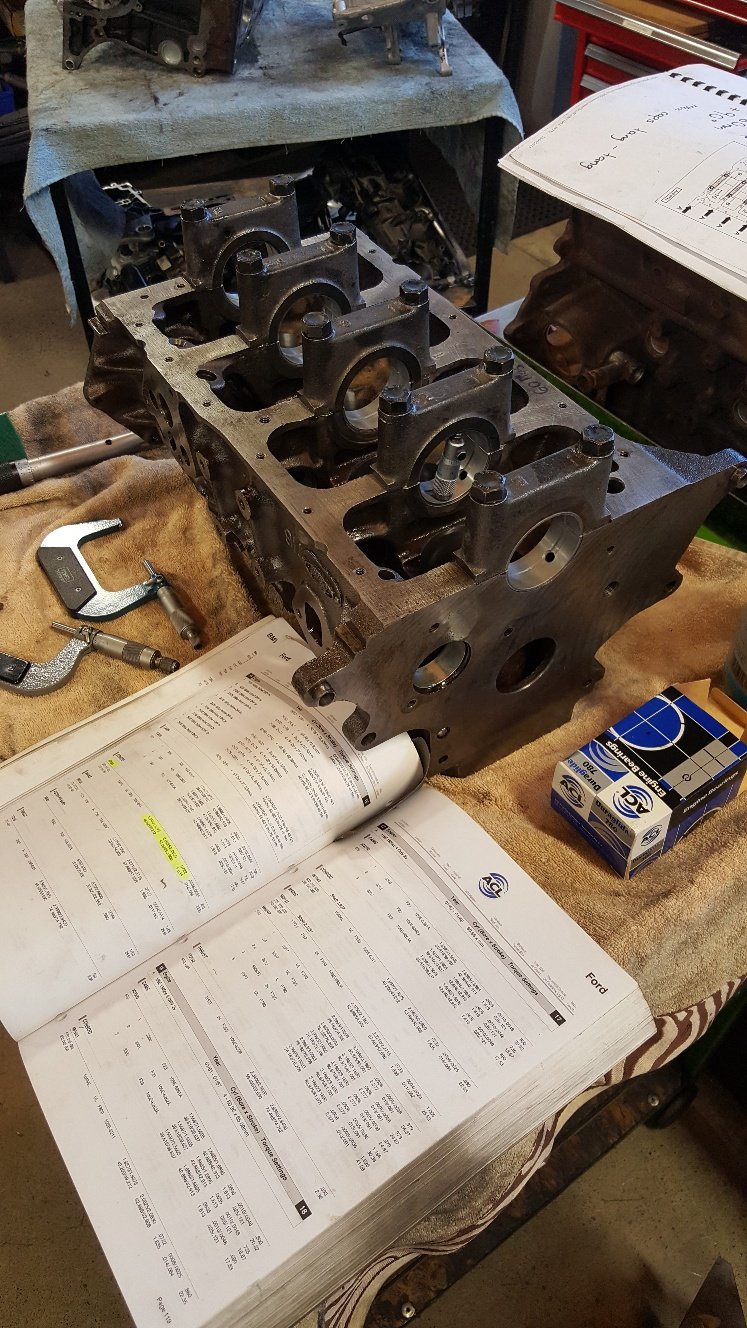
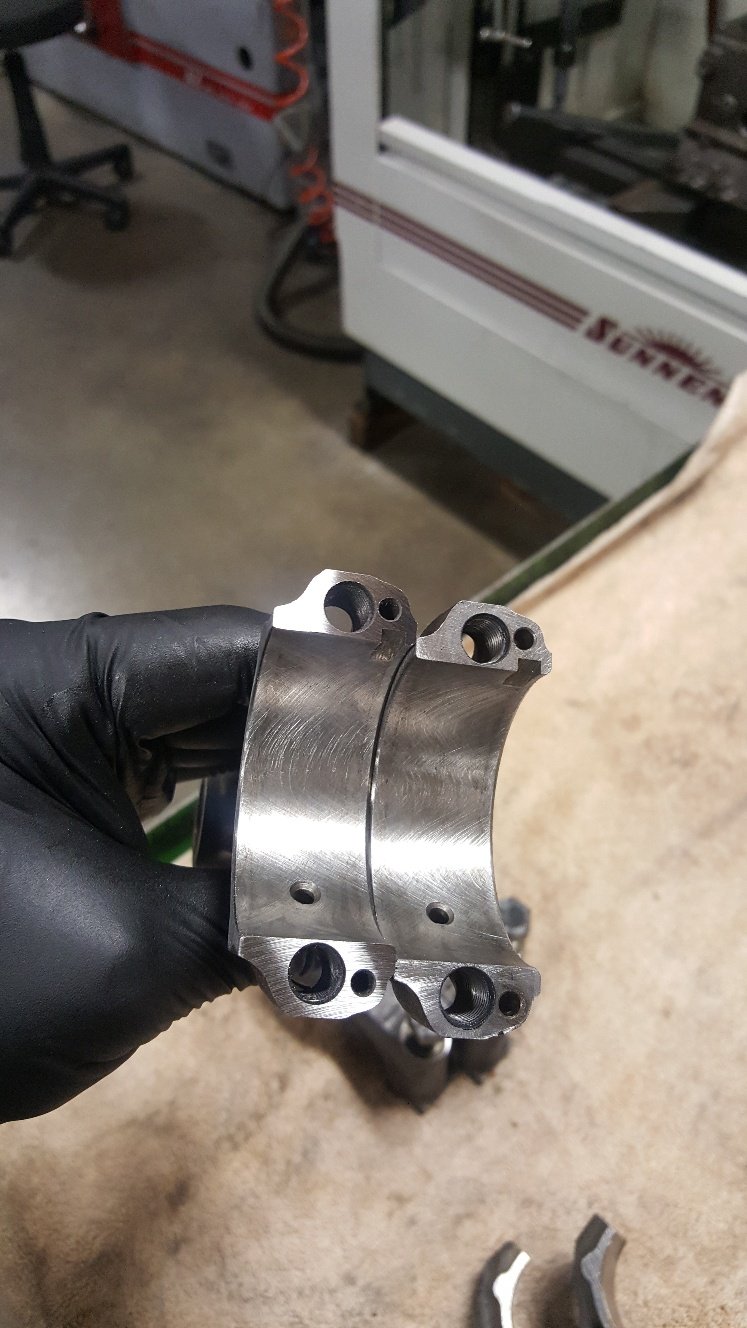
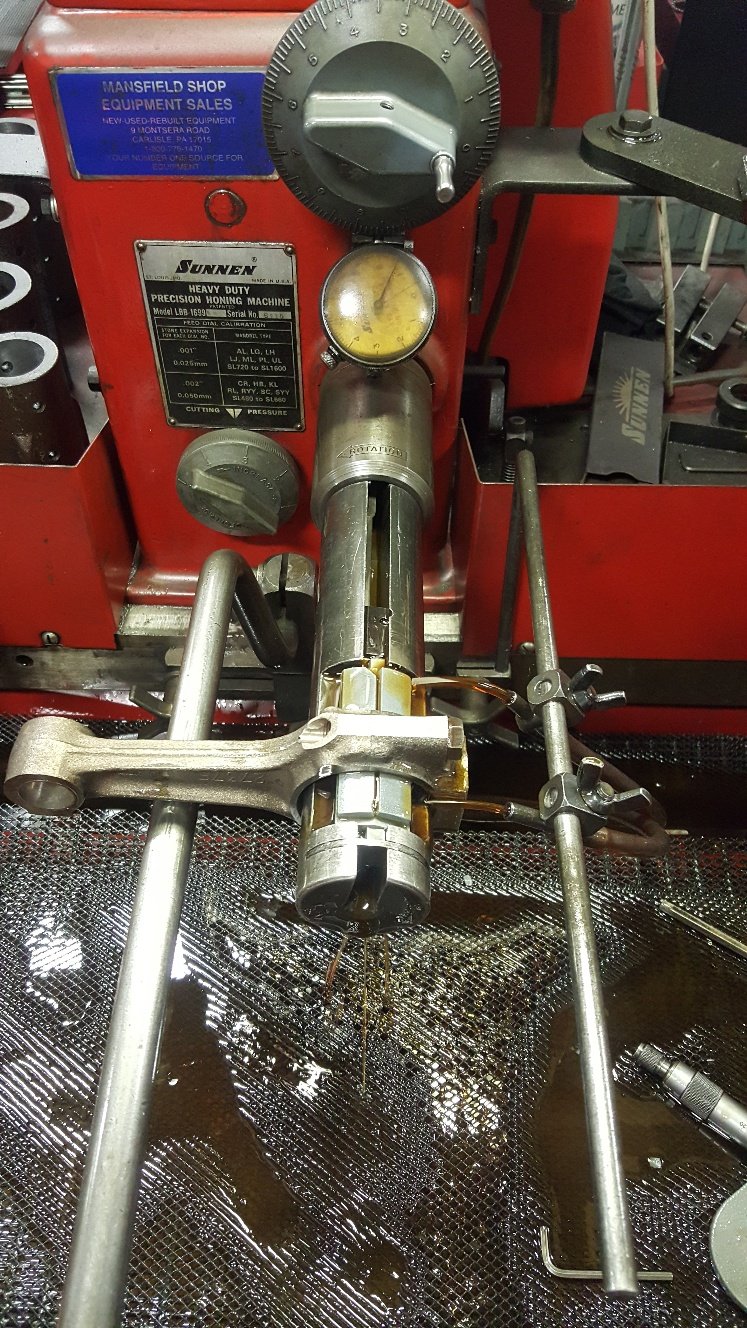
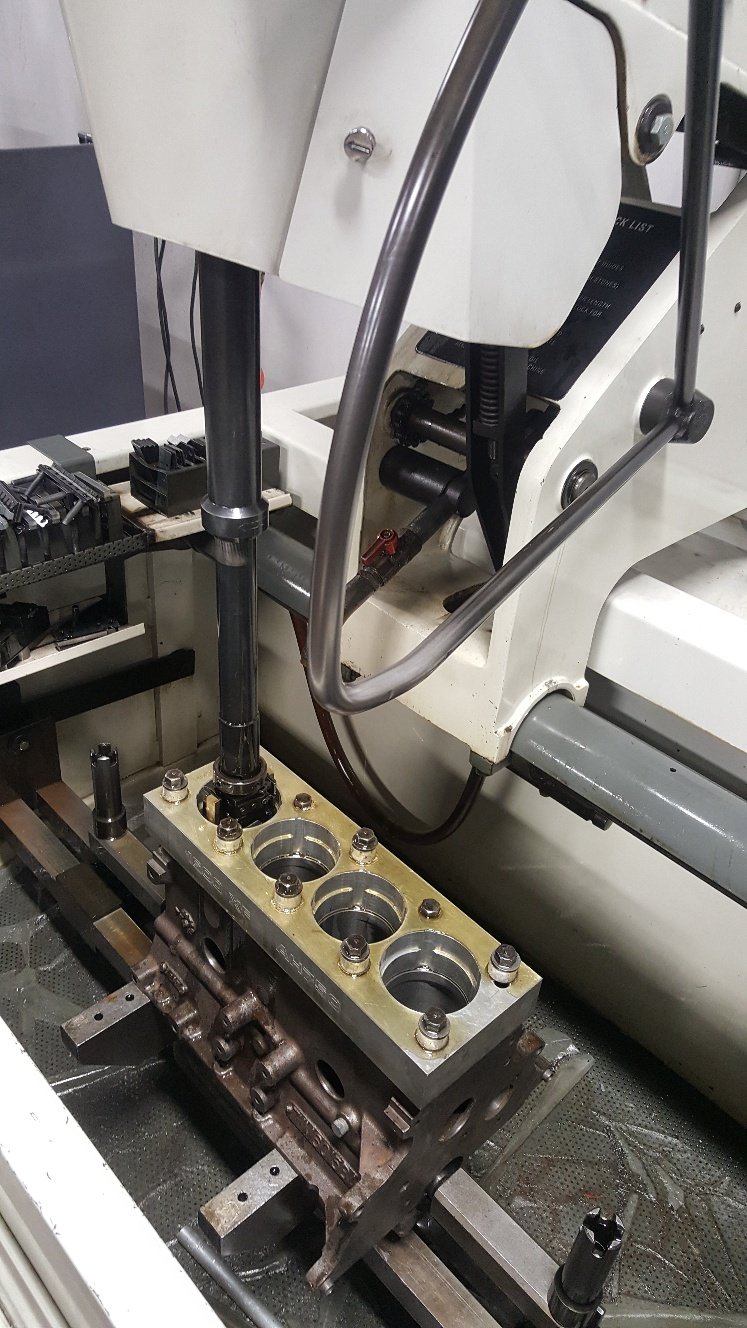
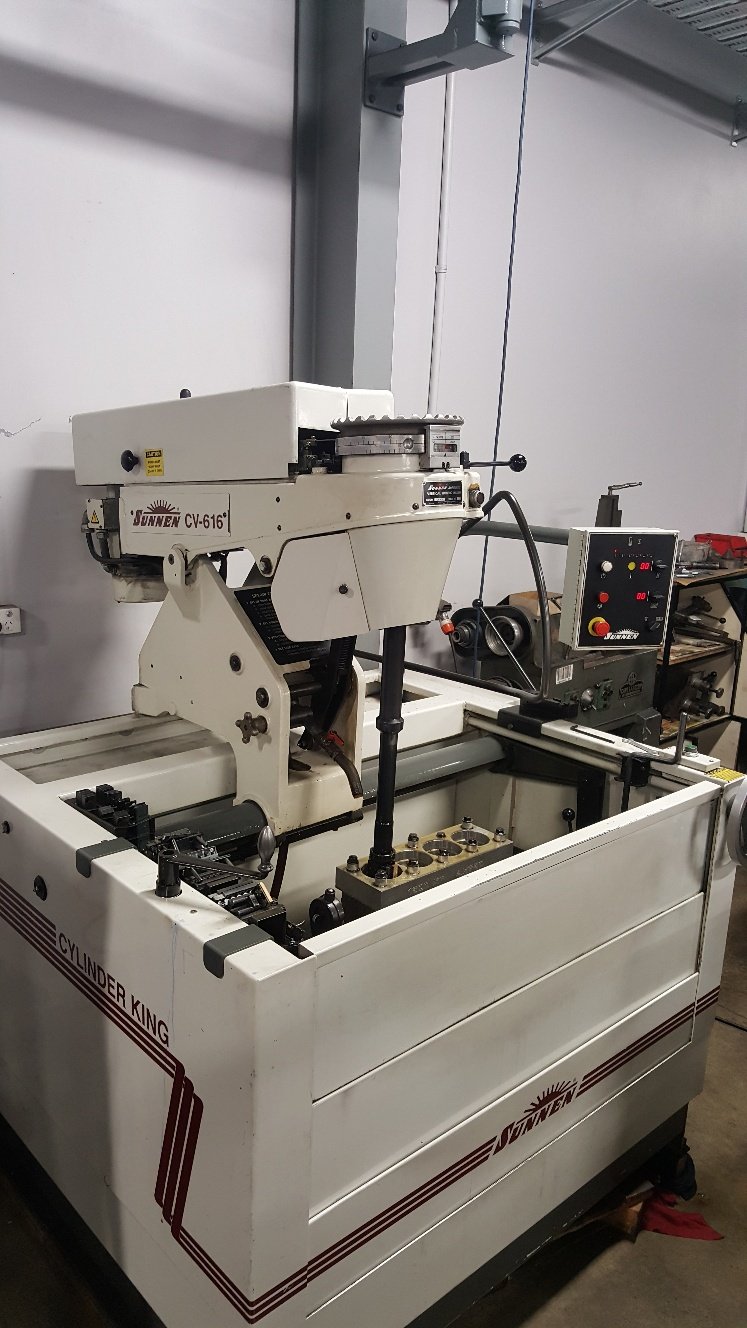
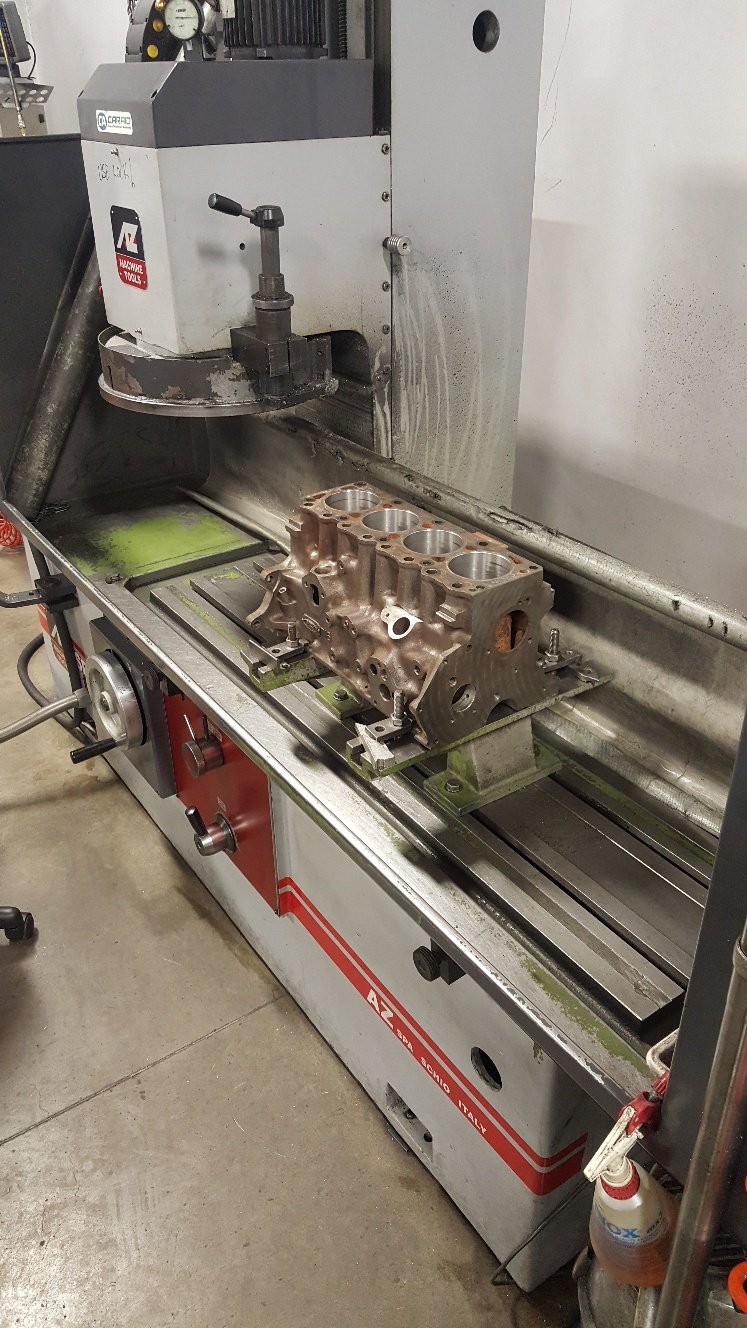
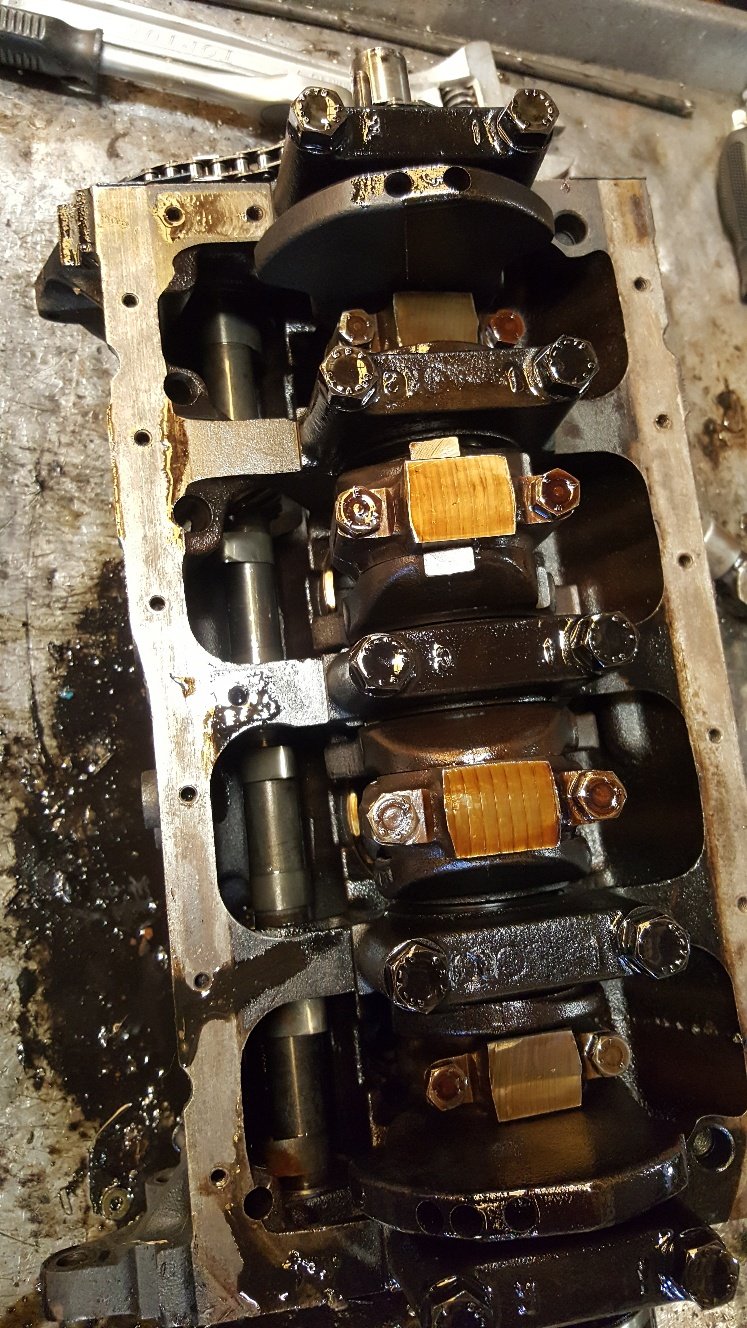
So I have the crank ground and ready to go. So I got started on the Align hone. This block didn't necessary need align honing It was within book spec in the mains. I haven't fitted aftermarket studs which is another reason for a tunnel hone, the studs normally tighten the tunnel up due to the extra torque you can apply to the stud giving better clamping load. Another reason is if you have run the main bearings this can also put the tunnel out of round and or put a bend through the tunnel. Here's a picture of the cap dresser. I used this to resize the rods earlier on. This is the main cap in it. It ground about 3 thou off each cap. First picture is the cap ground and ready to be torque up back onto the block. The next picture is with the block in the Sunnen Align hone. Sunnen is one of the industry leaders in honing. Our block hone is also a Sunnen Cv 616. So I just refitted the main bearings to check clearance. I've got 2 thou vertical oil clearance in the tunnel. Its nice and straight now. This isn't something we do to every block as some don't need any attention. But most old blocks either weren't that great from the start or have had a hard life.

- 27 replies
-
- 26
-

-

-
Cheers. I work at Caraid.
-
Hey no worries. Trying to keep it interesting with out too much boring detail. I'm definitely not the worlds best engine reconditioner, but just trying to show where some of the hours go!
-
Caraid 32 Duke st. Ha ha cars will destroy both time and money.
-
To look at via a picture they look similar. But its pretty hard to gage. Your welcome to swing past work with it. We have people come past regularly for info on bits and pieces. We wont charge anything to look at it and its far easier to get a better idea. Boring to the next oversize and living with some water mark staining would possibly be a best case scenario. Yes I understand the money side of things. Parts and Labour make it pricey.
-
Water marks are gay. But not the end of the world. I had a 3ct estima that had bore rust from someone removing the head and leaving coolant (water) in the bores. I rerung it and didn't smoke at all. But the corrosion hadn't eaten into the bore. It was more surface rust leaving a stain once honed. You really need to get the comp height of your original piston and go from there. We use the Wiseco website a lot for Piston info. They may have 18r info.
-
Hey no worries. Us engine reconditioners can get a bit of a hard time for being expensive. Just trying to show where alot of the time goes into reconditioning a engine.
-
Ha ha. Good stuff. Sounds fair enough.
-
Are you looking at running a evo 6 tdo5hr turbo on this. That turbo manifold looks like it's possibly got that twin scroll look about it.
-
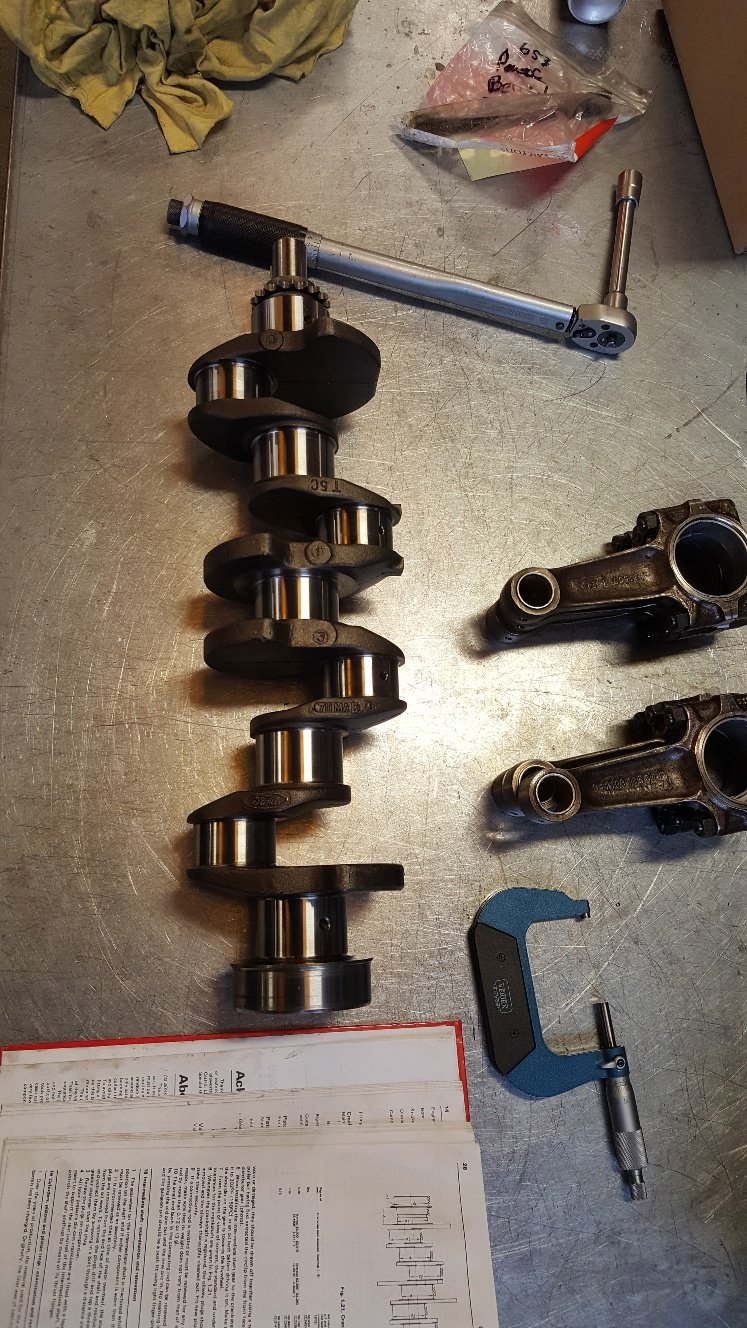
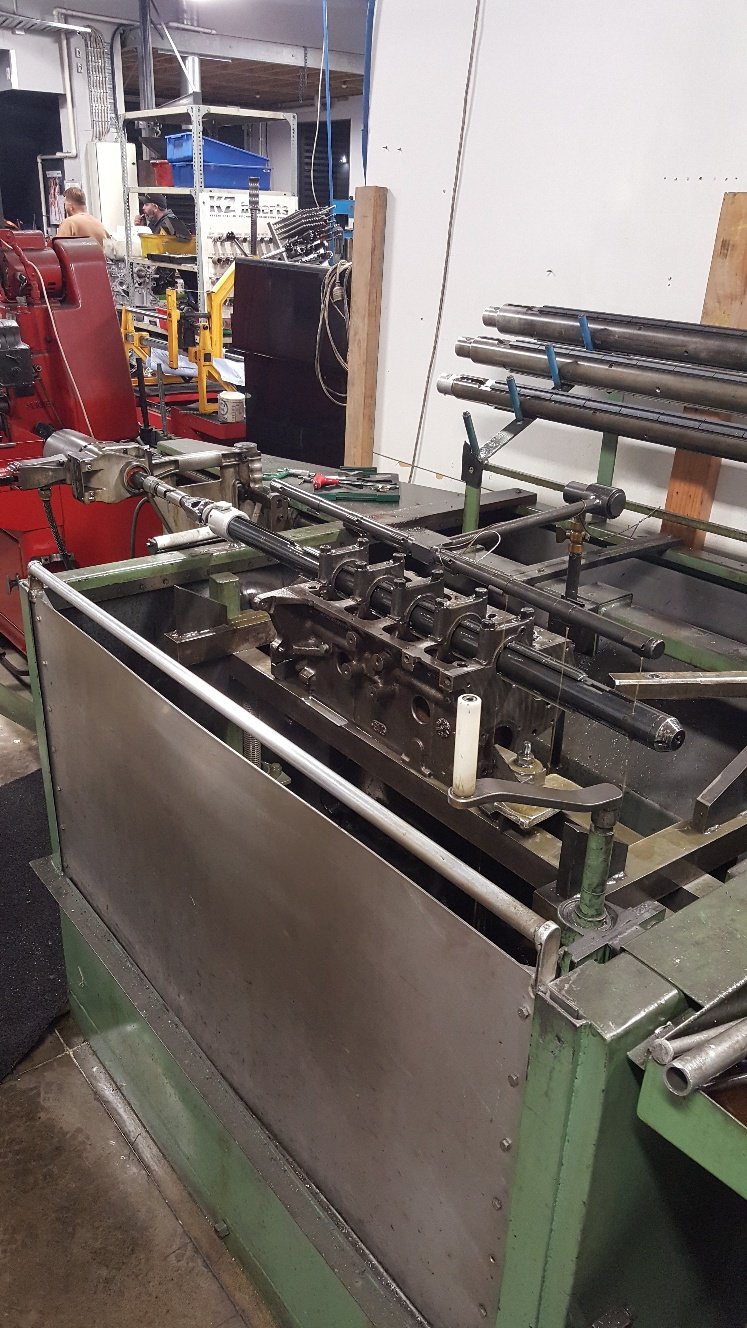
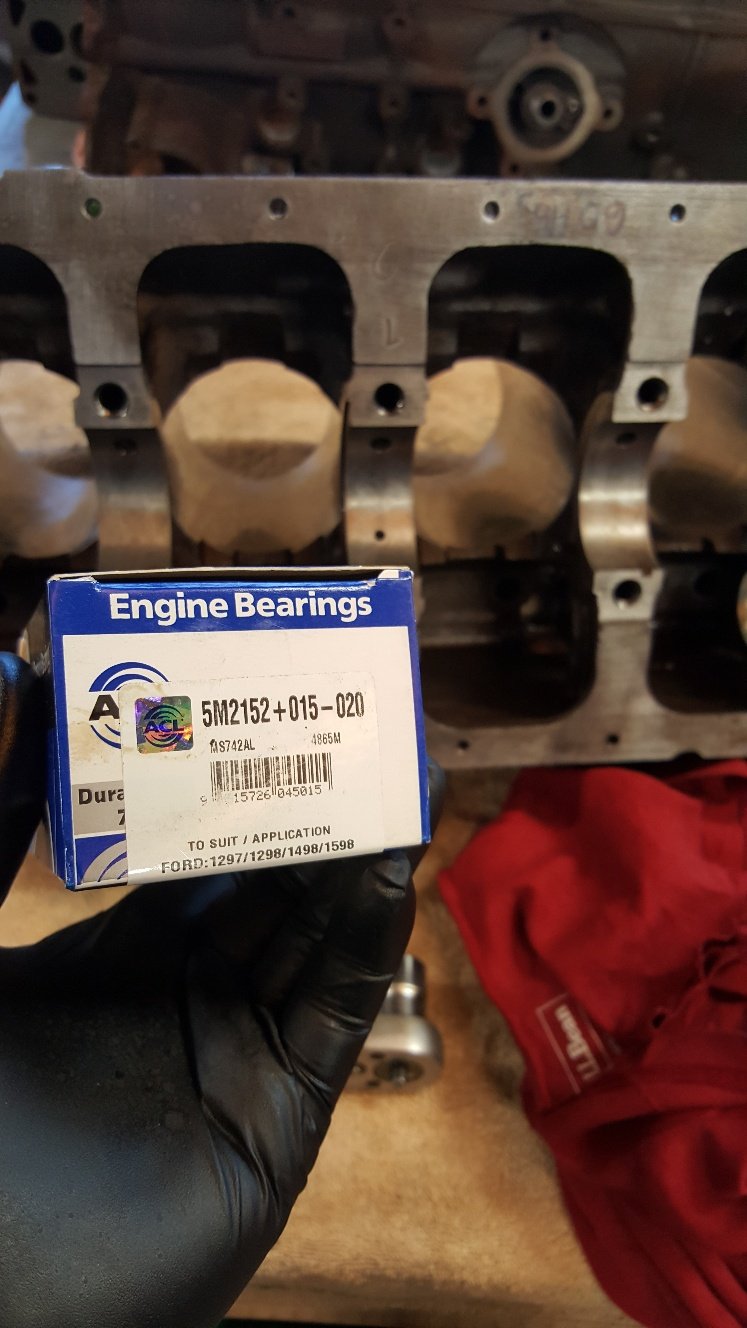
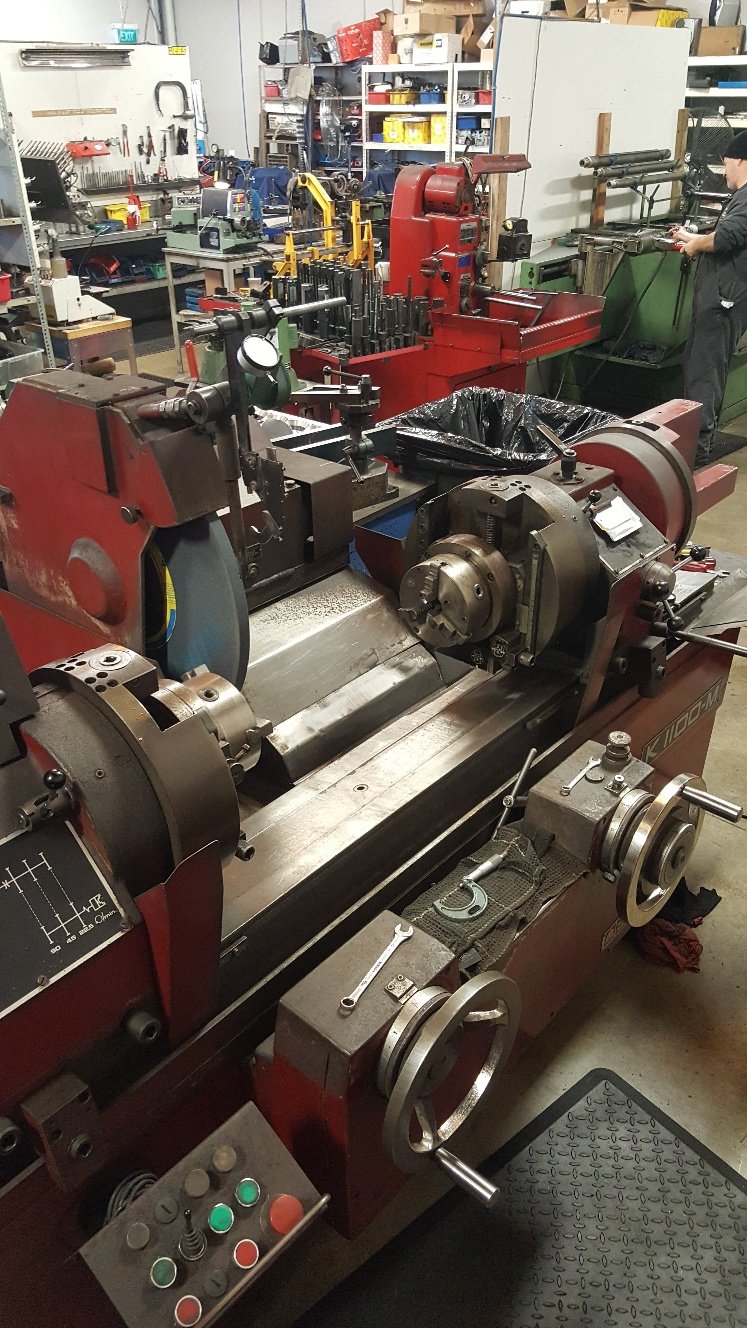
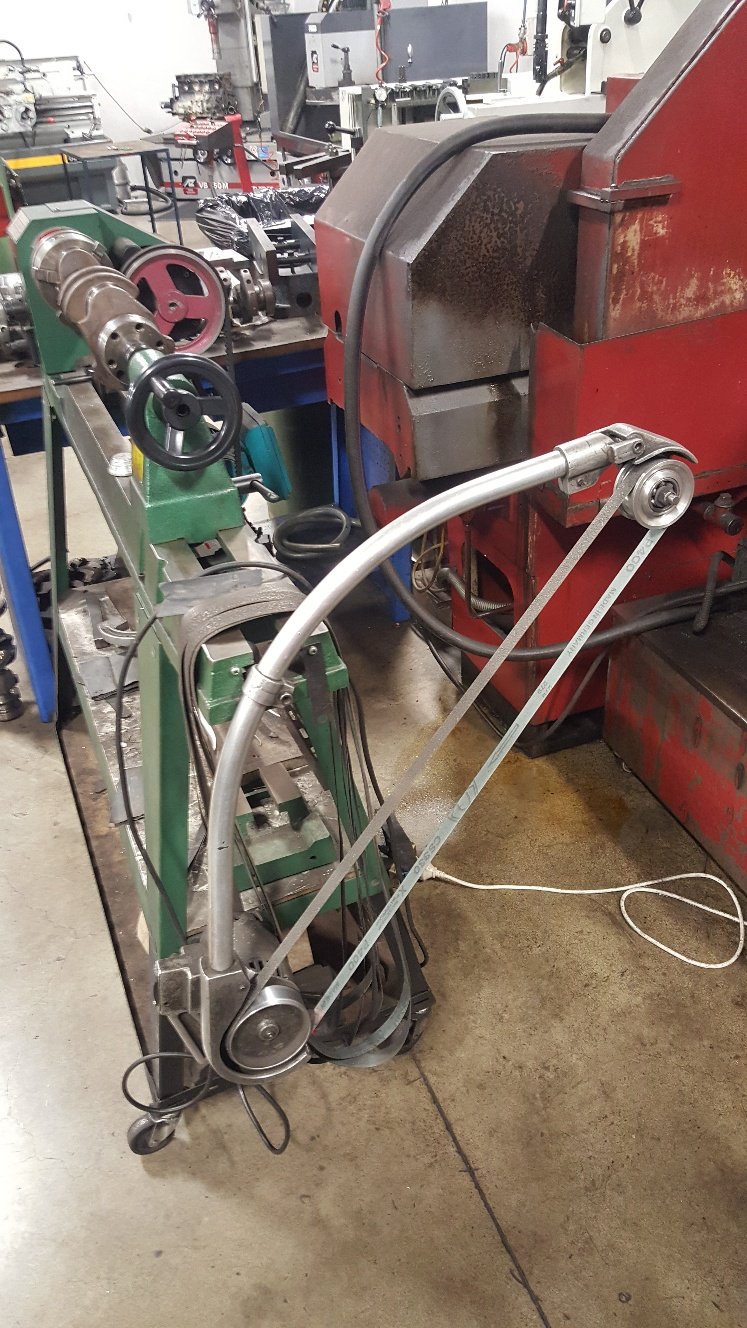
So i got my hands on some plus 15 back -20 main bearings. Thanks to Ford and their below average machining they mis machined the main tunnel on some of their blocks and had to come up with a solution of +15 back bearing to take up the slack. These can be challenging to get at times. So then I mount and measured them so I had a size to machine the crank too. Got the crank dialed in the crank grinder. Start to bring the wheel in and just touch the journal and you can see the .002 thou wear. The grinder has just started to clean up the left side and a bit in the middle. Once it's all ground we put it into this modified wood lathe we use for polishing.
- 27 replies
-
- 21
-
-
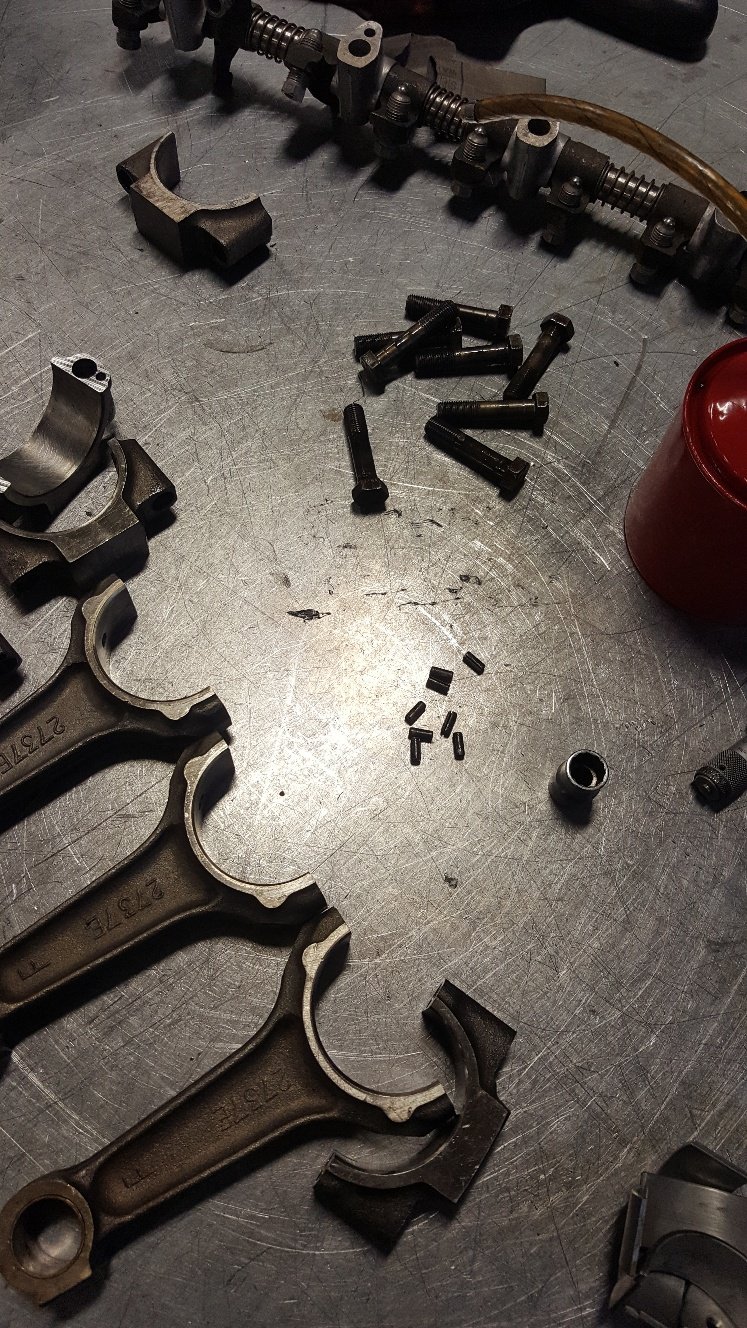
So I'm just trying to get the short block completed at this point. There's a fair bit of maching in the cylinder head, fitting valve inserts so I'm just concentrating on the bottom end. So I measured up my crank and found that the mains are worn about 1.5 thou. But the big ends are within book size. So I mount and measured the rods. I found that I had 2.5 thou vertical oil clearance. Which isn't a major issue but I'm building it for myself so I'll resize them to tighten them up. We would offer this to any customer but more often that not the budget comes into play. And budgets generally compromise most engine builds. My budget is definitely compromising this build mainly in the parts department. So I removed the dowels and grind the rod and cap parting faces. Unfortunately I didn't get a picture of the cap dresser. Note the rod thats been ground on the left. Now I reassemble the rods and hone them back to a tighter size than they were. I want them three quarters of a thou tighter. Now that they are all honed to the same size I will mount and measure with the bearings fitted to double check my clearance. This is just a picture of them apart showing them honed and ready for bearings.
- 27 replies
-
- 22
-
-
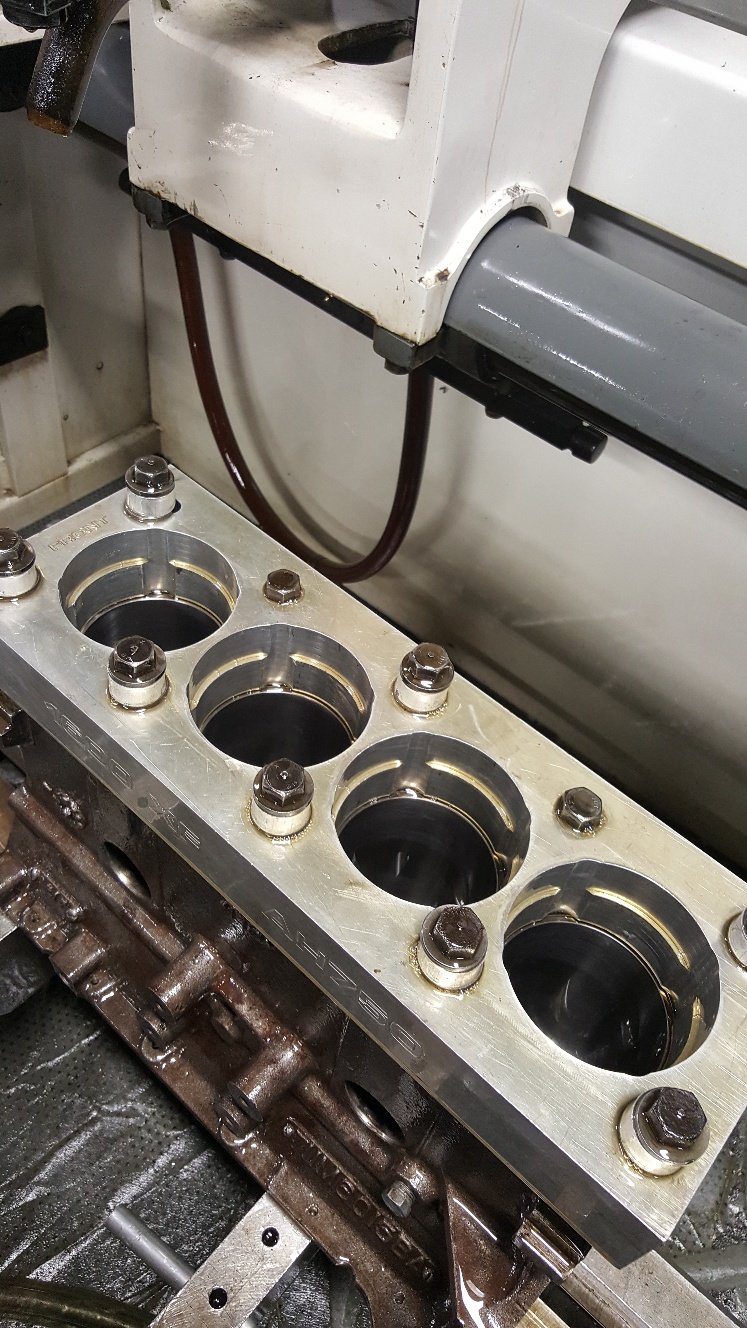
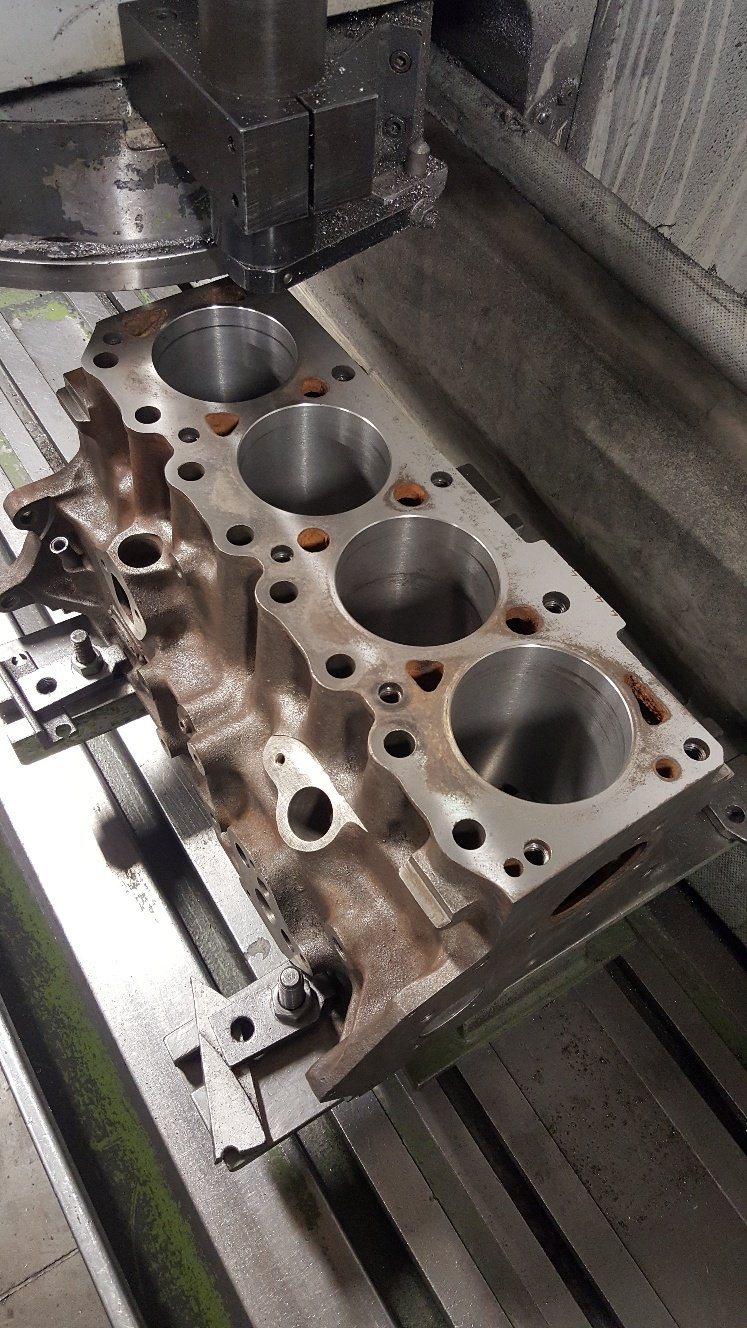
So i fitted the torque plate for the honing process. We only have torque plates for certain engine's. But lucky Ford xflow's are in formula Ford's so the boss saw the need to get one made. The torque plate allows you to simulate the tension of the cylinder being fitted to the block while honing. Some blocks move considerably from the head bolts being torqued up. This can distort the bore, sometimes up to 2 thou on various blocks. So it's like honing them in there assembled running state. I have heard stories of shops honing with hot coolant running through the water jackets to simulate total running conditions. All in the name of perfect ring seal you need a perfectly round and straight cylinder. We leave 4 thou of material to hone out as this gives us a good base to start achieving good rk rvk and there's another value aswell but I can't think of it right now. But we start off honing with a course stone which gives us a deep groves and removes material quickly. Once we've removed 3 thou we change stones to a smoother grit this removes the tops from the course stones while taking more material out. I'm also happy say I have removed all the bore wear marks after removing 2 thou of material. Now we move to a finer stone again same thing applies. Each different grade of stone removes material in different ways. Some stones will take more out of the bottom middle or top of the bore, so you have to measure the bore to make sure you're keeping it straight. The stones also react to load. Theres a round handle onto of the machine that applies load to the stones in the bore. If you wind to much load up it normally takes more material from the middle of the bore as there's no real strength there. Extra load can also create heat which will give you a false reading of size from the material expanding. Once we are at finish size we have what we call plateau stones. These are 800grit they don't really take much material out but smooth the tops off from the previous set of stones. Then we move to our cork stones. Which look nothing like cork. These are really good a removing left over honing material out of the cross hatch. We only give the bore a couple of strokes with these. Once a year we clean the machine out. It normally has about two 20 liter buckets fill of cast iron sludge sitting in the bottom of it. This machine runs 200 liters of honing fluid. Which is great as one of the jobs of the fluid is to keep the block cool as well as wash the honed material away from the honing head while honing. A drum of honing fluid isn't cheap at $2500 Then there's all the stones we burn through. So the honing process has one the highest consumables cost in the workshop per year. From start to finish it can take a hour to two hours to hone a block after a rebore. A deglaze or what we call a rering hone is normally about three quaters to a hour.
- 27 replies
-
- 30
-
-
-
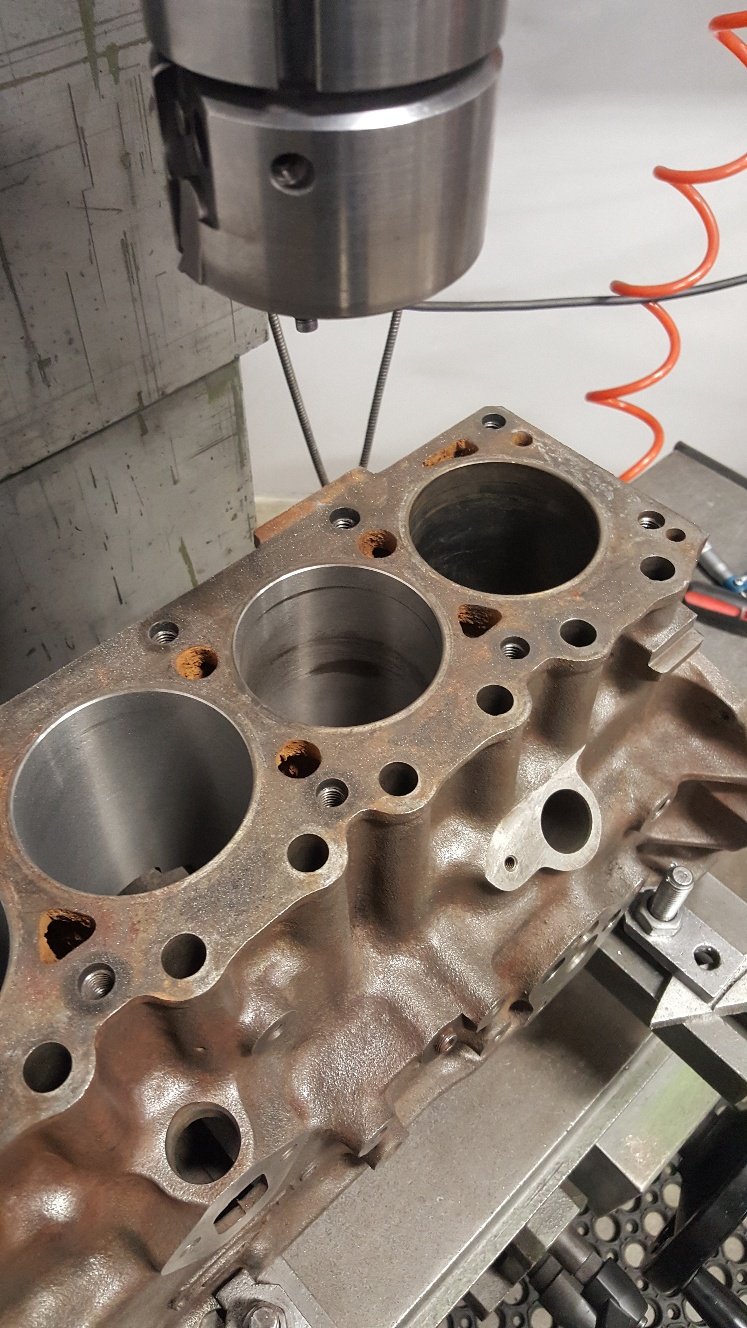
So I got the block into the boring bar. It's pretty straight forward boring a block. Doing a cylinder liner is a bit more involved as far as the boring bar is concerned. This block is at 30thou over or .75mm in metric. I have bought 40thou over or 1.mm pistons. It has a bit of wear. But hopefully it's should clean up once it's honed. This picture is of a test cut. So you dial the boring bar head into the bore. If you have a decent amount of wear it pays to slightly offset the bar towards the wear so you clean all going well at the next oversize. So in this picture you can see the boring bar hasn't totally cleaned with this size cut. I have only set the bar at 81.90mm. So I have .1mm or 4thou to hone out to get to our finished size of 82mm. We generally like to leave this amount to hone to achieve good rk rvk this is the depth of hone pattern. I'll go into that a bit more once we get to honing it. Once we've finished honing we normally go to the surface grinder. The top of the block is a little corroded so I'll probably take a few cuts to clean it up. So I've done a light cut to see how it looks You can see it still needs more off it. In this case it's not a issue to take more off the deck. When you are dealing with a late model diesel or performance engines that have been set up with good tight clearances it pays to watch how much your removing as you may have to detop your pistons as they may start getting to close to the head once assembled. Also valve reliefs can also need deepening. But this is more so a issue in extreme cases. This good old xflow should be fine. But i will be checking all this later once i can dumby the engine up
- 27 replies
-
- 34
-
-
-
Ha ha. I know the burden! Things seem heeps easier in theory.
-
Yes the cortina and I won't be parting anytime soon. I've been working on a laurel drag car that I bought as a roller. Thought it was going to be quicker and easier to get it up and running than finish the cortina. Even with mates helping it took 18 months to get it to the track. I see your cortina collection has grown.
-
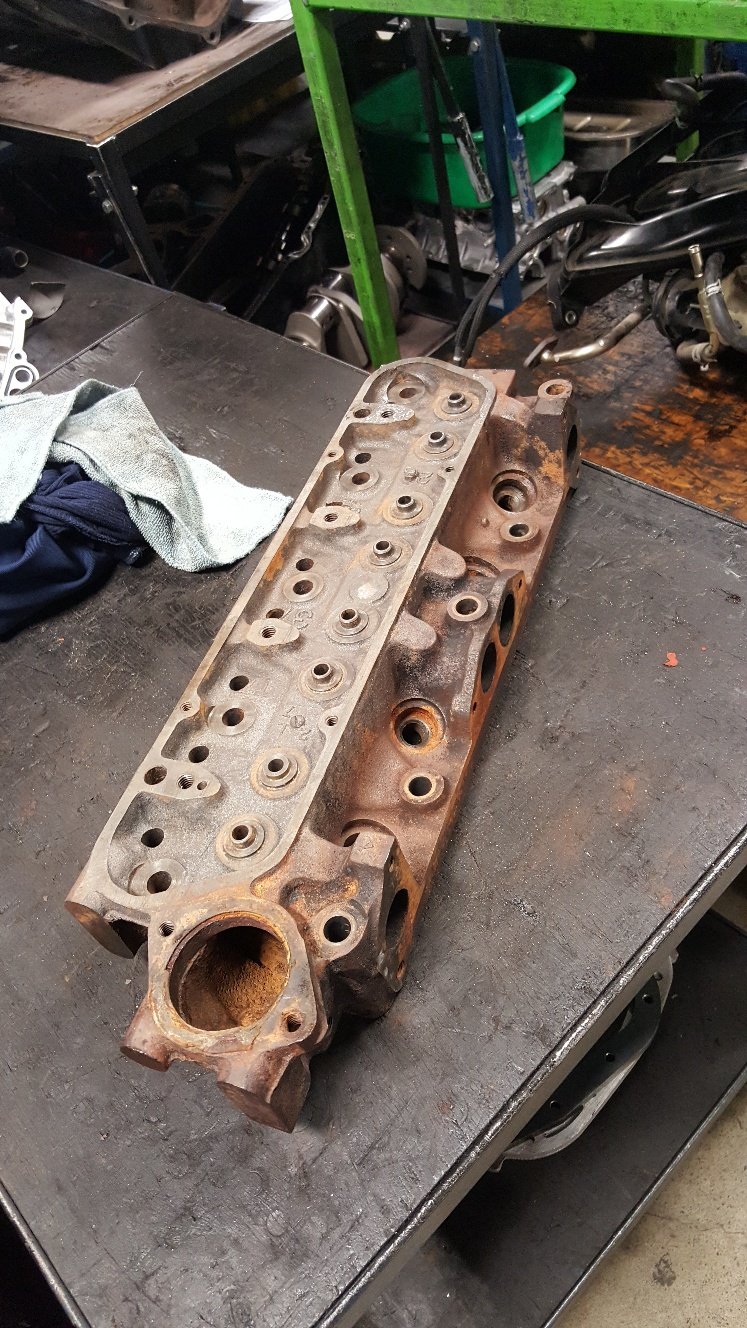
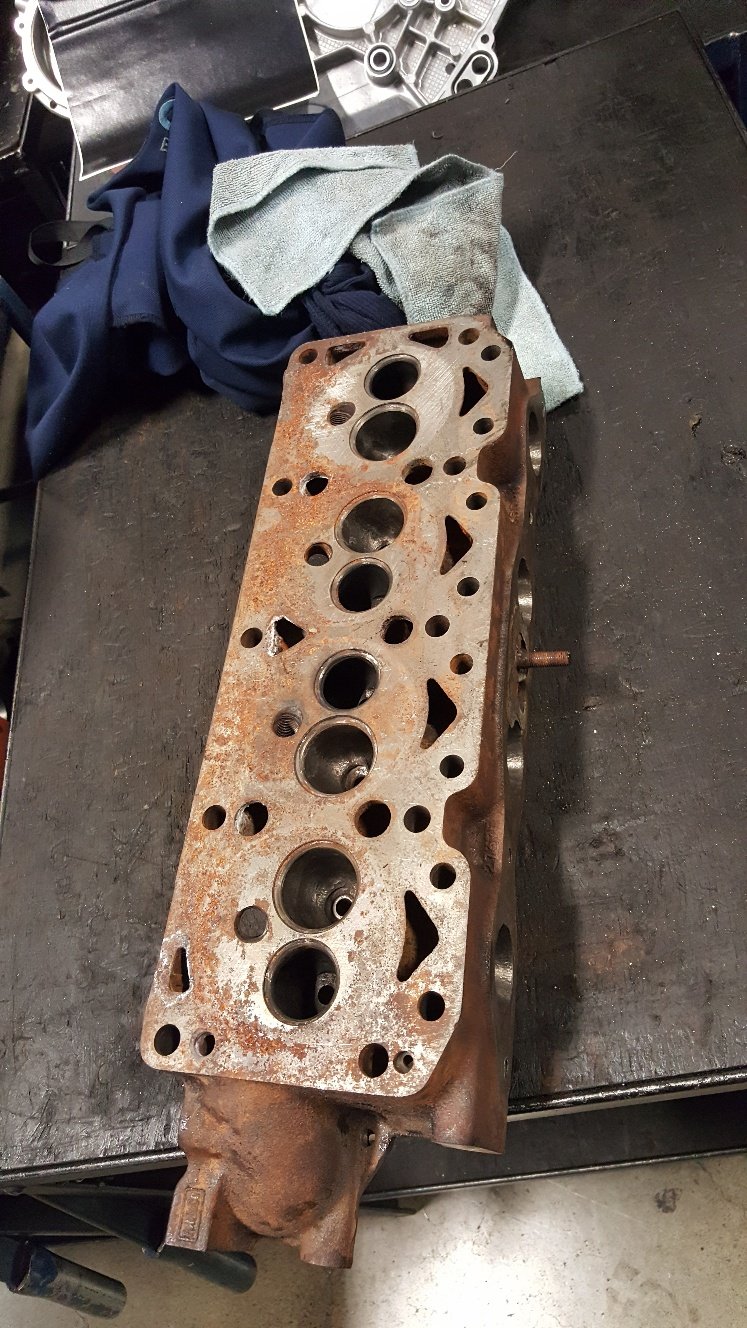
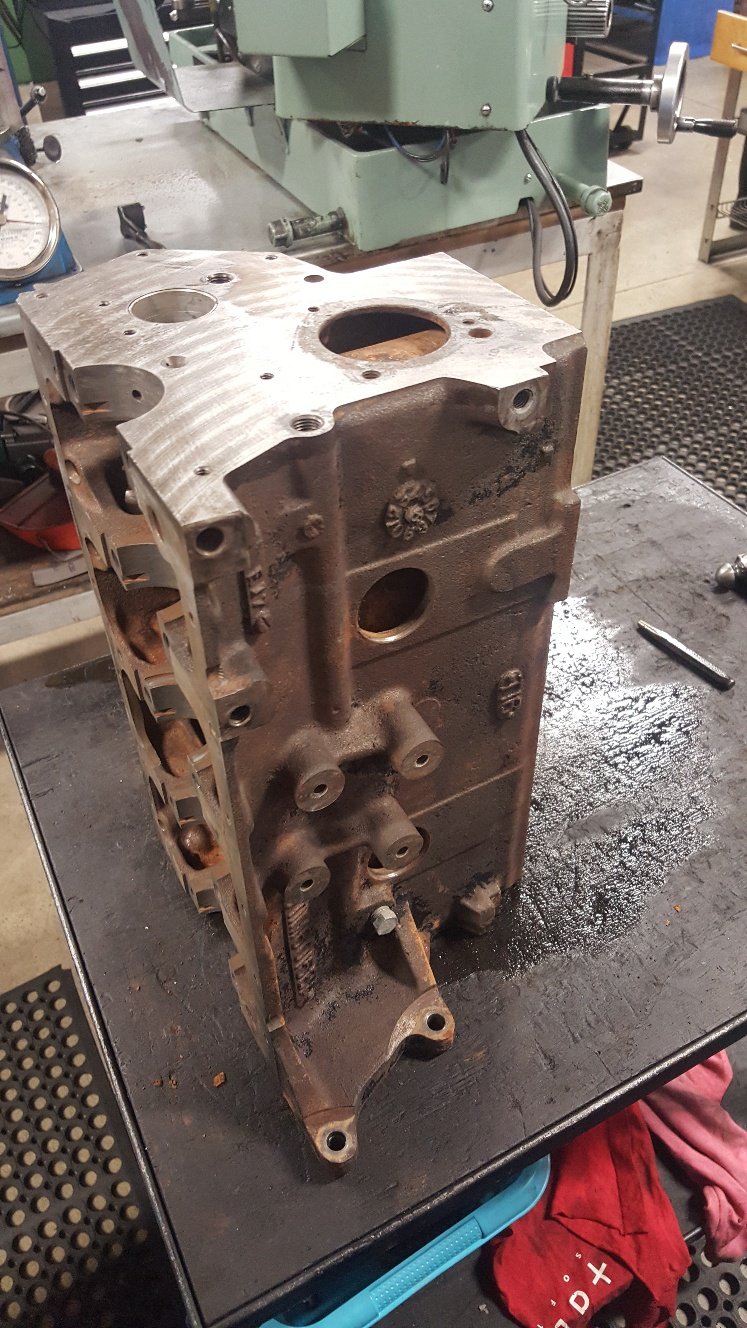
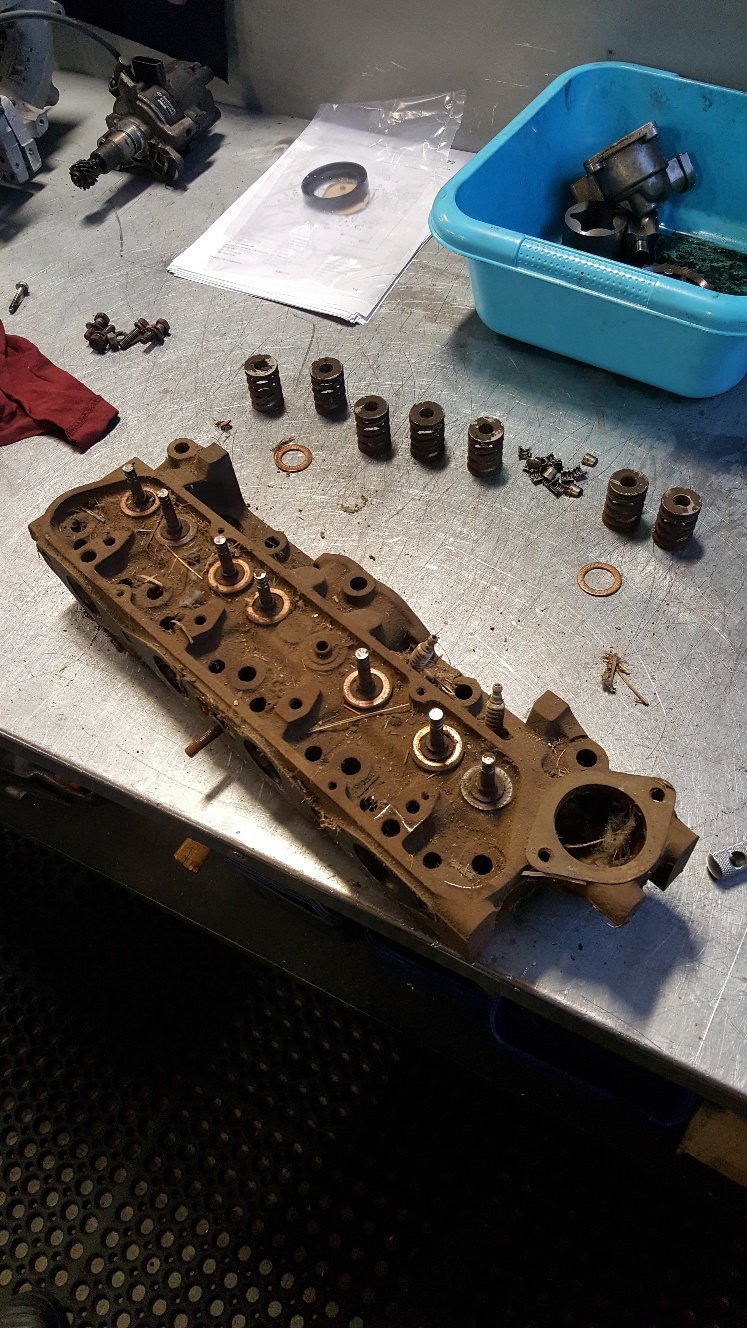
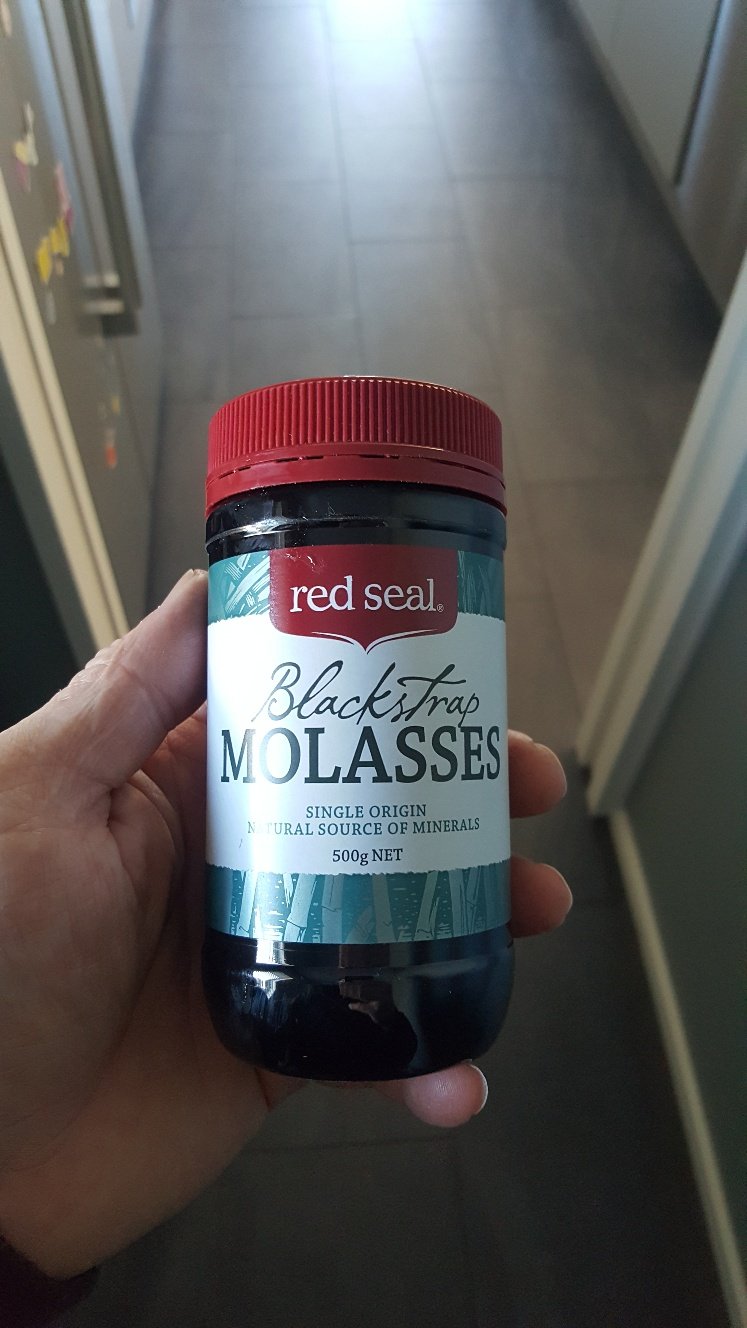
So I forgot to get a picture of the molasses. But here's a couple of pictures of the head once out. The molasses sort of just loosens the rust. Then you have to wire brush to get the rust off. I didn't put the block in what we call our hot tank as I haven't removed the cam bearing.. Our hot tank is only for ferrous metal. And the cam bearings would react with the acid. The cam bearings are in reasonable condition and this is build is on a budget. I run the tap through the head bolt threads and main threads. Removed all the gallery bungs and frost plugs. I found a decent build up of rust at the rear of the block that i chipped out with a screw driver through the rear frost plug hole. And also gave the block a good wire brushing. I gave all the machined surfaces a sand up with emery tape on a file.
- 27 replies
-
- 14
-
-
So I took the engine into work to strip and assess the damage. The cylinder head has been sitting around on the ground for a few years, so its pretty rusty. I have bought some molasses. It's pretty good for breaking down rust. We normally mix two of these 500g jars up with about 40 or so litres of water. The mix isn't that critical. I'll leave the head and rocker cover in the molasses solution for three or so days. The damage is pretty minimal. It's must of been idling when it dropped the valve. There's only a very small nic in the top of the bore and a small dent in the valve seat.
- 27 replies
-
- 12
-
-
Yes it was good to catch up, and informative. Definitely keen to go that way. Good value at $995. I plan on posting a bit of engine reconditioning info in this build. Hopefully it will help people understand where all the money goes on a engine rebuild. I know i can't believe where all the hours go at the end of a engine.
-
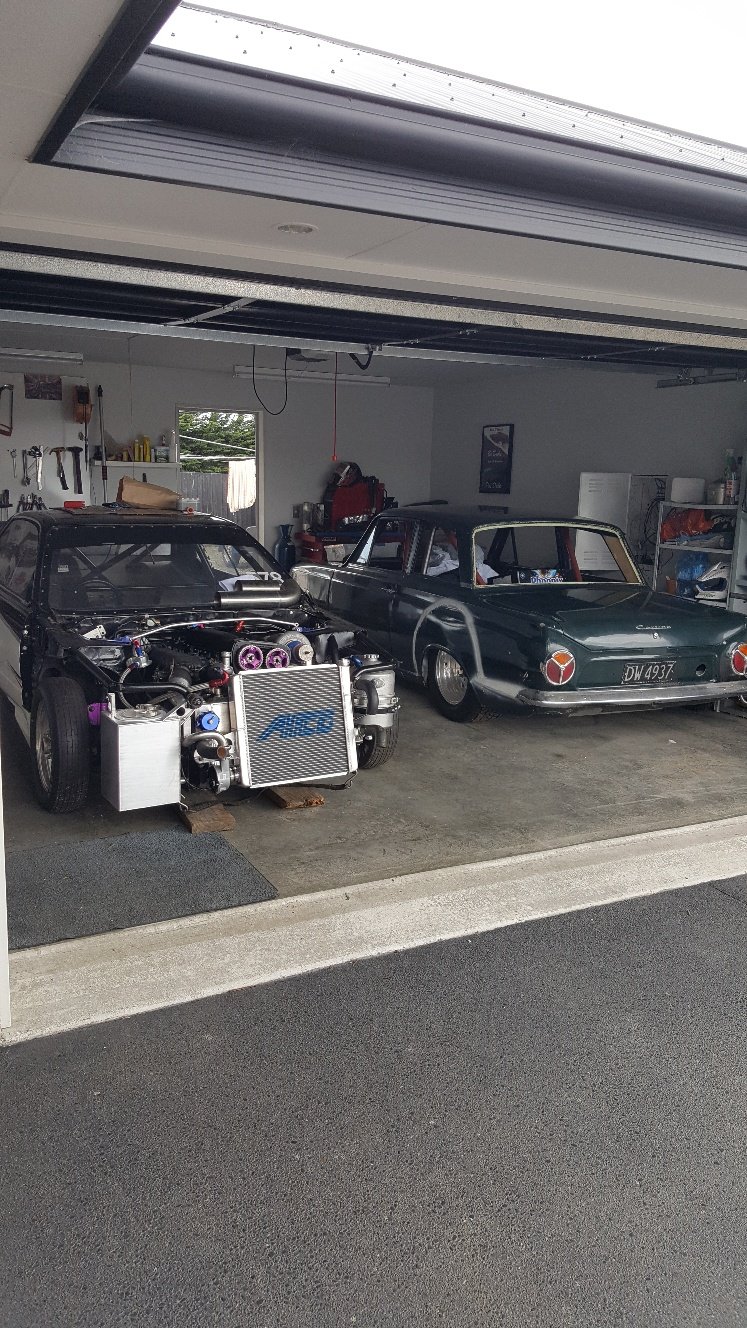
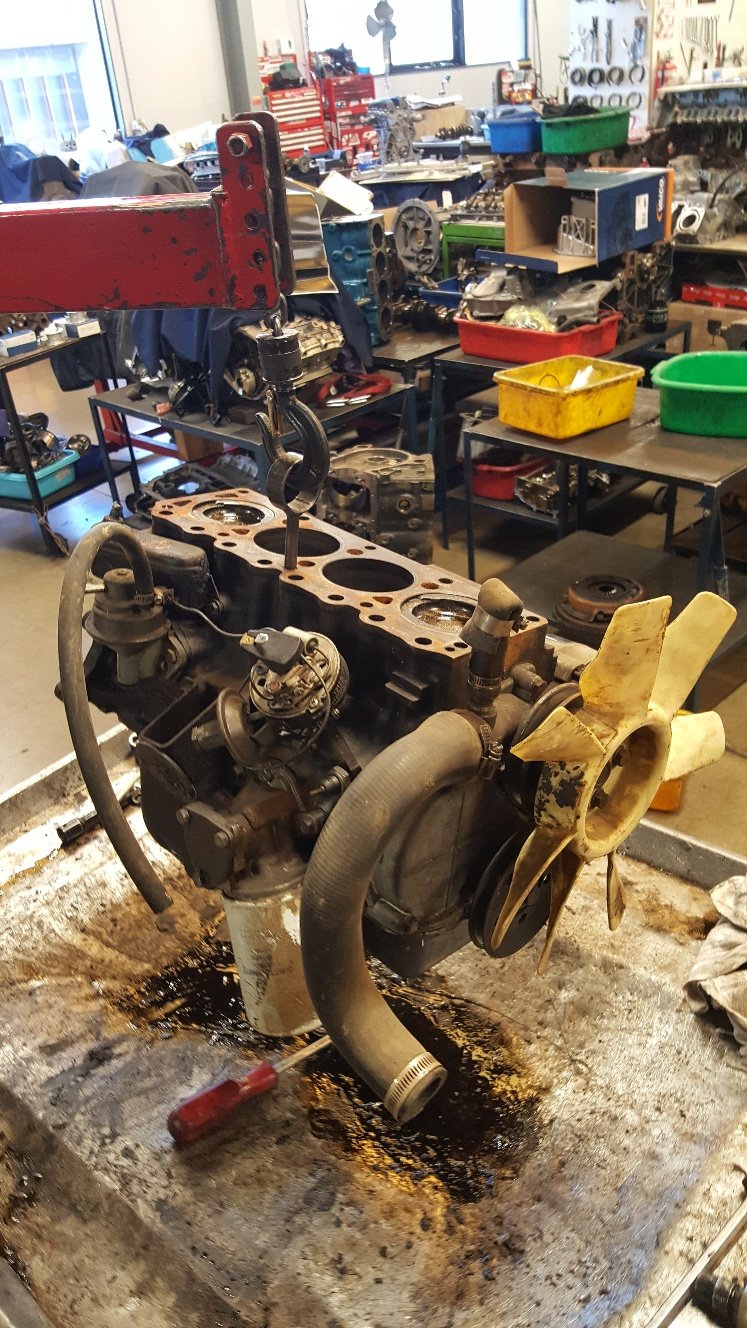
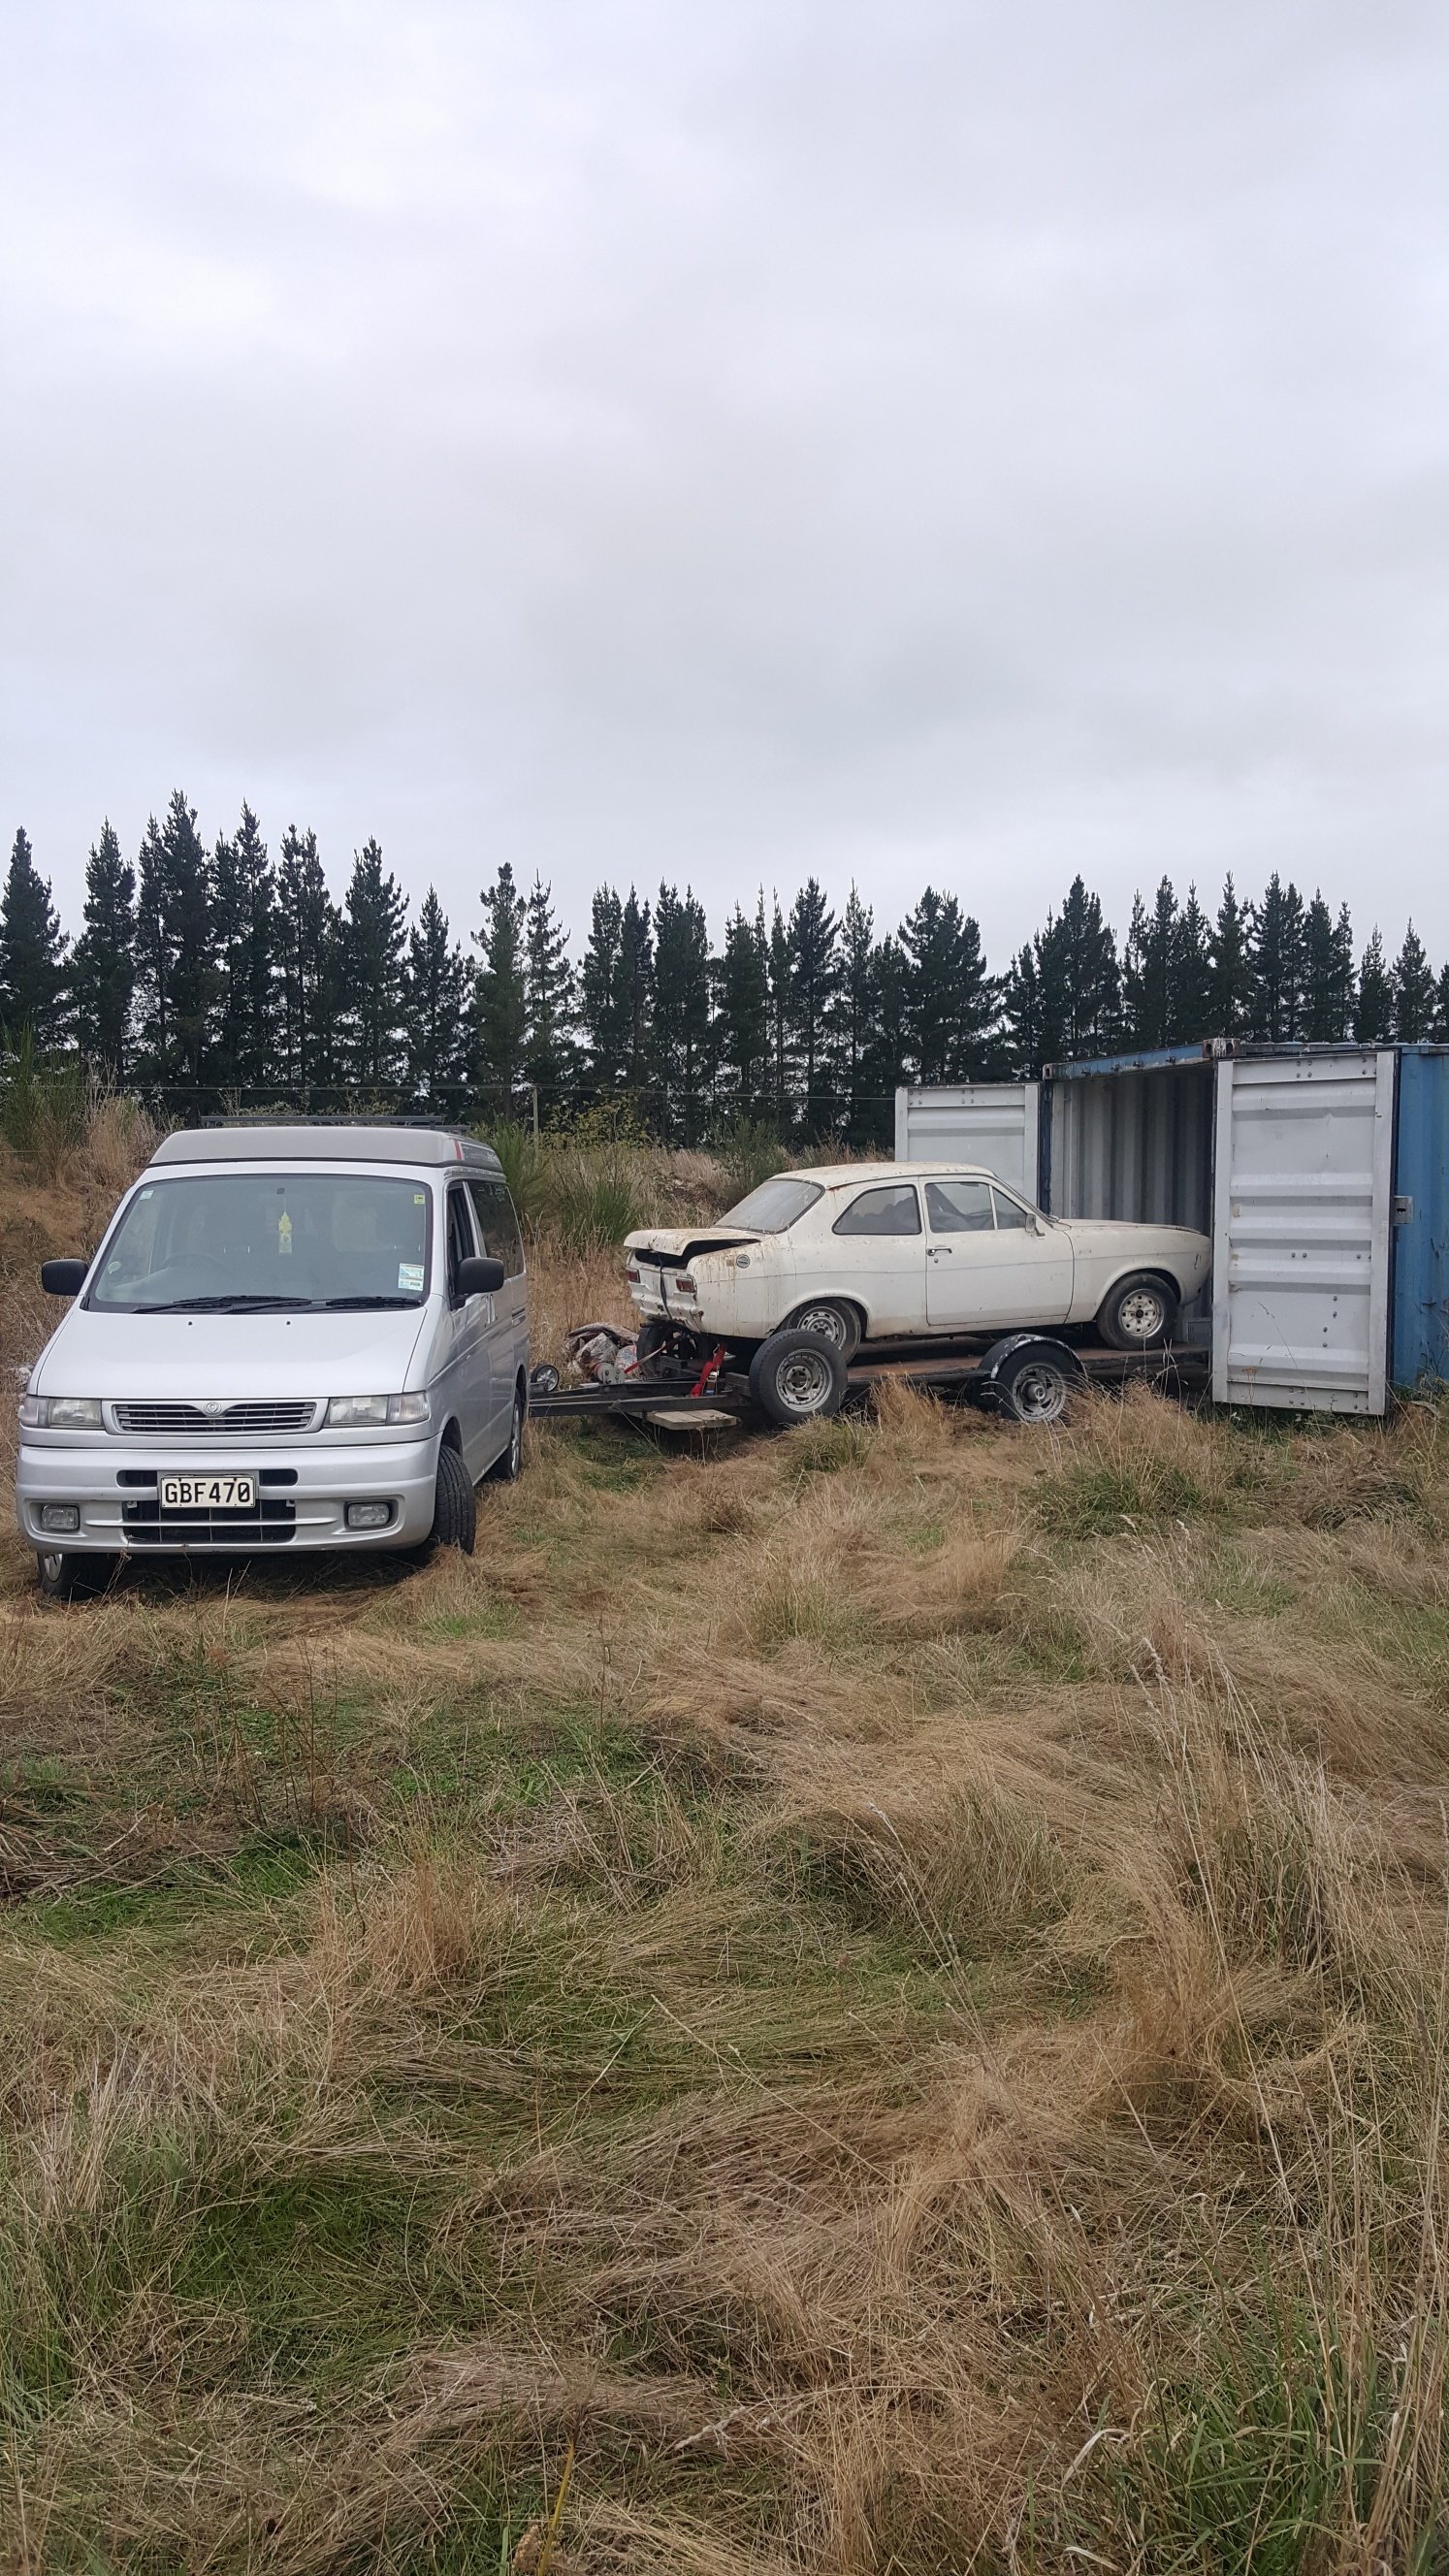
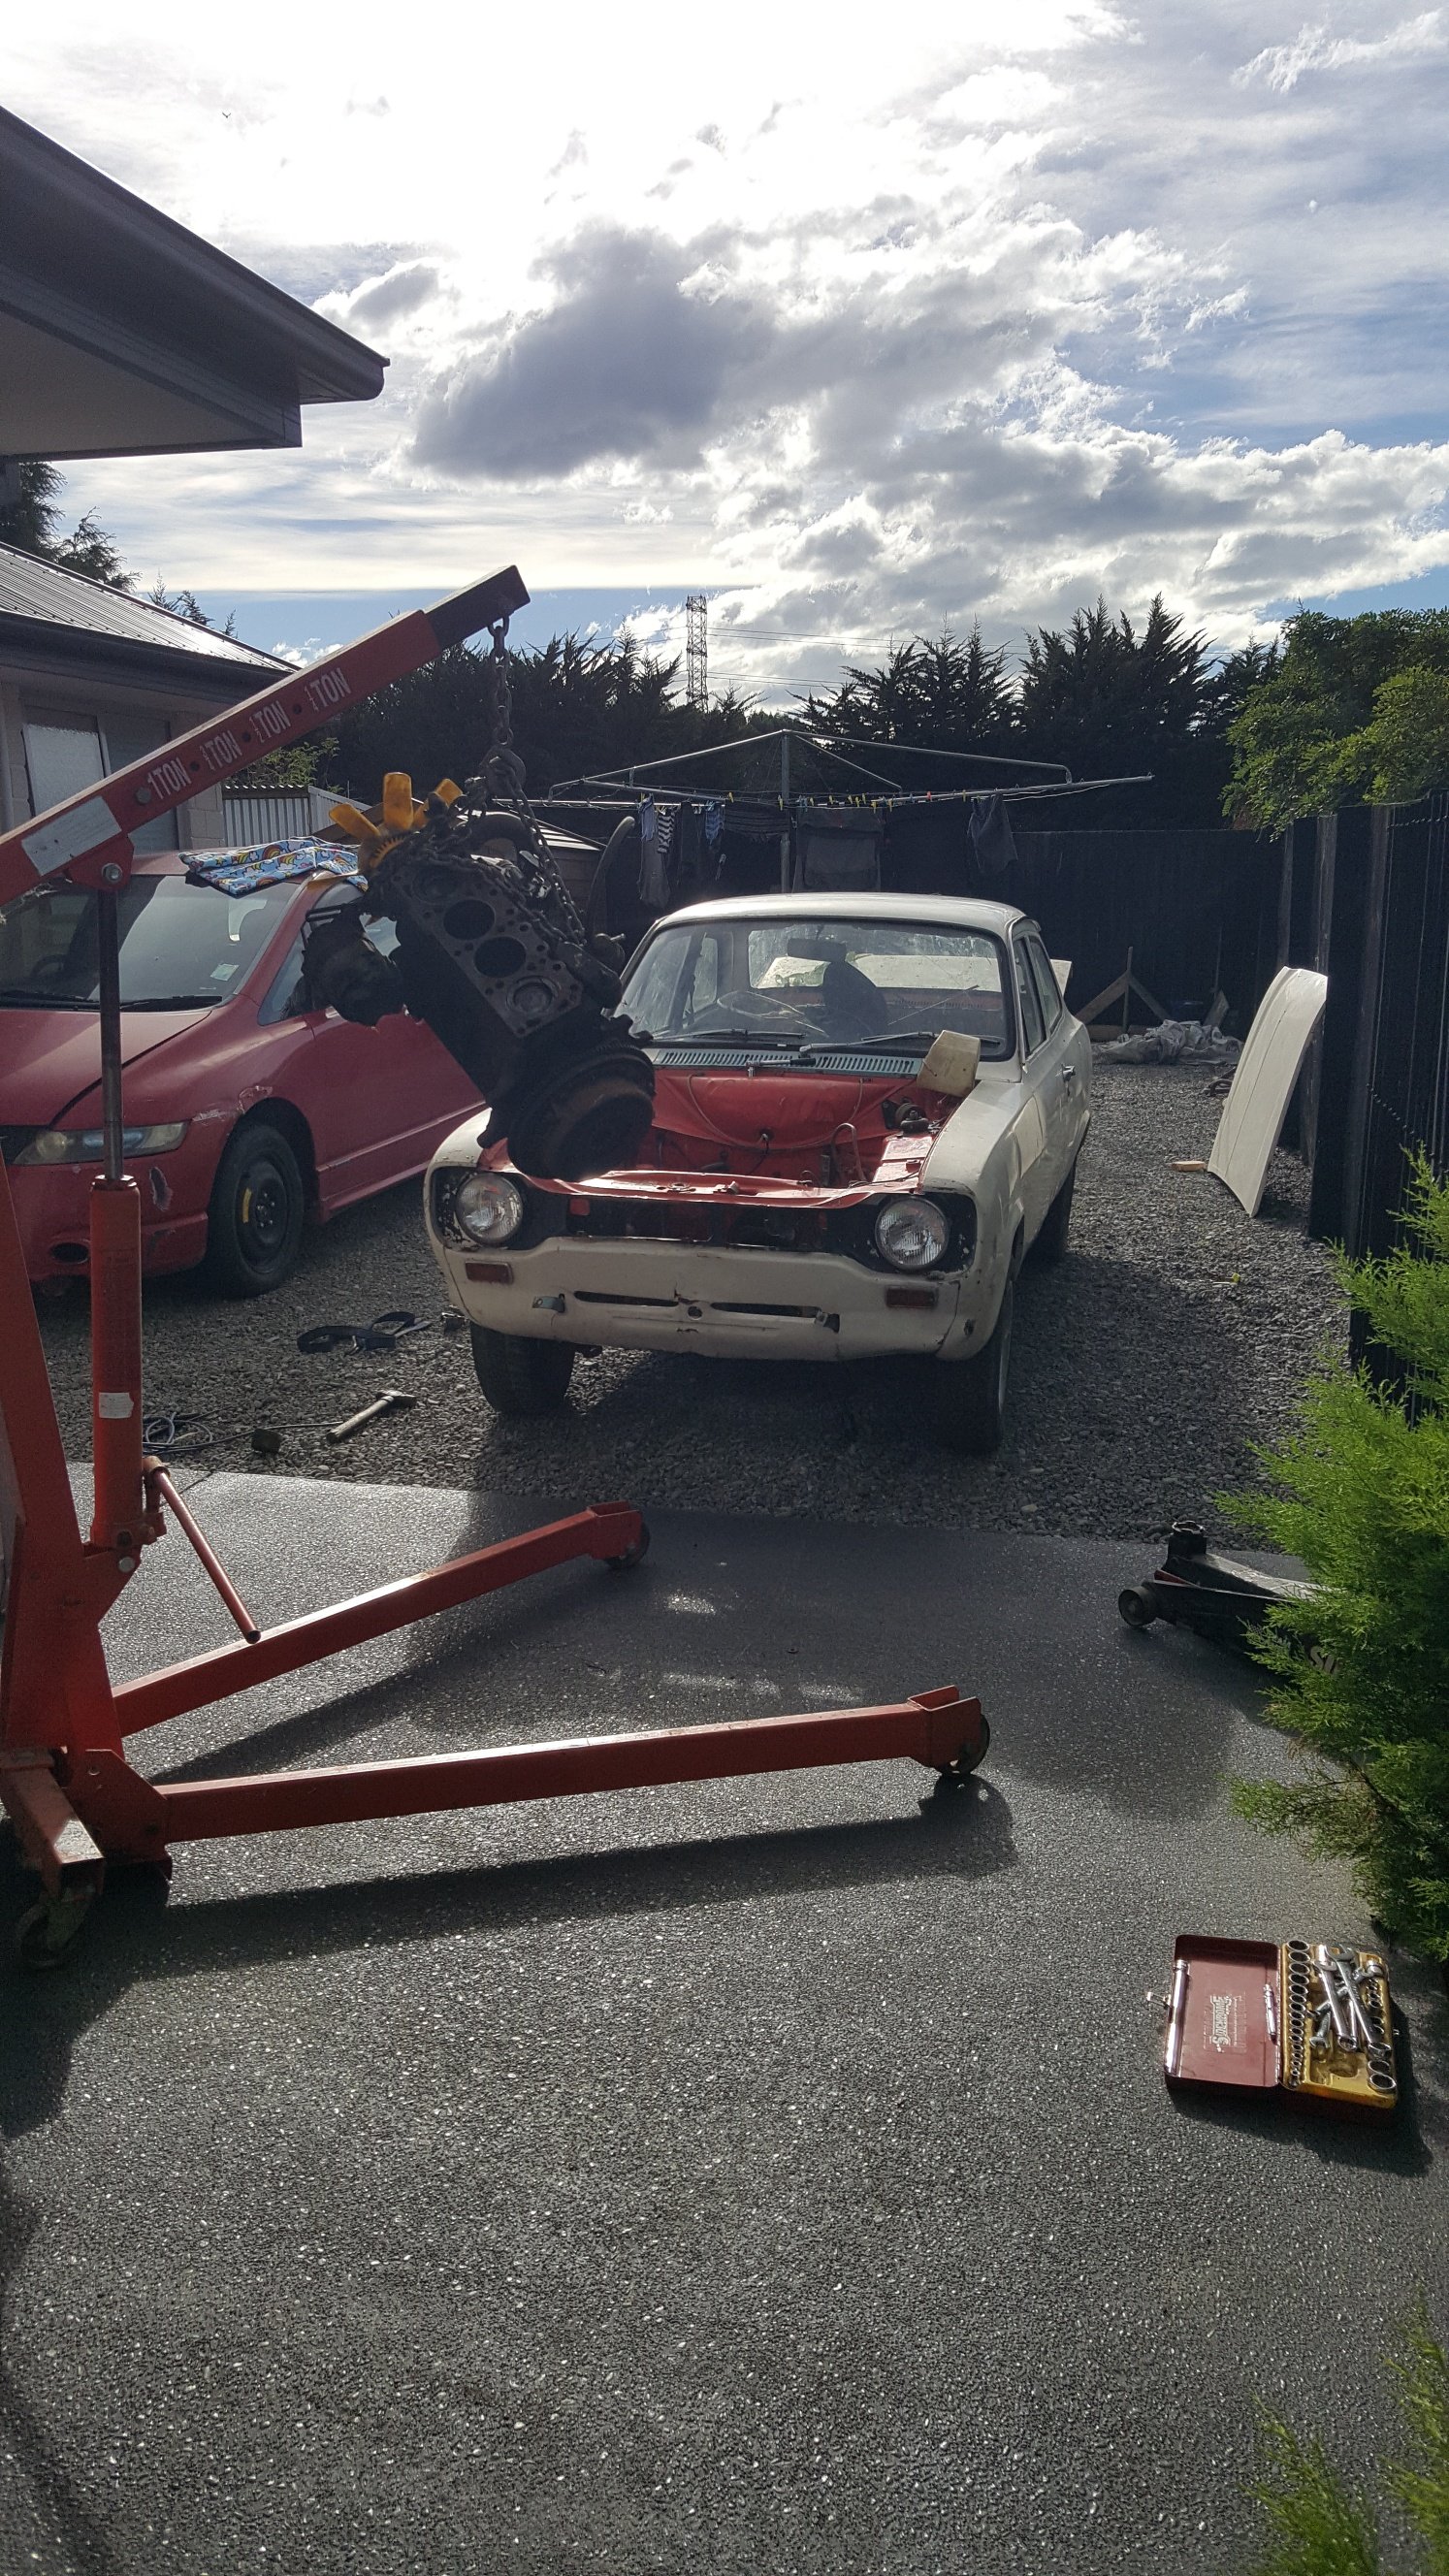
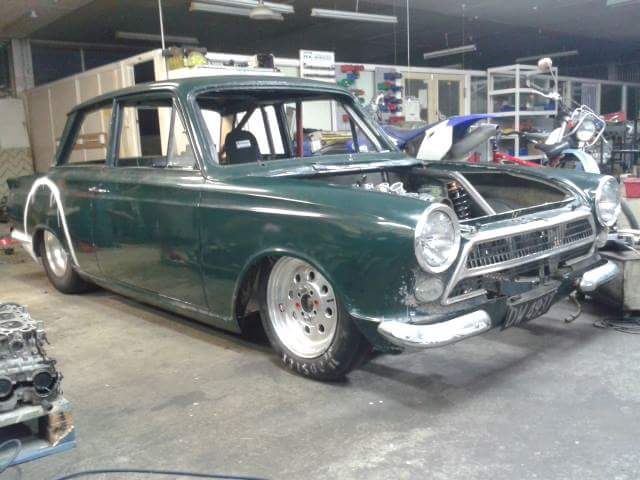
Project discussion above This has been in storage but that has come to a end so it was time to dig it out of the shipping container its been sitting in. I've had this for about eight years. I bought off my brother, its dead in the reg so plan is to get some live plates back on it. It has a few spots of rust in the body and the engine dropped a exhaust valve. So I pulled the short block out as the head had been pulled off years ago. Although it dropped a valve it hasn't done any major damage. Someone has done a sweet red paint job on the engine bay. I won't open up a can of worms by painting it at the moment. Just concentrating on just getting it up and running then focussing on the rust to get it back on the road.
- 27 replies
-
- 21
-
-
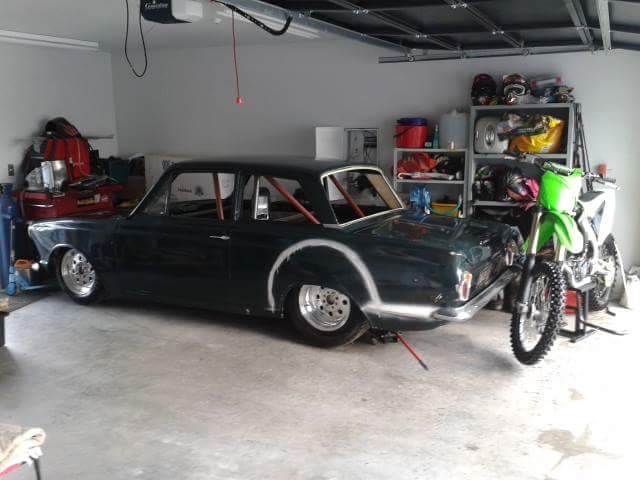
The cortina has just been collected dust in garage Will hopefully go back through my thread and fill the missing images.
-
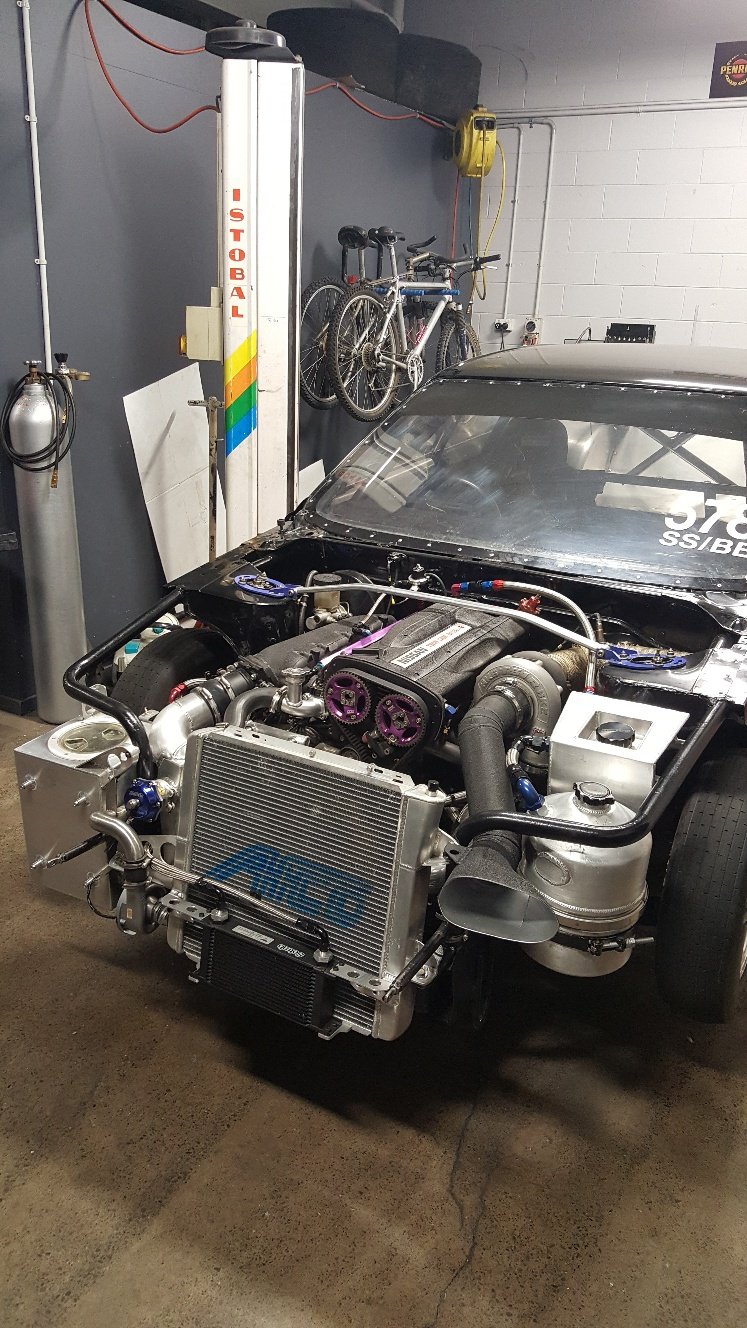
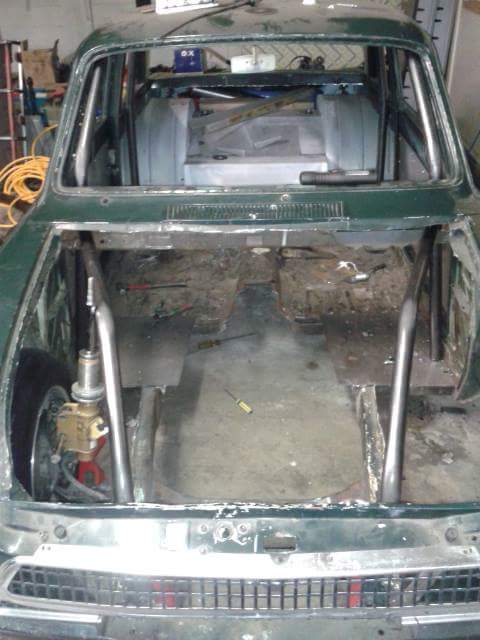
I havn't updated much lately, but i have been chipping away on the mk1. So i thought it was about time i loaded a few pic's up. I should have taken more along the way,Man Imageshack sucks now, can't load decent size pic's Here's a pic of the cage coming together Motor siting in. Got the suspension in. I have used silvia front coilovers, silvia bottom arms, adjustable silvia radius arms. I have just welded a rosejoint into the factory bottom arms to make them adjustable I have used the escort steering rack that i had from previous set that i was going to use. We have decided to go left hand drive so have mounted the rack upside down and it all seem to be sweet.As it sit's a the moment, i am saving for a Powerglide, Looks like the best way to get a decent one is to buy one from the states.
-
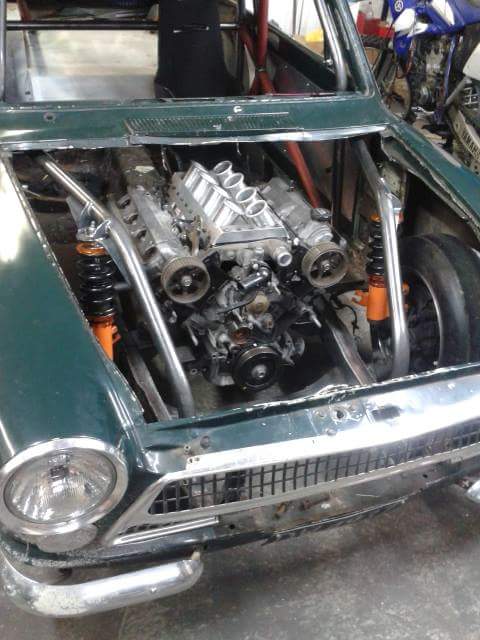
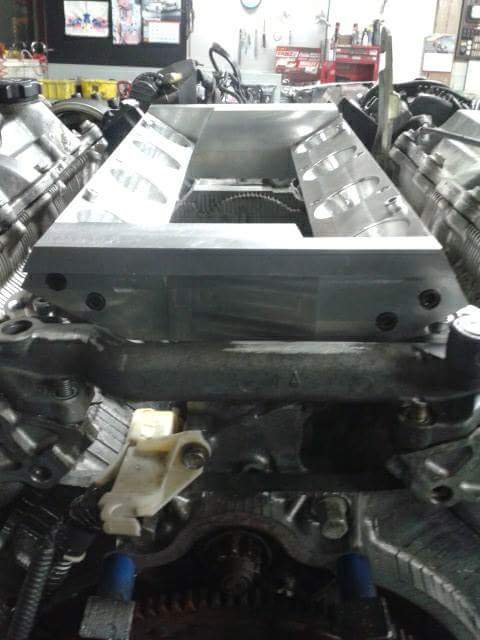
So it's been a while since i have posted some picture's, but i have been working away on the mk1. Awhile ago mocked up engine in the gap and sat the turbo on a apple box to figure out where the turbo will fit. Veiw from the rear
-
It's been quite a while since i last posted, I have been doing a few little things, but most of my car allocated time has been spent on fixing my digger and other stuff. Recently we relocated my work to a bigger premises. So i convinced my boss to let me bring the cortina in to work so i could work on it after work. I have had another change in the grand sheme of things. I have cut the inner guards for more room. And will tube frame the front end. will get some pictures up soon
-
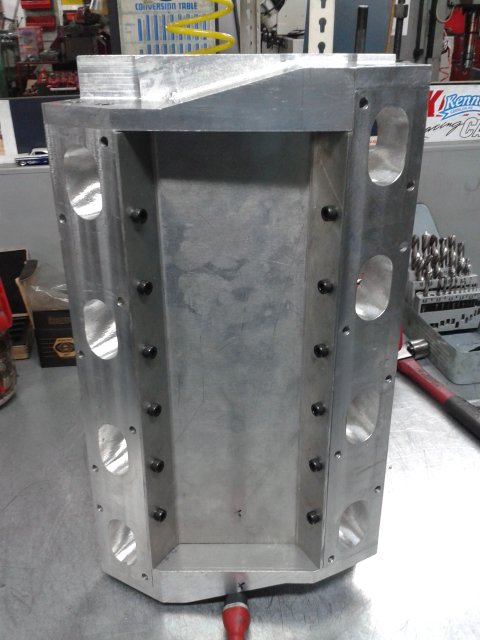
Got a bit of 3mm folded up to make a base. Cap screwed it in, still need to make some ends that I will weld to the base bit.
-
So I have finished milling one of the ends. It now clears the rear water cross over pipe. Here's another shot, I have the other end roughed out. I will need to mill a heap out of this end to clear the front cross over water pipe. I will be cap screwing a base into this, not sure how it will work out. It's all trial and error